By Chrysta Naron
Letters are keys for children to unlock the written world, and their futures. They’re also shapes—complicated ones. Teaching your child to see and form these important lines and curves will set them on the path to reading. Yet all those letters can look a whole lot alike to young kids. This crafty early literacy activity helps even the youngest kids, who can’t yet write with a pencil, distinguish and remember letters.
This easy project leverages the power of talking about letters and breaking them down to their parts. Discussing, describing, and dissecting each letter’s unique shape helps kids identify (and recreate) these all-important symbols. Pointing out how straight or curved lines come together in a particular letter draws kids’ attention to the details necessary to tell them apart. This easy at-home letter-learning activity is great for doing that in a fun, tactile way.
This activity is a twist on classic playdough letters, but with two important changes: We’ll write each letter in front of our children, giving them the chance to observe how we hold a pen and move it across the paper to form the letter. And we’ll use craft sticks to highlight the difference between the straight and curved lines that form our alphabet.
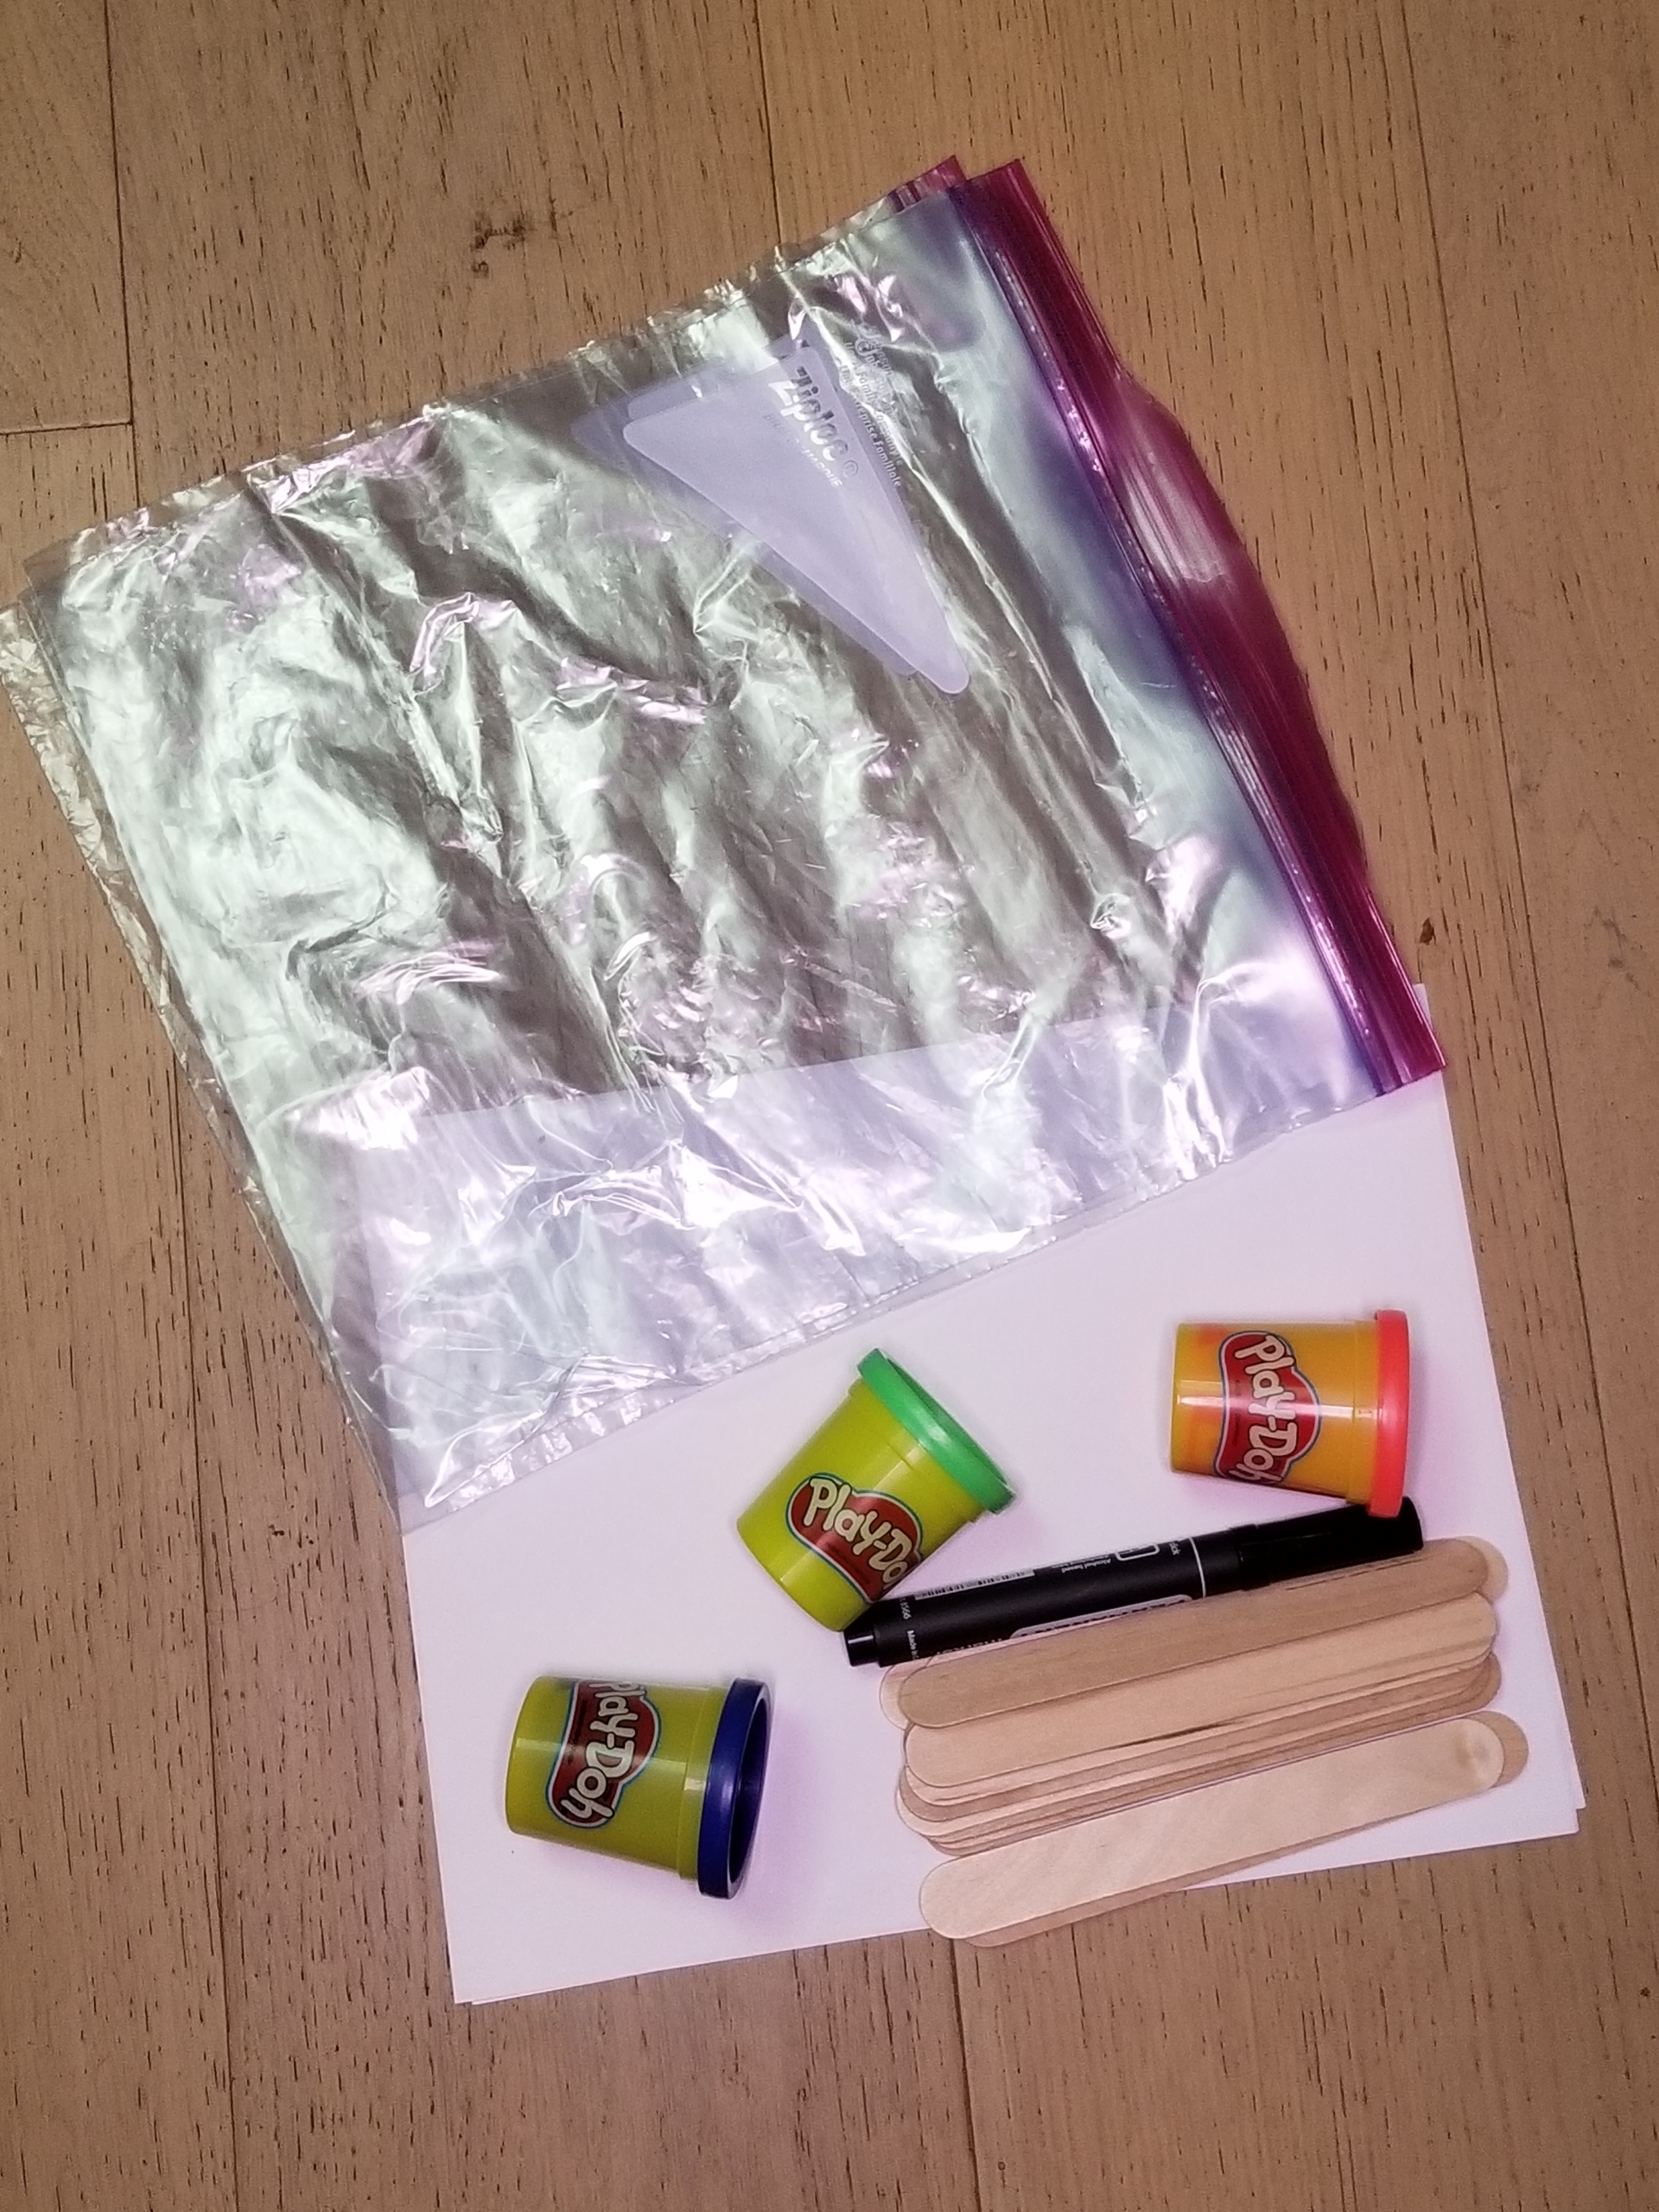
Materials Needed:
- Craft sticks
- Playdough
- Marker
- Paper
- Gallon sandwich bags
Cost: $6 for a bag of craft sticks, sandwich bags, and a container of playdough
Step 1: Write some uppercase letters on a piece of paper. Make them quite large, one letter per page. You will be laying craft sticks over the letters, so you can use the length of a stick for a guide as to size.
Tip: Starting with the letters in your child’s name will get extra buy-in, as children are drawn to their own name. Talk to your child as you create each letter: Say the name and describe its attributes. For example, if you write the letter A, you might say “This is the letter A. It has two lines that touch like a mountain and one line that goes across the middle, like a bridge.”
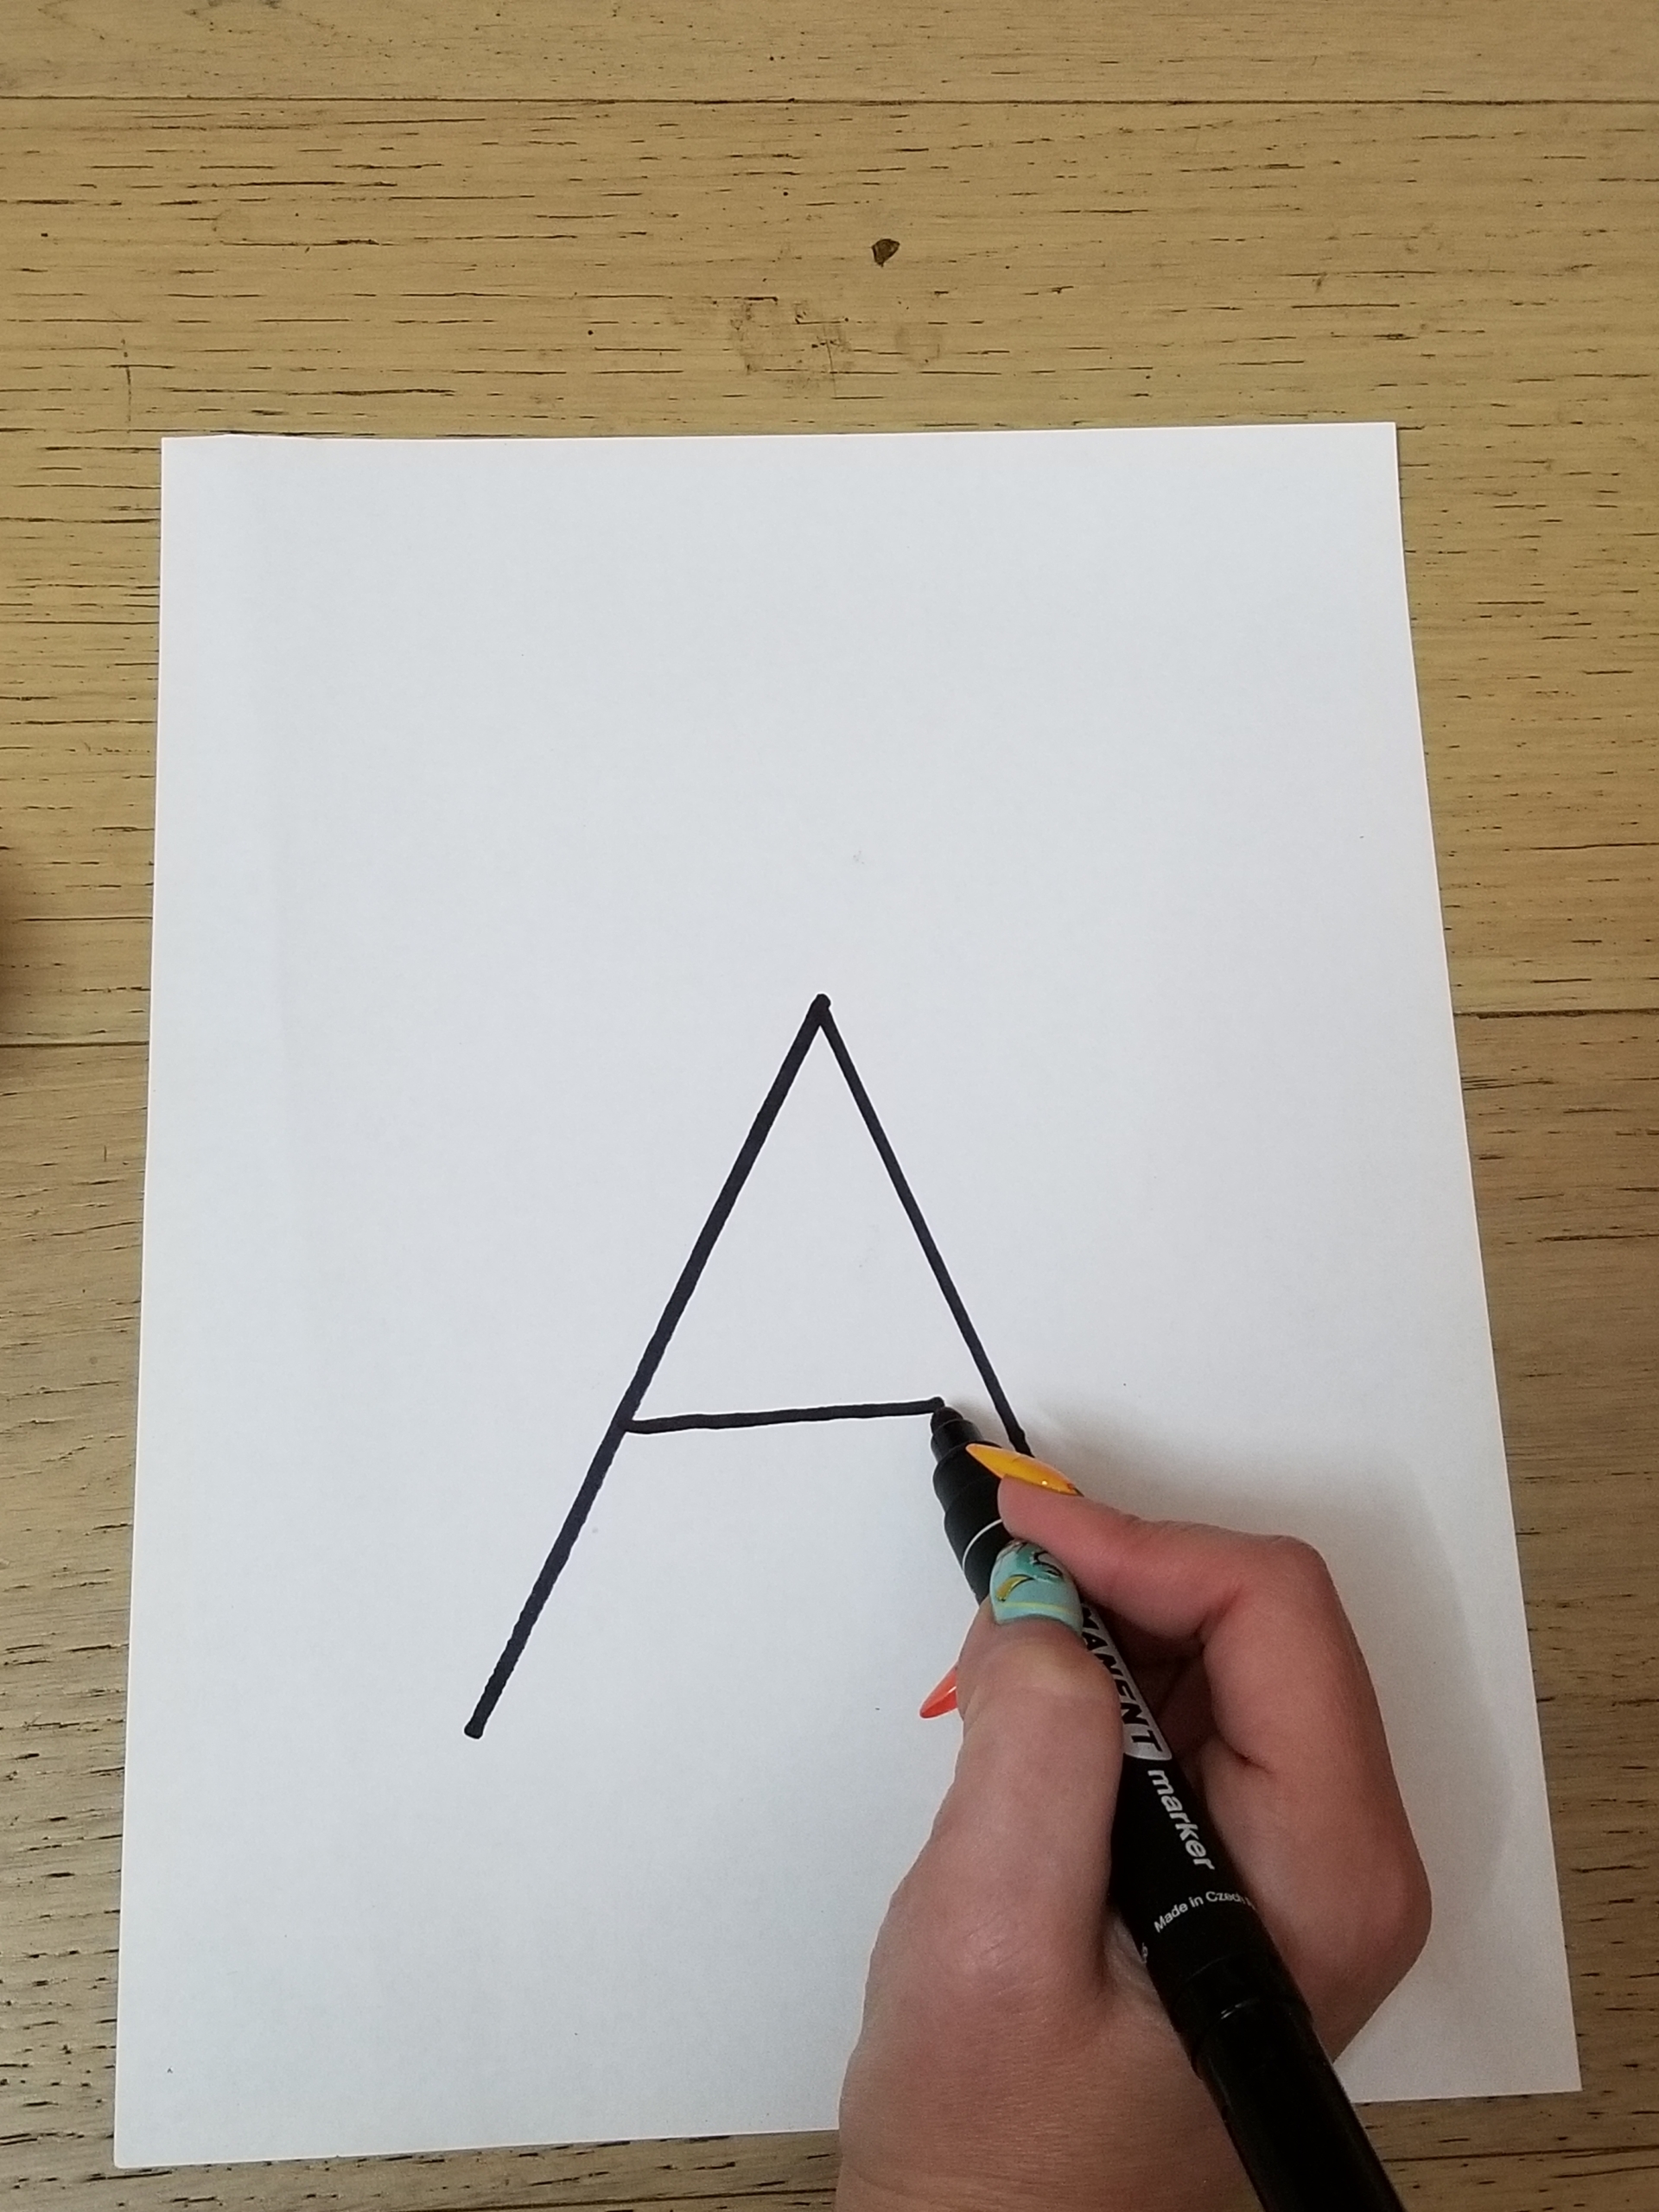
Step 2: Slide each letter into its own gallon sandwich bag. This allows you to roll playdough all over the letters without destroying the paper on each use.
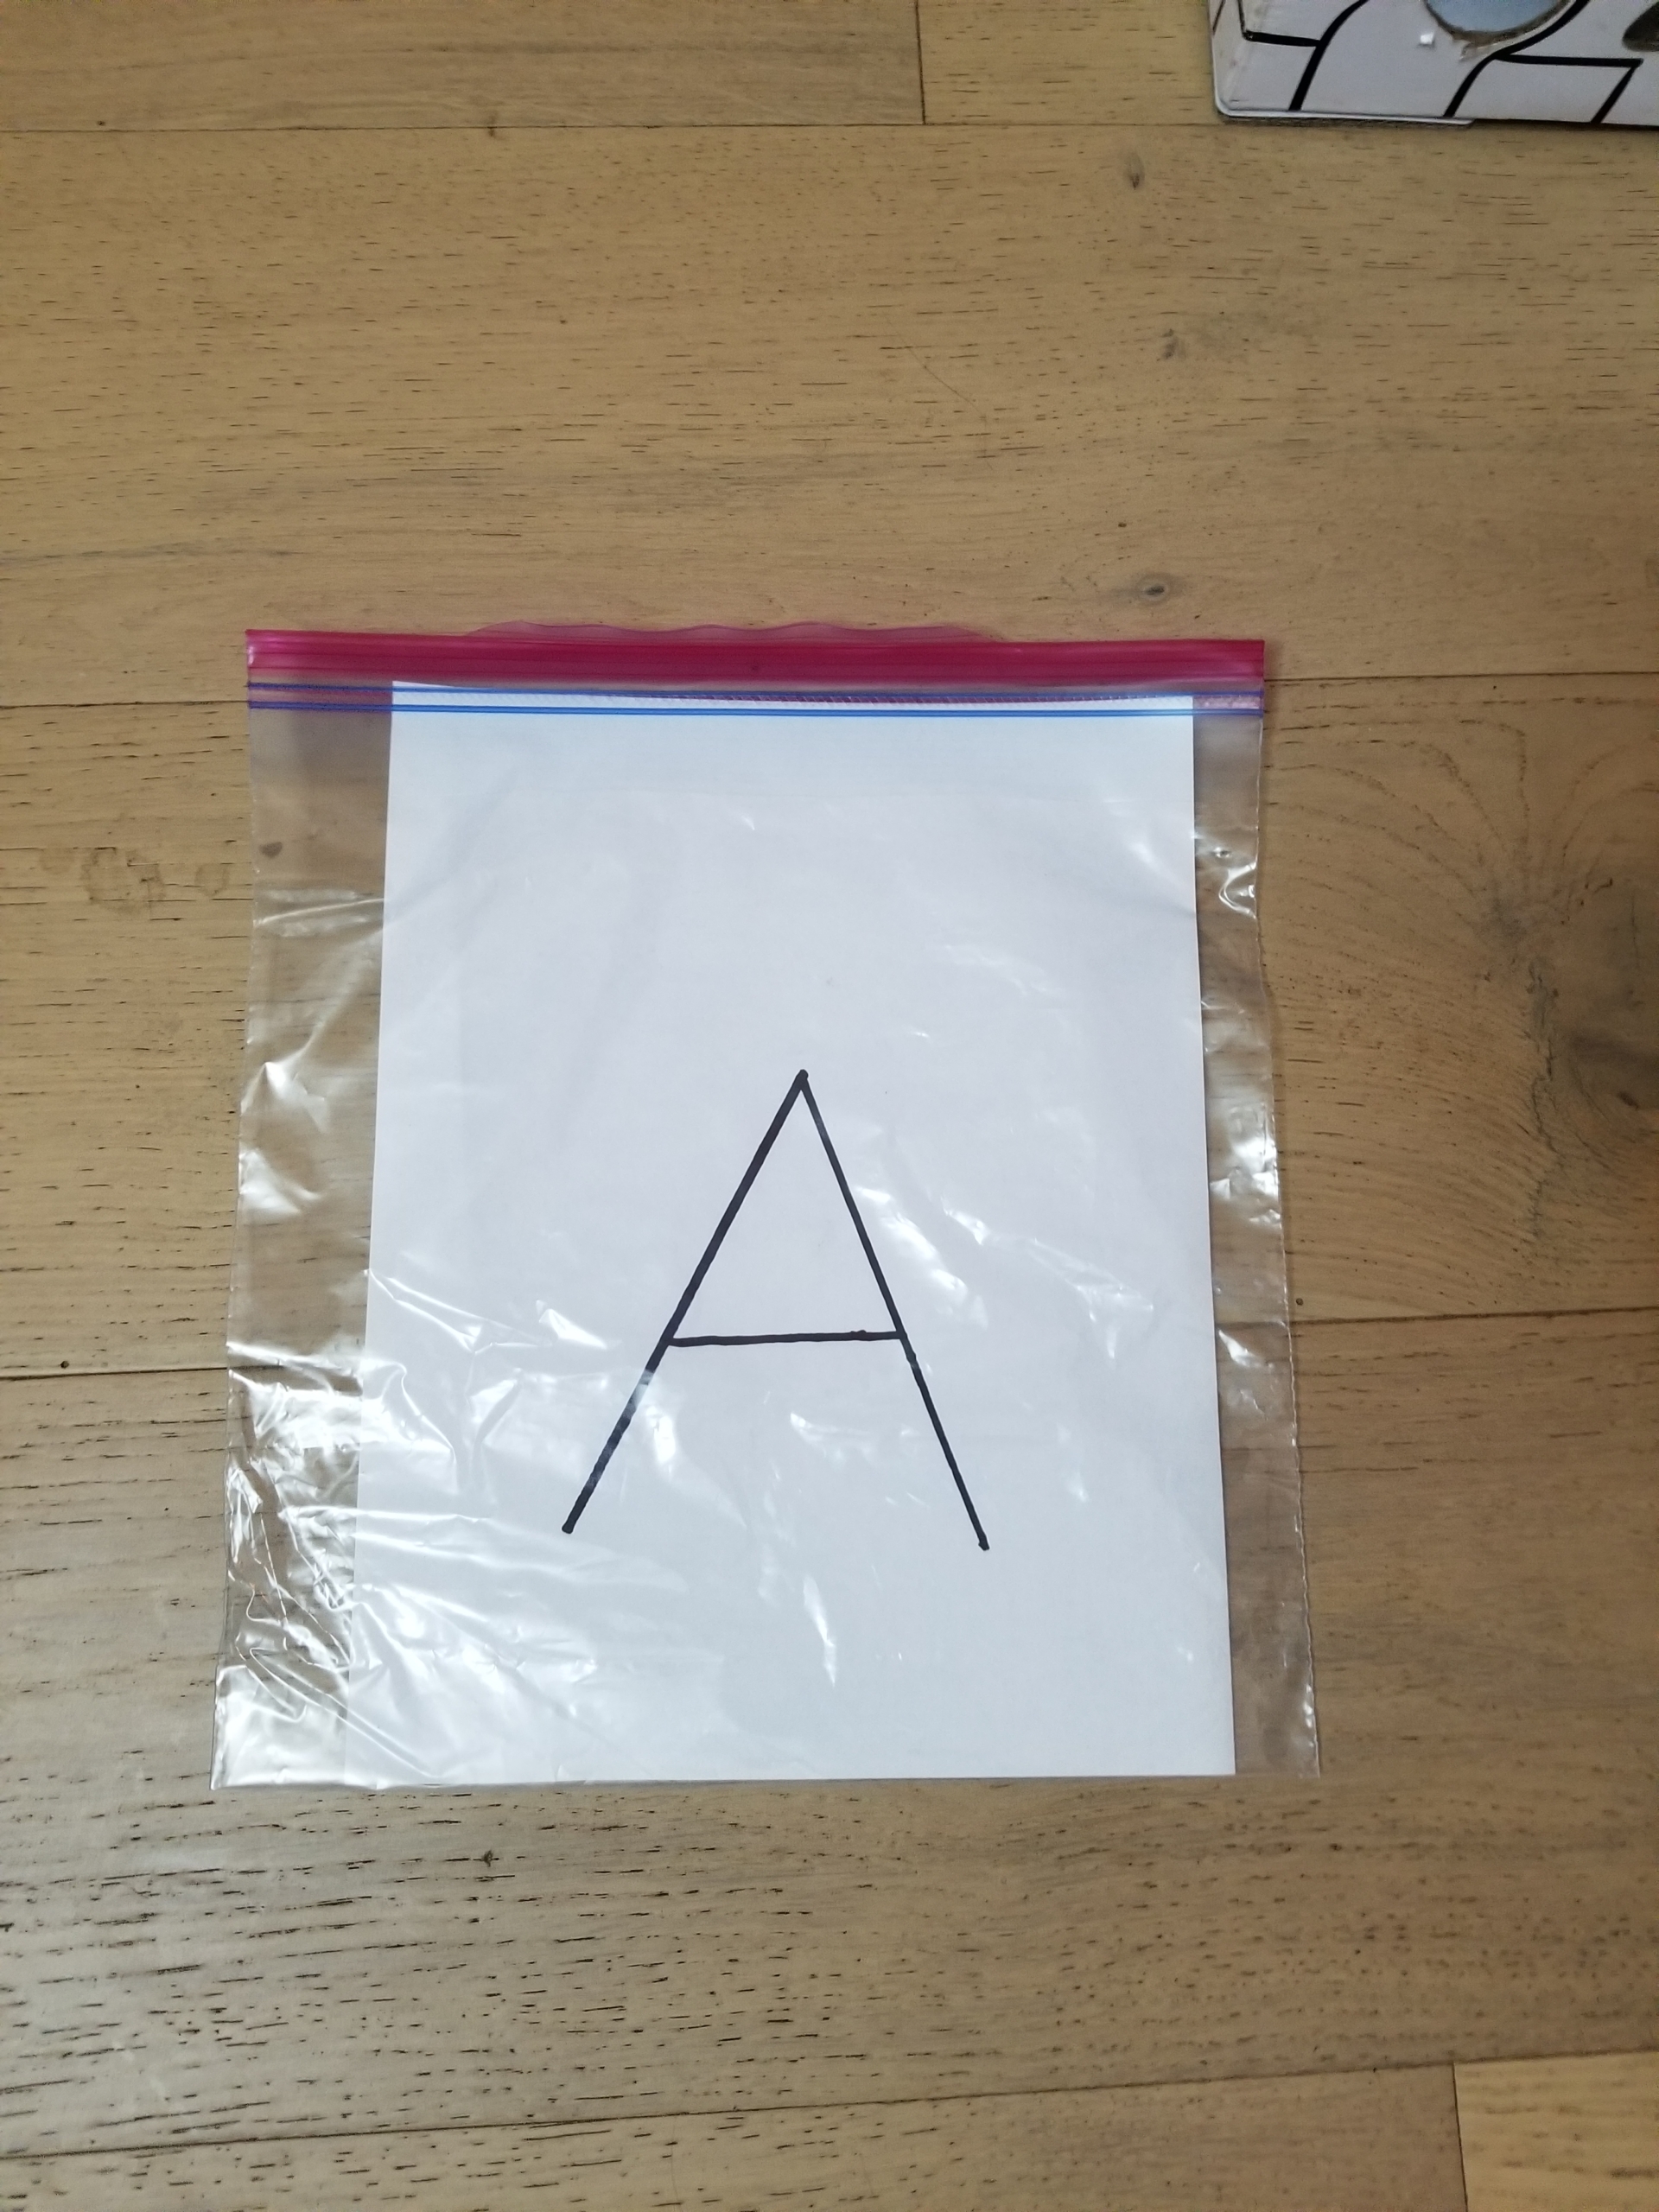
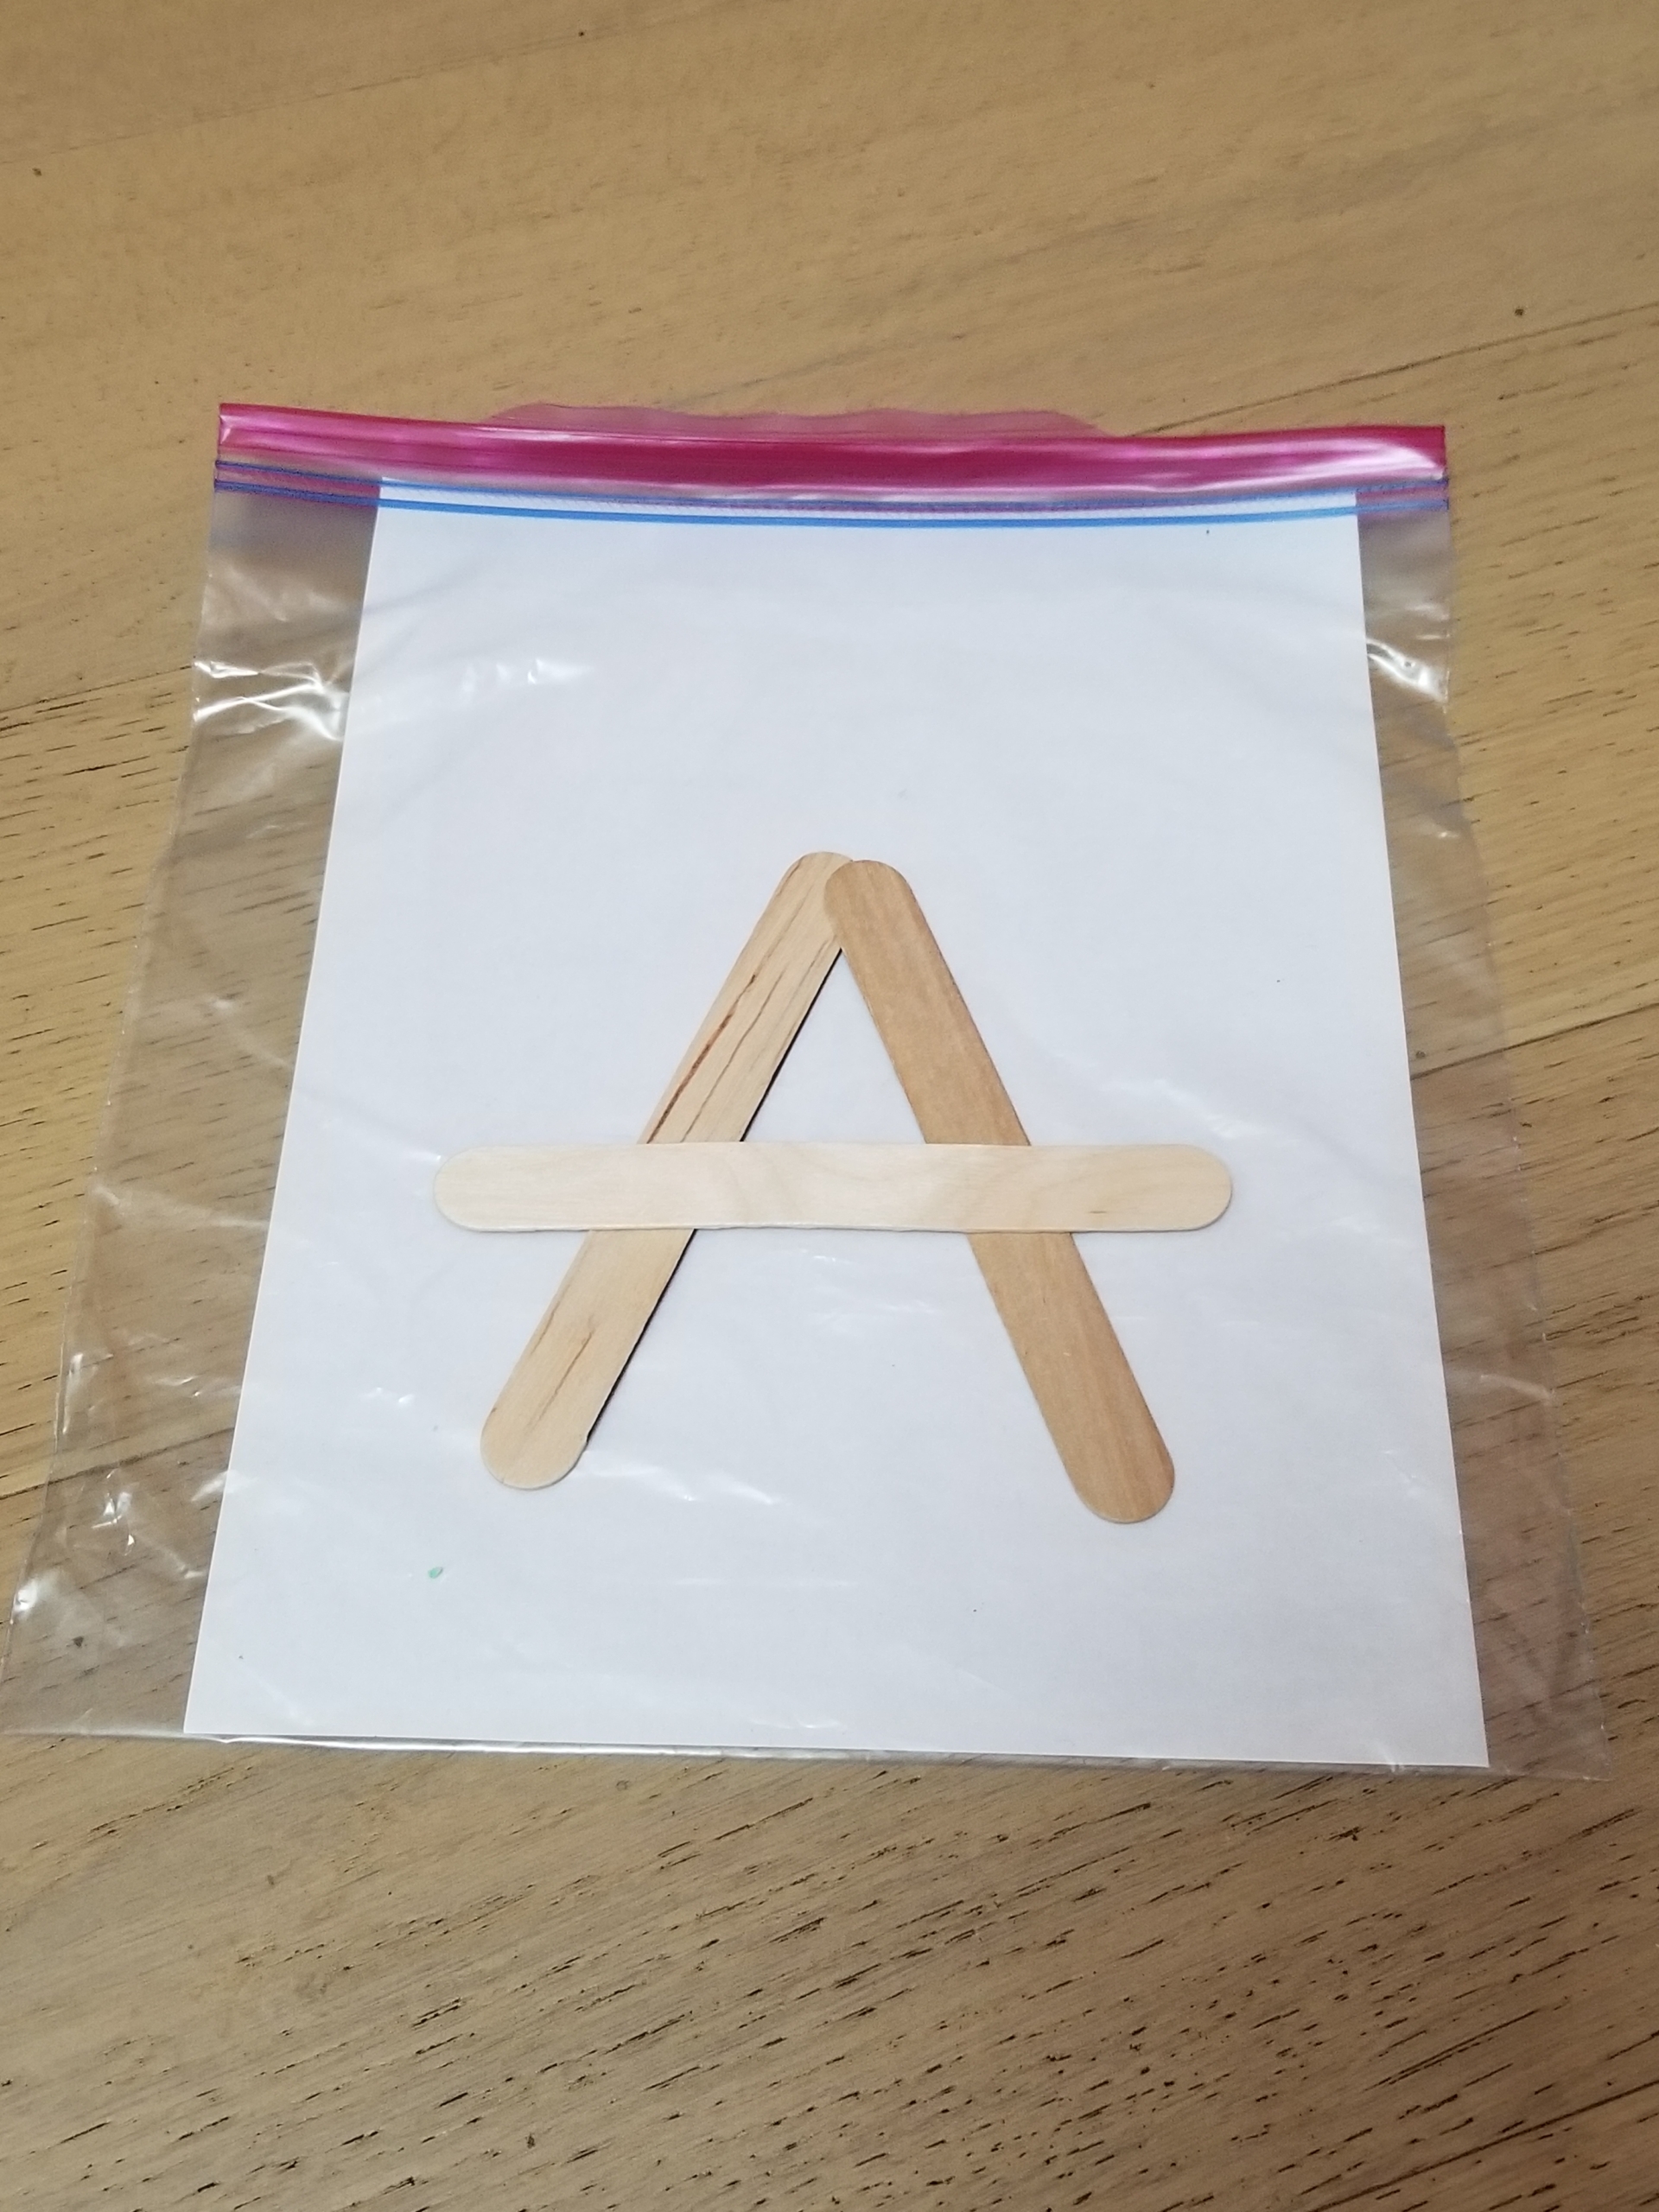
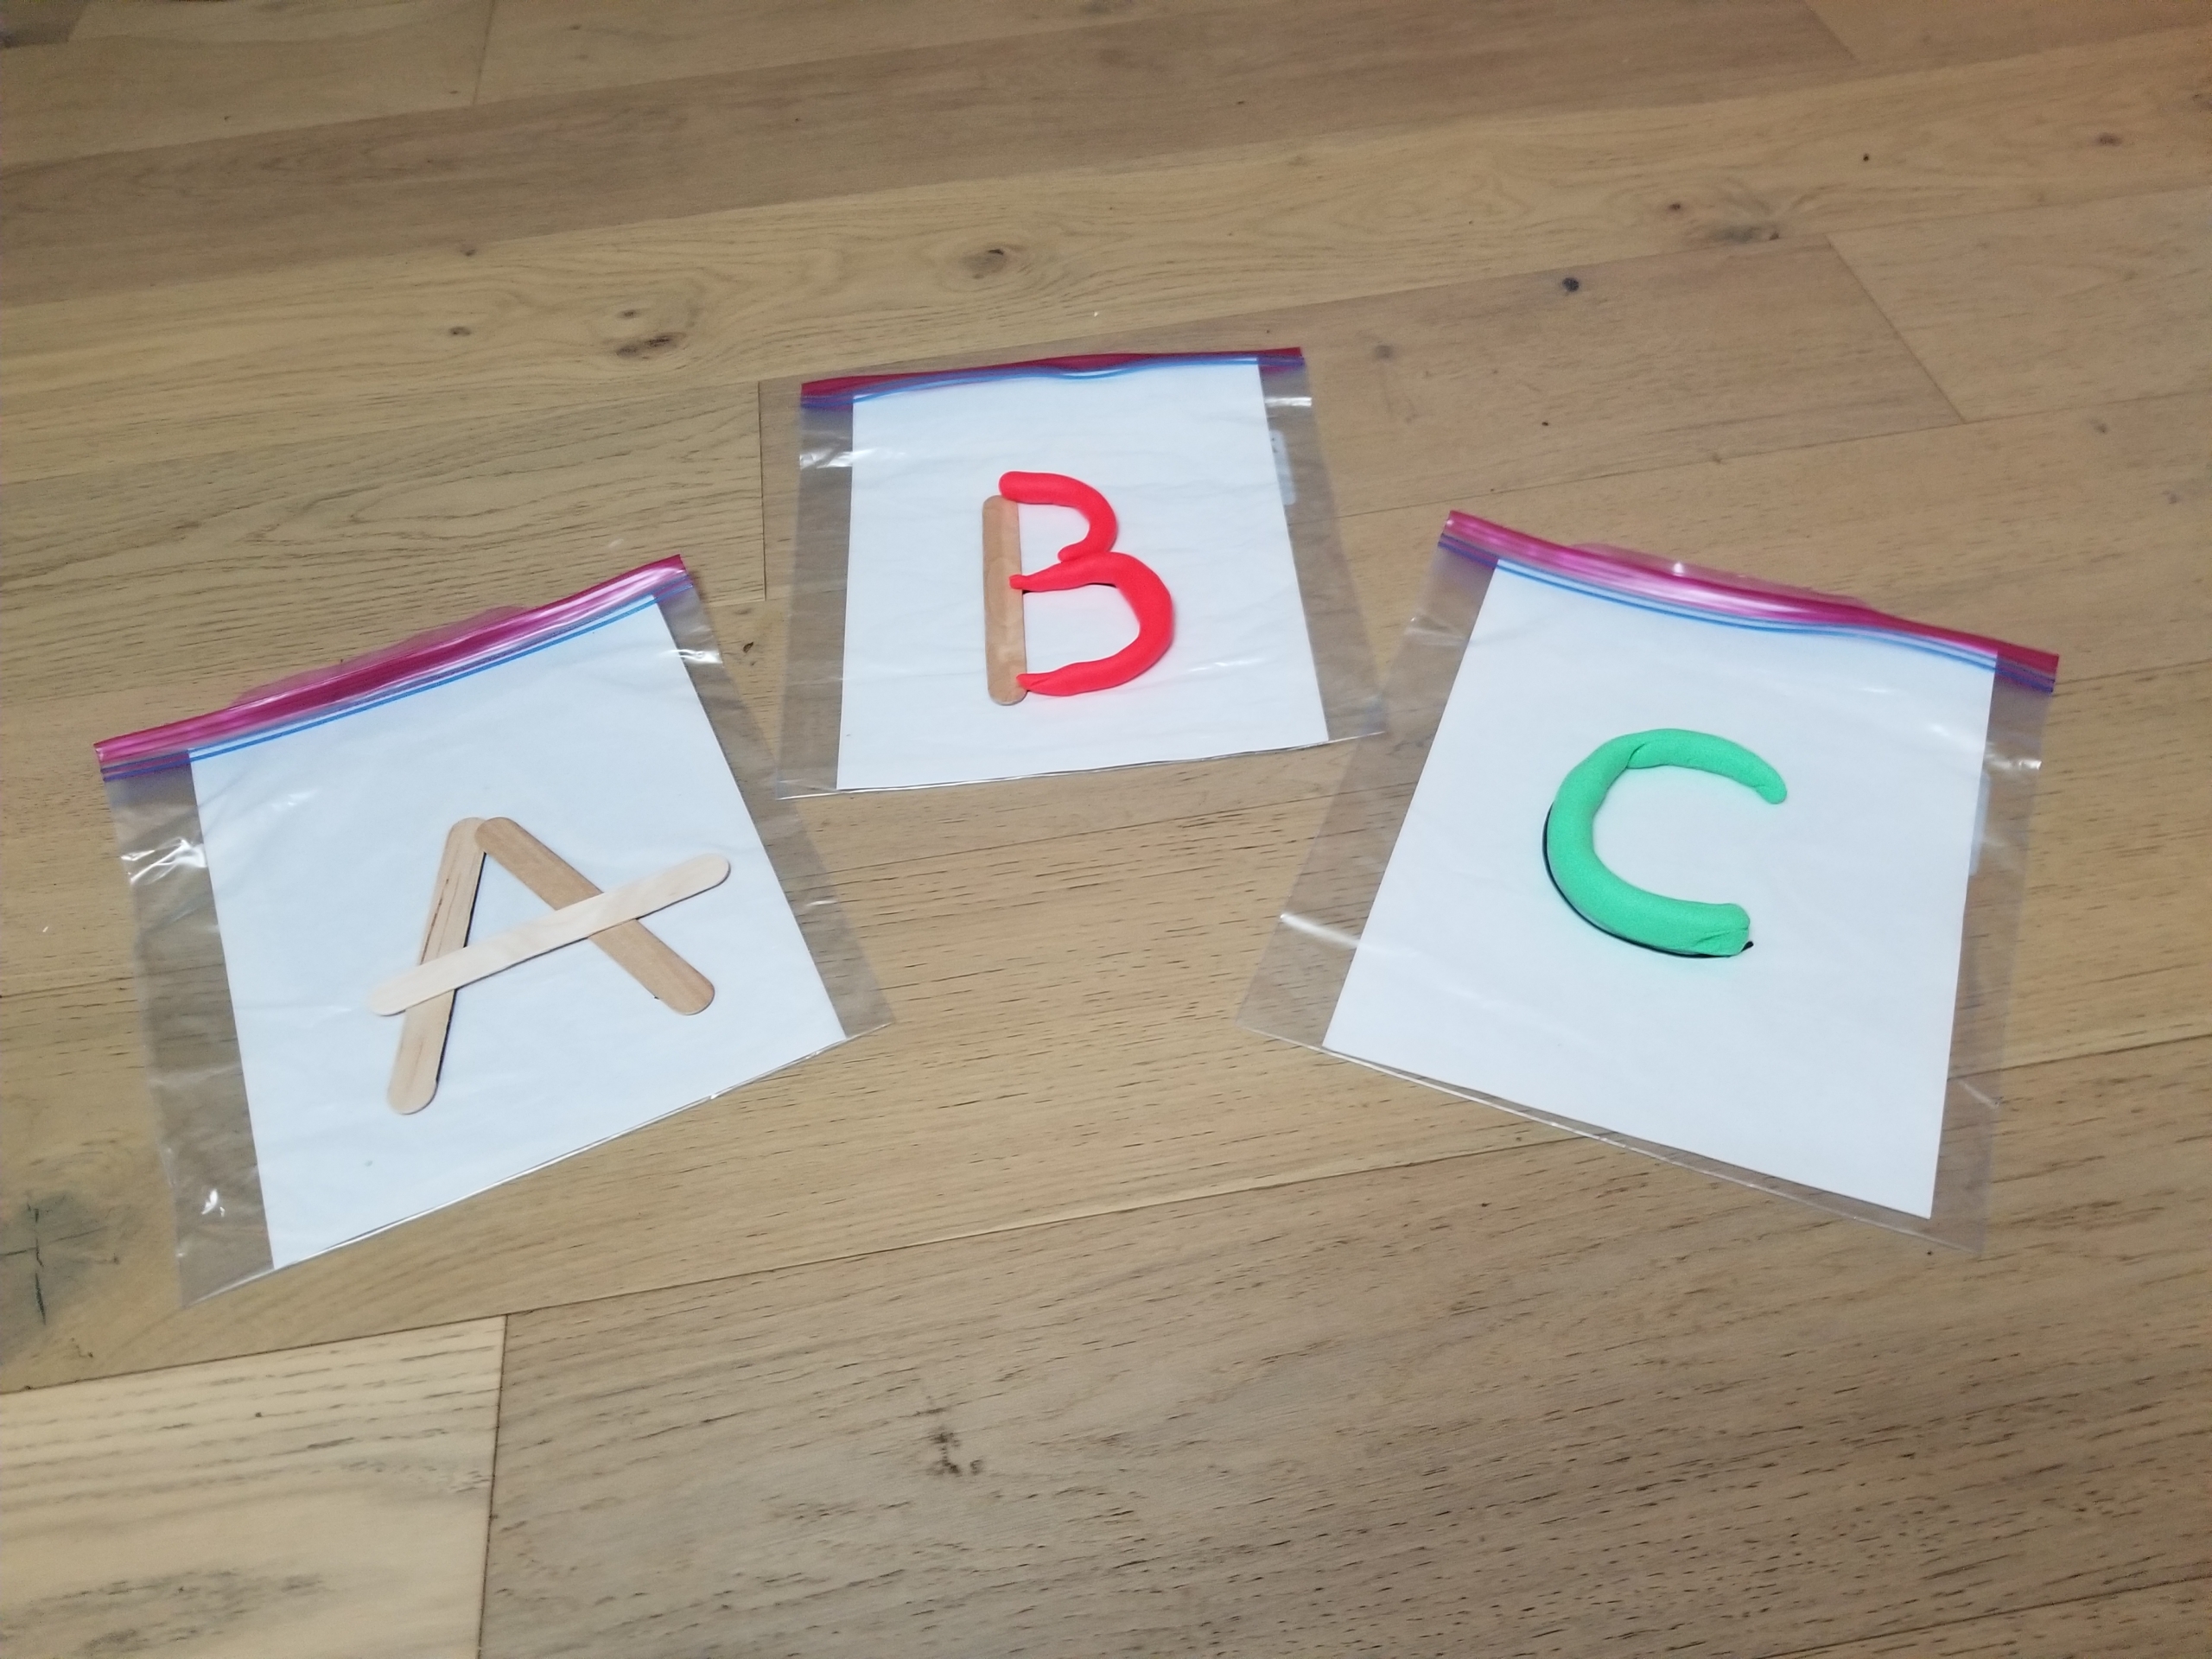
Step 3: Select a letter that is all straight lines, such as A, L, M, or X. Point to the lines and explain that some letters are tall and strong, so they need strong and tall lines, just like craft sticks. Demonstrate how to create the letter by laying craft sticks over the written letter. Invite your child to try.
Note: I noticed that when my students try to create letters with just dough, certain letters sag that should sit straight. Adding craft sticks allows them to create a better likeness for each letter, enhancing the learning.
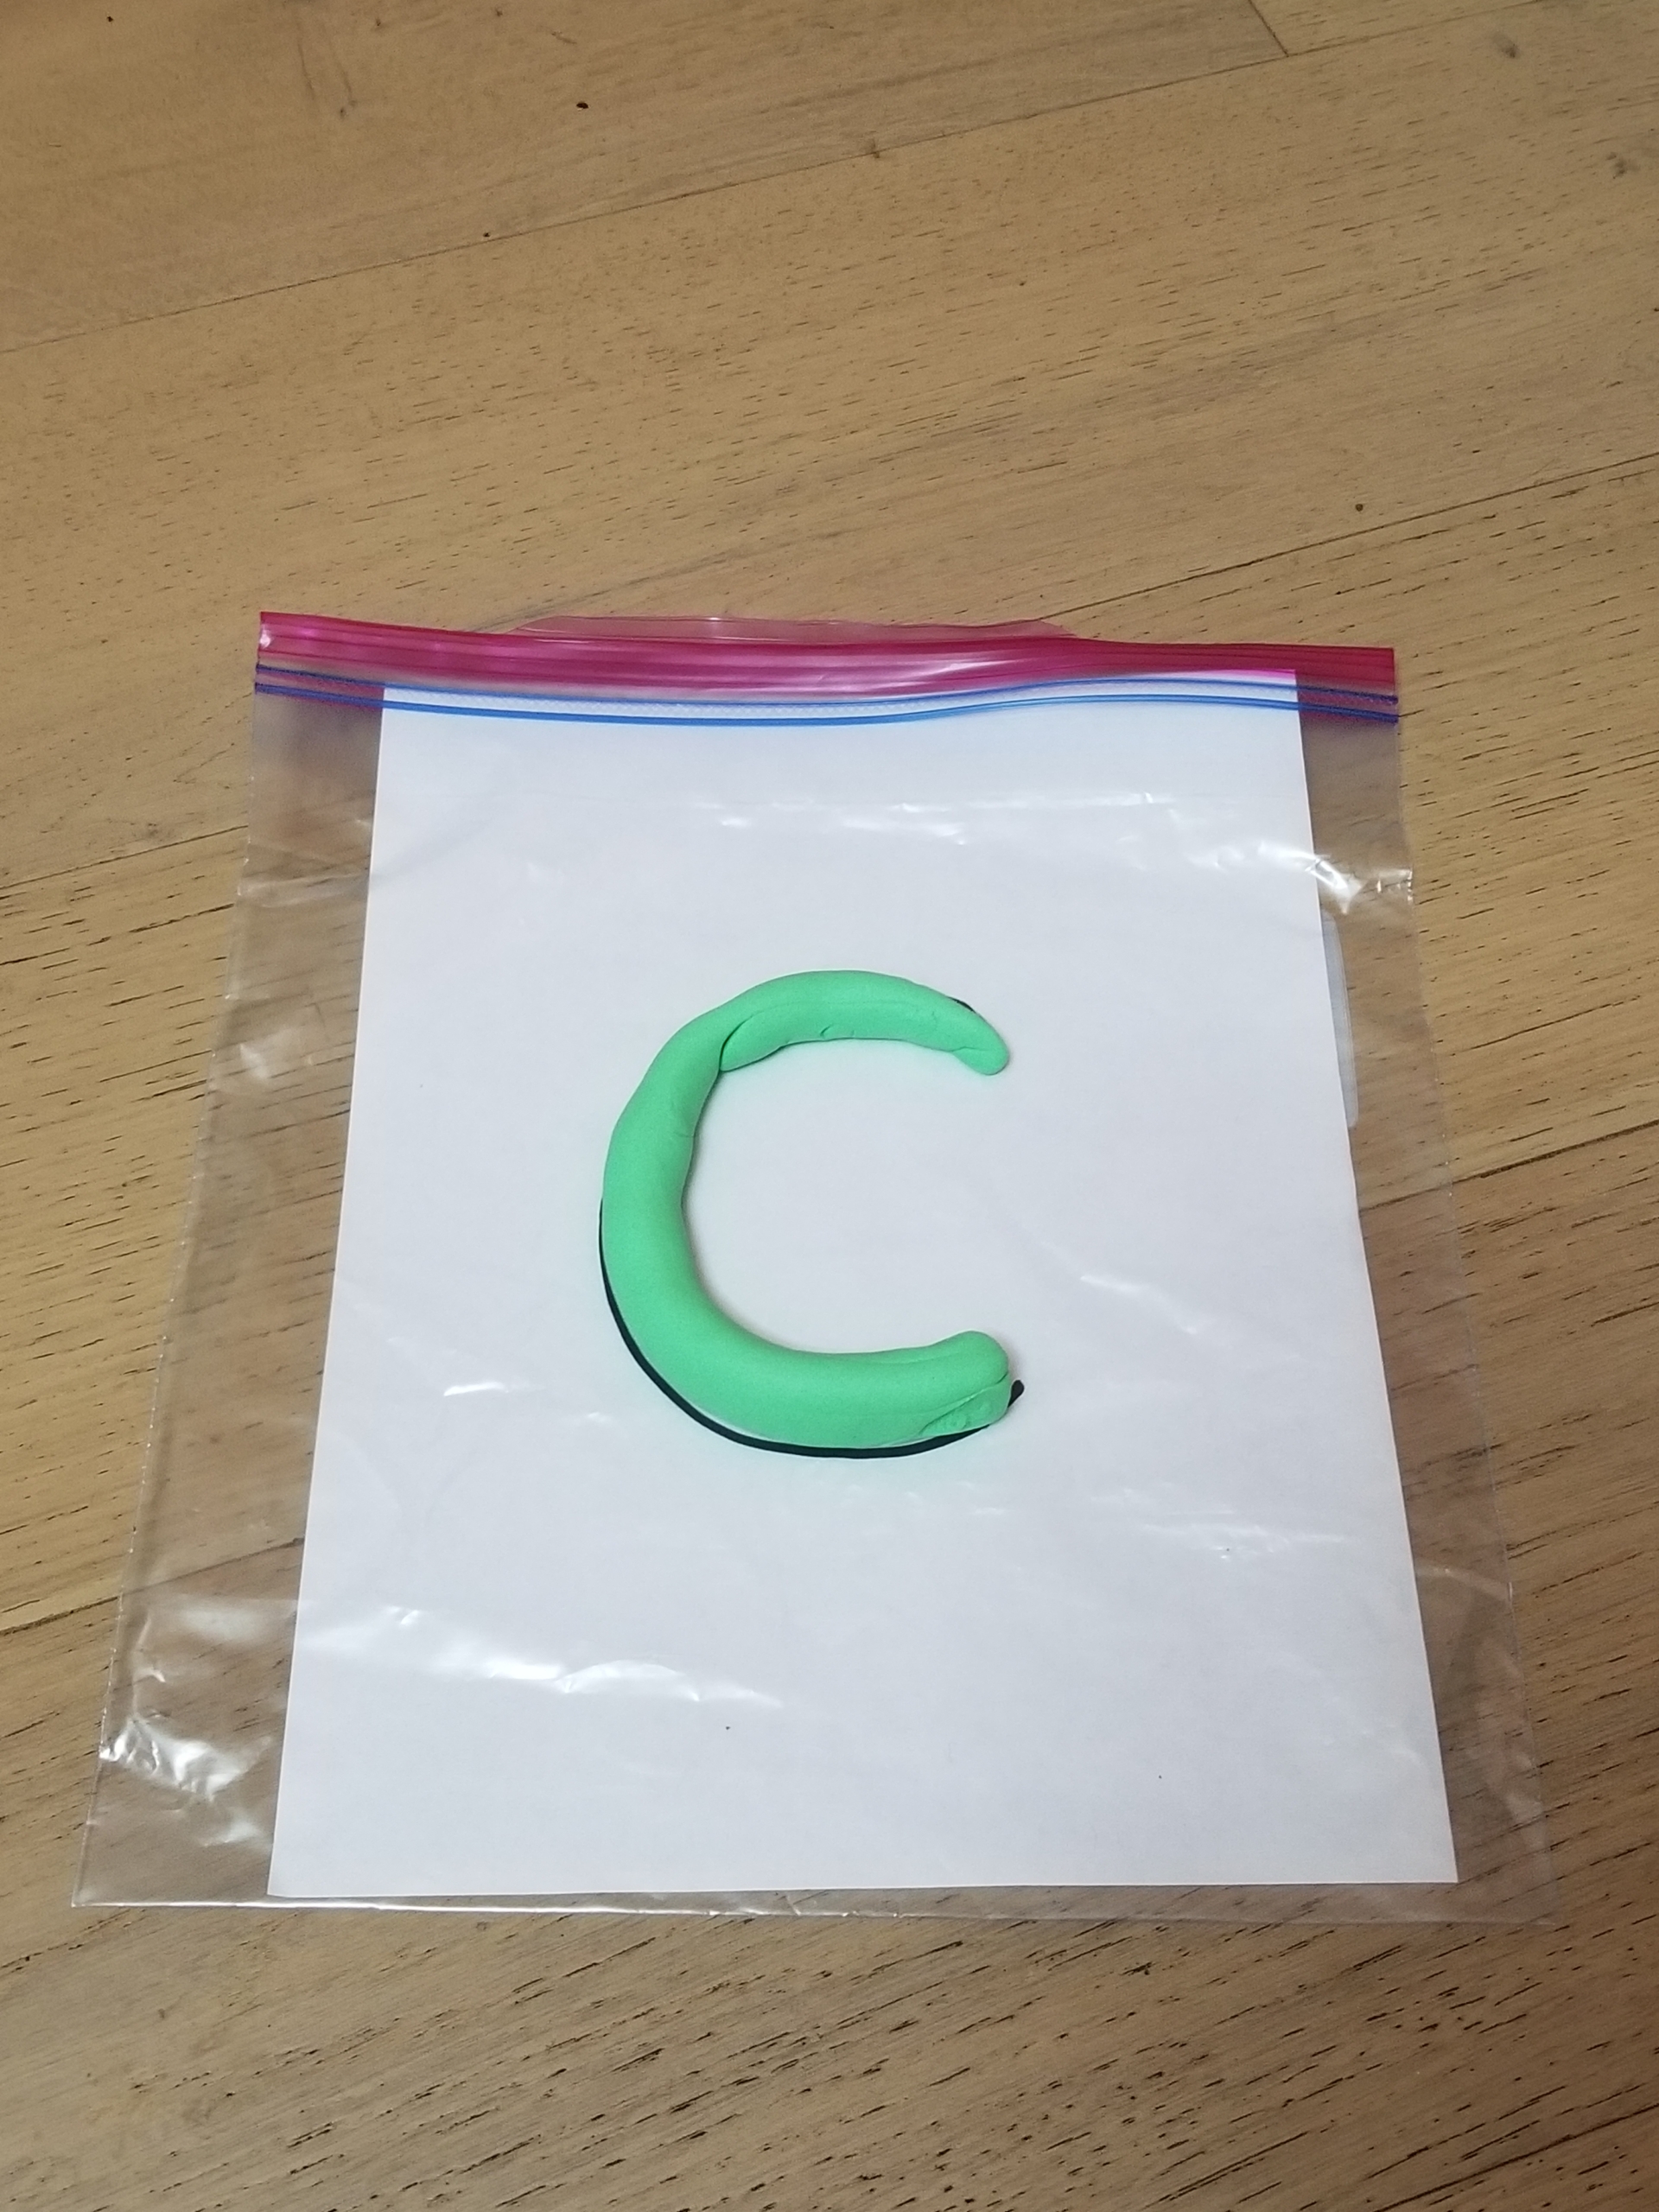
Step 4: Select a letter that is completely round, such as O, C, or U. Roll out a long snake-like piece of playdough. Explain that some letters are soft and round, so we’re making them with something soft and round (dough). Show your kiddo how to create the letter by shaping the playdough onto the letter. Invite your child to try this, too.
Tip: Depending on their level, you might have to make the playdough strips for them. But this is also a great chance to develop those fine motor skills!
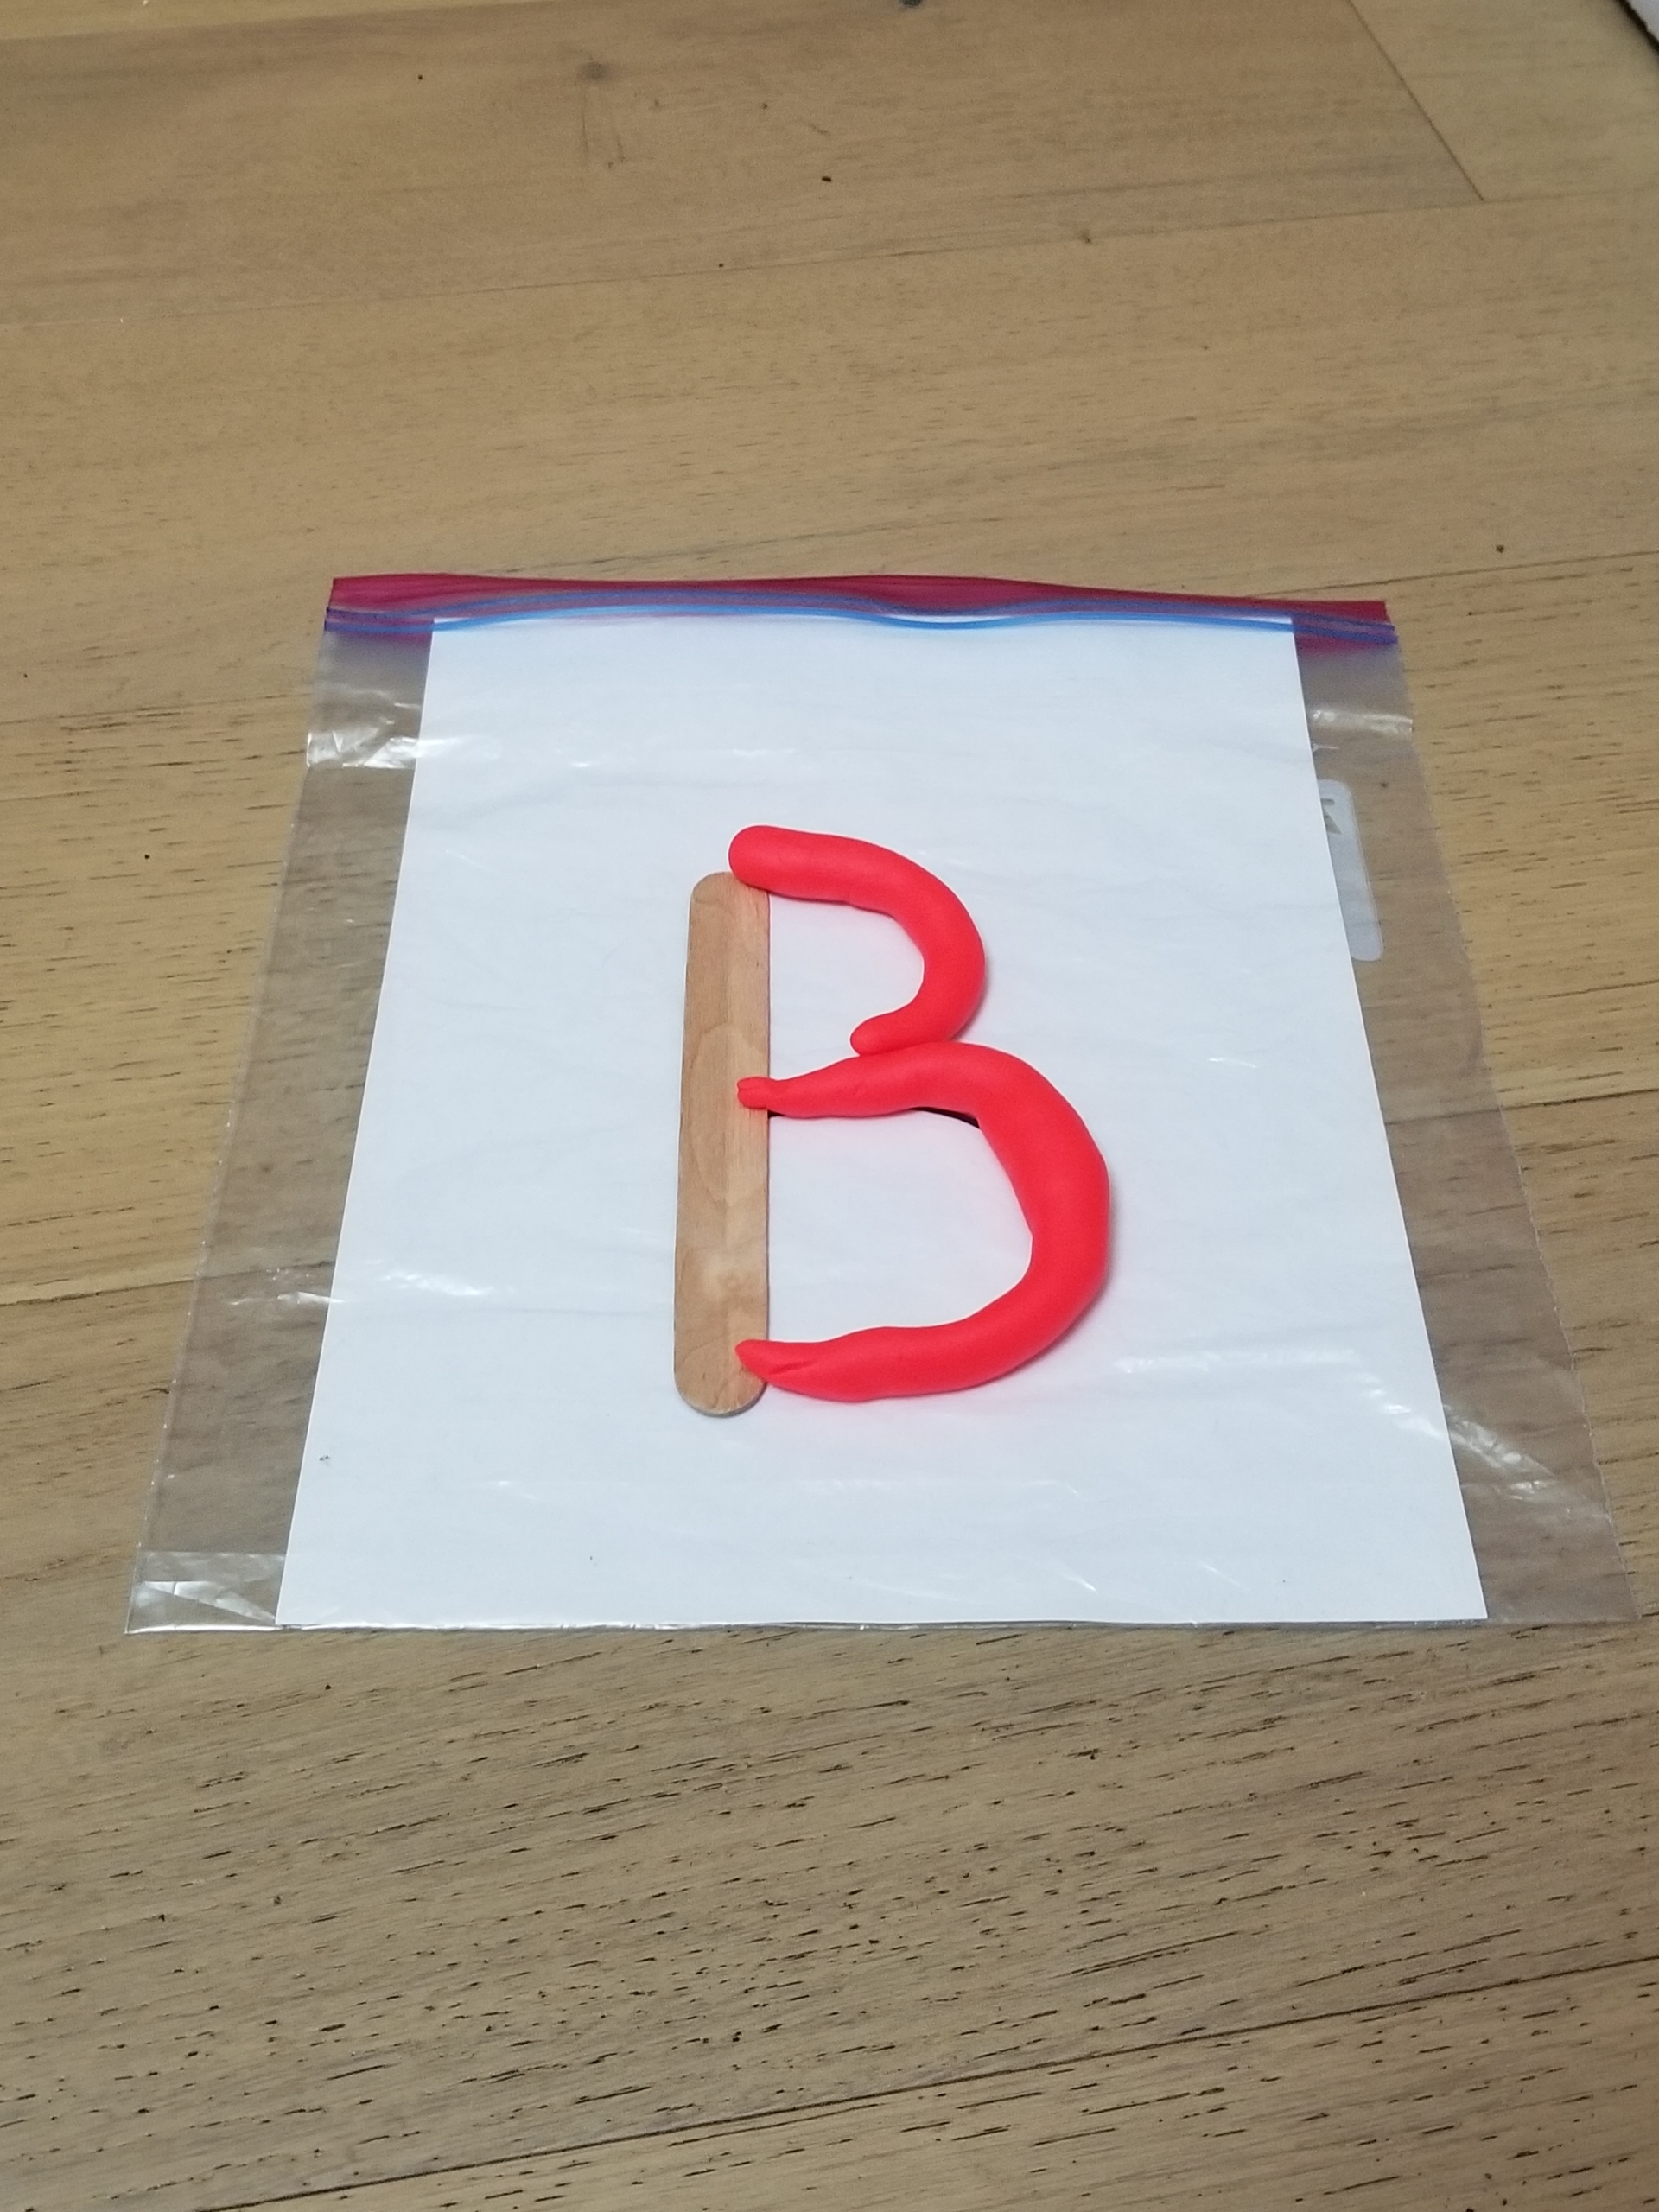
Step 5: Choose a letter with straight and curved elements, like D, P, or B. Explain that some letters are both tall and round, so we need craft sticks and playdough. Use both materials to create the letter, letting your child show you where they think the sticks and dough should go.
Step 6: Let your child take the lead! Get all the letters together and ask prompting questions while they create each letter. What’s the name of this letter? Do you know any words or names that start with this letter? How are you going to make it? Let them try to form the letters as independently as possible.
Our world is made up of letters, and one day your child’s letters might make up the world. So let’s get started—today!
Pin Me for Reference :
