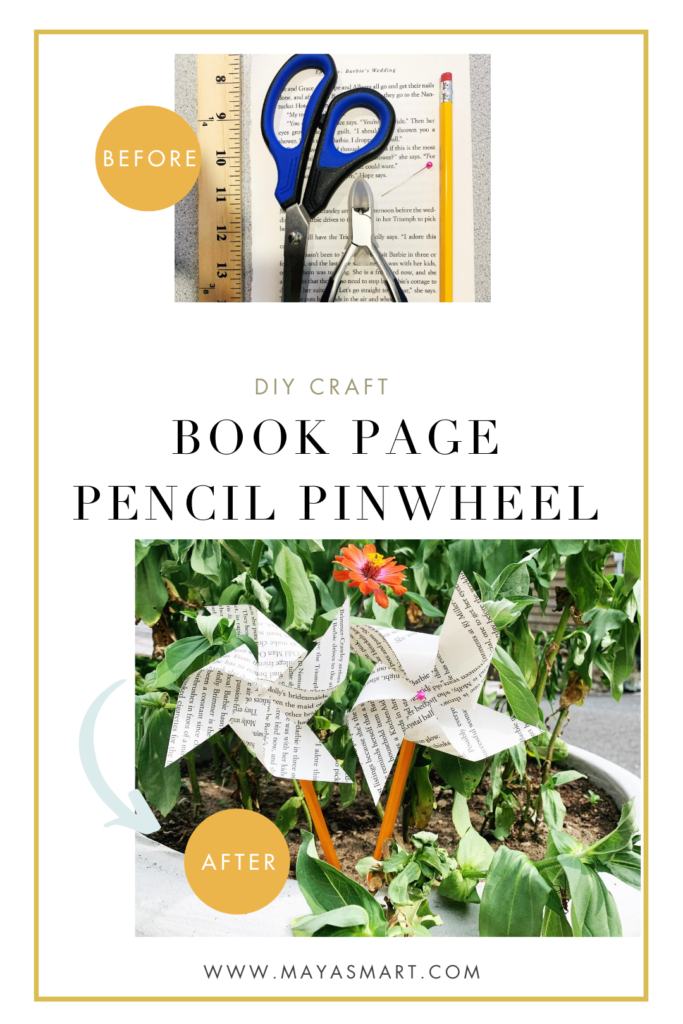
With just a little help, kids can craft these handmade book page pinwheels. This is a fun activity in its own right, plus they’ll get a new toy to boot! You can make them to keep or to gift—this is a great present for older children to make for younger siblings or friends.
Like many of our DIY book crafts, you can really make this project your own. Keep your pinwheel simple or have some fun coloring and decorating it! Younger kids may enjoy adding stickers and glitter (don’t they always?) and you can also play around with using different pencils. There are some really cute ones out there, including options for various holidays and themes! Fun idea: Shade each wing with a single color for a classic color-block look.
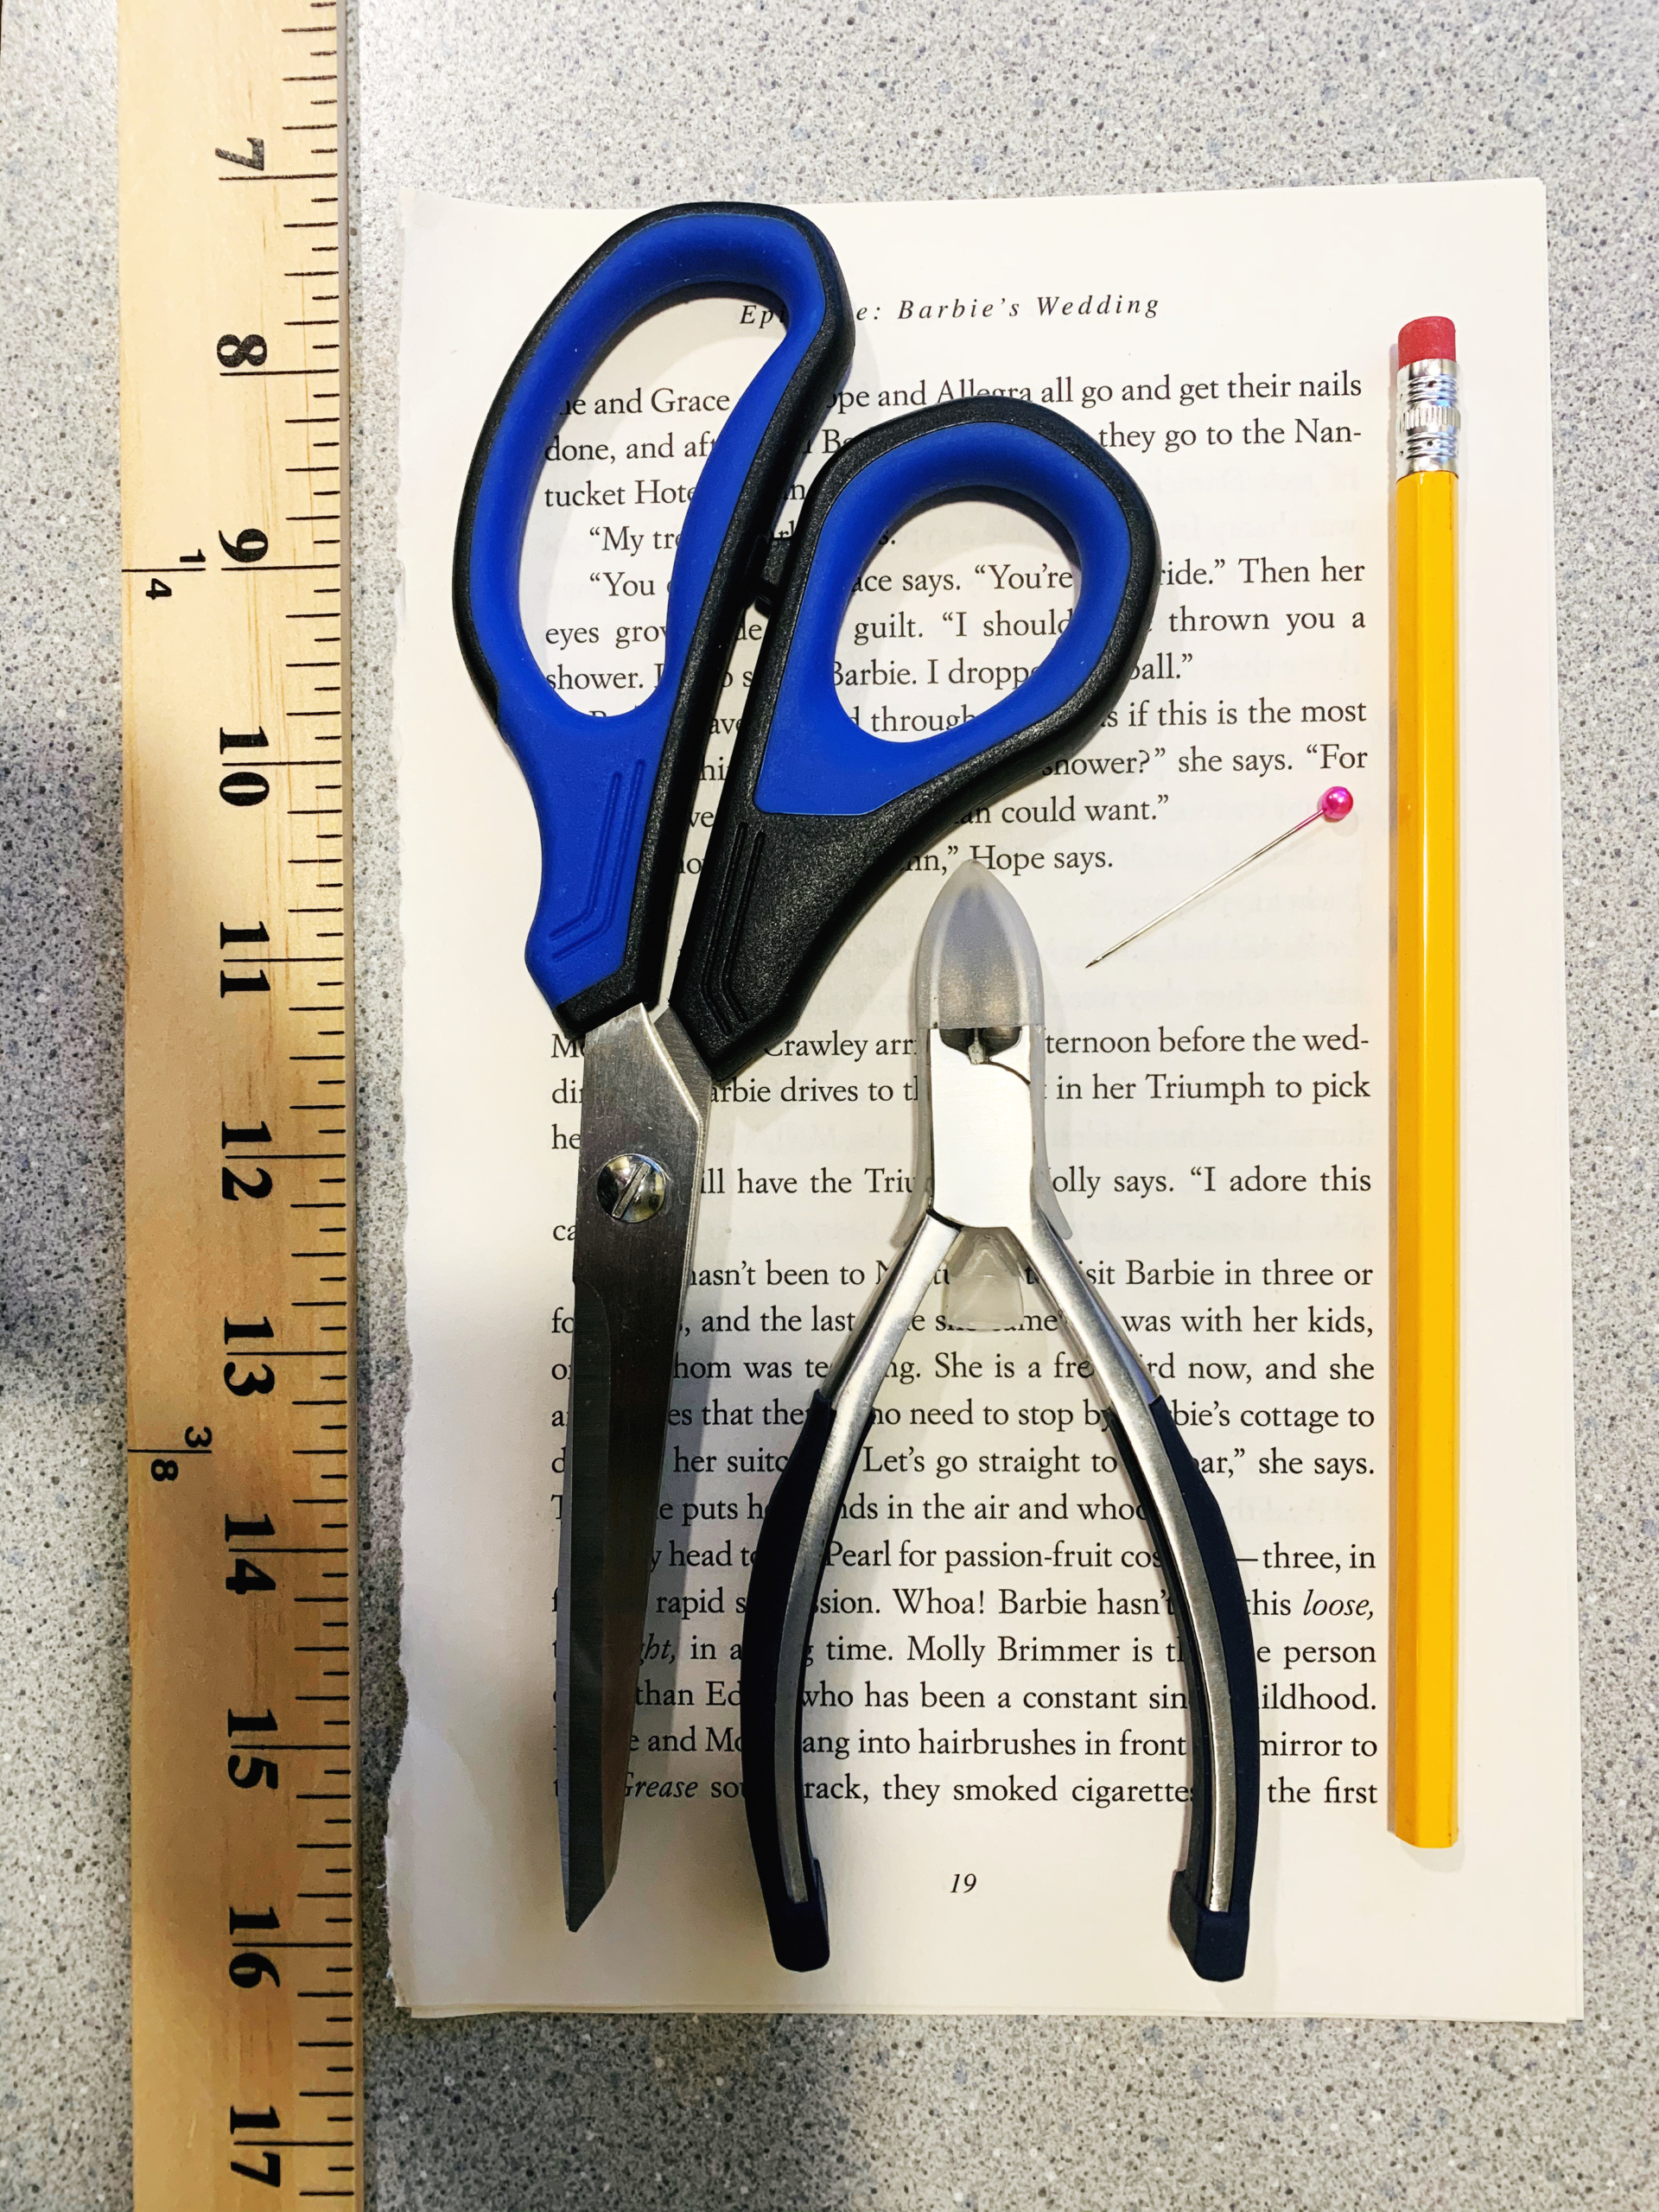
Materials Needed:
- Old book pages
- Wooden pencils with erasers
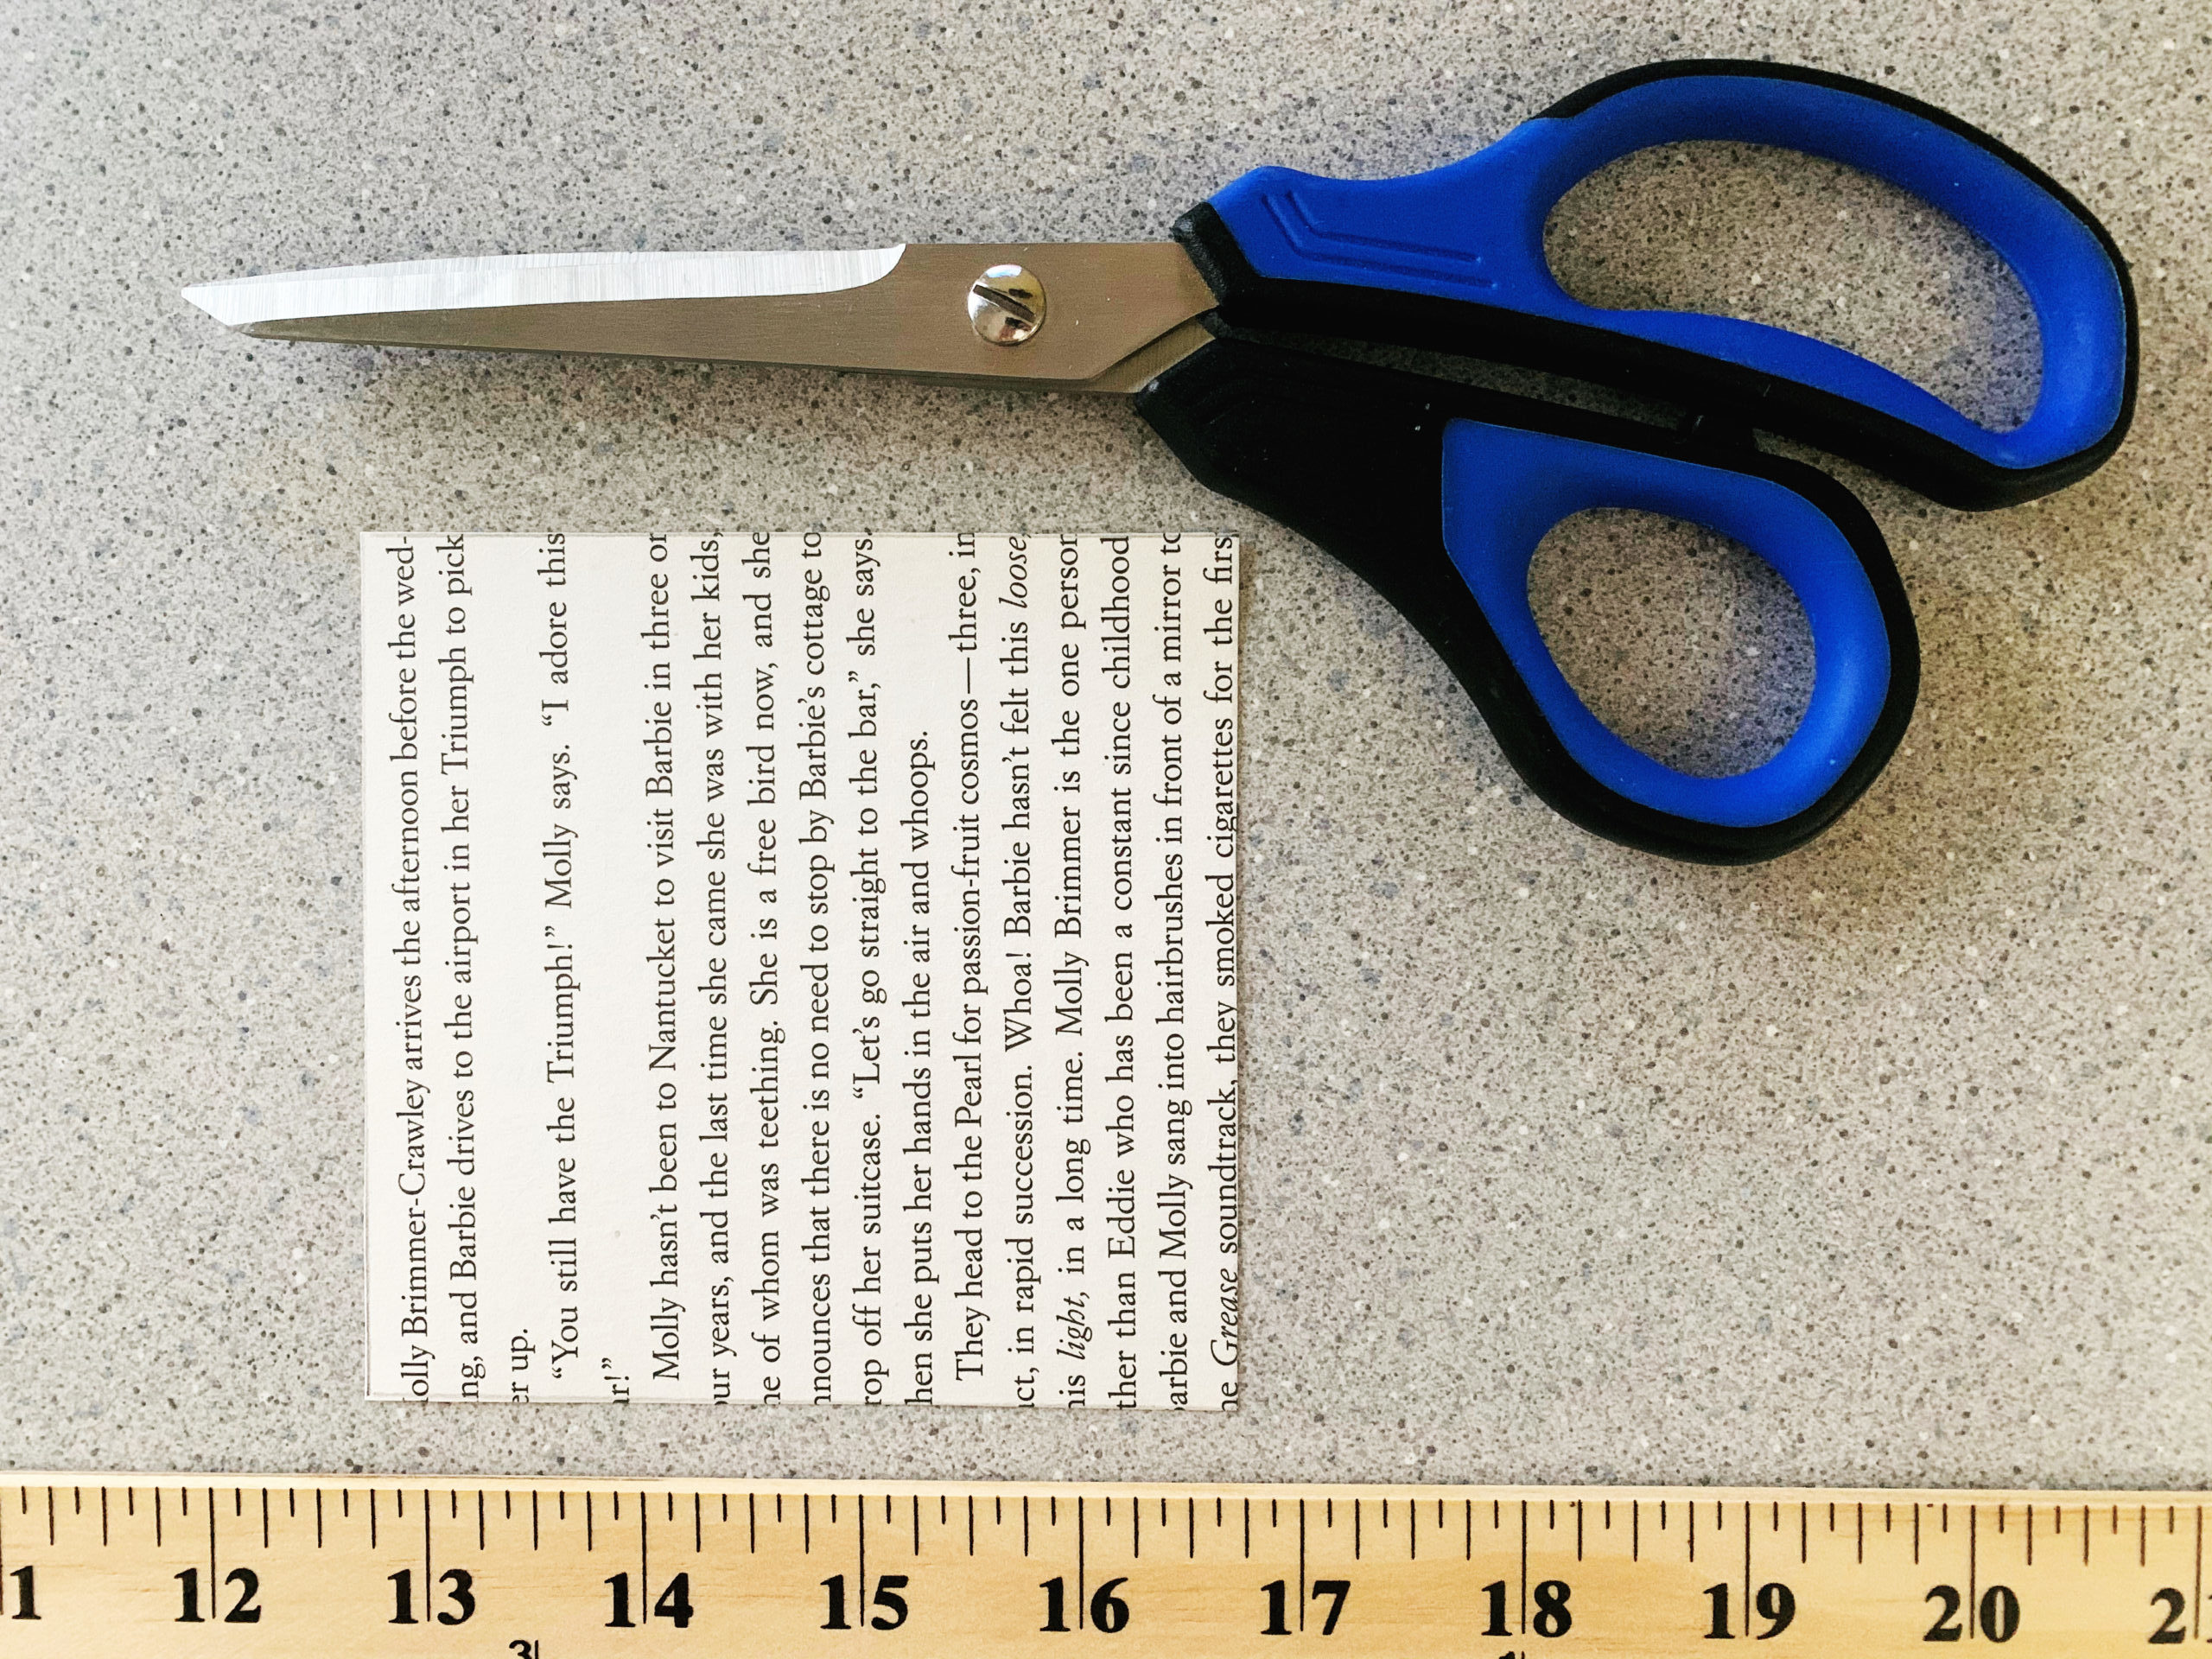
- Scissors
- Straight pearl sewing pins
- Needle-nose pliers
Optional:
- Colored pencils, markers, or even water colors
- Other items for decorating: stickers, glitter, feathers, or anything you have on hand
- Glue
Cost: If you have these basic supplies already on hand, this craft could cost you nothing! Needle-nose pliers are small and easy to use, but really any pliers will work to bend the sewing pin a bit, so don’t worry if you don’t have specifically needle-nose pliers. A pack of pencils should run you a few dollars, if you’re fresh out of ones with the erasers intact. And if you need to buy some straight pins, packets should start at around $4.
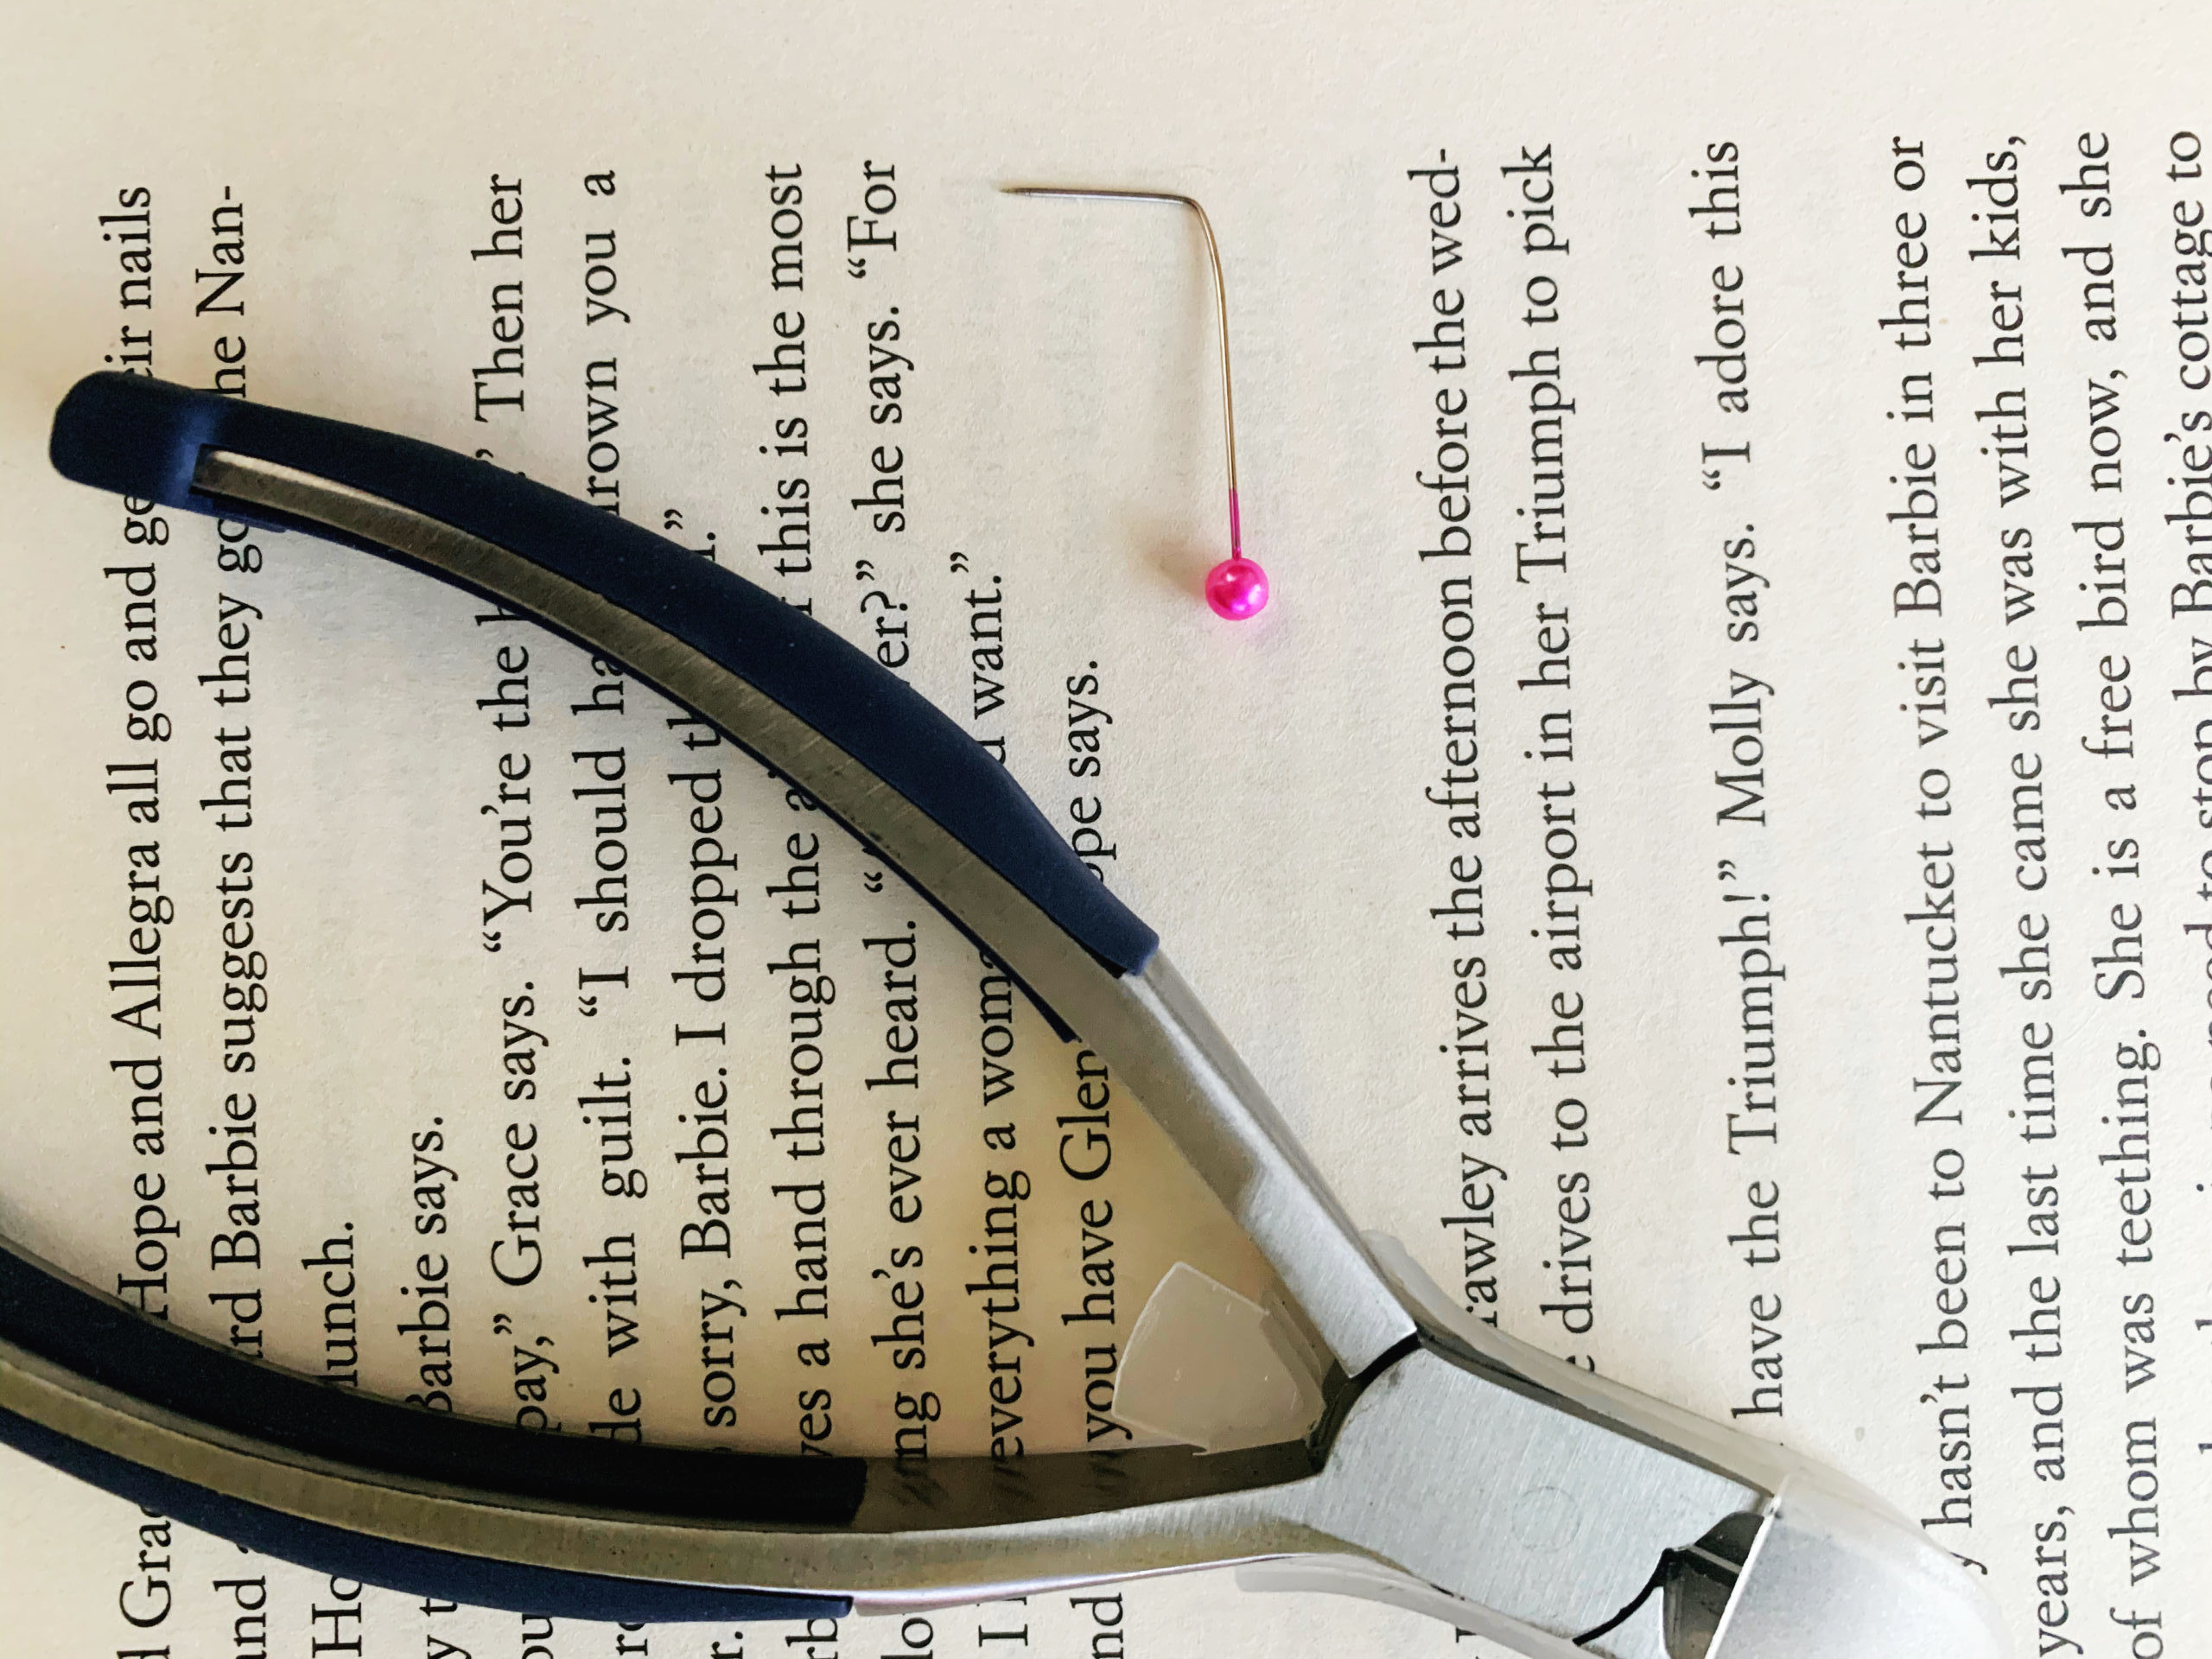
Step 1: Using pliers, bend pins to create a 90-degree angle, approximately 1/3 of the length up from the pin’s pointed end.
Step 2: Cut out a 4″x4″ square from a book page (you will just need one square per pinwheel).
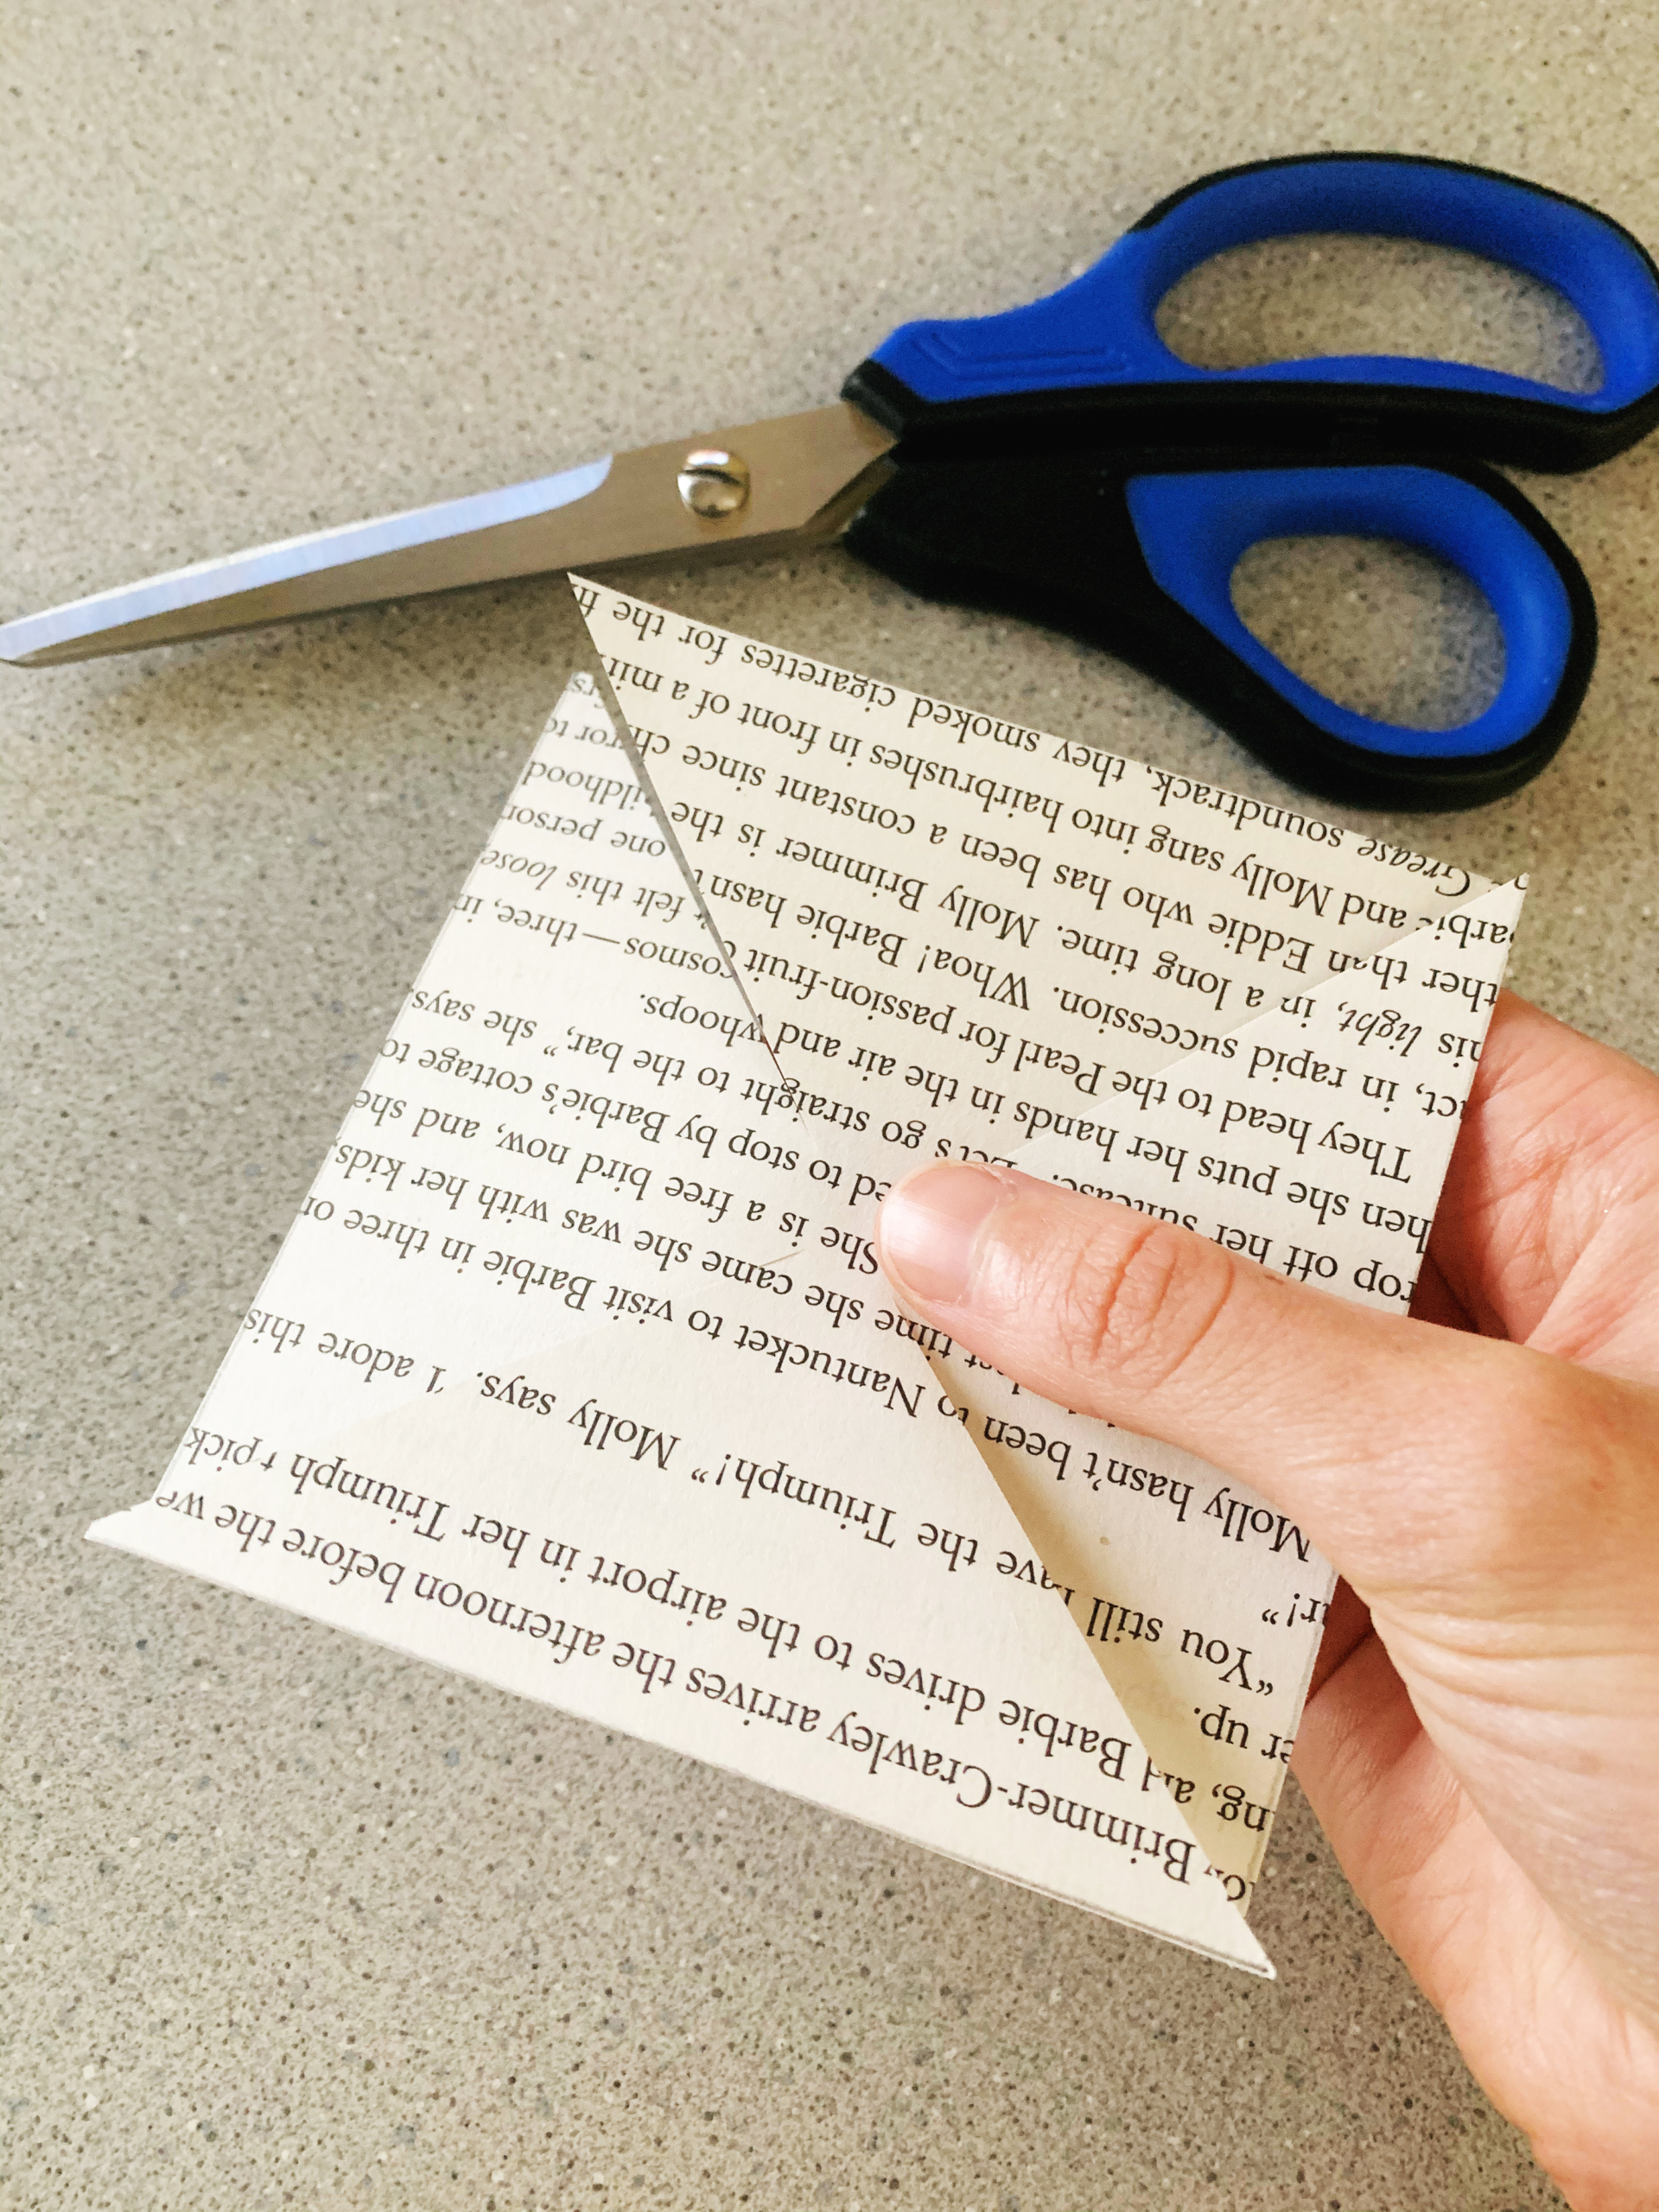
Step 3: Make four diagonal cuts from the corners toward the paper’s center, stopping at least half an inch shy of the center. If you want to color or decorate your pinwheel, now’s the time. (Any rigid stickers will need to be added after the last step, though.) Be sure to let any paint or glue dry before the next step.
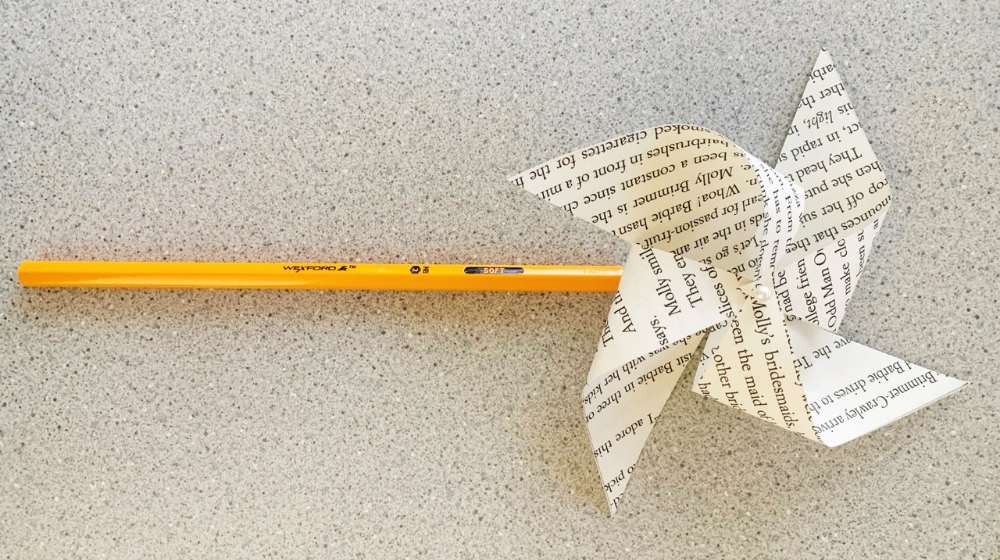
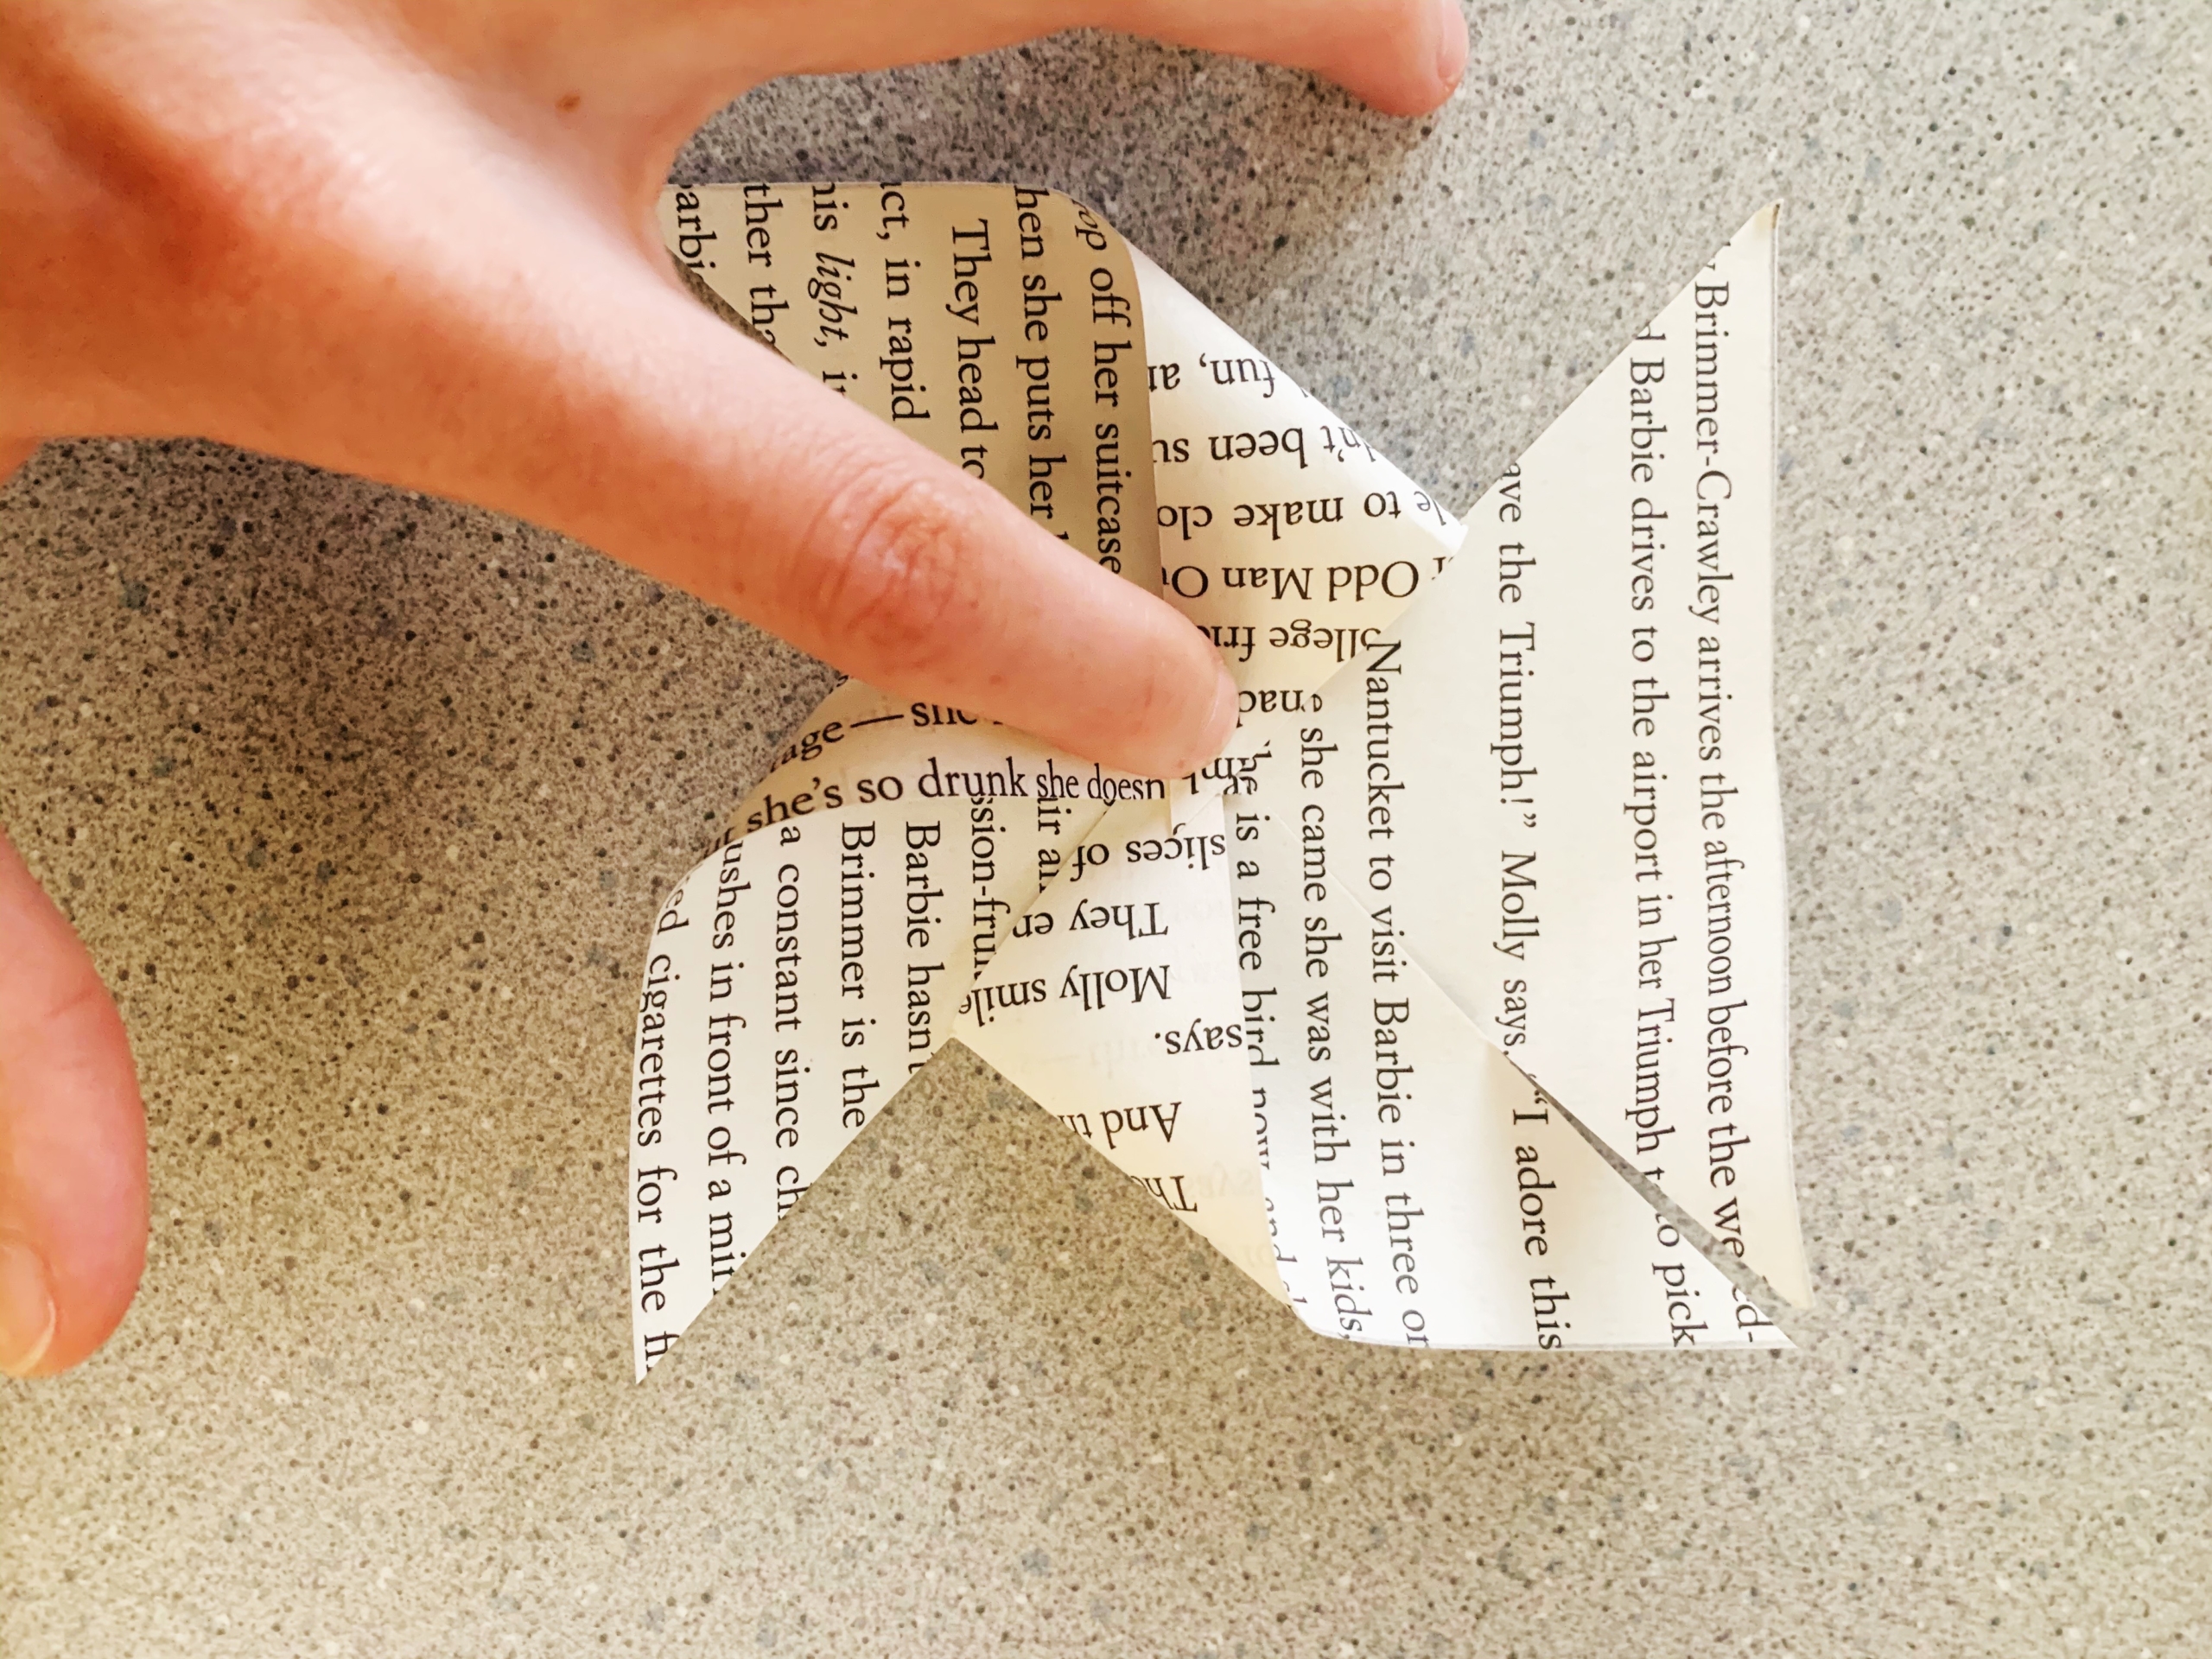
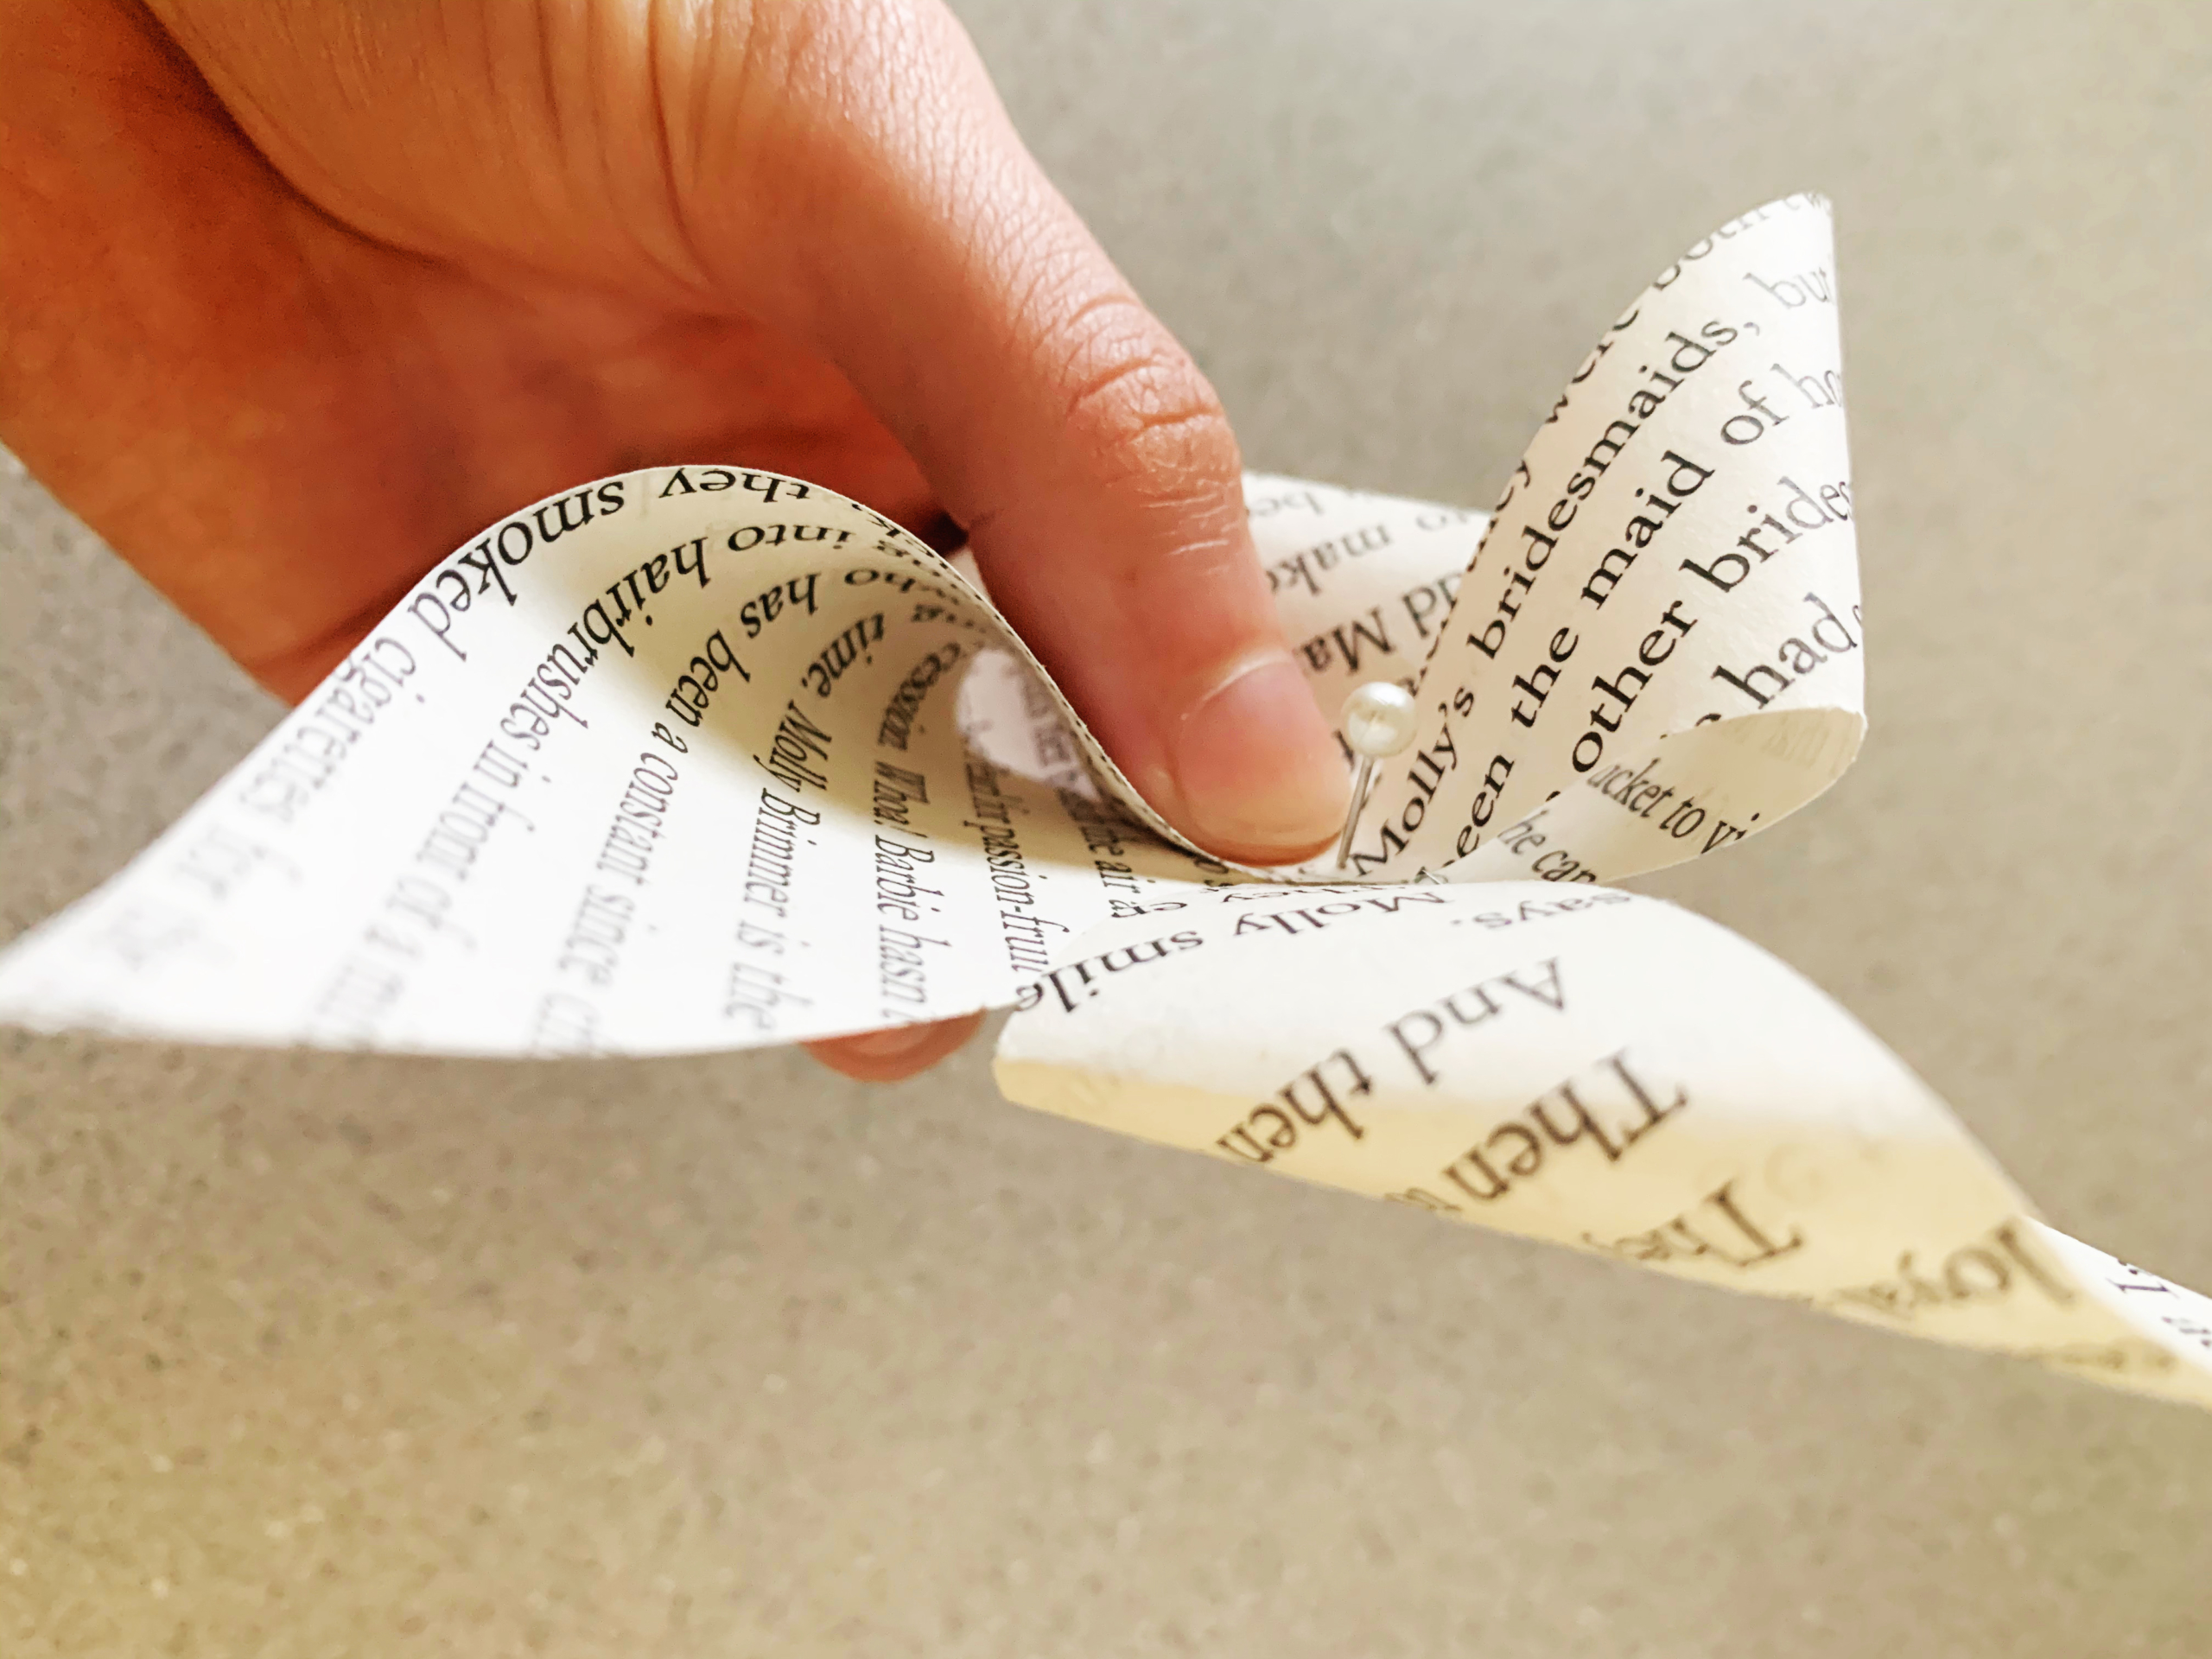
Step 4: Now, to assemble the pinwheel, fold the left point of each triangle lightly toward the center (no creasing).
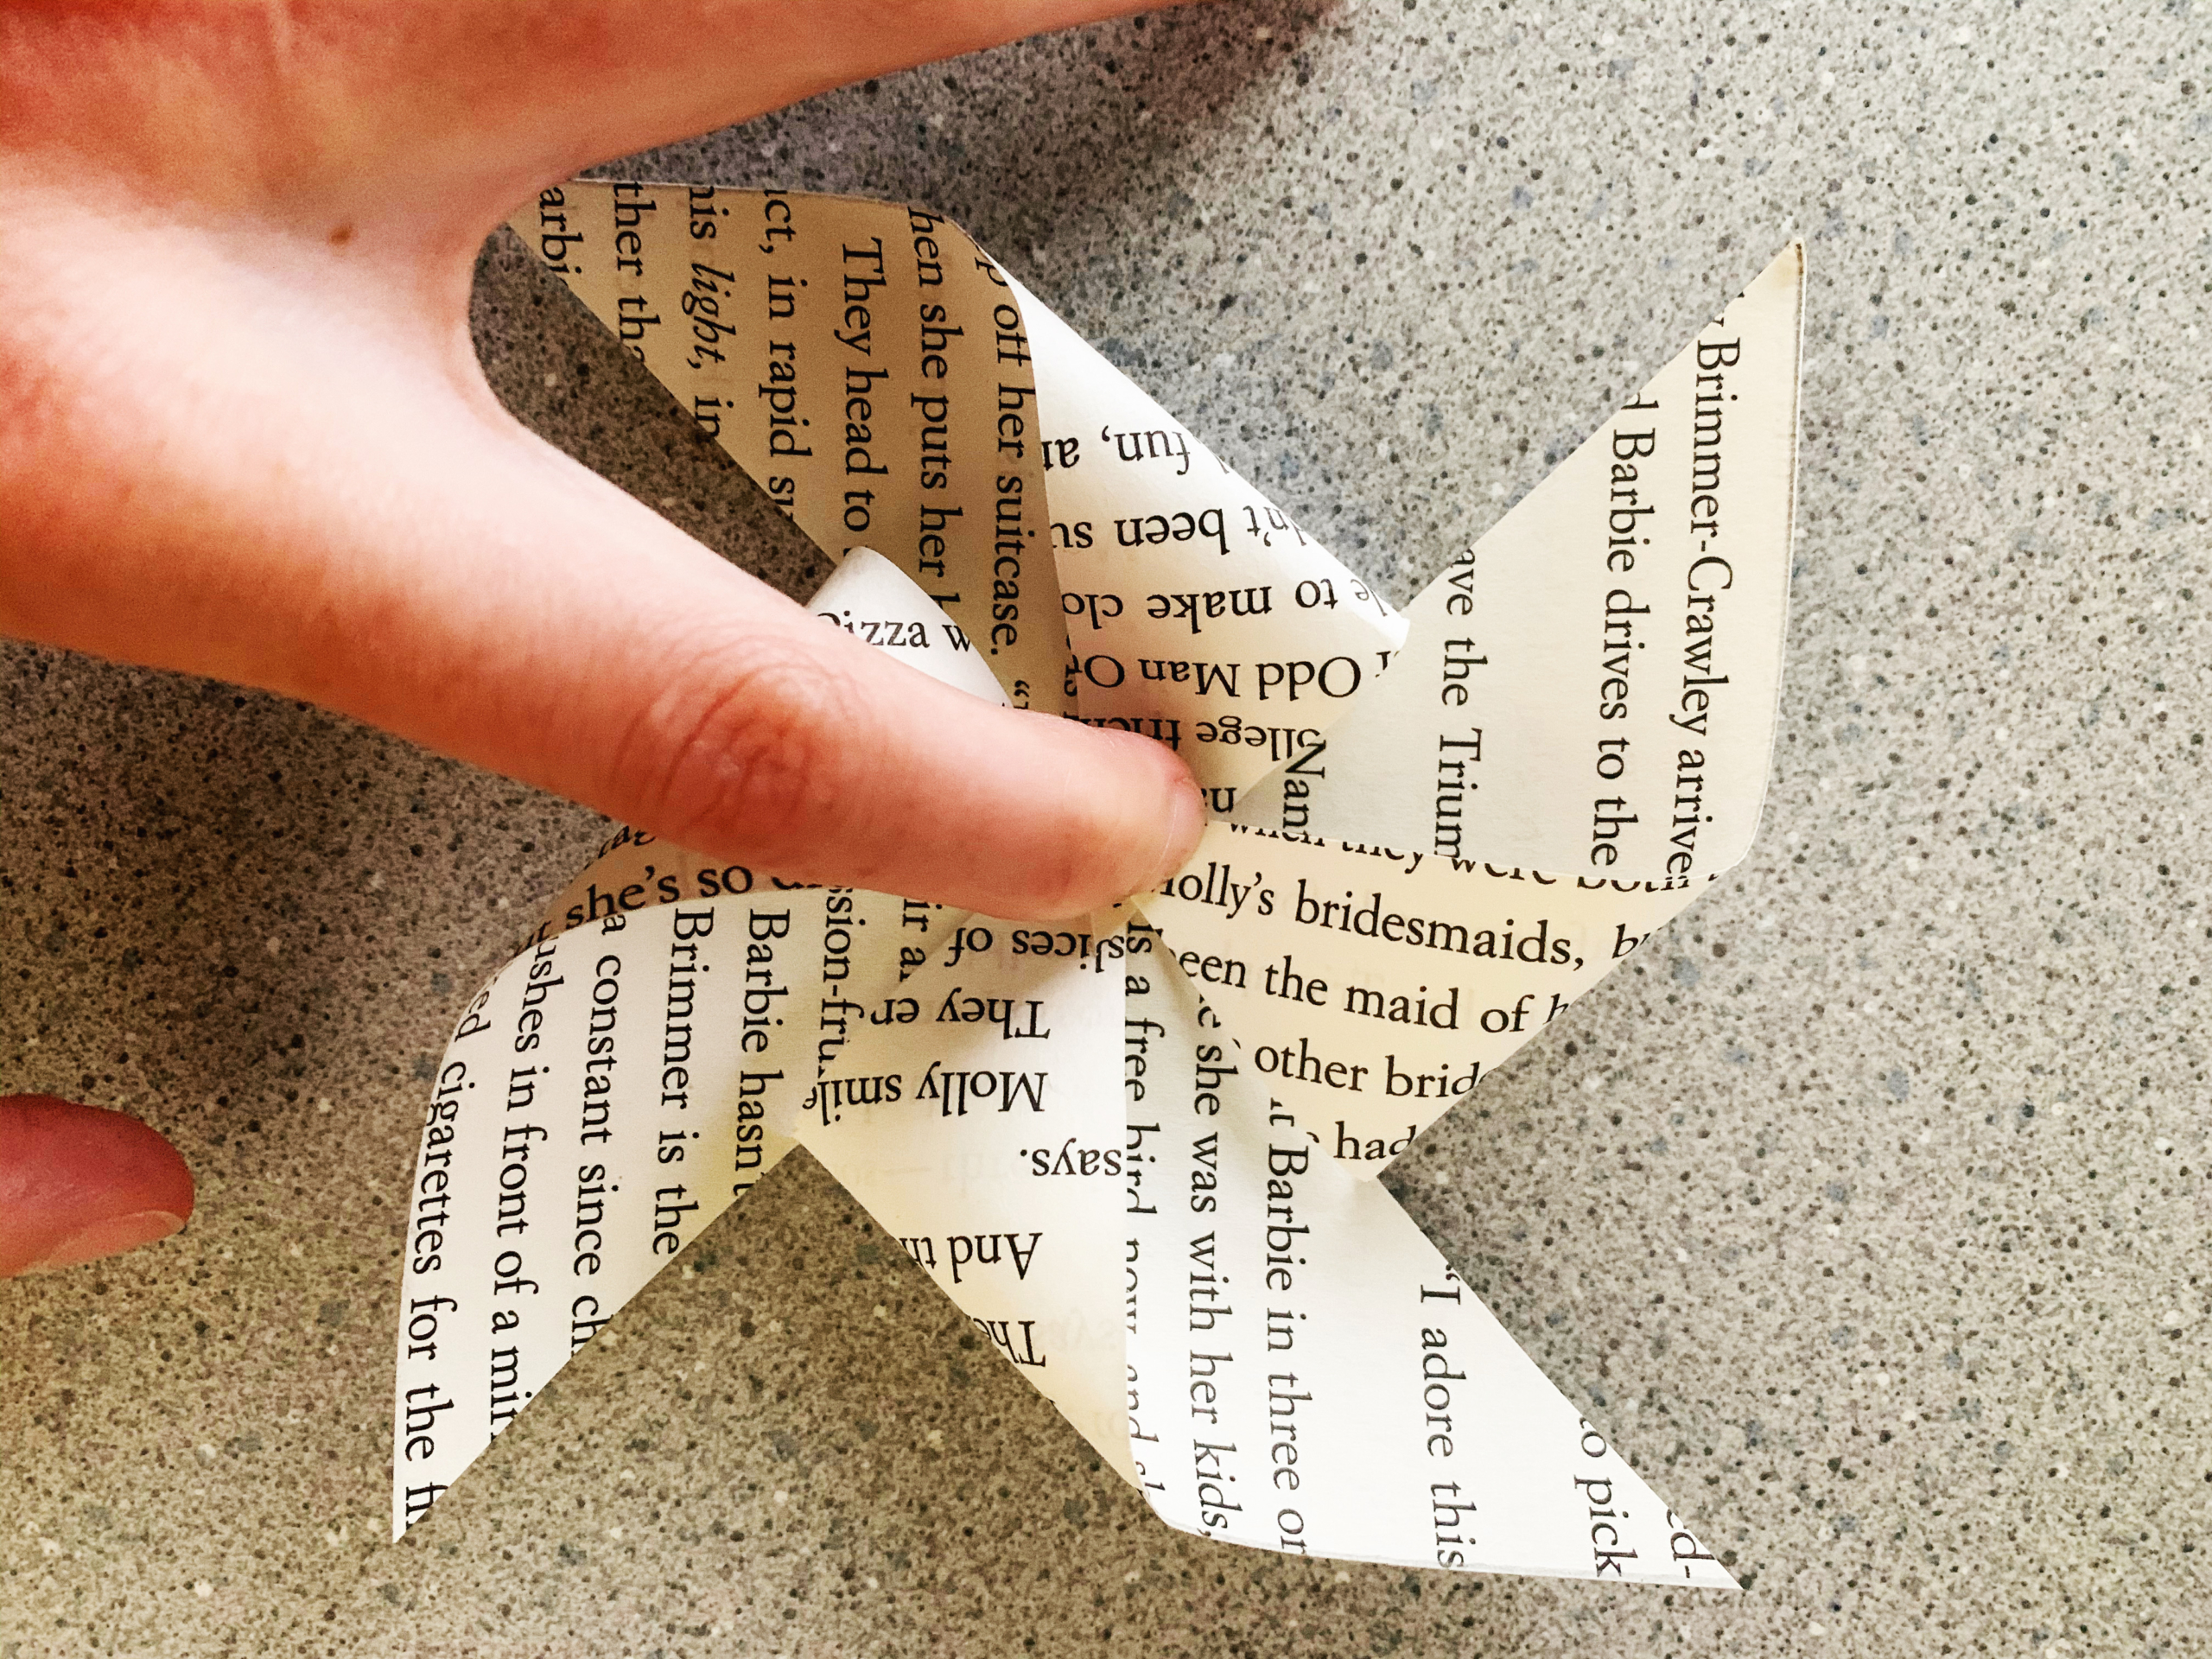
Step 5: Hold the four folded points in place while you push a pin through the center (from the front of the pinwheel towards the back), being careful to make sure that you catch all four folded corners. If you’re working with kids, you’ll probably want to do this step for them.
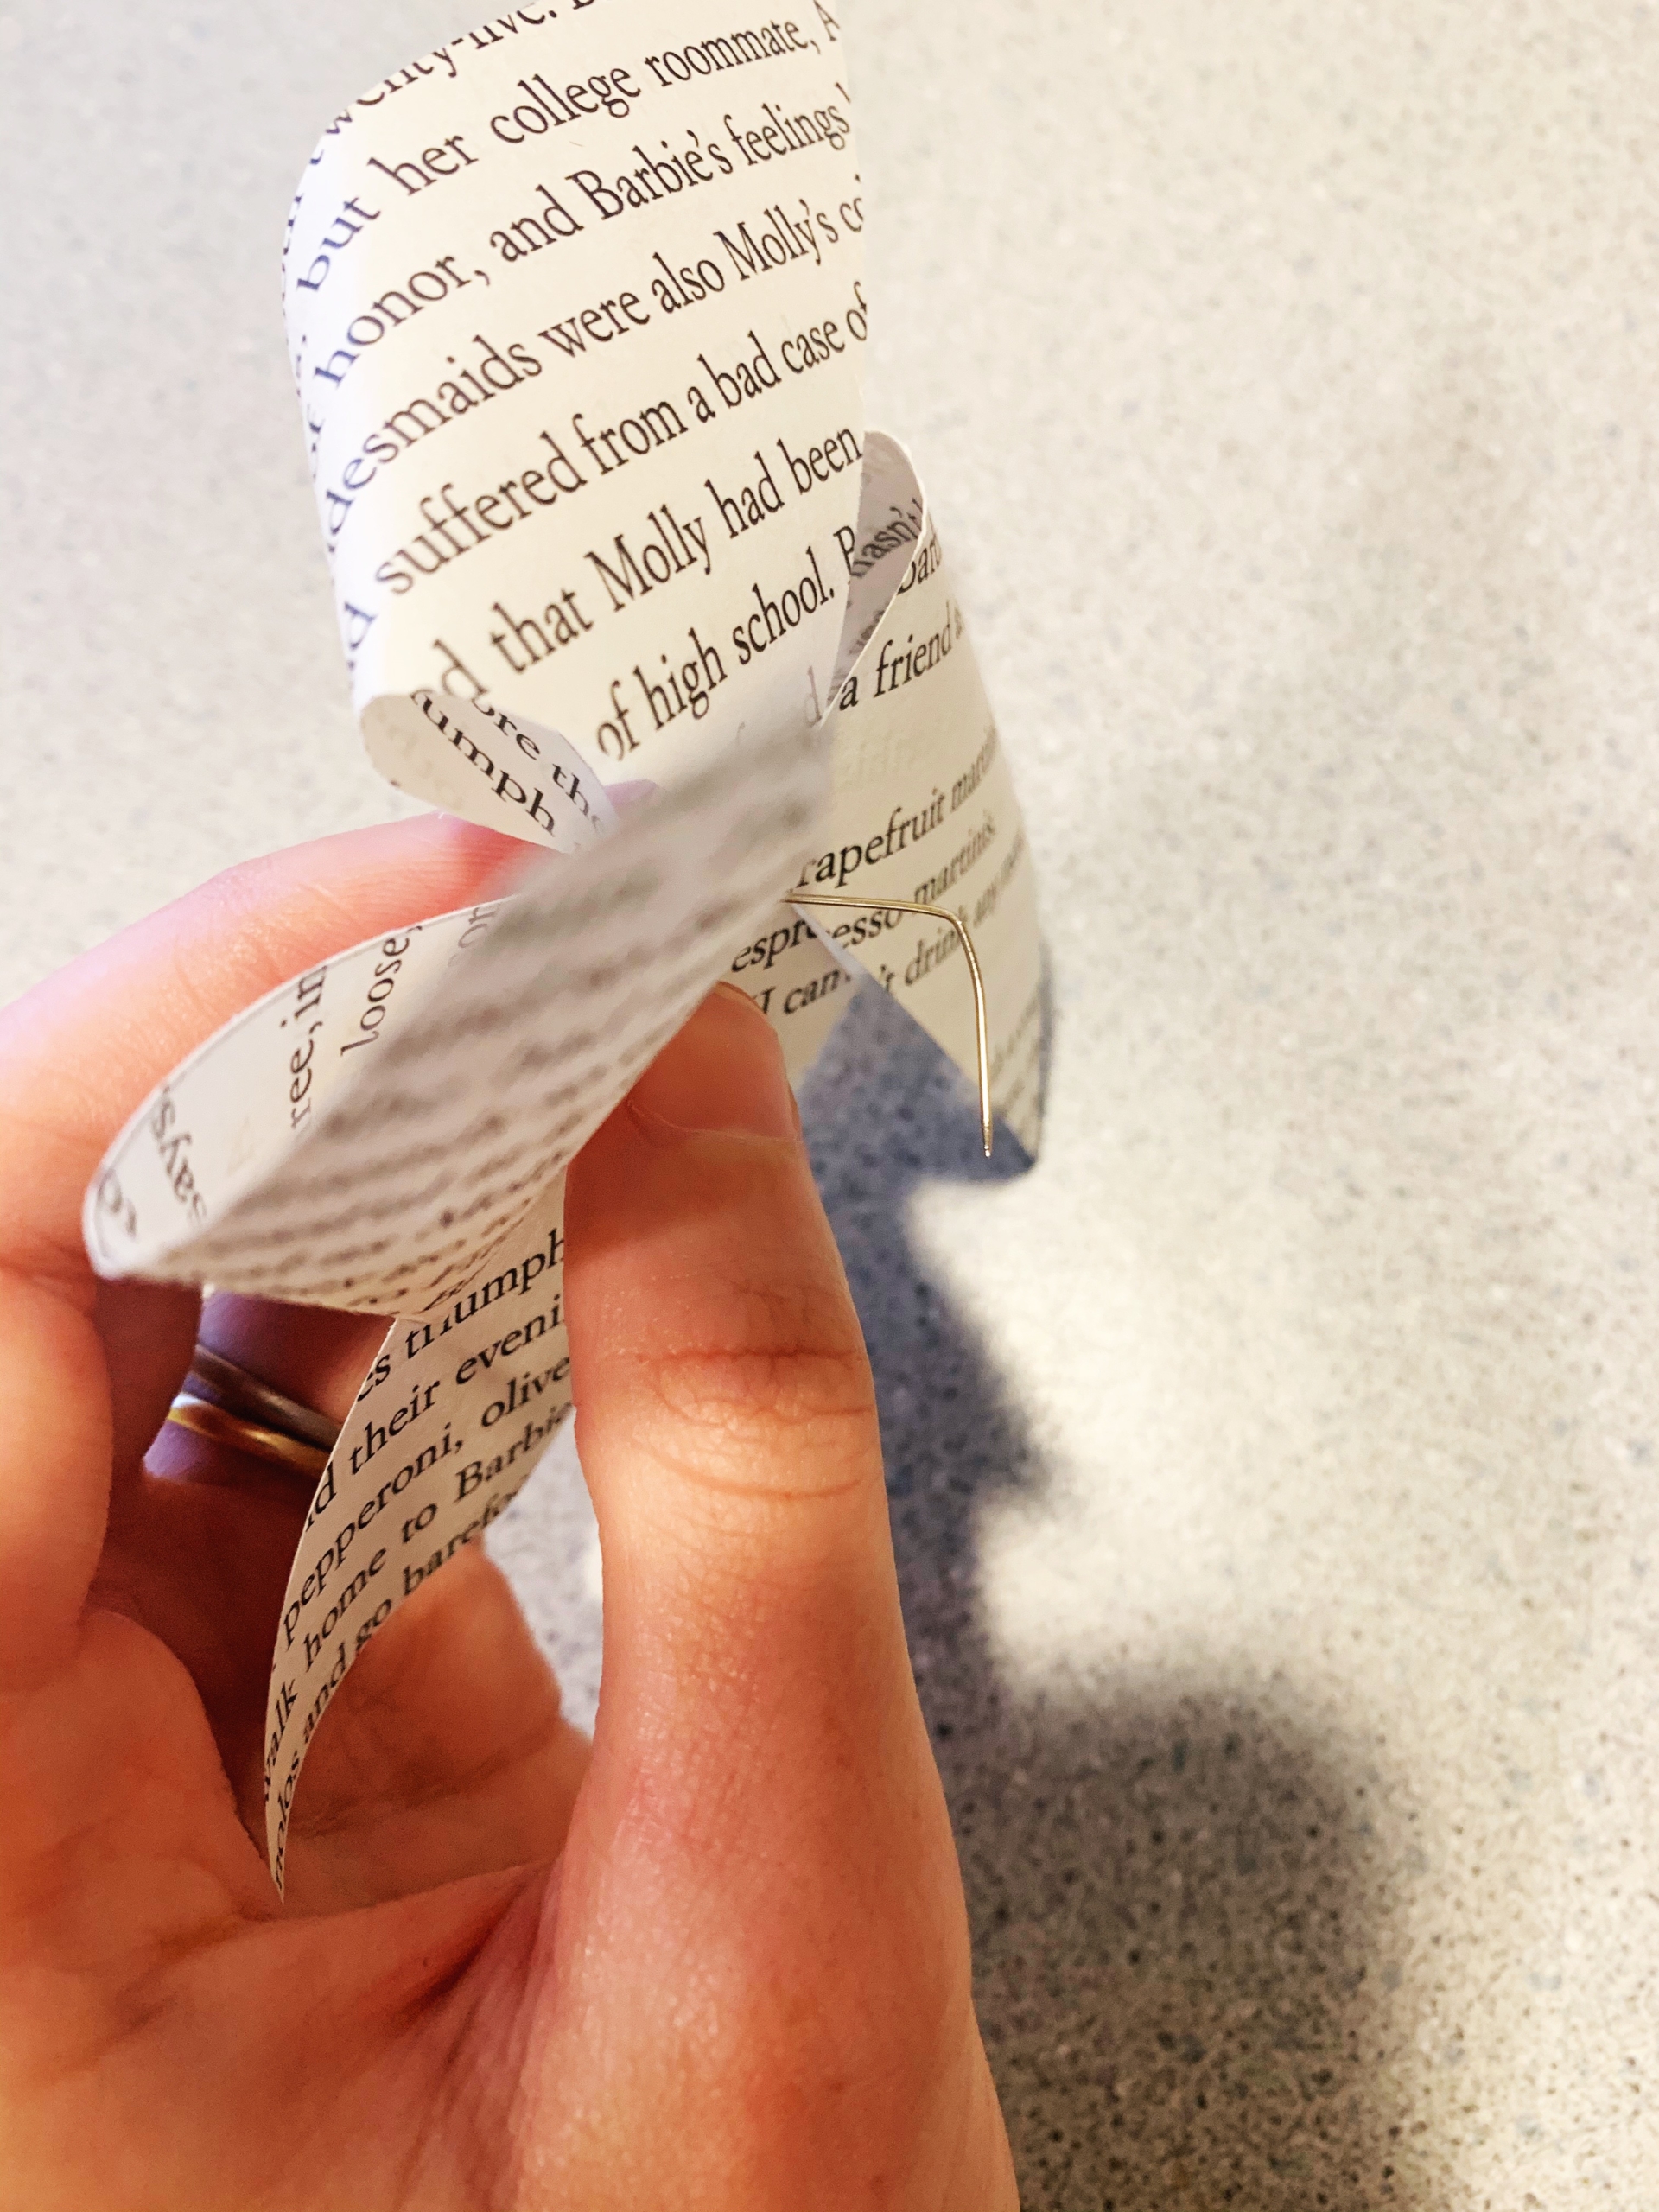
Step 6: Next, gently guide the paper around the bend in the pin, sliding the pinwheel out to the pin’s pearl end.
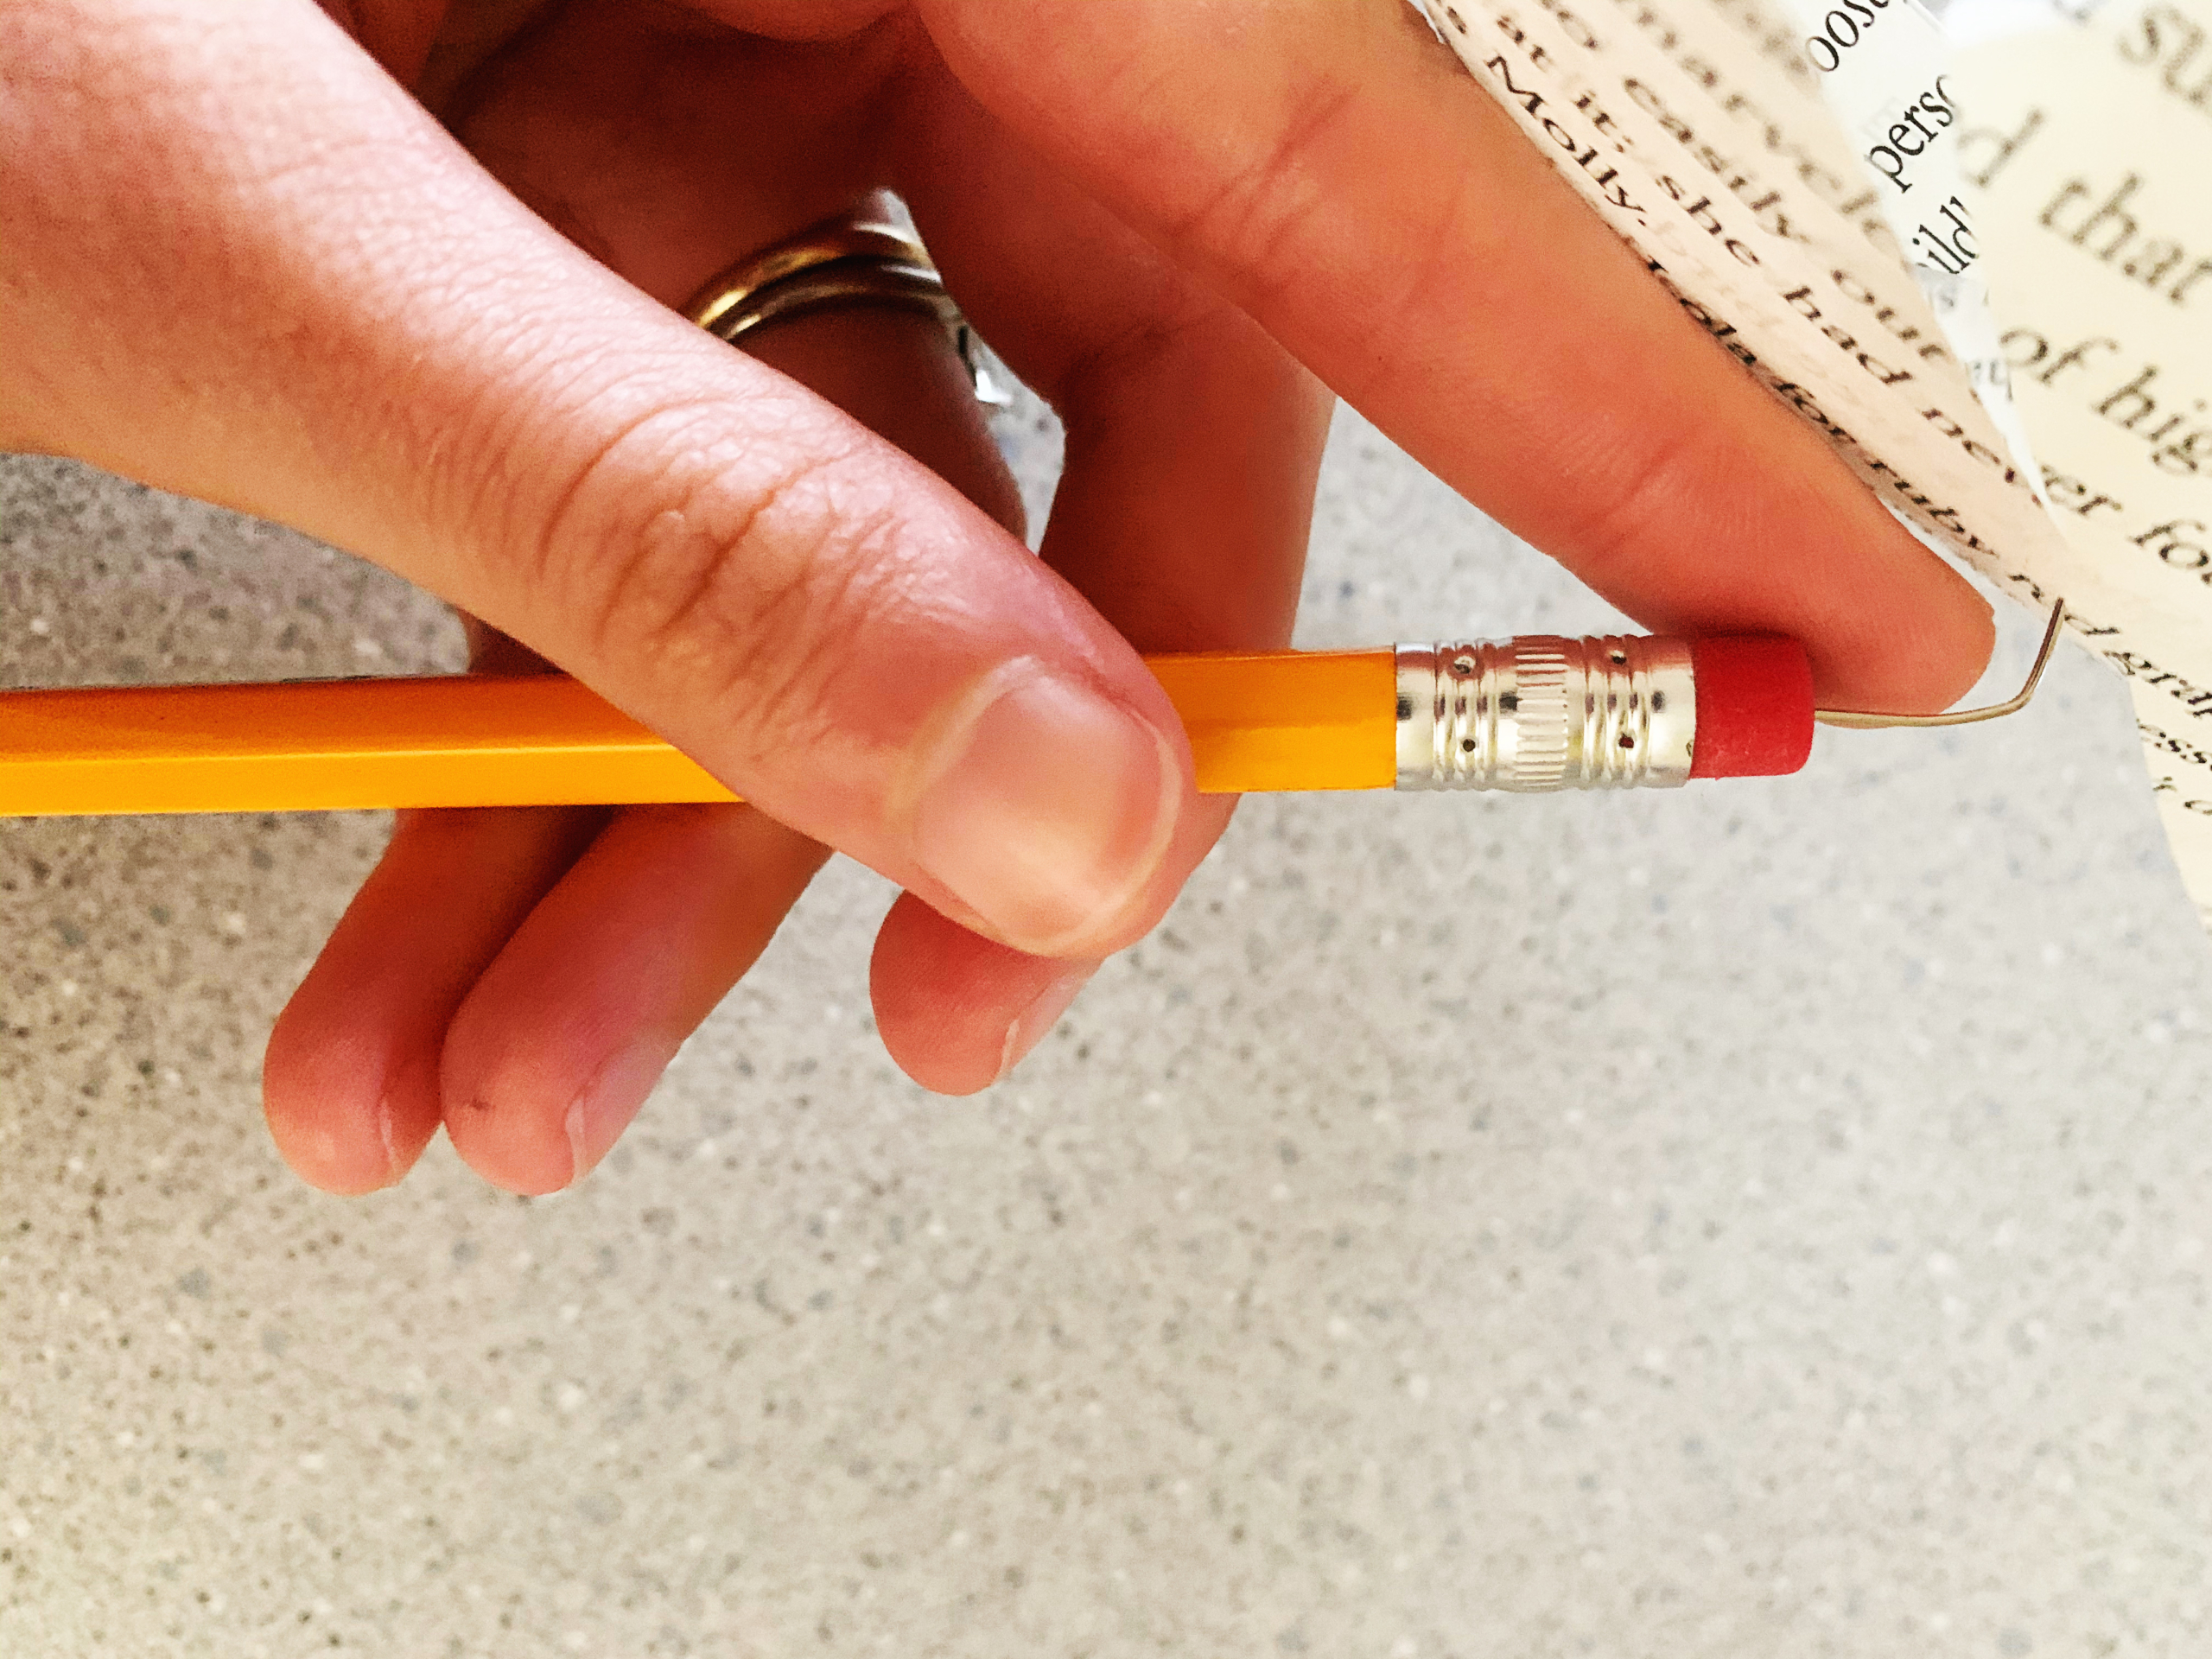
Step 7: Finally, firmly press the pin’s pointed end straight down into the pencil’s eraser.
Hooray! Your pinwheel is complete—give it a spin! You can make a few of these and place them in a mason jar for a cute new table decoration, or add them to an outdoor flower pot, like I did. Kids could even make a bunch for a pinwheel parade. Have fun!