We’ve all had them: those weakly bound paperback books that fall apart after a few readings. Upcycle the pages from those unsalvageable reads into these cute origami butterflies. You can string them along a garland, sprinkle them over a table or shelf-top, or perch them in a houseplant or festive tree. What a fun way to celebrate nature and reading!
This DIY book-page craft is easy once you get the hang of the folding, and a fun project to do with kids. I’ve broken down the folding into easy-to-follow steps below, with pictures of each step. So, go ahead, get your pages and get crafting!

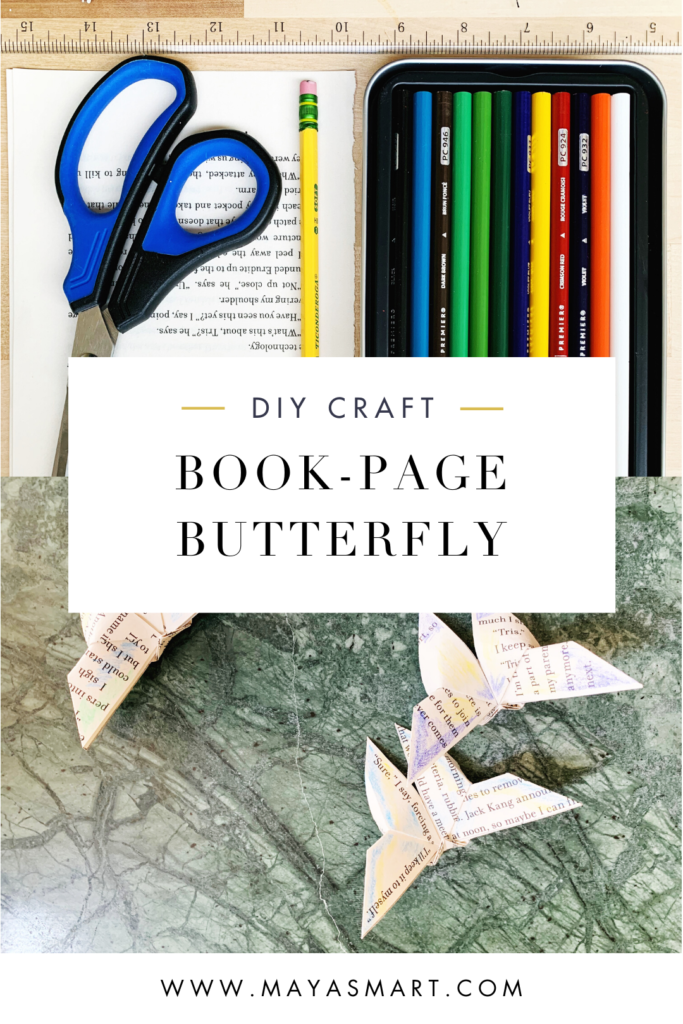
Materials:
- Pages from obsolete books
- Scissors
- Ruler
- Pencil
- Colored pencils or markers
Cost: This craft should not cost you anything! You can always add to your butterfly collection, so save outdated books or falling-apart paperbacks, and reuse the pages for this sweet little craft.
Step One:
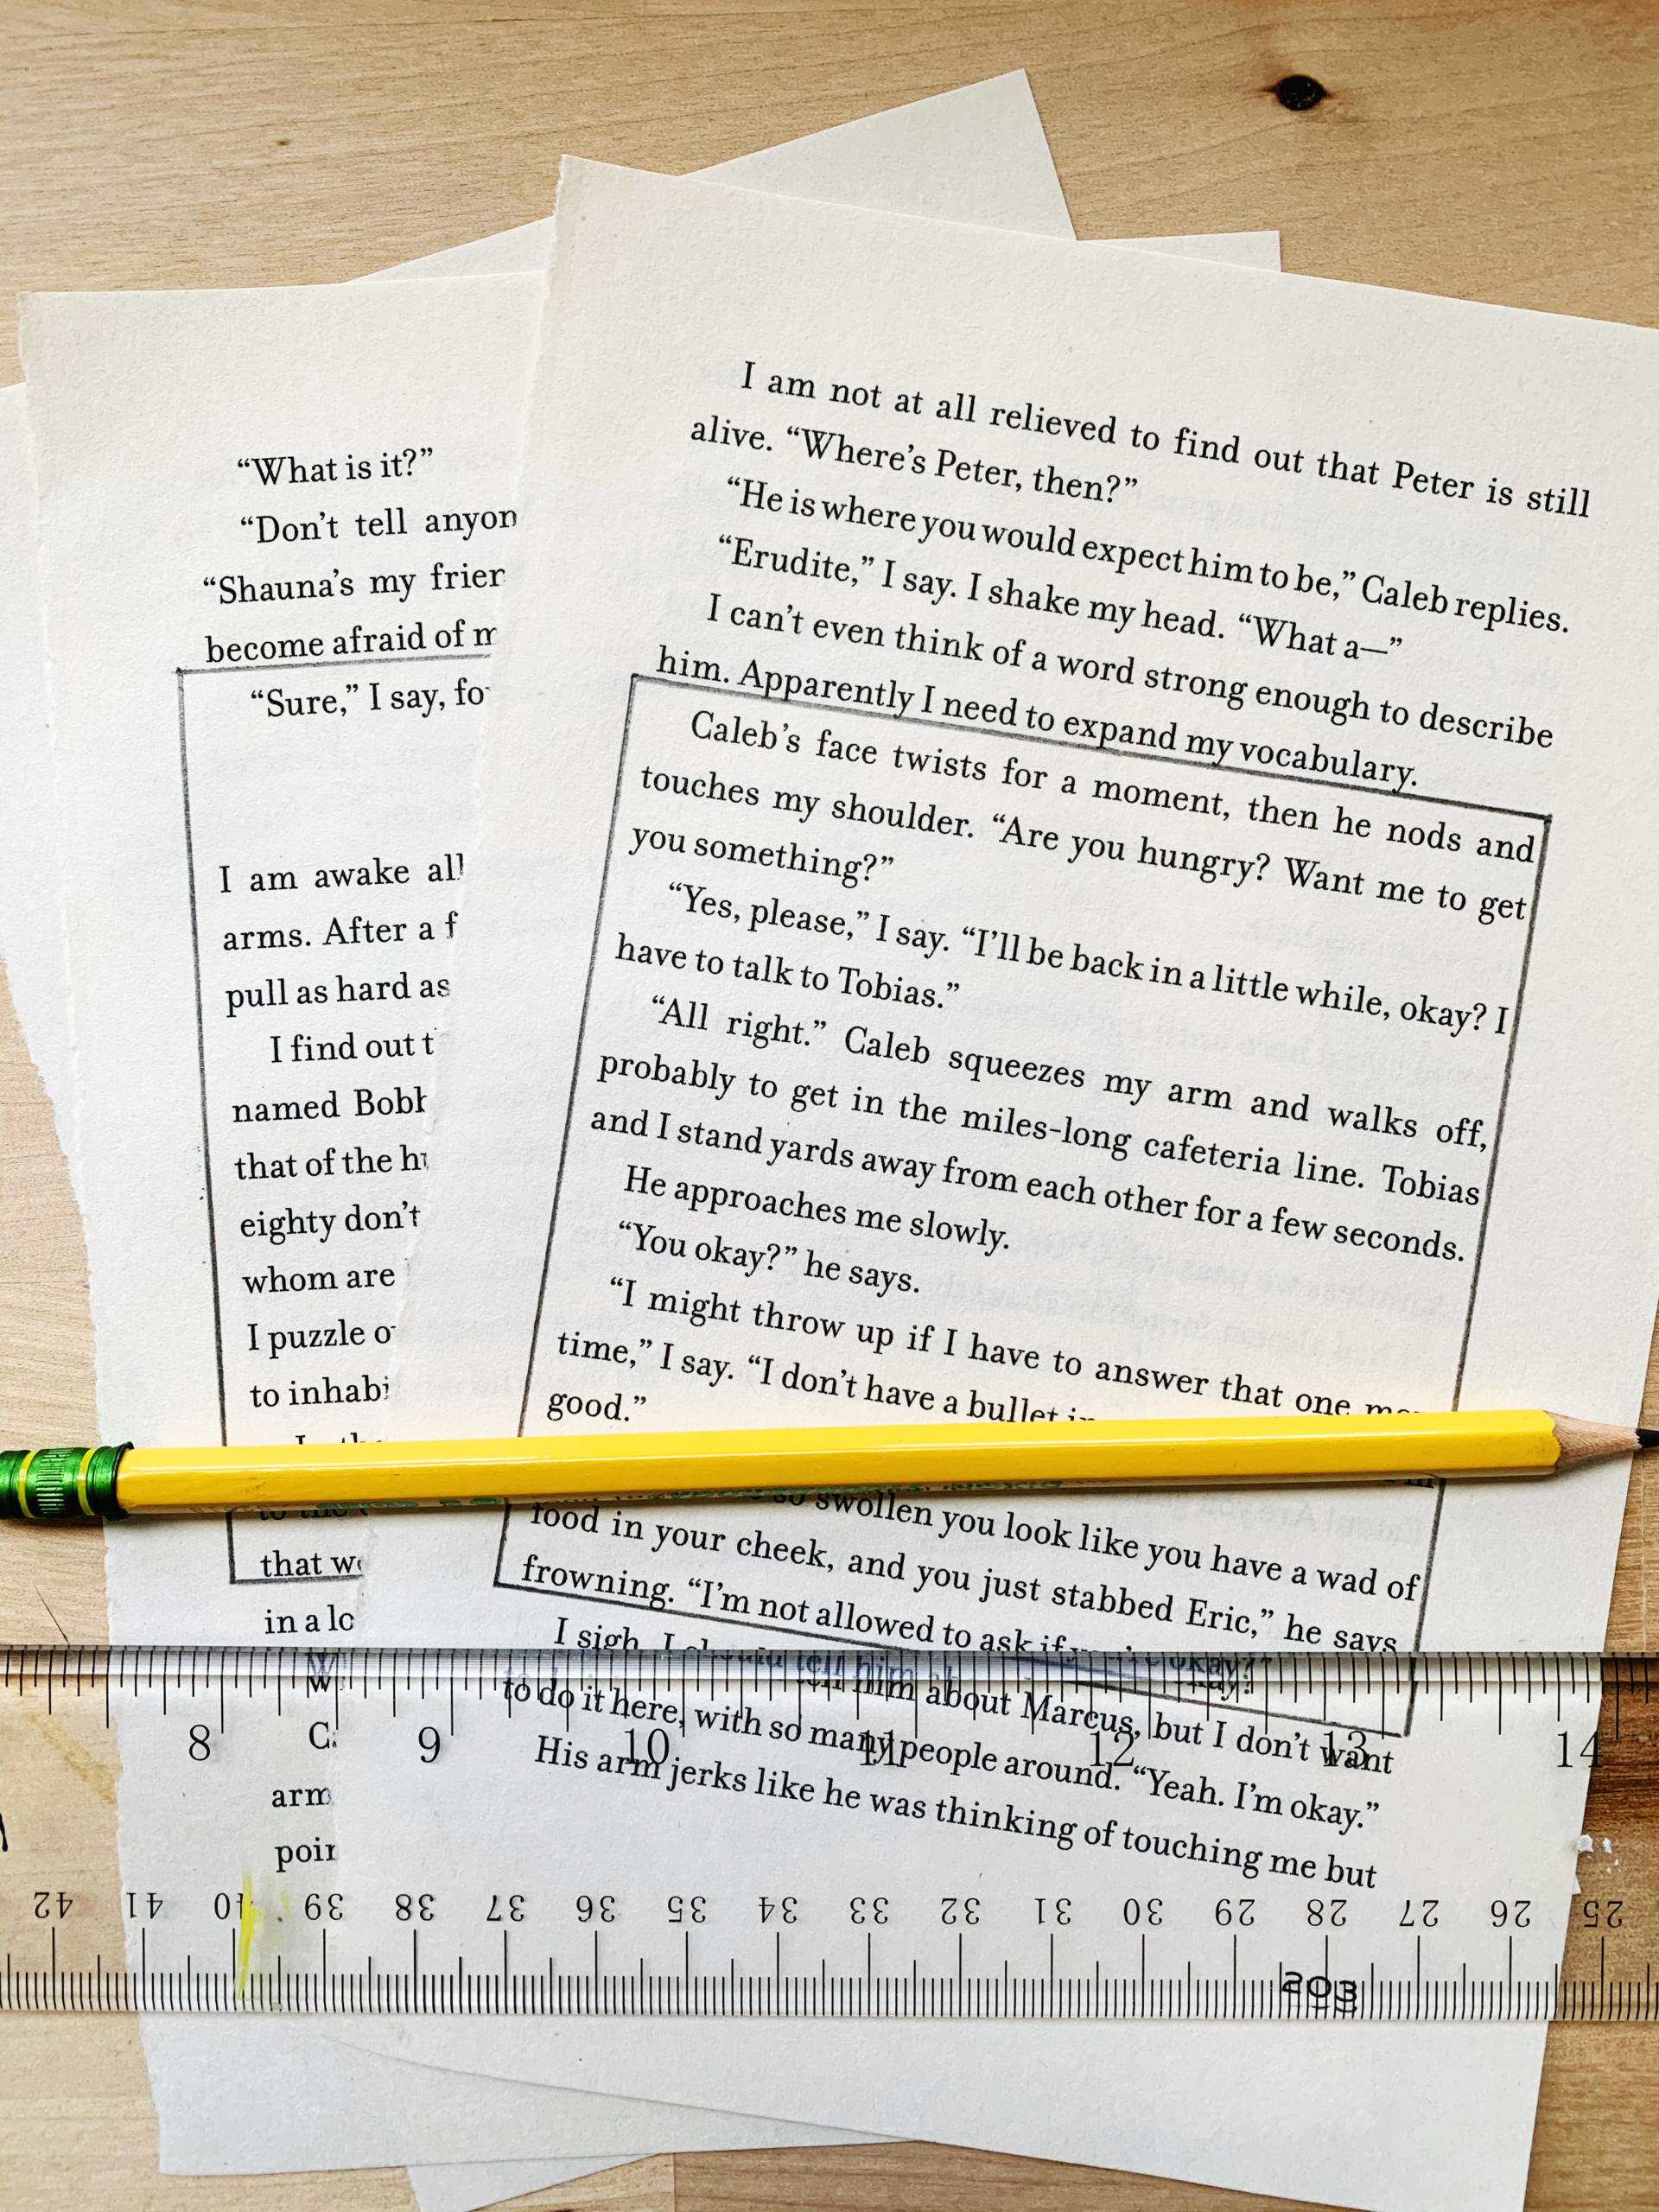
Trace squares from your book pages (each square will make one butterfly). I decided to make my squares 4” x 4” inches, because that was the width of the text on my page, but you can really do whatever size you would like. Just keep in mind, the smaller the square, the trickier the folds can be. For younger kids, make the squares as large as possible.
Step Two:
Once you have your squares traced on the book pages, go ahead and cut them out.
Optional: You can opt to color the pages at this point with your colored pencils, if you’re ok with a random pattern once they’re folded. (See Step four below.) Coloring before folding is a great adaptation for kids.
Step Three:
Now comes the folding! I am going to break this down, step by step, so just follow along! Be sure to crease each fold very well.
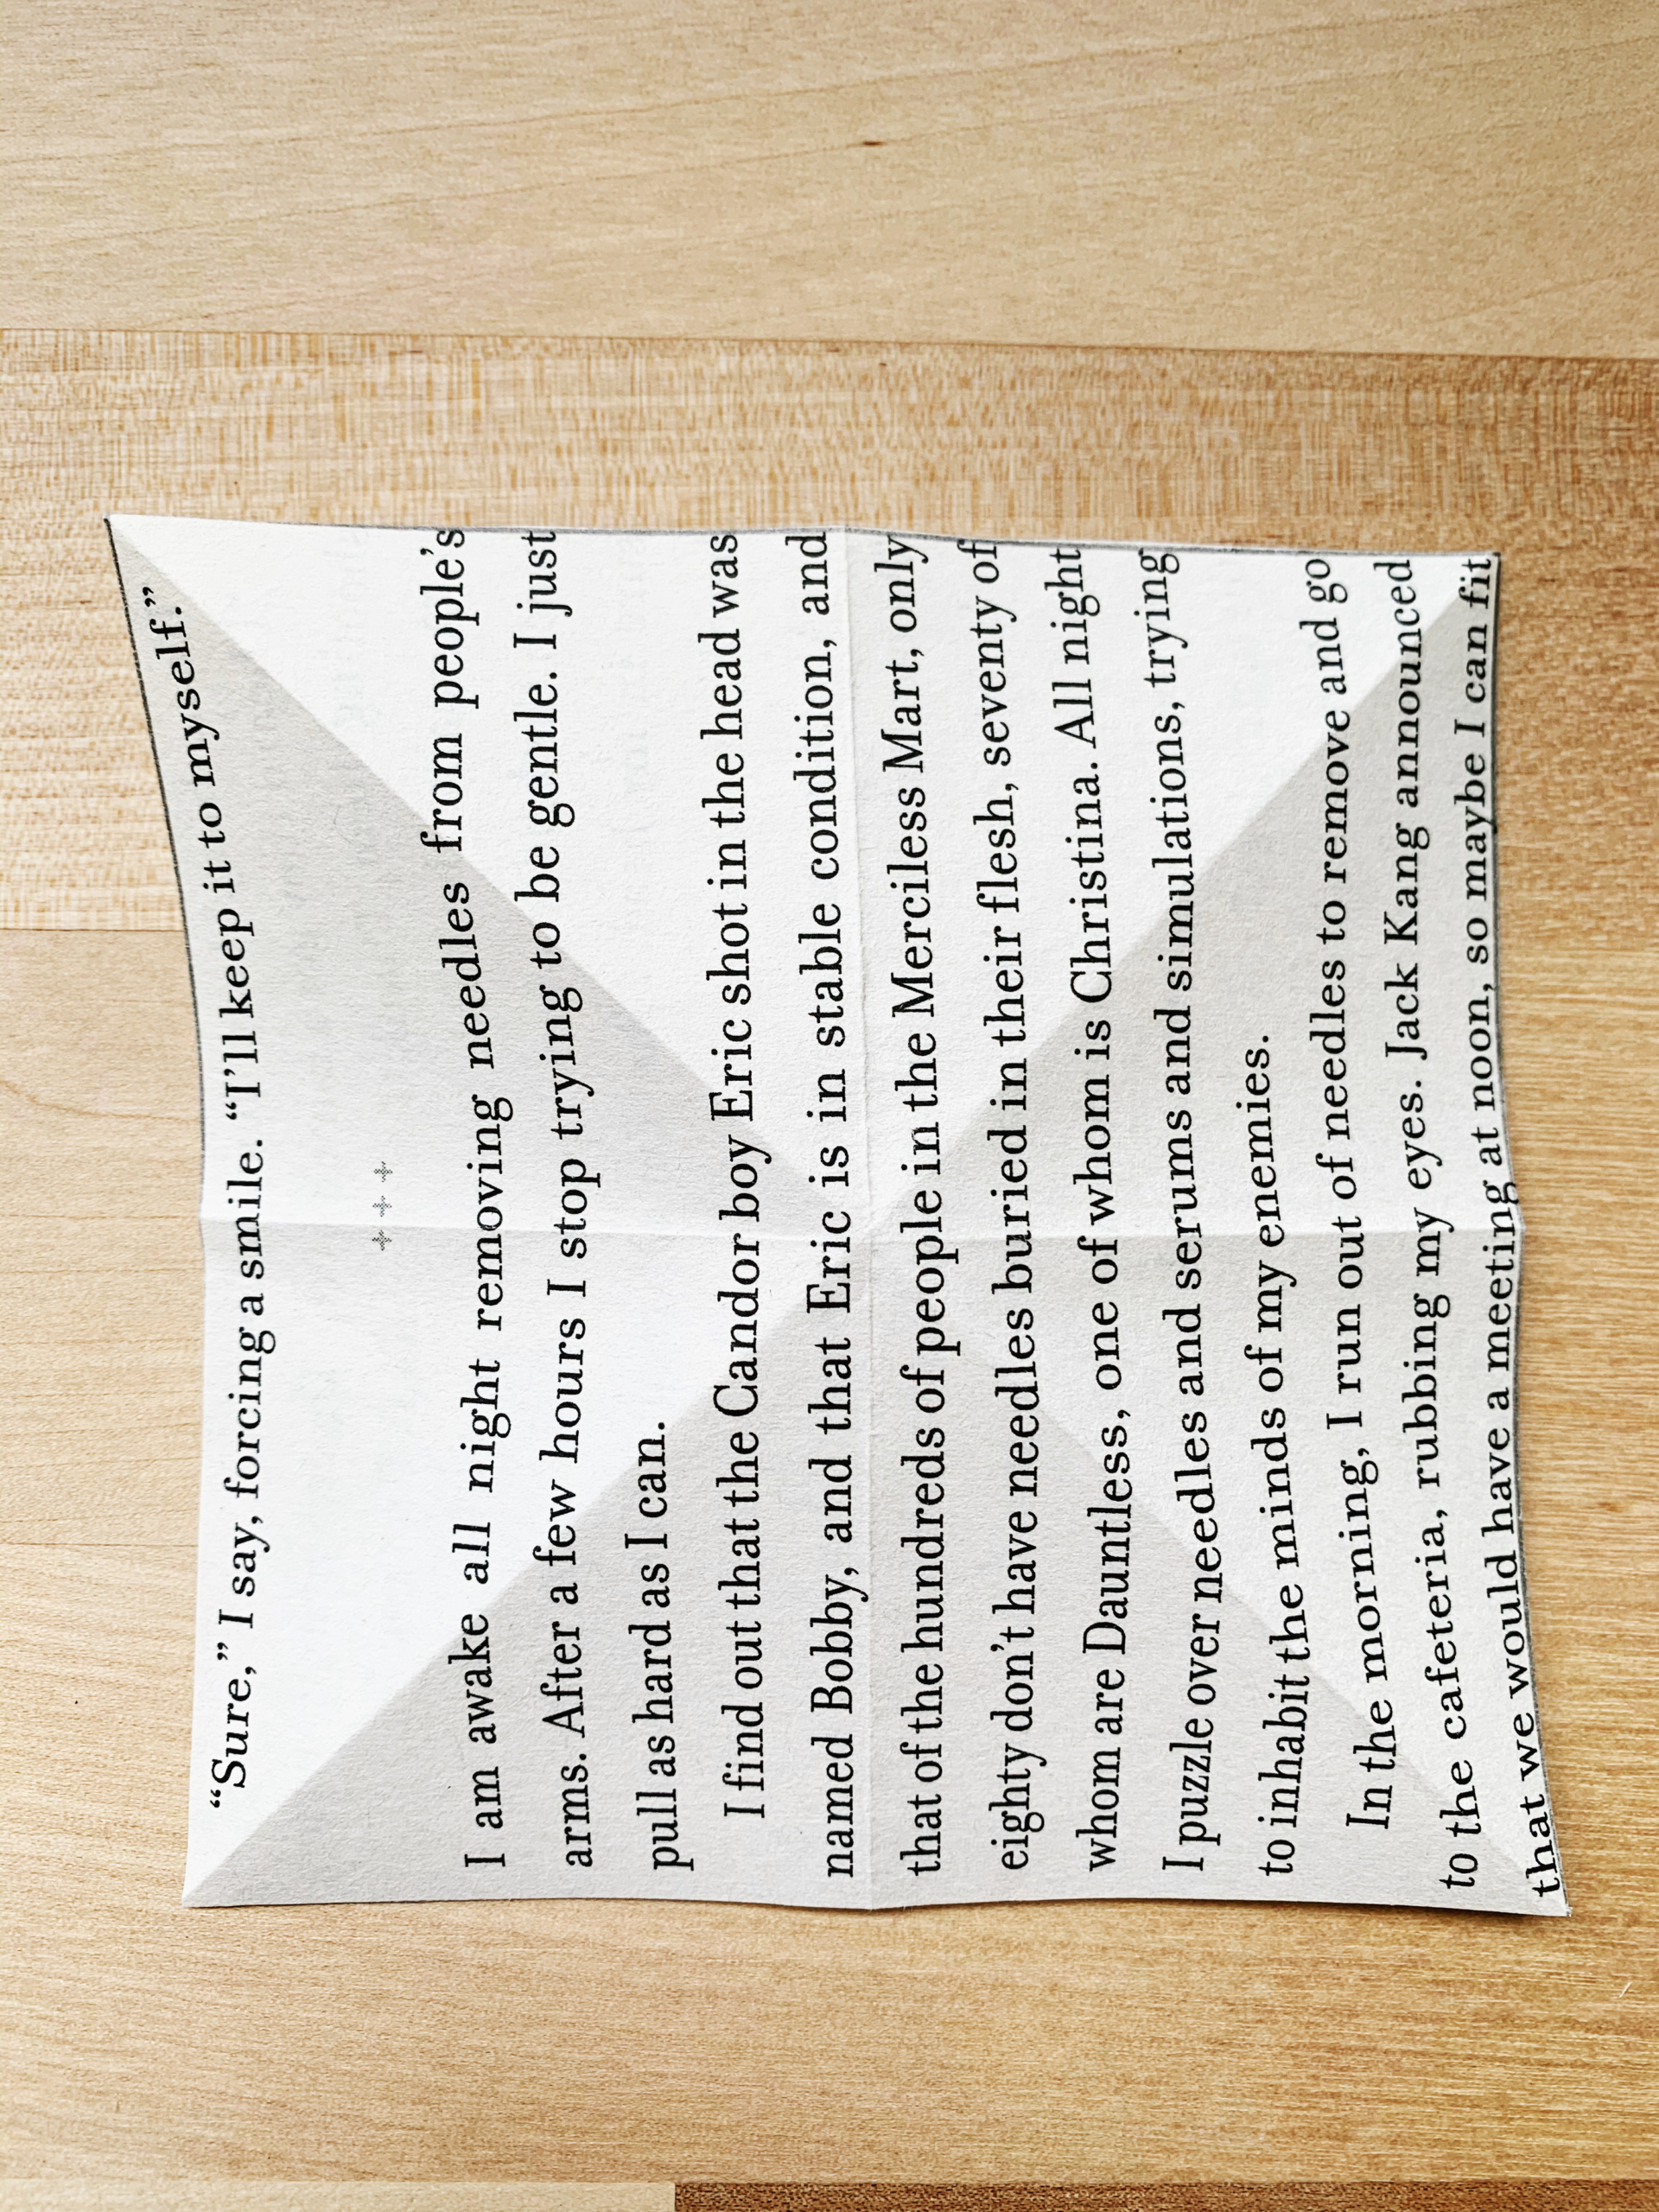
1. Fold your paper in half and crease it.
2. Now unfold it and then fold it in half the other way, creasing again.
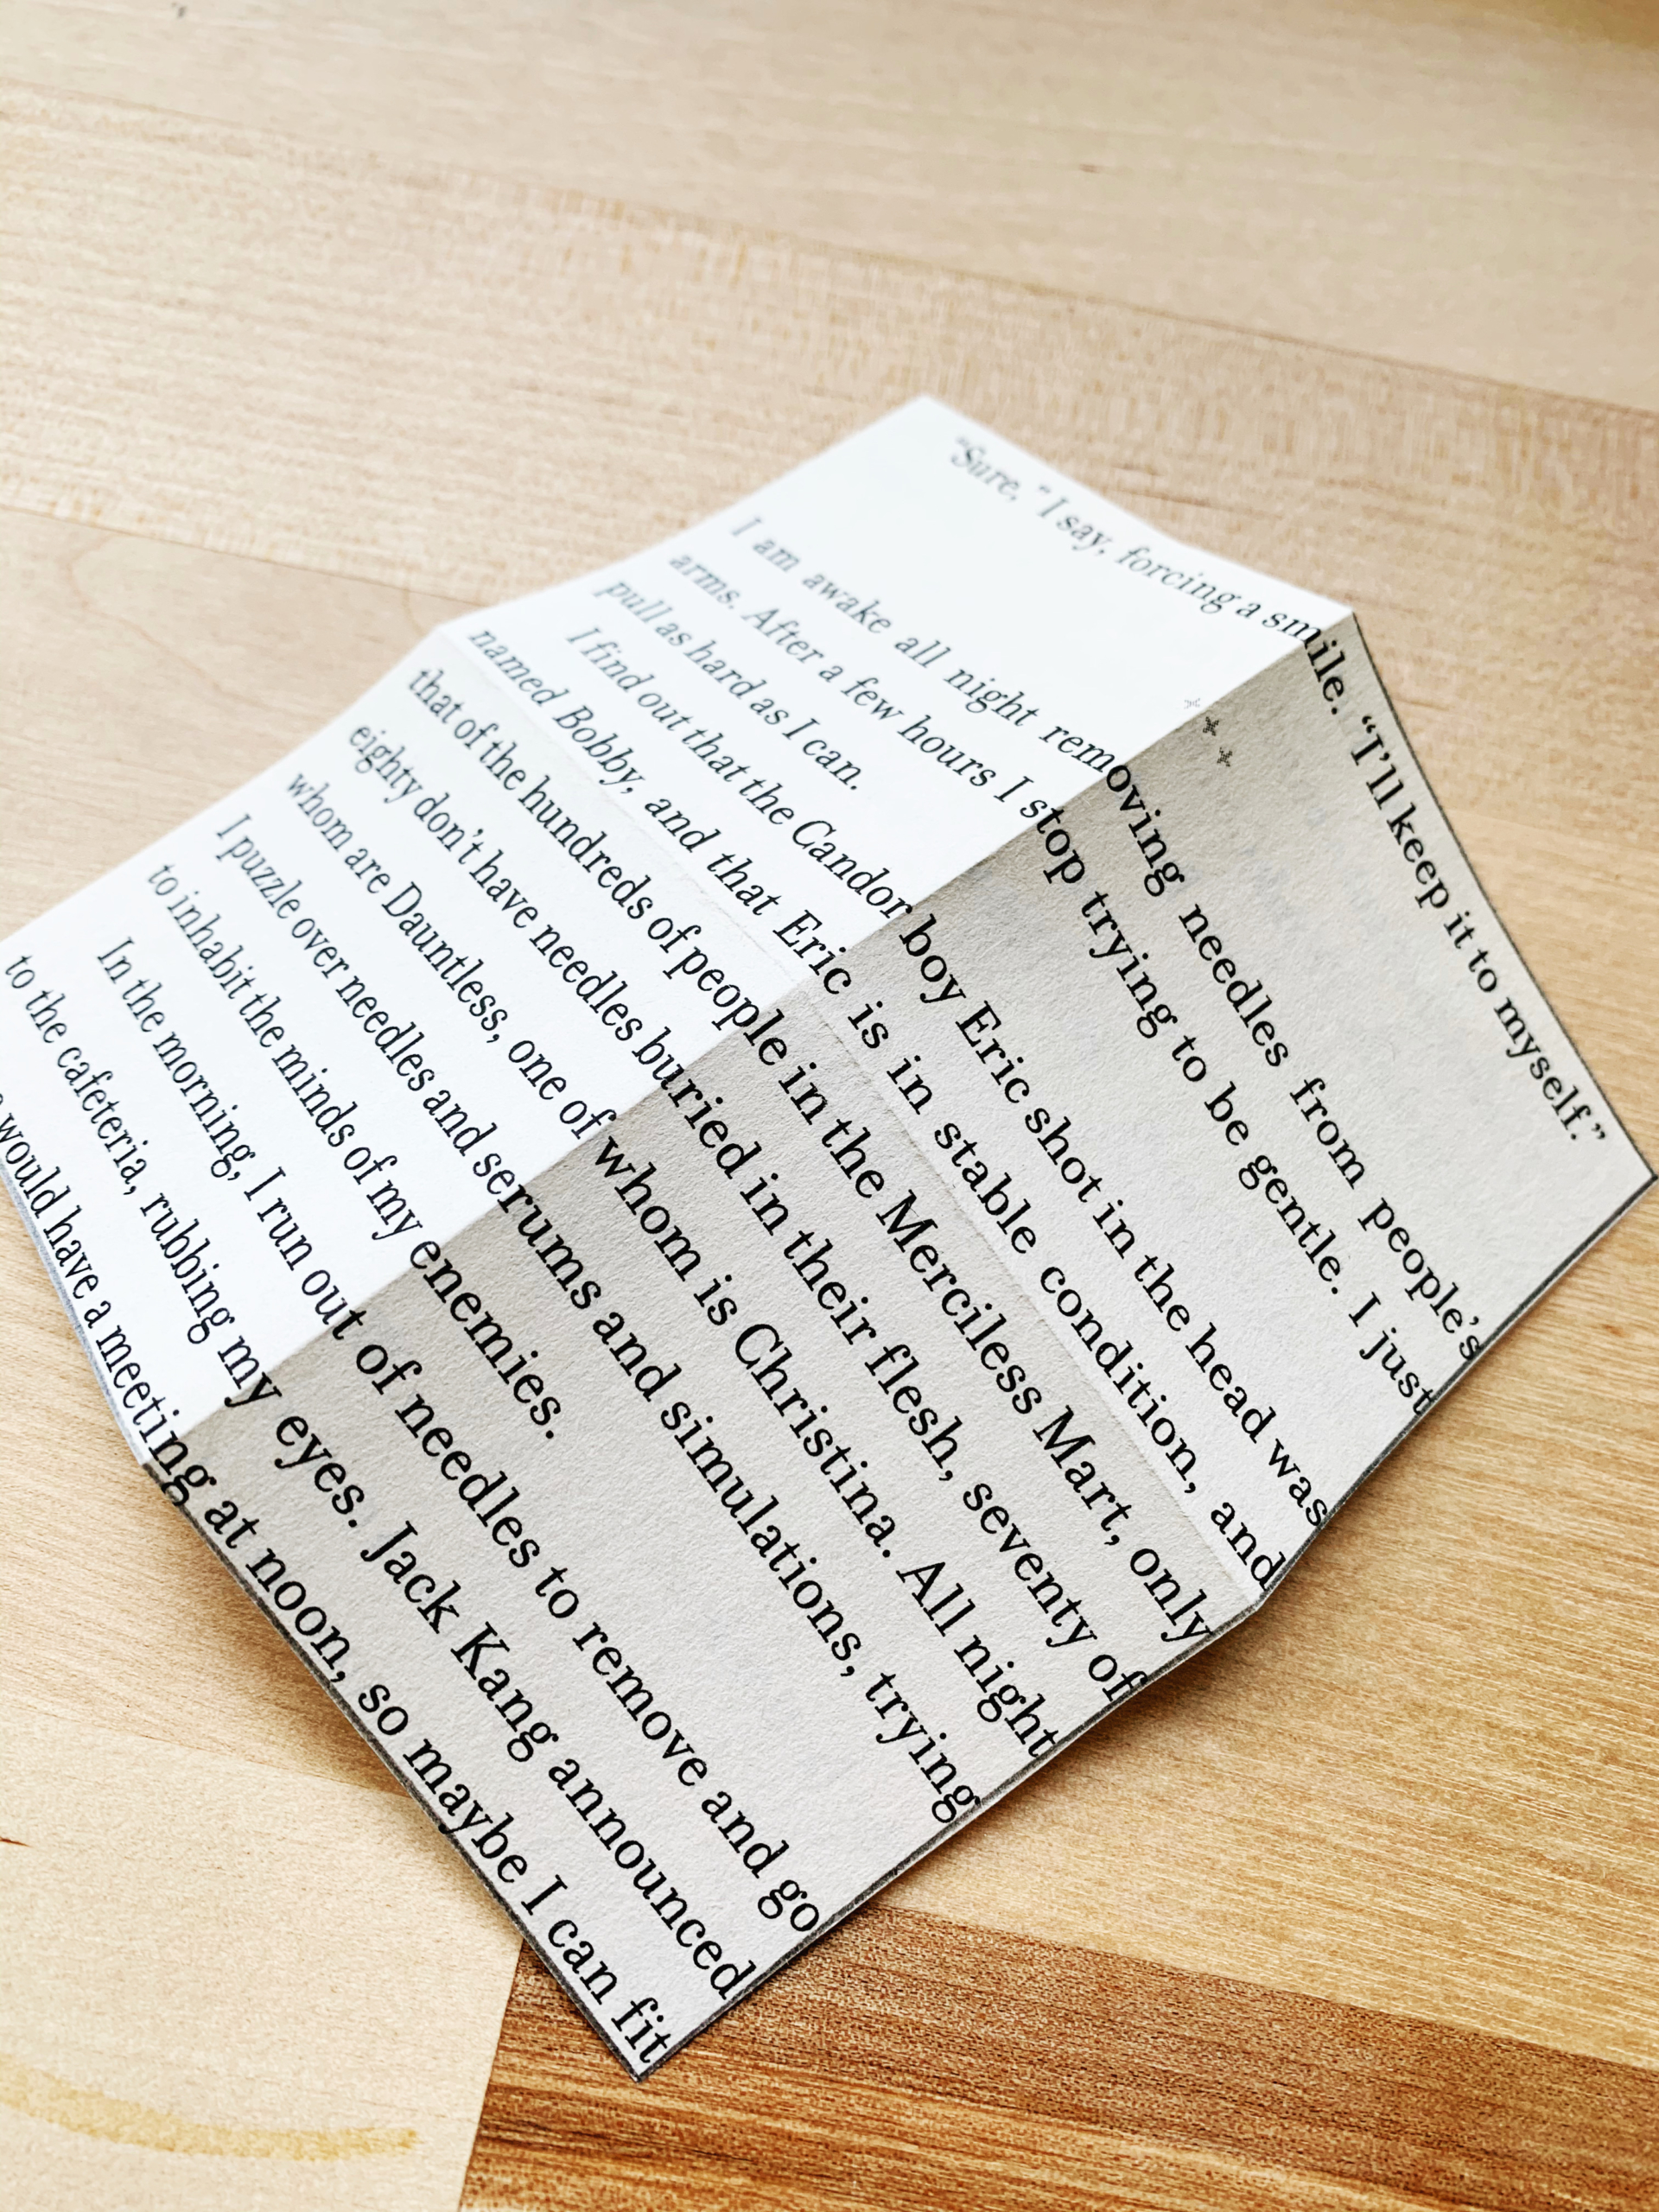
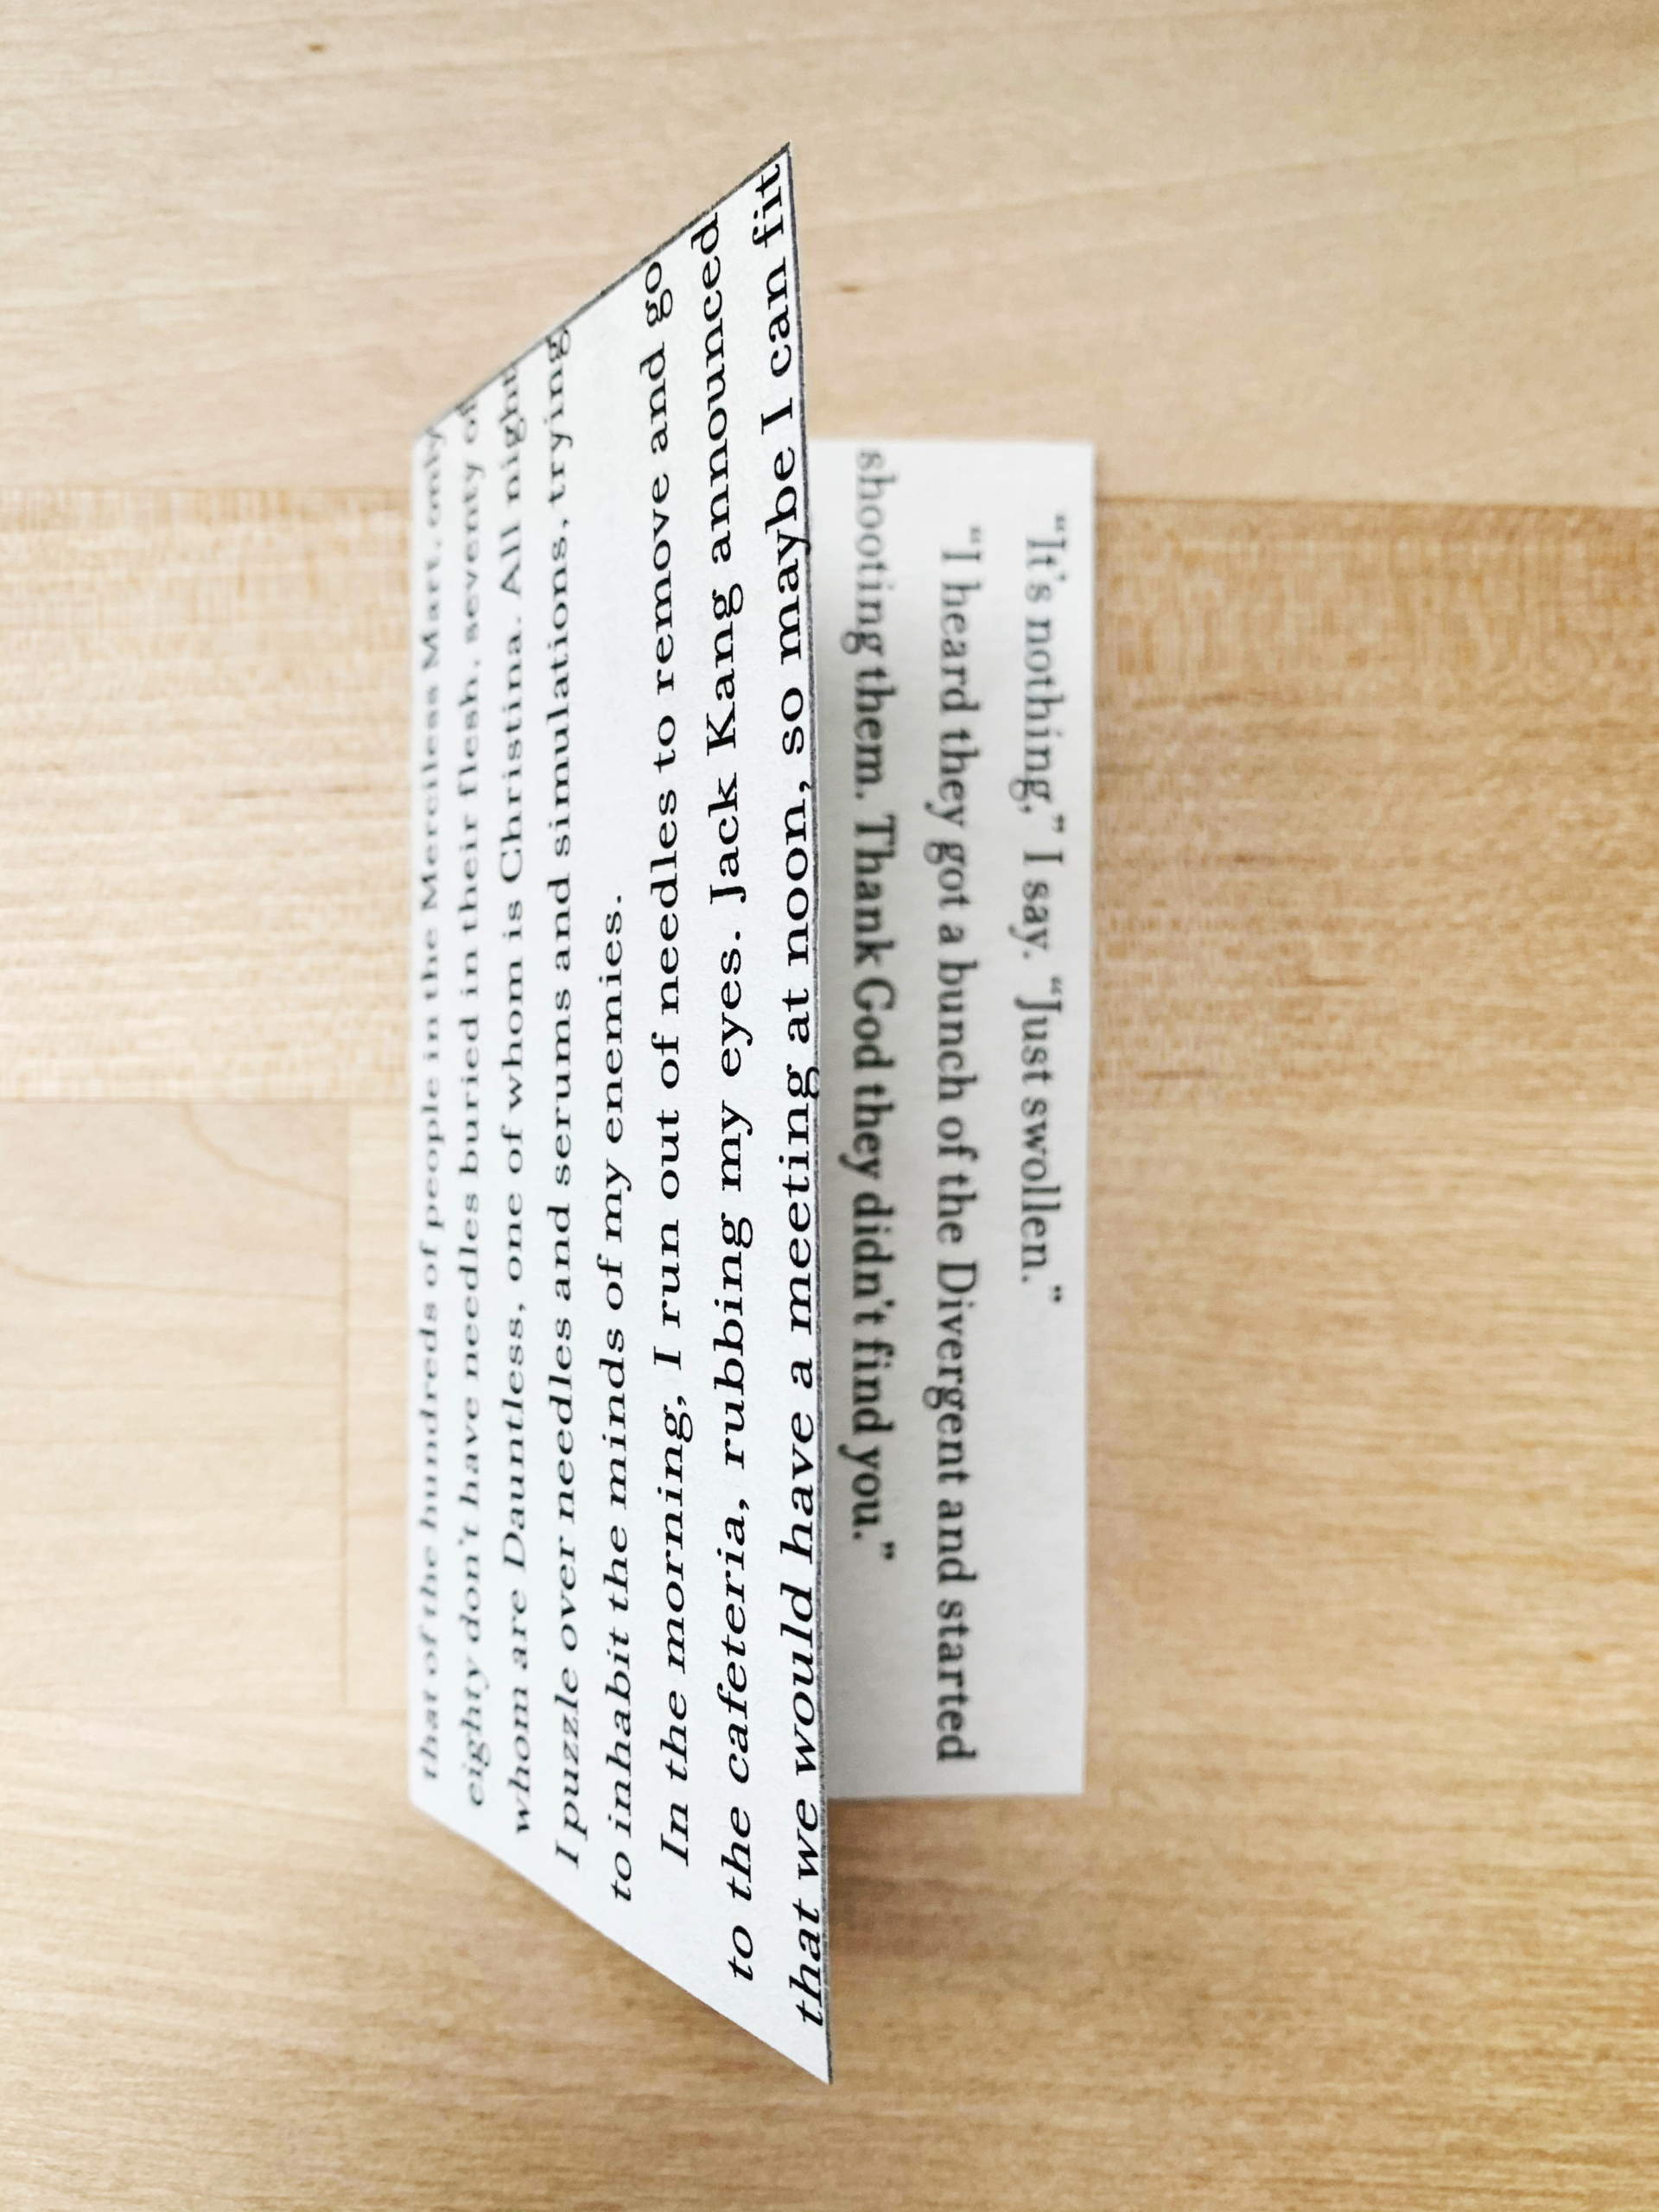
3. Unfold, then fold it diagonally and crease.

4. Unfold, then fold and crease diagonally the other way. At the end of this step, you will have 8 little triangles from the creases of your folds.
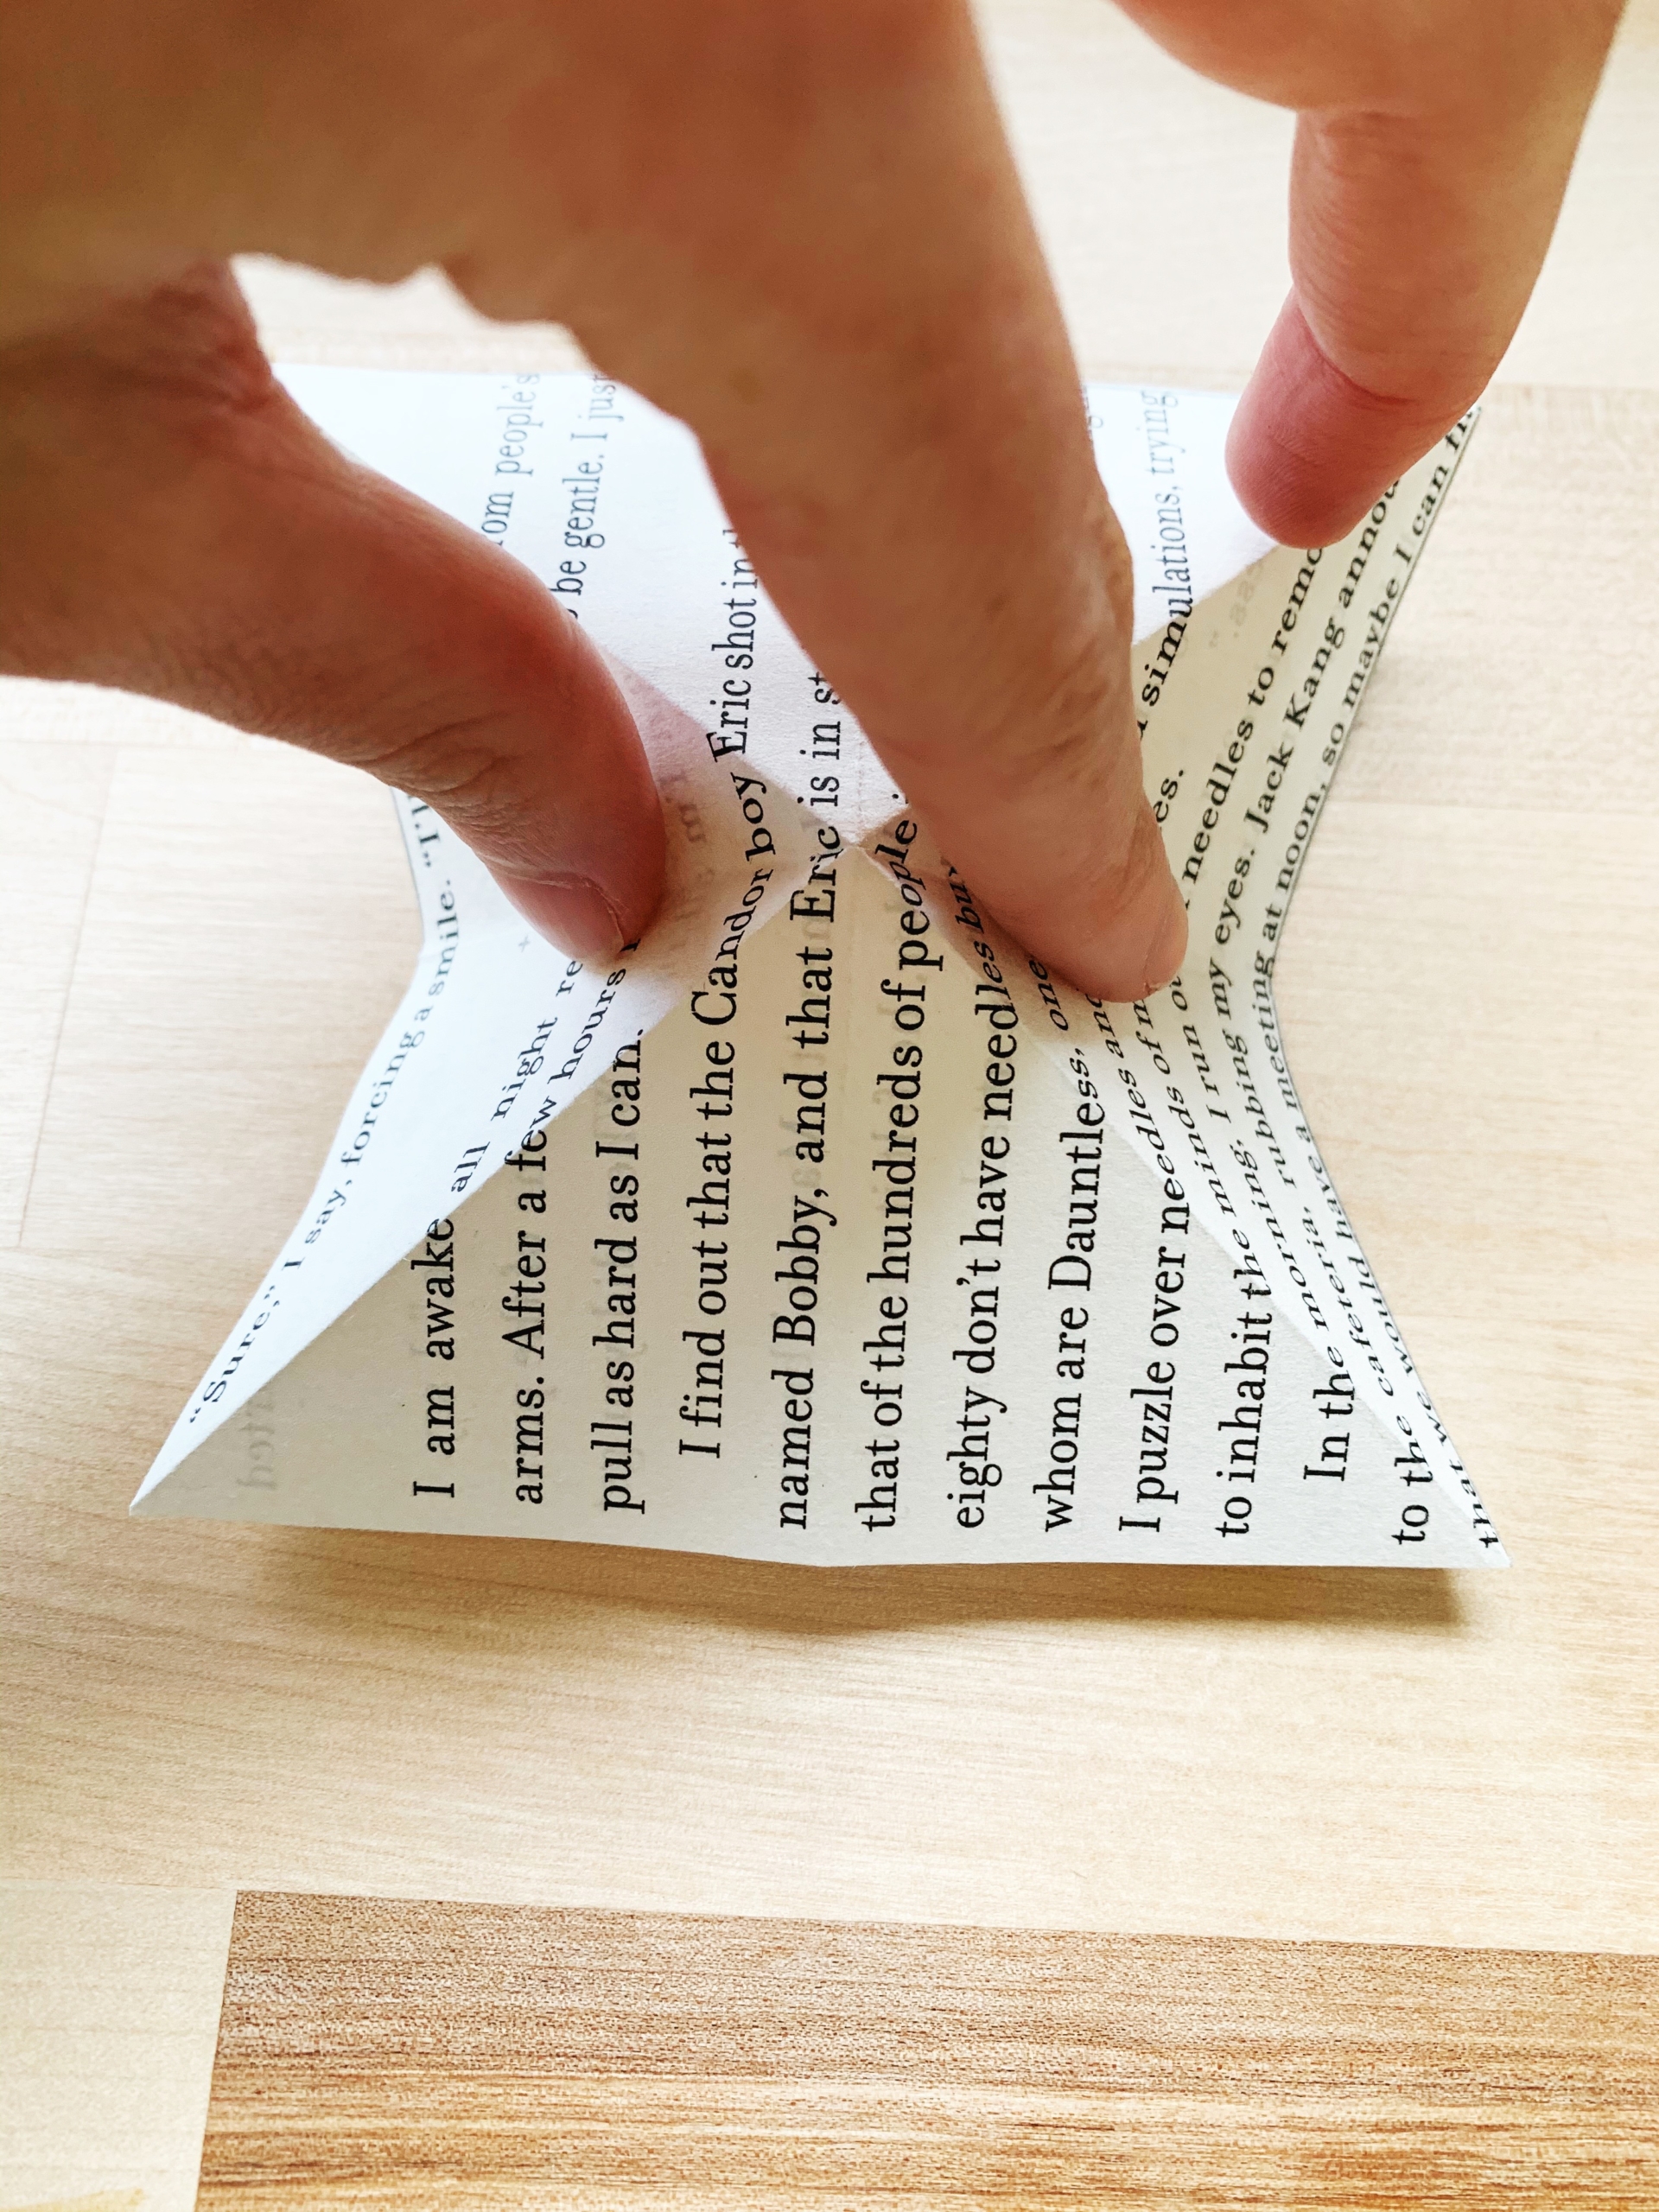
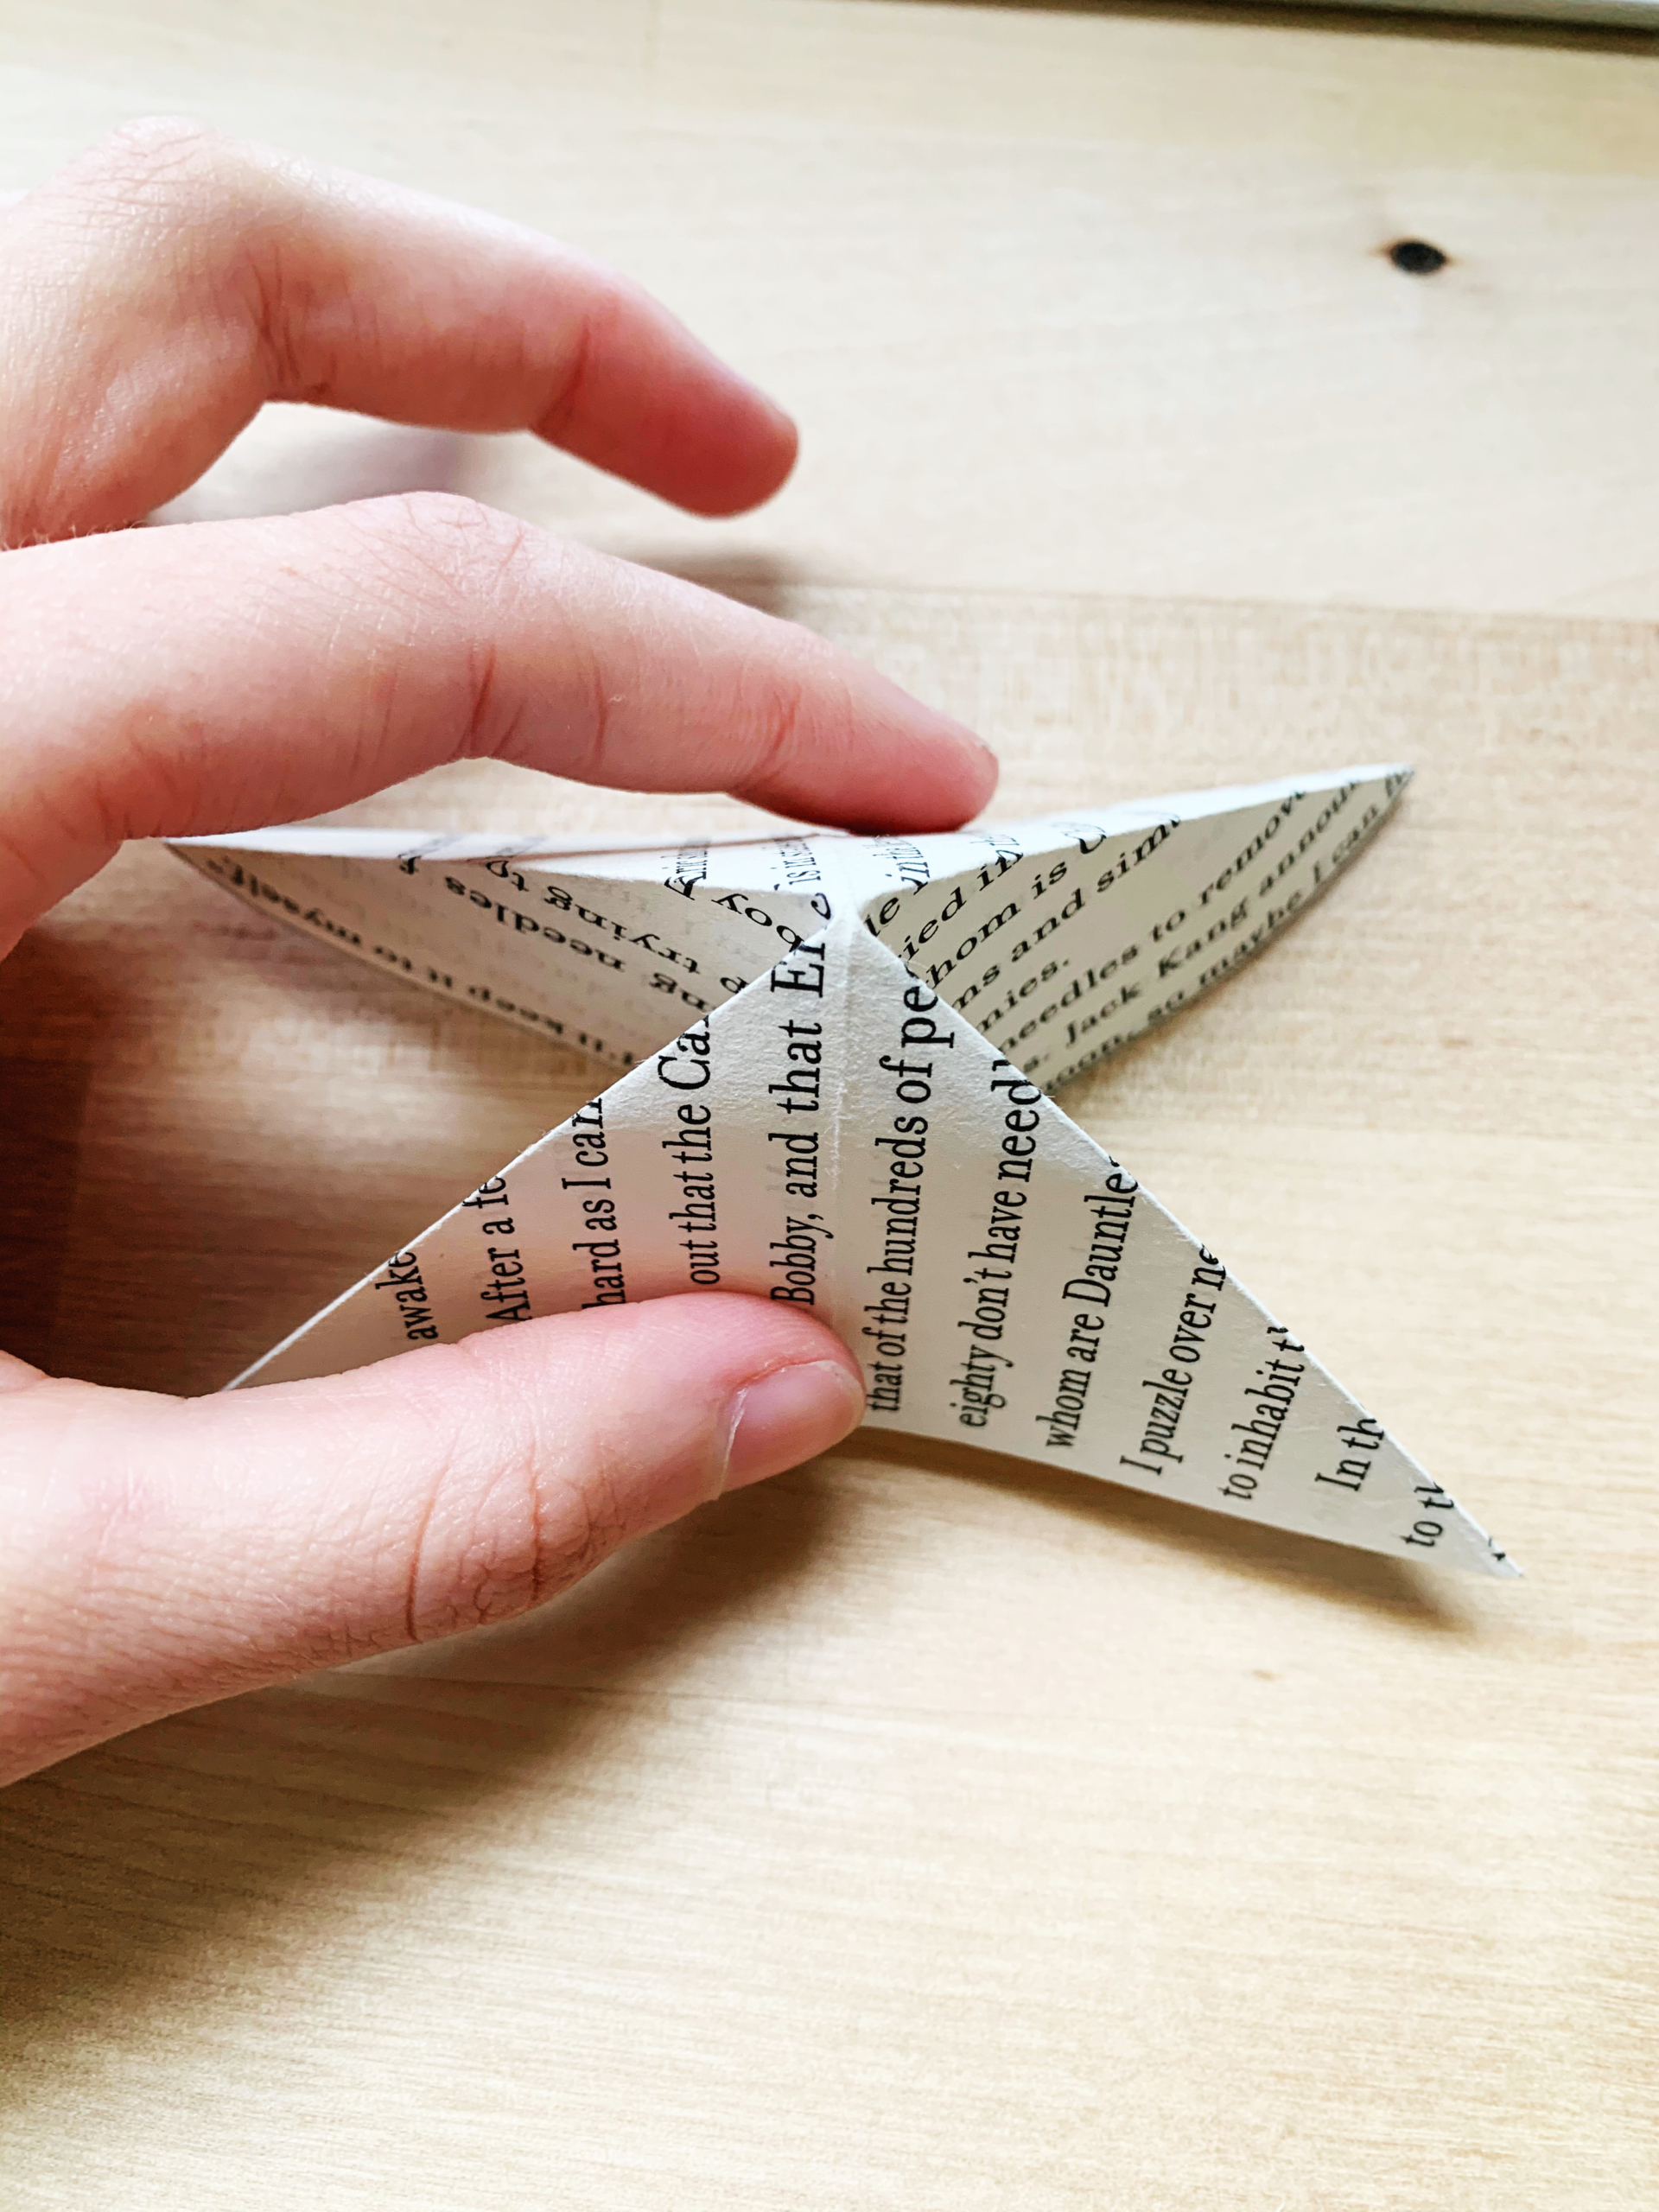
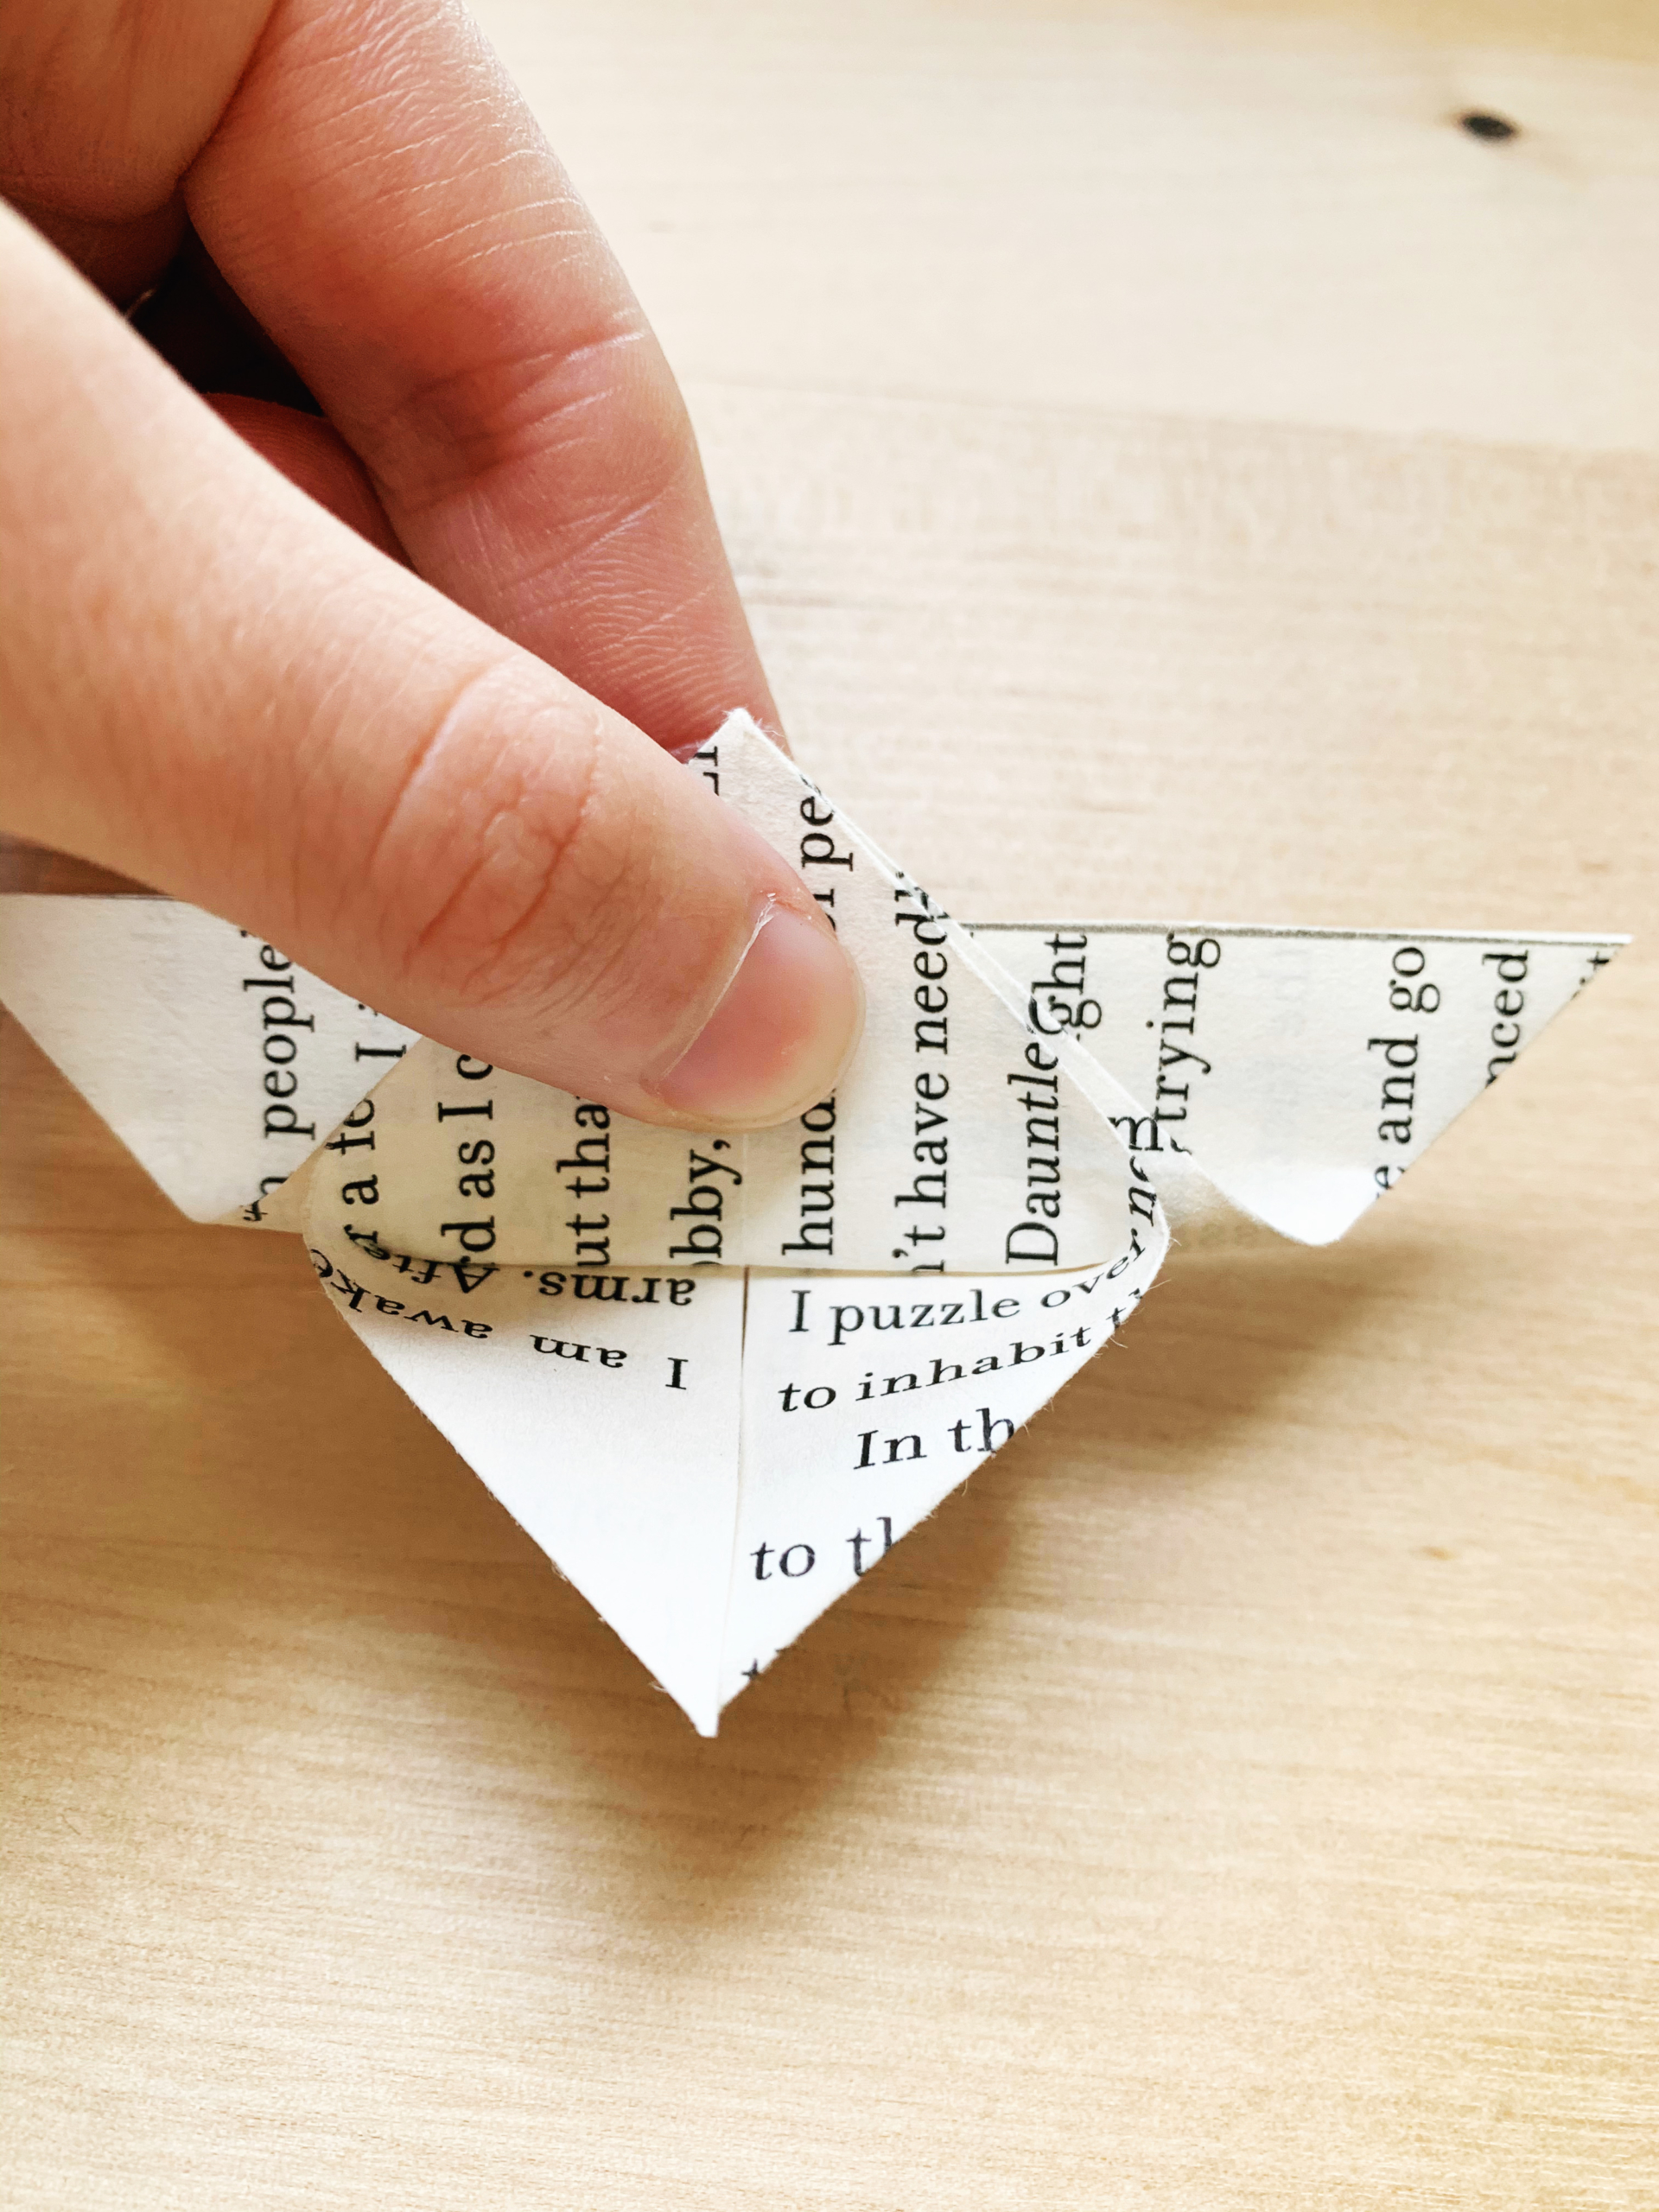
5. Next you will fold the center folds inwards to make a triangle. I think that this was the hardest fold, but the more you crease the previous folds, the easier this step is. You basically want to pinch and push two opposing triangles towards each other. It takes a minute, but you can do it!
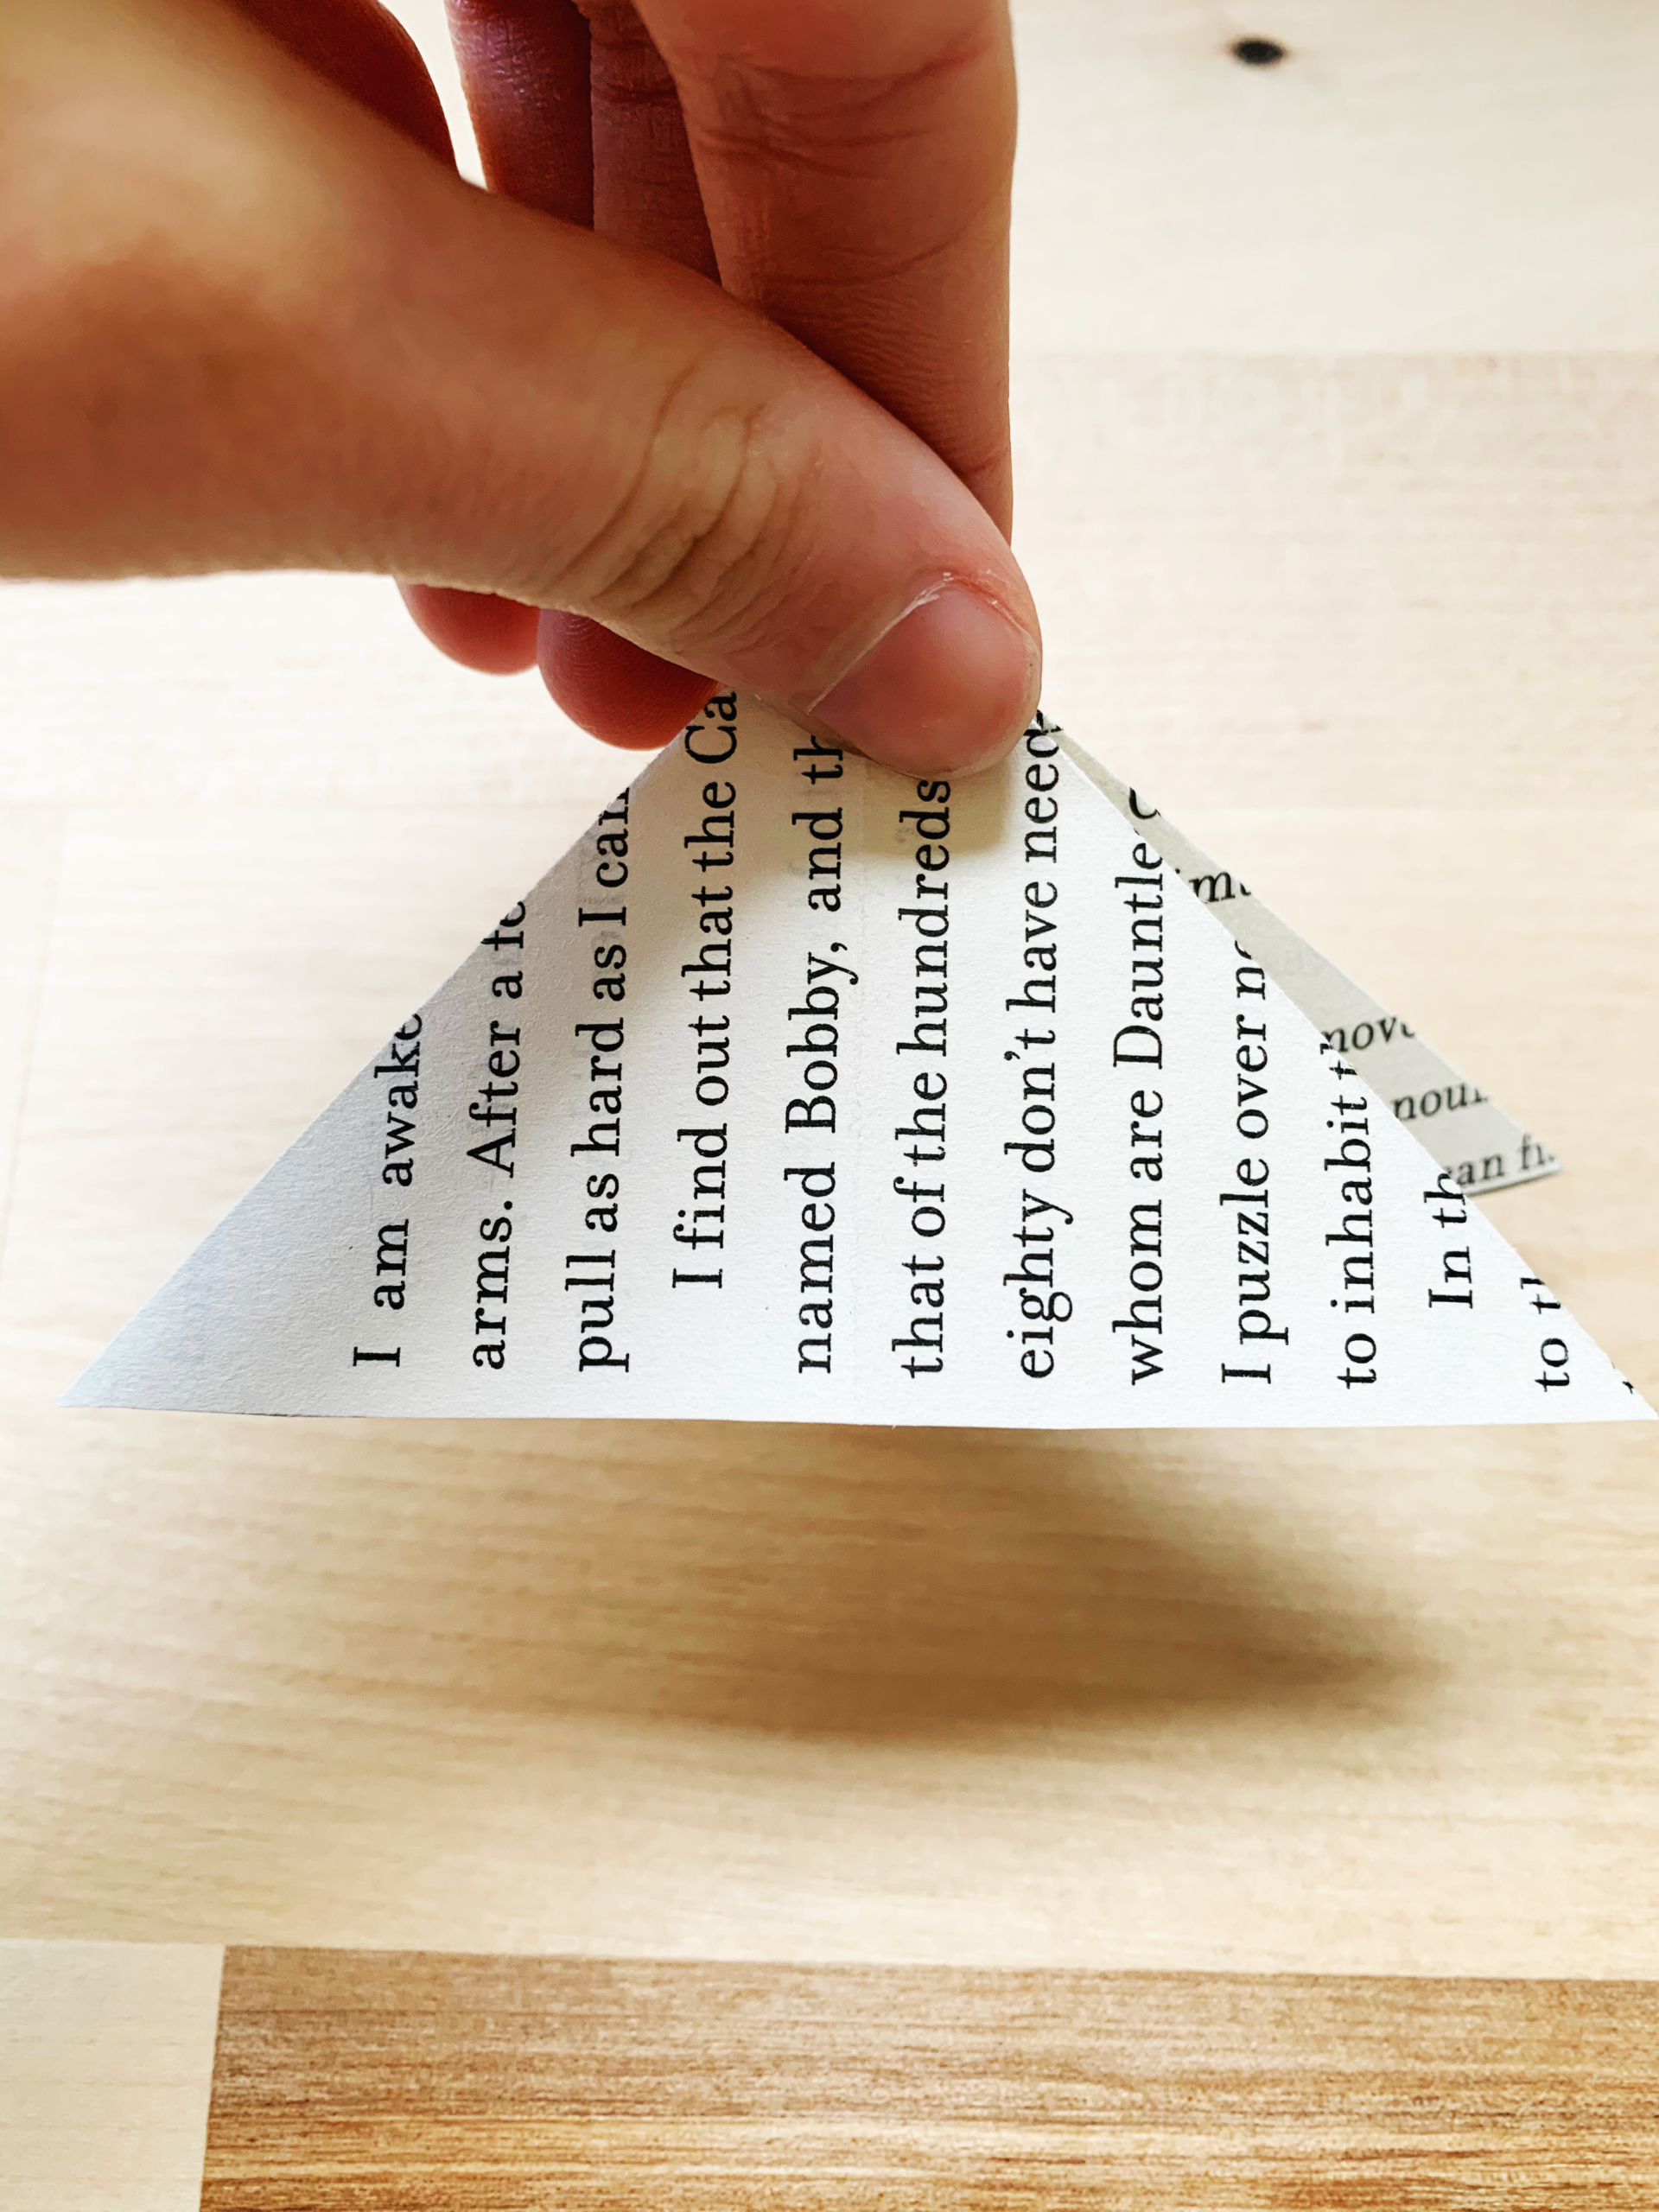
6. Laying your triangle flat, fold the corner of the top layer up to the point of the triangle.
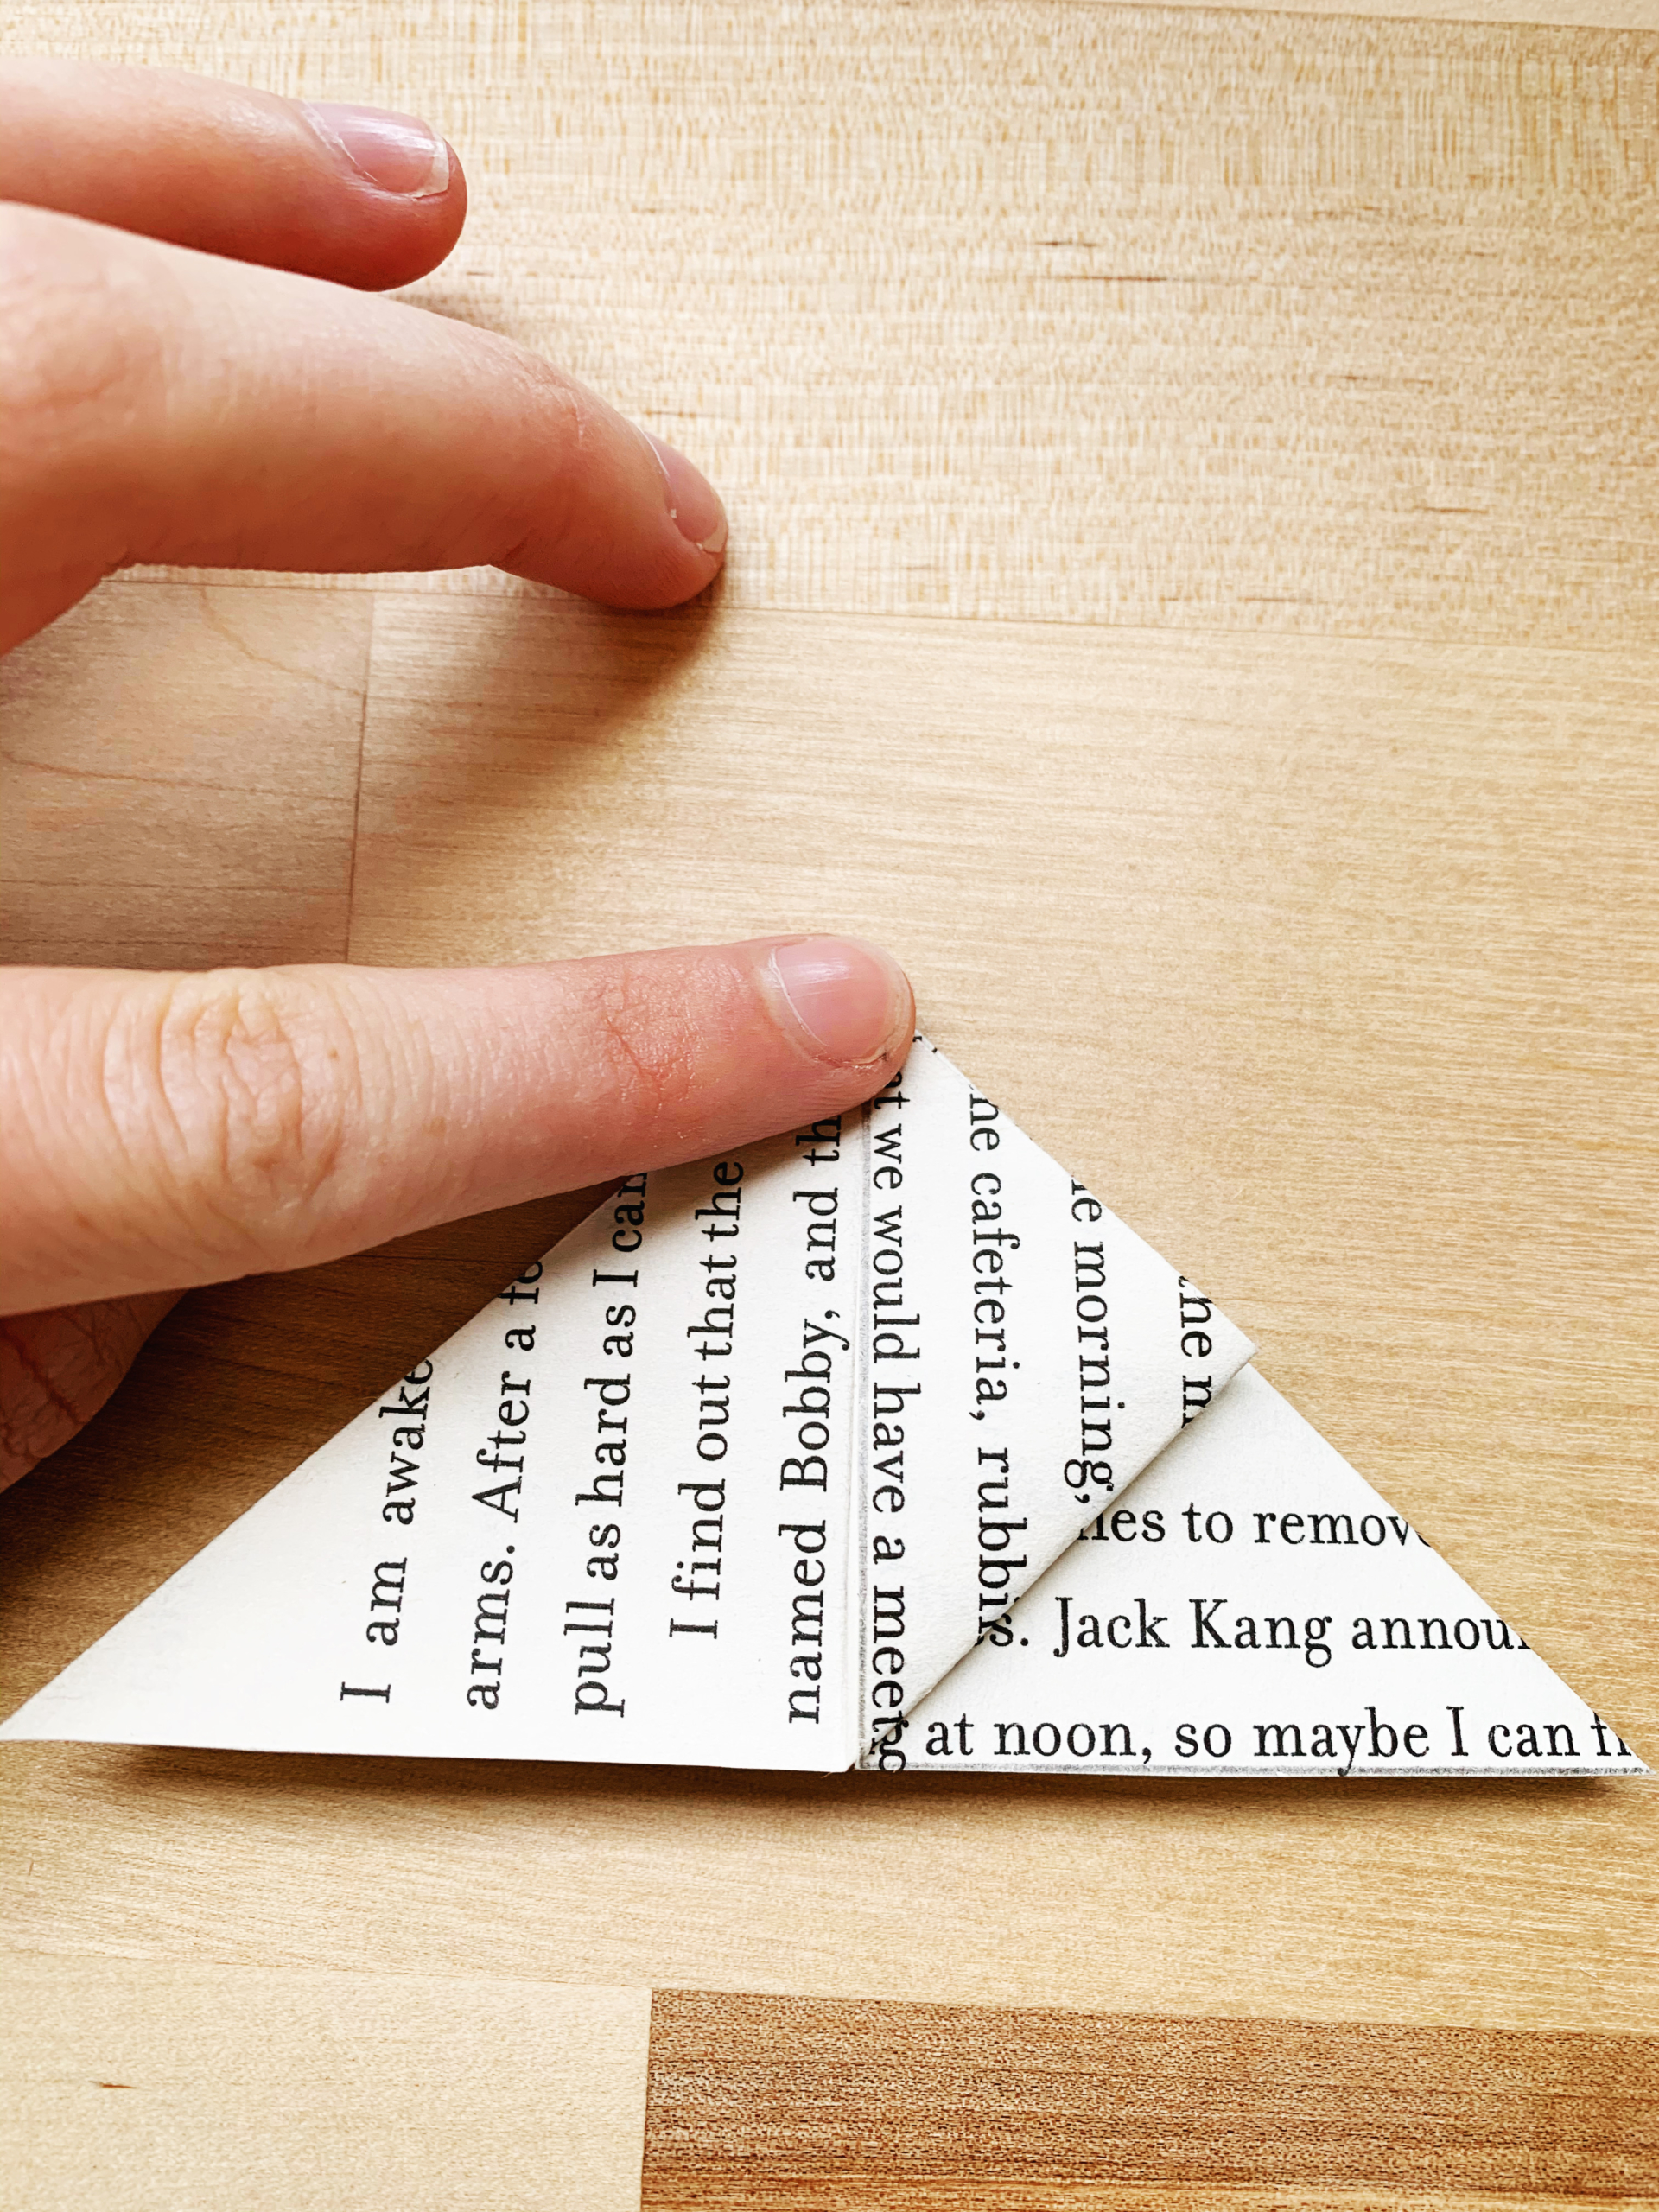
7. And now fold the other corner to also meet at the point
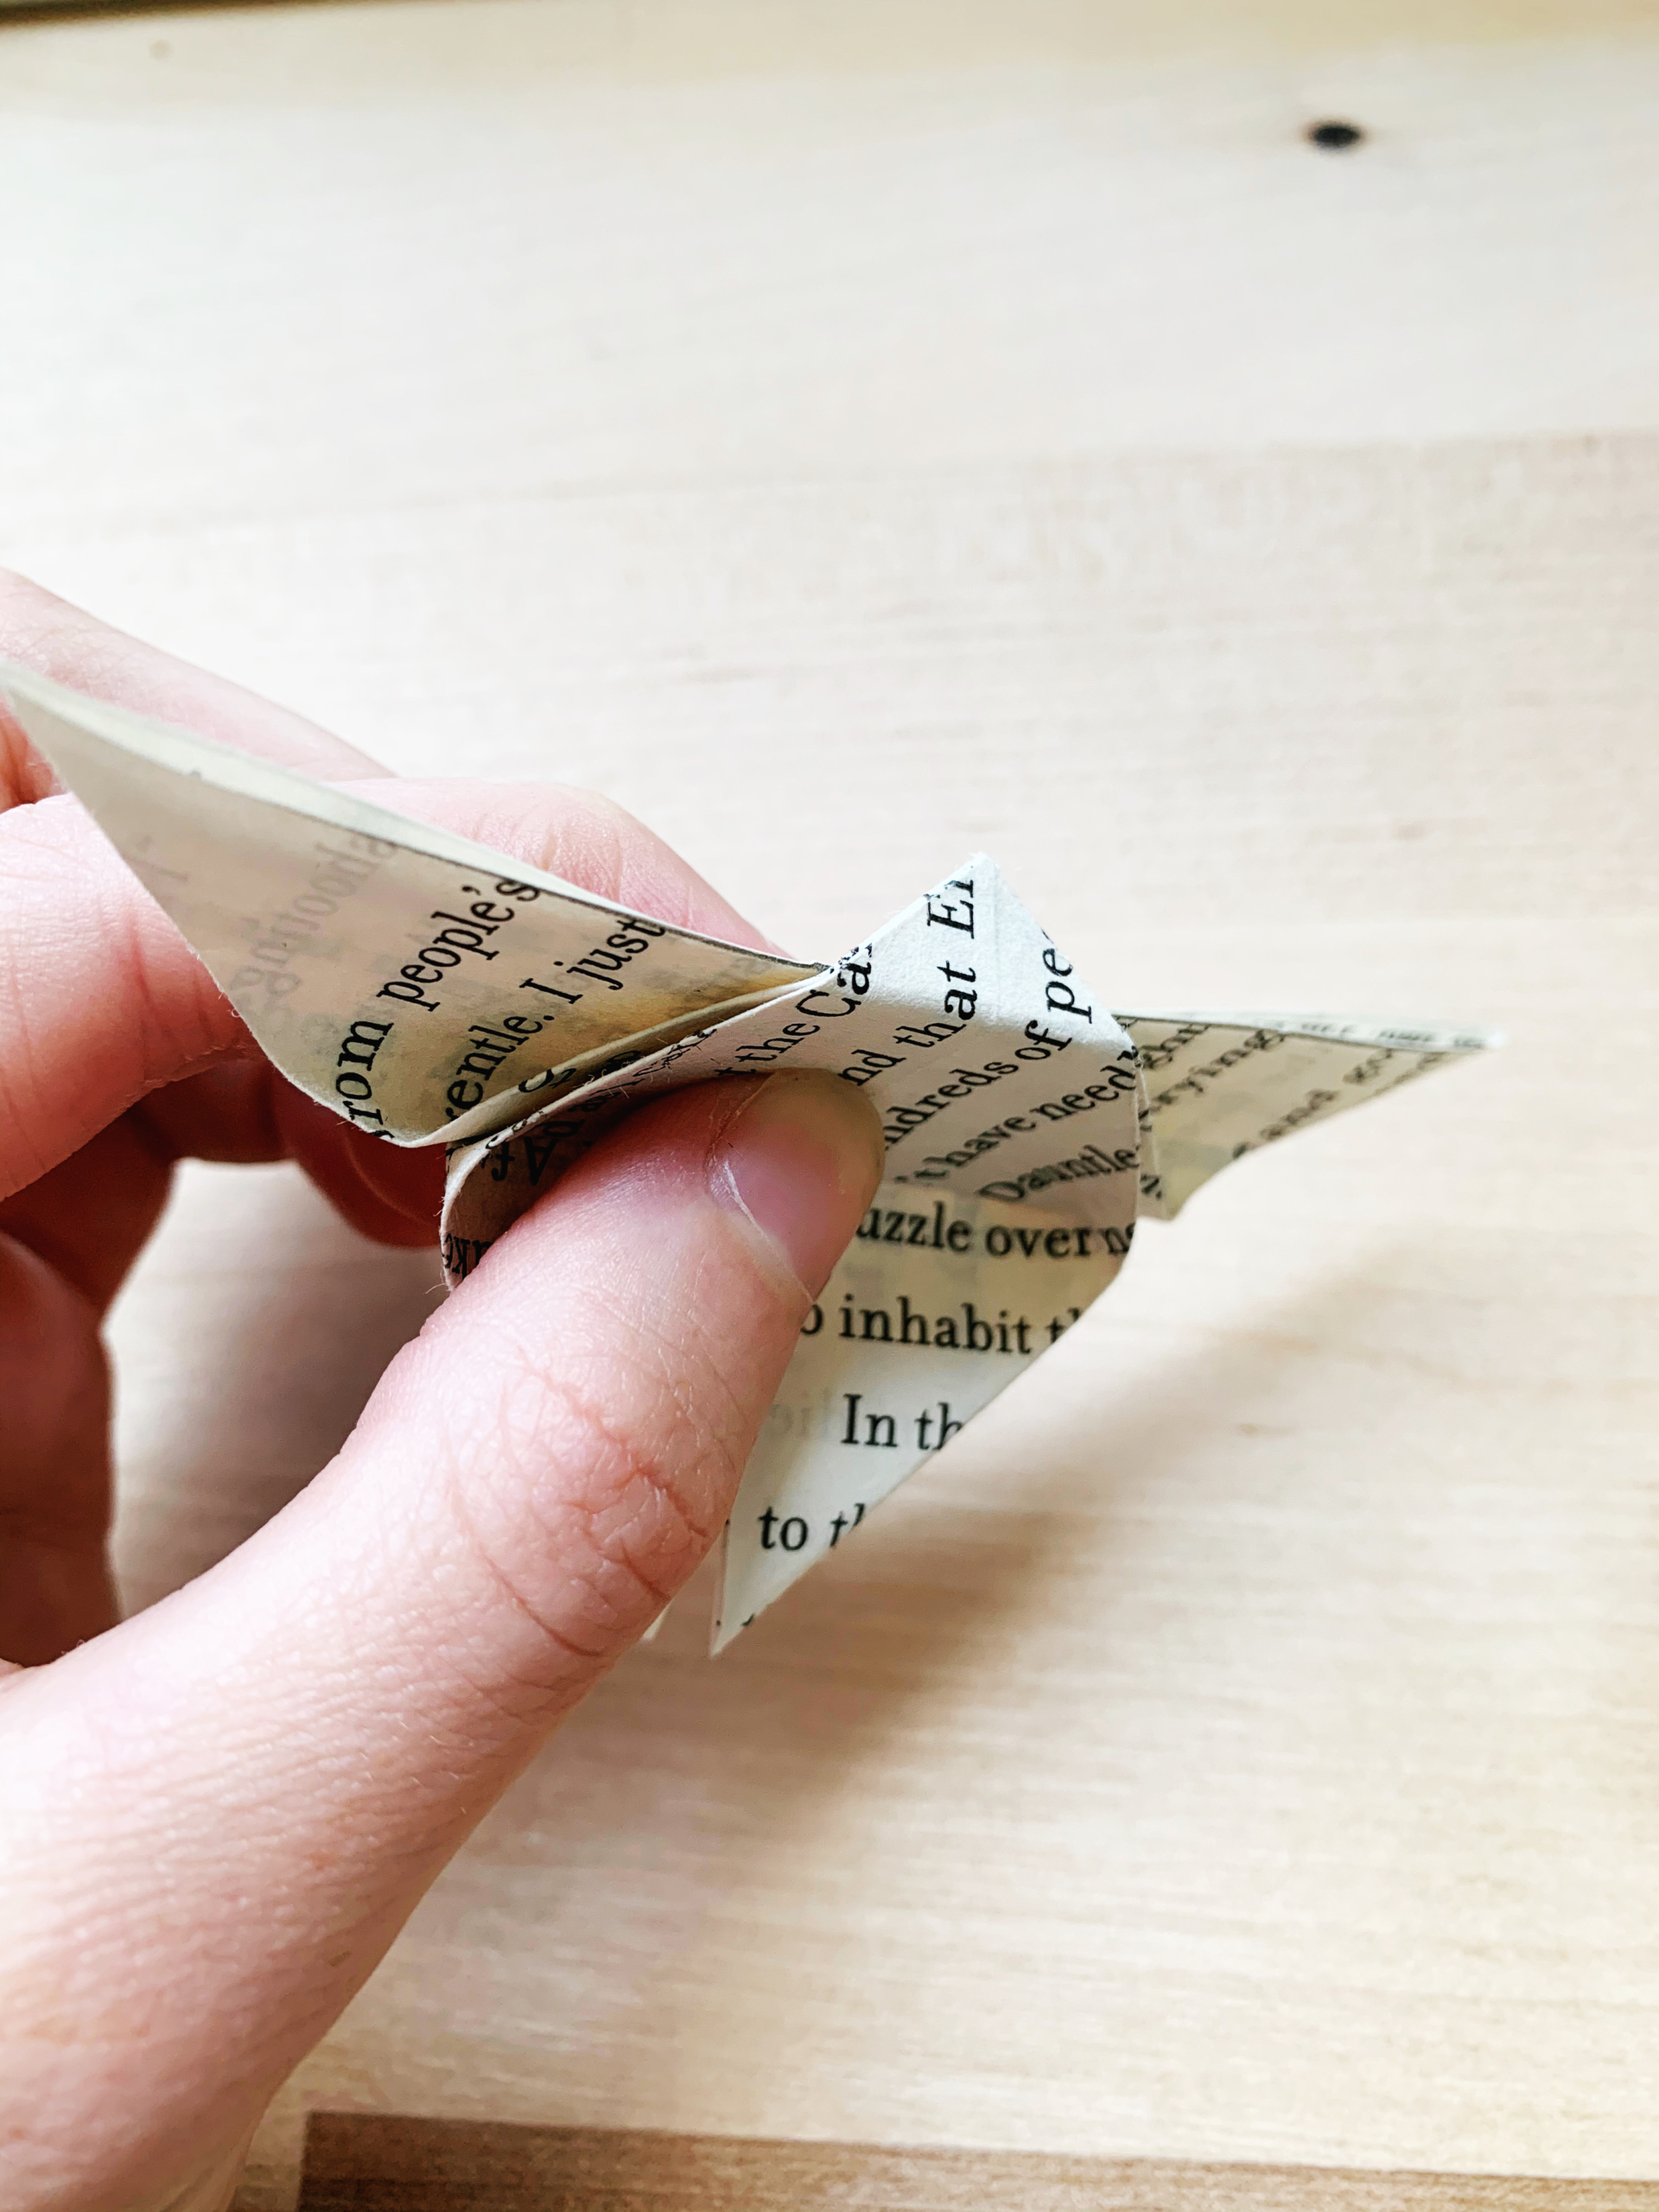
8. Now flip it over. You’ll be doing almost the same thing on this side, but this time fold the corner up to a point above the base, and crease just the center of the fold, leaving the edges uncreased.
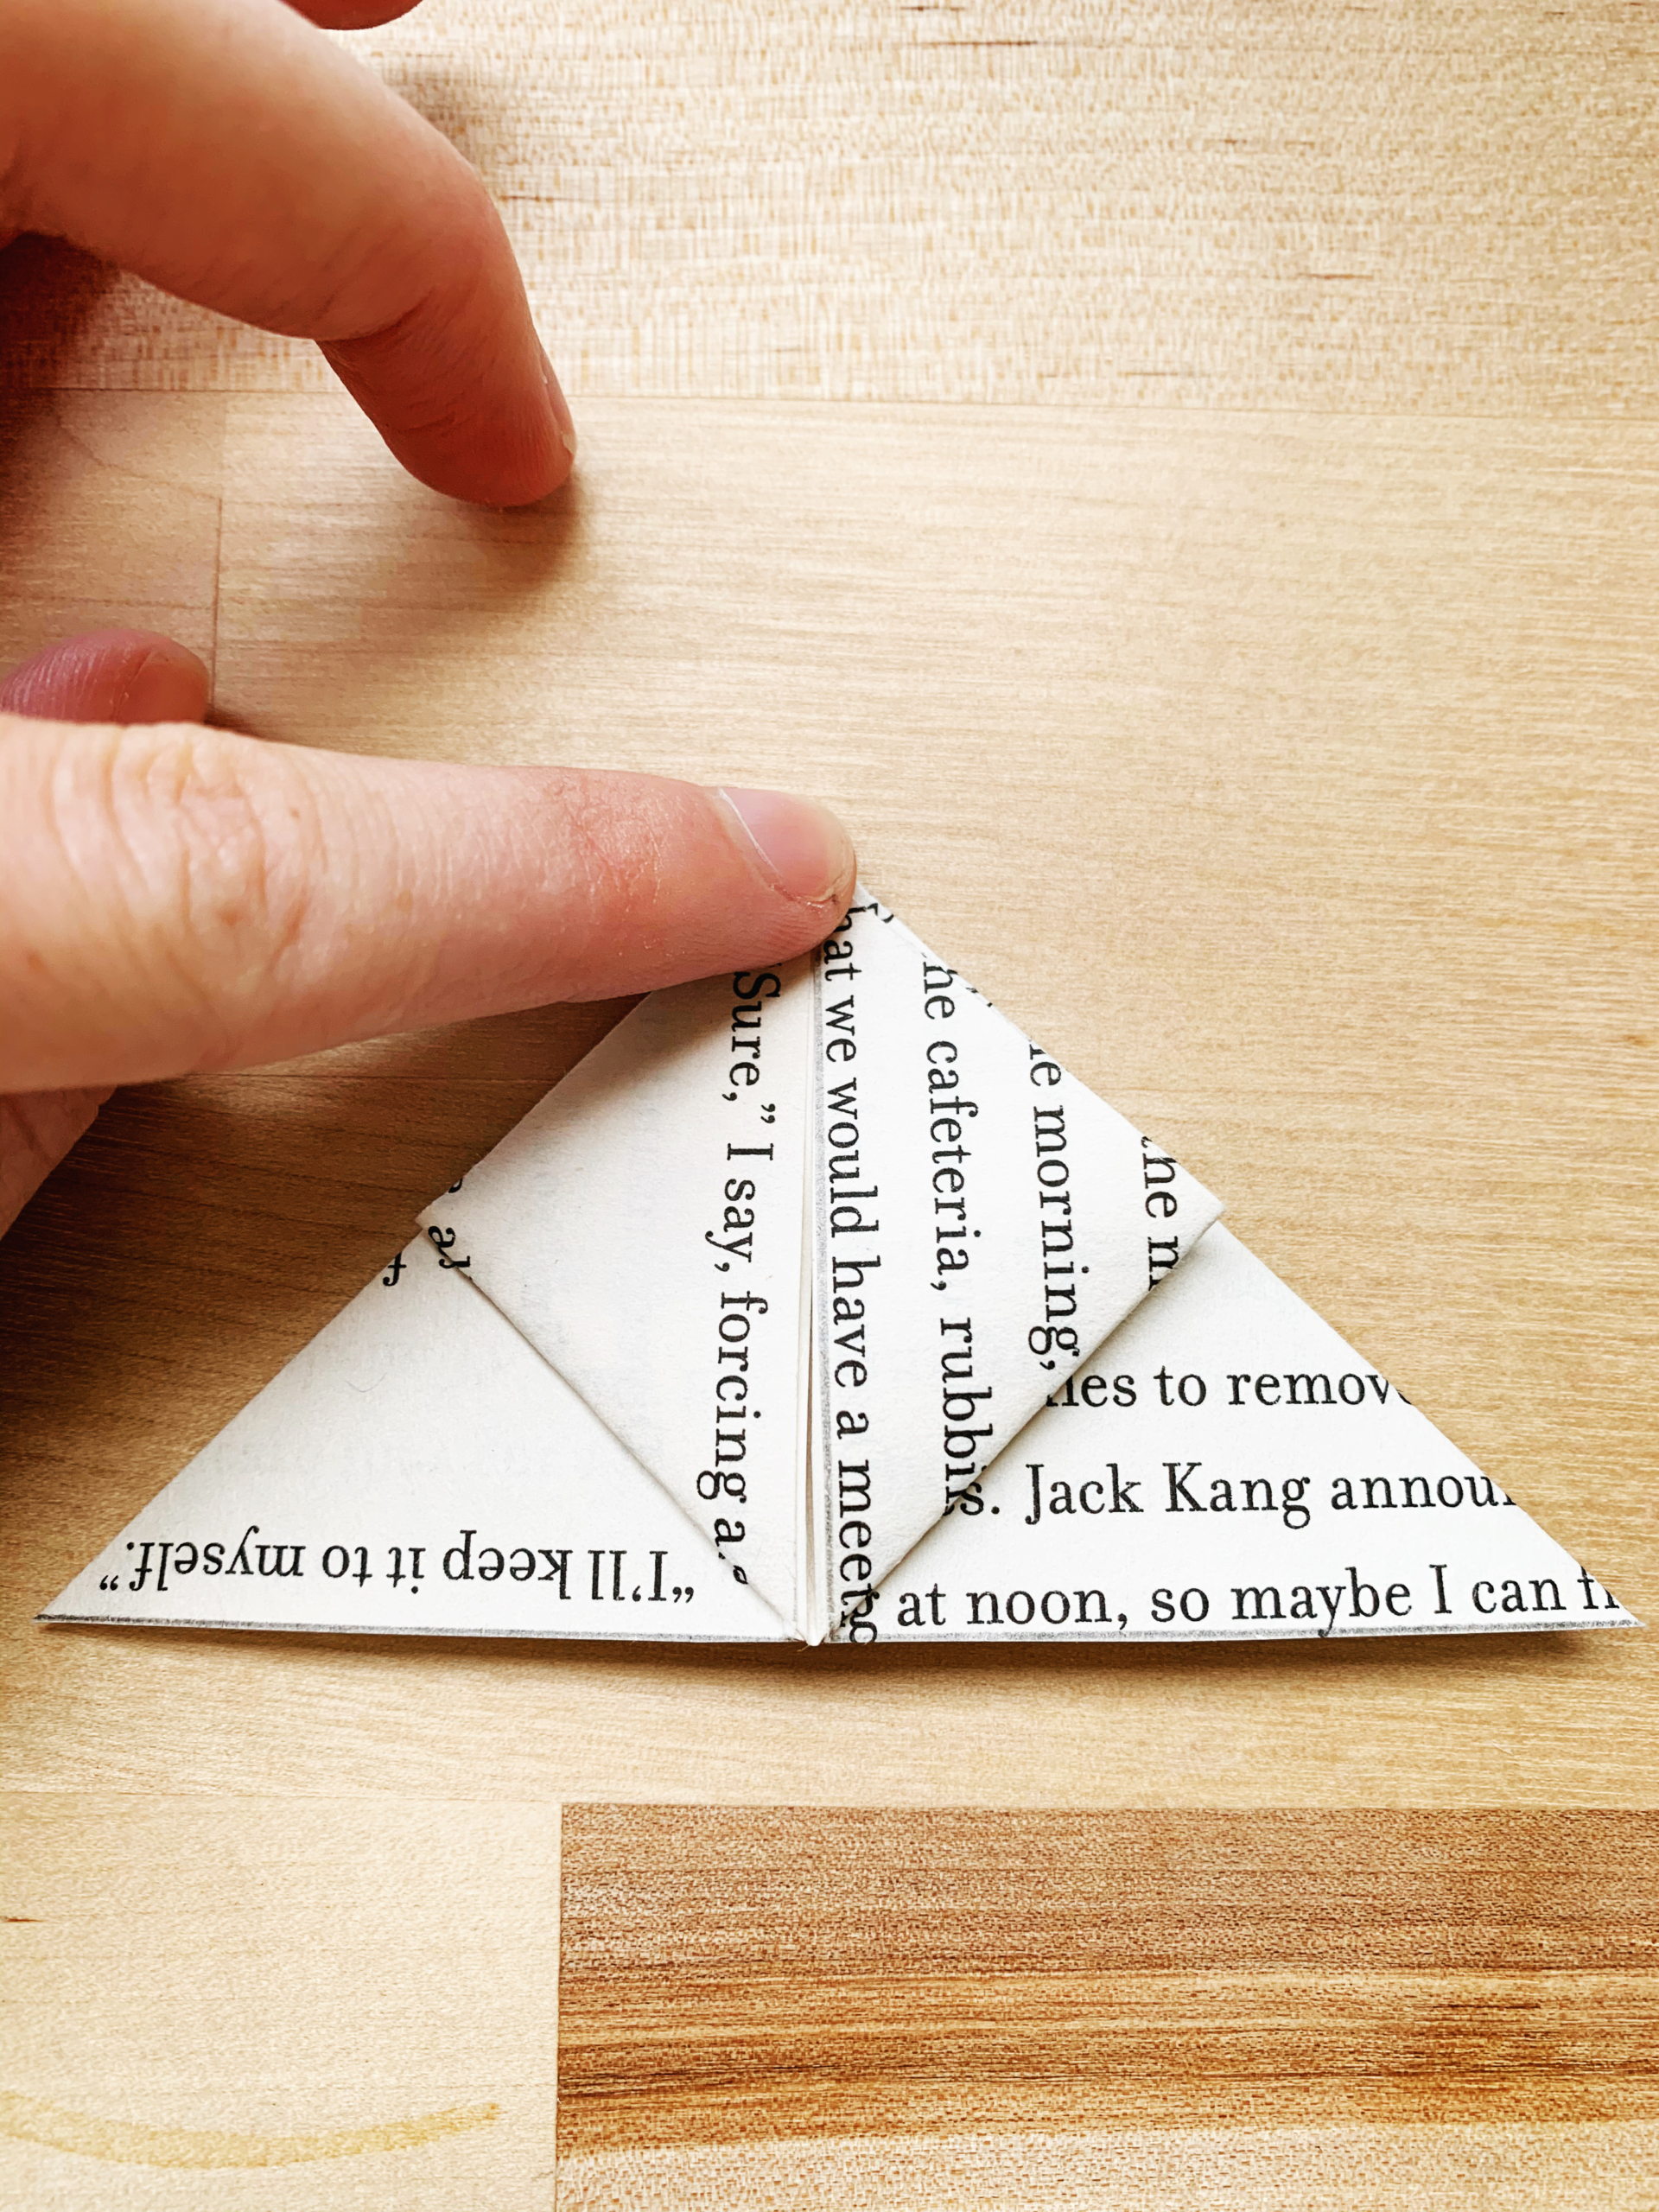
9. Flip and fold the little triangle point over the top.
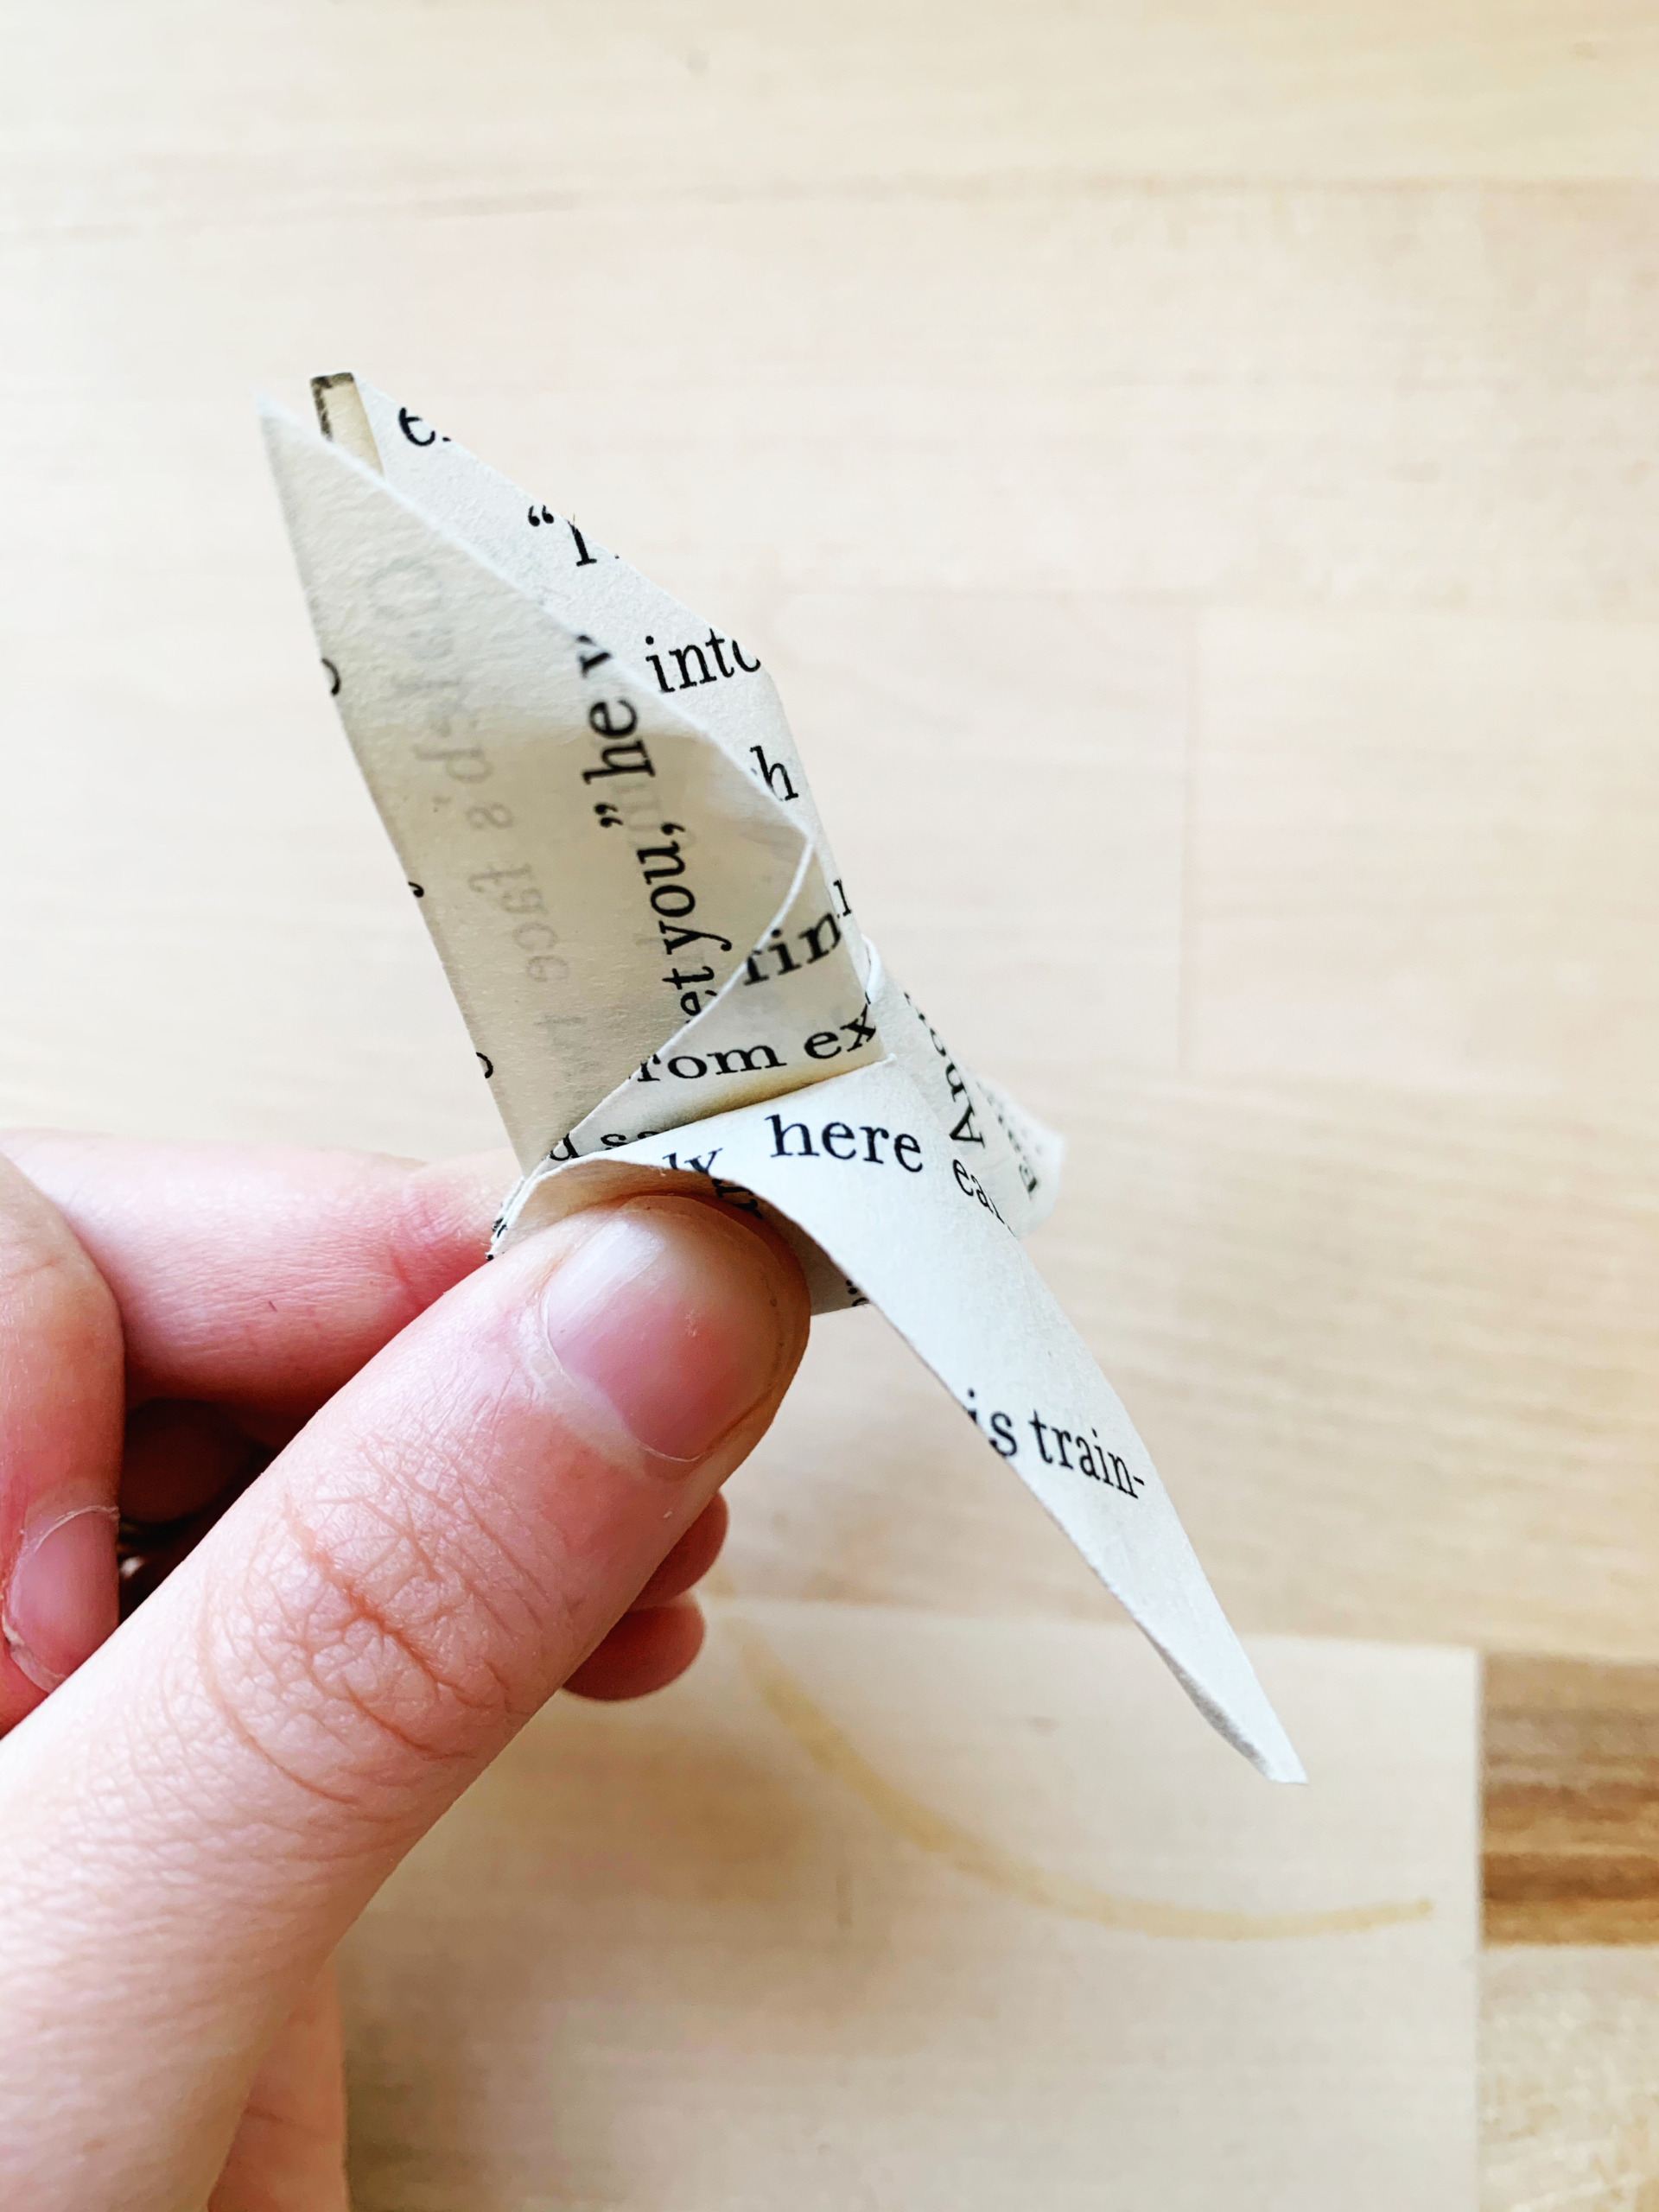
10. Lastly, pinch at the center, so the two top wings meet each other and crease the bottom so your butterfly can keep its form!
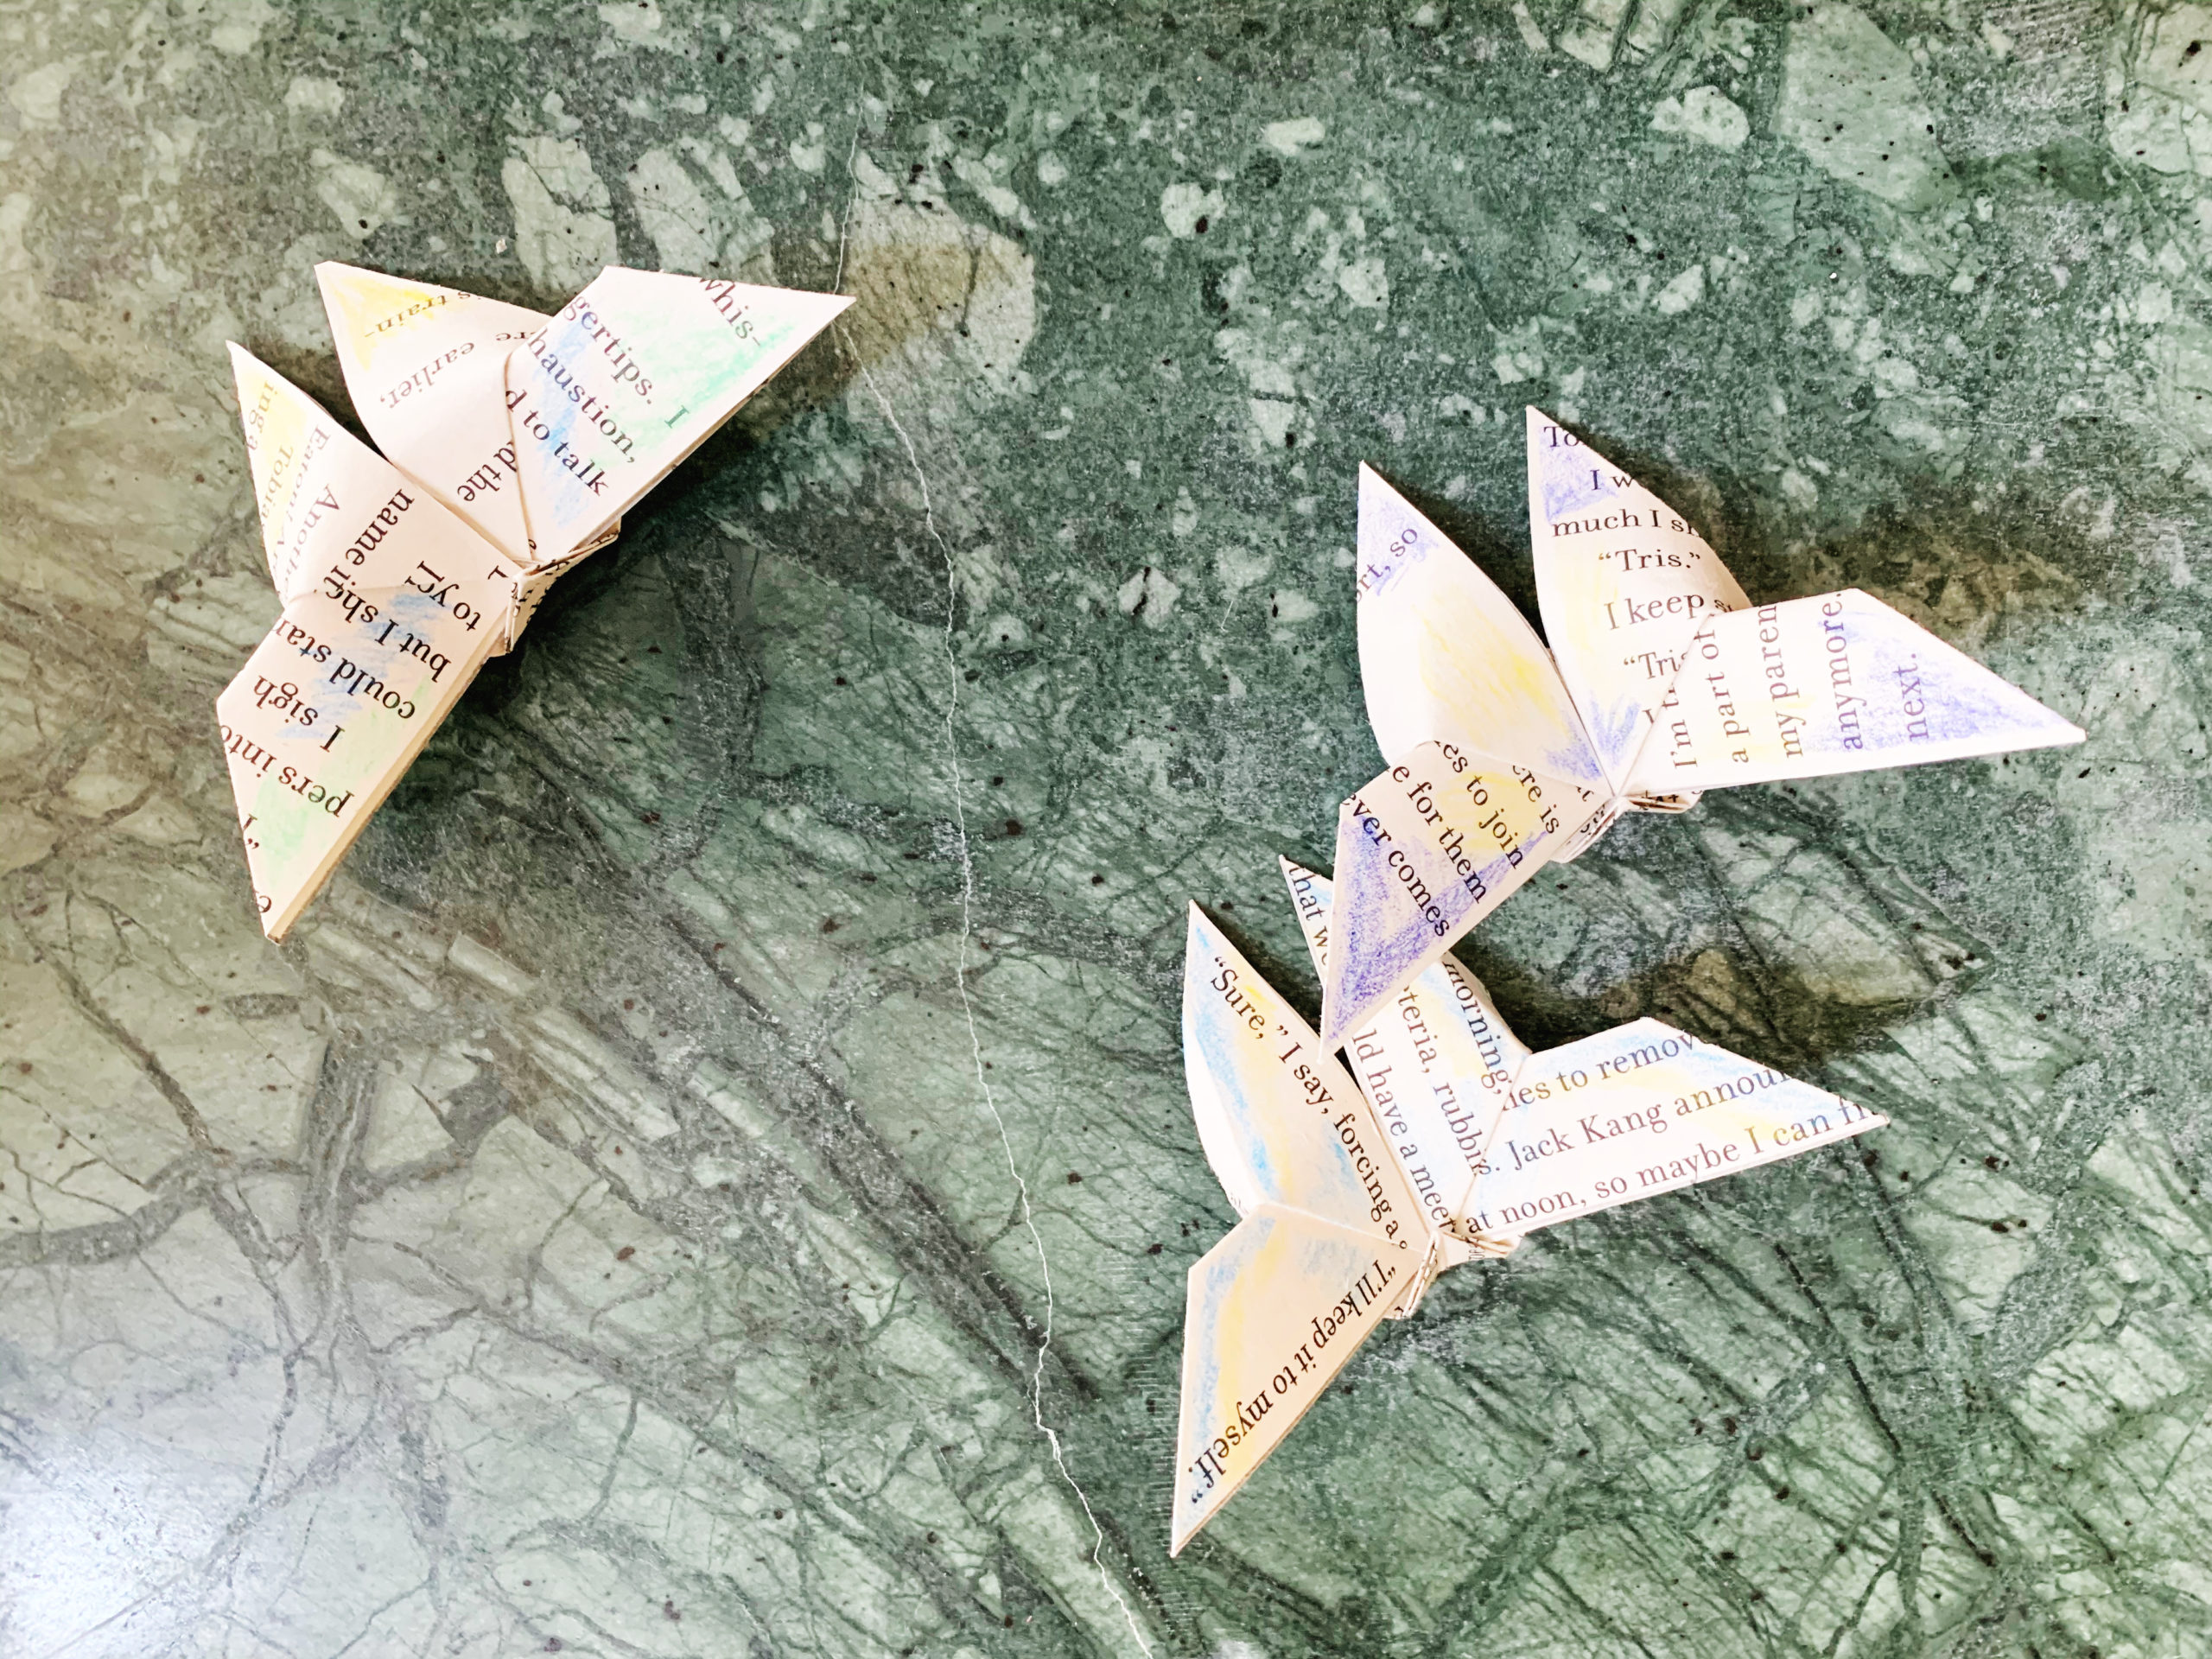
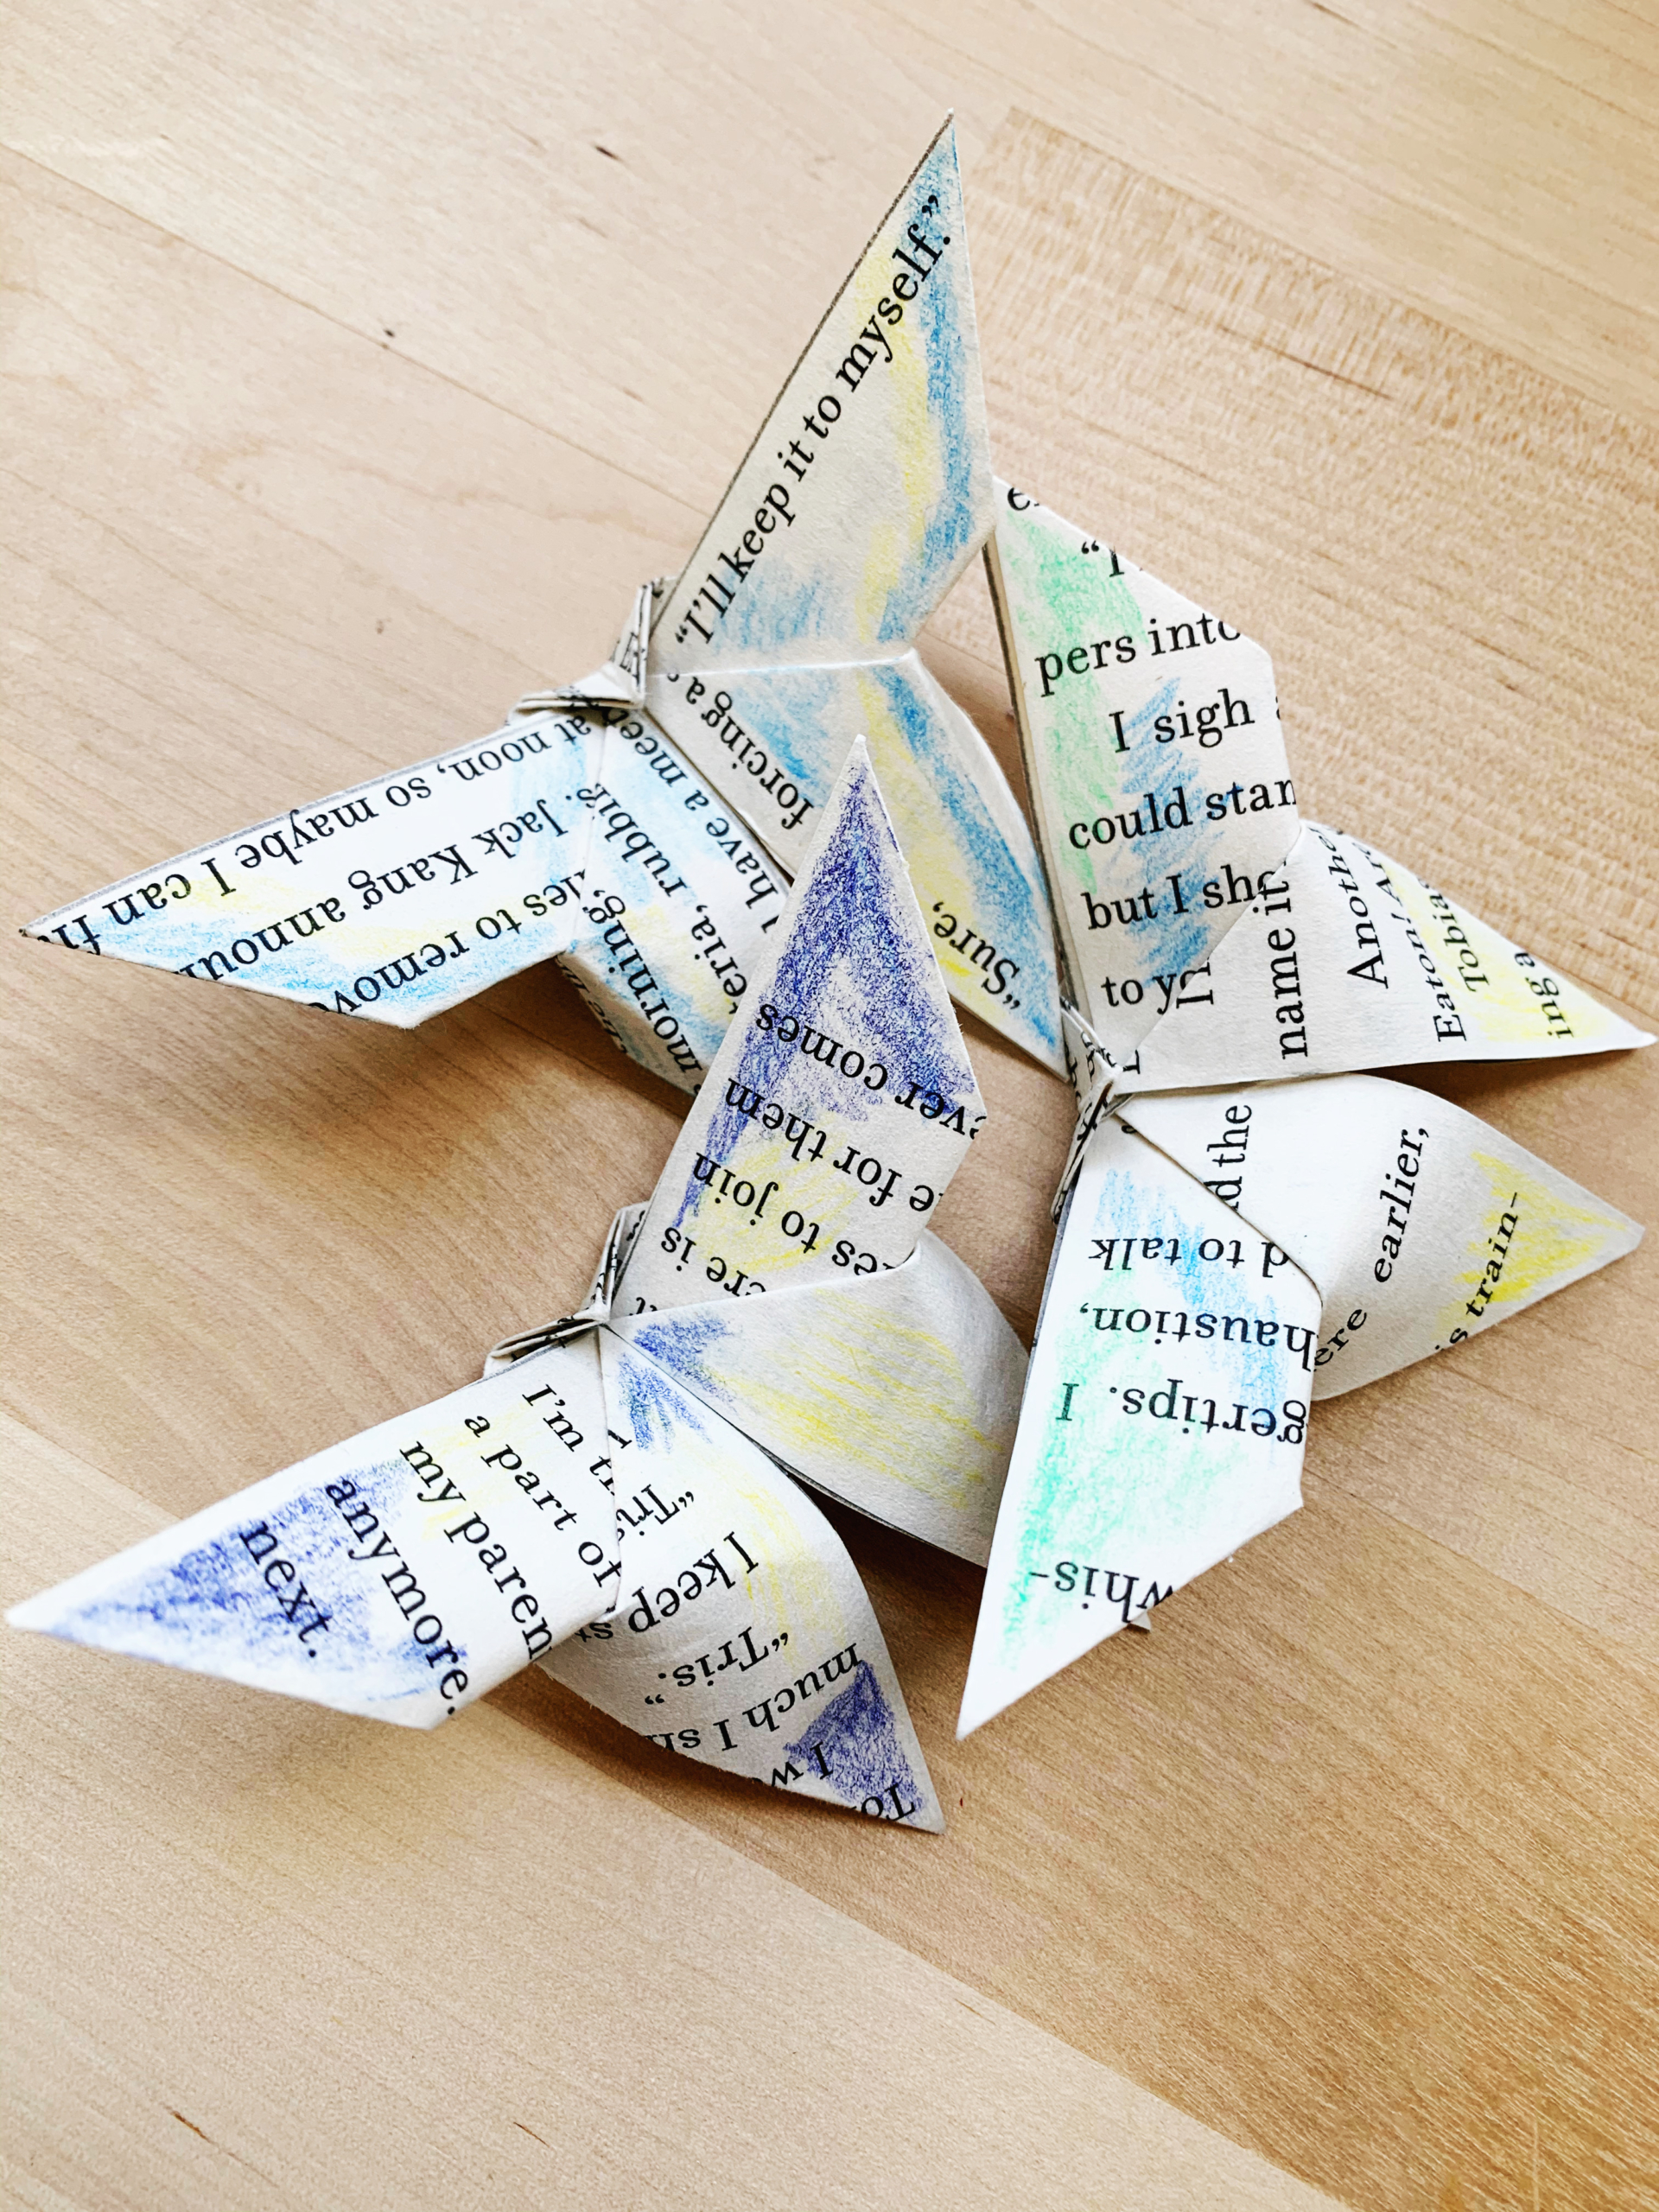
Step Four: If you didn’t color your butterfly before folding, this is the time to give your origami butterfly some life! Using colored pencils, color in the butterflies’ wings. You can look at some inspiration from your favorite butterflies, or just make up your own!
Note: If you want to keep the natural beauty of your book pages, you can also skip this step and decide not to add color to your butterfly. The simple text can be just as pretty!
Now all that is left to do is find a home for your fluttering friend and enjoy! How will you display your butterflies?