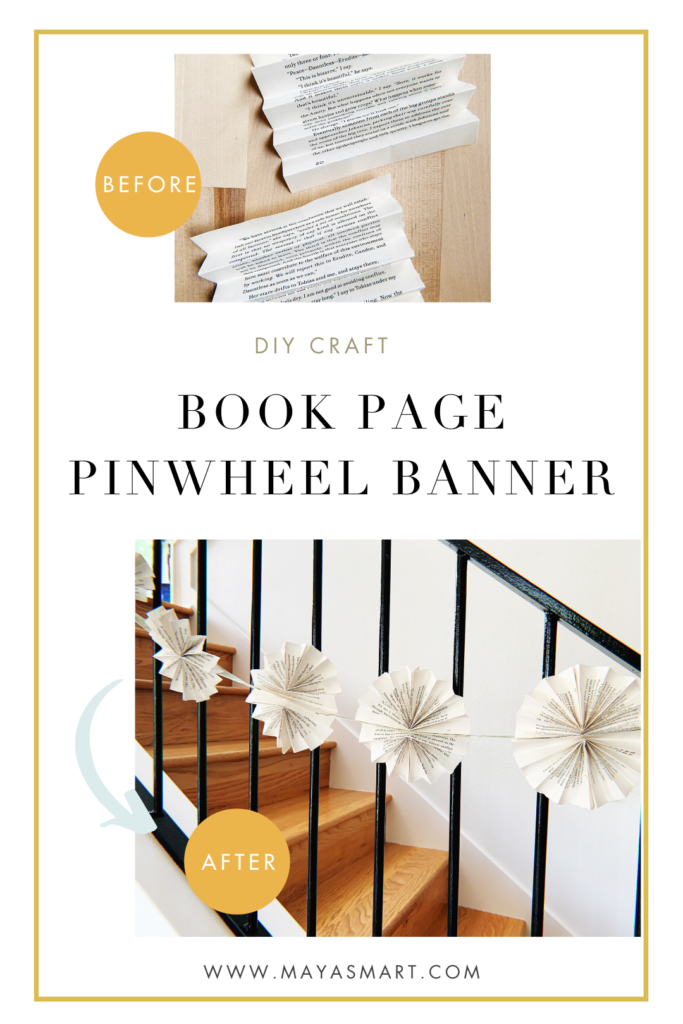
Making your own streamers and decorations out of recycled paper is a beautiful way to keep birthday parties and other happenings eco-friendly. This DIY pinwheel banner upcycles book pages to create some cute lit-themed decor for your next event or photo shoot.
Create an elegant black-and-white look with plain-text pages and white ribbon, or add some festive color with bright ribbon or illustrated pages (obsolete encyclopedias and nature guides can be great sources).
This is an excellent book craft to do with kids—just be careful with the glue gun (or use glue dots instead). If you’re working with younger children, you might choose to alternate pinwheels from larger and smaller book pages to distract from any imperfections.
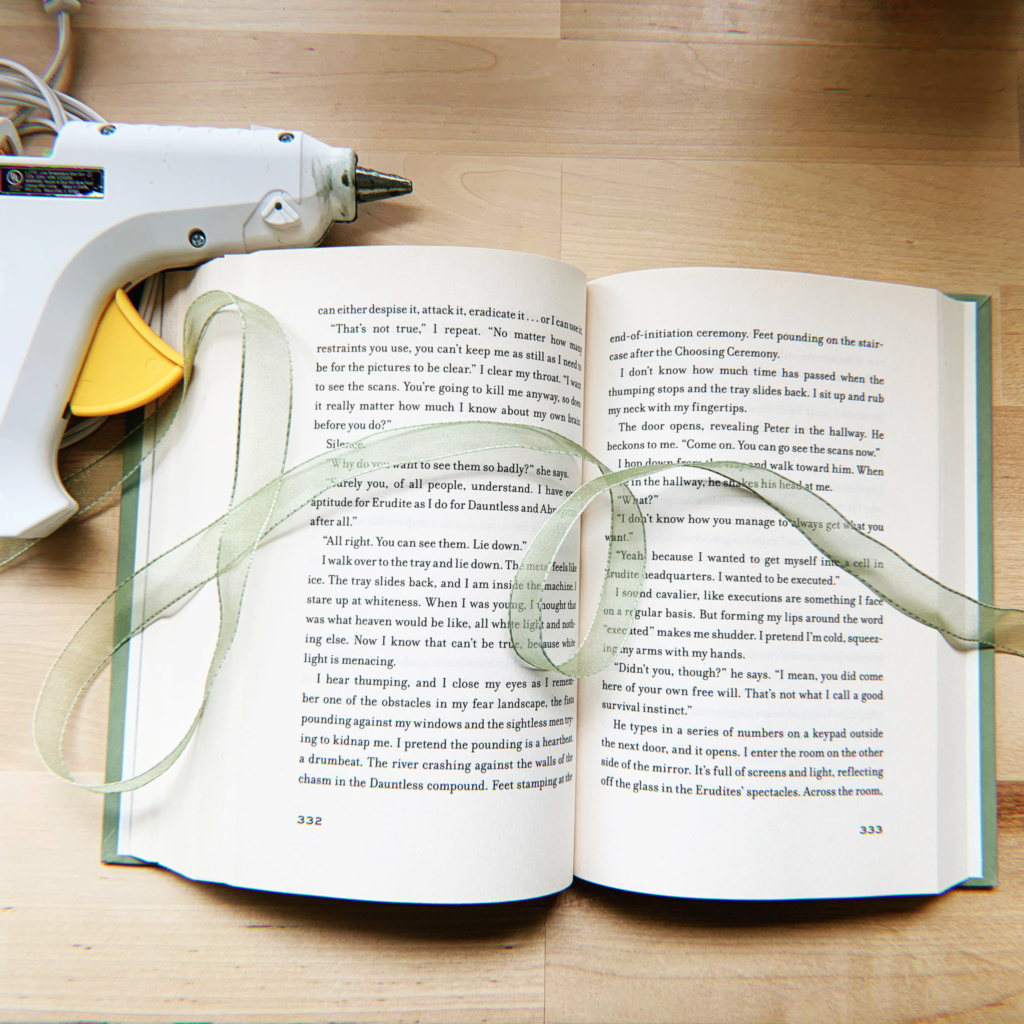
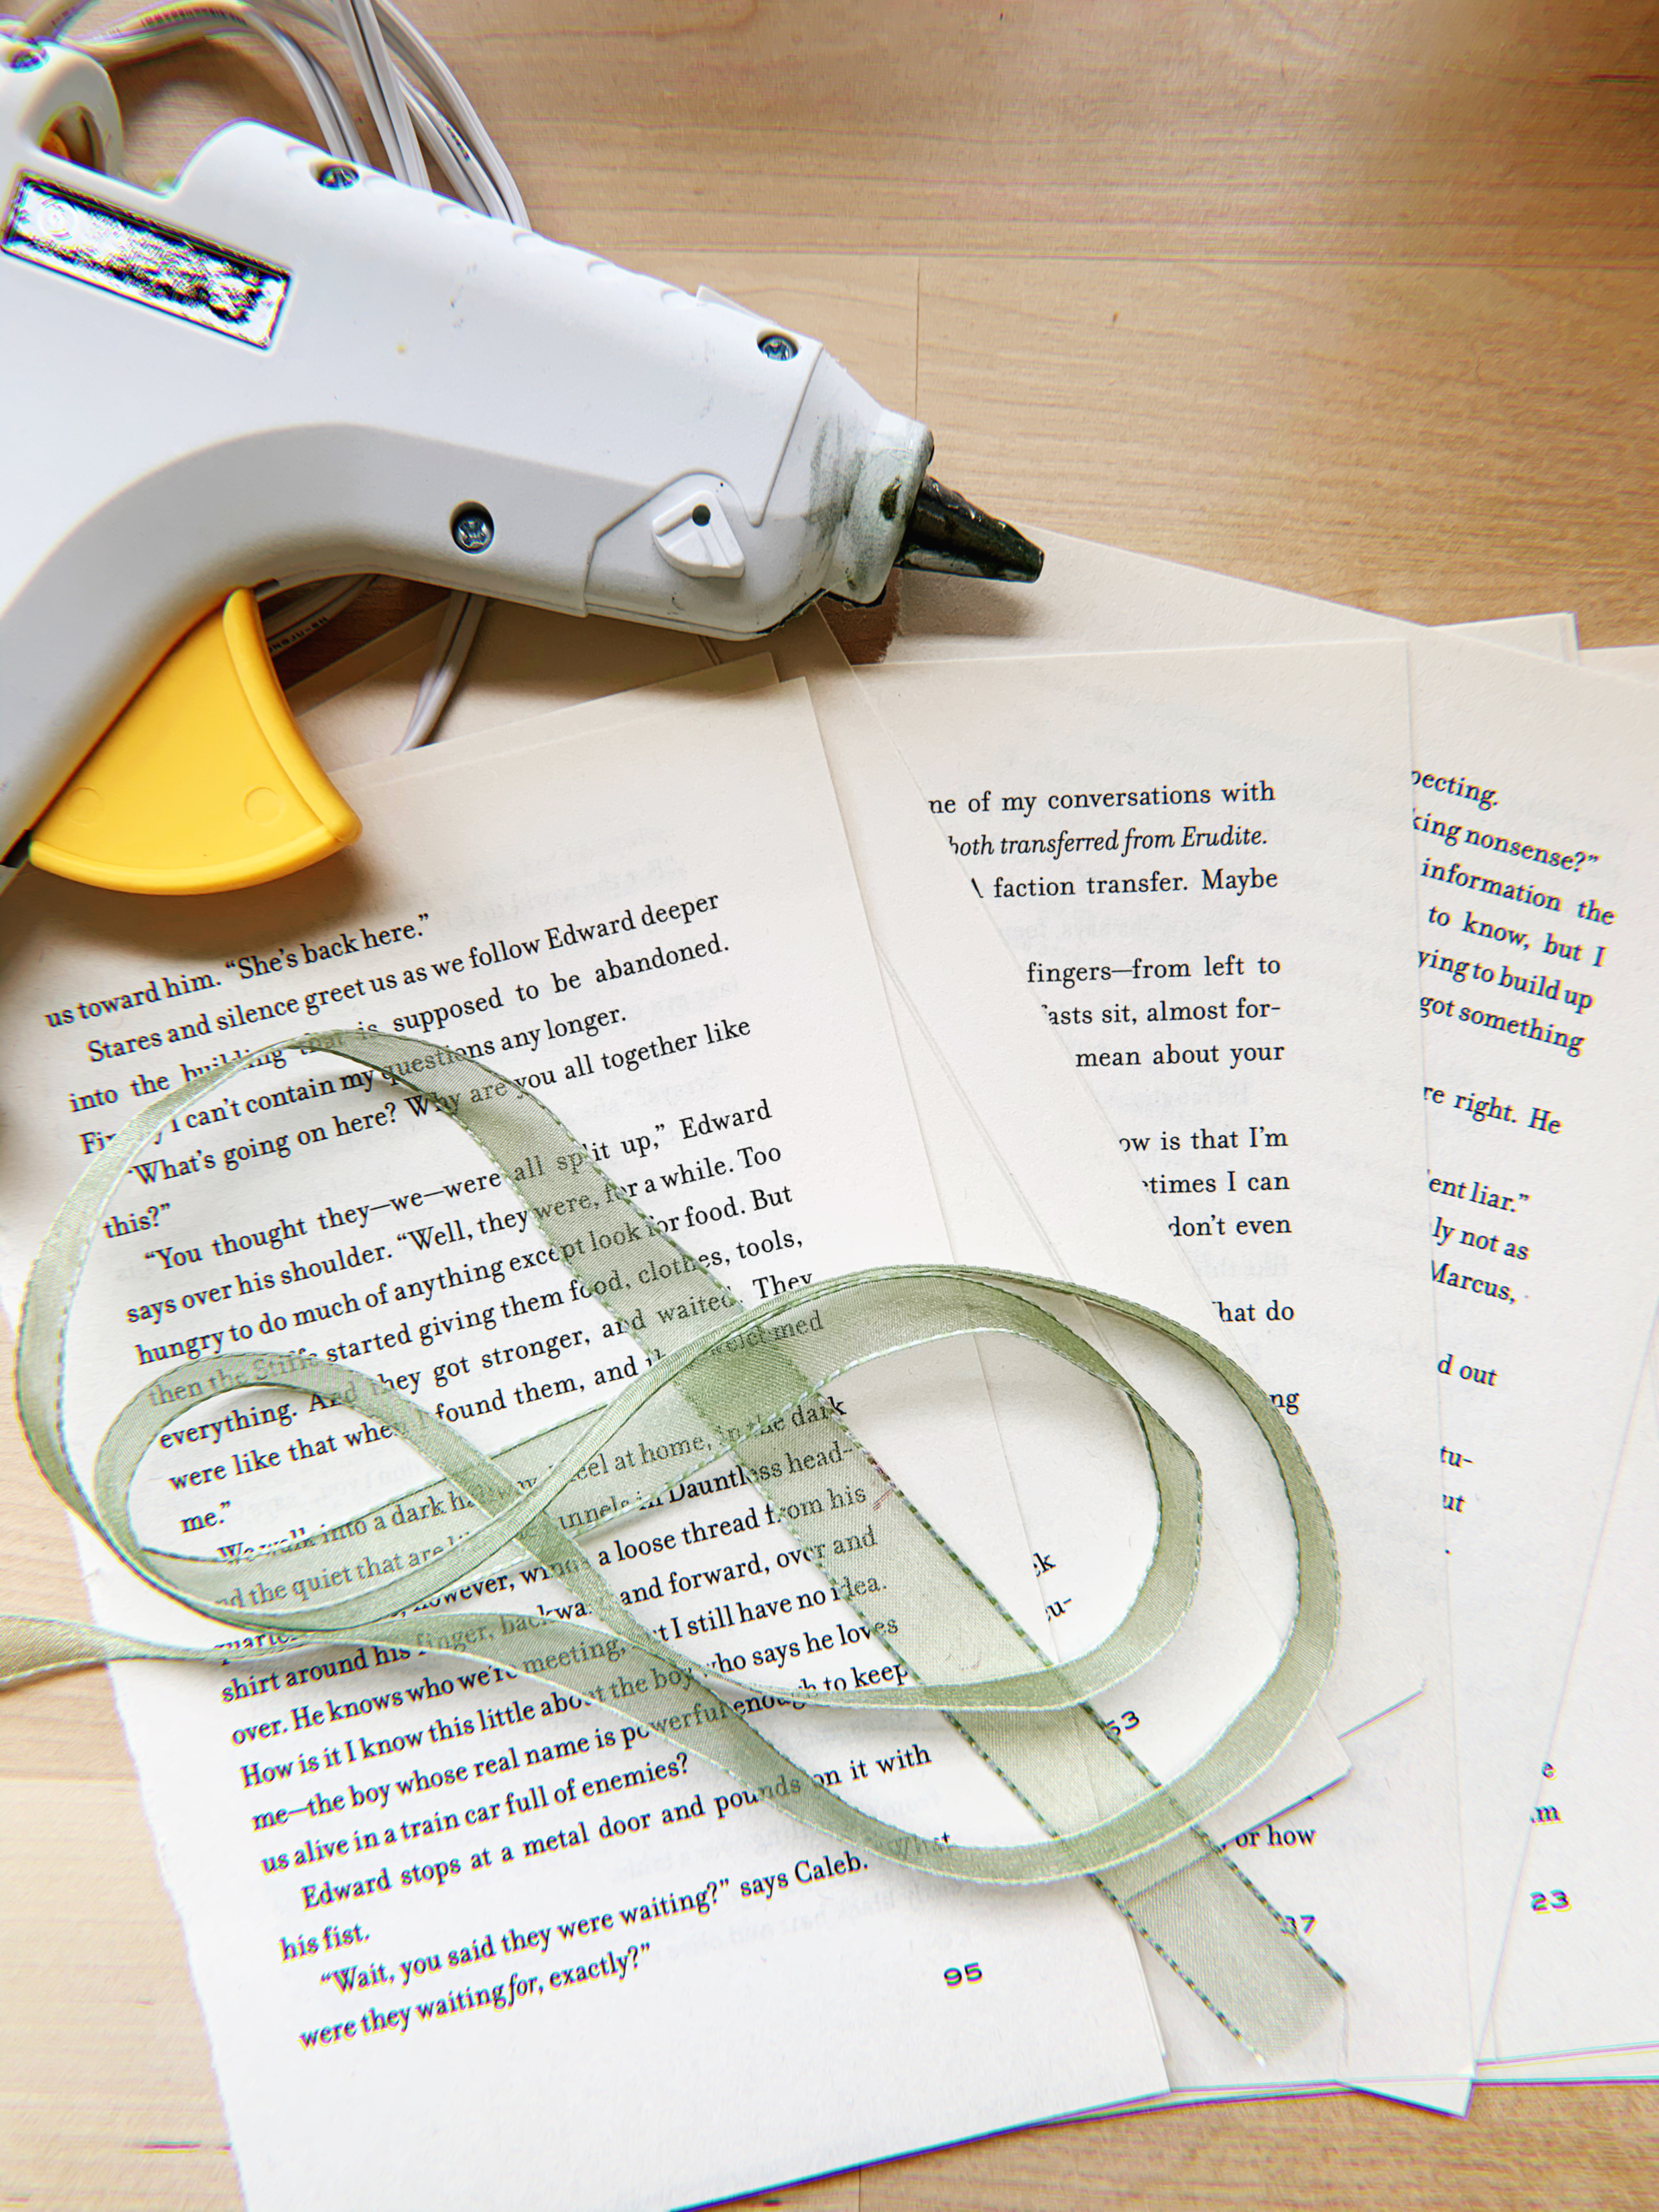
Materials:
- Pages from obsolete or outdated books
- Glue gun & glue sticks (or glue dots for young kids)
- Ribbon
Cost: If you already have a glue gun, this craft should not cost you anything! If you have outdated books around the house, this is the perfect way to save a tree and upcycle their pages instead of buying or making decorations out of brand-new paper.
Step One:
Find your book. If you have obsolete books around the house, perfect! Otherwise, you can pick up some up at a yard sale, thrift store, or even a local library. But keep in mind that for this project it is best to find a book with sturdy pages.
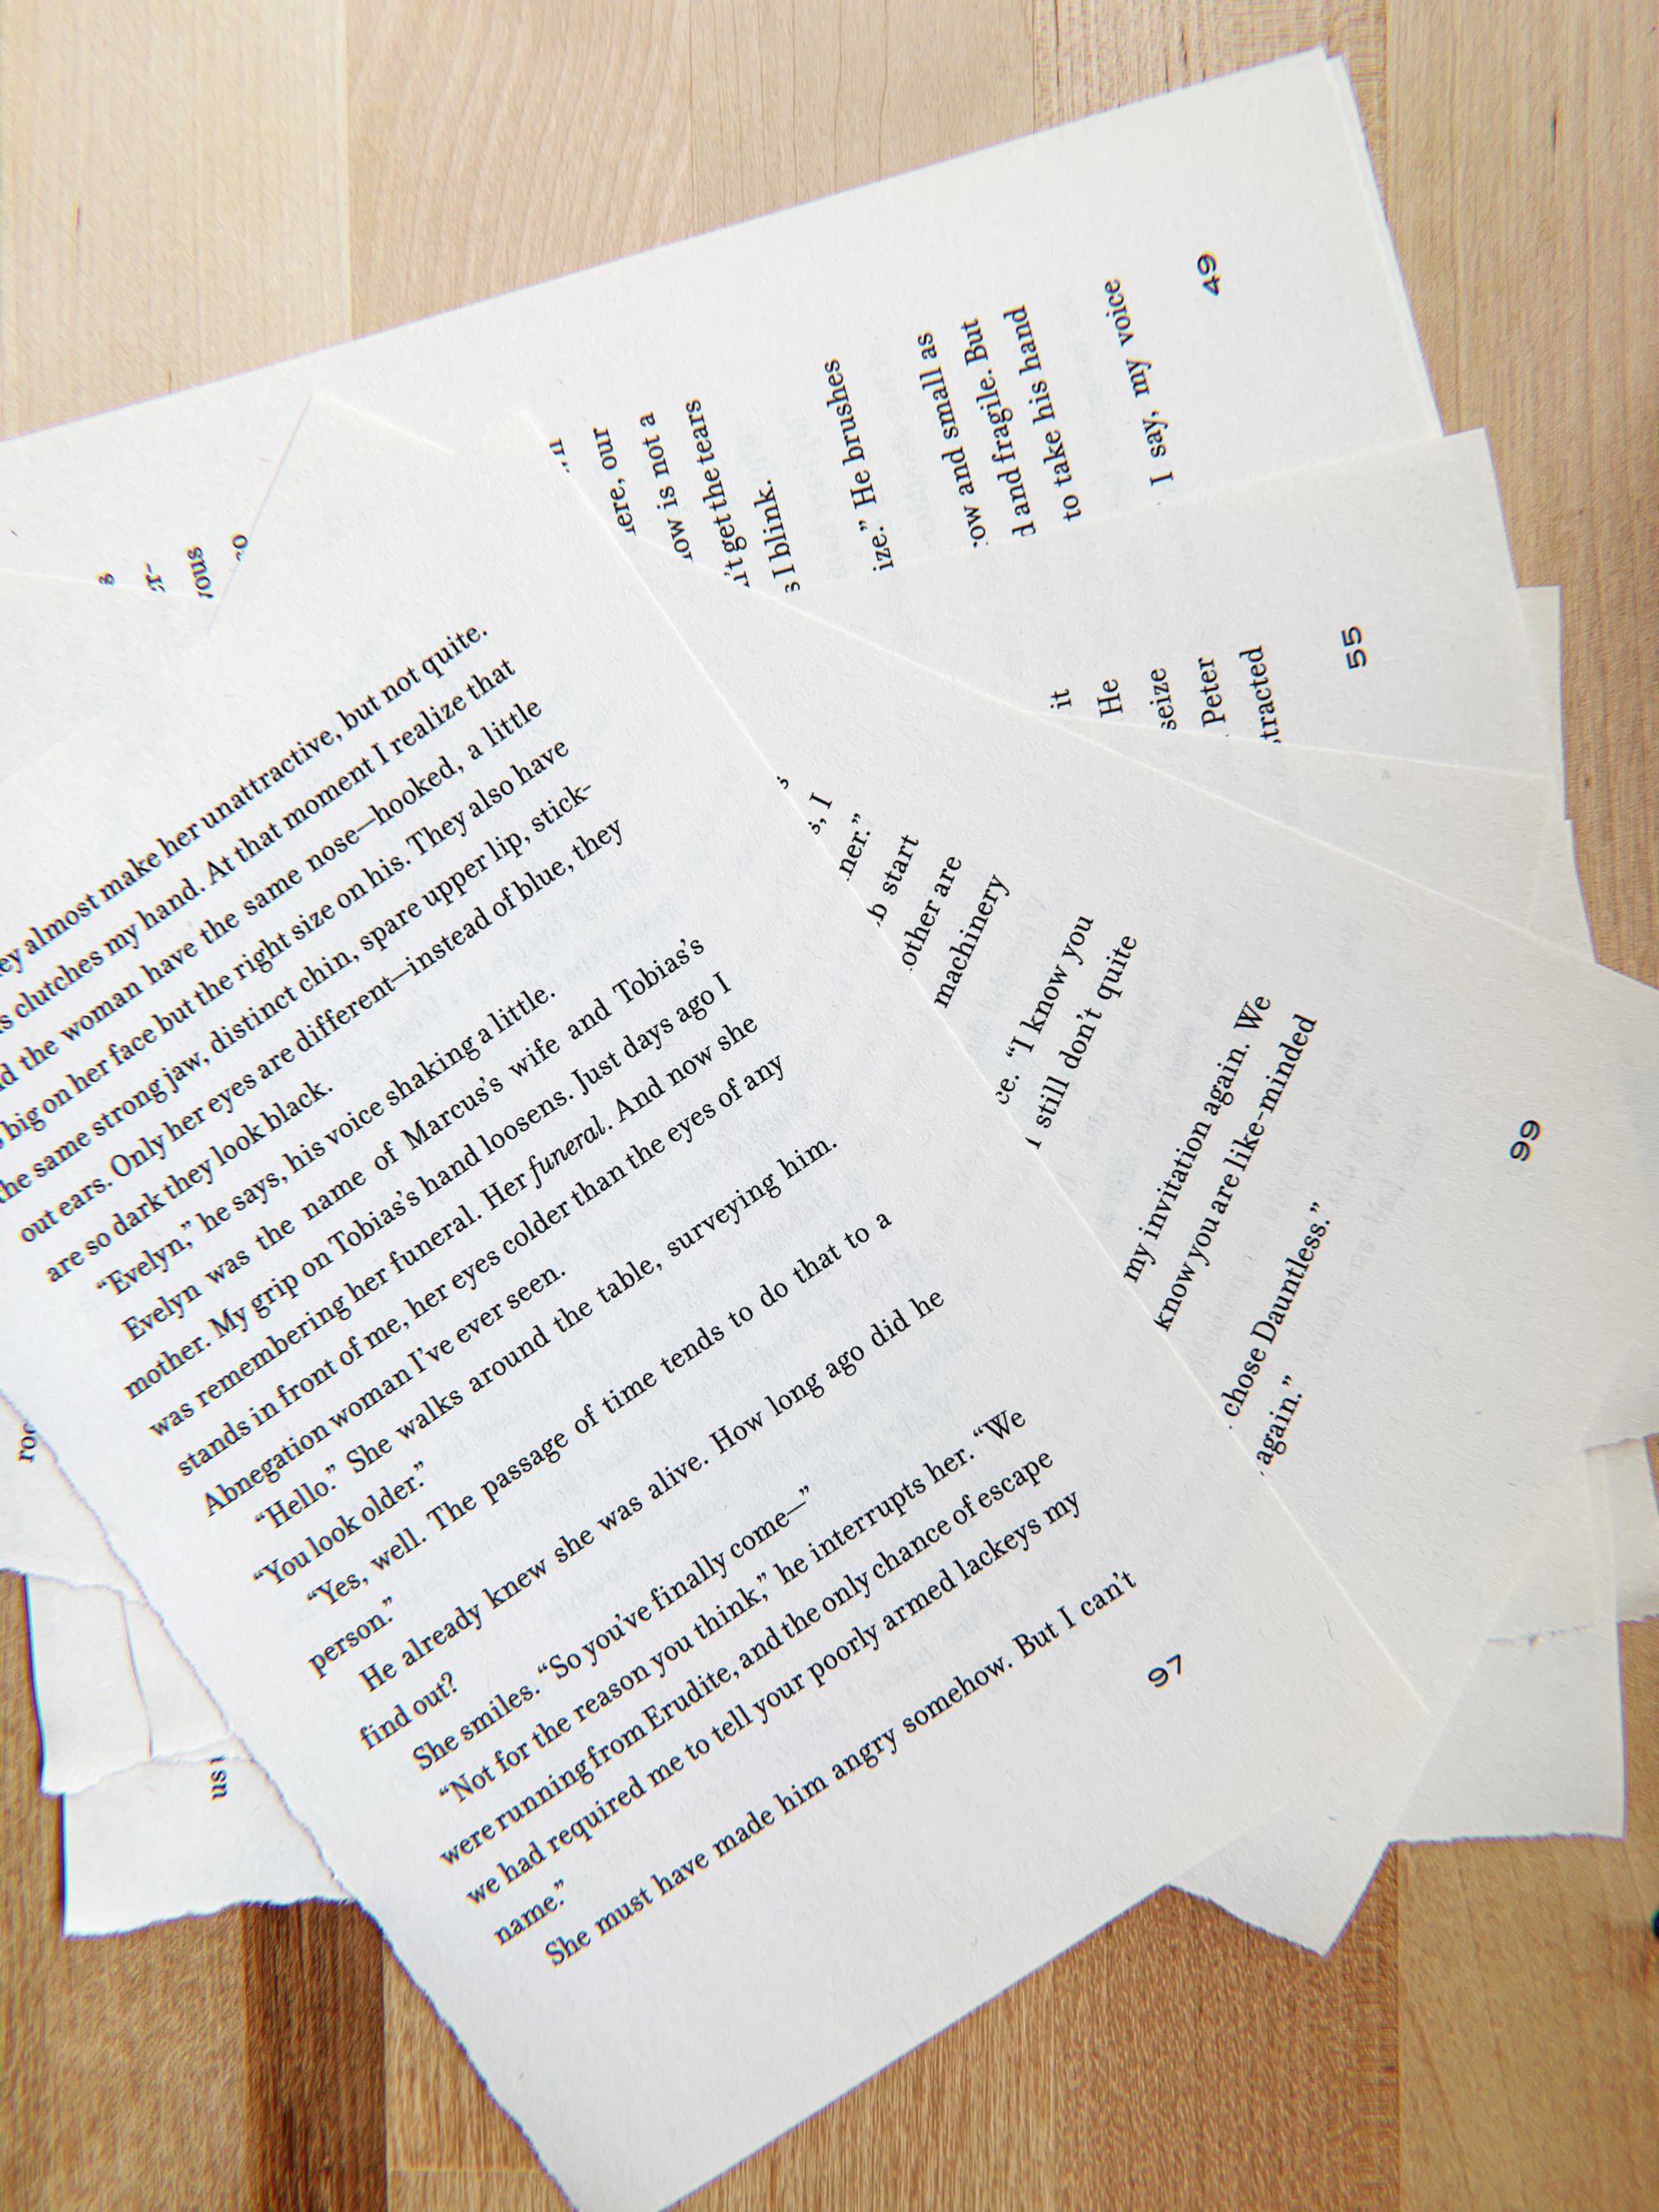
Step Two:
Carefully pull out several pages from your book. You will need two pages per pinwheel, so decide how many pinwheels you want on your banner and double that number to know how many pages you need.
Pro tip: sometimes it’s easiest to pull out an entire section at a time (look at the top of the book to see the sections that are bound together), especially with older books! That way you are breaking the seam and not ripping out individual pages, which results in uneven edges that may impact how finished your pinwheel looks.
Step Three:
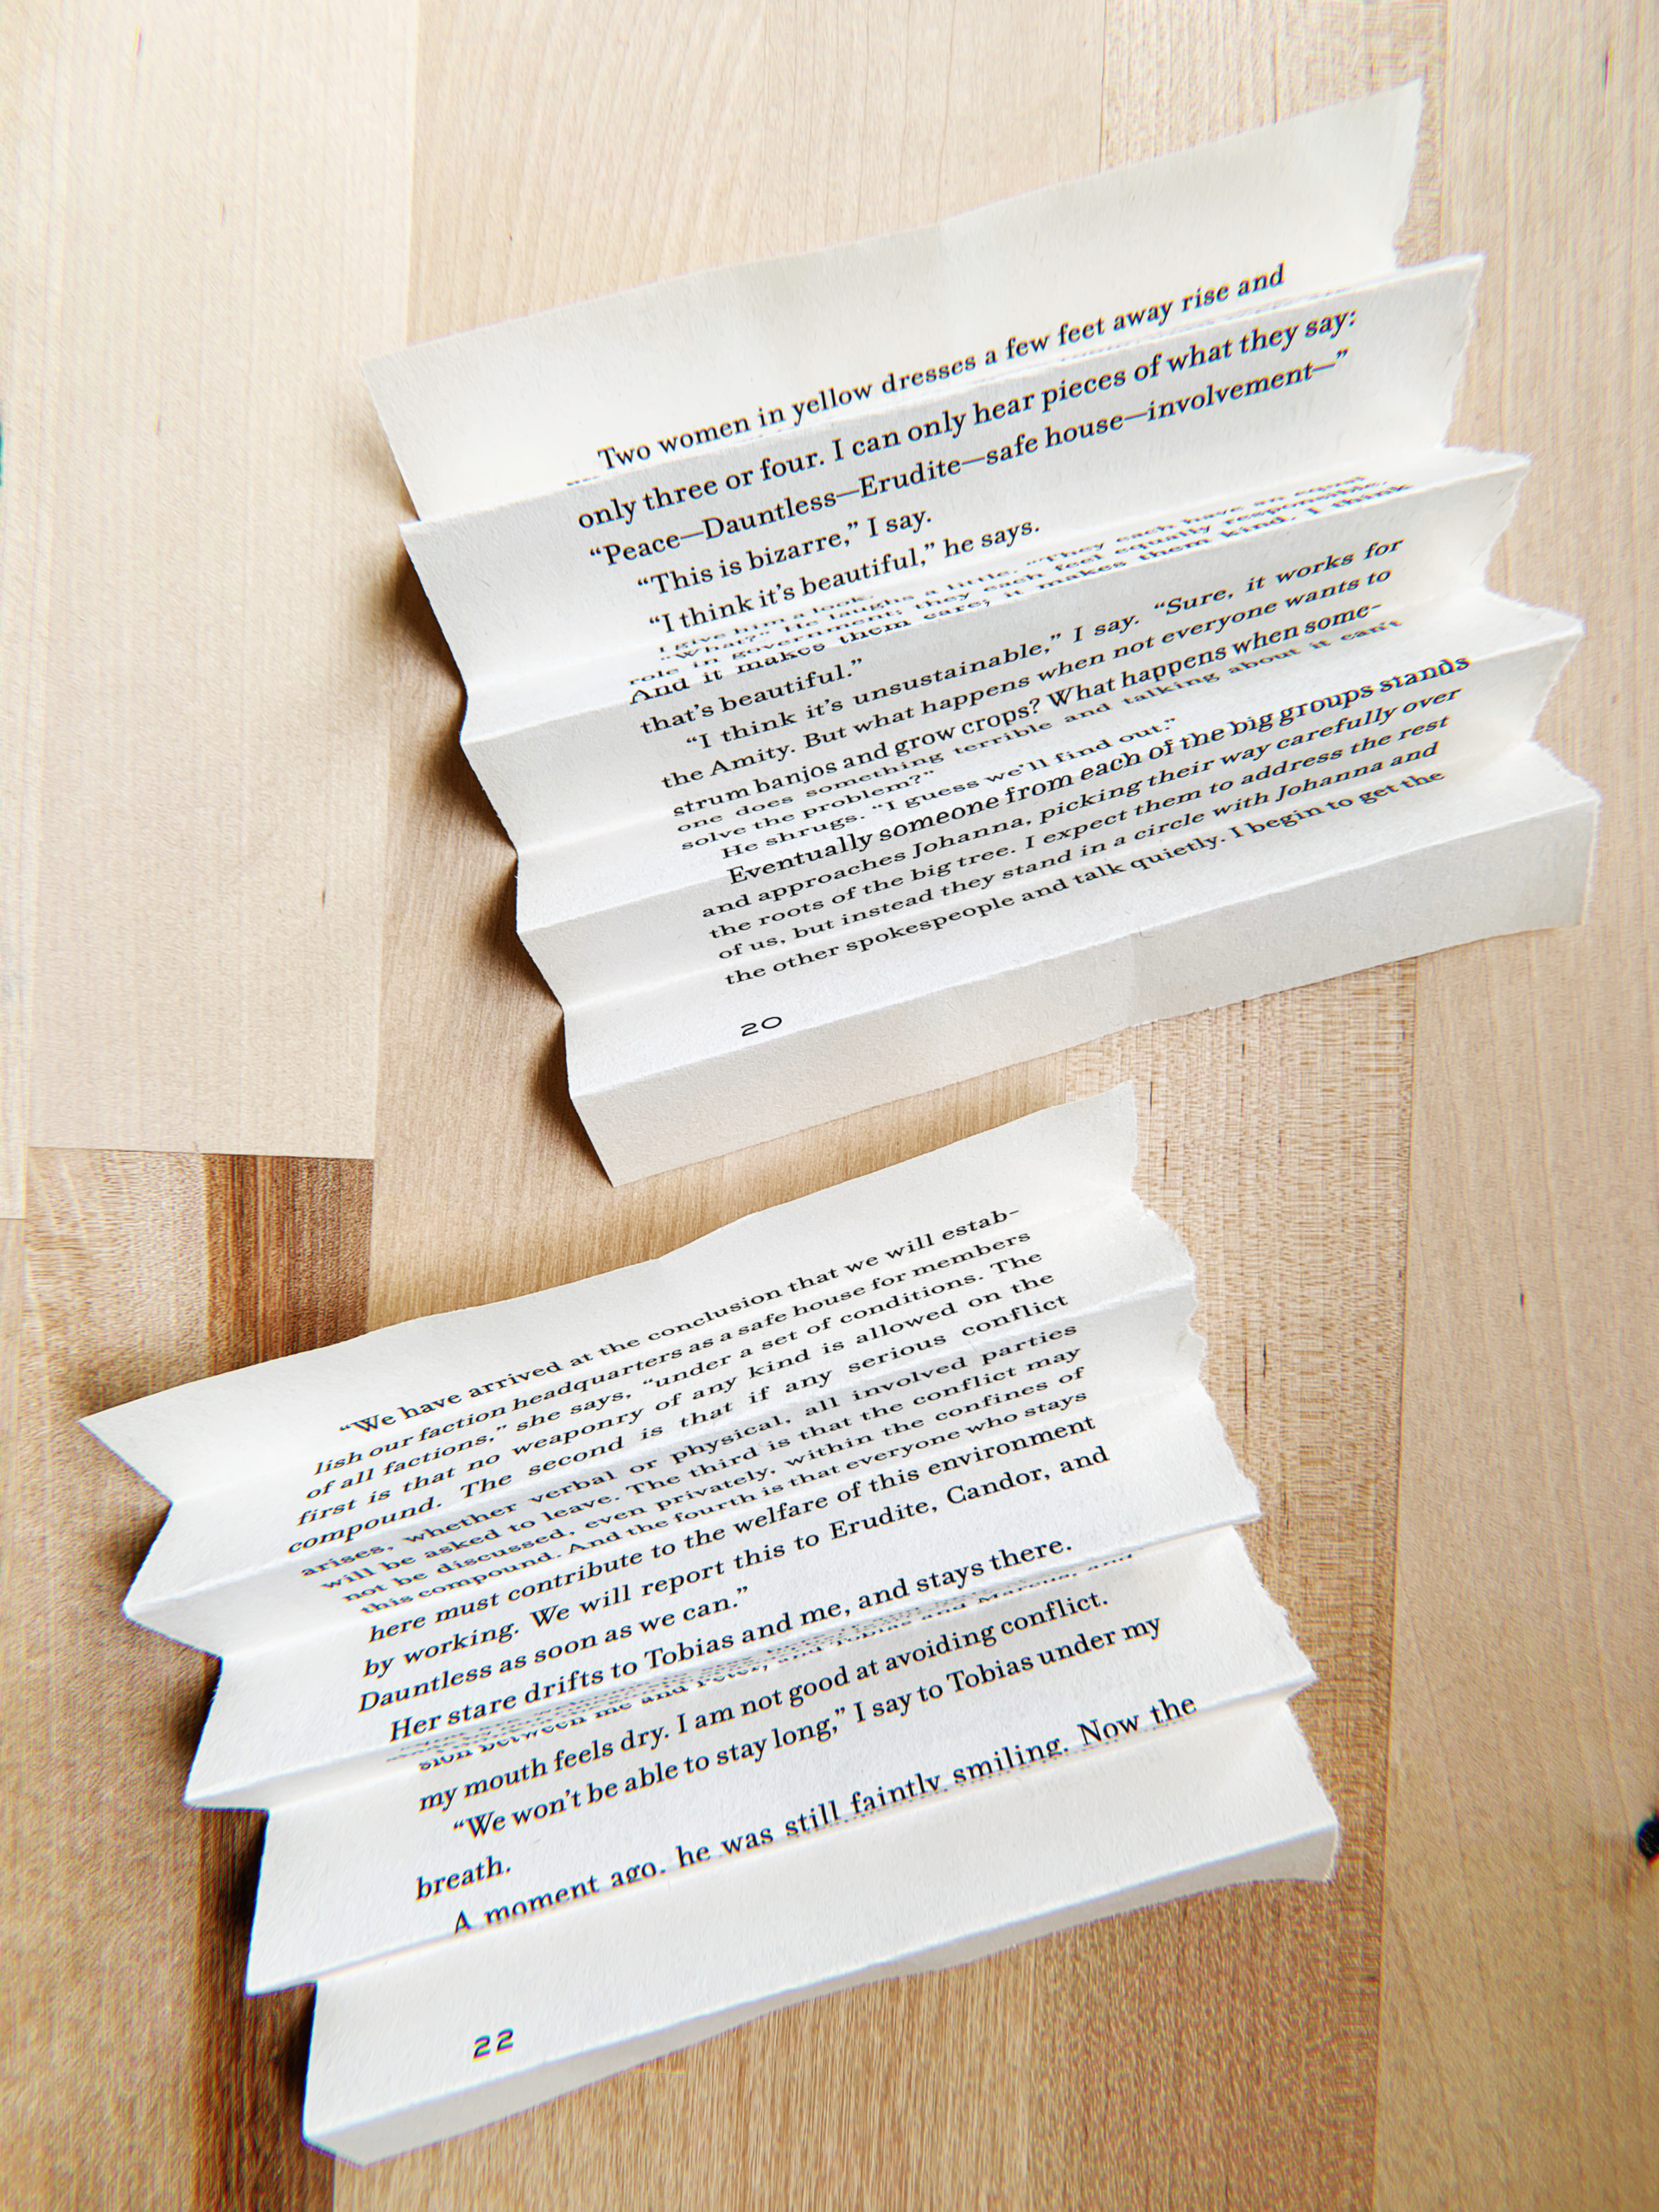
Now it’s time to fold your book pages like an accordion (also called fan-folding). Just create a series of even, parallel pleats, starting at one end of the page and working your way to the other. If you fold the pages carefully, you can stack them and fold two at a time.
Step Four:
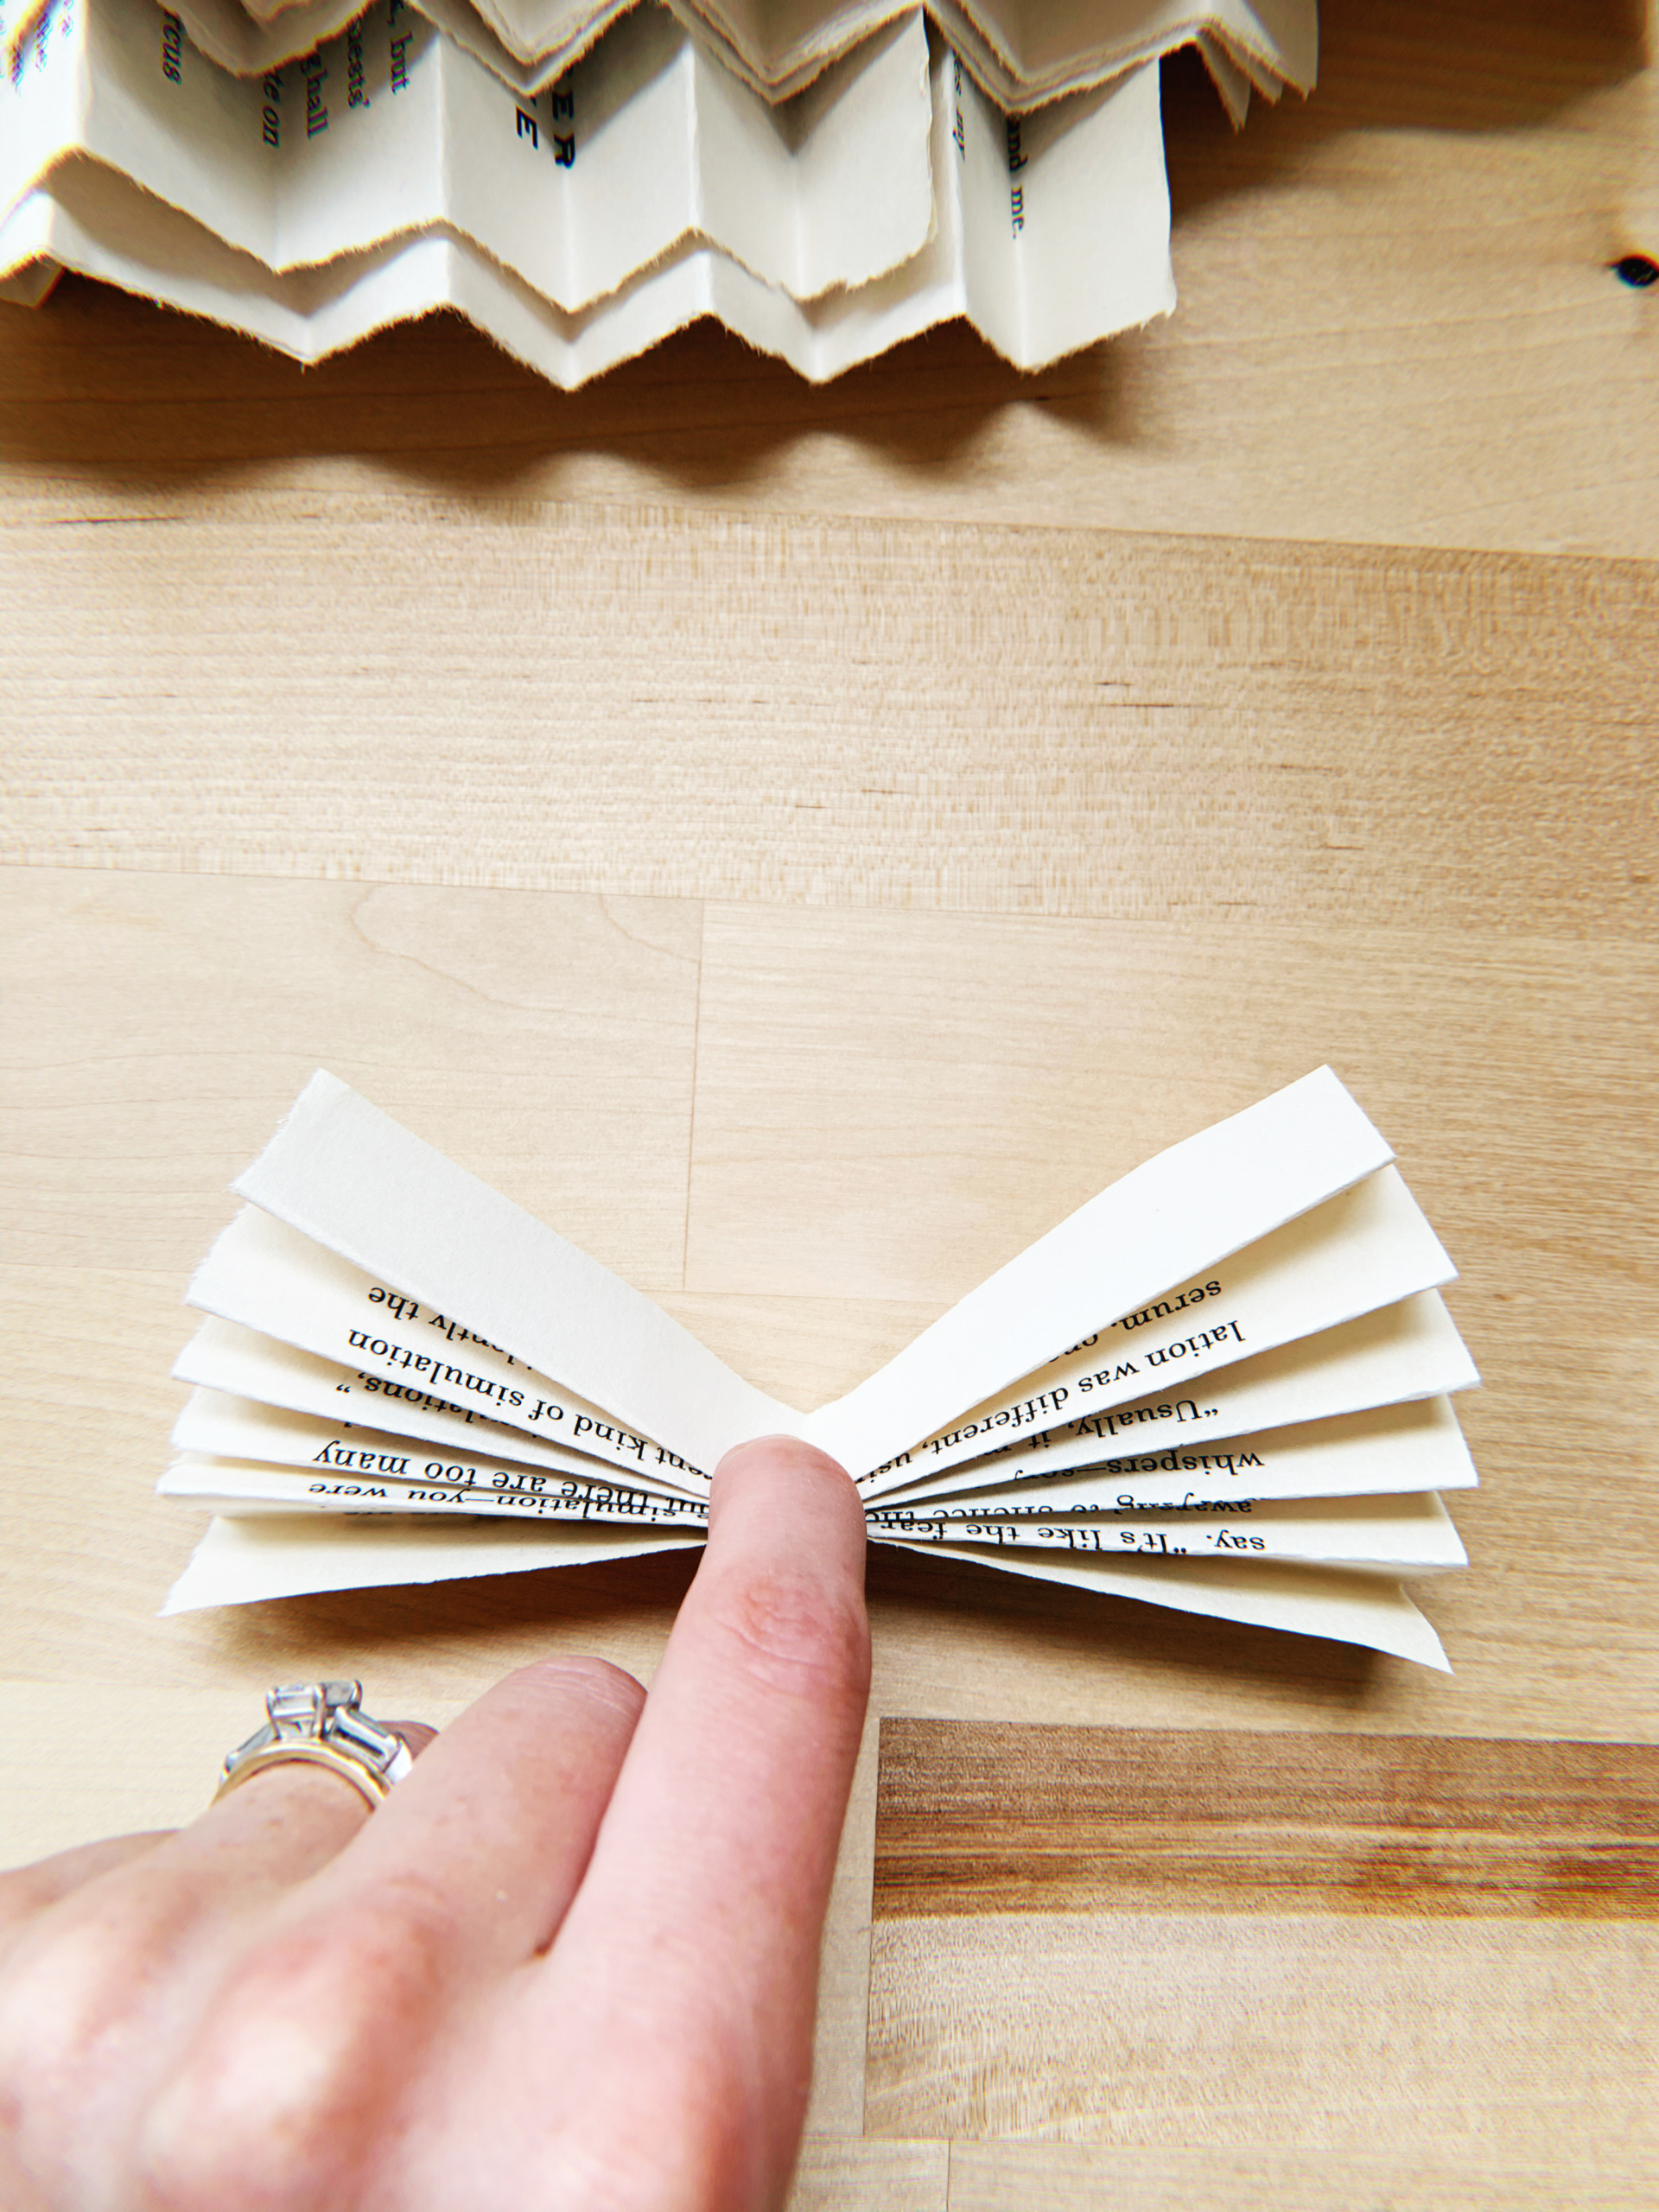
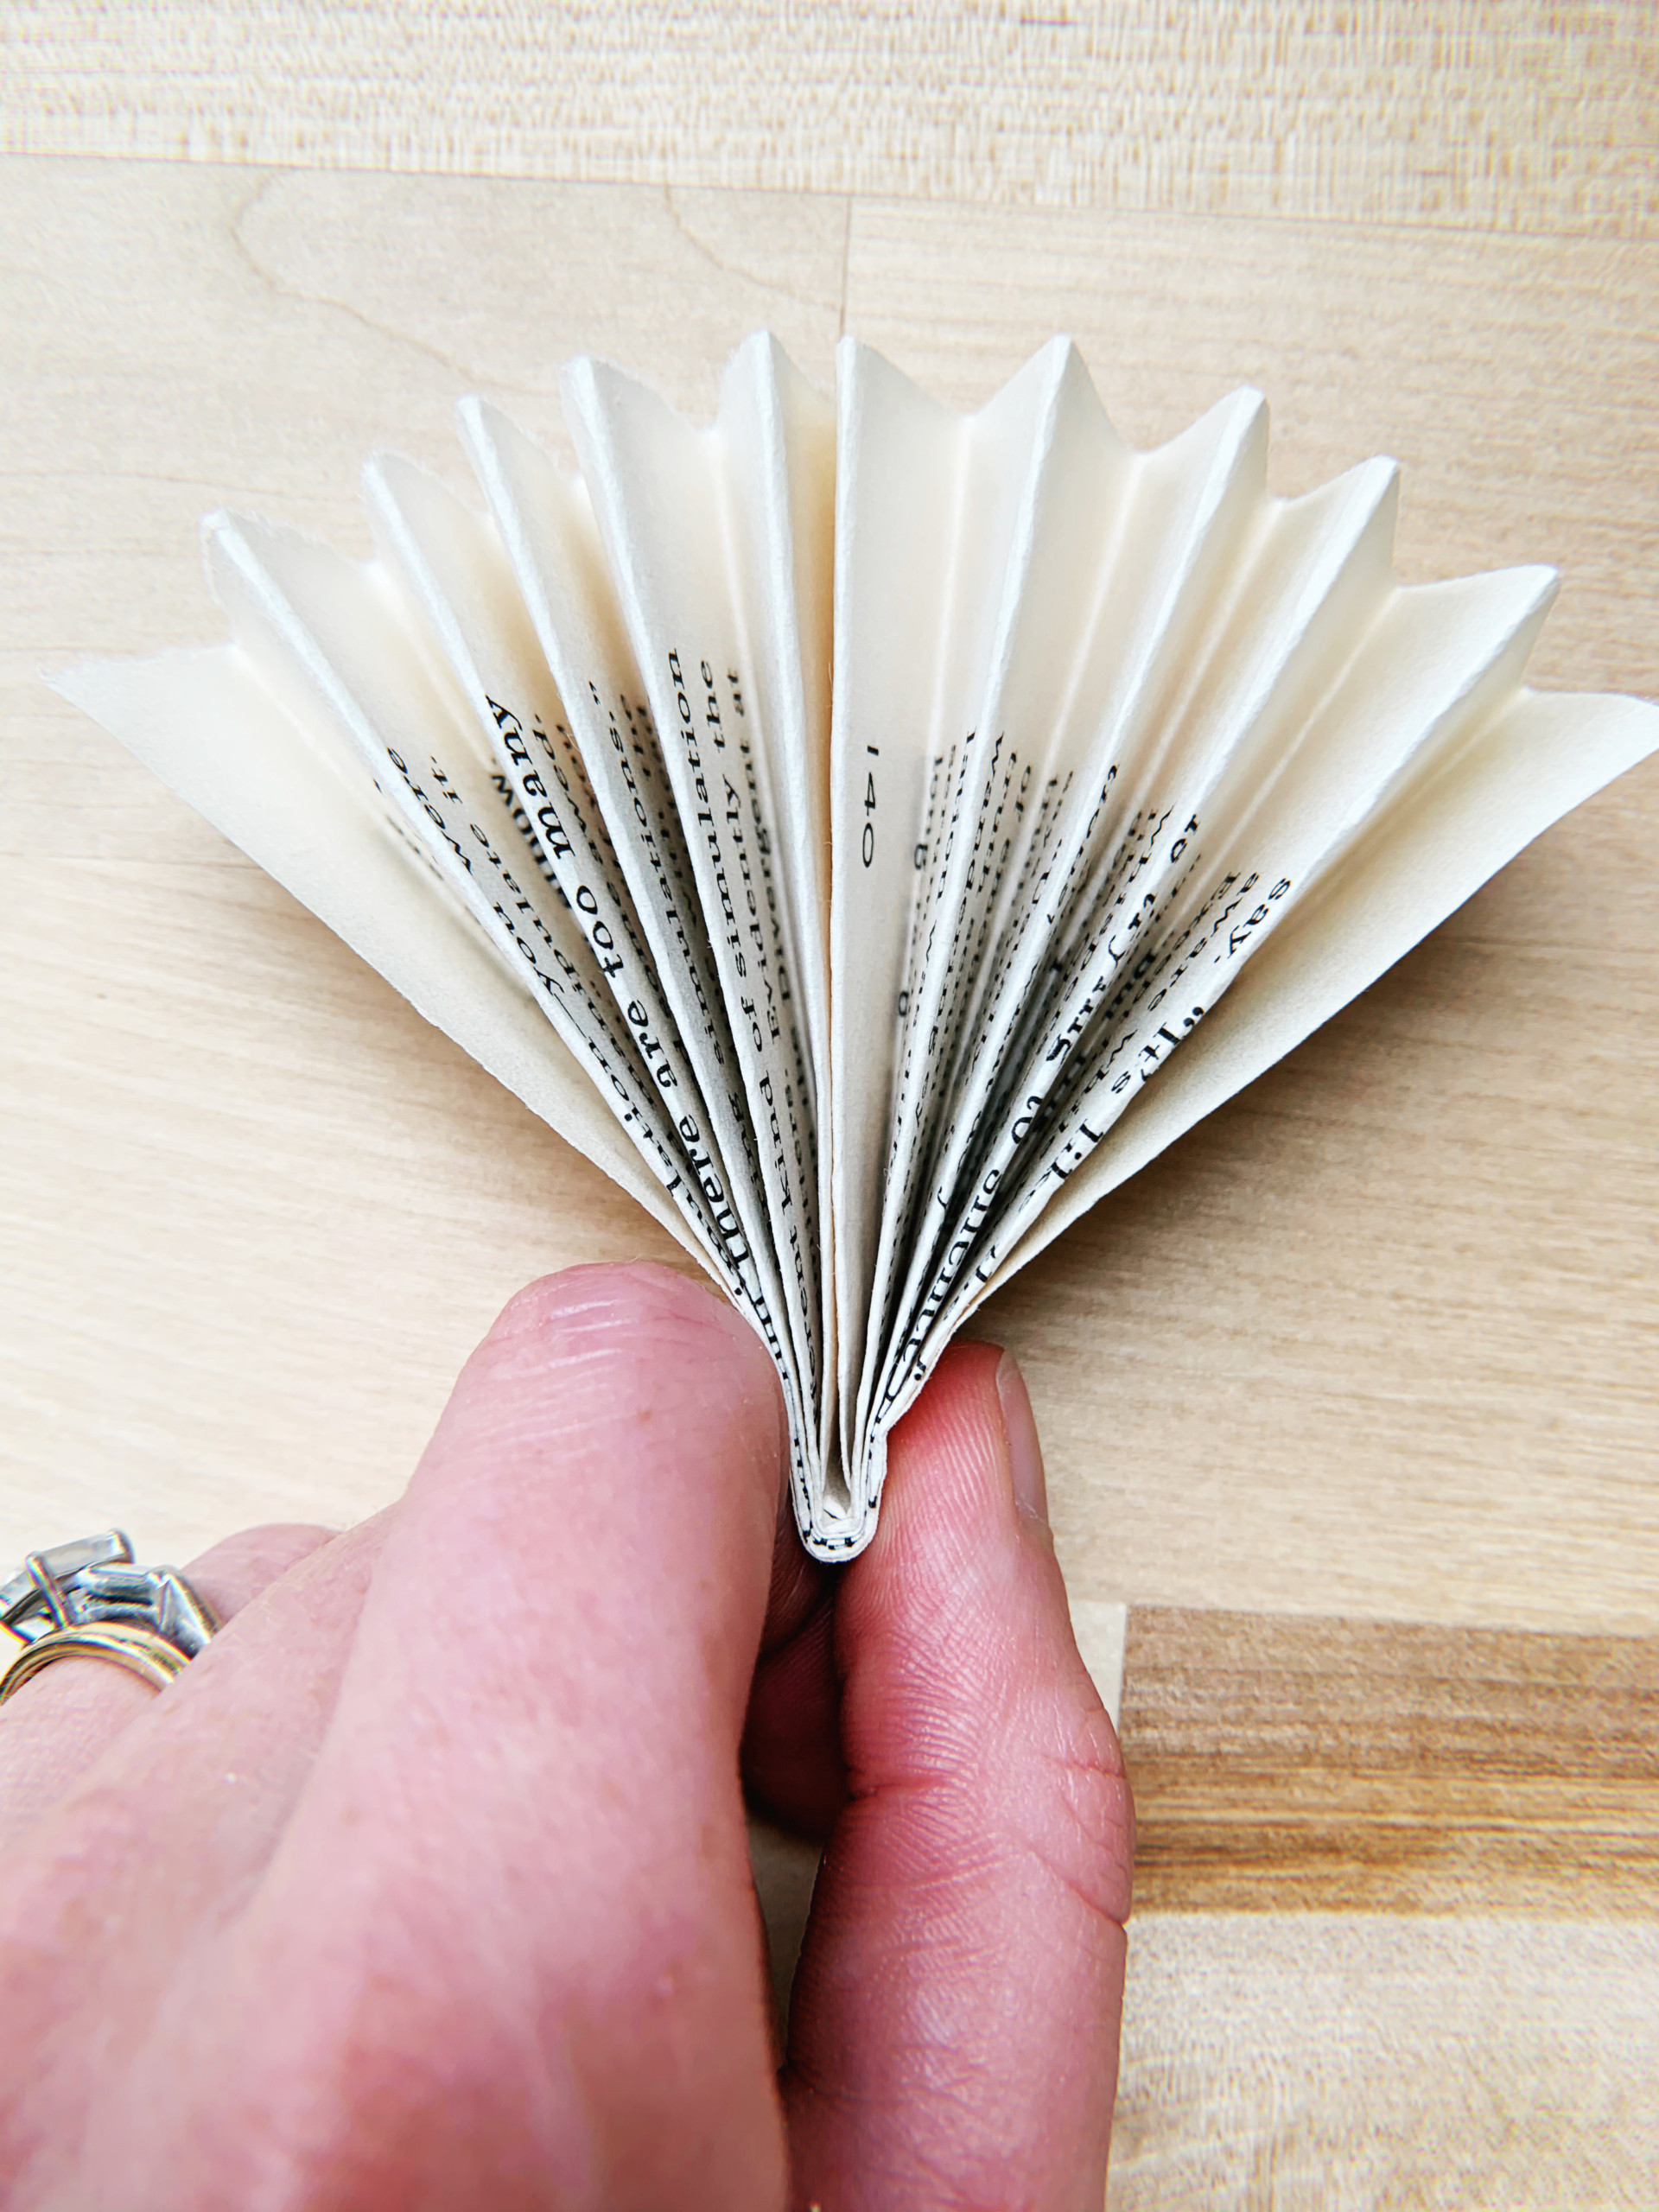
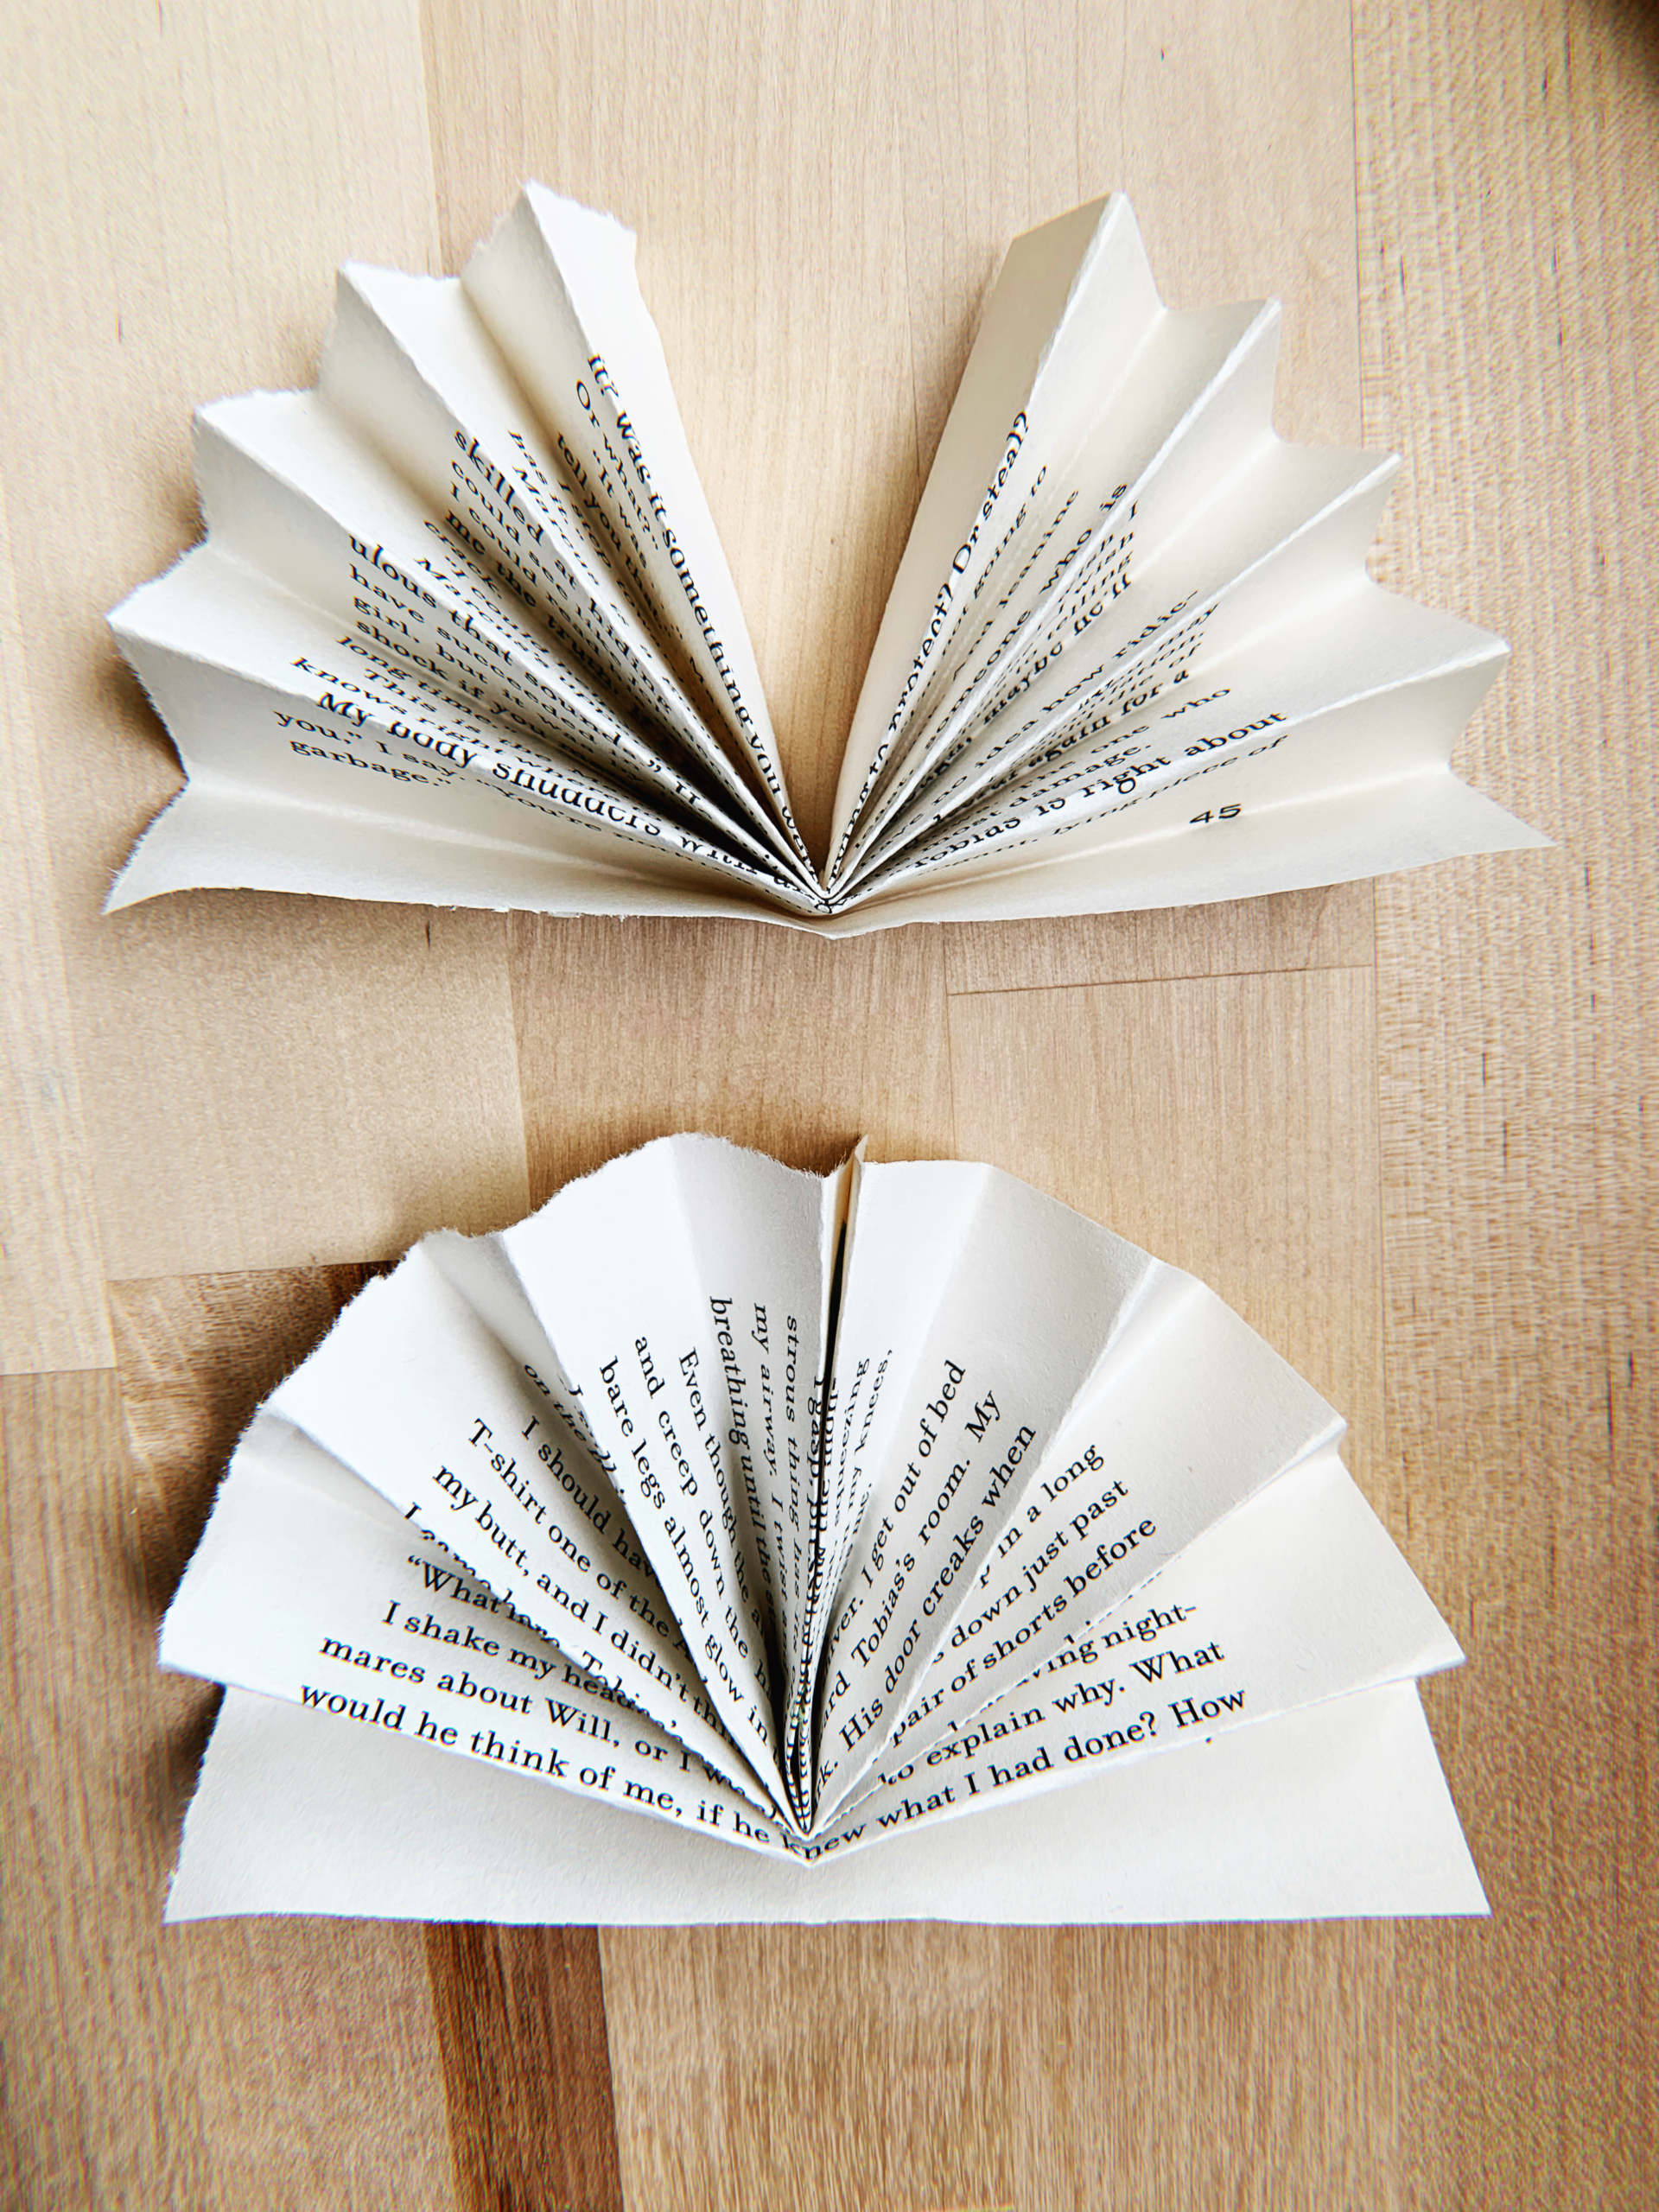
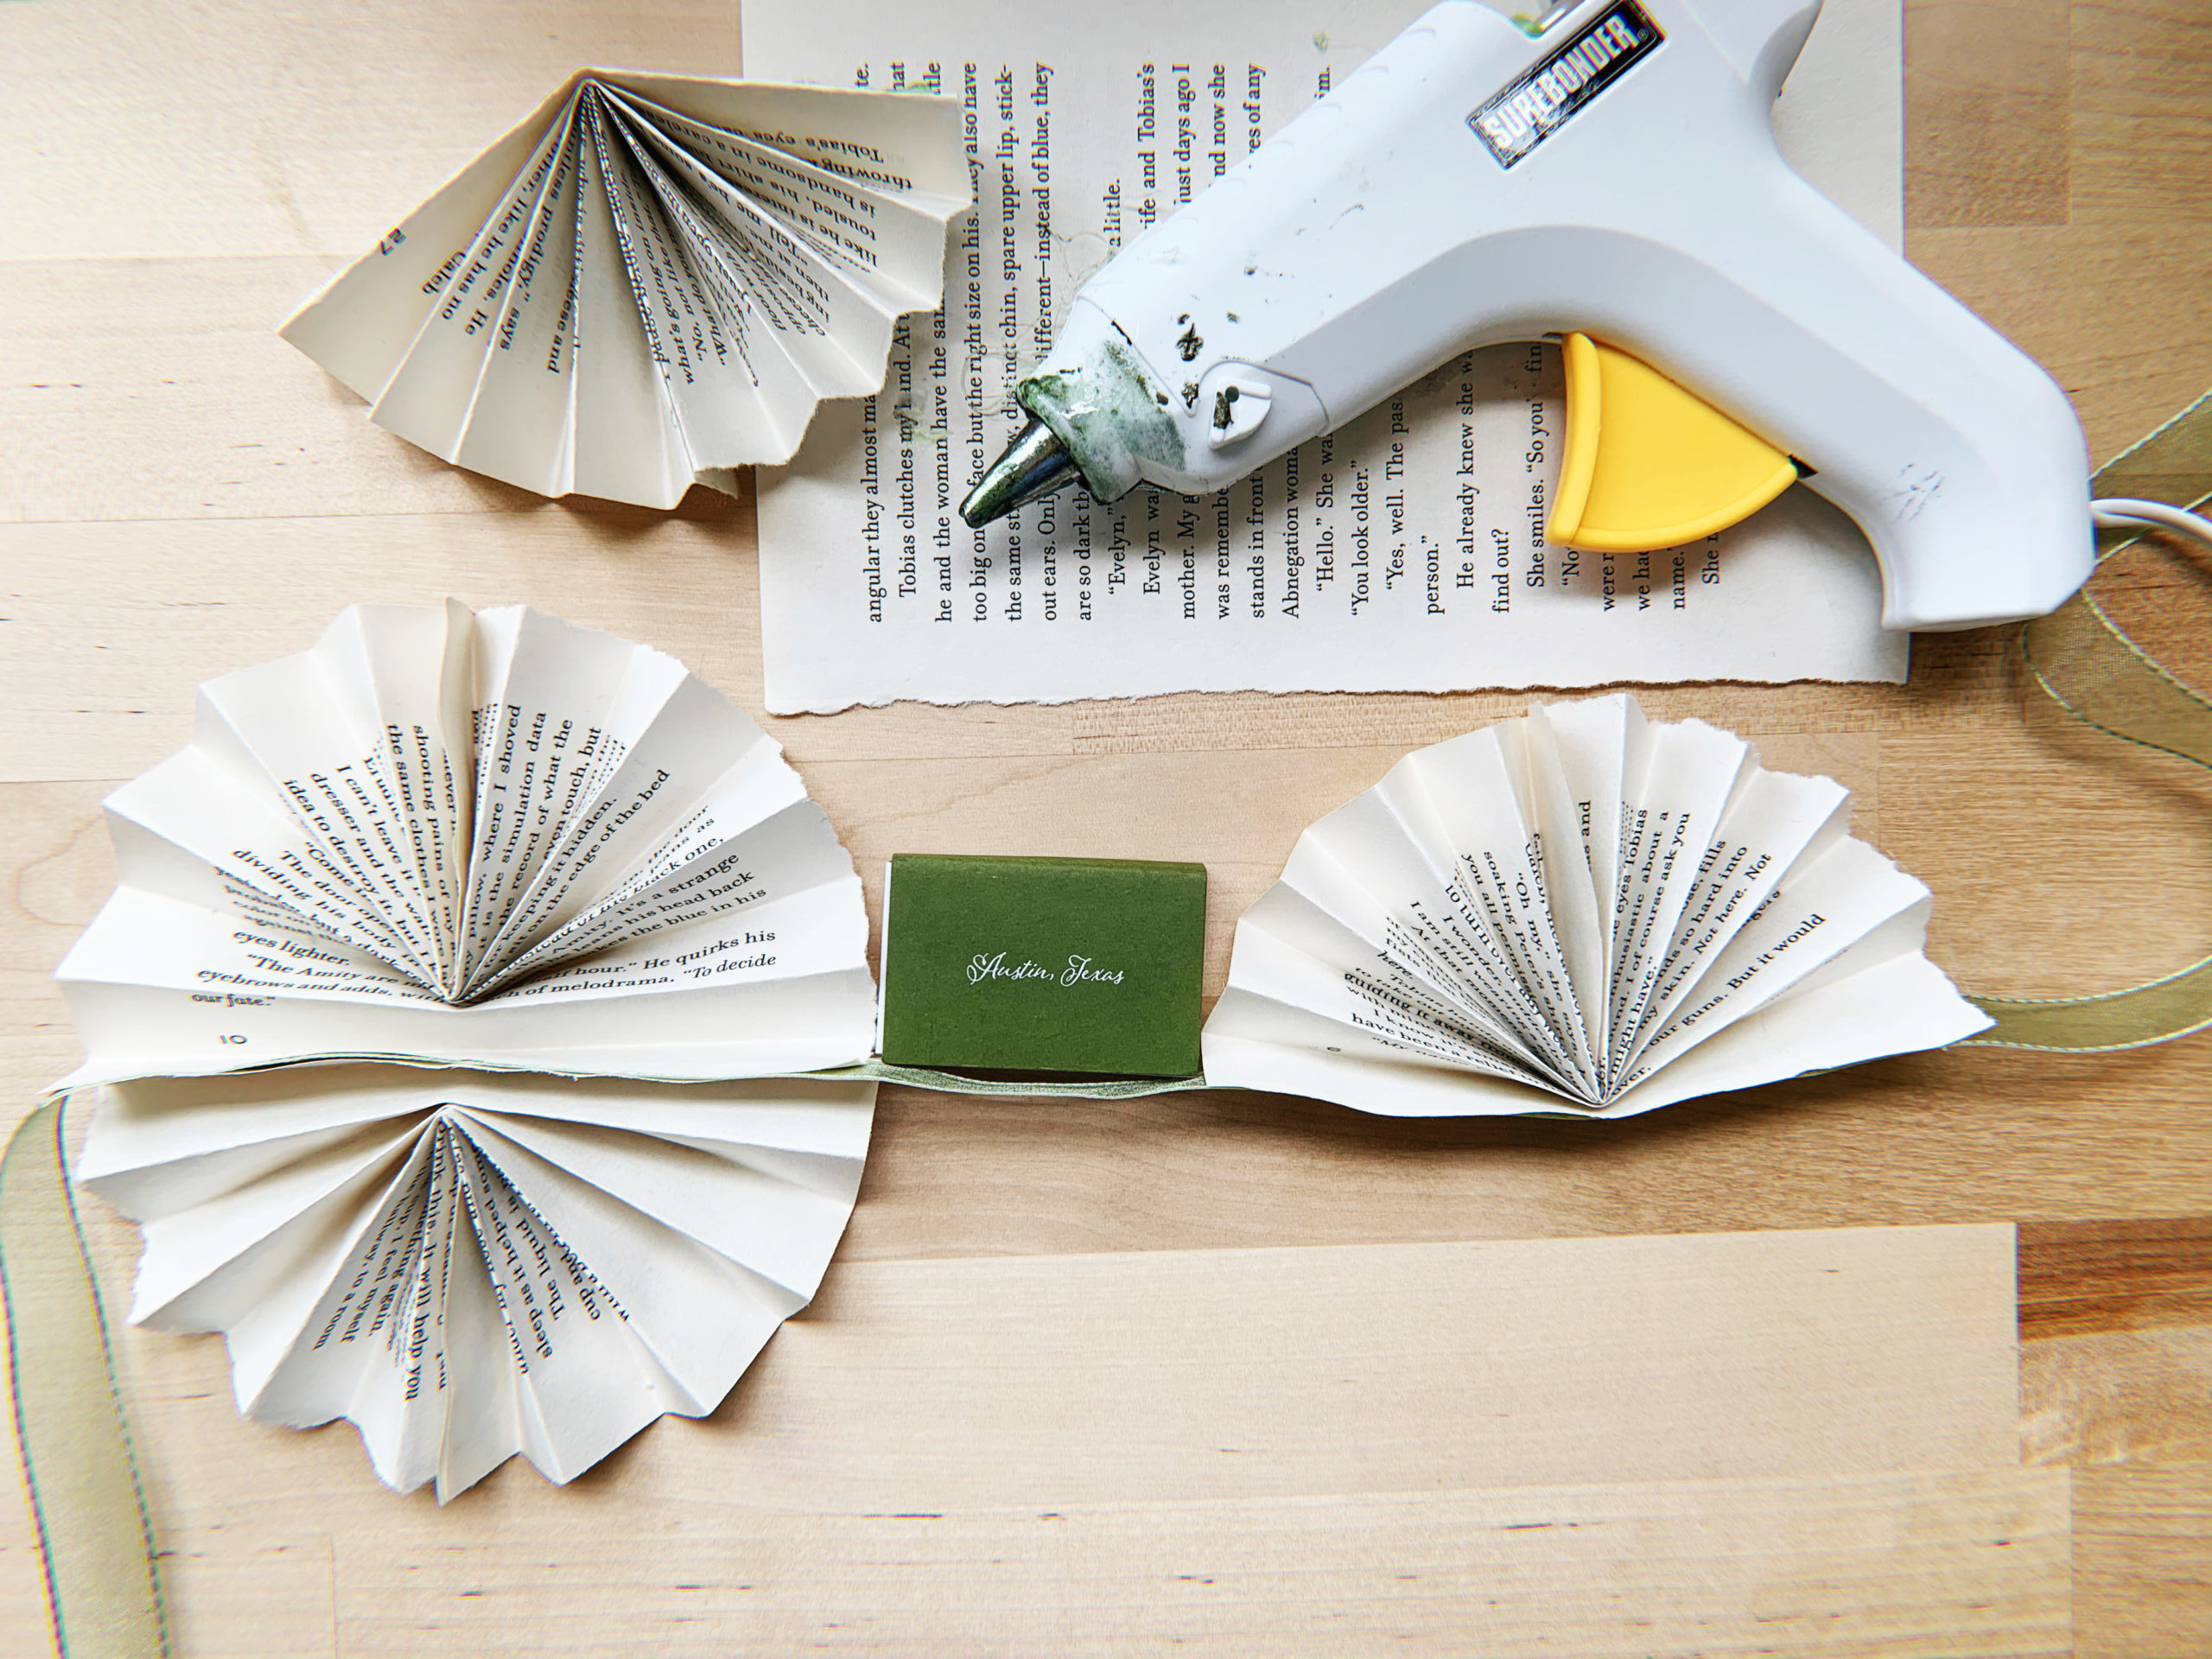
Once you’ve finished folding the pages, you can start making them into pinwheels. We’ll actually start by making them into half-pinwheels, which we’ll glue together into full pinwheels when we attach them to the ribbon. To do this, take a page, compress the folds together, and then fold the whole thing in half. Glue the ends together in the middle with your glue gun (see picture), then fan out the rest of the page to make half a pinwheel. Do this for all your pages.
Step Five:
Next, cut a piece of ribbon to the length you want your banner to be, plus a little extra. (Make sure the ribbon is not thicker than the folds of your fan … trust me, it will just look nicer!) Decide how far apart you want to space your pinwheels, and mark where you’re going to place them. I chose to space mine evenly, but feel free to get creative here and vary the distances of your pinwheels. Since I was going for an even look, I used a match box to measure the space between each one.
Pro tip: Make sure you give yourself enough ribbon to work with, so that you have extra on either end to eventually tack or tie up your banner. I started in the center of my long piece of ribbon and worked my way out from there.
Step Six:
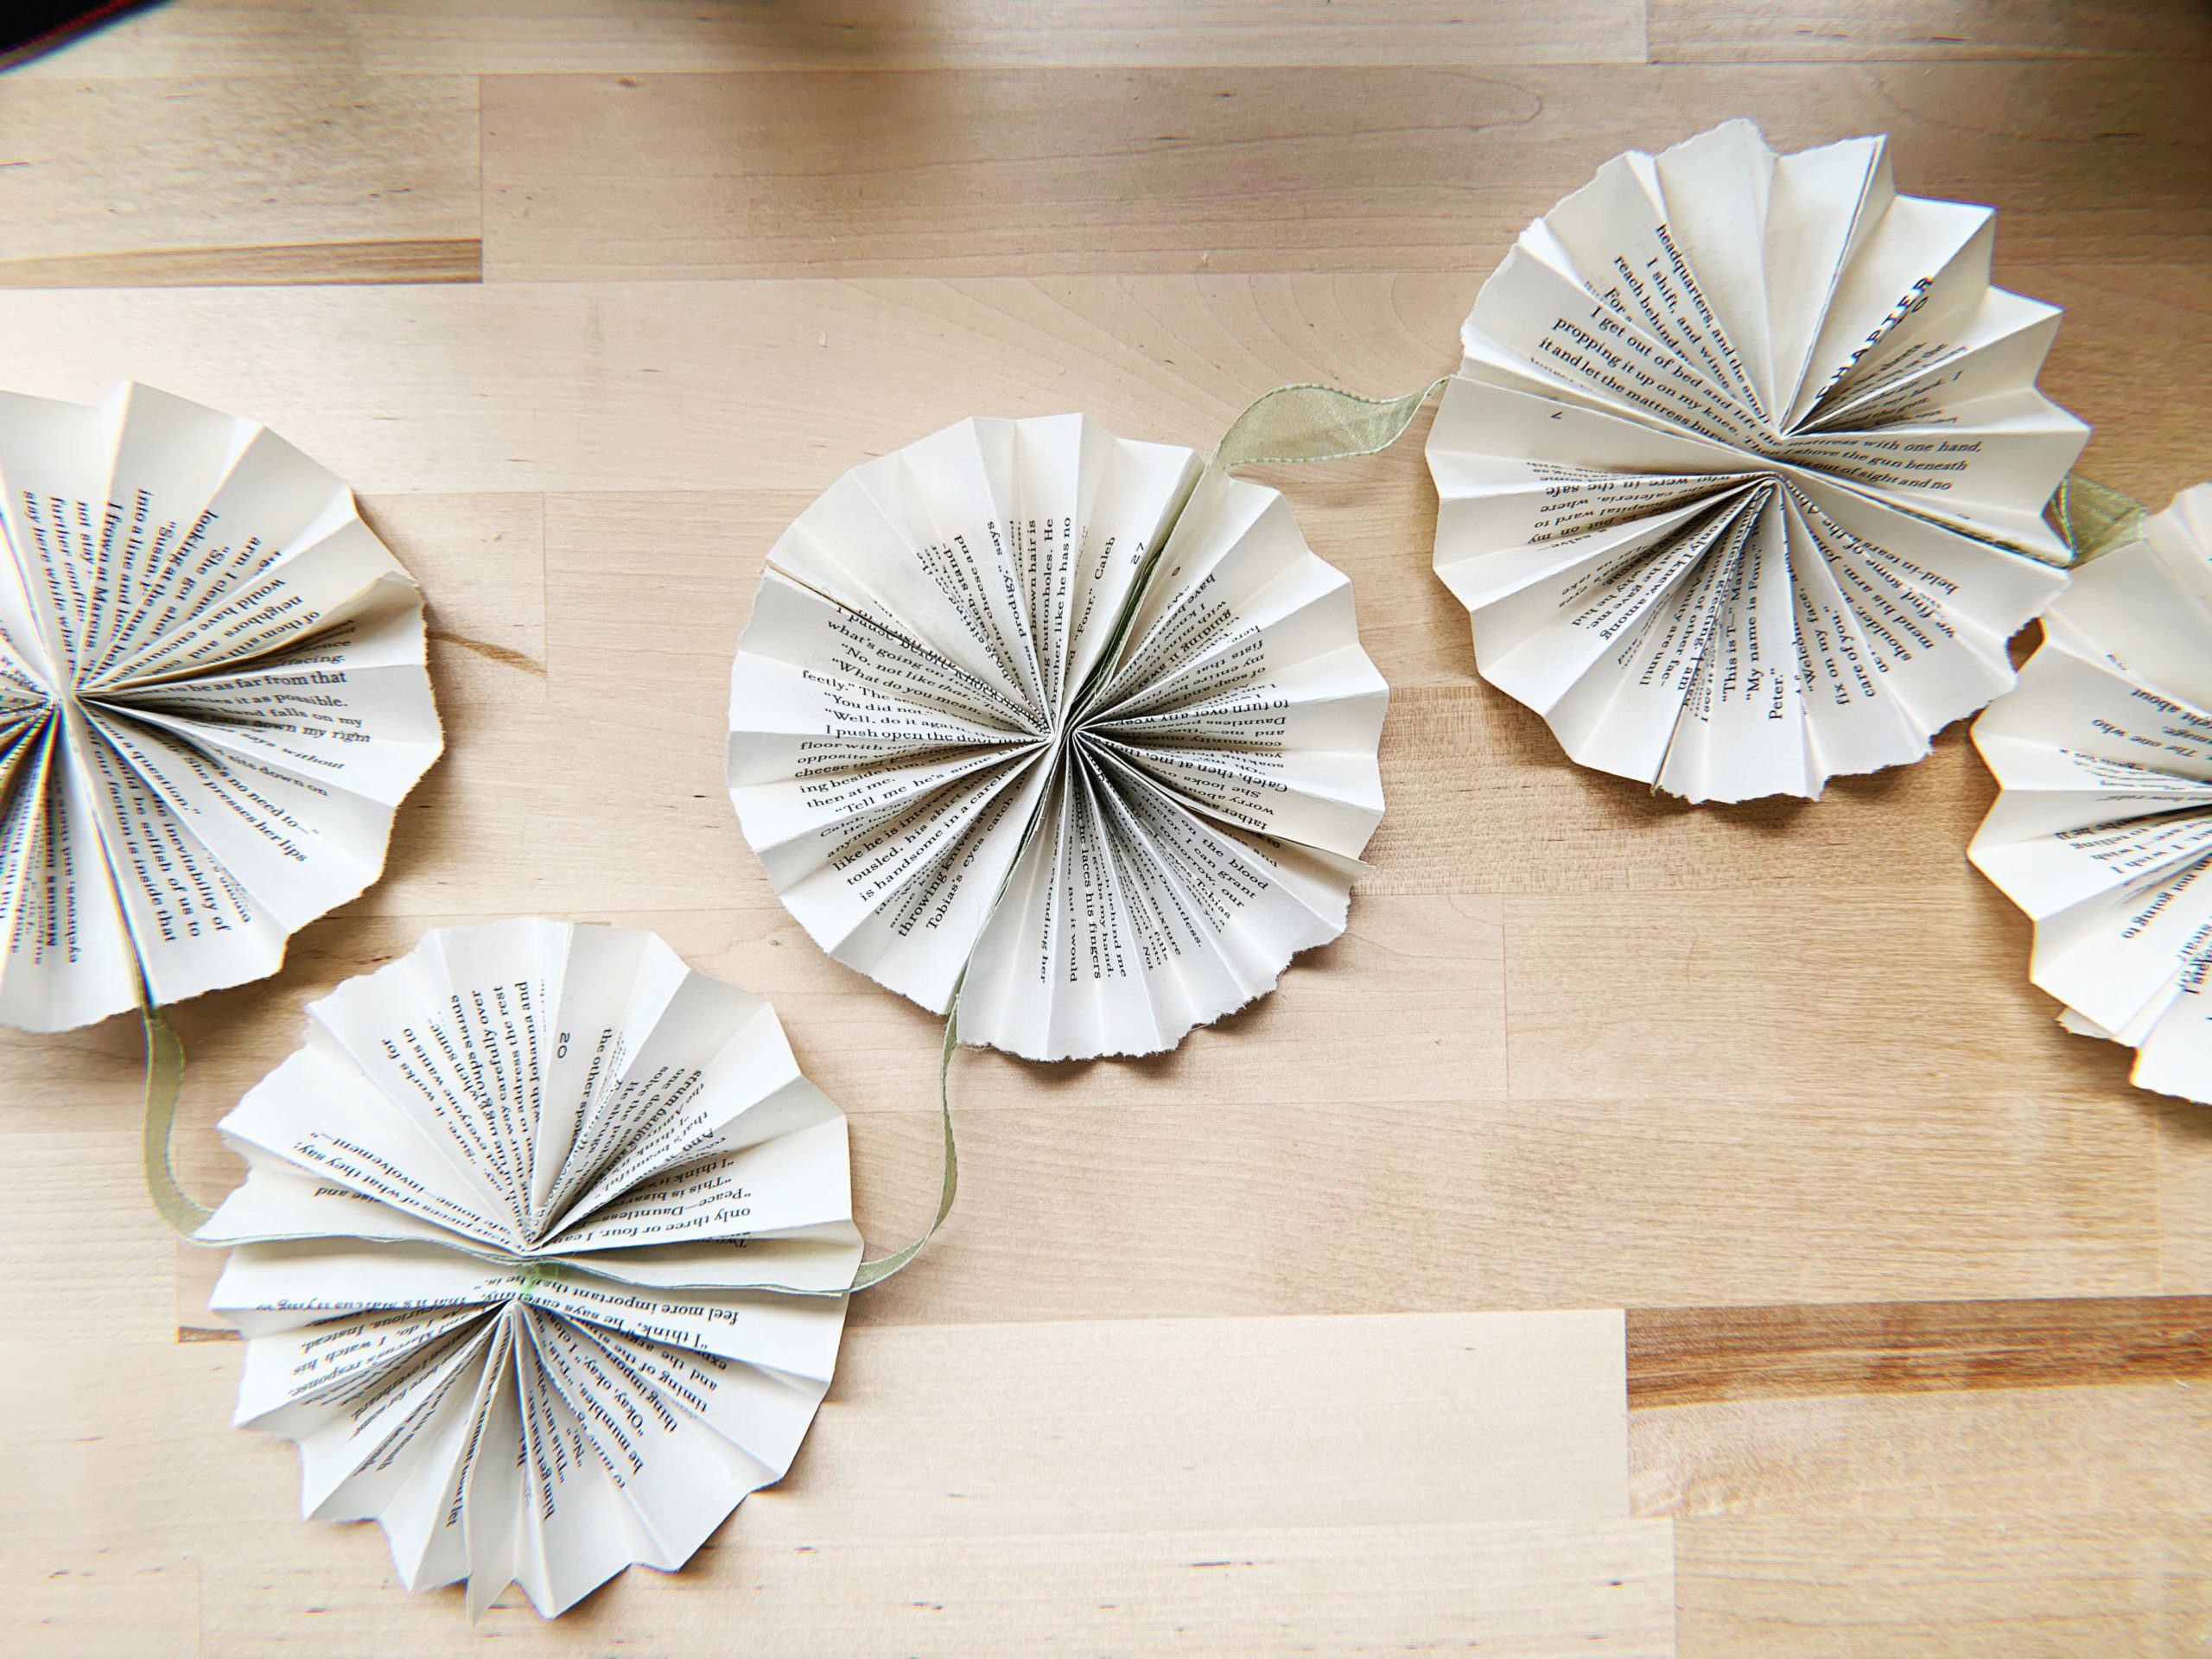
Once you know where you want to place your pinwheels, use your glue gun to attach one of the pinwheel halves on top of the ribbon. Next, glue the other half on the bottom of the ribbon to form a round pinwheel. Repeat until you’ve attached all your pinwheels.
When I did this step, I didn’t realize just how much hot glue would come through the ribbon, so be careful here! I found it easiest to just lightly stick the ribbon to the first half of the pinwheel and then use more glue when I attached the second half. That way, I could press the pages against each other with the ribbon glued between them.
Step Seven:
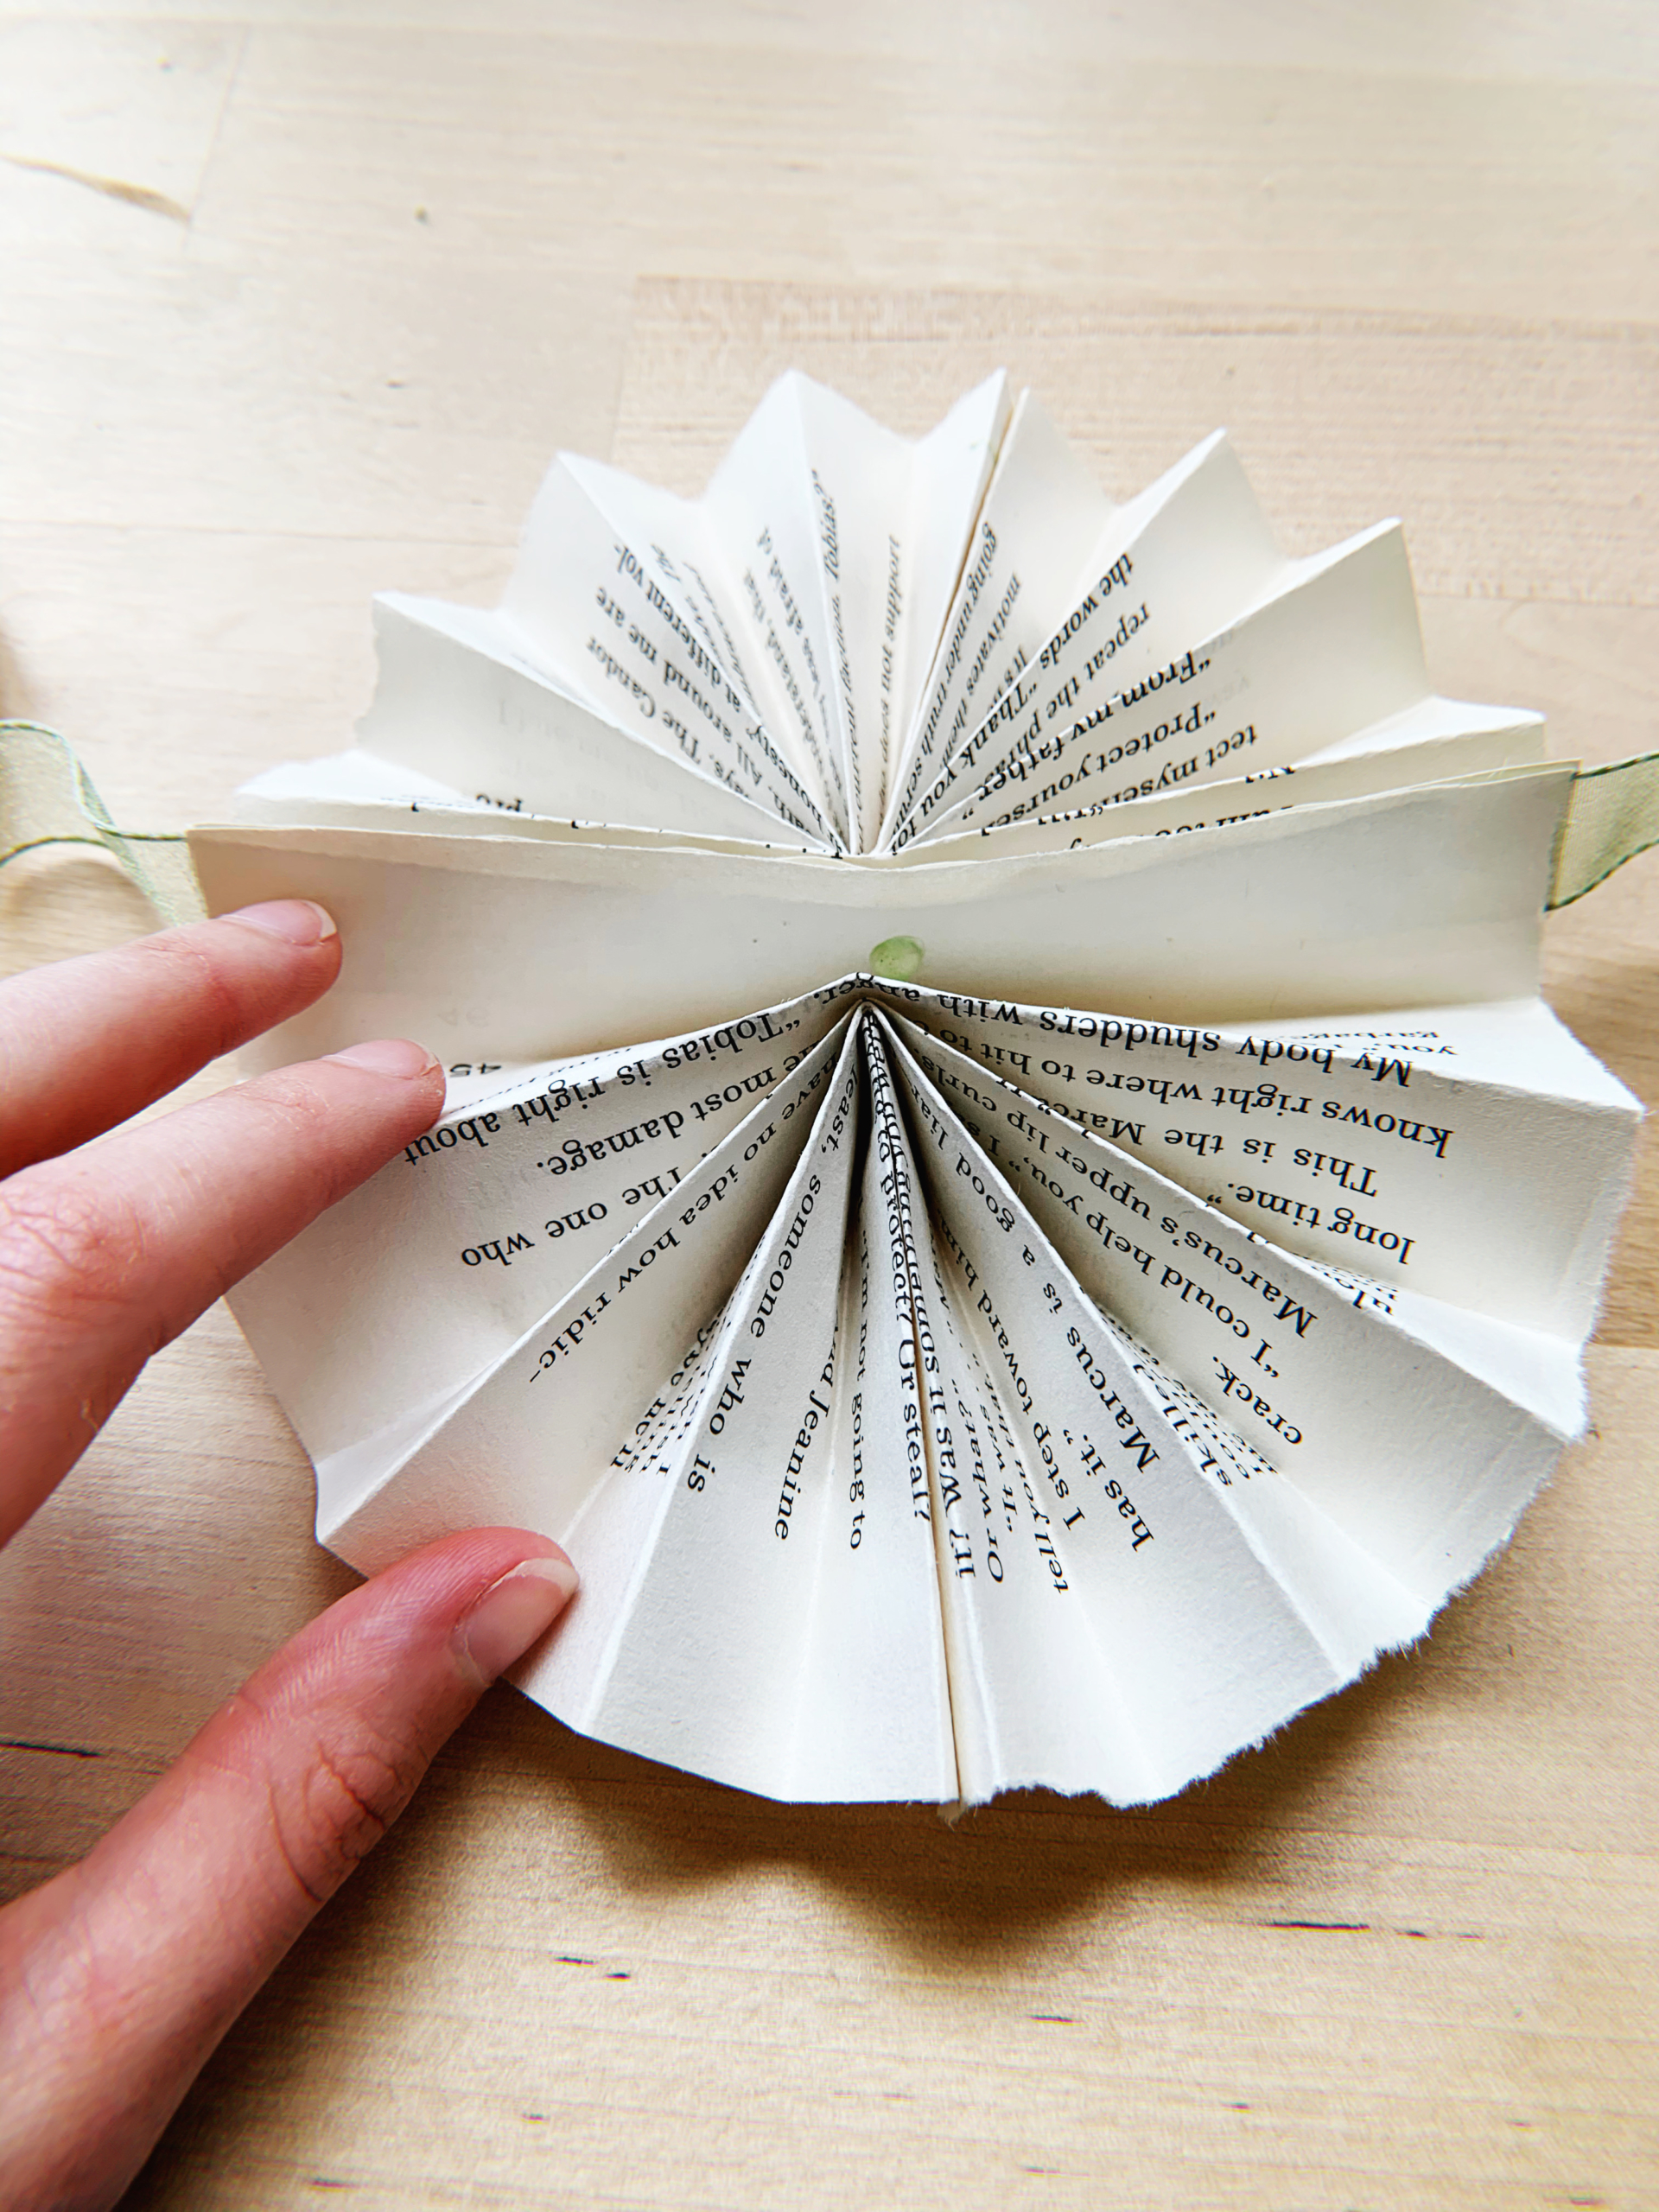
The final step is to reinforce the centers of the pinwheels by putting dots of glue between the first and second folds of each half. Otherwise, the first fold next to the ribbon falls open, making your pinwheels look messy. It’s a little extra step, but makes all the difference in the end, helping your pinwheels look seamlessly attached to the ribbon.
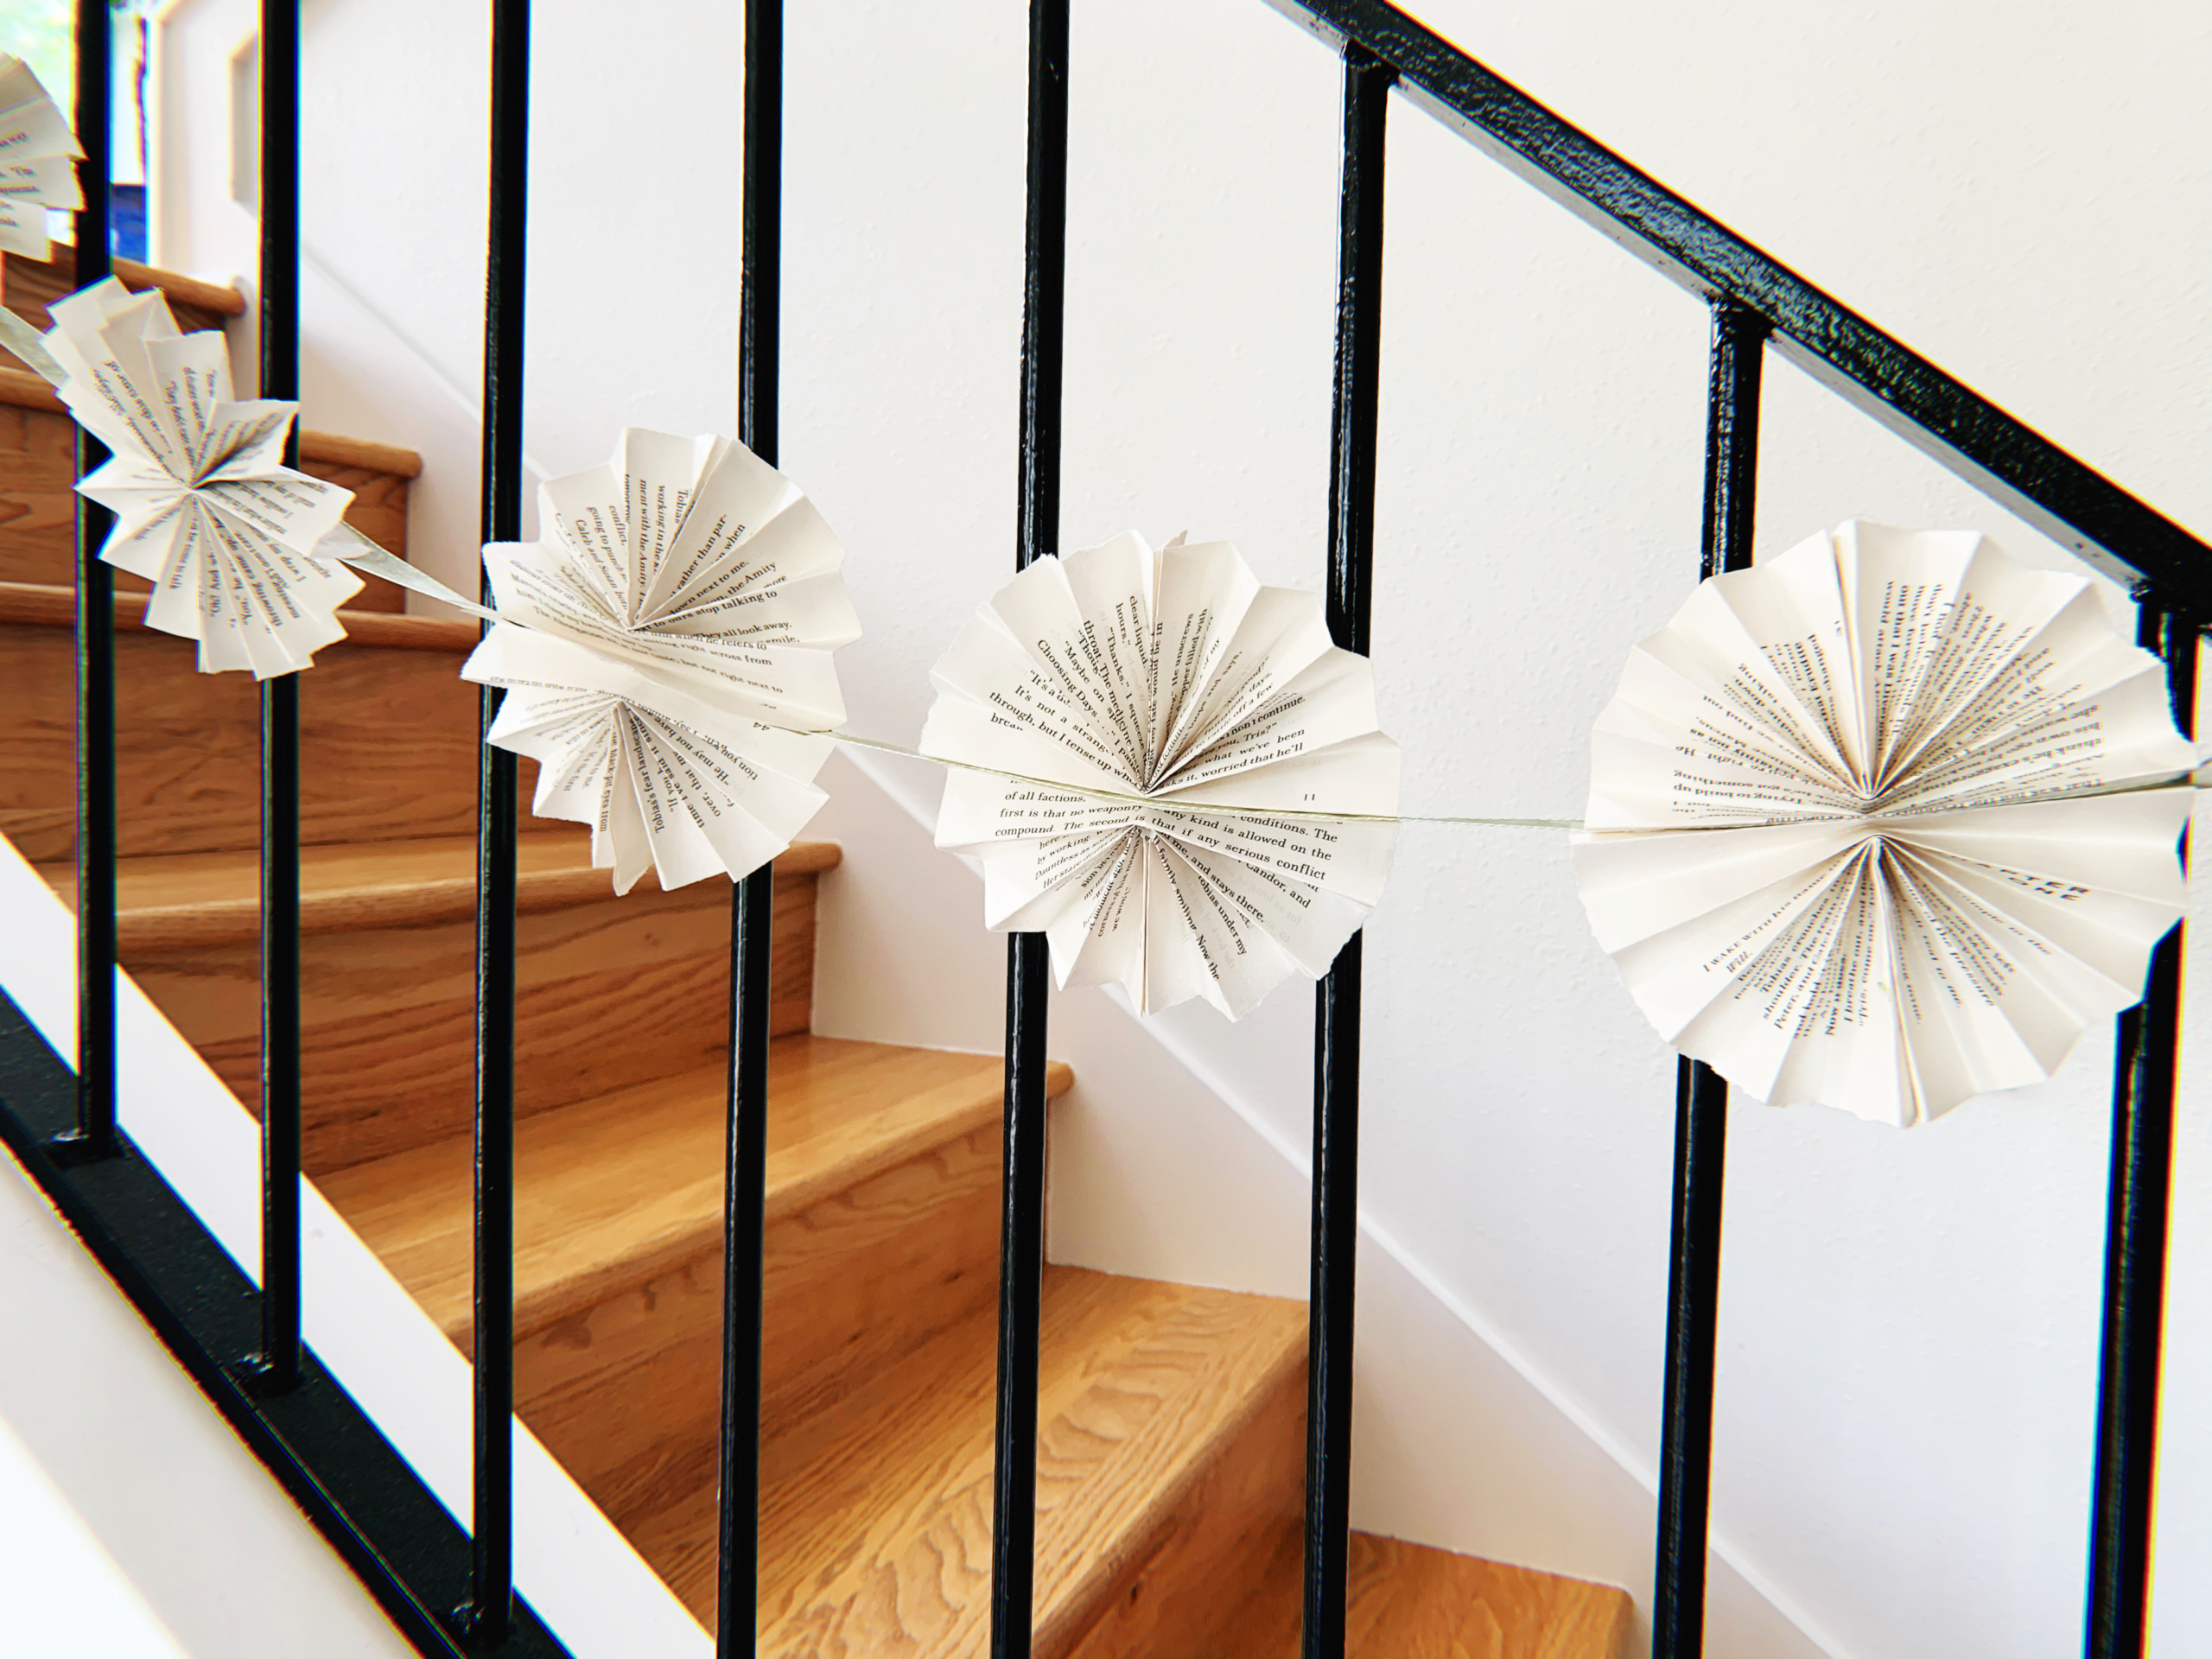
And you’re finished! Hang it up and enjoy!
Let us know what you decide to decorate with your beautiful, eco-friendly book-page banner!
Kelsey Nickerson creates abstract paintings with rich color, texture, and movement, and enjoys a good book craft. She oversees web production and photography for MayaSmart.com.