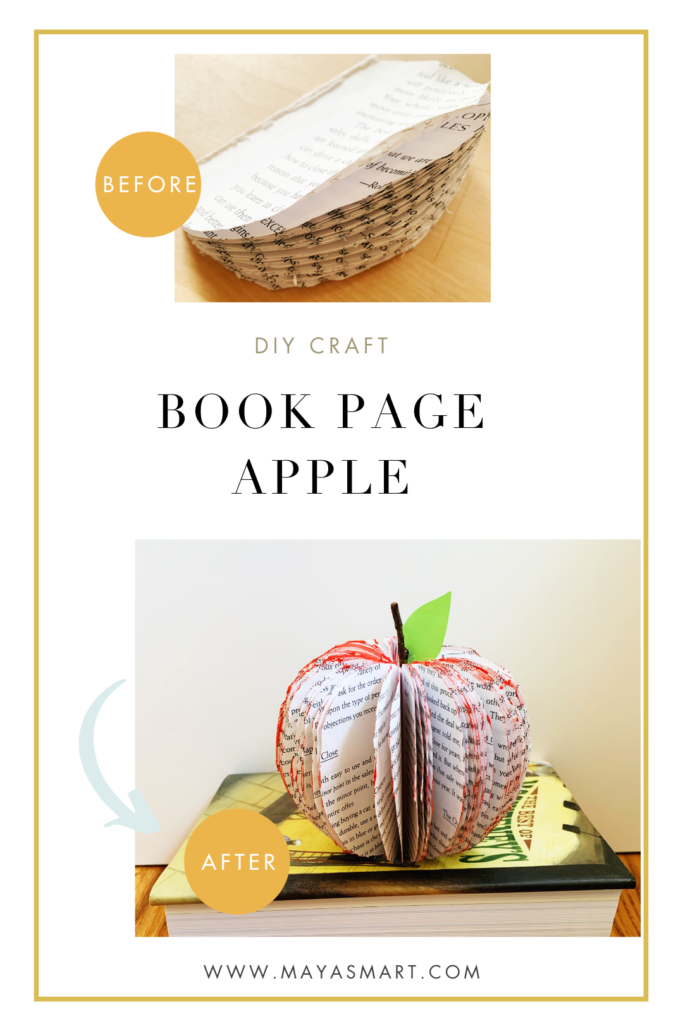
This cute twist on the classic apple-for-the-teacher theme creates a decorative apple from upcycled book pages. Help kids make them as teacher appreciation gifts, or to decorate their home “classroom.” You could even scale down the size and turn them into ornaments that can hang along a garland or off a tree.
This DIY book craft is inexpensive and fun! Ideally, you’ll use an exacto knife and hot glue gun, so be aware that you’ll need to do those steps for younger children. (You can adapt to use just scissors, but it will be more time-consuming.) The youngest children can help with this project by coloring the leaf, gathering a twig for the stem, helping paint the edges of the apple, and fanning out the pages.
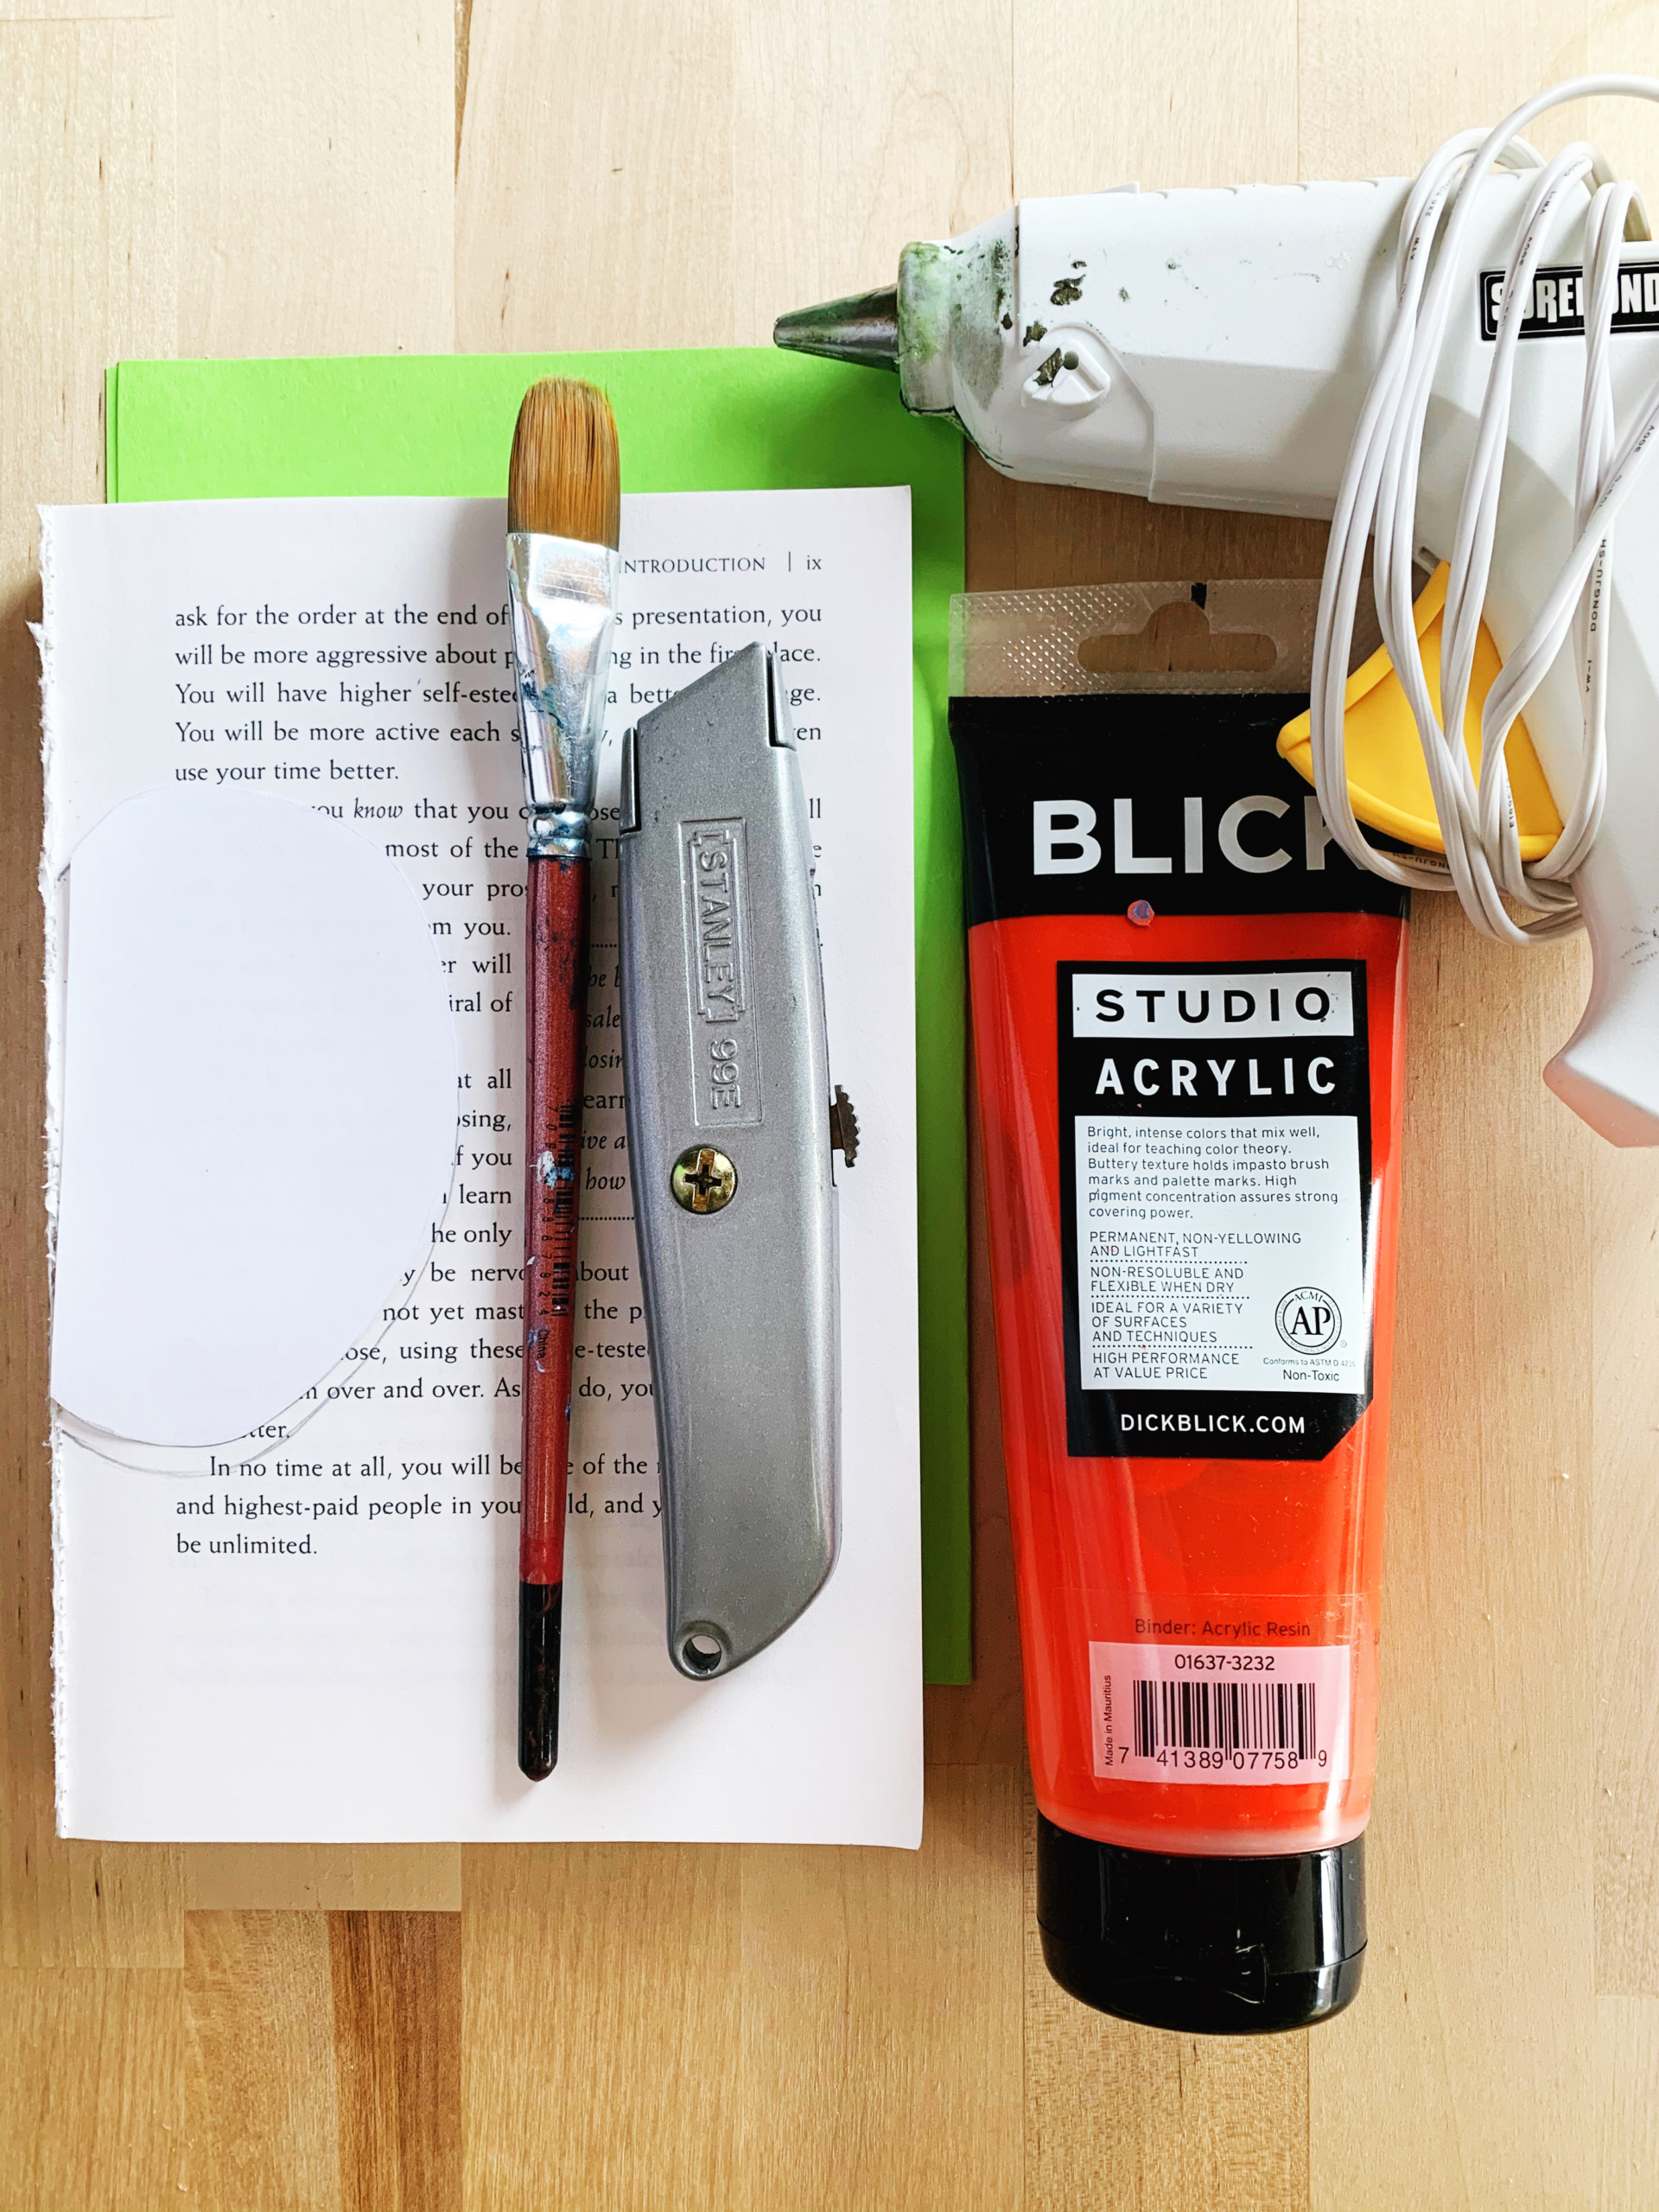
Materials:
- Paperback book with a sturdy spine (no falling-apart paperbacks)
- Glue gun & glue sticks
- Exacto knife
- Scissors
- Red paint & paint brush
- Green cardstock paper, or stiff paper colored green
- Twig
- A template of half an apple (see step one)
- Pencil for tracing
Cost: If you already have a glue gun, this craft should not cost you anything! Upcycle an obsolete paperback book, and send kids on a little scavenger hunt to find the perfect twig. If you don’t have green cardstock for the leaf, just color or paint a scrap of stiff paper green instead.
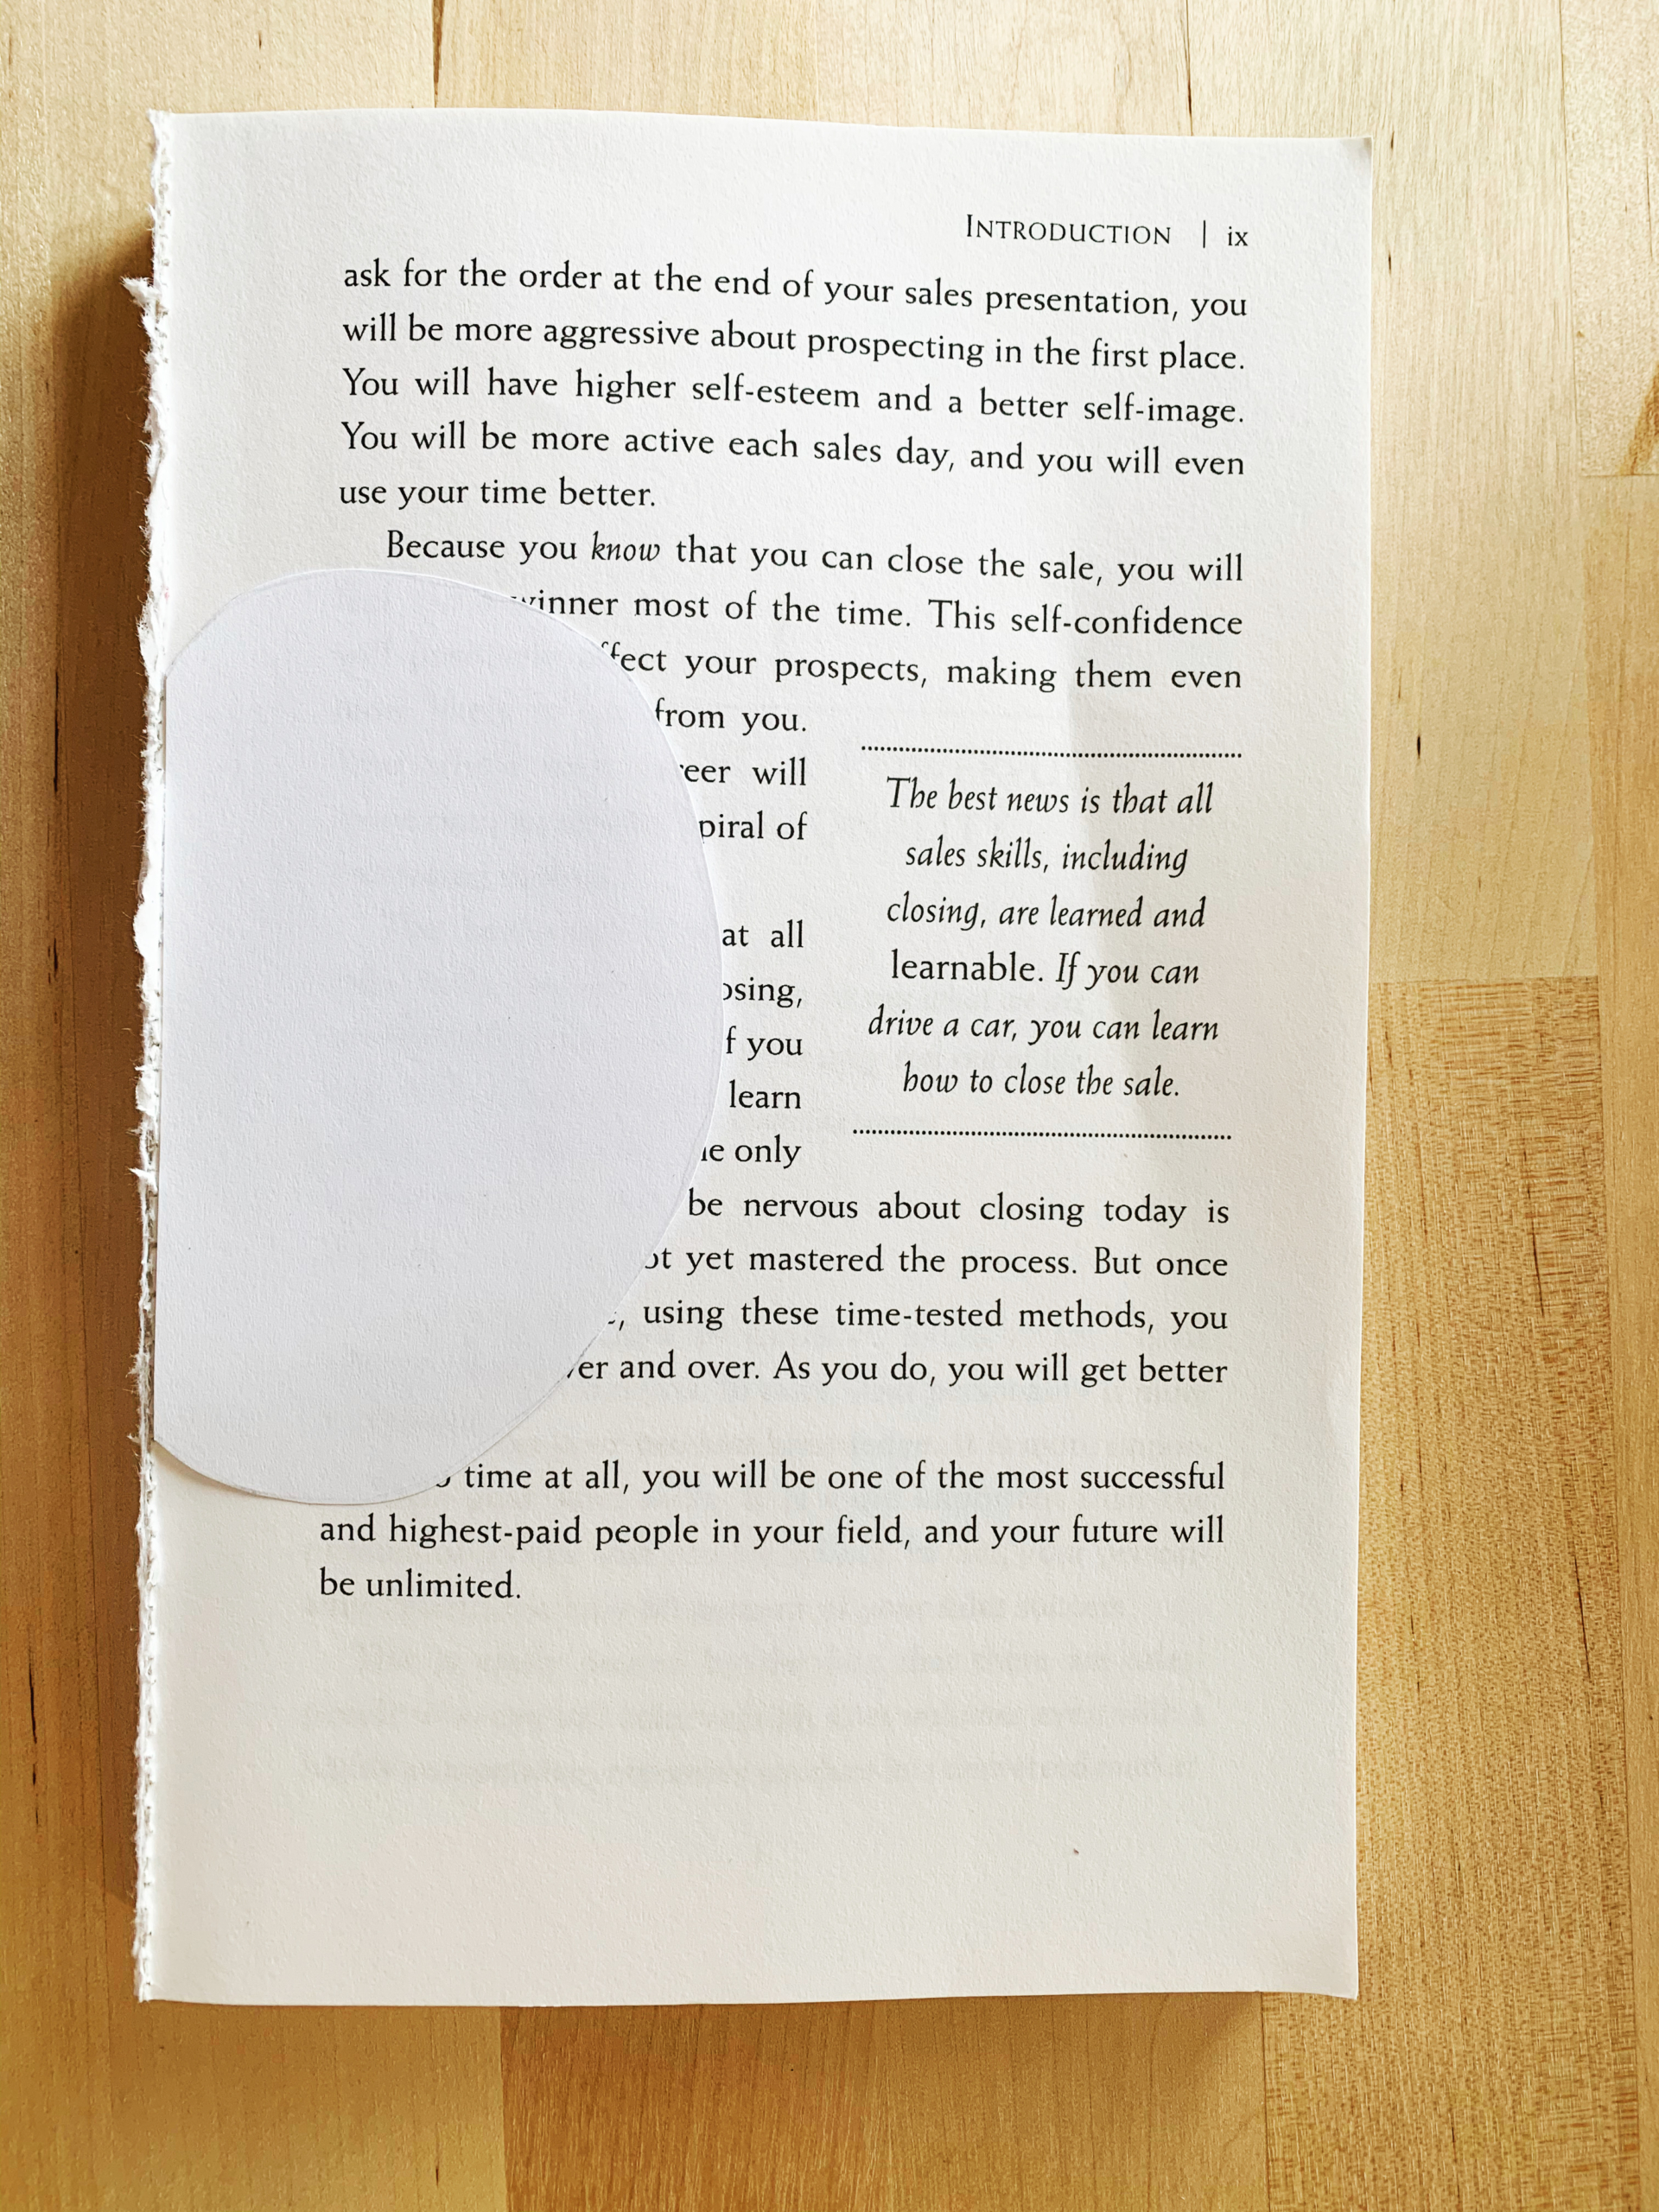
Step One:
First, you’ll need to create your template of half an apple. The best way is to print or draw a template of a whole apple of the size you want and then fold it in half. (This template is a good one.) You want to be sure there’s a straight, perpendicular line marking the half (which will form the core of your apple). Then cut out your template for tracing. If you like, you can paste your paper half-apple onto cardboard or cardstock to make the tracing easier, and then cut that out.
Step Two:
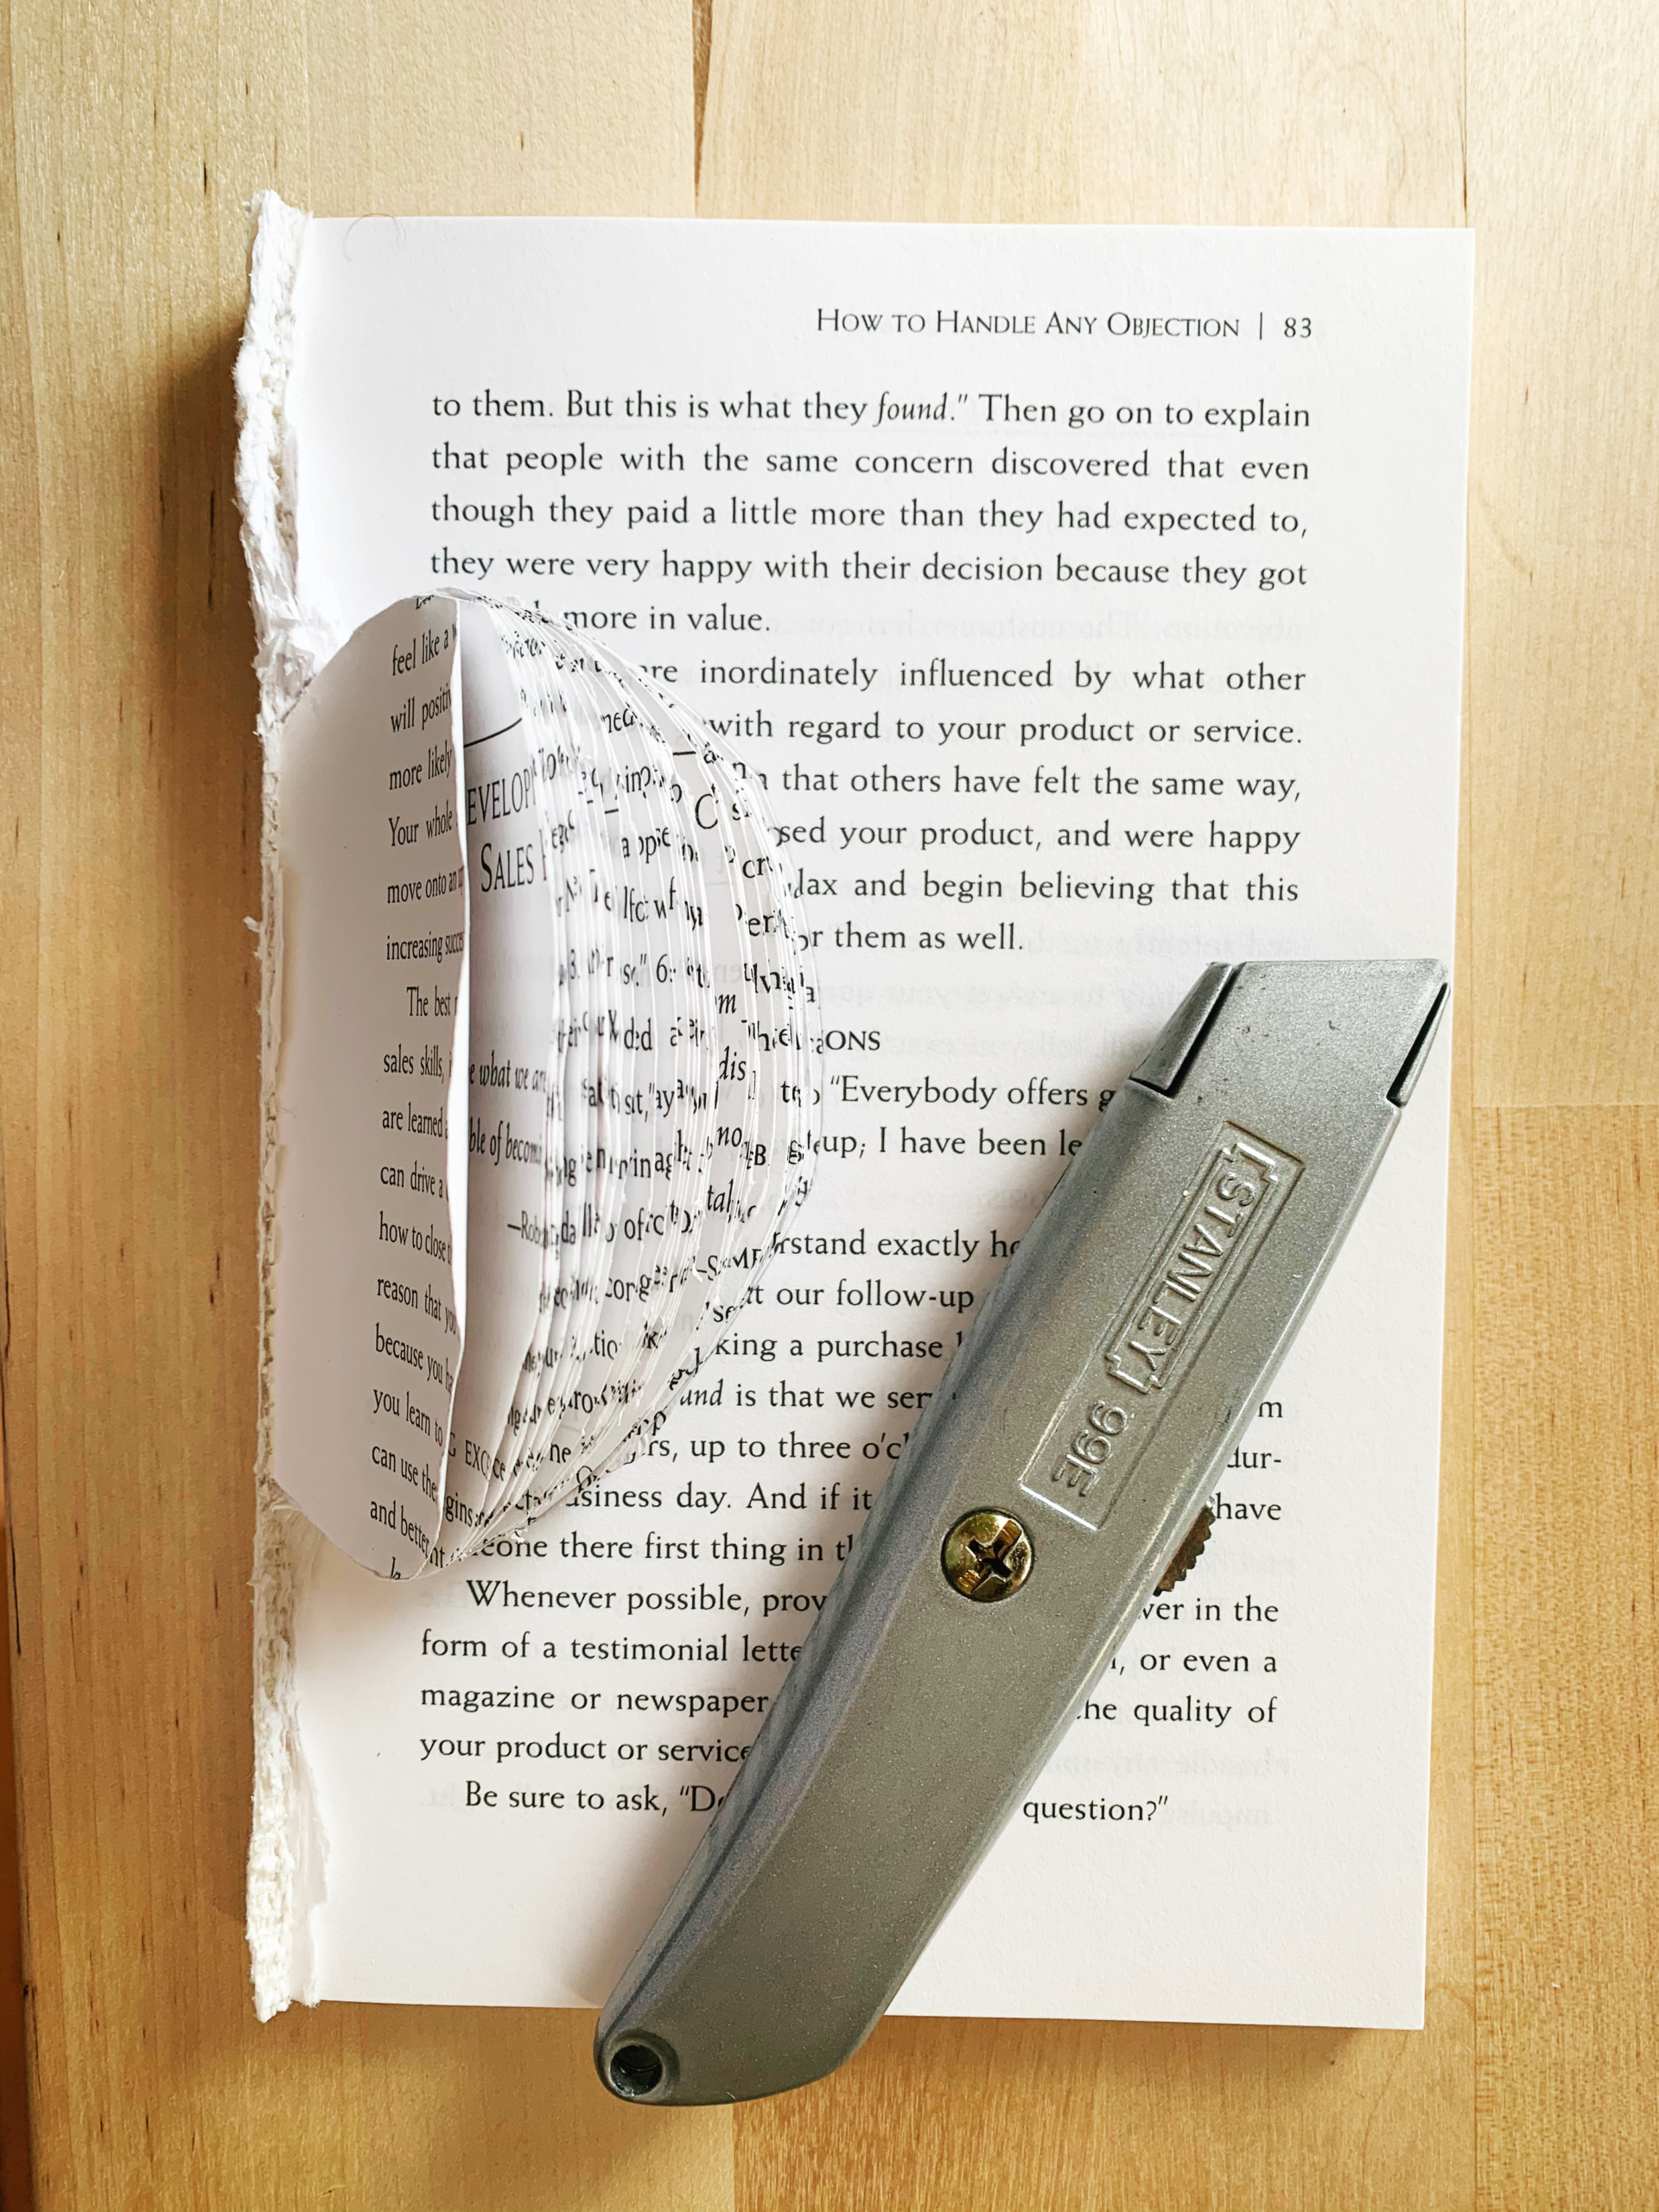
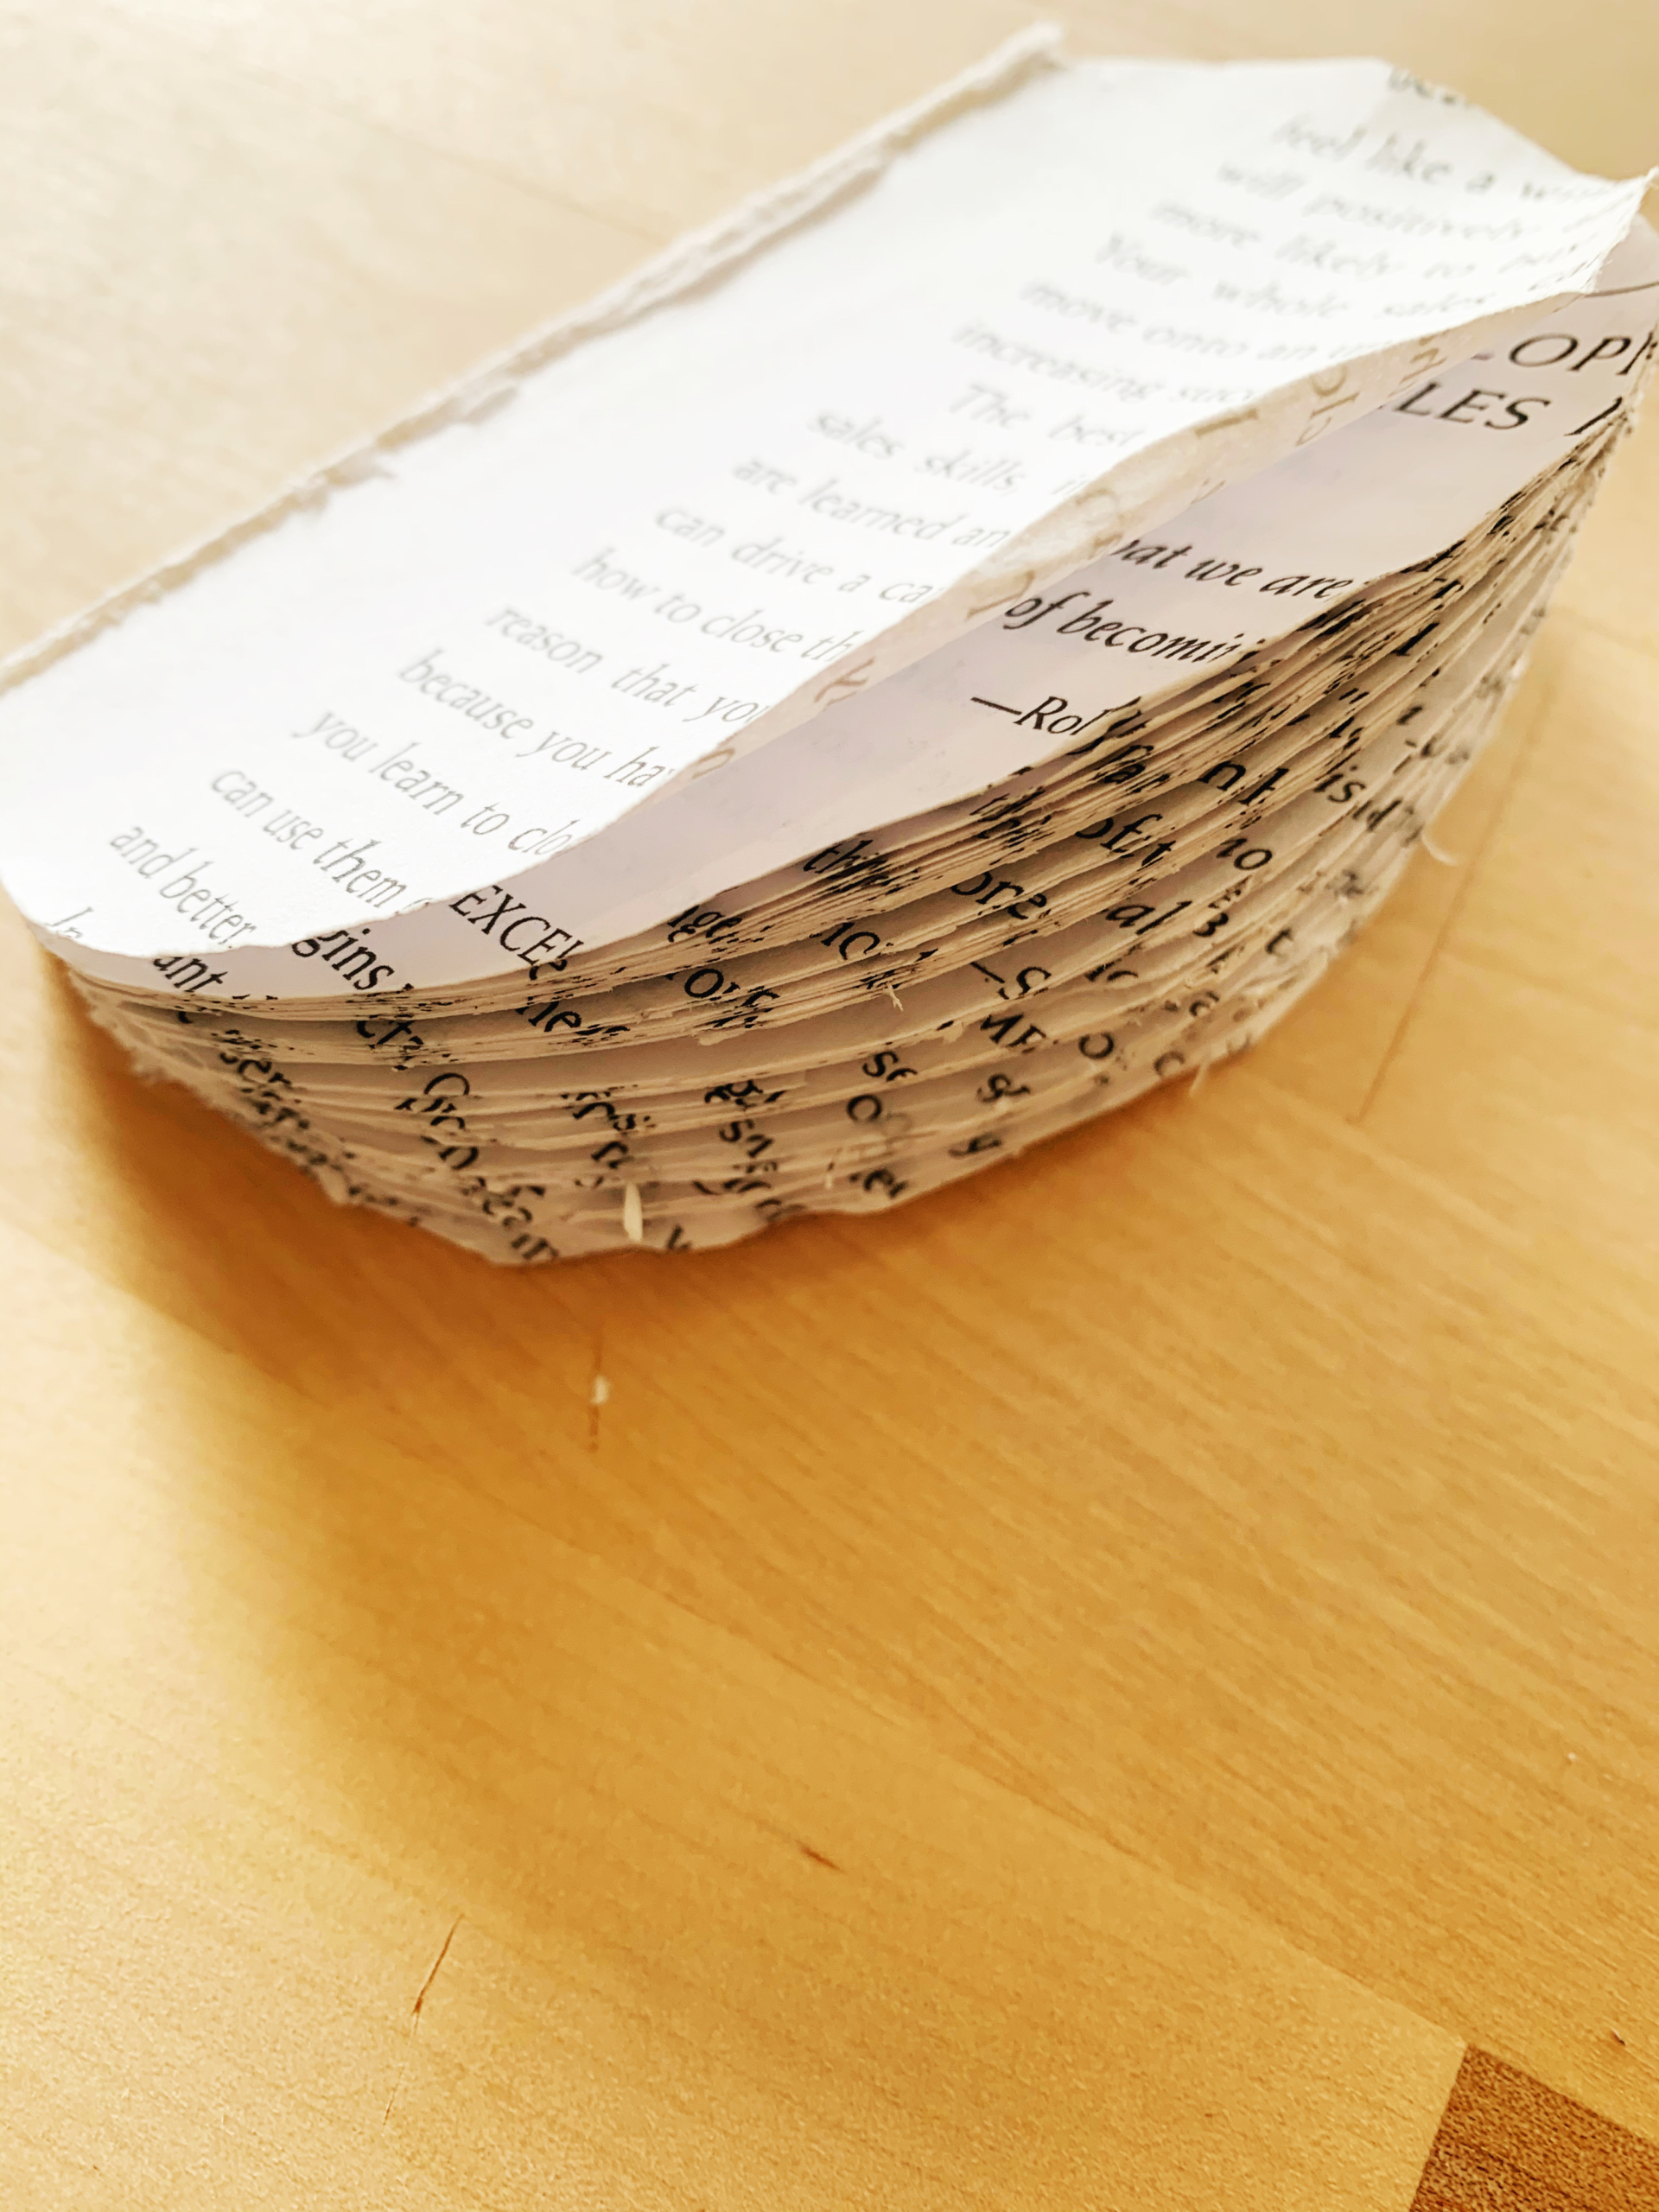
Remove the book’s cover, then align the flat edge of your template with the spine of the book and trace it onto the first page.
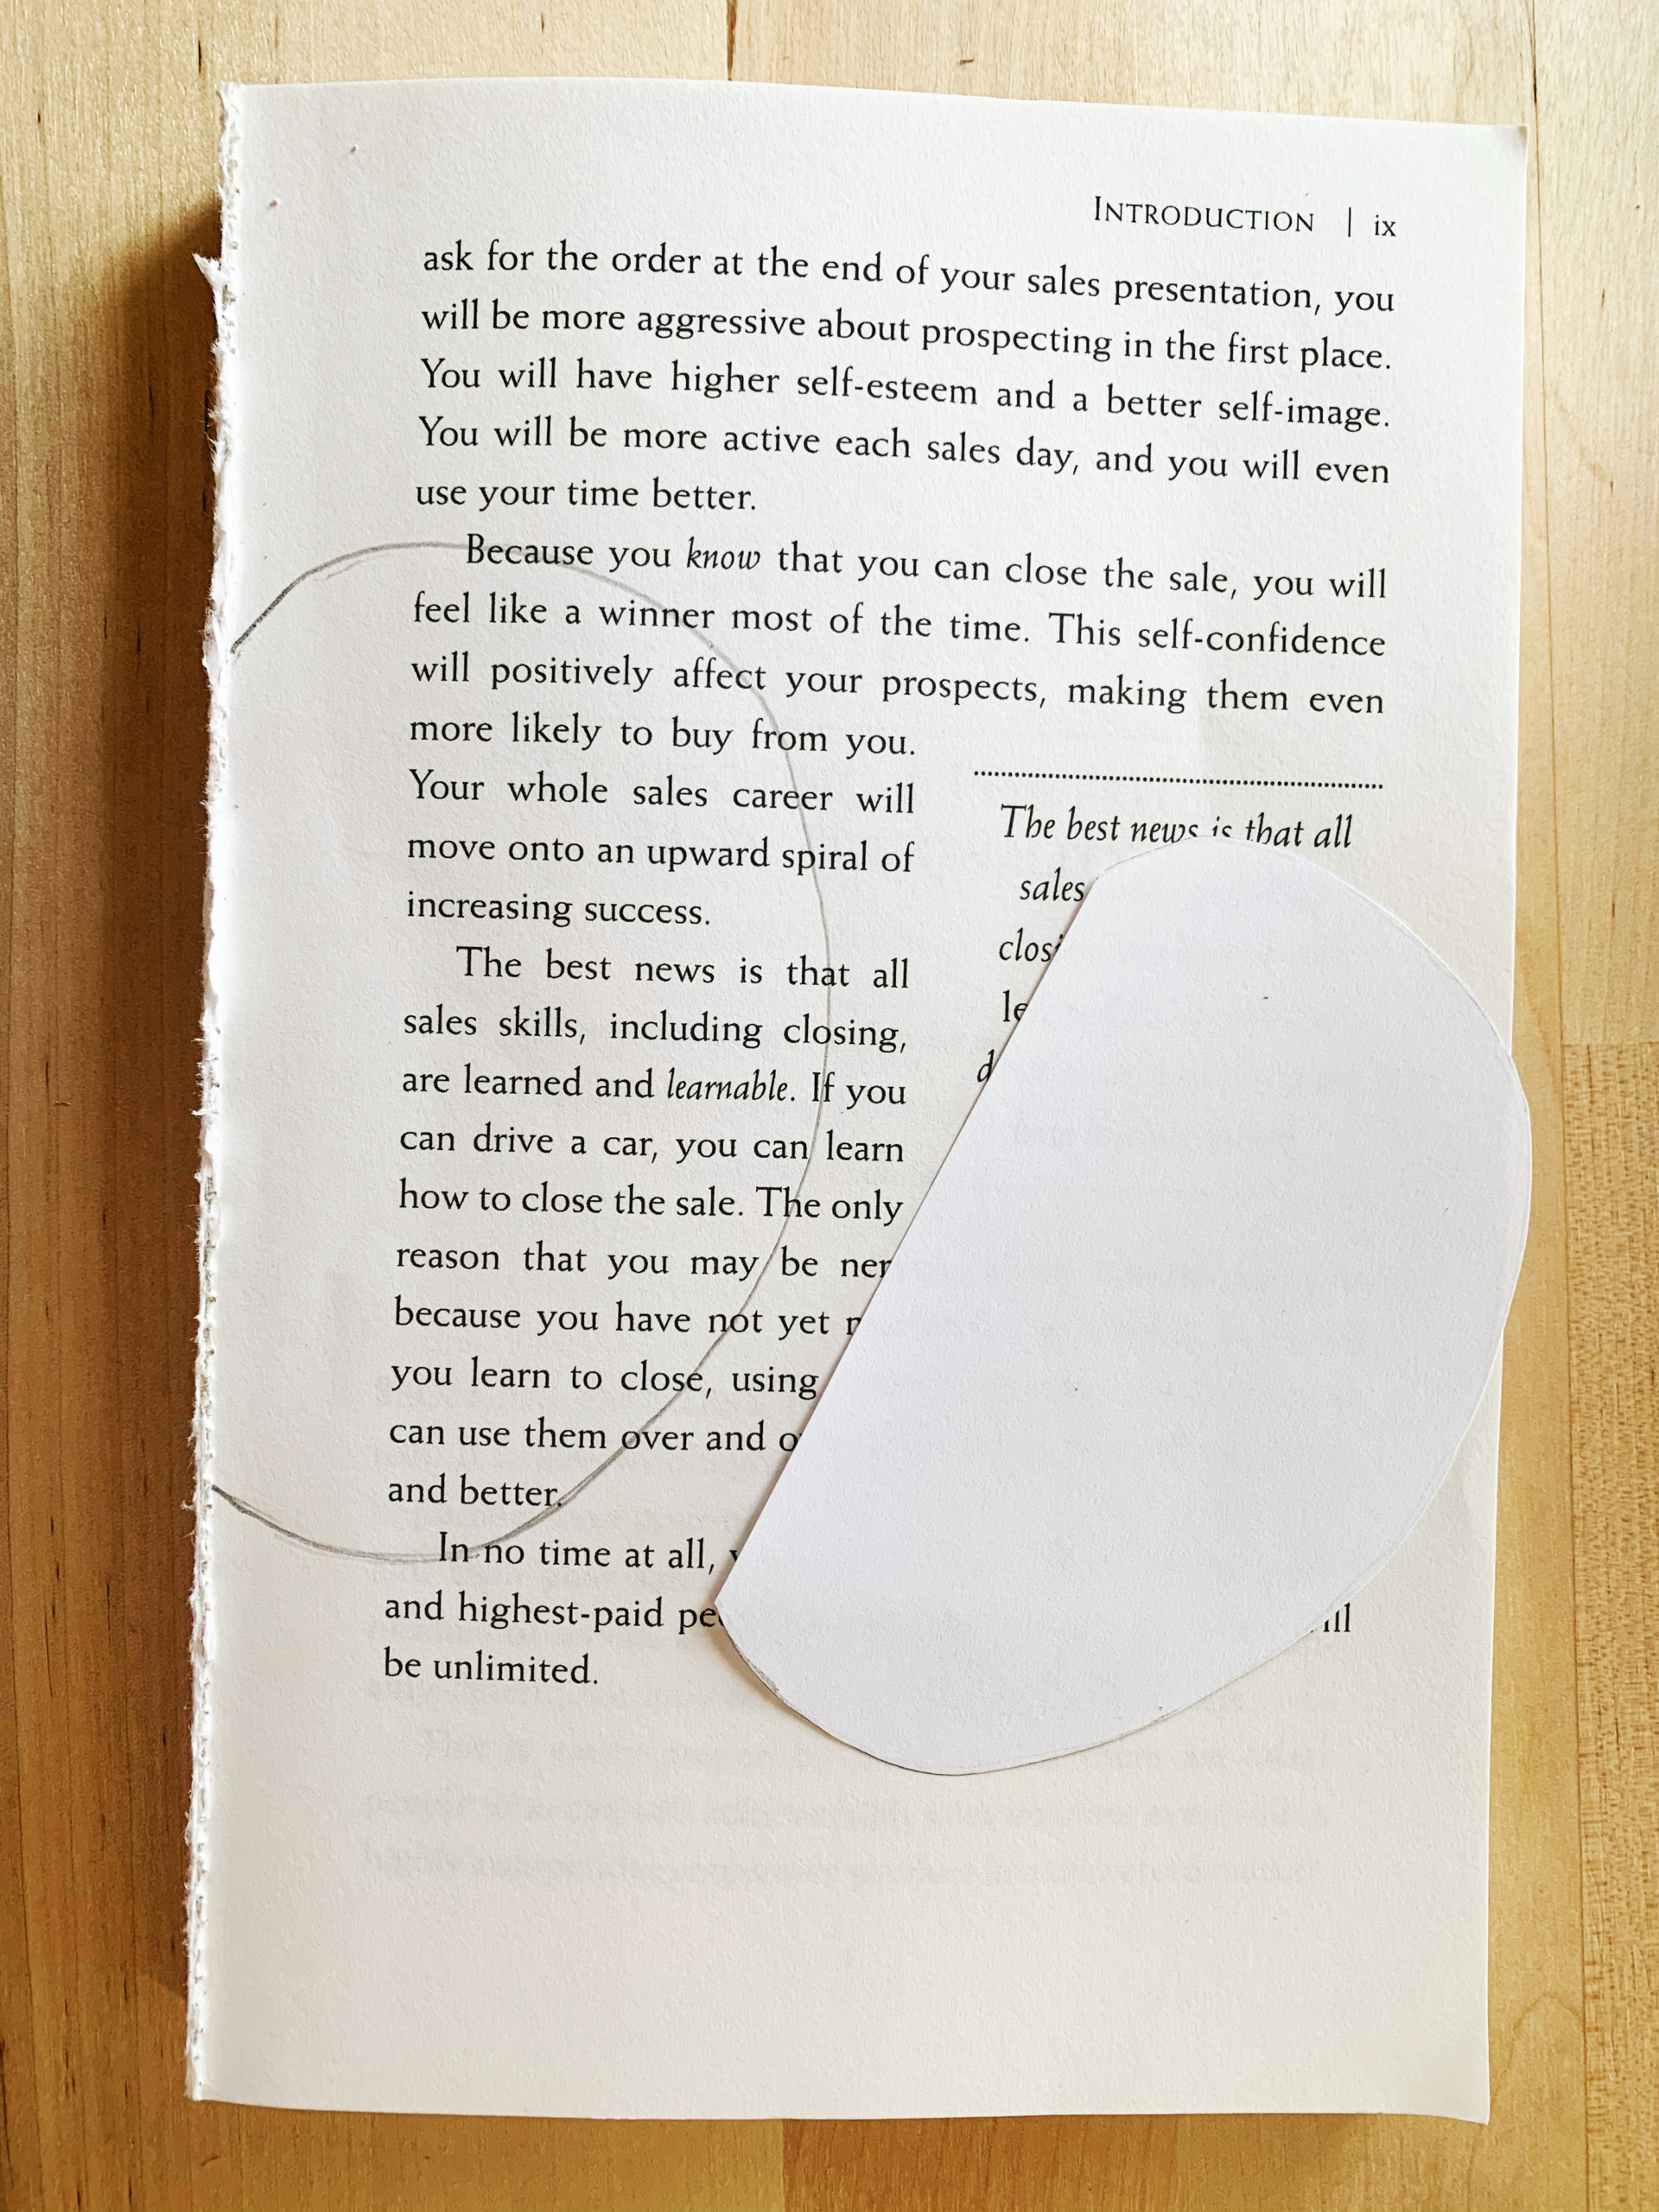
Step Three:
Use an exacto knife to cut out the half-apple shape that you just drew on the page. You will want to apply a little bit of pressure here, so as to cut through several pages of the book at once. Then simply remove the excess and cut around the shape to cut more pages. Repeat this process until you get through the entire book.
This step was a little trickier than I expected it to be, but just be patient. If you make a little mistake it’s totally fine! When all the pages fan out in the end you won’t be able to tell, so just keep going!
Note: If you don’t have an exacto knife, you can use scissors to cut a few pages of the book at a time. In this case, you’ll need to keep tracing the template onto the next set of pages.
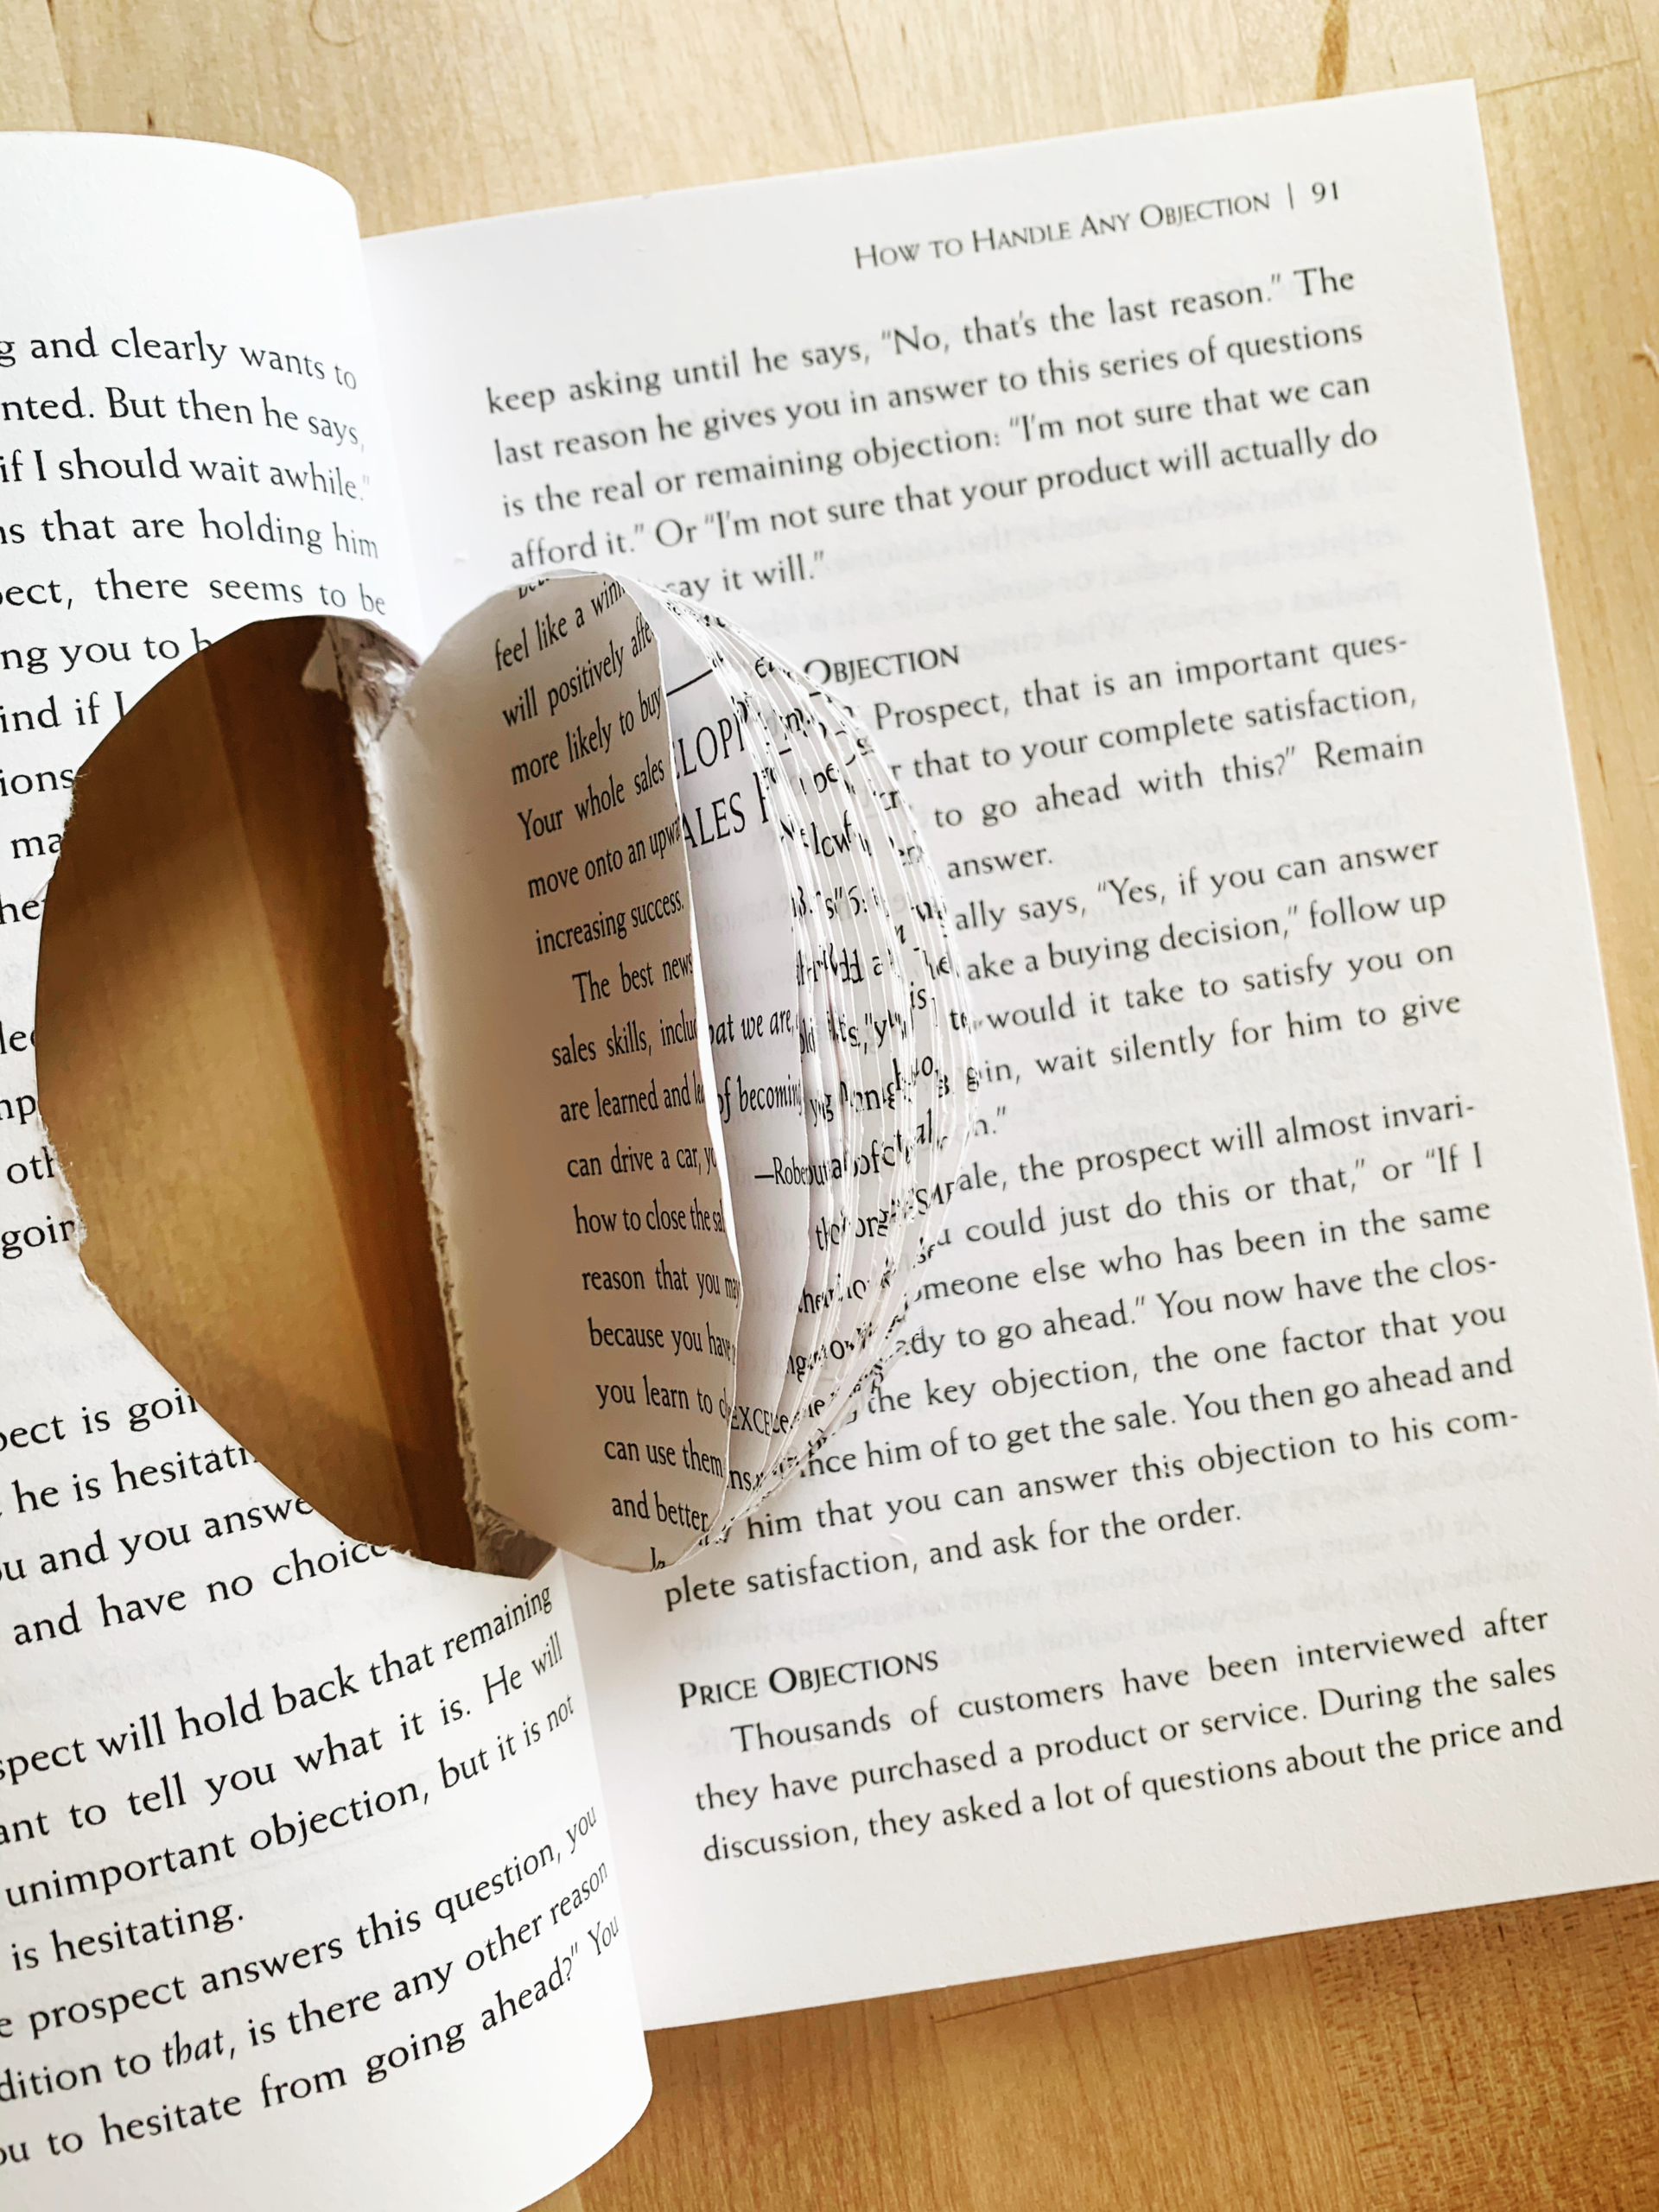
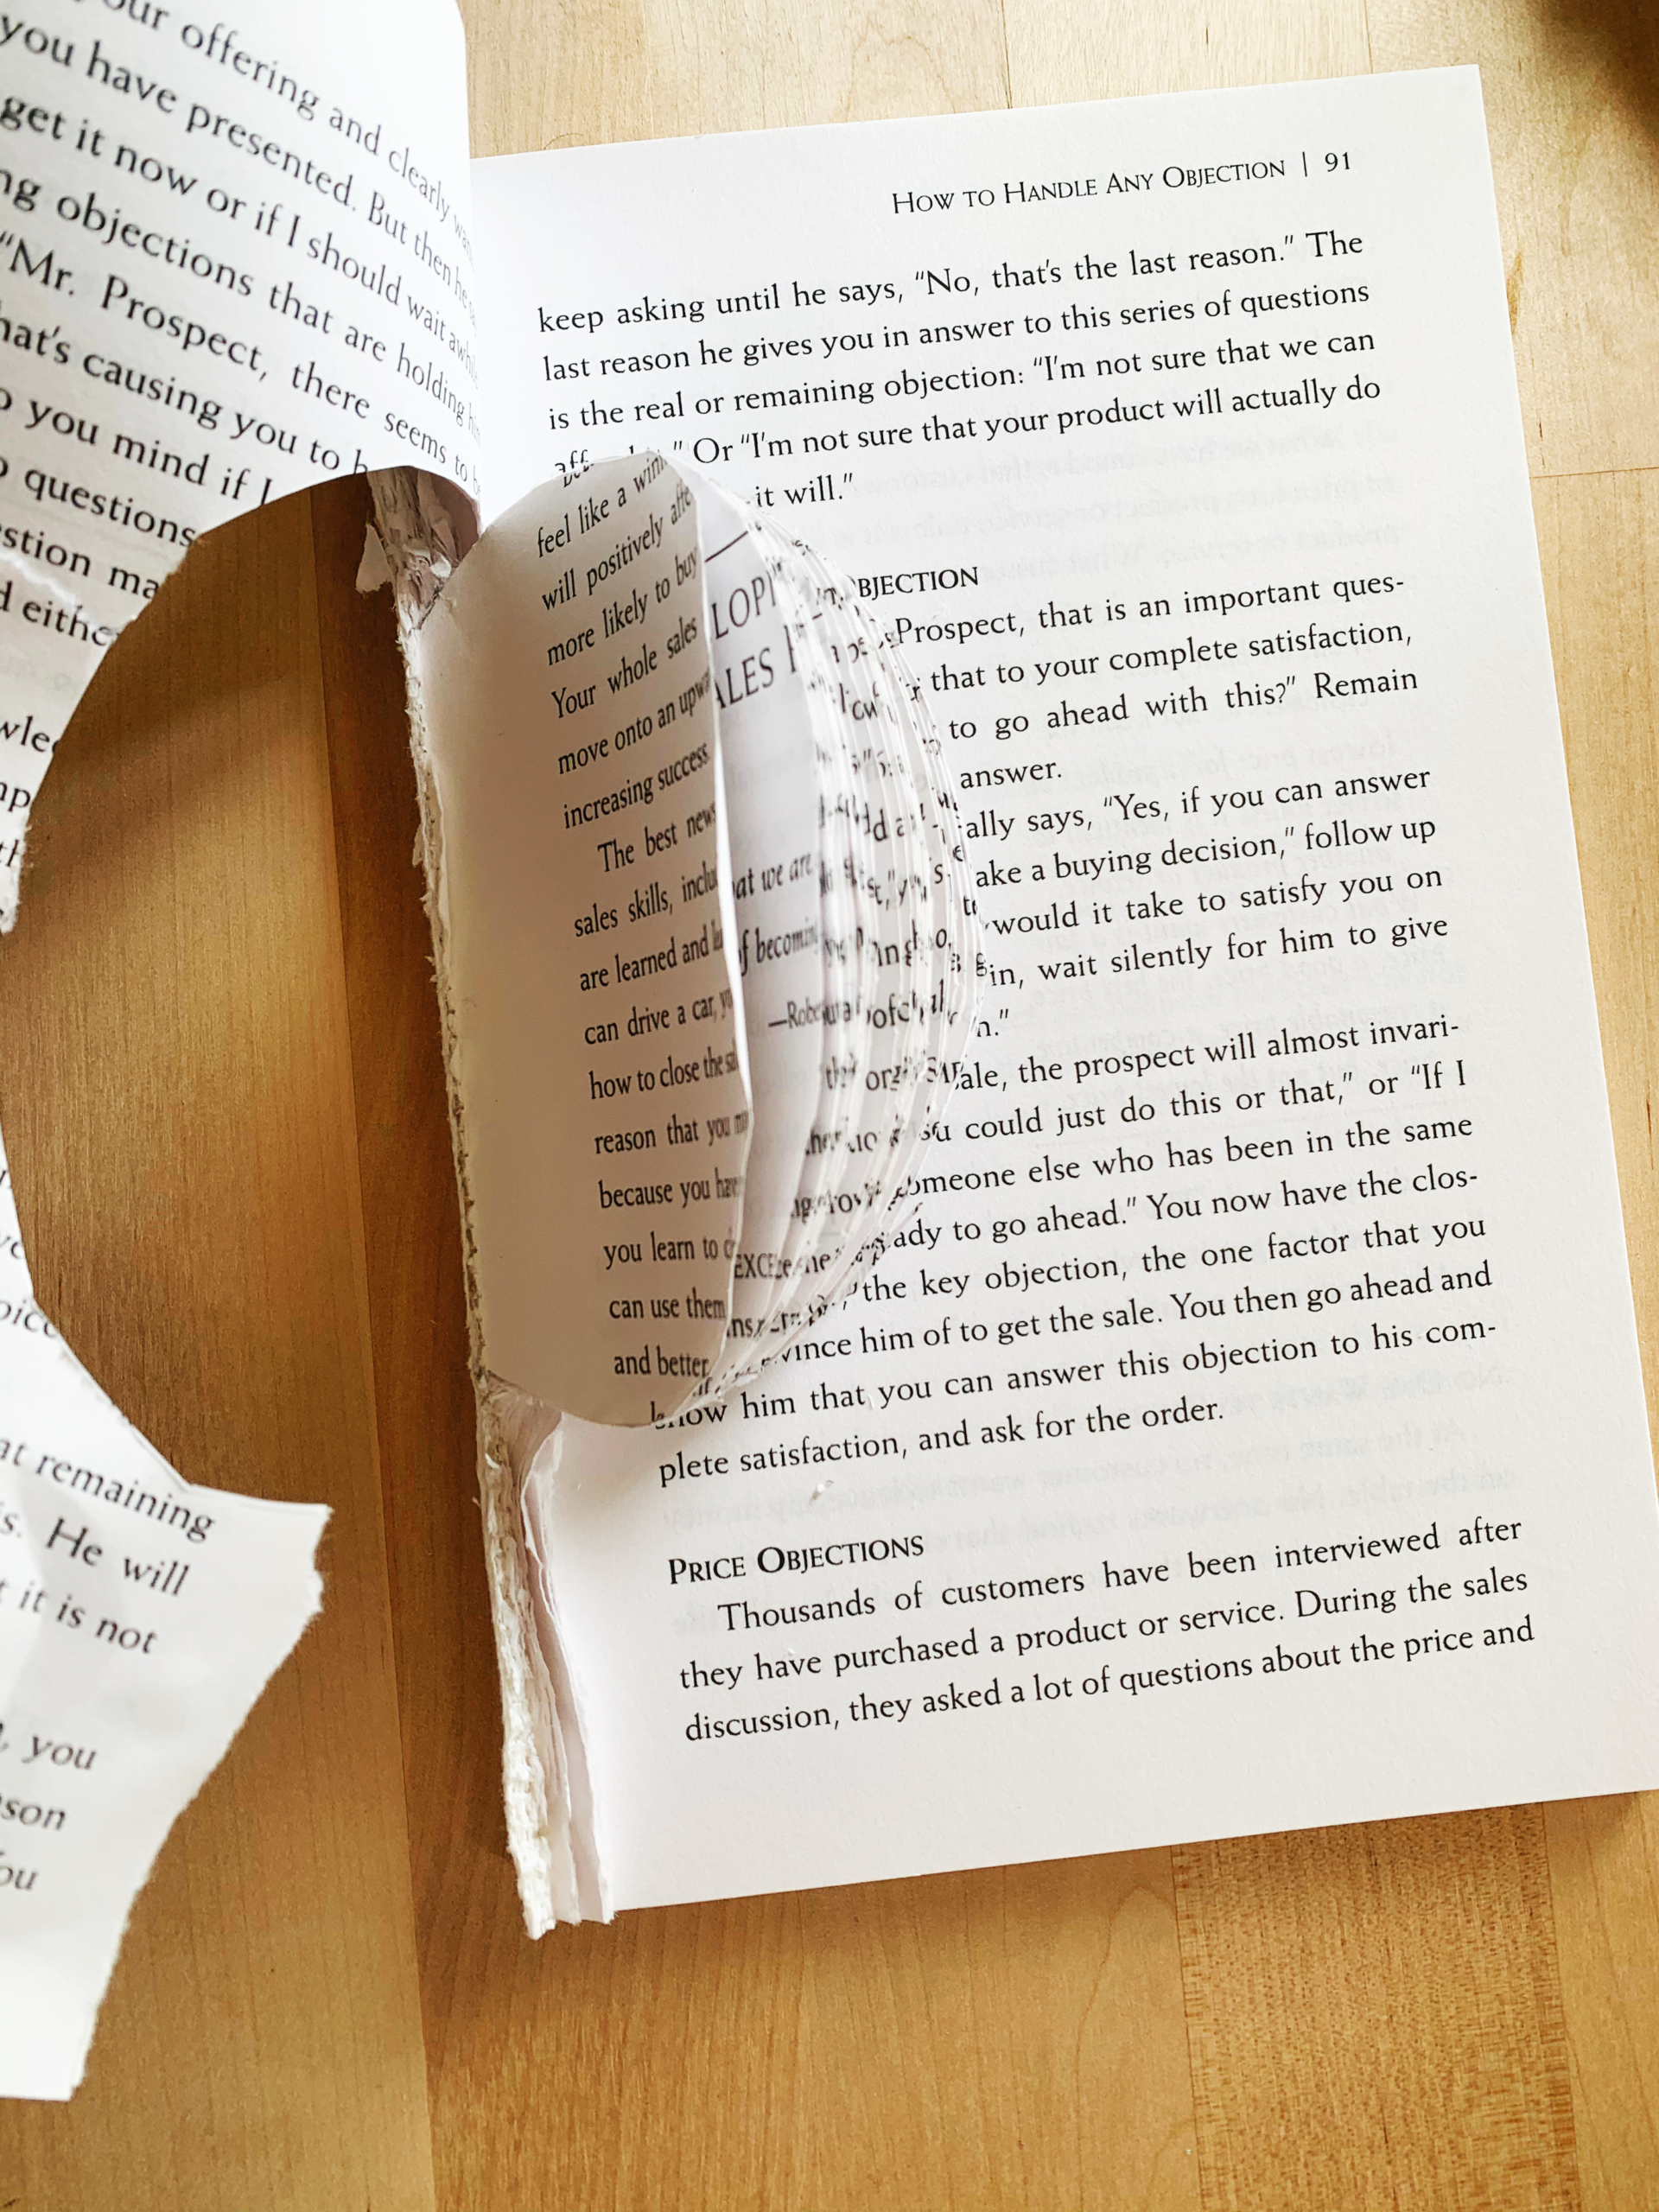
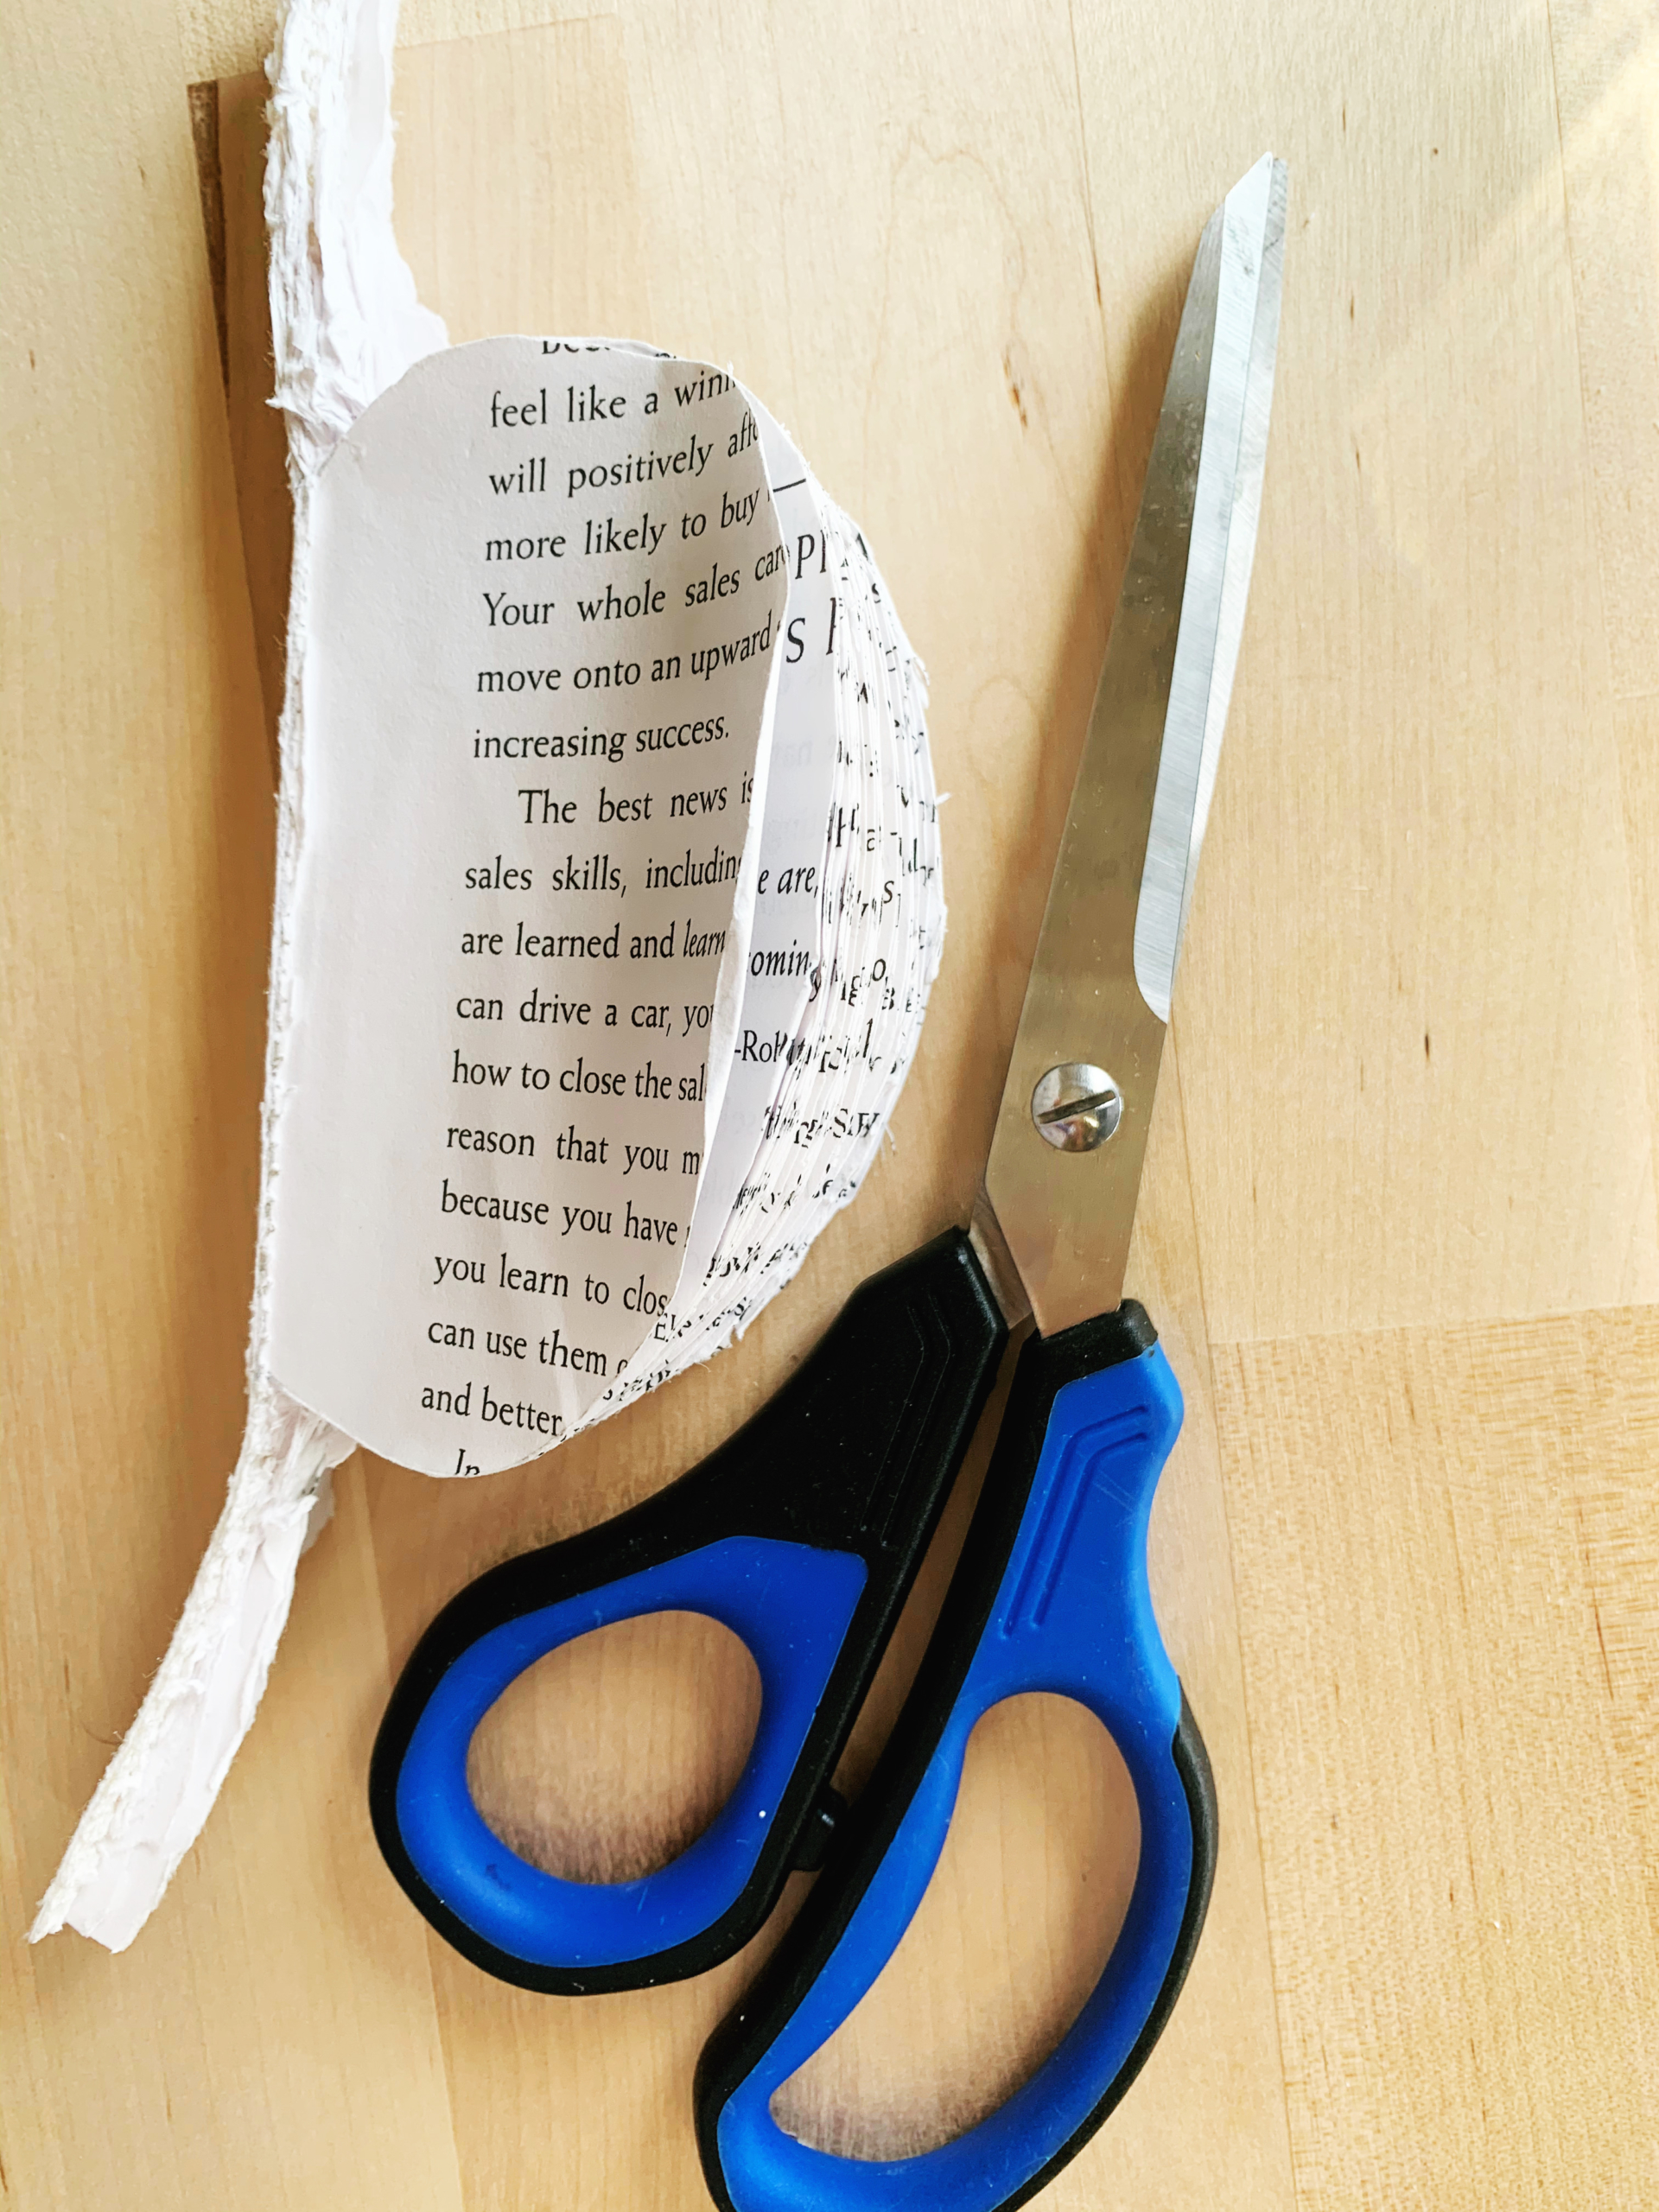
Step Four:
Once you’ve cut all the pages, use scissors to cut away the excess of the spine.
Step Five:
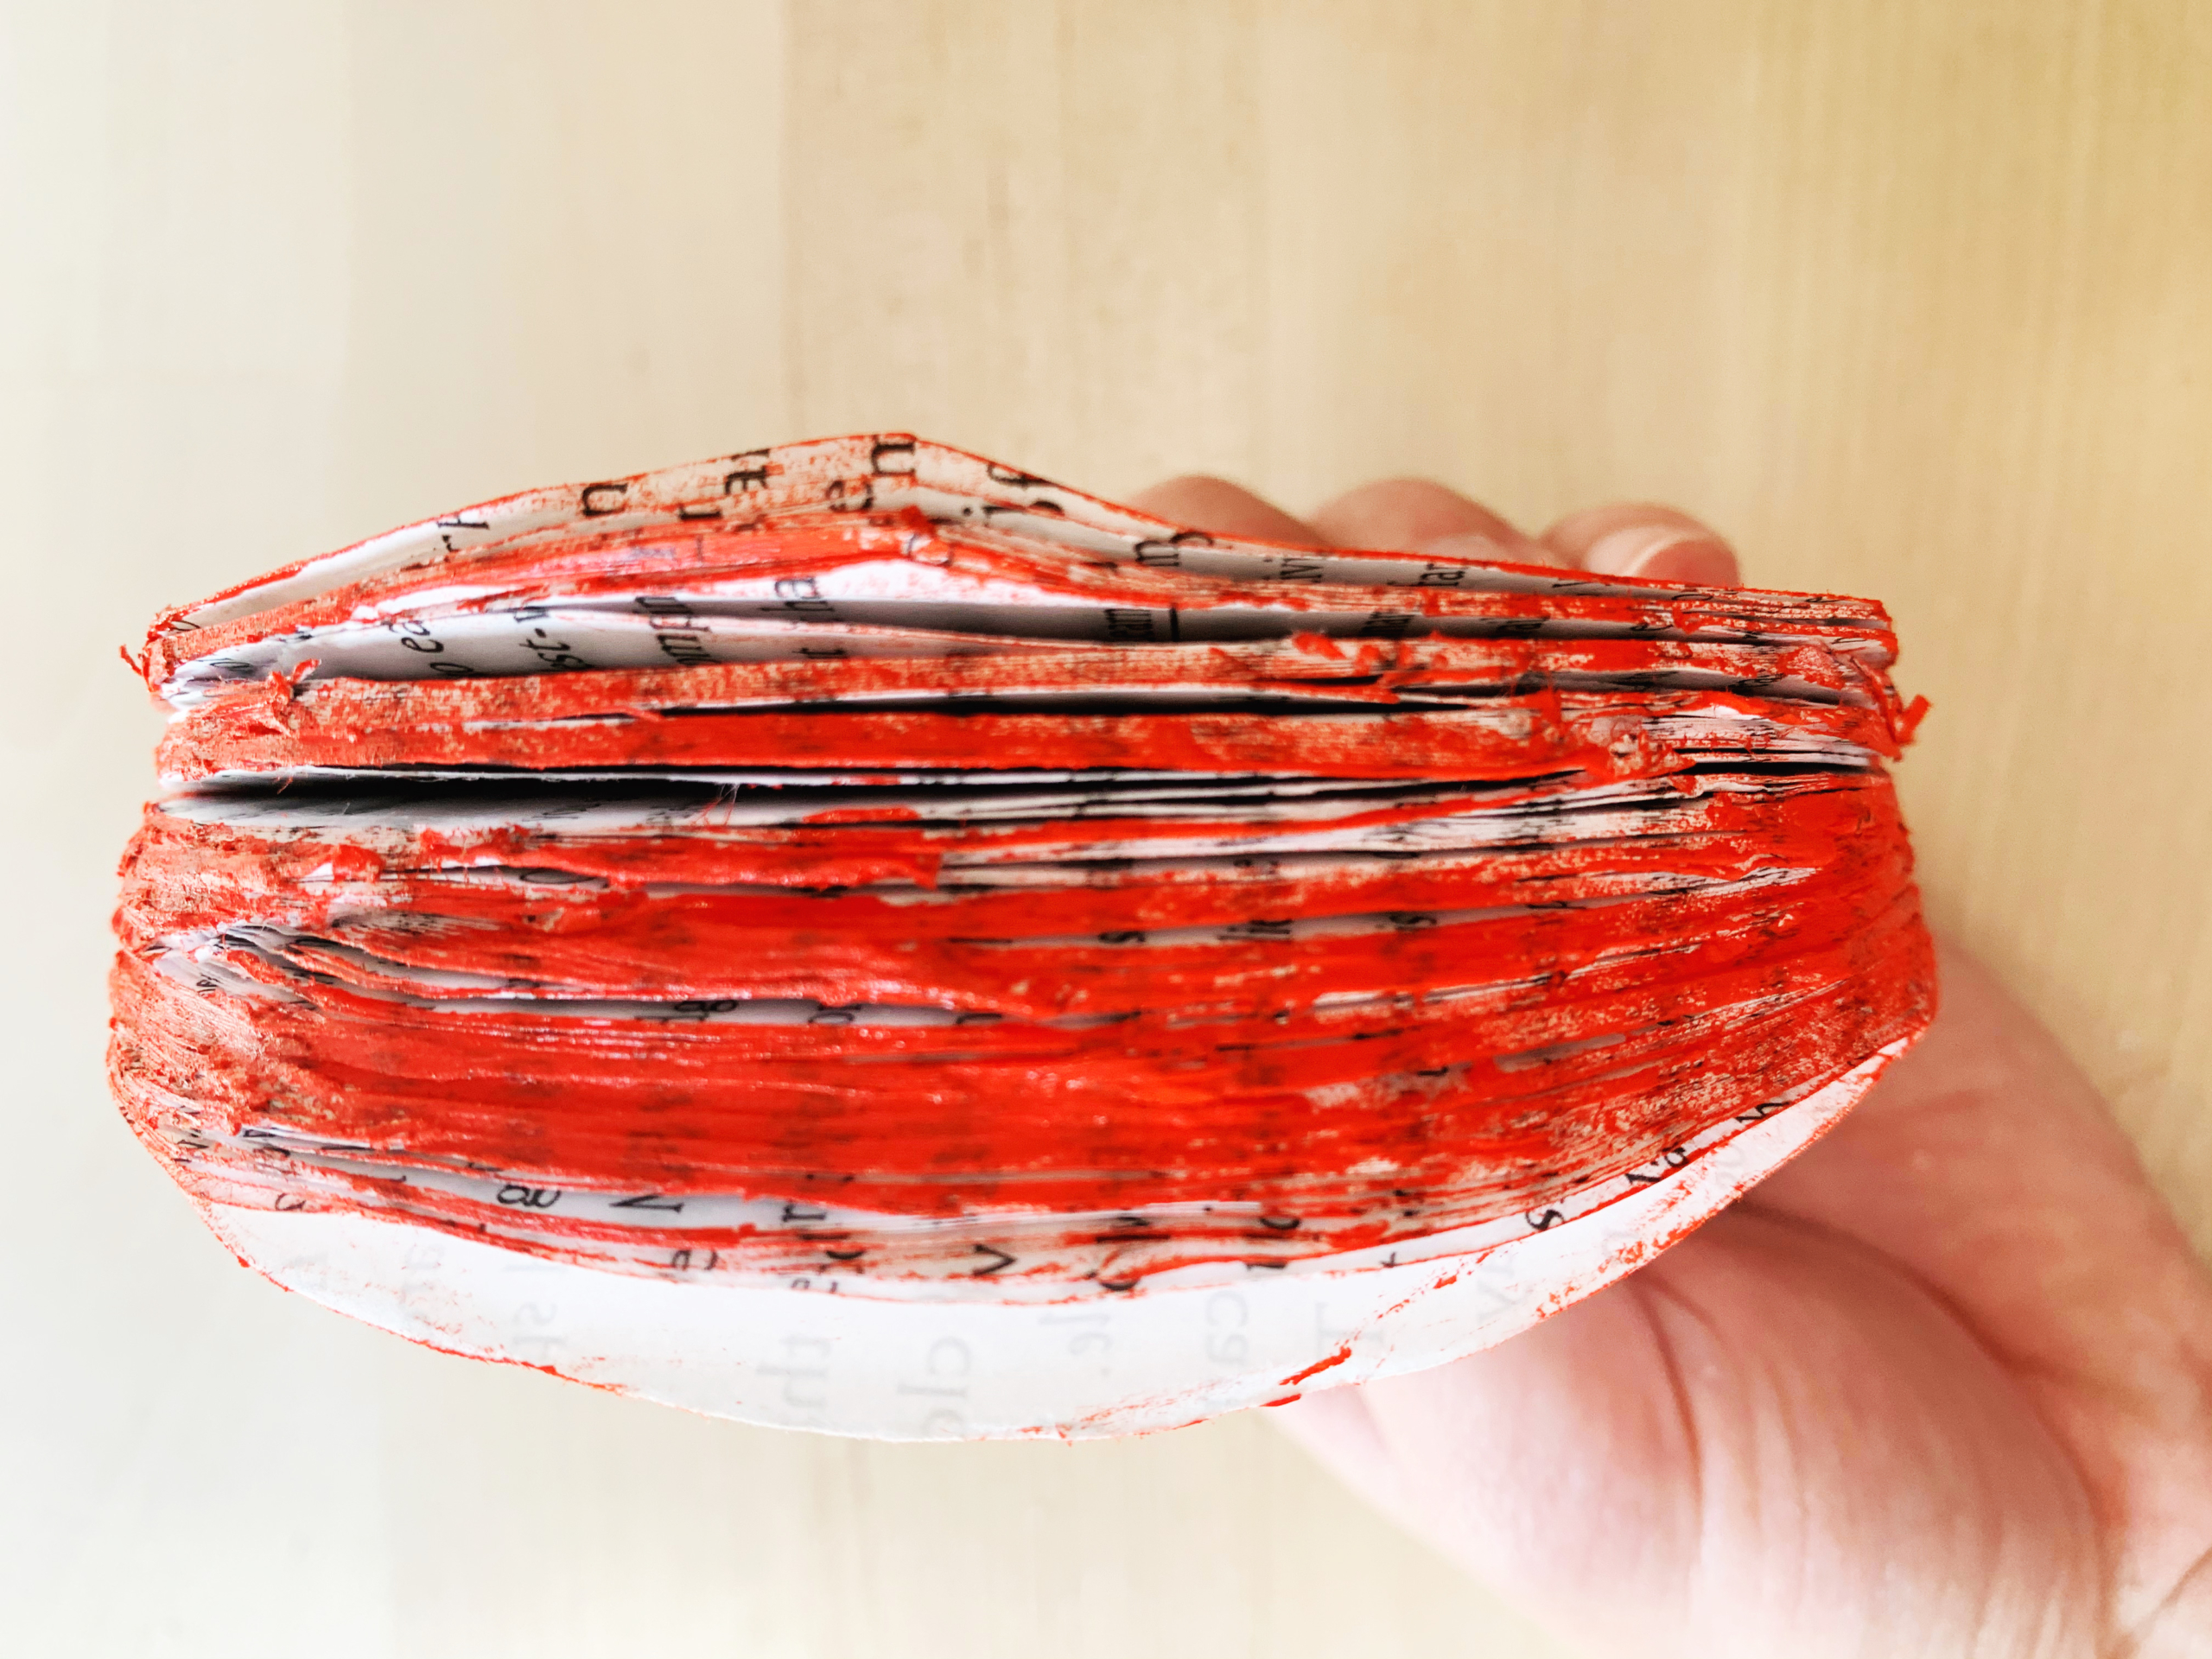
Next up is painting the very edges of the book pages red. I used acrylic paint, because it dries quickly and is easy to apply. Hold the pages together tightly, or lay them under another book or flat weight, to keep the pages together as you paint.
Tip: Paint lightly with the minimum of paint necessary, to keep the pages from being difficult to separate and fan out later. If working with kids, warn them that a little goes a long way here!
Note: An alternative idea could be to use a red marker instead to color the edge. This could be a bit easier to manage and lets you skip the next step, which is on the messier side!
Step Six:
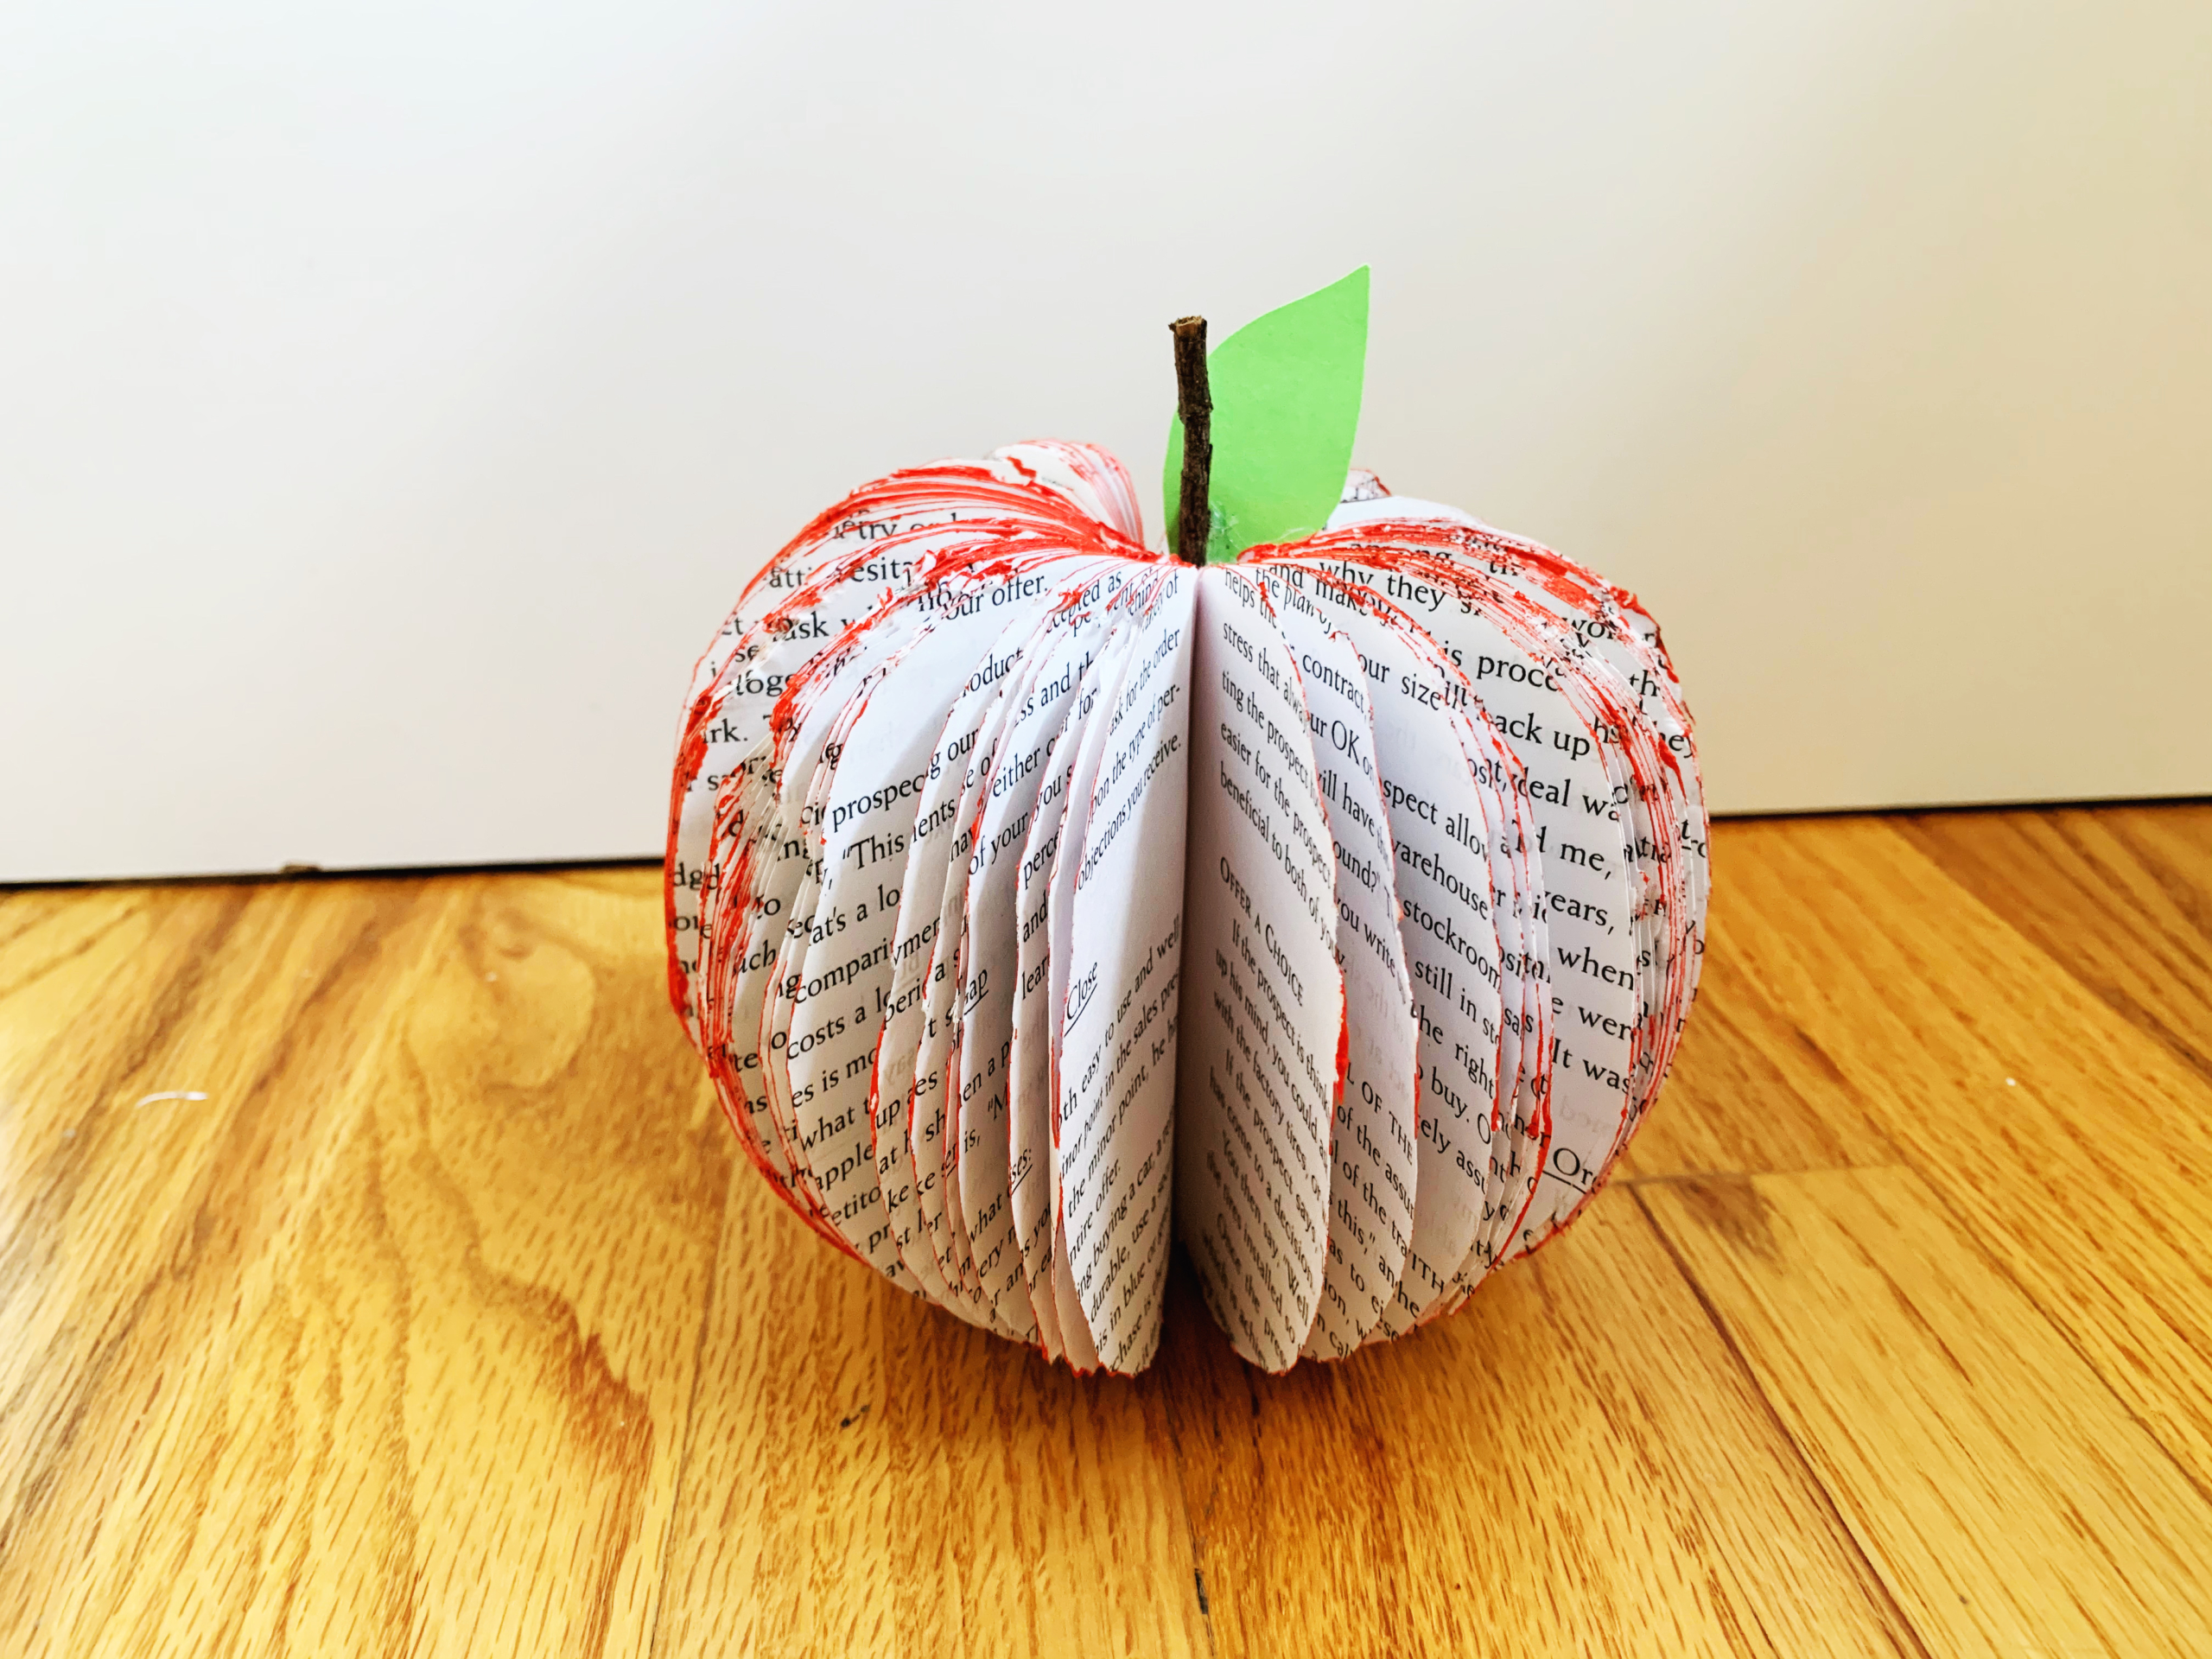
When the paint is almost dry, start fanning out the pages so they won’t stick together. Then wait a little longer till the paint is dry to the touch. Once it’s dry, bend the spine of the book to make it pliable. I just kept bending different sections of pages back and forth till the pages started fanning out on their own.
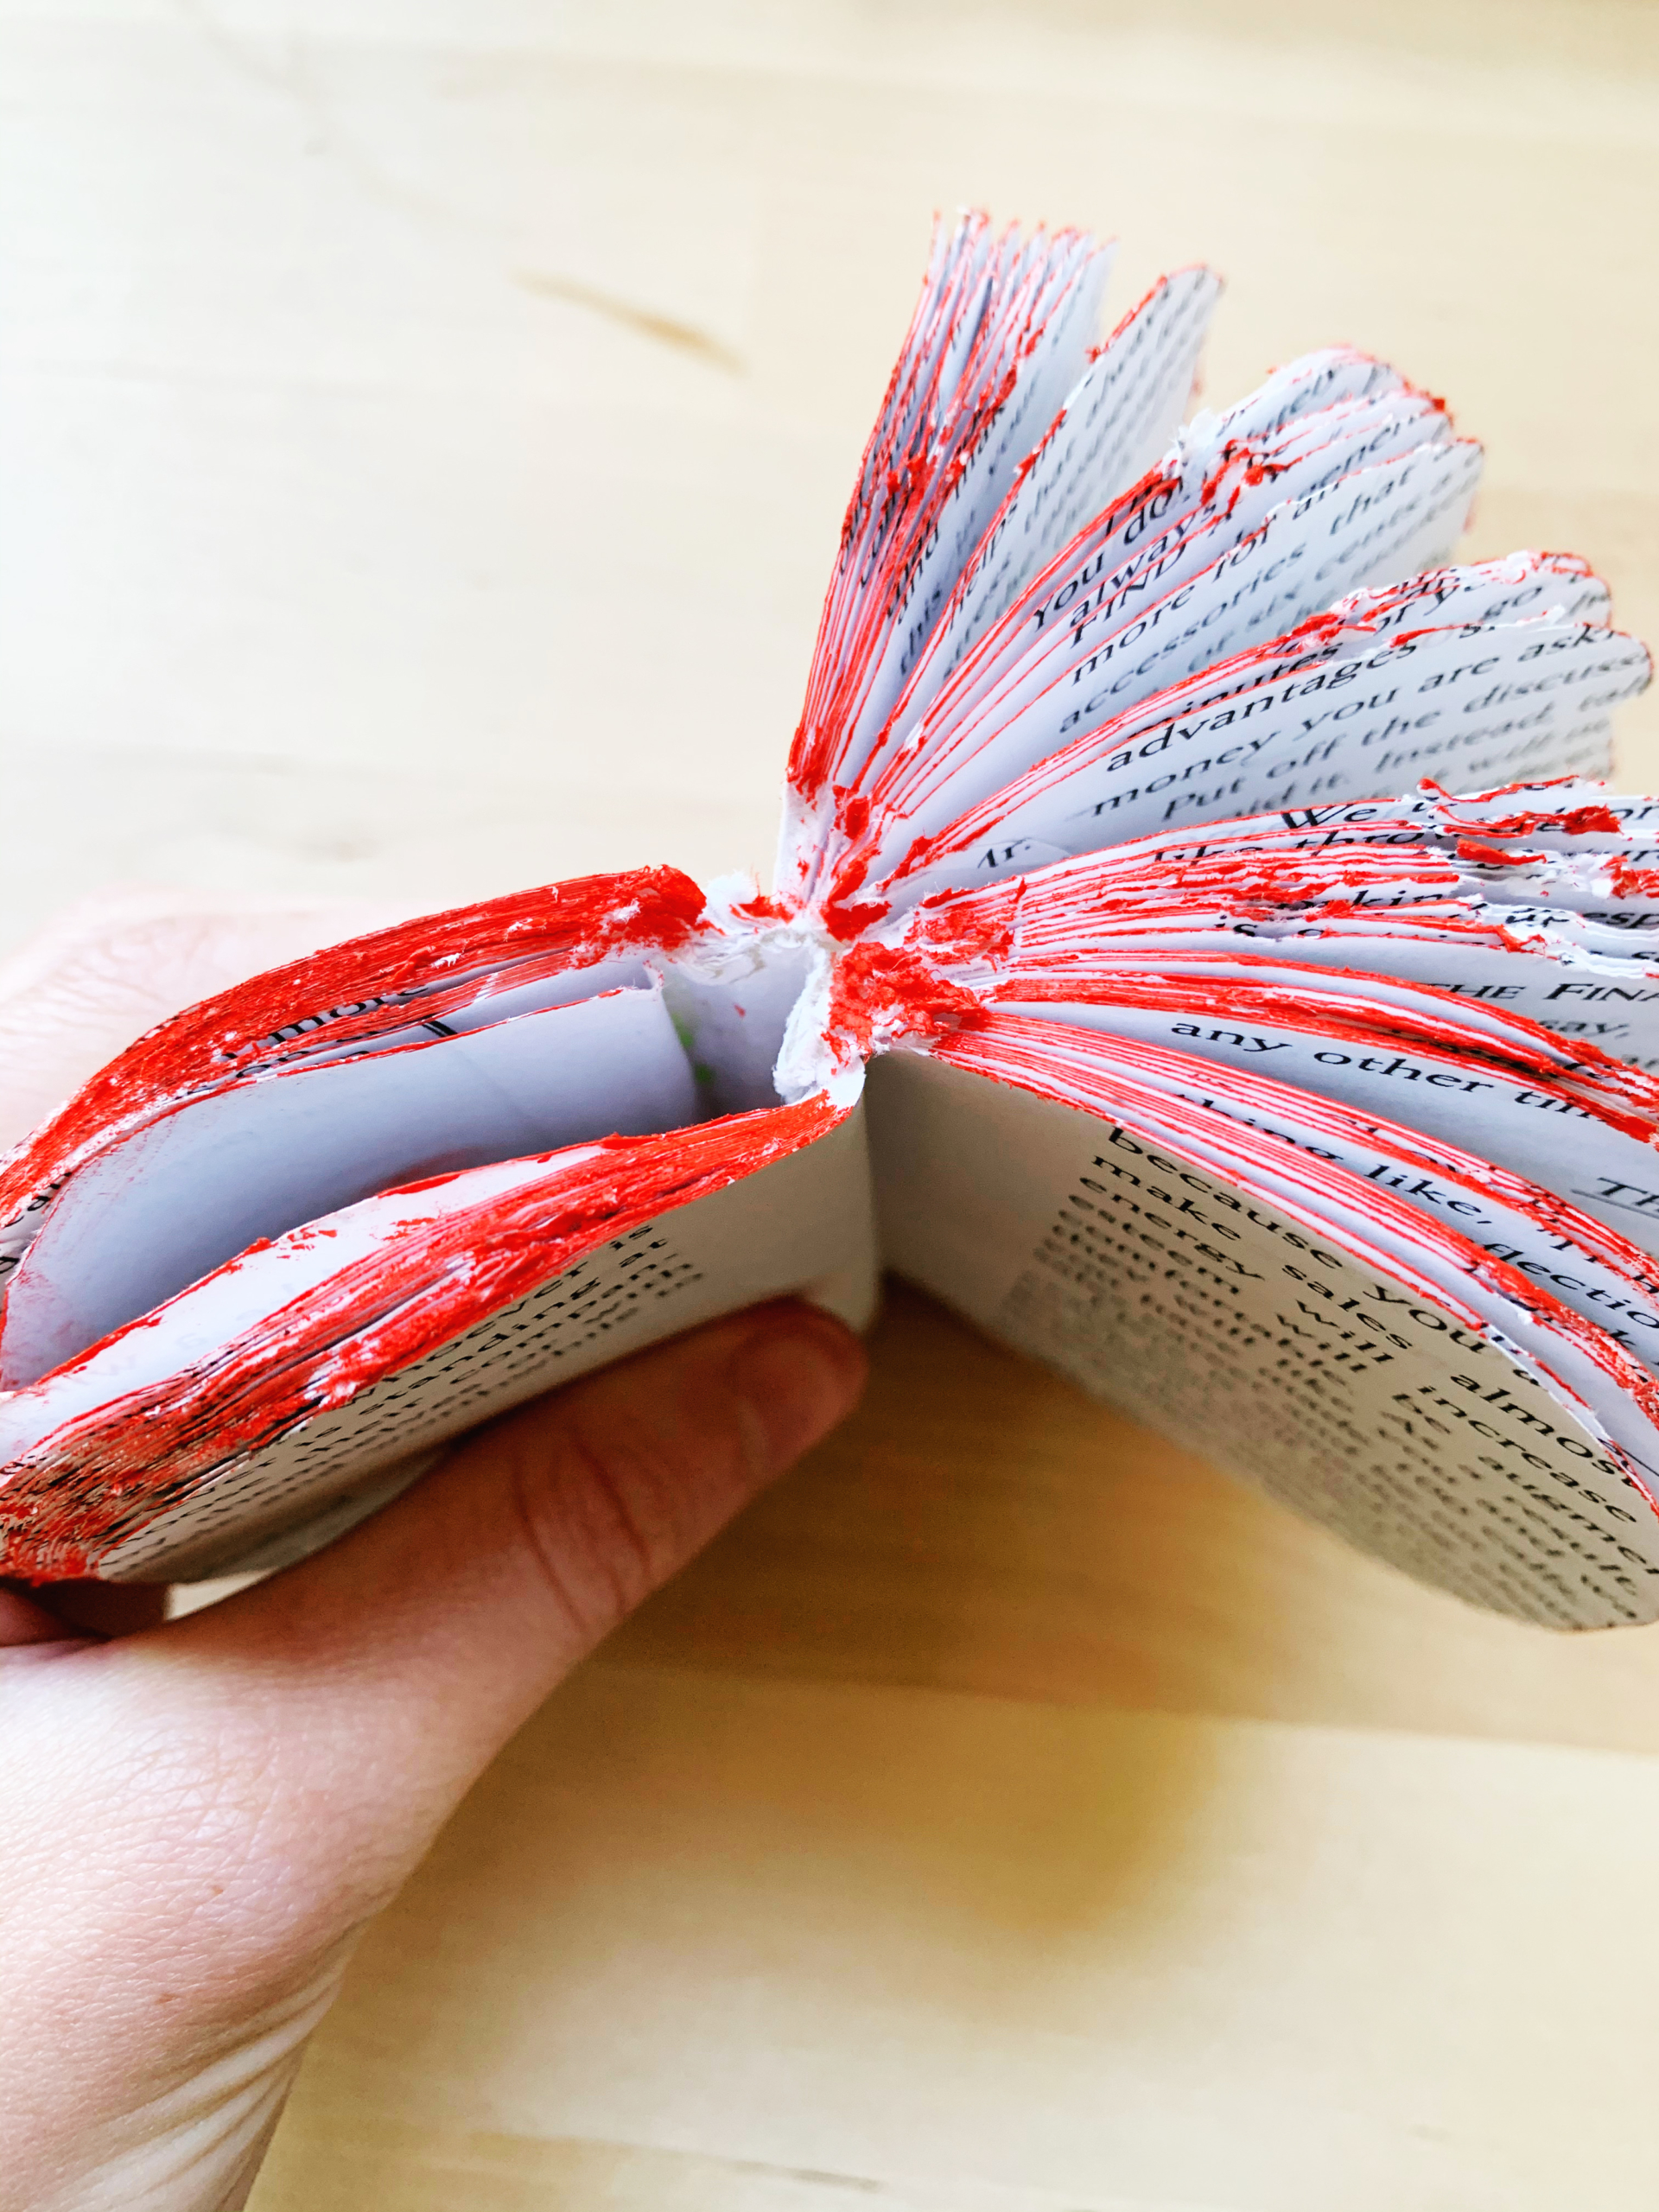
Step Seven:
Now, using the glue gun, add some hot glue to the top of the spine and place your twig there, so the top is sticking up about an inch above the top of the pages. Wait a minute till the glue is dry and the twig is securely in place.

Step Eight:
Bend the spine again (being careful of the stick!) and add more hot glue to the rest of the spine as well as the first and last pages. Once your glue is in place, carefully bring those pages together and press along the spine to make your round apple (watching out for any glue that may soak through the page). Wait just a little for the glue to harden, then fan the pages out until your apple is nice and full.
Step Nine:
Cut out a little leaf from your green paper for the finishing touch, then attach it to the base of your twig with just a dot of glue.
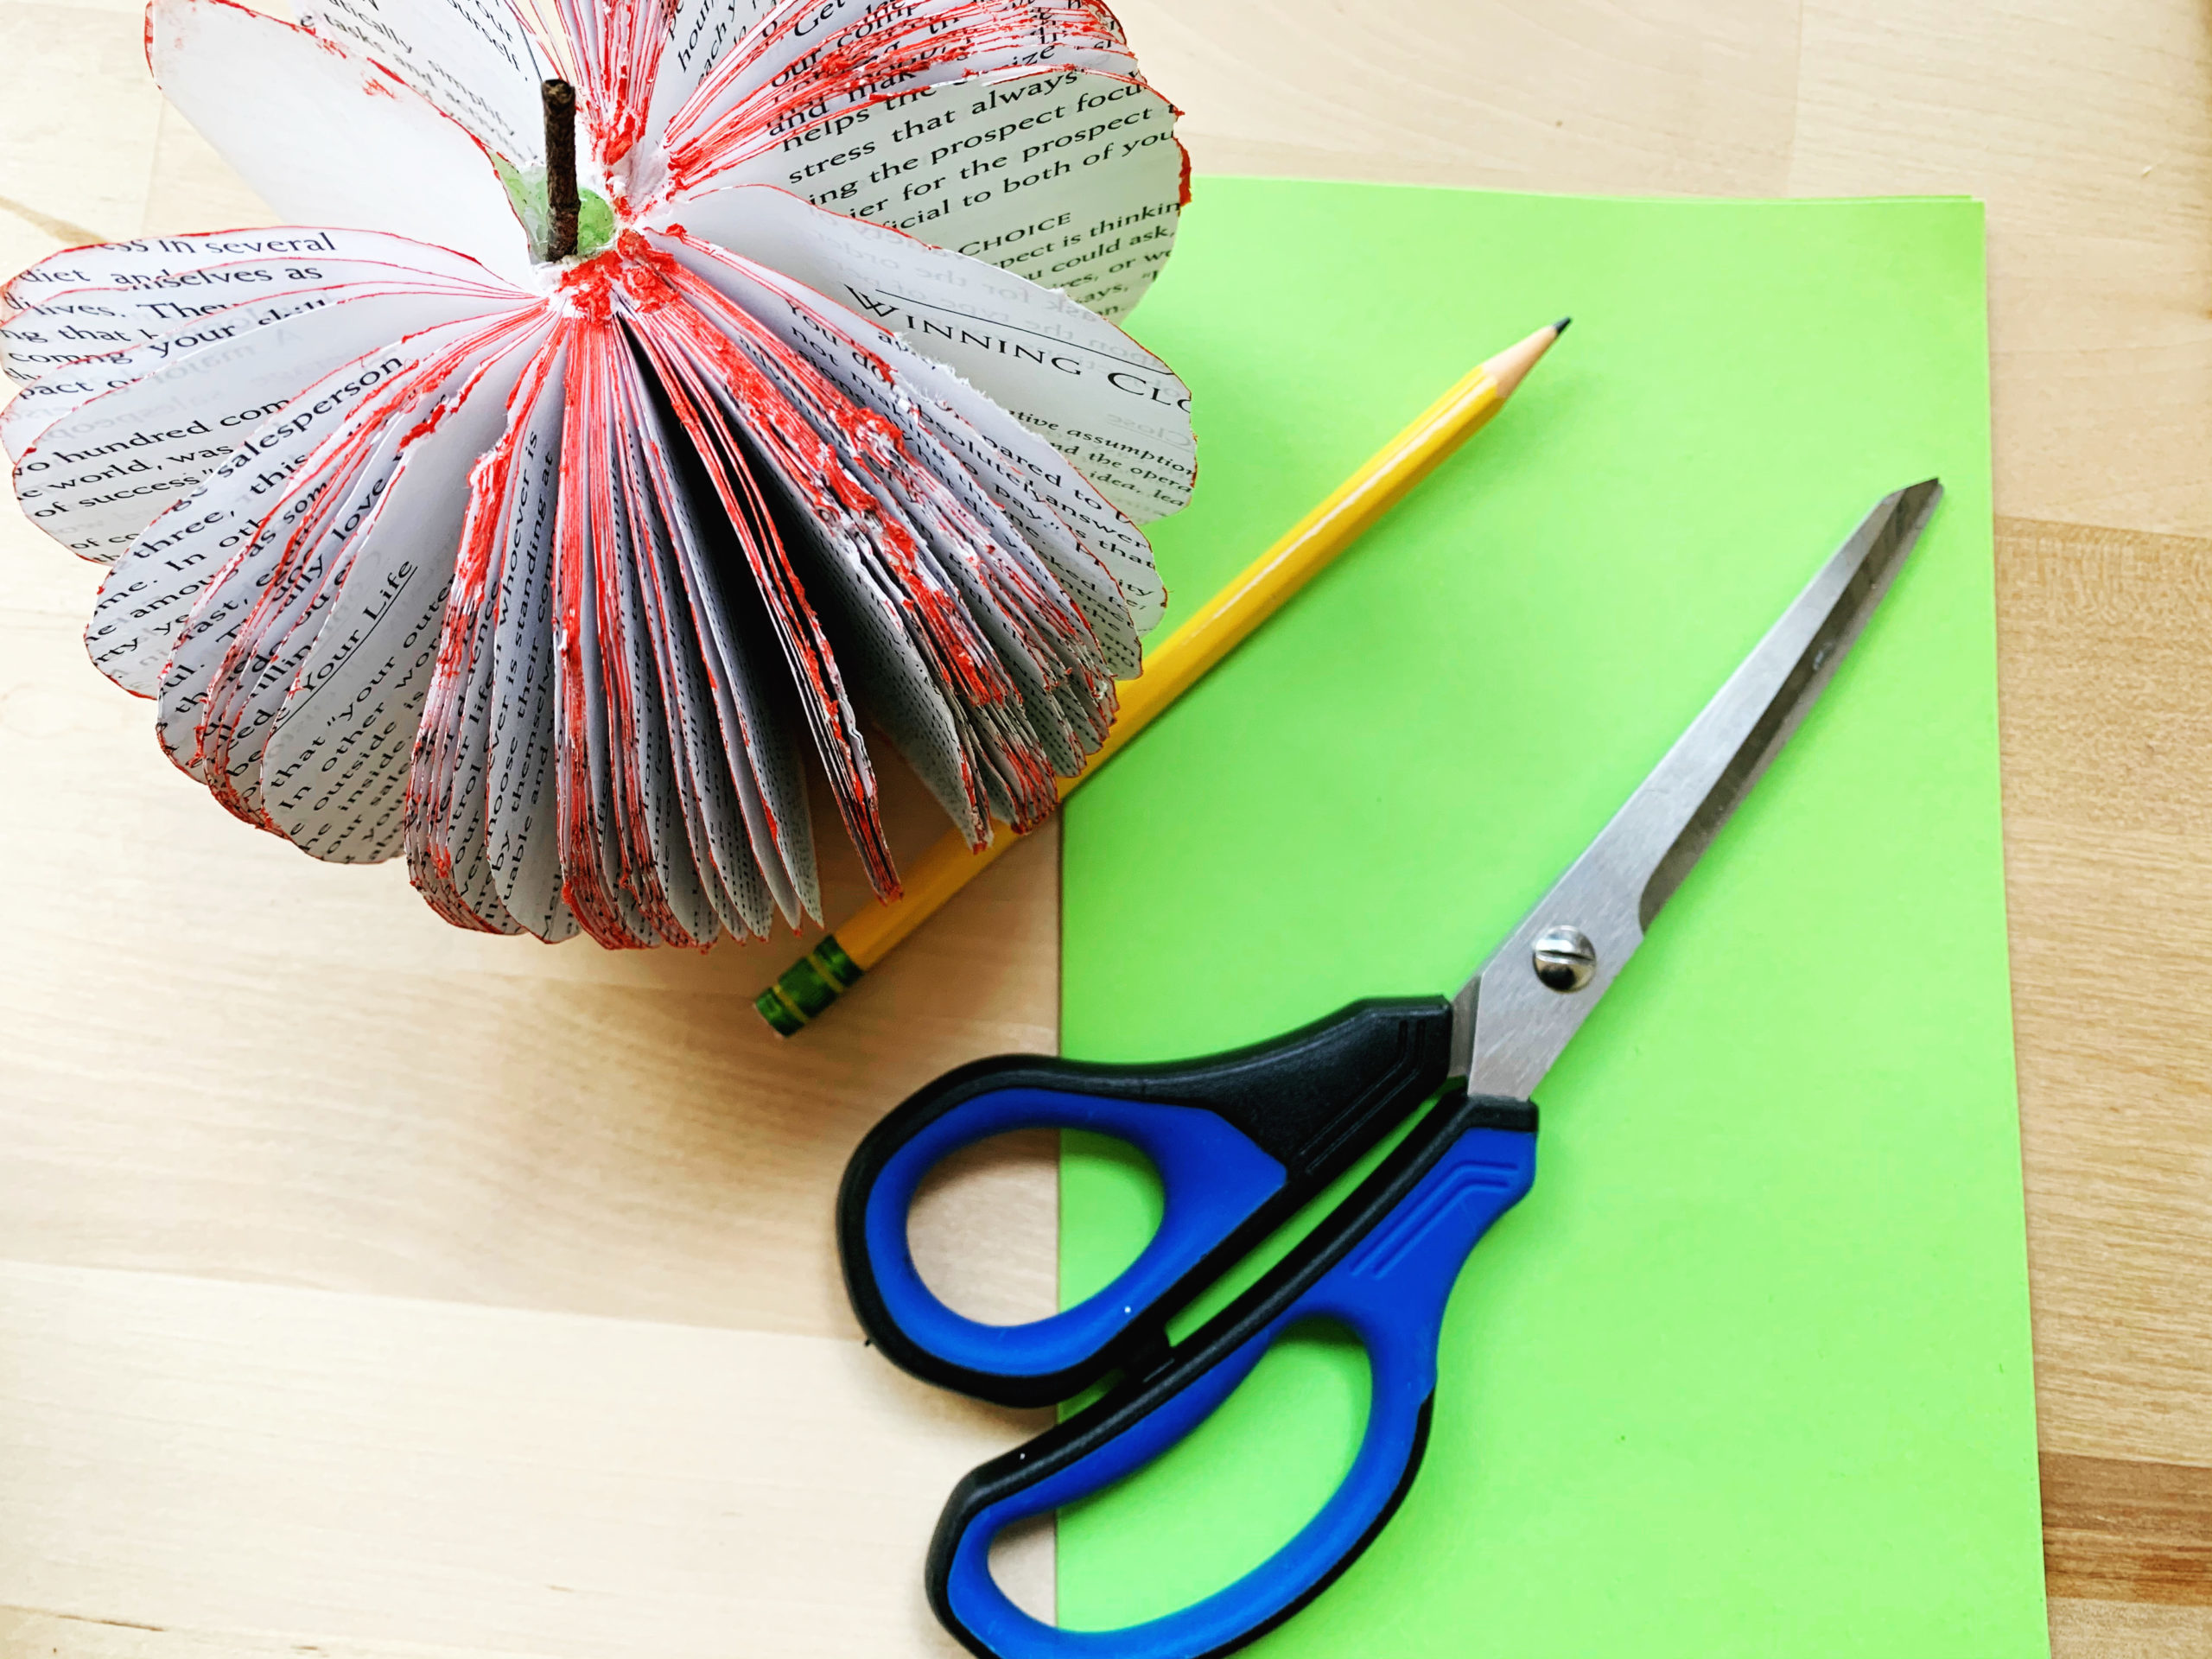
Ta-da! You have your book page apple!
Will you gift or display yours? Let us know if you come up with any creative uses or twists on this project.
Kelsey Nickerson creates abstract paintings with rich color, texture, and movement, and enjoys a good book craft. She oversees web production and photography for MayaSmart.com.