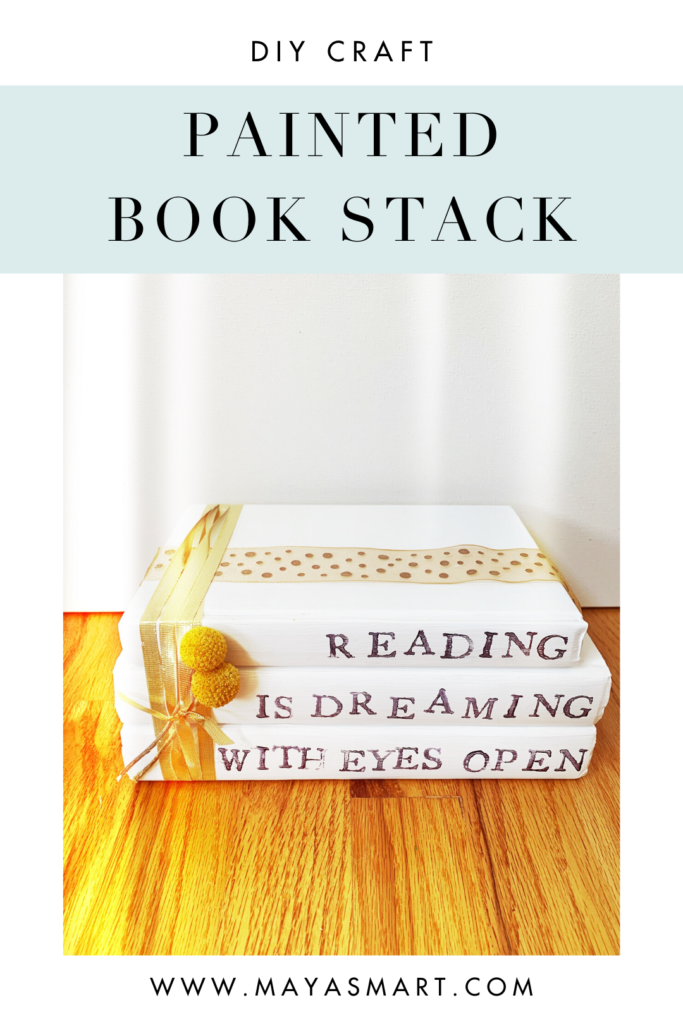
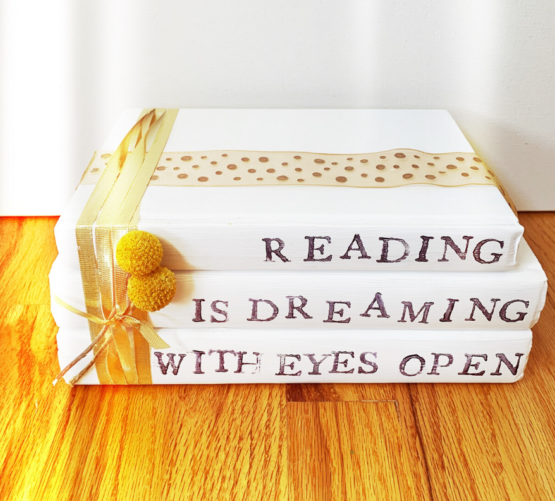
Looking for a way to beautify a room and highlight reading at the same time? This DIY book craft, inspired by A Fresh Squeezed Life, creates a lovely painted book stack. It can bookend your favorite titles on a shelf or hold its own as a table accent. Either way, it makes a unique addition to a child’s room, living room, or office.
Affordable and fun, this is the perfect way to upcycle obsolete or outdated books (old textbooks, anyone?) and display an inspirational phrase in your home. Go ahead and get creative in choosing what to stamp on your upcycled book stack!
MATERIALS:
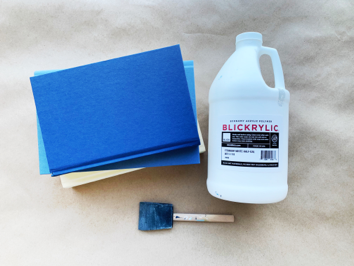
- Obsolete books
- Alphabet stamps
- Paint (I used white acrylic paint, but you could also use chalk paint)
- Foam brush
- Miscellaneous ribbon or twine and greenery for decoration (or anything else you can think of!)
- Glue gun and glue sticks
- Sandpaper (for correcting any mistakes)
Cost: You may have most of these materials on hand already! But this project should not cost more than $15-20 even if you have to purchase some materials.
Ideas for Quotes:
What phrase will you showcase on your upcycled book stack? Feel free to borrow the one I used, or pick your own. Here are a few ideas to get you started:
- Choose a quote about reading. Goodreads has a list of reading-related quotes.
- Use a quote you love from a book. Or choose one from a child’s favorite book to encourage their reading.
- Write your own or invite your child to take the lead.
Share what you use in the comments!
Step One:
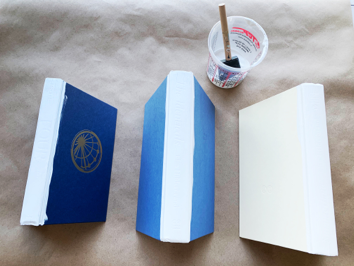
Set up your work surface by laying down scrap paper. Make sure you have enough room to lay out all the books you’re using. Then paint the spines of your books with a few thick coats of paint, letting each coat dry before you add the next one. Because many hardcovers have titles embossed or imprinted on the spines, you’ll need to put on enough paint to create a smooth surface. It took me about four coats to get even coverage.
Step Two:
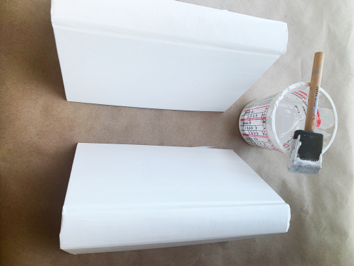
Now you’re going to move on to the sides of the books. Again, apply nice, even layers of paint, letting them dry in between. You won’t need to apply the paint as thick in this step. I did 2 coats here, just enough to have solid coverage over the book cover.
Step Three:
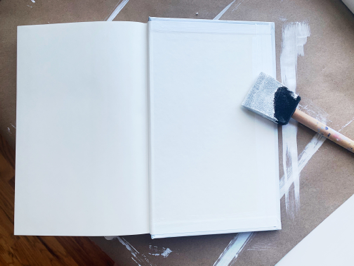
Lastly, paint the inside edges of the book. Just a single coat is fine here!
Step Four:
Let the books dry completely. Don’t rush this step! I recommend waiting at least a few hours.
Step Five:
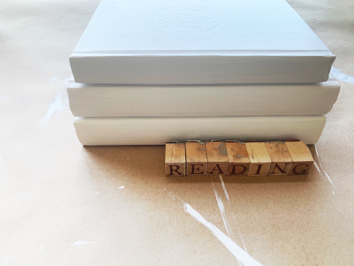
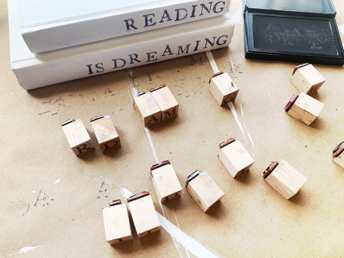
Now the fun part! Decide what quote or message you want to have on your book stack. You will want to double-check that the words fit on the spine. To do this, simply line up your stamps next to the book as you’re planning to stamp them.
Step Six:
Stamp the spine of your book just as you mapped it out in the previous step. Don’t make yourself crazy trying to stamp each letter perfectly. The imperfections add a little character to the project and will make your book stack extra cute in the end! If you do make a mistake or have excess ink that really bothers you, don’t worry: You can use sandpaper to remove the ink. I thought this step was going to be tricky, but it was actually my favorite part of the craft, so just have fun with it.
Step Seven:
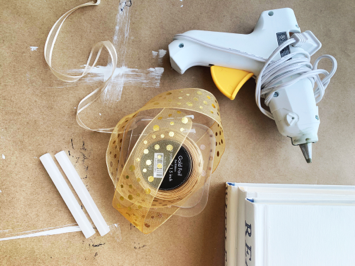
The final step is assembling your book stack and adding the finishing touches. Pick materials to go along with your theme, like different ribbons, twine, and greenery or other decorations! Now, glue the books one on top of the other with your glue gun. Then tie ribbon or twine around the stack, securing with glue as needed, and glue on any other decorations you choose.
And remember: this project is about expressing book love and bringing something fresh, beautiful, and meaningful into your home. Don’t stress about perfect painting, stamping, or styling. Whatever you end up with is uniquely yours and perfectly charming. Work with what you’ve got, get creative, and have fun!
What quote or phrase would you use on your book stack? Let us know in the comments!
Kelsey Nickerson creates abstract paintings with rich color, texture, and movement, and enjoys a good book craft. She oversees web production and photography for MayaSmart.com
