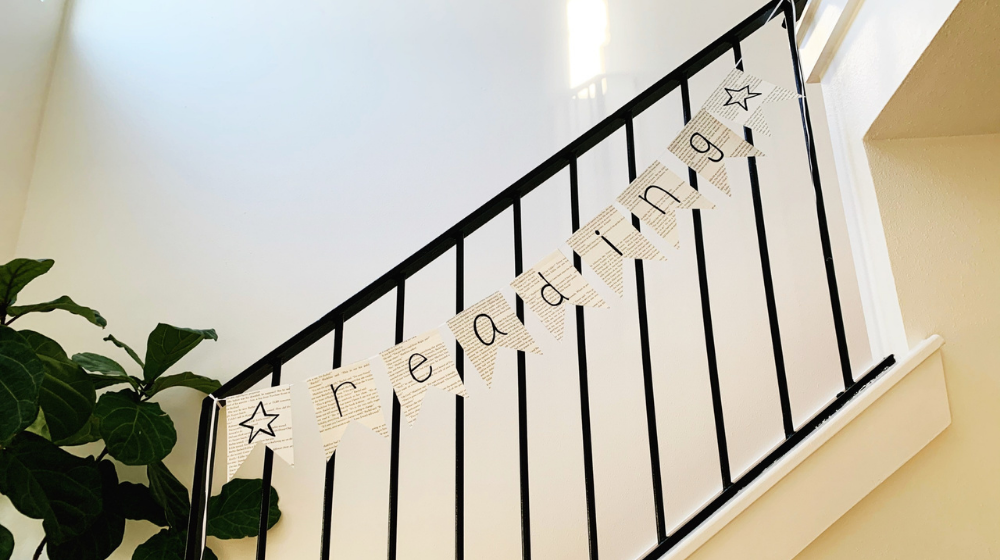
Looking for a creative way to decorate (or something to do with that falling-apart paperback)? From back-to-school to book club to birthday celebrations, you can customize this adorable DIY book page banner for any holiday or theme. It’s easy to make, yet creates a cute and polished end product.
Kids can dive right into this DIY book craft. Have them spell out their name on the banner and hang it above their bookshelf or bed. Or let them make one to celebrate a relative, friend, or favorite teacher. Whatever message you choose, this cute craft is done in no time, so it’s easy to make several for a special event or to give your daily spaces … say, that home learning “classroom” … a fun facelift.
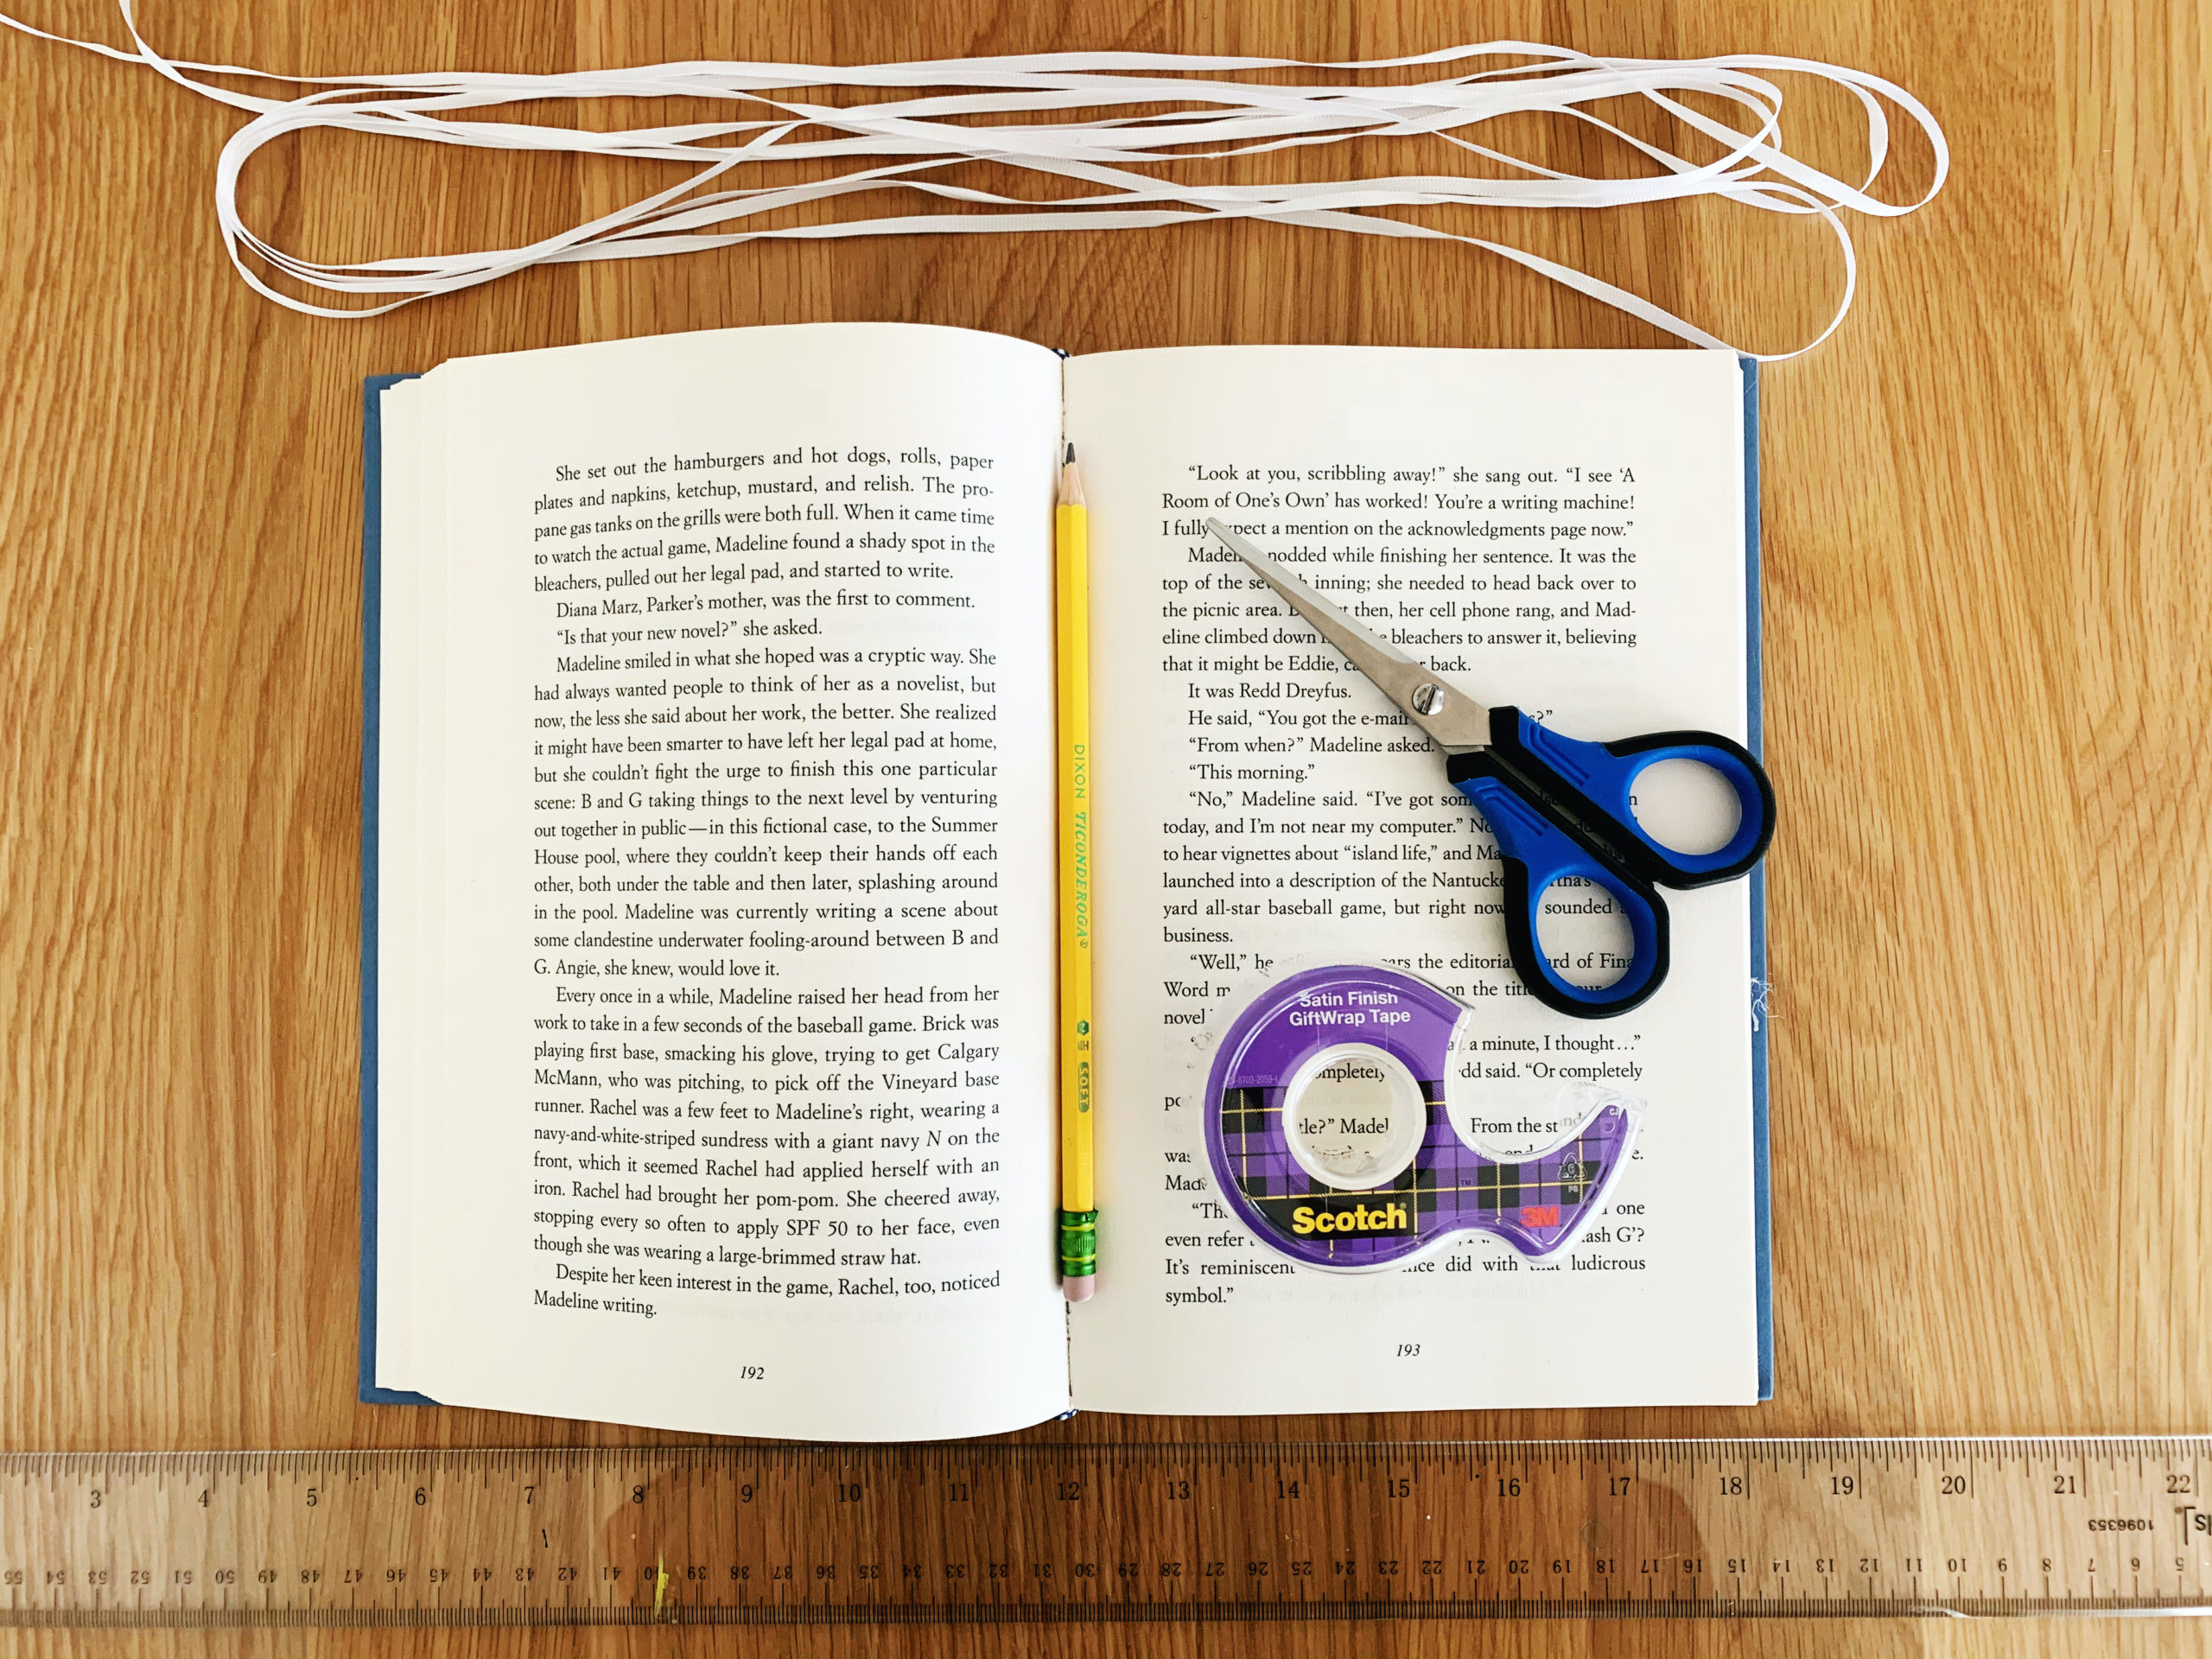
Materials:
- Old book pages
- Scrap paper (to make a template)
- Scissors
- Tape
- Pencil
- Colored pencils or markers
- Twine, yarn or ribbon
Cost: This craft should not cost you anything, provided you’ve got a few basic supplies on hand.
Step One: Step one is to make the template you will use to cut out your banner pieces from the book pages. Just draw the shape you want on some scrap paper, preferably stiffer paper or cardstock if you have it. I decided to do a cute flag shape for my banner, so I cut a 4 x 6-inch rectangle and then cut a notch in the bottom
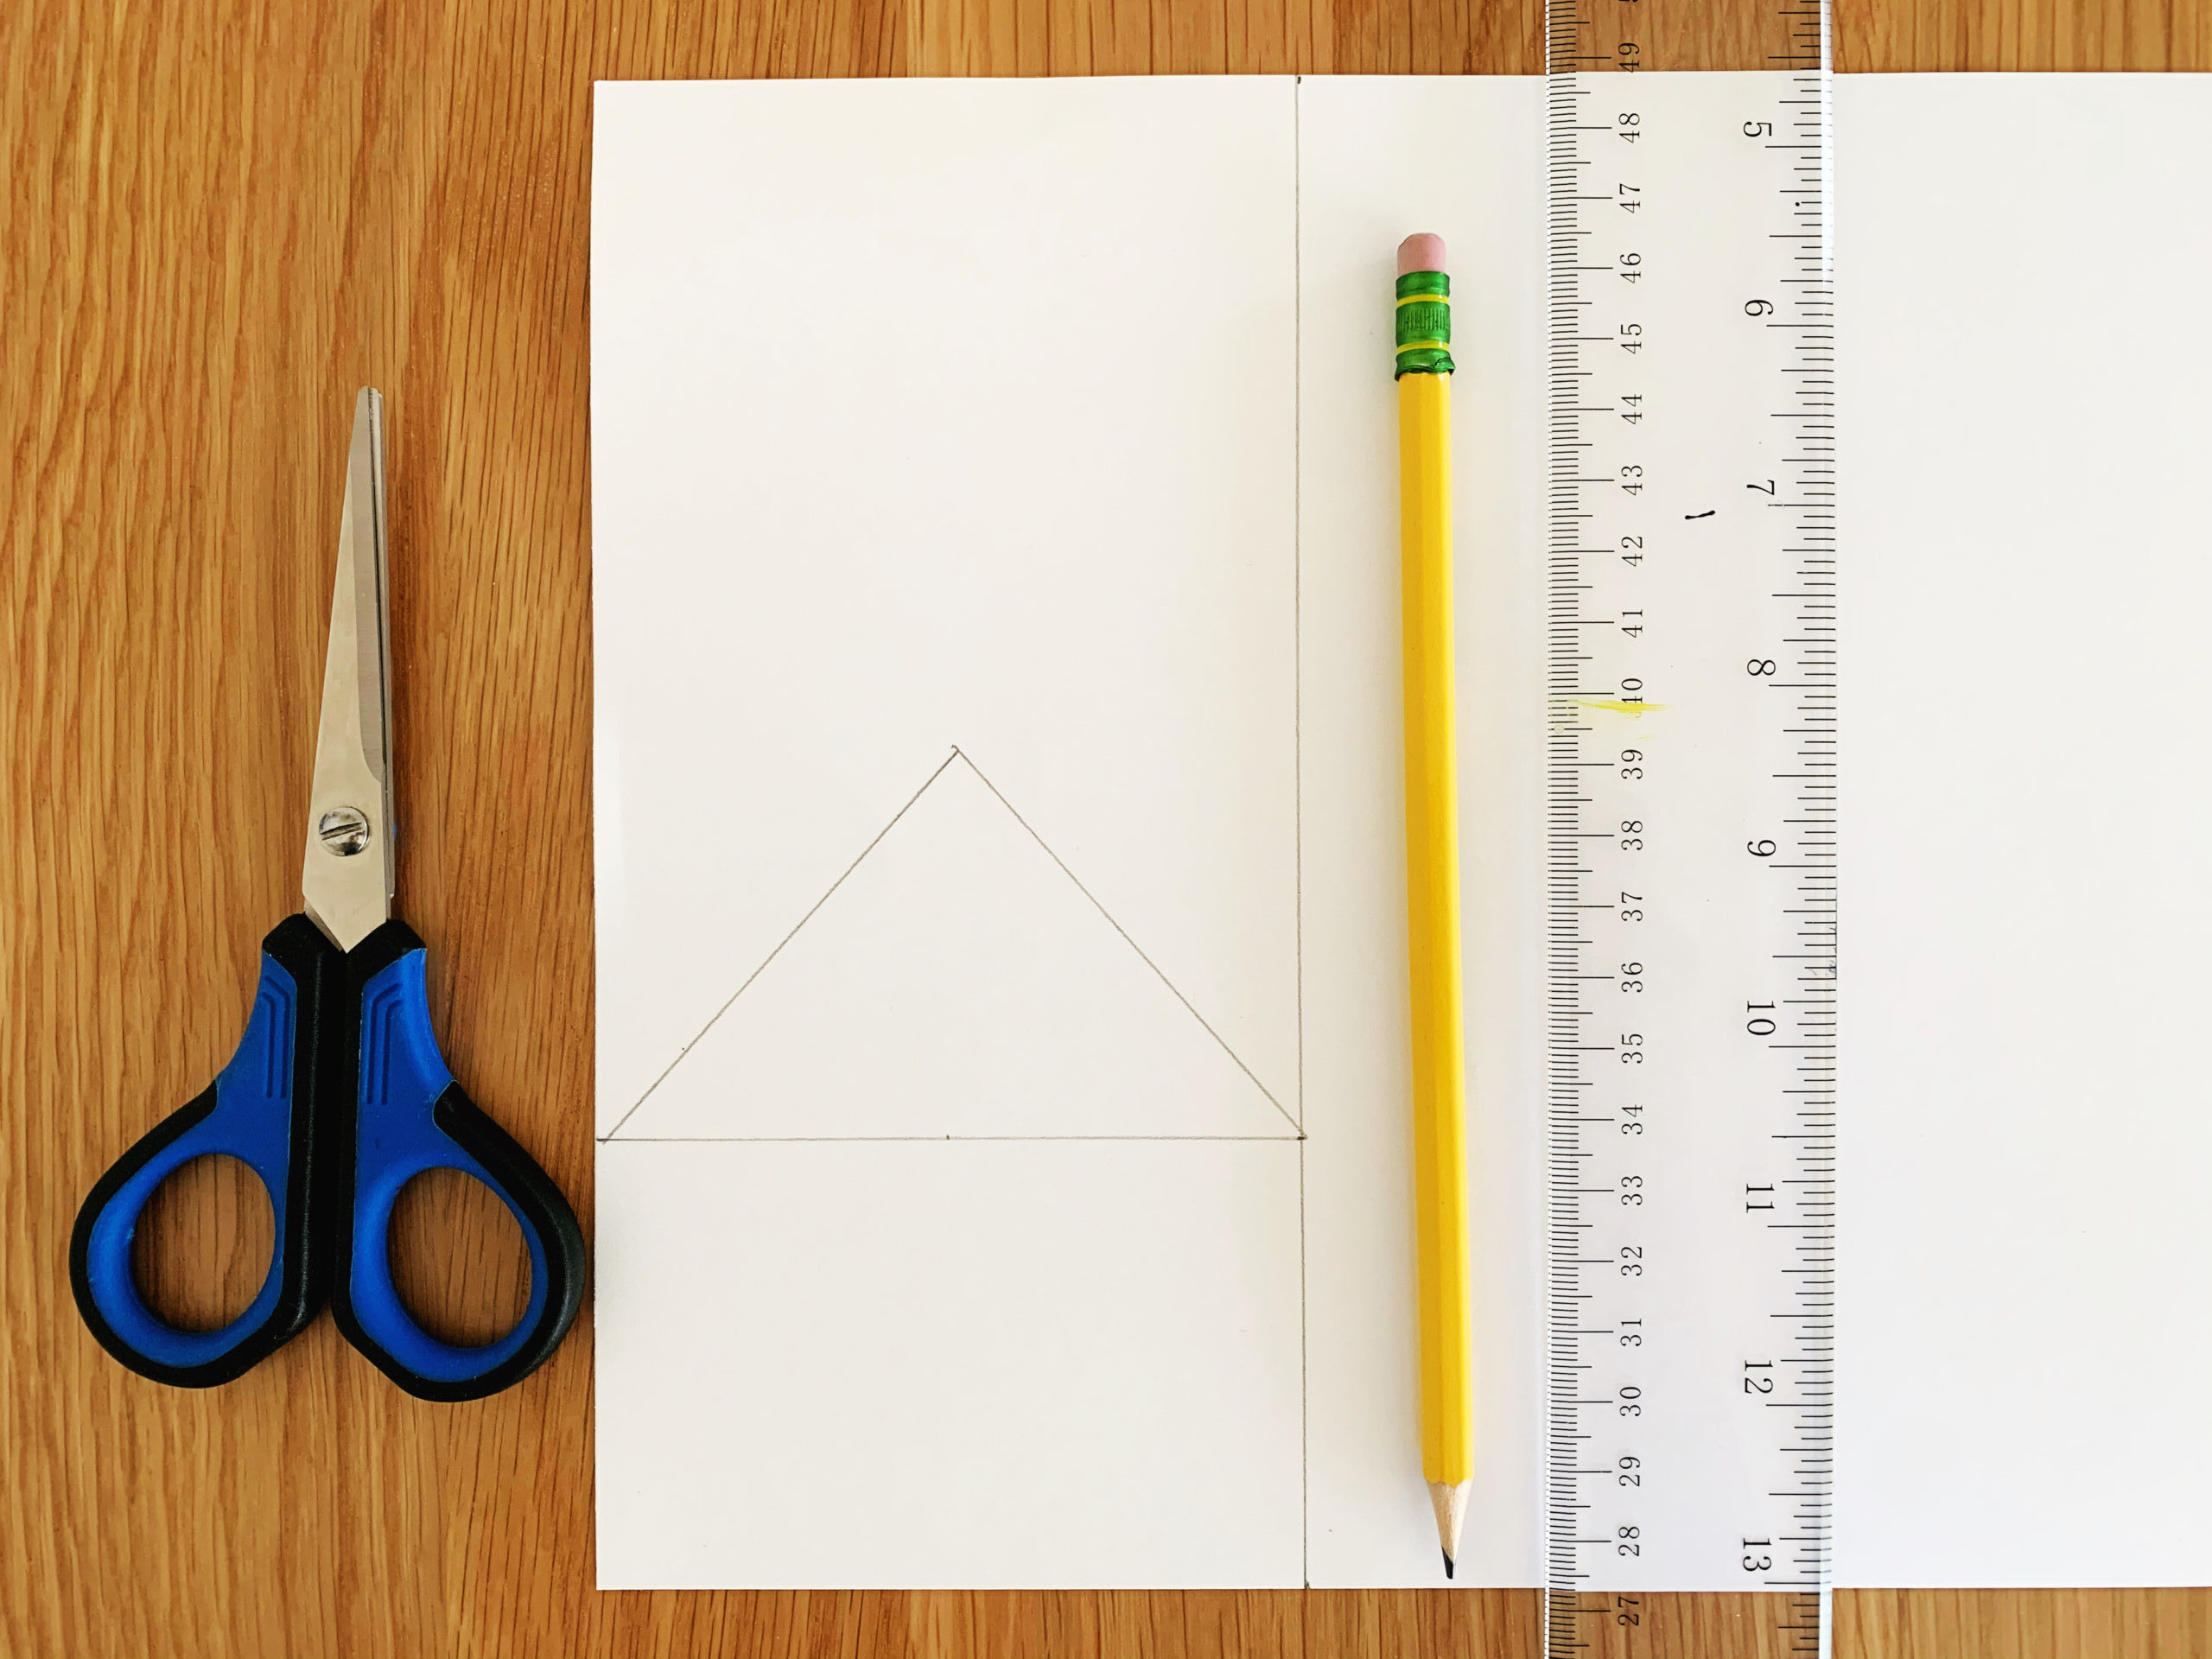
Step Two: Decide how many flags you want and cut out the book pages. I decided I was going to spell out r-e-a-d-i-n-g, so I needed at least 7 pieces. Using your template, trace the flag on the book pages and then cut them out.
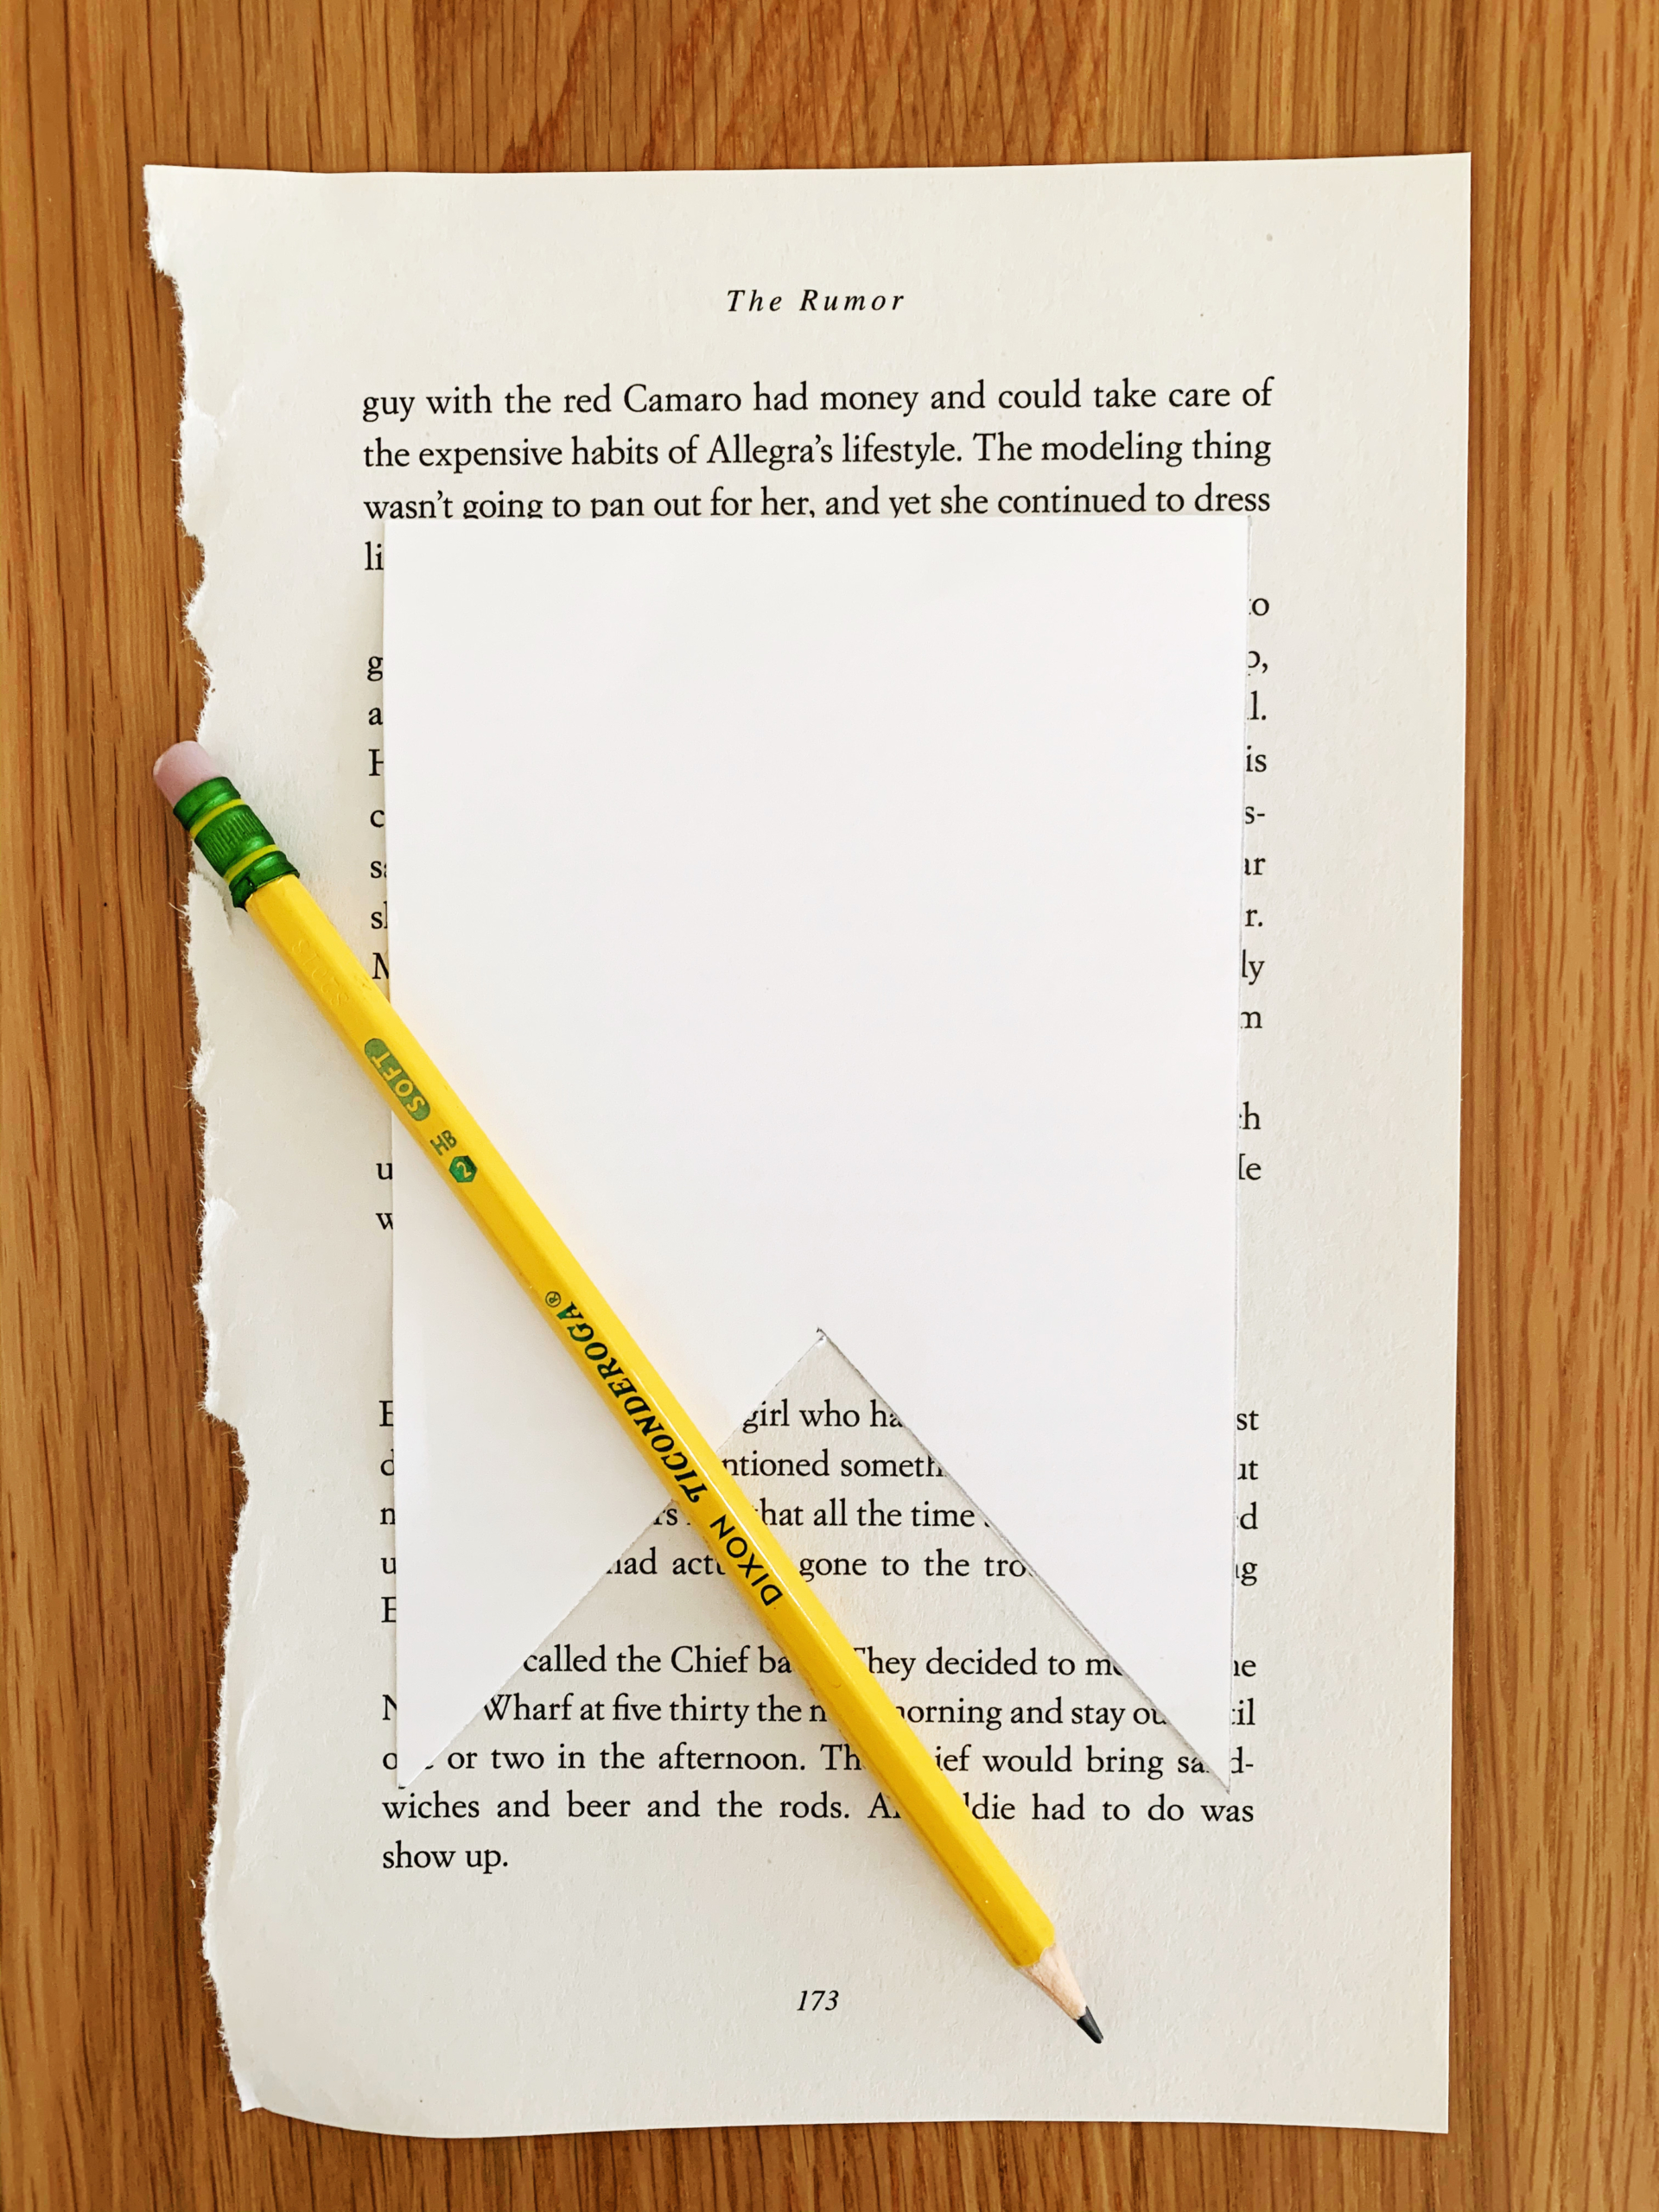
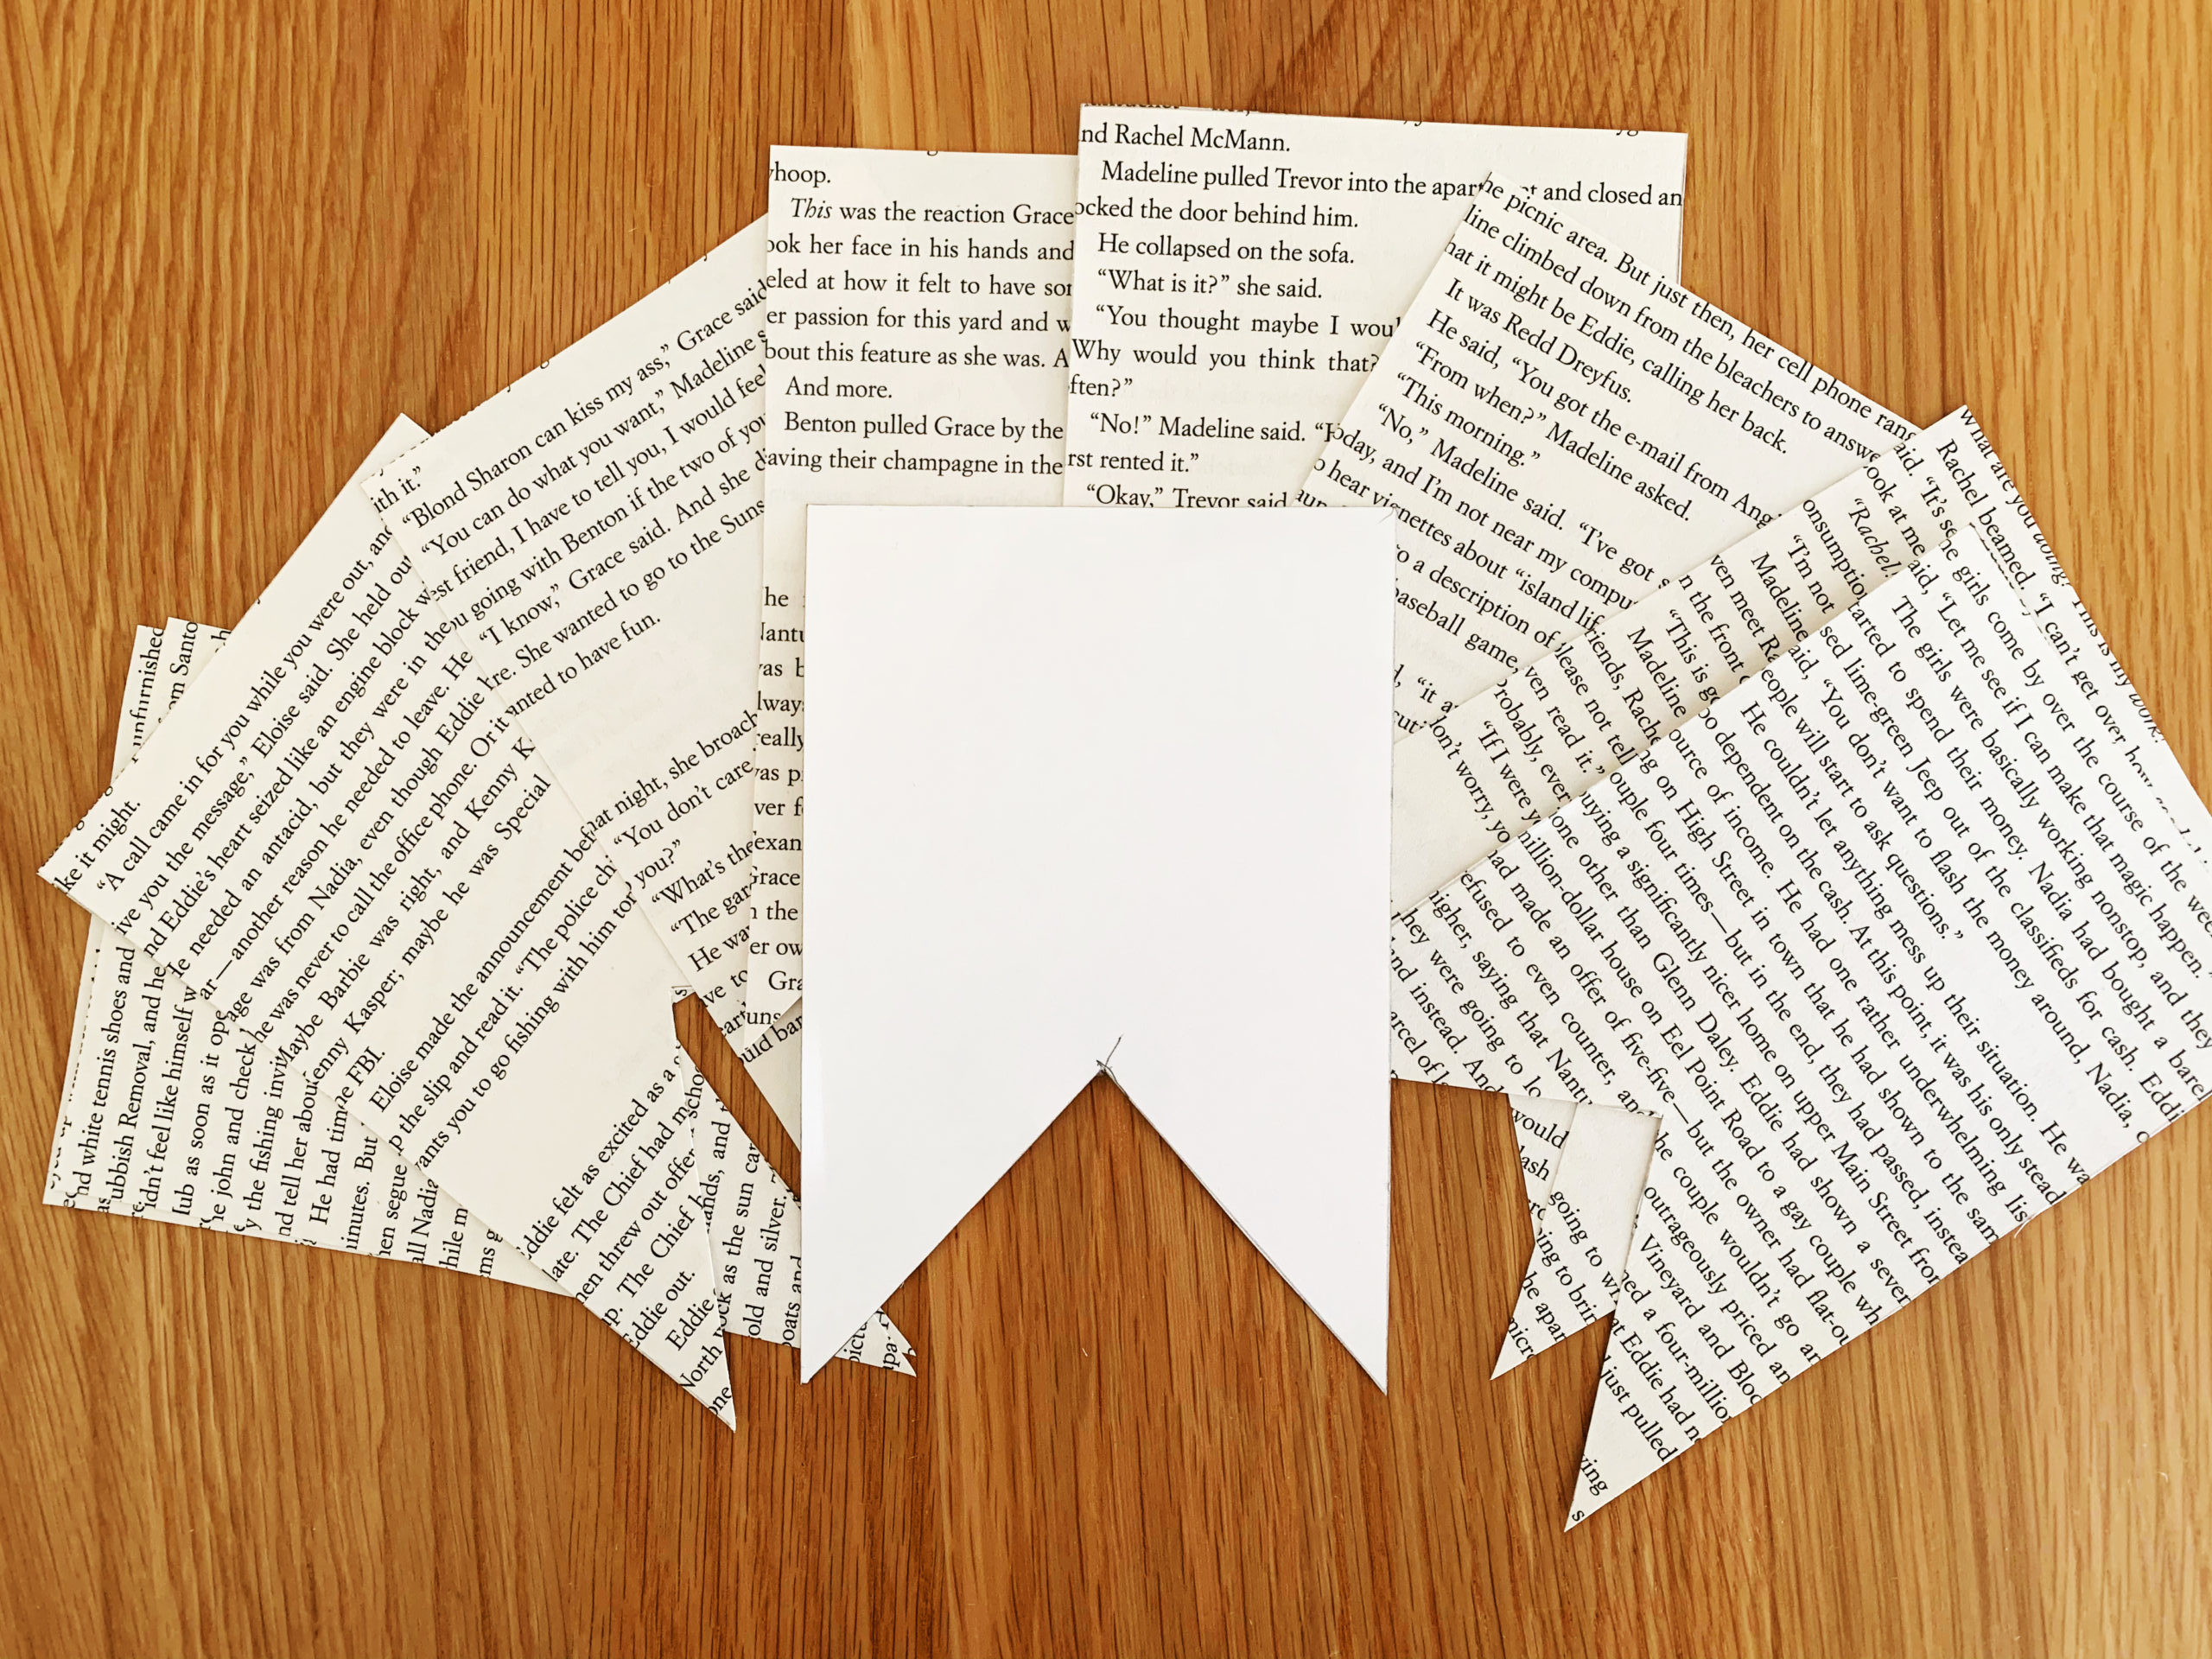
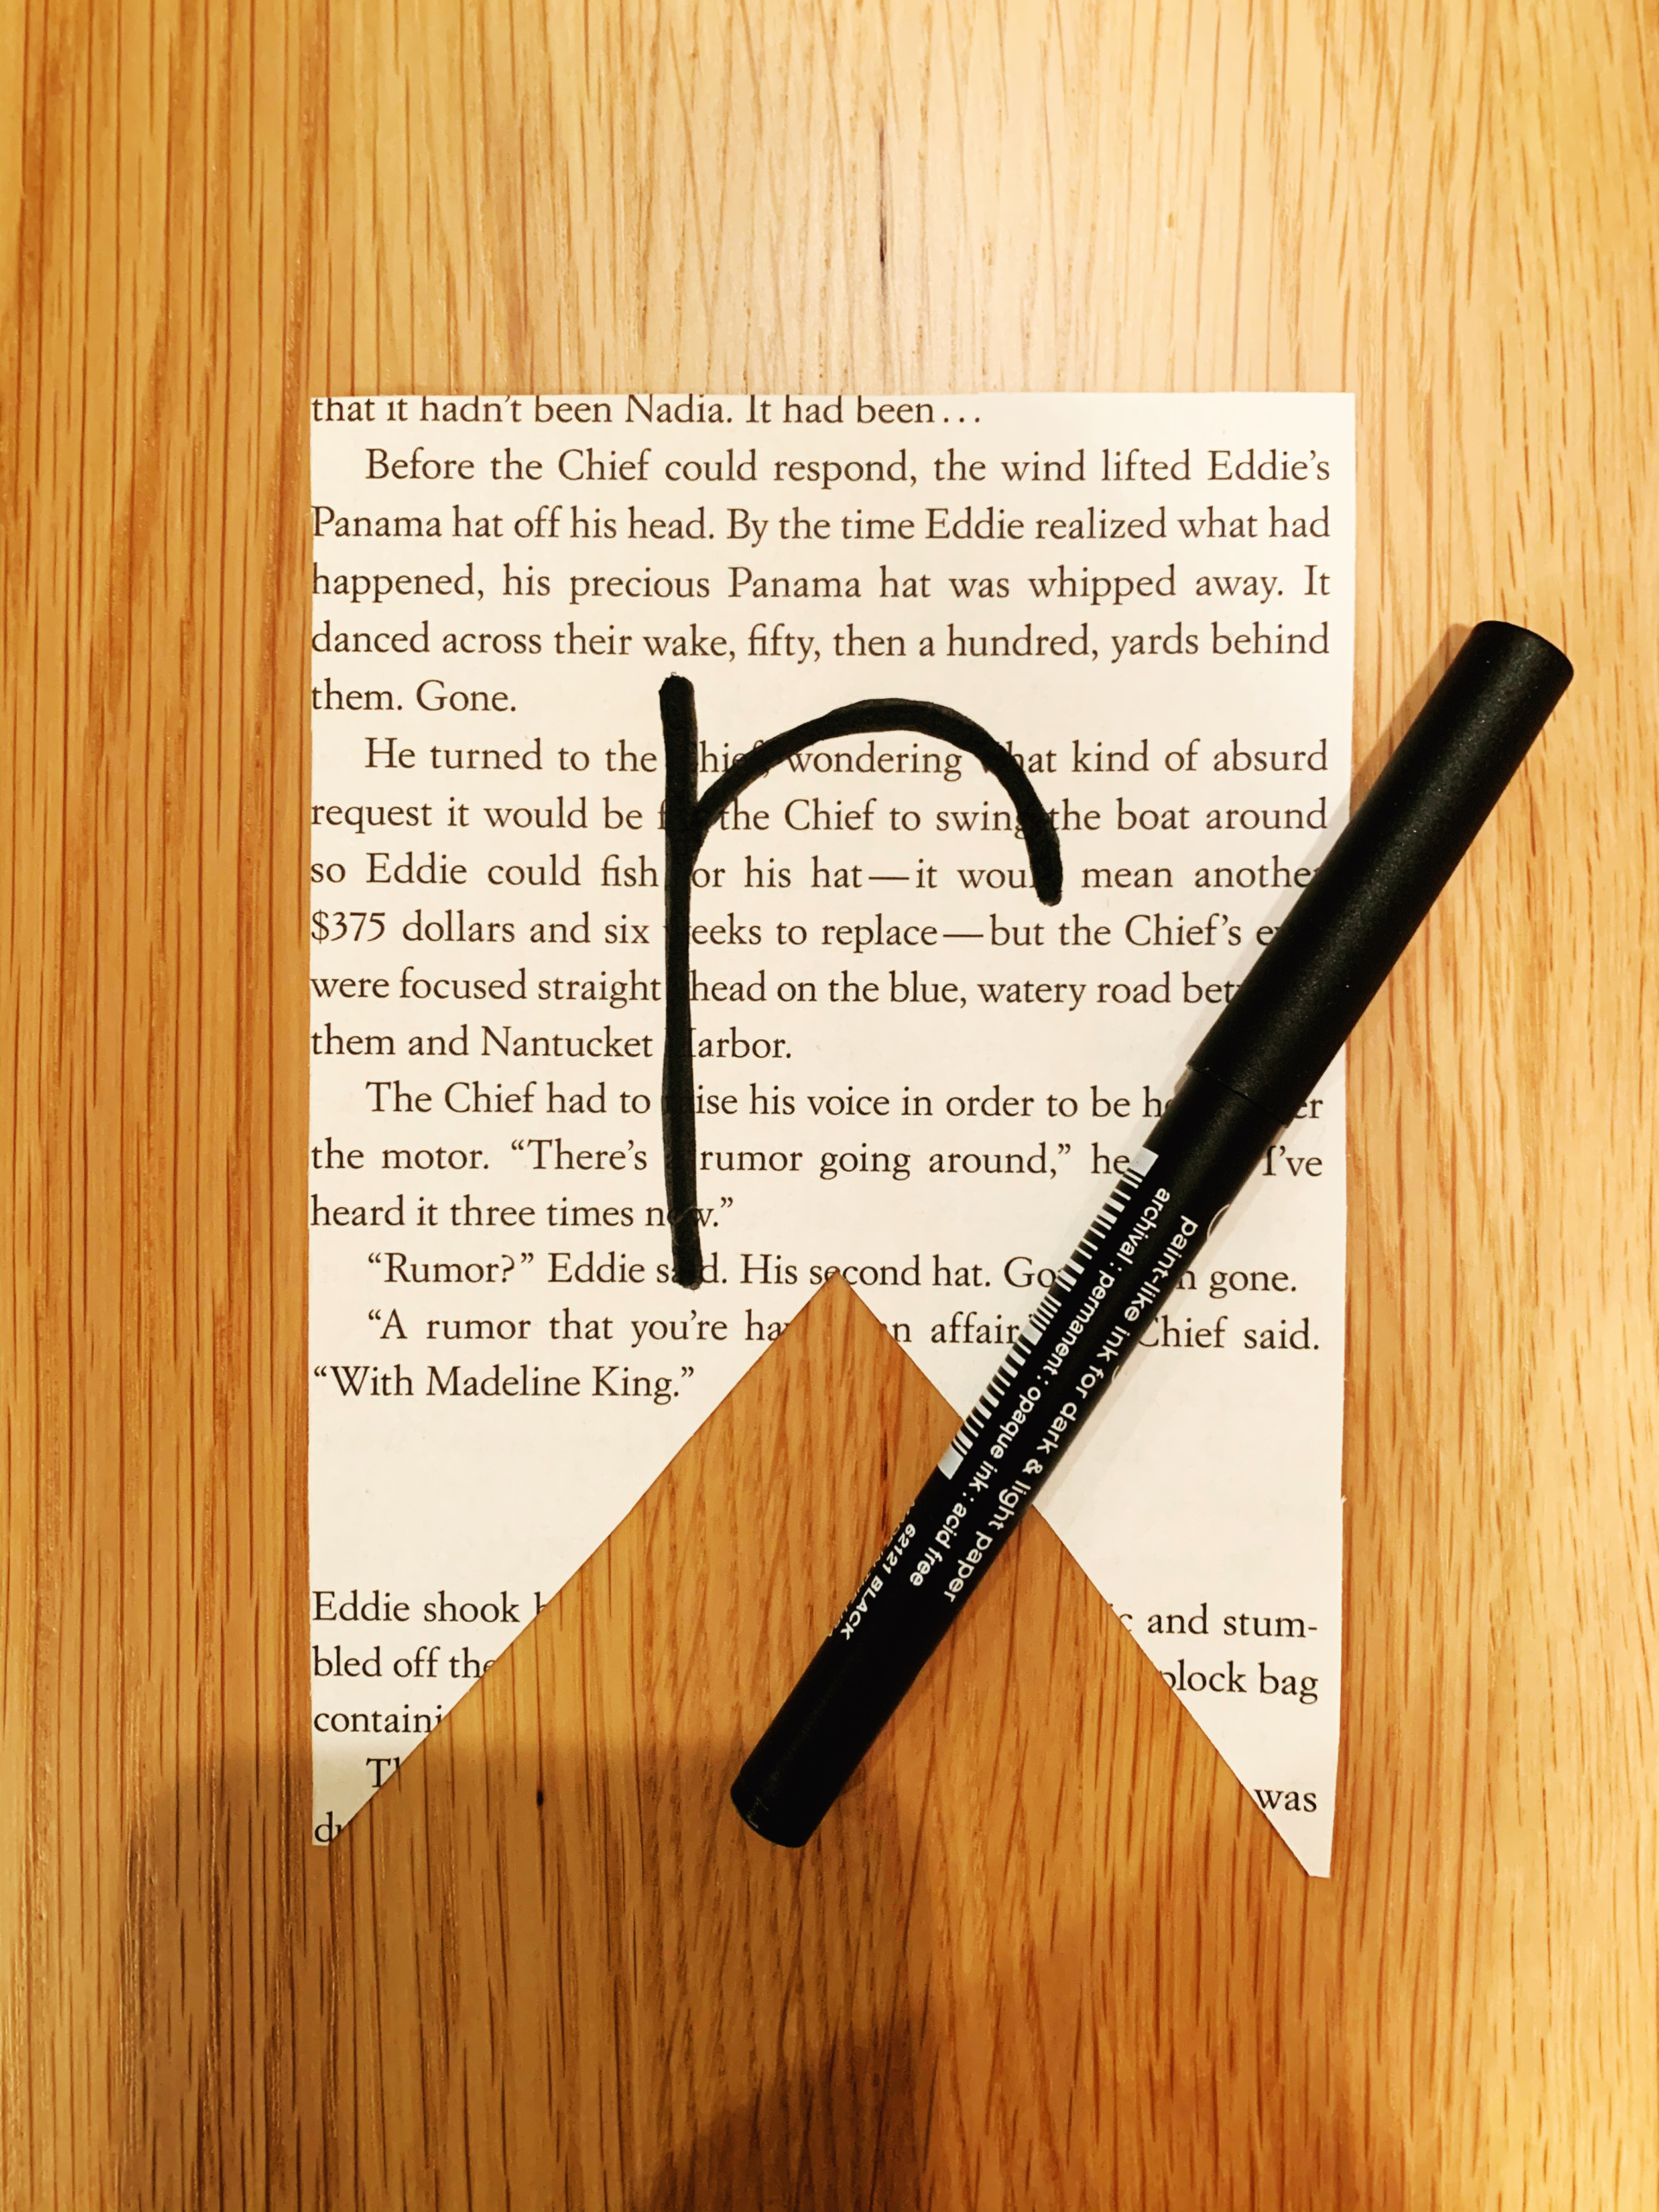
Step Three: Write the letters of your message on the banner pieces. Alternatively, you can decorate your banner pieces however you would like. (You can also just skip this step and leave the book pages as they are!)
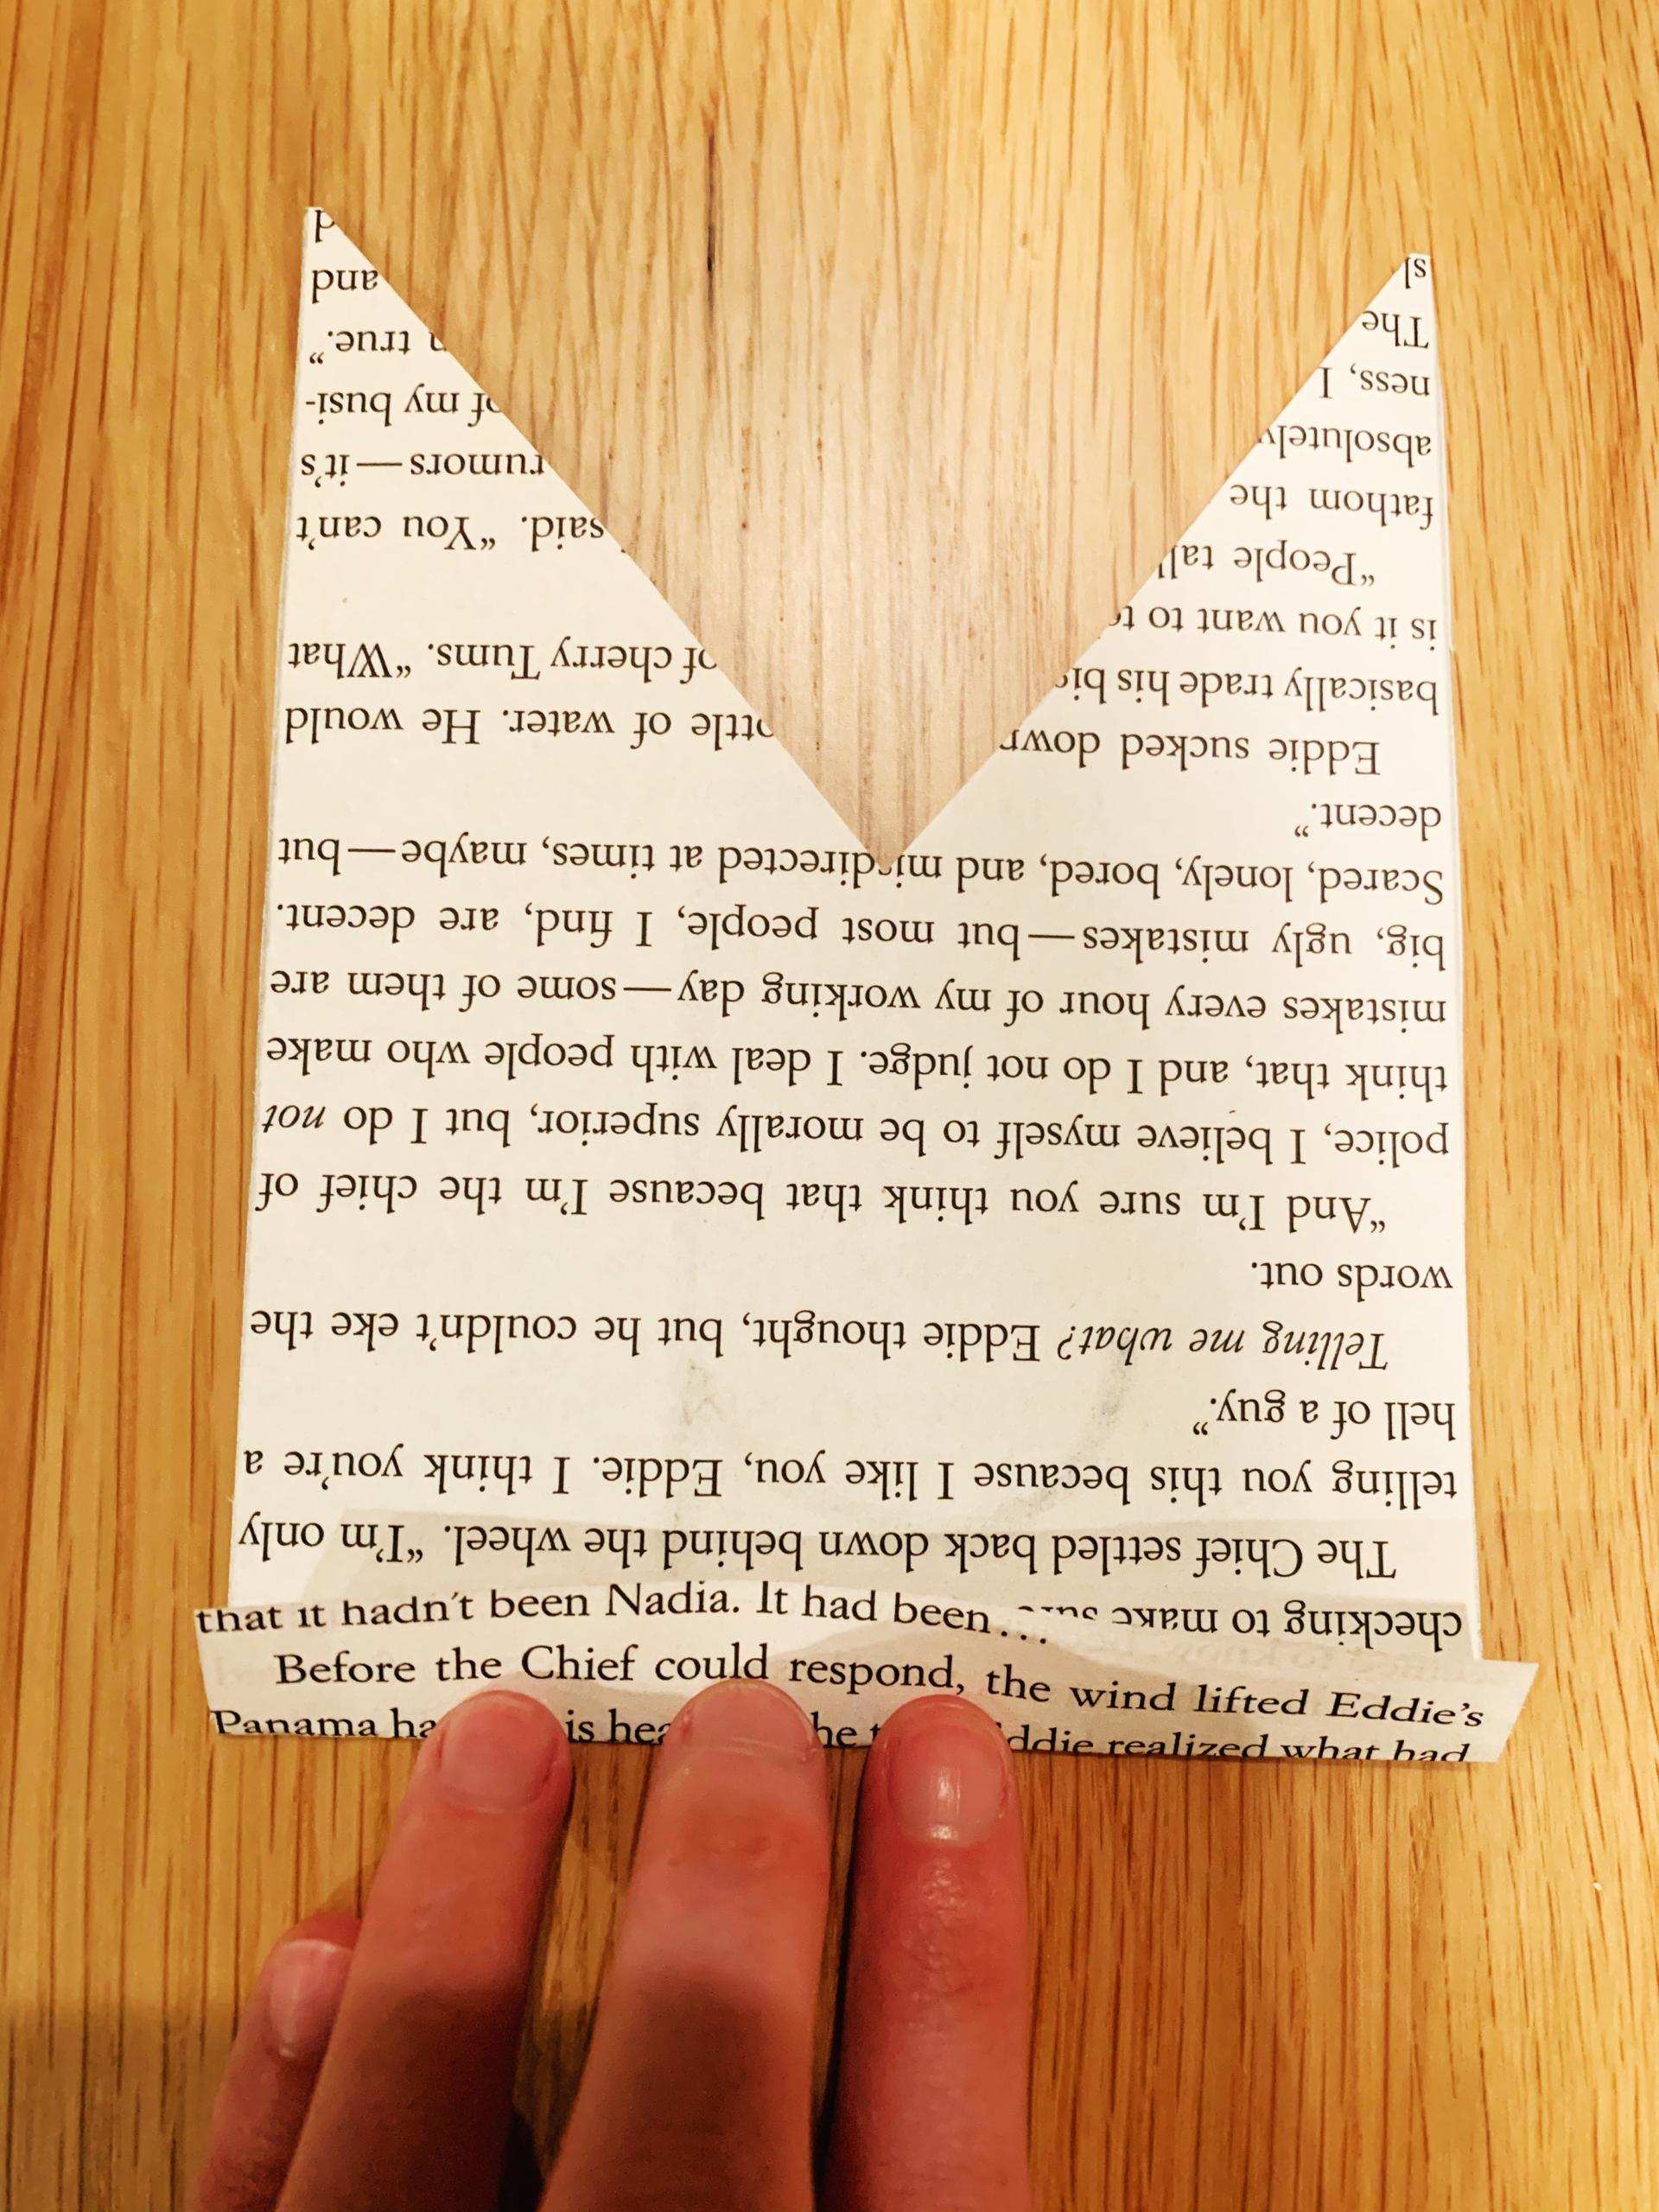
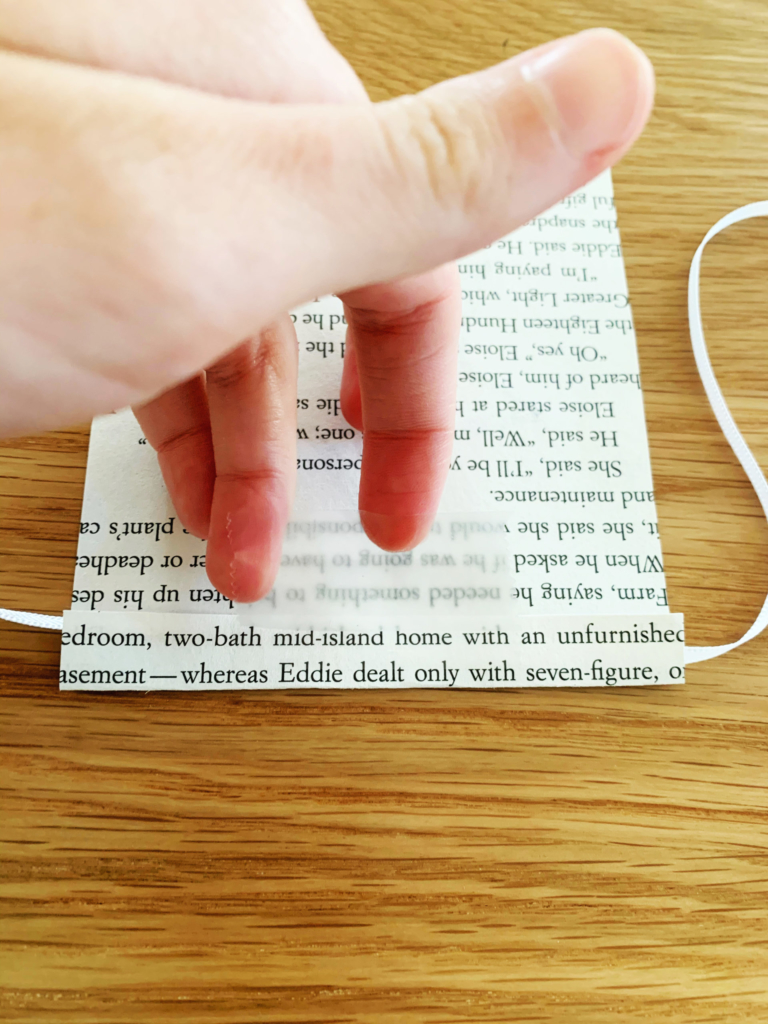
Step Four: Now you’re ready to attach the pieces to the string. Fold the top of each banner piece over (towards the back of the flag if you have decorated it), about ¼-½ inch. This is where your twine, yarn or ribbon will lay.
Step Five: Lastly, slip each banner piece over the string and secure the folded flap to the back of the banner piece with clear tape. That’s it. So simple! No glue and no mess. FYI, the flags will move along the string, so if you would rather they stay in place, just add a little piece of tape on top of the ribbon before you fold the flap over it.
You can make your book page banner as long as you want! Just keep adding banner pieces until you’ve reached your desired length. If you are spelling a word across the banner but want it to be longer, you can add as many banner pieces to either end as you like, add a blank piece between each letter, or draw something cute like a star or heart on the in-between pieces!
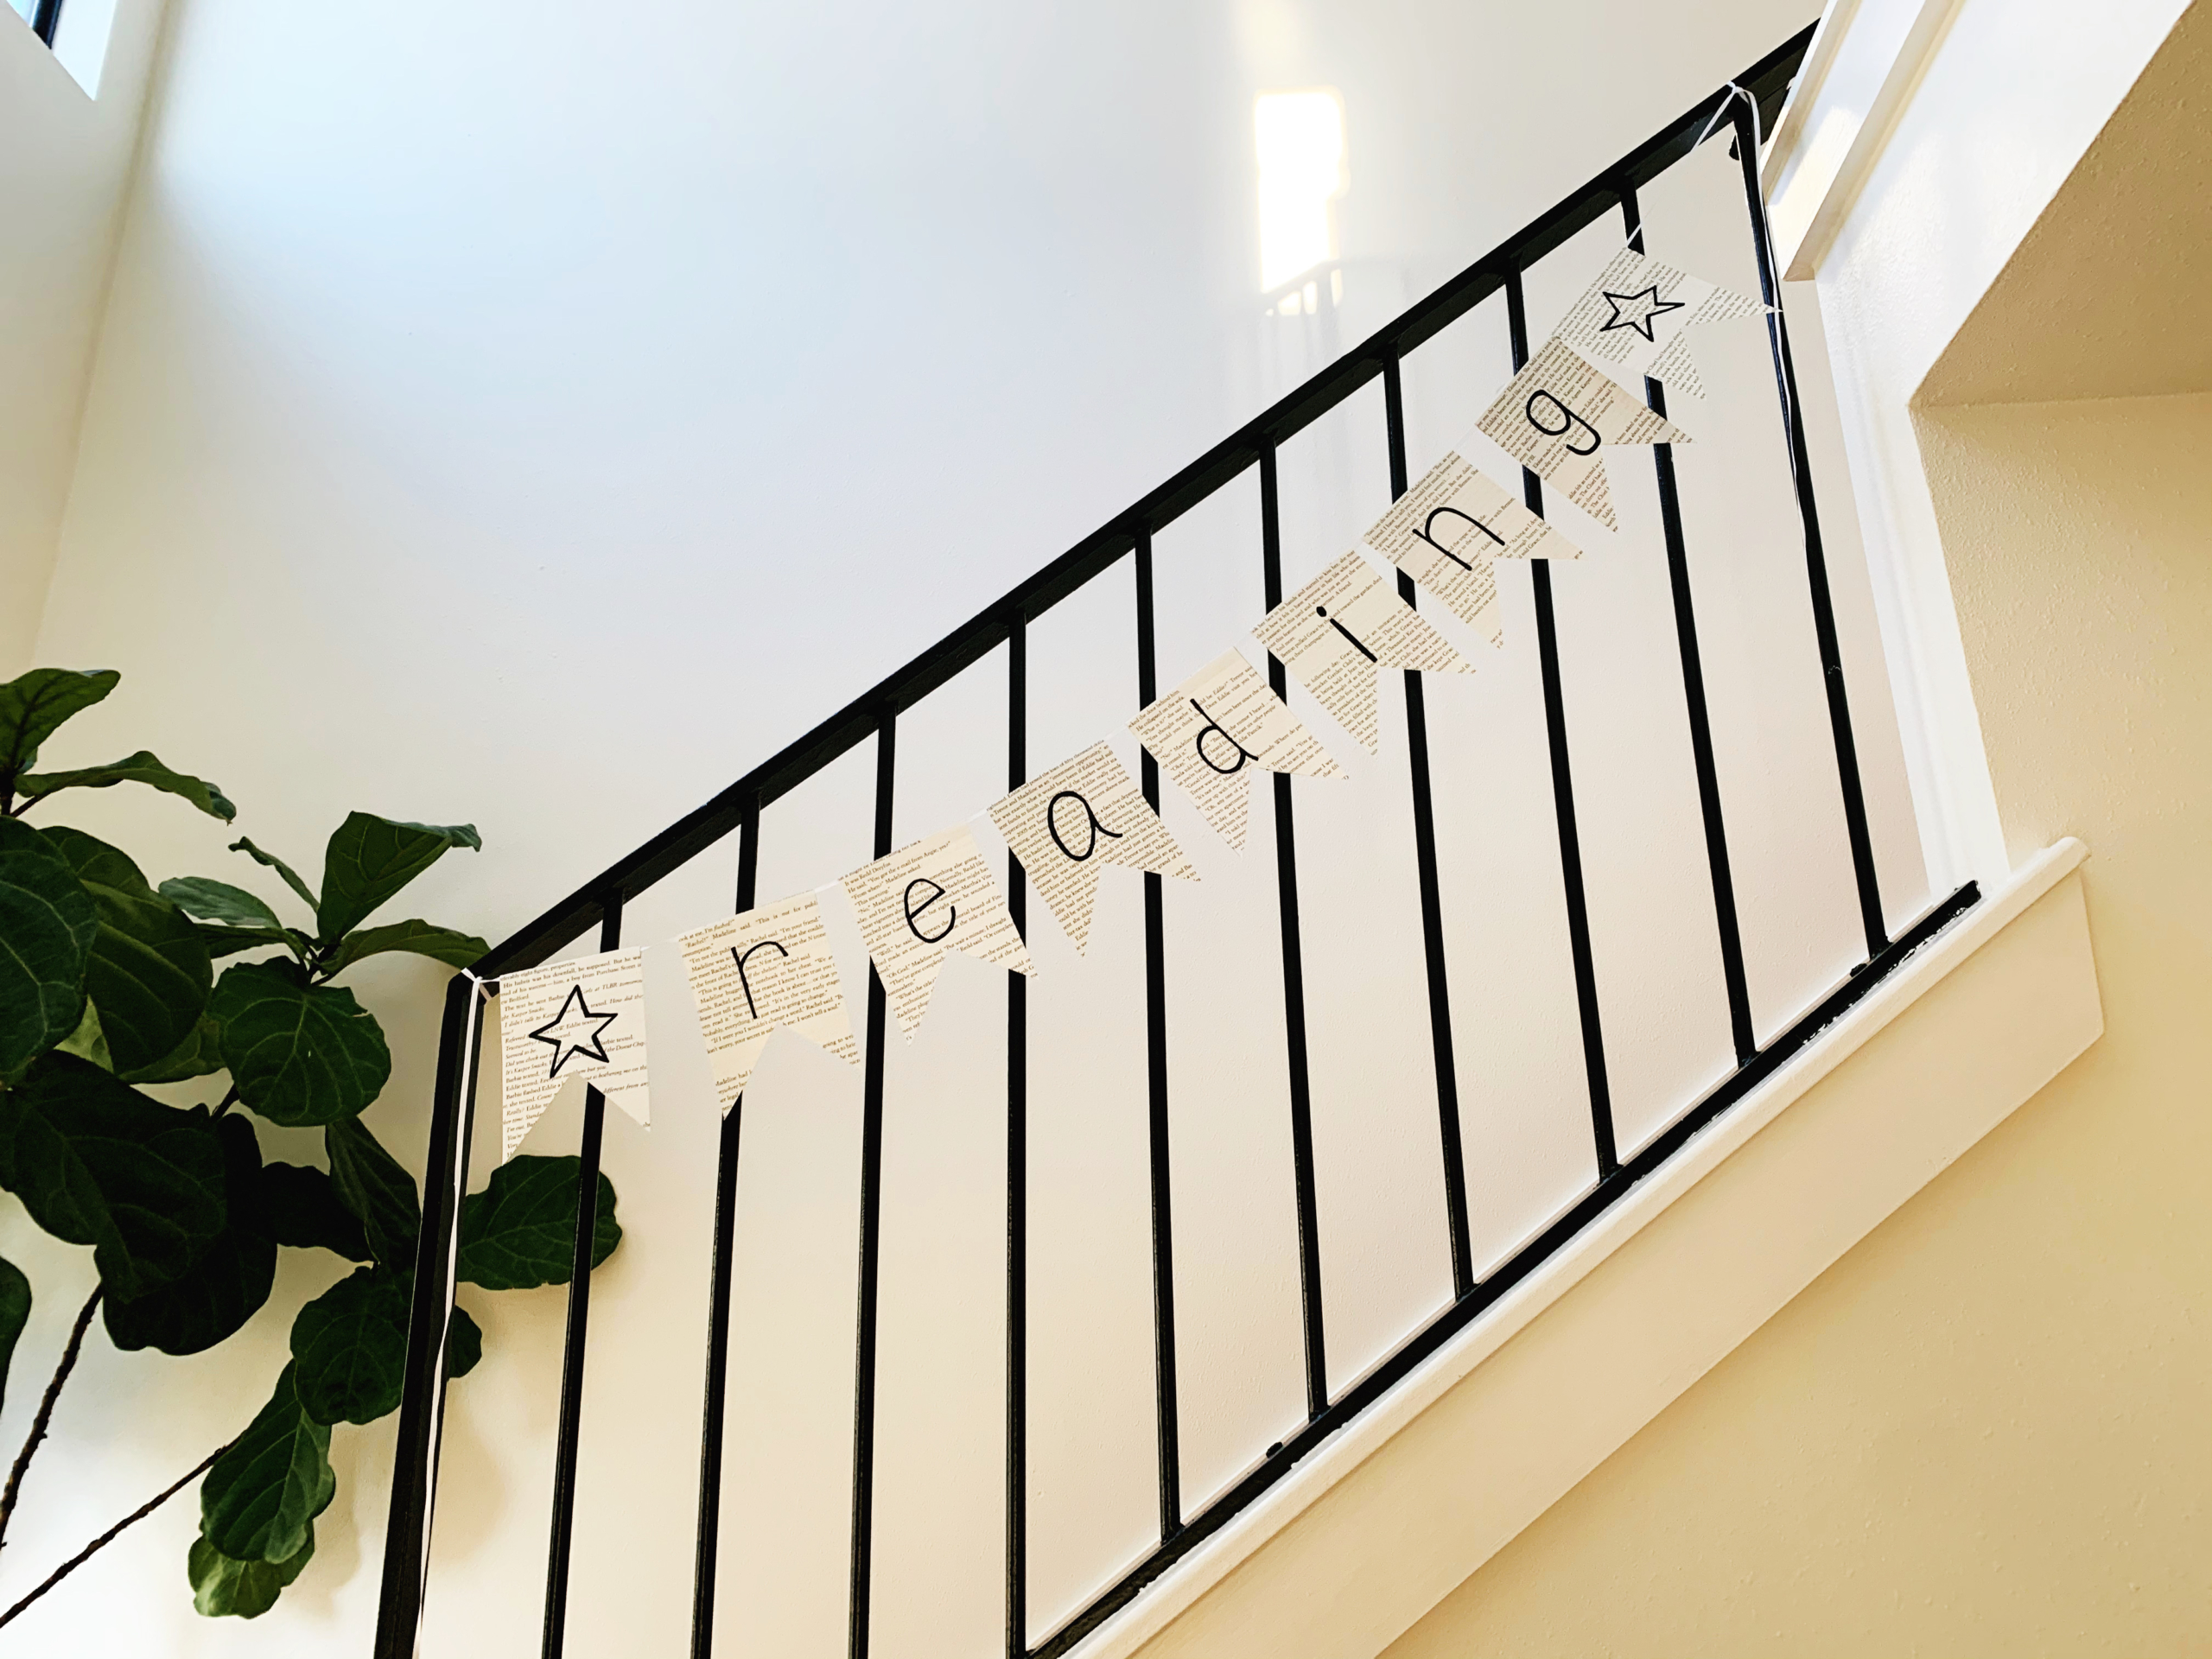
Hang up your banner and enjoy this sweet and simple DIY book craft!

