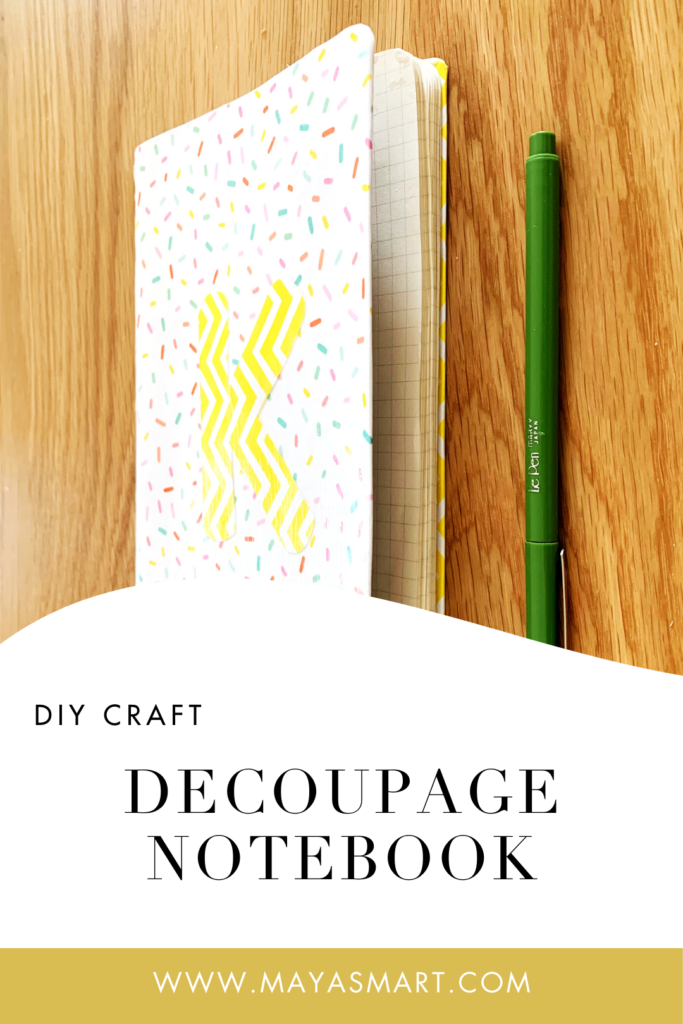
There’s nothing quite like a new notebook for inviting possibility, its crisp pages tantalizing us with speculation about what’s to come. And personalizing a notebook is the perfect way to channel that sense of possibility and really make it our own. So why not kick off a new school year, a new project, or a new diary with this DIY book-page decoupage notebook?
This easy collage project is appropriate for all ages, and letting kids customize their notebooks is a fun way to get their buy-in for new learning adventures. This craft also makes unique gifts or party favors—we love it as a make-your-own-favor activity for kids’ parties. (Hint: It also works to give old notebooks new life and keep all those mostly empty pages out of the trash. Just tear out the used pages, jazz up the covers with decoupage, and voila! Younger siblings will never know the difference, but the planet will thank you.)
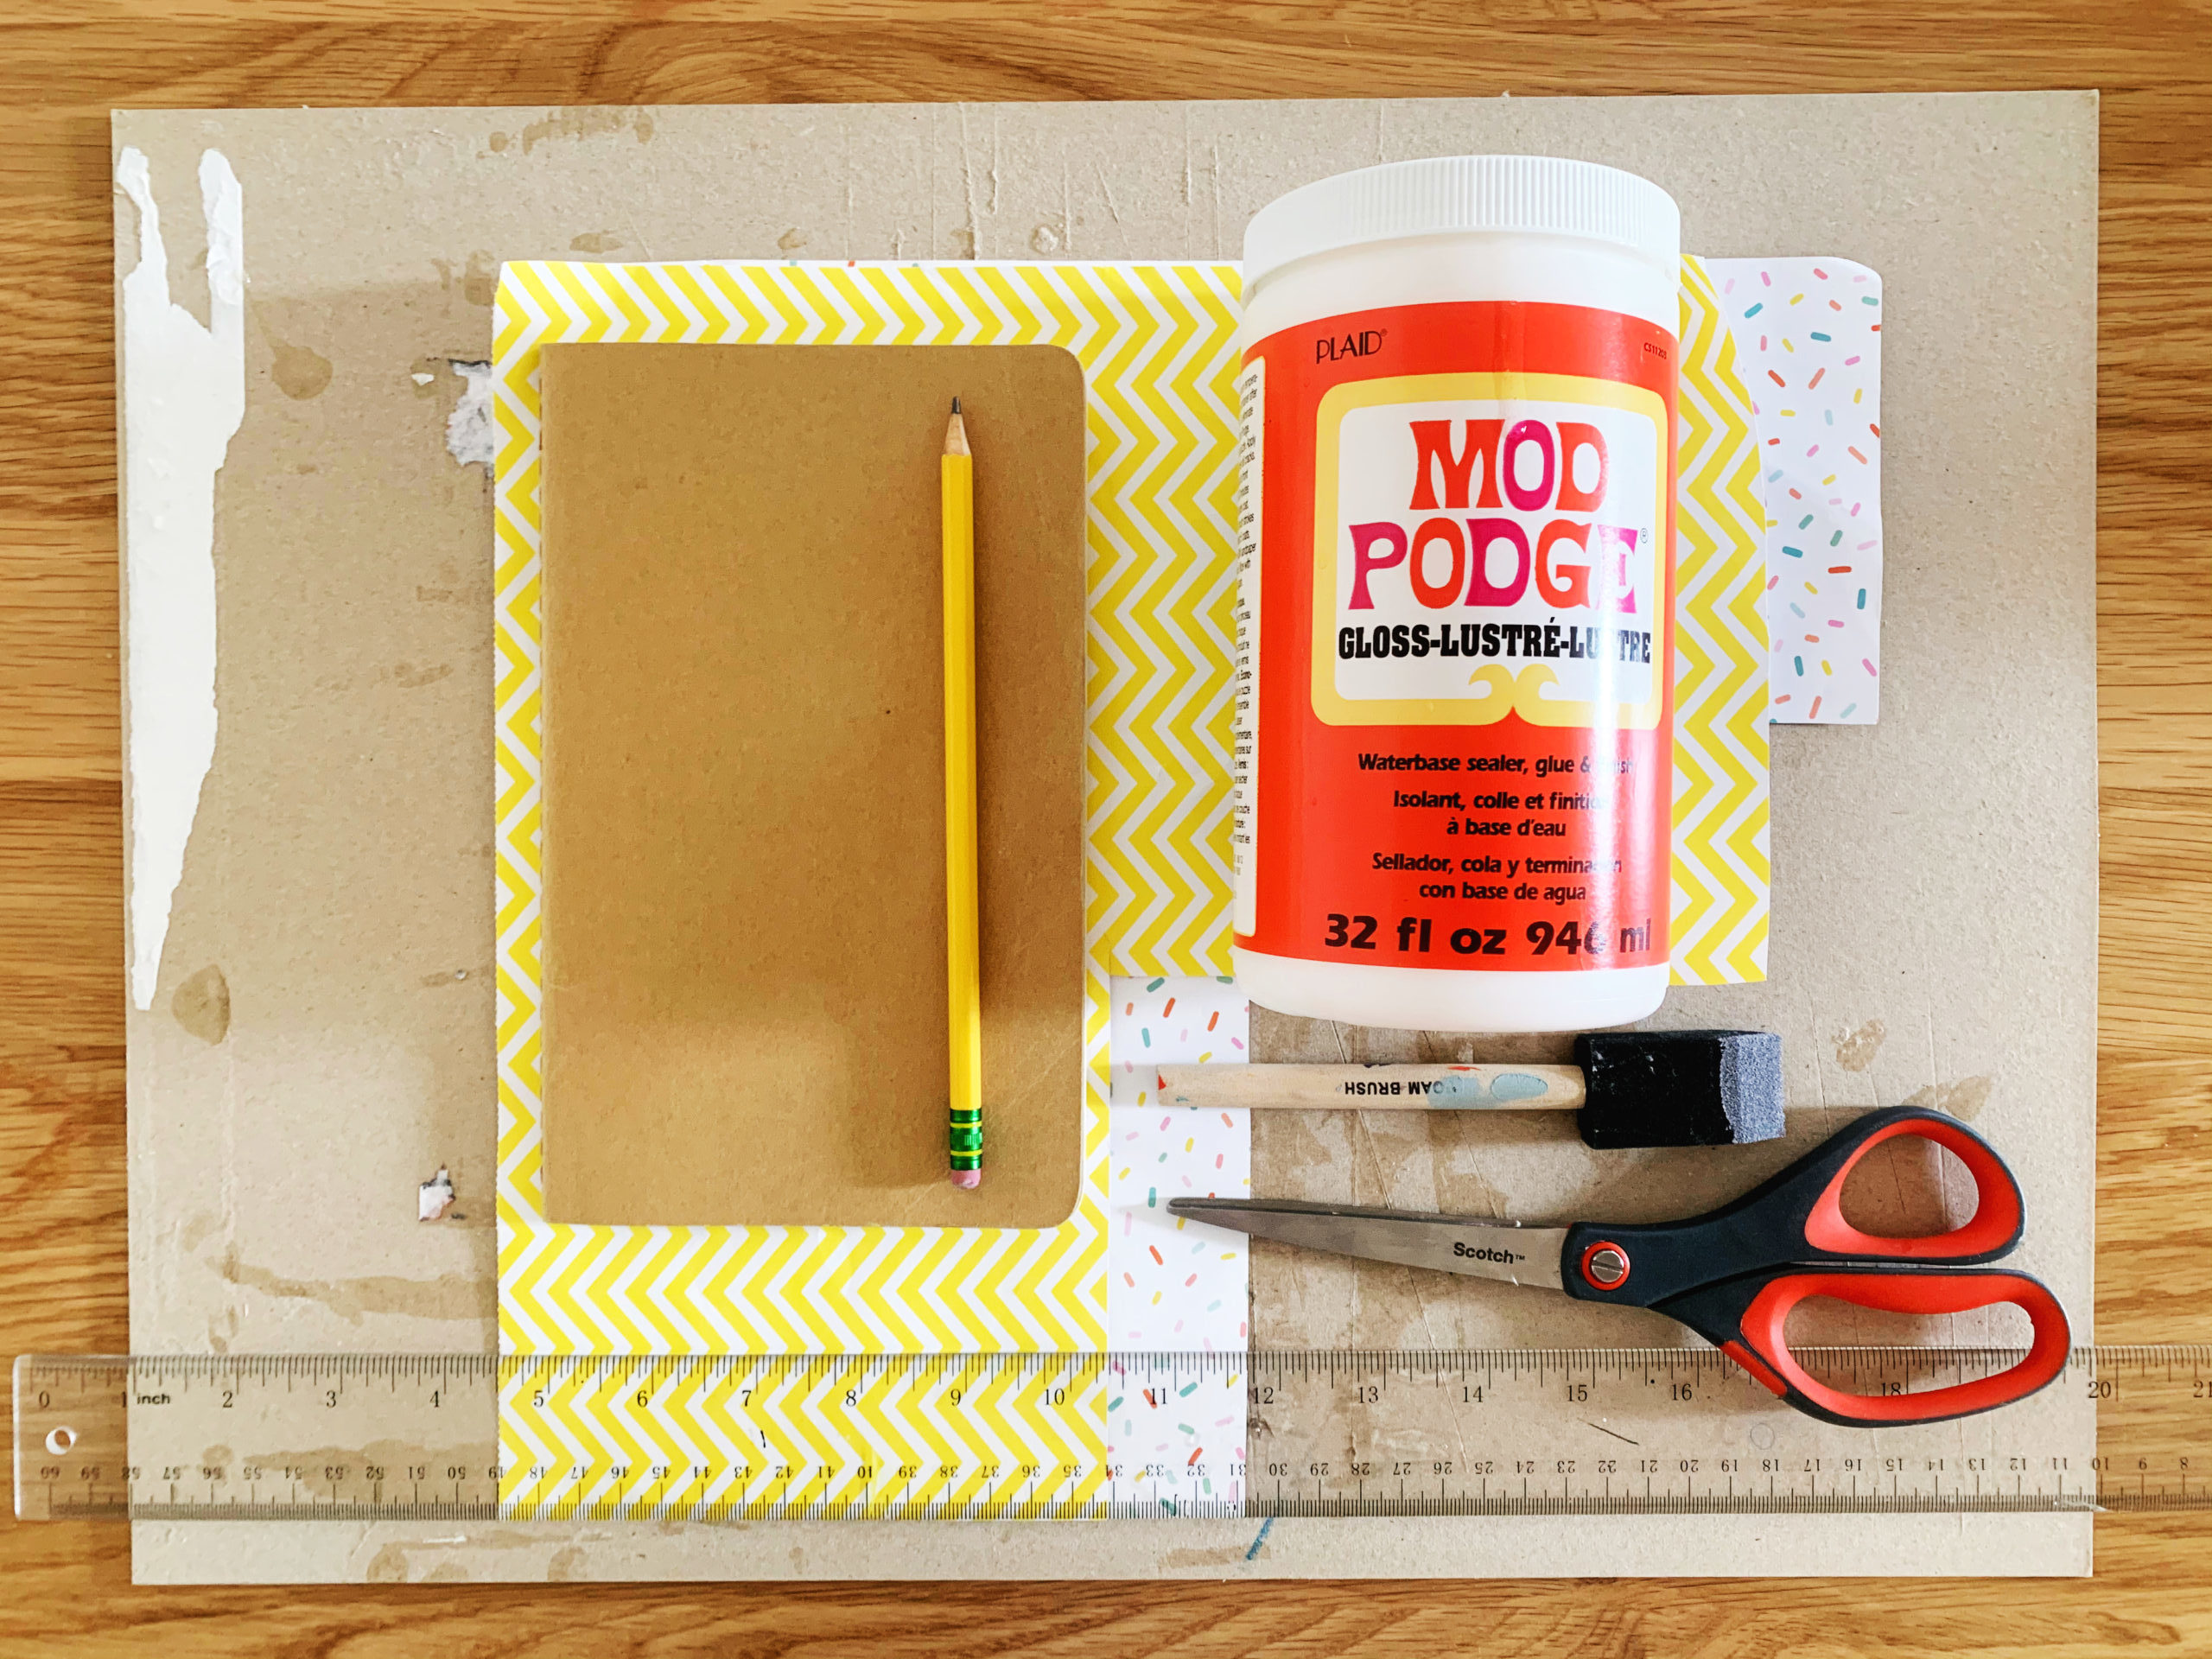
Materials:
- Patterned paper (or old book pages, magazines, wrapping paper, etc.)
- Notebook
- Mod Podge
- Ruler
- Scissors
- Sponge brush
- Pencil
Cost:
You can find a basic notebook or composition book for a few dollars at just about any grocery or corner store, or maybe you already have one around the house you’re looking to upgrade. Mod Podge can be purchased at any craft store for around $5-$10. You can pick up a foam brush at the same time for under a dollar.
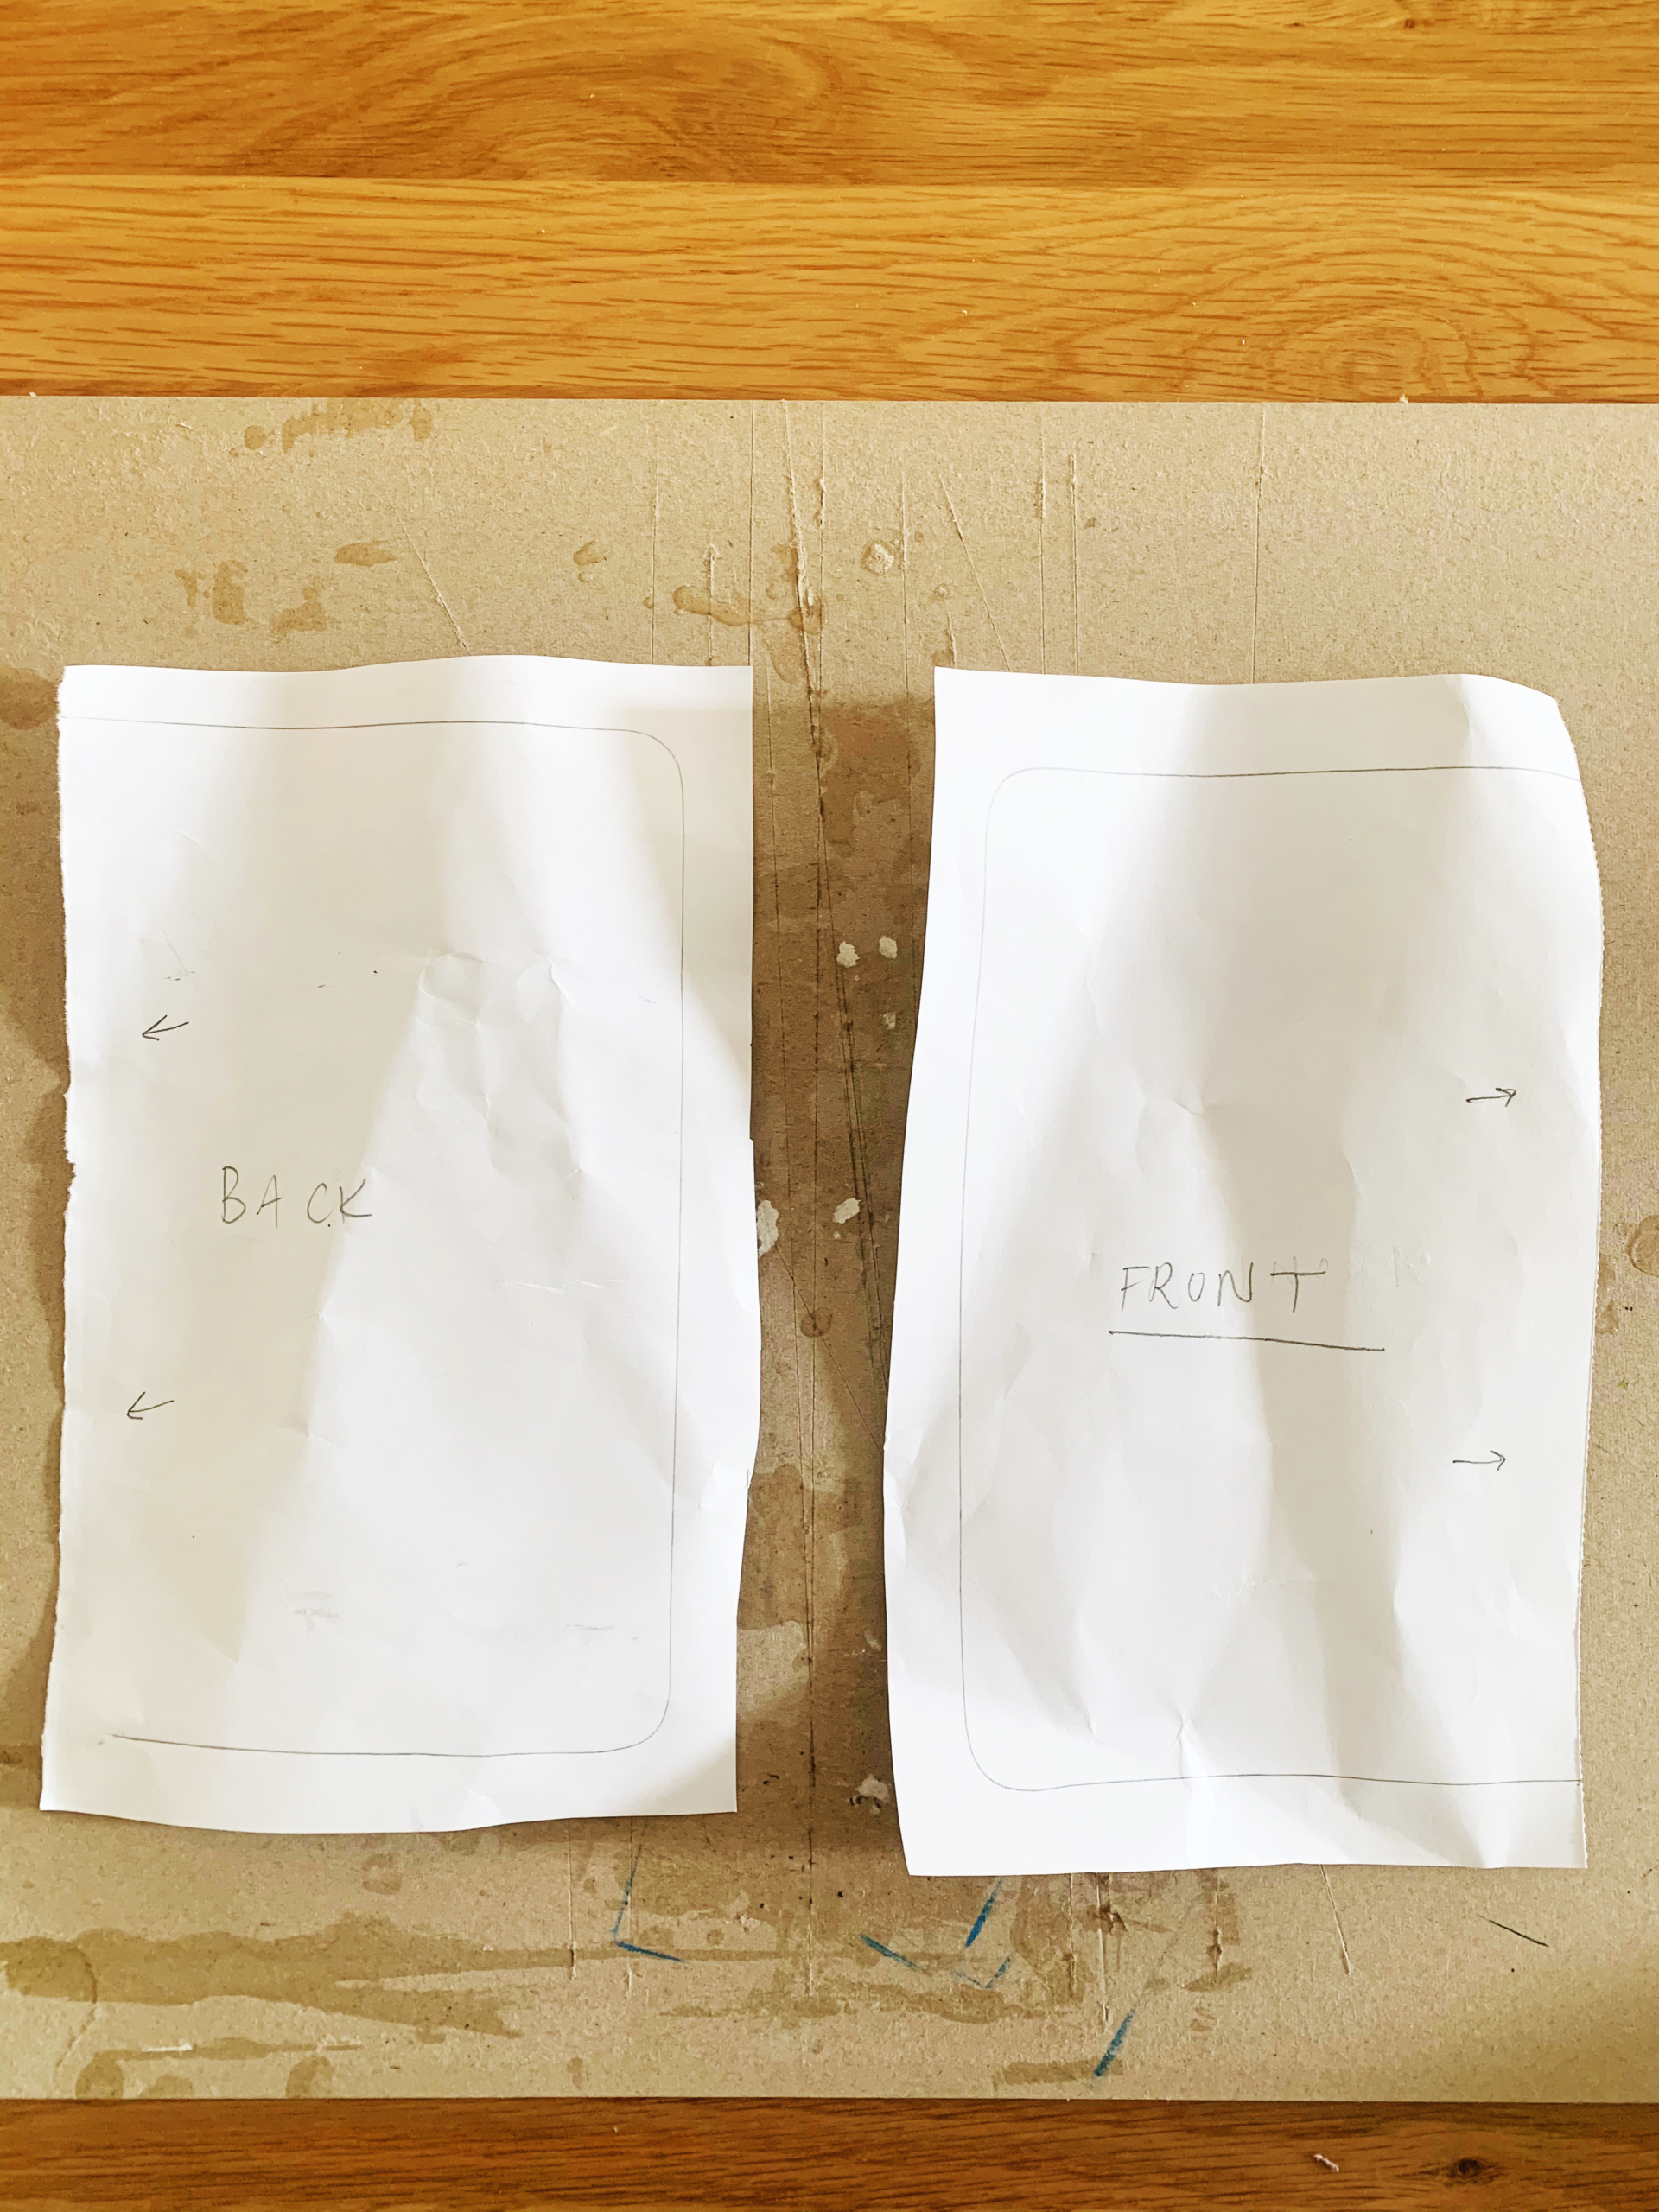
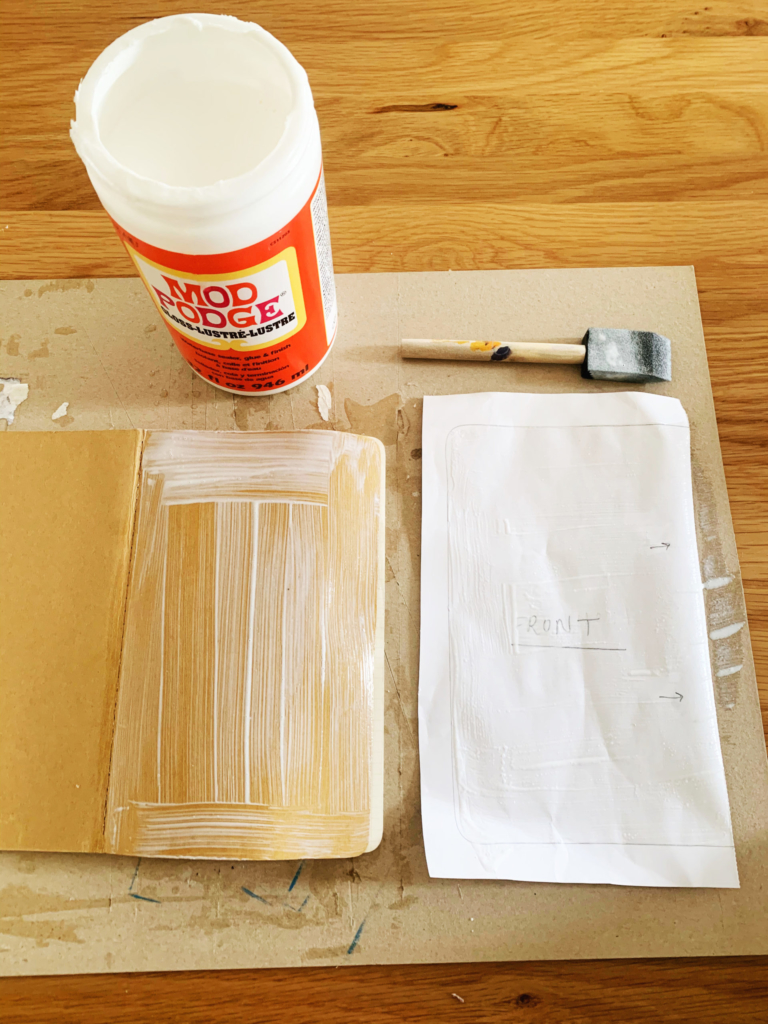
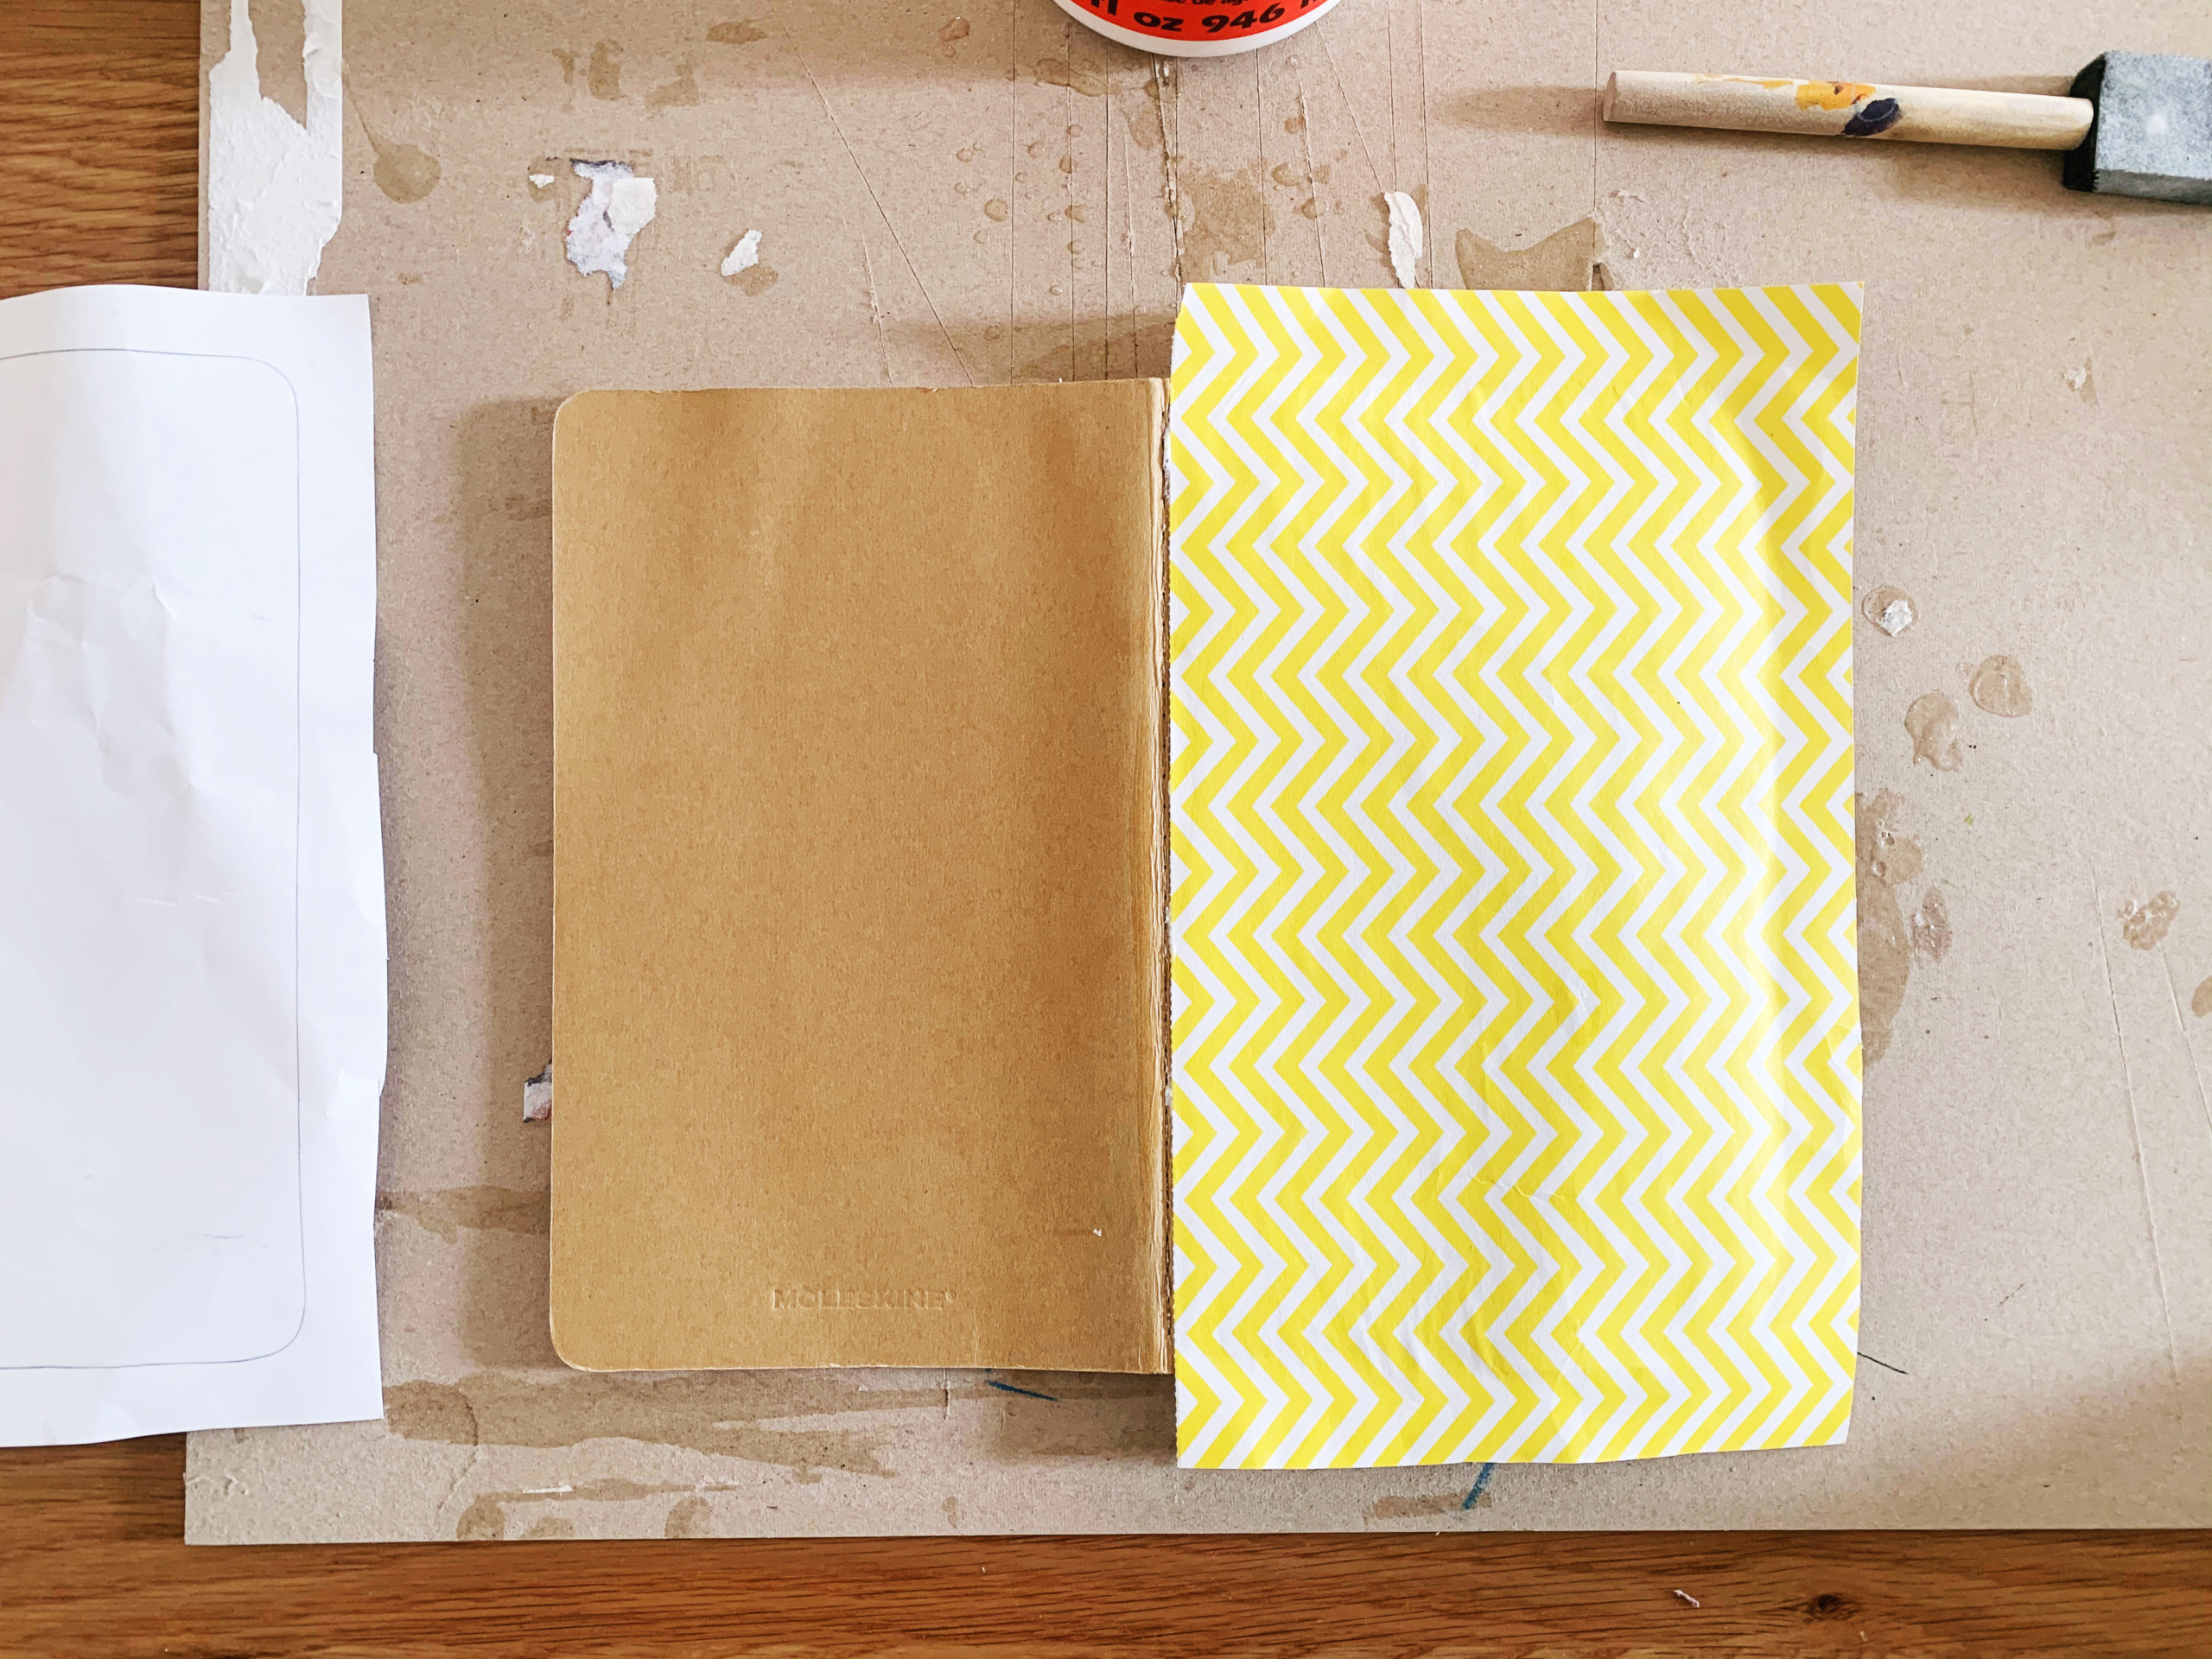
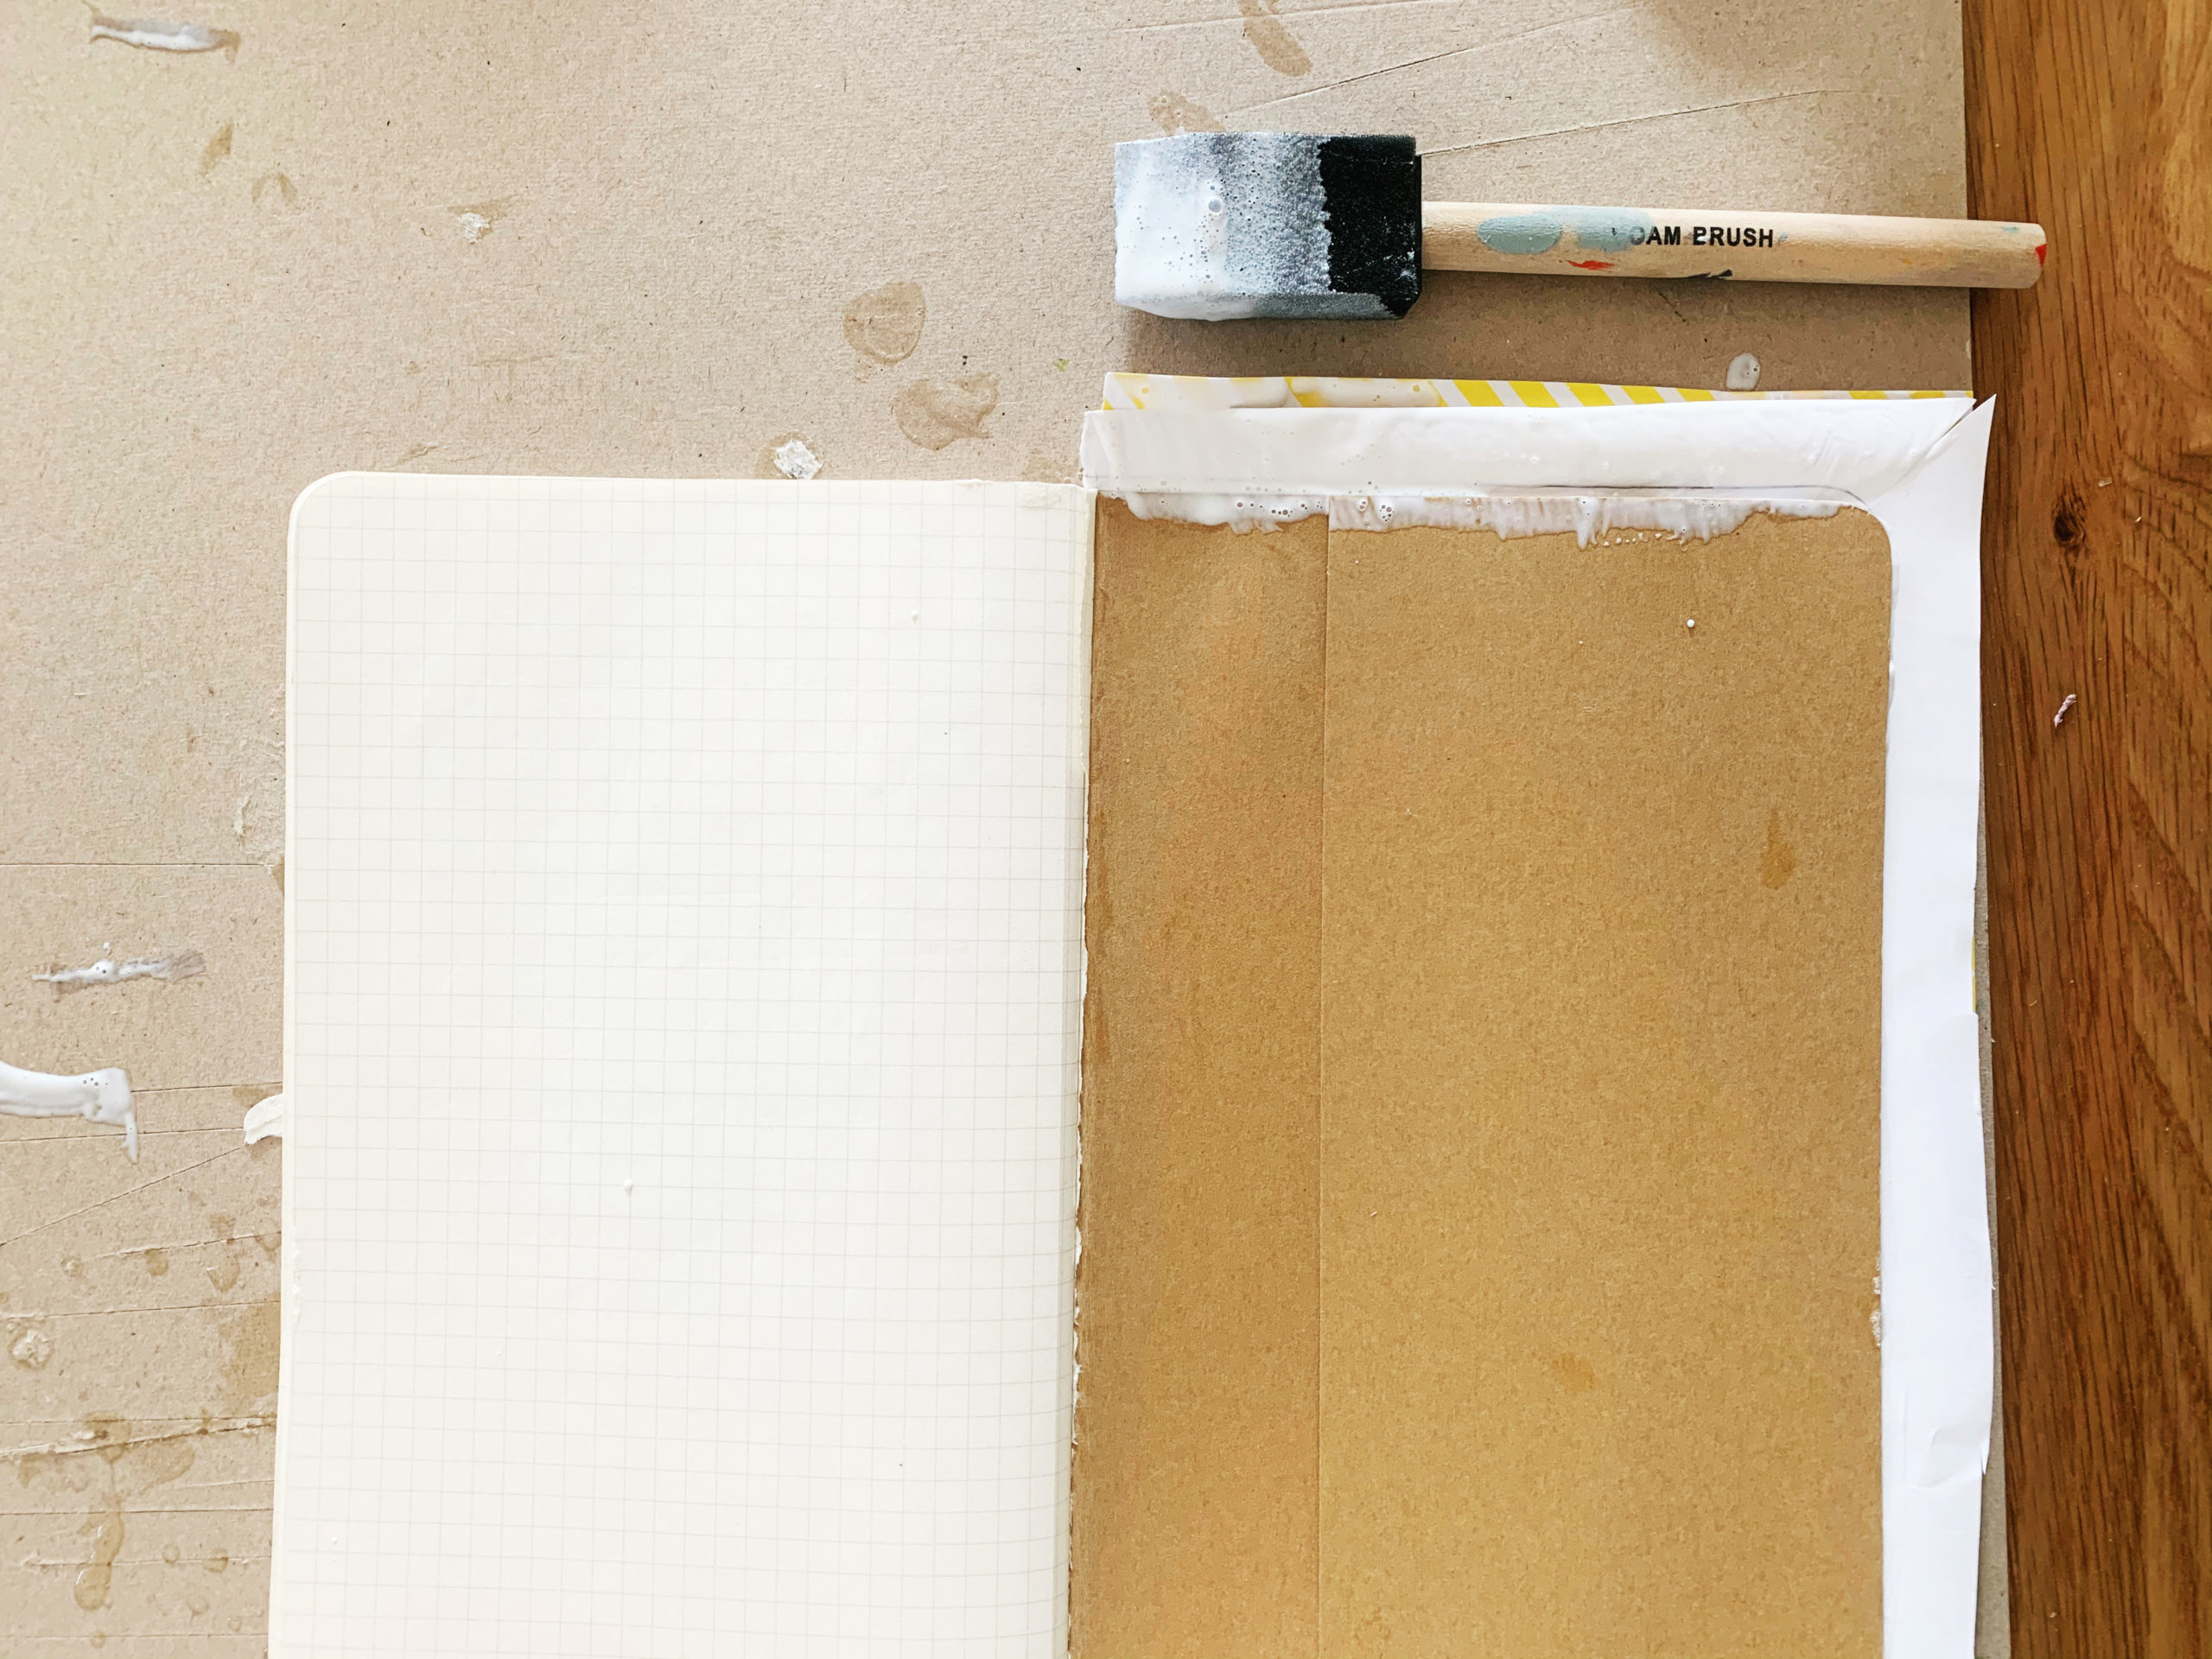
Step 1: Start by taking your choice of paper and tracing an outline of your notebook cover, front and back (make sure you are tracing on the back of your paper). If your paper already has a straight edge, use that for the edge that will go up against the spine of the notebook. You could also give your notebook a fun collage look by cutting up your paper into several pieces and applying it that way!
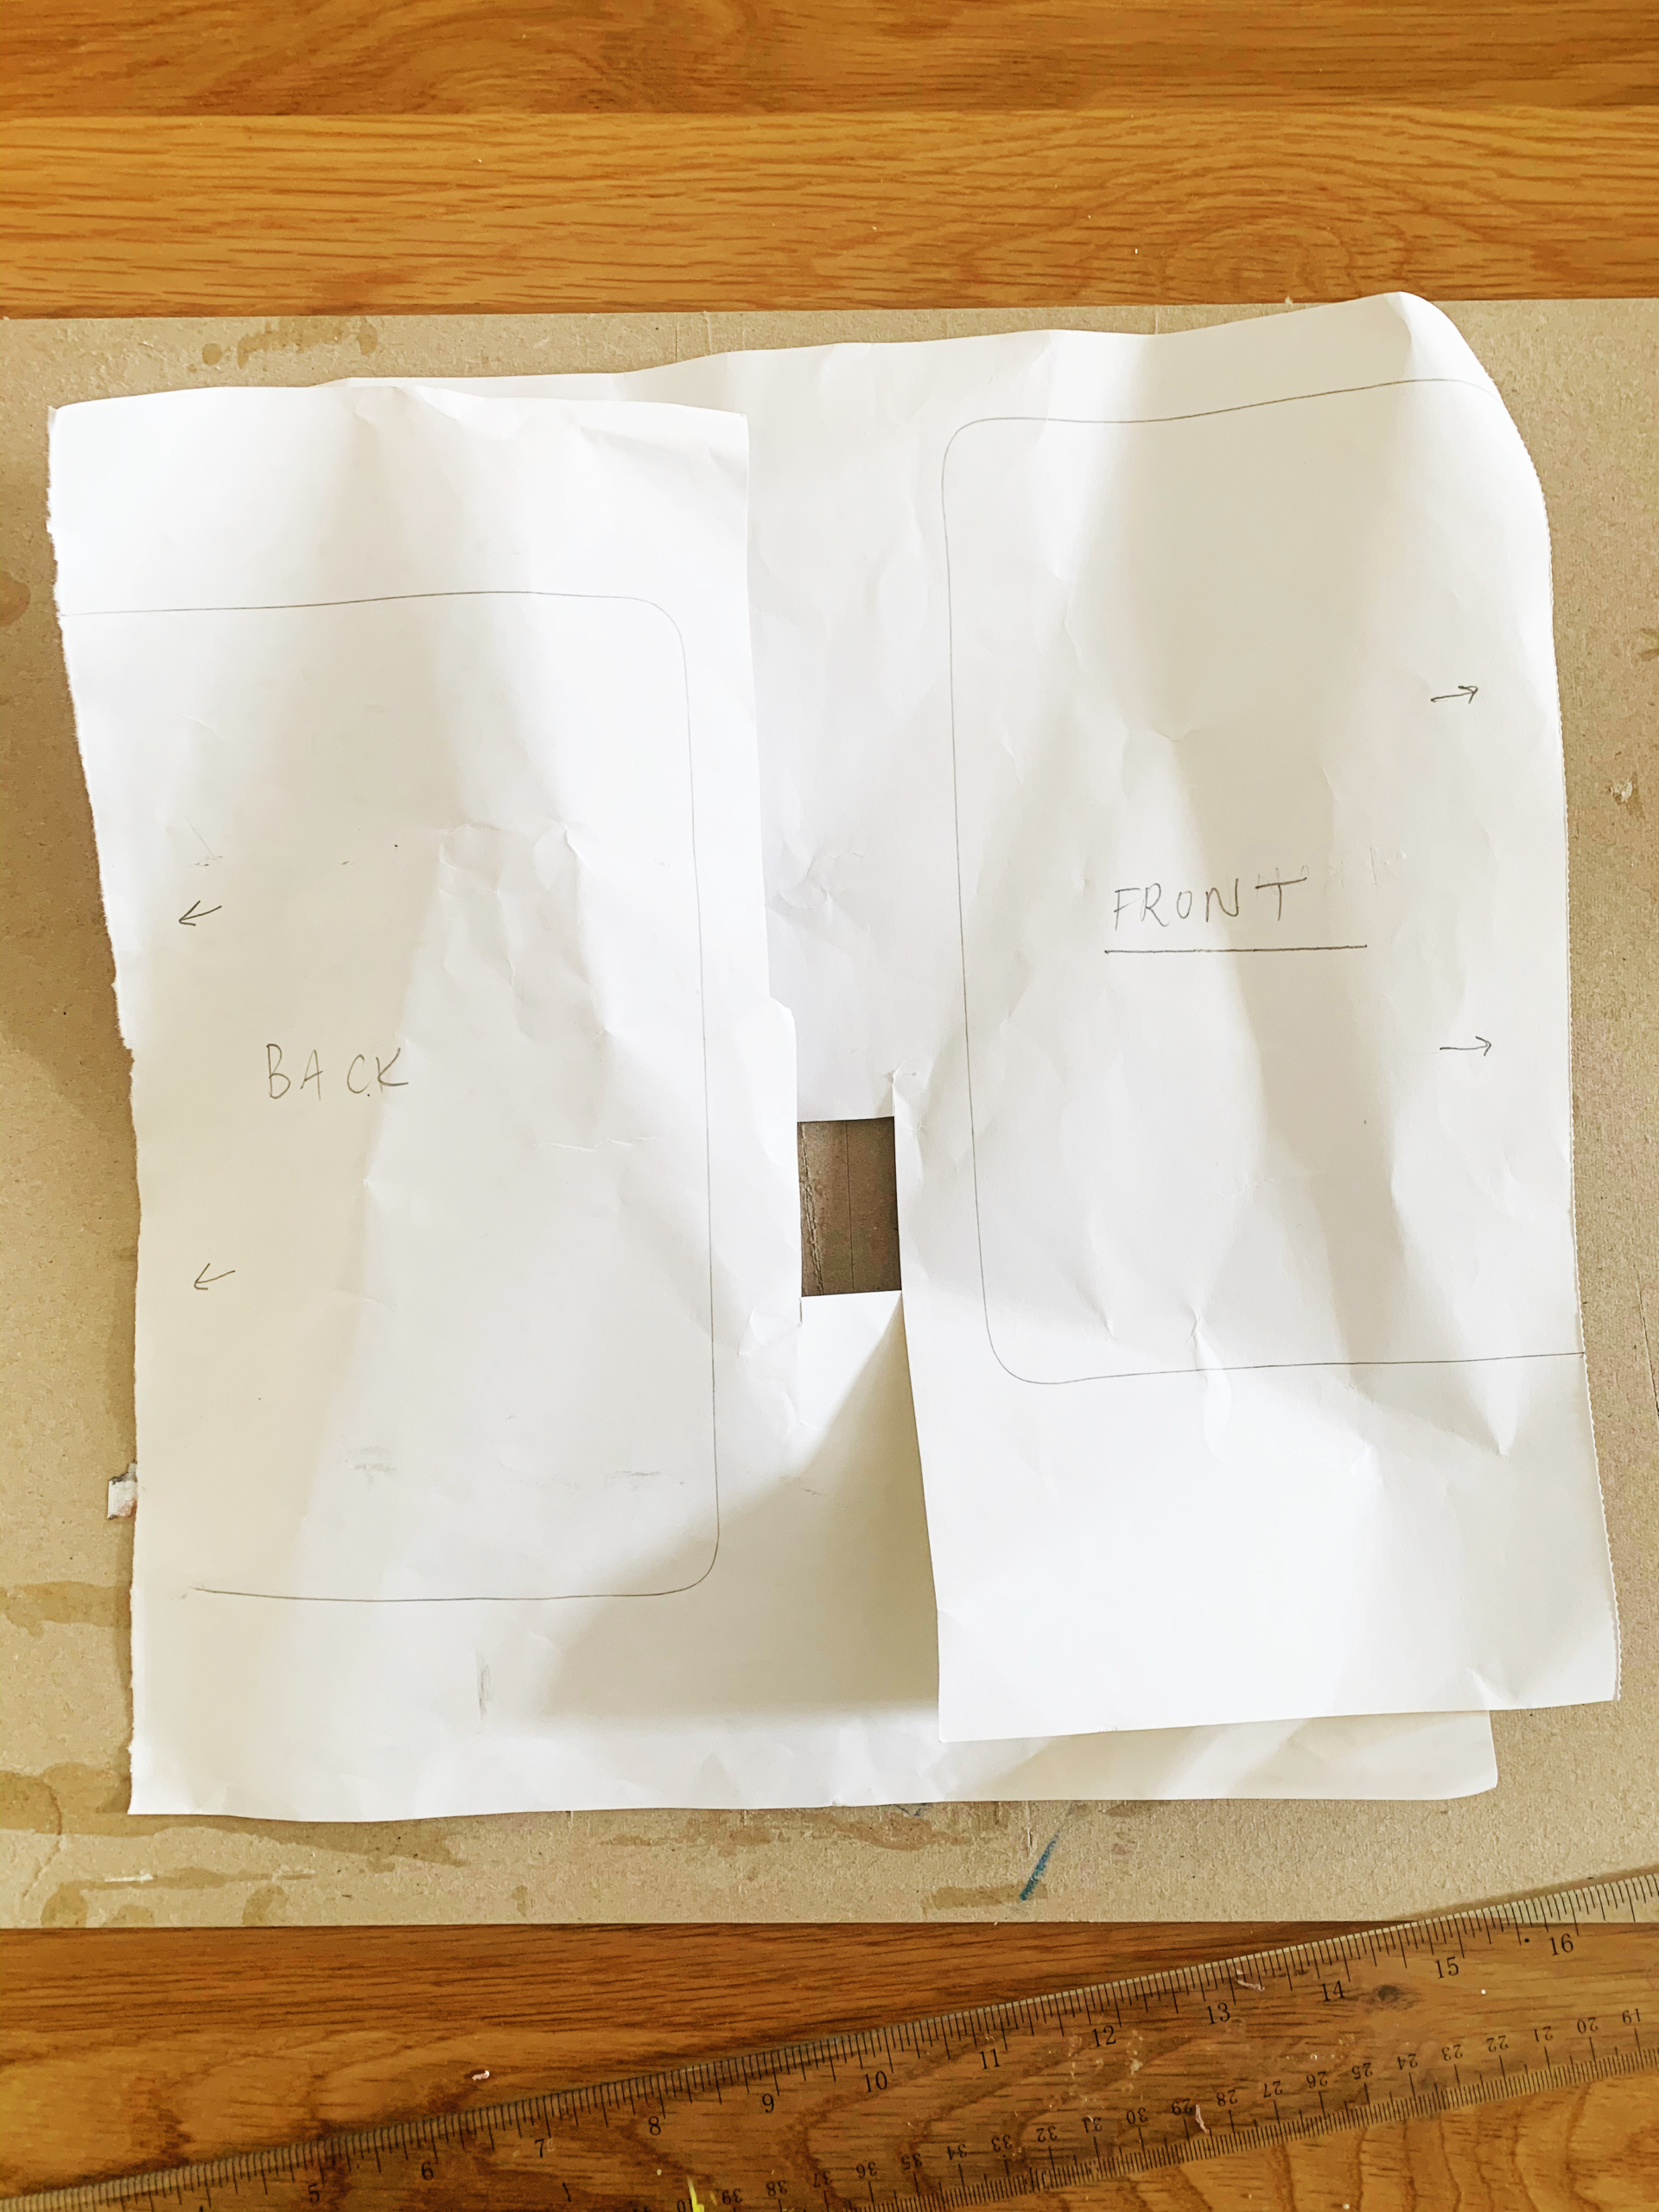
Step 2: Next you will cut this out but you will want to leave about ½ inch extra around top, bottom and one edge of the piece that you will wrap around the inside of the notebook so don’t worry about keeping it perfect straight. The other edge will go against the spine of your notebook so keep that nice and straight, or use the straight edge of your paper like I did and you won’t need to touch it! Do this for both your front and back pieces.
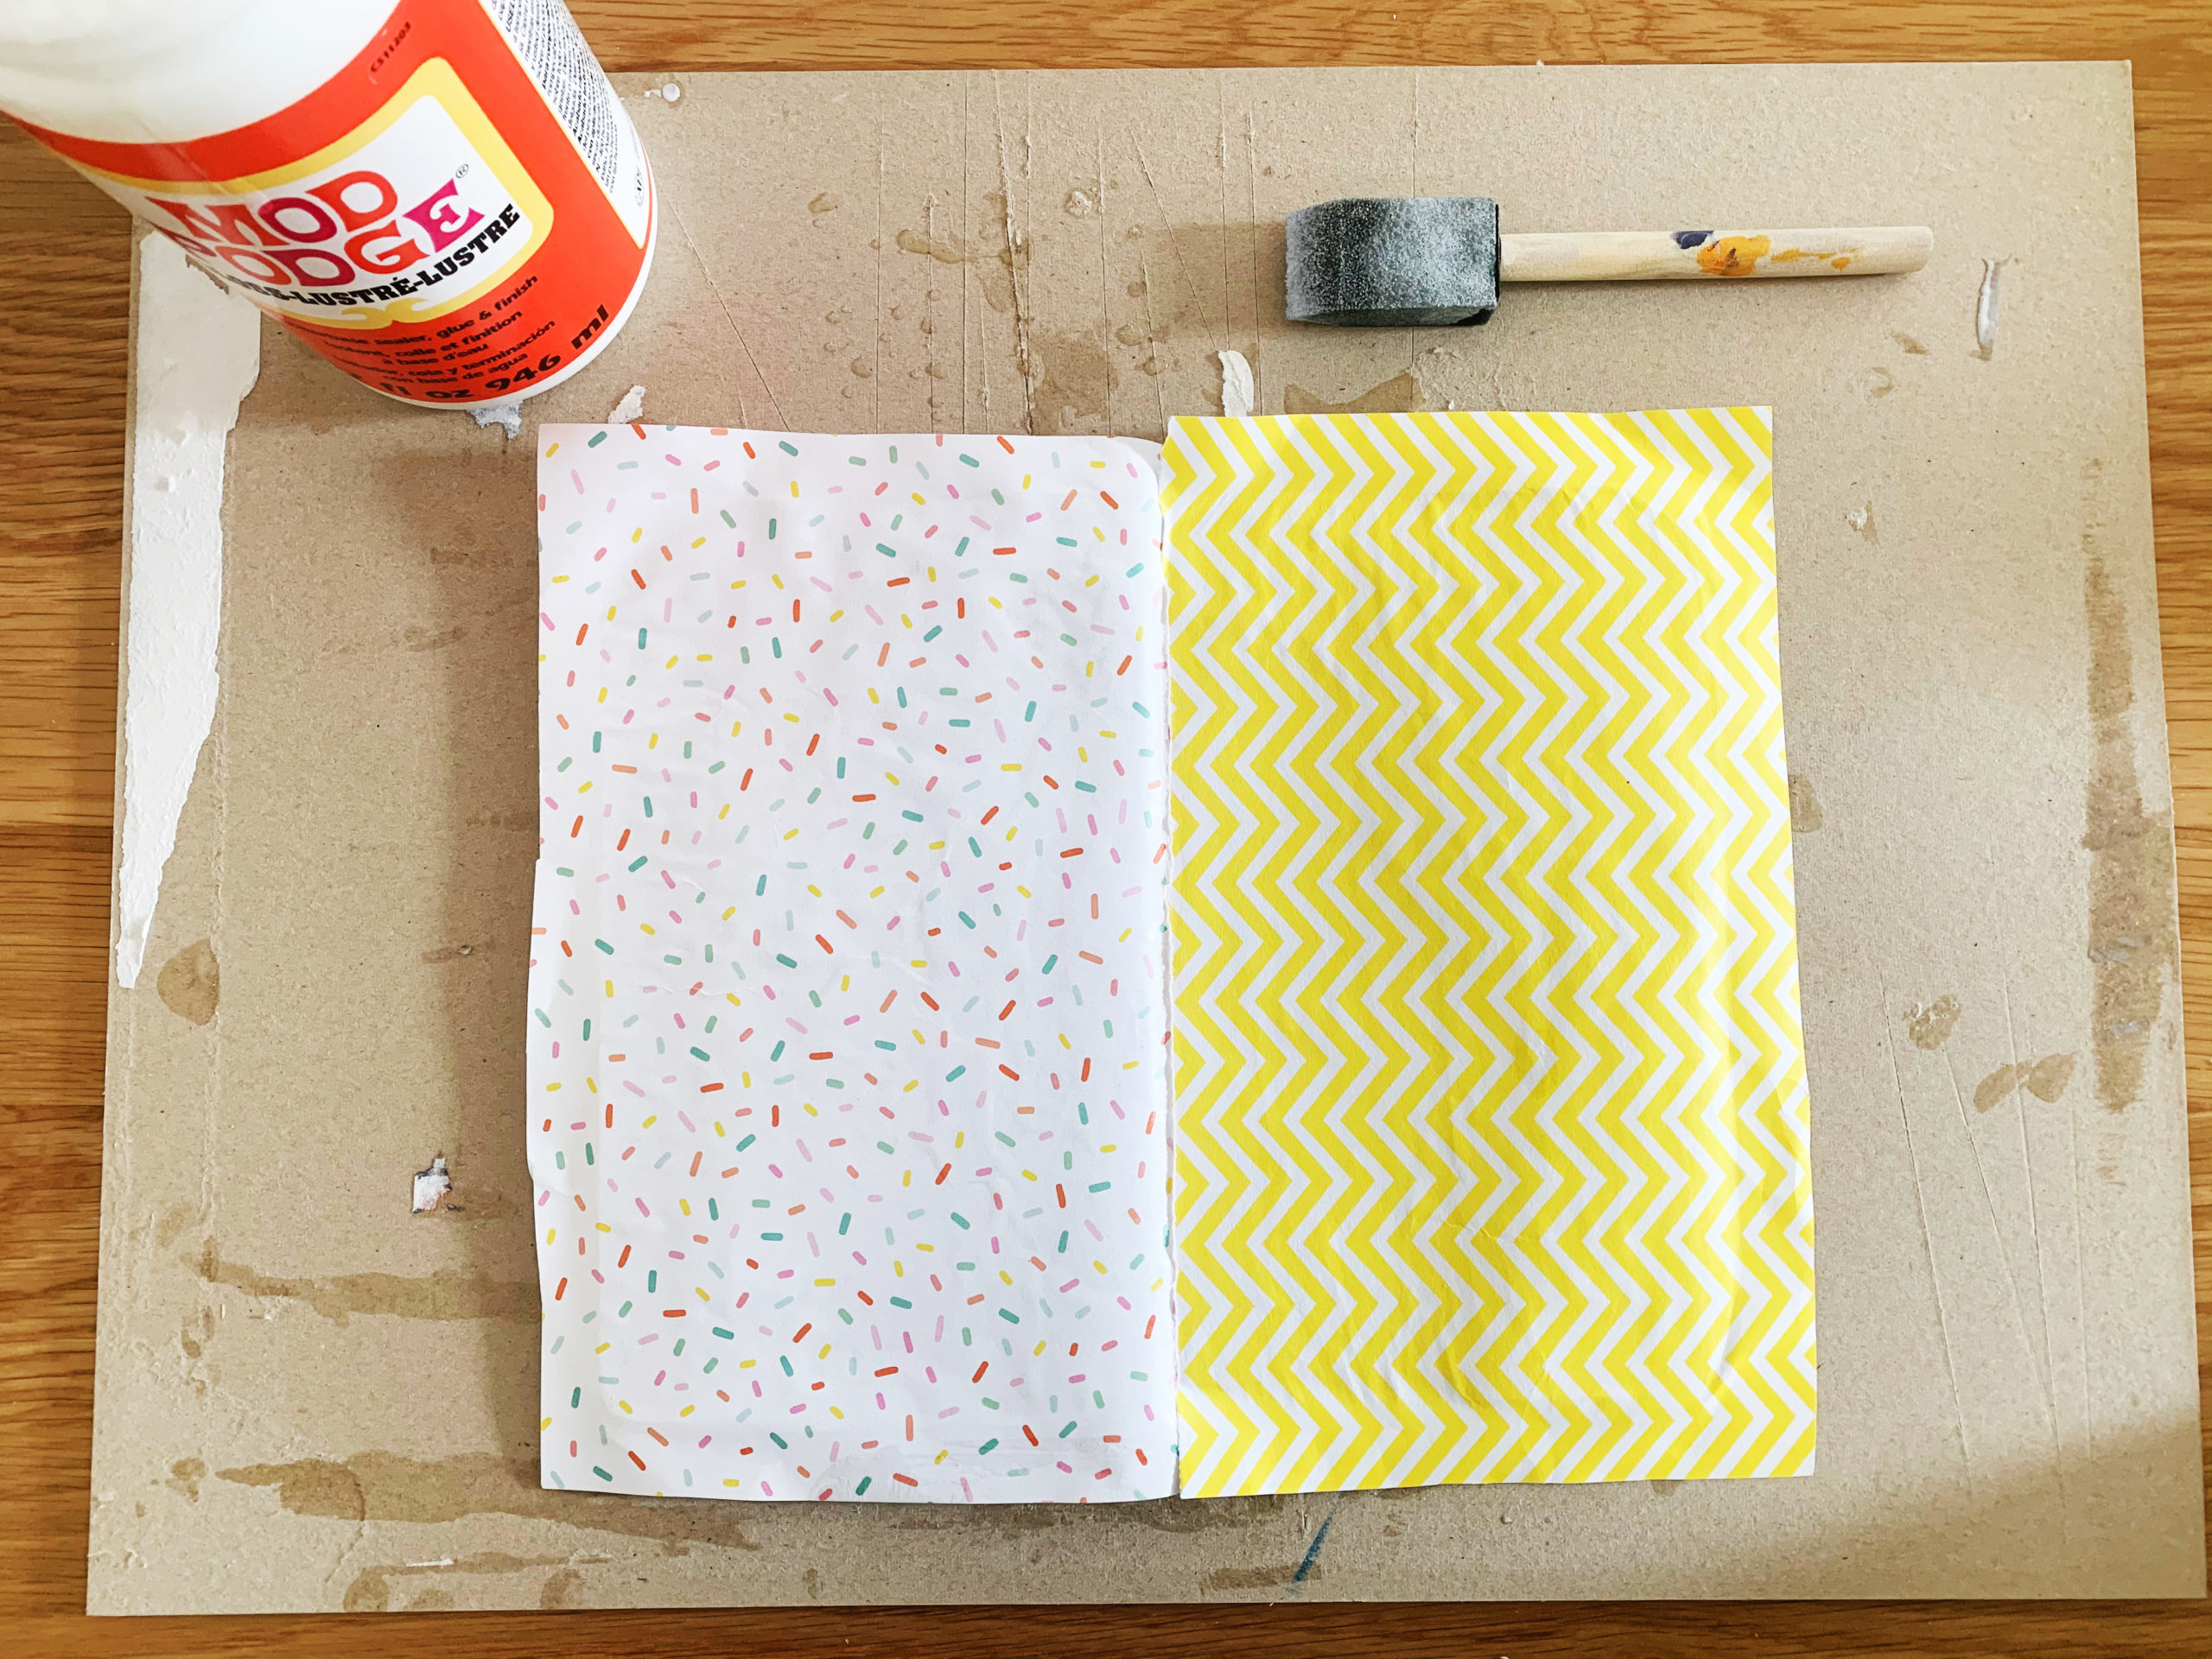
Step 3: Once you have your pieces cut out, you are ready to start pasting them onto your notebook. Make sure you are working on a surface that is ok to get some Mod Podge on—it can get a little sticky and messy! With your foam brush, put Mod Podge both on the back of your paper and on your notebook. Then stick the piece directly onto the notebook.
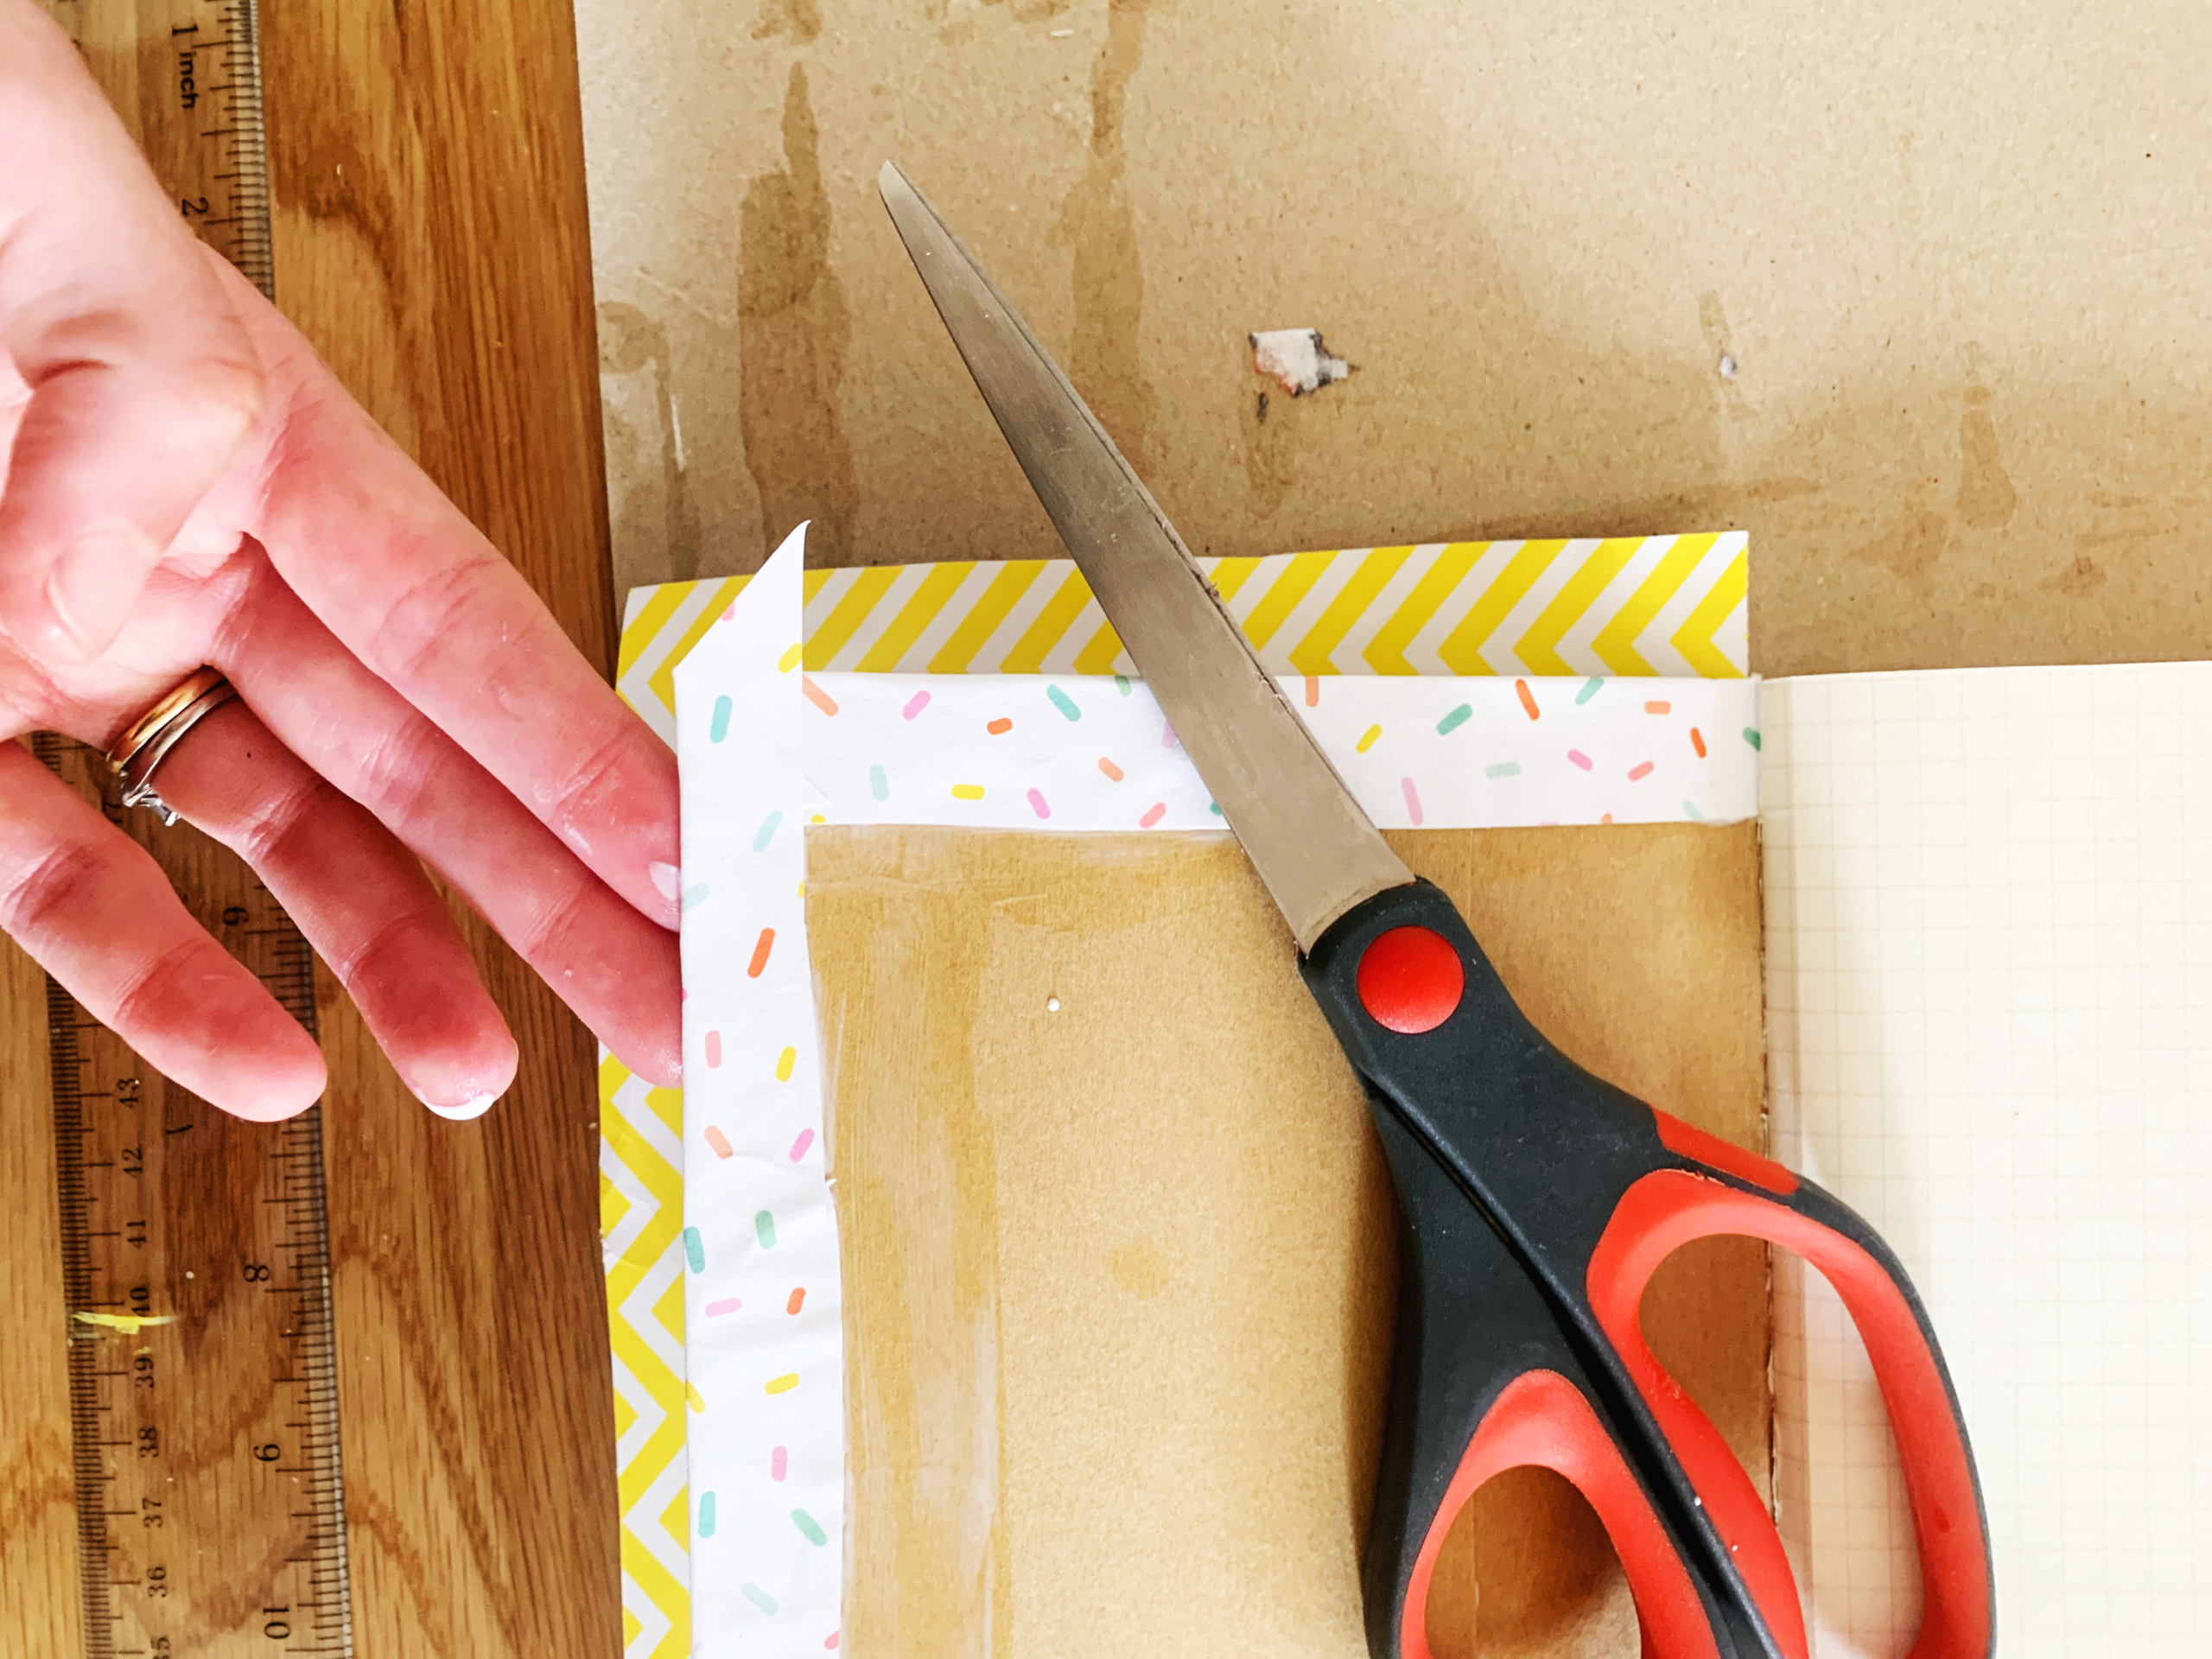
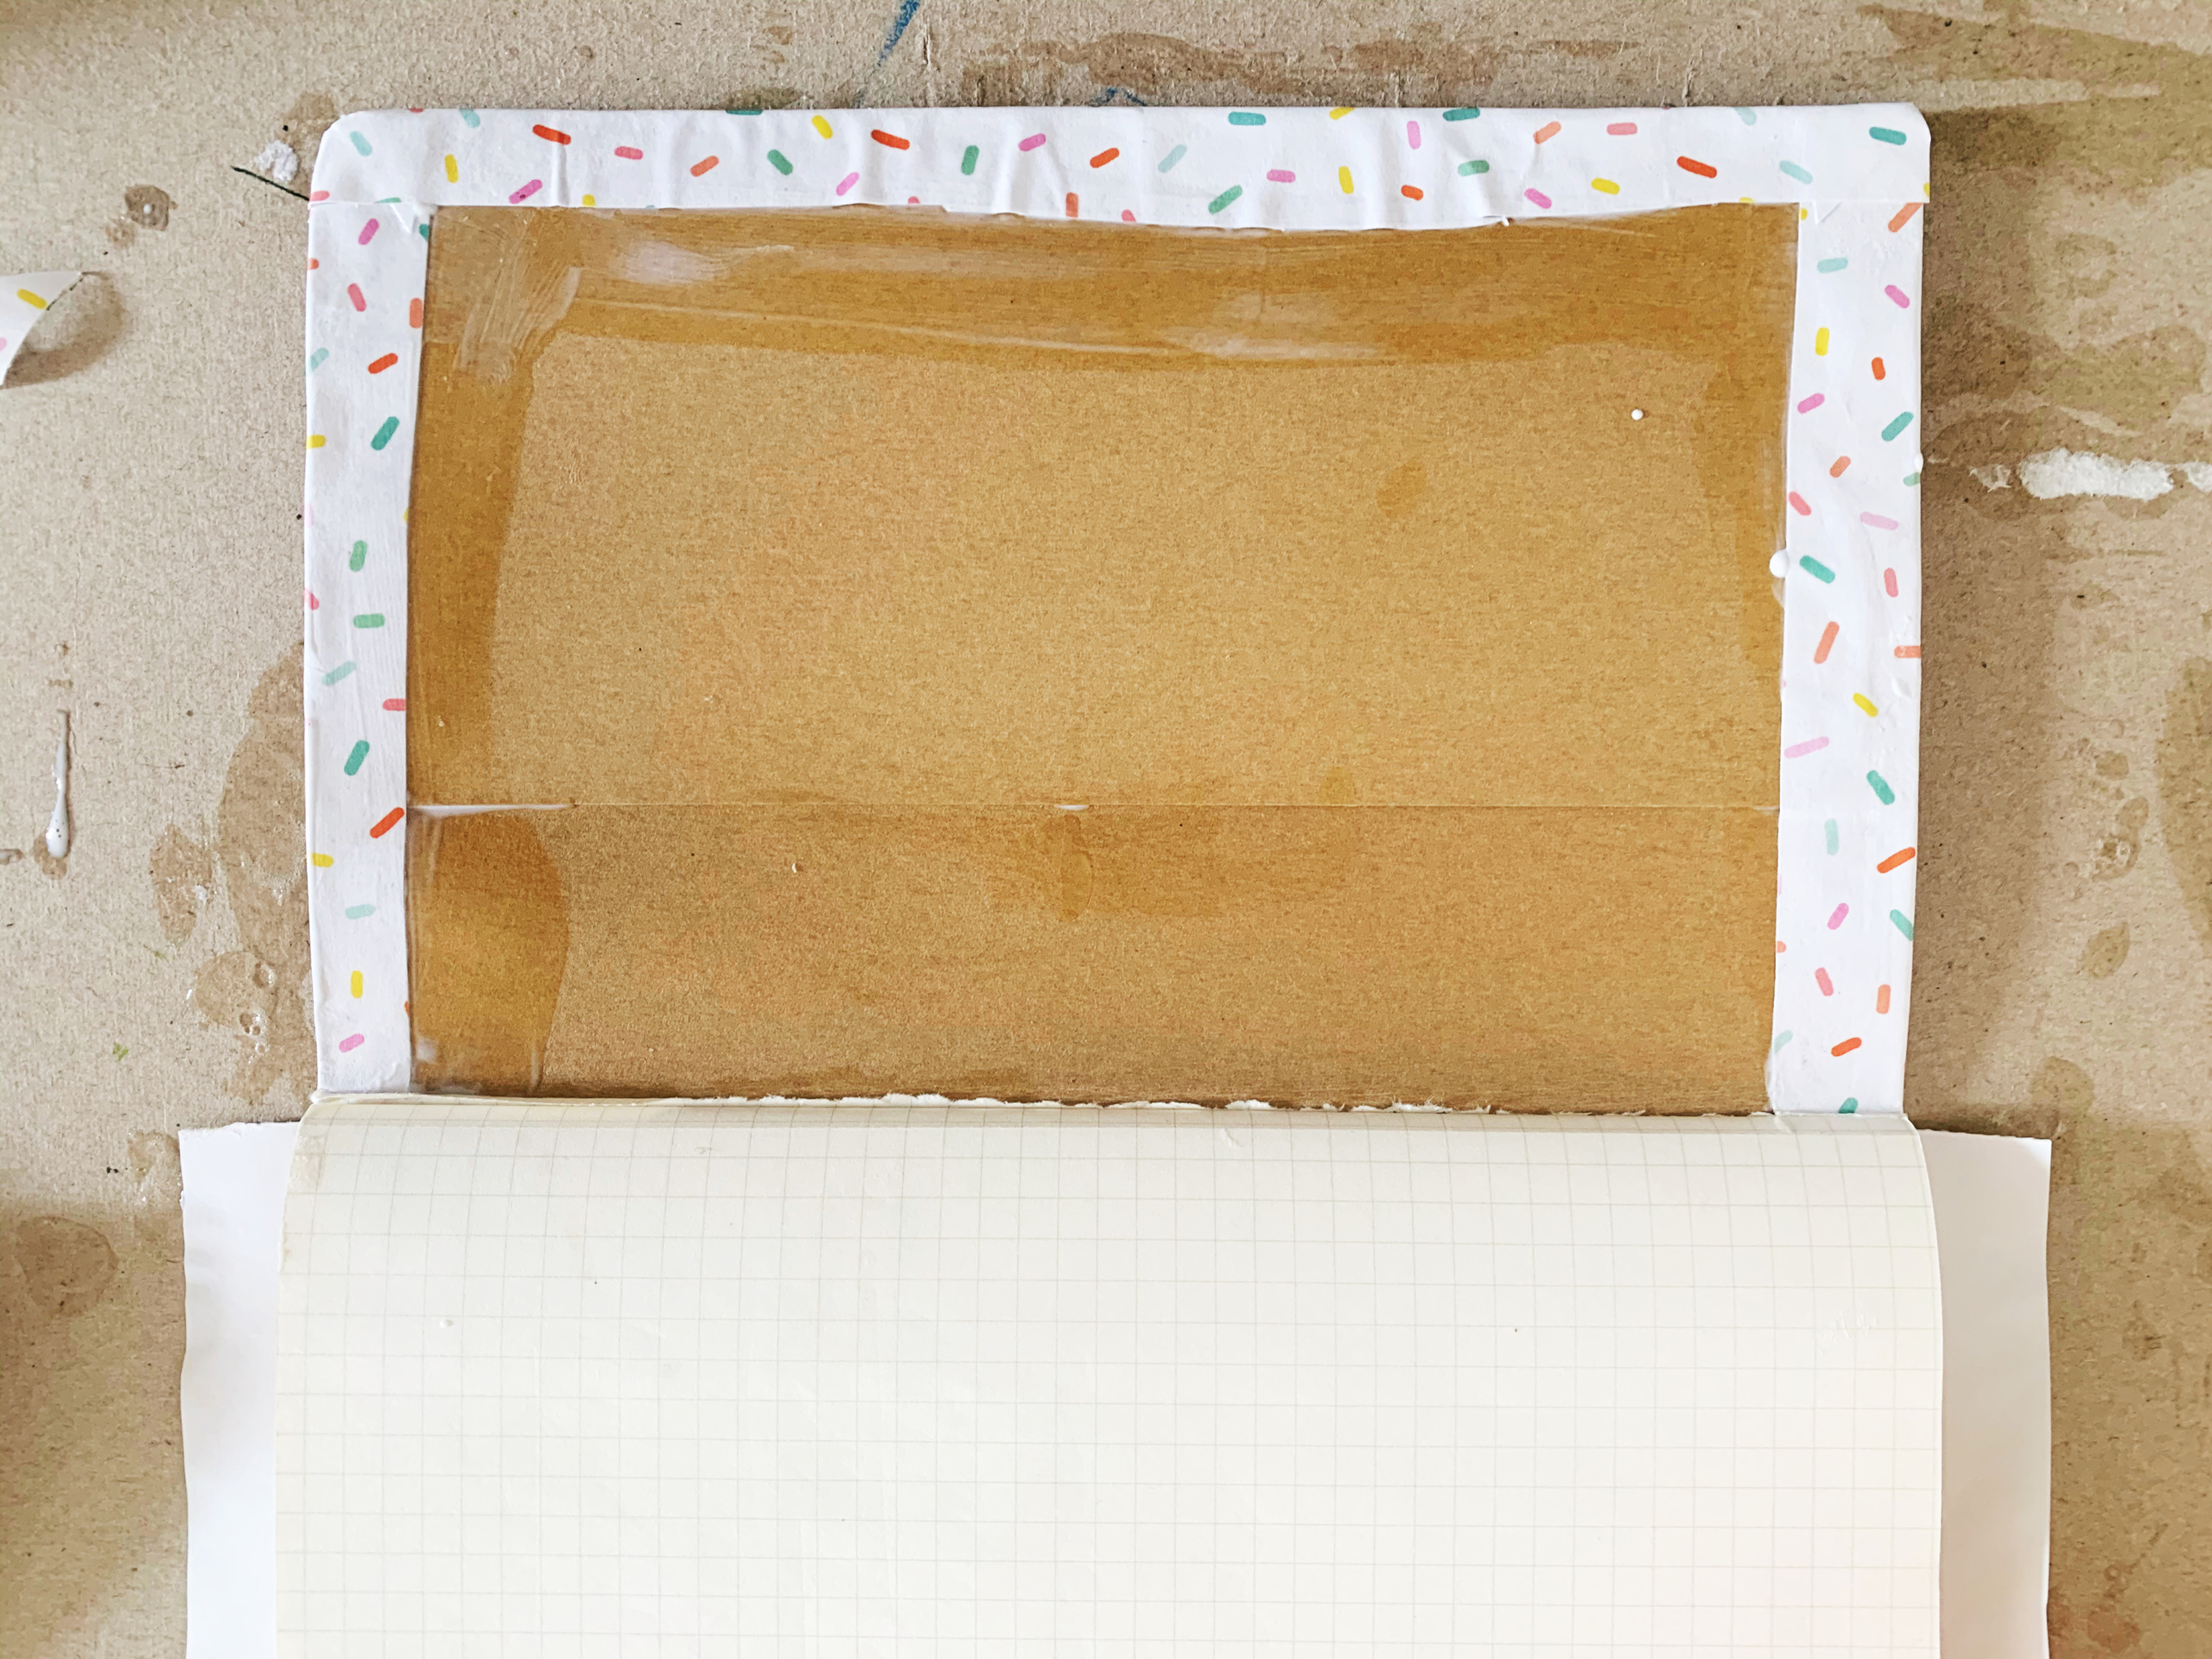
Step 4: For the corners, take your scissor and snip the very corner, this will let you fold the paper over the edges. Add a little more Mod Podge to the back of the paper, and fold the three edges over and secure them to the inside flap of your notebook.
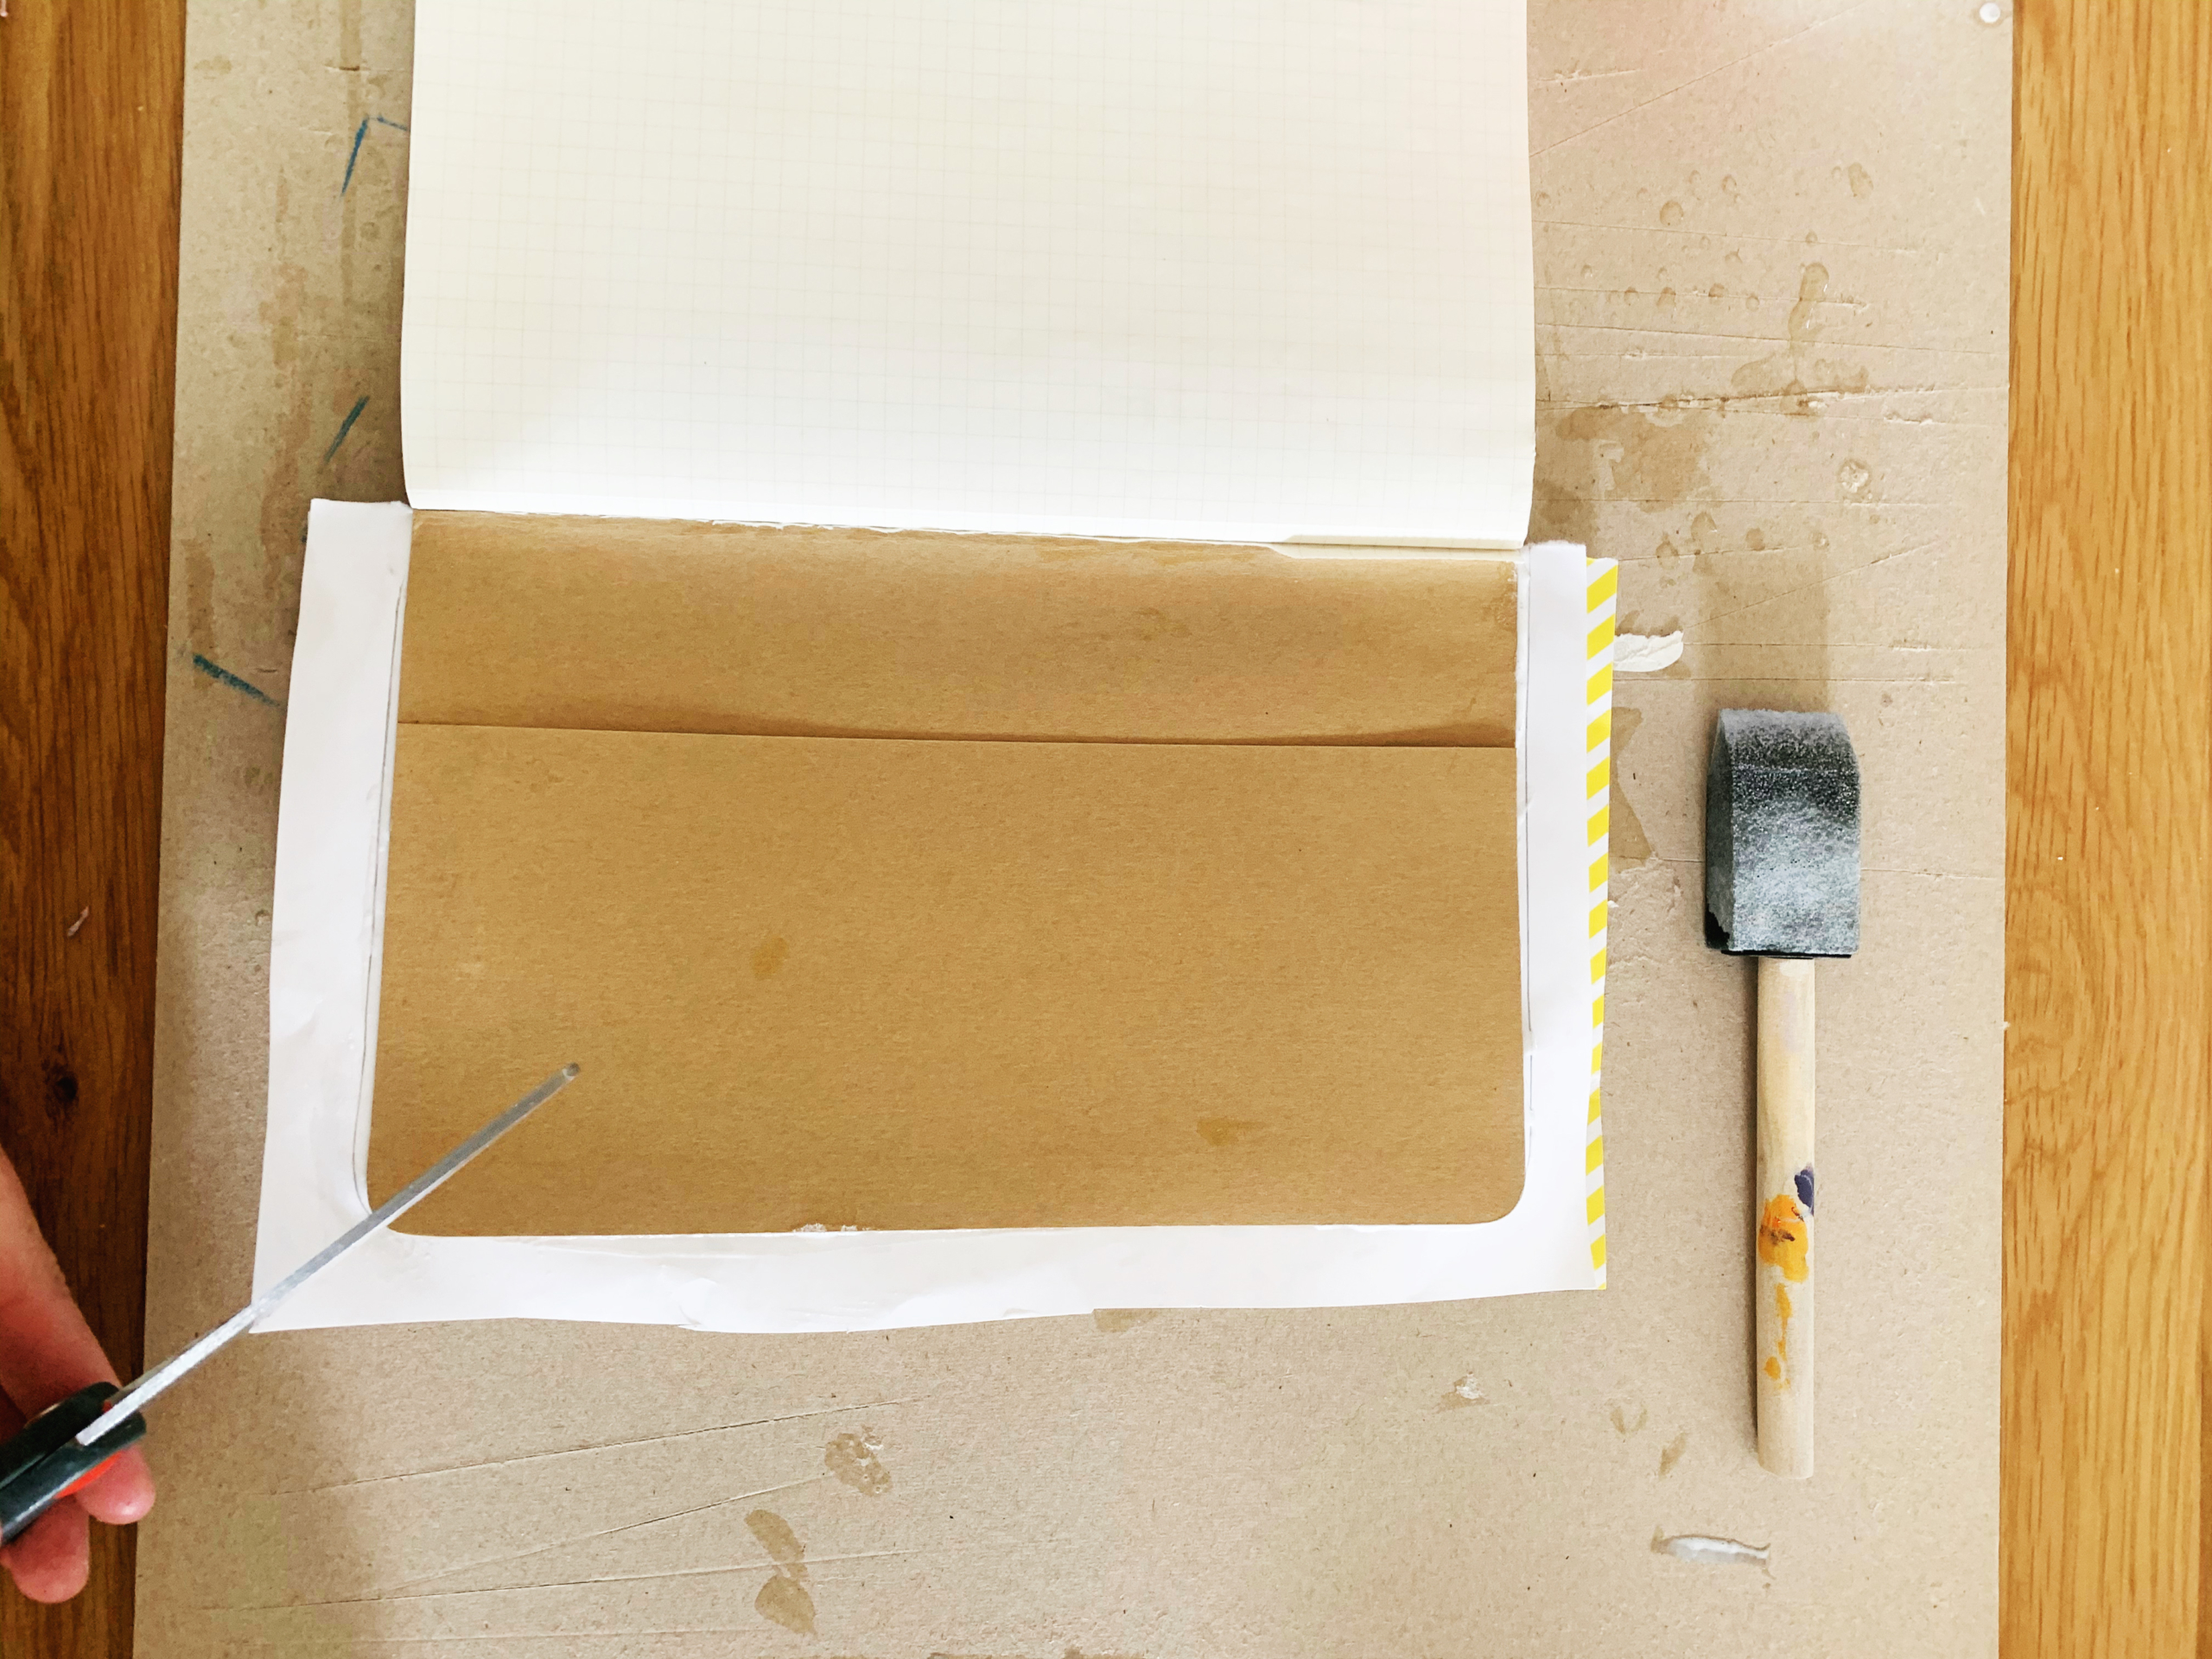
Step 5: Once you fold the three edges over, take your scissors and carefully snip any extra paper around the very corner. This will make the edges look nice and finished.
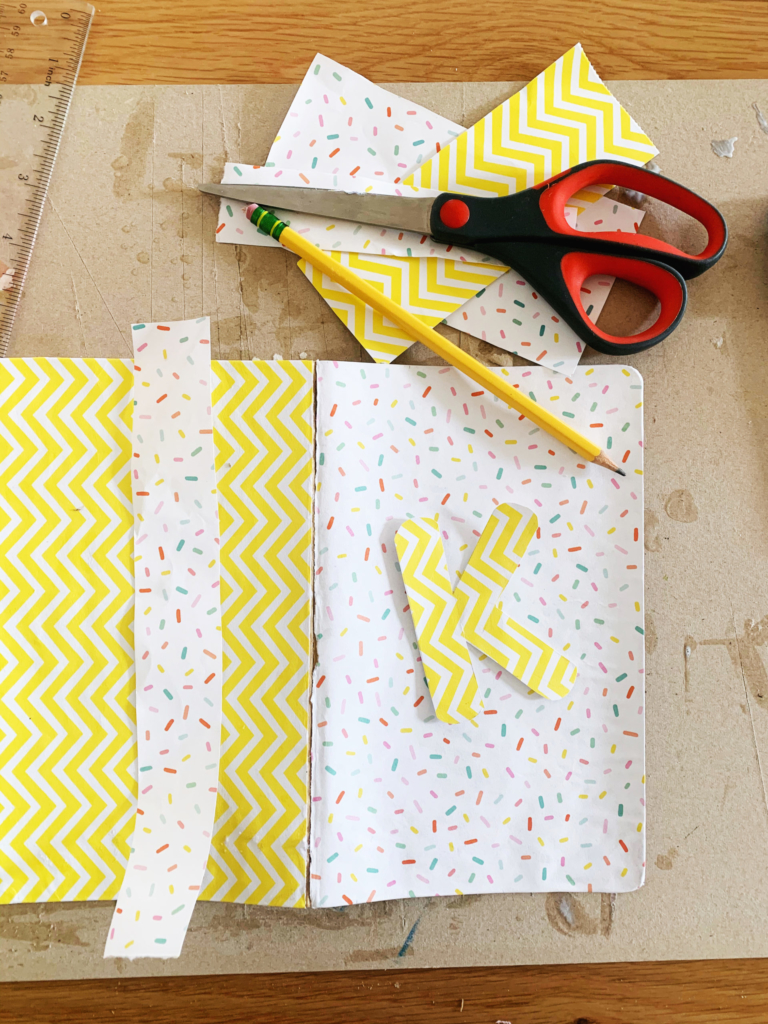
Step 6: Now is the time to add a little accent if you want. I decided to add a “K” to the front of my notebook and a decorative stripe down the middle to the back. Have fun with this step! You could add cut-out shapes, polka dots, letters, etc. Tip: This is a great way to reuse old wrapping paper scraps!
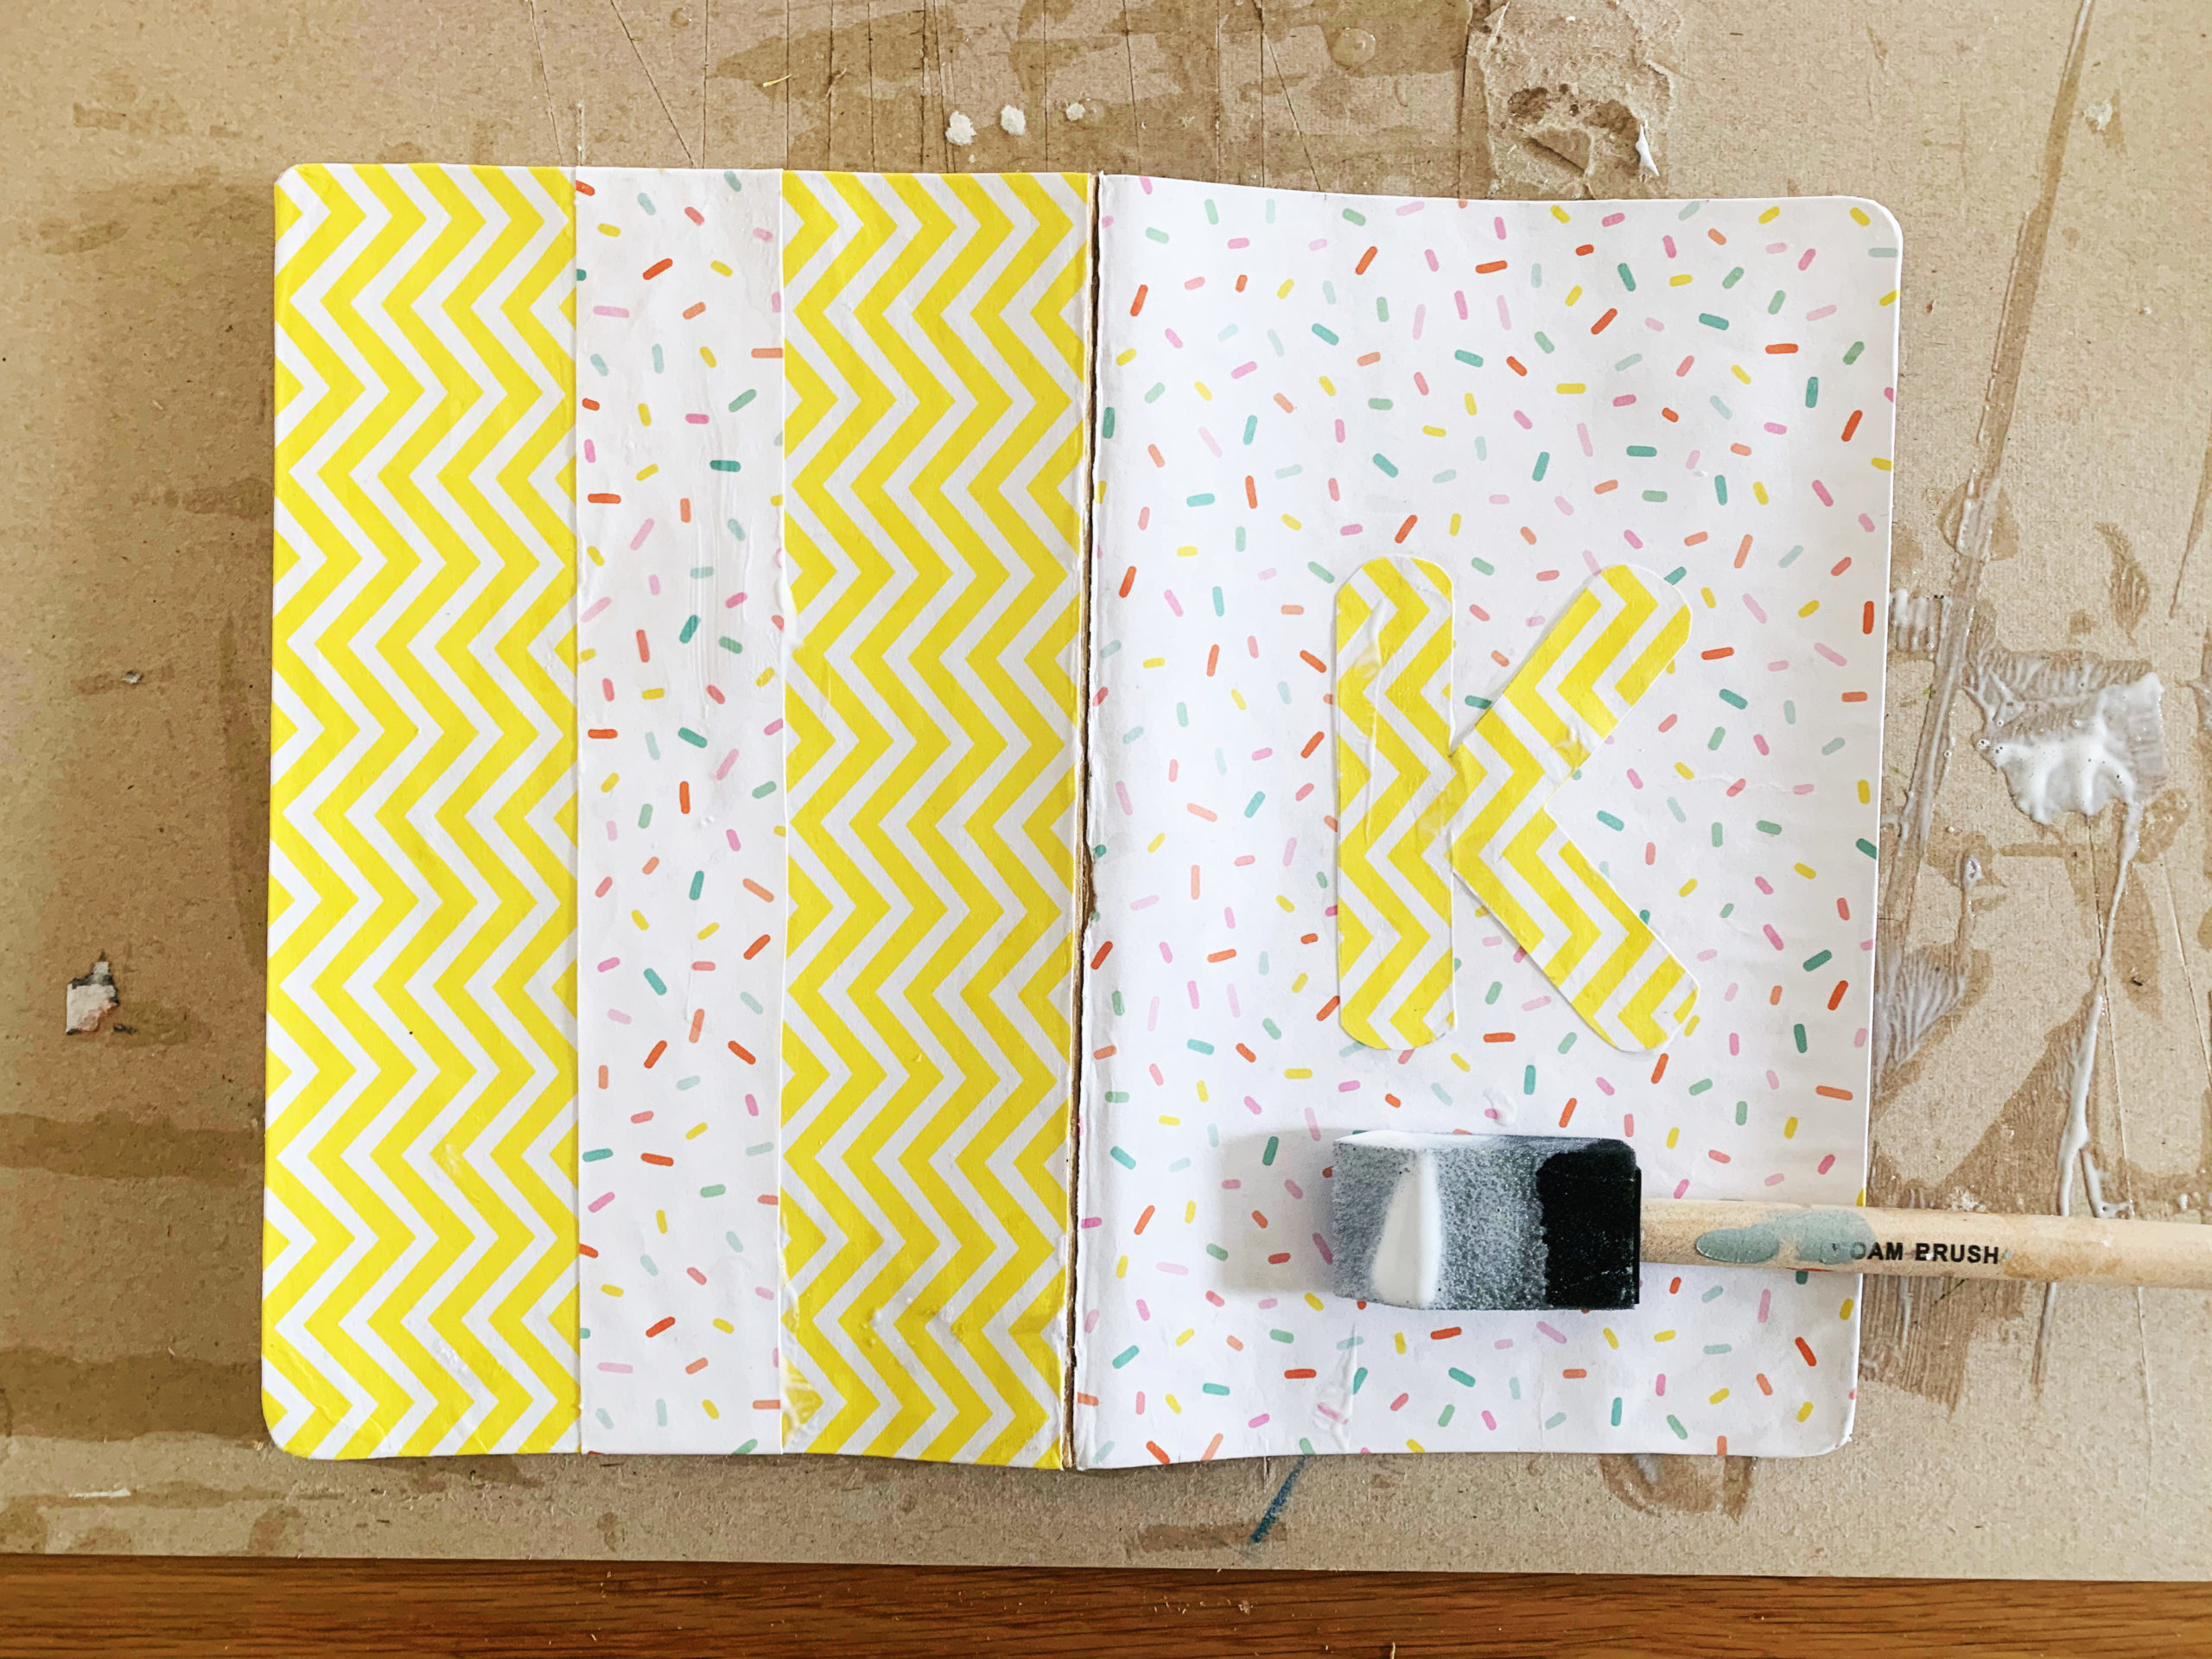
Step 7: Once you are done with your embellishments, seal the notebook with one final coat of Mod Podge over the front and back of your notebook. Pro tip: Use enough Mod Podge to cover everything, but don’t clump it on. Just paint a nice smooth layer. This will help with drying time, too!
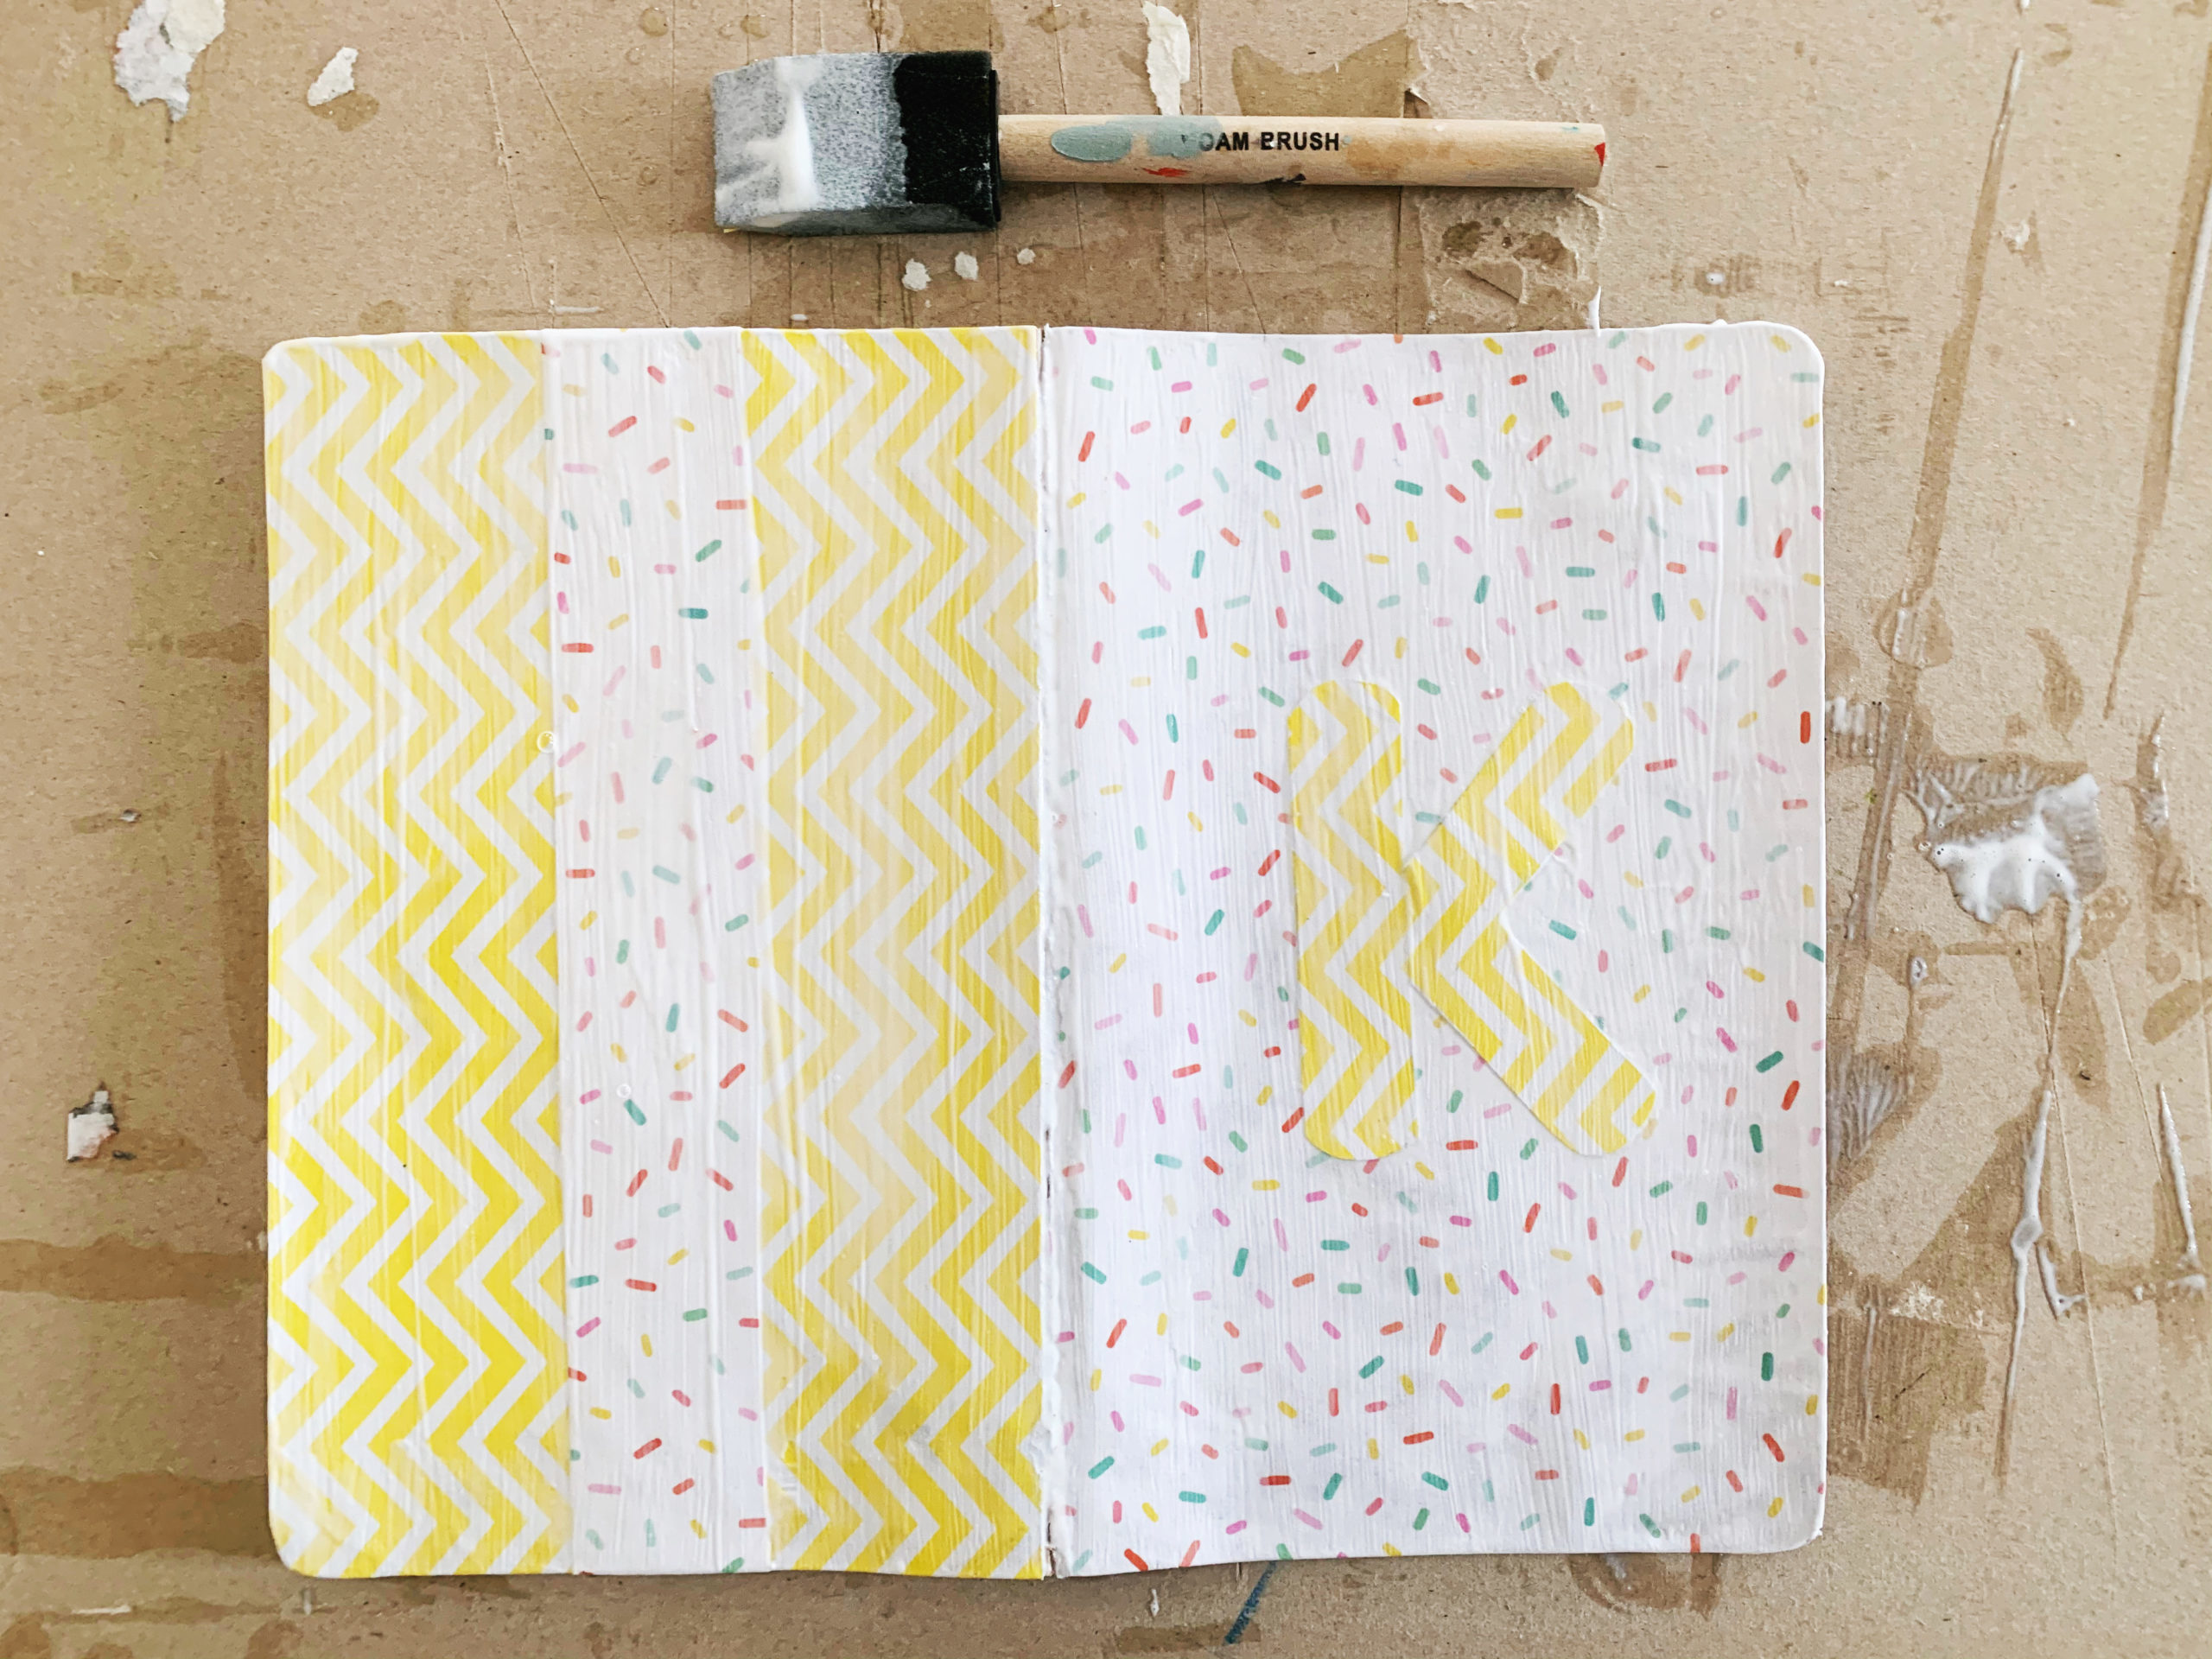
Once the Mod Podge is fully dry (usually takes about 15-20 minutes), your new notebook is ready to go! Not only is this craft simple and inexpensive, it can make really cute customized gifts. There are so many unique ways to decorate your notebook. Let us know what you’ll be using your new personalized notebook for!