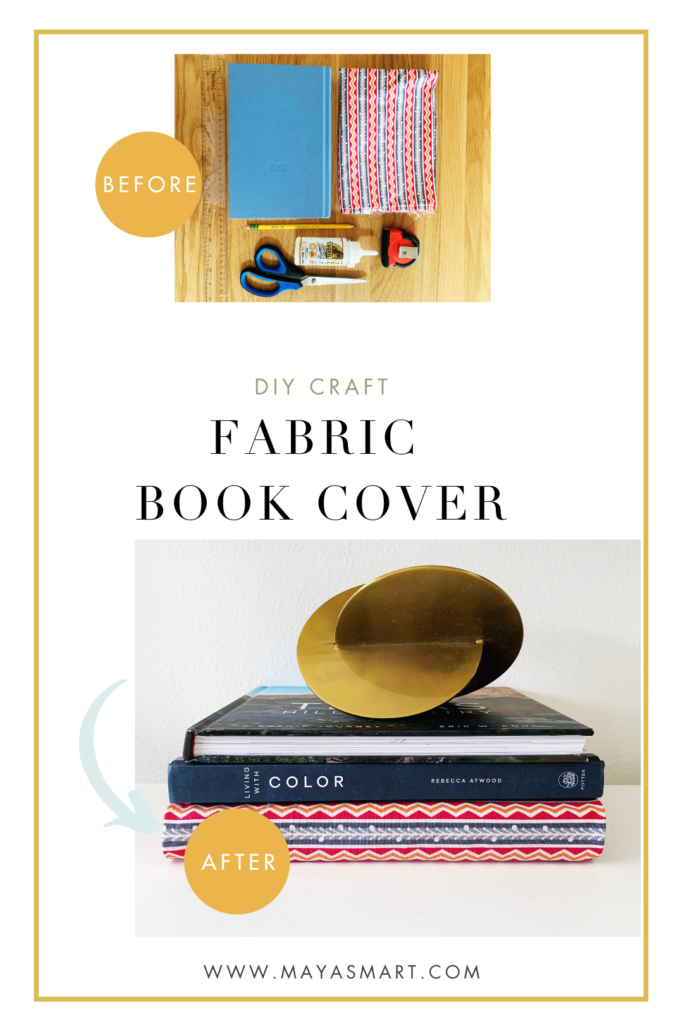
These DIY fabric book covers are a pretty and crafty way to protect your library. Safeguard books while traveling, replace lost dust covers, or preserve well-loved titles from eager (and grubby) little hands. We especially like these covers for keeping kids’ favorites in good enough shape for them to read to their own children someday. Plus, they add a fun pop of pattern and color to your bookshelf.
This book craft is easy, inexpensive and doesn’t take long. Have leftover fabric from other DIY crafts? Perfect! You can use different patterns for variety, or make multiple covers from the same material to create unity in the decor of your library.
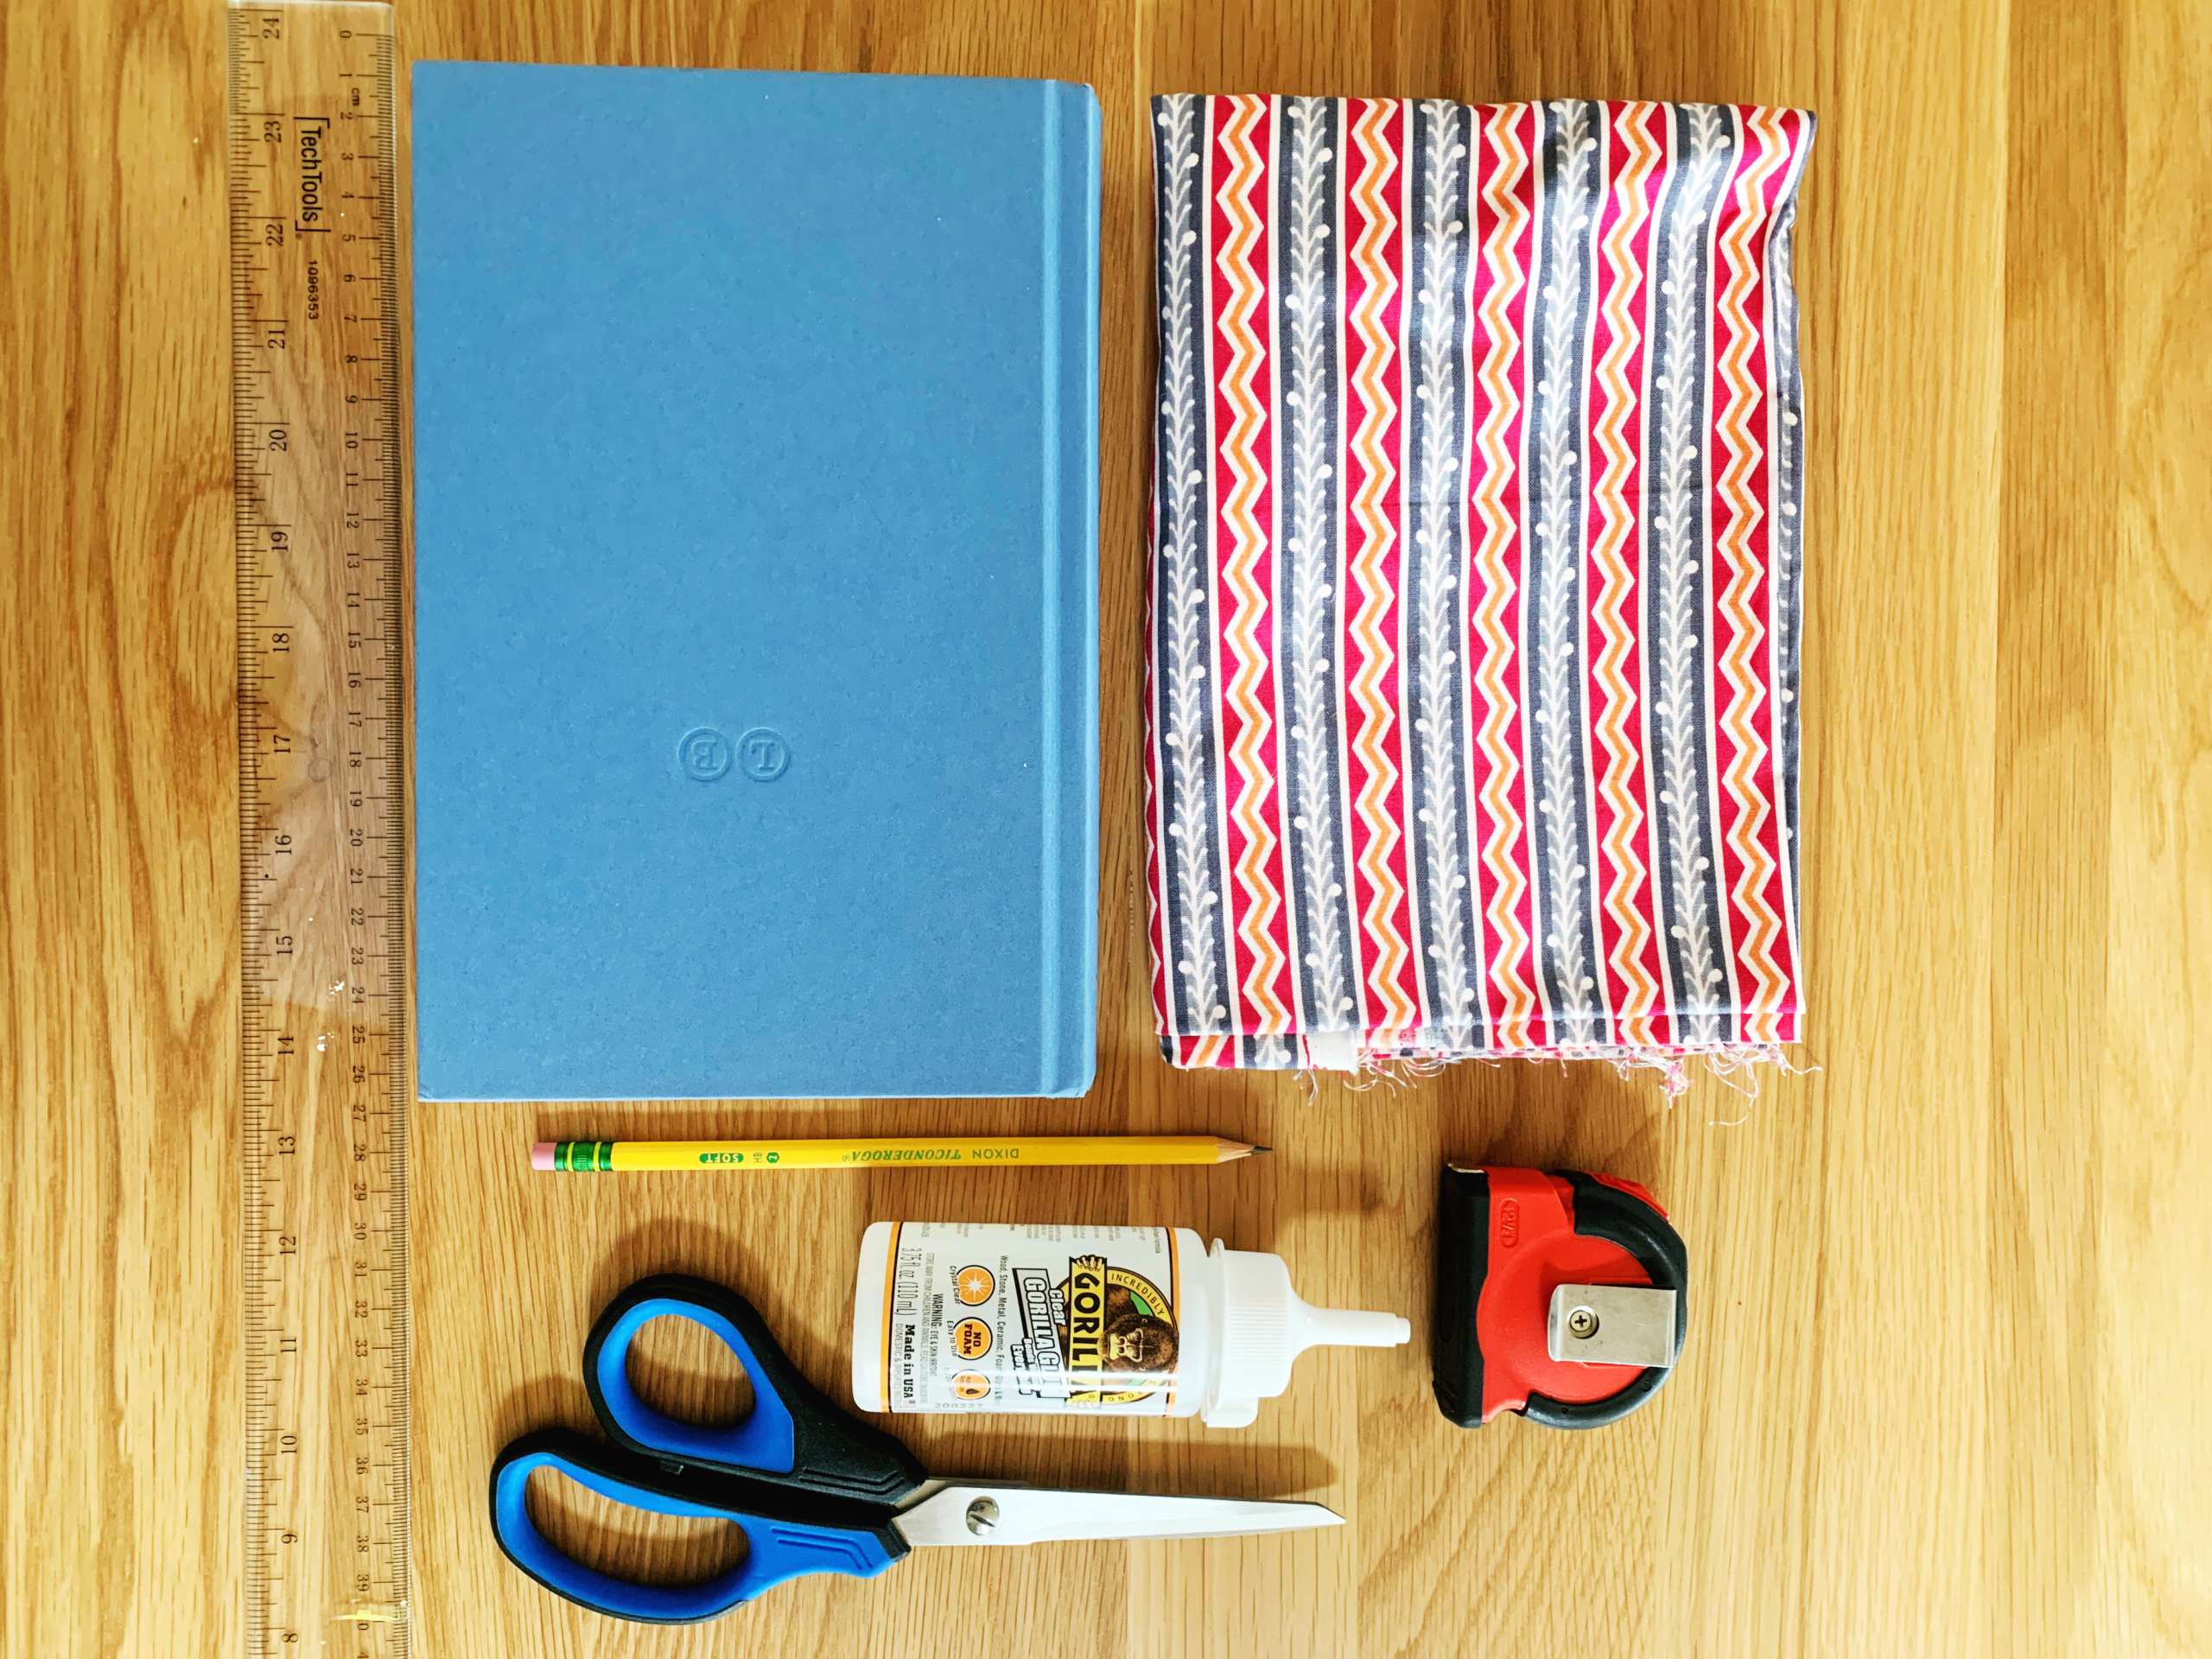
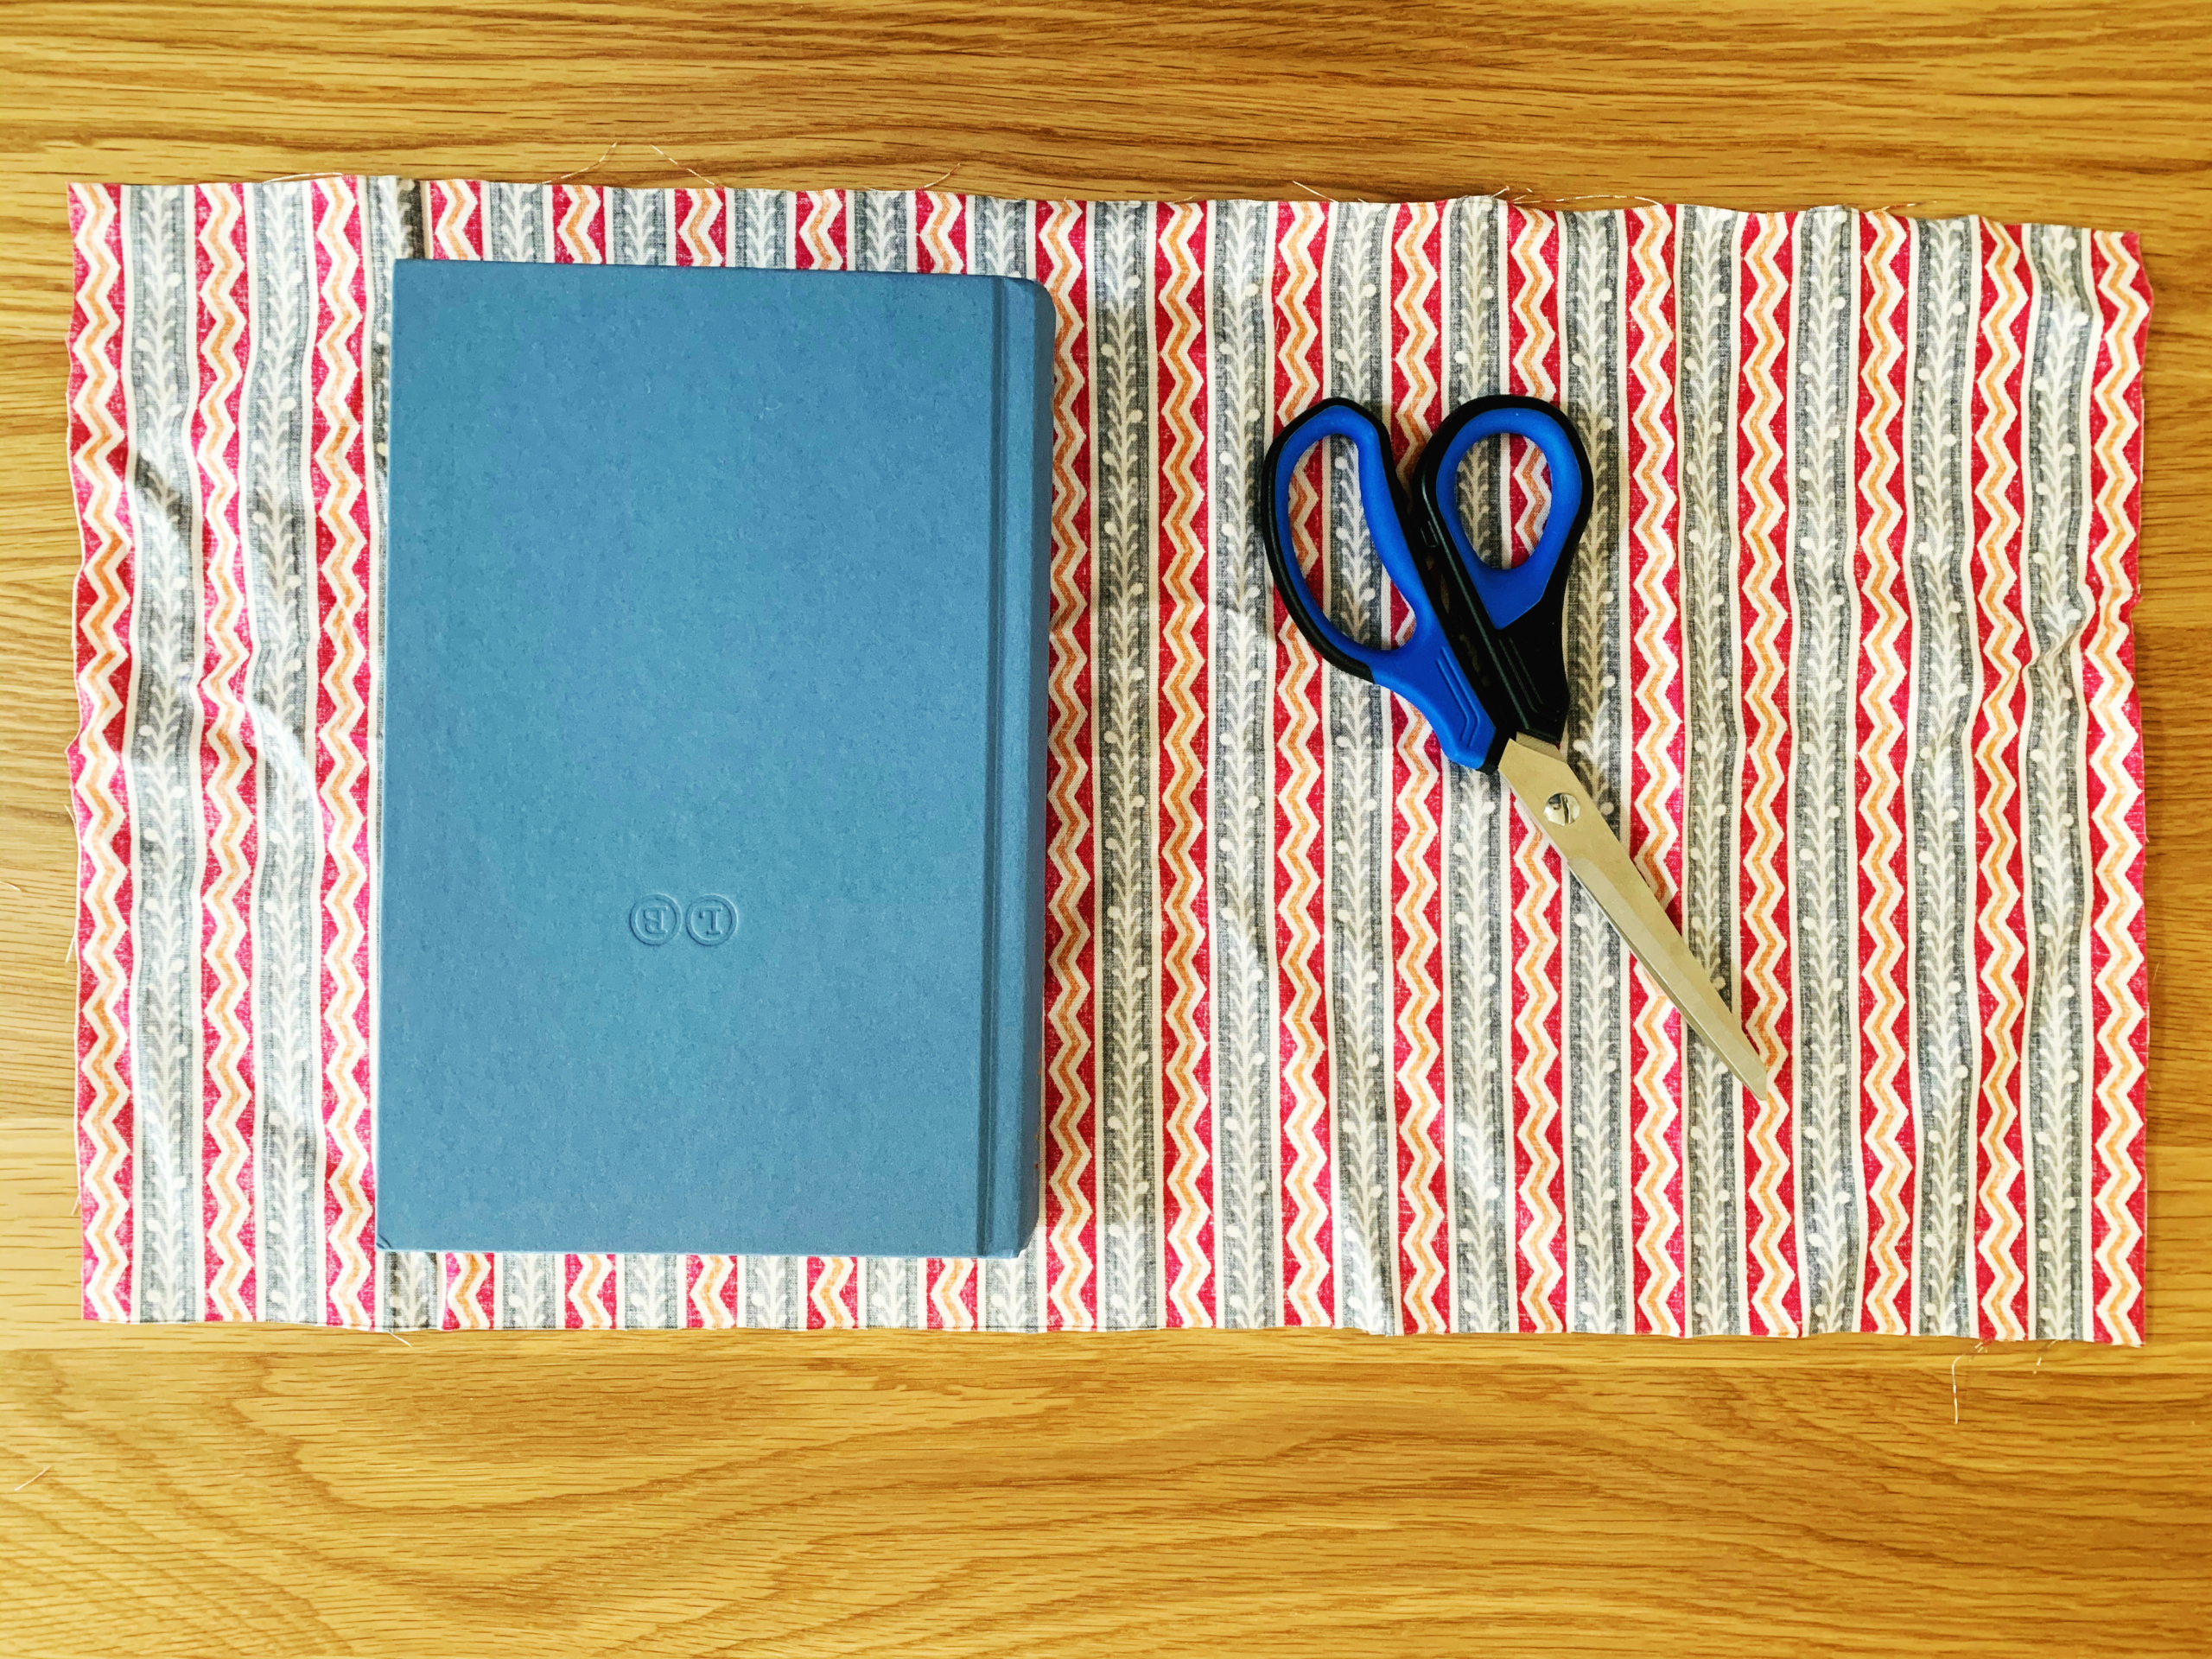
Materials:
- Hardcover book to cover
- Fabric
- Fabric glue or tape (or you could use a glue gun)
- Sharp scissors/fabric scissors
- Tape measure
- Ruler
- Pencil
Cost: If you have some fabric around (or an old curtain, sheet or garment to cut up), this book craft should not cost you anything. This is the perfect way to use up a smaller scrap!
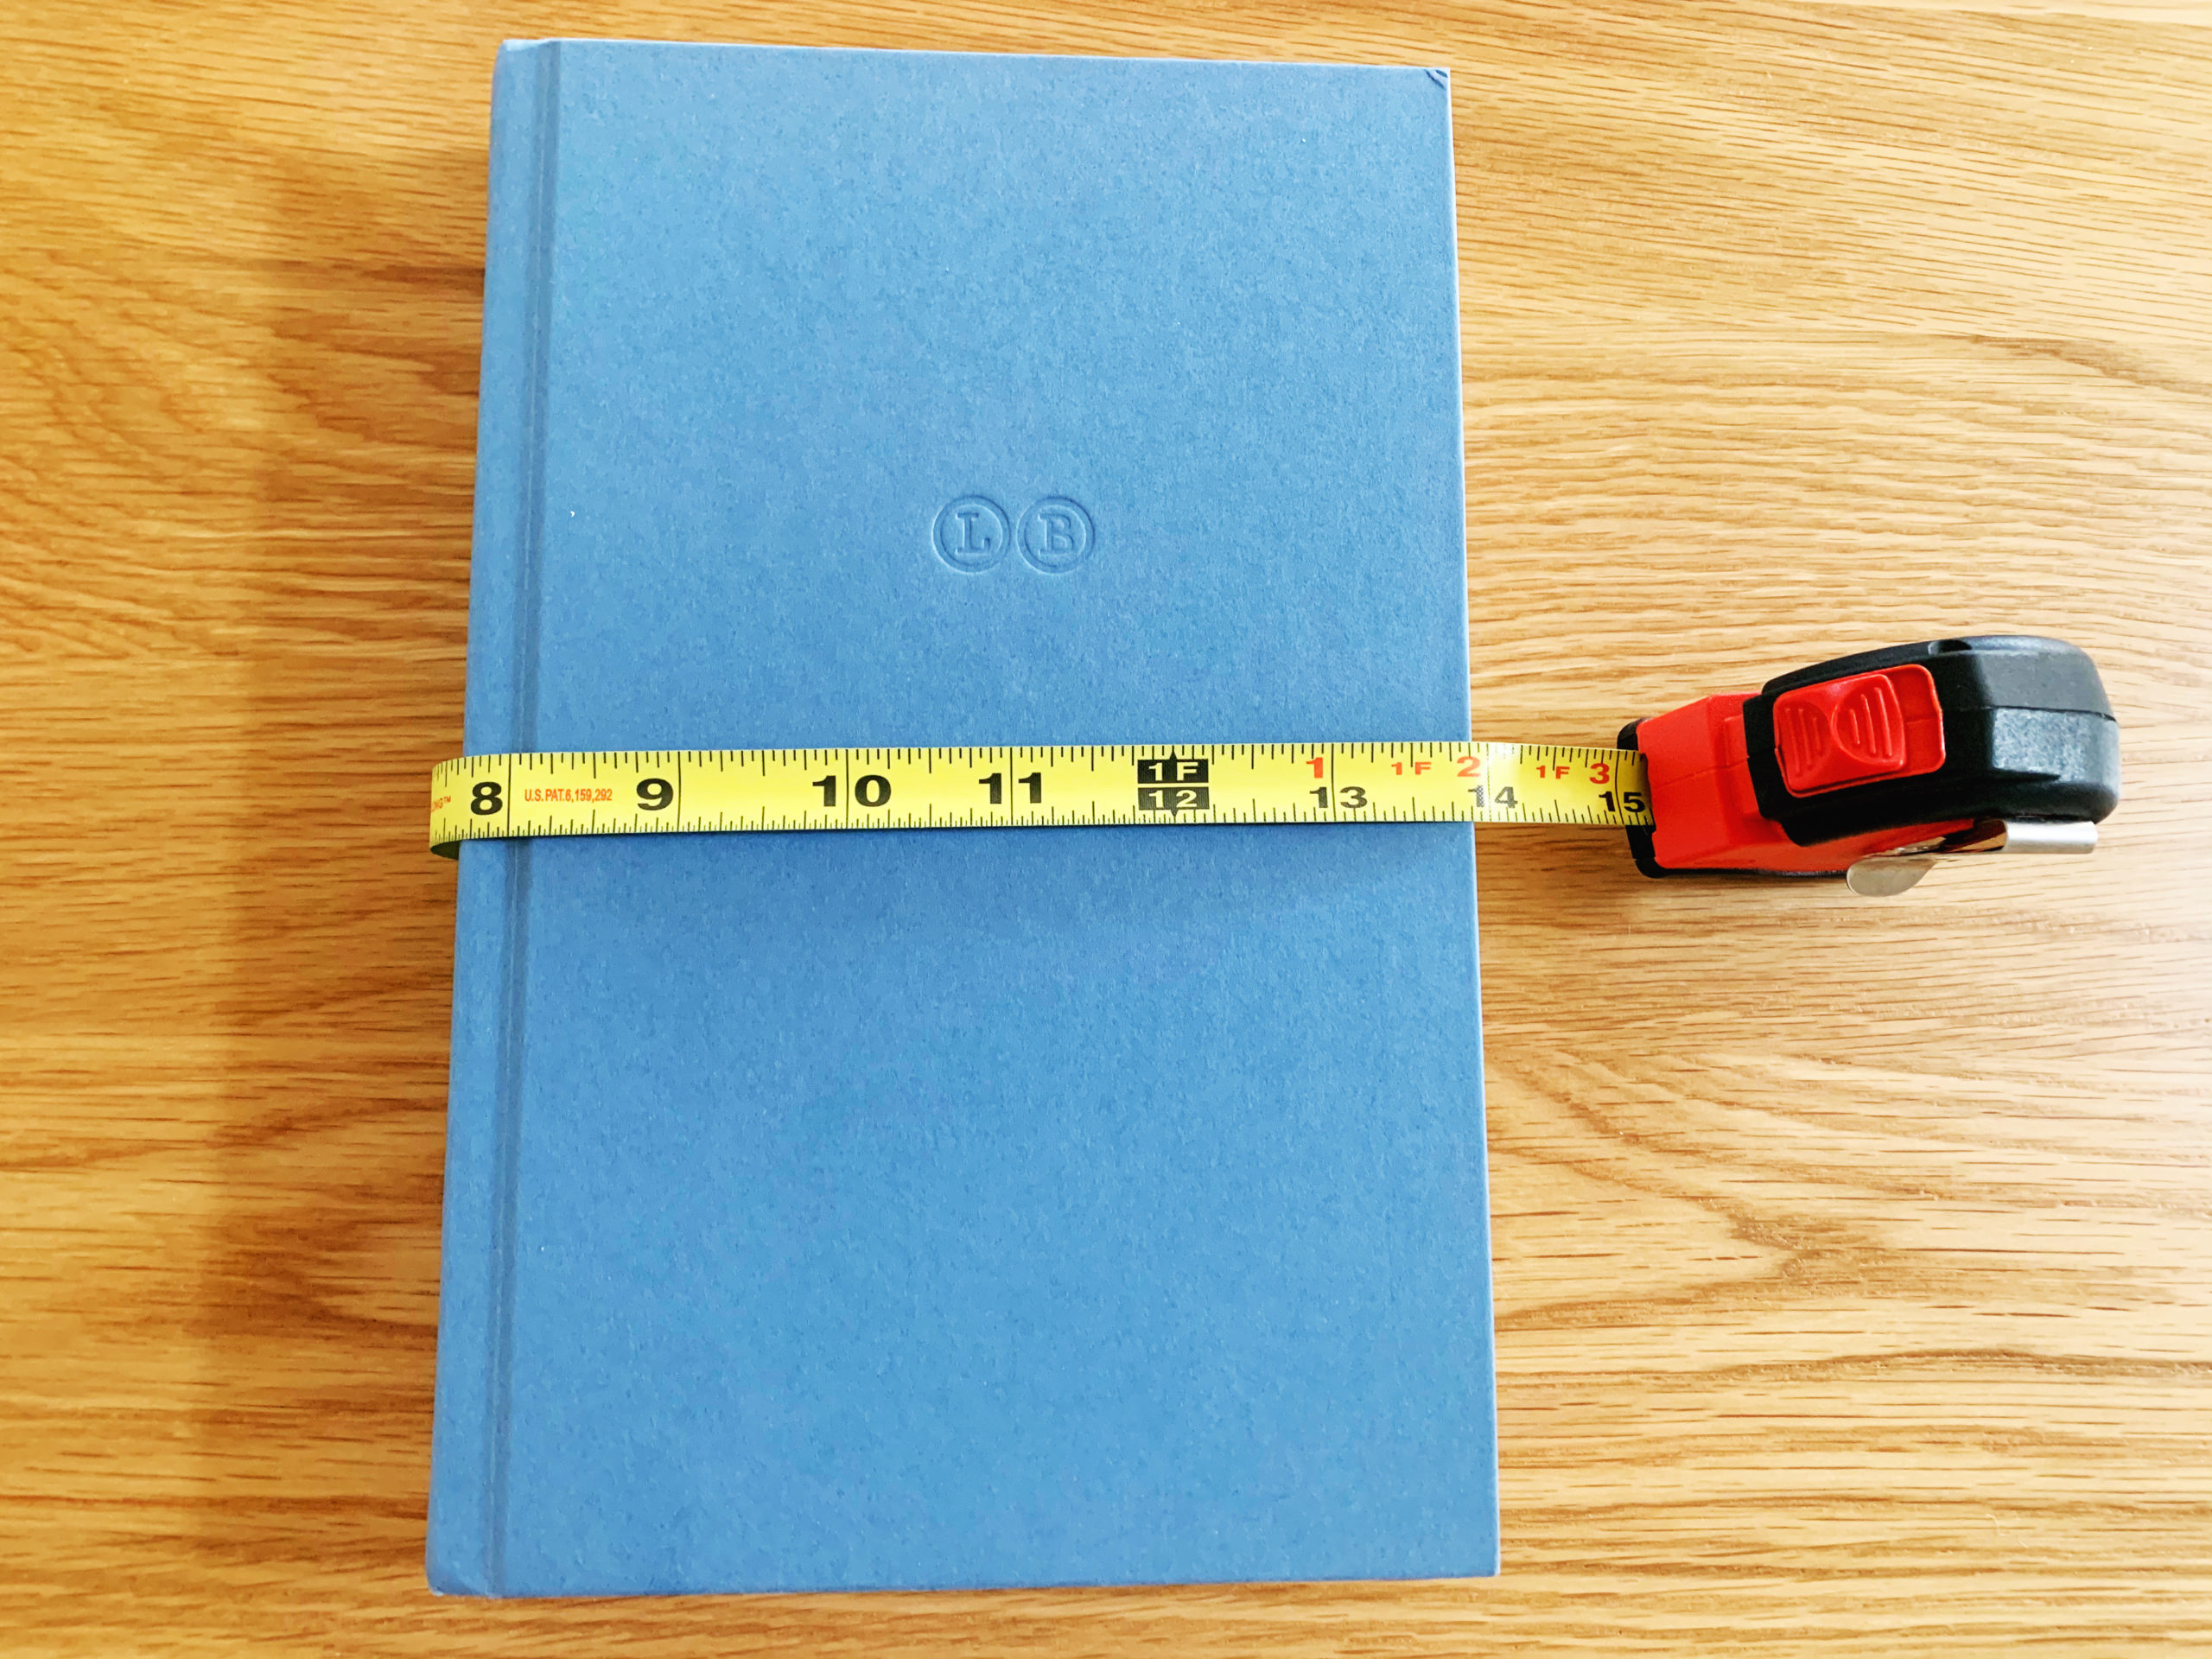
Step One: The first thing you will need to do is cut out your fabric piece. To do that, you will need to measure your book, so you can cut a piece that’s the right size. Measure both the height of your book and the “wrap-around” width of it from edge to edge with the book closed.
Step Two: Now you’re ready to cut your fabric. Cut a piece of fabric that’s 1 ½” taller than your height measurement and 8” wider than your width measurement.
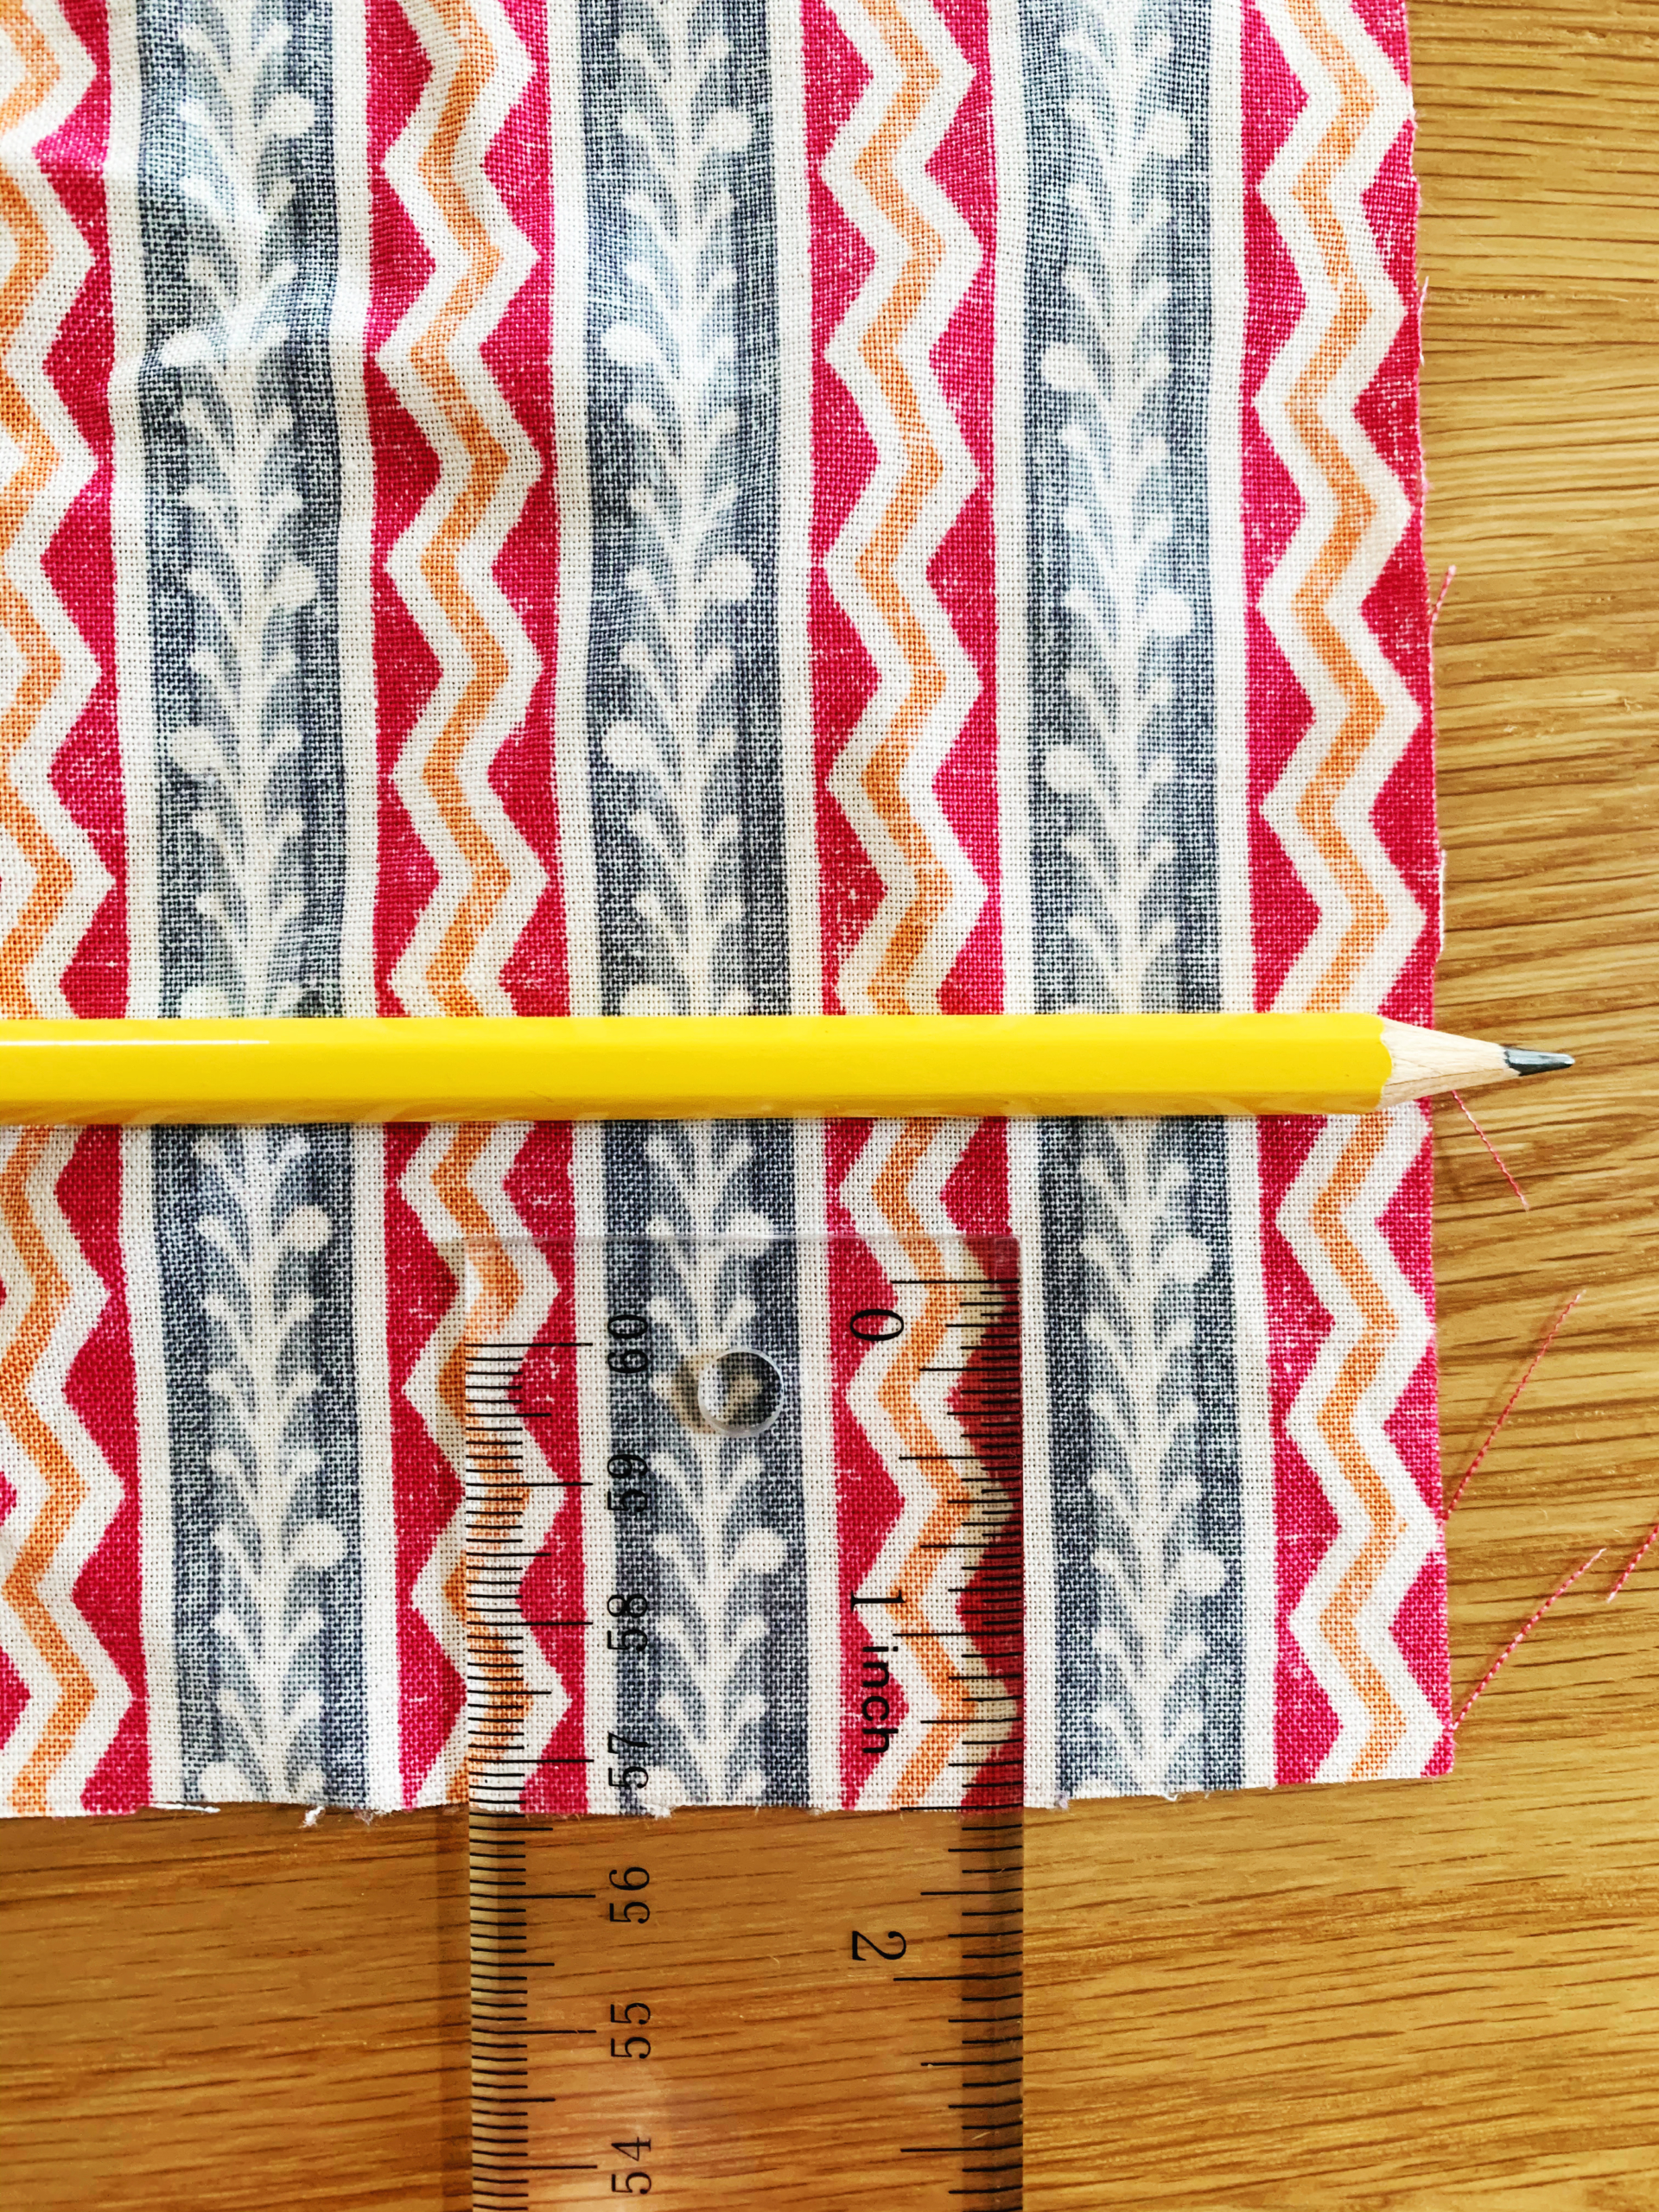
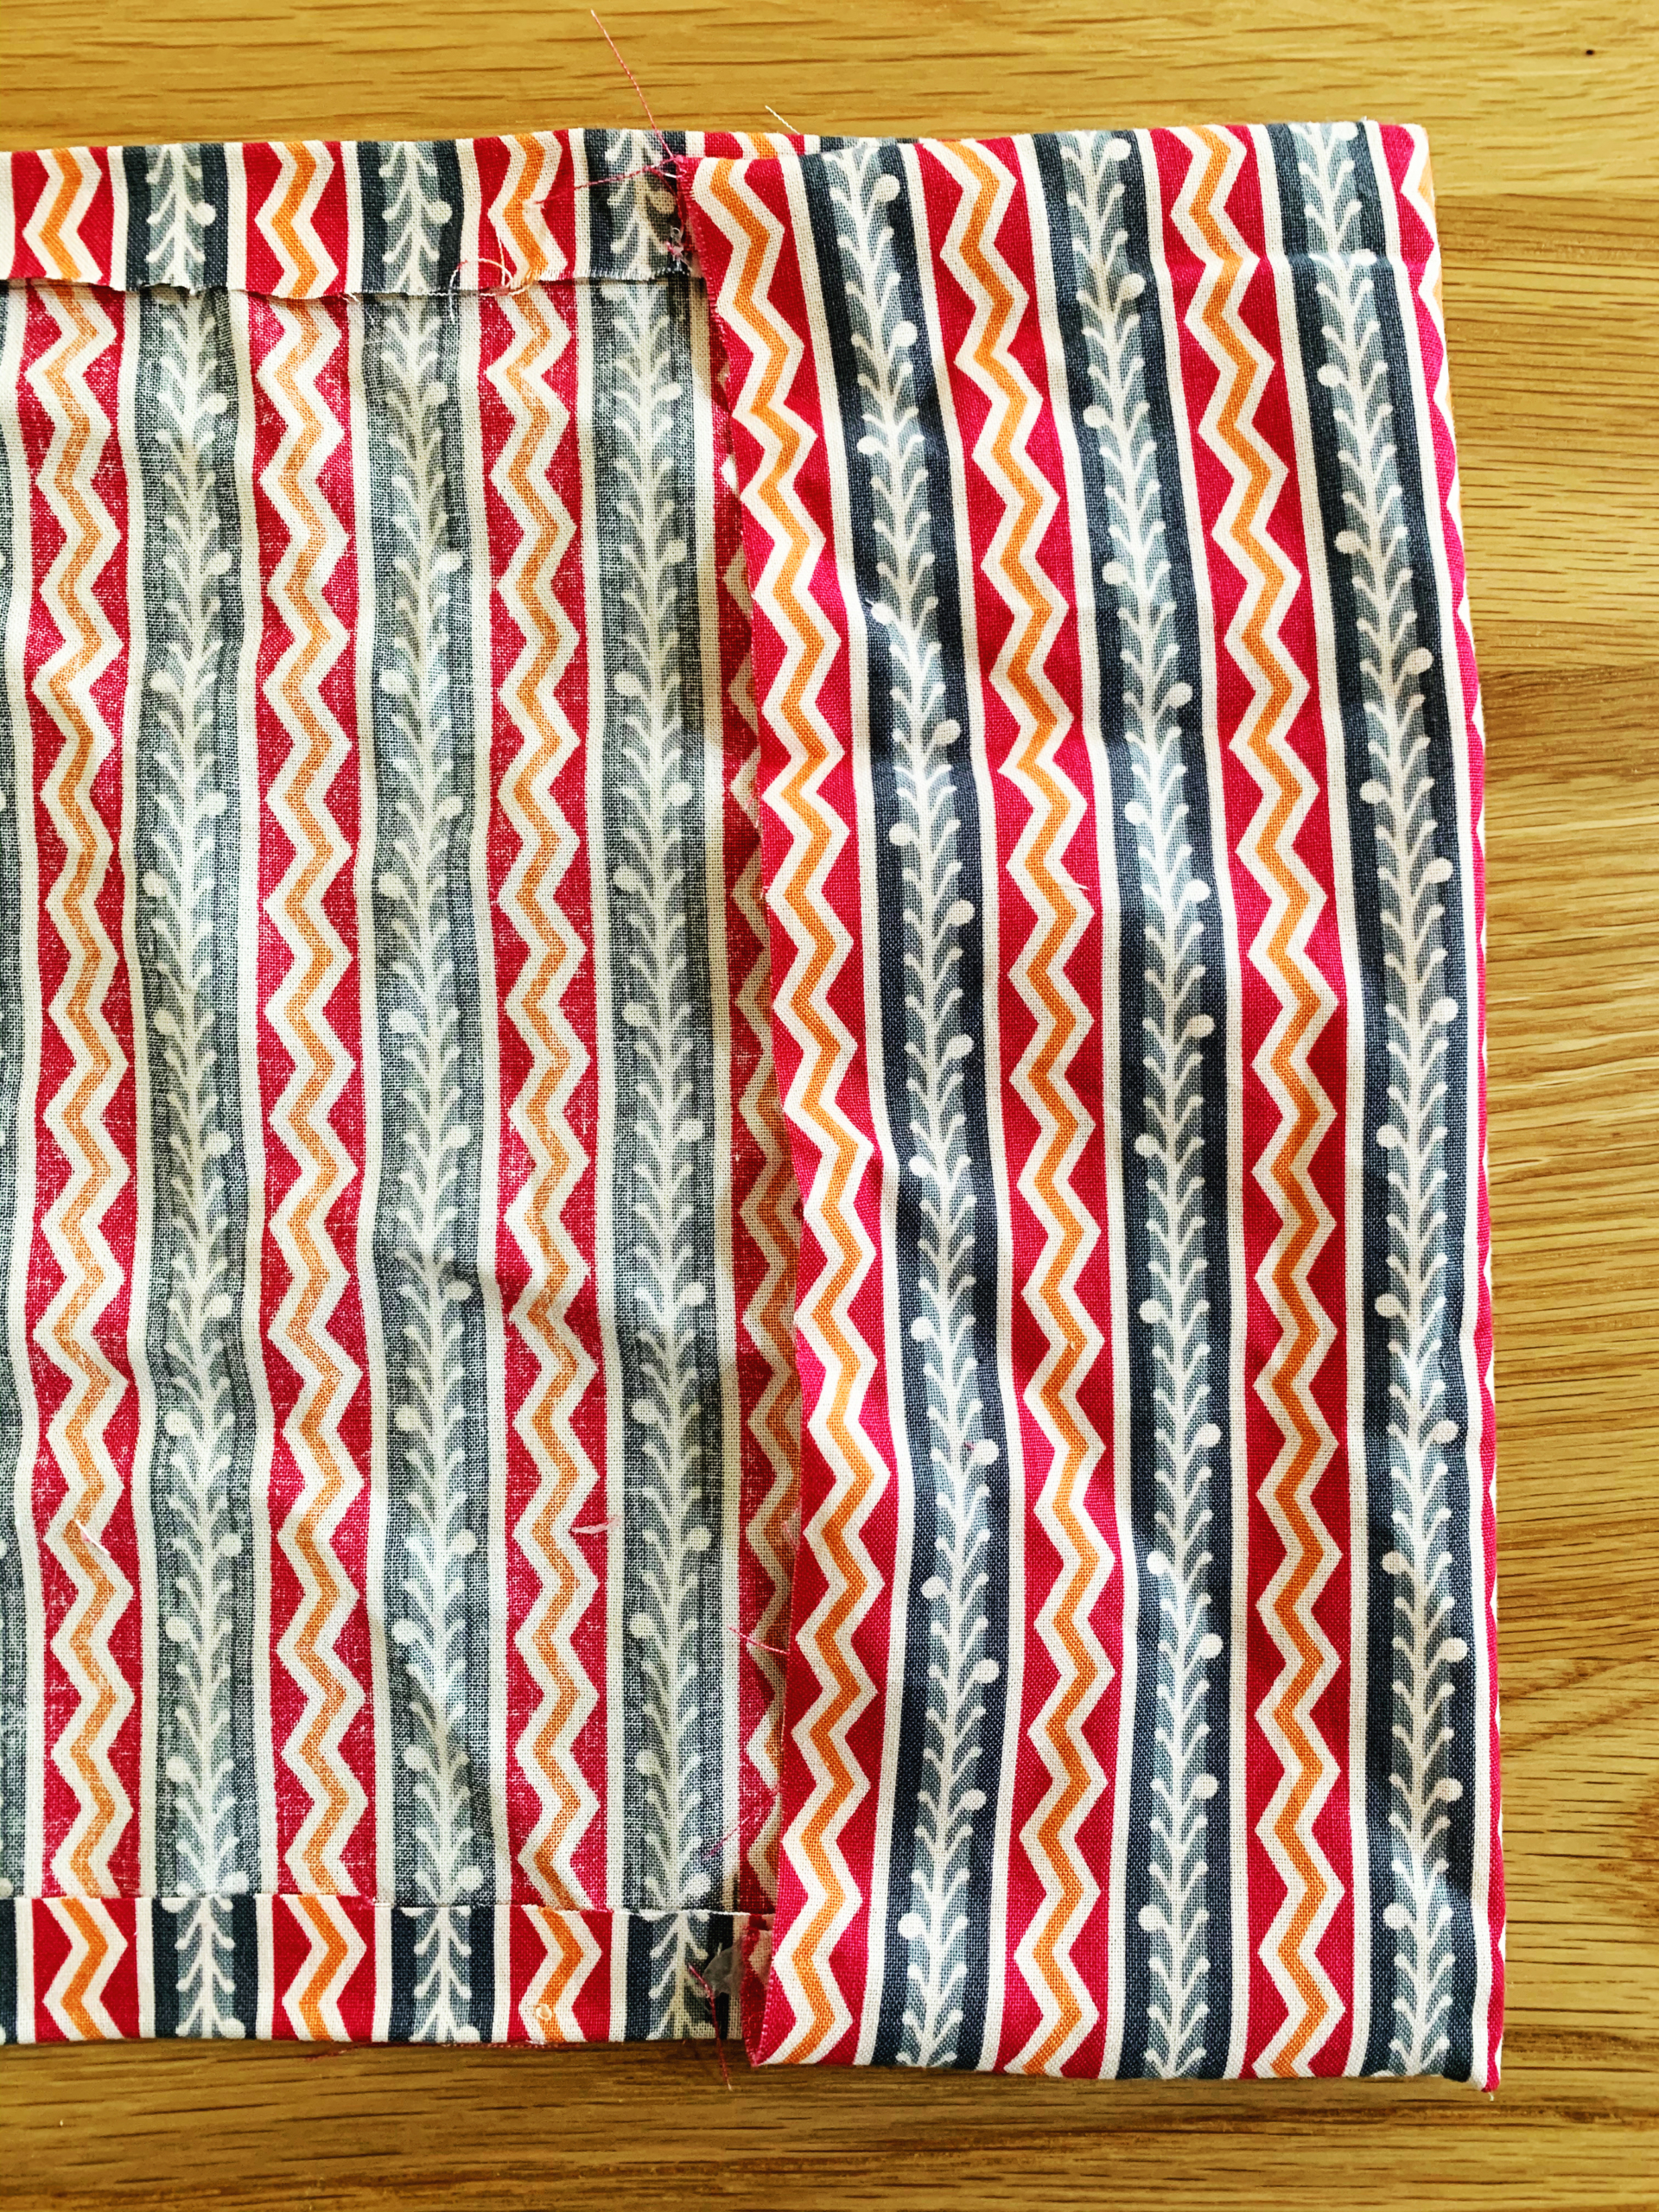
Step Three: Once you have your piece of fabric cut out, place it down in front of you with the unfinished side facing up. Measure 1 ½” from the top and bottom edges (the long sides) and draw a line lightly with your pencil. Then make a line 4” in on either side (the short sides), marking the part that will become the pockets where you will eventually slide your book in.
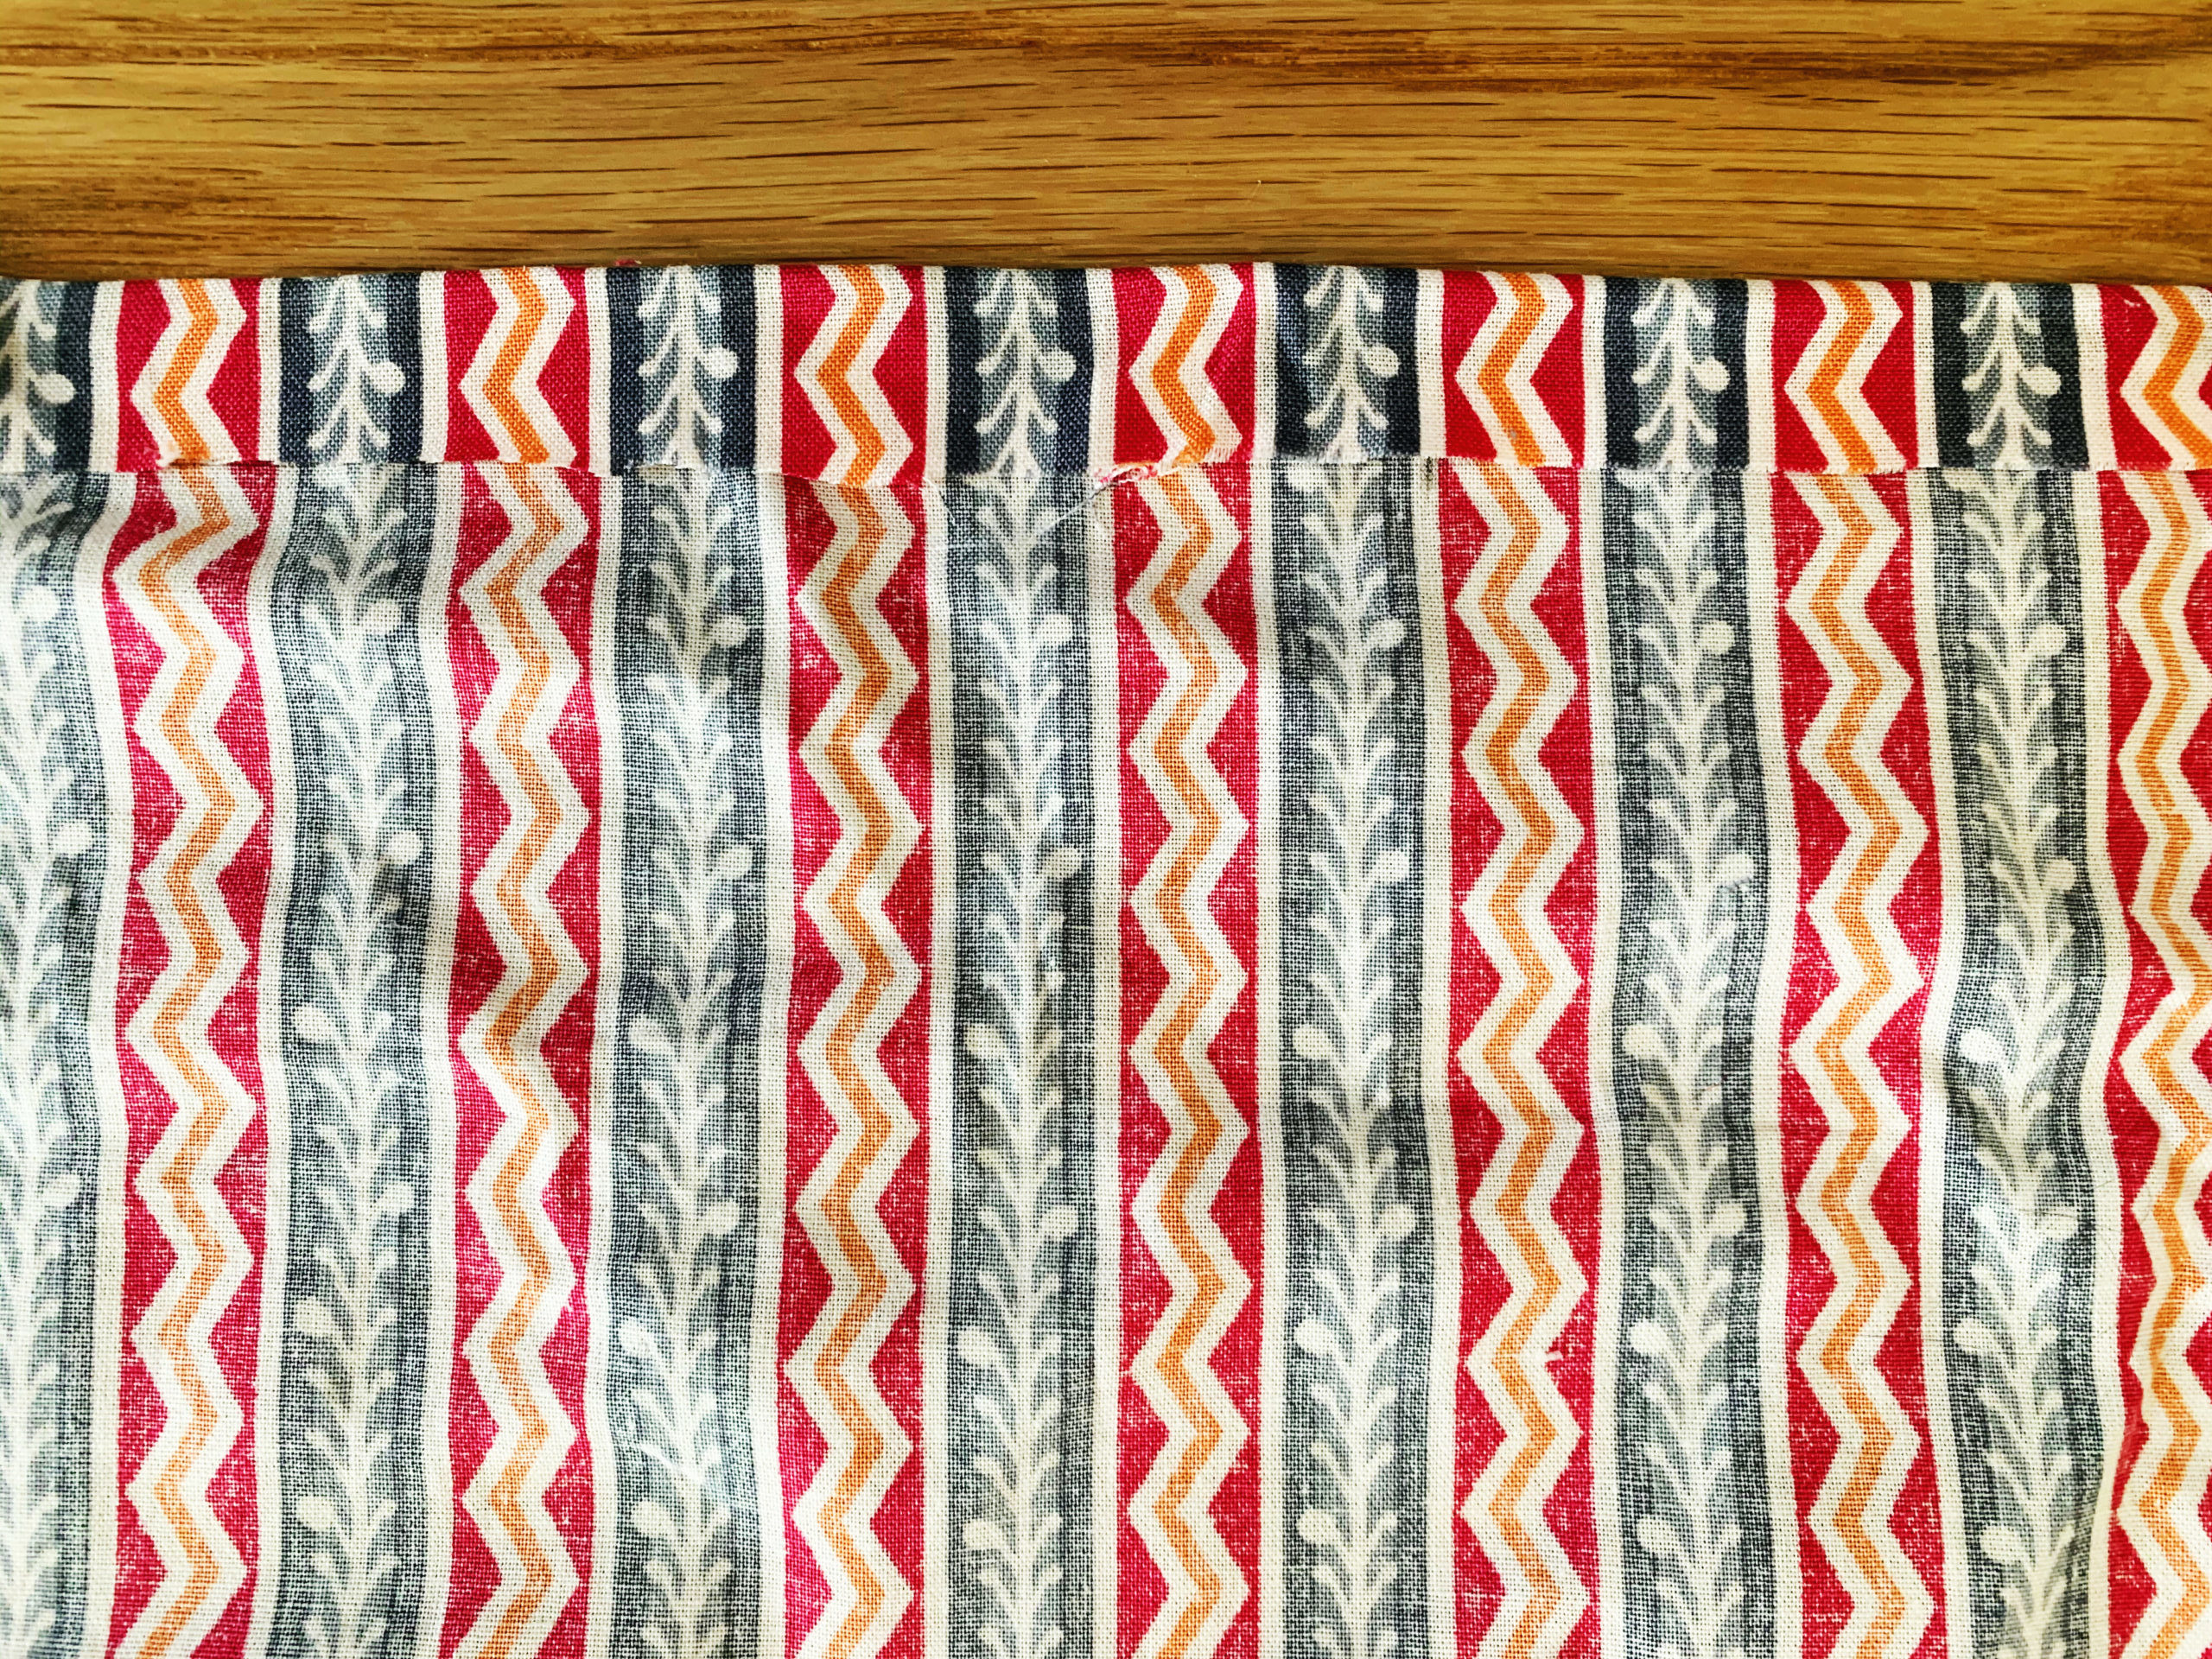
Step Four: Now it’s time to create a “finished edge” along the top and bottom. Place some glue between the raw edge along the top of your fabric and the pencil line you just drew (1 ½” below), leaving the last 4” to either side unglued. Then fold the fabric over so the raw edge meets the pencil line. Repeat for the bottom edge.
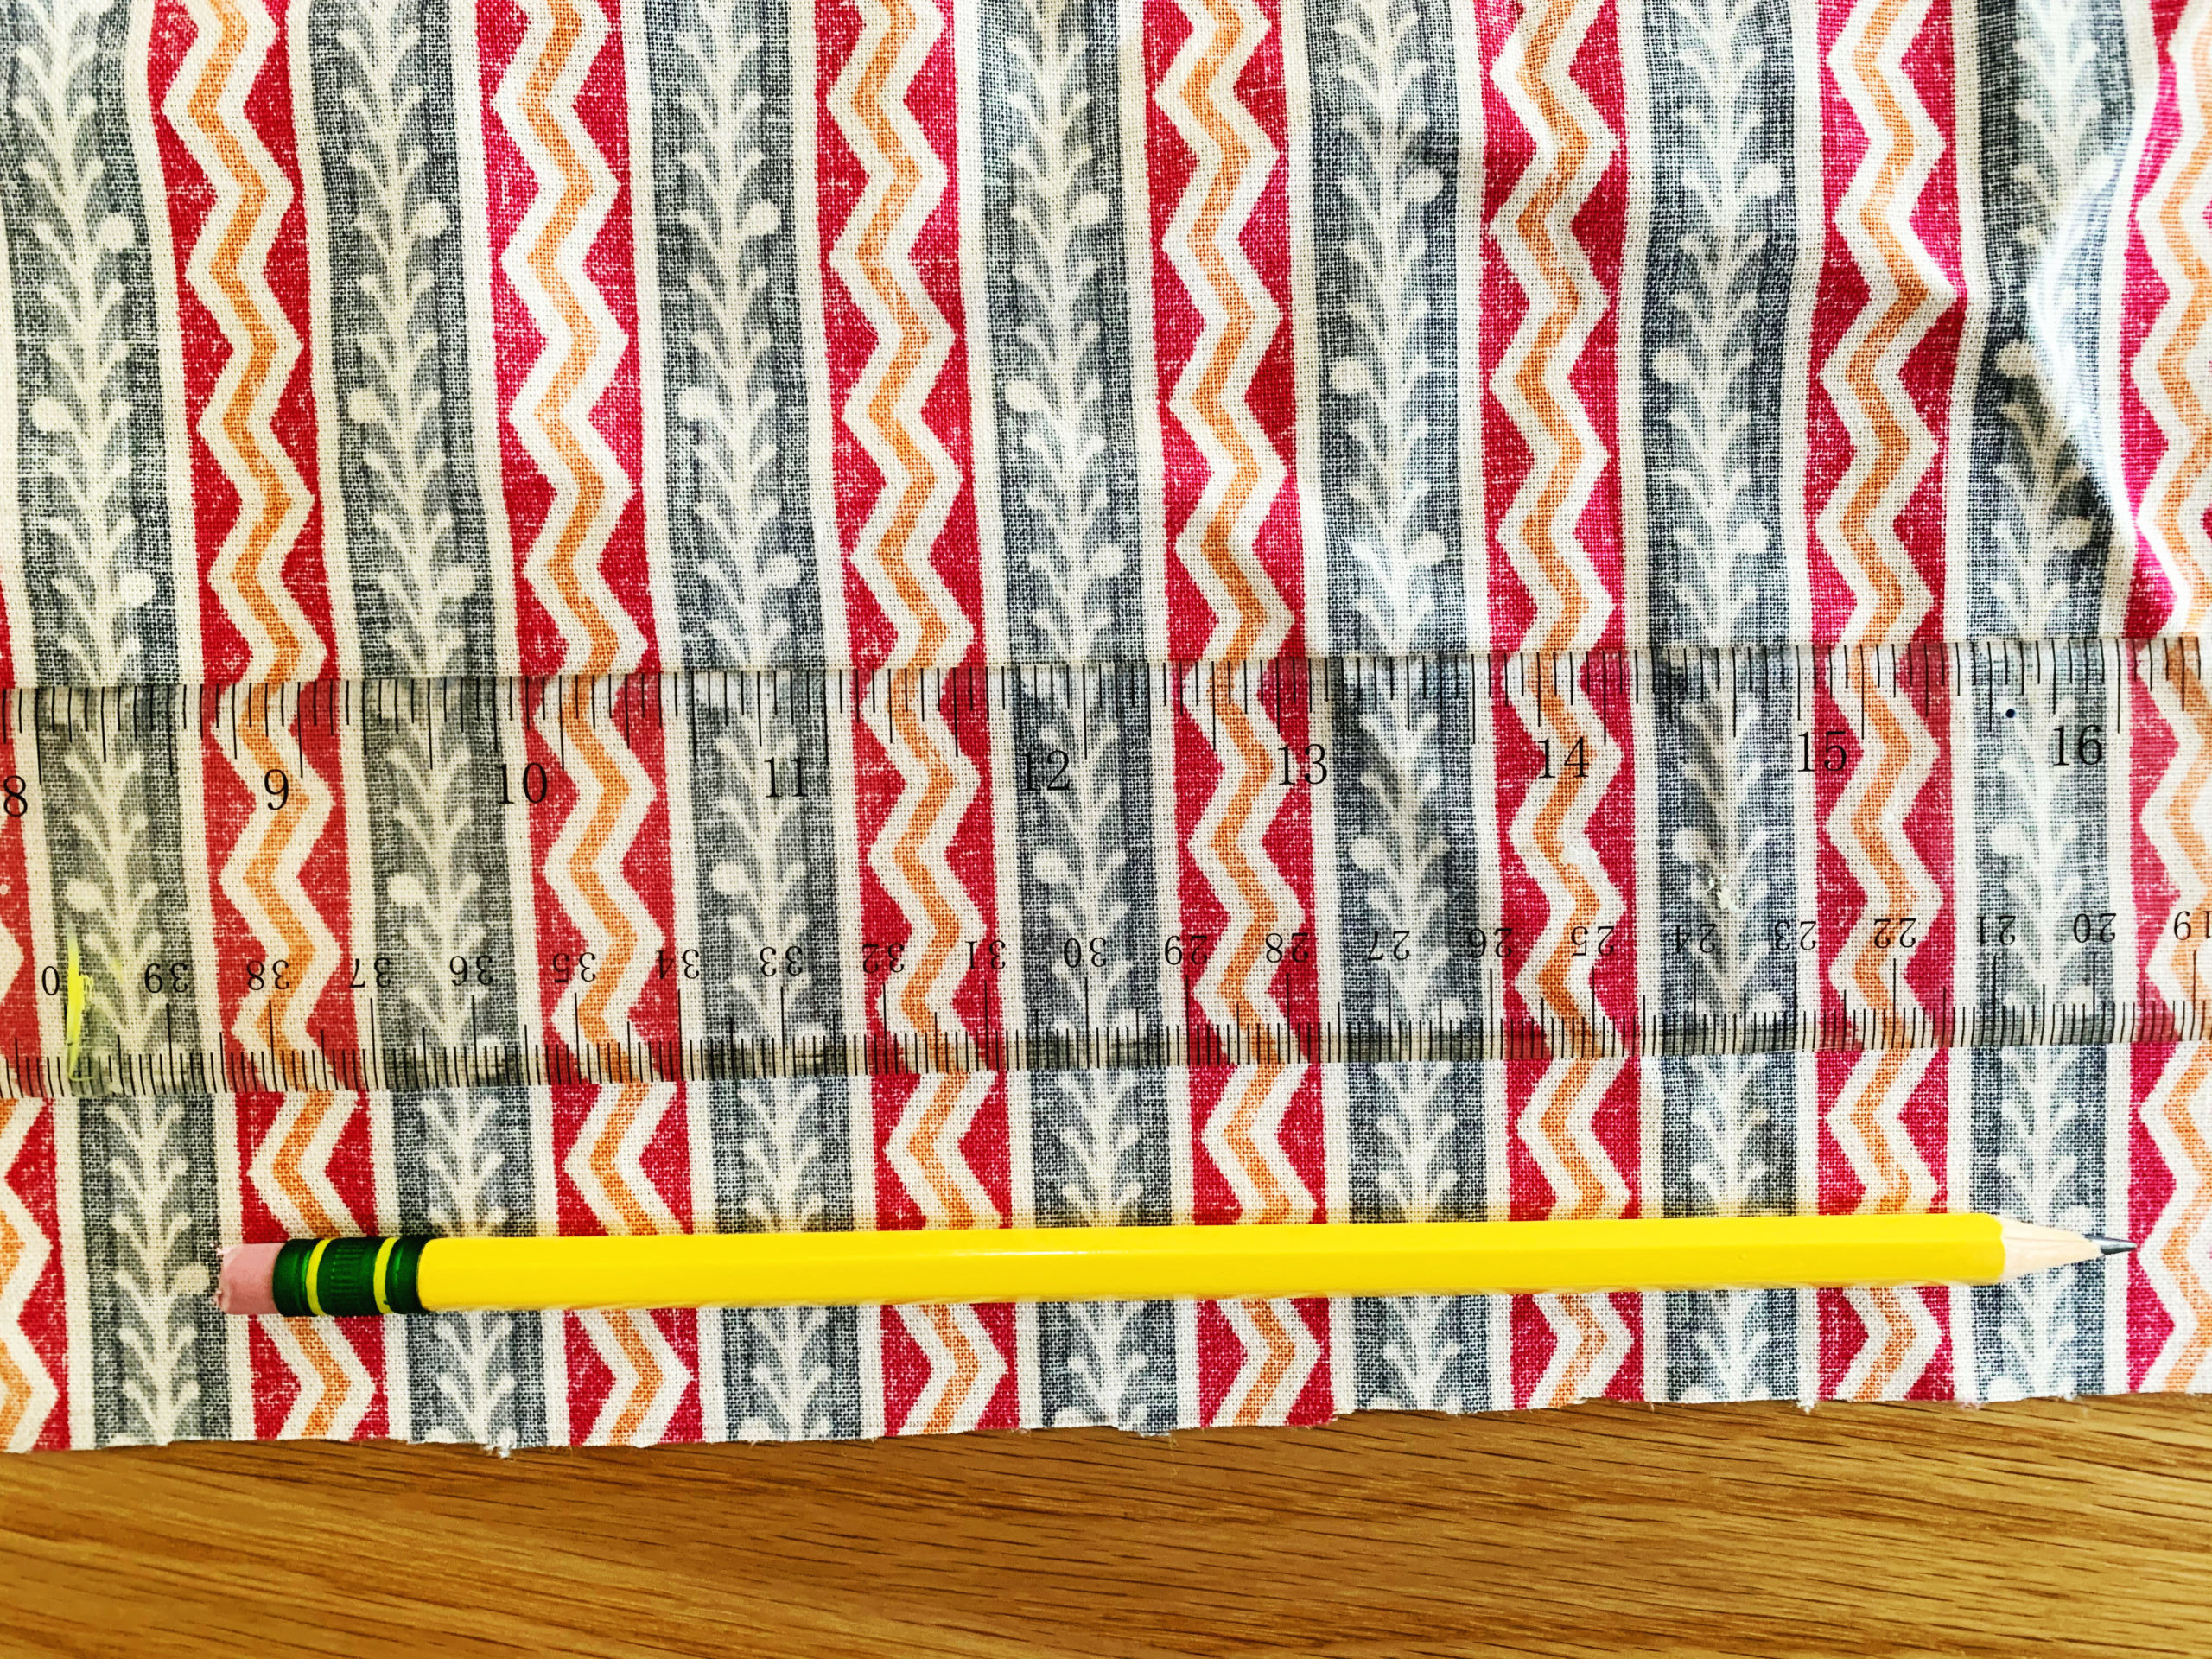
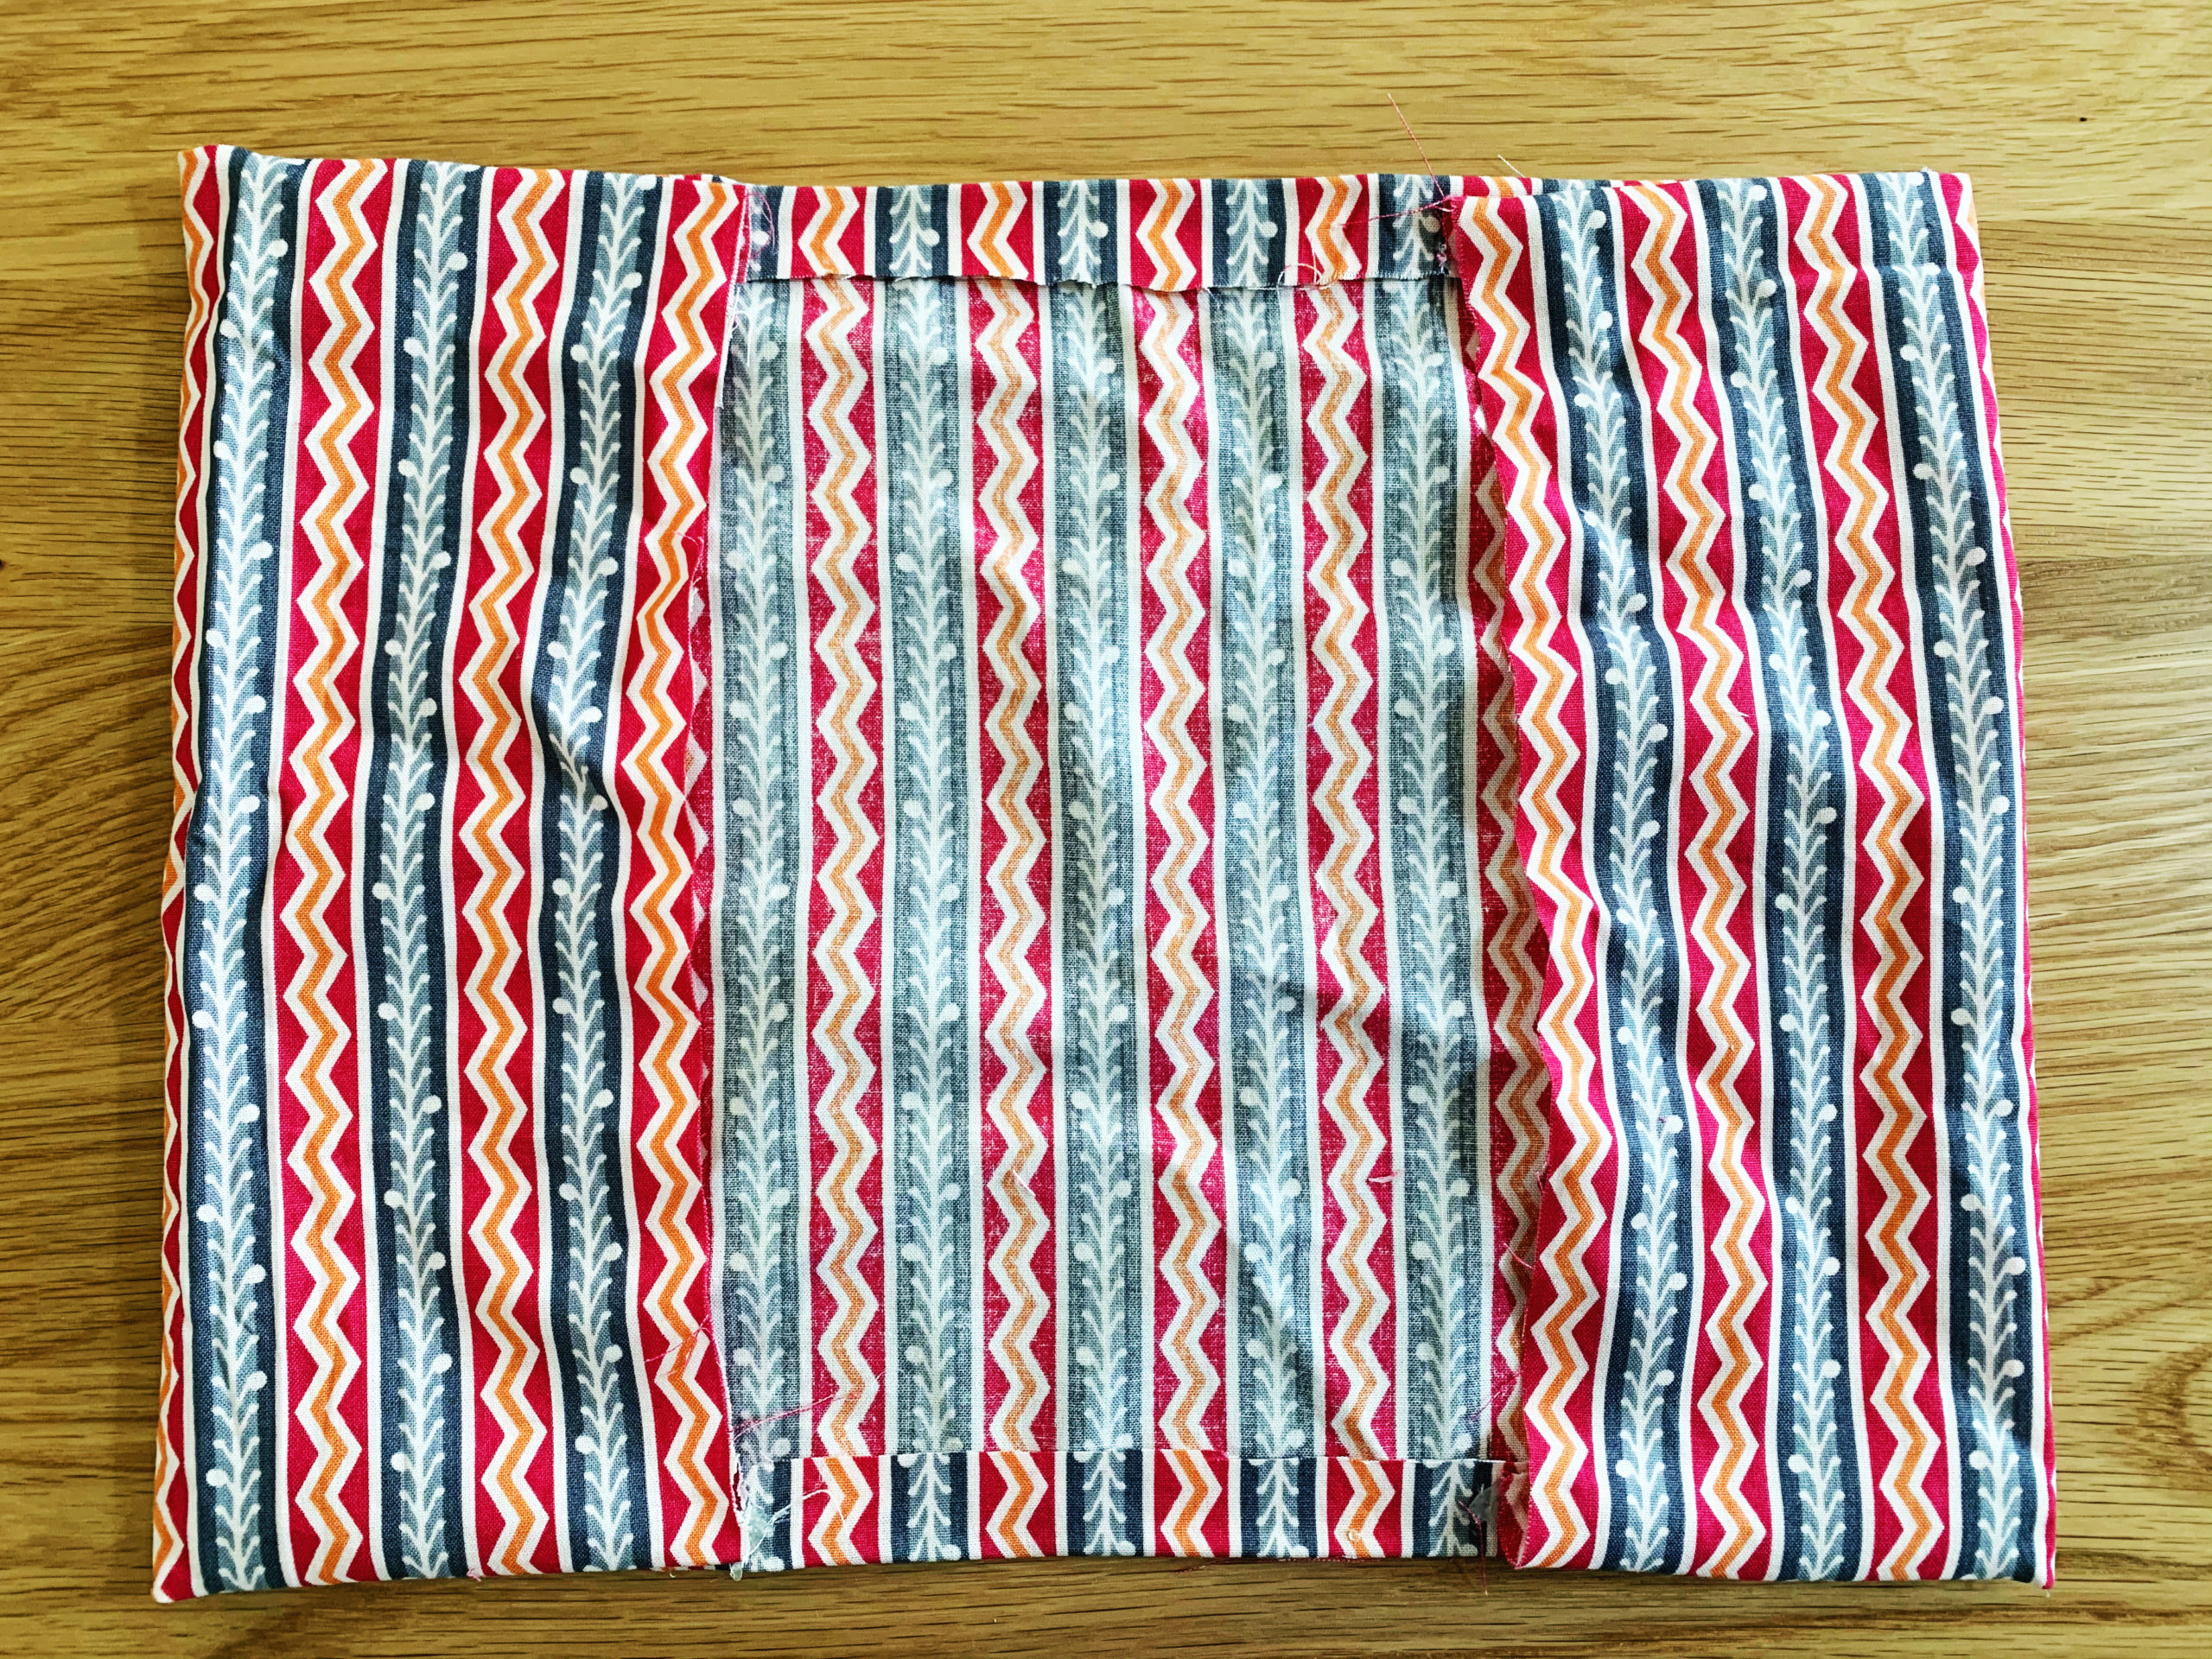
Step Five: Next you will need to create the pockets for your book to slide into. Measure 8” from either side, making your marks on the part of the fabric you just folded over. The first 4” of this fold will be the part that you just left unglued in the previous step. Place glue along the finished part of the seam only, and then fold the side edge over to meet the mark you just made at 8” in. Your book cover will still be able to slip under the fabric because your first seams are not glued! Press it down gently, being careful not to let the glue seep through the fabric and accidentally glue together the unglued part.
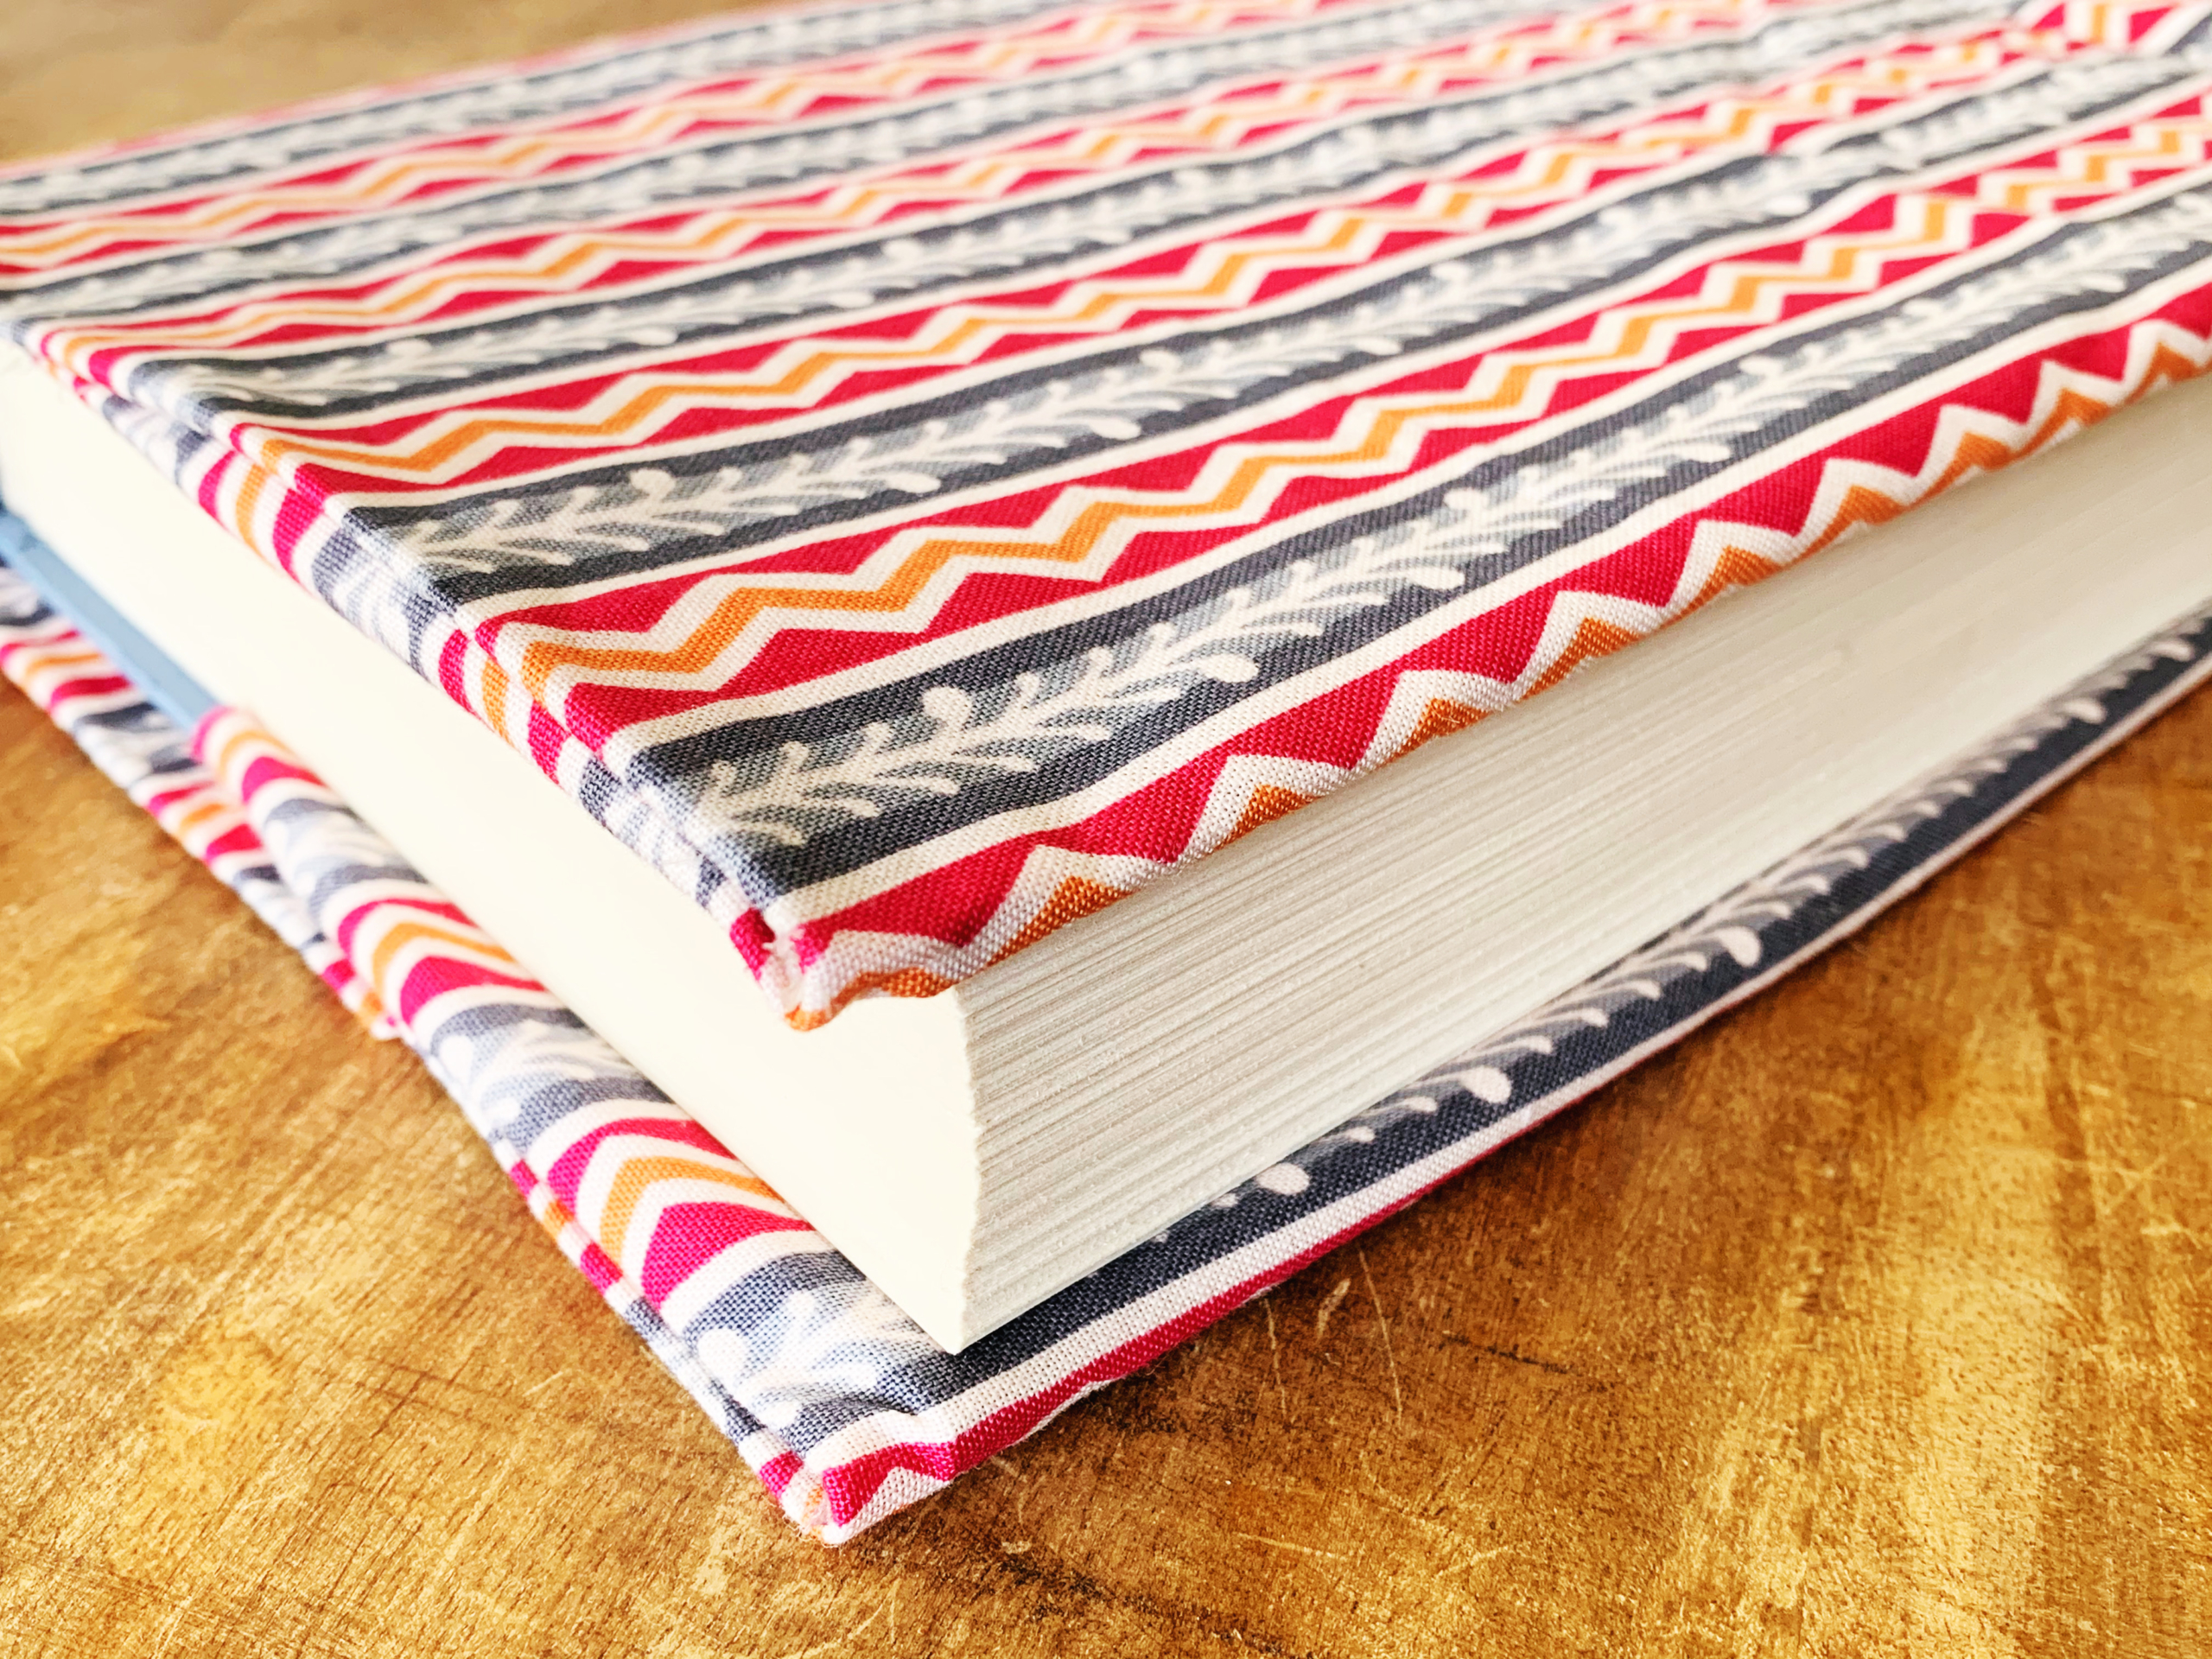
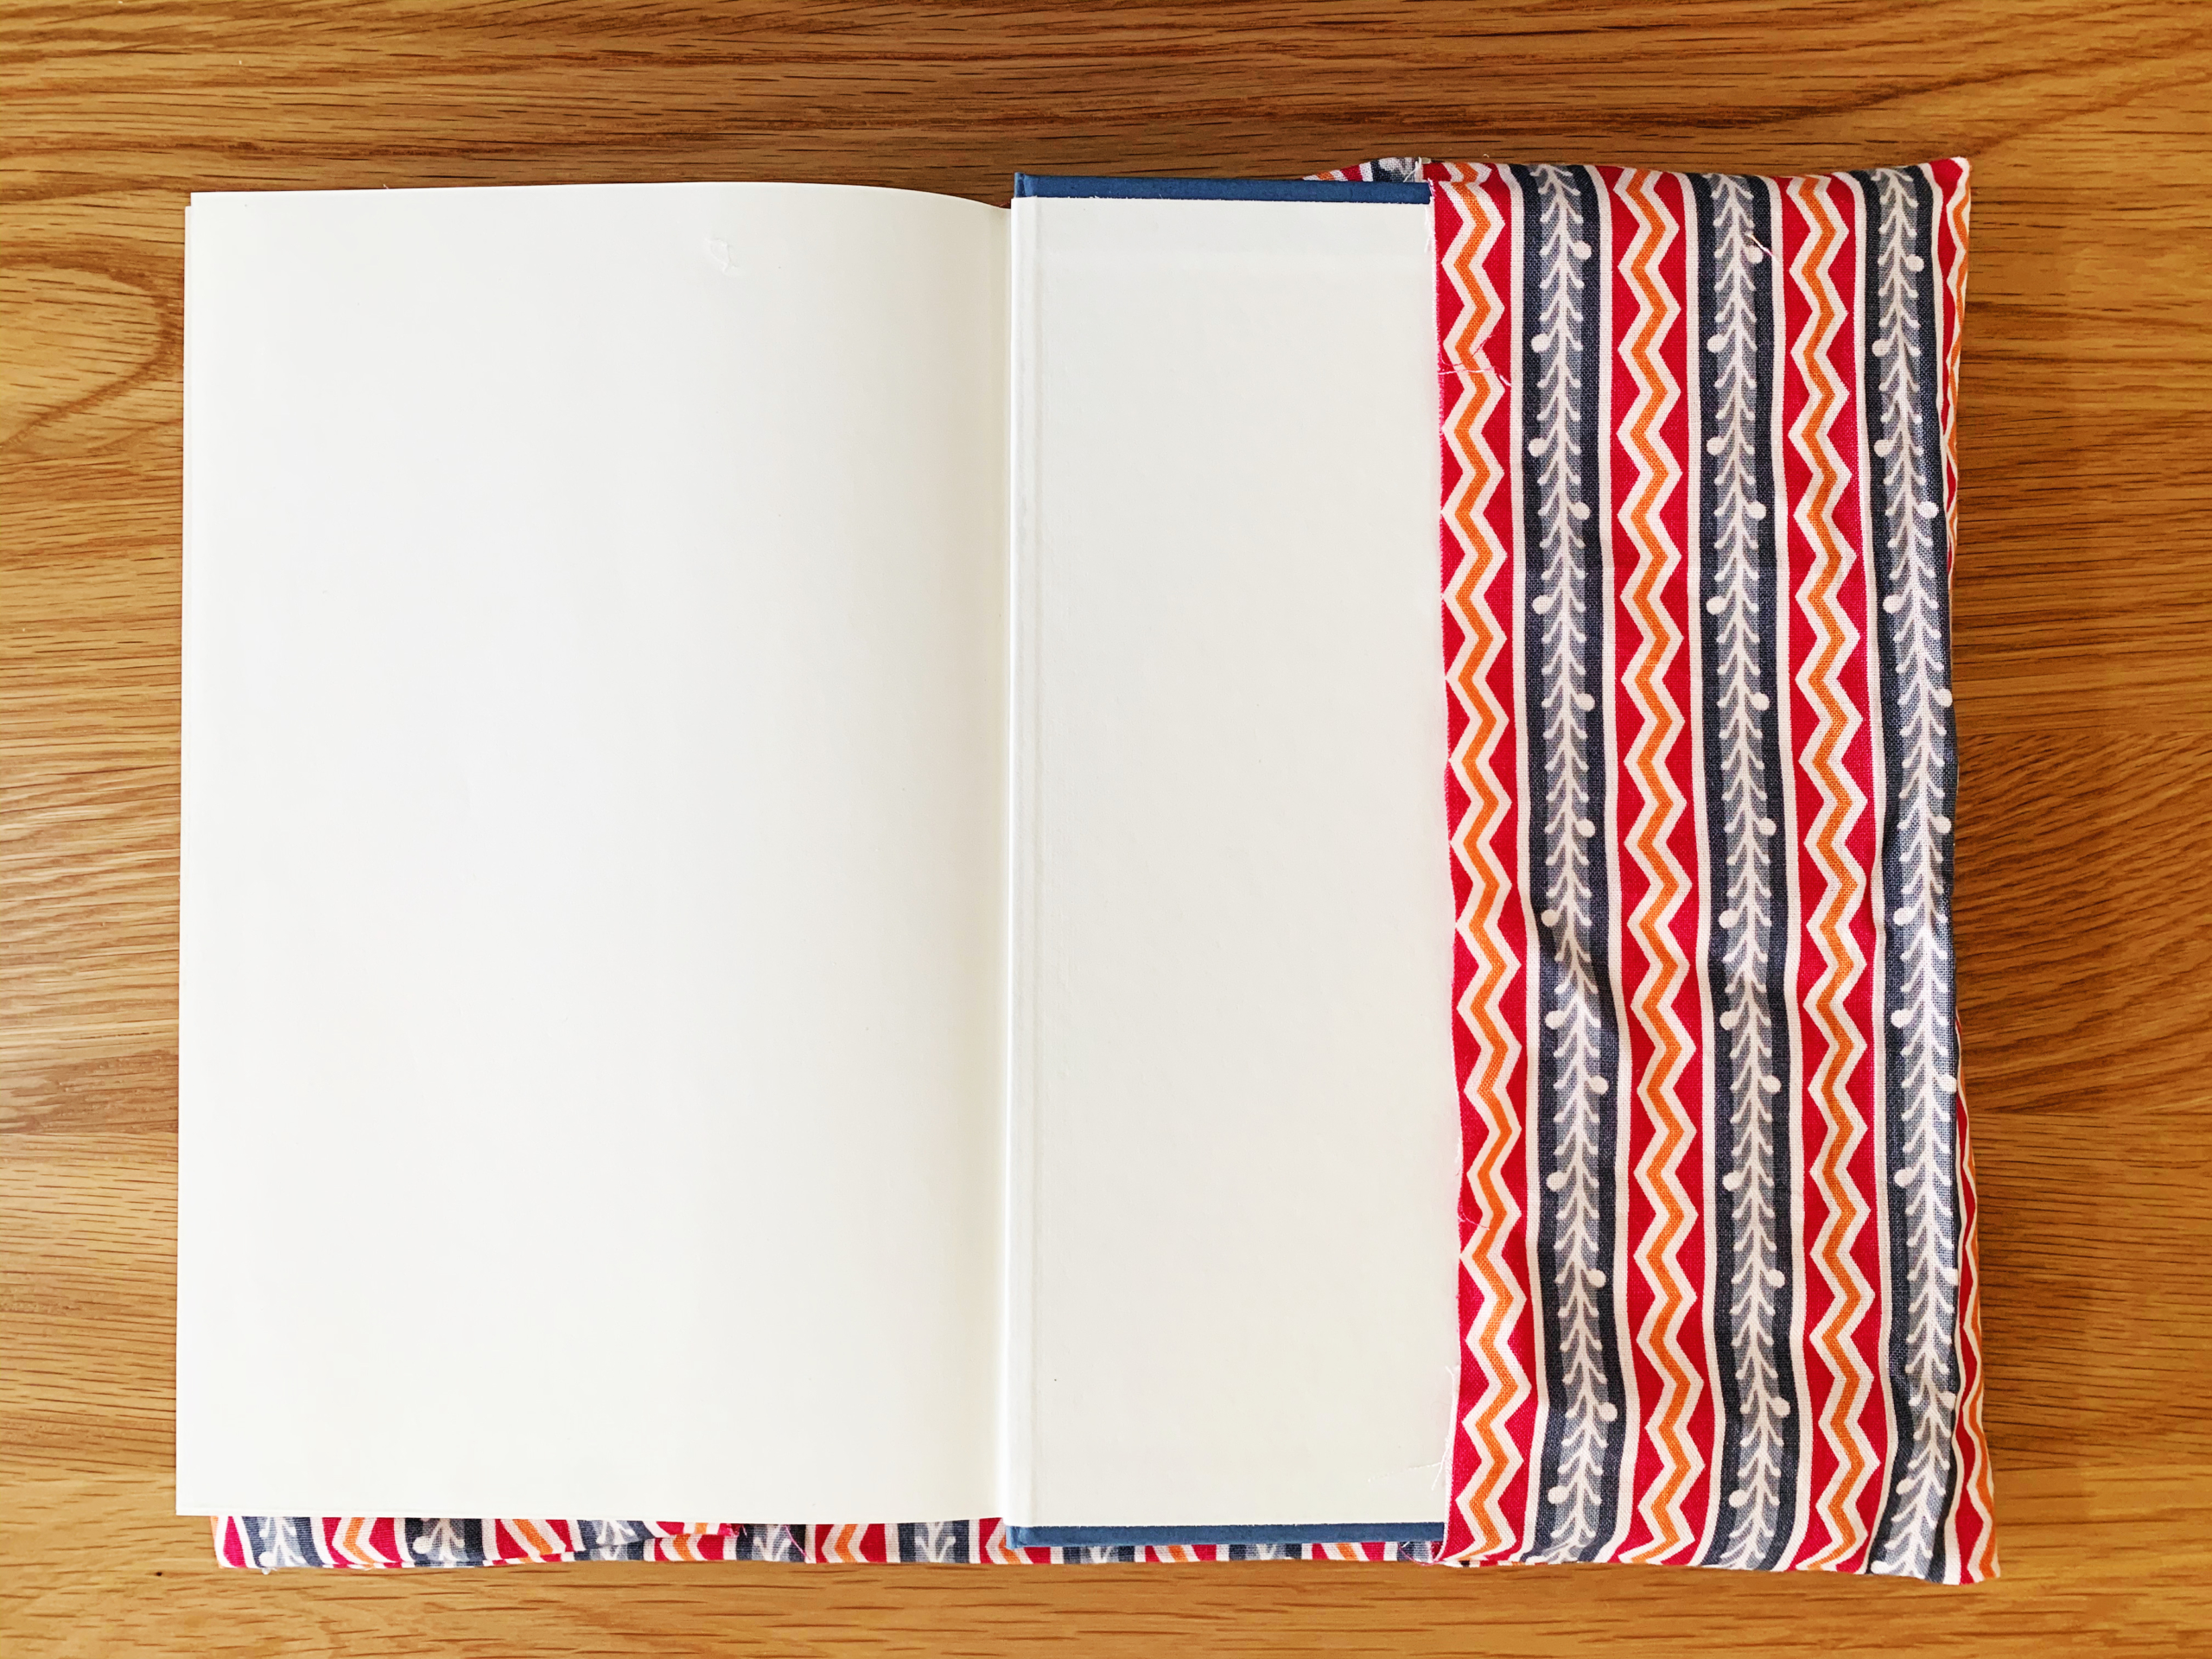
Step Six: All that is left to do is let your glue dry and then slip your book into your beautiful new book cover!
This can be a fun craft to do with kids as well! They will love dressing up their favorite books and pulling them off the shelves for storytime. How will you use your new book covers?