
By Kelsey Nickerson
Raising little readers and writers means providing plenty of reading and writing material, which in turn can mean a whole lot of pencils and pens trailing around your home. But never fear! With just a little glam, you can upcycle a plastic container into the perfect storage container for pencils, markers, and even crayons!
This craft is quite simple and can be used for so many different things. Do your kids have writing utensils floating around their backpacks? Give them a fun way to store them by using a container with a lid! Or if you have markers all over the house, you can make multiple containers to organize your craft corner in a unique and eco-friendly way. Not to mention that there always seem to be car trips or travel around the corner, what with holidays or vacation looming. So why not have a convenient to-go box of coloring materials all set?
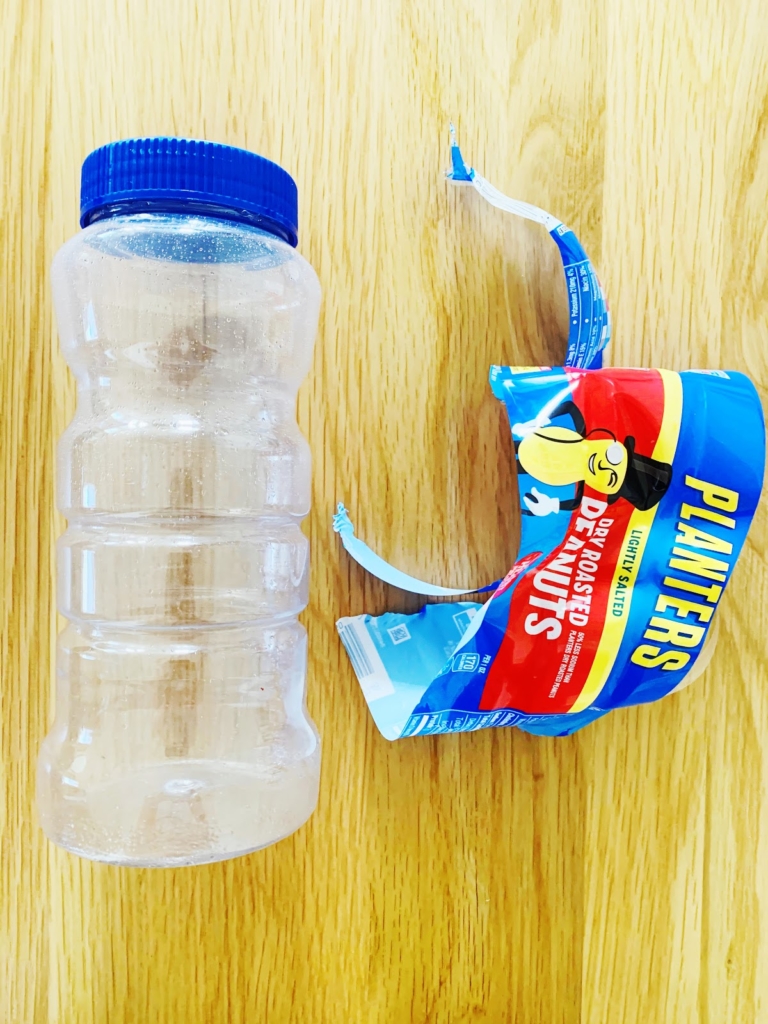
There are so many different plastic containers for food that are the perfect size to repurpose into a pencil holder. I had a roasted peanut jar that I was about to recycle when I realized it was just right for this craft. This is a fun, easy, and environmentally responsible project to do with your kids, with just a few simple steps!
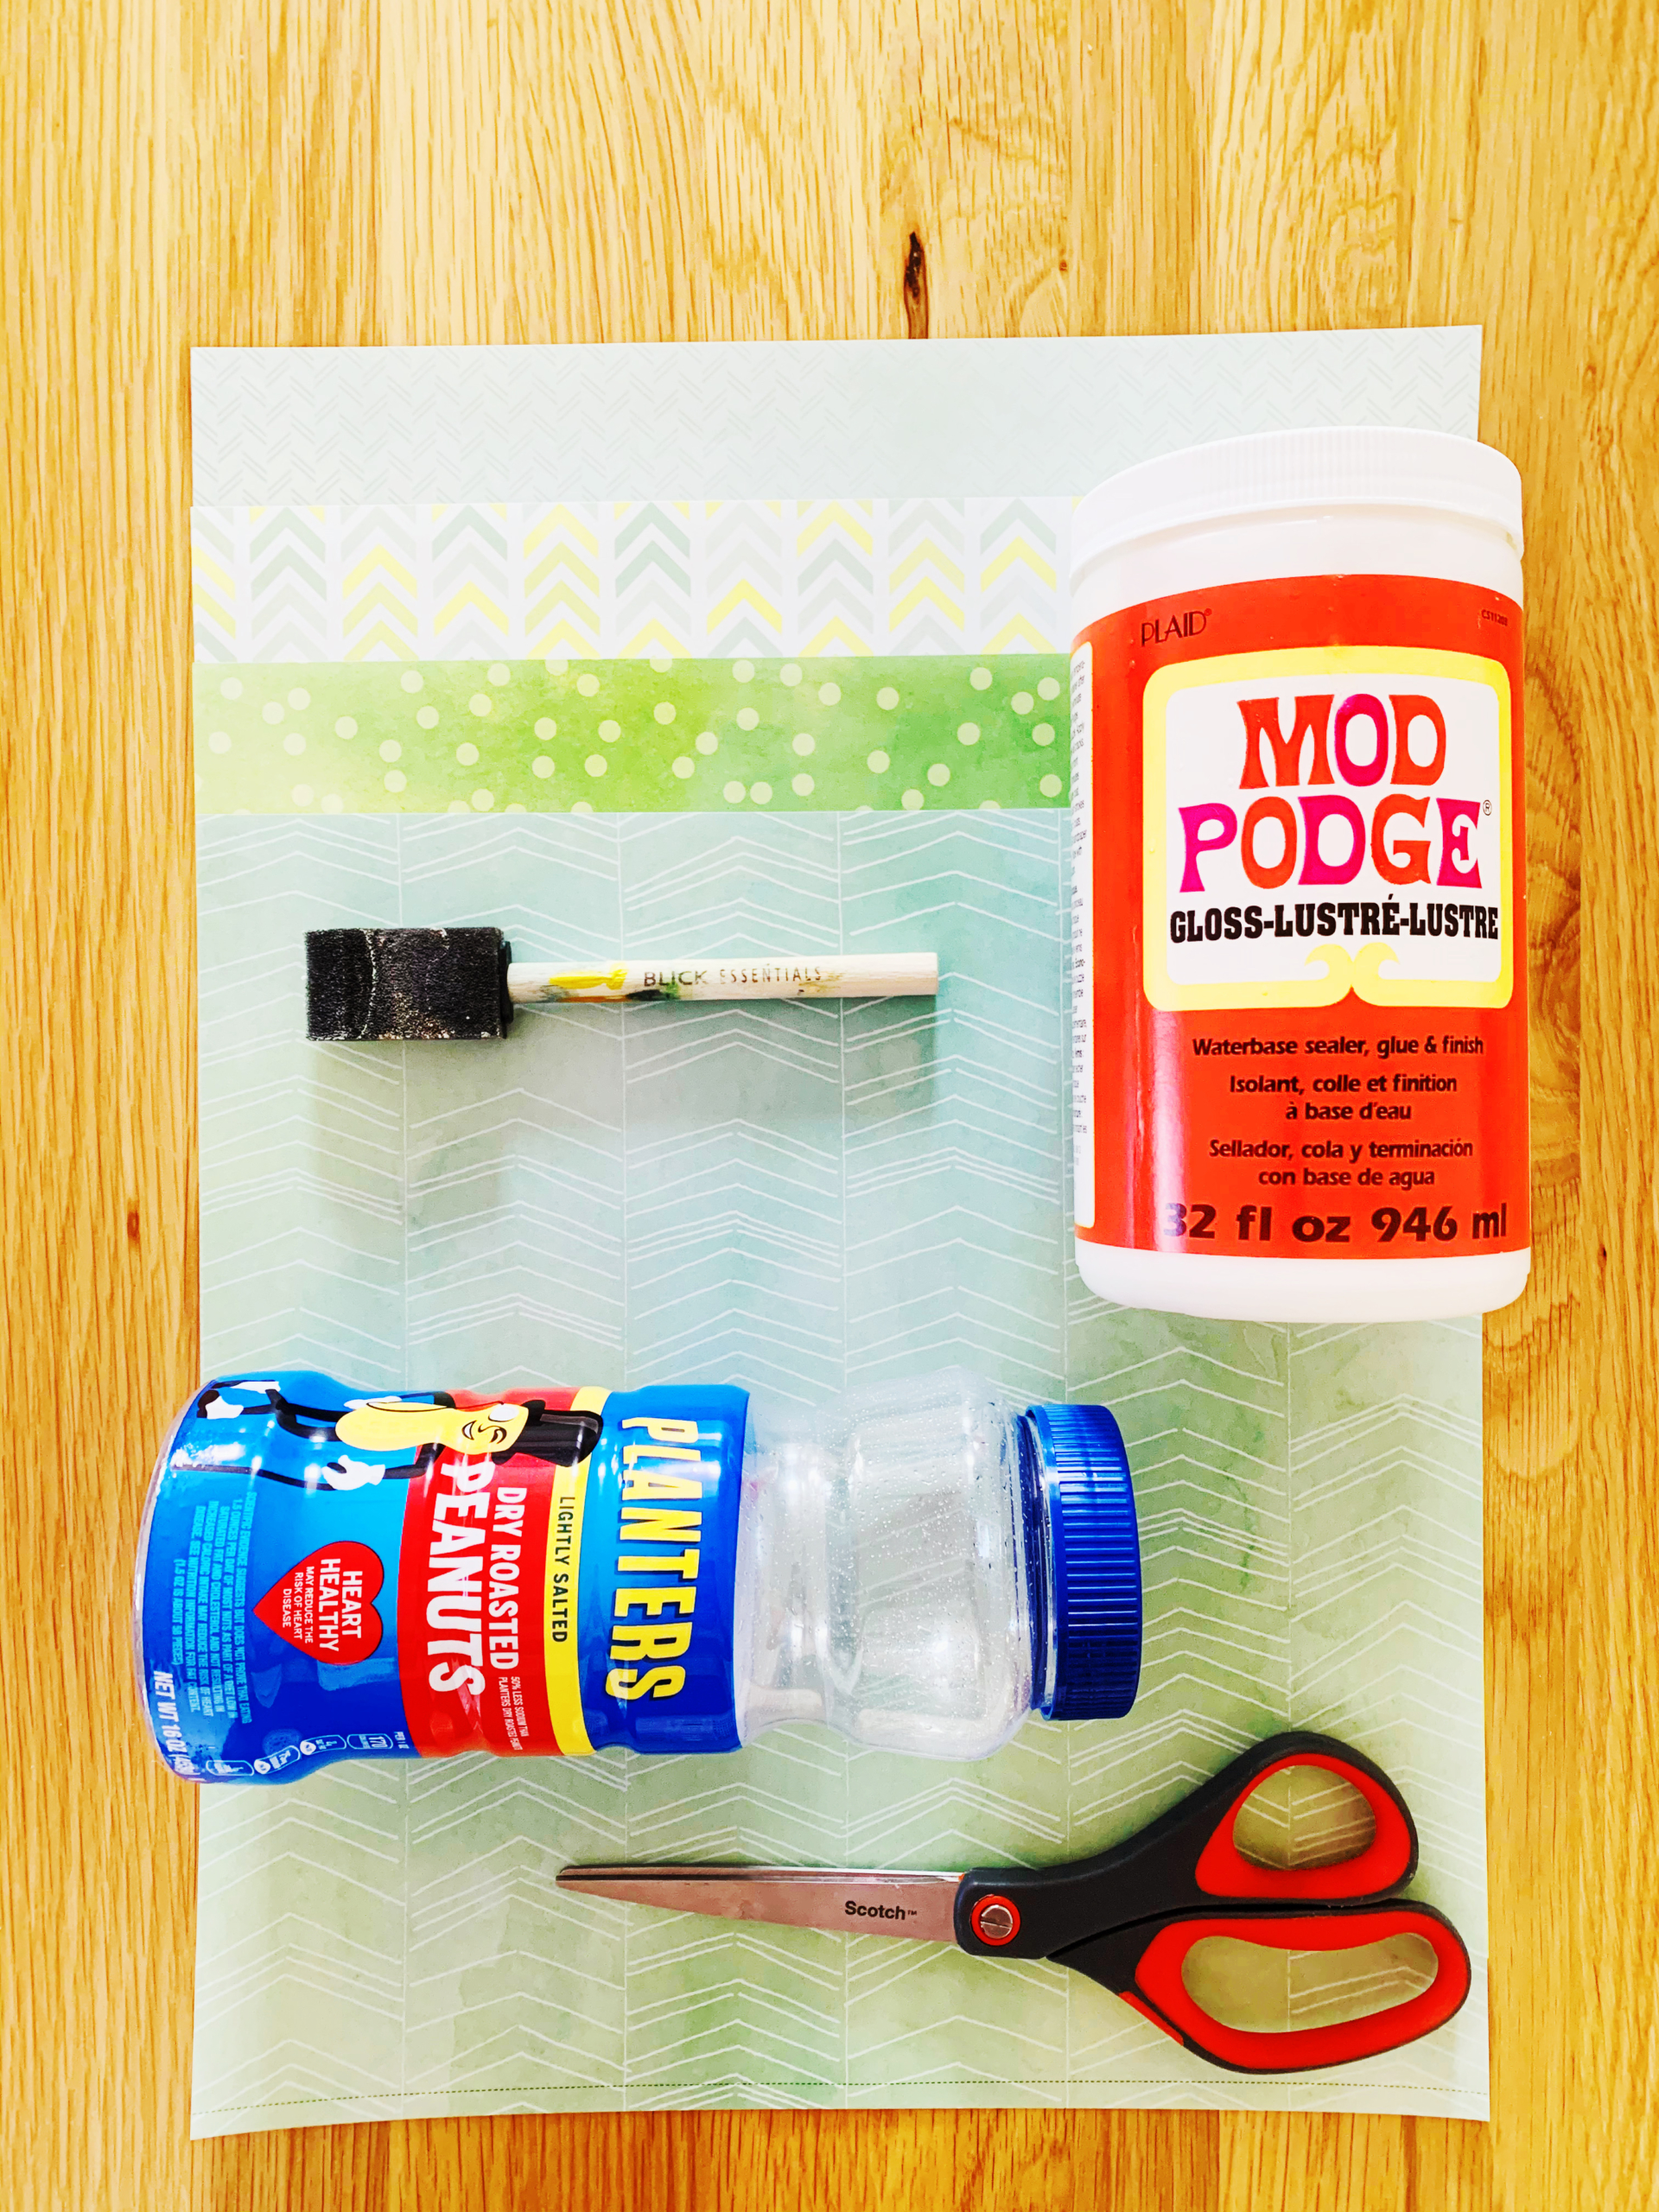
Materials:
- Recycled plastic container (make sure it’s long enough to fit pencils!)
- Mod podge
- Paint brush
- Scissors
- Decorative paper
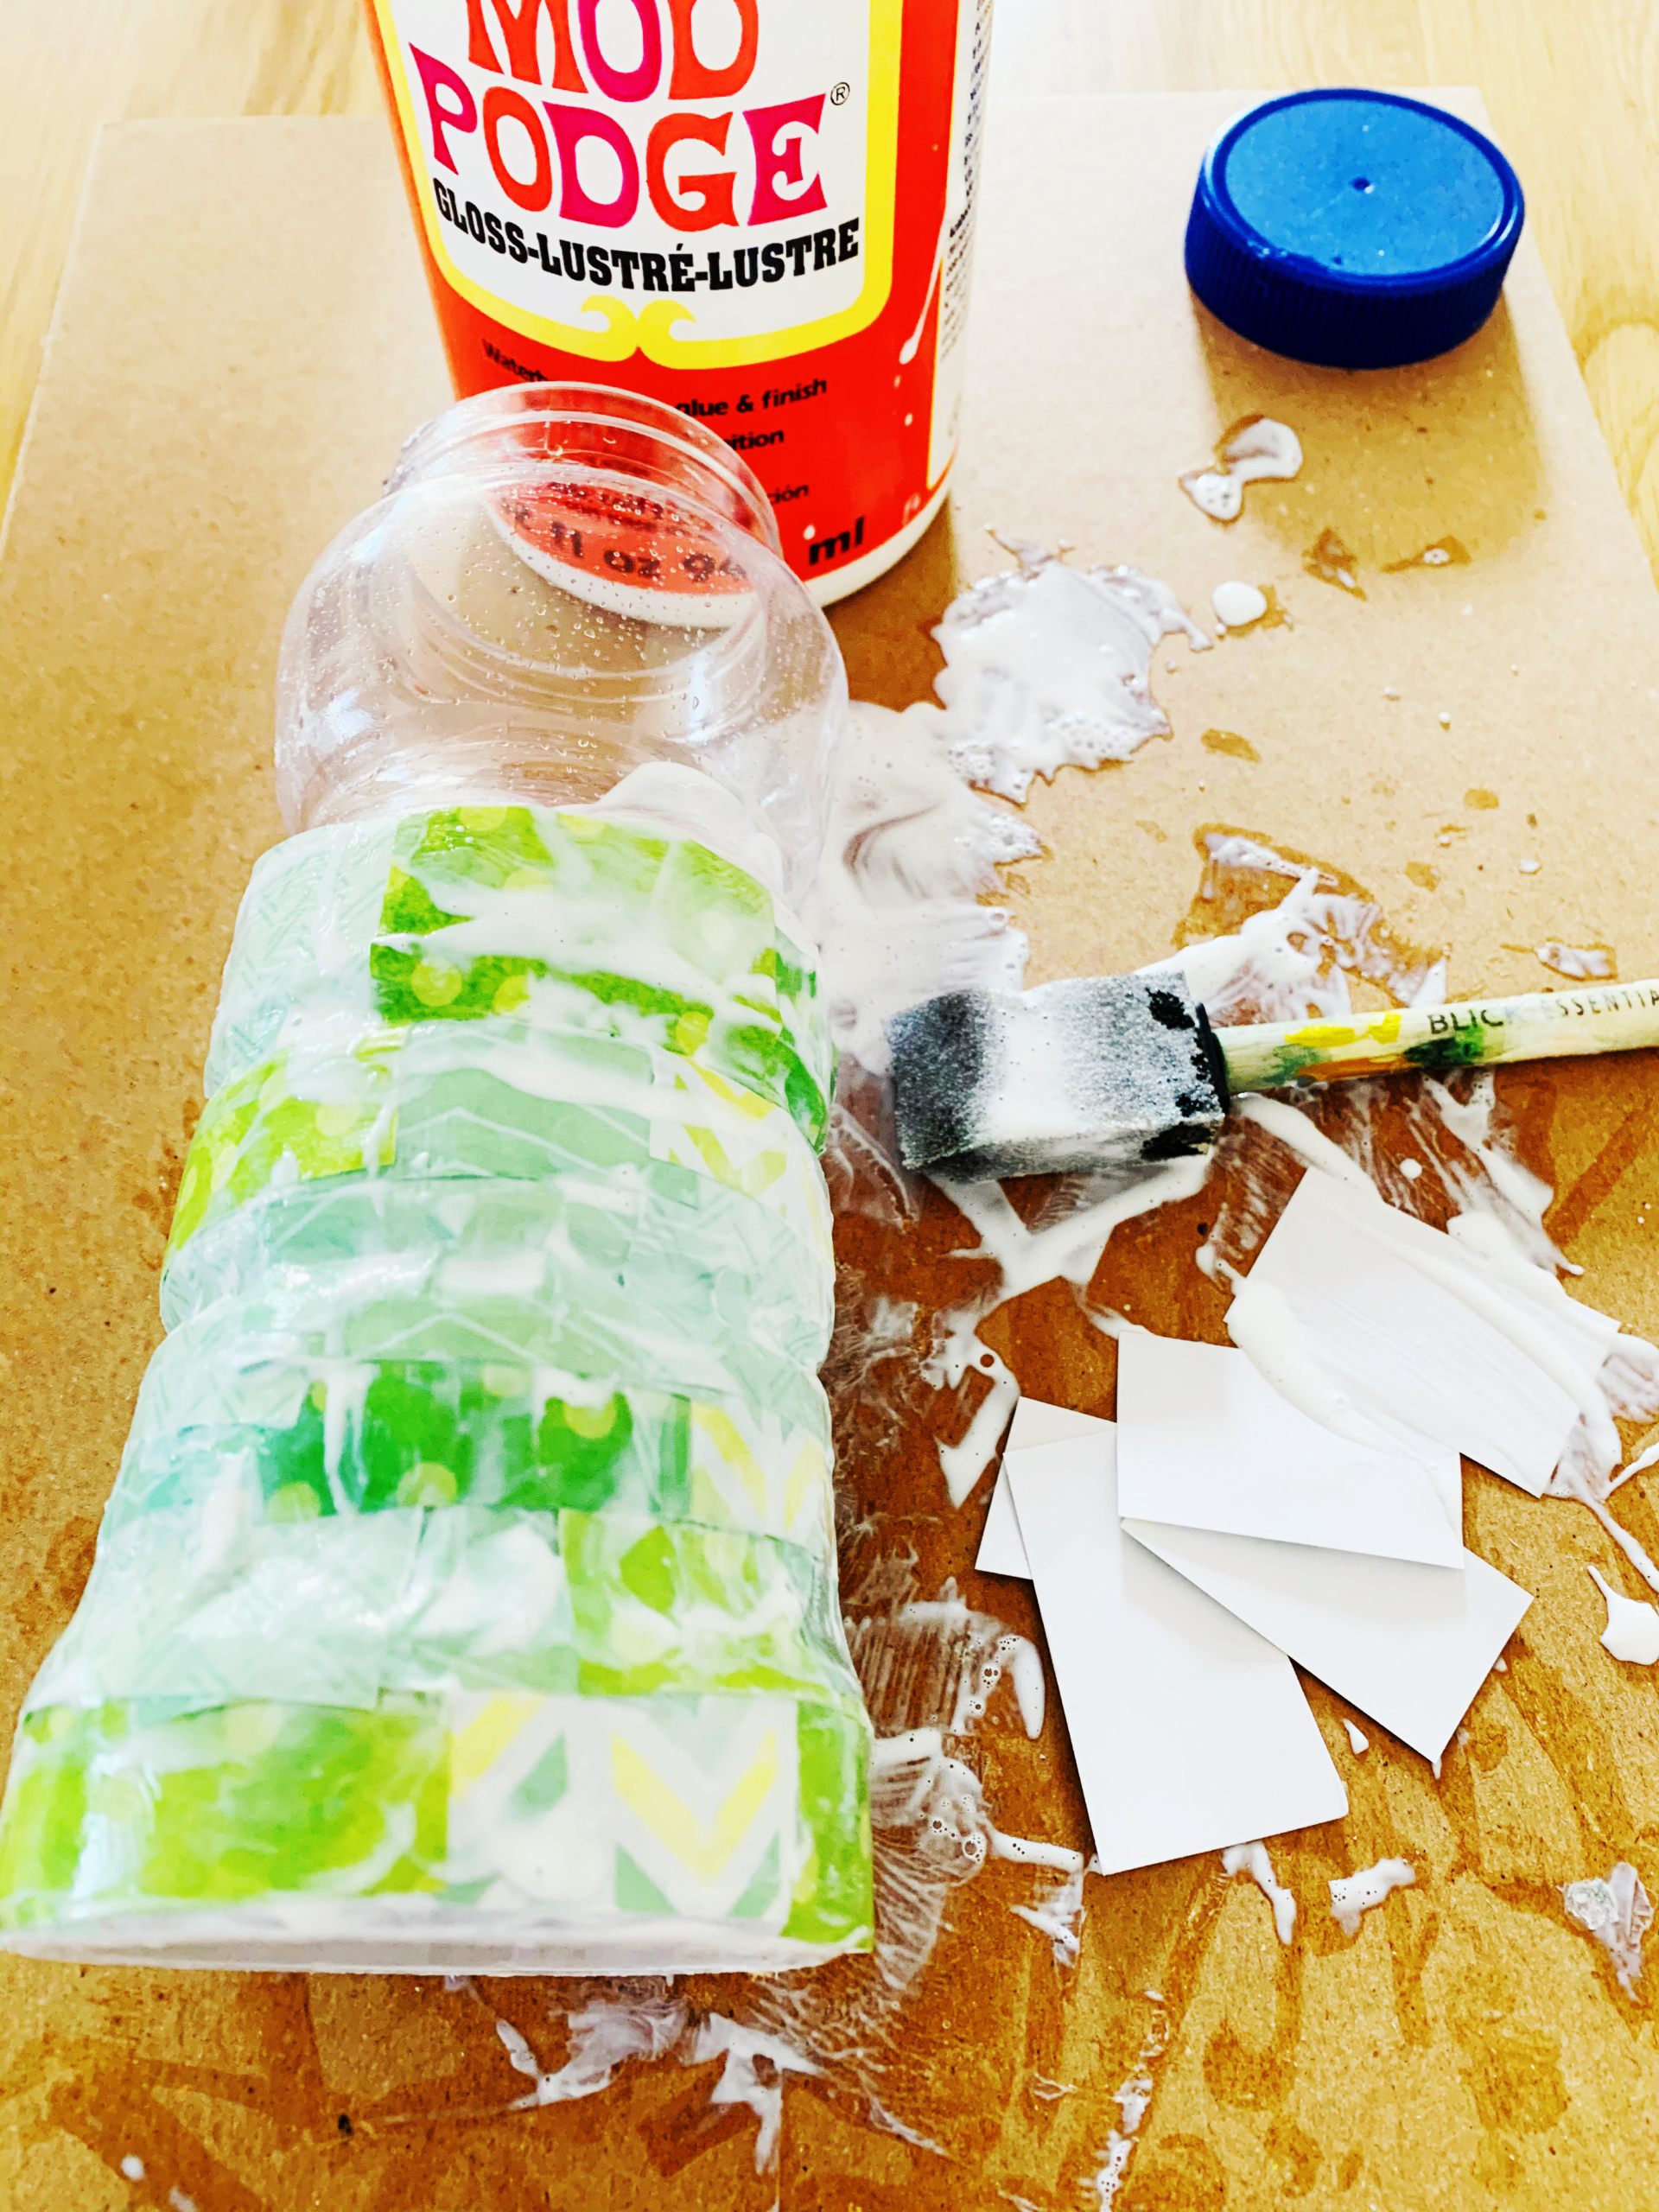
Pro Tip: Mod Podge can be a little messy! Don’t worry, it’s water based and can easily be cleaned up, but make sure you have a work surface set up. I used an old piece of cardboard.
Cost: This craft is a fun upcycle project that requires few materials! You can find modge podge at most craft stores or online for under $10. And remember, if you don’t have decorative paper, you can always color your own or use those kids’ drawings that so many of us have lying around.
Step 1: The first step is to simply remove whatever plastic is on your container and clean out the inside. (Give it a few good scrubs if it held something with a strong odor!)
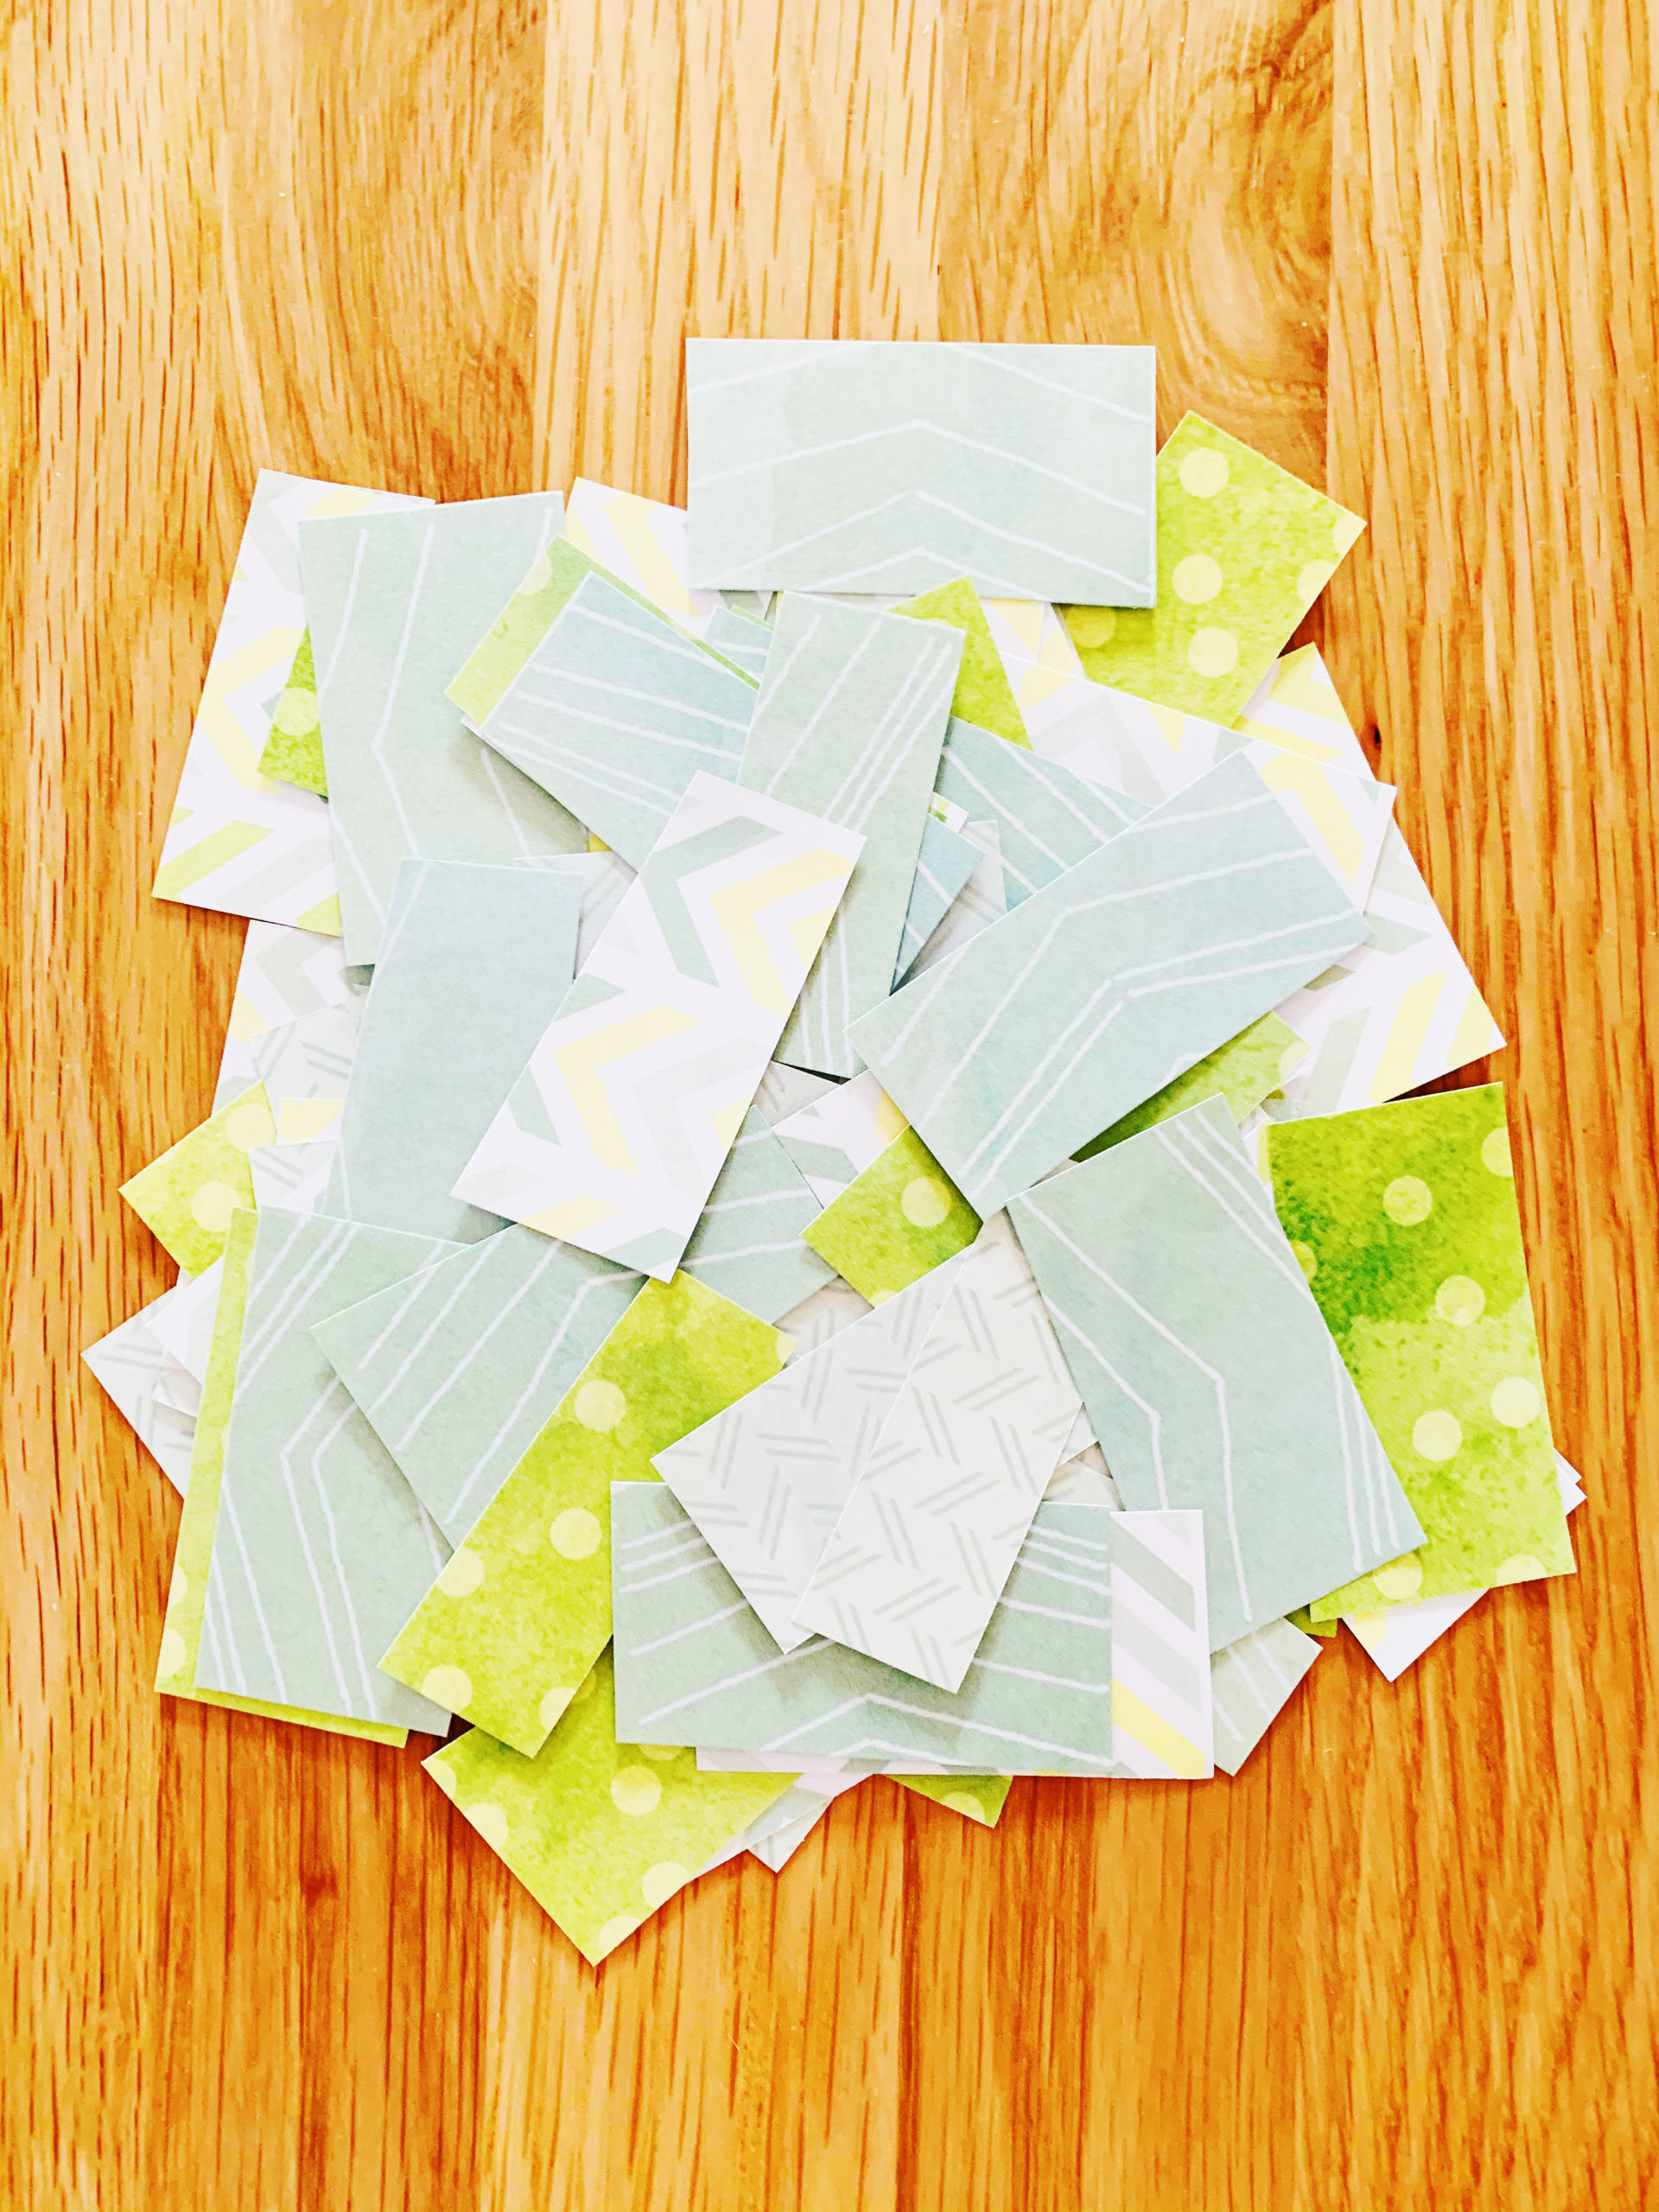
Step 2: Before you get to the Mod Podge, it’s best to measure out the paper you need to cover the container. You have a few options here! You can use just one piece to cover the whole thing, or create a collage look by cutting up scraps of paper. Because my container was round with some variations, it would be really tricky to use one piece of paper, so I went the collage route. If your container is a box that is flat on all 4 sides, though, a single piece of paper will be really easy to wrap around and apply.
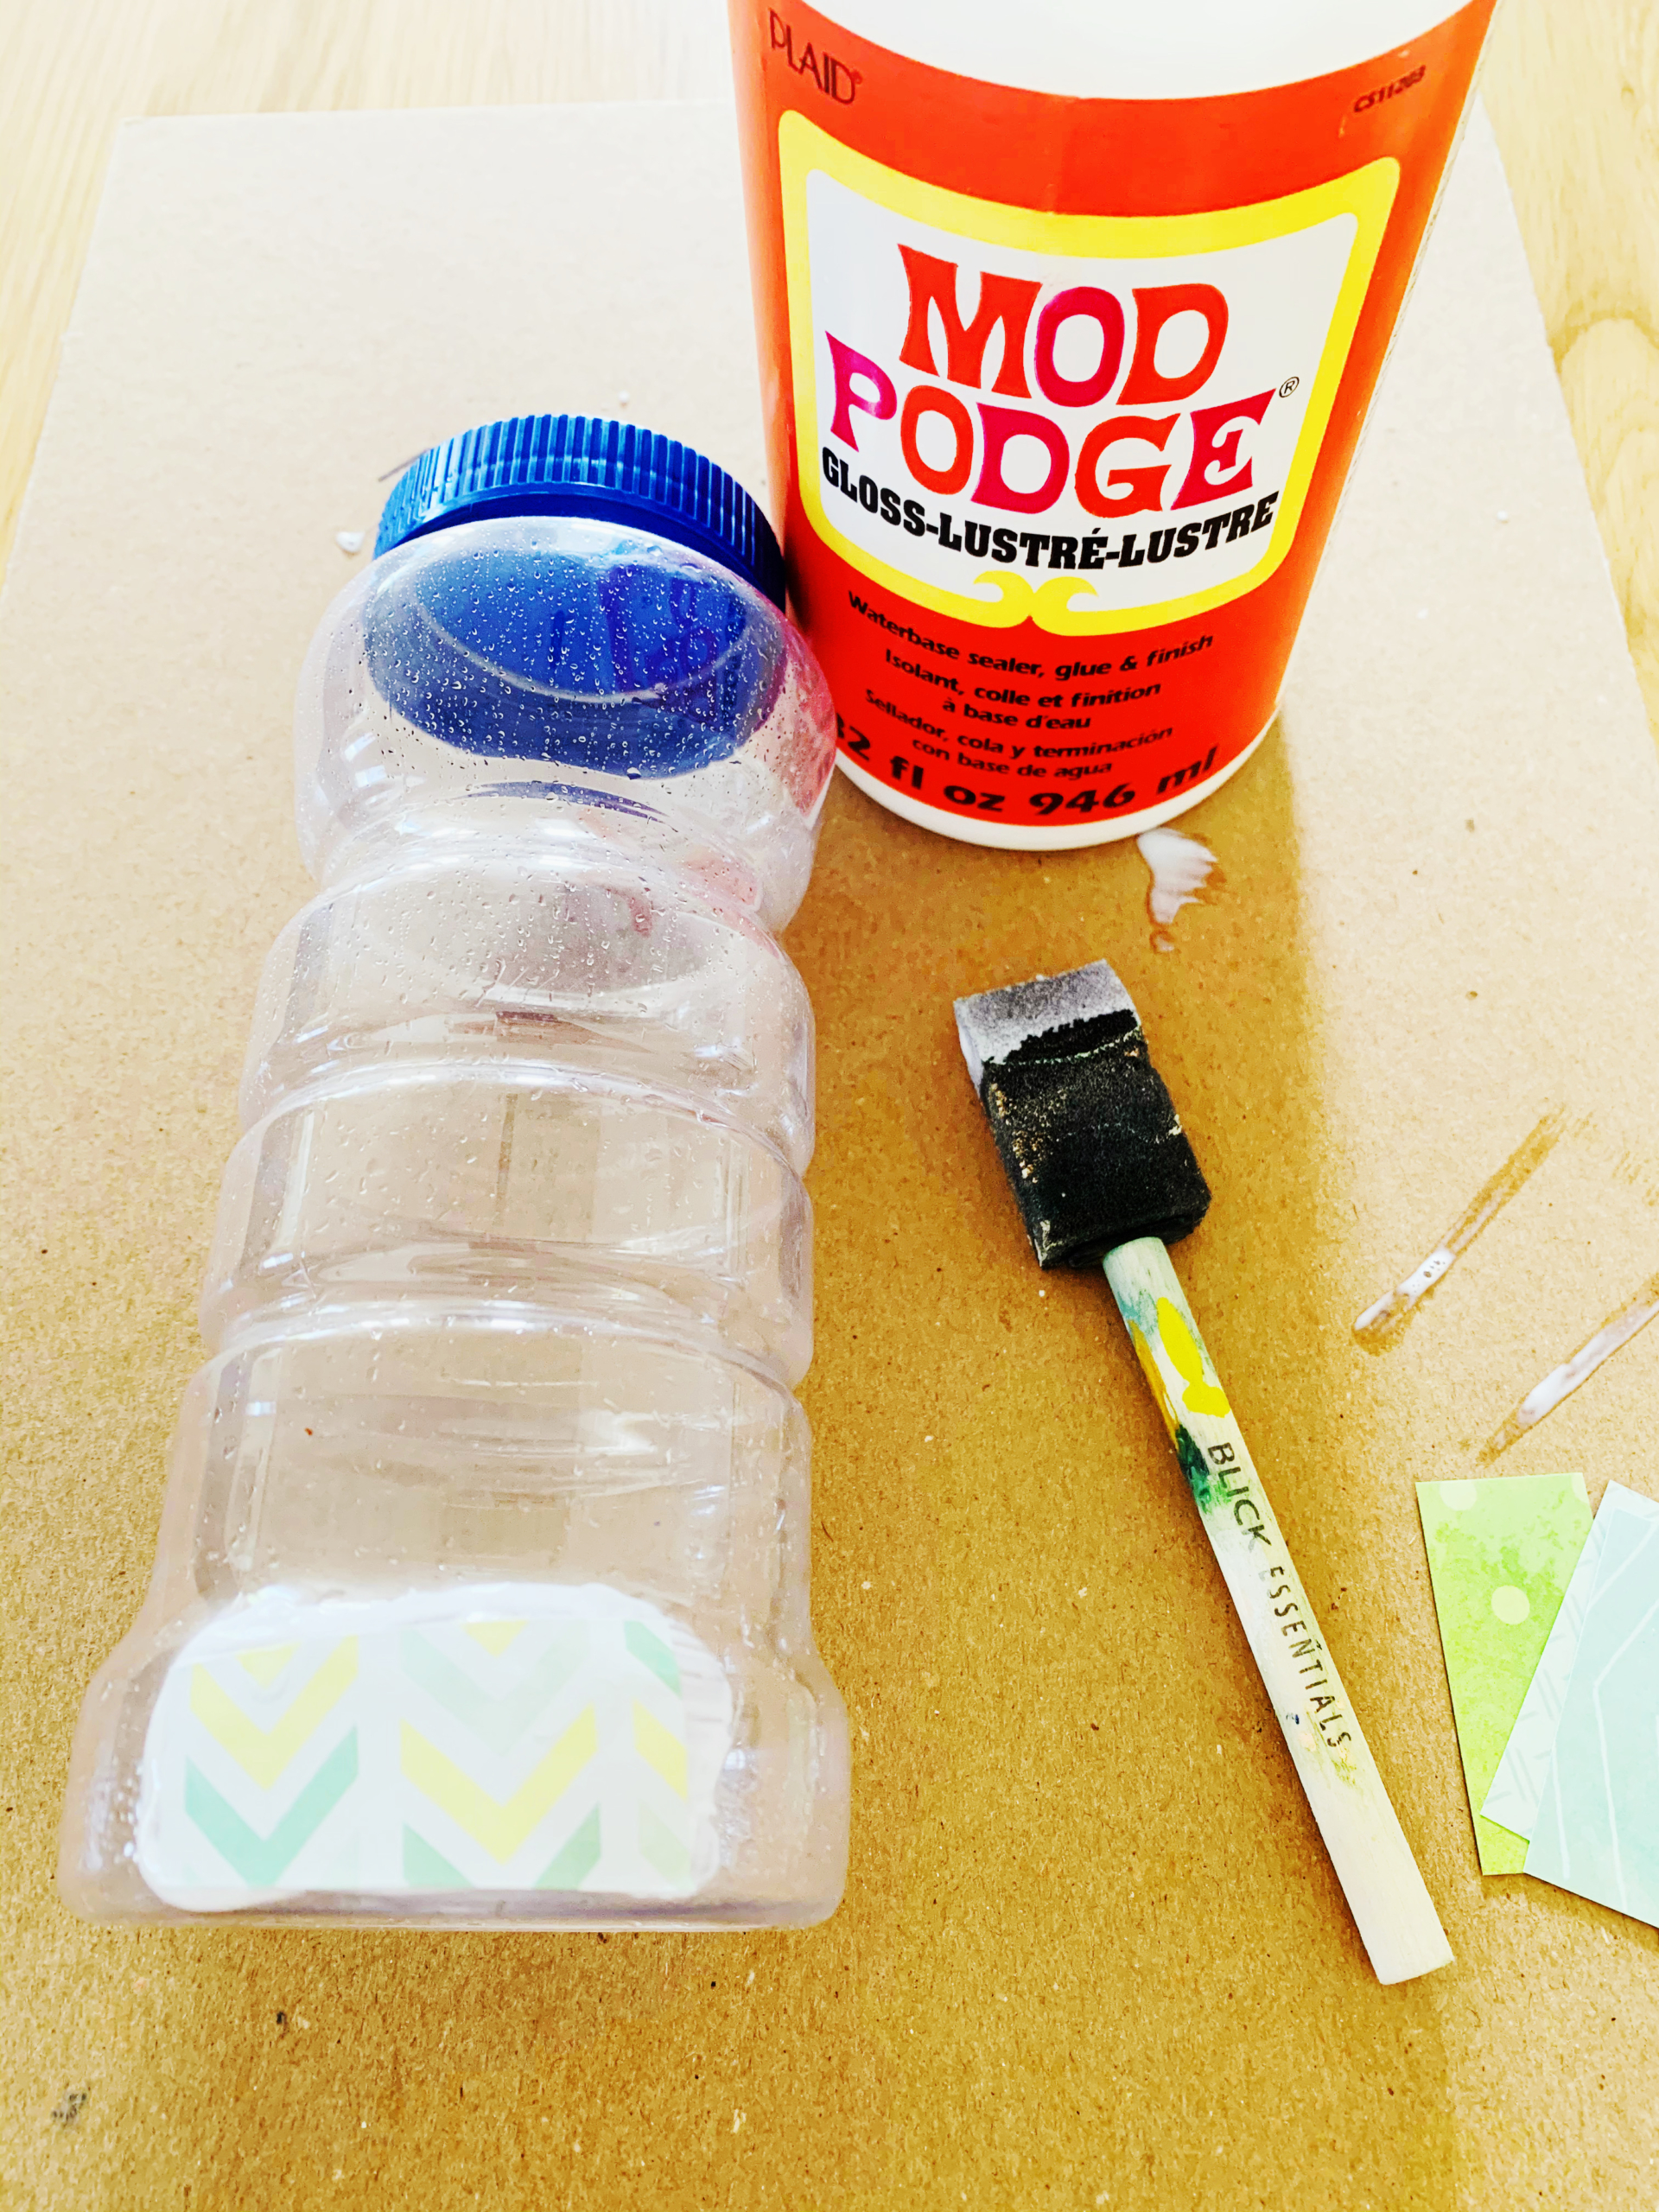
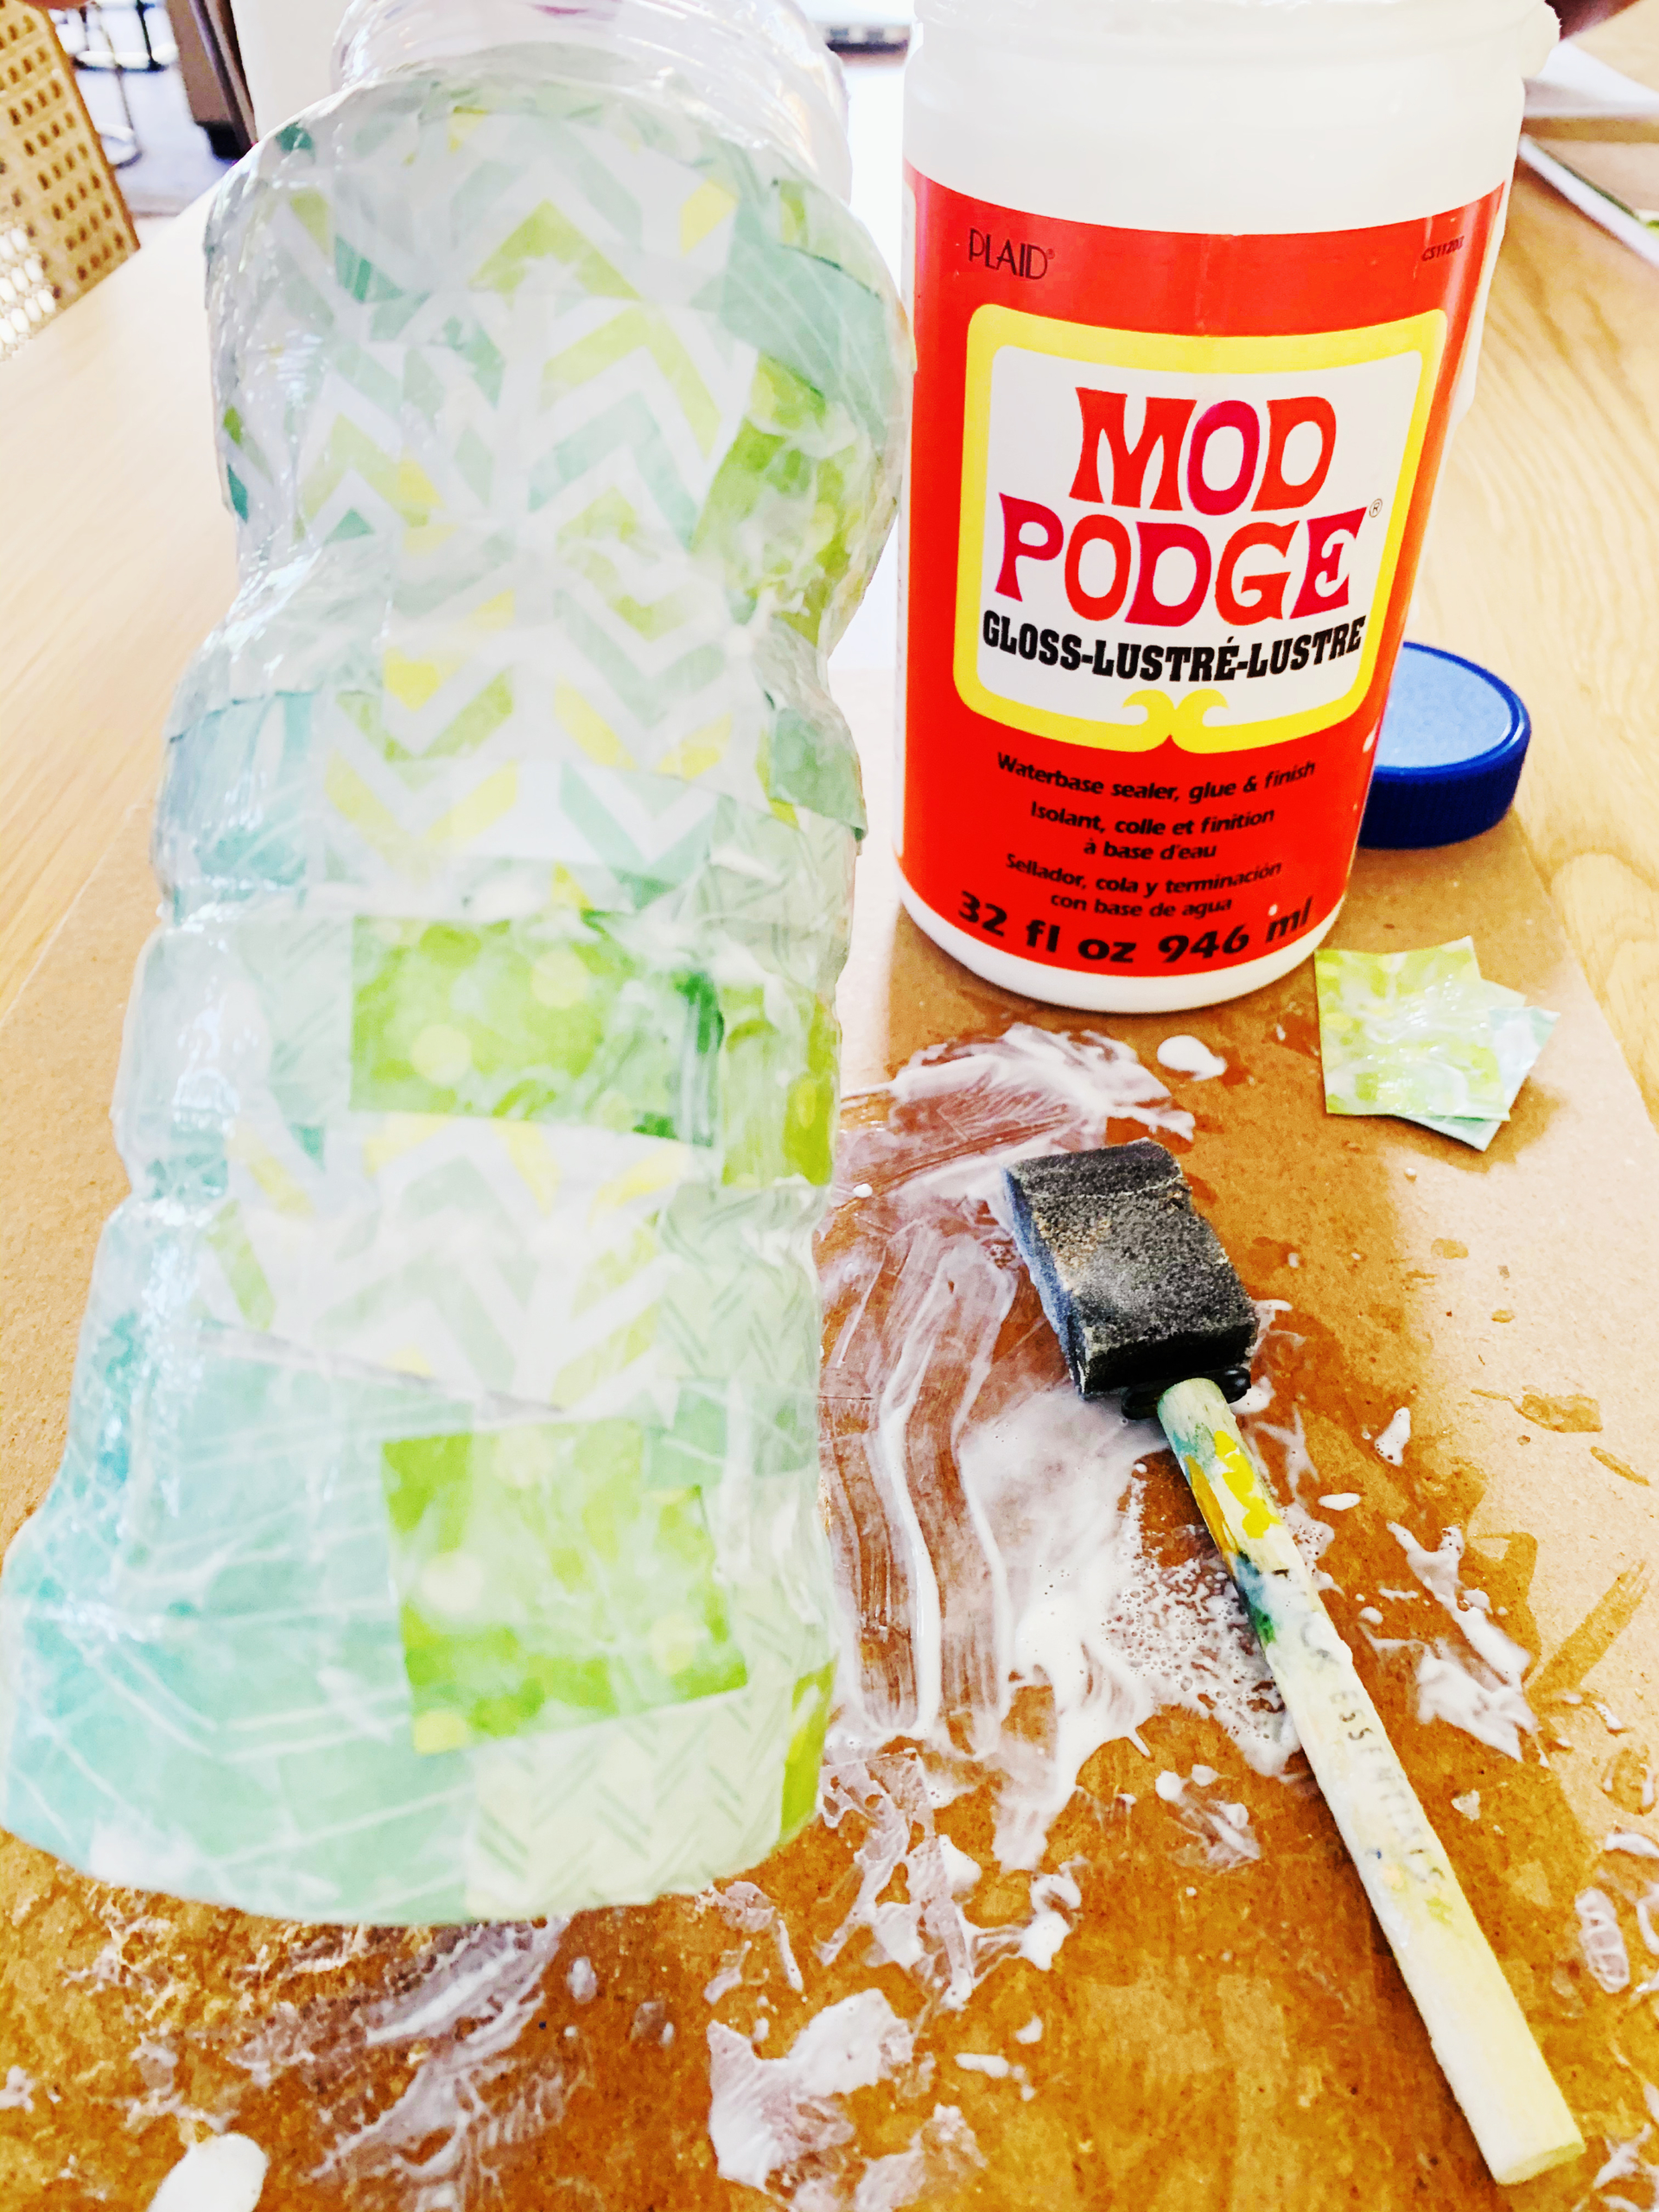
Step 3: Now you’re ready to apply the paper! If going for a collage style, paint Mod Podge on the container (in even strokes!) and then on the back of your first strips of paper, then place the strips onto the container and smooth into place. Keep doing this until the entire container is covered. If you’re applying one piece of paper, simply coat the entire box and back of the paper and stick it right on. This is also the time to add any extras, like glitter or other accents.
Step 4: The final step is to just apply an outer layer of Mod Podge and allow it to fully dry. You just want a nice even layer here, and it should dry completely in about 15 minutes.
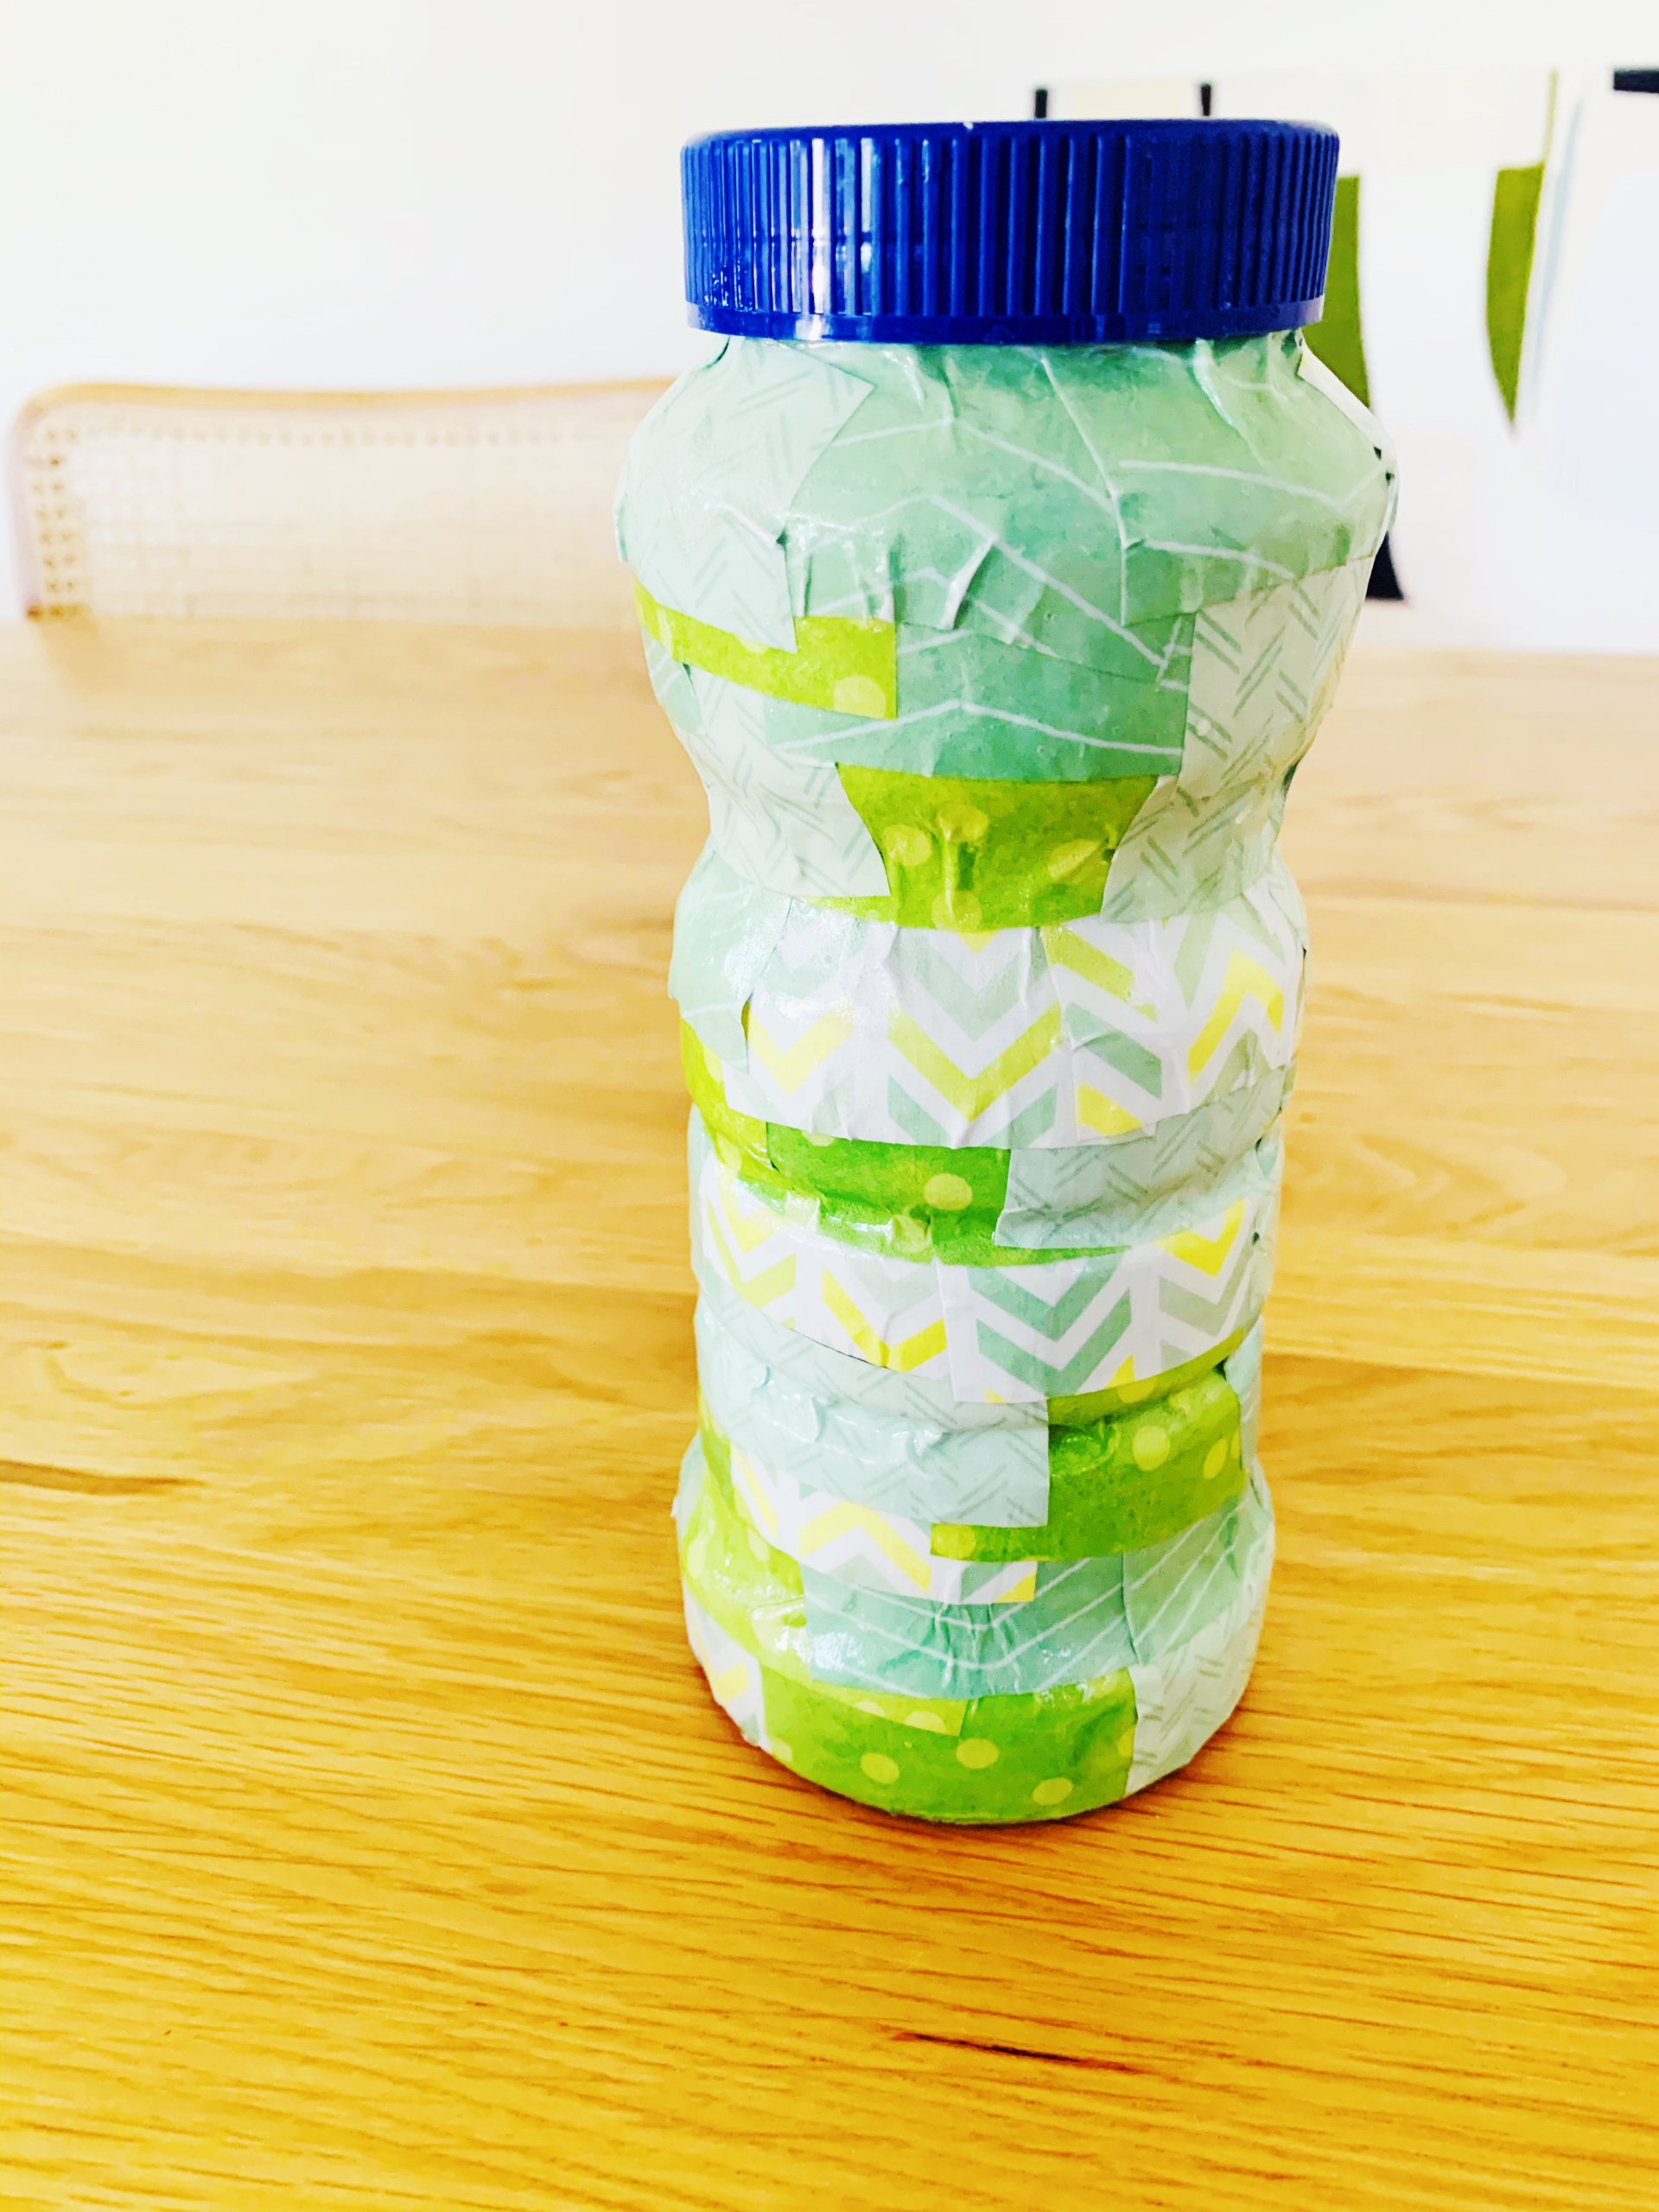
And that’s it, as simple as that! We’d love to hear what you upcycle for your new pencil holder. Have fun!
