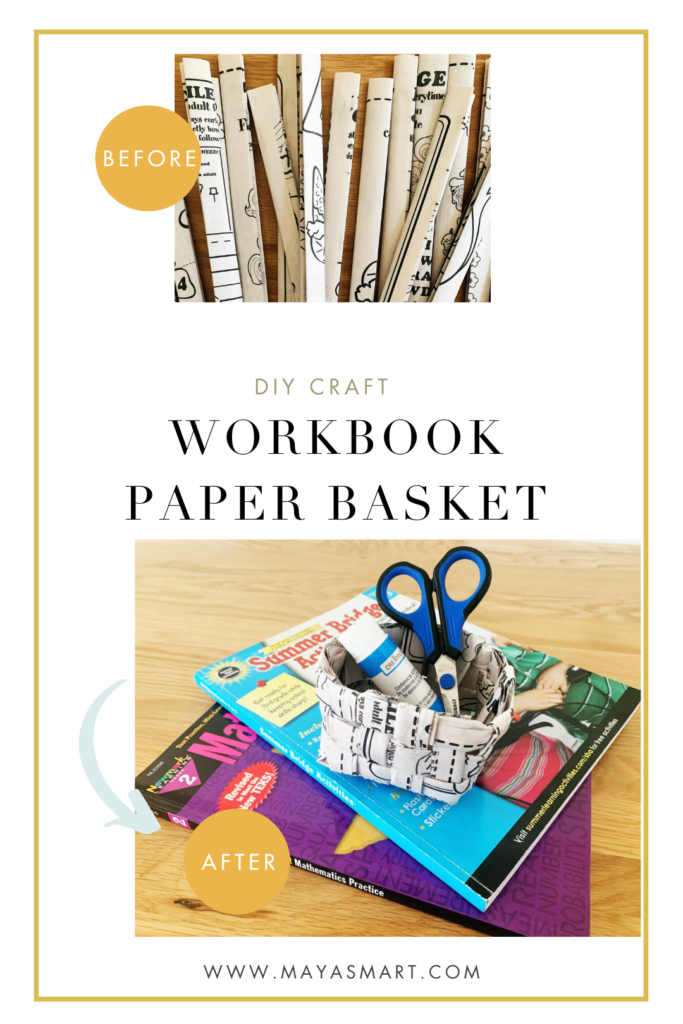
Doing workbooks at home with kids is a great way to bolster their literacy or math skills, bridge the gap between grades, or keep them engaged during school breaks. But it doesn’t take much diligent work (or coloring fun!) before you’re left with a stack of filled-in workbooks headed for the recycling bin. So why not go a step better than recycling and upcycle them instead?
In this kid-friendly DIY book craft, you’ll take a workbook or coloring book (or even a newspaper) and transform the pages into a beautiful woven basket. Use it for decoration, or as a new place to gather office clutter. What better way to organize a student’s home workstation? Kids will be proud to see their hard work put to use to create an eco-friendly study space—ready for their next learning endeavors!
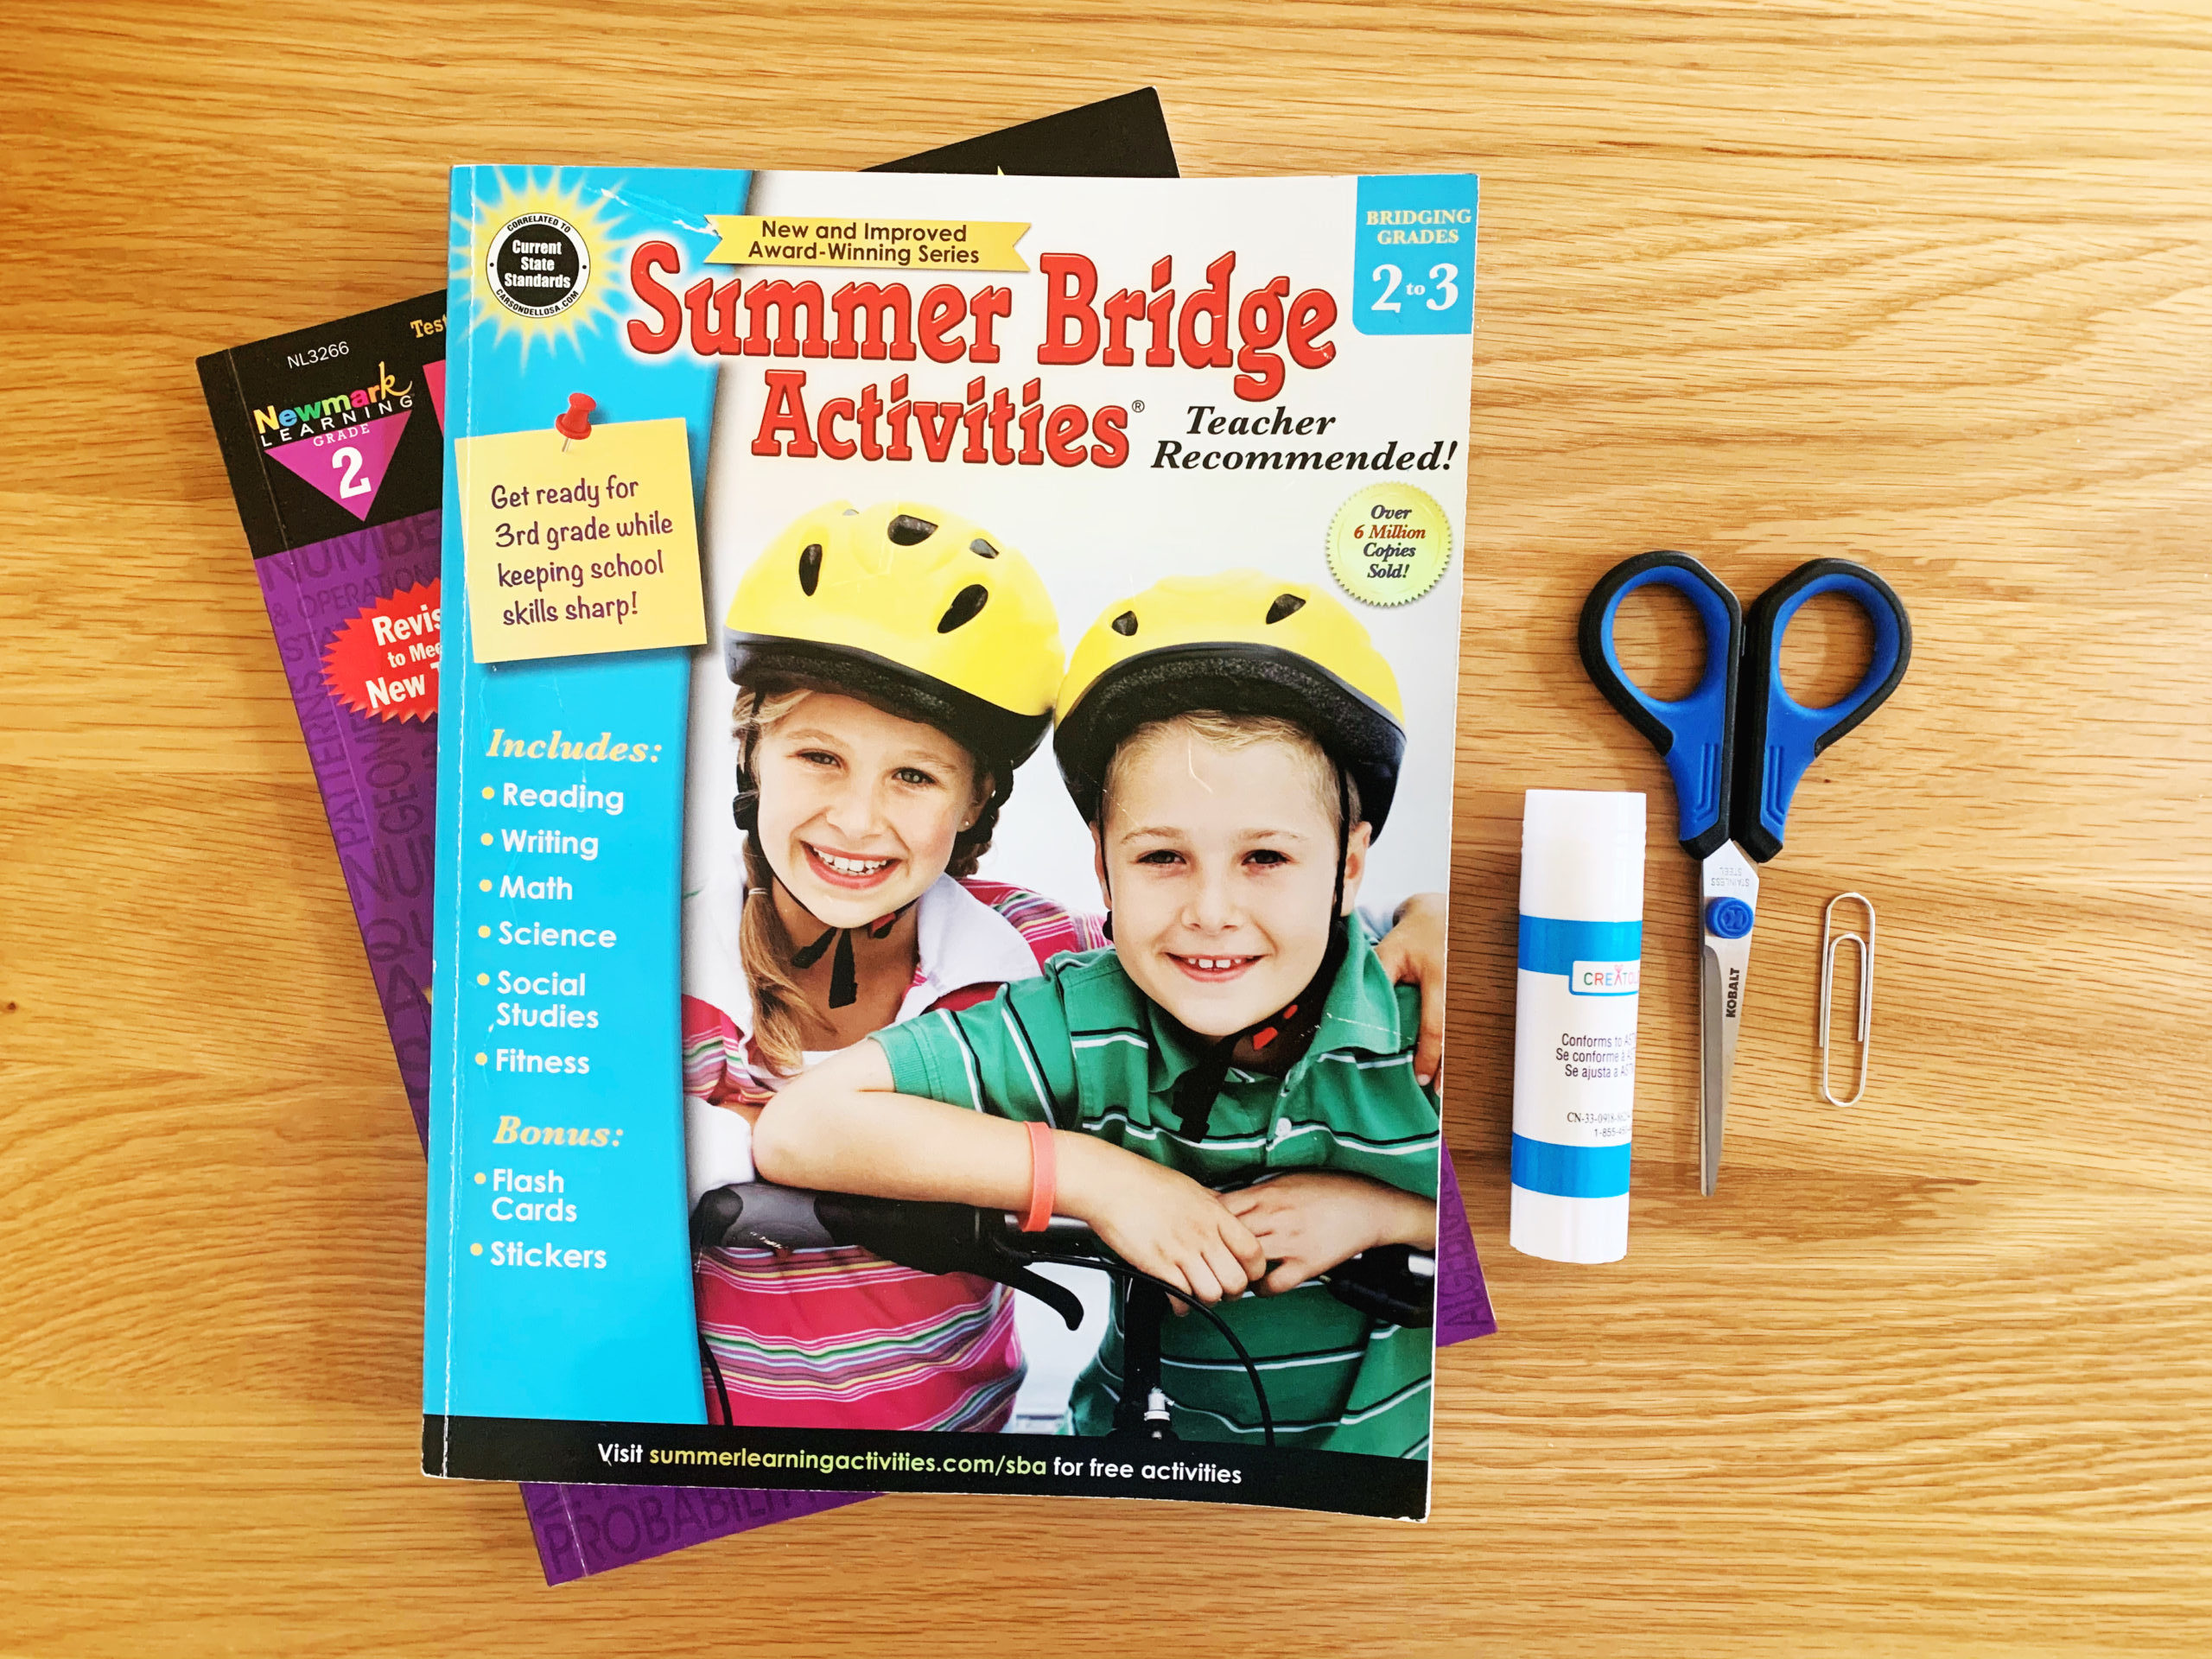
Materials:
- Old workbooks, or you can use a newspaper
- Scissors
- Glue stick
- 1 paper clip
Cost: Because it requires very minimal materials, this craft should not need to cost you anything. It is the perfect opportunity to upcycle old workbook pages and create your own basket instead of going out and buying one.
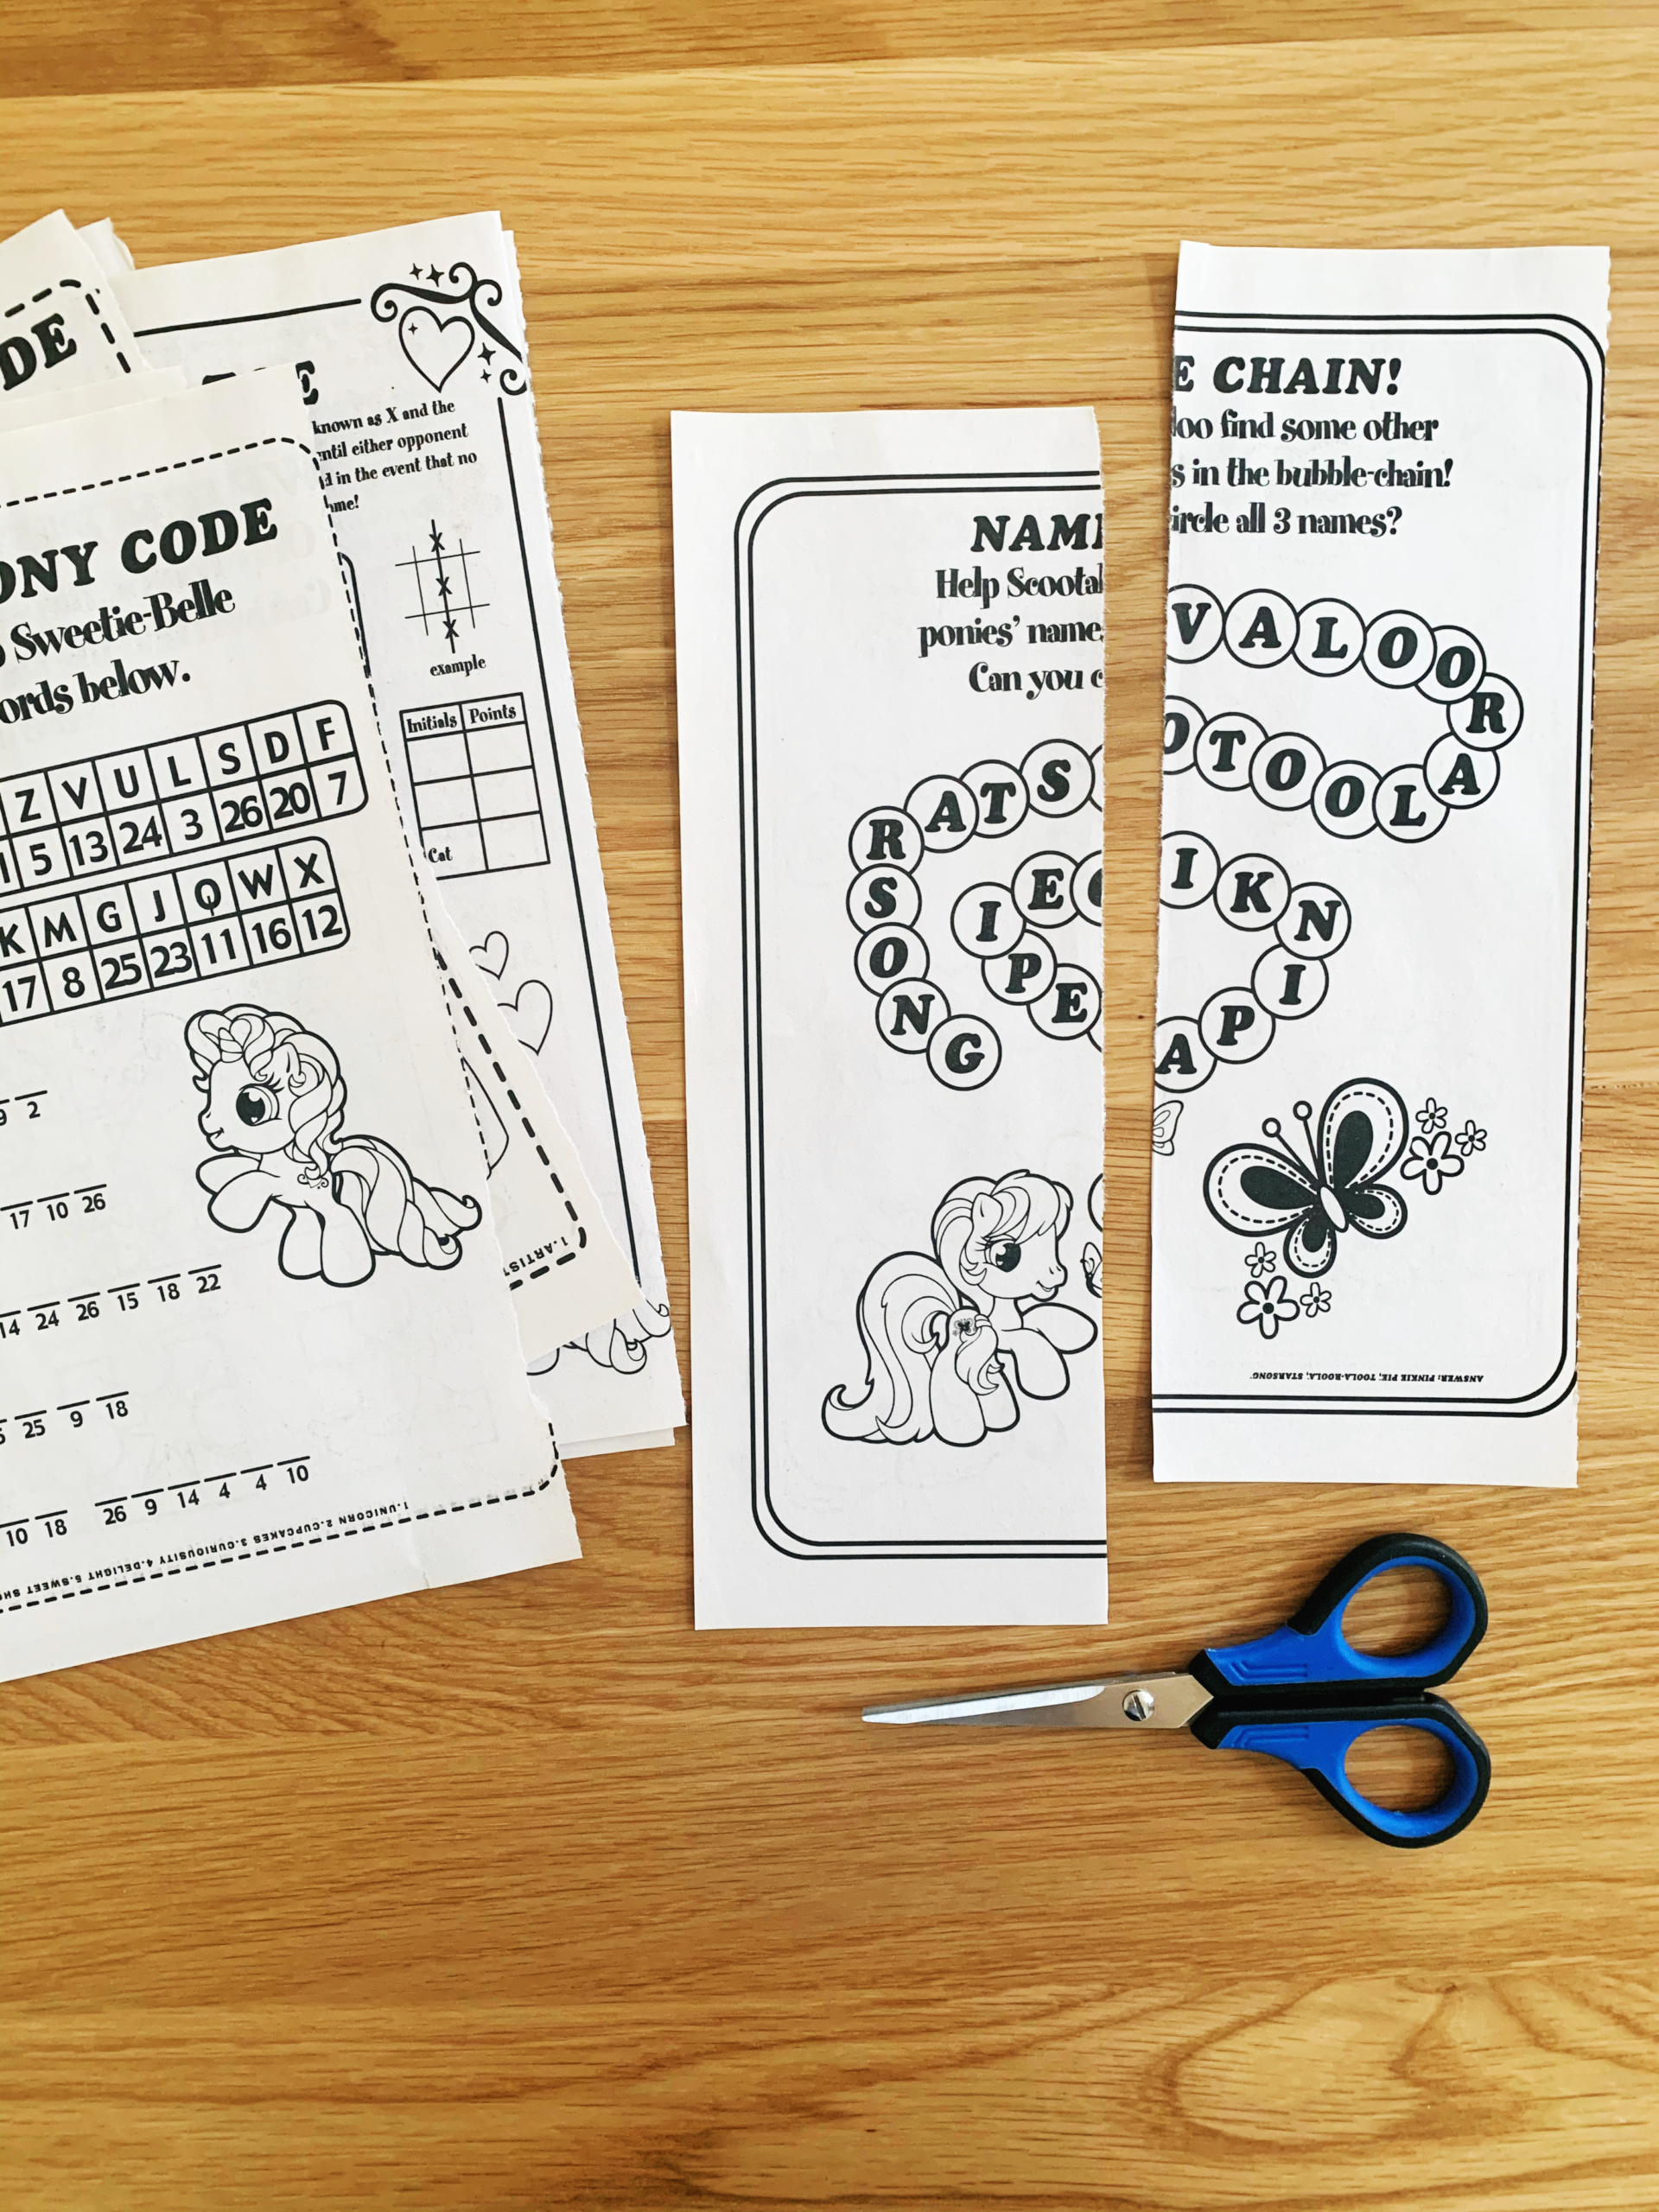
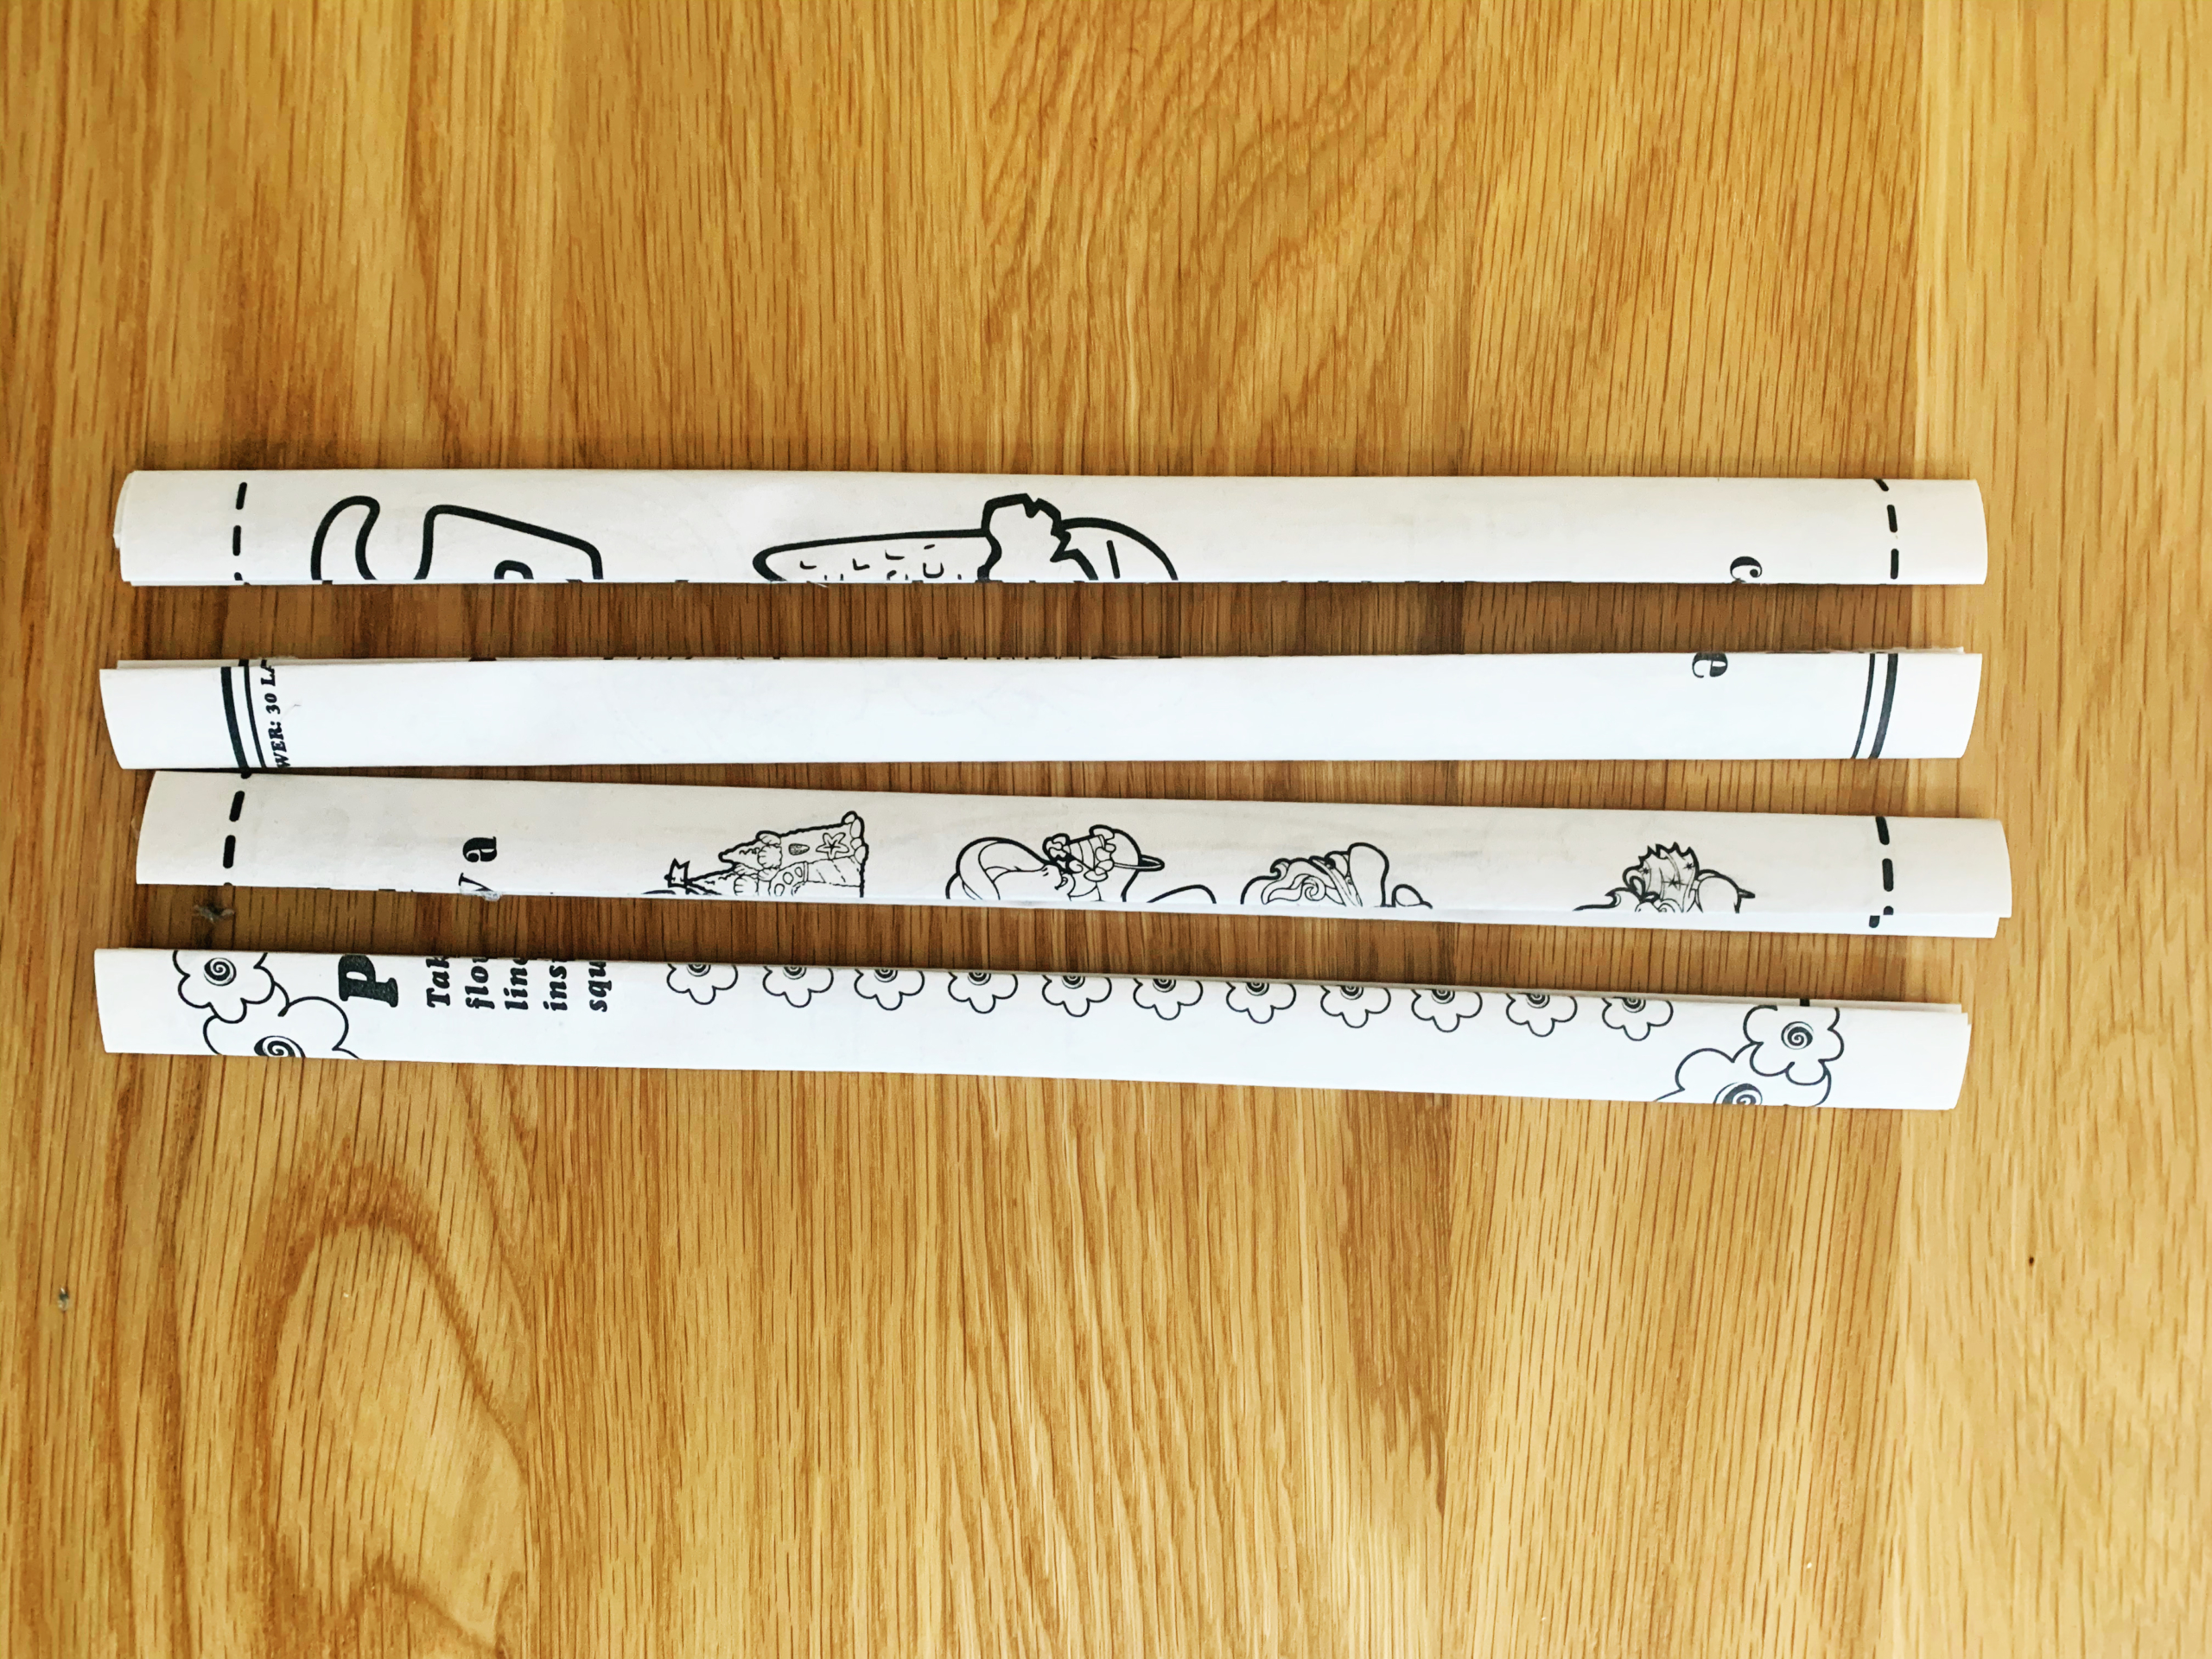
Step one: The first step is to cut the strips that you’ll be weaving together to make your basket. (The larger your workbook, the easier it will be to weave.) Cut a full page in half lengthwise, so you get two strips from each page. Repeat until you have 12 strips, cut from six pages of the workbook.
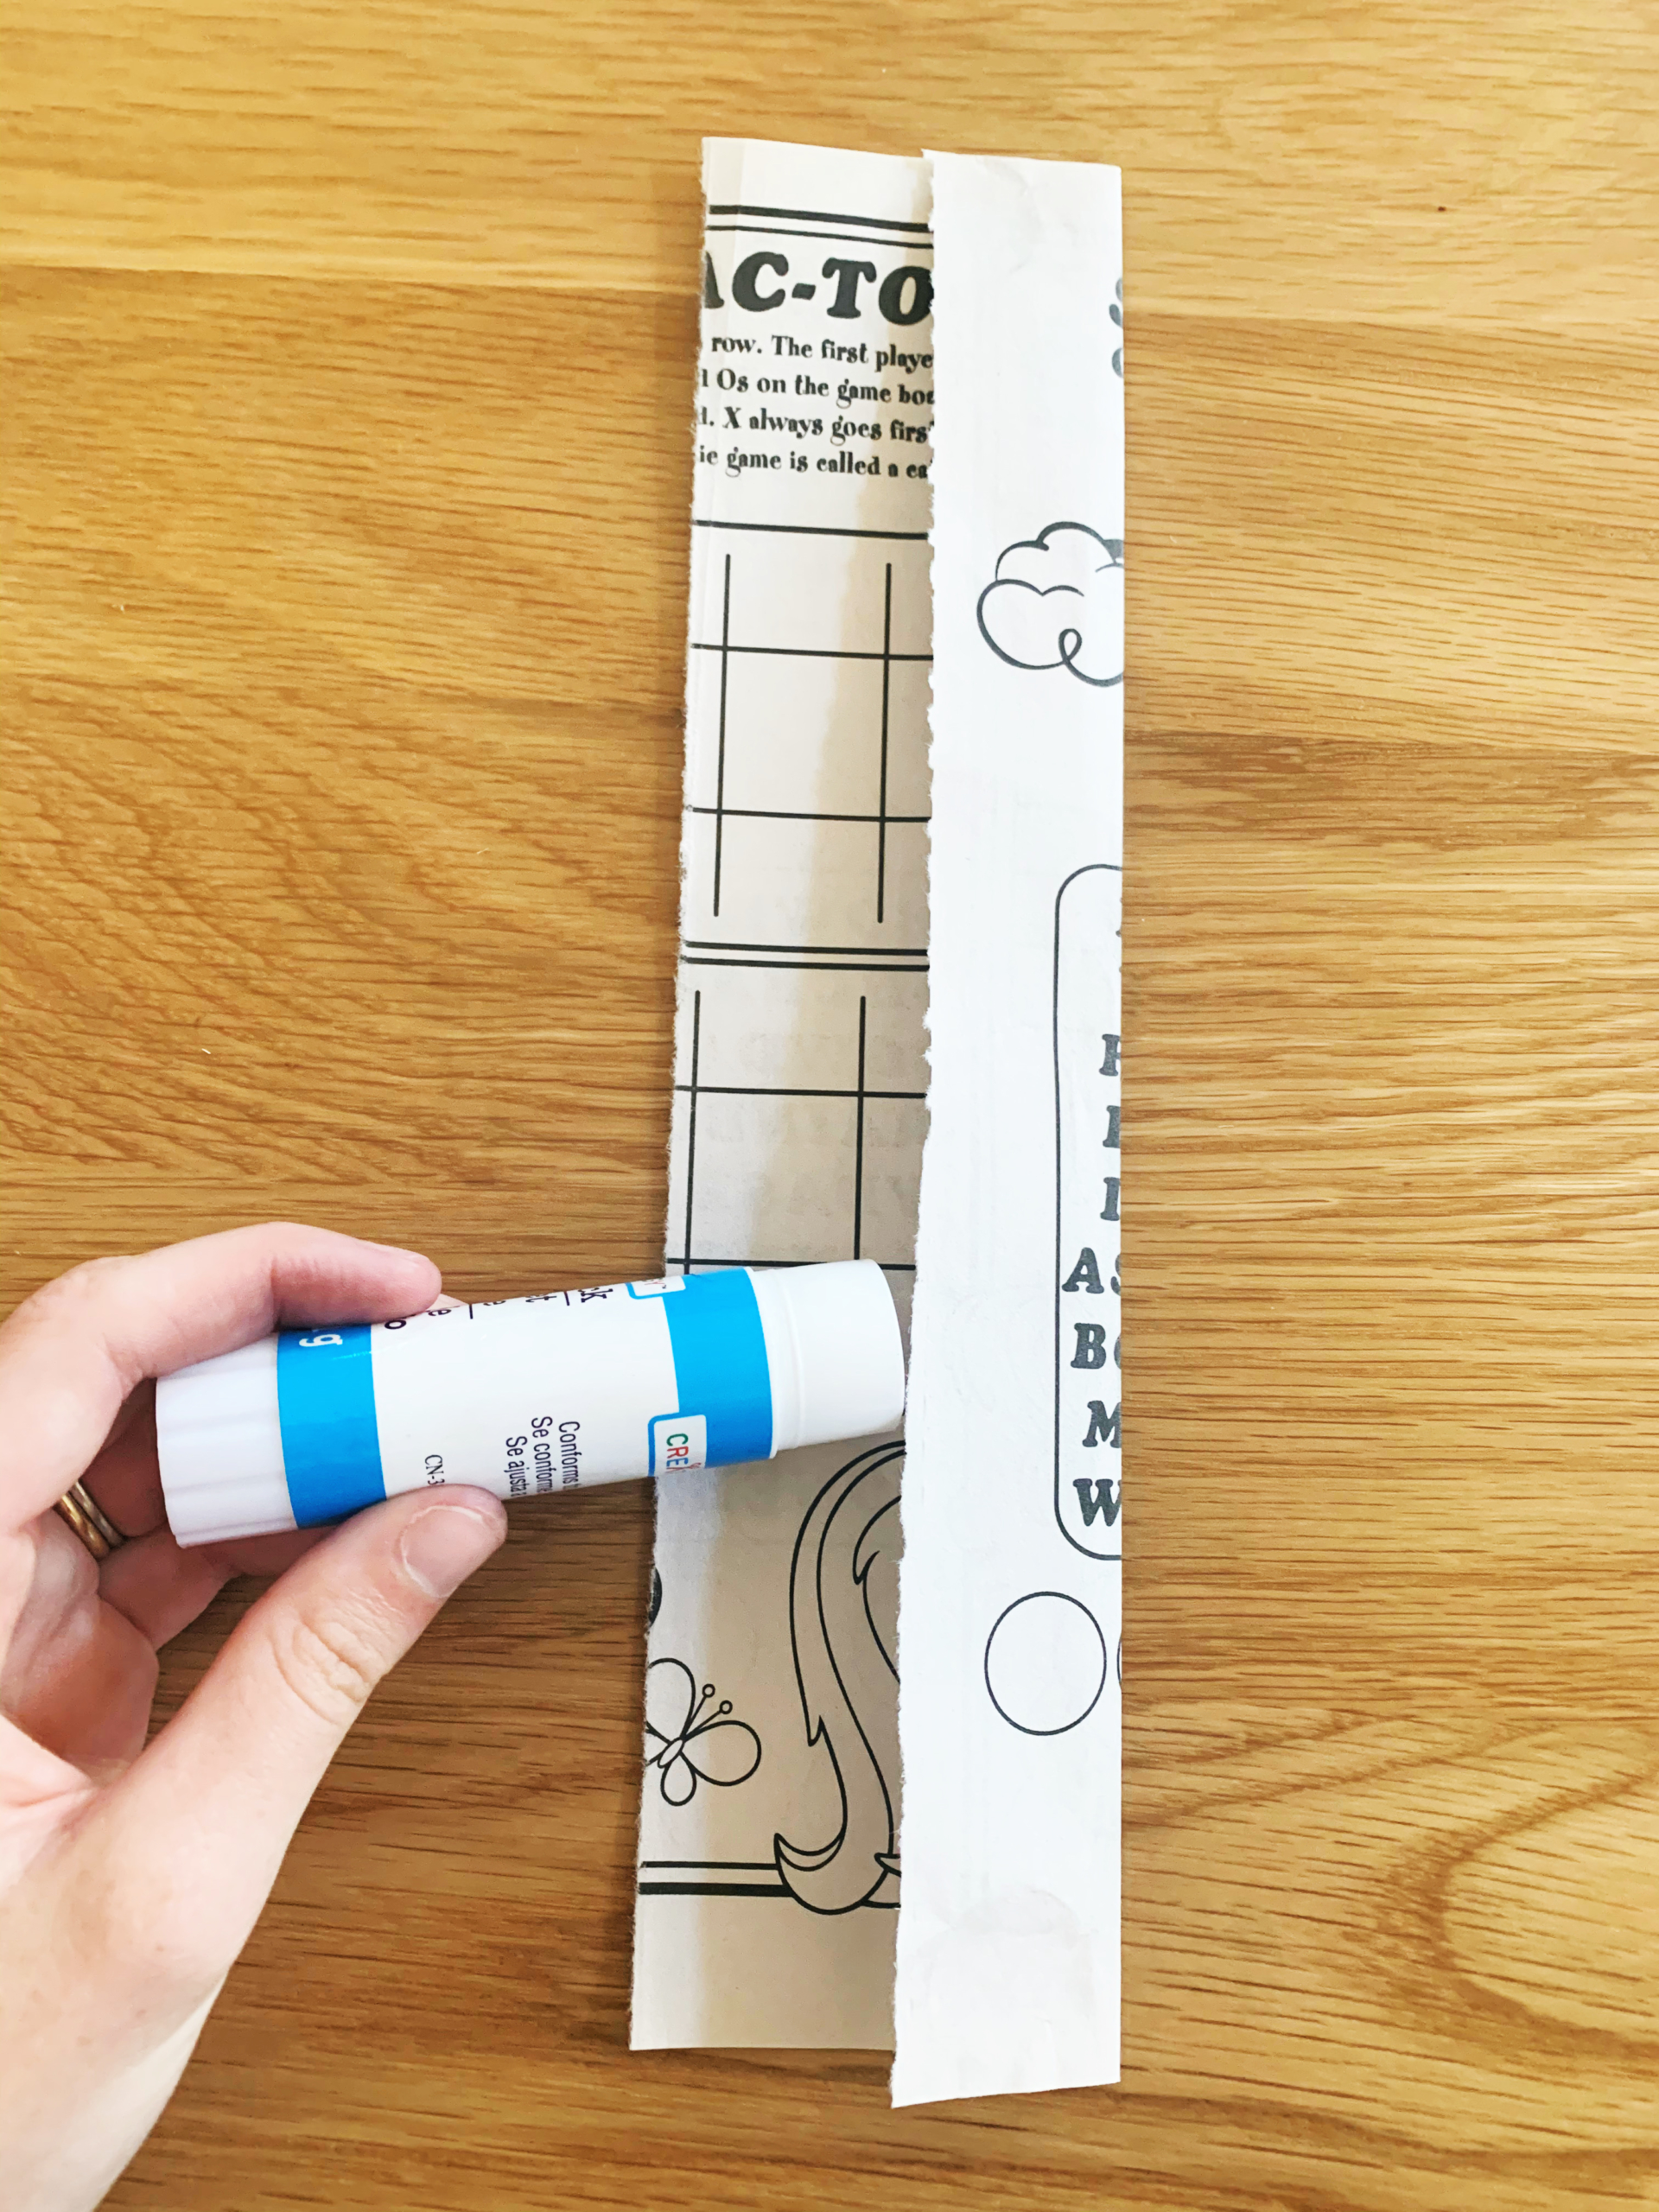
Step two: Taking one strip at a time, fold one side of the paper one-third of the way widthwise and crease it firmly. Run the glue stick down the full length of the paper and fold it over again, pressing this piece down well. Your strip should now be one-third its original width and glued together.
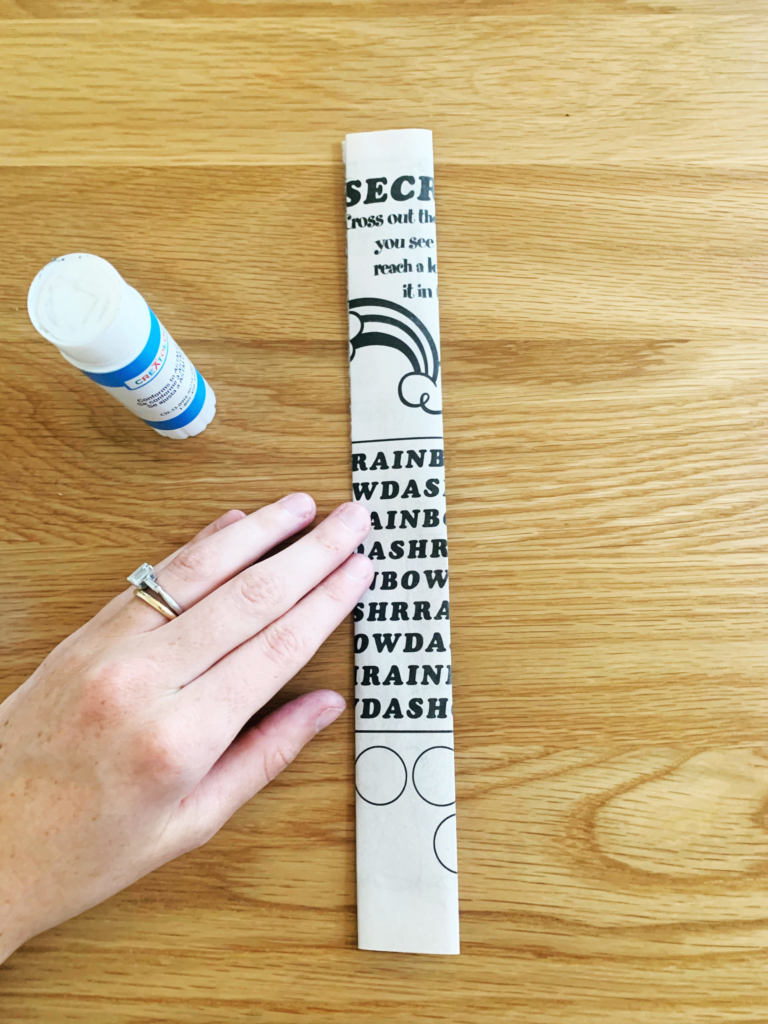
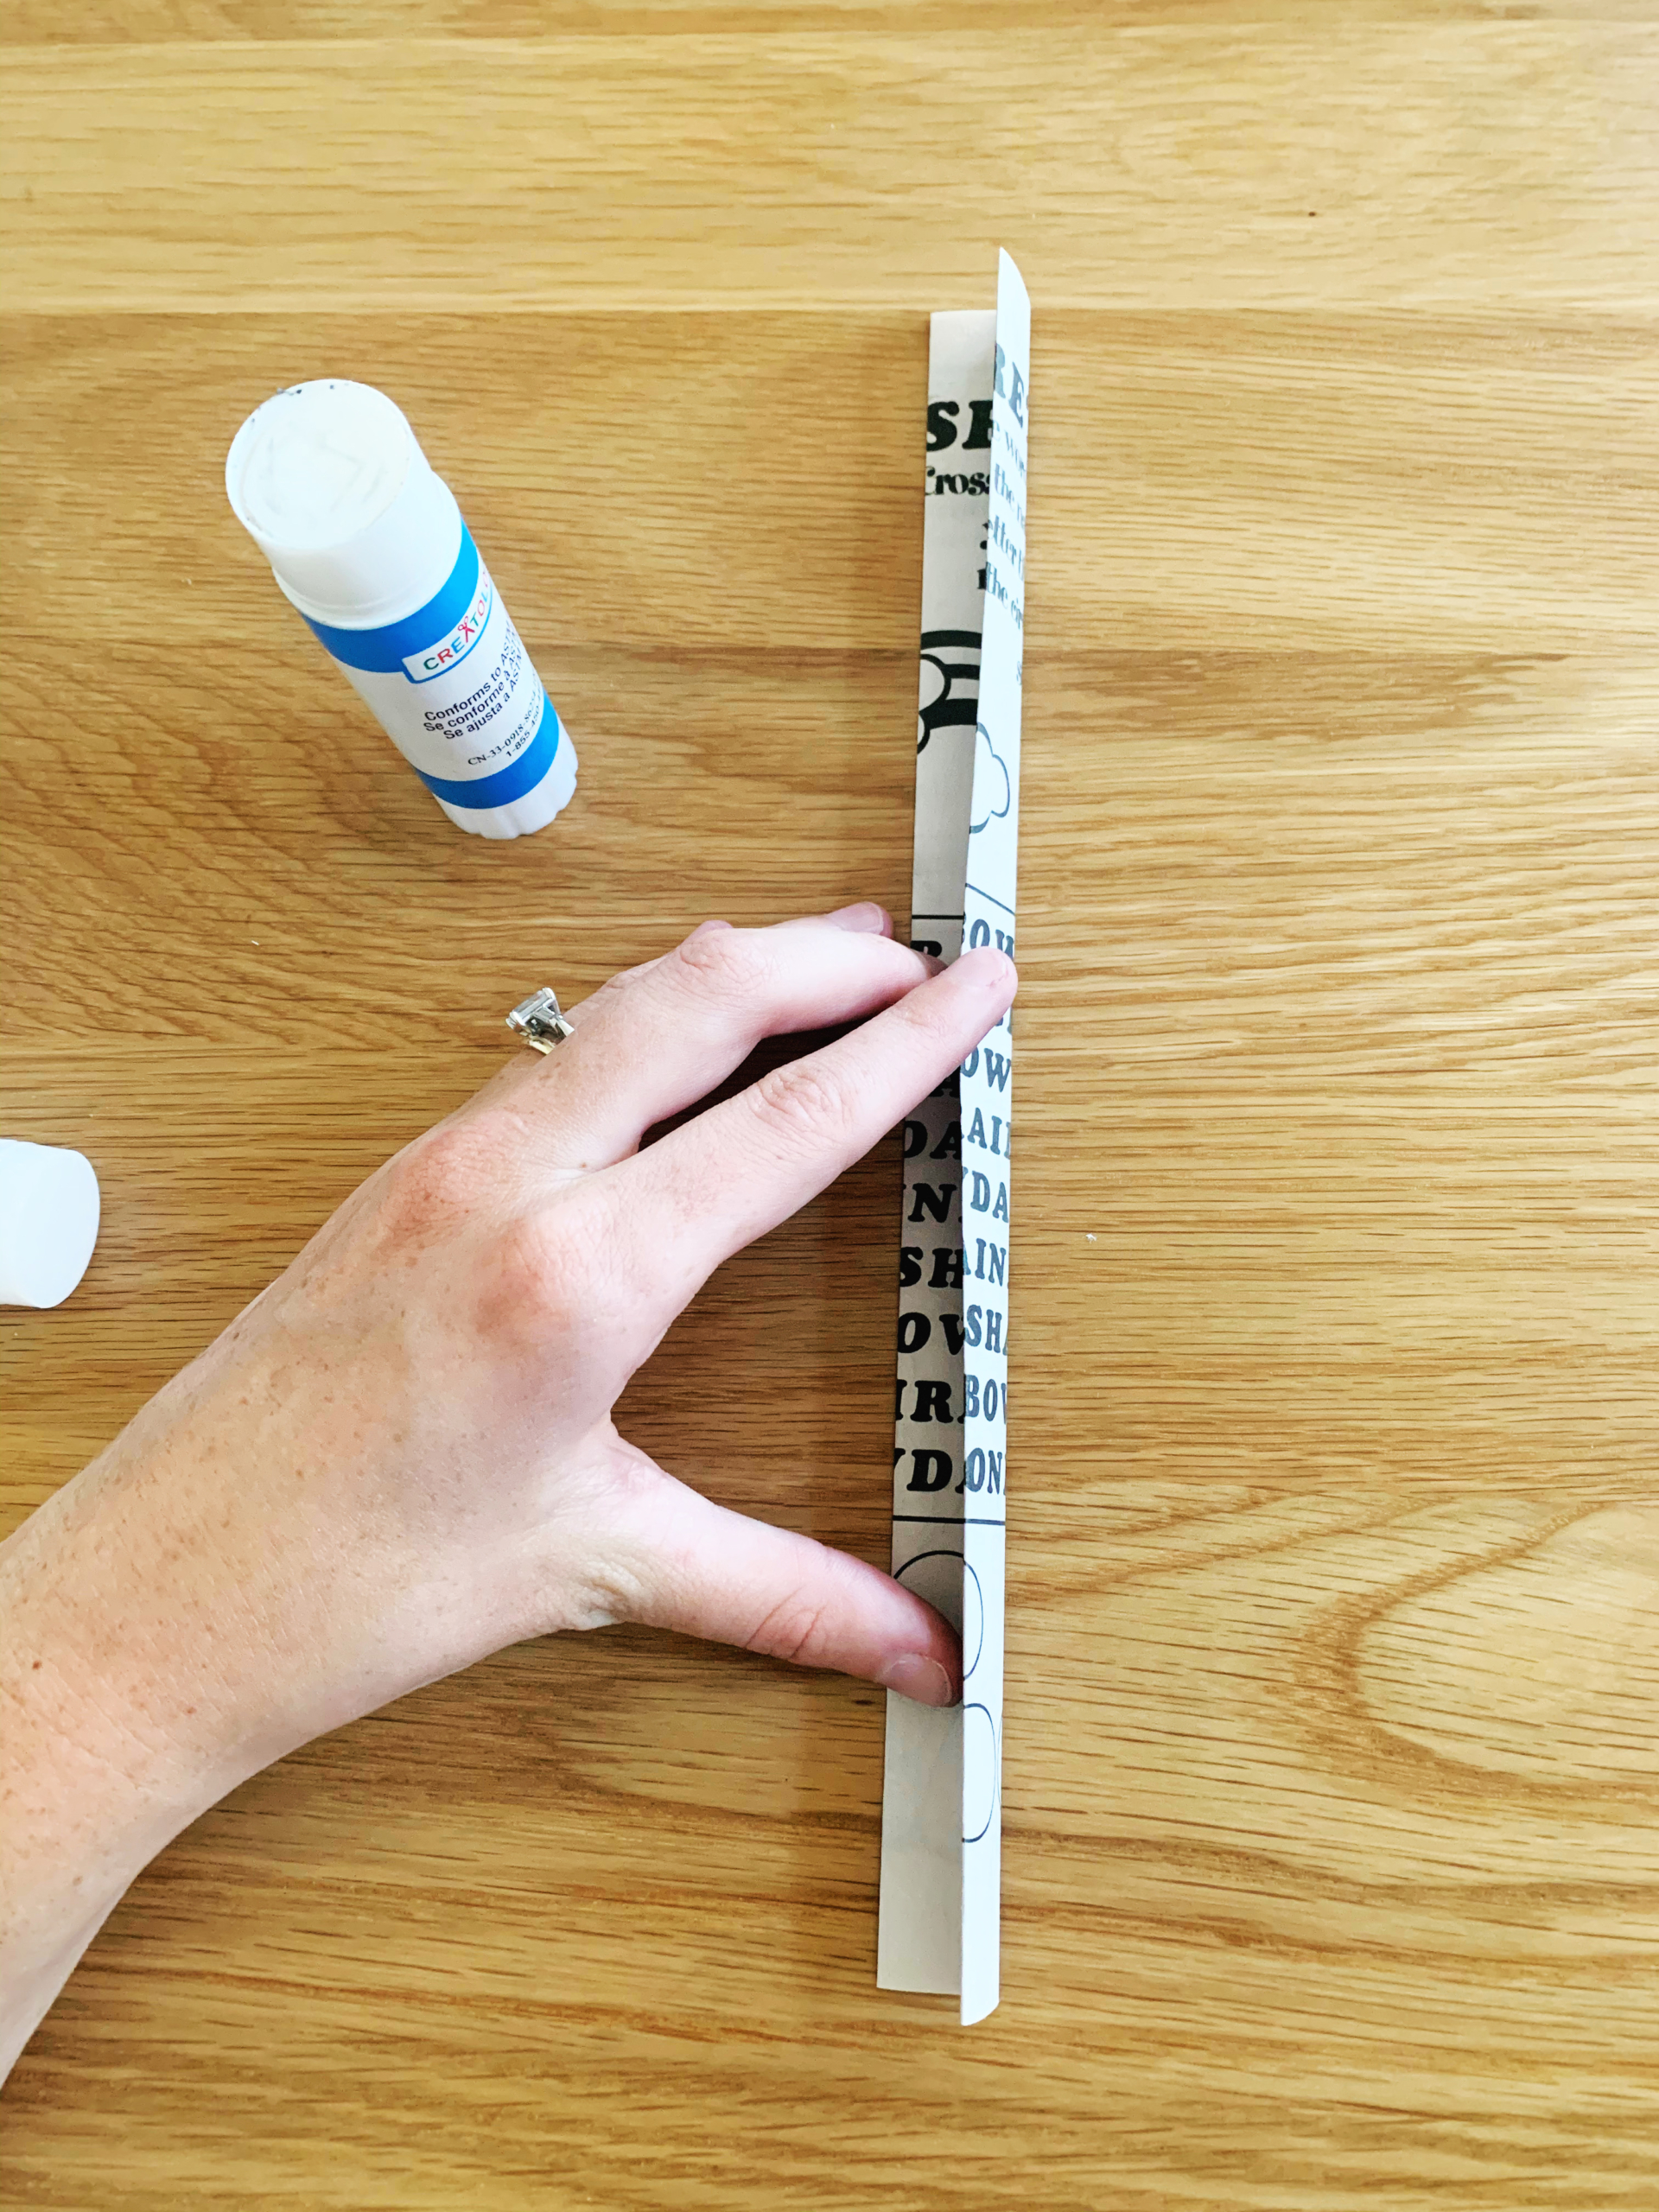
Step three: Now, run the glue stick along the side of the strip and fold it in half again, pressing down and creasing well. The strip should now be one-sixth the width of its original size. Repeat the whole process until you have 16 long, thin strips.
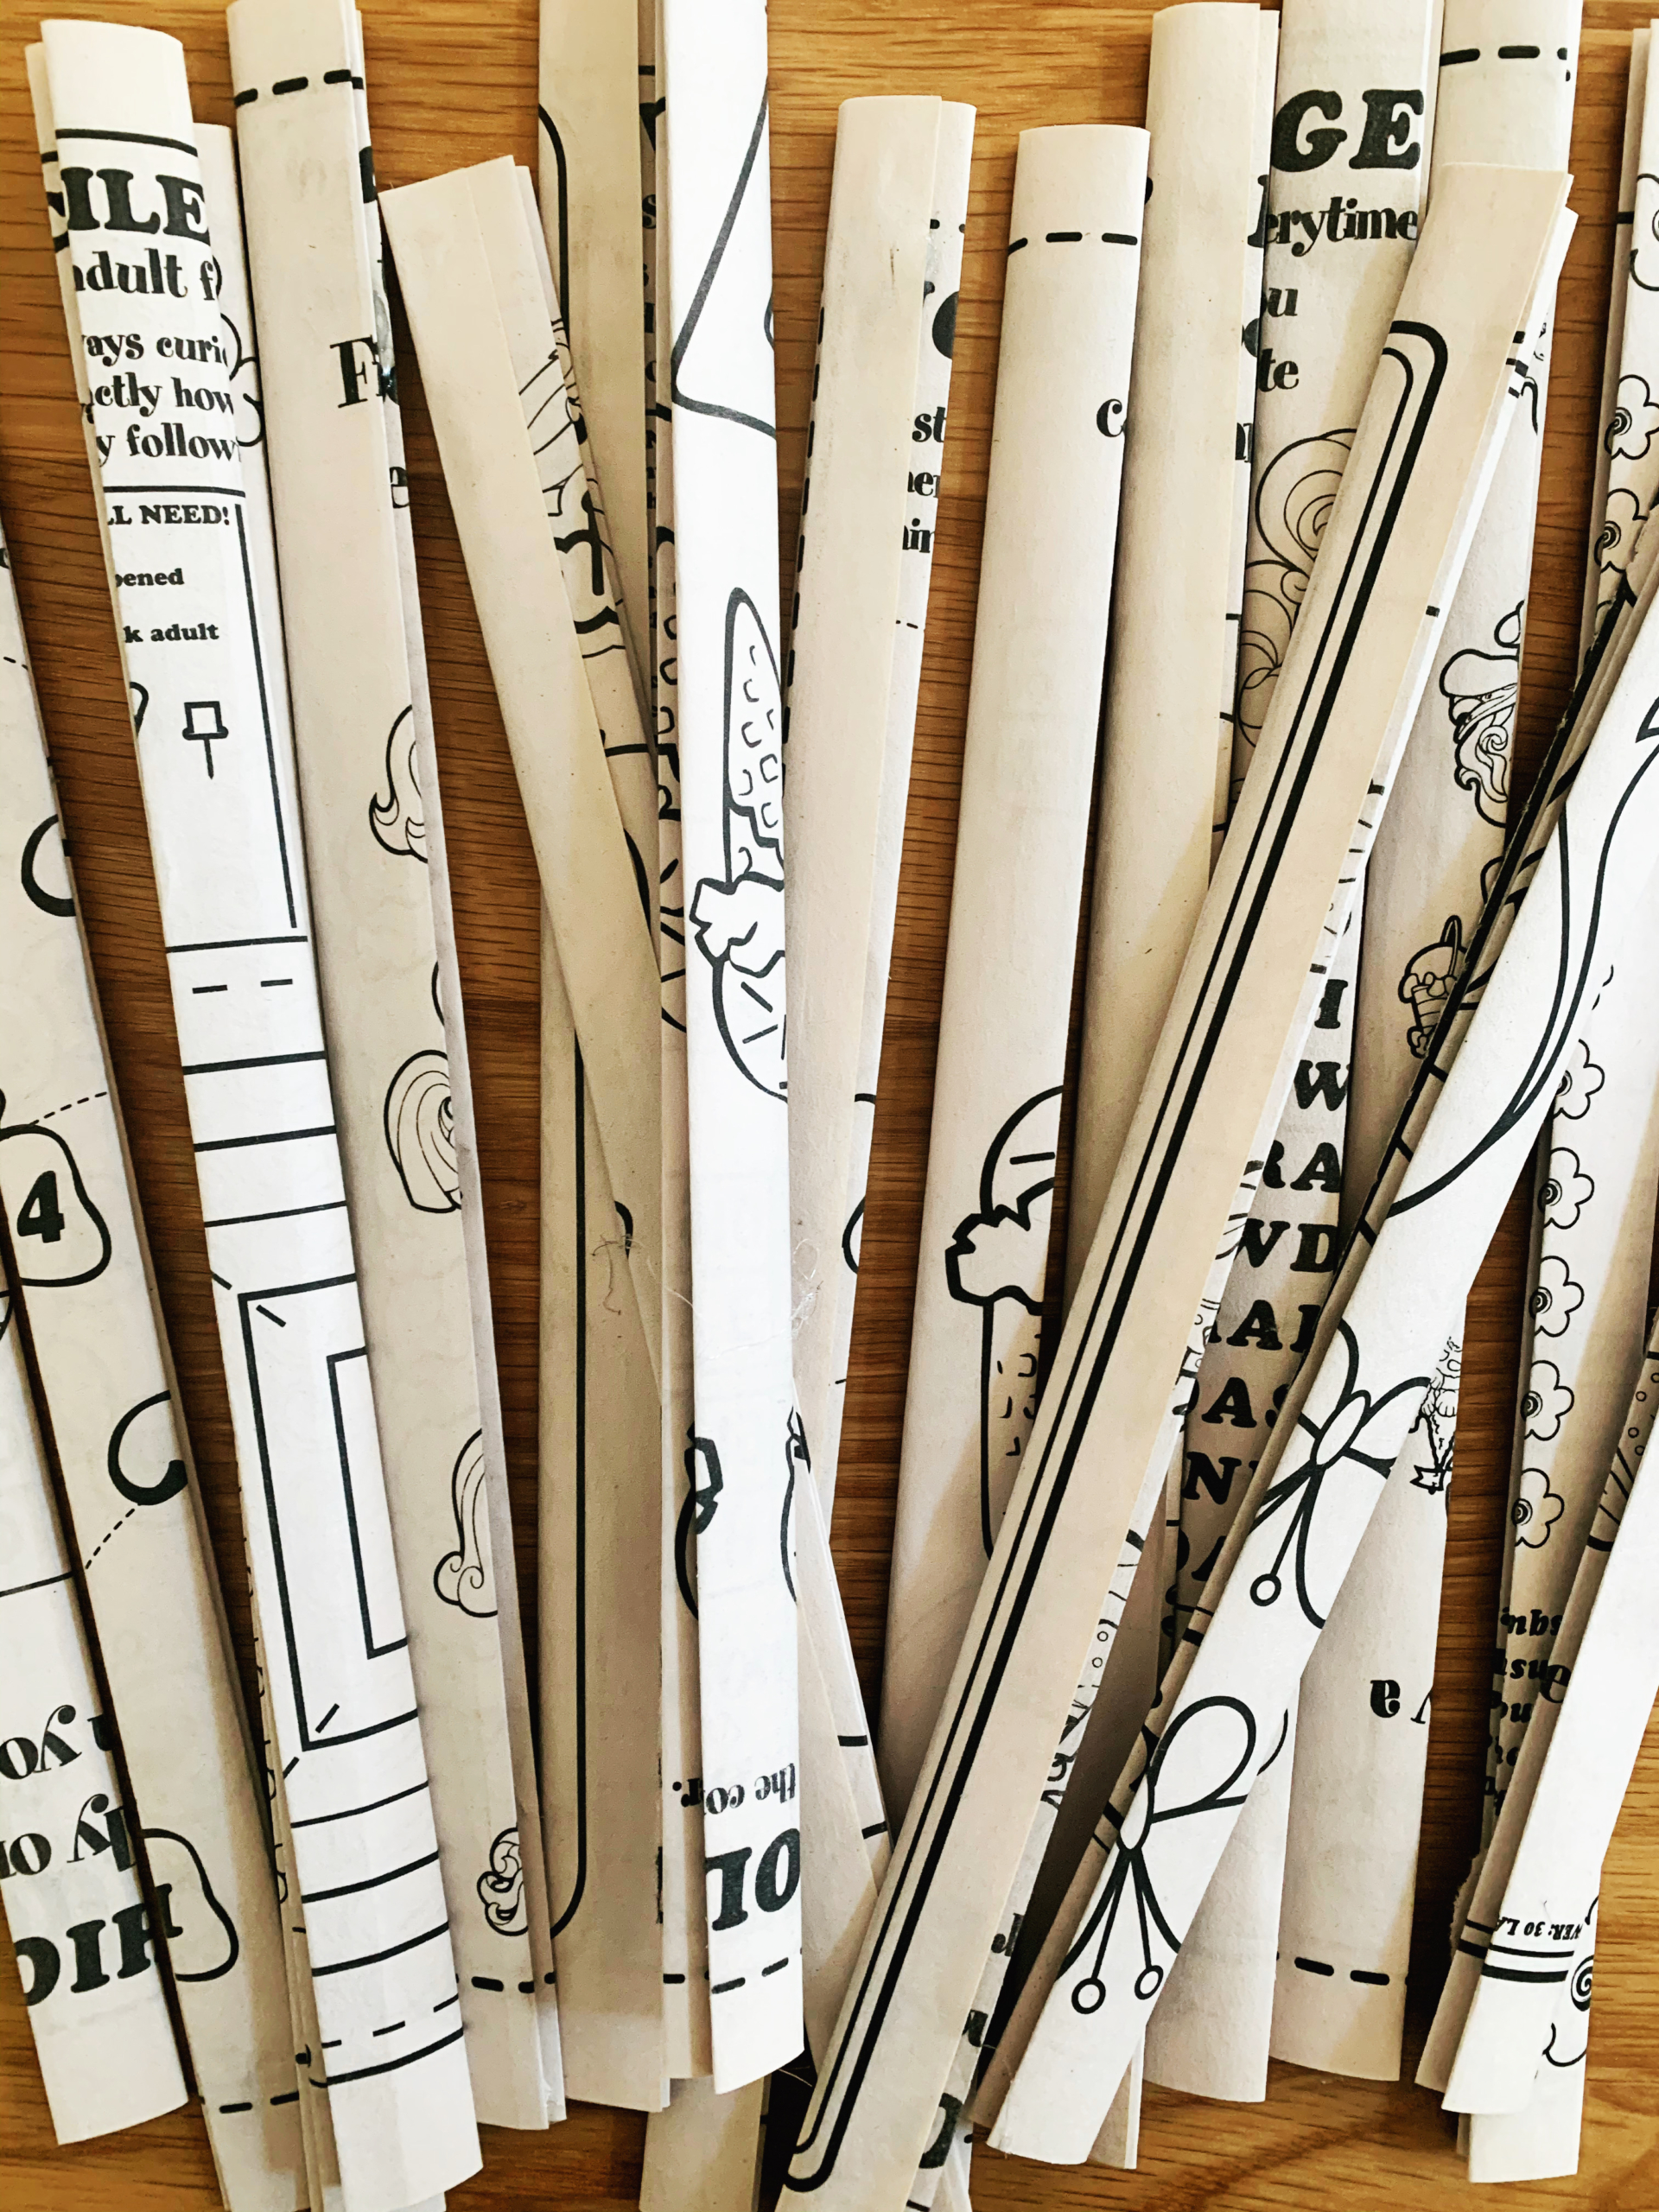
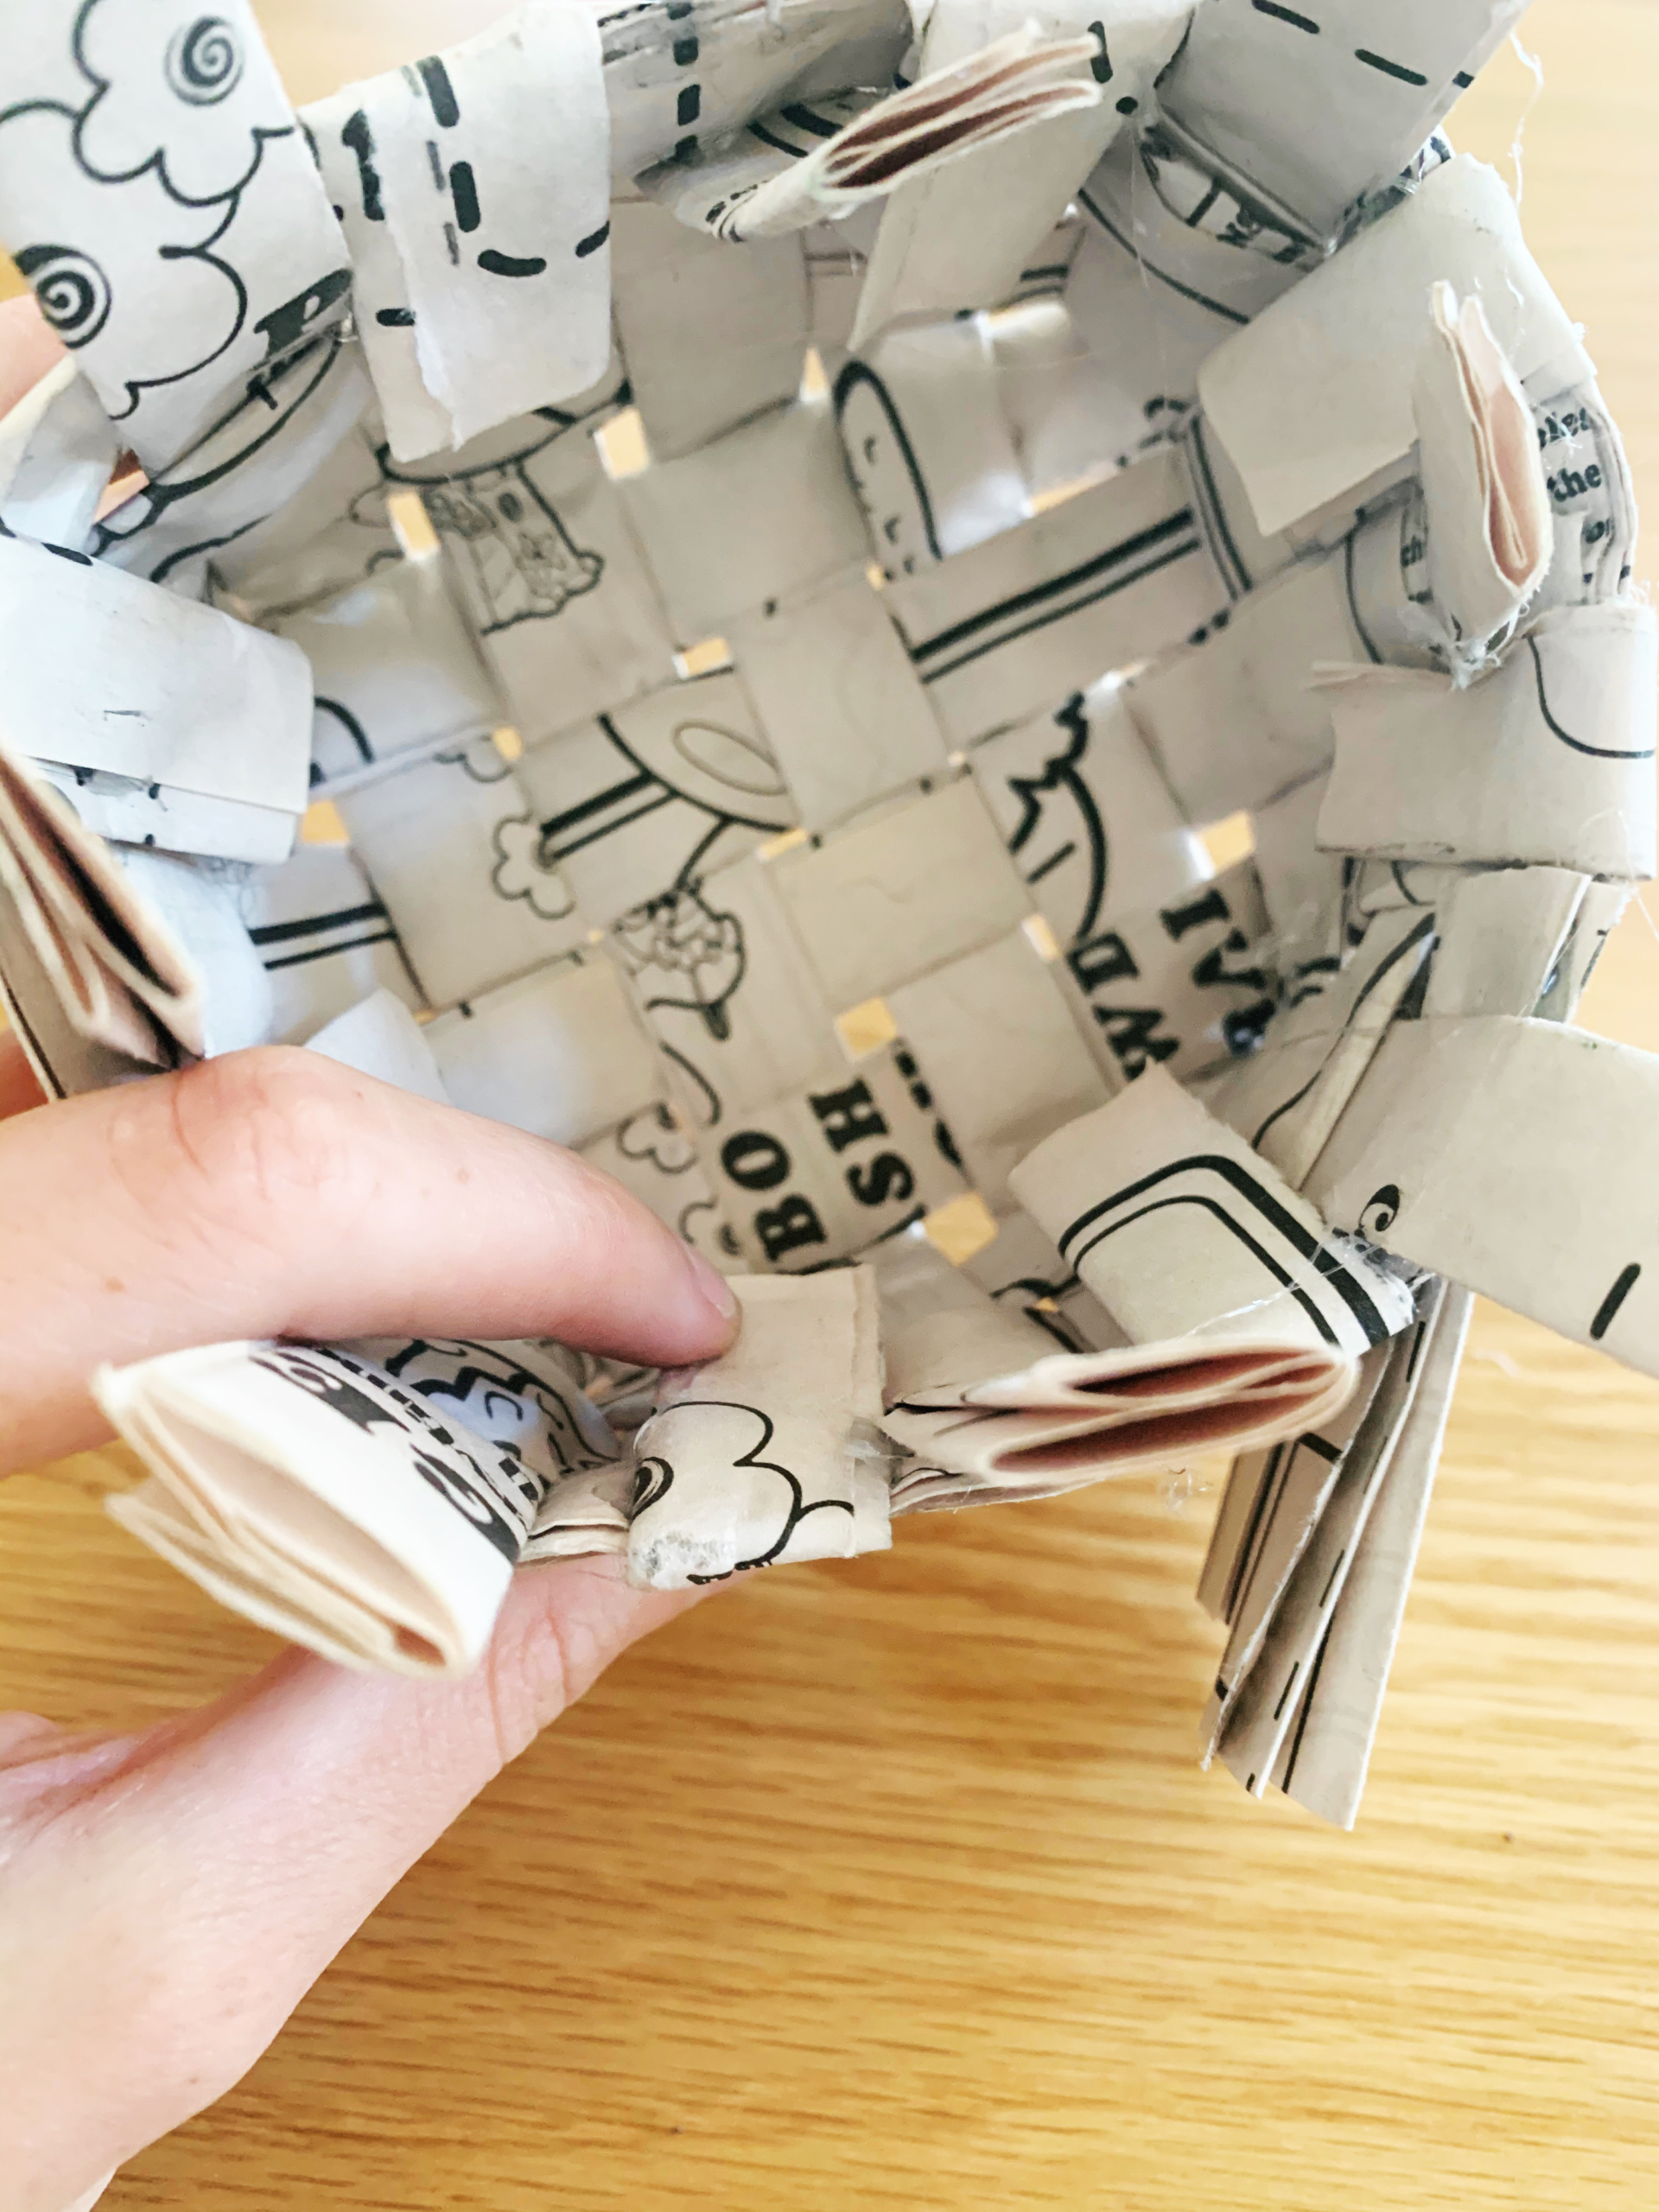
Step four: Now it’s time to construct your basket with the strips you just made. To start, place four strips vertically on the table next to each other. Taking four more strips, weave each horizontally through the strips on the table, one by one, going over and under the vertical strips. Important: Each new strip should follow the opposite path of the one above it.
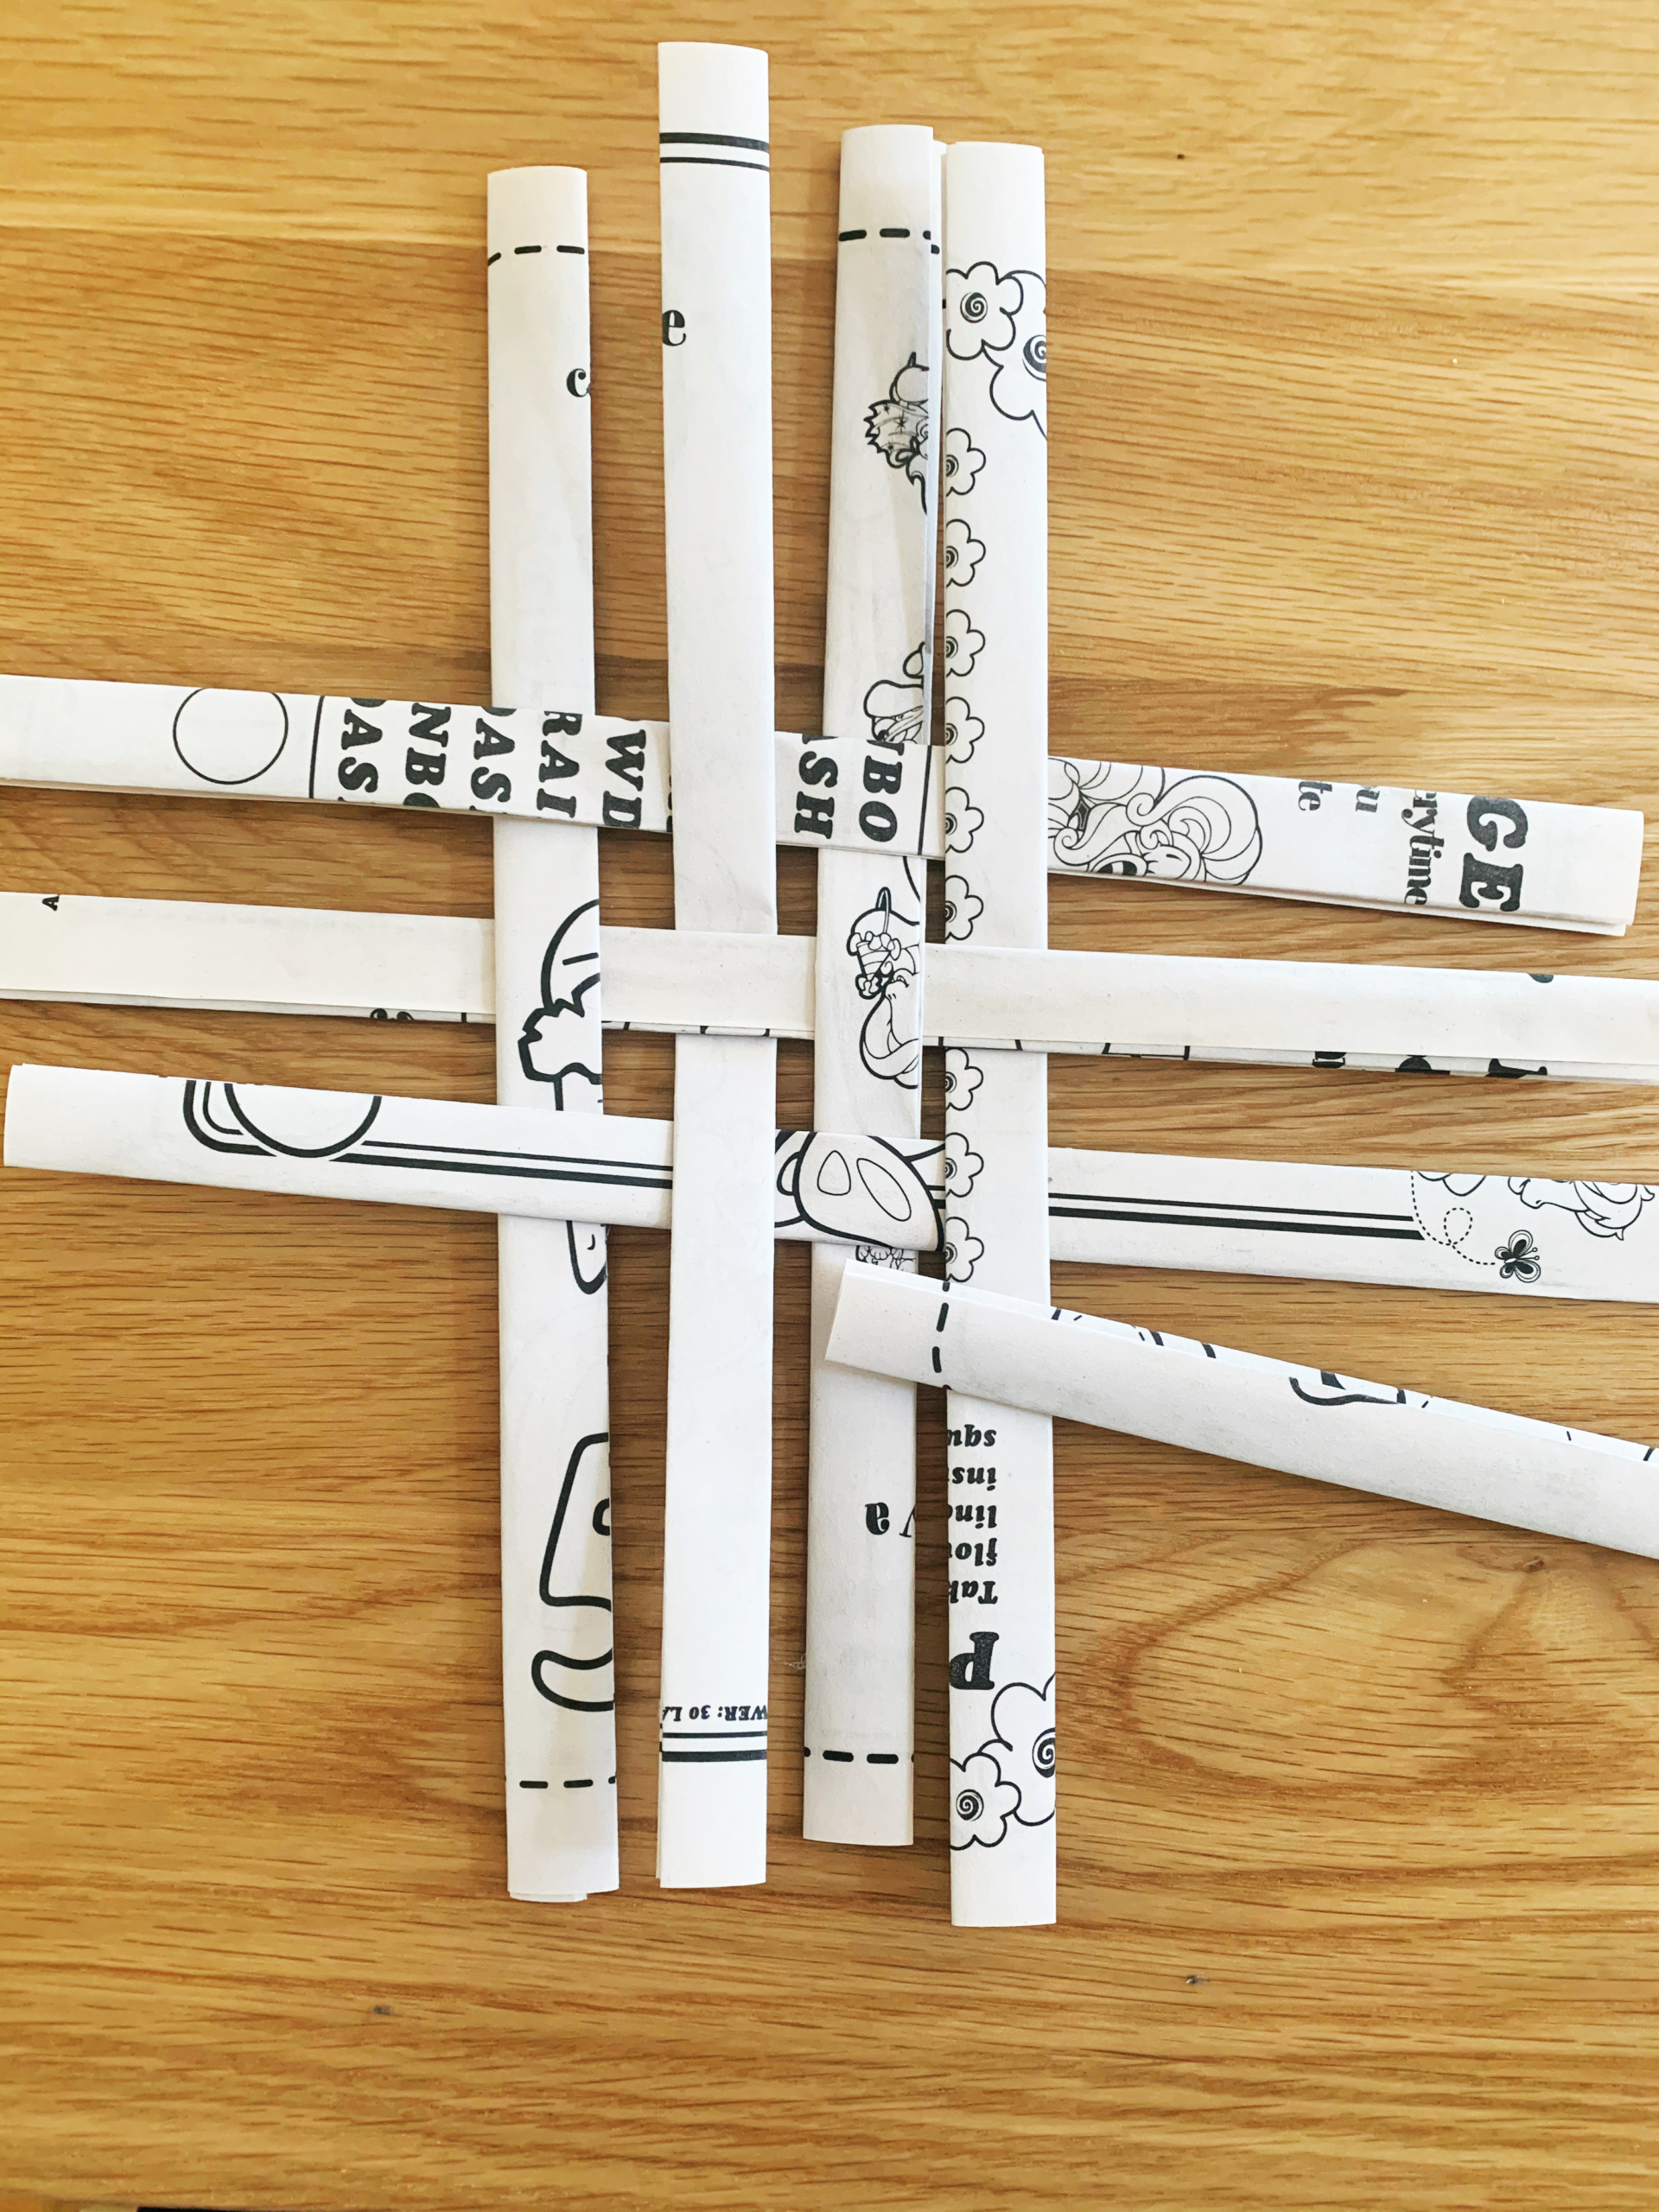
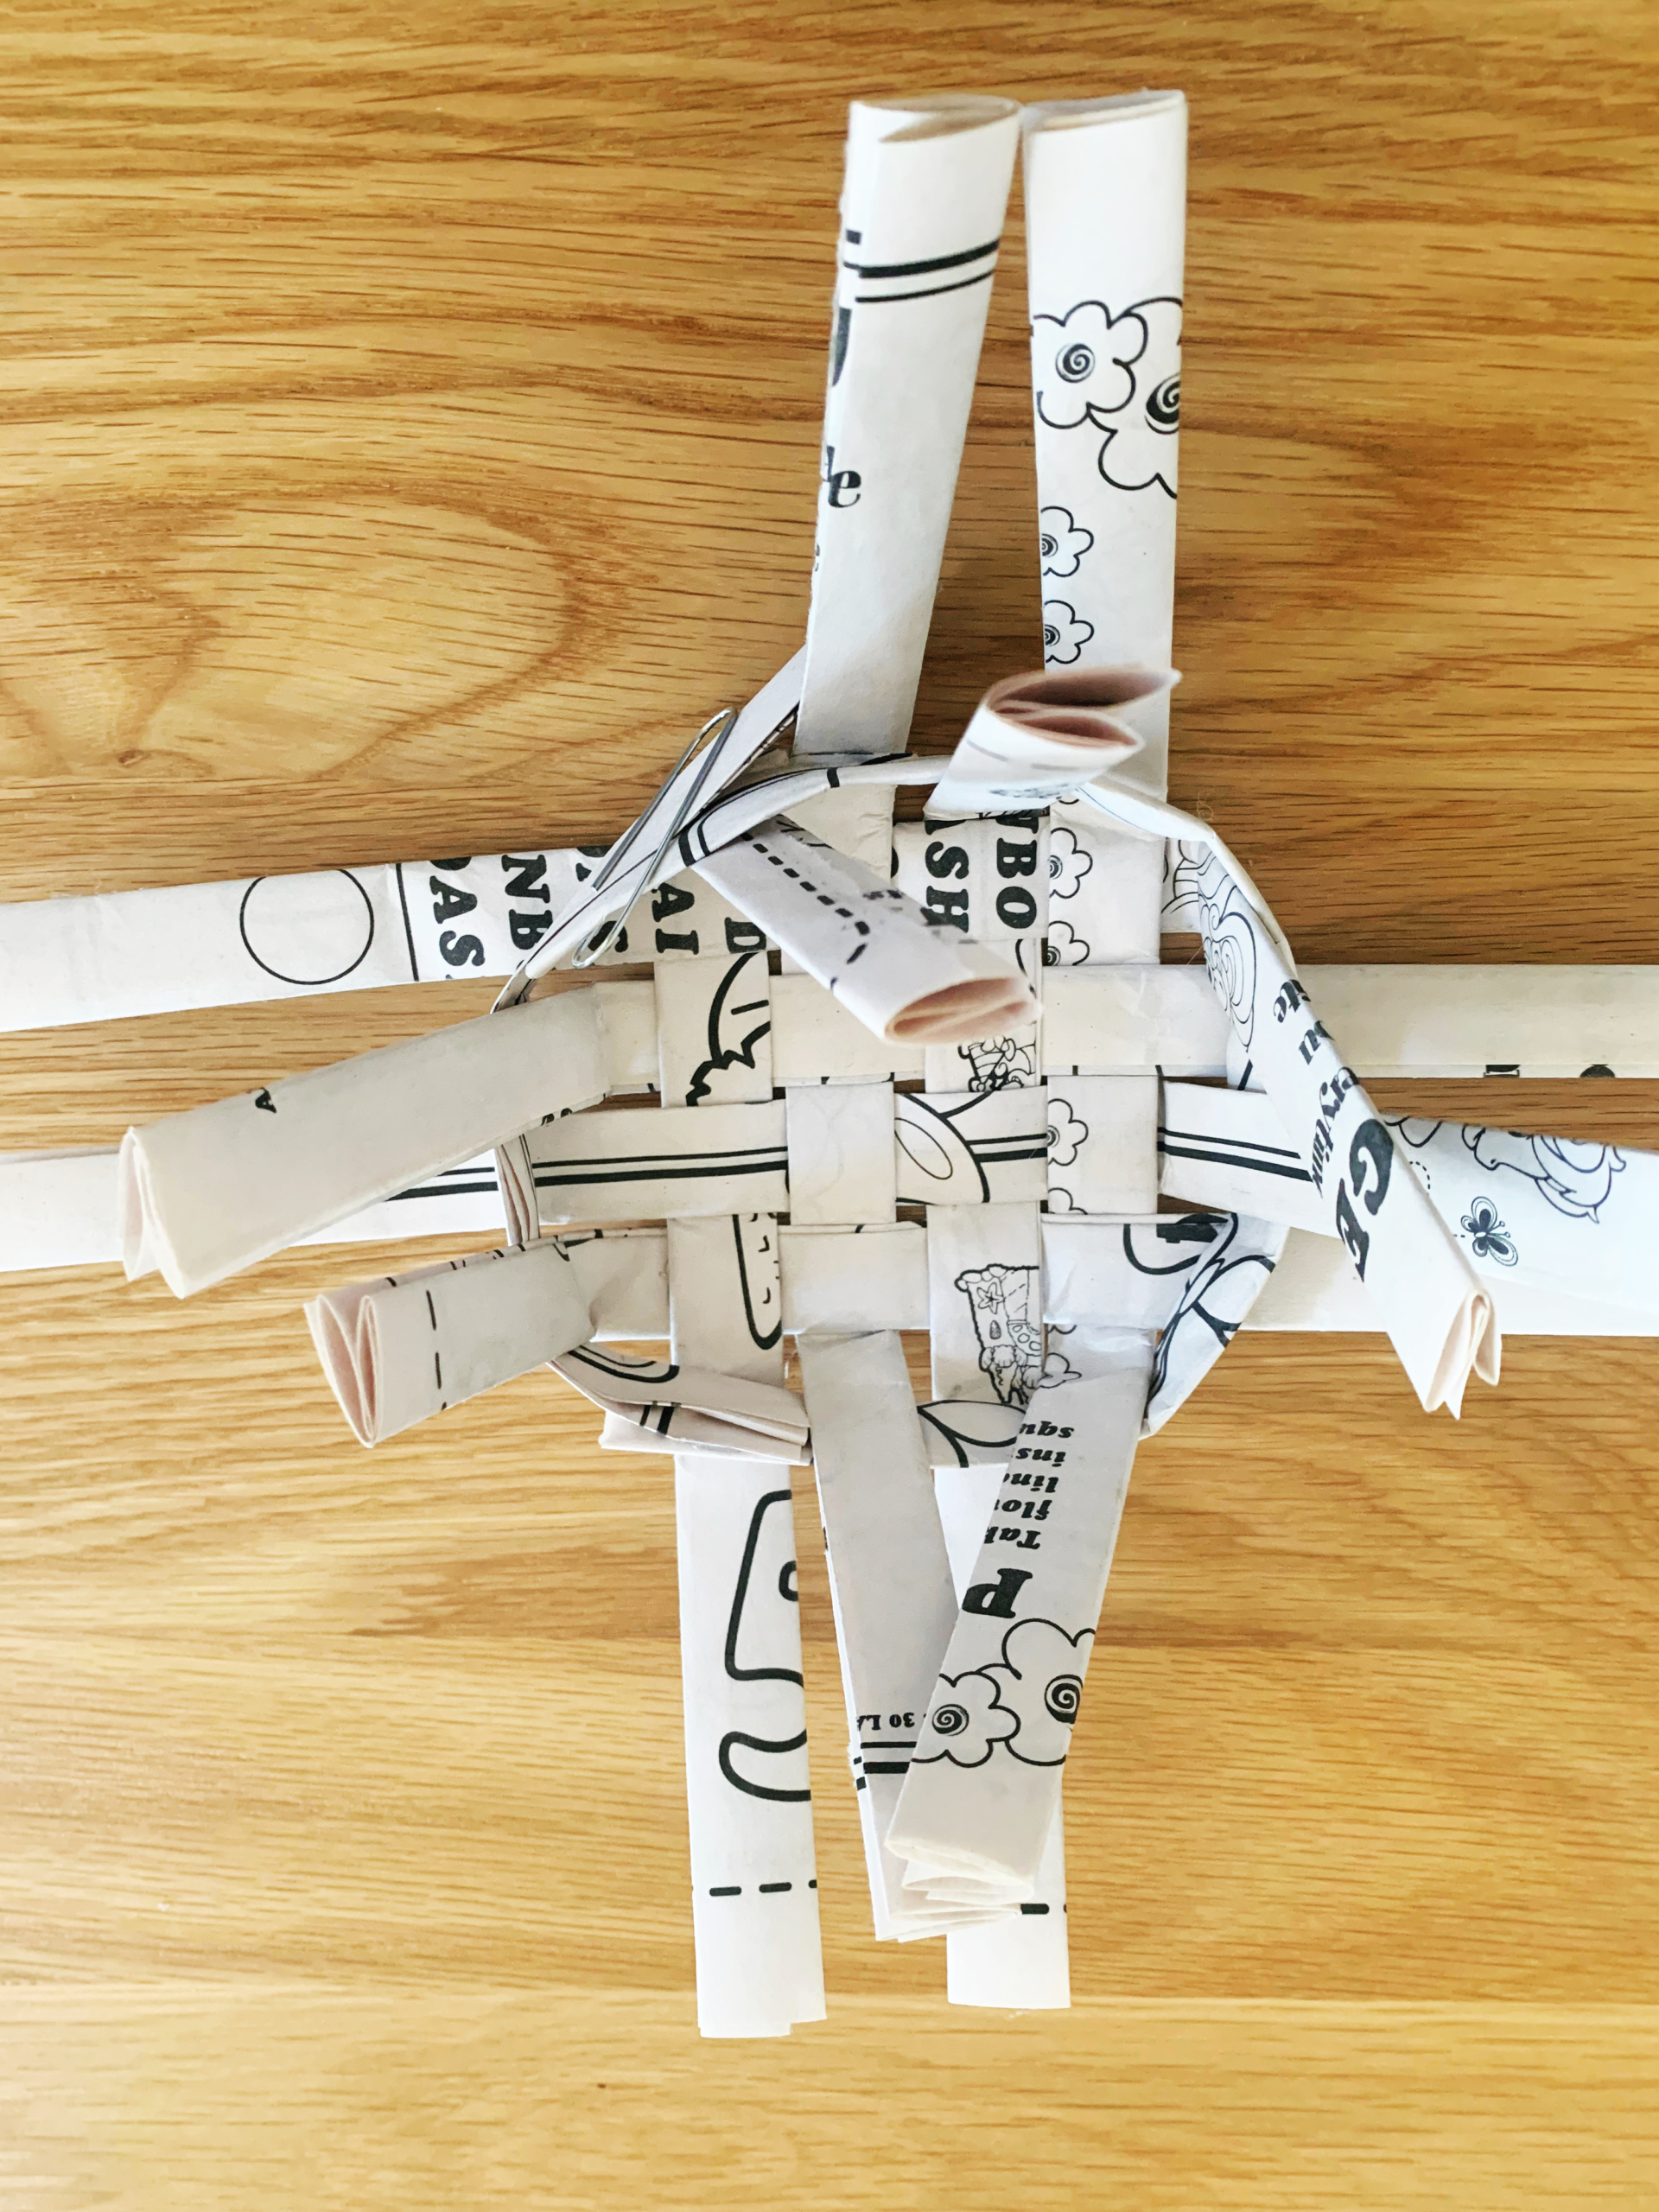
Step five: After you have woven those eight strips together, gently push the edges together, creating a small, tightly woven square. Make sure the edges are all neatly aligned.
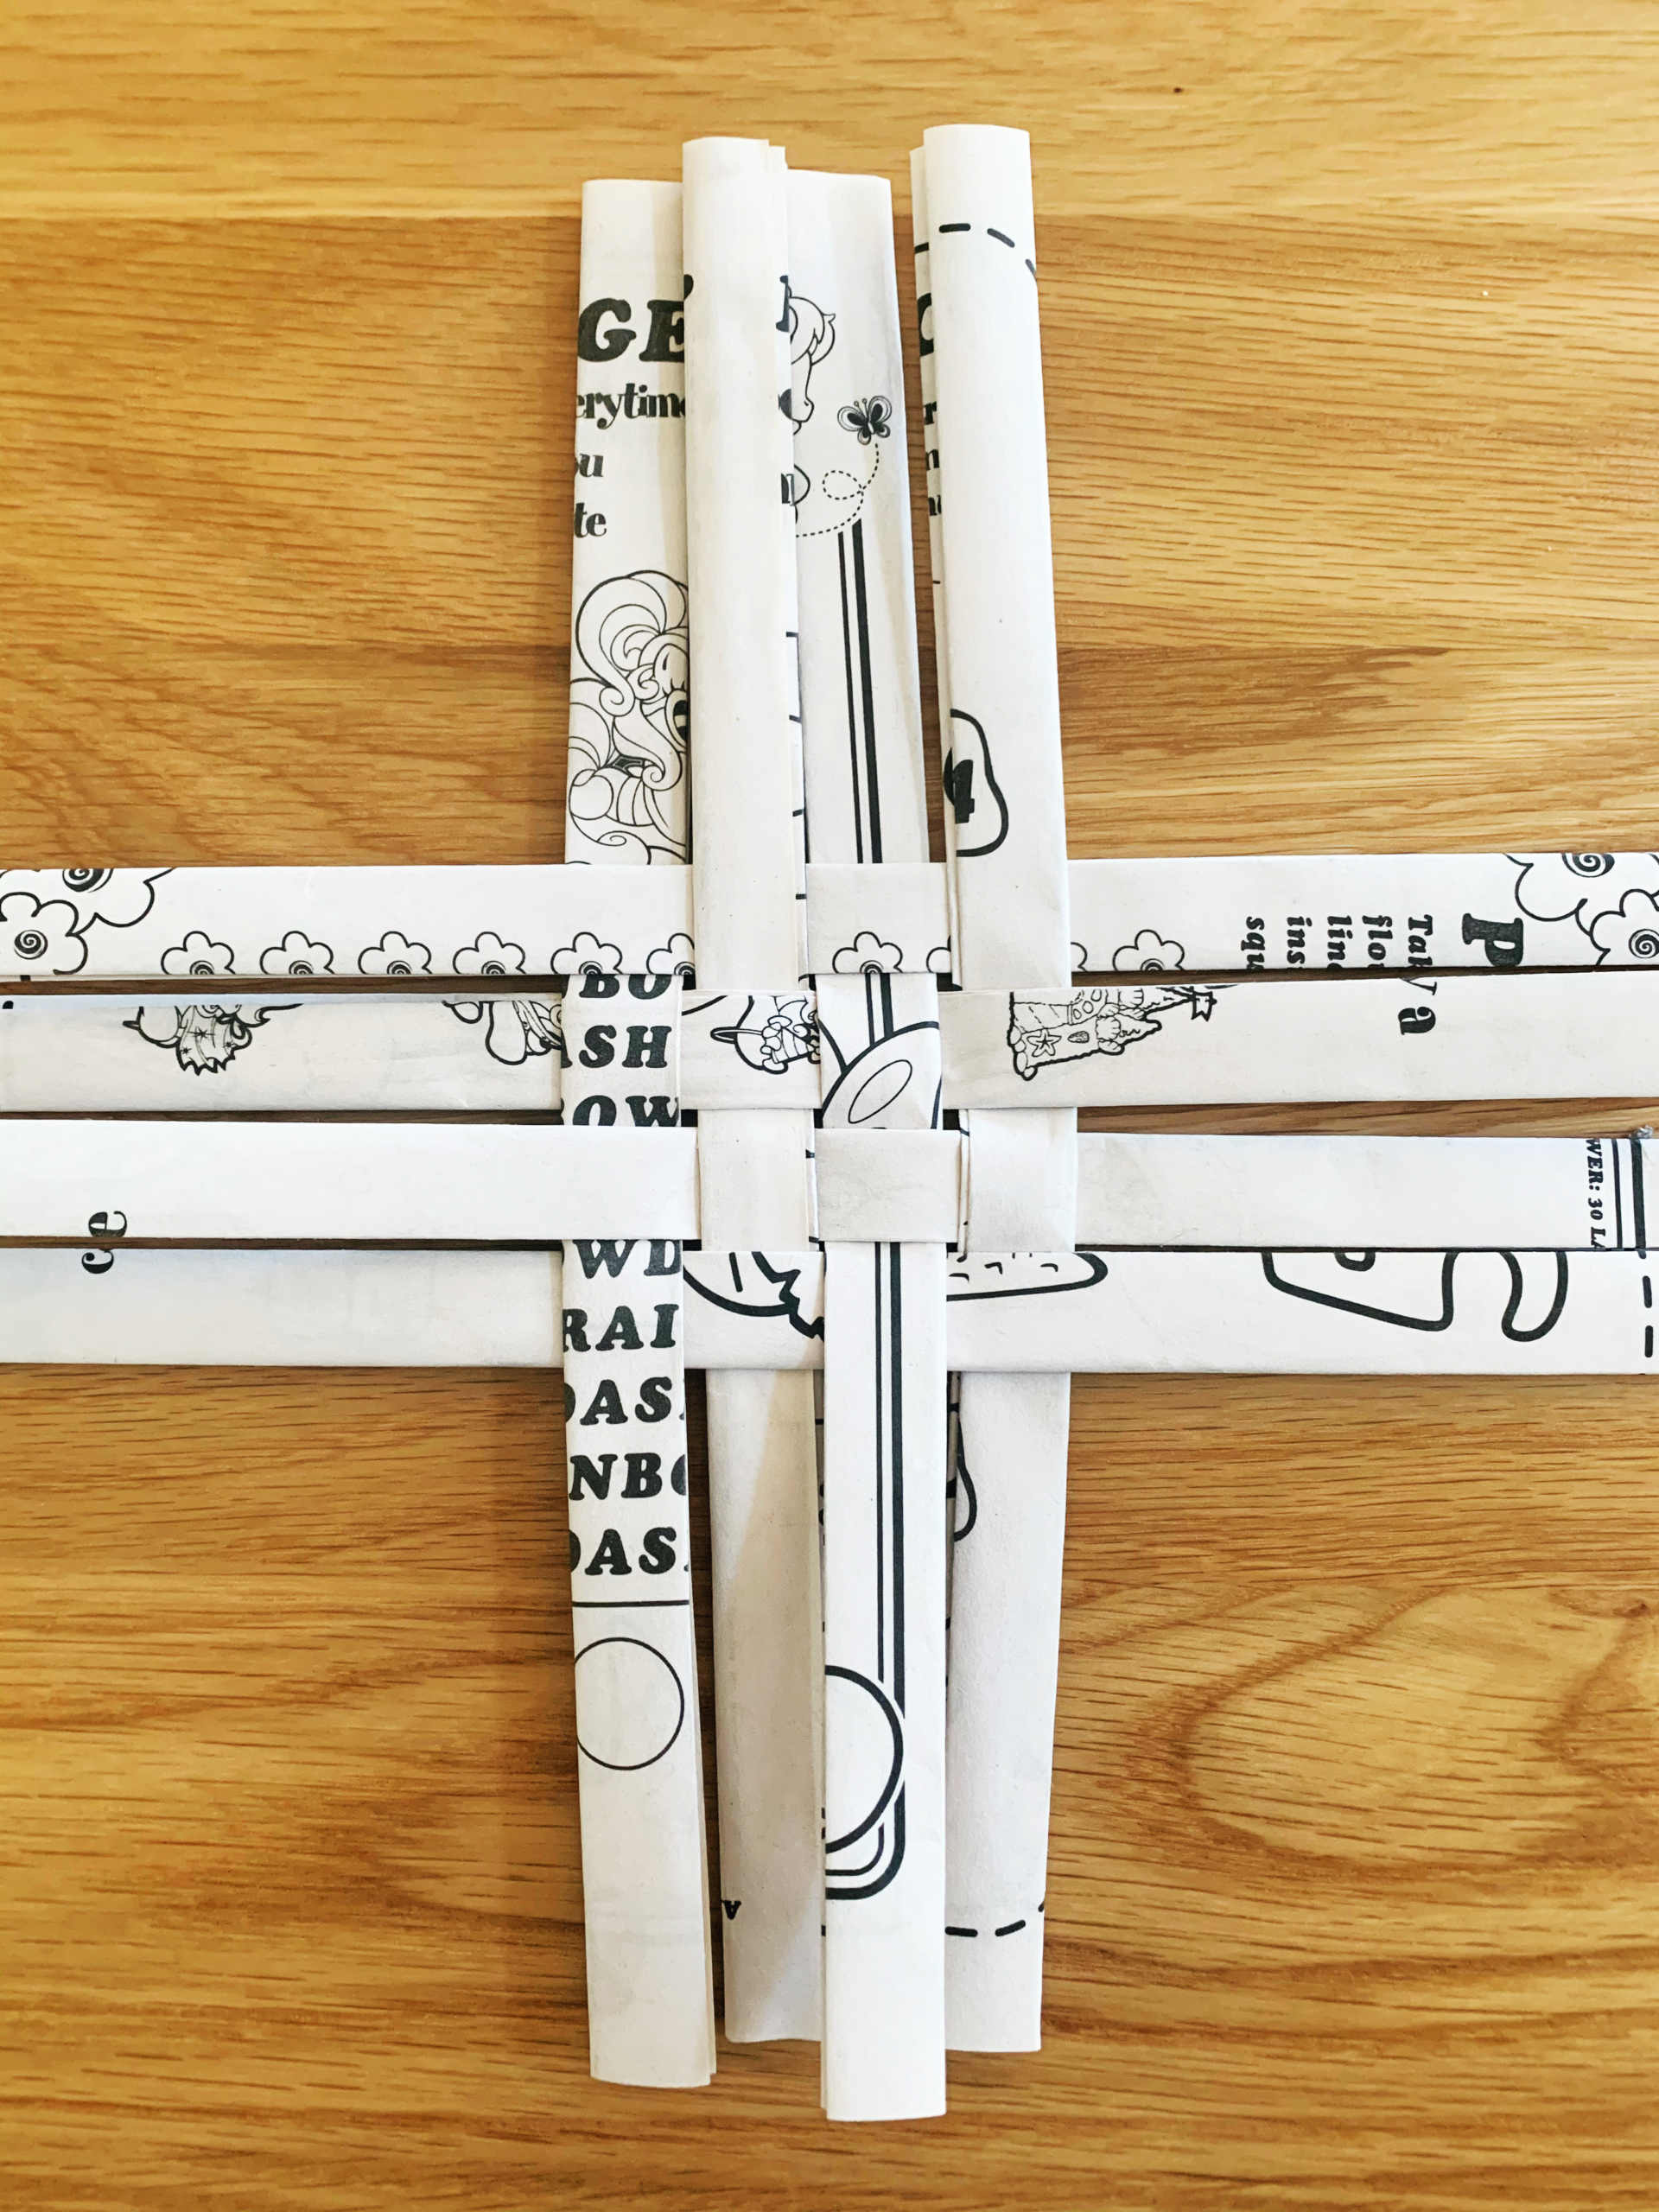
Step six: Once you’re happy with the placement of the strips, glue the pieces of paper on the strips together in the four corners of the square, to secure what will be the base of your basket.
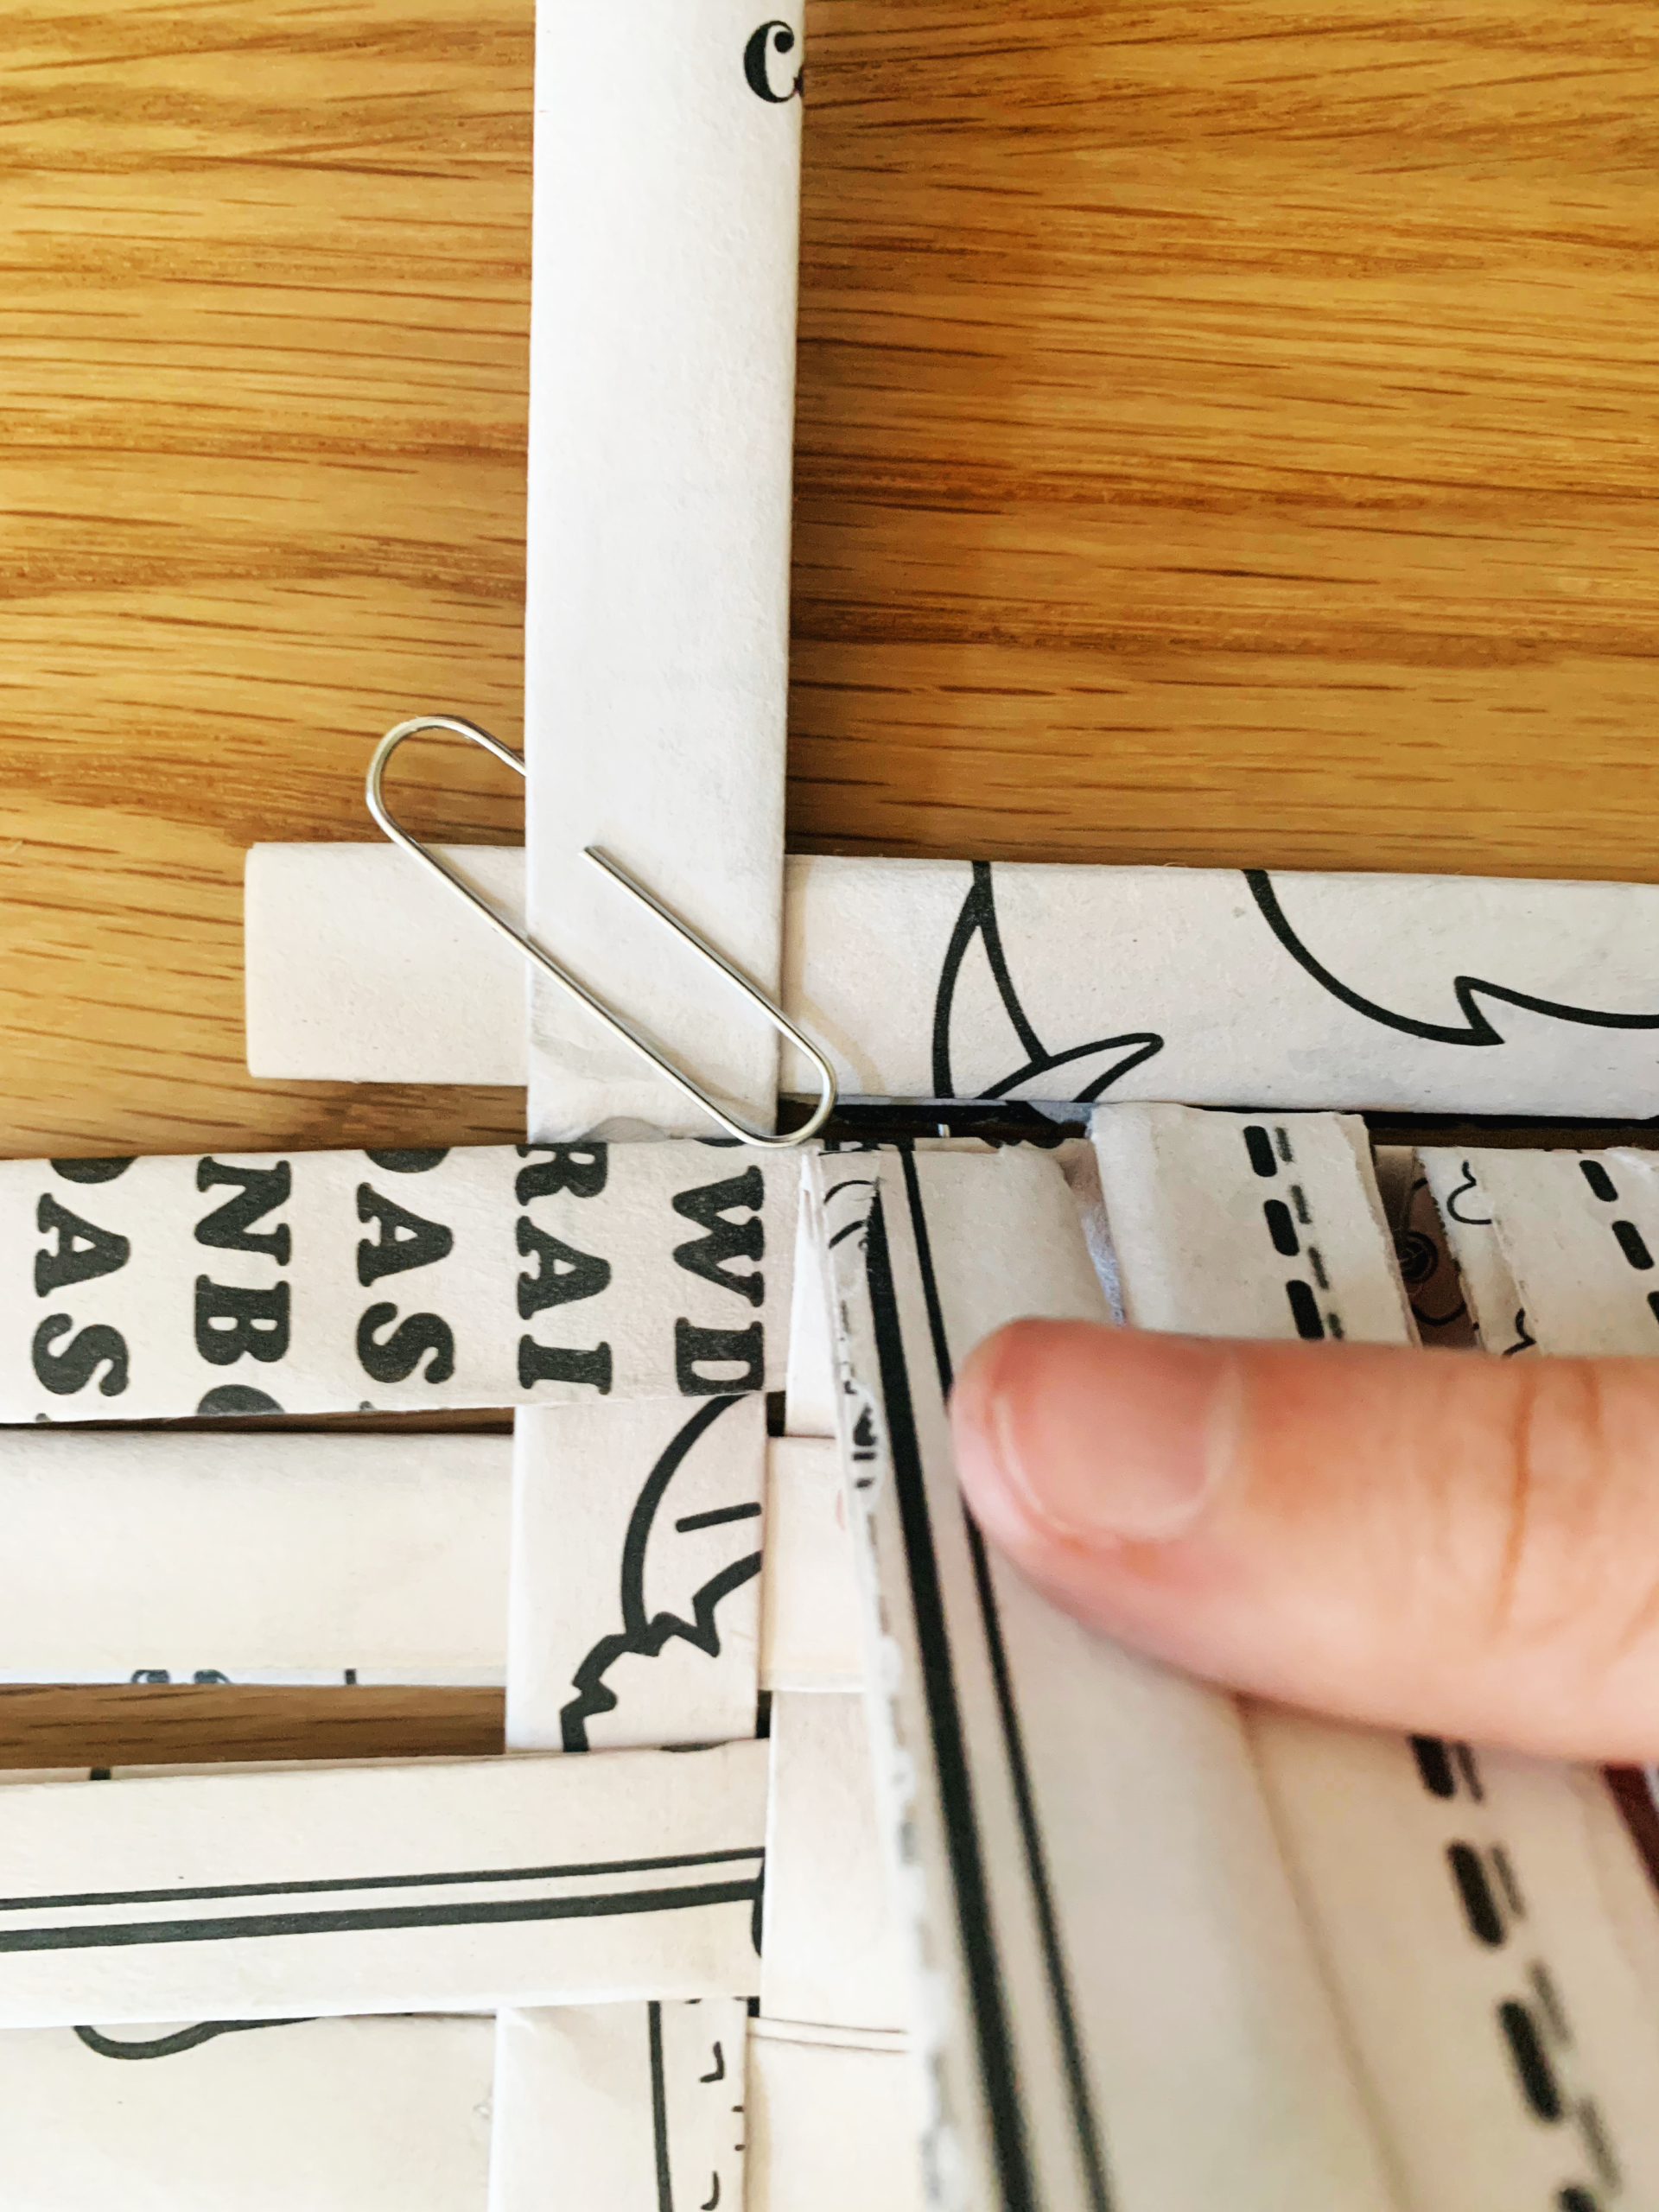
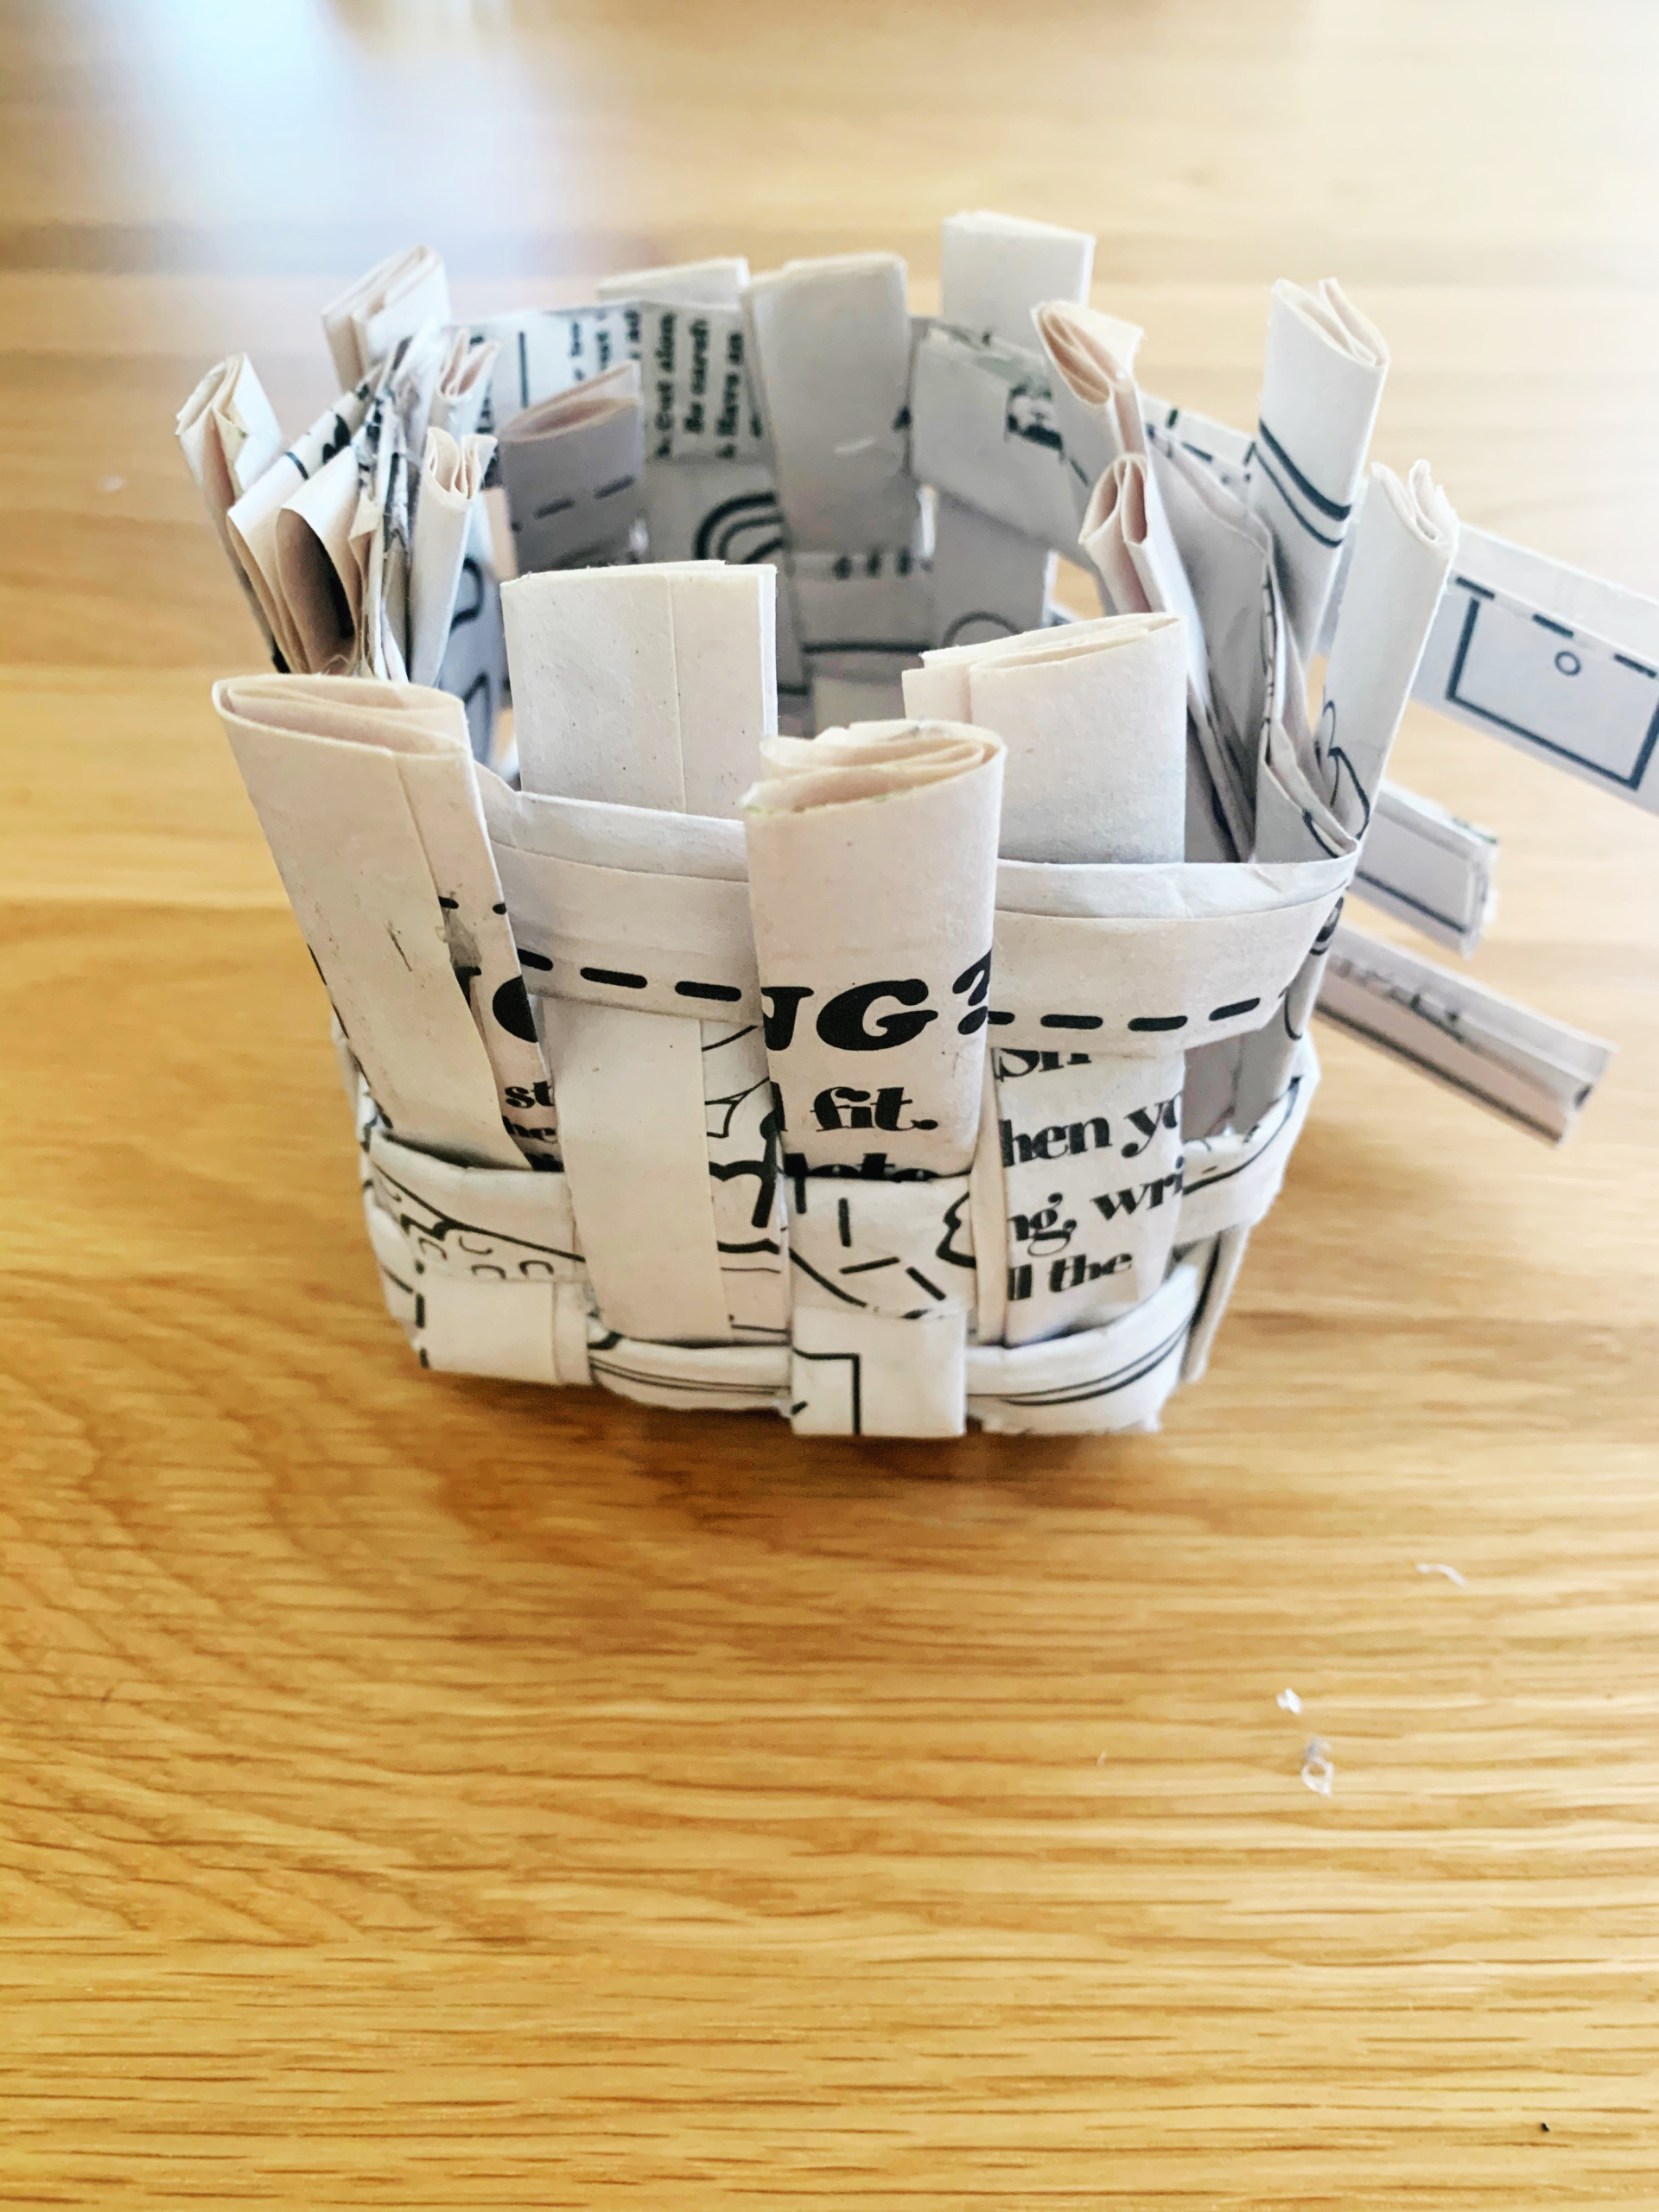
Step seven: Now that you have made your base, it’s time to start building up the edges of your basket. Add a new horizontal strip on top of the base, with about a half inch of the strip sticking out beyond the base, to the left, and secure the new strip to the first vertical strip with your paper clip. Then weave the new strip over and under each of the four vertical strips, bending every other strip upward as you go. Pro tip: This first round is the hardest! I promise it only gets easier once your box has a shape. And don’t worry about the extra portion of the strip hanging off the side–you will get rid of this part later on!
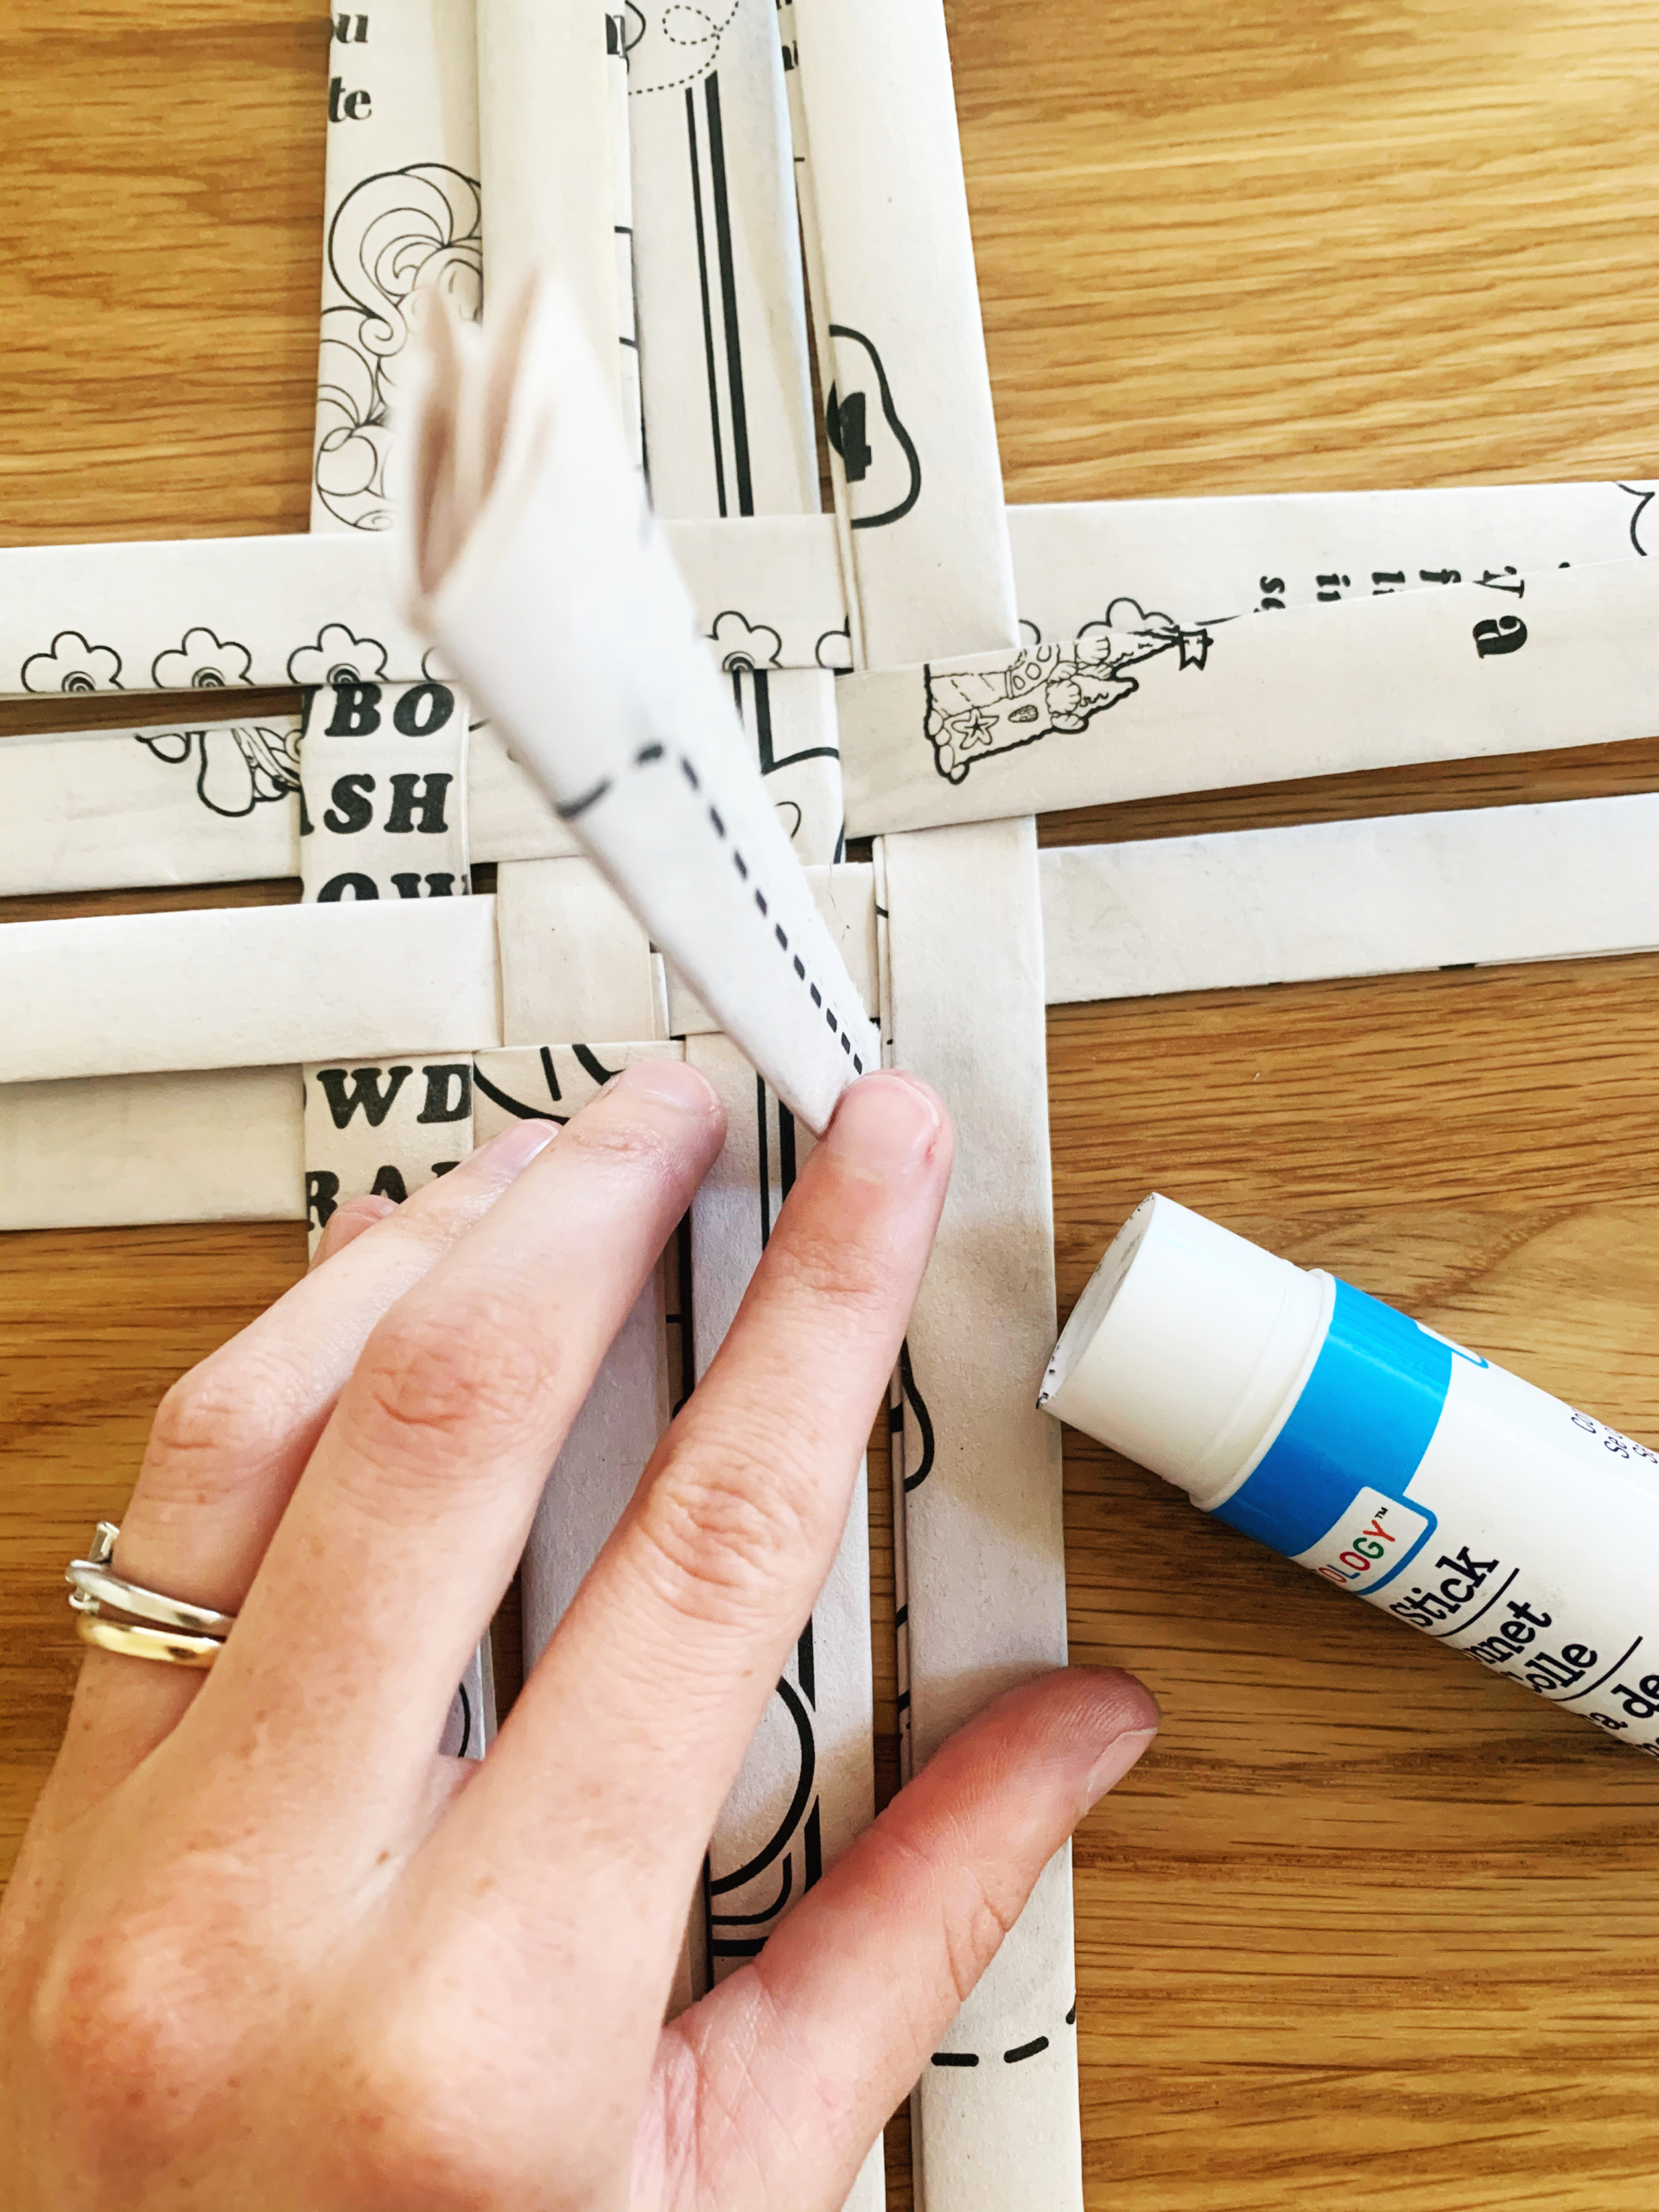
Step eight: Continue weaving until you’ve gone all the way around, turning and creasing at the corners to help make the box’s shape. To secure the strip in place and make your box even sturdier, remove the paper clip, put a small amount of glue on the tab that you left sticking out at the start, and then press it against the corner to finish the square. Tip: Depending on the size of your workbook page, you might need two strips to make it all the way around the box. If so, don’t worry! When you are getting close to the end of a strip, take another strip, overlap and glue the pieces together, and then just keep weaving around the edge.
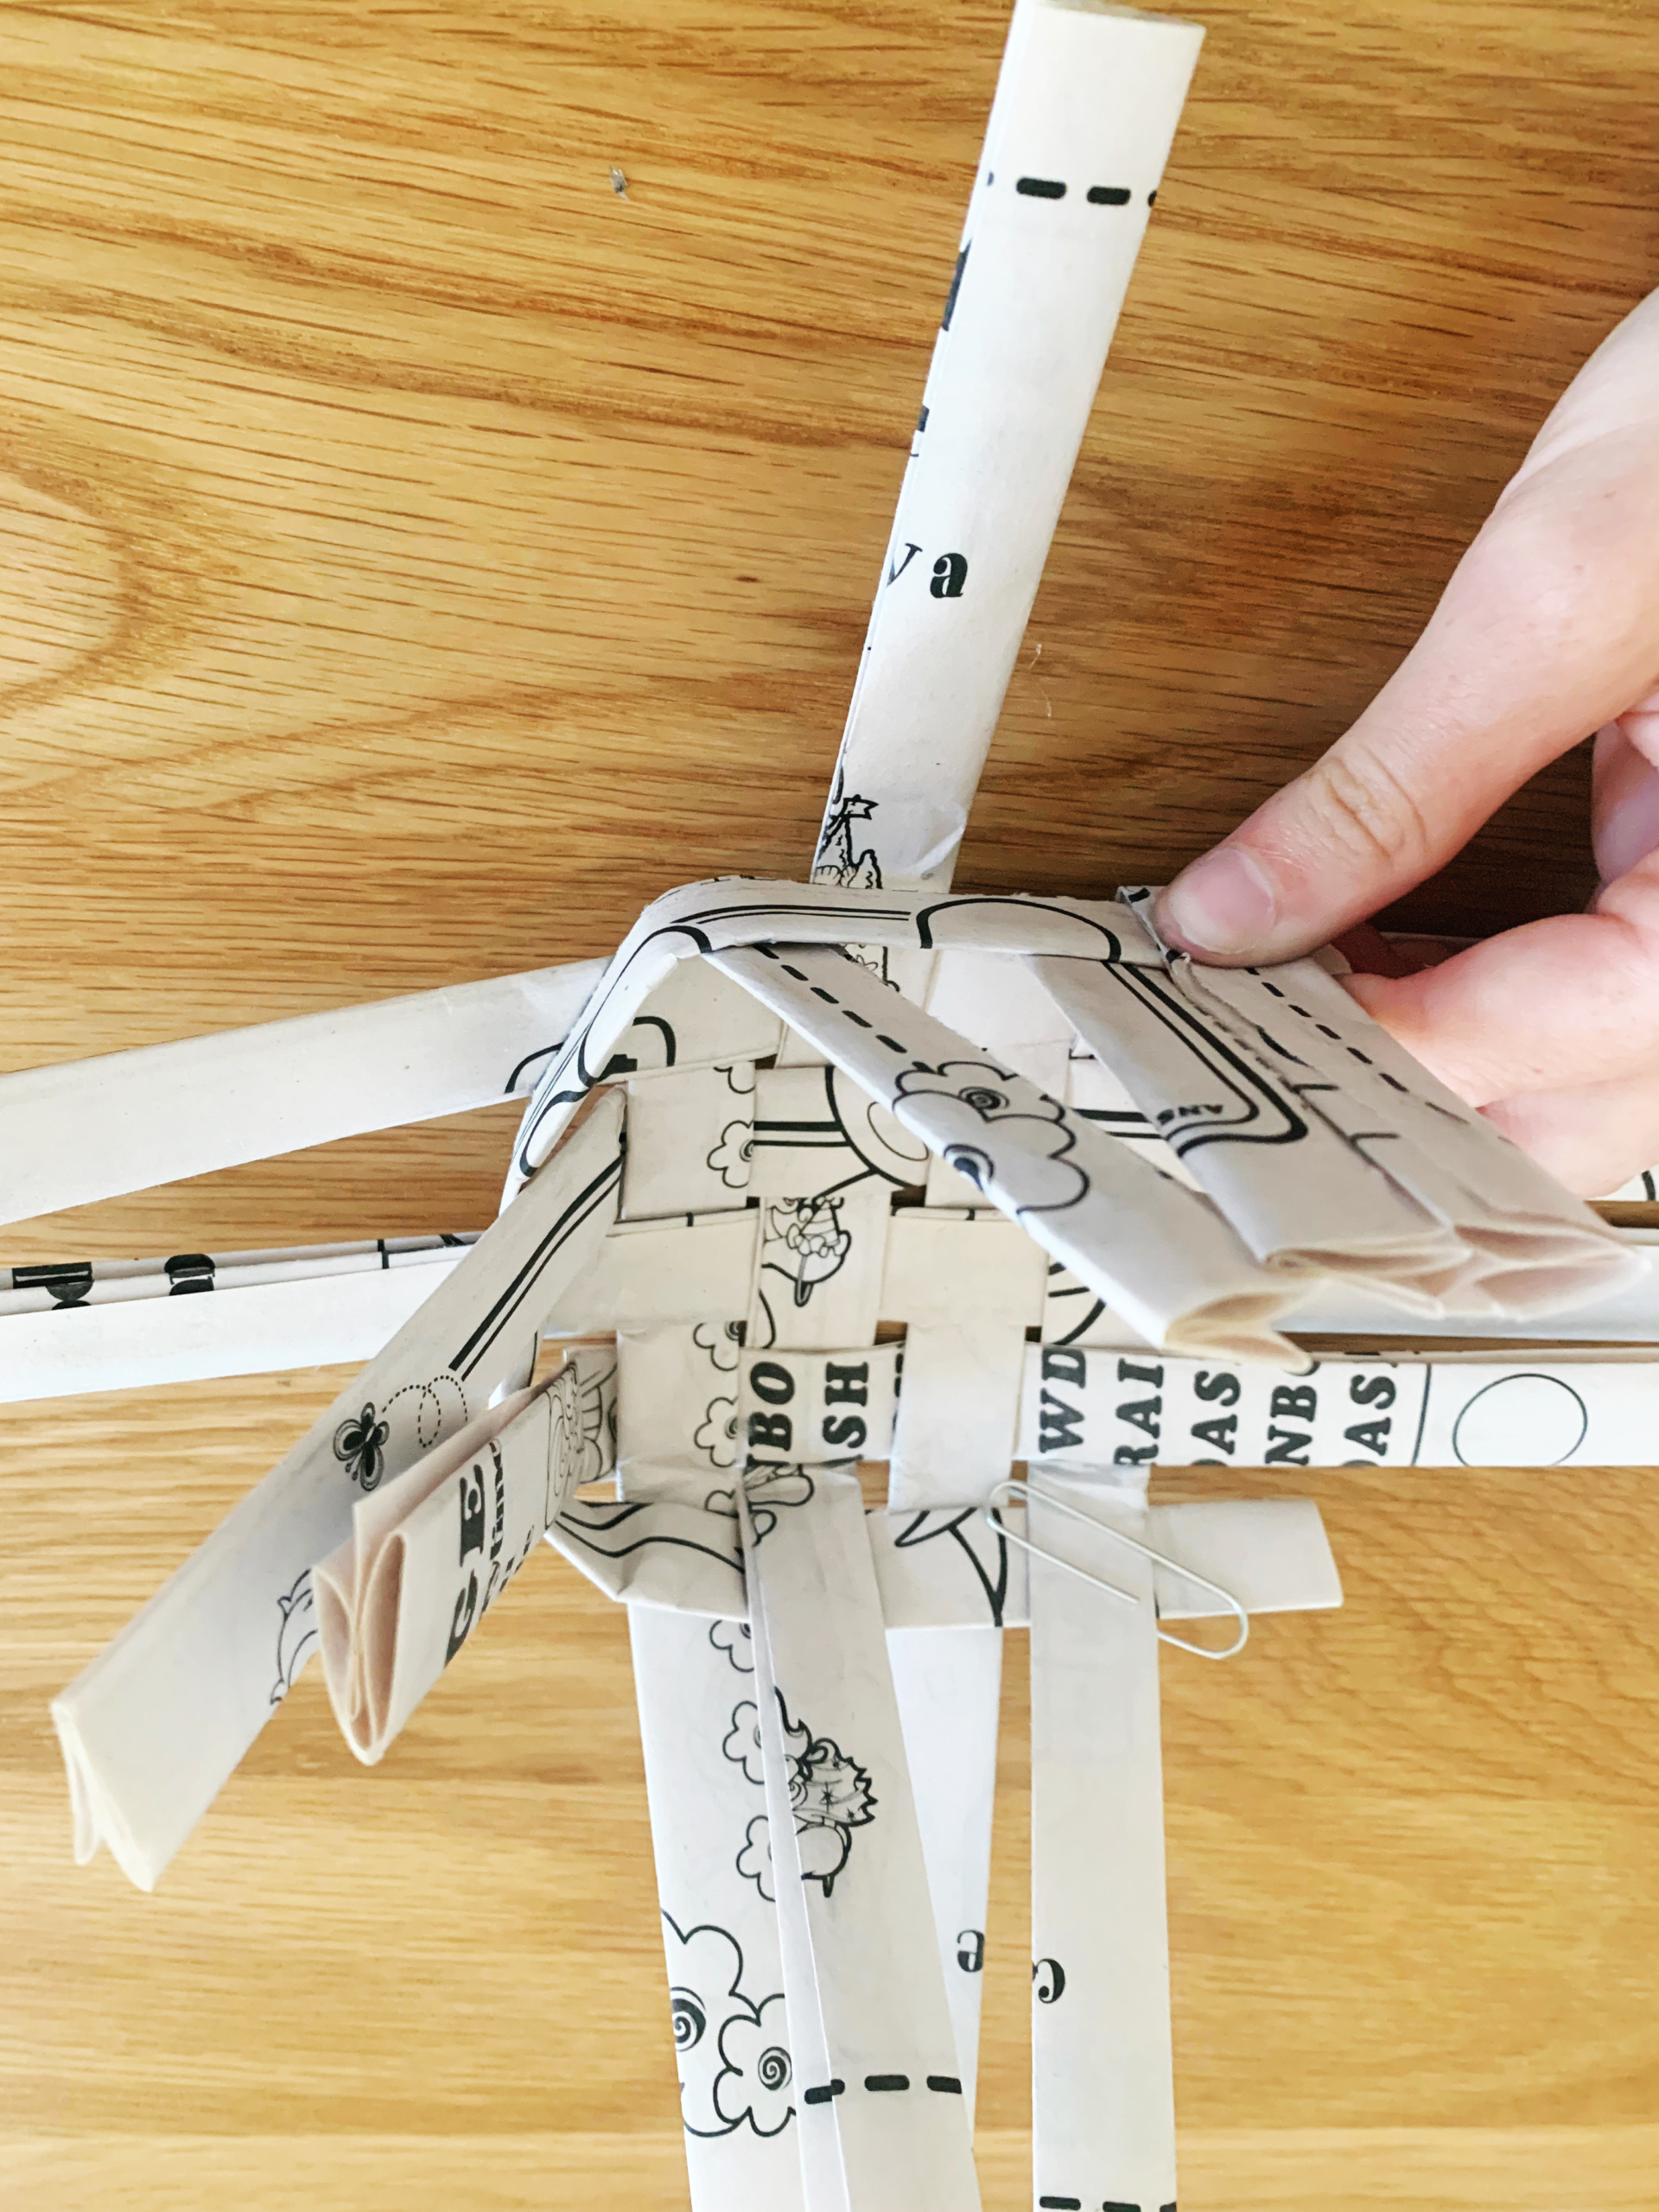
Step nine: Now take another strip and, this time, paper clip it to the inside of the basket in order to hold it in place. Weave this new strip around the square using the same over-under technique, but doing the opposite of the previous row (going over strips that the last strip went under, and vice versa). With this strip, you will be pulling up the remaining strips on the table as you go around. When you have gone all the way around, you can remove the paper clip—if you weave the paper tight enough, you shouldn’t need to reinforce it with glue, but if you want to make sure the pieces of your basket don’t move, just add a touch of glue to the ends when you remove the clip.
Step ten: Continue this process until you’ve used the rest of your pre-made strips!
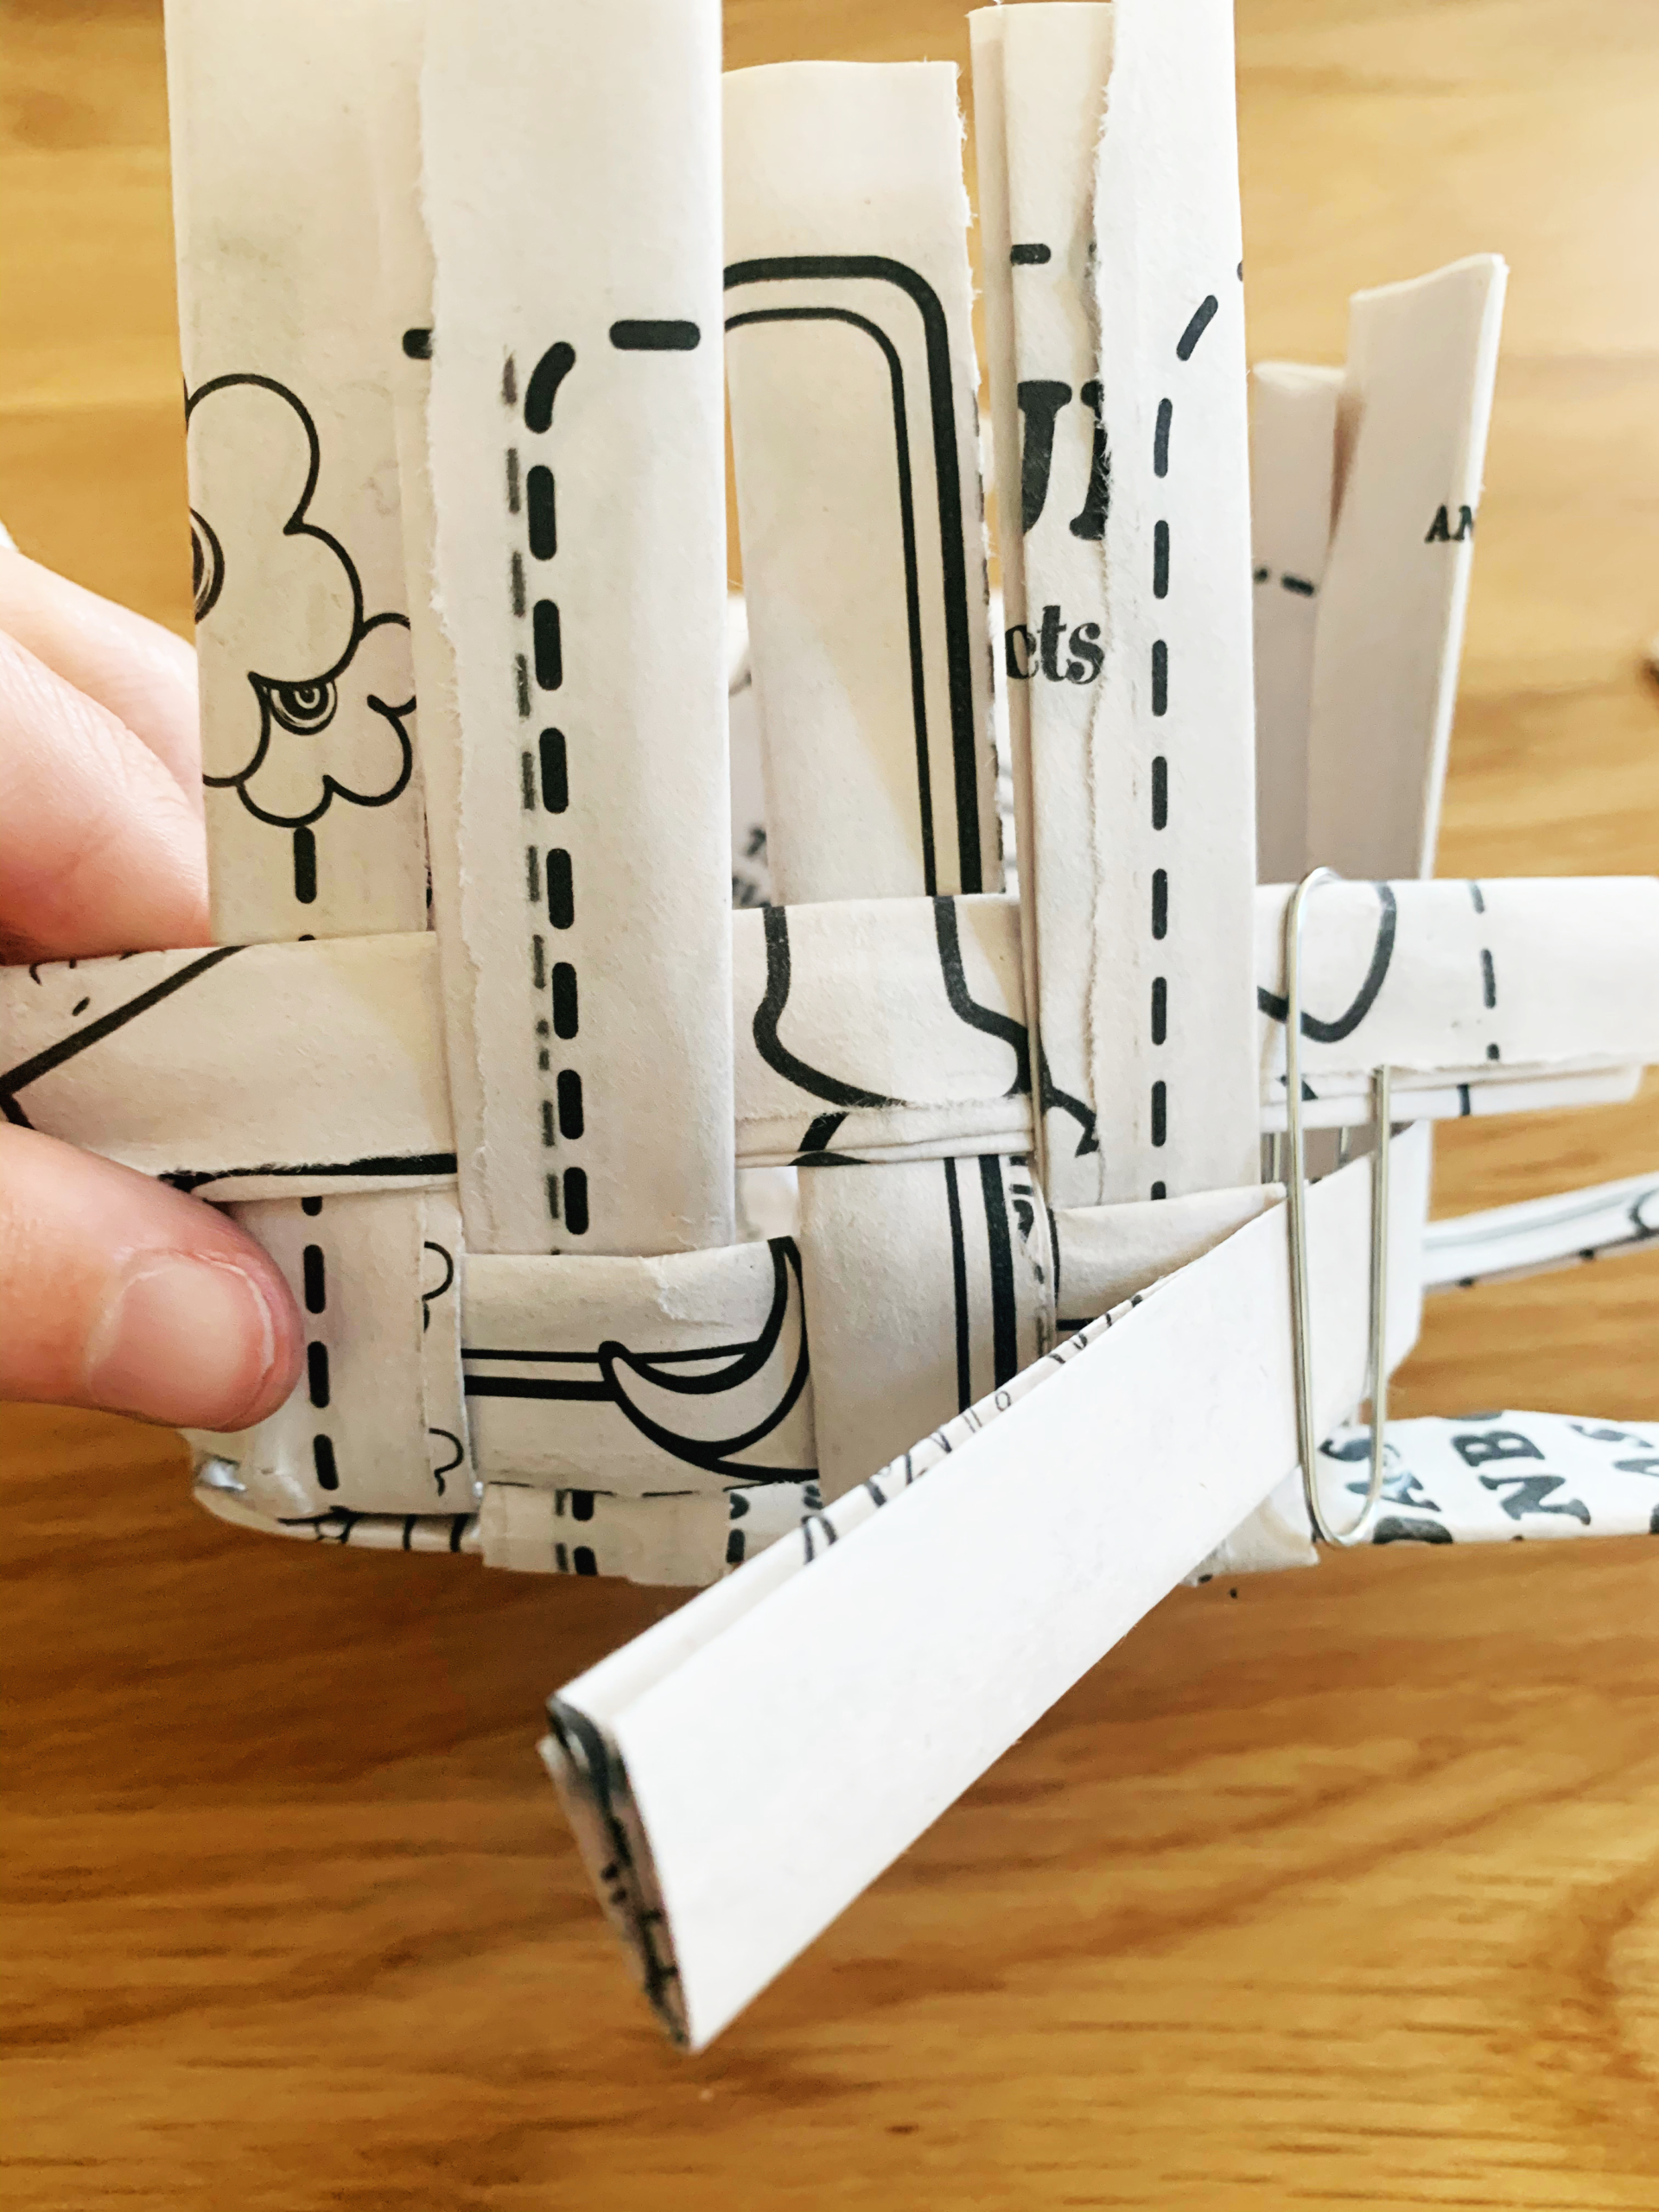
Step eleven: You’re just about done! Now it’s time to cut off any excess length that’s left over from weaving the sides of the basket and make your basket look polished. They should stay in place, depending on how tightly you wove your basket, but you can put a little dab of glue under the edge before you trim them to be safe.
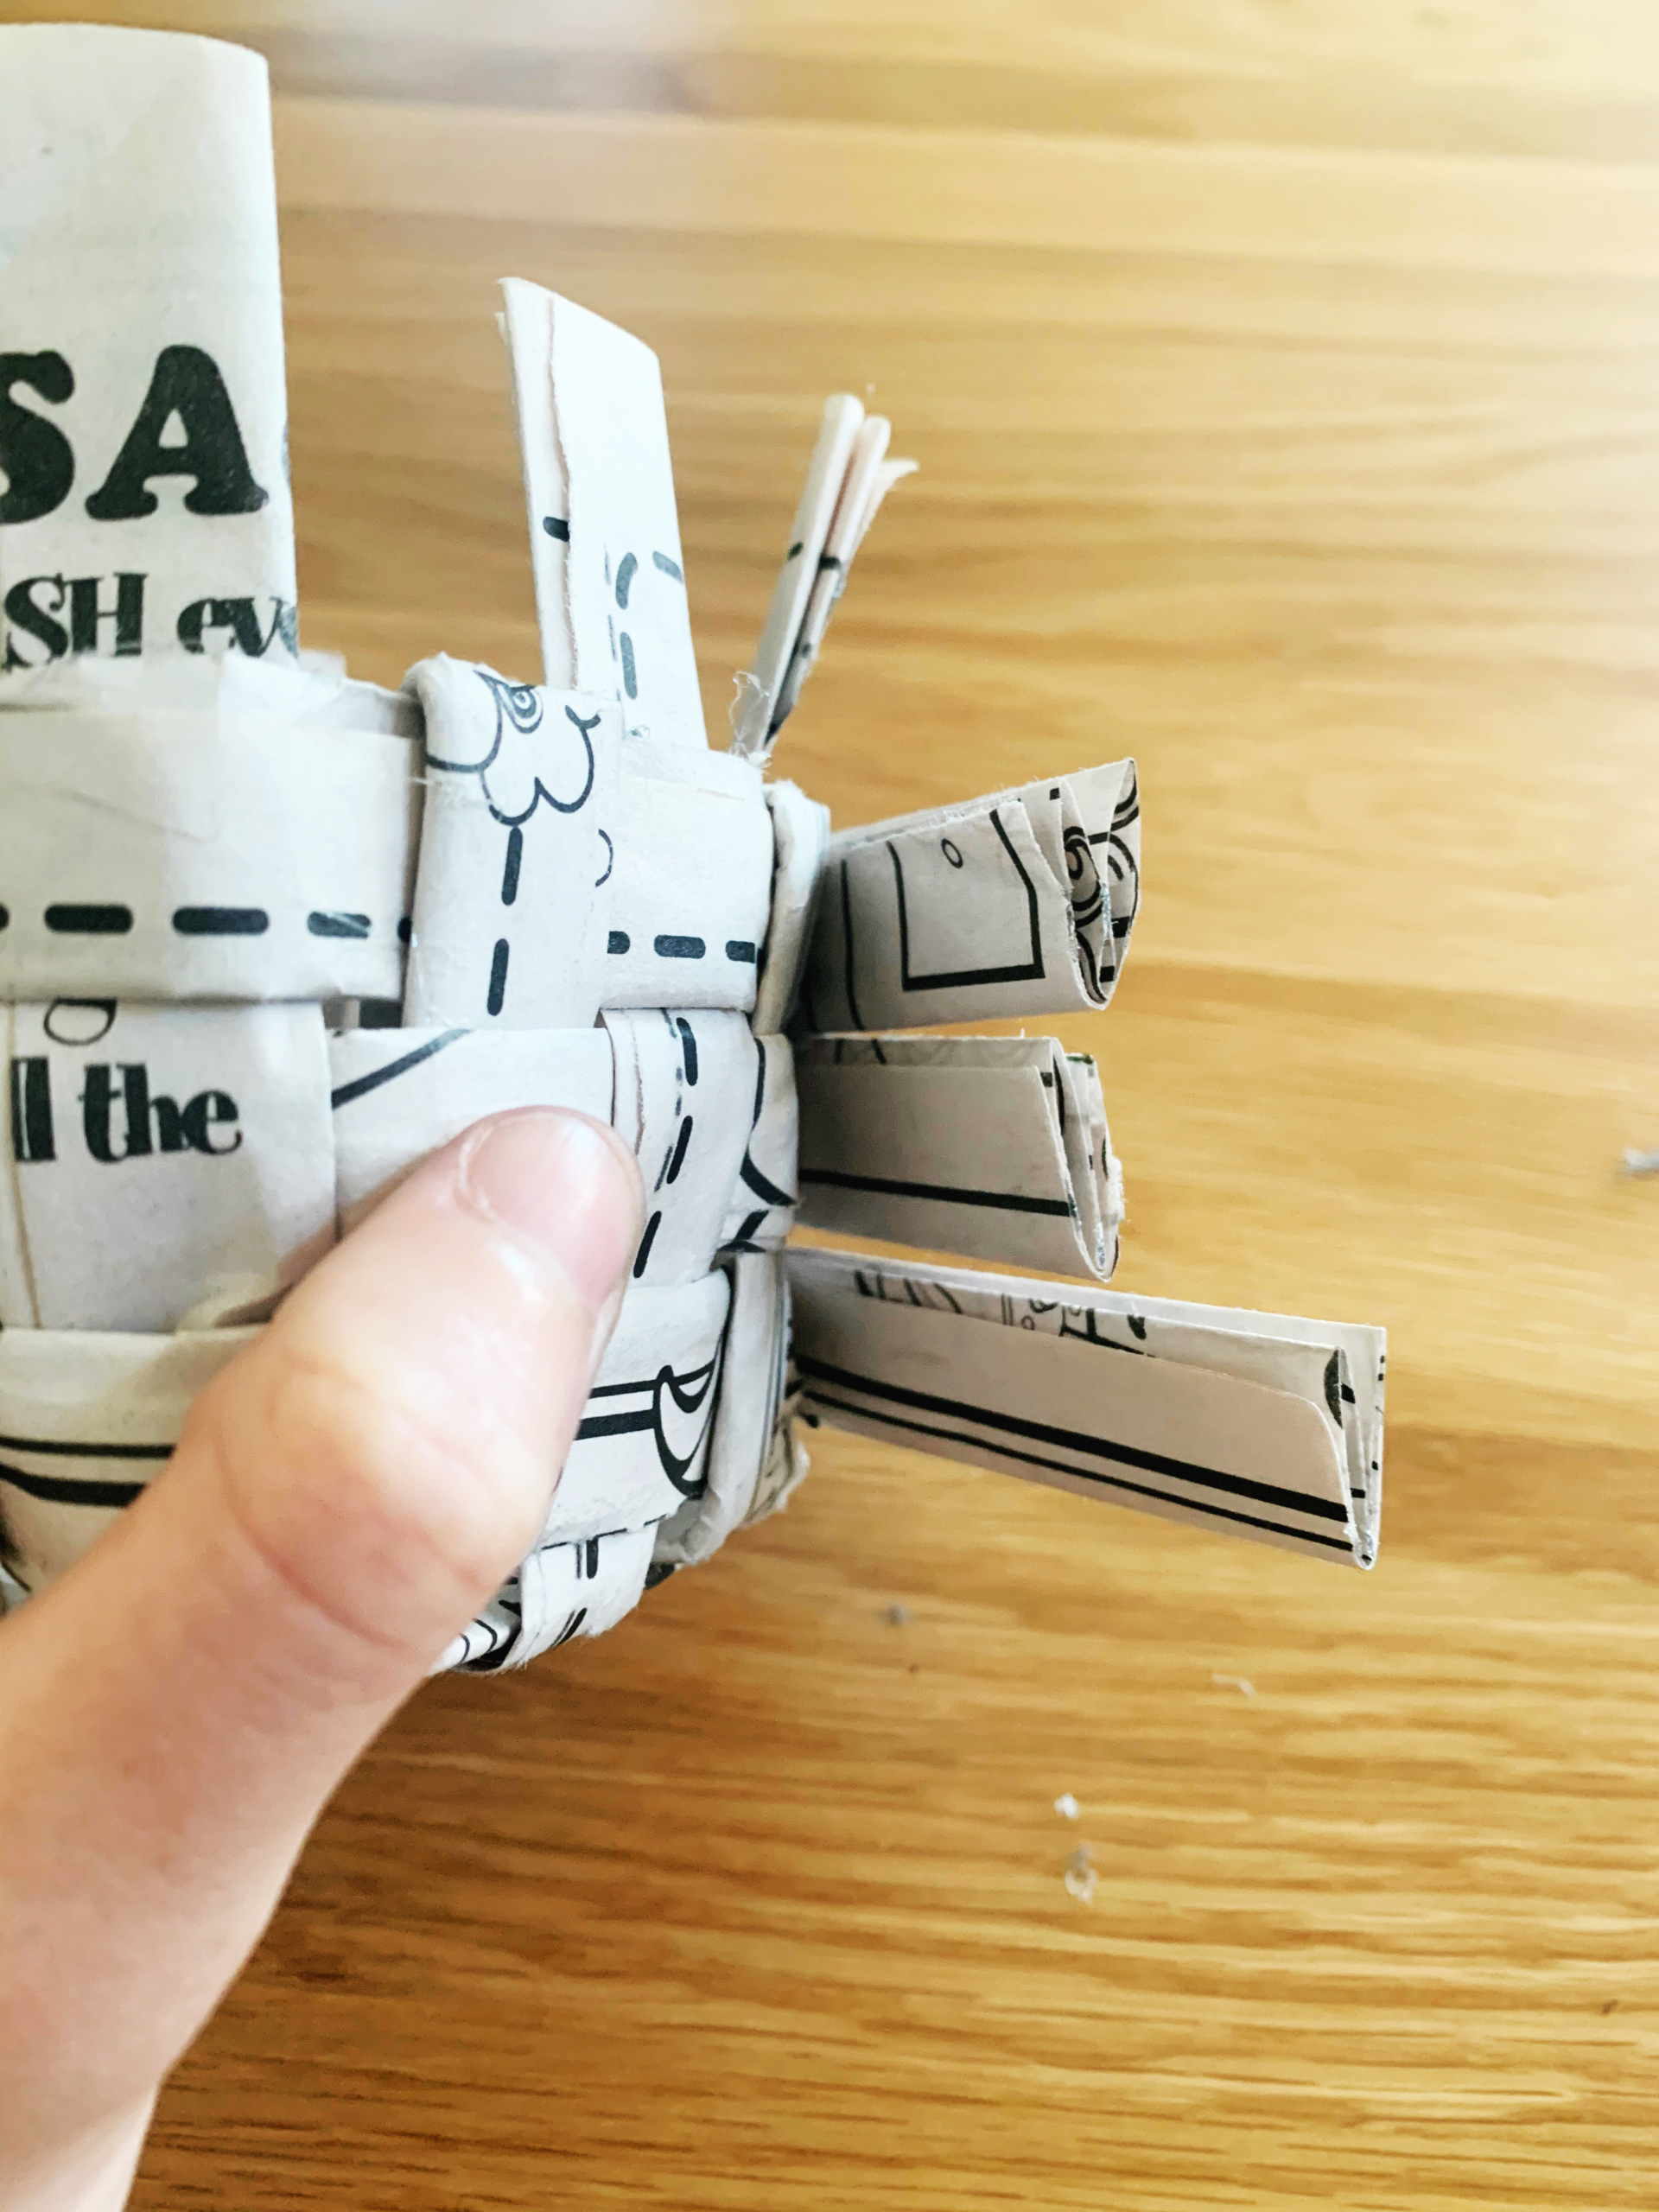
Step twelve: The final step and finishing touch to the perfect basket is to clean up the top. To do so, simply fold the strips at the very top of the basket towards the inside and tuck the pieces into a lower layer, or just trim them off so the tops are even with the top rim of the basket.

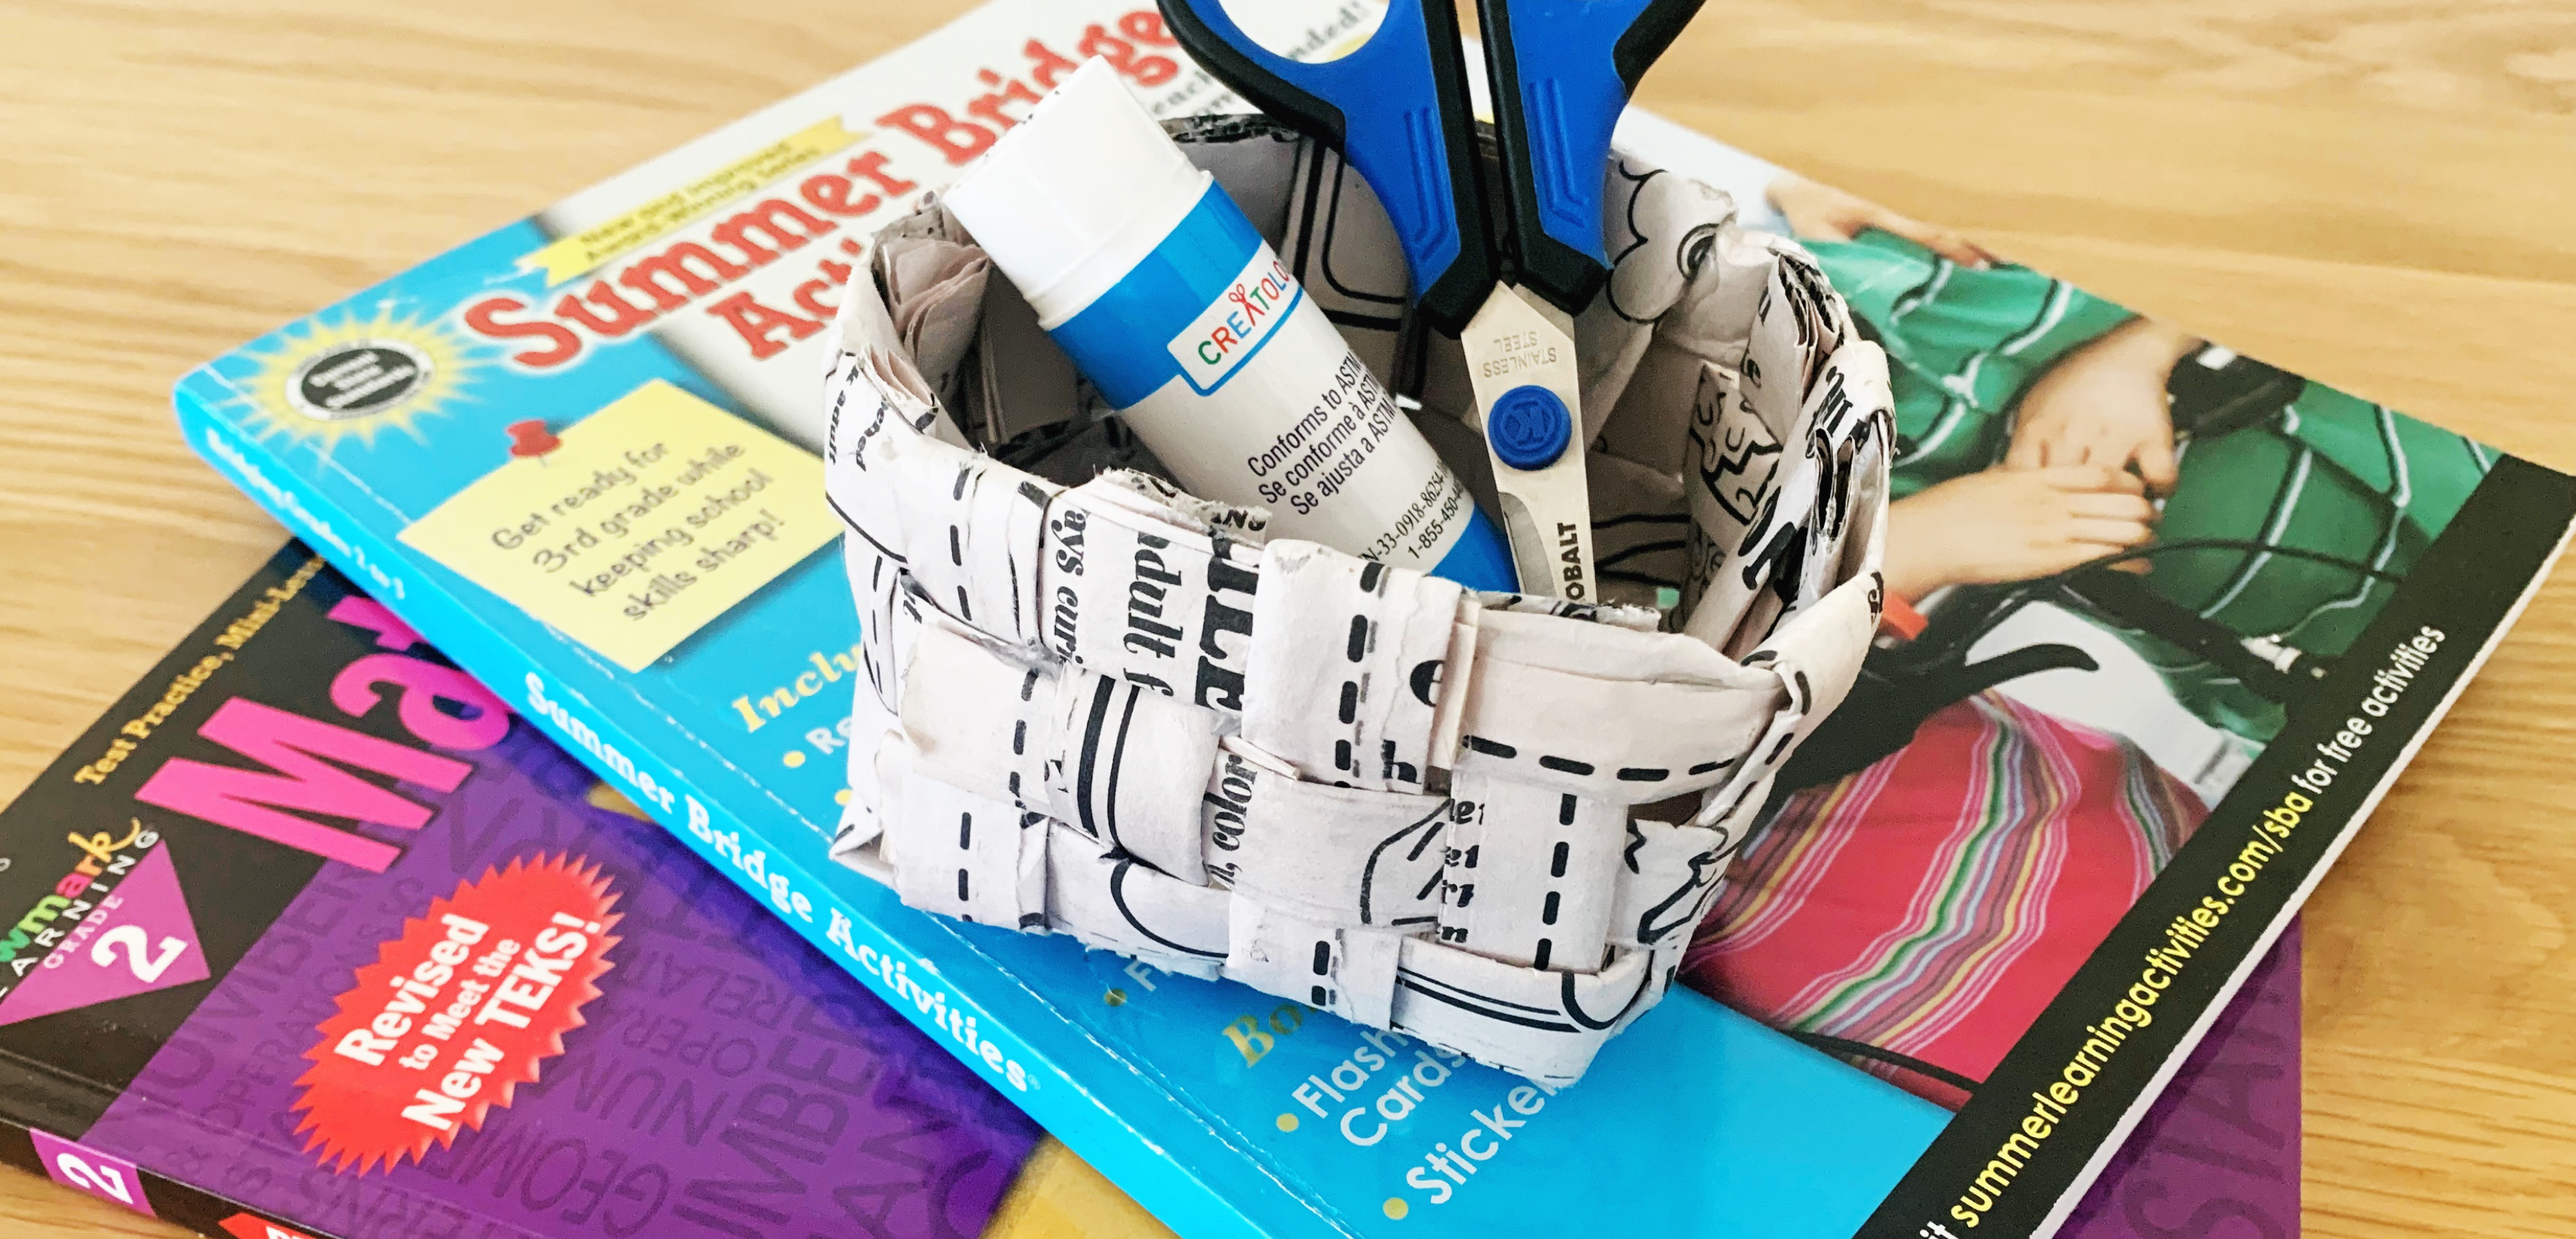
And you have your new basket! This piece is so fun and unique. Let us know what you fill your new basket with!