By Chrysta Naron
William Shakespeare once asked, “What’s in a name?” Letters! That’s what’s in a name. As children begin to read and write, they’re often eager to learn to write their own name. They love discovering what letter it begins with (and every letter that follows!). A name graph is a simple, yet brilliant, way to teach young kids to spell their names, and help them practice writing a variety of uppercase and lowercase letters at the same time.
This simple literacy idea breaks down a child’s name letter by letter, along with some other names with special meaning for them. A name graph even lends itself to math skills, like counting and the concepts of more than and less than. This tutorial walks you through an easy home lesson plan to teach reading and writing skills using a name graph.
To begin, you’ll set the stage by reading a book together—kids love storytime and it brings another dimension to the activity. I use Alma and How She Got Her Name by Juana Martinez-Neal, about a little girl who was given a very long name by her father. With each of her names, a story unwinds, and Alma learns to love all of her many monikers. Alma and How She Got Her Name centers Latinx culture, showcases a female author of color, and makes your bookshelf all the more inclusive. This book is fun, culturally representative, and a great jumping off point for creating a name graph.
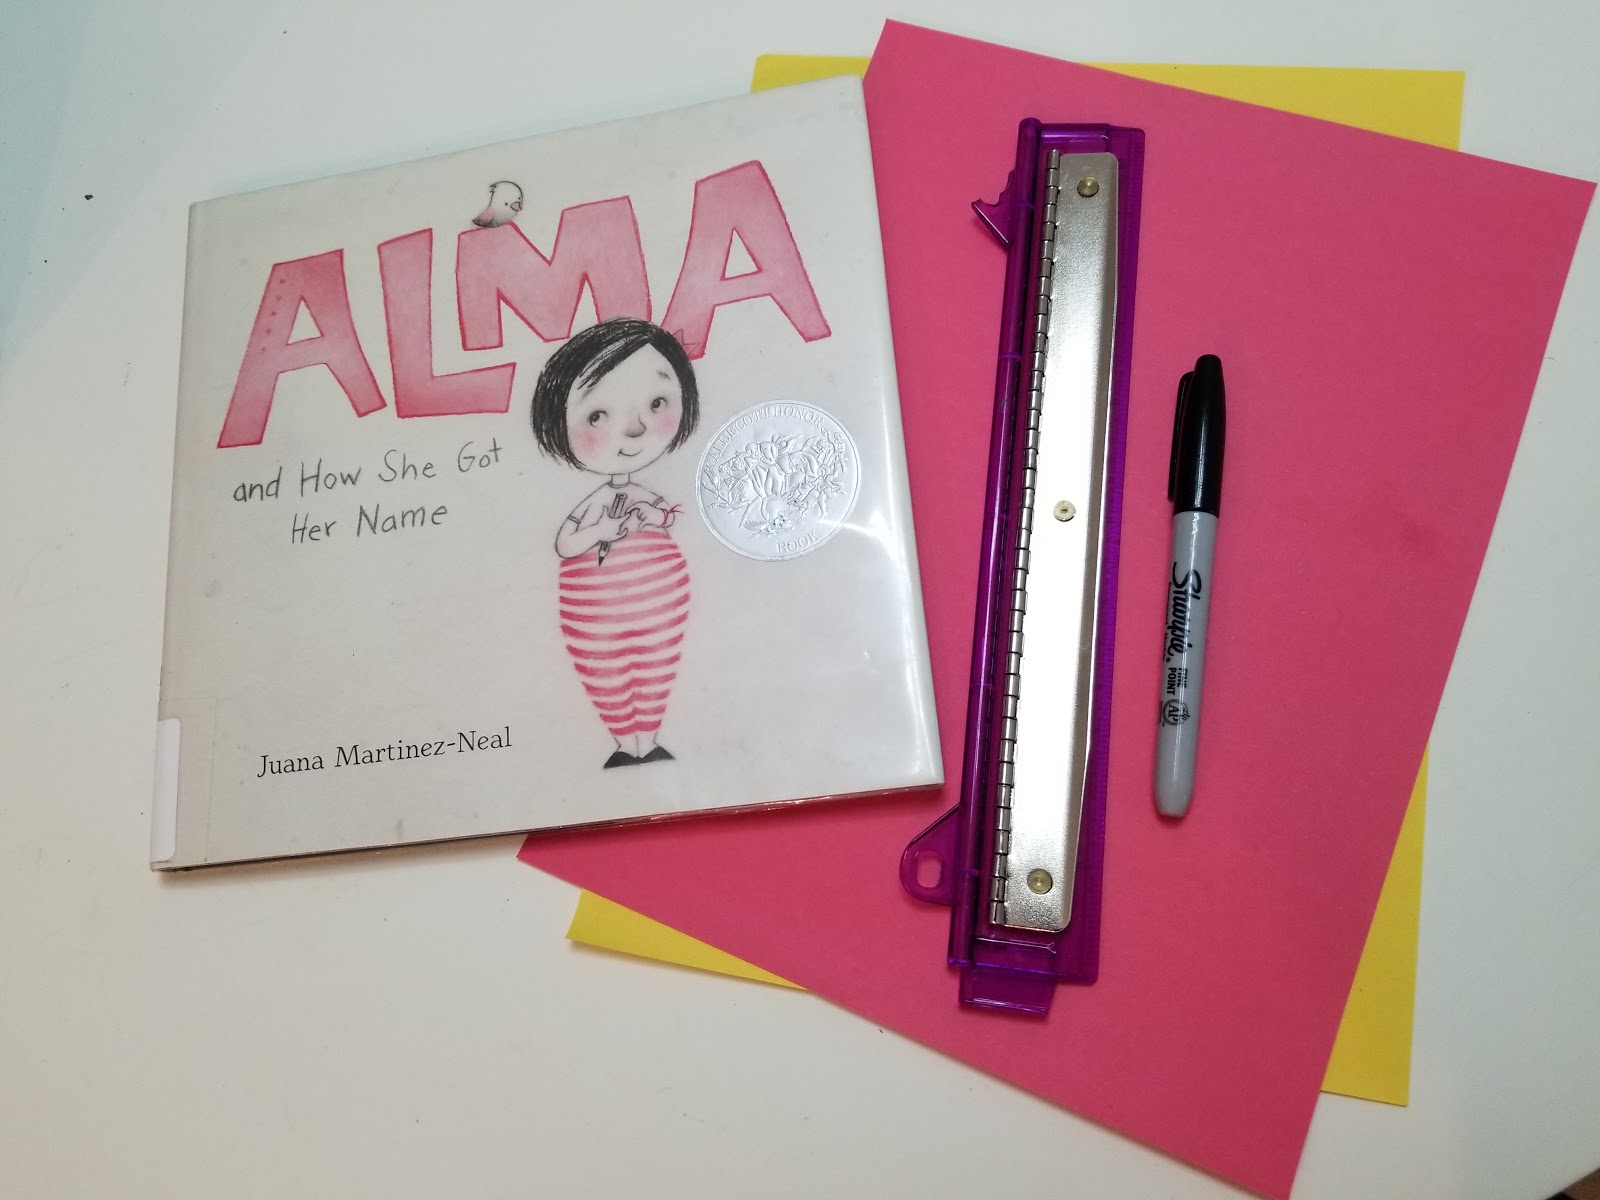
Materials Needed:
- Paper
- Marker
- Ruler
- How Alma Got Her Name by Juana Martinez-Neal (or another book about names)
Cost: About $10 if you buy the book. Free, if you can check out the book from your local library, or use one of the read-alouds available for no cost online.
Step 1: Using the ruler to guide you, create a grid 13 squares across and 9 squares down on a sheet of paper. Optional: You can also create this on the computer and print it out to use.
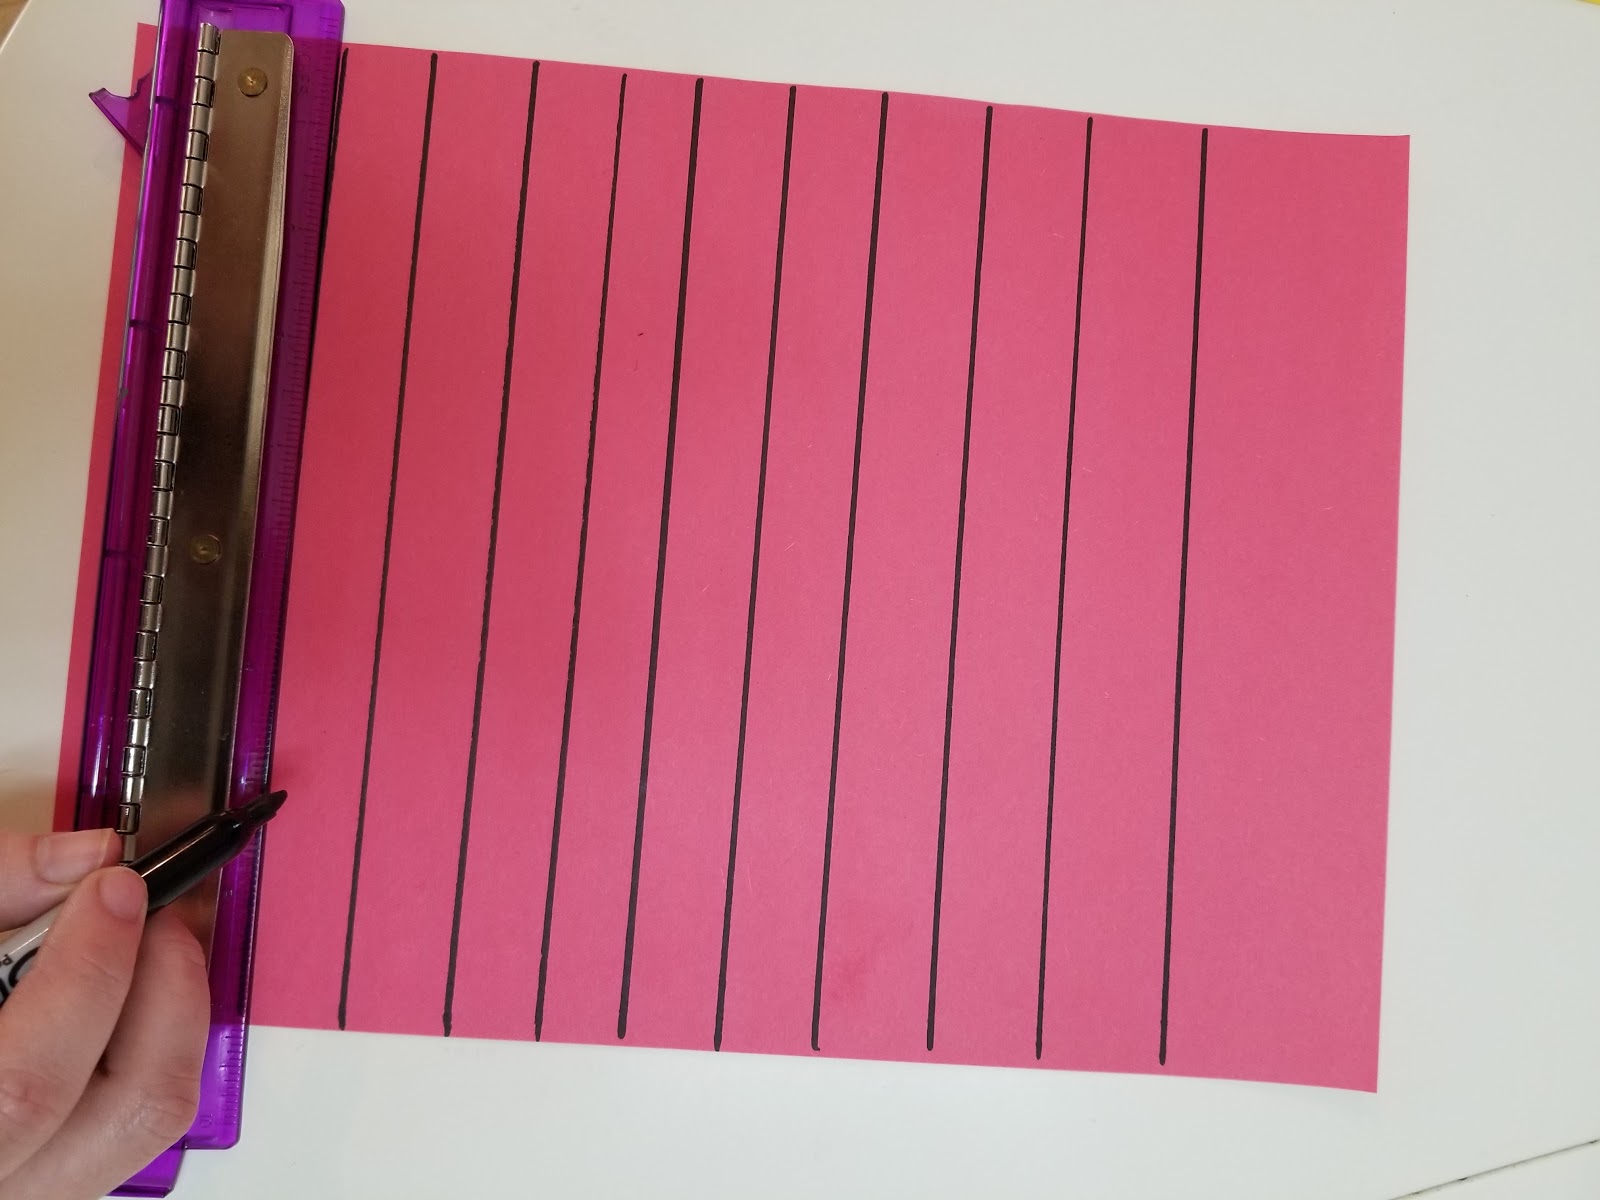
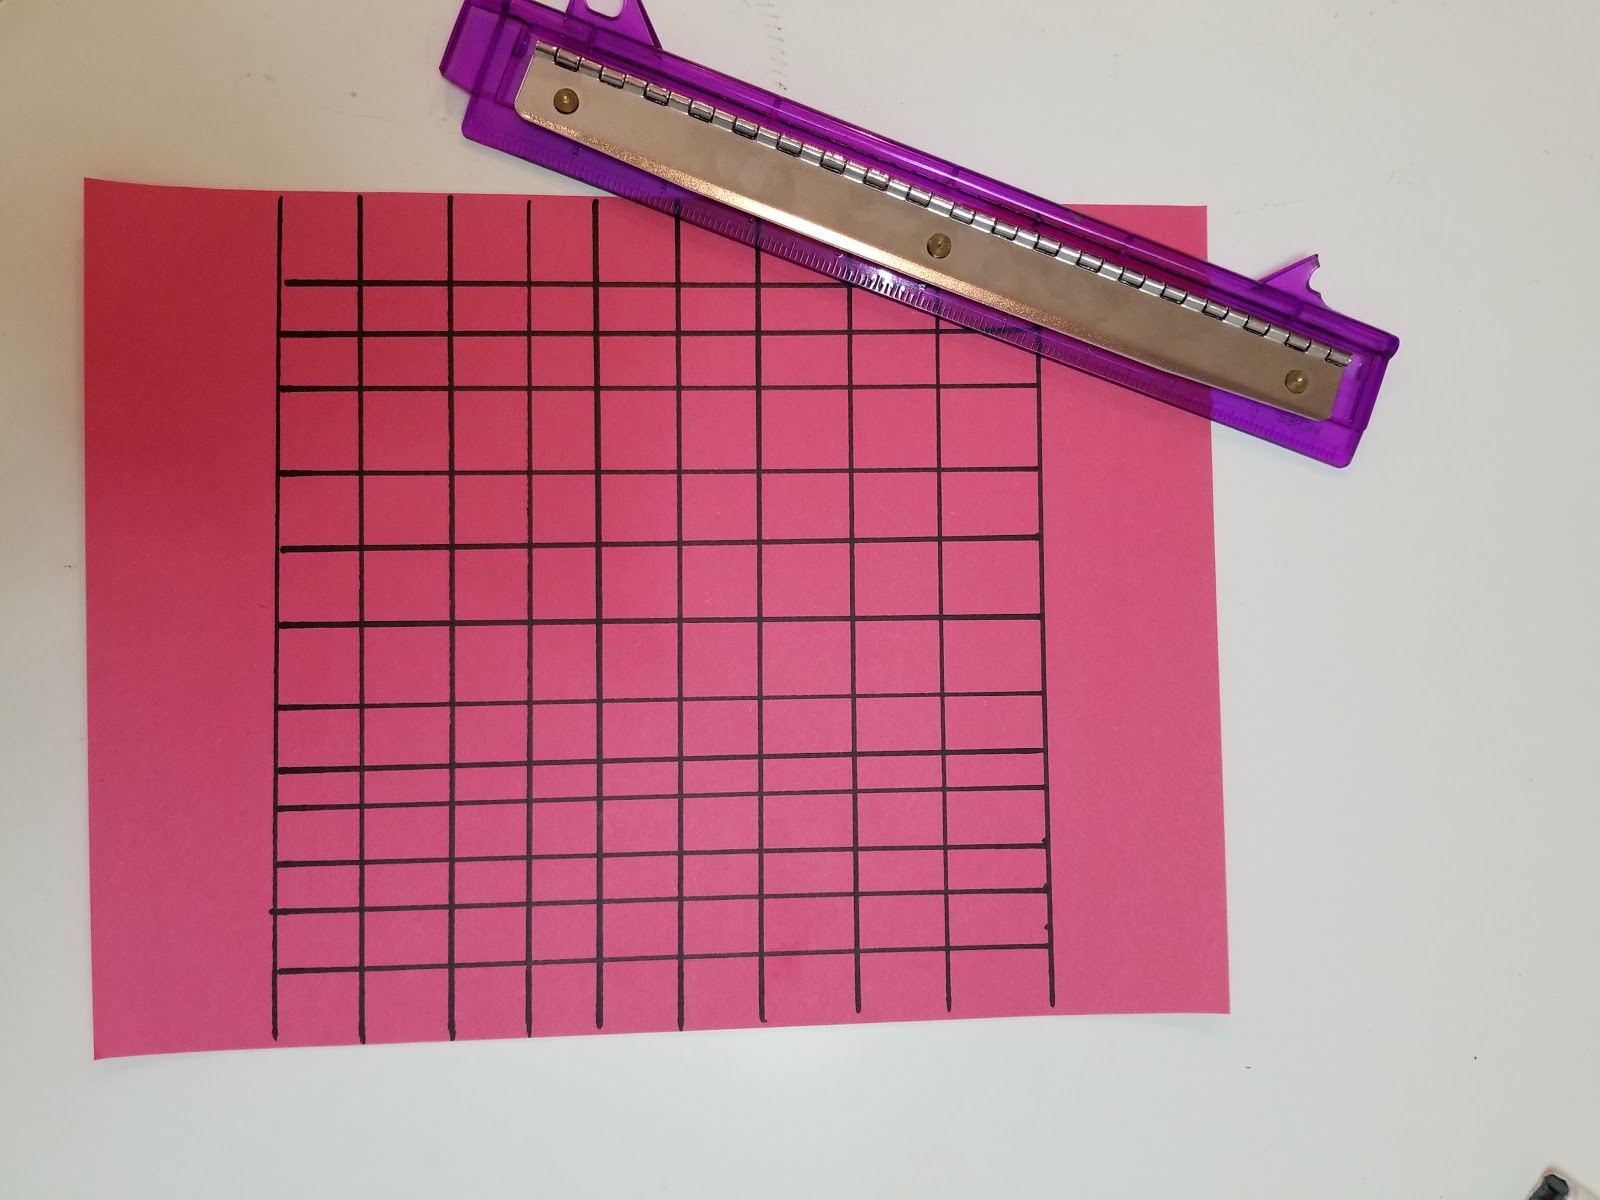
Step 2: Write the name Alma on the first line of the graph, one letter per square. If you like, you can write all of Alma’s names in the graph, one name per line.
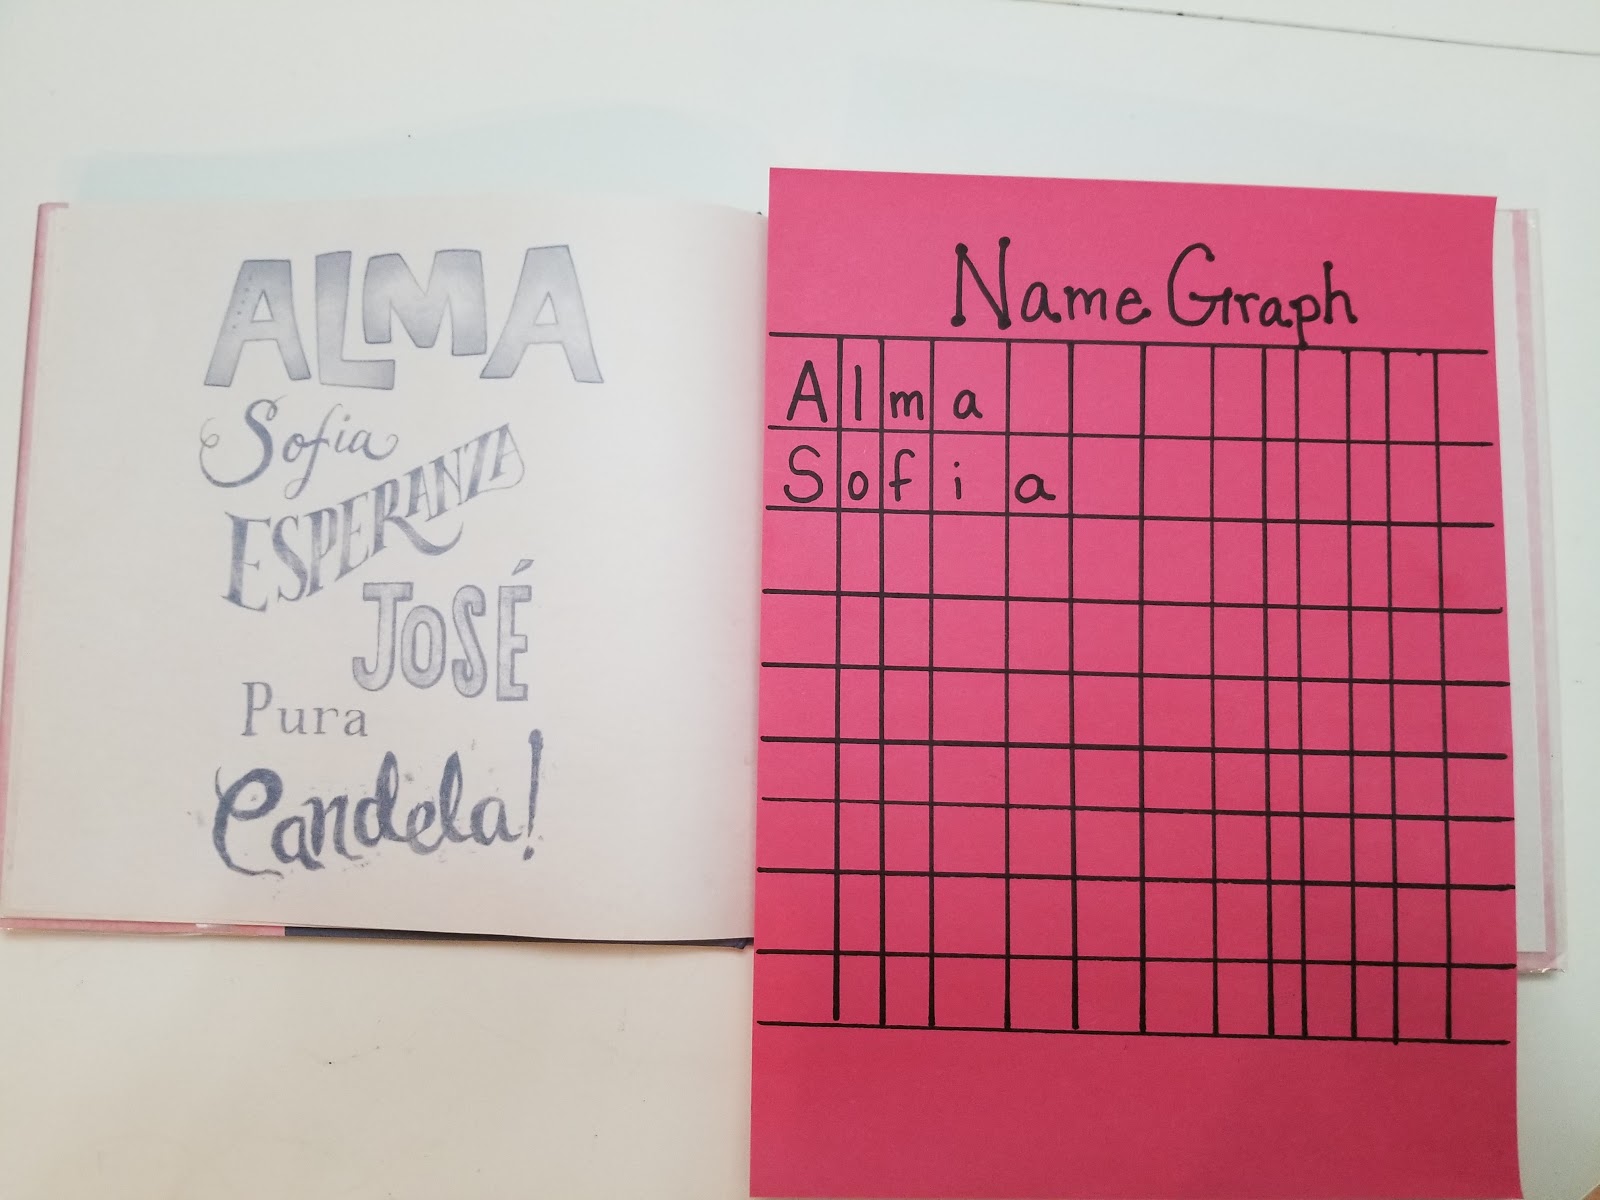
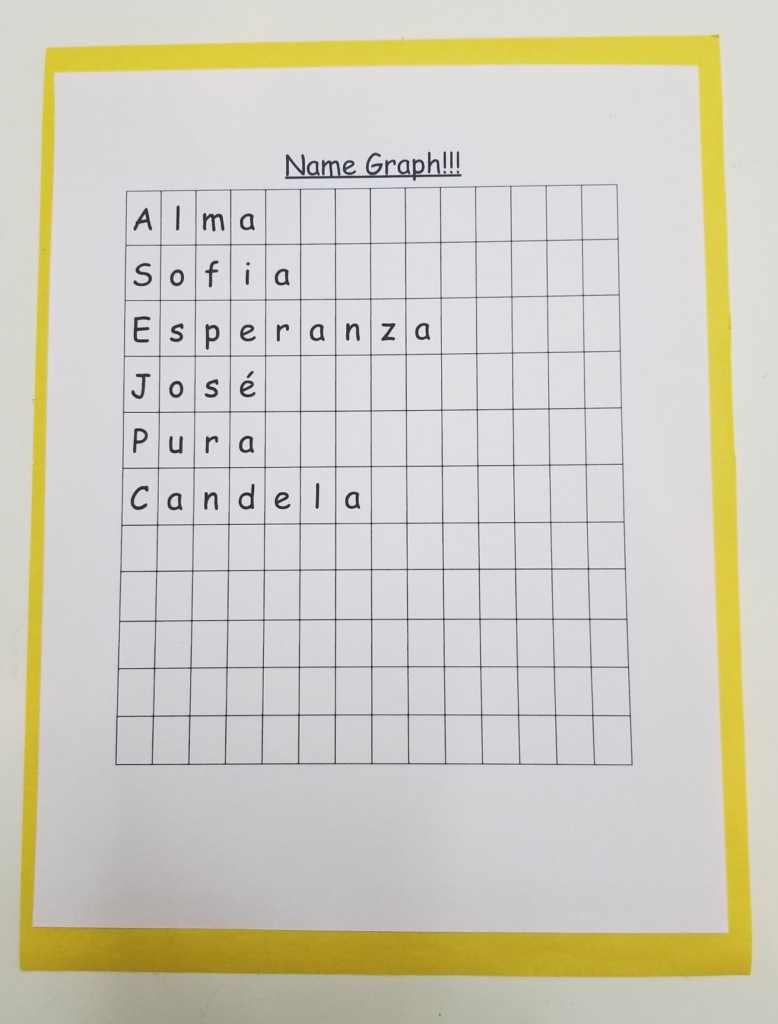
Step 3: Cozy up with your child and read Alma and How She Got Her Name together. Alternatives: If you can’t find a copy, The Name Jar by Yangsook Choi or Chrysanthemum by Kevin Henkes are good alternatives.
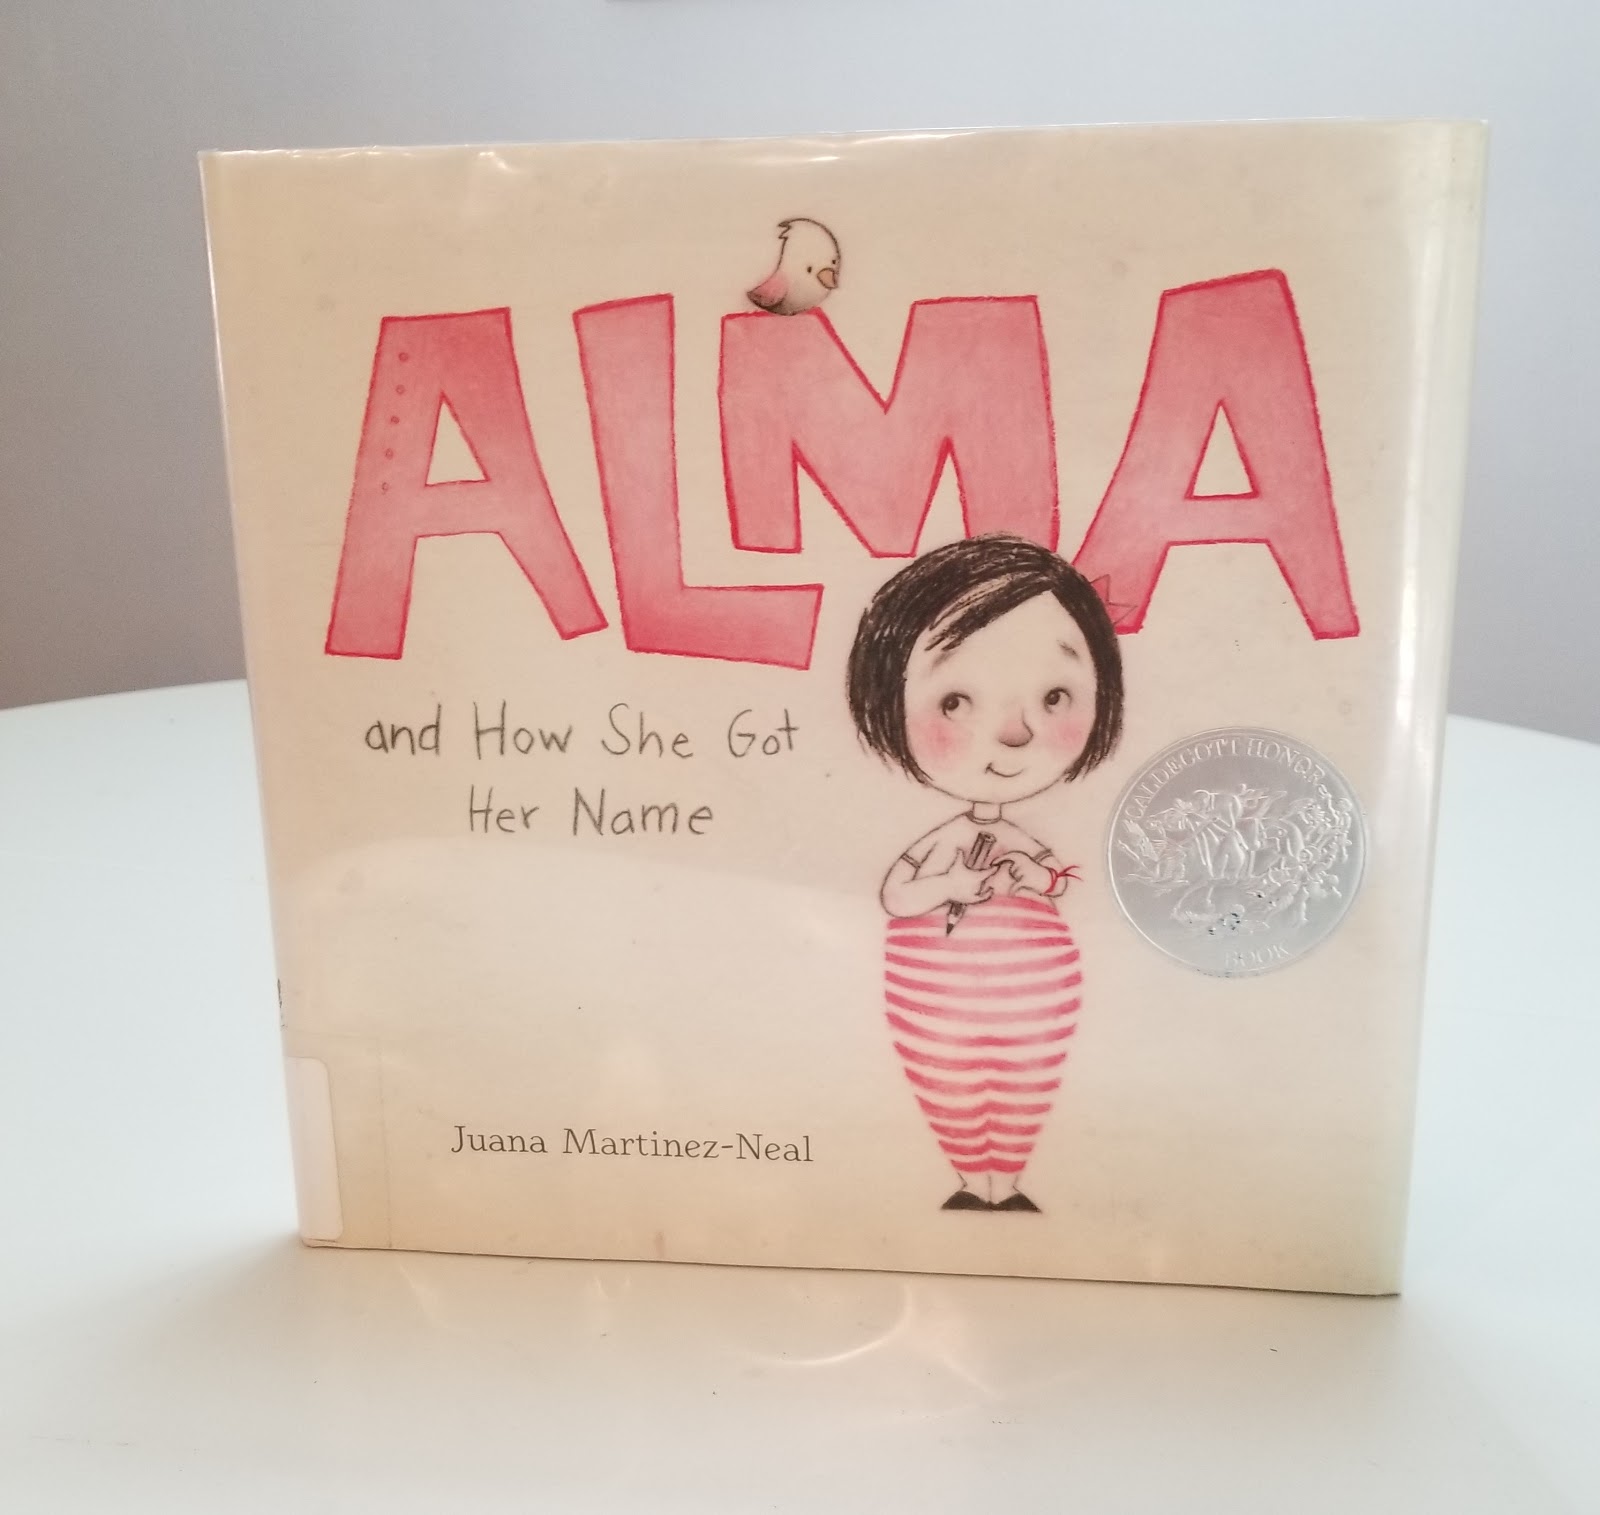
Step 4: Grab the name graph, and help your child read each letter in Alma’s name out loud. Point out the uppercase and lowercase letters.
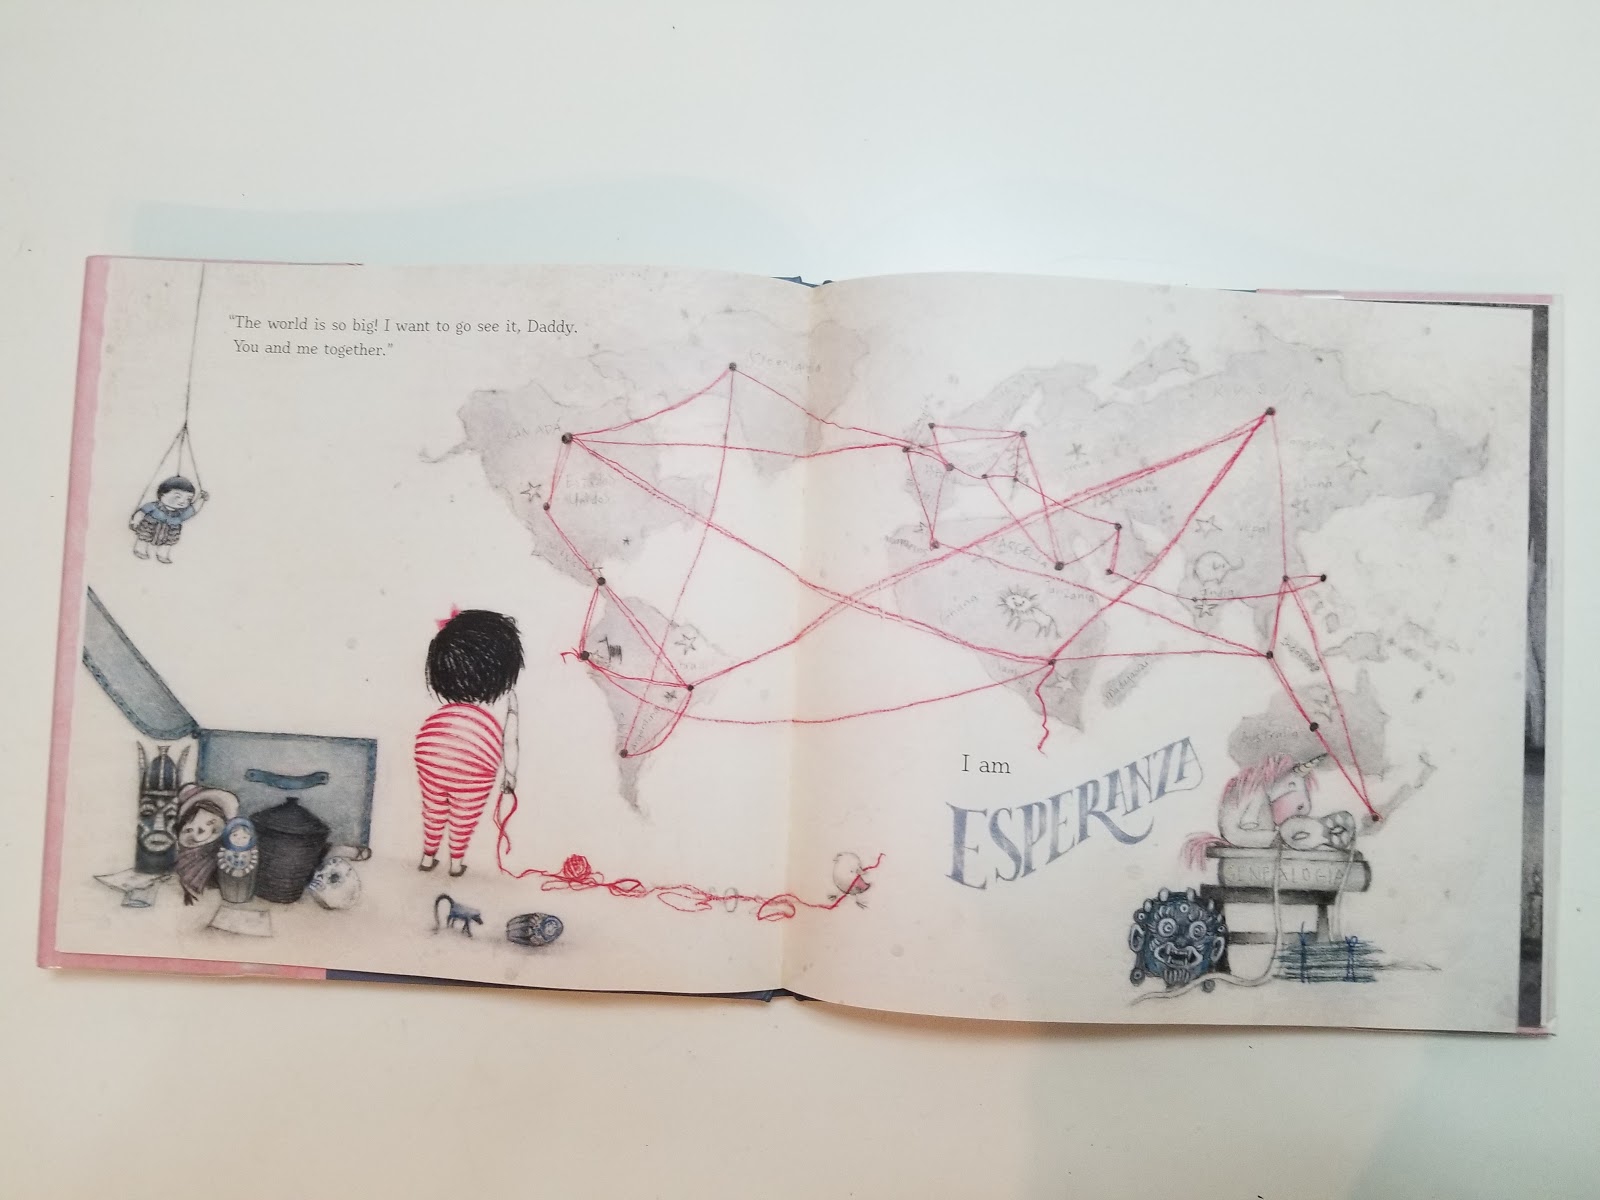
Step 5: On the line beneath, help your child write their name, again one letter in each box. Teach them that their name begins with an uppercase letter (because they are so super special!) and help them use lowercase for all the other letters. You can help them by spelling their name aloud or by writing the letters and letting your child trace them, depending on their knowledge level.
Step 6: Help your child fill in the rest of the chart with more names. They may wish to write their middle and last names. Your child can also ask other family members, friends, or neighbors how to spell their names, or you can help them write the names of significant people in their lives.
Step 7: When the sheet is full, sit together and reflect on all the names written down. Who has the longest name? The shortest? Do any of the names start with the same letter? What letters do they share?
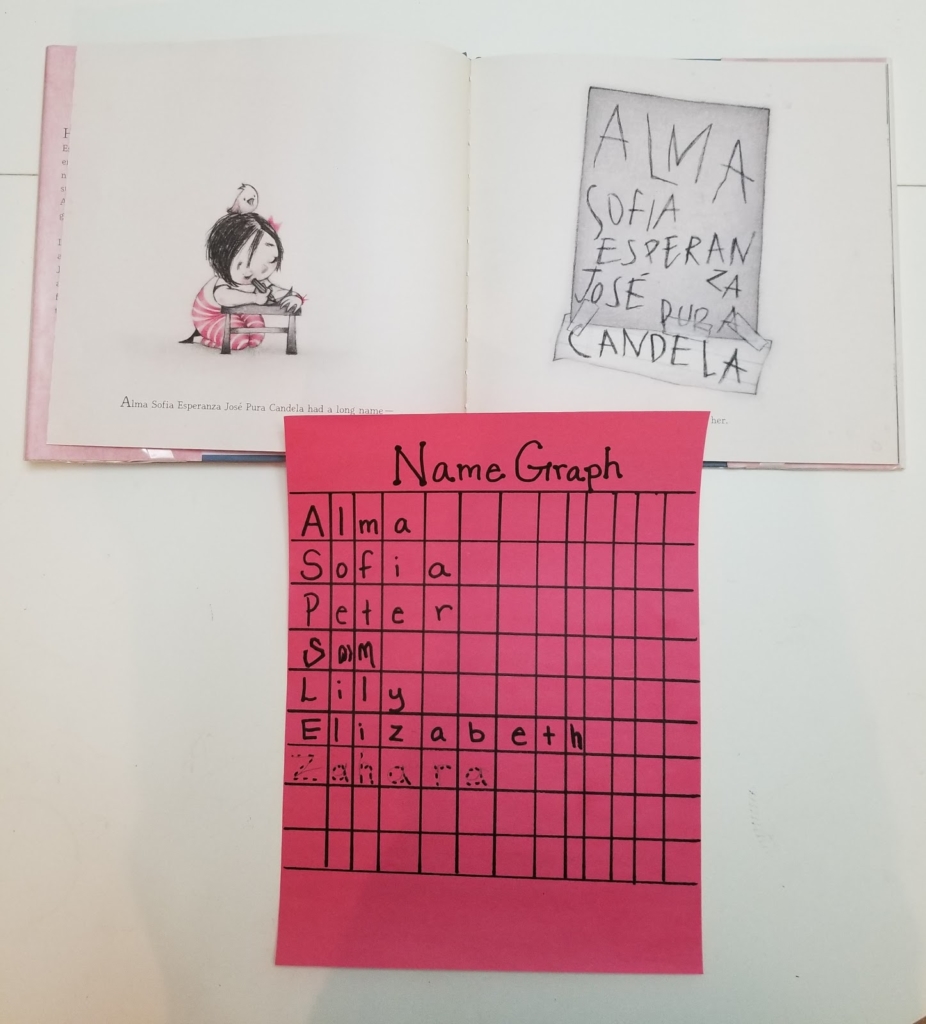
You know what else is great about using Alma and How She Got Her Name with the name graph? It’s an excellent opportunity to connect and let your child learn about their family. You can tell your child the origin of their name and teach them the names of relatives, too. Every moment spent learning together is a moment of bonding and is a way to pass down knowledge from past generations.
So, what’s in a name? A whole lot!

