When you’re raising a young reader, love and literacy are always in the air. This Valentine’s Day, bring both together with these three fun ways to support early reading and writing skills while you celebrate love in all its many forms (and even a little chocolate!). You’ll learn about wonderful picture books to explore—and expand—the concept of love with your child, play a sweet ABC matching game made from a chocolate box, and create words by crafting your own paper version of conversation hearts.
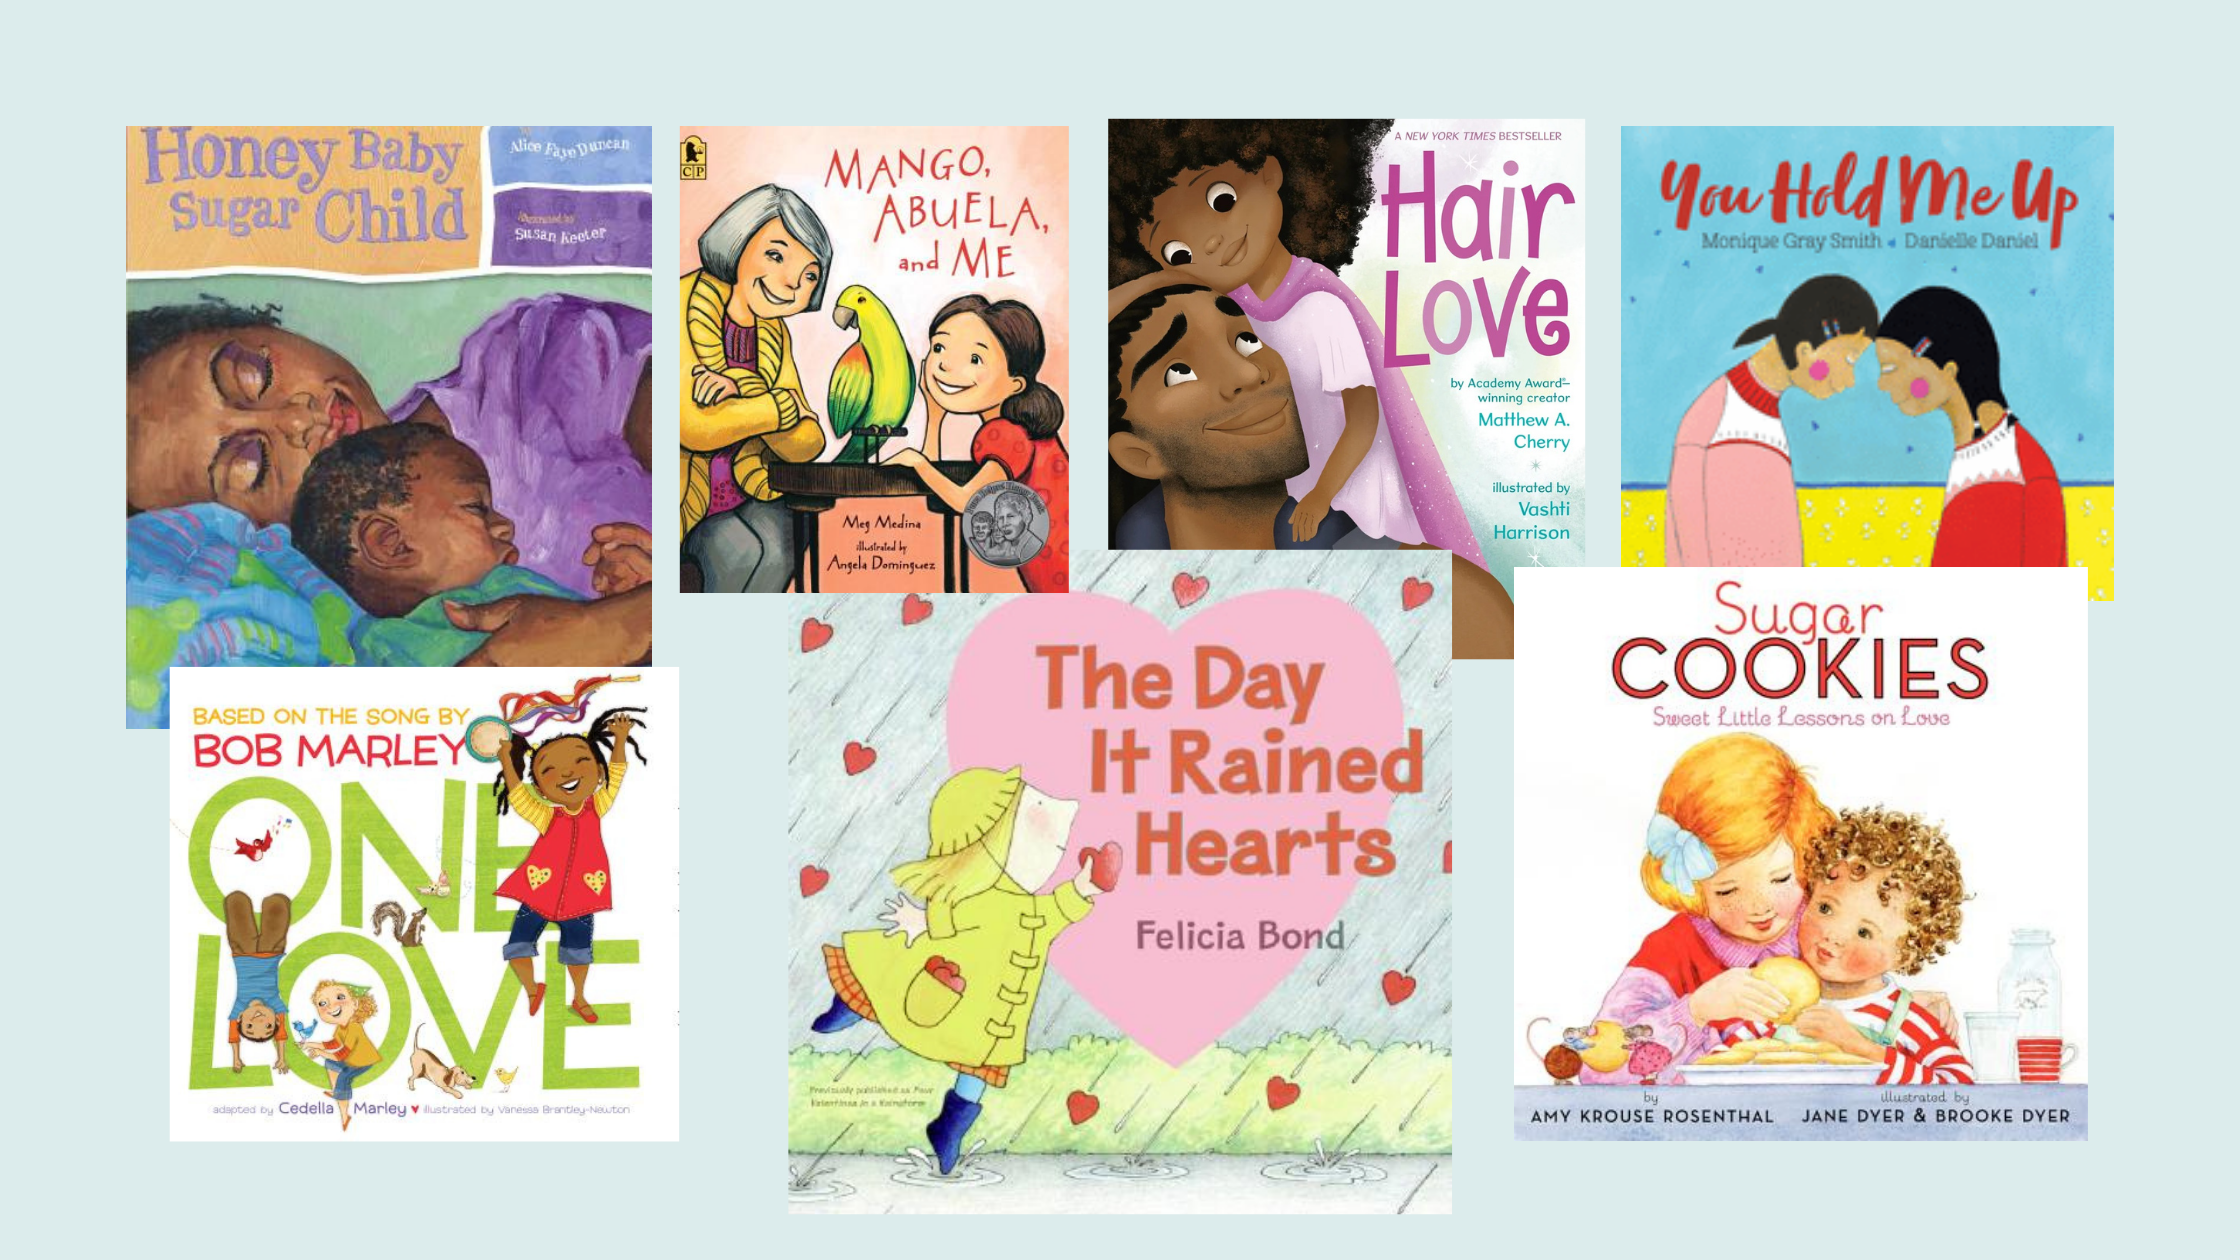
14 Sweet Picture Books about Love for Valentine’s Day
It’s the season of love, and Valentine’s Day presents us with the perfect opportunity to explore the concept of love with our little ones. These 14 children’s picture books about love reinforce early literacy and offer a wonderful starting point for conversations about love in all its forms. Whether it’s love for the planet, love for our friends, or even self-love—let these titles take you and your child on a reading journey that highlights what it’s really all about.
Sweet Valentine’s Day ABC Game & Story Time Activity
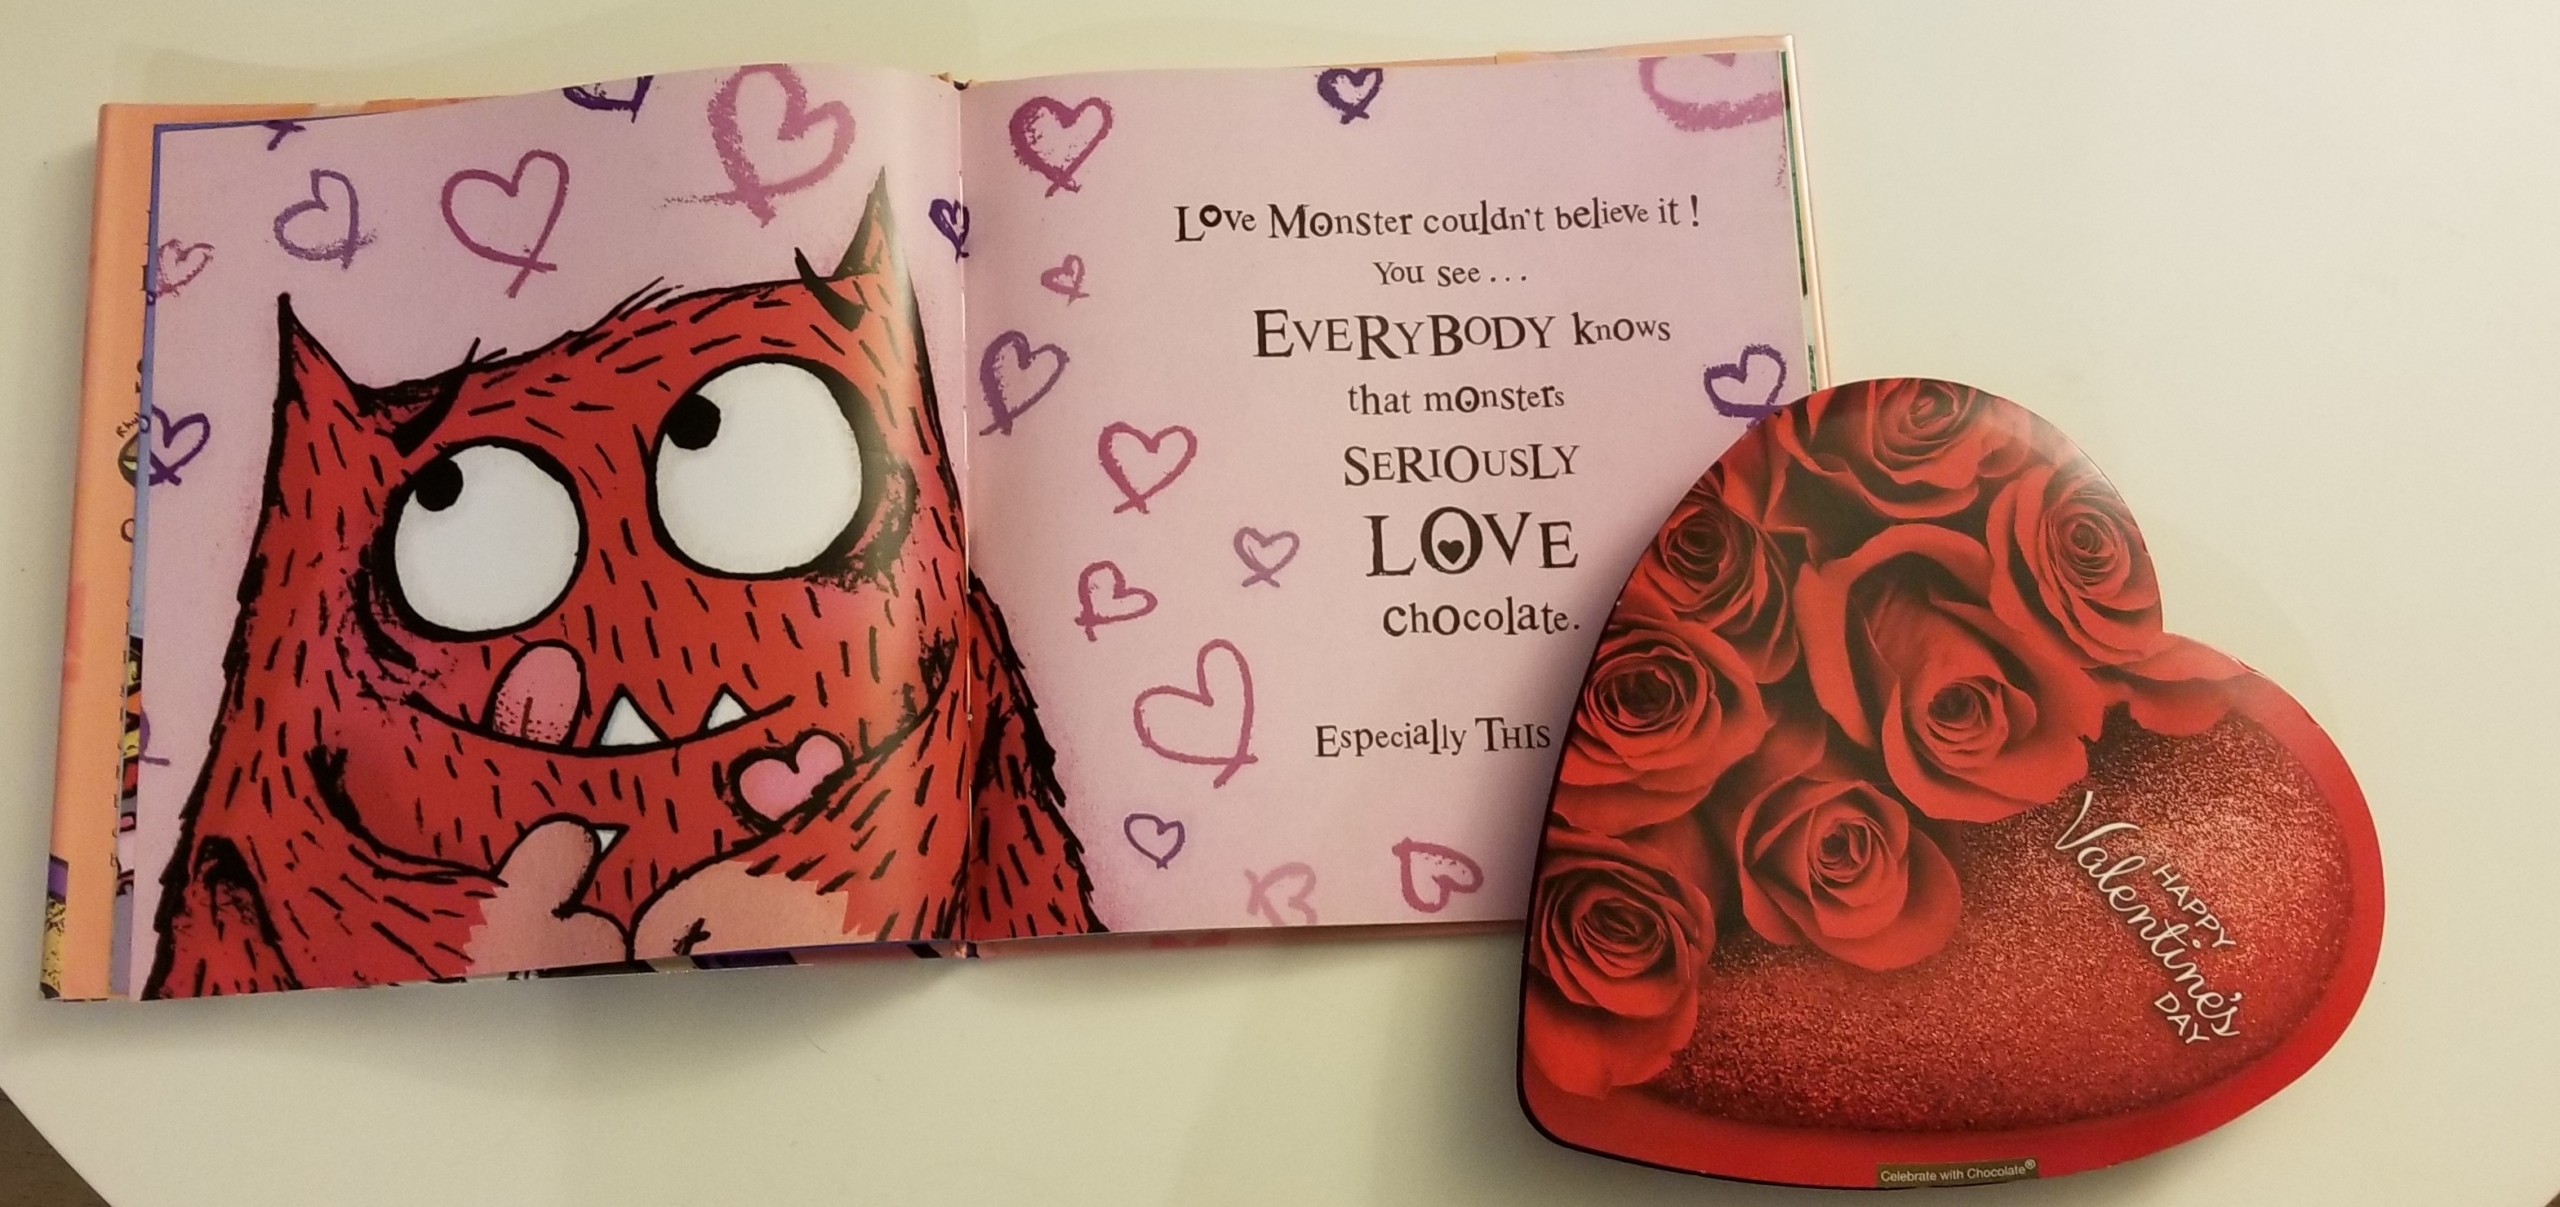
This activity begins with spending quality time reading a sweet picture book to your child. A part of Rachel Bright’s Love Monster series, Love Monster and the Last Chocolate is a delightful book that teaches children about friendship, generosity, and, of course, chocolate! After reading together, you’ll upcycle a chocolate box into a memory matching game that teaches children to pair uppercase letters to their lowercase counterparts. This easy activity leads your child from a read-aloud that engages them in conversation about love and friendship to an interactive game that takes their letter learning to the next level.
Conversation Hearts Activity for Valentine’s Day Reading
What better way to celebrate Valentine’s Day and literacy than to weave together love, candy, and letters! This literacy activity lets children draw their own version of those ubiquitous candy conversation hearts and then try to create words with them. Children attempt to make as many words as they can with these hearts, practicing their reading skills. It’s a sweet, simple, and thematic way to teach the key skills of encoding and decoding.
By Laila Weir
Every year—in non-pandemic times—on an evening in early March, tables overflow with books in the multipurpose room of my kids’ elementary school as pajama-clad children wander among them. Arms wrapped around newly acquired titles, groups of kids browse happily, periodically ducking out on eager slippered feet for story times in various classrooms. This pajama-party-book-exchange is our school’s way of celebrating Read Across America Day, a national event taking place every March 2 that brings communities together around reading.
Parent volunteers collect books ahead of time so there are more than plenty, and kids are encouraged to take all they like (even the pre-readers participate, enthusiastically choosing from among the picture books). The freedom to adopt books according to their fancy and nothing more inspires kids to follow their interests and to read abundantly. The evening builds an atmosphere of literary discovery and excitement, all while providing loads of free books to students. It’s a fun and beautiful way to support literacy for all.
This year, Read Across America is sure to look different. But with a little ingenuity, there’s no reason your community can’t still plan a super reading celebration even in the days of social distancing. Read on for some ideas for marking this special occasion.
Hold a Distanced Book Exchange
If you love the concept of a free-for-all book feast like our school’s book exchange, why not see whether your area’s current safety guidelines allow for a socially distanced book trade?
Set up tables in an outdoor location, such as a schoolyard or unused parking lot, and stock them with used books (offering plenty of variety by topic and reading level). Chalk a one-way path that participants can follow past the tables, filling up on reading material along the way. Alternatively, set up book tables indoors or outdoors and have households book 10-minute time slots to browse the books before making way for the next group.
Just make sure you plan to get plenty of books for your exchange. Contacting libraries for books they’re getting rid of, posting widely in neighborhood and school online groups for donations of used books, and creating an accessible drop-off location can all help ensure you’ll have more than enough.
Distribute Book Grab Bags
If rules, logistics, or prudence prevent a full-on book exchange, but you still want to facilitate the exchange of reading material, why not provide book grab bags to students?
As with the book exchange described above, gather plenty of donated used books on a variety of topics and levels. Then put together grocery bags of titles appropriate for various age groups. Invite families to pick up the grab bags, or organize volunteers to make contactless deliveries to students’ homes upon request.
Virtual Story Times
Virtual story times are a relatively easy way to celebrate Read Across America this year, and they can also make a great supplement to a book exchange or distanced in-person event.
Invite teachers, parents, trusted community members, and children to sign up to read a diverse selection of stories via your preferred video calling platform. You can even invite authors to “sign up” and read their books during a virtual author visit! Then publish a schedule on your school website or elsewhere.
Virtual story times have an added bonus in that kids who weren’t able to attend can watch later on. Just be sure to have the readers press “record” during their live readings. Tip: Ensure a teacher or parent volunteer is present at each virtual story time, to make sure things stay on track.
Need help with your story list? Check out the Read Across America site to get you started with some curated titles. You might also want to work with your community’s library to ensure all the selections for sign-up are available.
Host a StoryWalk
Check out the Read Across America website for a variety of other creative and socially distanced ways to celebrate reading and community. These include hosting a story time drive-in, developing a reading obstacle course—and creating a StoryWalk.
Developed by Anne Ferguson in Montpelier, Vermont, a StoryWalk is a “fun, physically distanced activity that places a children’s story—a deconstructed book, page by page—along a walking route in your community,” explains the Read Across America site, which also links to tips on how to create one. A StoryWalk is a wonderful way to combine physical movement, getting outside, and literacy.
Let us know how your community celebrates reading this Read Across America Day—or any day!

By Courtney Runn
Teach a person to read and you open a door—not only to an unparalleled world of wonder and entertainment—but also to independence, freedom, and success.
Yet those doors are remaining closed for too many Texans: Just 25 percent of Texas public school fourth graders scored at a “proficient” level or above for reading in a 2017 study, a full ten points lower than the already-unacceptable national rate of 35 percent.
Going by the statistics, the deck is already stacked against the three-quarters of children who fell short. Research shows that childhood literacy is crucial for achieving further academic success. Students that can read by third grade are less likely to drop out of high school and subsequently less vulnerable to poverty and unemployment. And adult literacy directly correlates with quality of life, as well.
What’s more, around 70 percent of U.S. prison inmates operate at the lowest literacy level, according to the Texas Criminal Justice Coalition, and 80 percent of inmates at Austin-area Del Valle Correctional Complex don’t have high school diplomas.
From poverty to equity to criminal justice, just about any social issue you might care about can be positively impacted by supporting literacy. And Austin offers a plethora of options for doing just that. Explore these eight local nonprofit organizations for opportunities to help open the door to literacy for all.
Book Spring
BookSpring advocates for childhood literacy at home. The organization is dedicated to the premise that early intervention is key to setting reading habits and ensuring children are literate by the third grade, a key milestone for educational success. To support families reading together, the nonprofit sends children books and is working toward the goal of sending at least three books a year to 80,000 Central Texas children living in poverty.
Get involved: You can donate financially, drop off children’s books, or become a sponsor. Book Spring is also currently looking for digital advocates and volunteers to sort and label books at home.
El Buen Samaritano
Among its many services for the Central Texas Latinx community, El Buen Samaritano offers English as a second language (ESL) classes for adults and a school readiness program for parents preparing their young children for elementary school. The organization, a service branch of the Episcopal Diocese of Texas, has worked in the community for 30-plus years and serves more than 10,000 people each year.
Get involved: Apply to be a volunteer or donate financially.
Inside Books Project
Since 1998, Inside Books Project has supported literacy and education in Texas prisons. Operating on the principle that every prisoner has the right to read, the nonprofit sends free books and reading materials to prisoners, along with personal letters. Inmates can write back to request certain books and genres.
Get involved: Volunteer to choose books and write letters to inmates, donate financially, or donate books.
Literacy First
Recognizing that early childhood literacy directly impacts future educational success, Literacy First works to build a strong literacy foundation for children in Central Texas. The nonprofit partners with school districts to provide daily tutoring for students in kindergarten through second grade. In the 2019-2020 school year, Literacy First worked with more than 1,000 students across 25 schools in the Austin area.
Get involved: Literacy First accepts financial donations and applications from tutoring volunteers on its website.
Literacy Texas
Literacy Texas supports nonprofits across the state in their literacy initiatives. Through regional and statewide training sessions, the organization offers professional development and networking opportunities to better equip volunteers and advocates to promote literacy for all Texans.
Get involved: Become a member, donate financially, become a literacy advocate, or get connected with a nonprofit to volunteer.
Reading Rock Stars
A branch of the Texas Book Festival, Reading Rock Stars brings authors into Title I schools to support childhood literacy and sends students home with their own books. The program partners with schools in Austin, Rio Grande Valley, Houston, Dallas, and Fort Worth.
Get involved: Support the Texas Book Festival through volunteering or financial donations.
The Literacy Coalition of Central Texas
Since 2001, the Literacy Coalition of Central Texas has pursued its mission of breaking “the cycle of intergenerational poverty through comprehensive literacy services.” It serves Texans through a variety of programs, including workplace English lessons, career development services for low-income adults, and parent education on getting kids ready for kindergarten.
Get involved: The Literacy Coalition has multiple volunteer opportunities at varying time commitments and also accepts financial donations online.
Women’s Storybook Project
According to the Texas Criminal Justice Coalition, 81 percent of incarcerated women are mothers. After hearing about a program that allowed incarcerated mothers to read to their children, founder Judith Dullnig was inspired to create something similar in Texas. Since 2003, the Women’s Storybook Project of Texas has helped mothers record themselves reading books, so their children can still hear their voices and receive the benefits of parental reading.
Get involved: The Women’s Storybook Project works with volunteers to record stories and accepts financial donations.
Happy Lunar New Year! Whether this celebration is part of your family’s traditions or something you’d like your child to learn about, why not mark the occasion with fun activities that support early literacy at the same time?
Below, we walk you step-by-step through four easy activities to do with your young children. You’ll find crafts, simple alphabet- and writing-themed games, and picture book recommendations—even a storytelling puppet who helps kids develop the comprehension and oral language skills that underpin successful reading and writing. Just follow the links for full, illustrated instructions and more tips. Enjoy!
Create a Lunar New Year Fortune-Teller
In this literacy craft, telling fortunes for the new year creates the perfect opportunity to work on reading skills. Kids won’t even realize they’re practicing as they read the same sight words (or sound out the same longer words) over and over while telling their friends’ and family’s fortunes. This game even builds mindfulness, as kids share positive messages and concentrate on hopeful wishes for the future. Enjoy!
Use the Chinese Zodiac to Teach Kids Letter Sounds
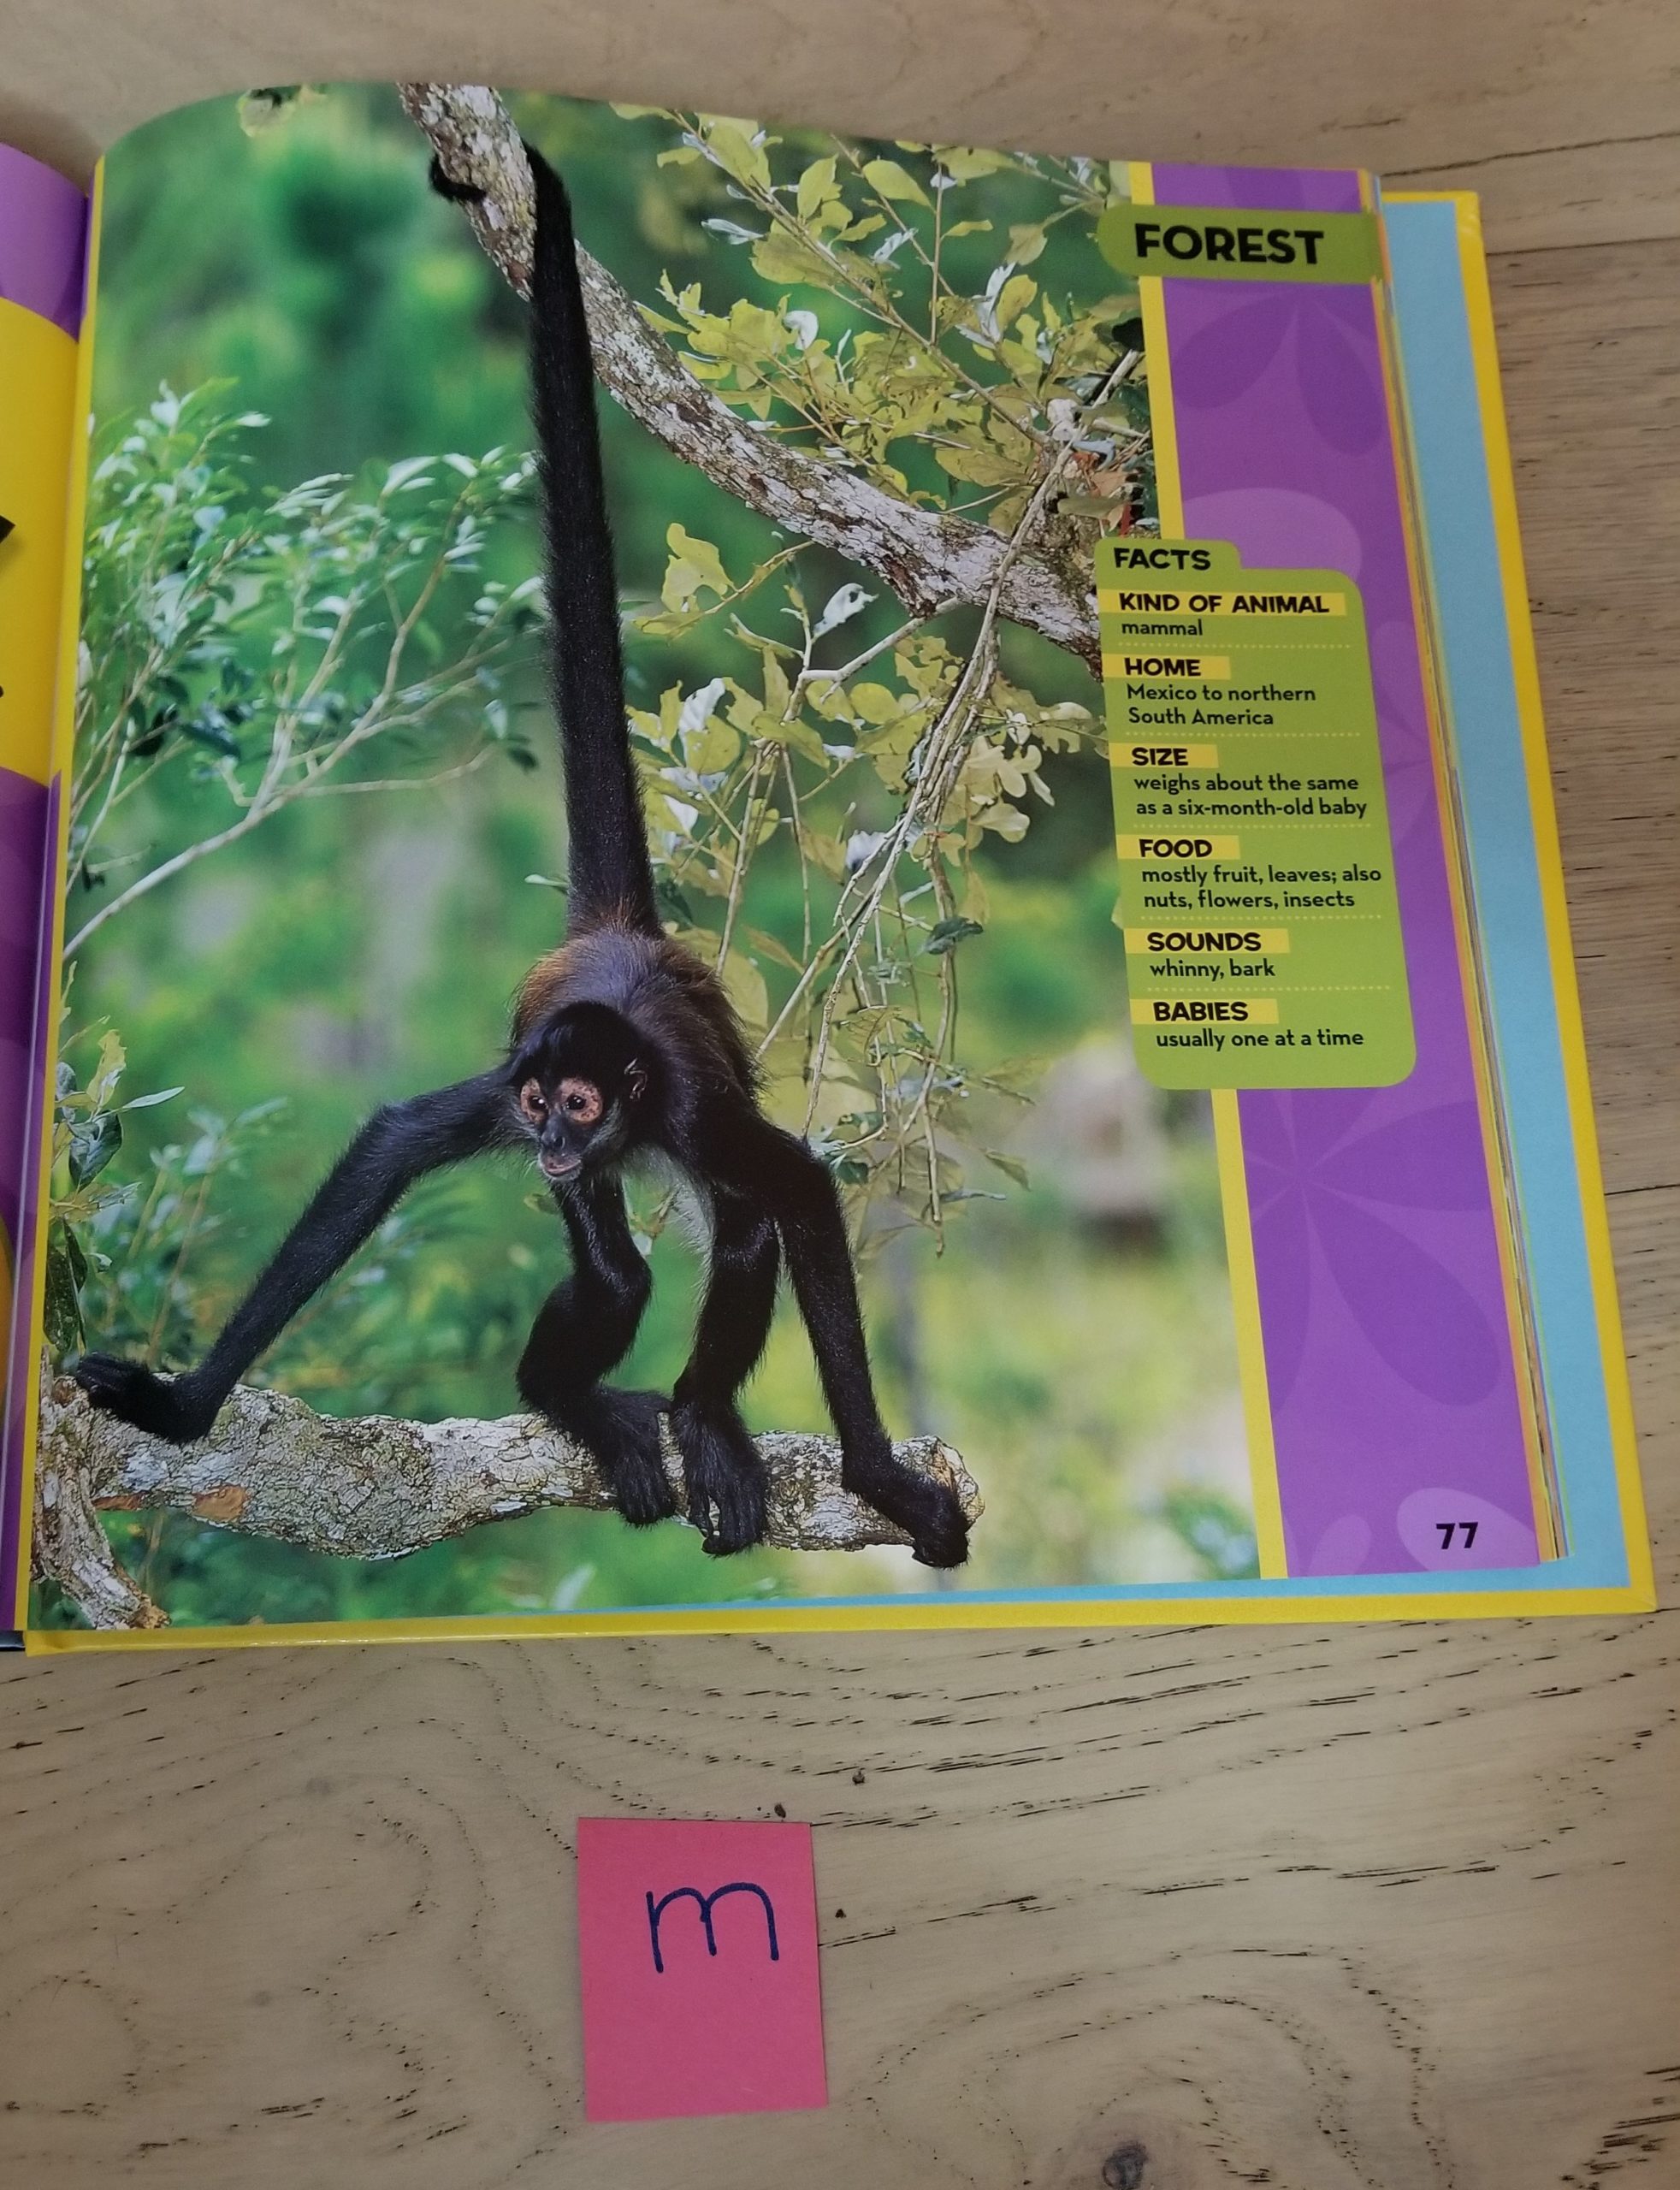
In this Lunar New Year story time activity, we’ll delve into the Chinese zodiac by reading Ruby’s Chinese New Year by Vickie Lee. Next, we’ll expand the story time with a playful early literacy activity designed to build letter-sound knowledge. Your child will learn to isolate the first sound of each animal’s name and match it to the correct letter.

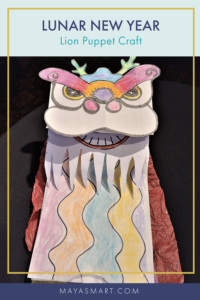
Make a DIY Lion Puppet for Lunar New Year
In this story time activity, we explore Chinese traditions for the Lunar New Year. In traditional celebrations, a mythical Chinese lion dances in the new year to bring good luck and scare away the bad. Follow a simple tutorial to craft your own storytelling lion puppet that kids can use to retell a story you read together. Retelling helps deepen kids’ comprehension and support the oral language skills that underpin successful reading and writing.
Use Red Envelopes to Help Kids Practice Writing
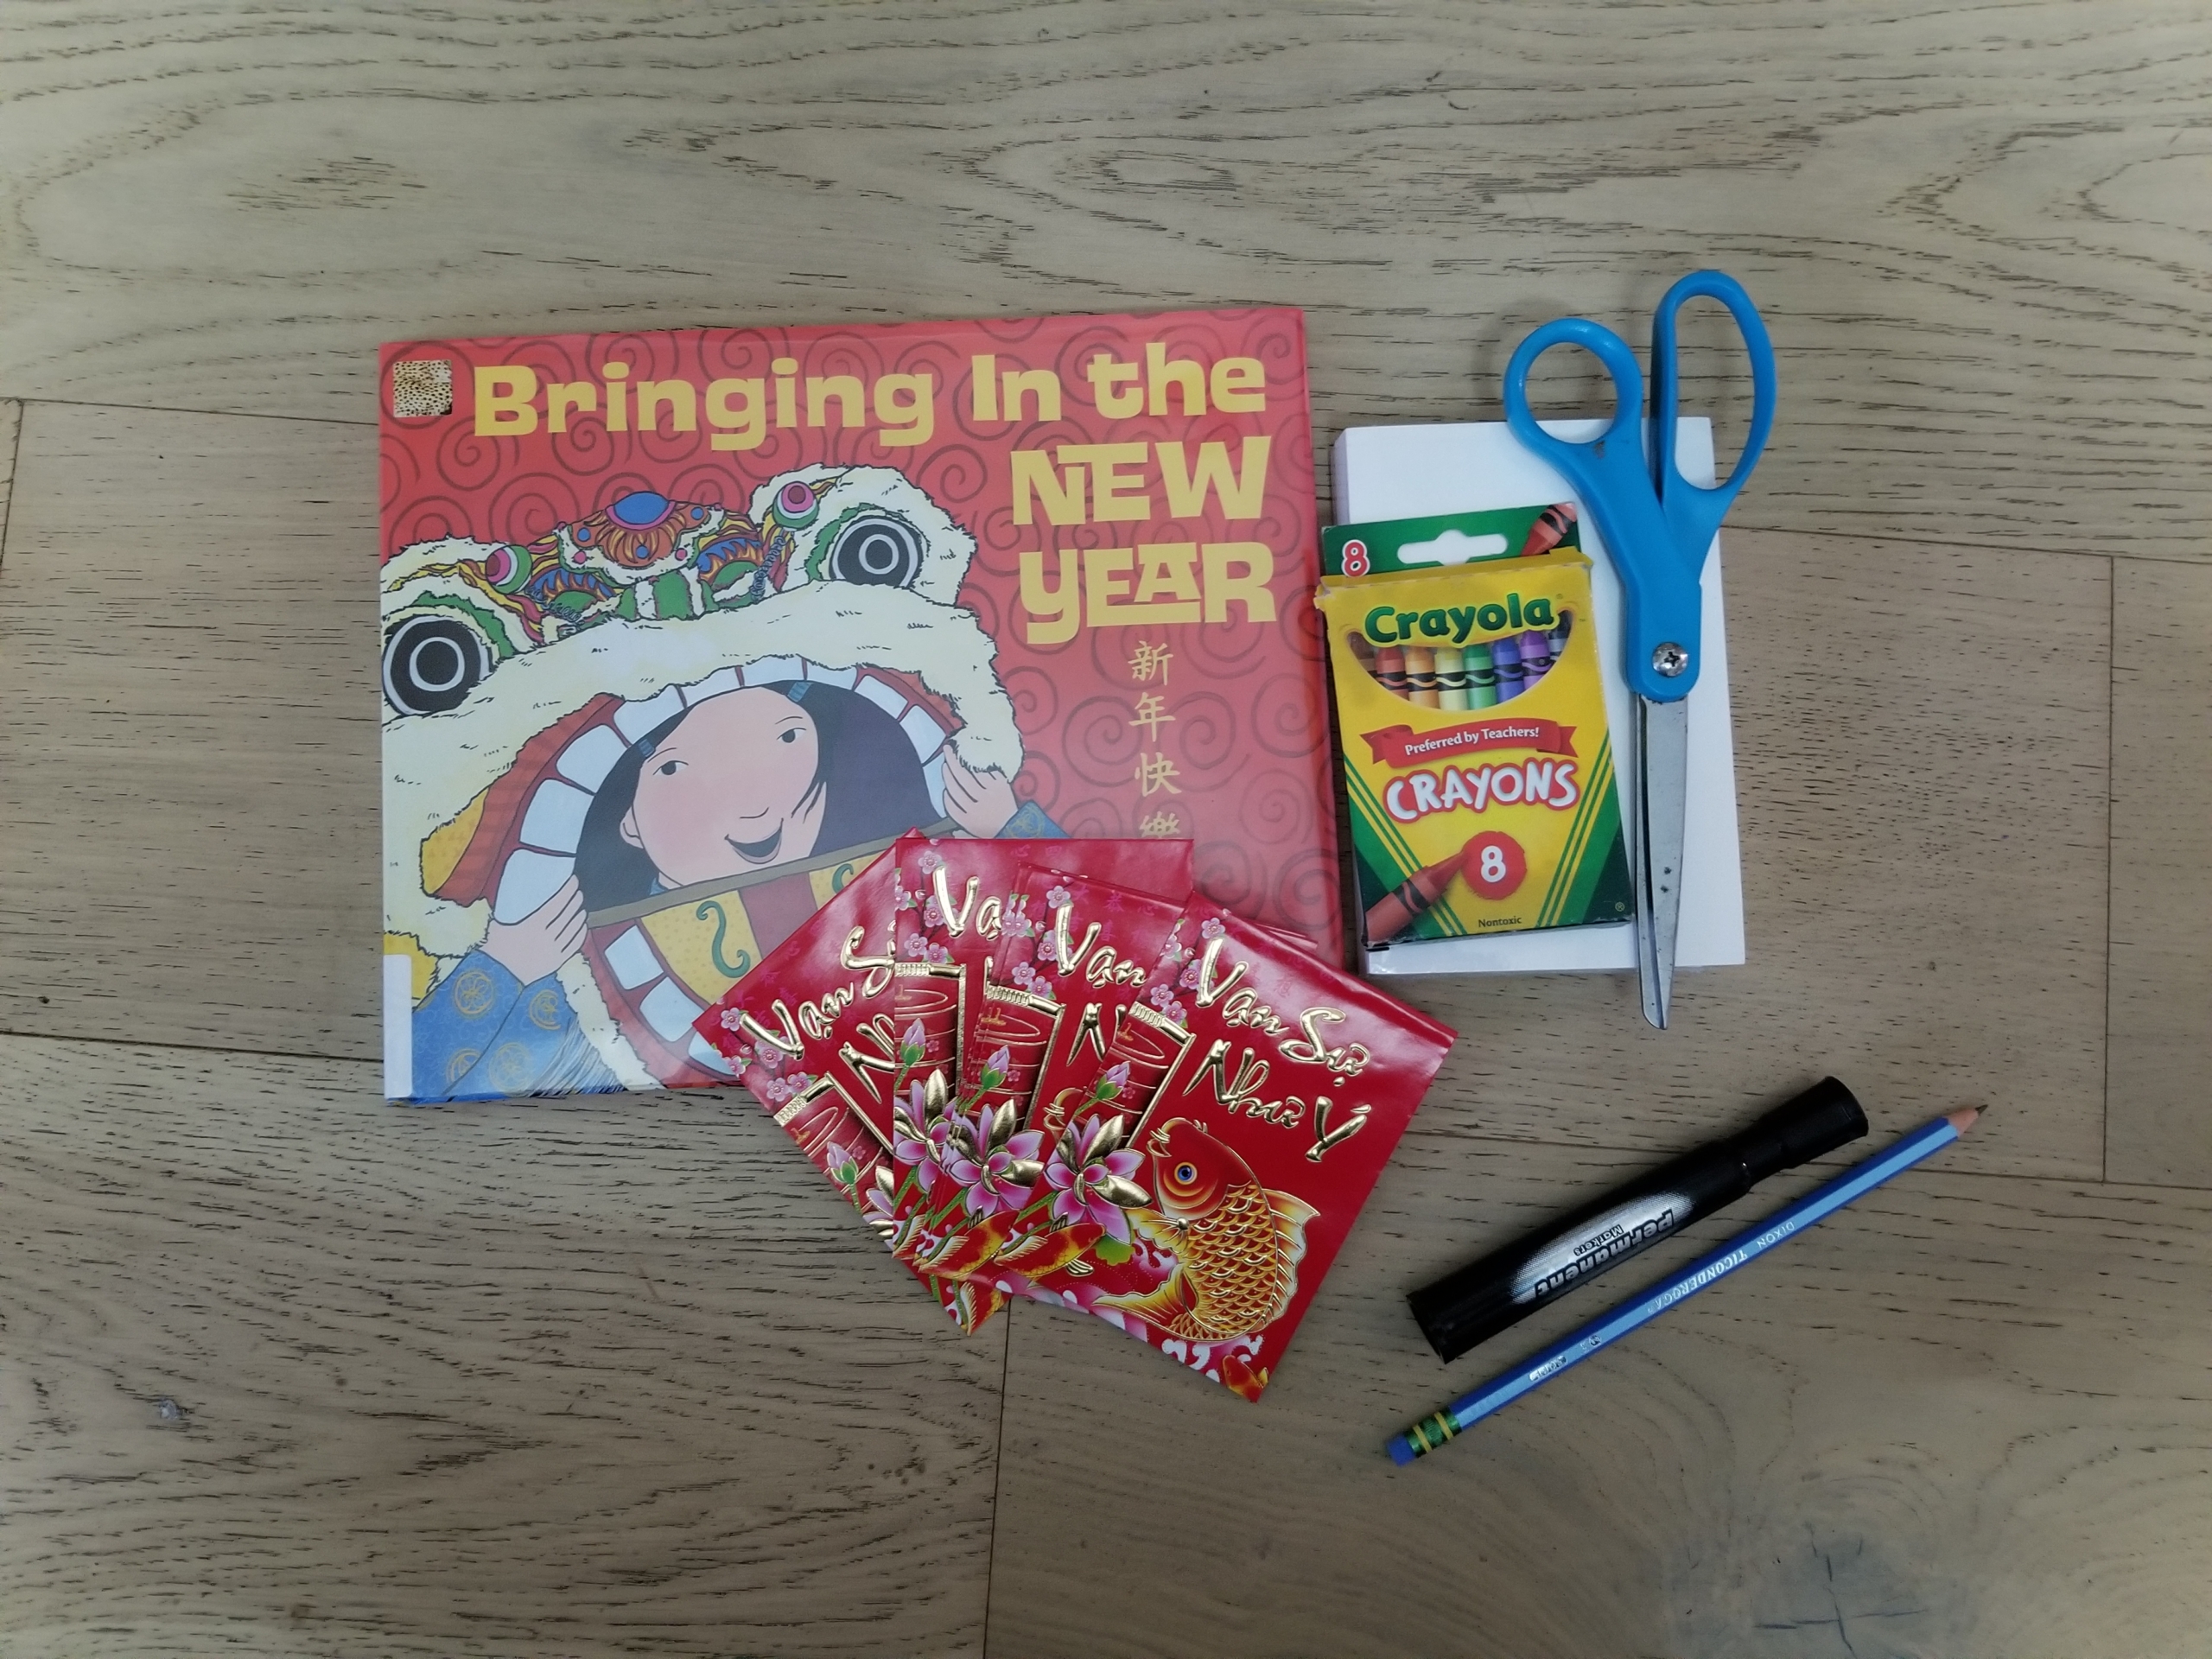
Read Grace Lin’s Bringing in the New Year aloud to your child and then share a fun literacy-supporting activity with them. You’ll teach them how to read and write the names of loved ones as you create Lunar New Year envelopes for family members. It’s a great way to tie cultural traditions and literacy together in a fun and brain-building package.
“How do I teach my child to read?”
This is the number one question teachers hear from parents. They often feel lost or ill equipped to teach reading. But while there are incredible pre-designed resources out there, the truth is that you can totally do this on your own!
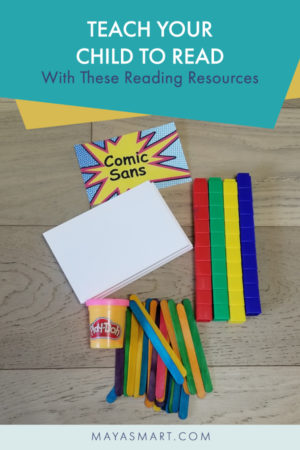
Many of the best tools for helping kids learn to read are simple, inexpensive, easy to find, reusable, and adaptable in a myriad of ways. You may already have some of them around the house (though you might not associate them with reading). If not, they’re easy to pick up or order online. Here’s our checklist of educator-recommended items for your toolbox, so you can infuse your child’s days with playful learning.
(And if you need a little motivation, be sure to check out our post on four reasons why parents should learn to teach reading immediately.)
- Craft Sticks
- Playdough
- Stacking Blocks
- Index Cards
- Letter Tiles or Magnets
- Comic Sans
- Clear Sheet Protectors/Contact Paper
- Sidewalk Chalk

Craft Sticks
Craft sticks are the BEST. They are inexpensive, easy to find, and adaptable in a myriad of ways.
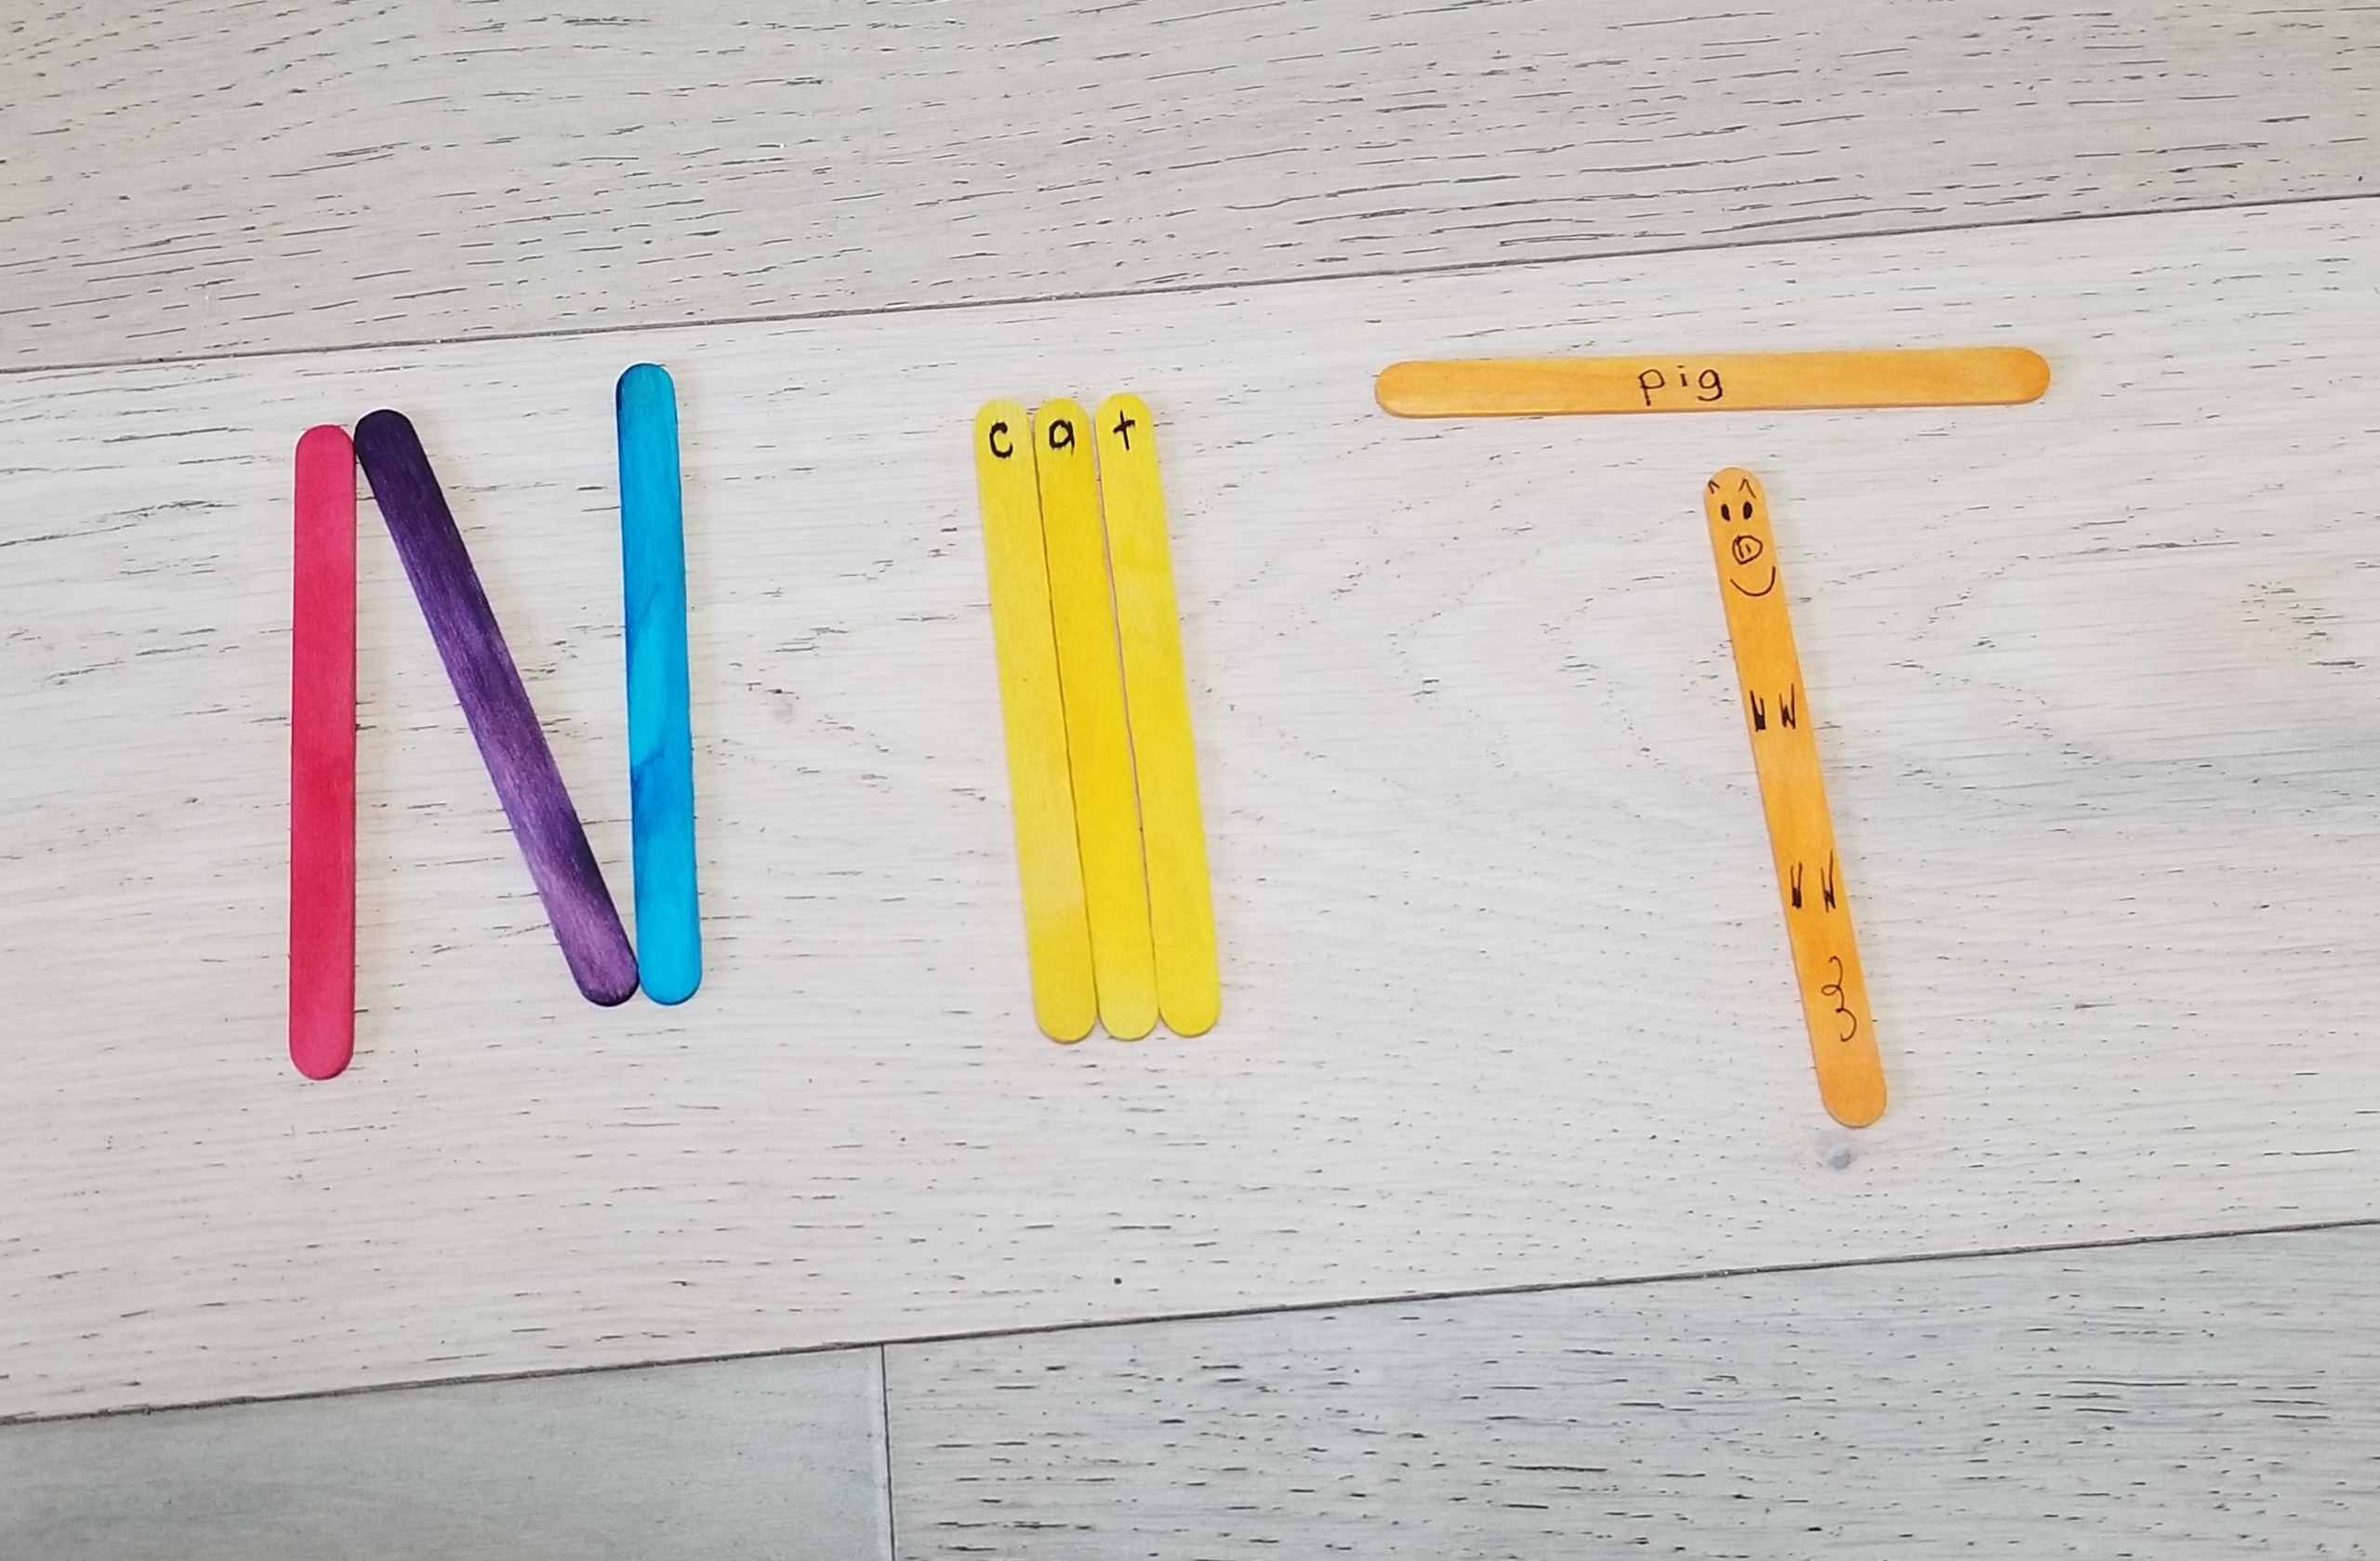
For example: You can use them to teach children the shapes of letters (click the link to learn how). They can be held under text in a book to help guide readers and keep their place or you can turn them into an easy DIY reading tool that highlights the words as they read. You can write letters on the end and swap them around to create words for your child to read, allowing them to practice letter swapping.
In my classroom, we write simple three-letter words on one side. My students read the word, flip the stick over, and then turn the stick into an illustration of that word. Popsicle-stick cats, dogs, moms, suns, and pigs abound!
Playdough
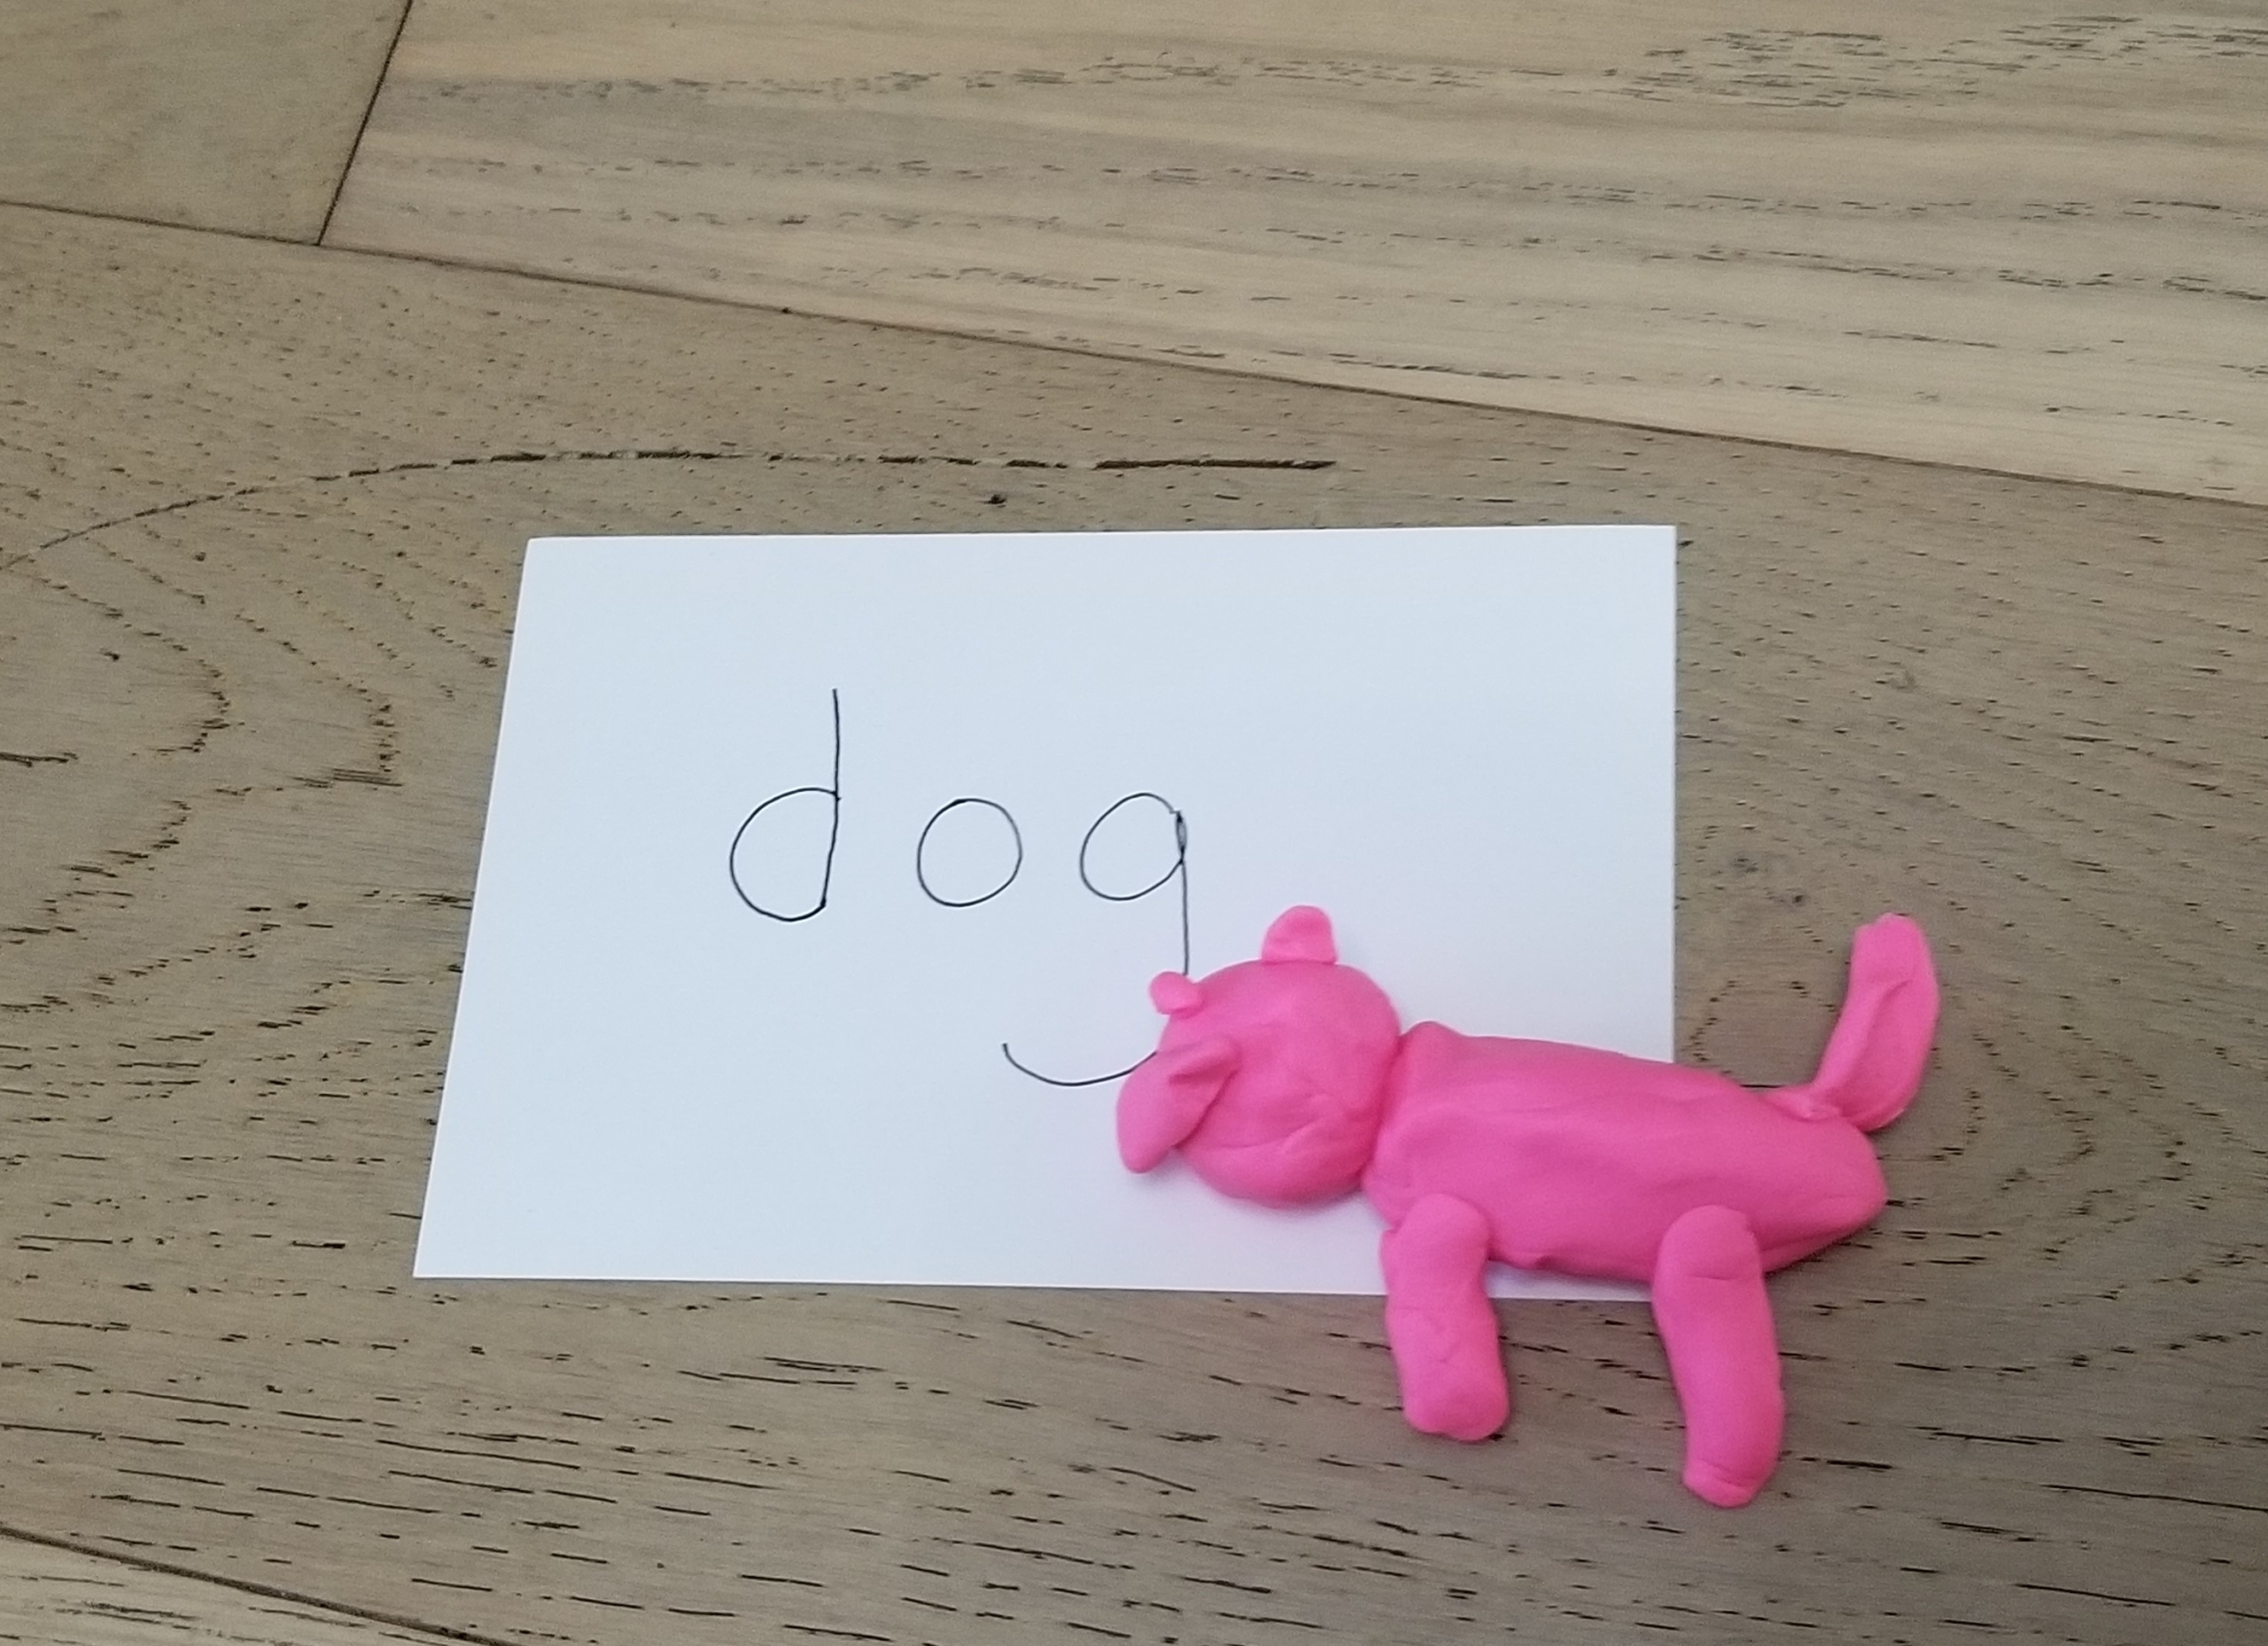
You can always use playdough to teach children the shapes of letters, particularly letters that contain curves. Children can use cutting toys or alphabet cookie cutters to create entire words.
Other times, I write down a letter and ask a child to use the playdough to create something that begins with that letter. For children who are starting to read words, I’ll write down a word and ask the child to read the word, then make a playdough sculpture of that word.
Sometimes I create a phonics sensory experience. If we’re learning the letter C, I’ll pull out toy cars and let the kids play with cars and playdough. We might create homes for the cars or make car tracks on playdough roads. As we play, I bring up the sound of the target letter or ask questions about other words that start with that sound. It’s play infused with phonics at its most simple and subtle.
Stacking Blocks
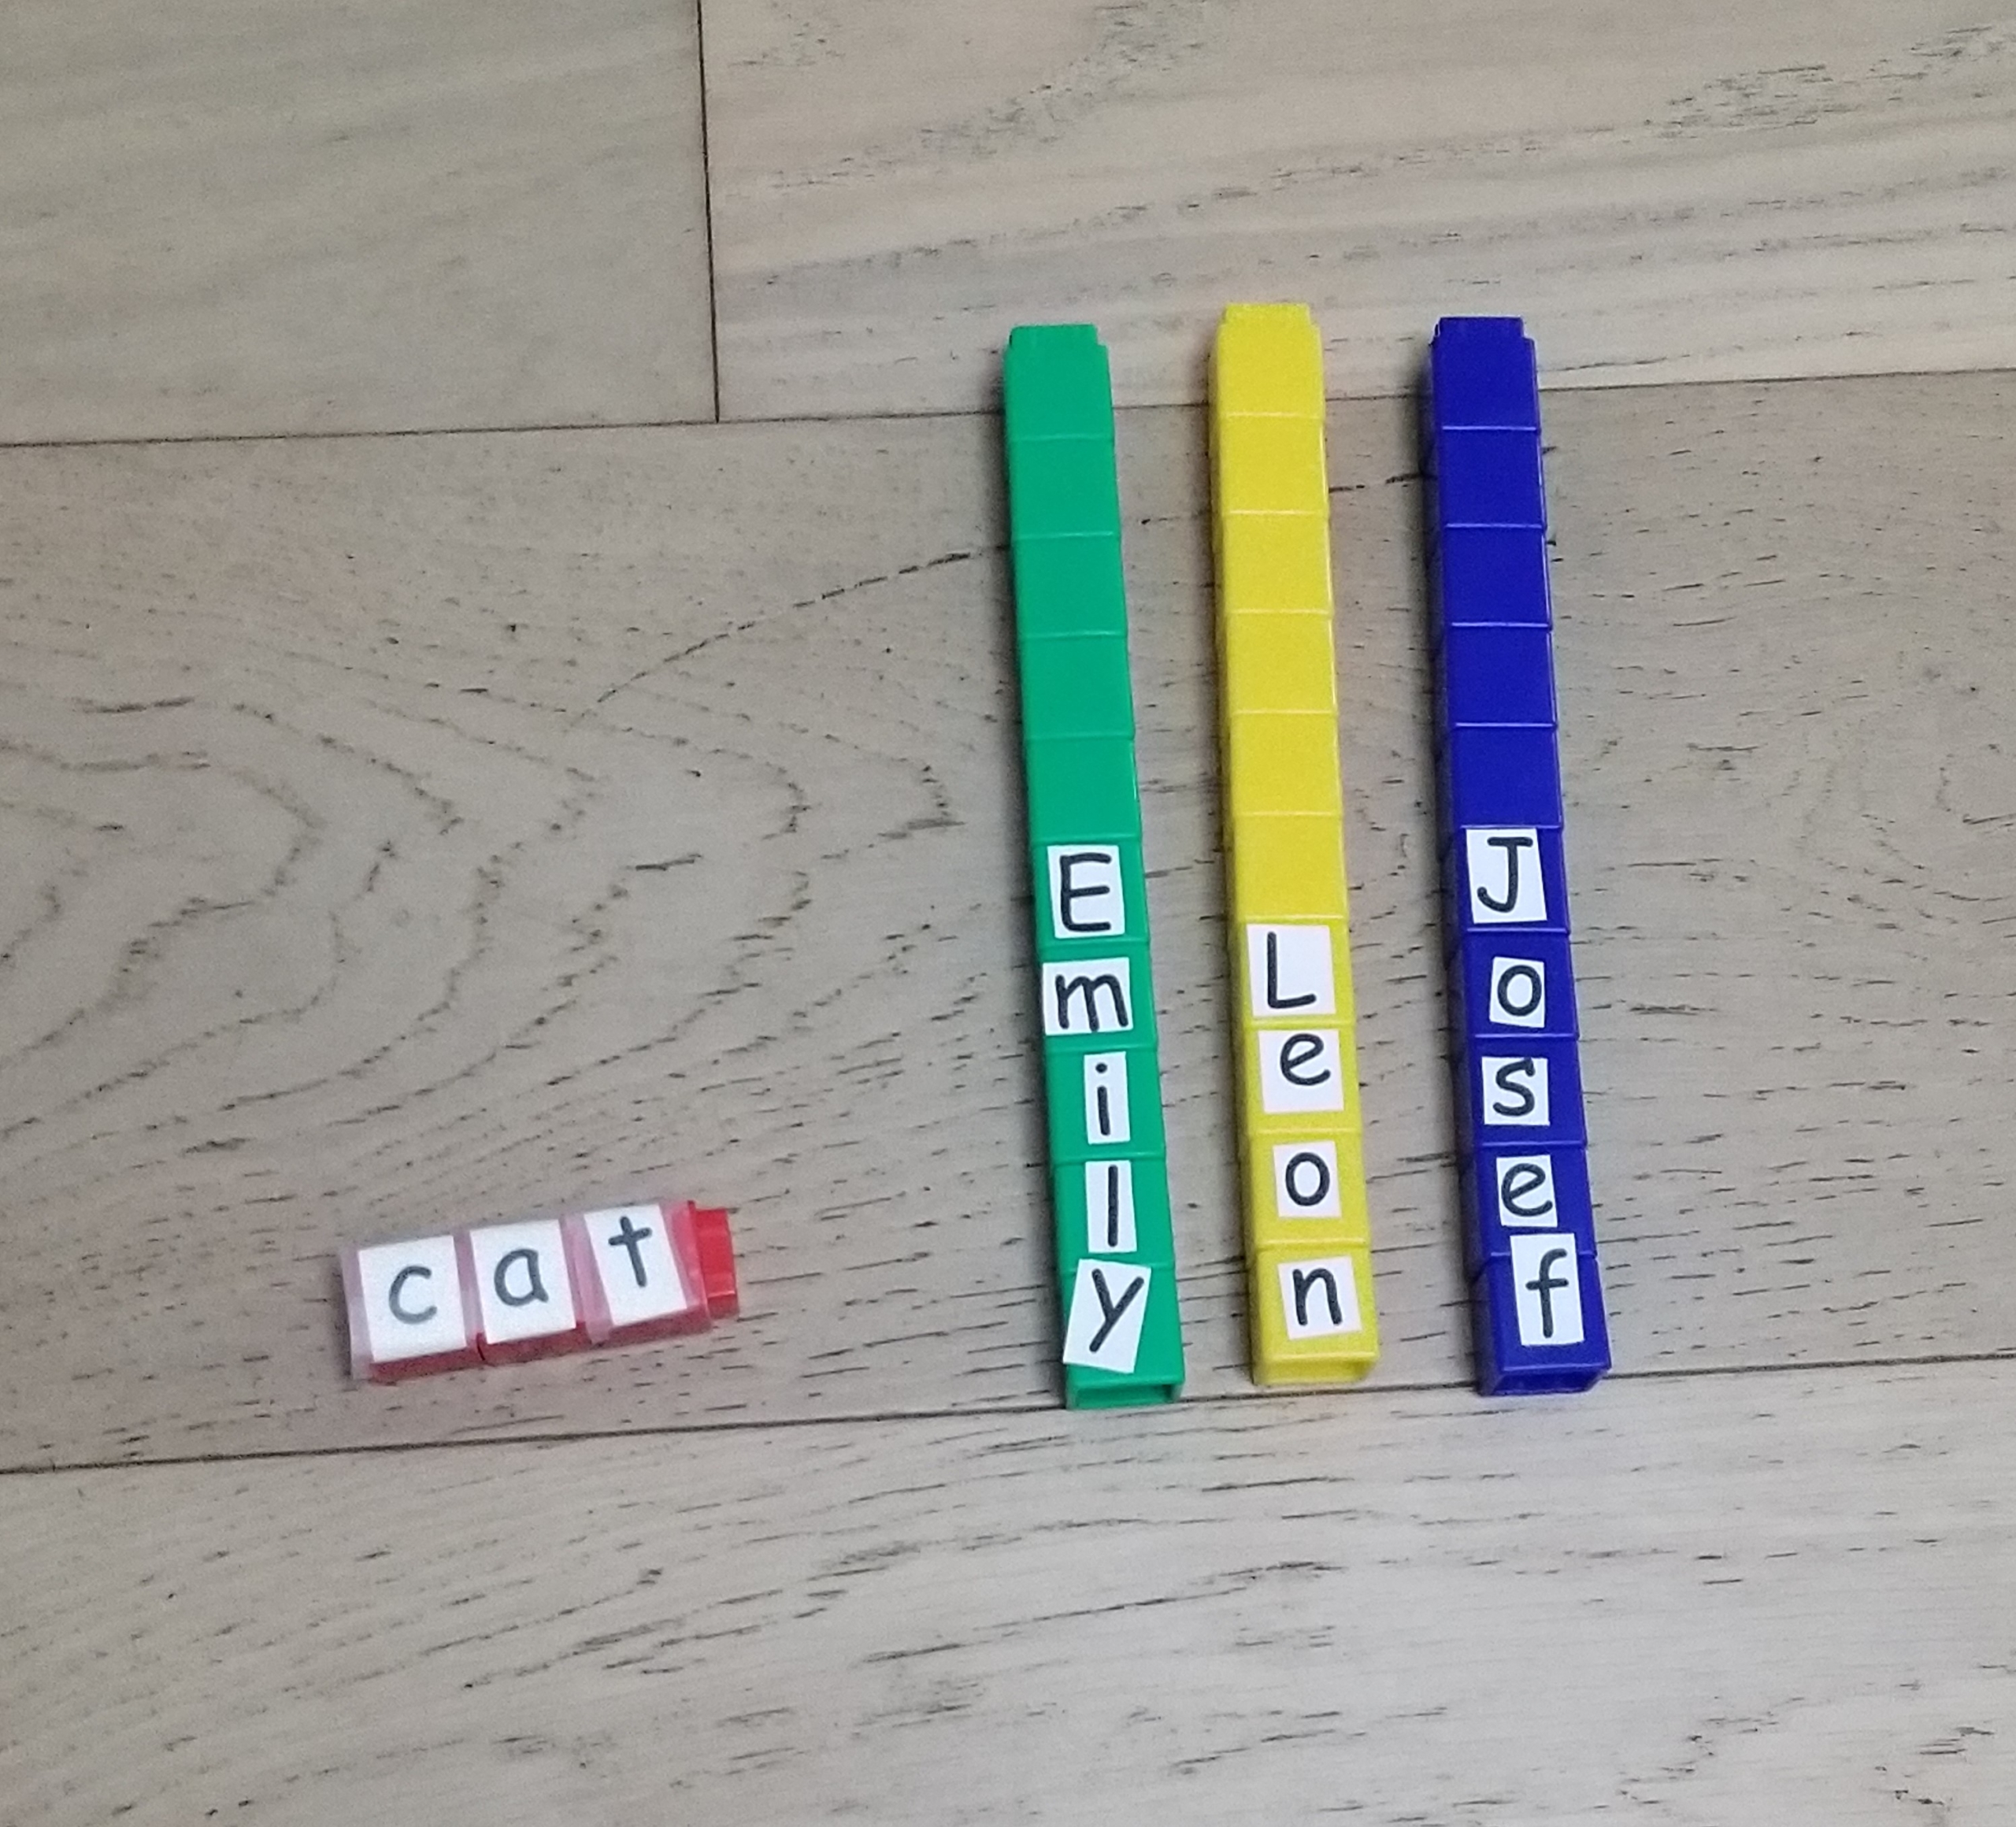
Stacking blocks are ones that can connect to one another, like Legos, Mega Bloks, or Unifix cubes. I use these blocks to build reading skills by taping letters to the blocks and connecting them together to create words (whether horizontally or by building a tower that reads vertically).
This mirrors the way teachers and parents have used wooden blocks for over 100 years, but with the added benefit that the letters stay together and we can manipulate the words once we’ve made them.
You can use alphabet stacking blocks in any number of creative ways. One adaptation I like is to tape the letters of a child’s name to the blocks and have them stack those together. With another set of blocks, we create a second person’s name. If you do this activity at home, spell the names of every family member and some friends or neighbors too. Then help kids identify which names start with the same letter or which have a certain letter in their name.
Index Cards
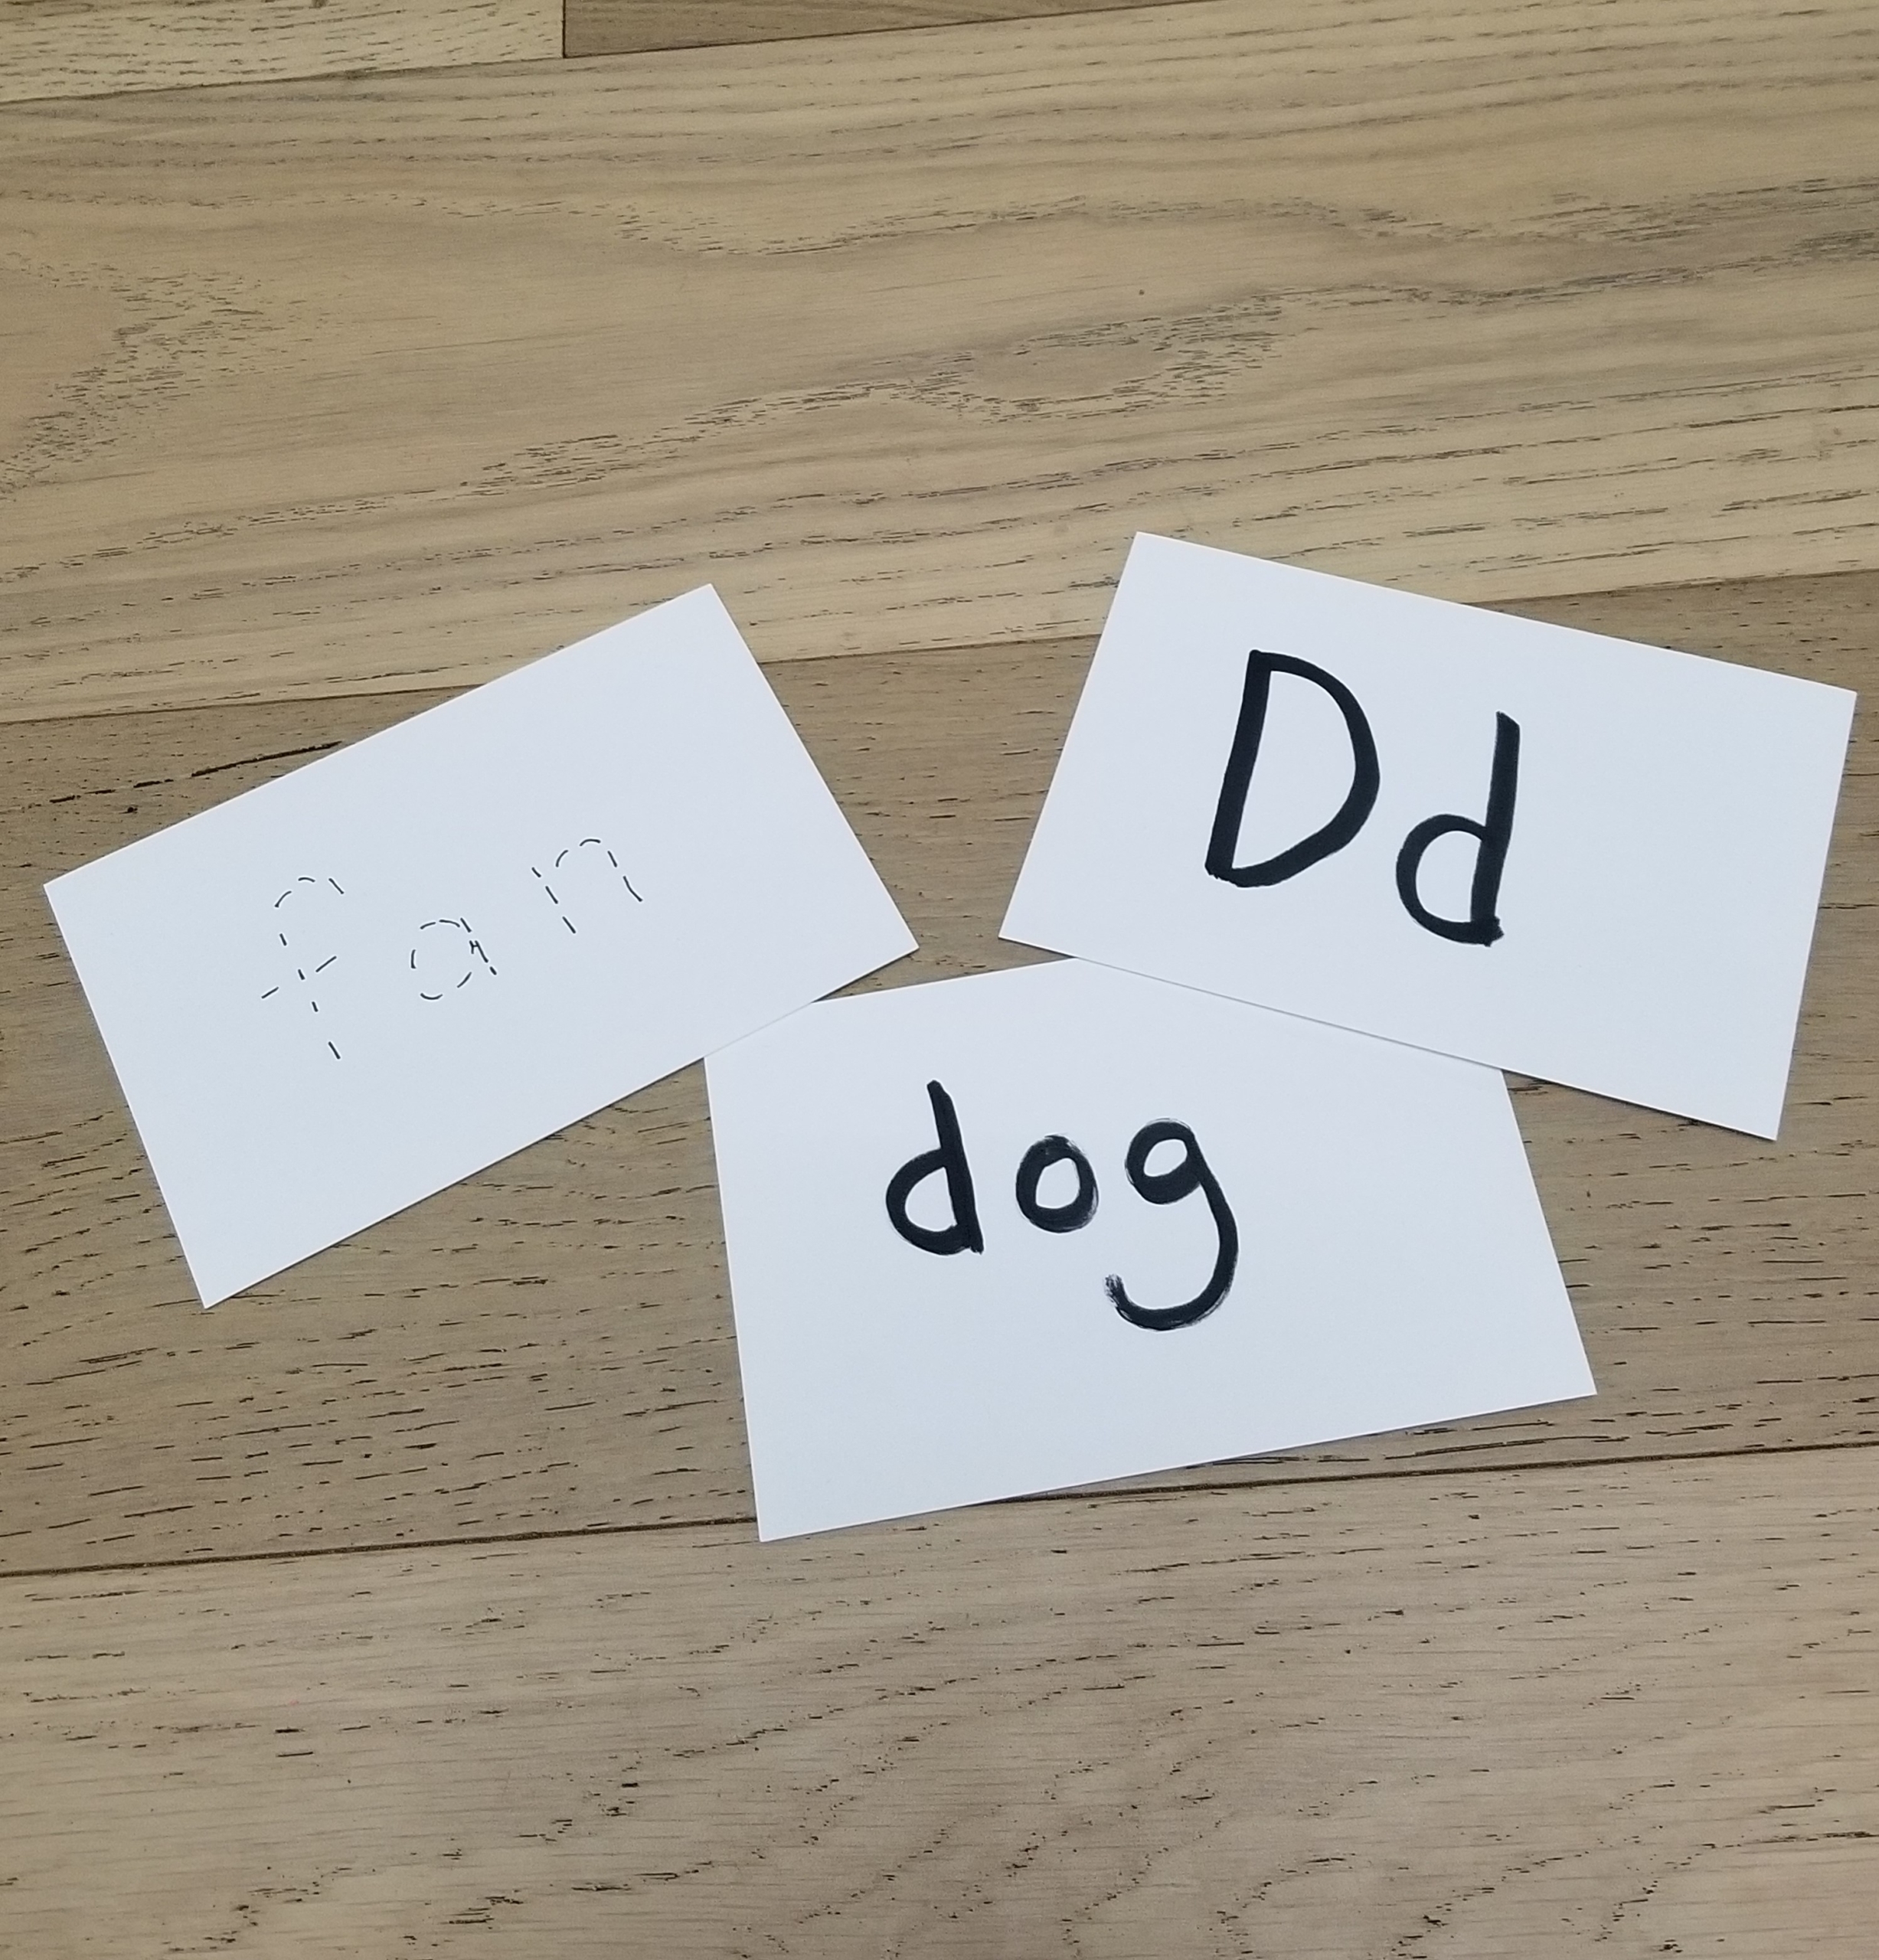
Index cards are so useful and probably have the most versatility. You can ditch the overpriced store-bought flash cards and make your own homemade ones instead, to practice letter sounds, sight words, new vocabulary, spelling words, etc.
Or write individual letters on the cards. Combine the letters to practice spelling and reading, like we’ve done in the activities above, or stick them to things around the house that begin with that letter.
You can also make all kinds of DIY educational games with index cards, from Alphabet Game of War to Rhyming Go Fish and DIY storytelling cards.
Finally, you can ask your child to practice writing on them. (A great example is in our Lunar New Year post.) For some reason, kids just love writing and illustrating on these sturdy, pint-sized papers. Then hang their writing on the fridge! I love, love, love a good index card.
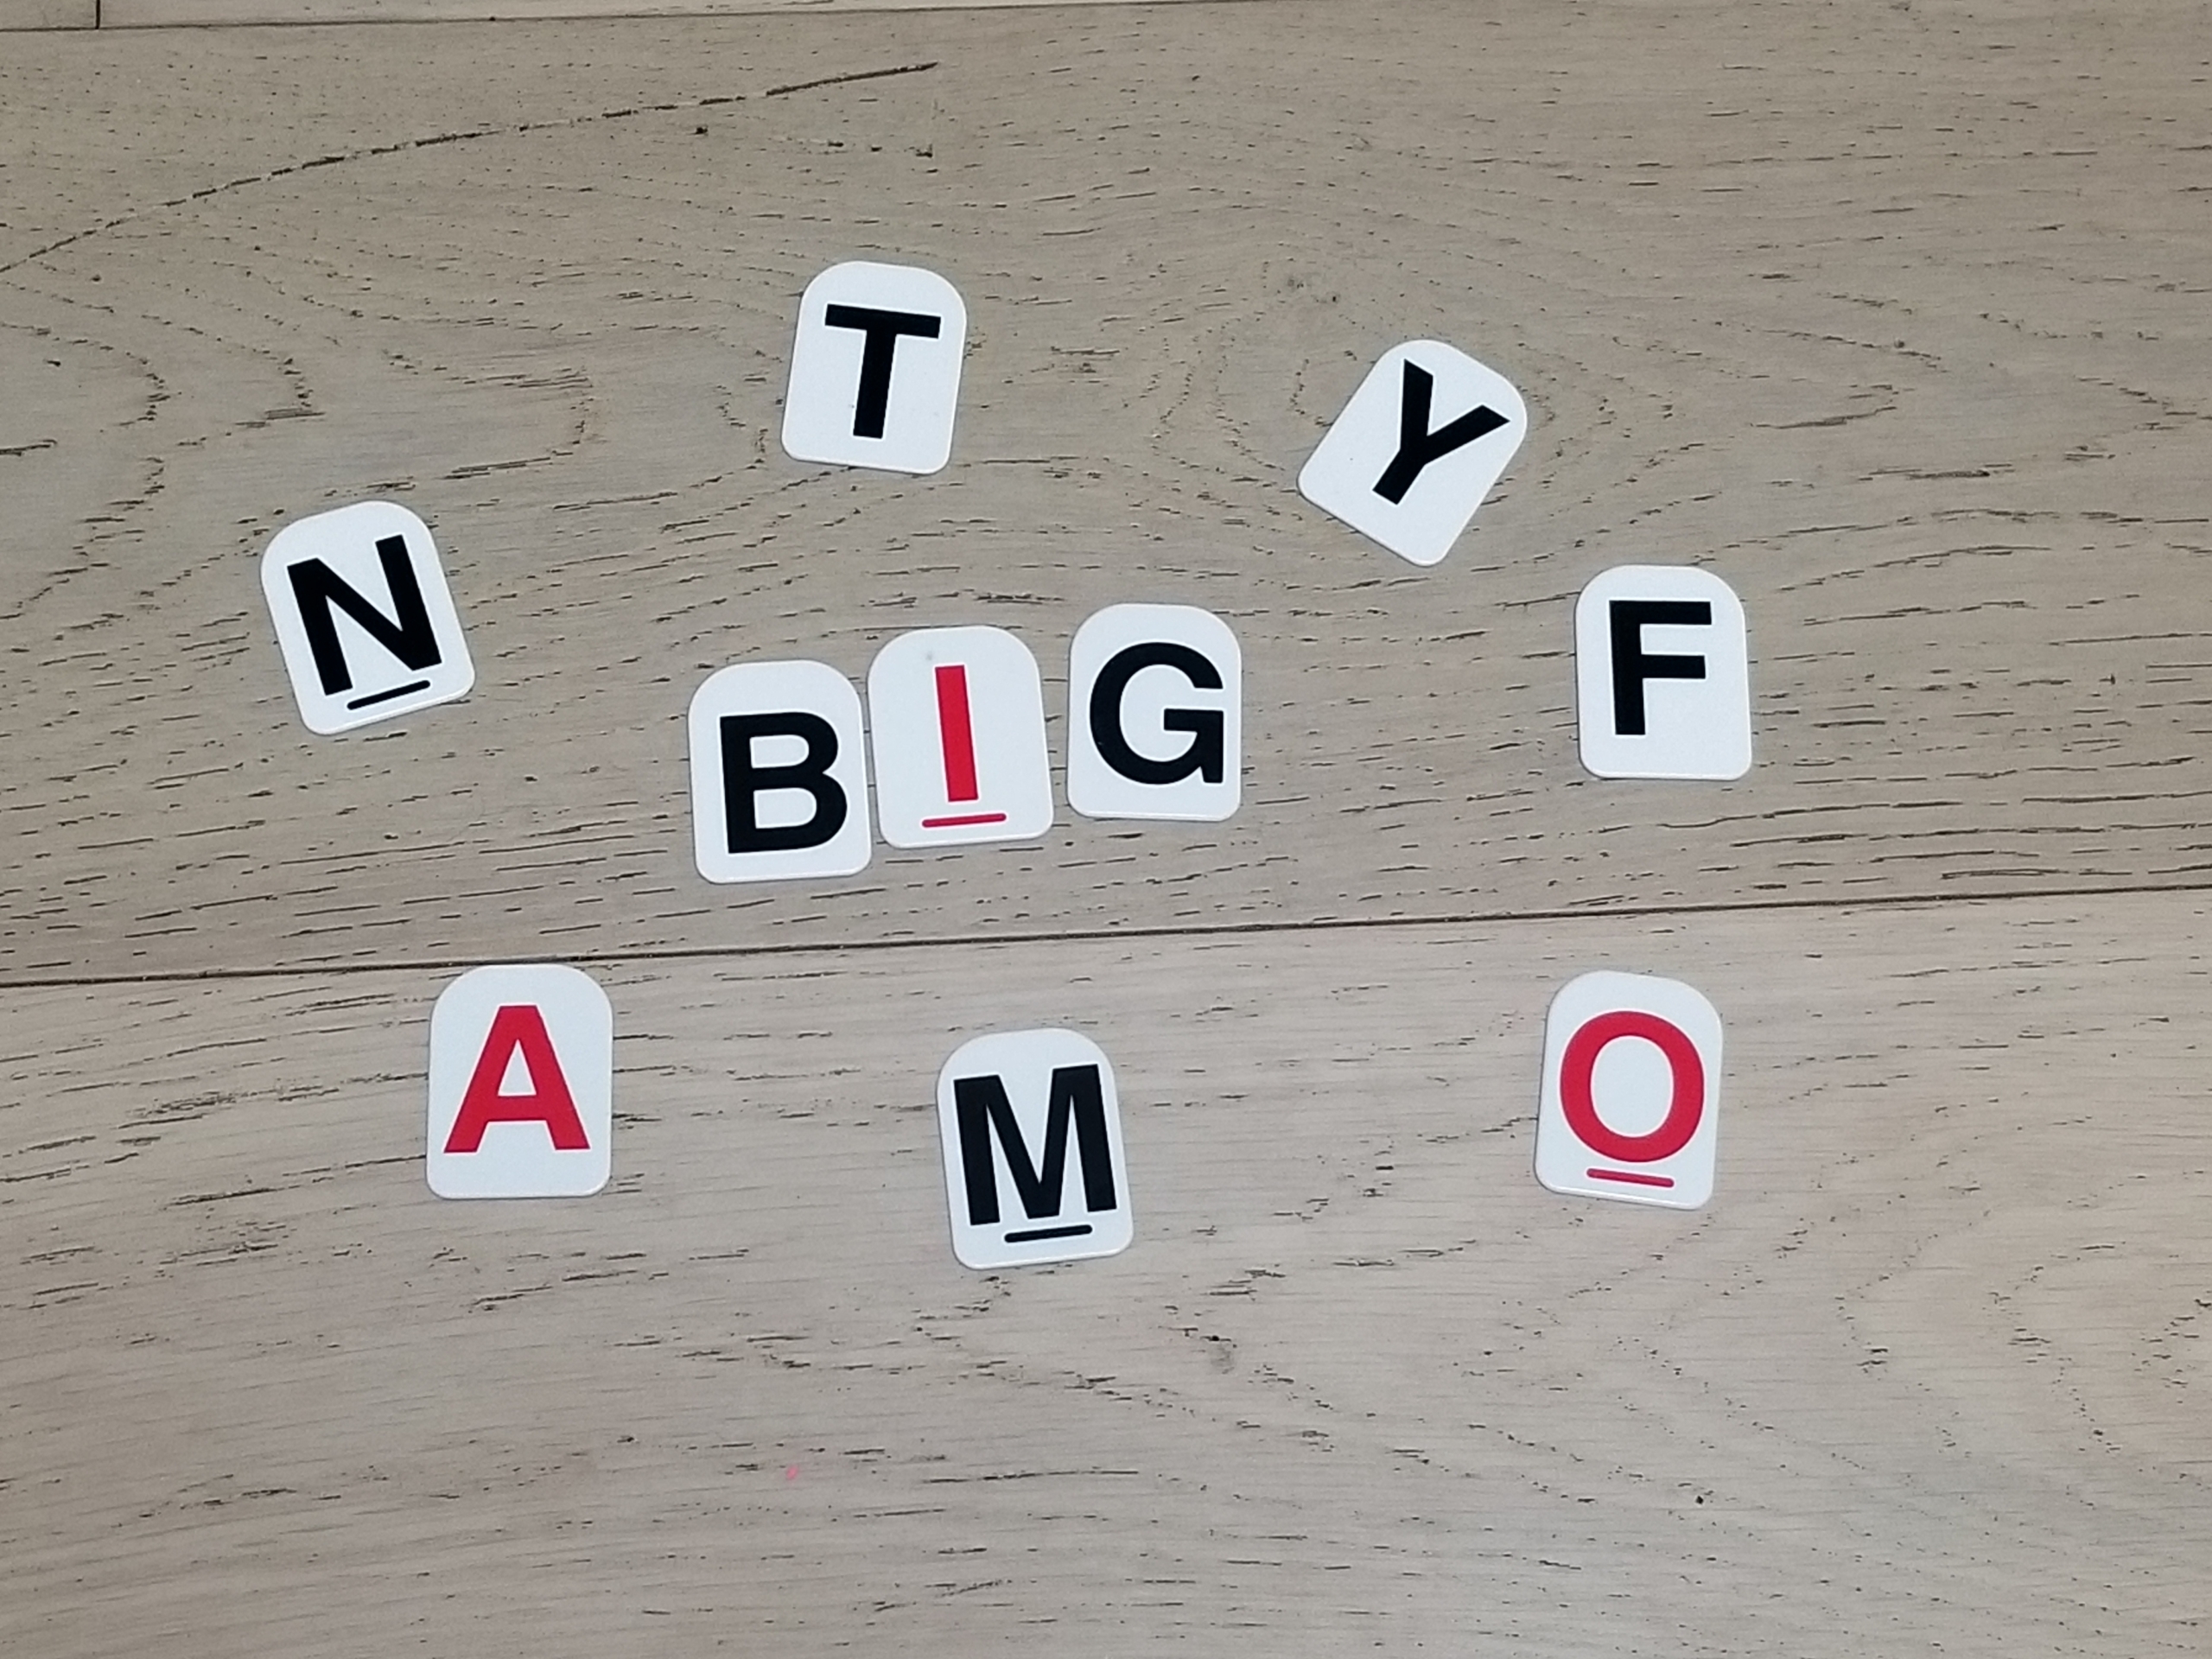
Letter Tiles
Letter tiles are durable, versatile, and regiftable. You can grab them from board games like Scrabble, Bananagrams, or Gnu, or purchase a whole bucket for as little as $6. After all the ideas I’ve shared above, I know you’ll find plenty of creative ways to teach reading with these cute little tiles. (Feel free to share other ideas you come up with in the comments!)
And you can hang on to these sturdy tiles for years to come. Use them to reinforce spelling skills (an easily overlooked skill that parents really should teach at home — see our post on four things parents need to know about spelling for more info) as your child blossoms from budding reader to bonafide bibliophile.
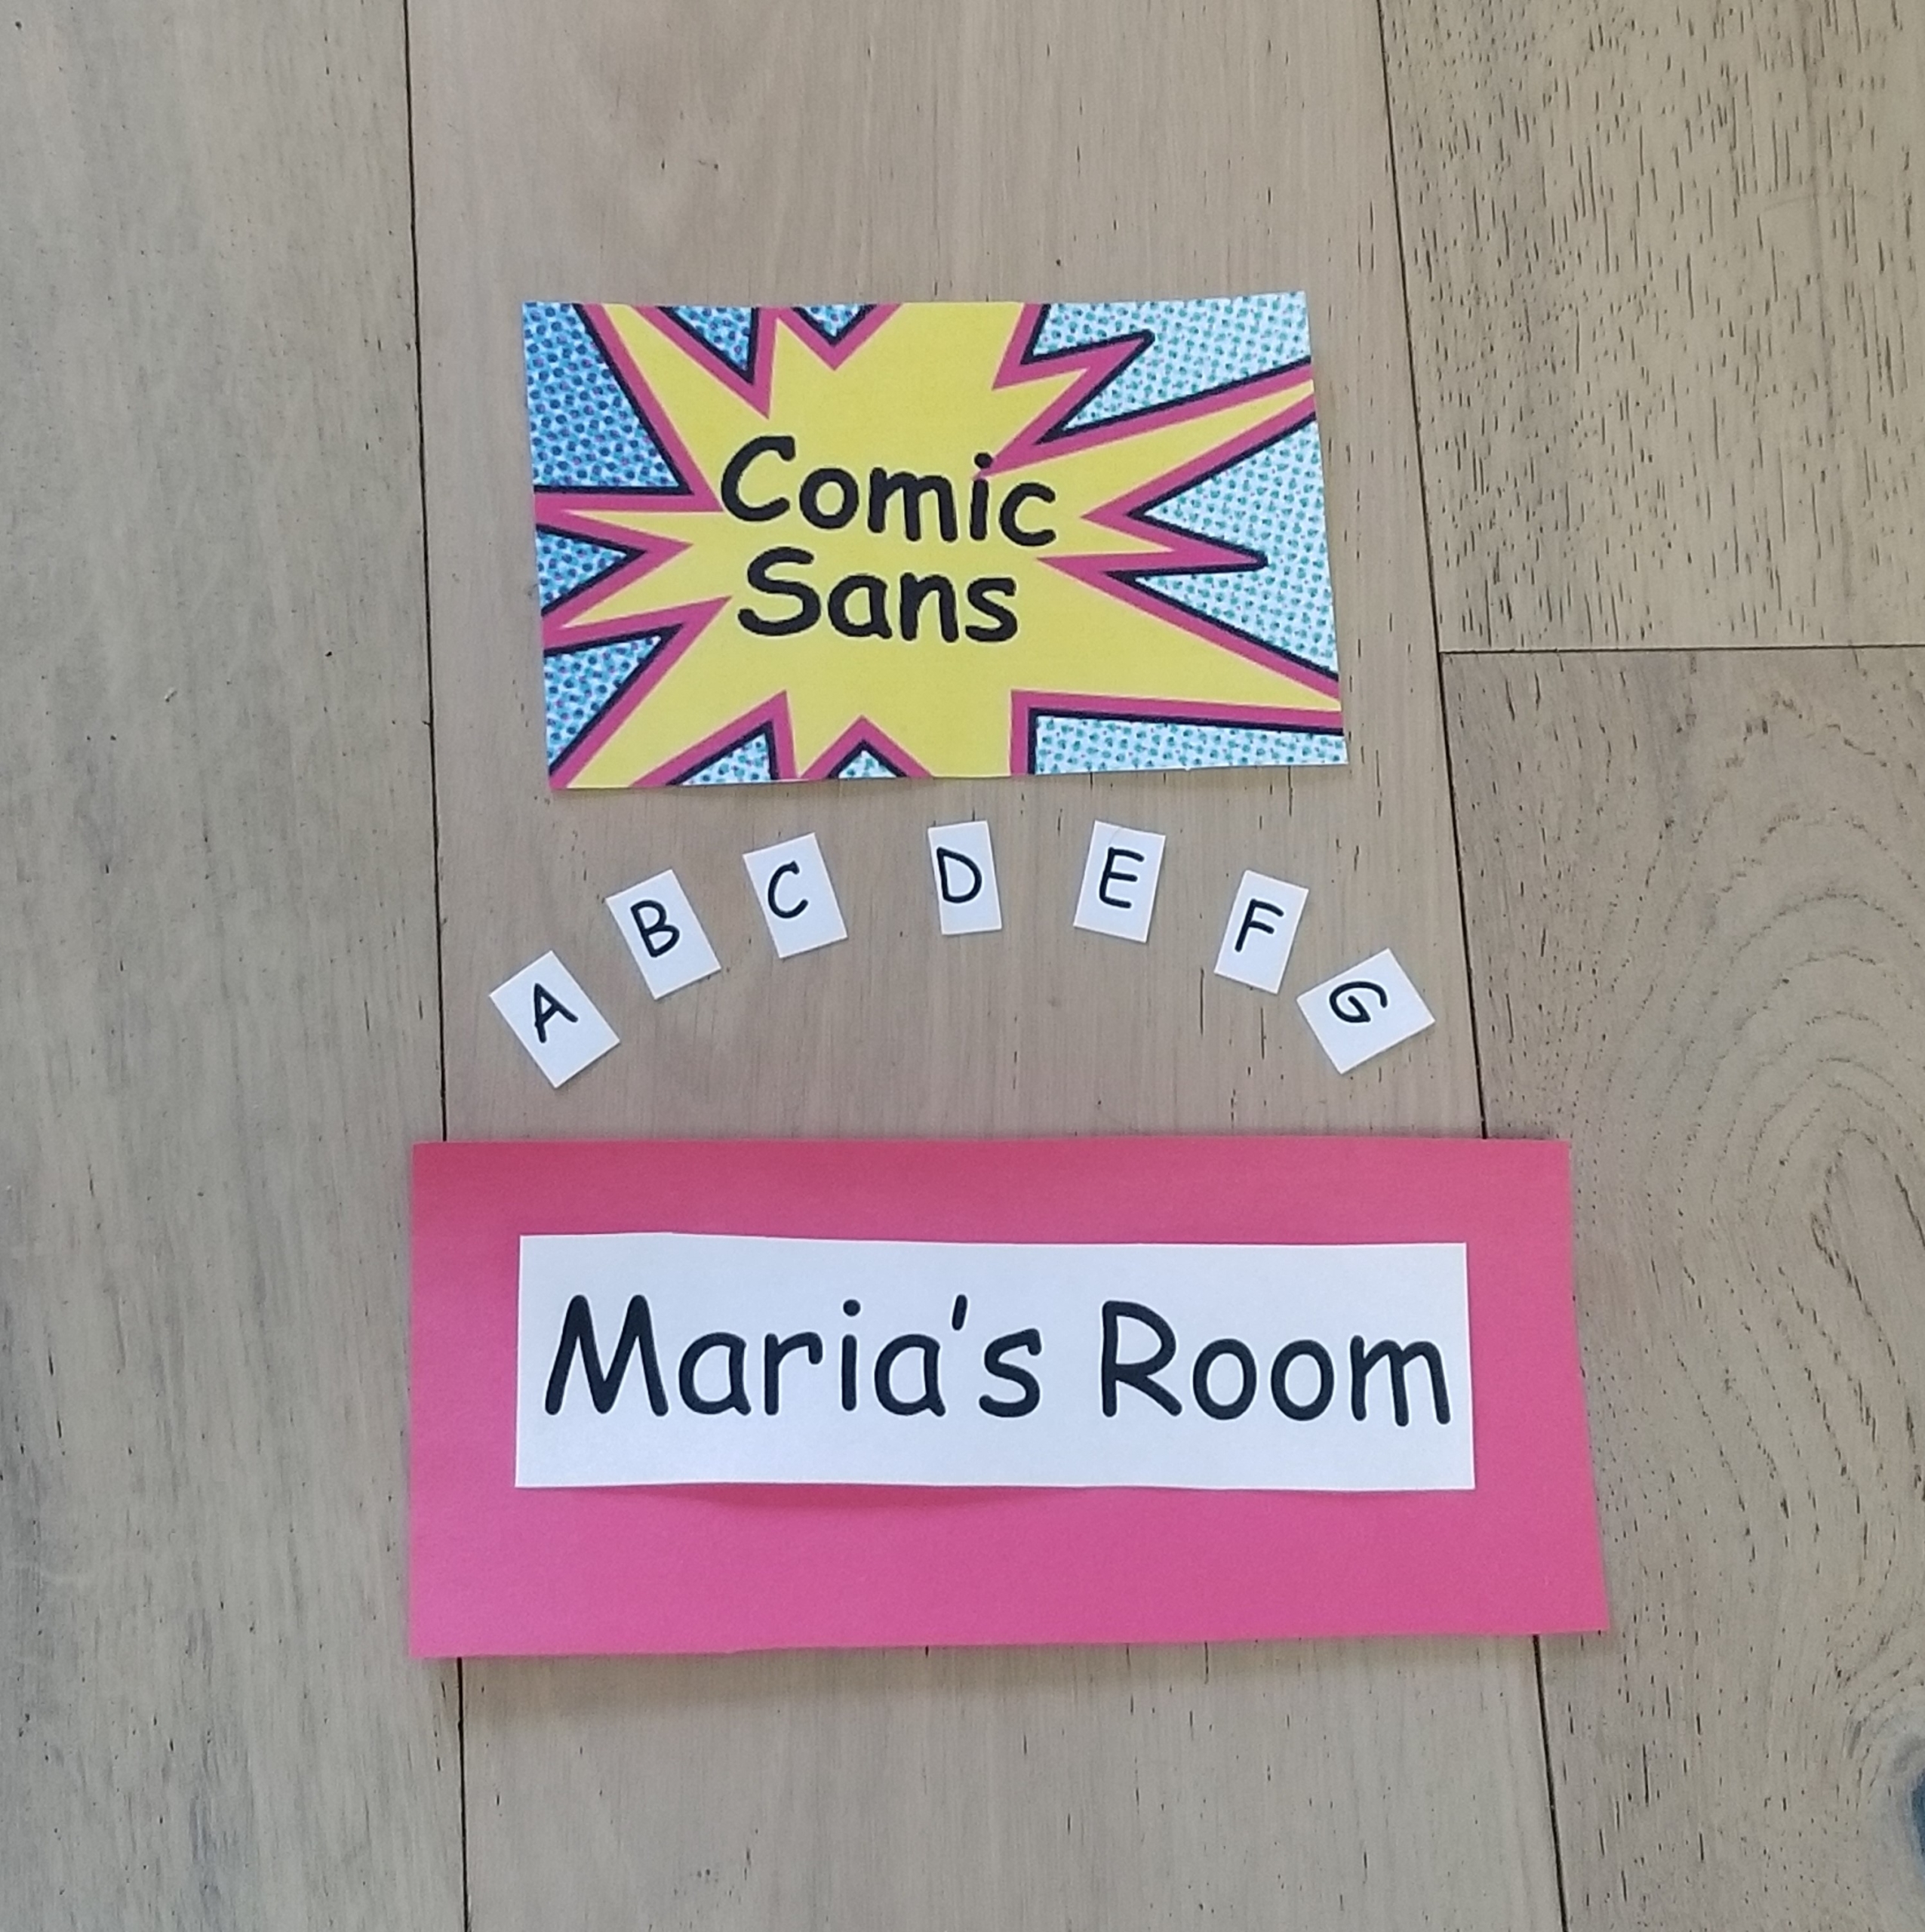
Comic Sans
This font gets a bad rap, but it was actually created with children in mind. It was made so children could read it more easily.
Take a look: The letters are probably pretty similar to how you write, unlike other fonts that can be confusing with their hooded lower-case A’s or closed-loop G’s. If you print words for your kids, or let them type on your computer, set that font to Comic Sans.
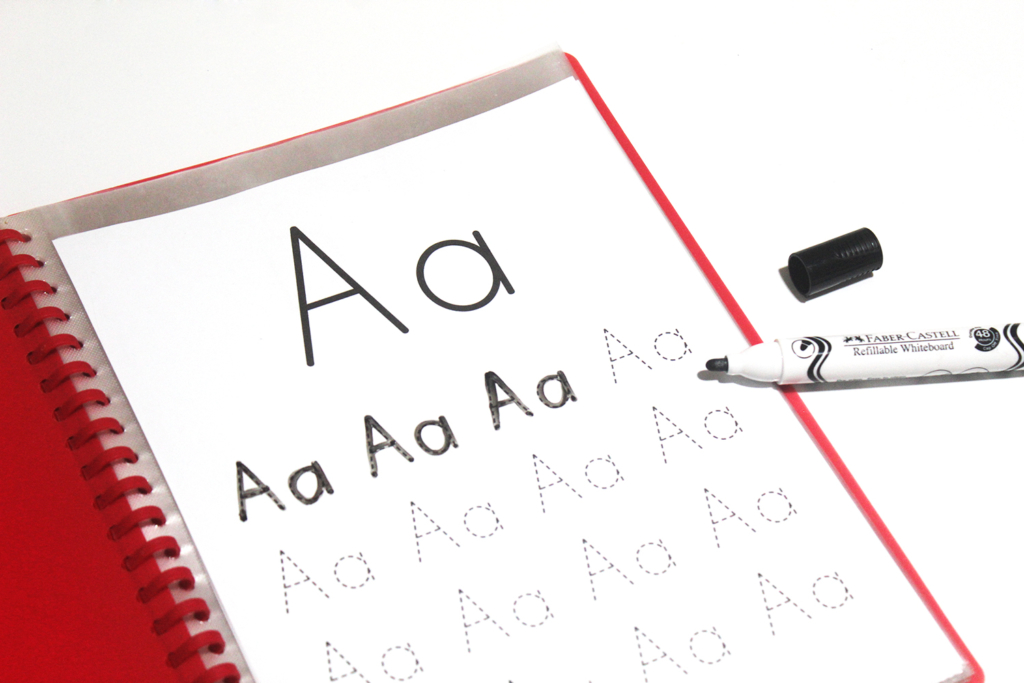
Clear Sheet Protectors/Contact Paper
Clear sheet protectors, contact paper, or self-laminating sheets are fun for preserving and displaying your child’s early drawing and writing—which encourages them to keep at it. But they’re also useful in so many other ways to encourage early literacy skills. Write letters or words on paper and stick it in your sheet protector or contact paper to create an easy alphabet tracing activity. Just give your child a dry-erase marker and let them trace onto the plastic. It will wipe off easily.
You can also print a page of letters (uppercase and/or lowercase) and go through them with your child. If they can identify the letter or the sound it makes, they get to cross it off. They circle the ones they don’t know yet. Then let them try again the next day to see if they can cross more off. As their skills progress, you can upgrade this activity to simple words. You can also use contact paper or self-laminating sheets to make a cute DIY bookmark. Simply cut out a bookmark shape from any plain or patterned paper. Let your child decorate it with markers or hole punches in cute shapes. Then stick it into the contact paper and trim the edges.
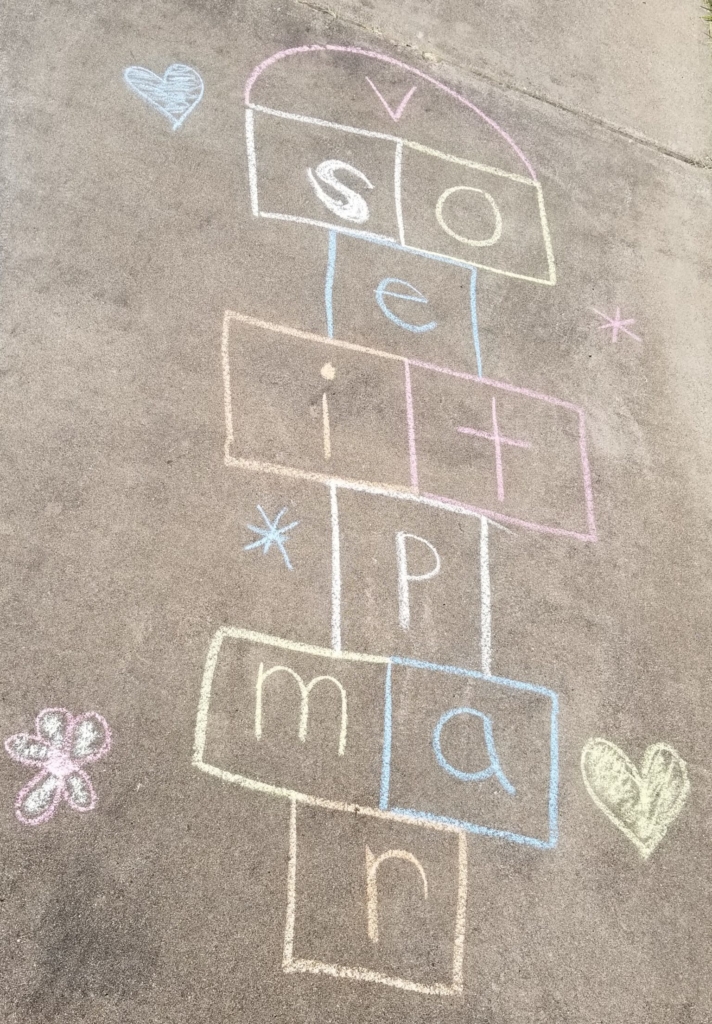
Sidewalk Chalk
Take sidewalk chalk outside or bring it along on outings to add a little reading practice to outdoor play. For example, play alphabet hopscotch at the park, write words or messages together, or encourage your child to draw pictures of words that begin with a certain letter sound. Kids love a challenge, and asking how many items they can draw that start with a given sound may spark their interest. You can even draw an alphabet bingo card on the ground and get them to see how many items they can find around the park that start with the letters on the card!
Teaching your child to read may feel daunting, but remember this: If you can believe in their ability to read, you can believe in your ability to teach.
By Michelle Luke
As spring begins, so does a new year for people from certain cultural traditions, including the Chinese tradition that my family follows. This Spring Festival is a time to greet the Lunar New Year and welcome a new animal from the Chinese zodiac.
In this tradition, each year is the year of a different zodiac animal. People born in the year of a particular animal are said to possess some of that animal’s qualities. For example, those born in the year of the rabbit are supposed to be gentle and kind, while those born in the year of the tiger are considered courageous. Similarly, different years are believed to hold different fortunes for people depending on their birth animal’s relationship with that year’s animal. So people born in the year of the rabbit will experience the year of the ox very differently than those born in the year of the dragon.
Because of this belief that each year holds different surprises for different people, the Spring Festival is also a time of fortune-telling—something we can use as the basis of a fun and brain-boosting Lunar New Year activity for kids. In this literacy craft, telling fortunes creates the perfect opportunity to work on reading skills. Kids won’t even realize they’re practicing as they read the same sight words (or sound out the same longer words) over and over while telling their friends’ and family’s fortunes. This game even builds mindfulness, as kids share positive messages and concentrate on hopeful wishes for the future. Enjoy!
Materials:
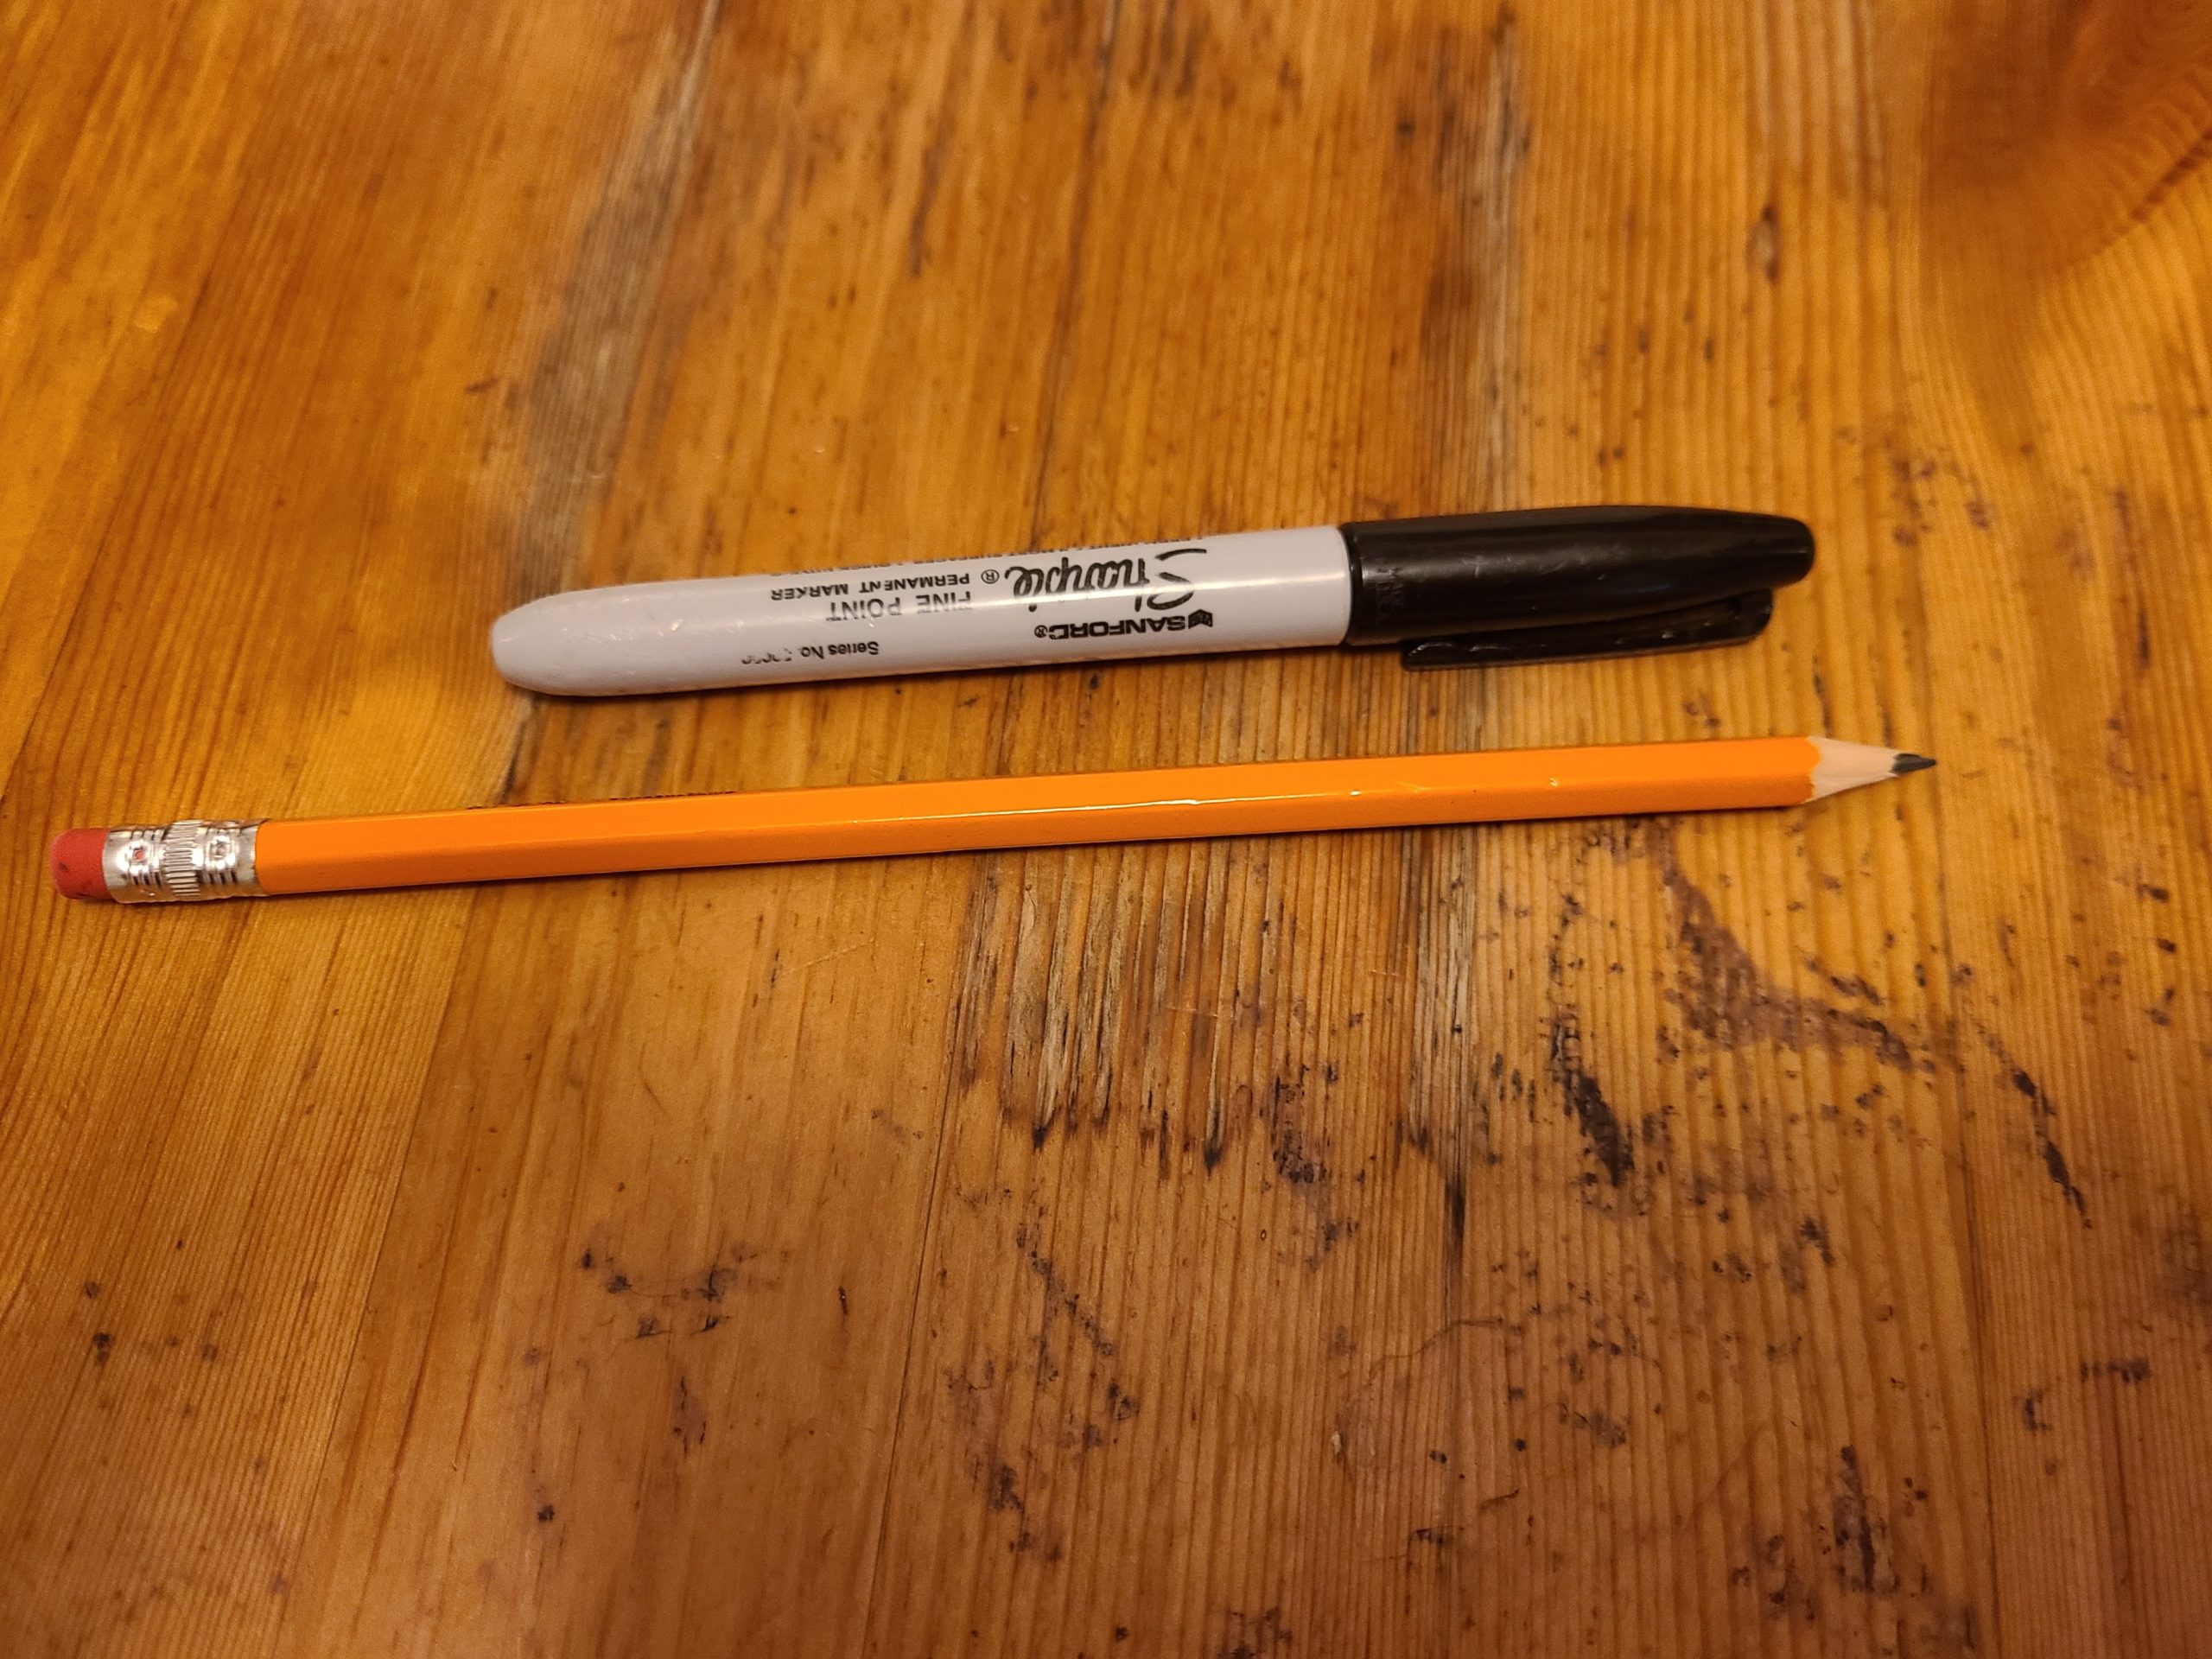
Pen or pencil
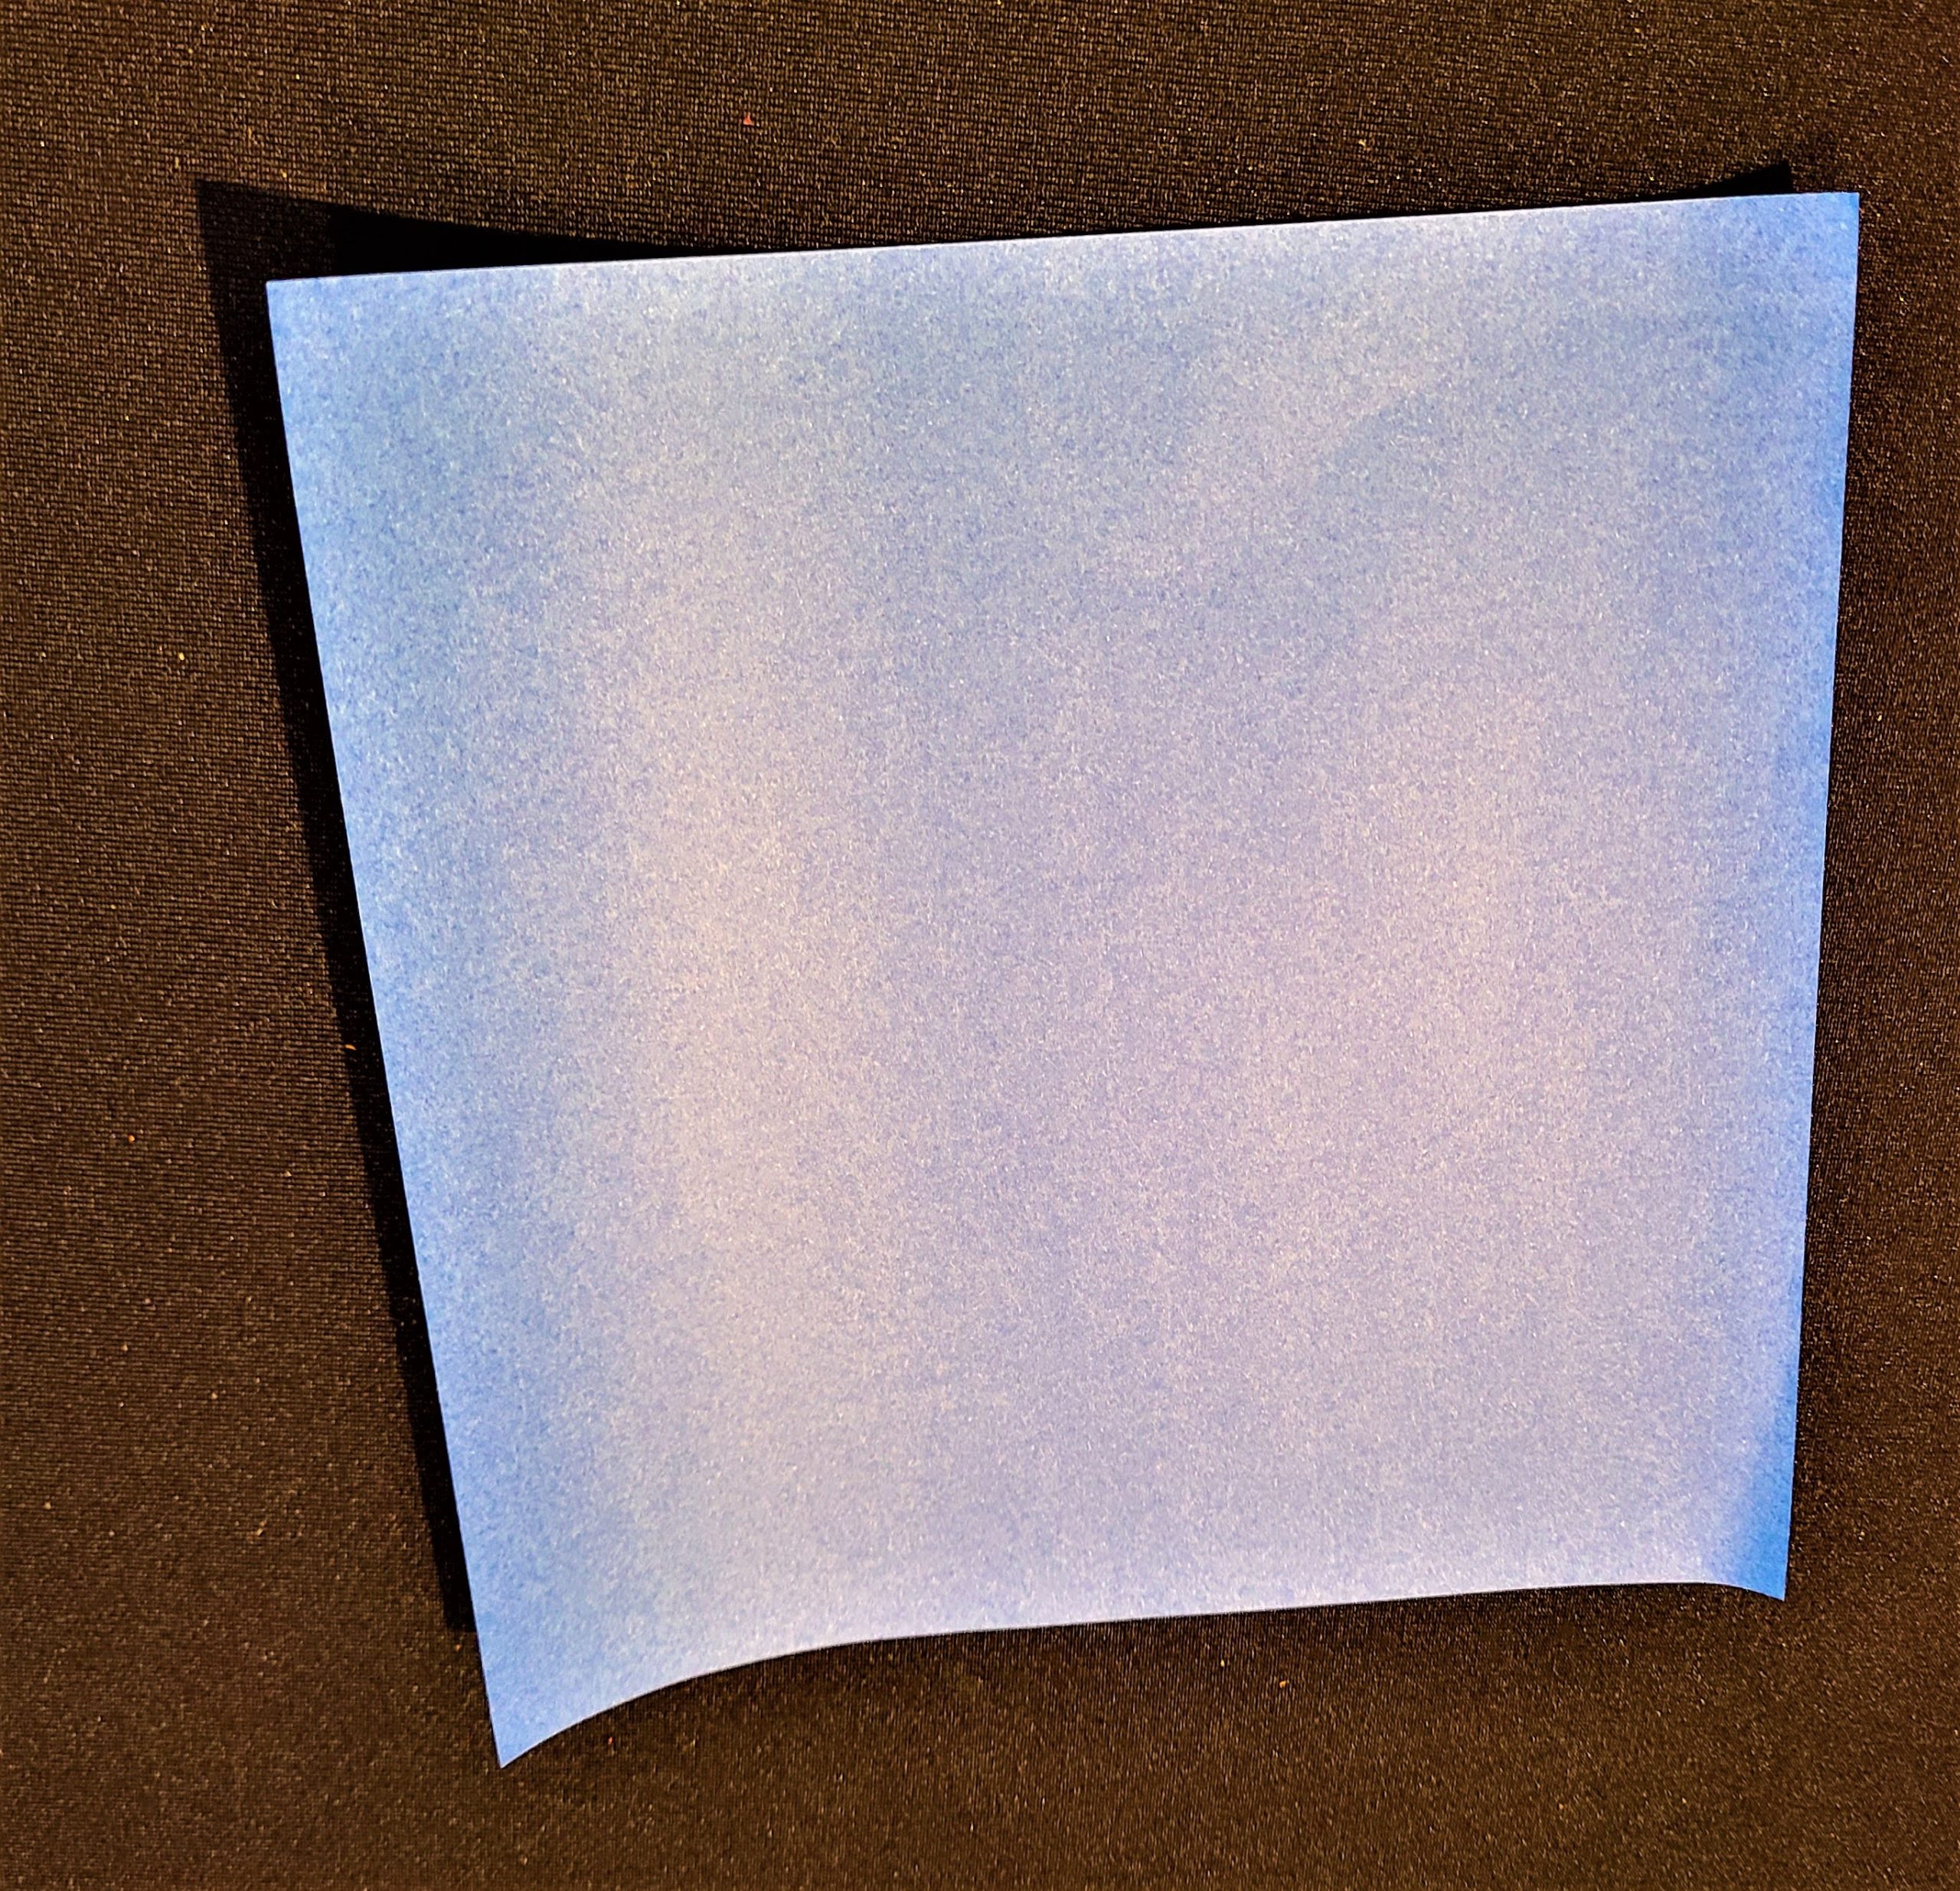
Plain paper (square shape)
Cost: Free
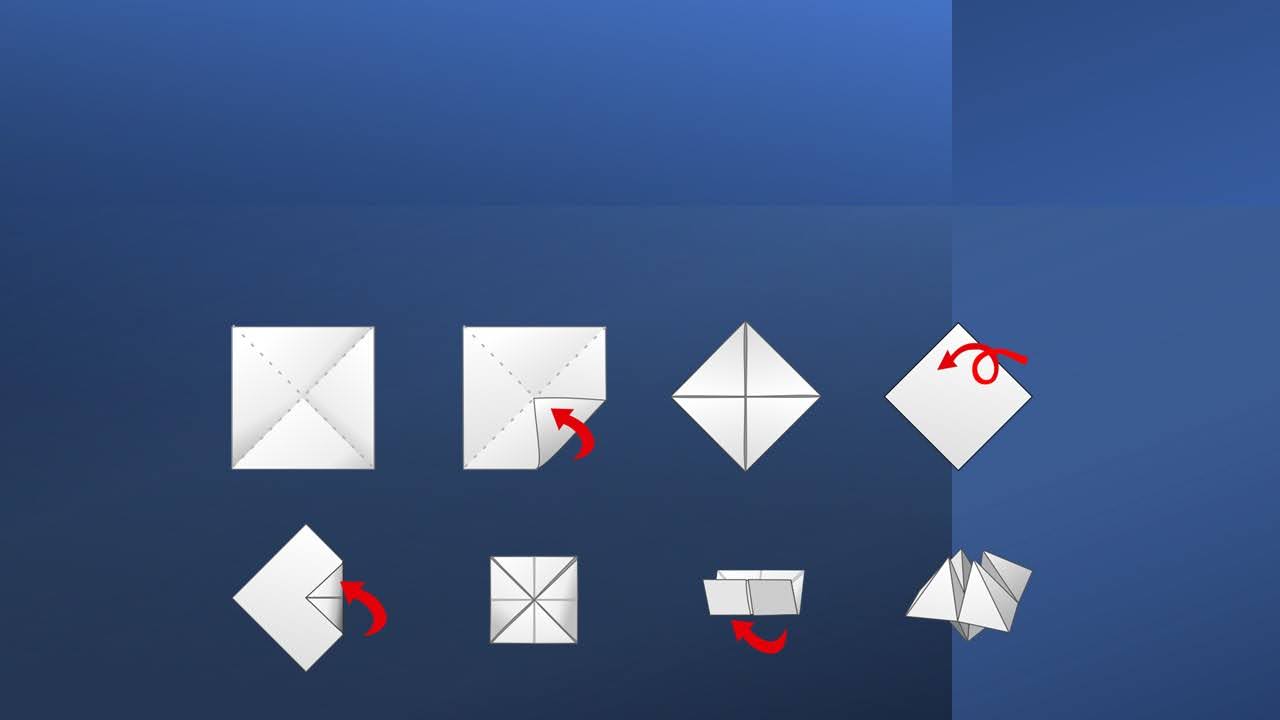
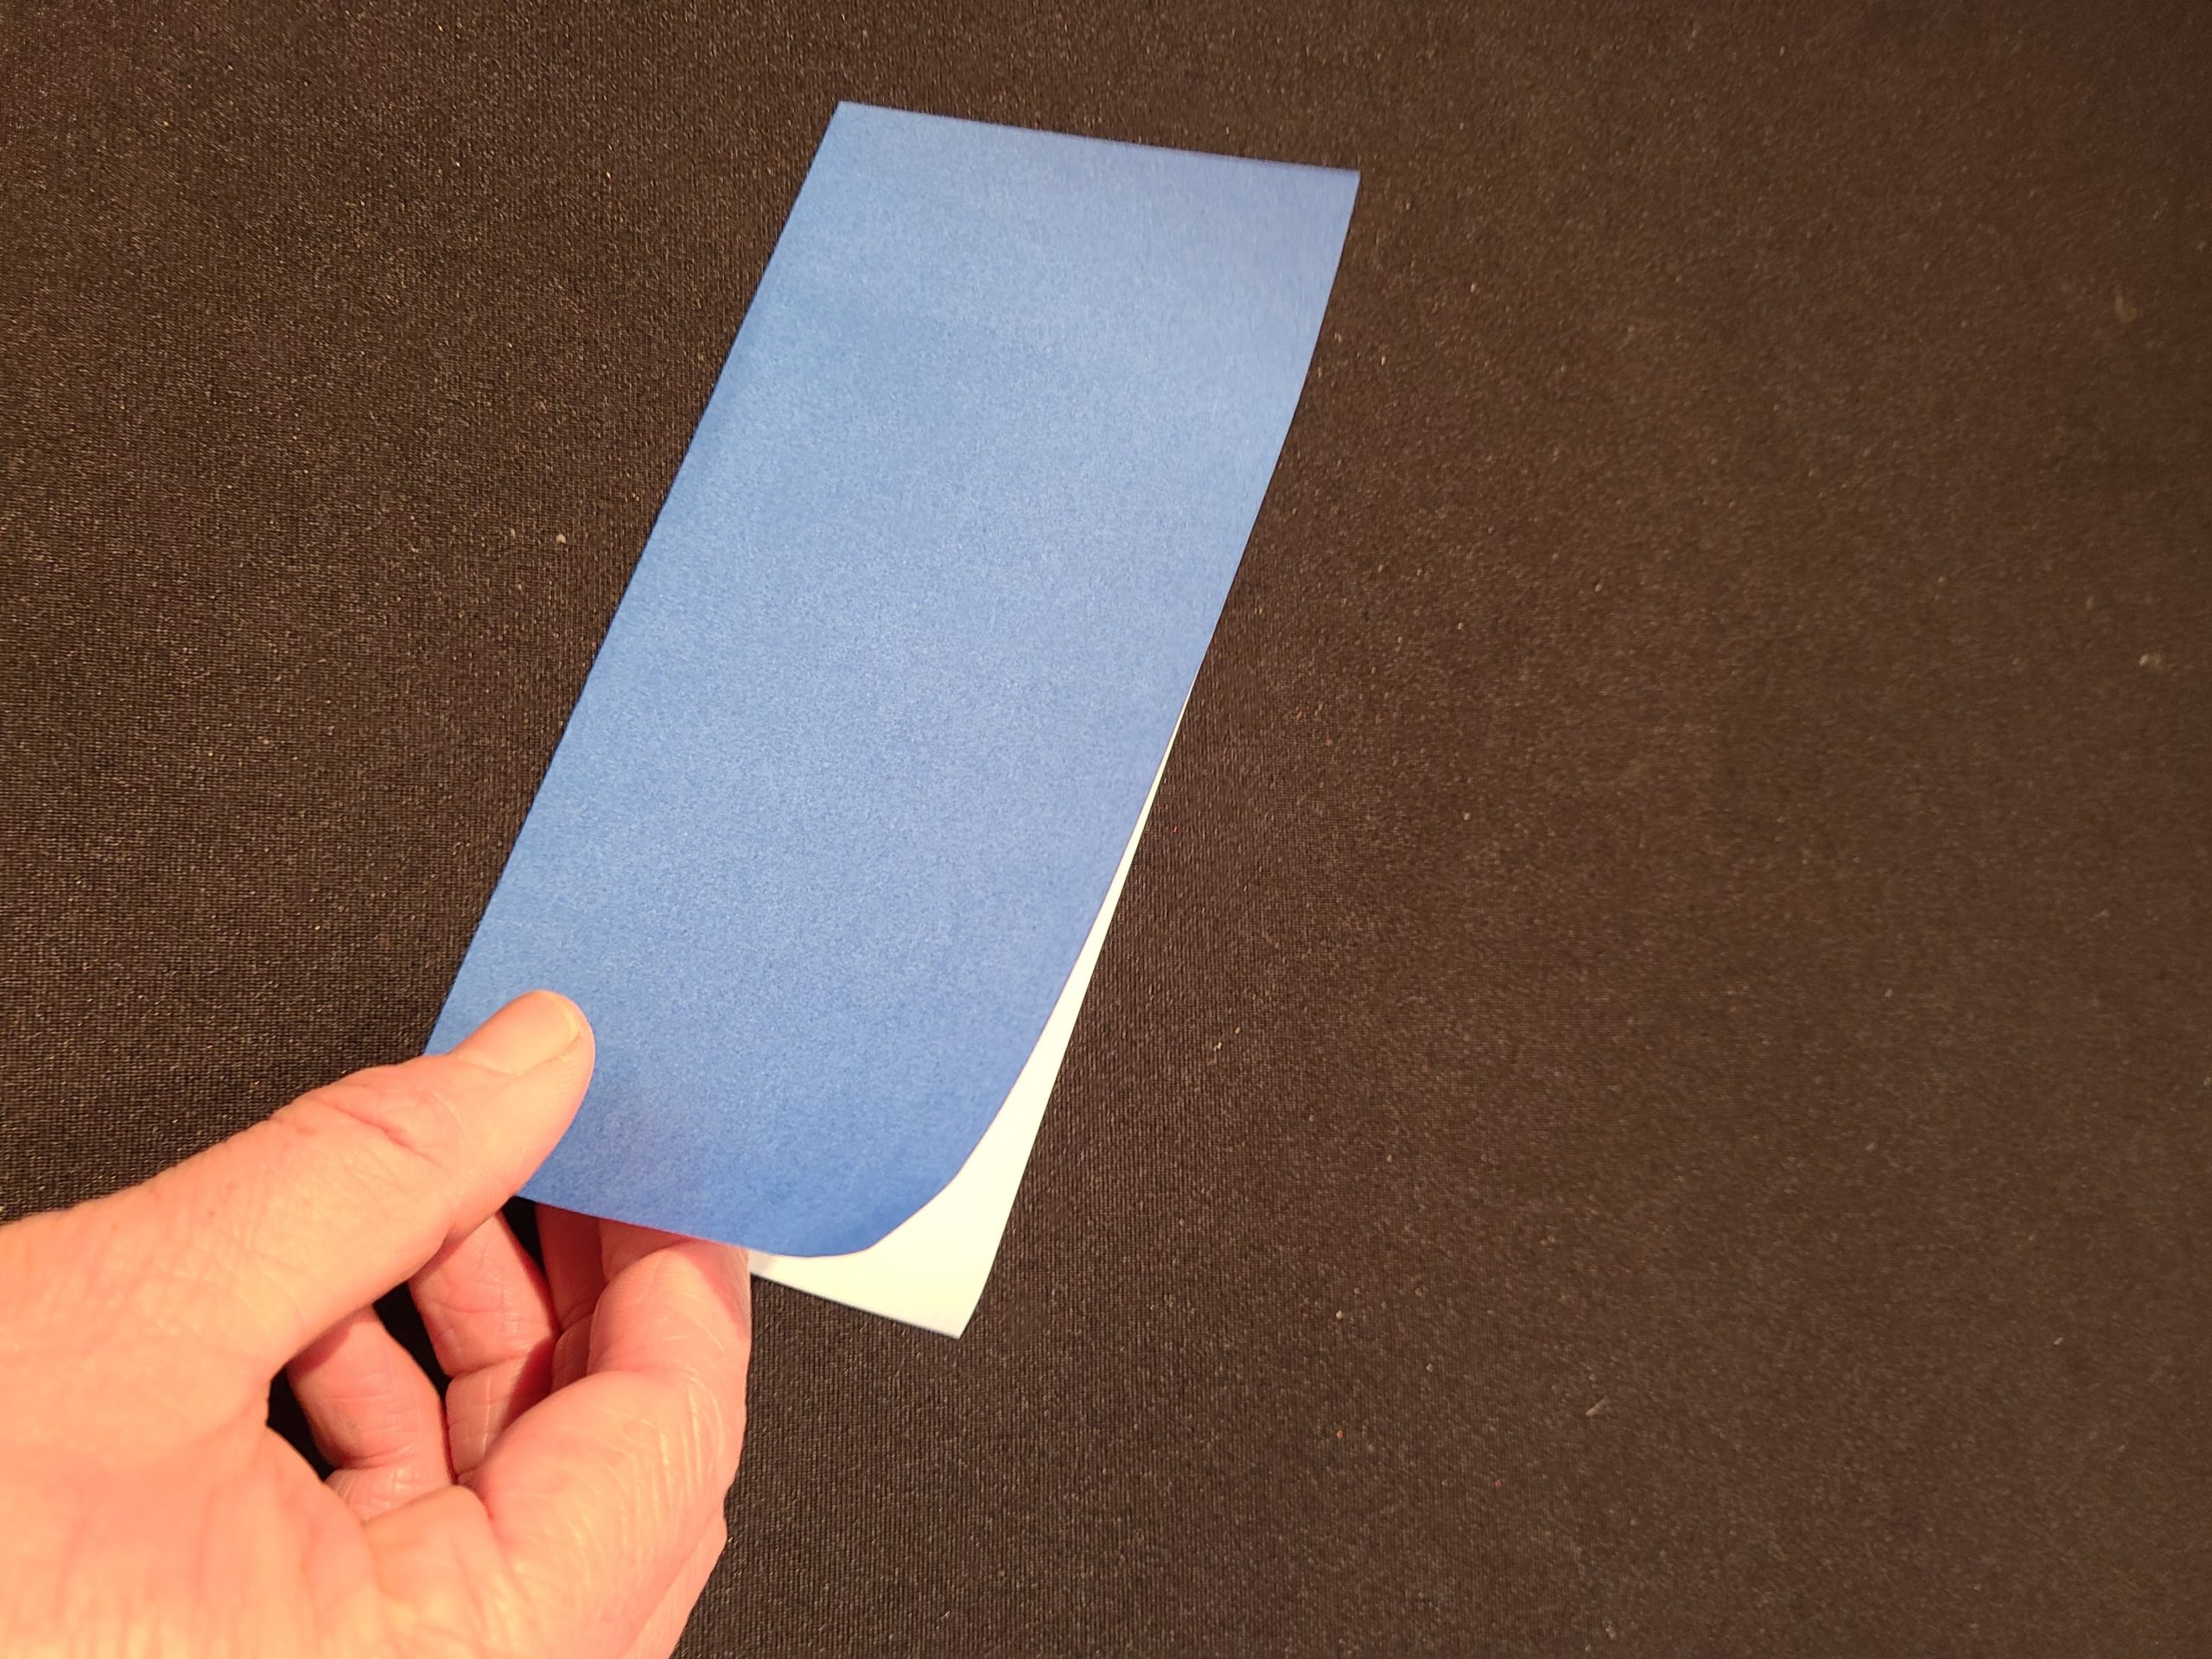
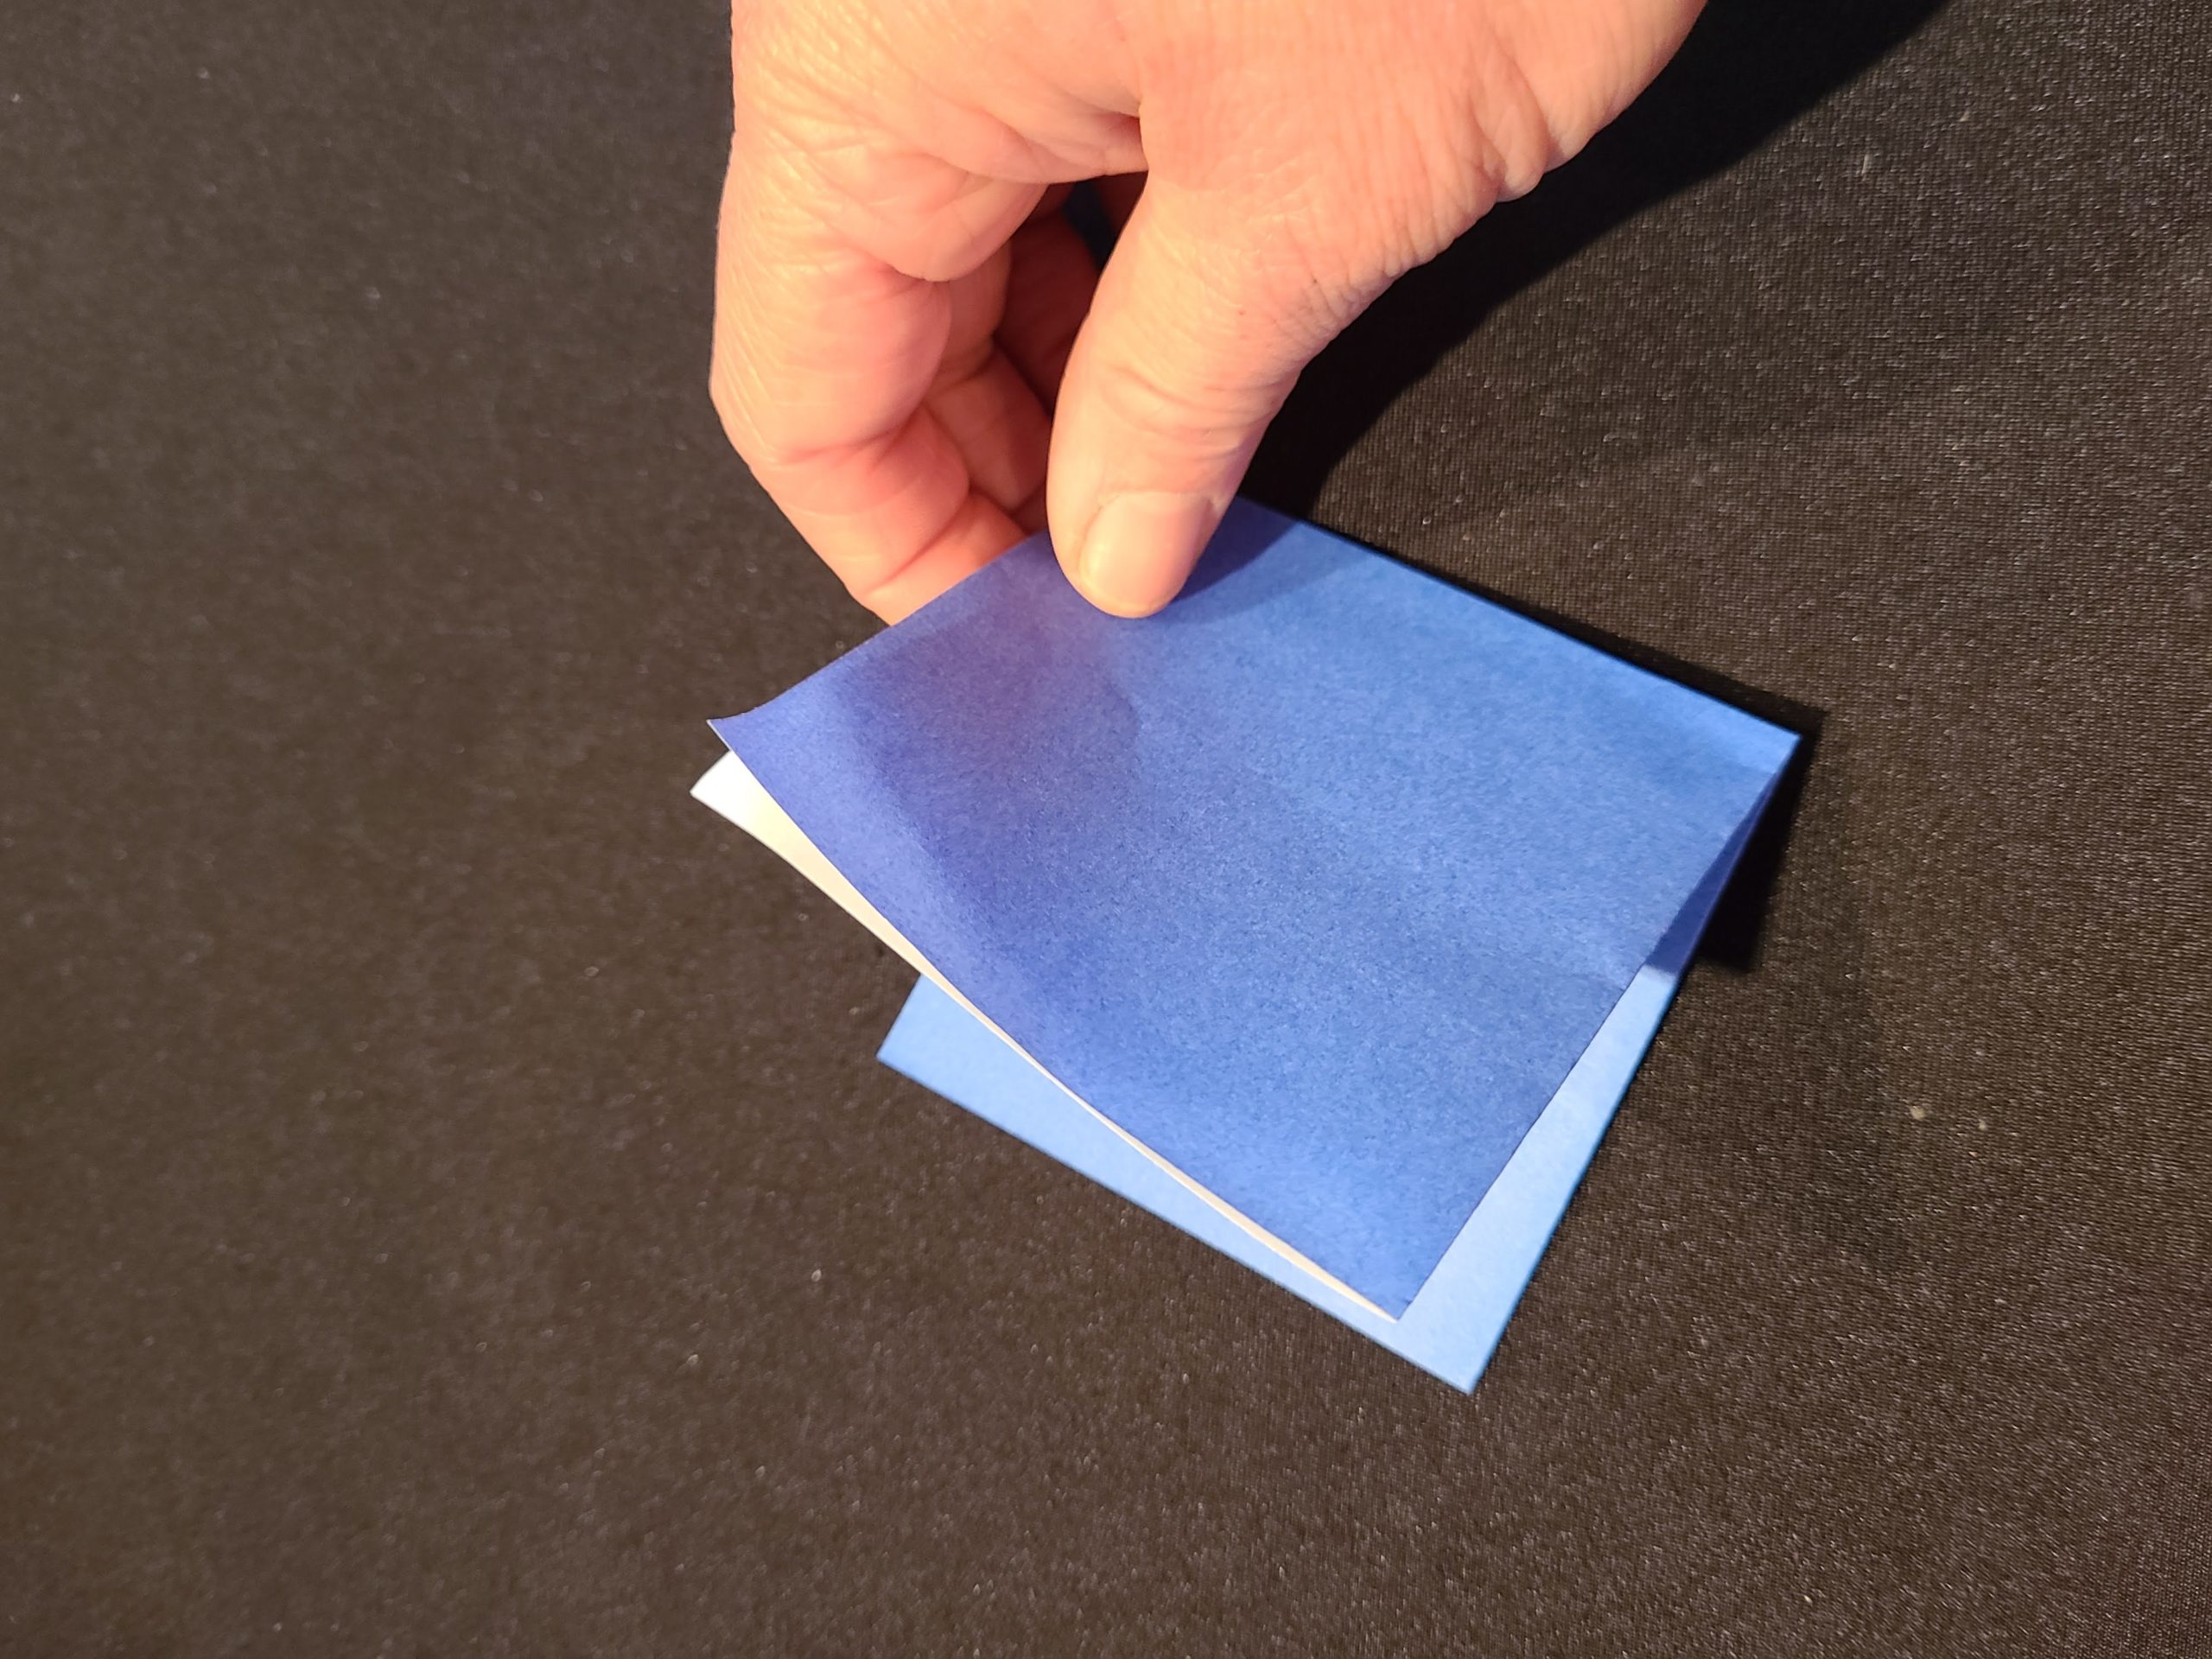
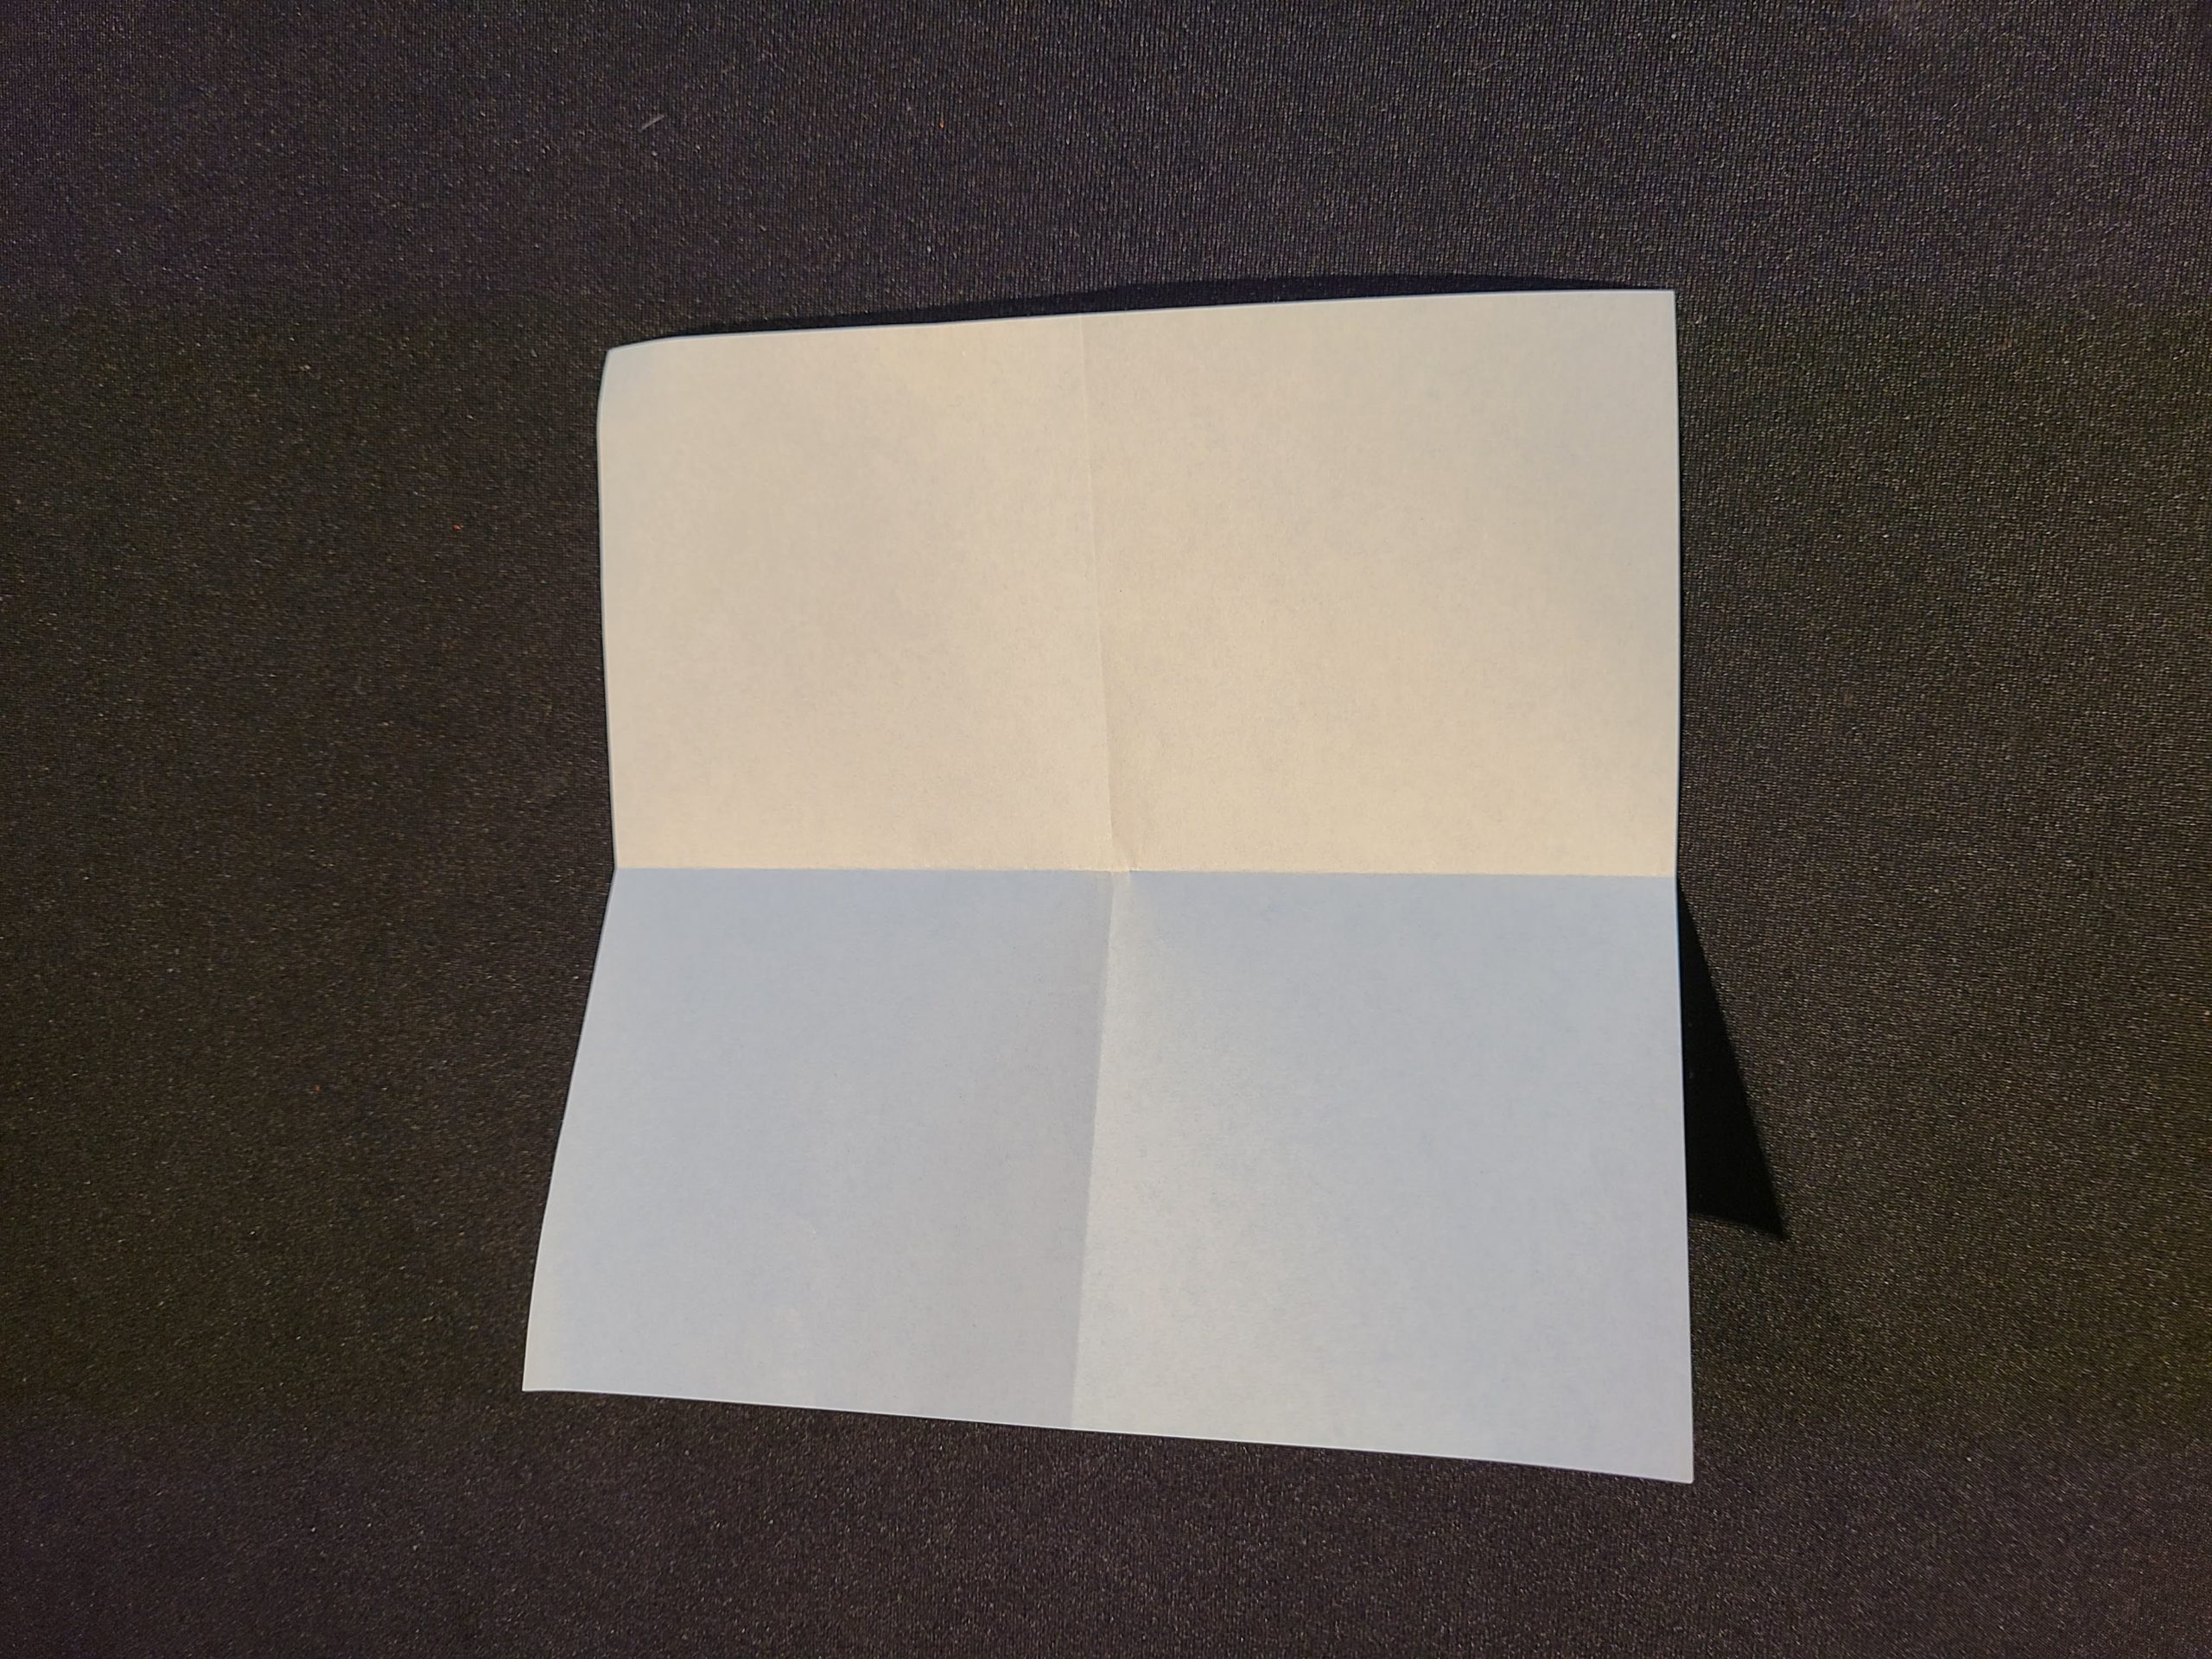
Step 1: Get a square piece of paper or trim a regular piece of printer paper into a square. Fold your paper in half, creasing well, then fold it in half again. Unfold the paper, so the creases create a grid.
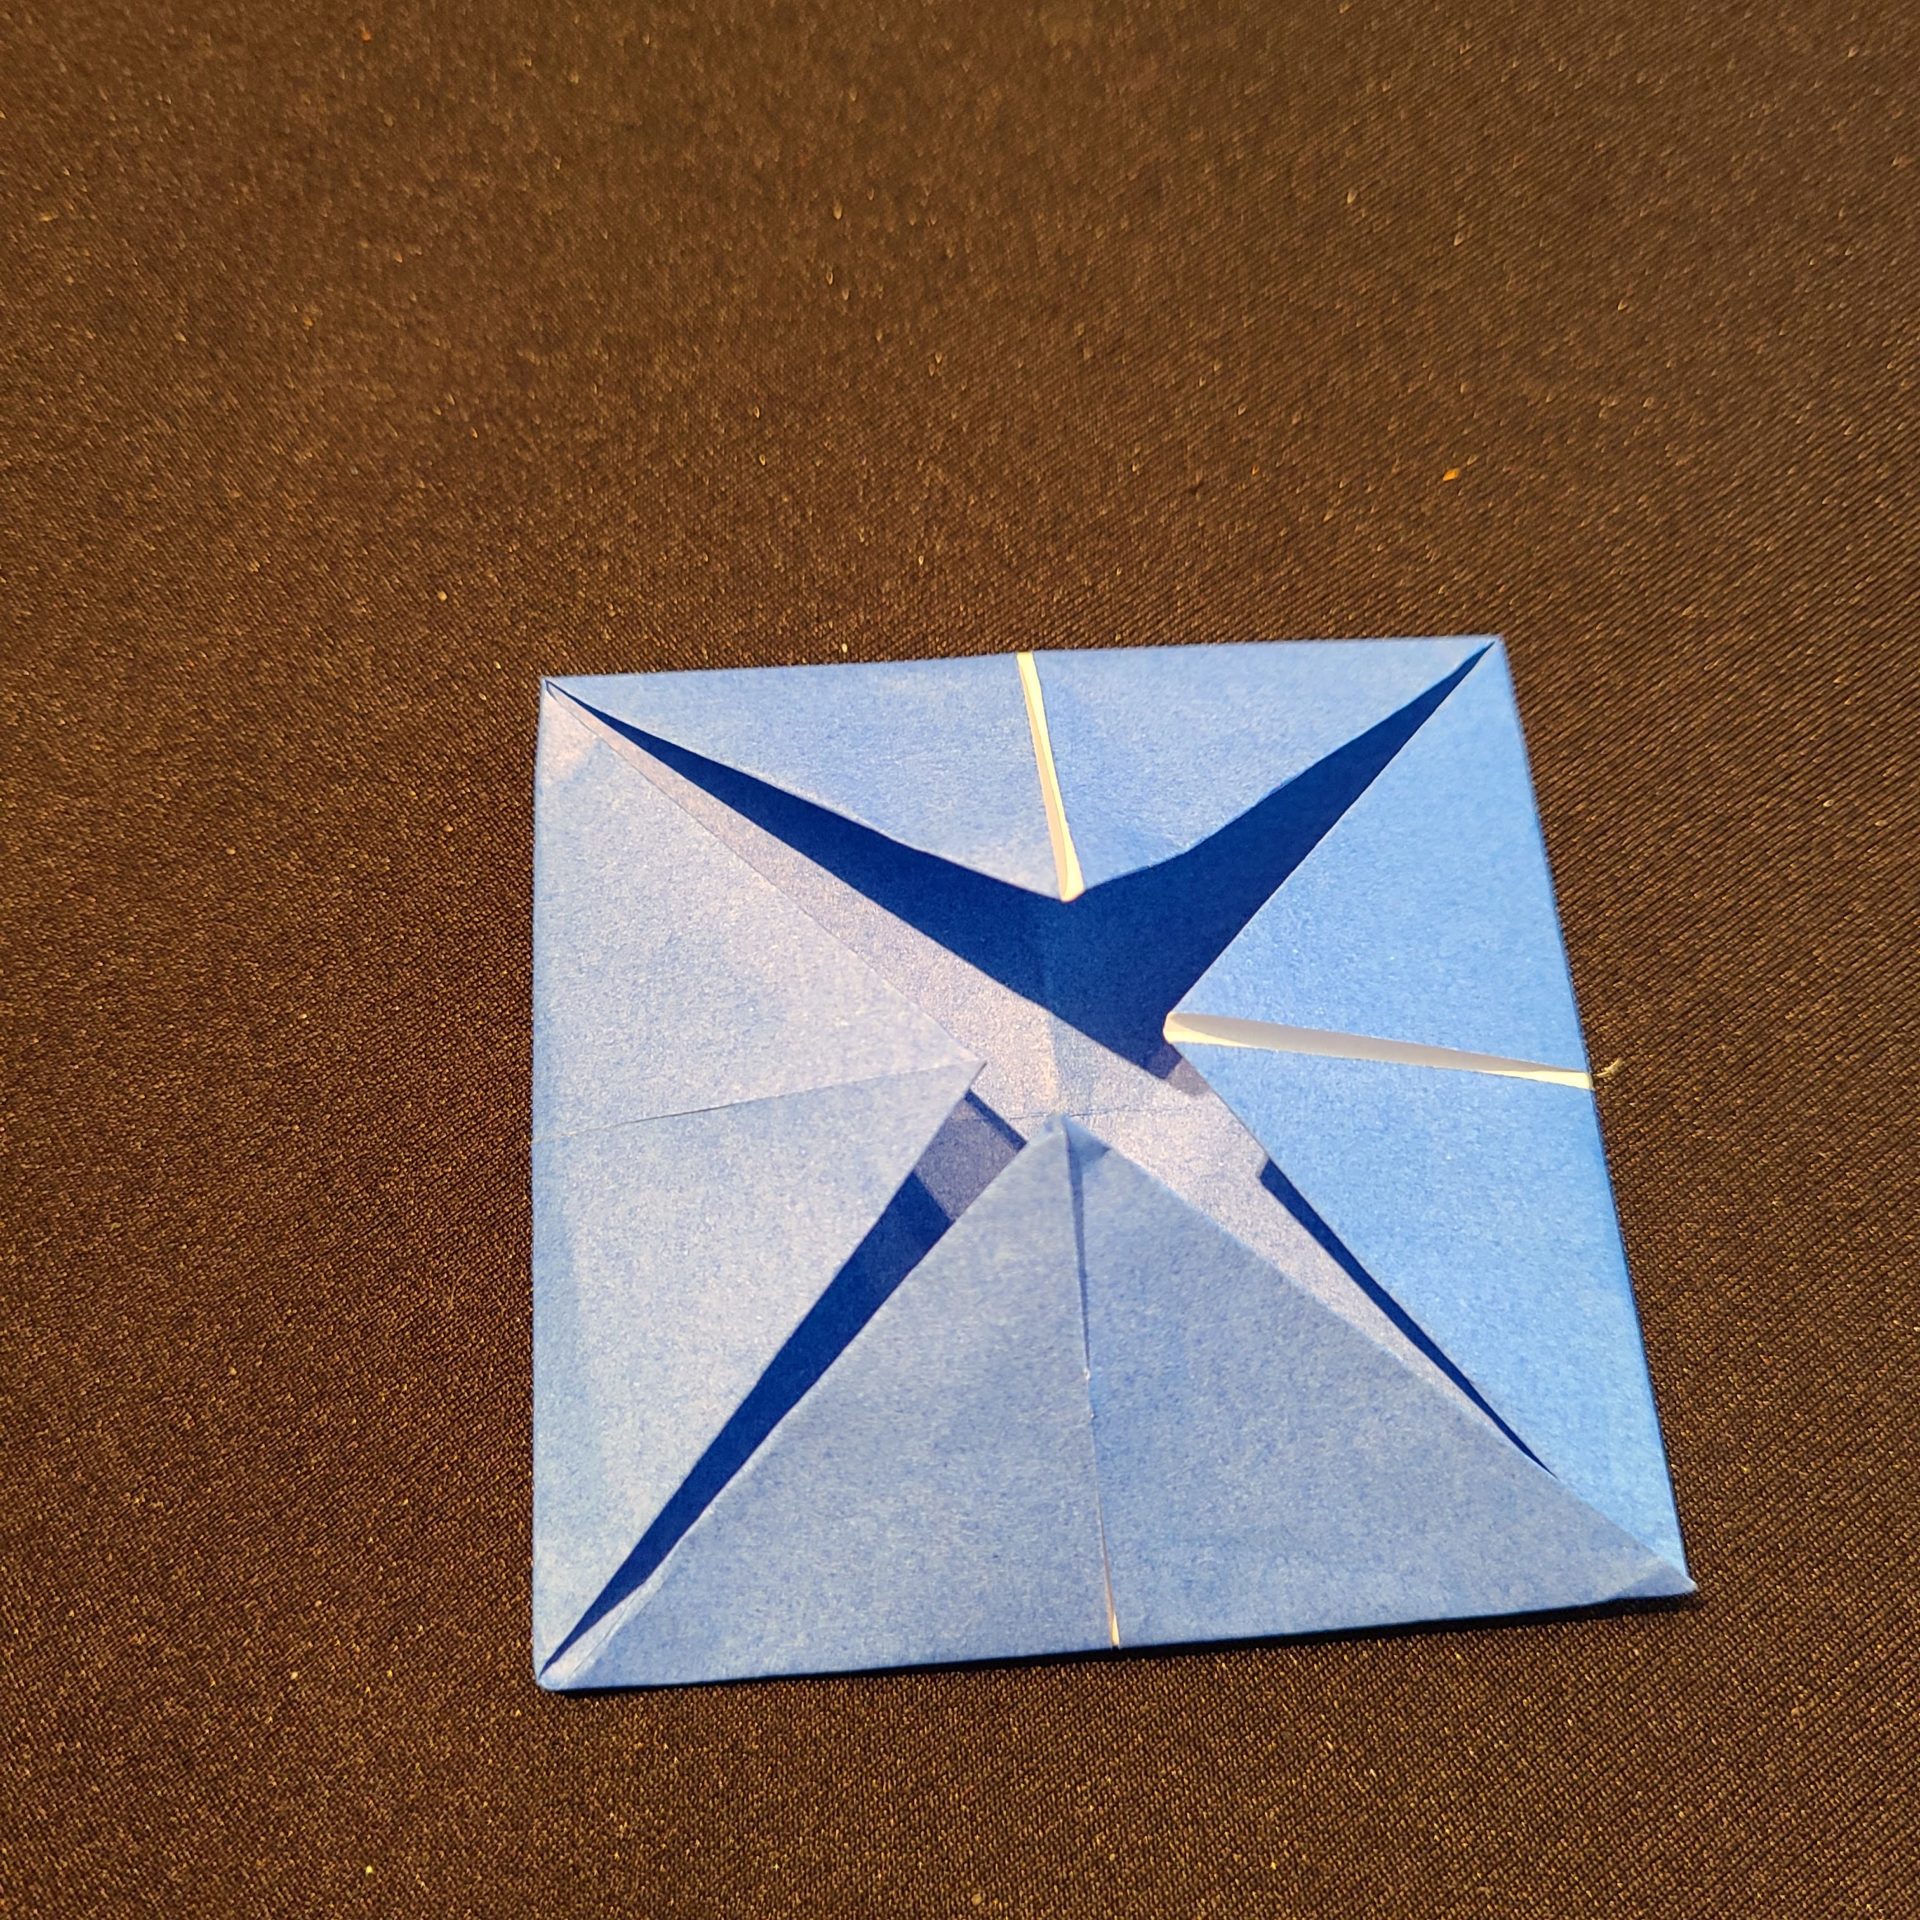
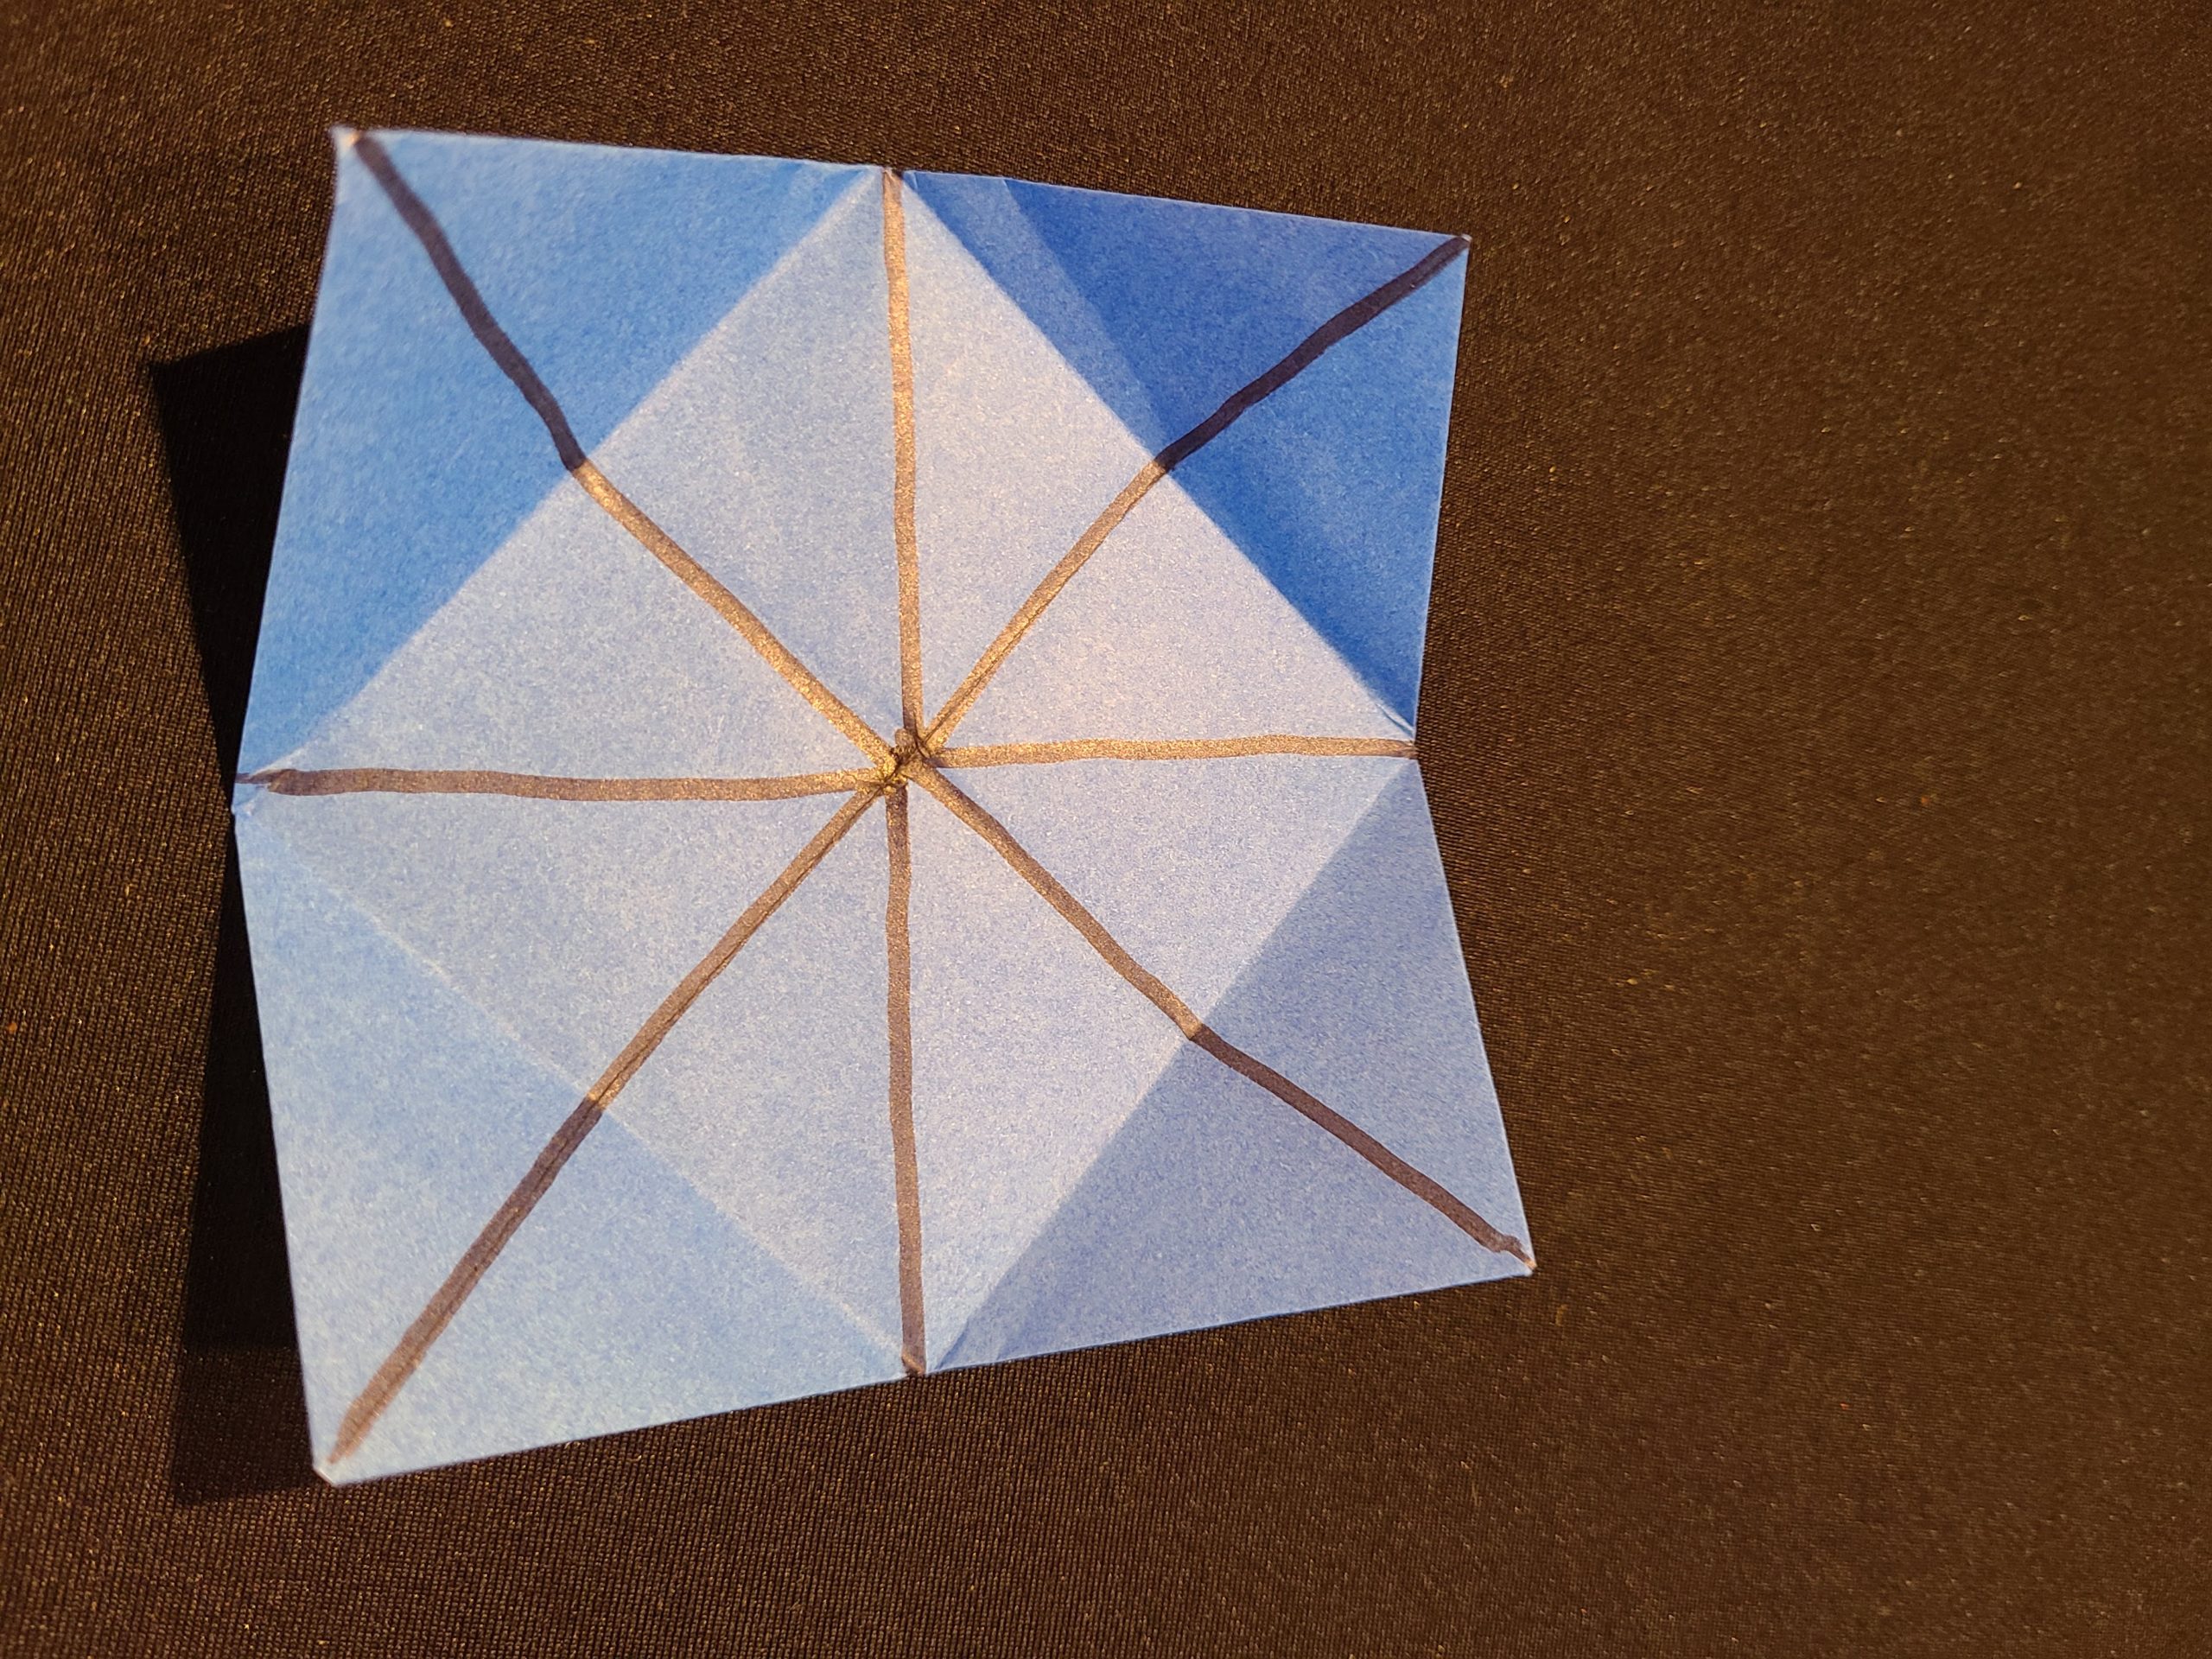
Step 2: Fold each corner point to the center, creasing well. Flip over (without unfolding!) and do the same on the other side. (See diagram below.)
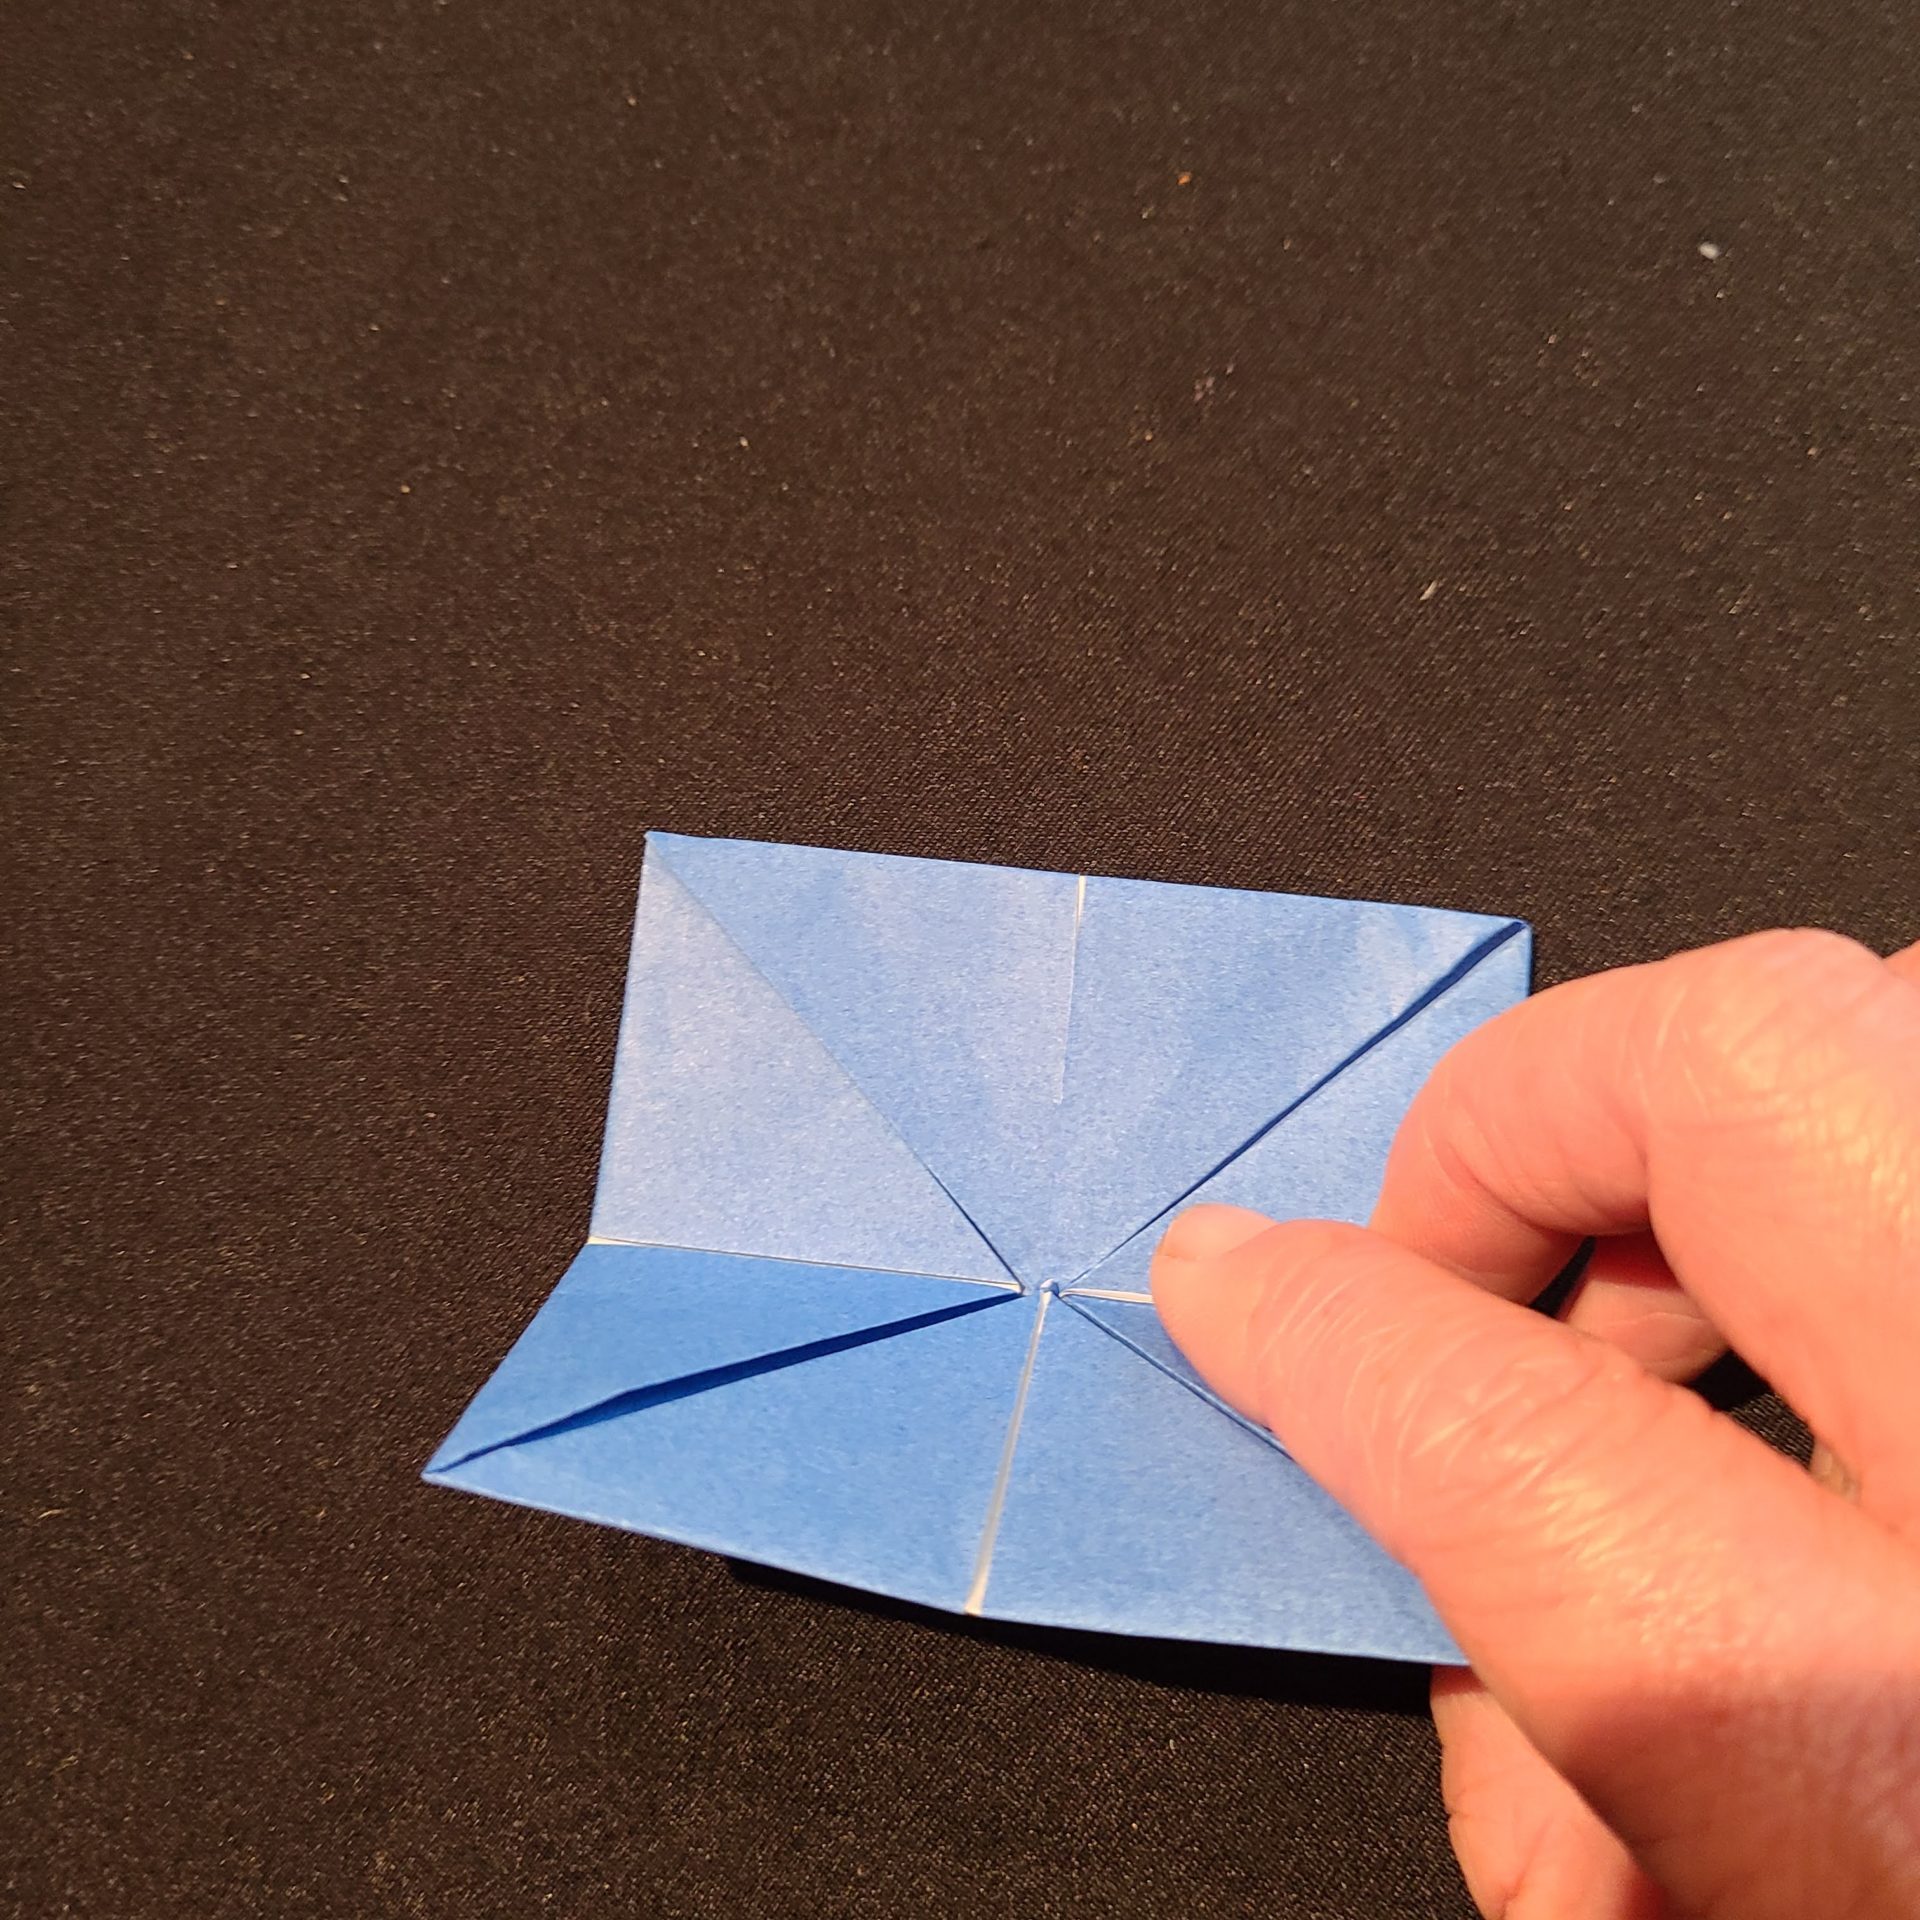
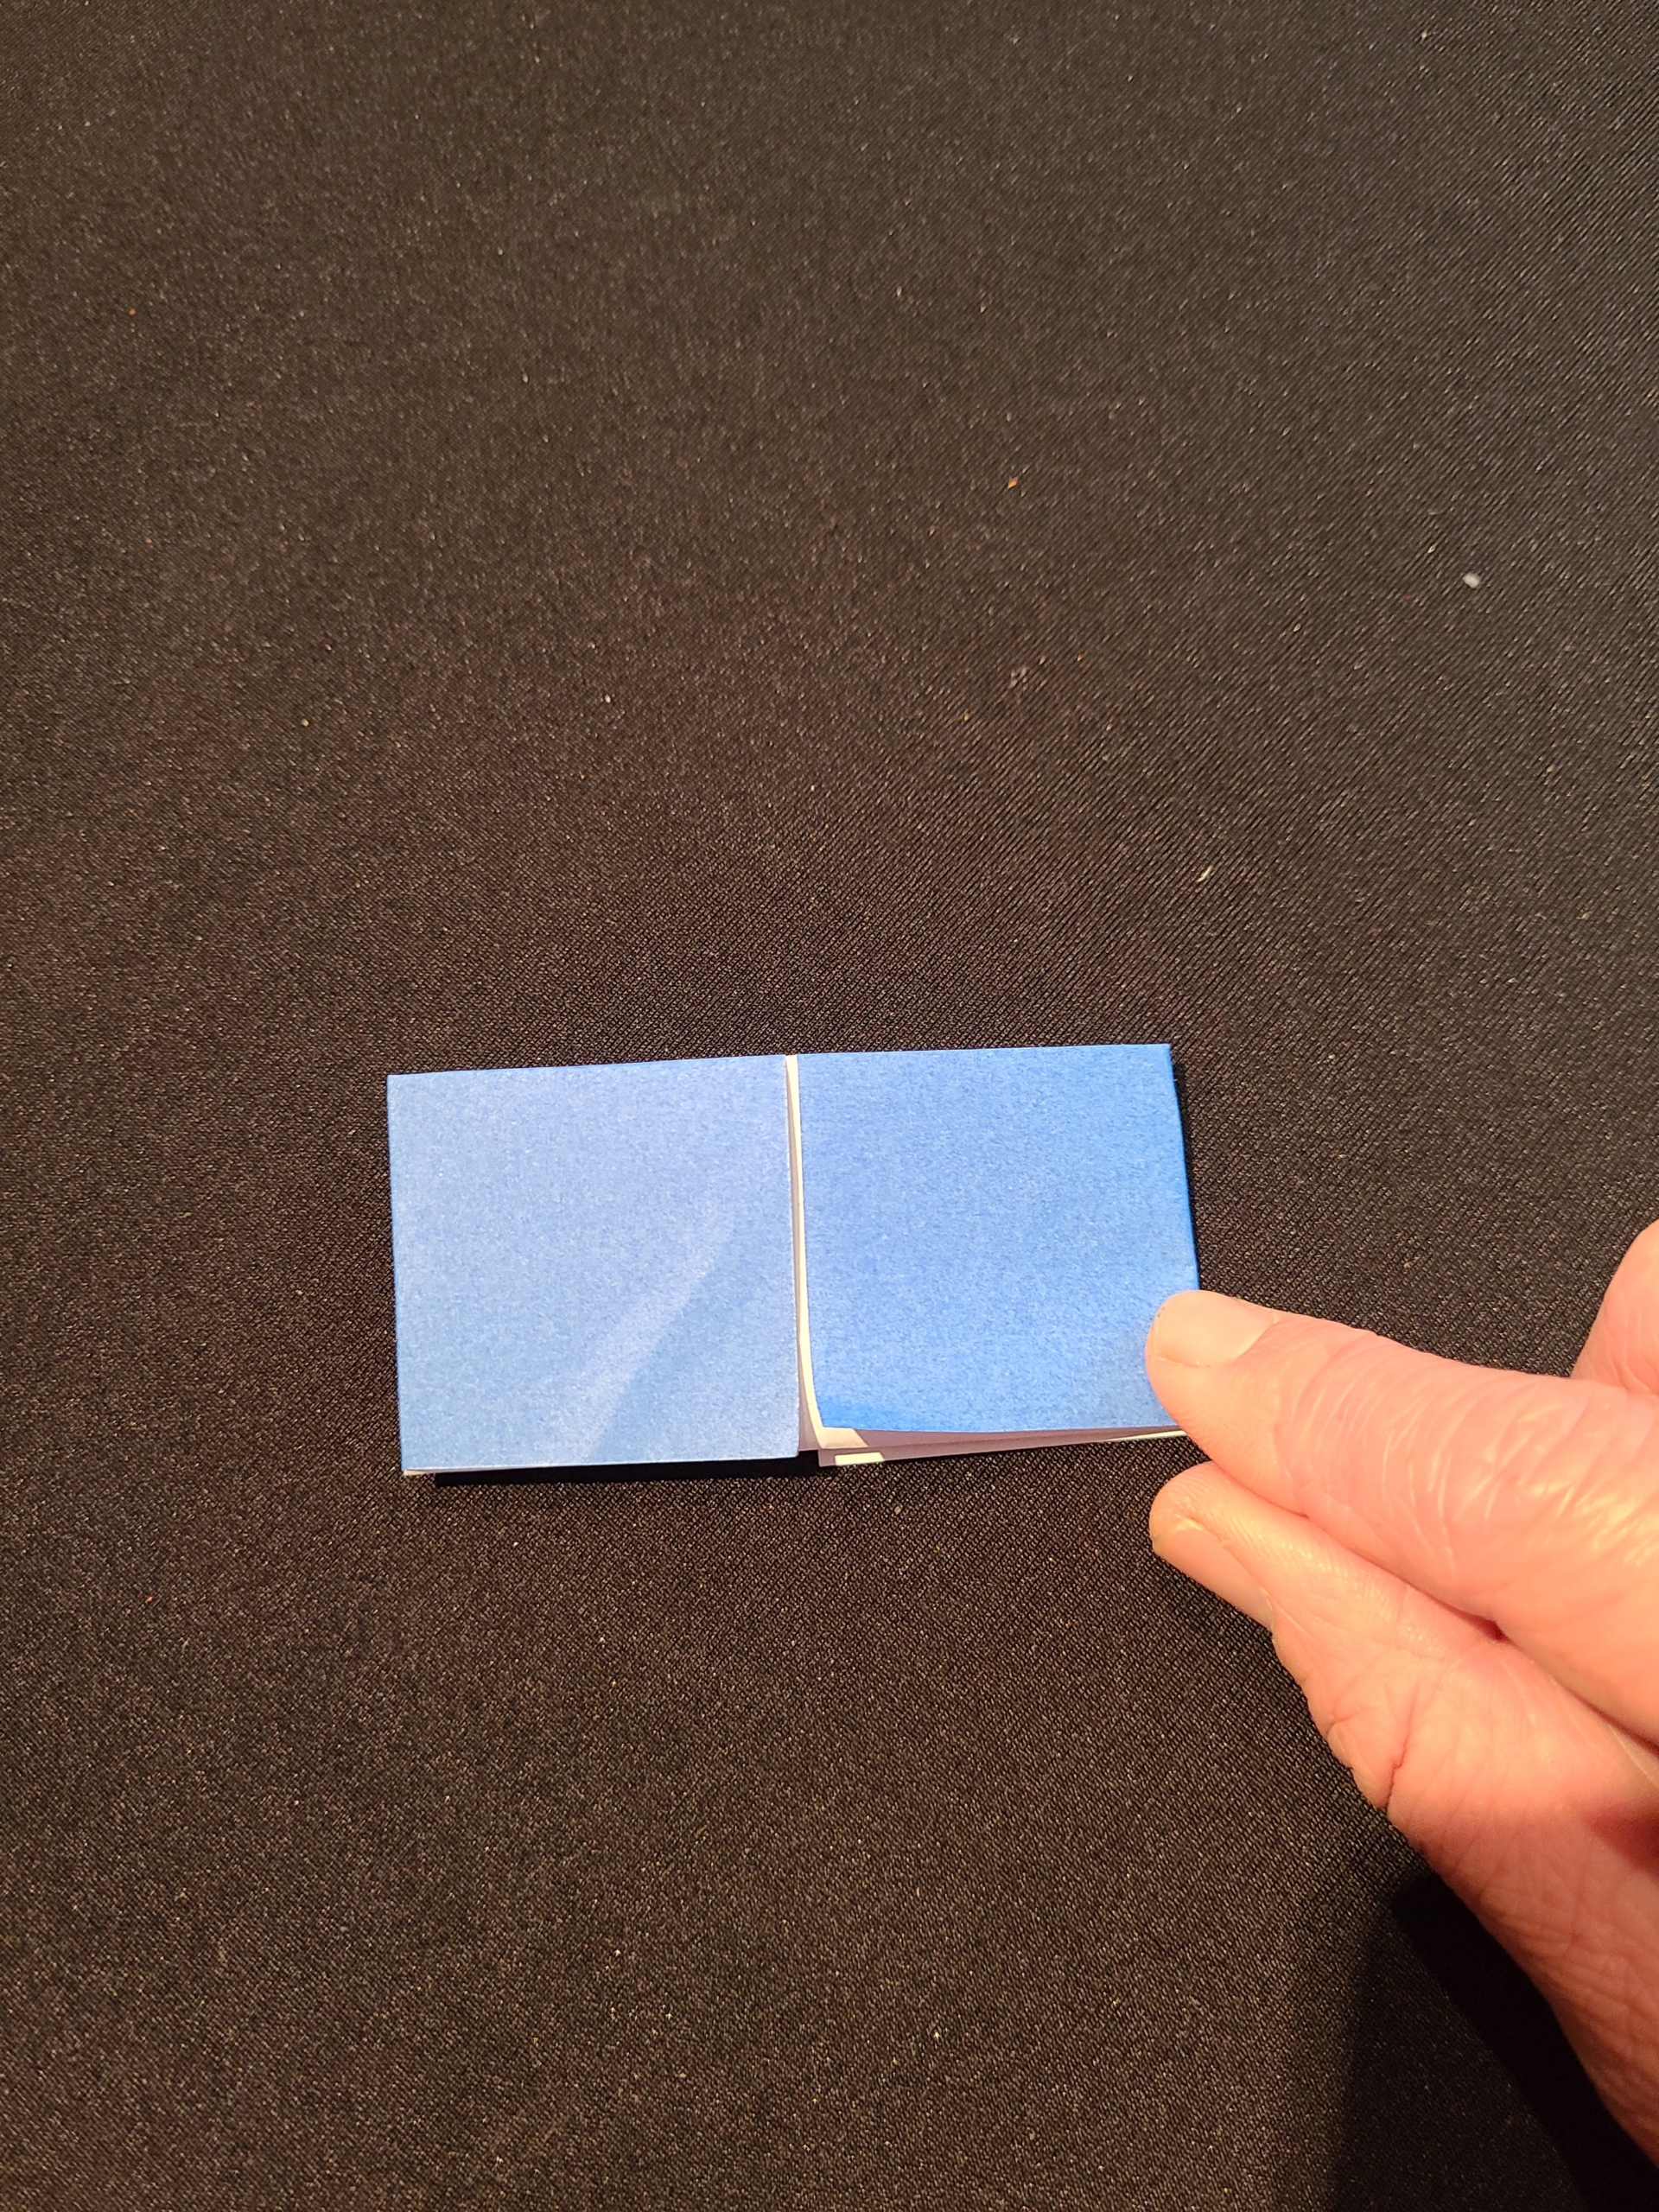
Step 3: Fold in half. Reach under the flaps with the thumb and index finger of each hand. Push your fingers up and towards each other, causing the fortune-teller to bend at the center creases. Use your thumb and index finger to open and close the mouth of the fortune-teller both horizontally (side to side) and vertically (top to bottom).
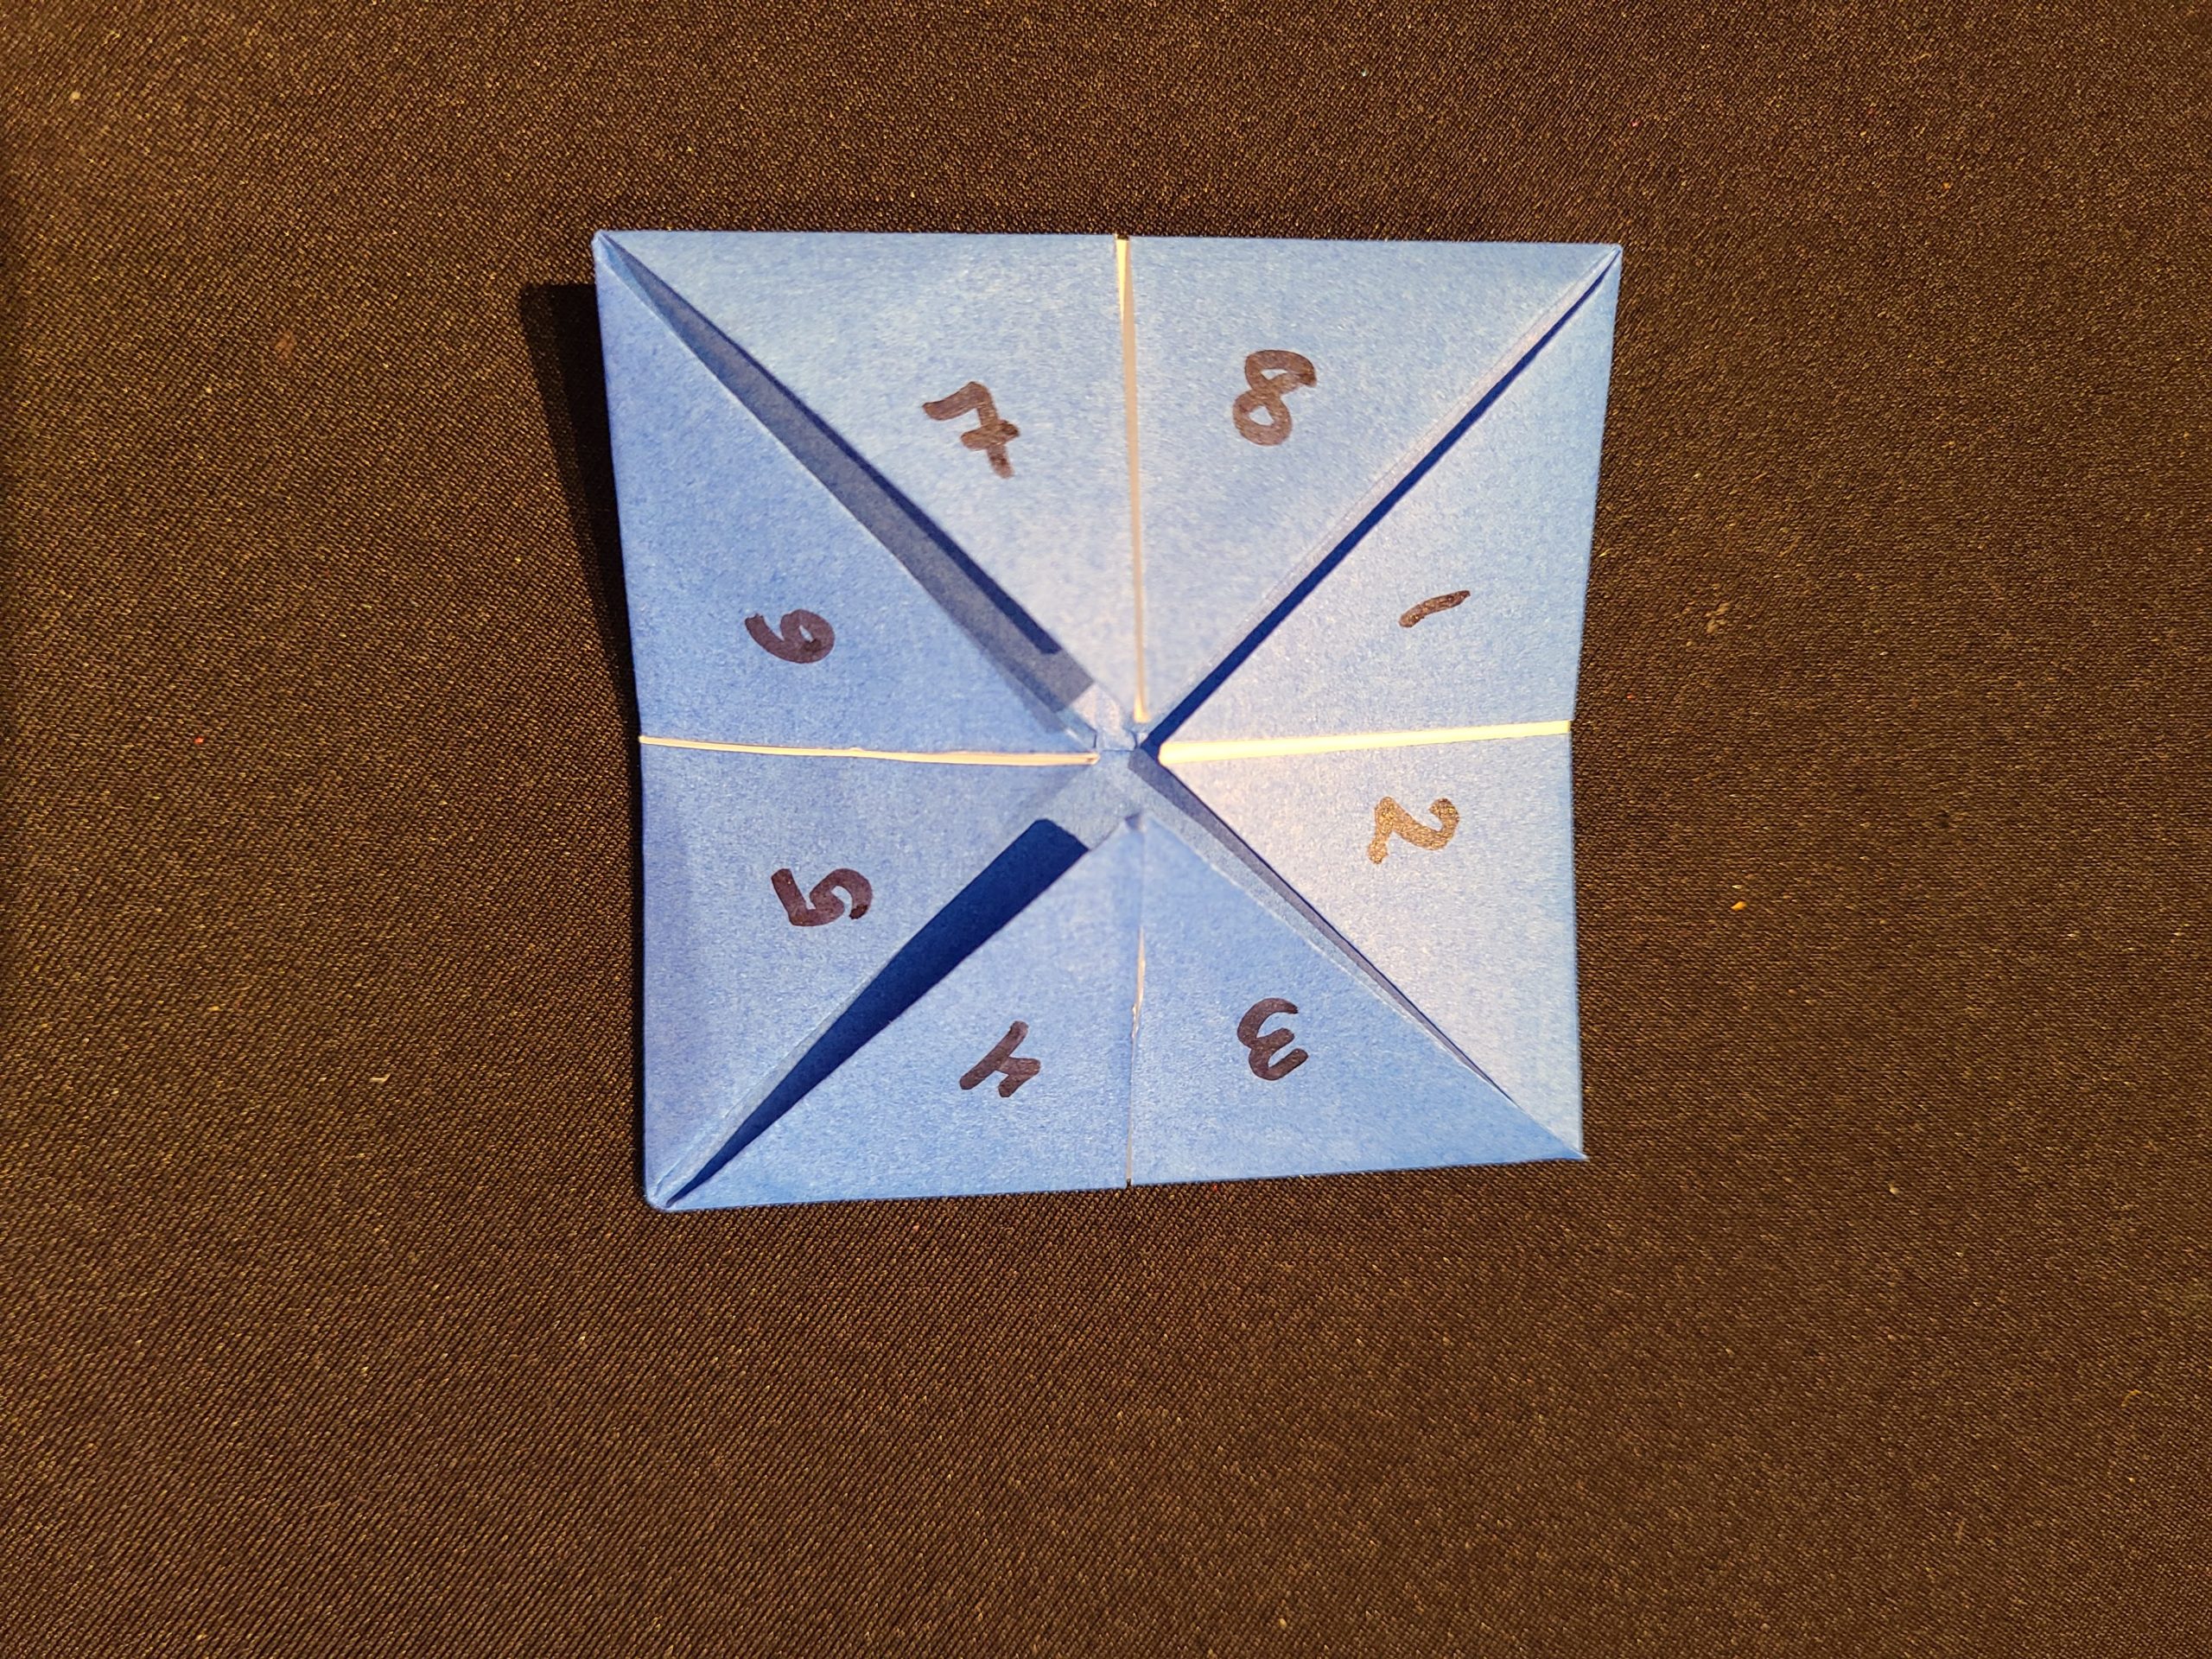
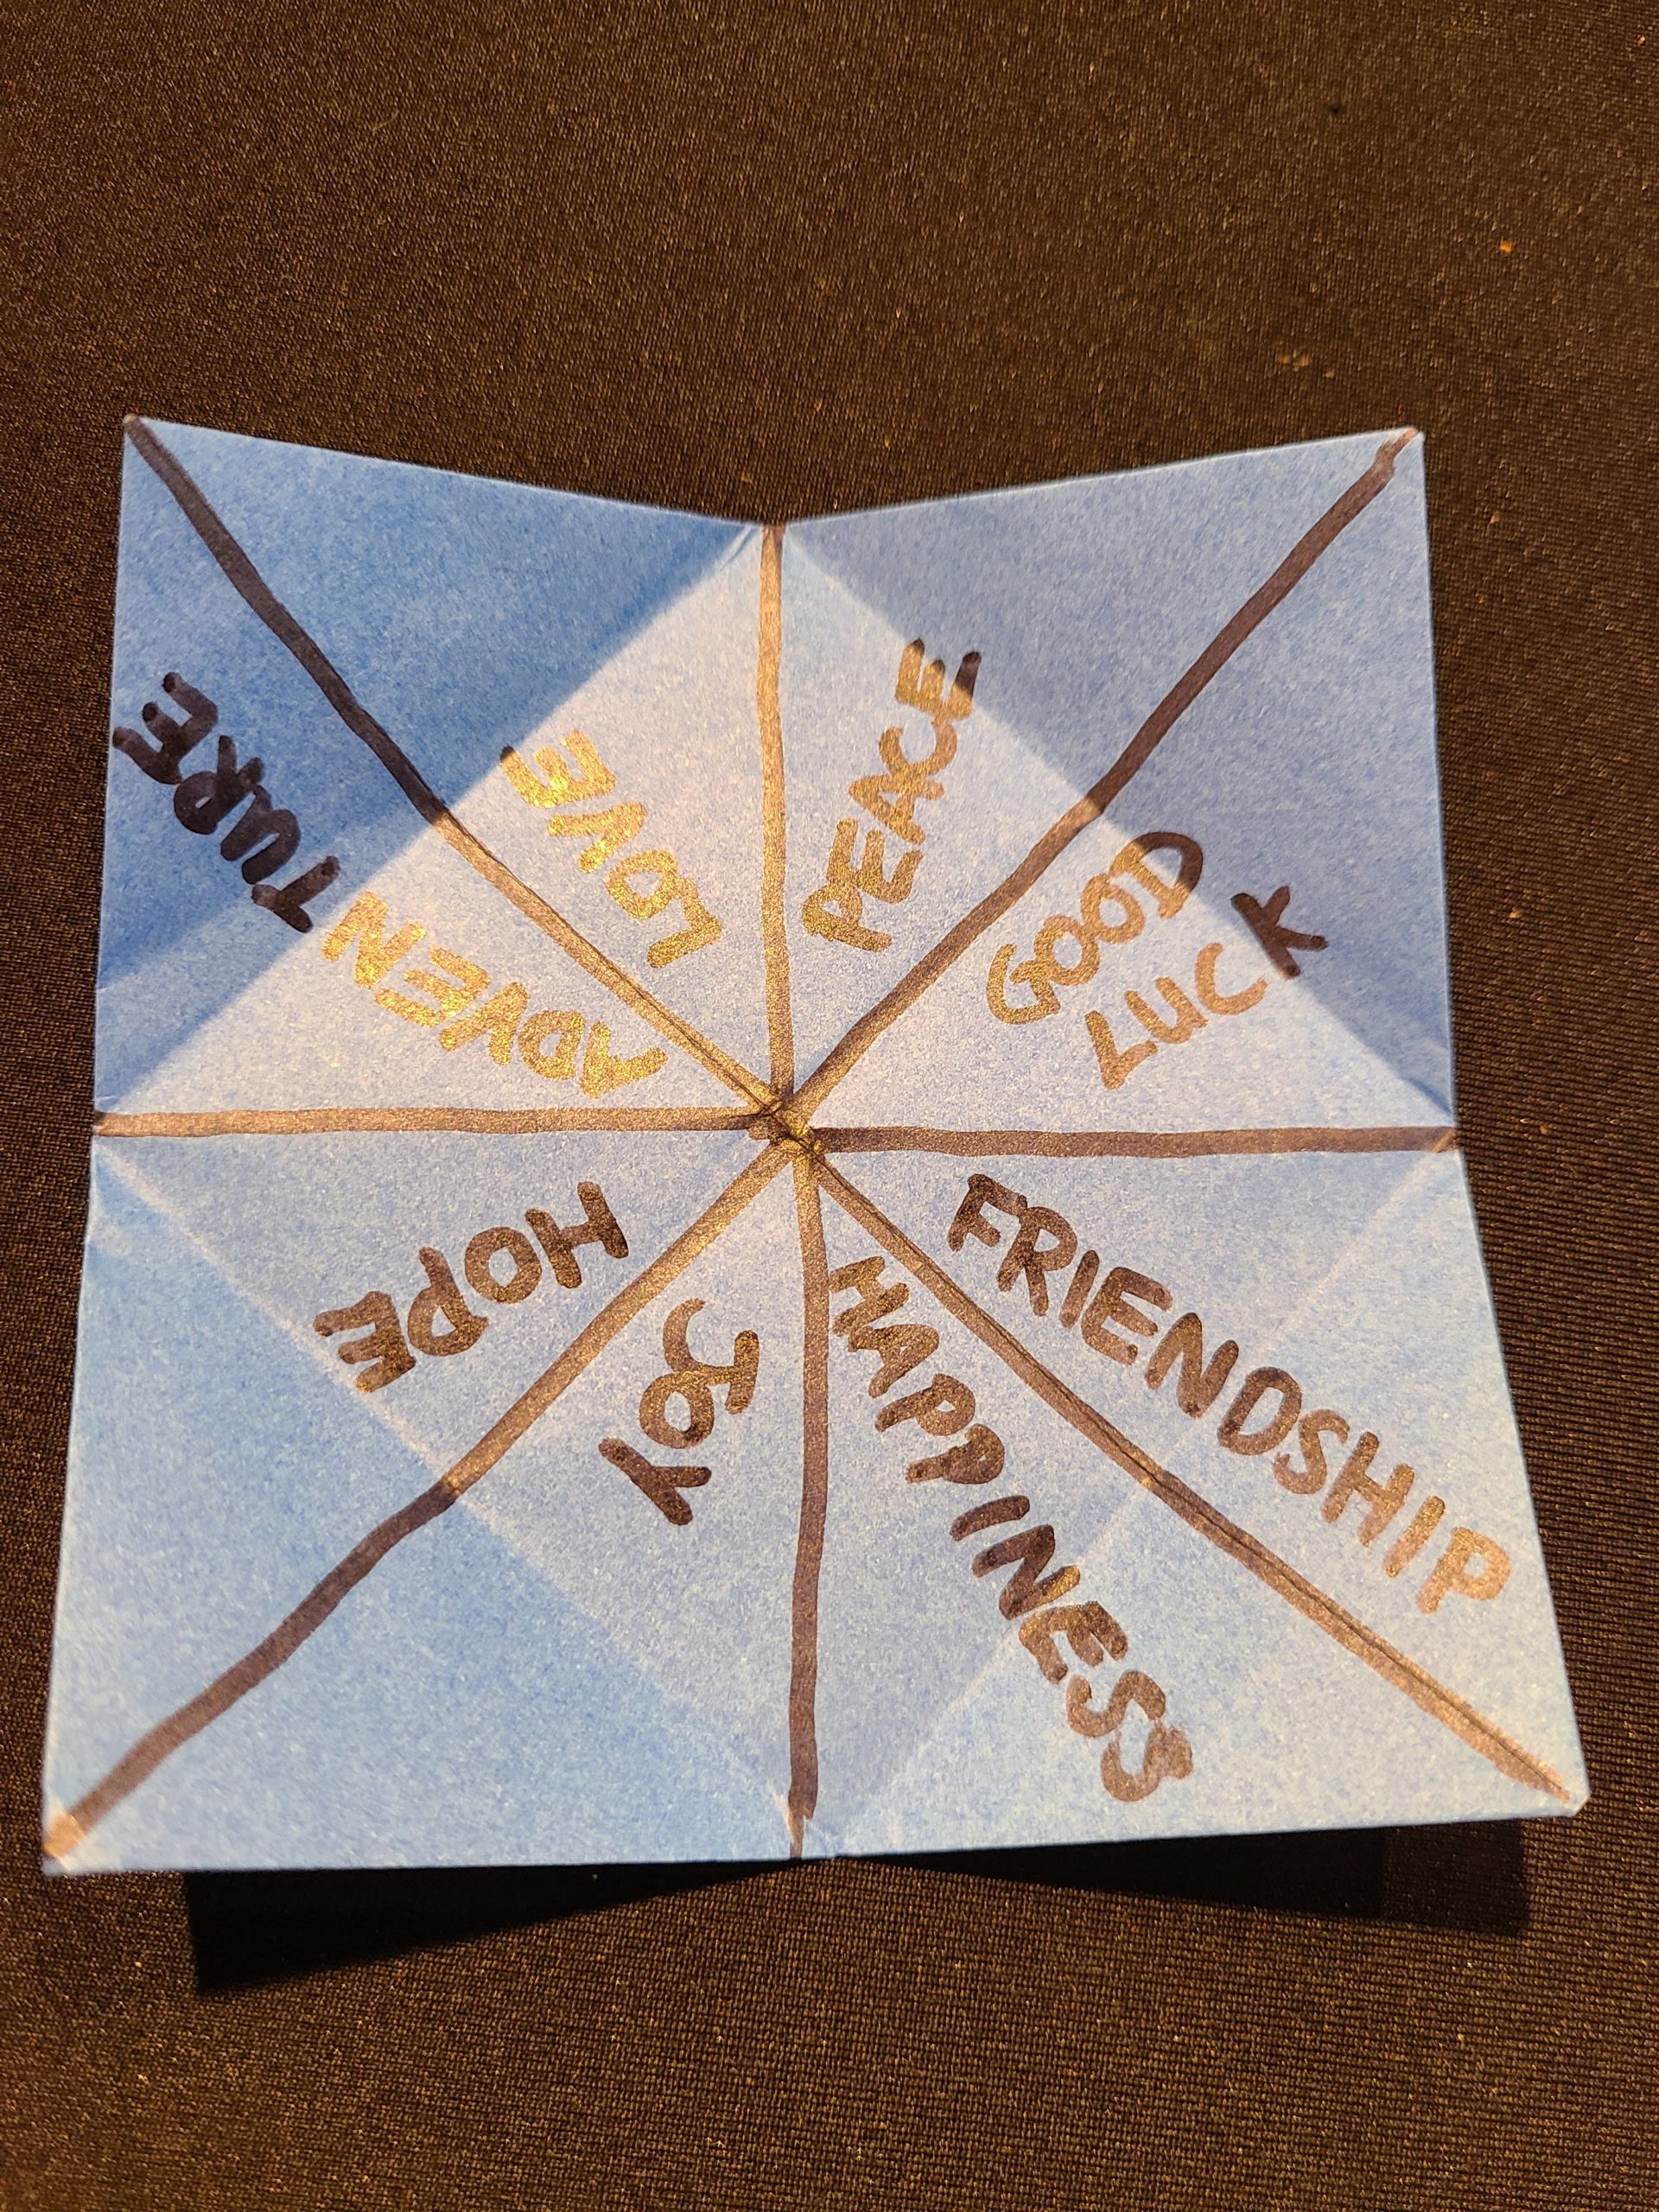
Step 4: Open up your fortune-teller. Write numbers on the first set of triangles. Open those up, and trace the crease-lines in pen to create eight segments, like those shown in the picture. Then help your child think of eight benevolent wishes that can be summed up in a word or two (such as hope, joy, love) and write one inside each segment.
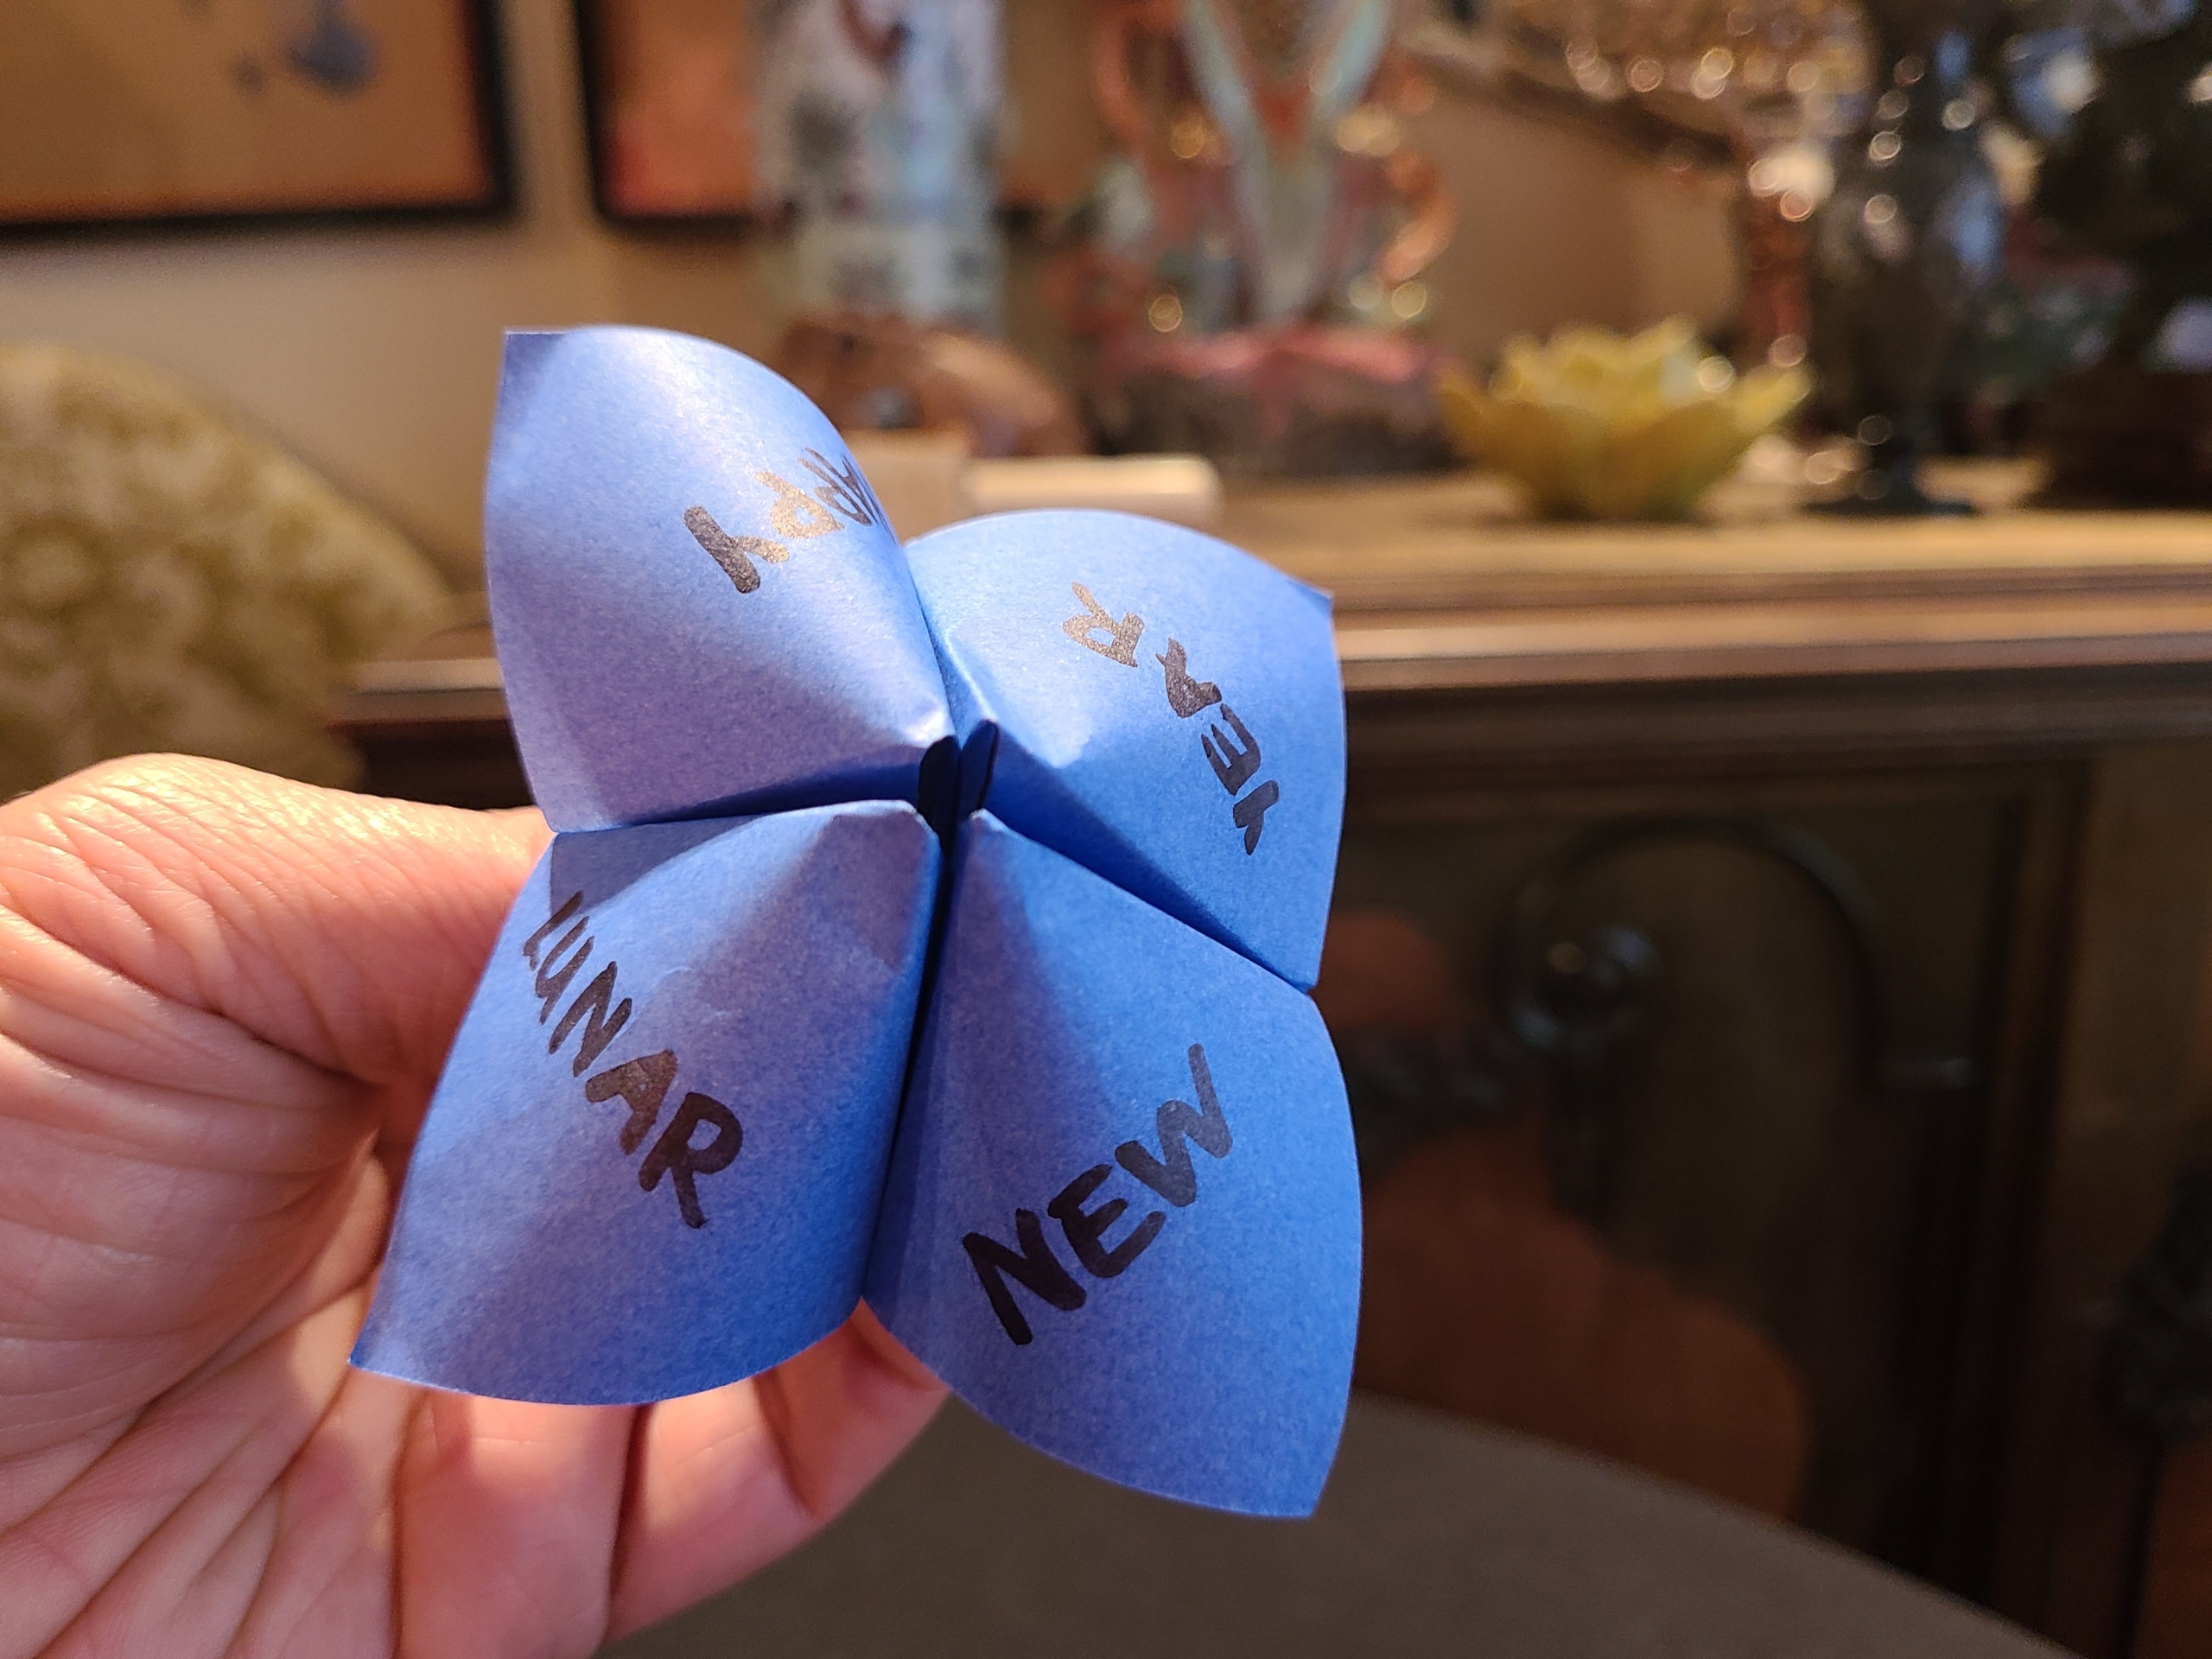
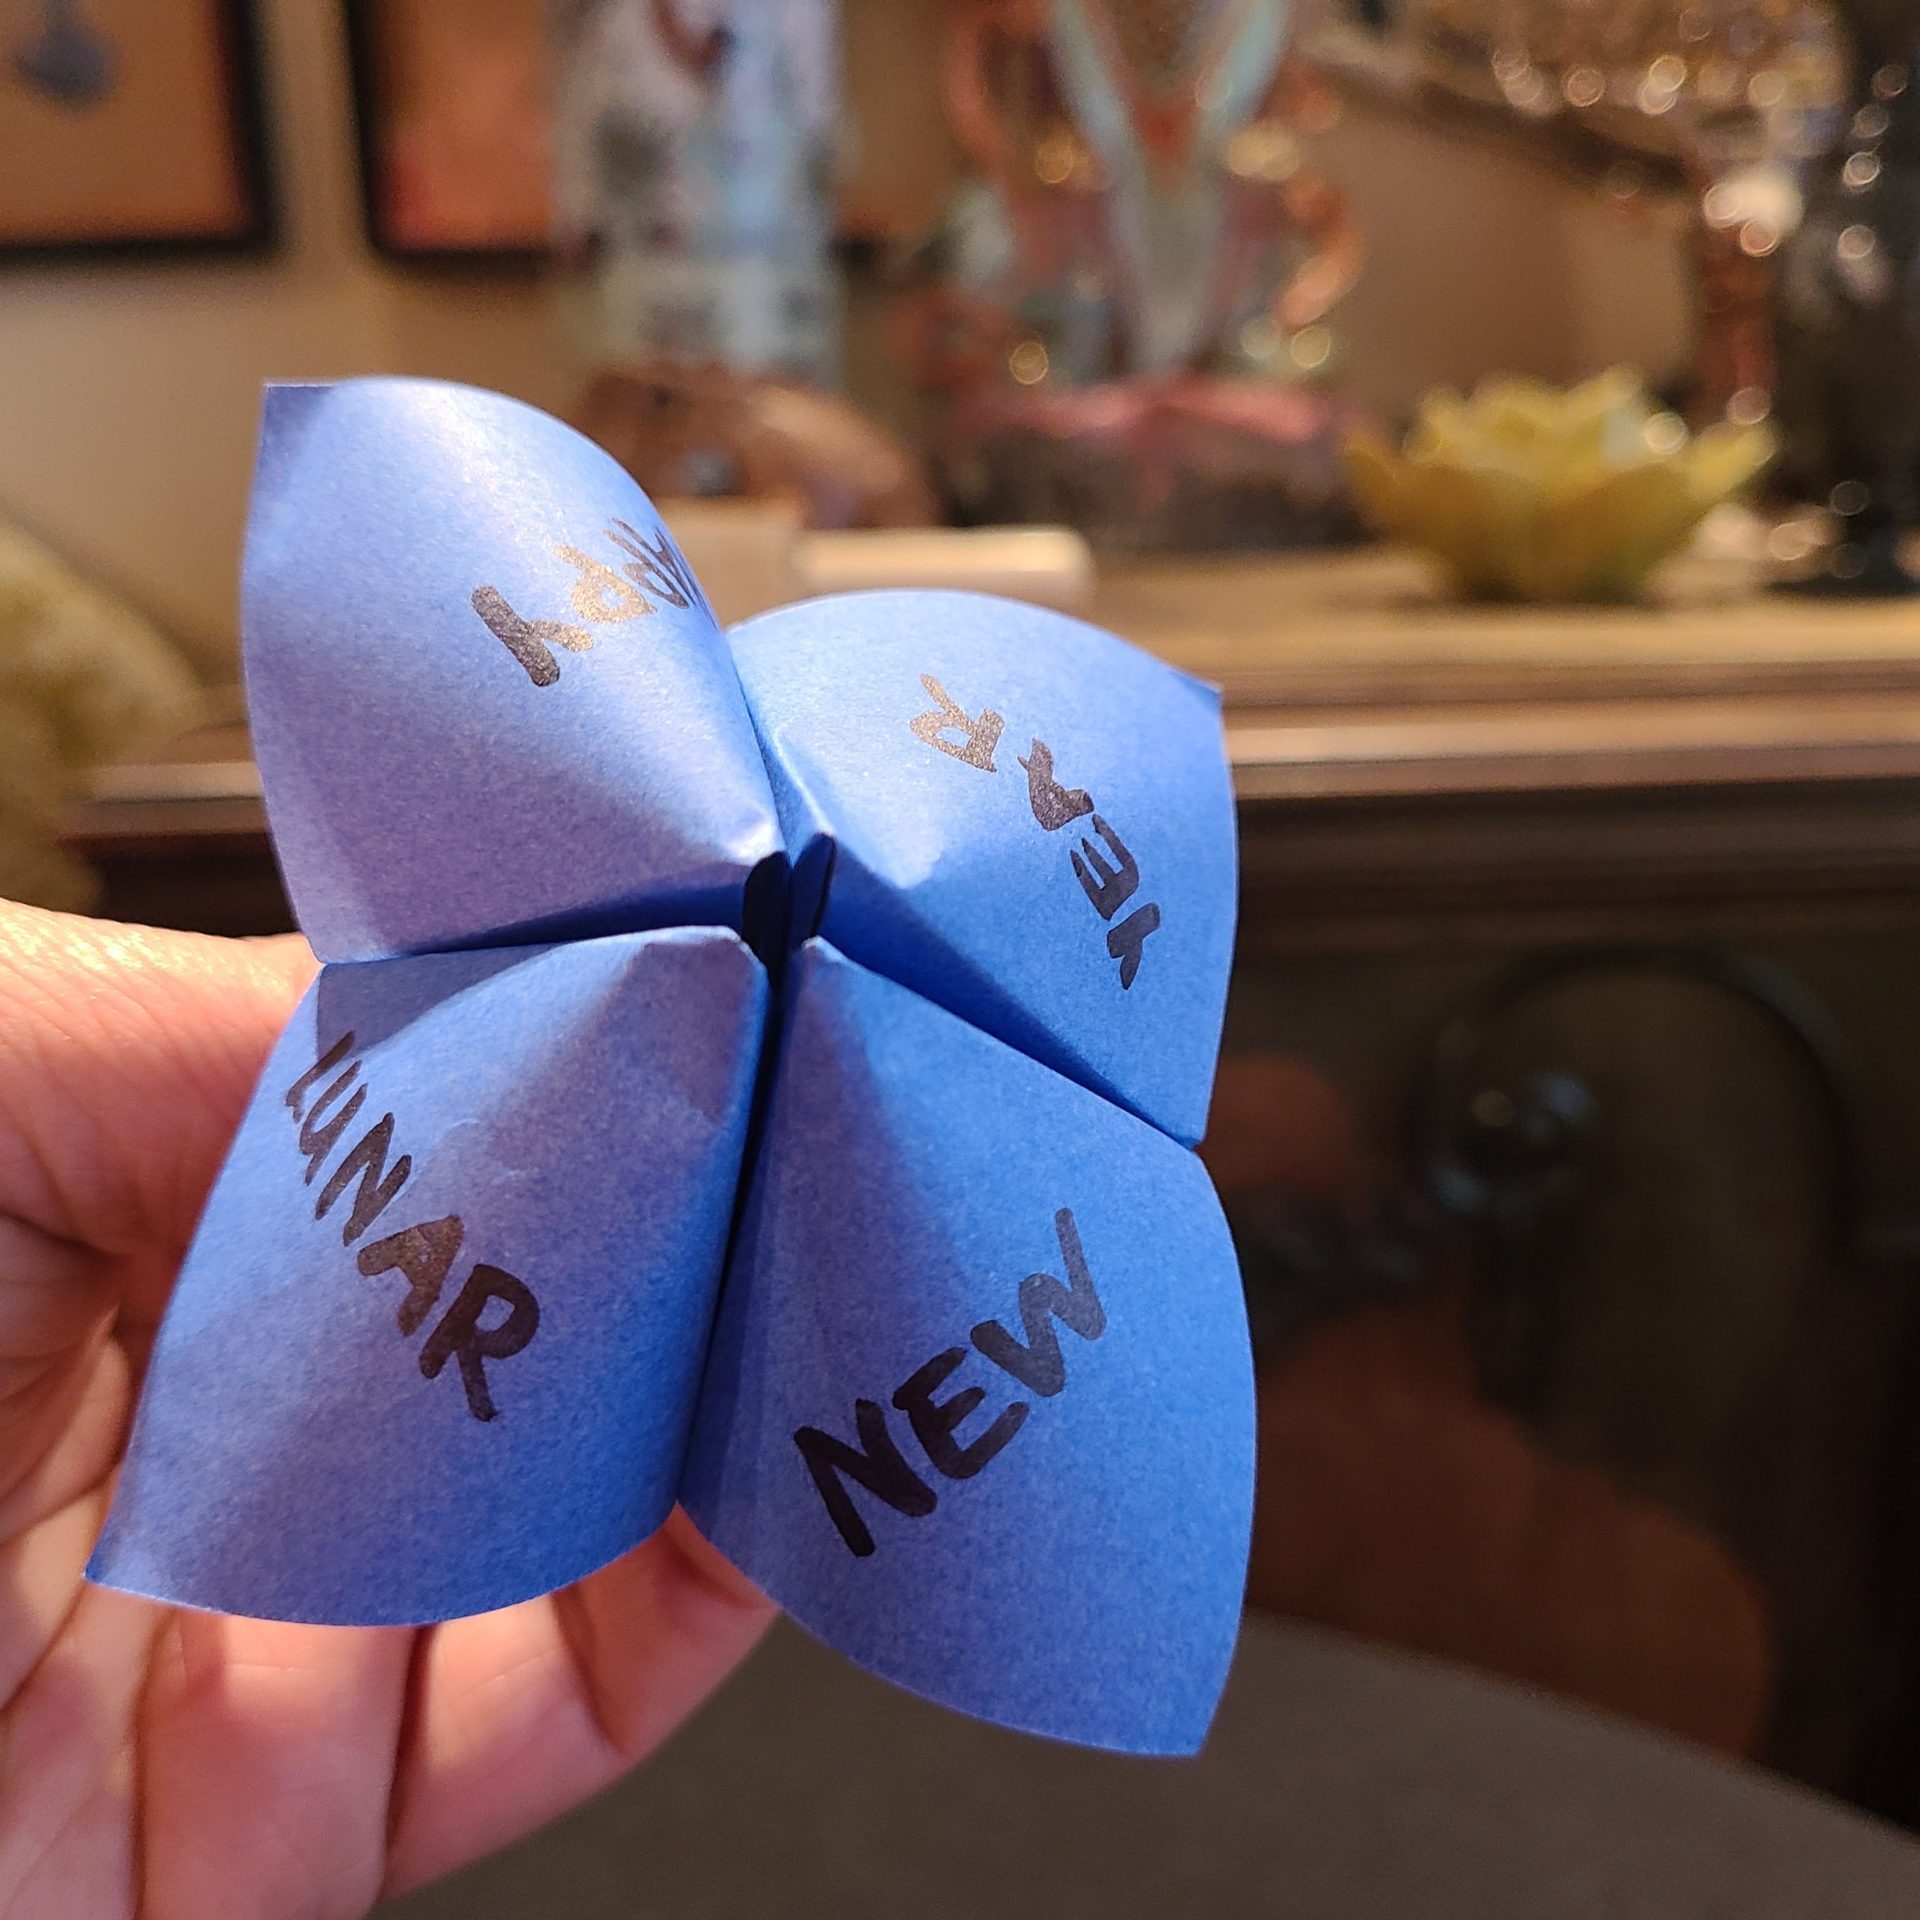
Step 5: Fold the flaps back down, flip your fortune-teller over, and have your child choose words for the top flaps. These can be words they’re practicing or words they want to learn. I wrote Happy Lunar New Year on mine, but you could also use sight words or any other set of words.
Bonus: If you want to reinforce the Lunar New Year aspect of the activity, use the names of some animals of the Chinese zodiac: rat, ox, tiger, rabbit, dragon, snake, horse, goat, monkey, rooster, dog and pig. For new readers, write ox, rat, dog, and pig. Children ready for more of a challenge can learn to spell and read the longer names, such as dragon, rabbit, monkey, and rooster.

All done! Now it’s time to play. Here’s how:
To tell someone’s fortune, have them choose a word from the outside flaps. Spell the word aloud while using your fingers to make the fortune-teller open and close horizontally and vertically, alternating between the two ways to open. Say one one letter each time you open the fortune-teller.
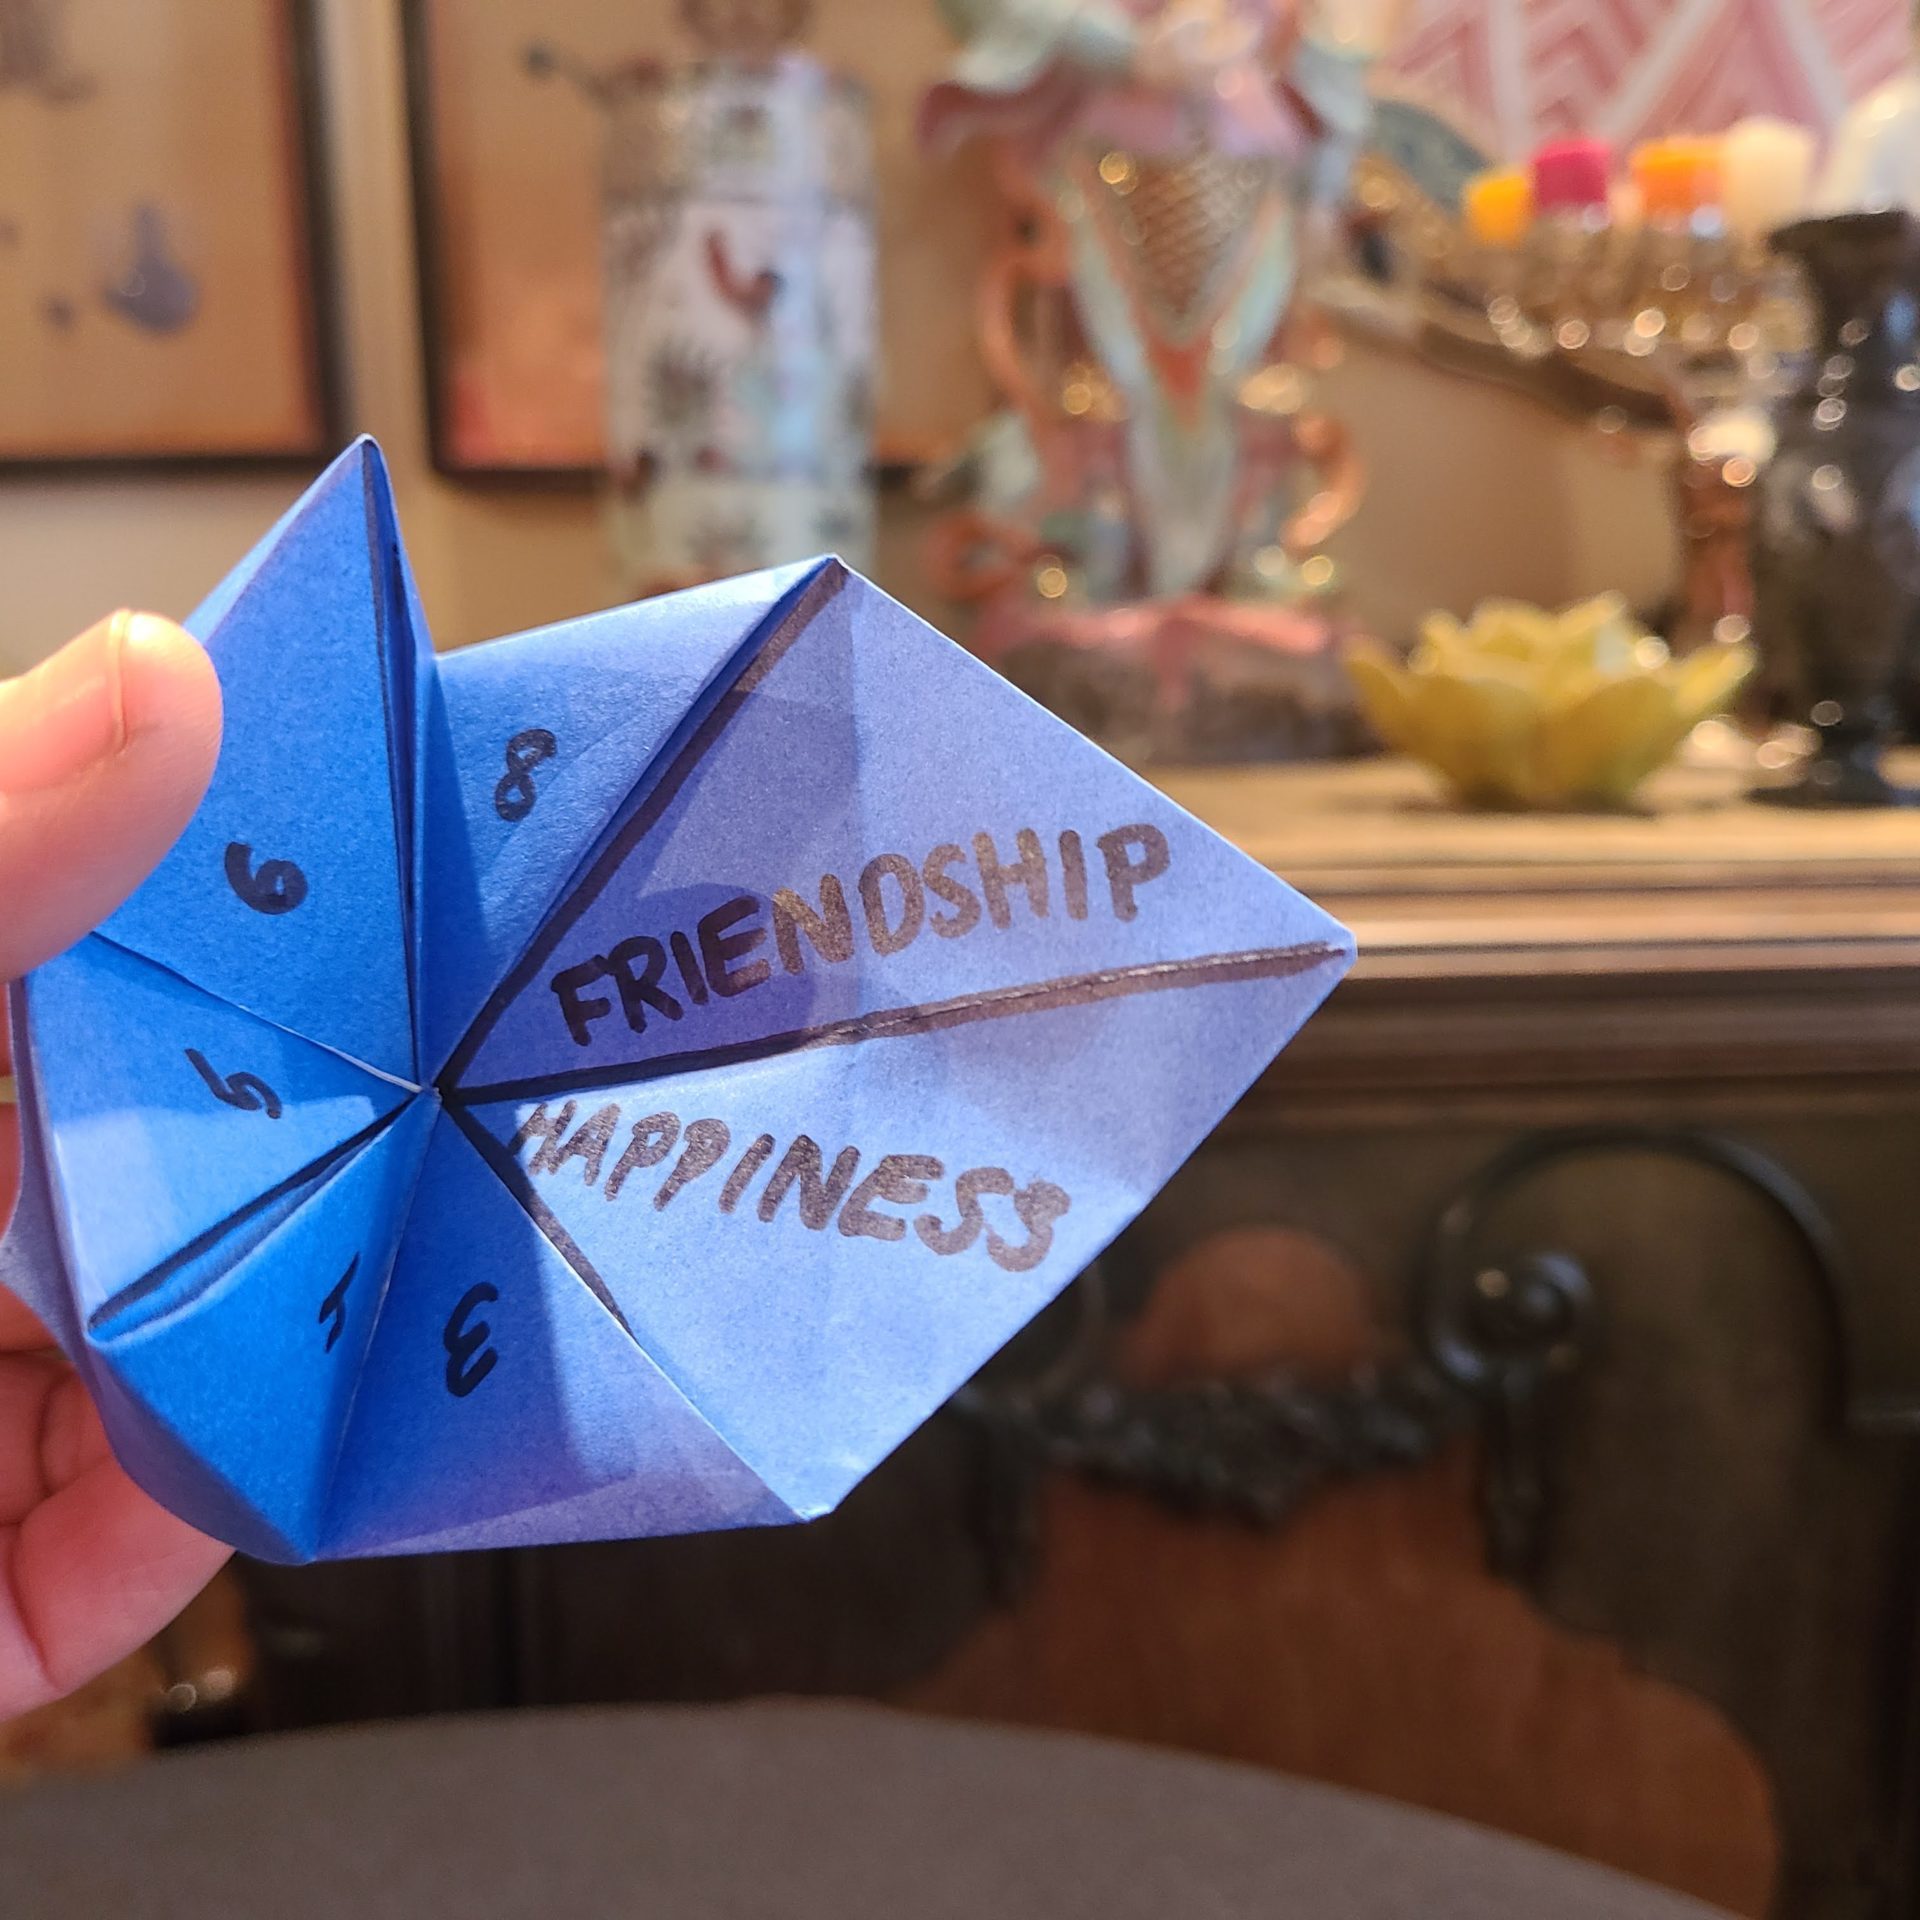
Keep the fortune-teller open to the segment visible when you say the last letter, and have the person choose one of the numbers showing.
Count the number out loud, opening the fortune-teller on each count (again, alternate opening horizontally and vertically). Stop when you get to the designated number.
Finally, the person chooses one last number, from those showing on the segments you landed on this time. This is the flap that will be opened to reveal their fortune. Lift the flap with the number they chose and read their fortune.
Your little one can read the fortunes of family and friends as many times as they like. It’s great fun, and they’ll be reinforcing their reading skills and spreading positive vibes as they play.

By Michelle Luke
We all know reading aloud to kids is great for literacy. And inviting them to retell the stories in their own words afterwards can make it even better. Retelling helps deepen kids’ comprehension and support the oral language skills that underpin successful reading and writing.
In this story time activity, we explore Chinese traditions for the Lunar New Year. In traditional celebrations, a mythical Chinese lion dances in the new year to bring good luck and scare away the bad. The lion dances to the beat of a powerful drum and tells stories with its movements, accompanying the grand dragon and serving as a protector of the people. We’ll follow a simple tutorial to craft our own storytelling lion puppet that kids can use to retell the story.
Whether you grew up with these traditions, like me, or you want to learn about the Lunar New Year alongside your child, this project is a perfect way to mark the new year. And because it’s completely oral, this is a good early literacy activity for very young children, though it can be great fun with older kids, as well.
Materials:
- A picture book about the Lunar New Year
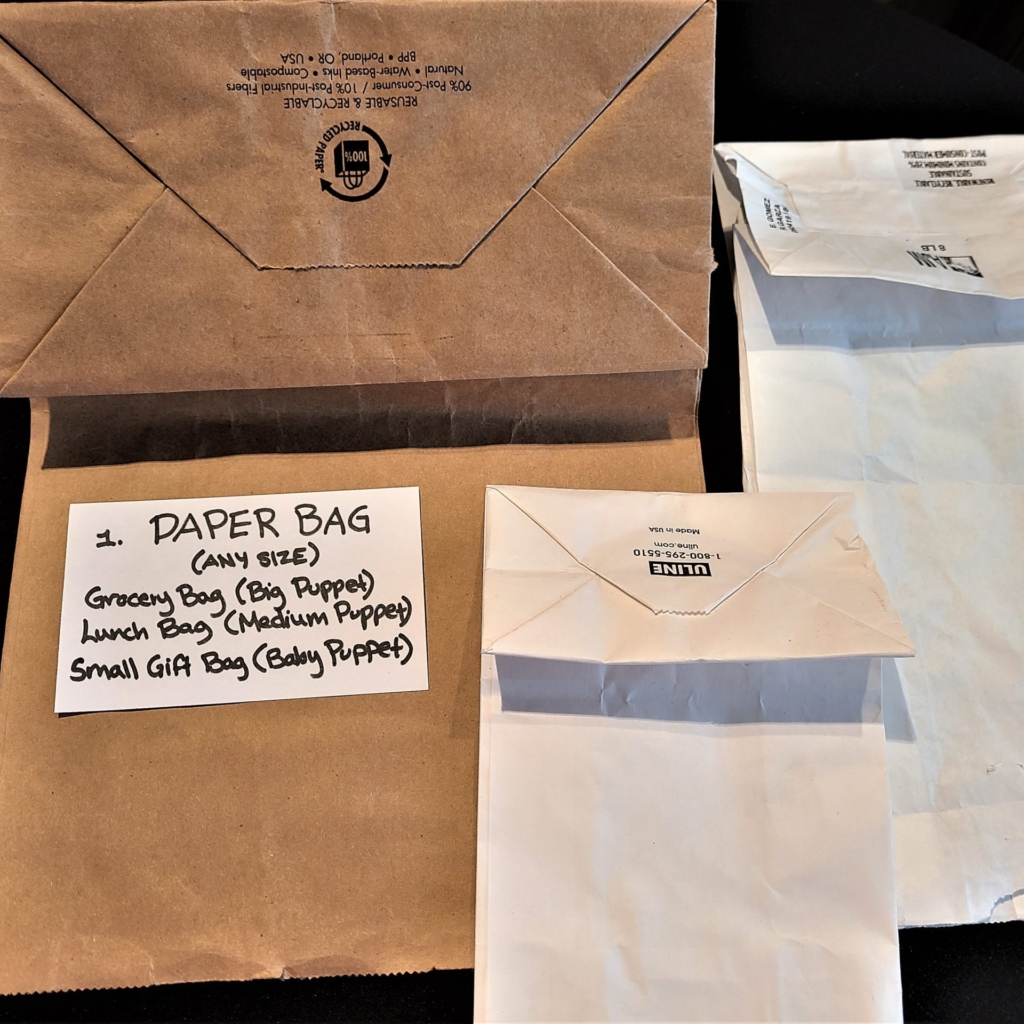
- Paper bag (lunch bag size is best, but any size could work)
- Paper
- Scissors
- Glue or glue stick
- Something to color with (colored pencils, crayons, markers)
- Streamers, tissue paper, ribbons (optional)
Cost: Nothing if you have these simple materials on hand.
Kick off this activity by telling your child about the tradition of Lunar New Year and the lion dance (you can find lots more information online if you want more background; for example, the China Highlights company has a good write-up).
Then follow our tutorial to make your puppet:
Step 1: Draw your lion’s head or print out our free lion puppet template.
Note: Because of its dragon-like look and the fact that a dragon also features in Chinese new year festivities, this lion is often mistaken for a dragon. But in fact it’s only the opening act for the dragon that dances at the culmination of events, on the 15th day of the celebrations, also known as the Lantern Festival.
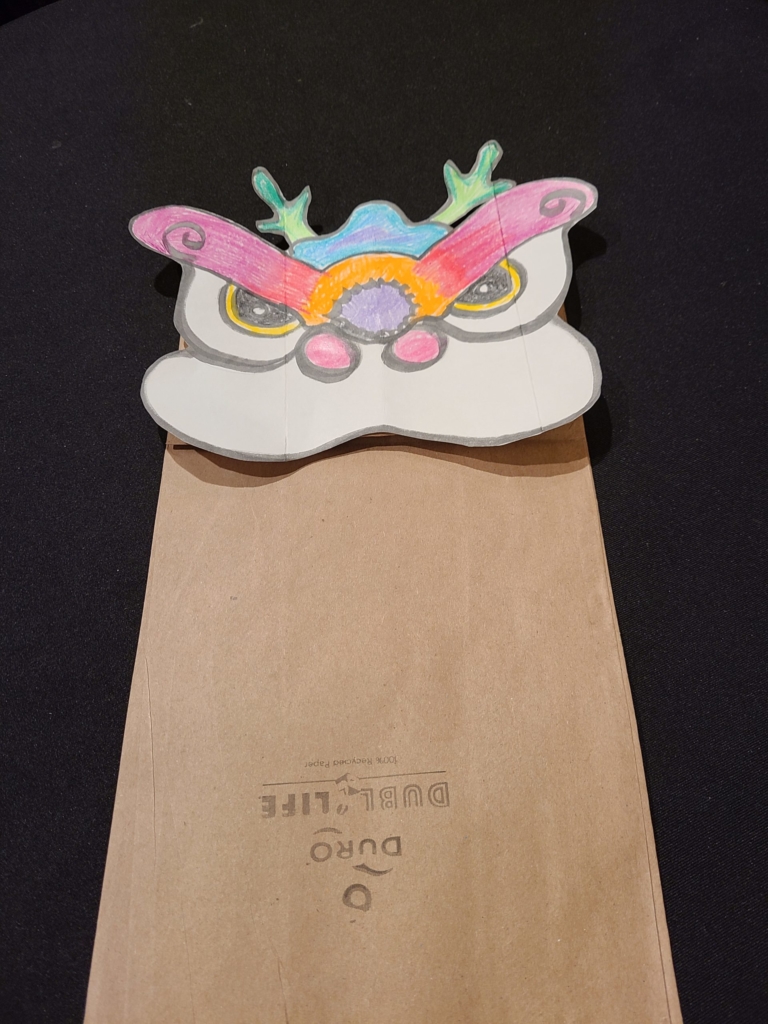
Step 2: Color in the head, decorate it with whatever you like, and cut it out.

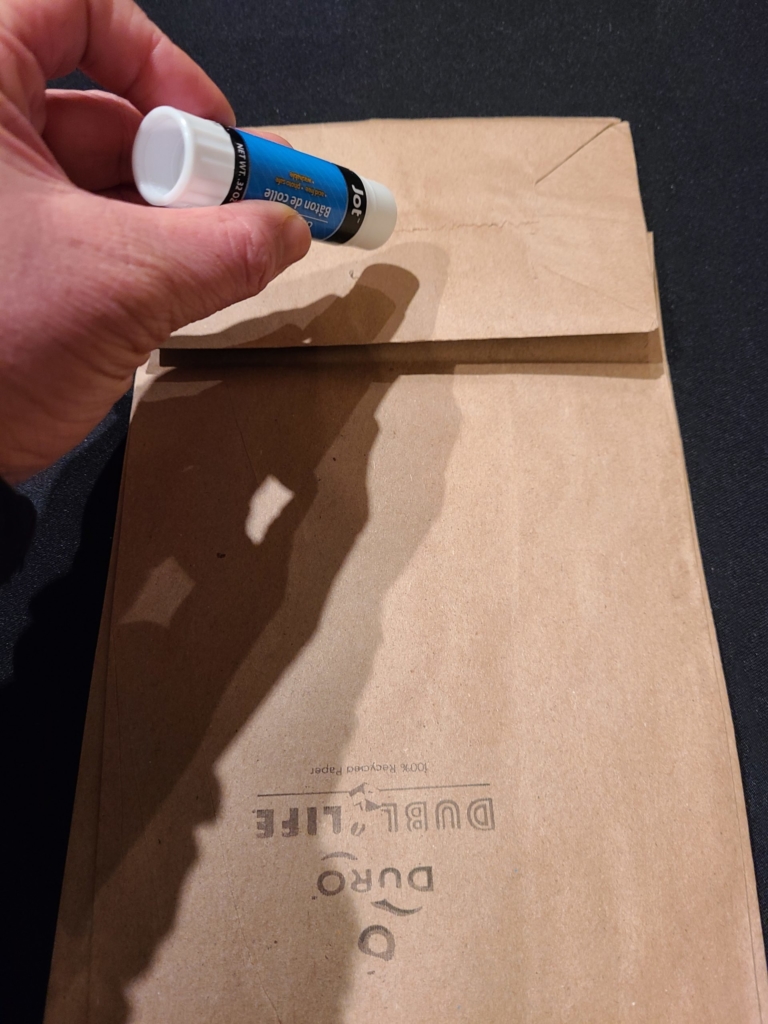
Step 3: Apply glue to the bag base and press the head gently over the glue to stick it onto the bag.
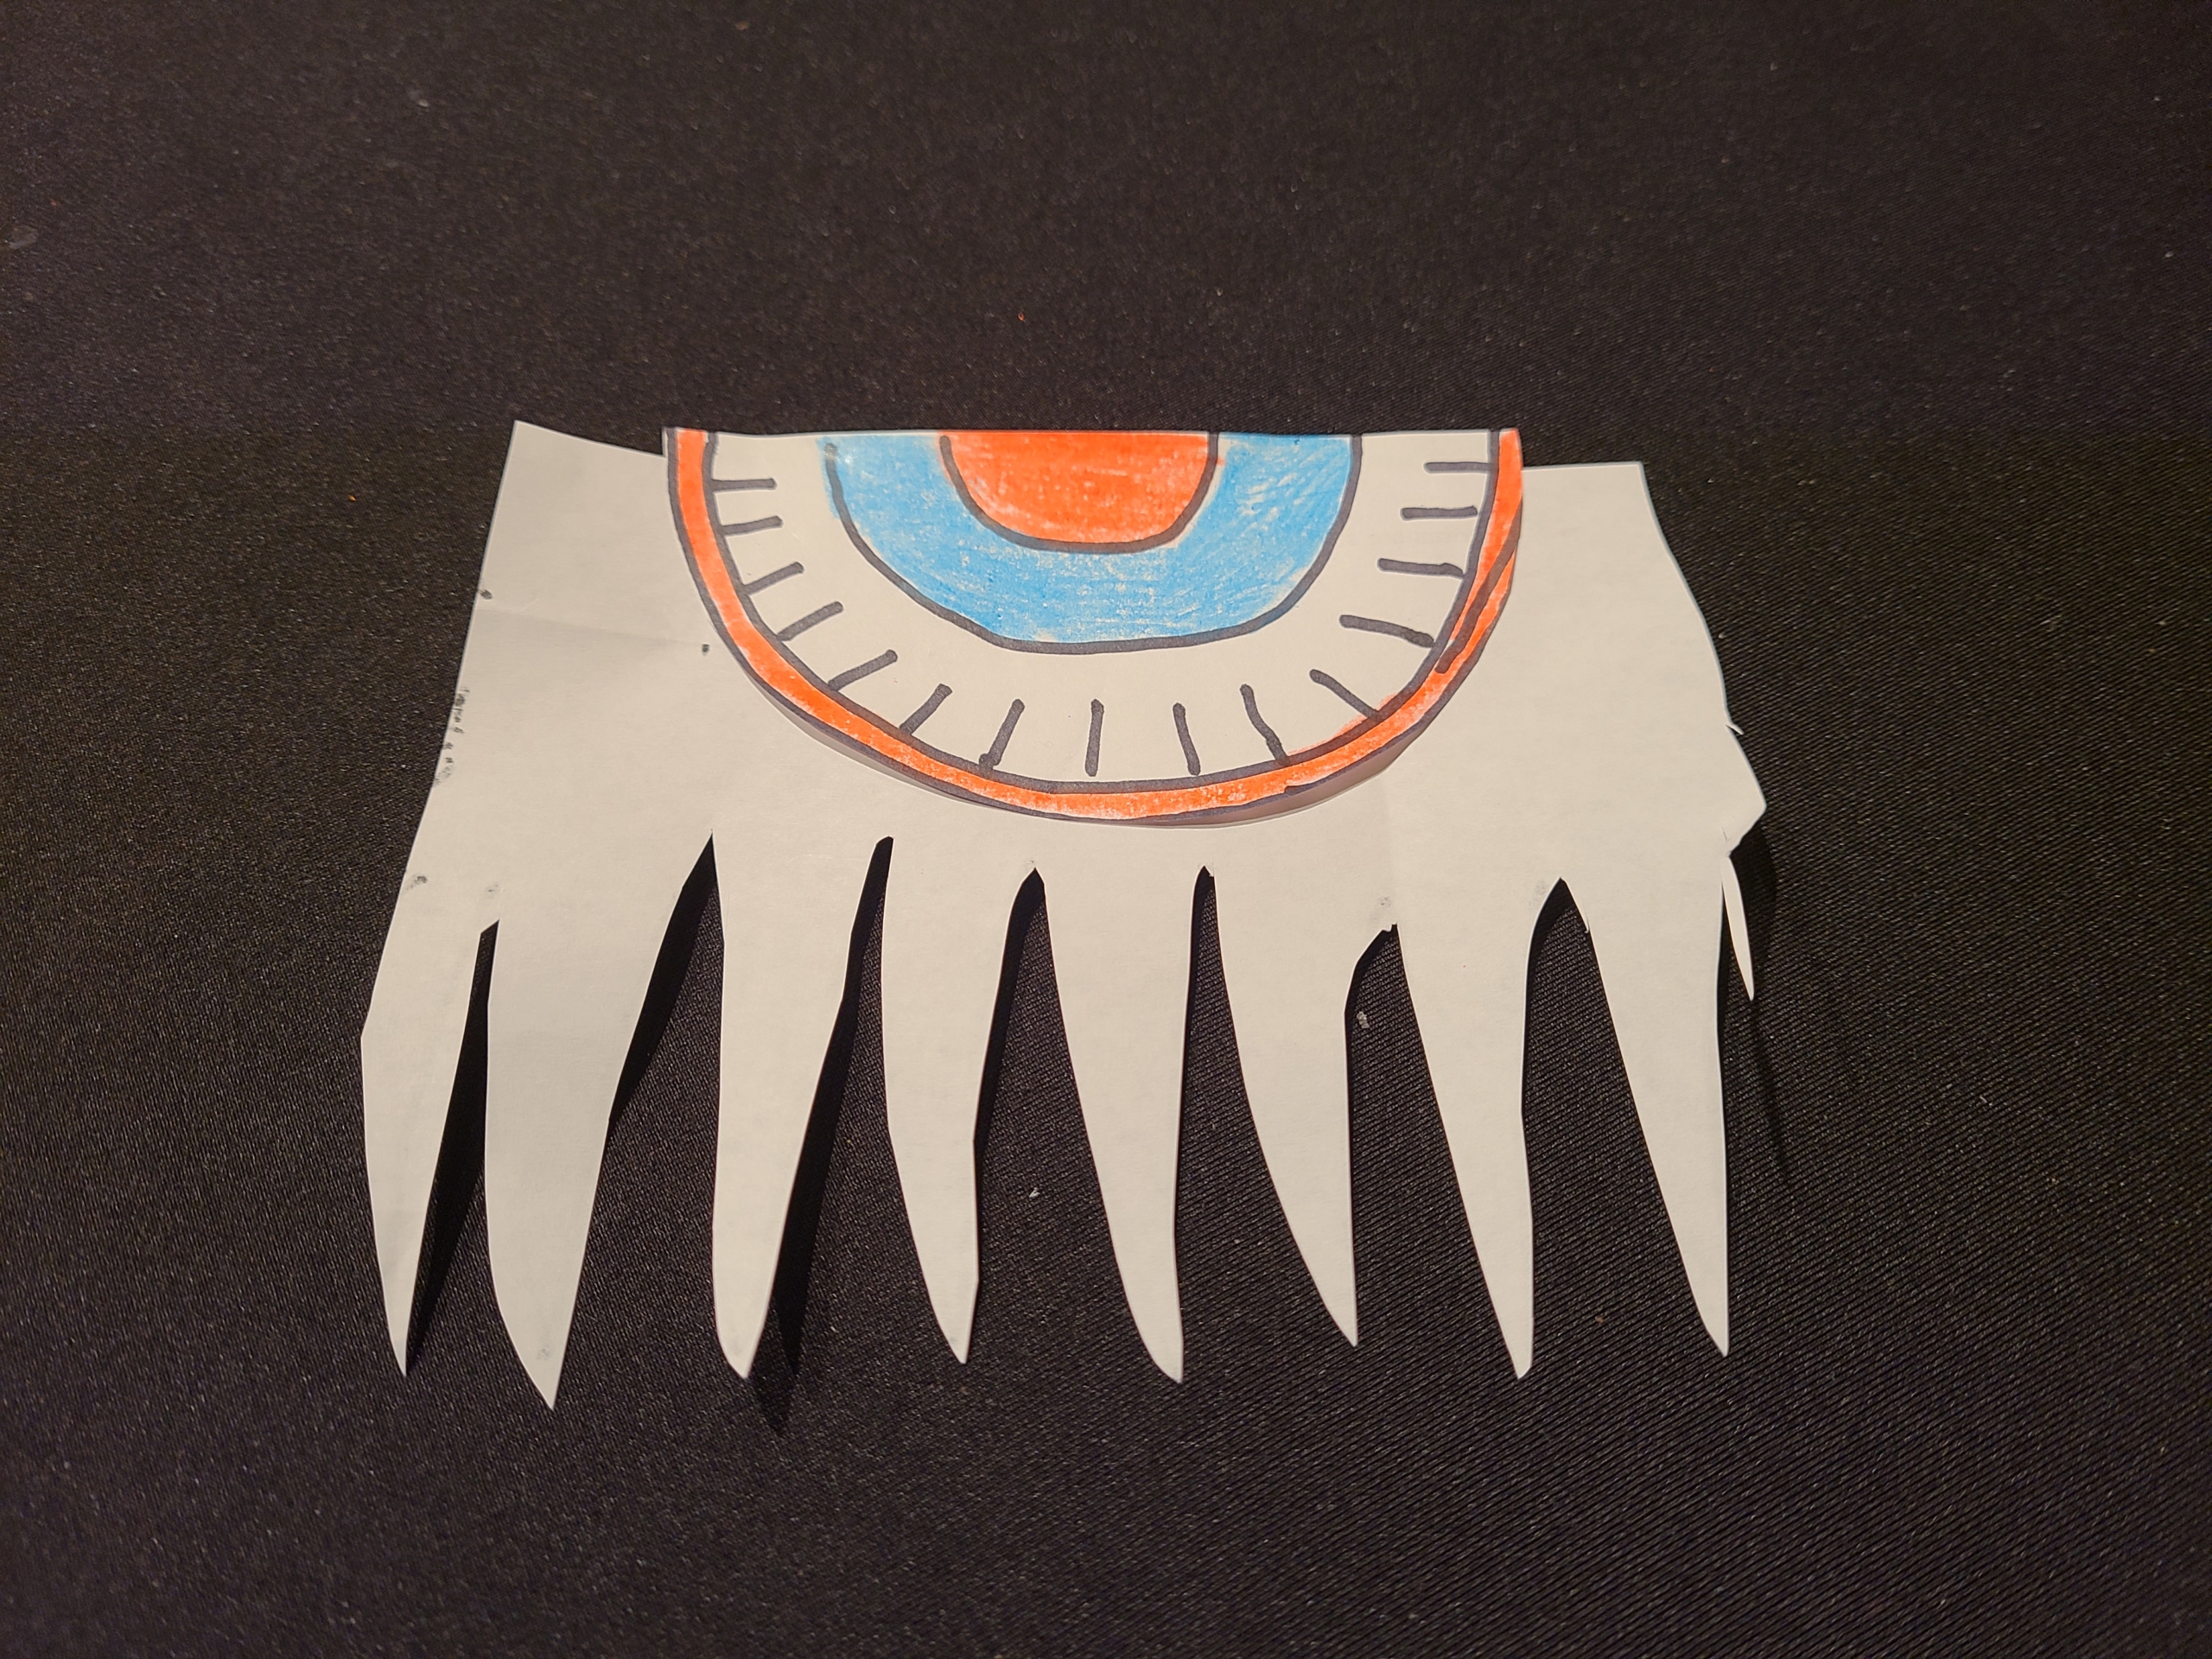
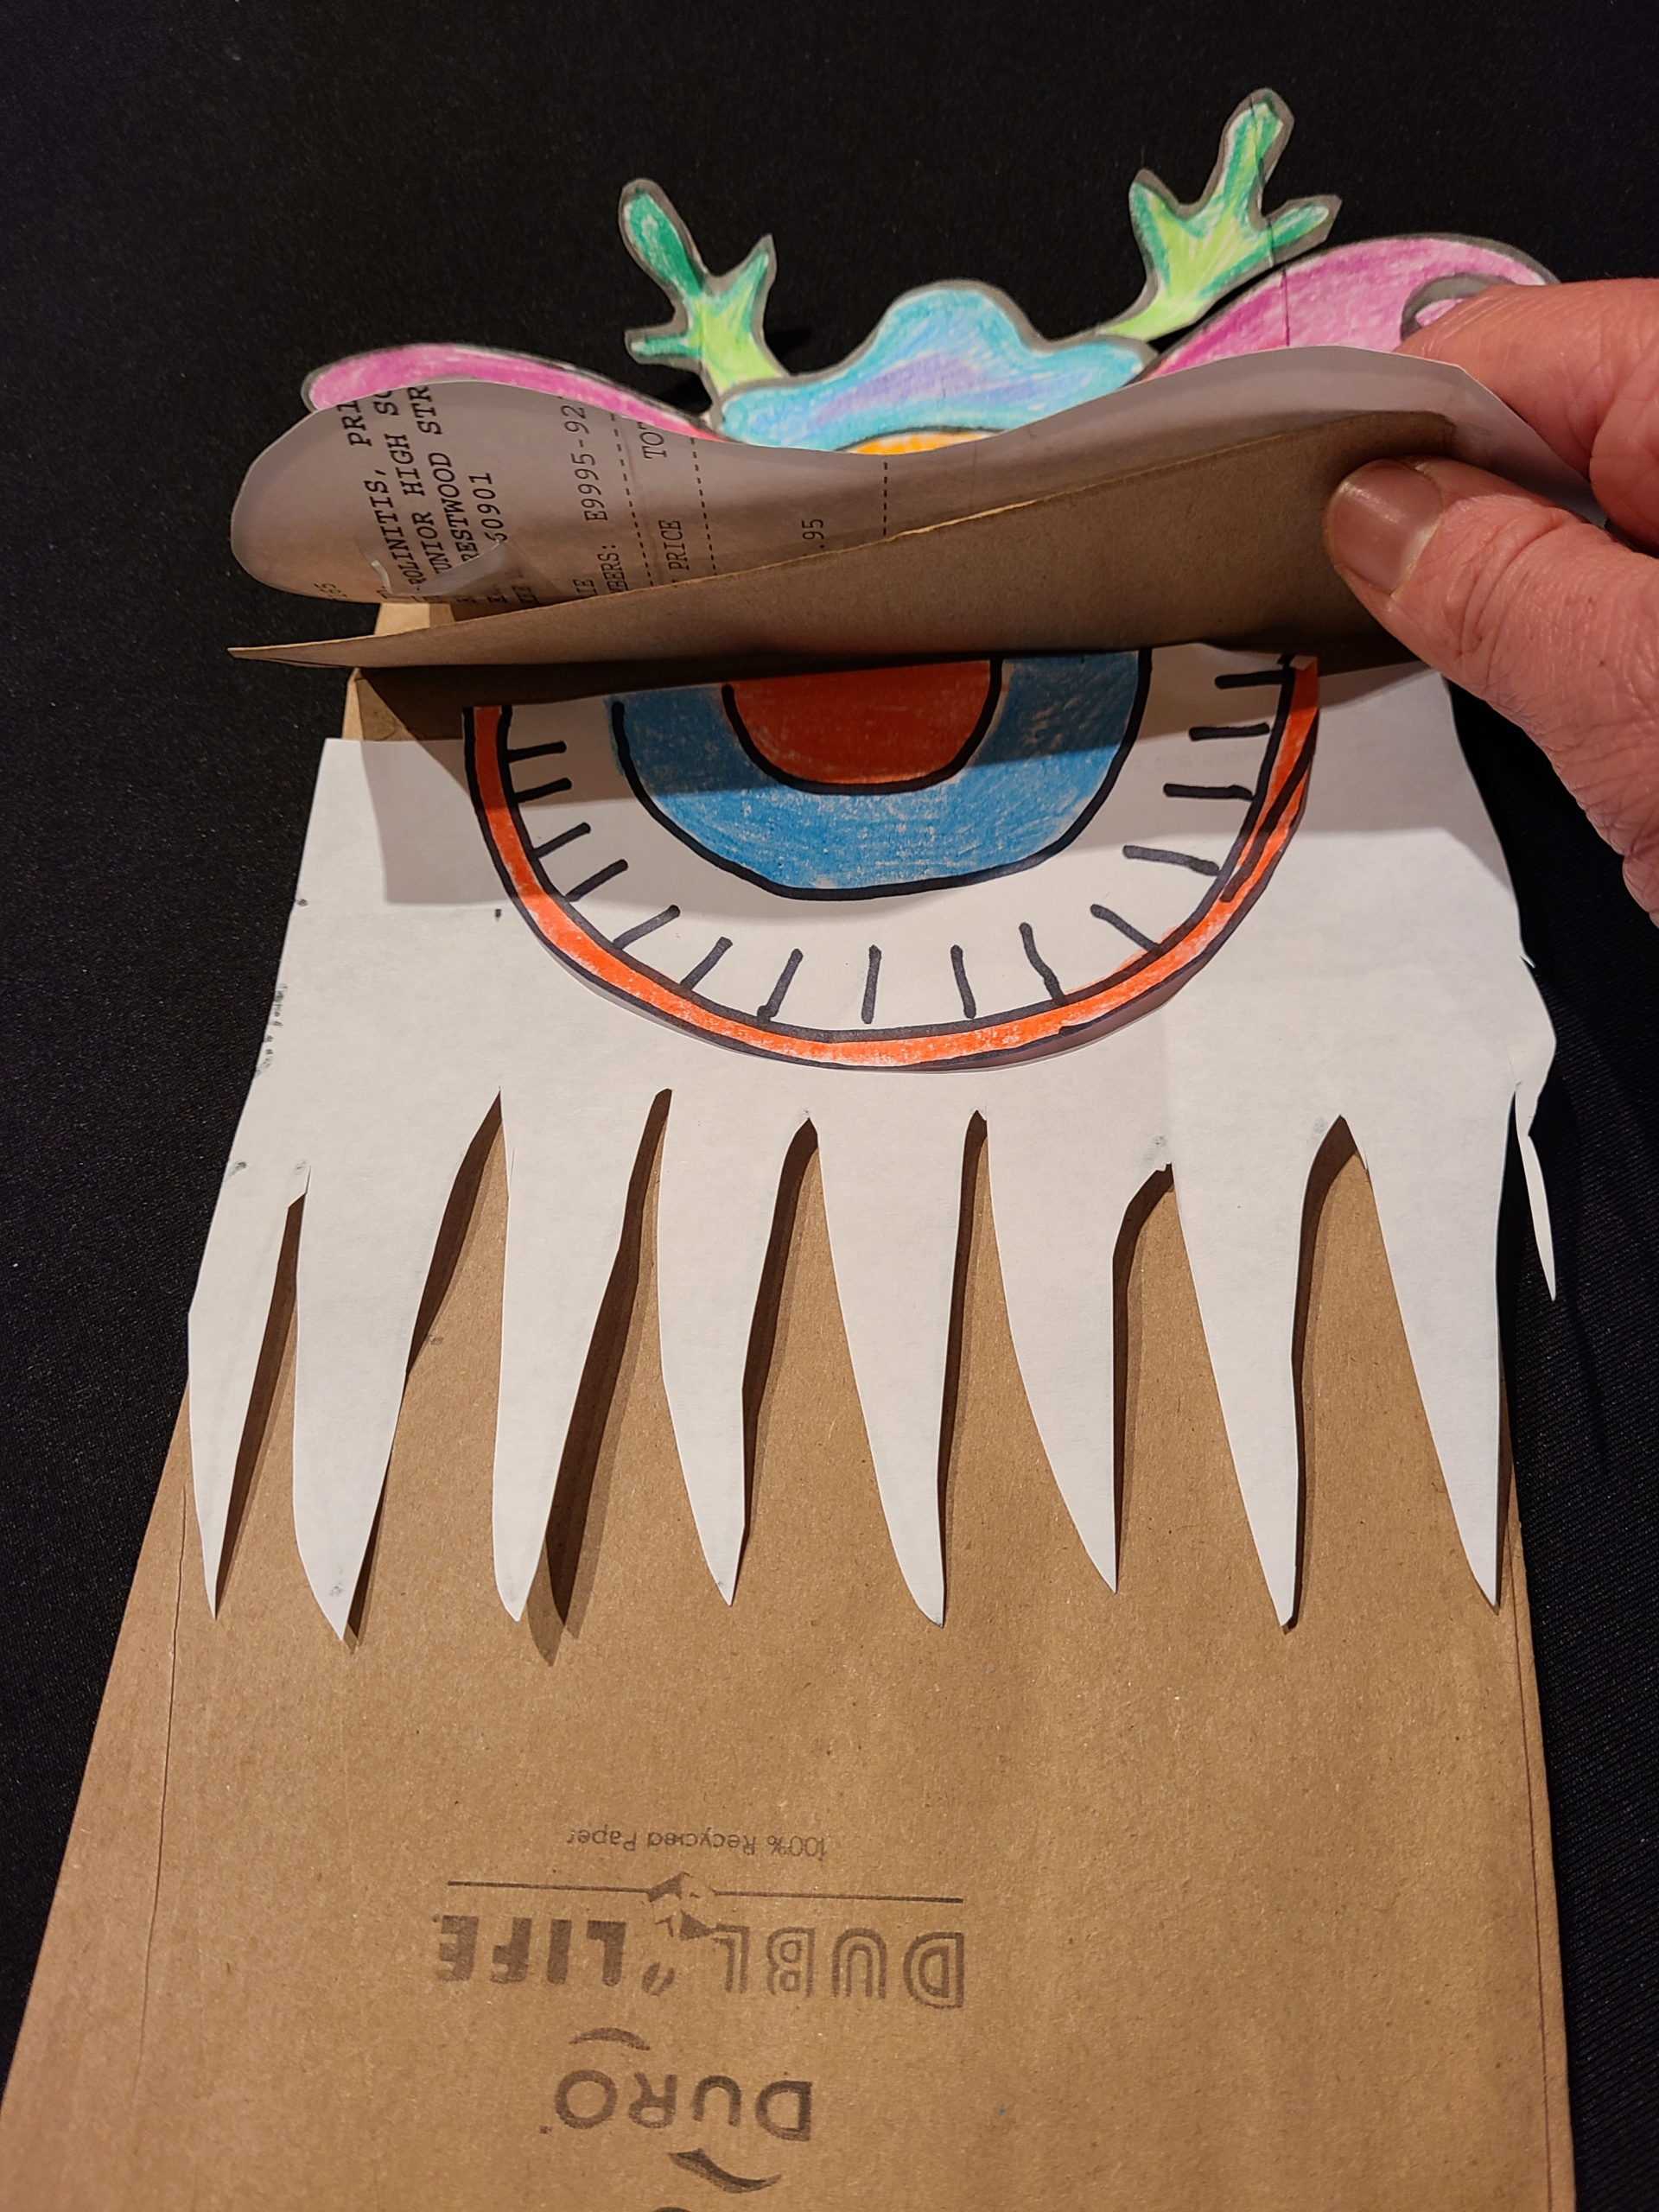
Step 4: Next you’ll add a beard and mouth to your lion puppet. Draw a white beard and cut it out. Make sure that it fits across the width of your bag. Then cut out a semi-circle to represent the lion’s mouth.
See below for a way to draw a traditional mouth: three thick arches and one thin one, with lines in the third arch. These represent the lion’s mouth, tongue, and teeth.
Step 5: Glue the mouth to the top center of the beard, then glue the beard onto the flat part of the paper bag just below the head flap. Make sure the upper edge of the beard is aligned with the bottom crease of the head flap by pressing it all the way up against the flap before gluing it down.
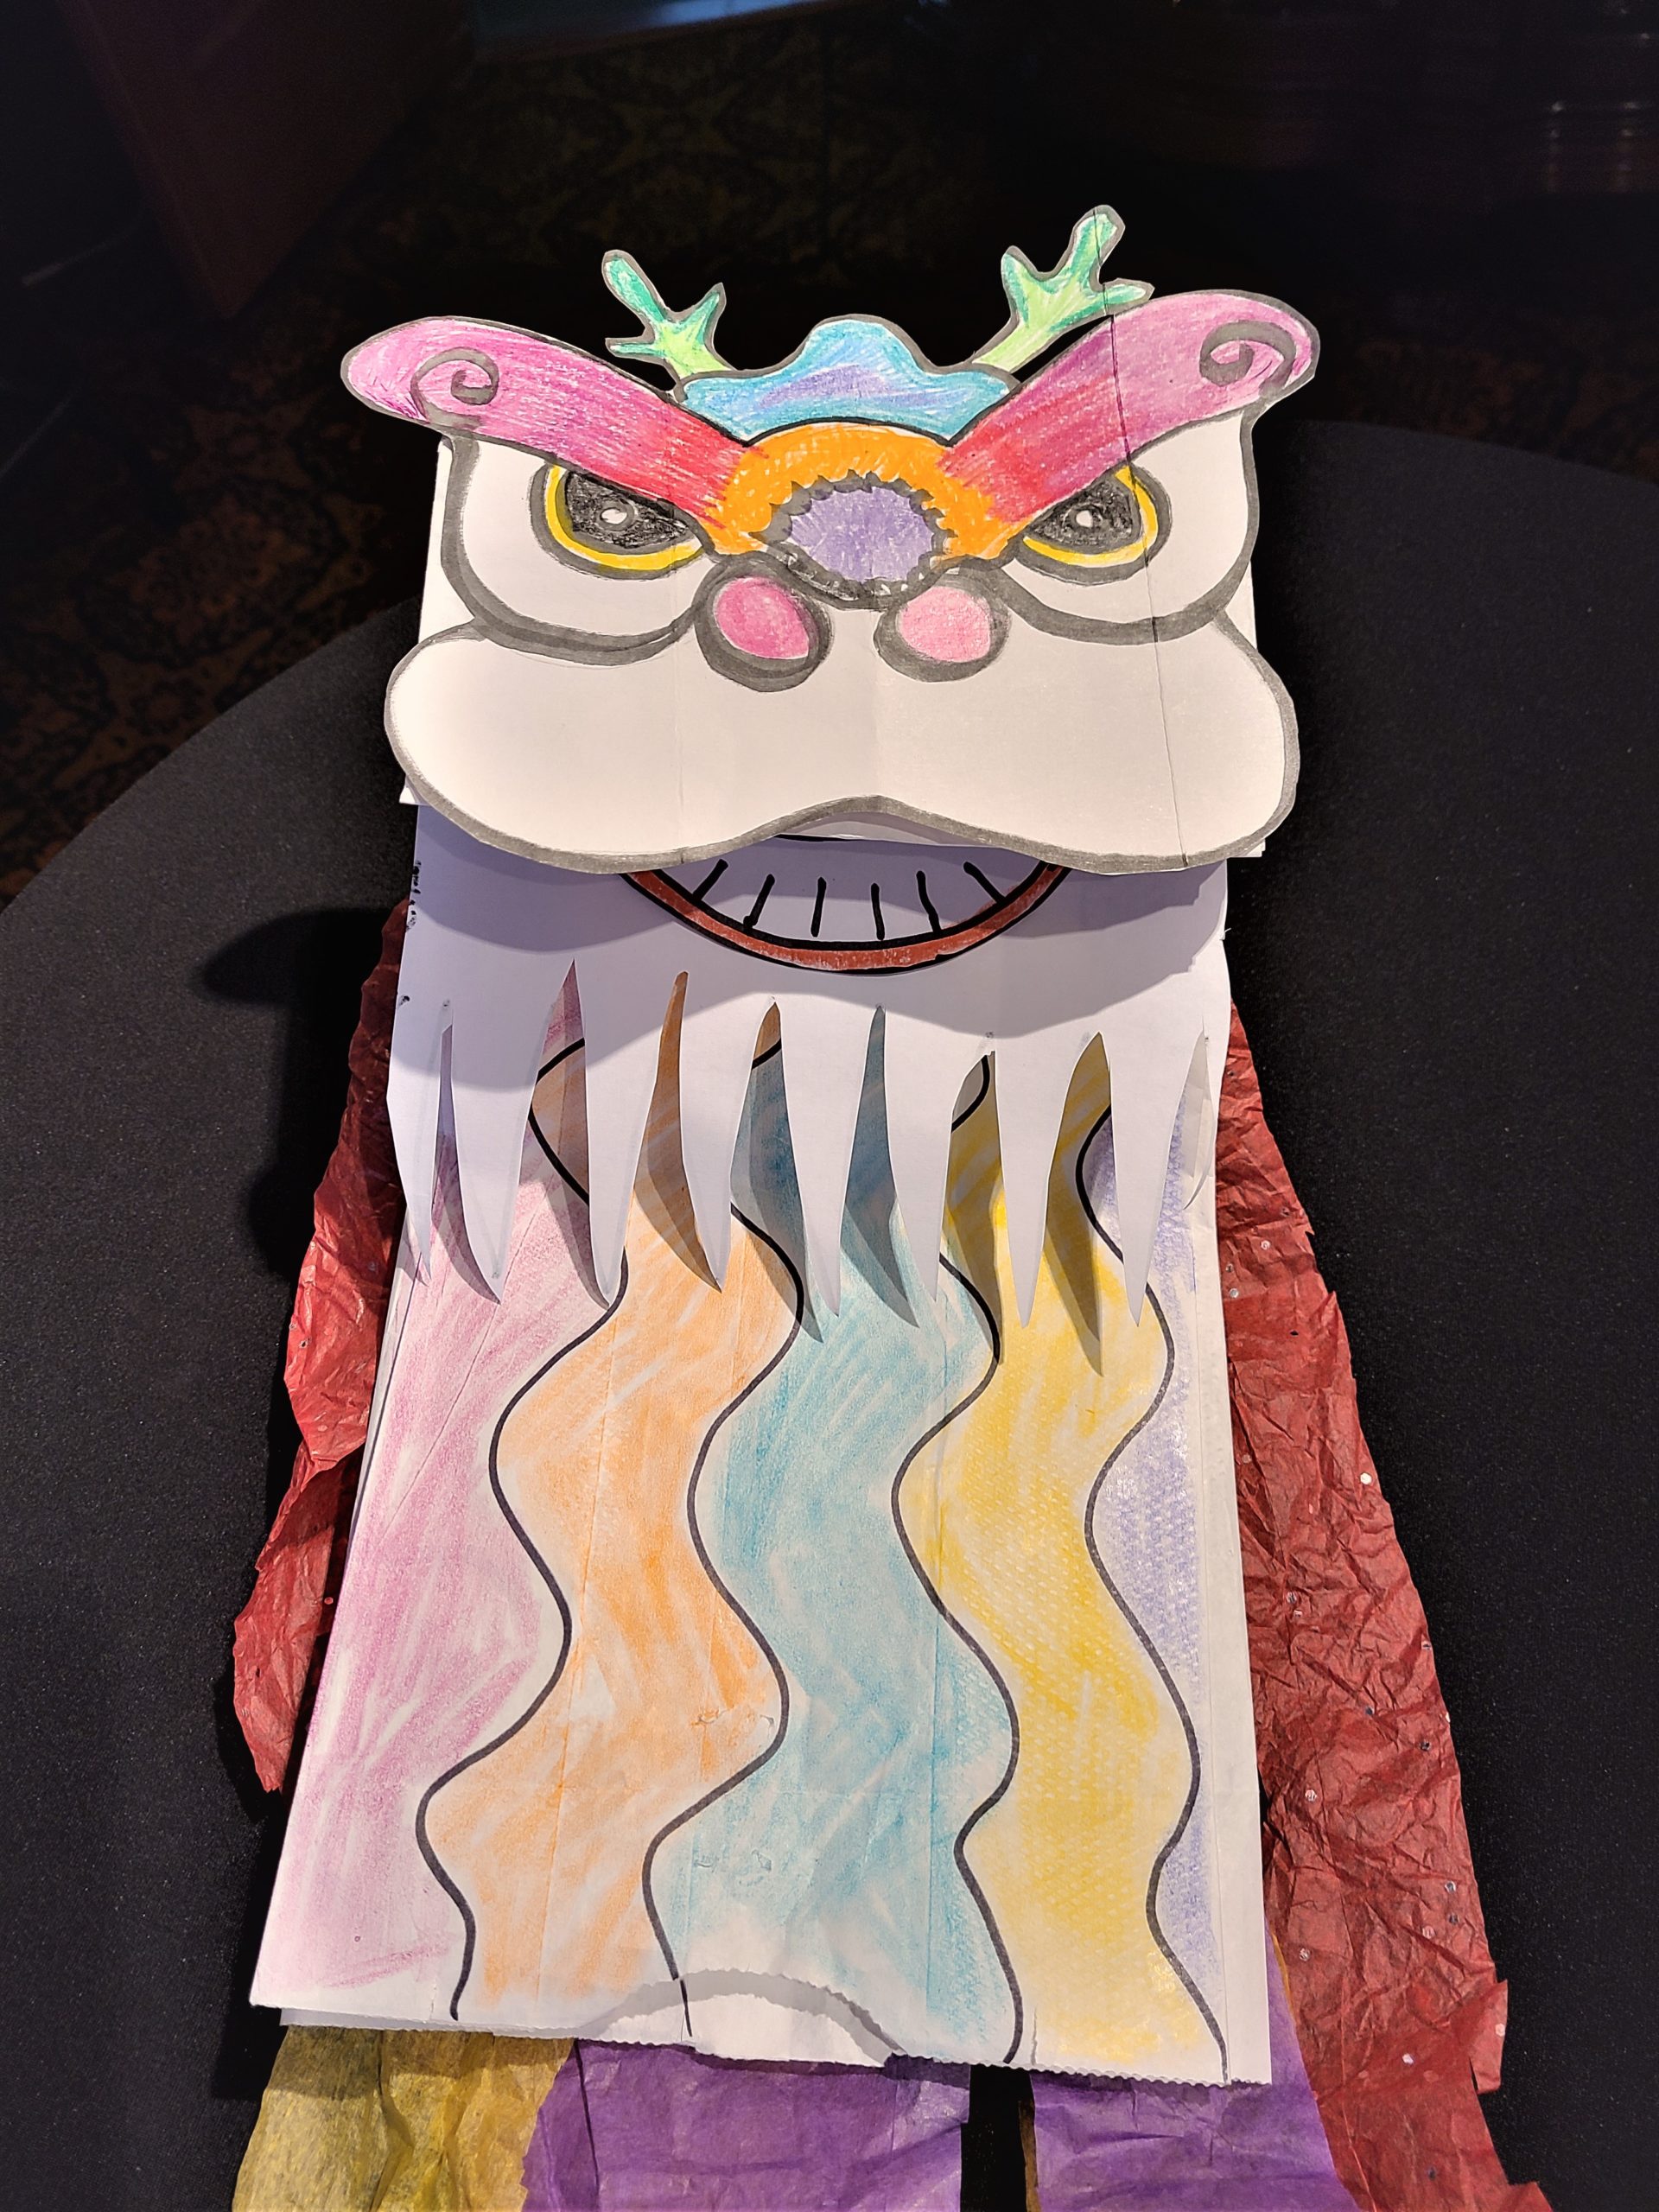
Your basic lion puppet is now complete! Feel free to stop here, or add some optional embellishments.
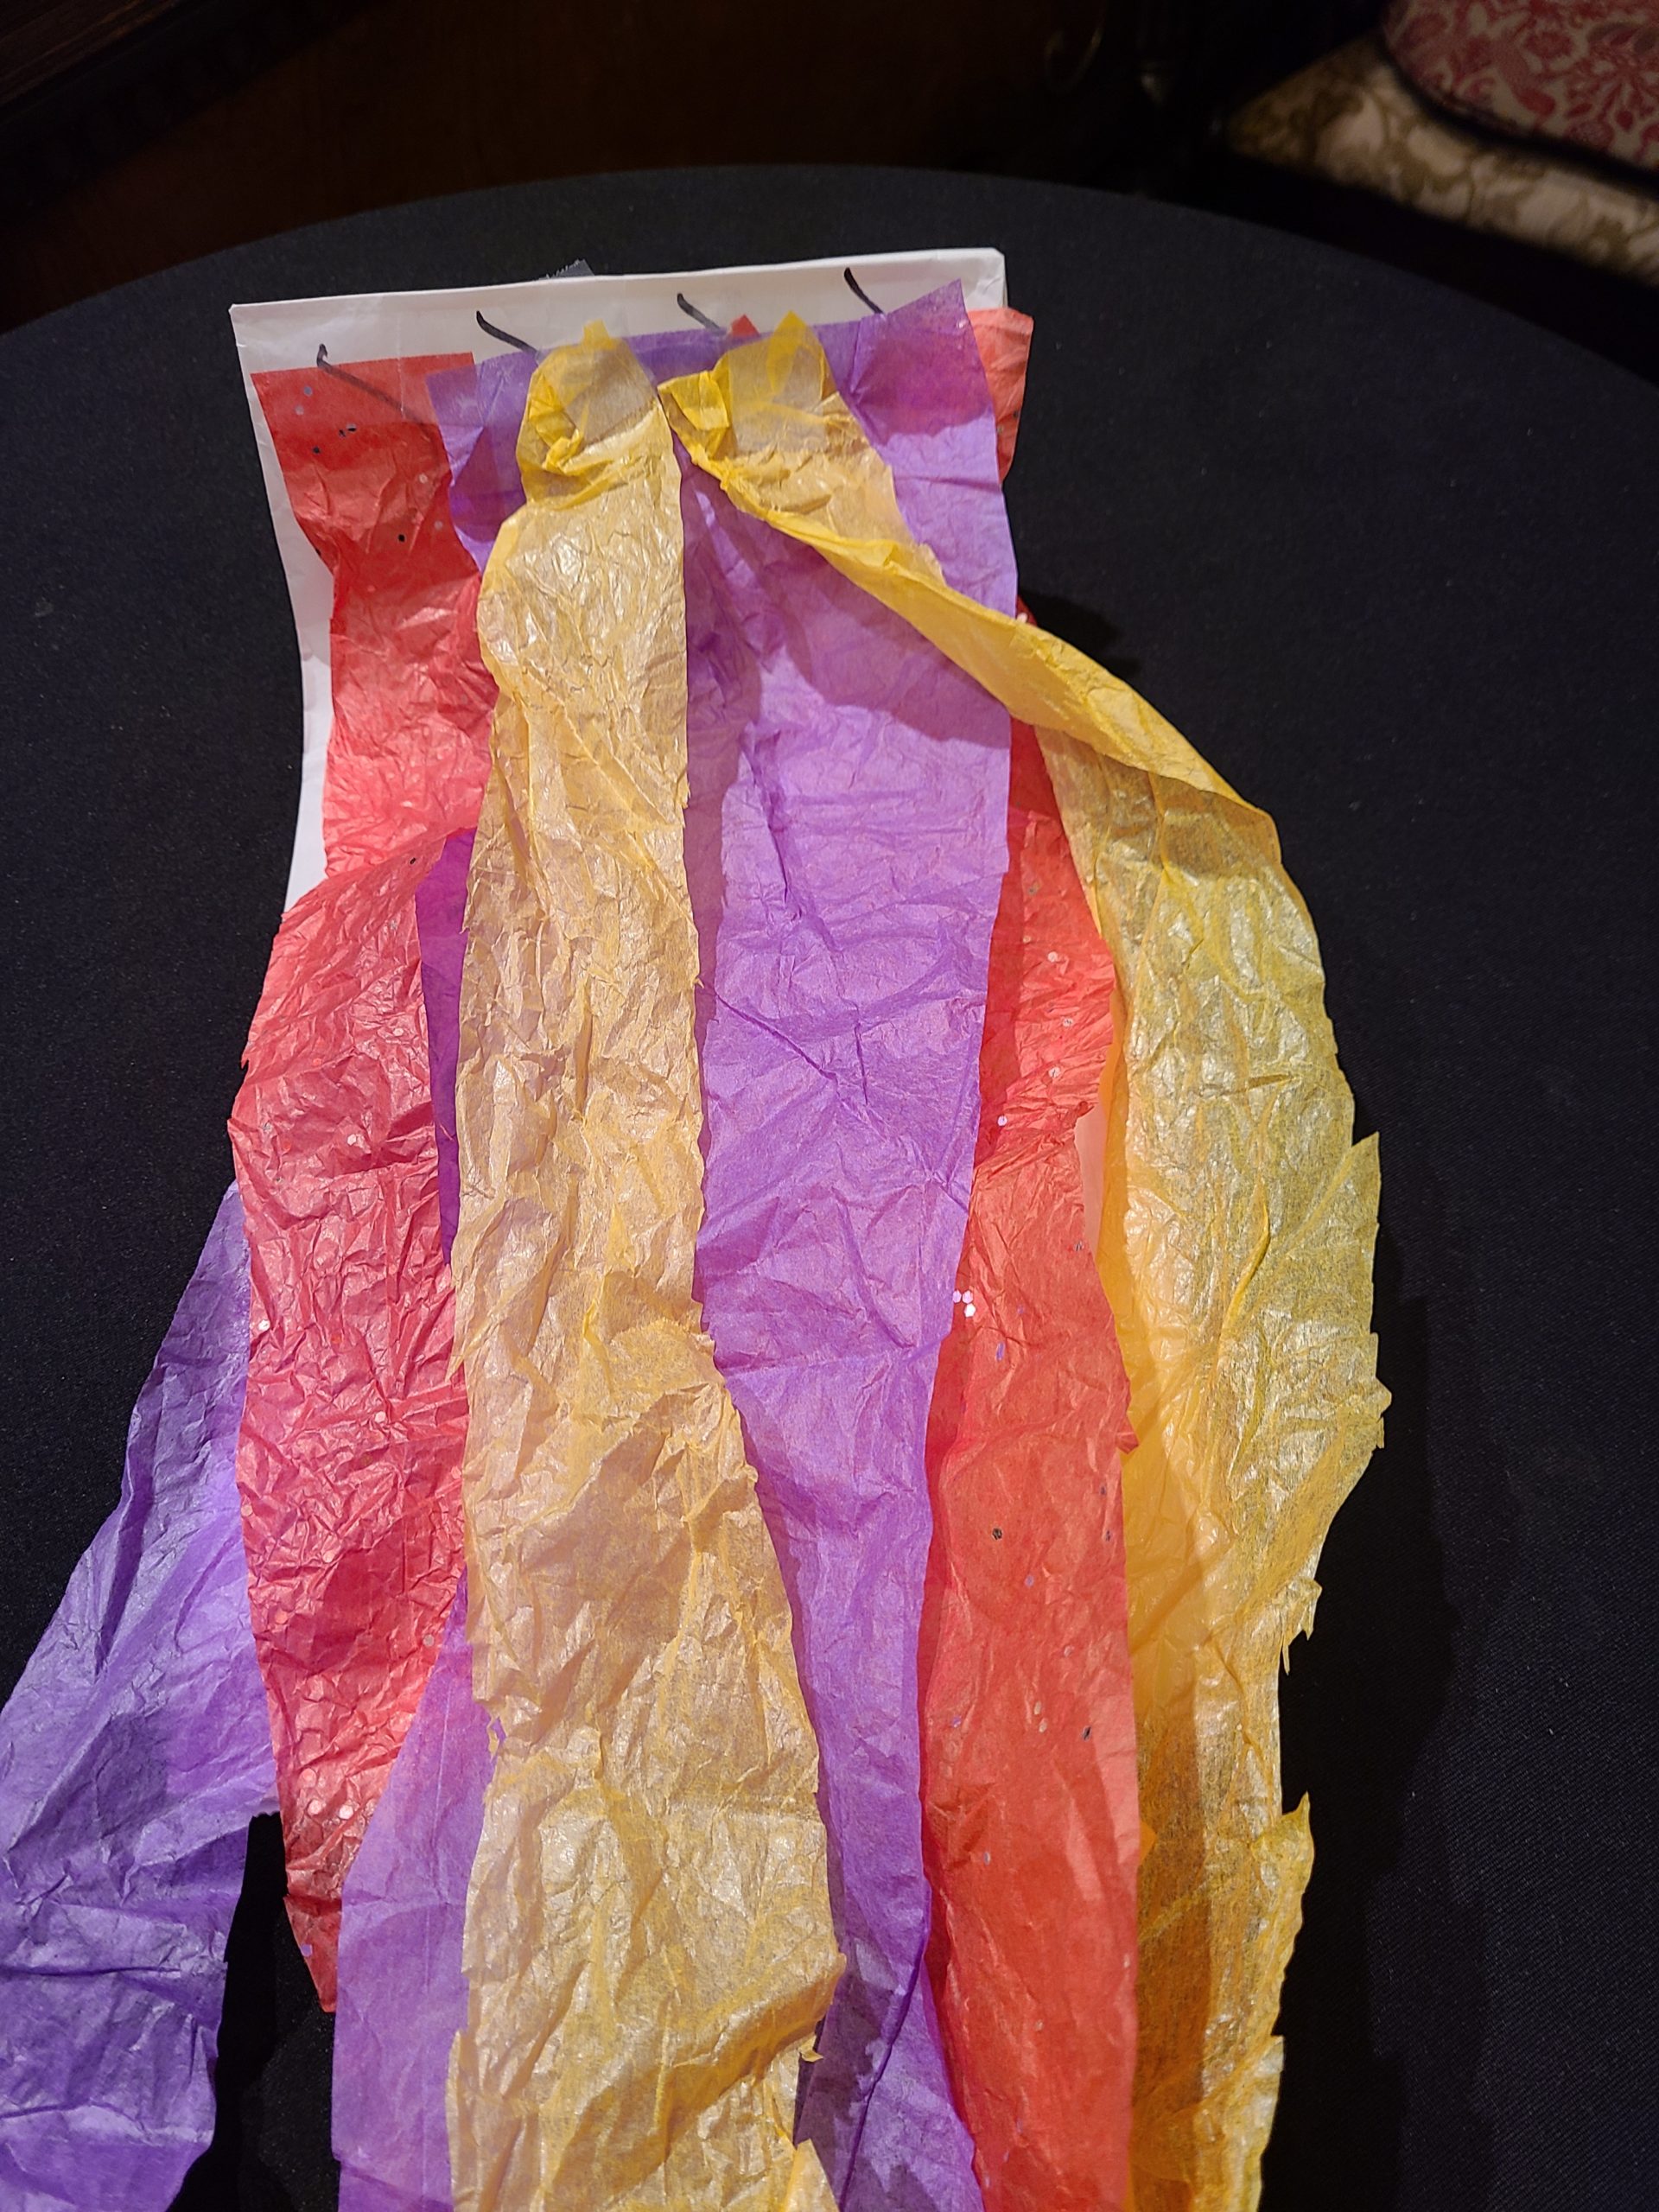
Step 6 (optional): Traditional Chinese lions are typically adorned with colorful wave patterns and long flowing tails. You can get as detailed as you like in decorating your puppet! For example: Draw waves or stripes on the lion’s body or embellish it with glitter, ribbons or feathers. Attach colorful streamers or strips of tissue paper to the back of the lion’s head, which will flow as it dances.
Once your puppet’s done, your child can use it as a storyteller. Read a book about the Lunar New Year together. Most public libraries will have a selection of options. (Two books I’ve enjoyed with my children are How to Catch a Dragon by Adam Wallace and Andy Elkerton or Lunar New Year by Hannah Eliot.)
Then invite your child to retell the story with the lion puppet acting out the key parts. You can even model reading part of the story using a funny “lion” voice.
Adaptation: For children who are starting to read, you can also engage the child with the puppet as a partner by having them use their lion to read the first word or first sentence of each page.
Have fun!
Happy Year of the Ox!
In China, each new year is characterized by one of the 12 animals of the Chinese zodiac. For 2021, it’s the ox. In this Lunar New Year story time activity, we’ll delve into this zodiac by reading Ruby’s Chinese New Year by Vickie Lee. This wonderful book is a modern interpretation of the traditional Chinese zodiac story, filled with the love of a young girl for her grandmother. (It also shares the classic tale at the end of the book.)
Next, we’ll expand the story time with a playful early literacy activity designed to build letter-sound knowledge. Your child will learn to isolate the first sound of each animal’s name and match it to the correct letter.
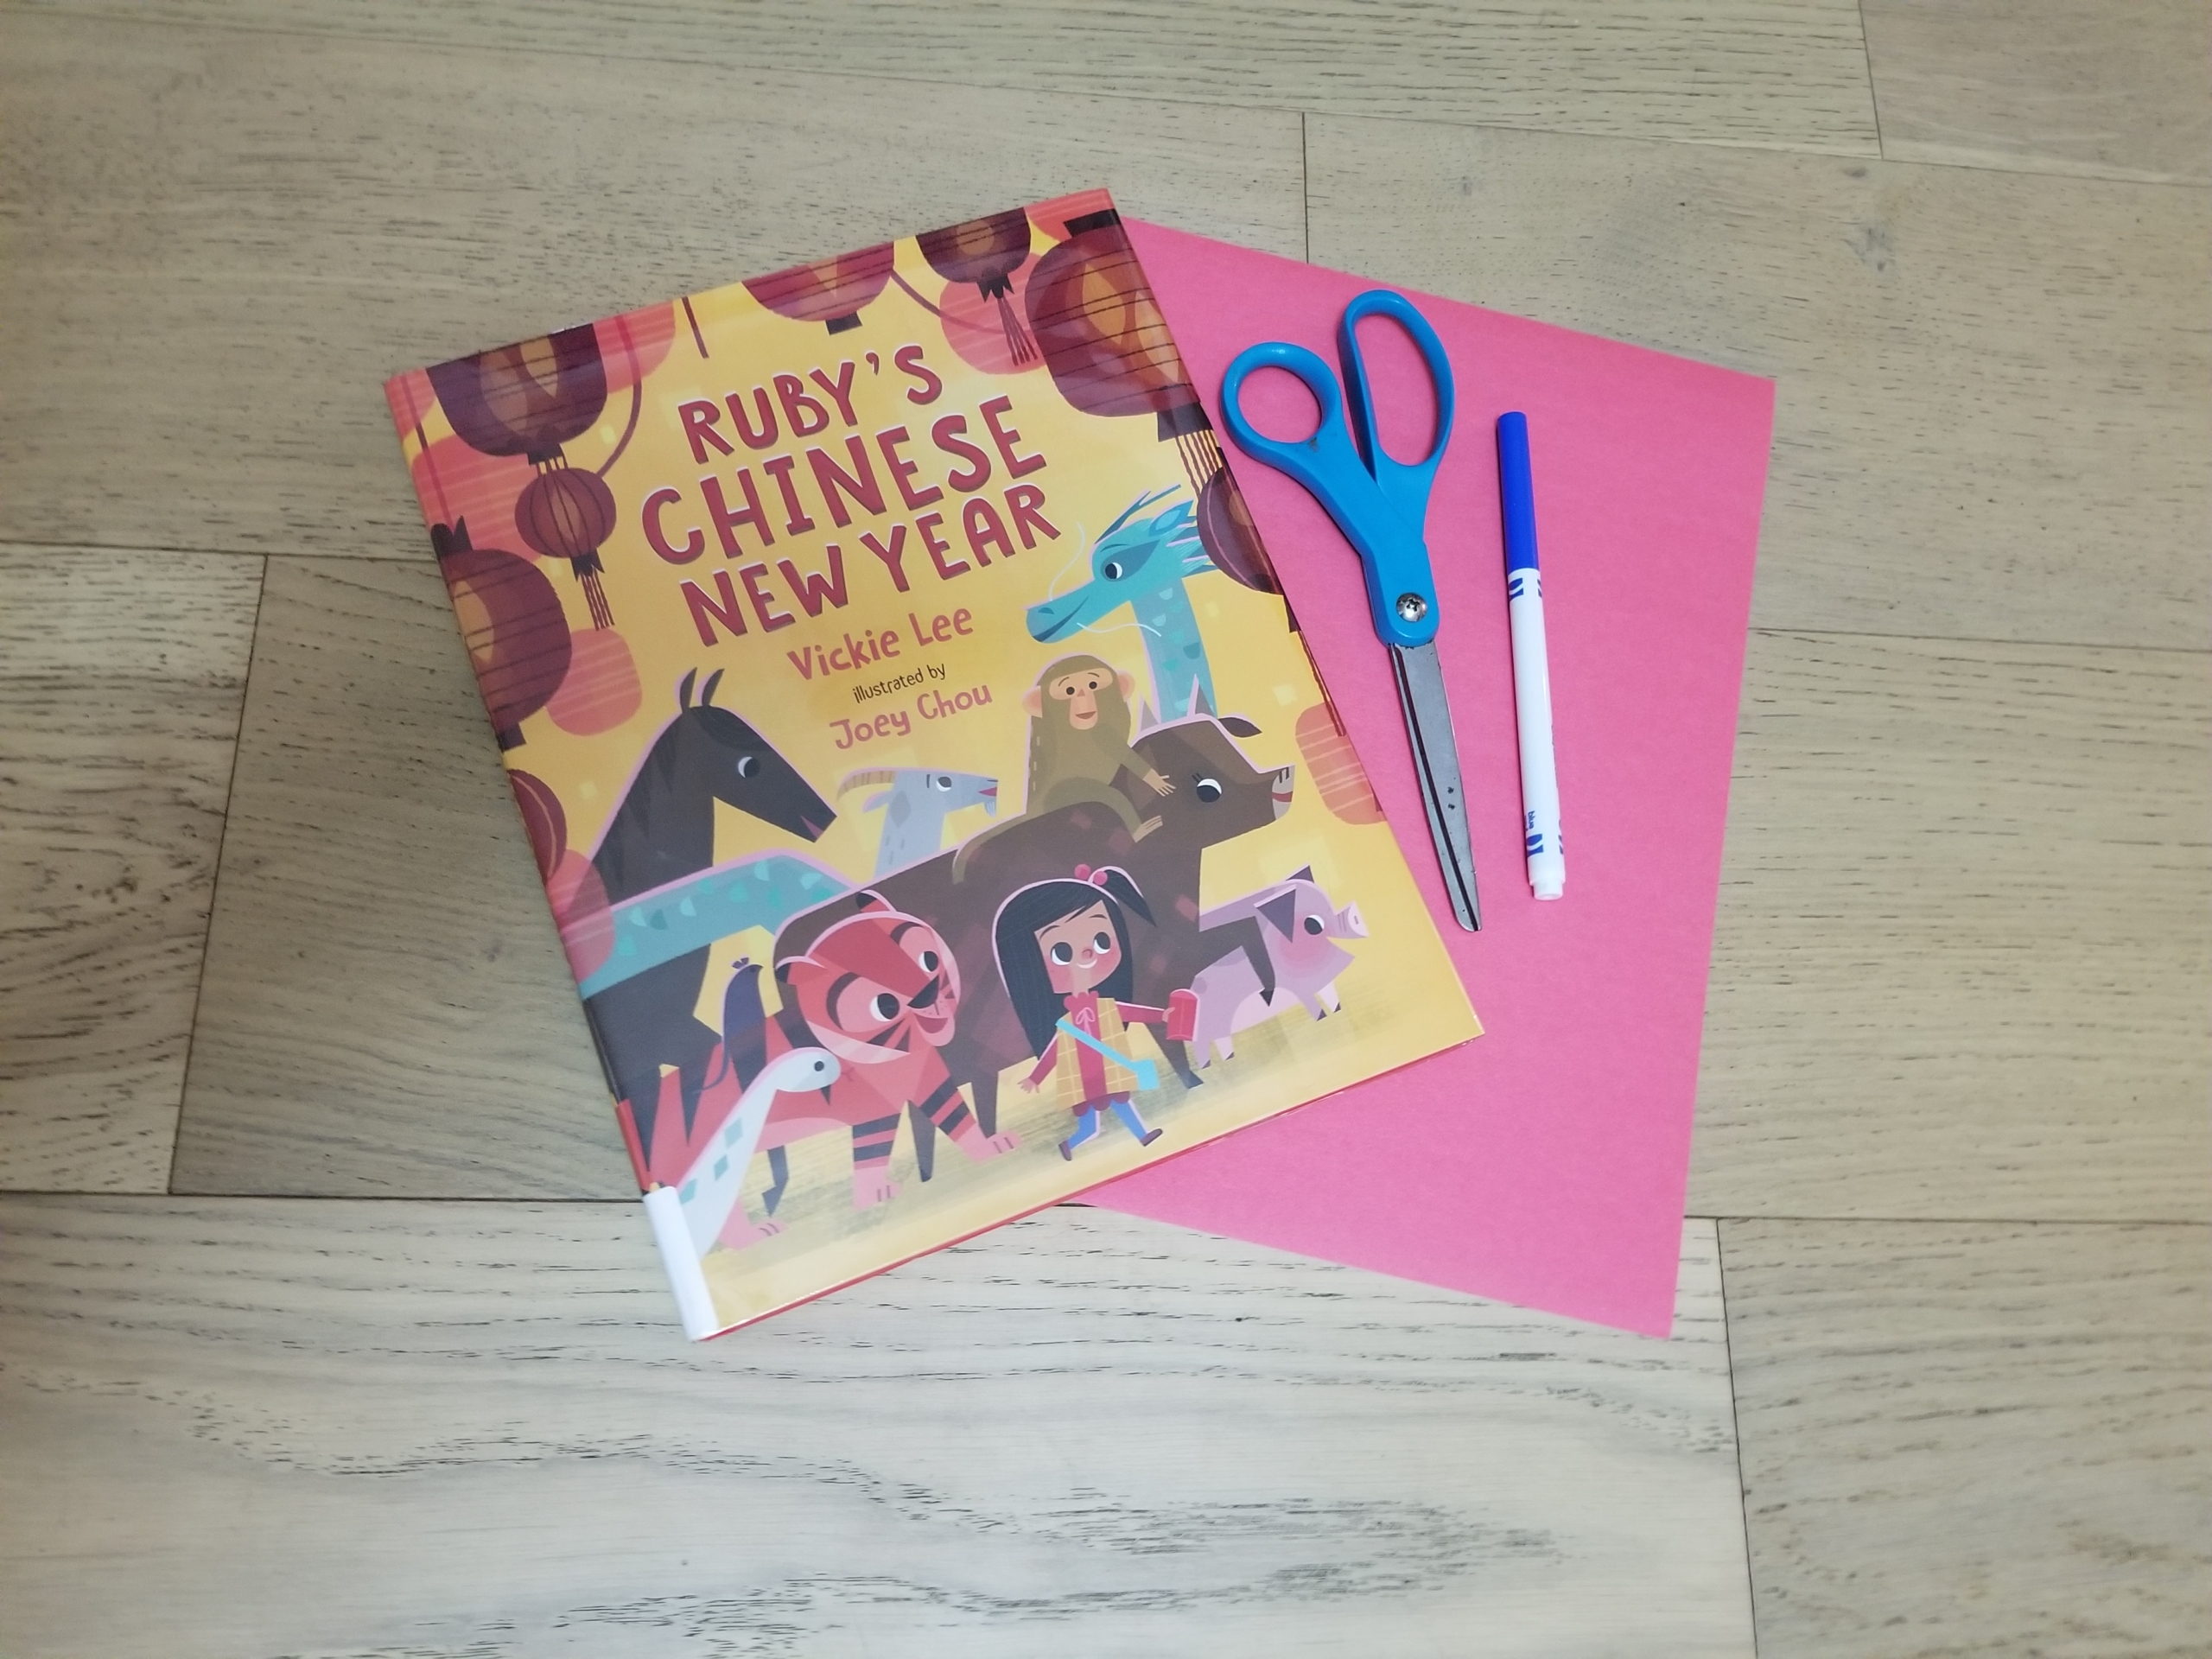
Materials:
- Ruby’s Chinese New Year by Vickie Lee (Alternate: The Great Race by Christopher Corr)
- Toy animals (or print or draw your own)
- Paper
- Markers, pencils, or pens
- Scissors
Cost: Free, if you get creative on your animal representations! (See Step 2.) If you prefer, you can buy a set of Chinese zodiac toy animals in the $10 range, such as this toy Toob.
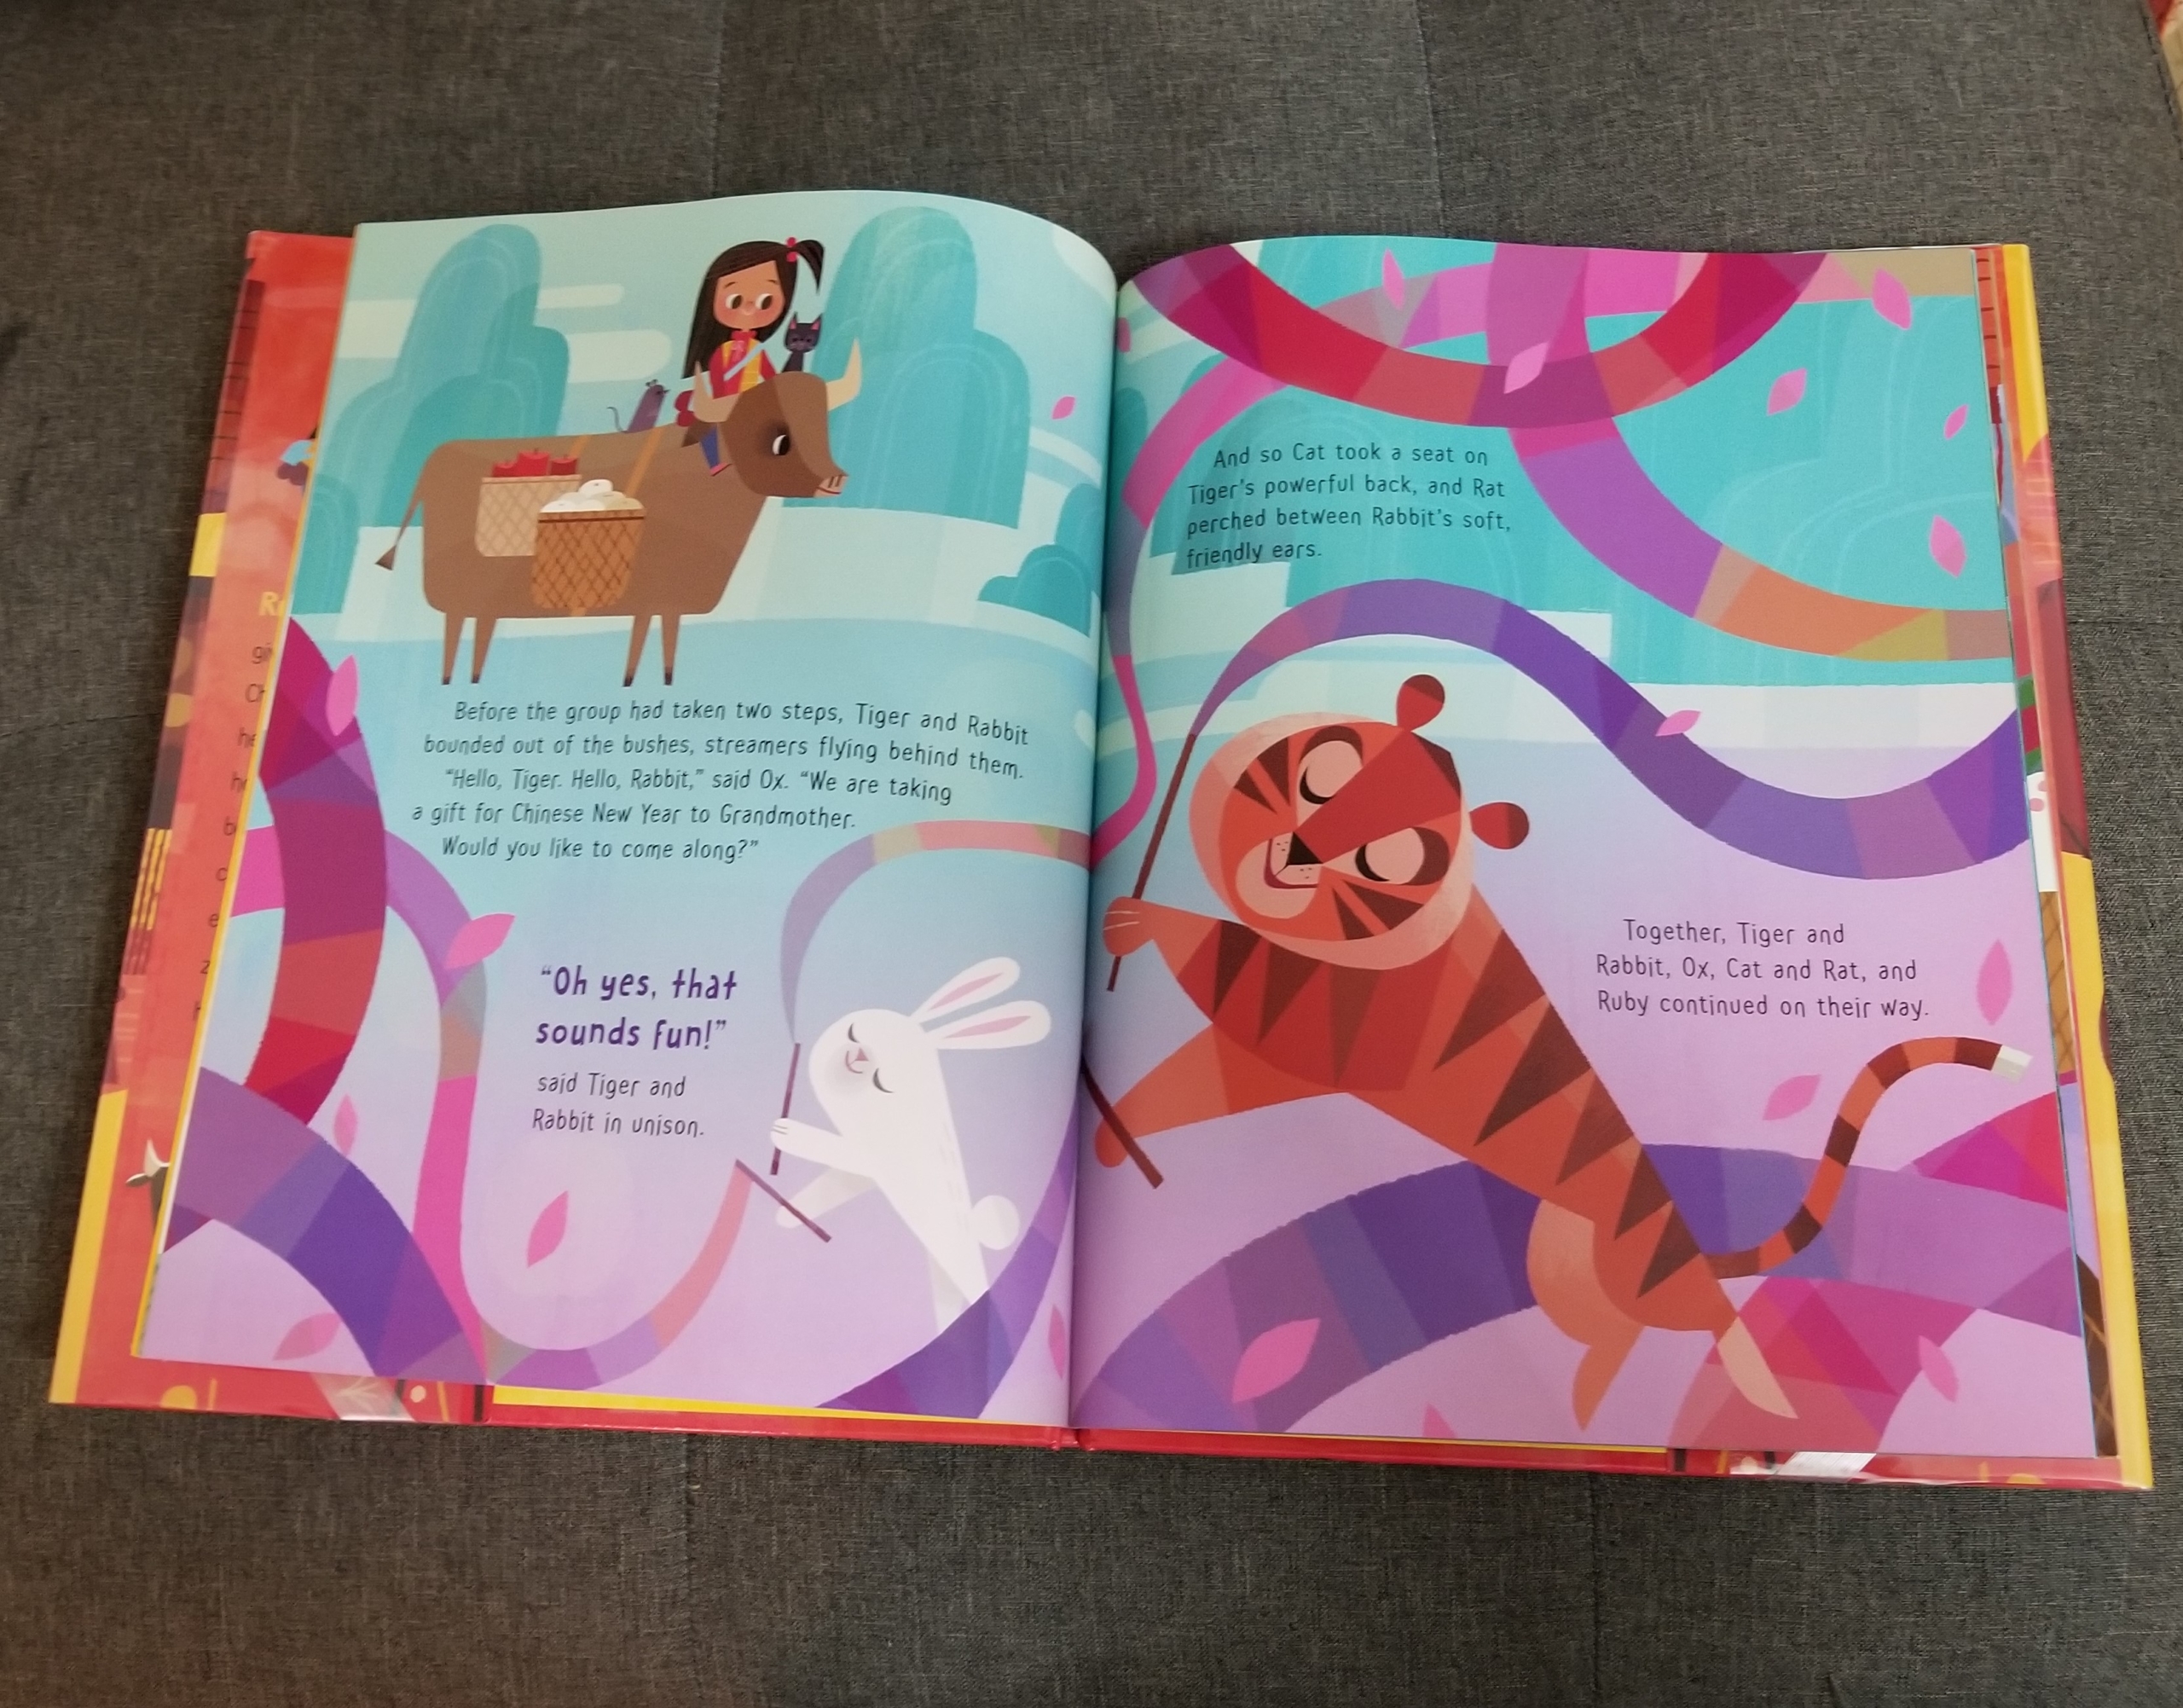
Step 1: Read Ruby’s Chinese New Year together. You can most likely find it at your local library or on Hoopla. You can also find videos of it read aloud on YouTube. Then you and your child can look in the back pages to discover which animal is your child’s zodiac sign! It’s always fun to explore each member of your family and the animal associated with the year of their birth.
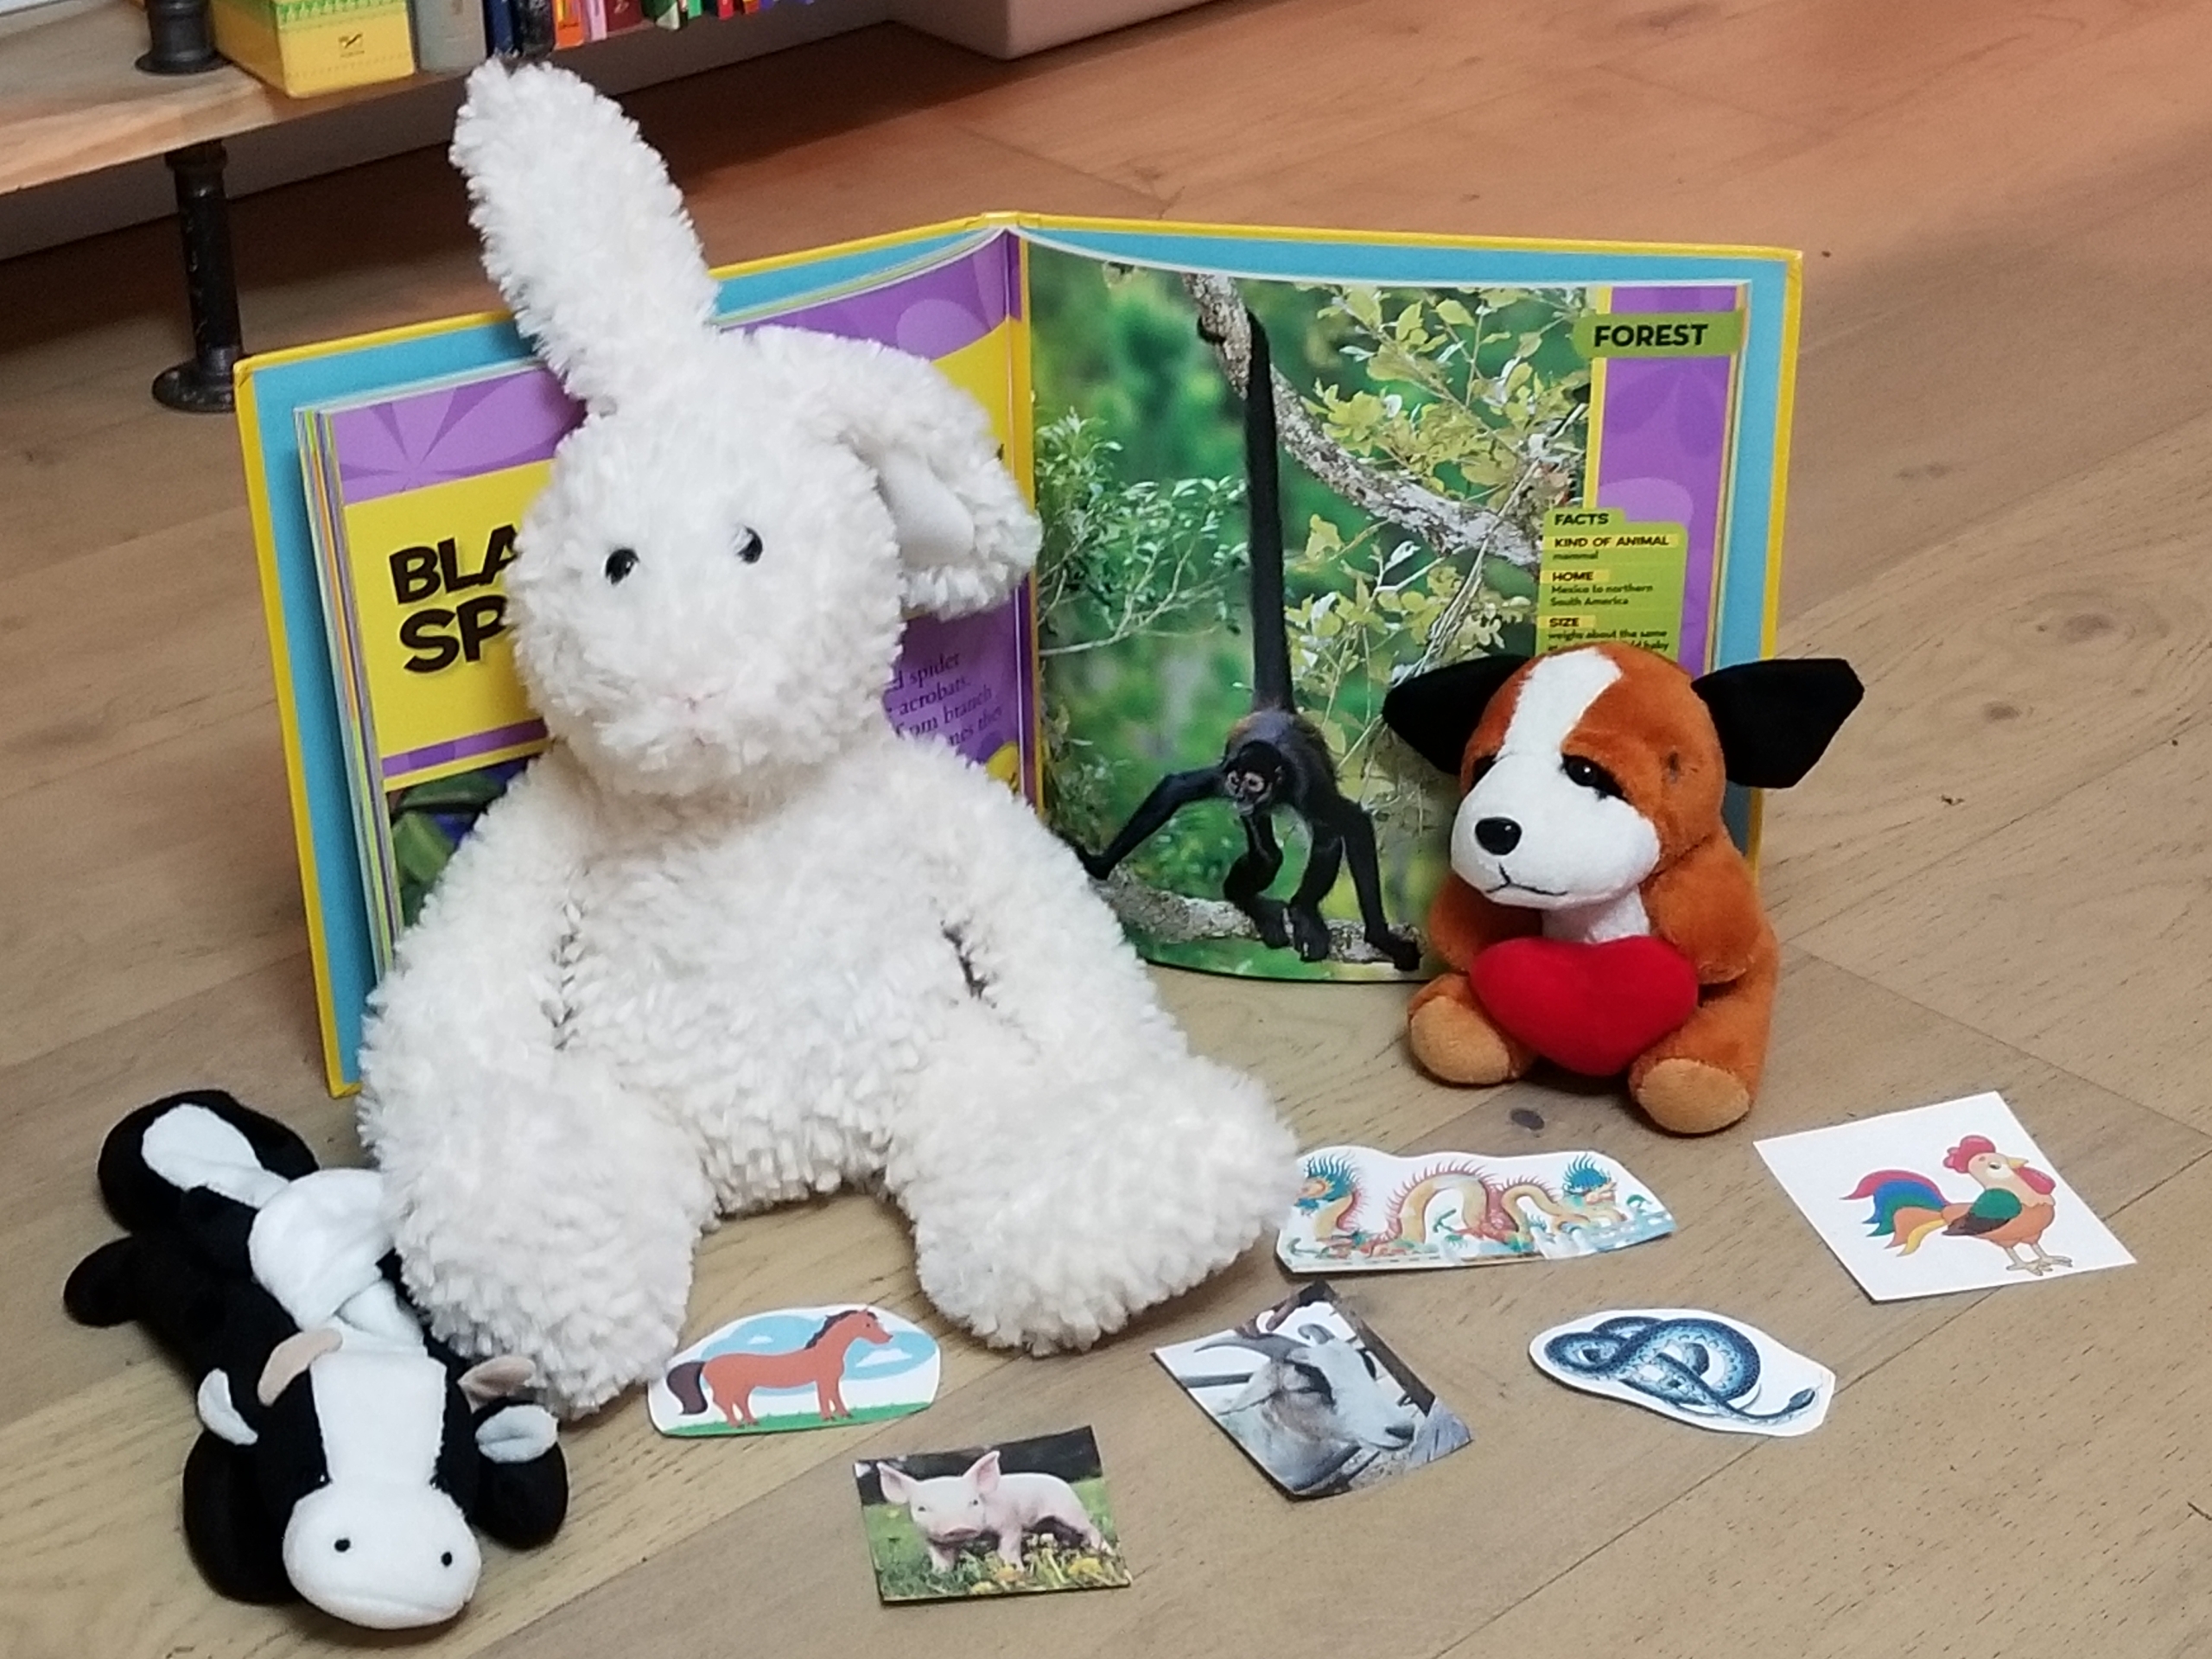
Step 2: With your child, gather together toys for each of the 12 animals in the Chinese zodiac: rat, ox, tiger, rabbit, dragon, snake, horse, goat, monkey, rooster, dog, and pig. If you don’t have a toy for some of the animals, you can print out pictures online, or draw your own, and then cut them out.
Step 3: Help your child write the first letter of each animal name (or write them yourself) on a piece of paper, and then cut out each letter. Review with your child the sounds that each letter makes.
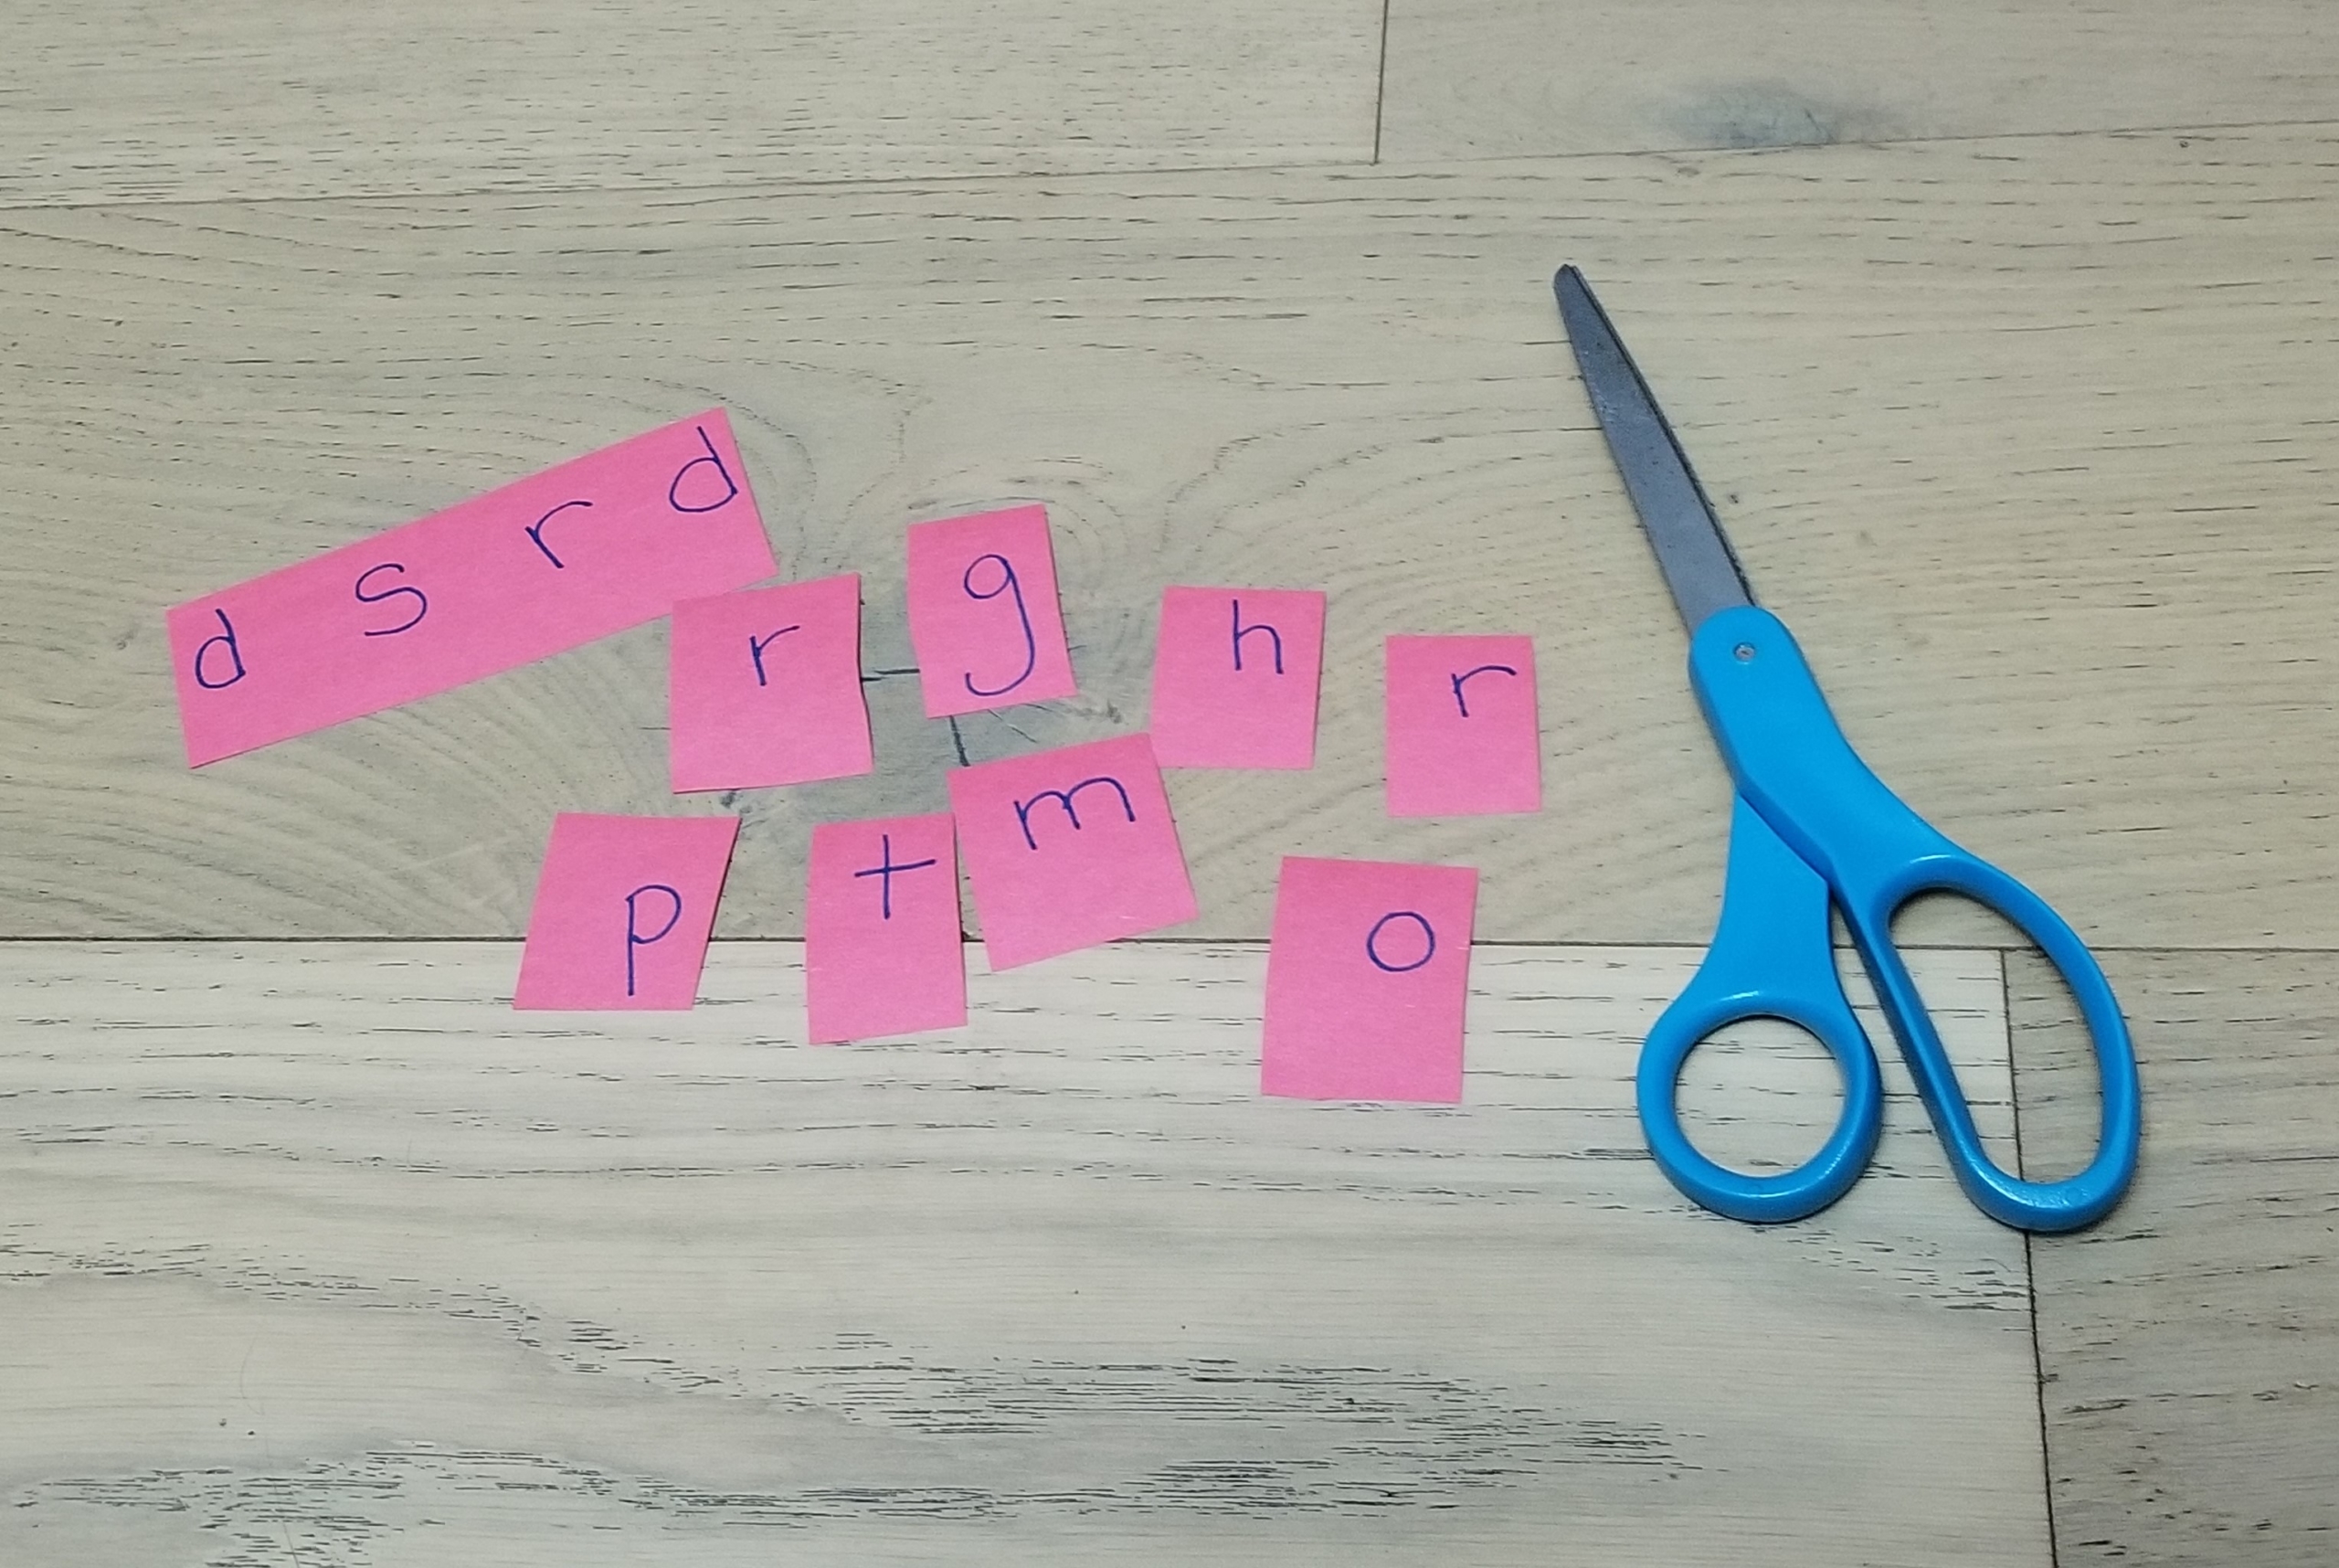
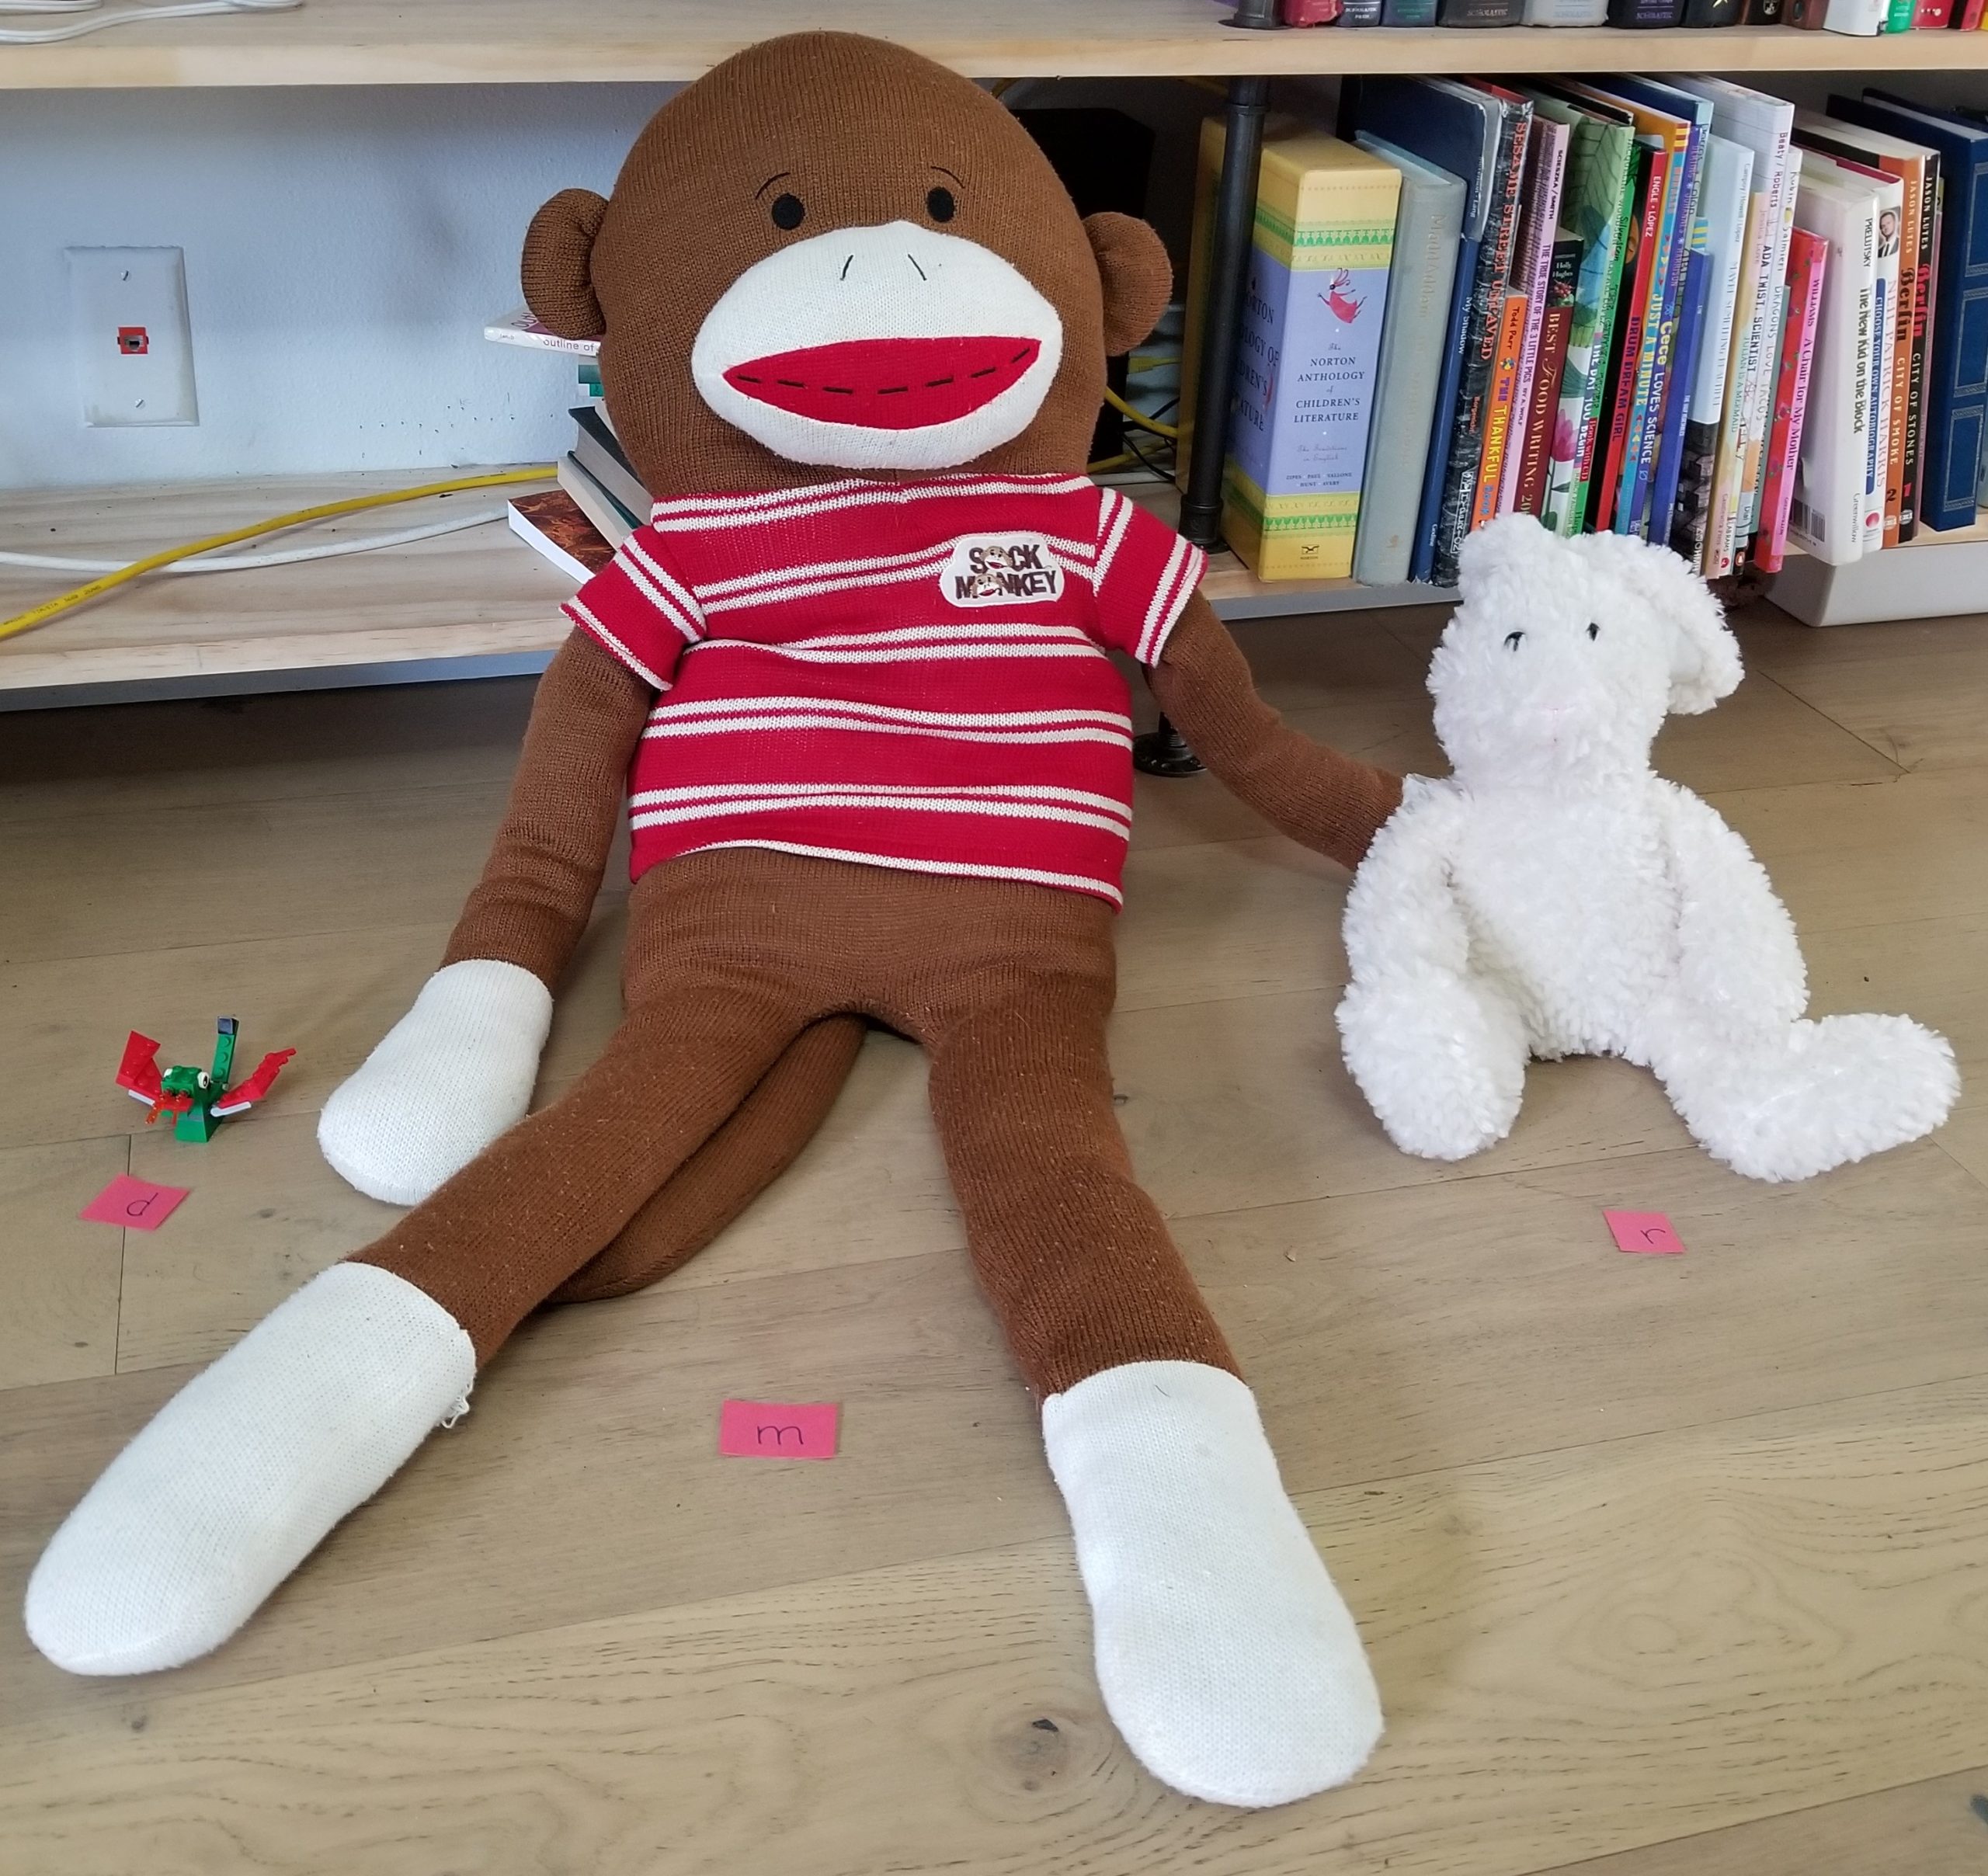
Step 4: Point to an animal and ask your child to say its name aloud. Have them match the correct letter to the animal. Tip: I go in the order of the Chinese zodiac to reinforce the story of the animals.
Bonus: Once your child has mastered beginning sounds, you can take this further by inviting your child to match the ending sounds. (Just remember that you—or they—will need to write a new set of letters!)
It’s wonderful to share the world of a book by reading to your child, but it’s even better when children are able to take hold of that book and share what they’ve learned with you. Practice with your animals, and don’t be surprised if next time they point out the letters all on their own!
I love a holiday! Any holiday is a reason to change up our reading games and reinvigorate them with a new theme. (It also gives me a reason to use my copious amounts of glitter.) What better way to celebrate Valentine’s Day and literacy than to weave together love, candy, and letters!
This literacy activity lets children draw their own version of those ubiquitous candy conversation hearts and then try to create words with them. Children attempt to make as many words as they can with these hearts, practicing their reading skills. It’s a sweet, simple, and thematic way to teach the key skills of encoding and decoding.
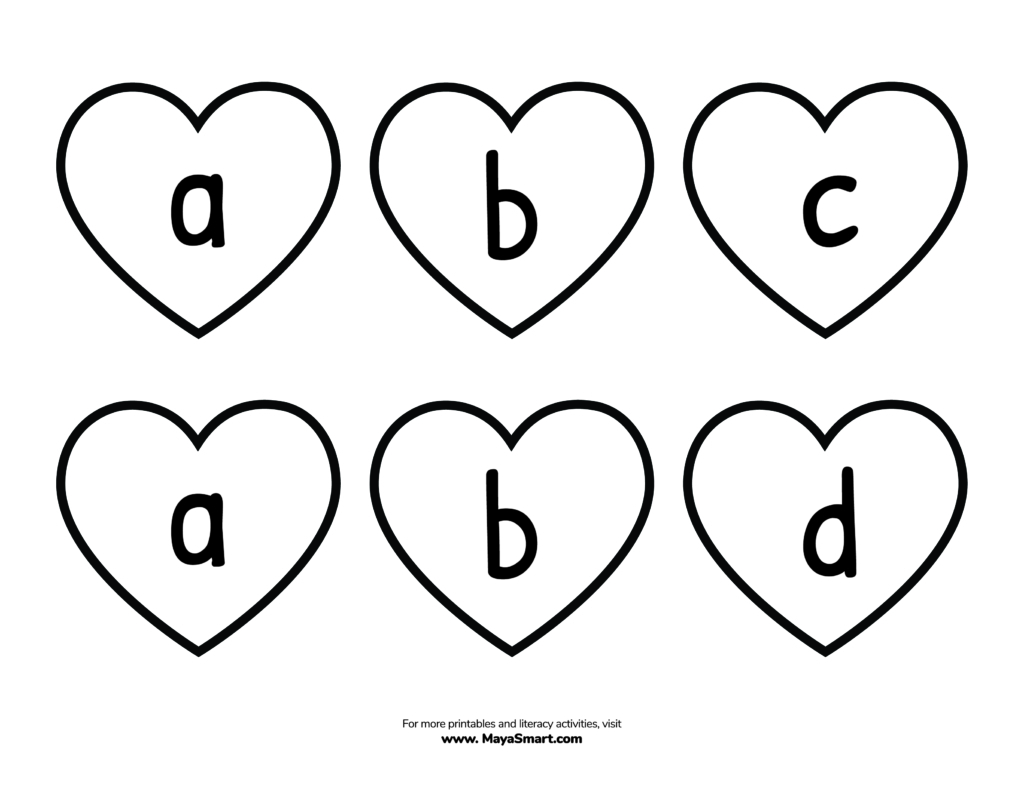
Not feeling crafty? Print our free conversation hearts Valentine’s reading game template instead of drawing your own!
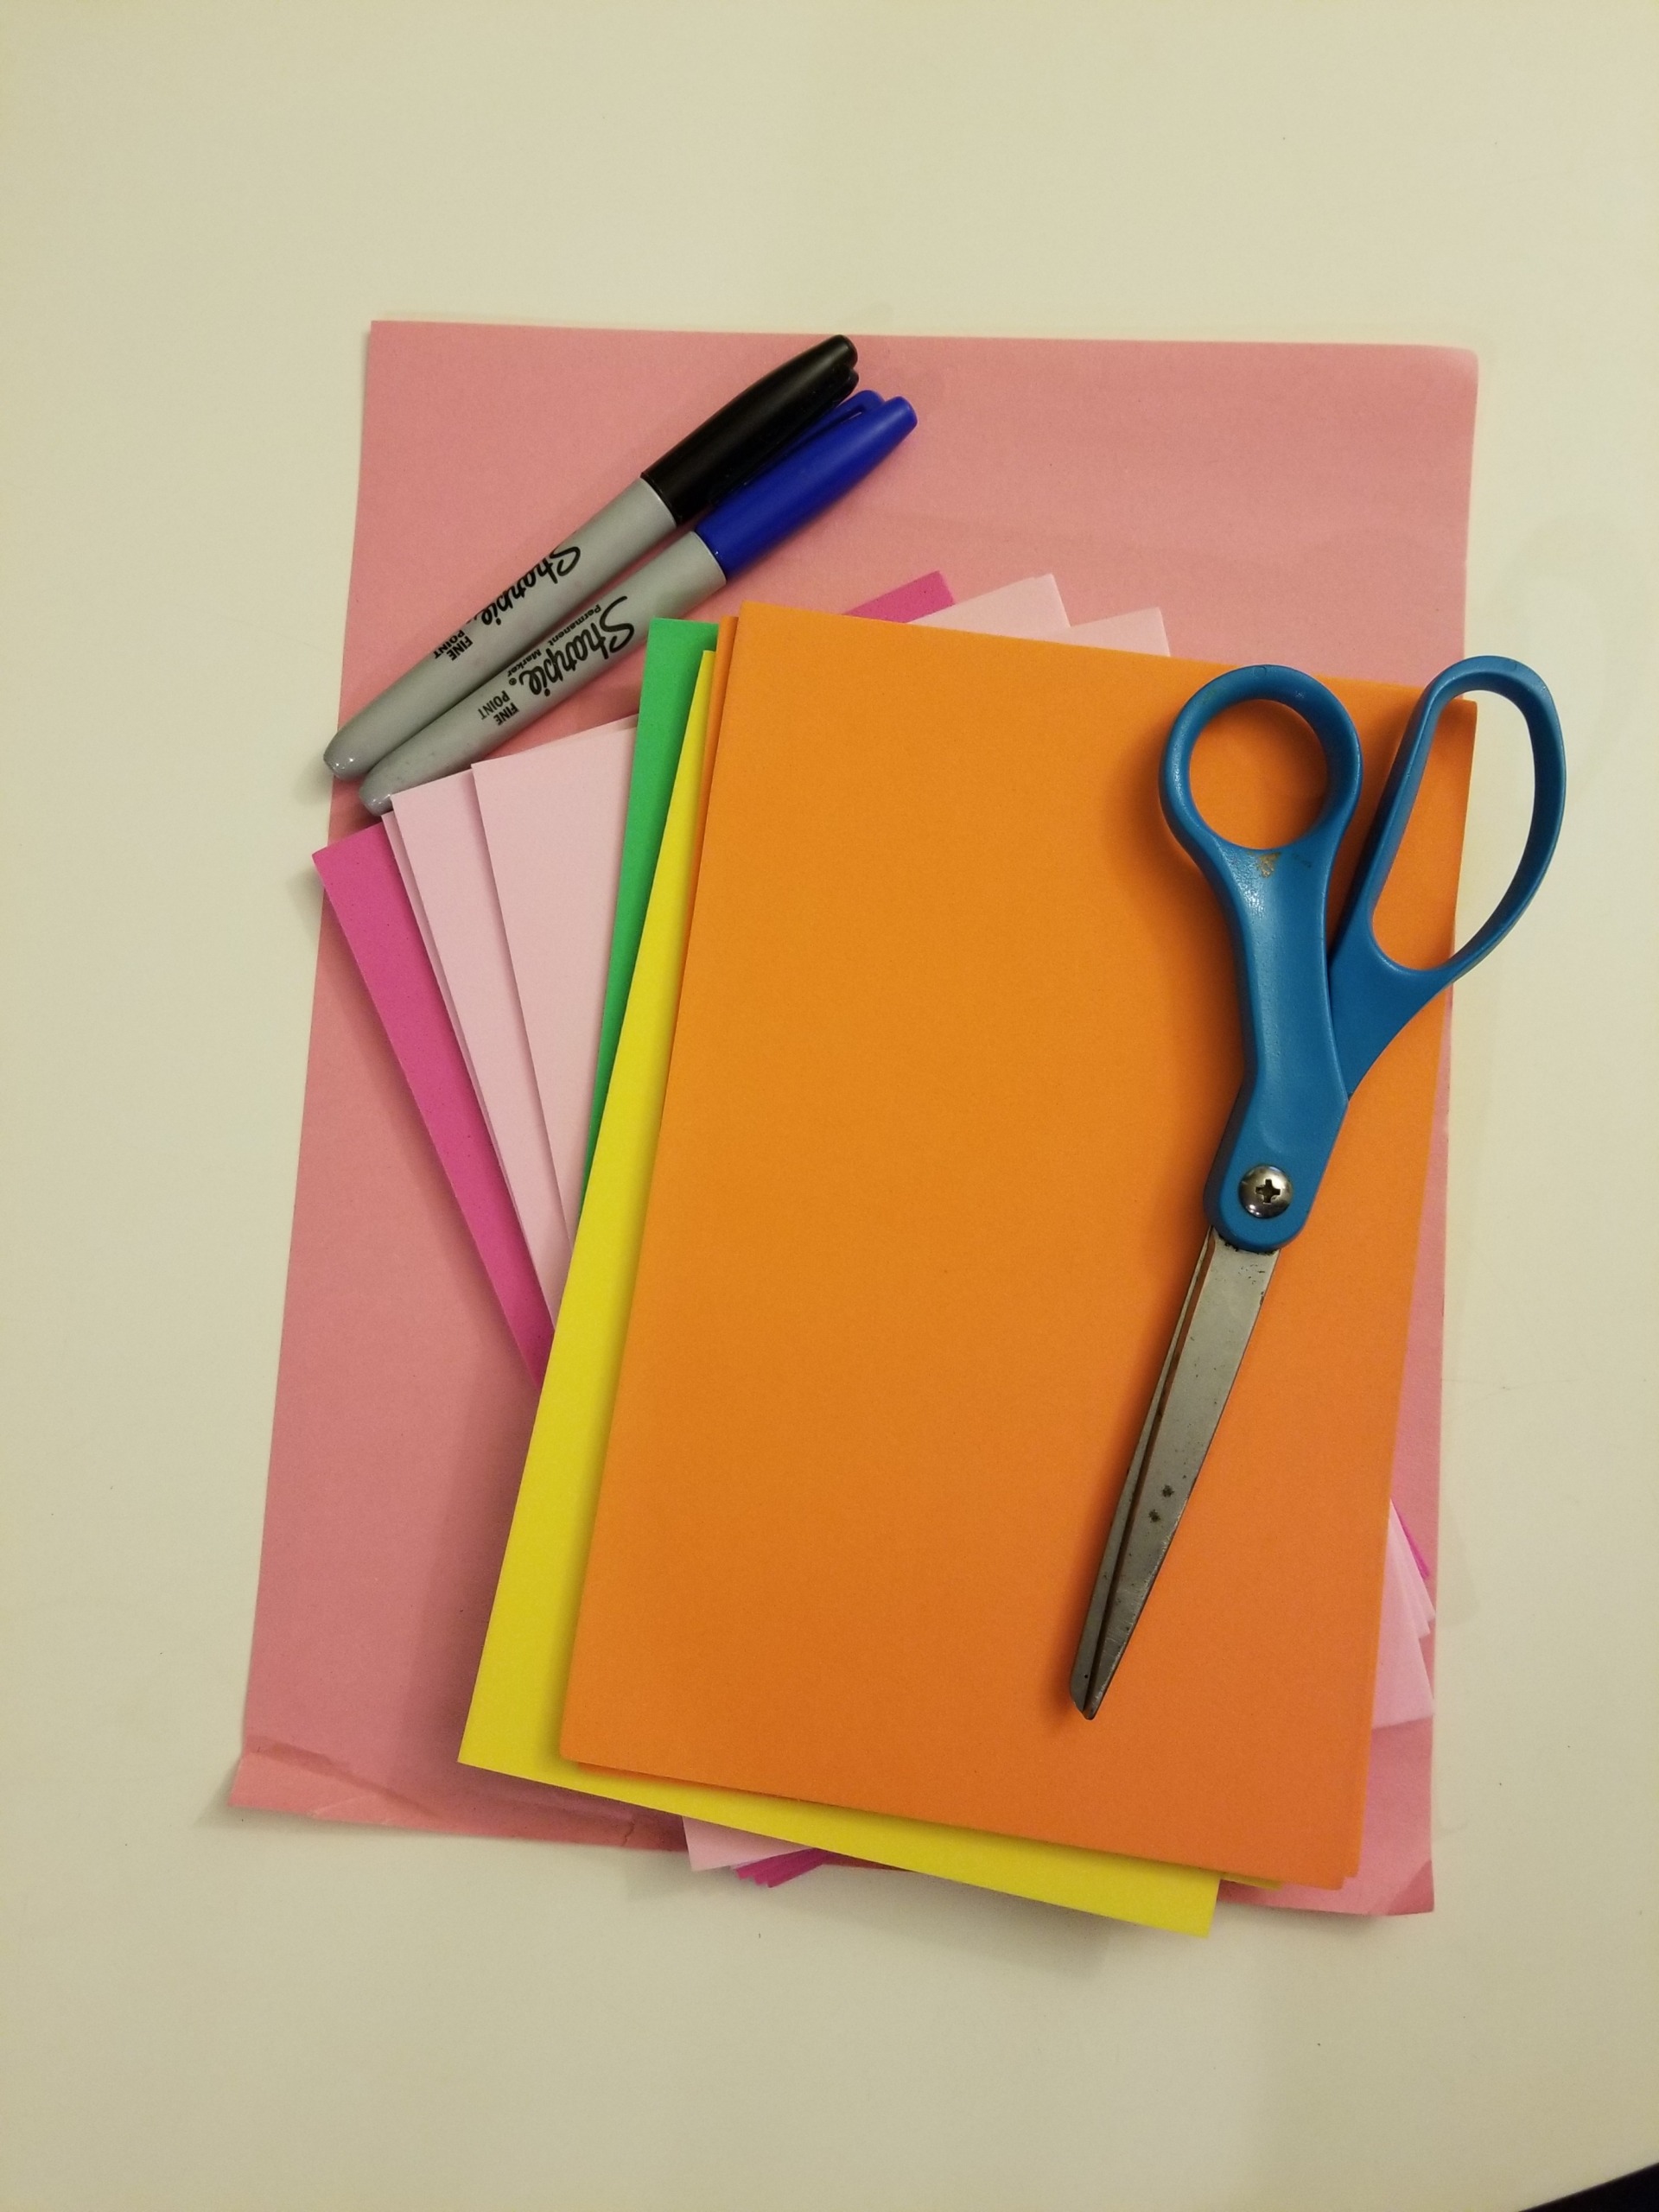
Materials Needed:
- 3 paper bags or other containers
- Craft foam (or construction paper)
- A sheet of paper
- Scissors
- Markers
Optional
- Clear packing tape
Step 1: First, cut out hearts from your craft foam or construction paper. I suggest around 30 hearts, about 10 for each container.
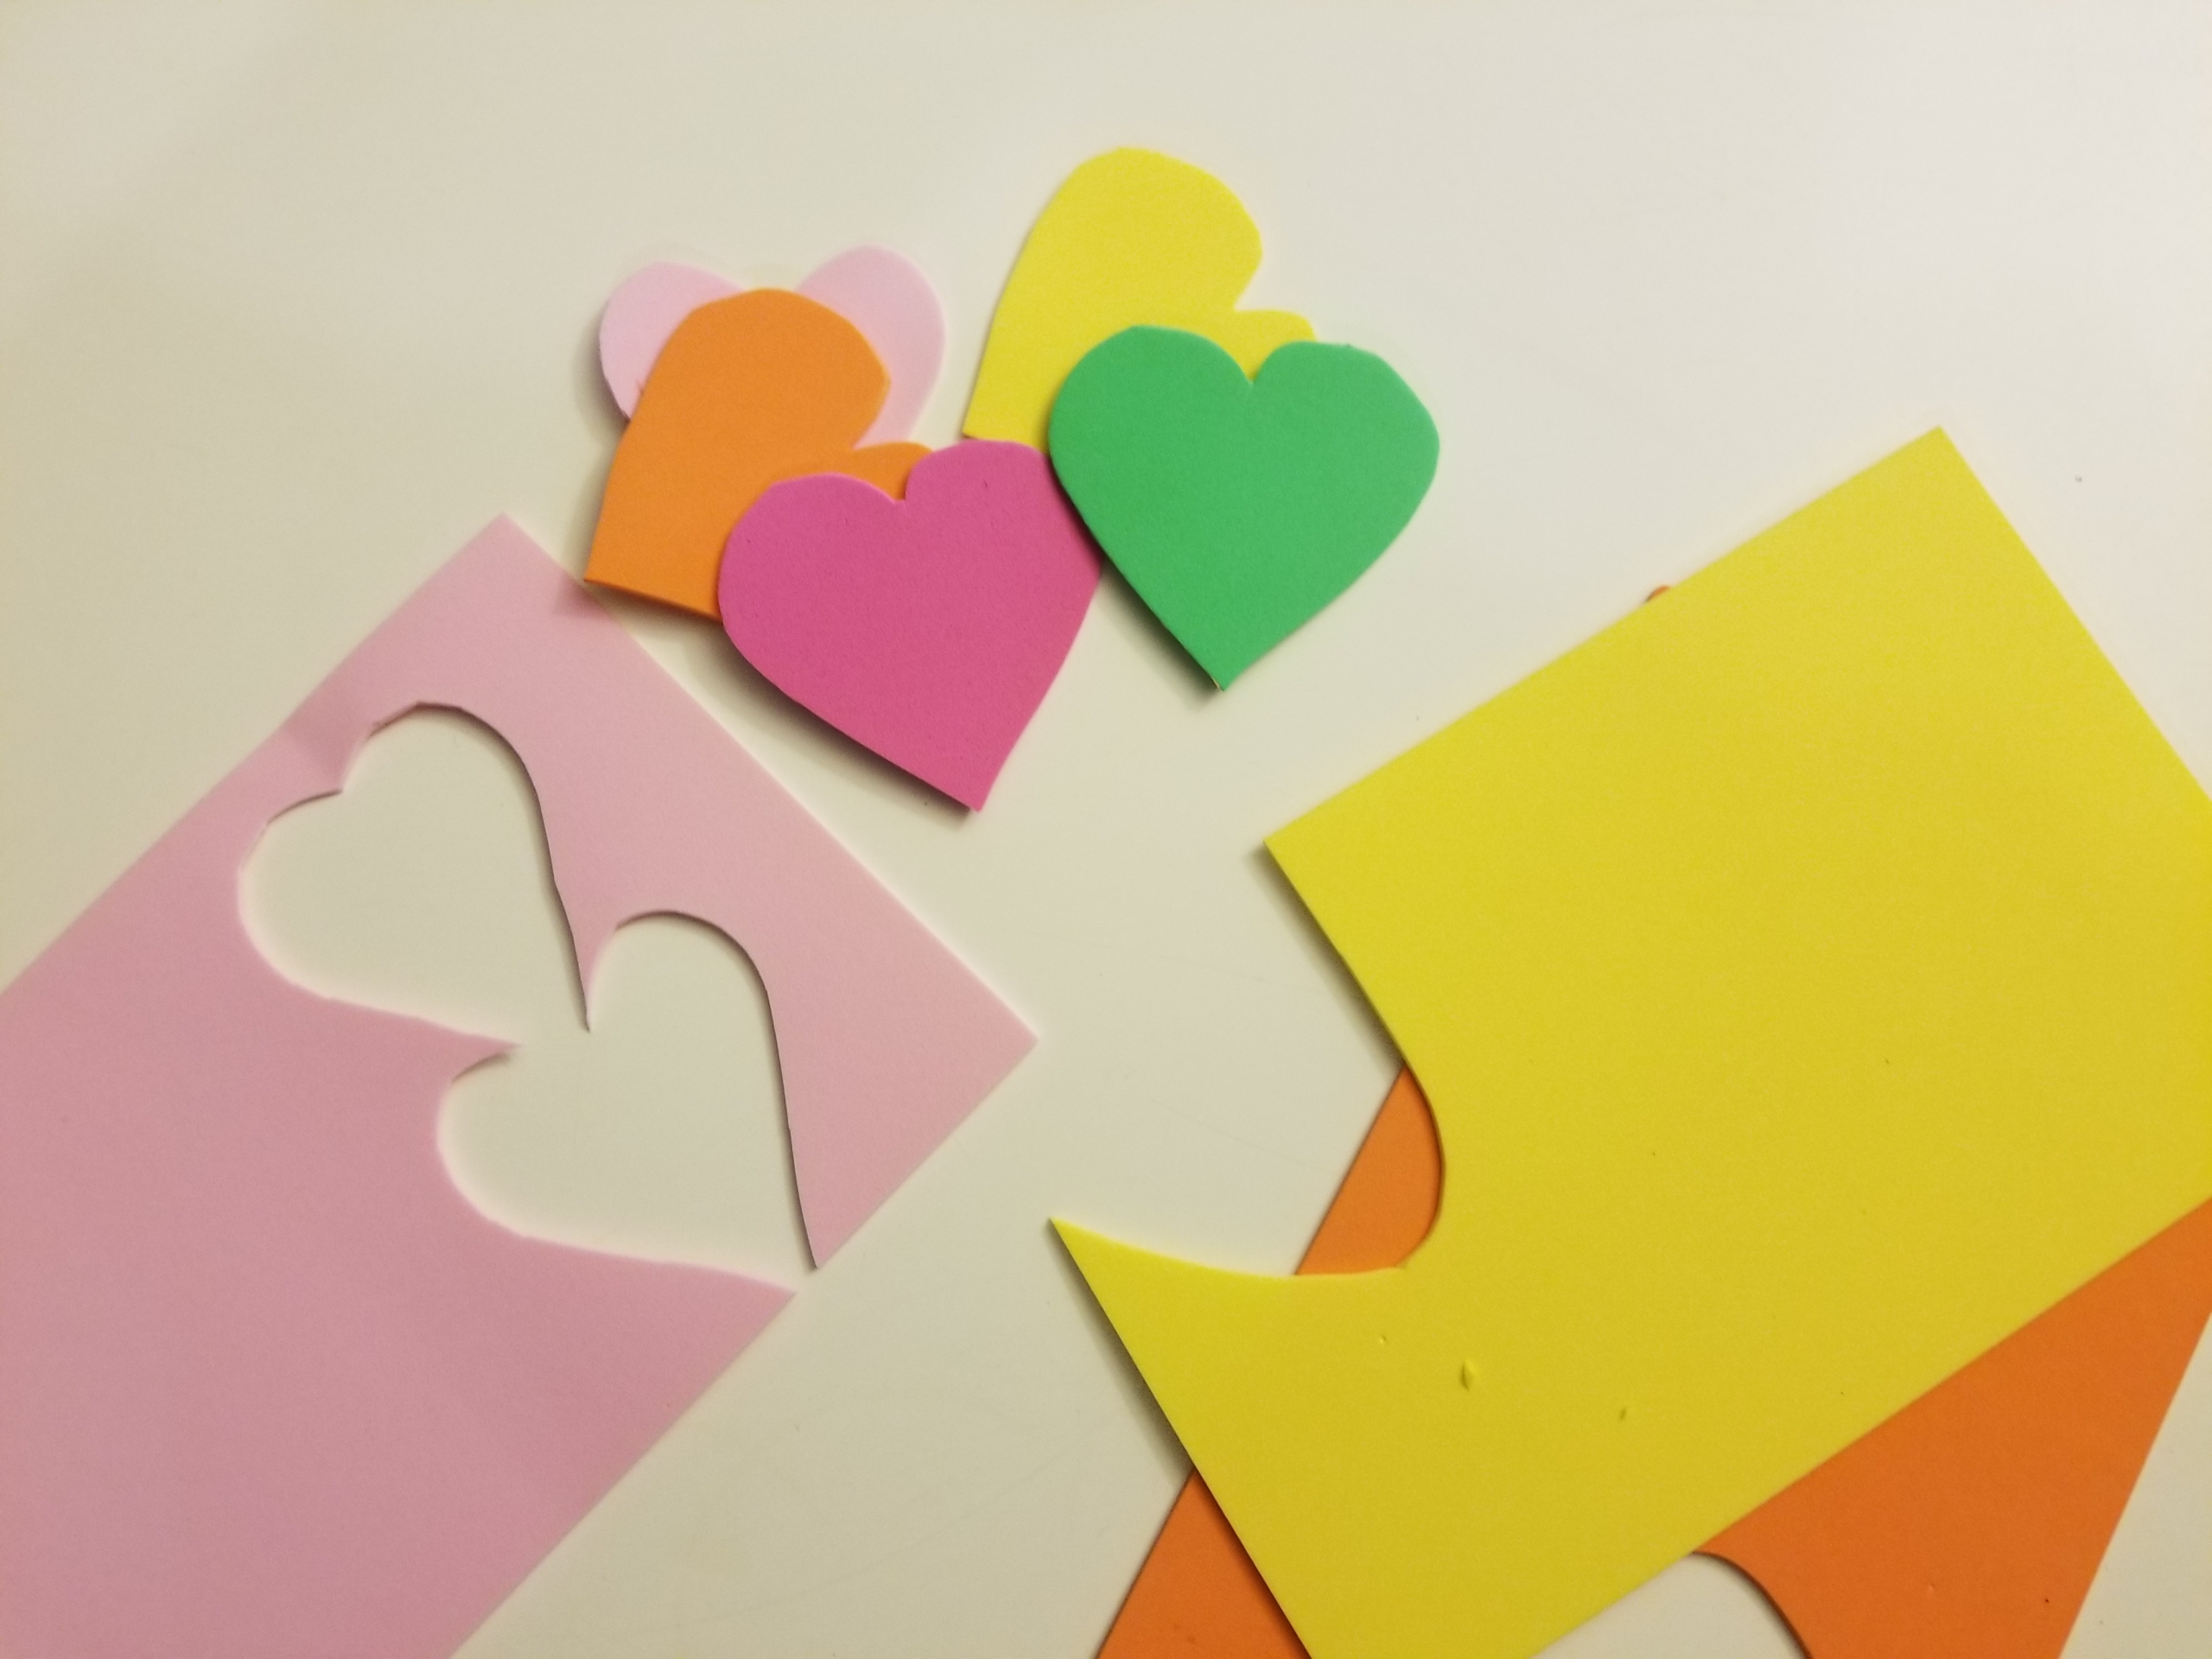
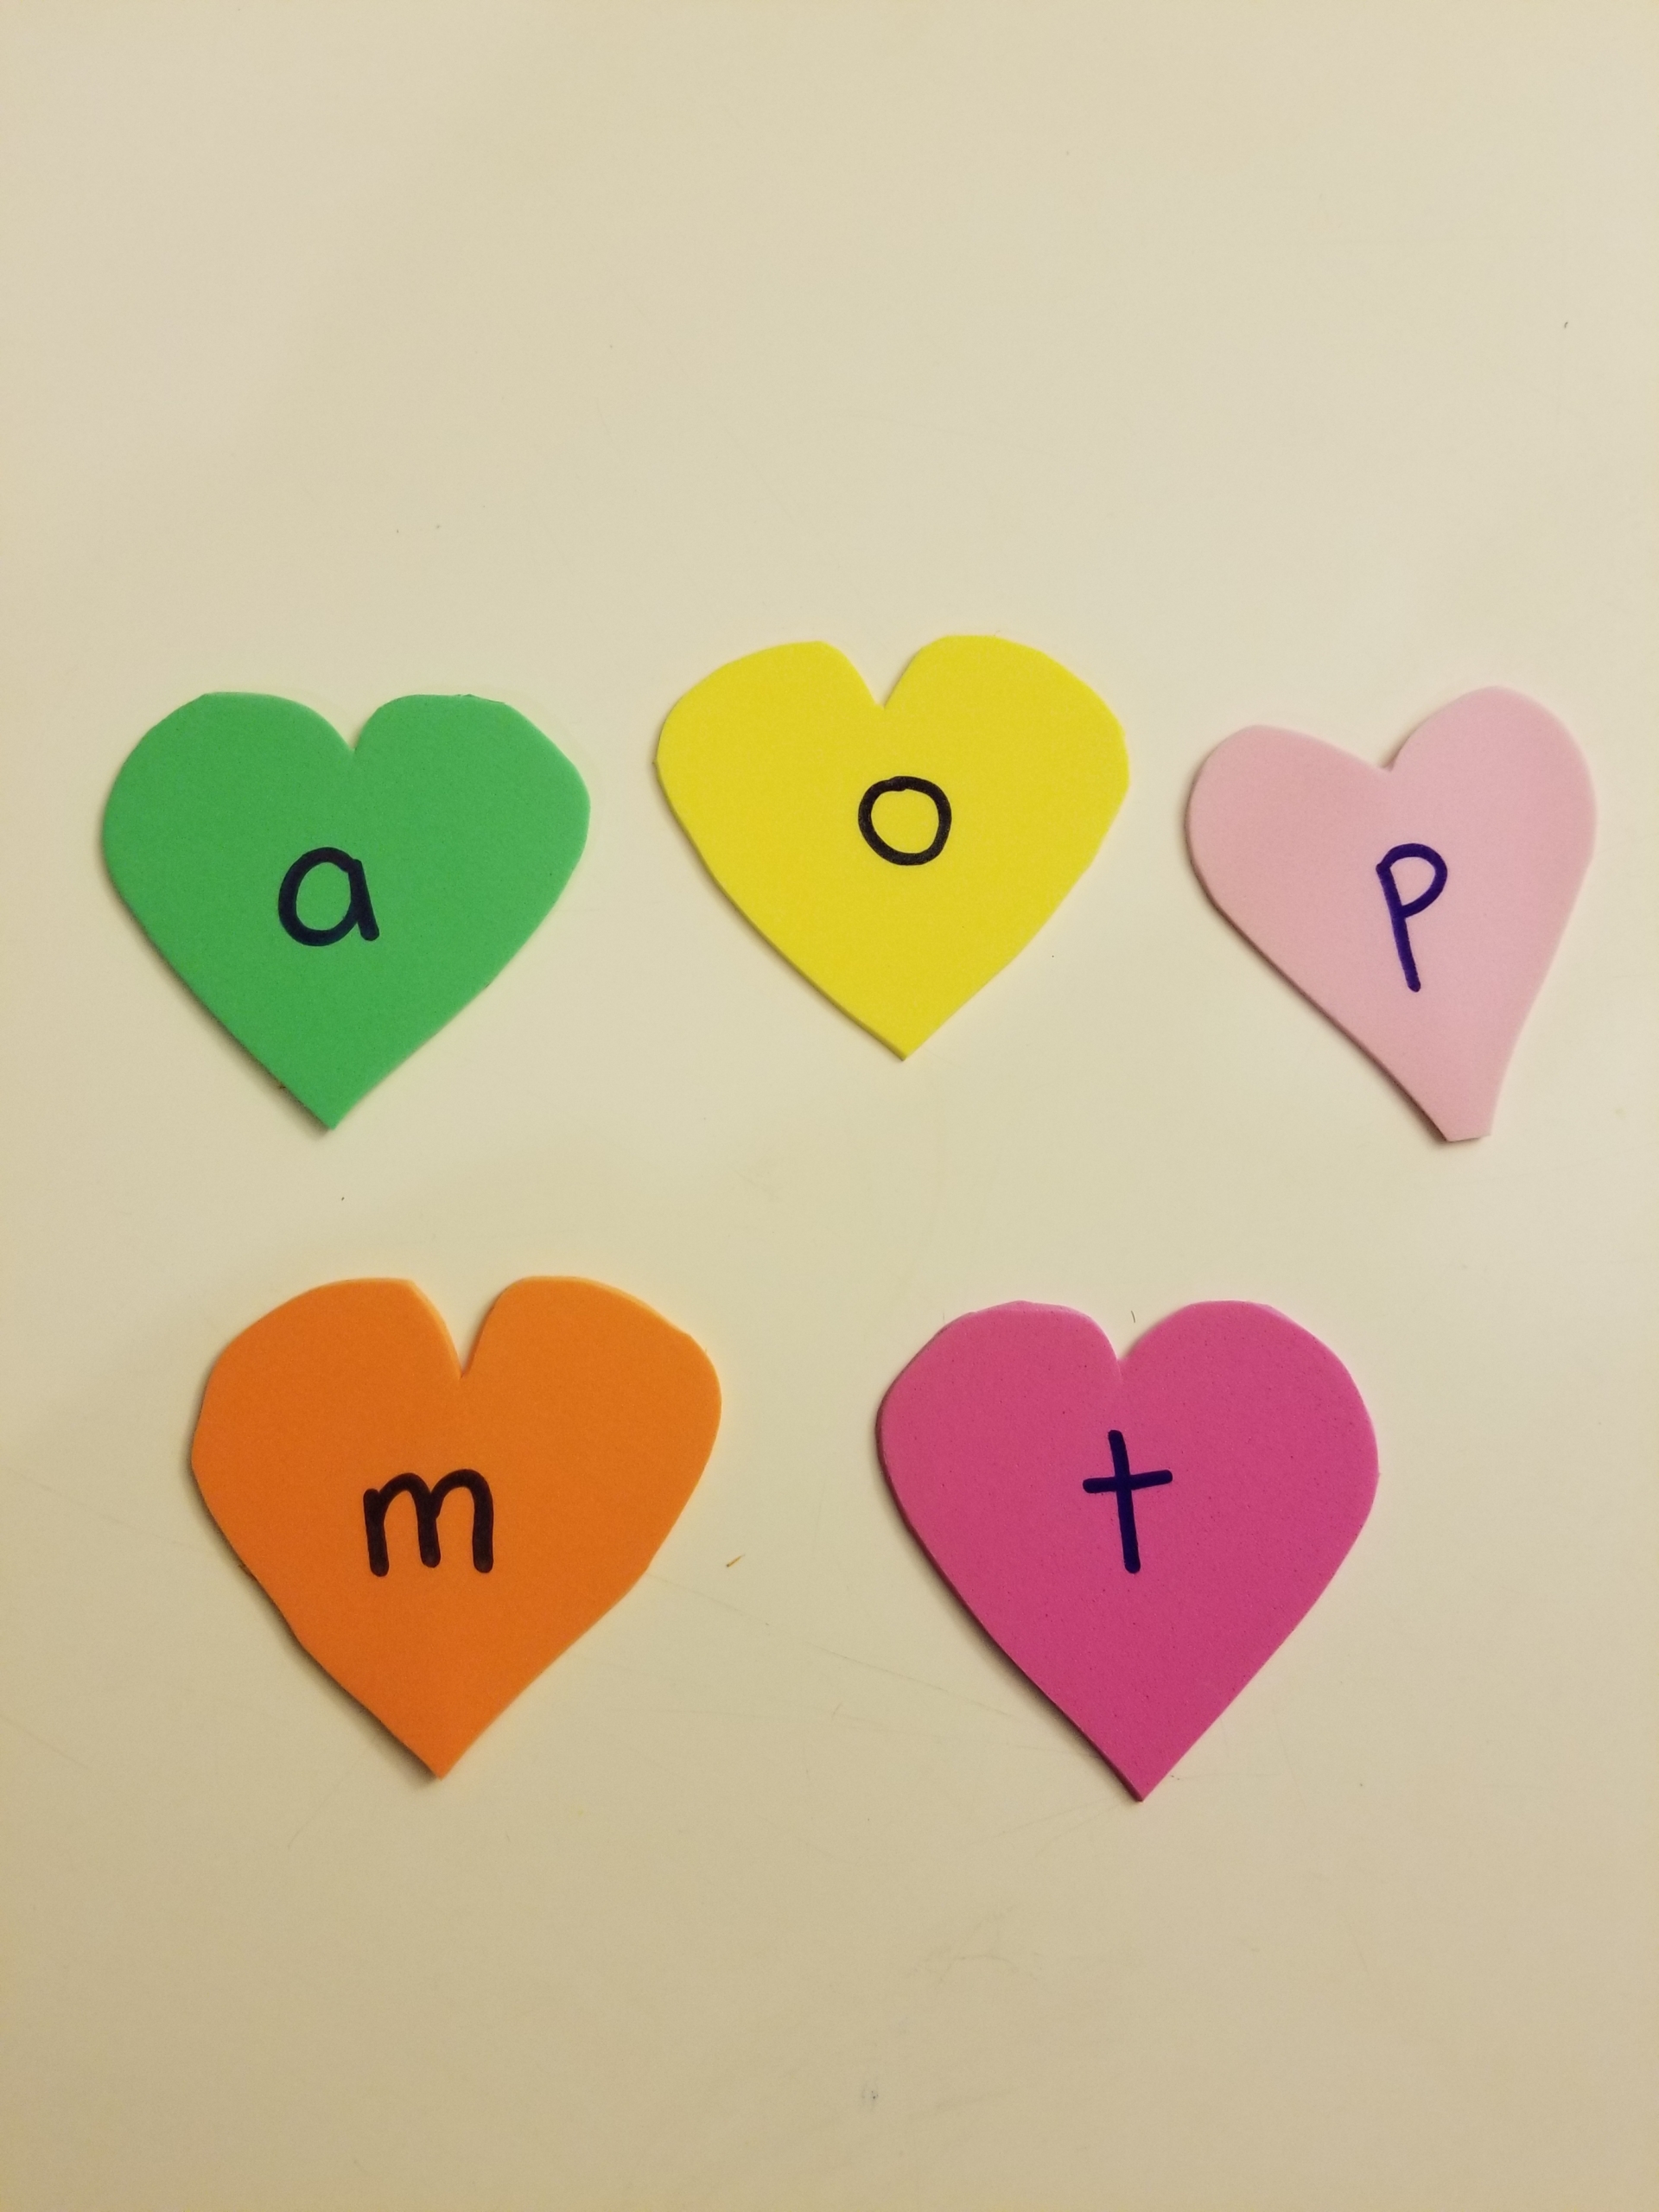
Step 2: On each heart, write a single letter. Make sure you include several copies of all five vowels, plus common consonants such as S, R, N, M, and T. When choosing your letters, keep in mind simple three-letter words children might be familiar with, such as mom, can, pig, dad, rat, and sun. (If your child or someone in your family has a three-letter name, include those letters too!)
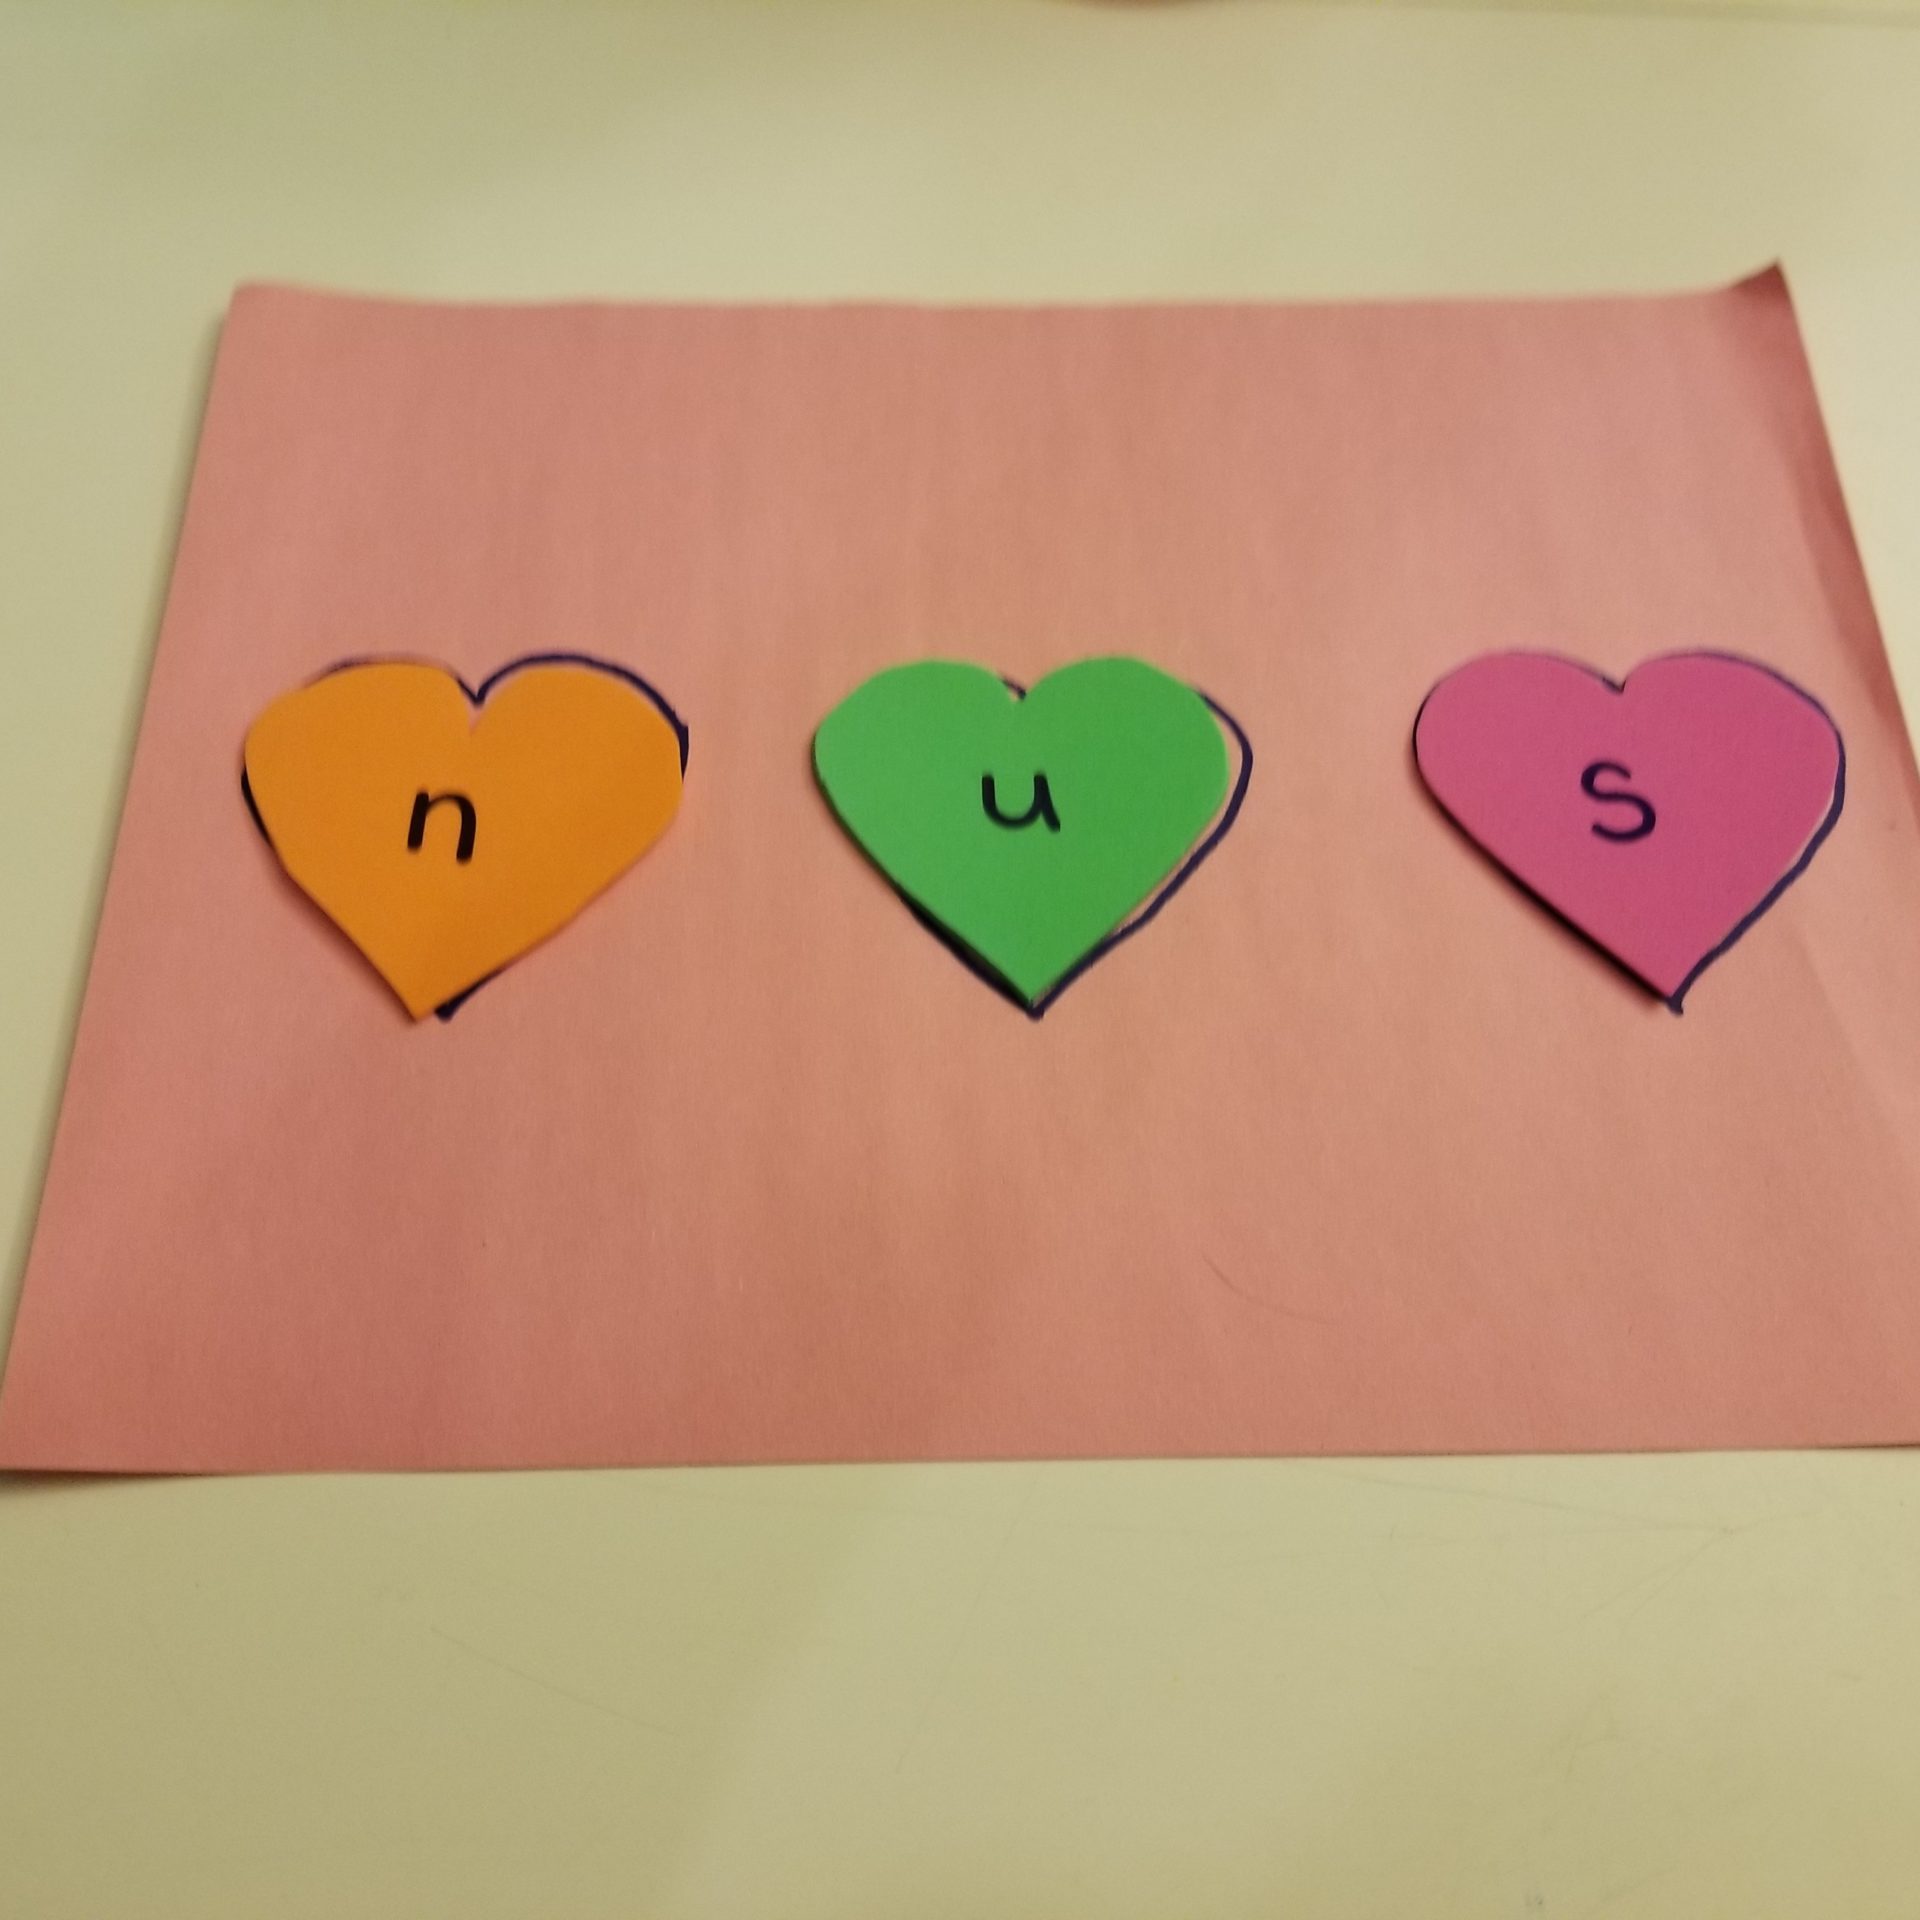
Step 3: Using one of your hearts as a template, trace three hearts in a row across a sheet of paper. These hearts will be where your child places their letters to create words.
Optional: To protect the paper and keep it in one piece for multiple uses, cover both sides with packing tape, our favorite hack for a “lamination” finish.

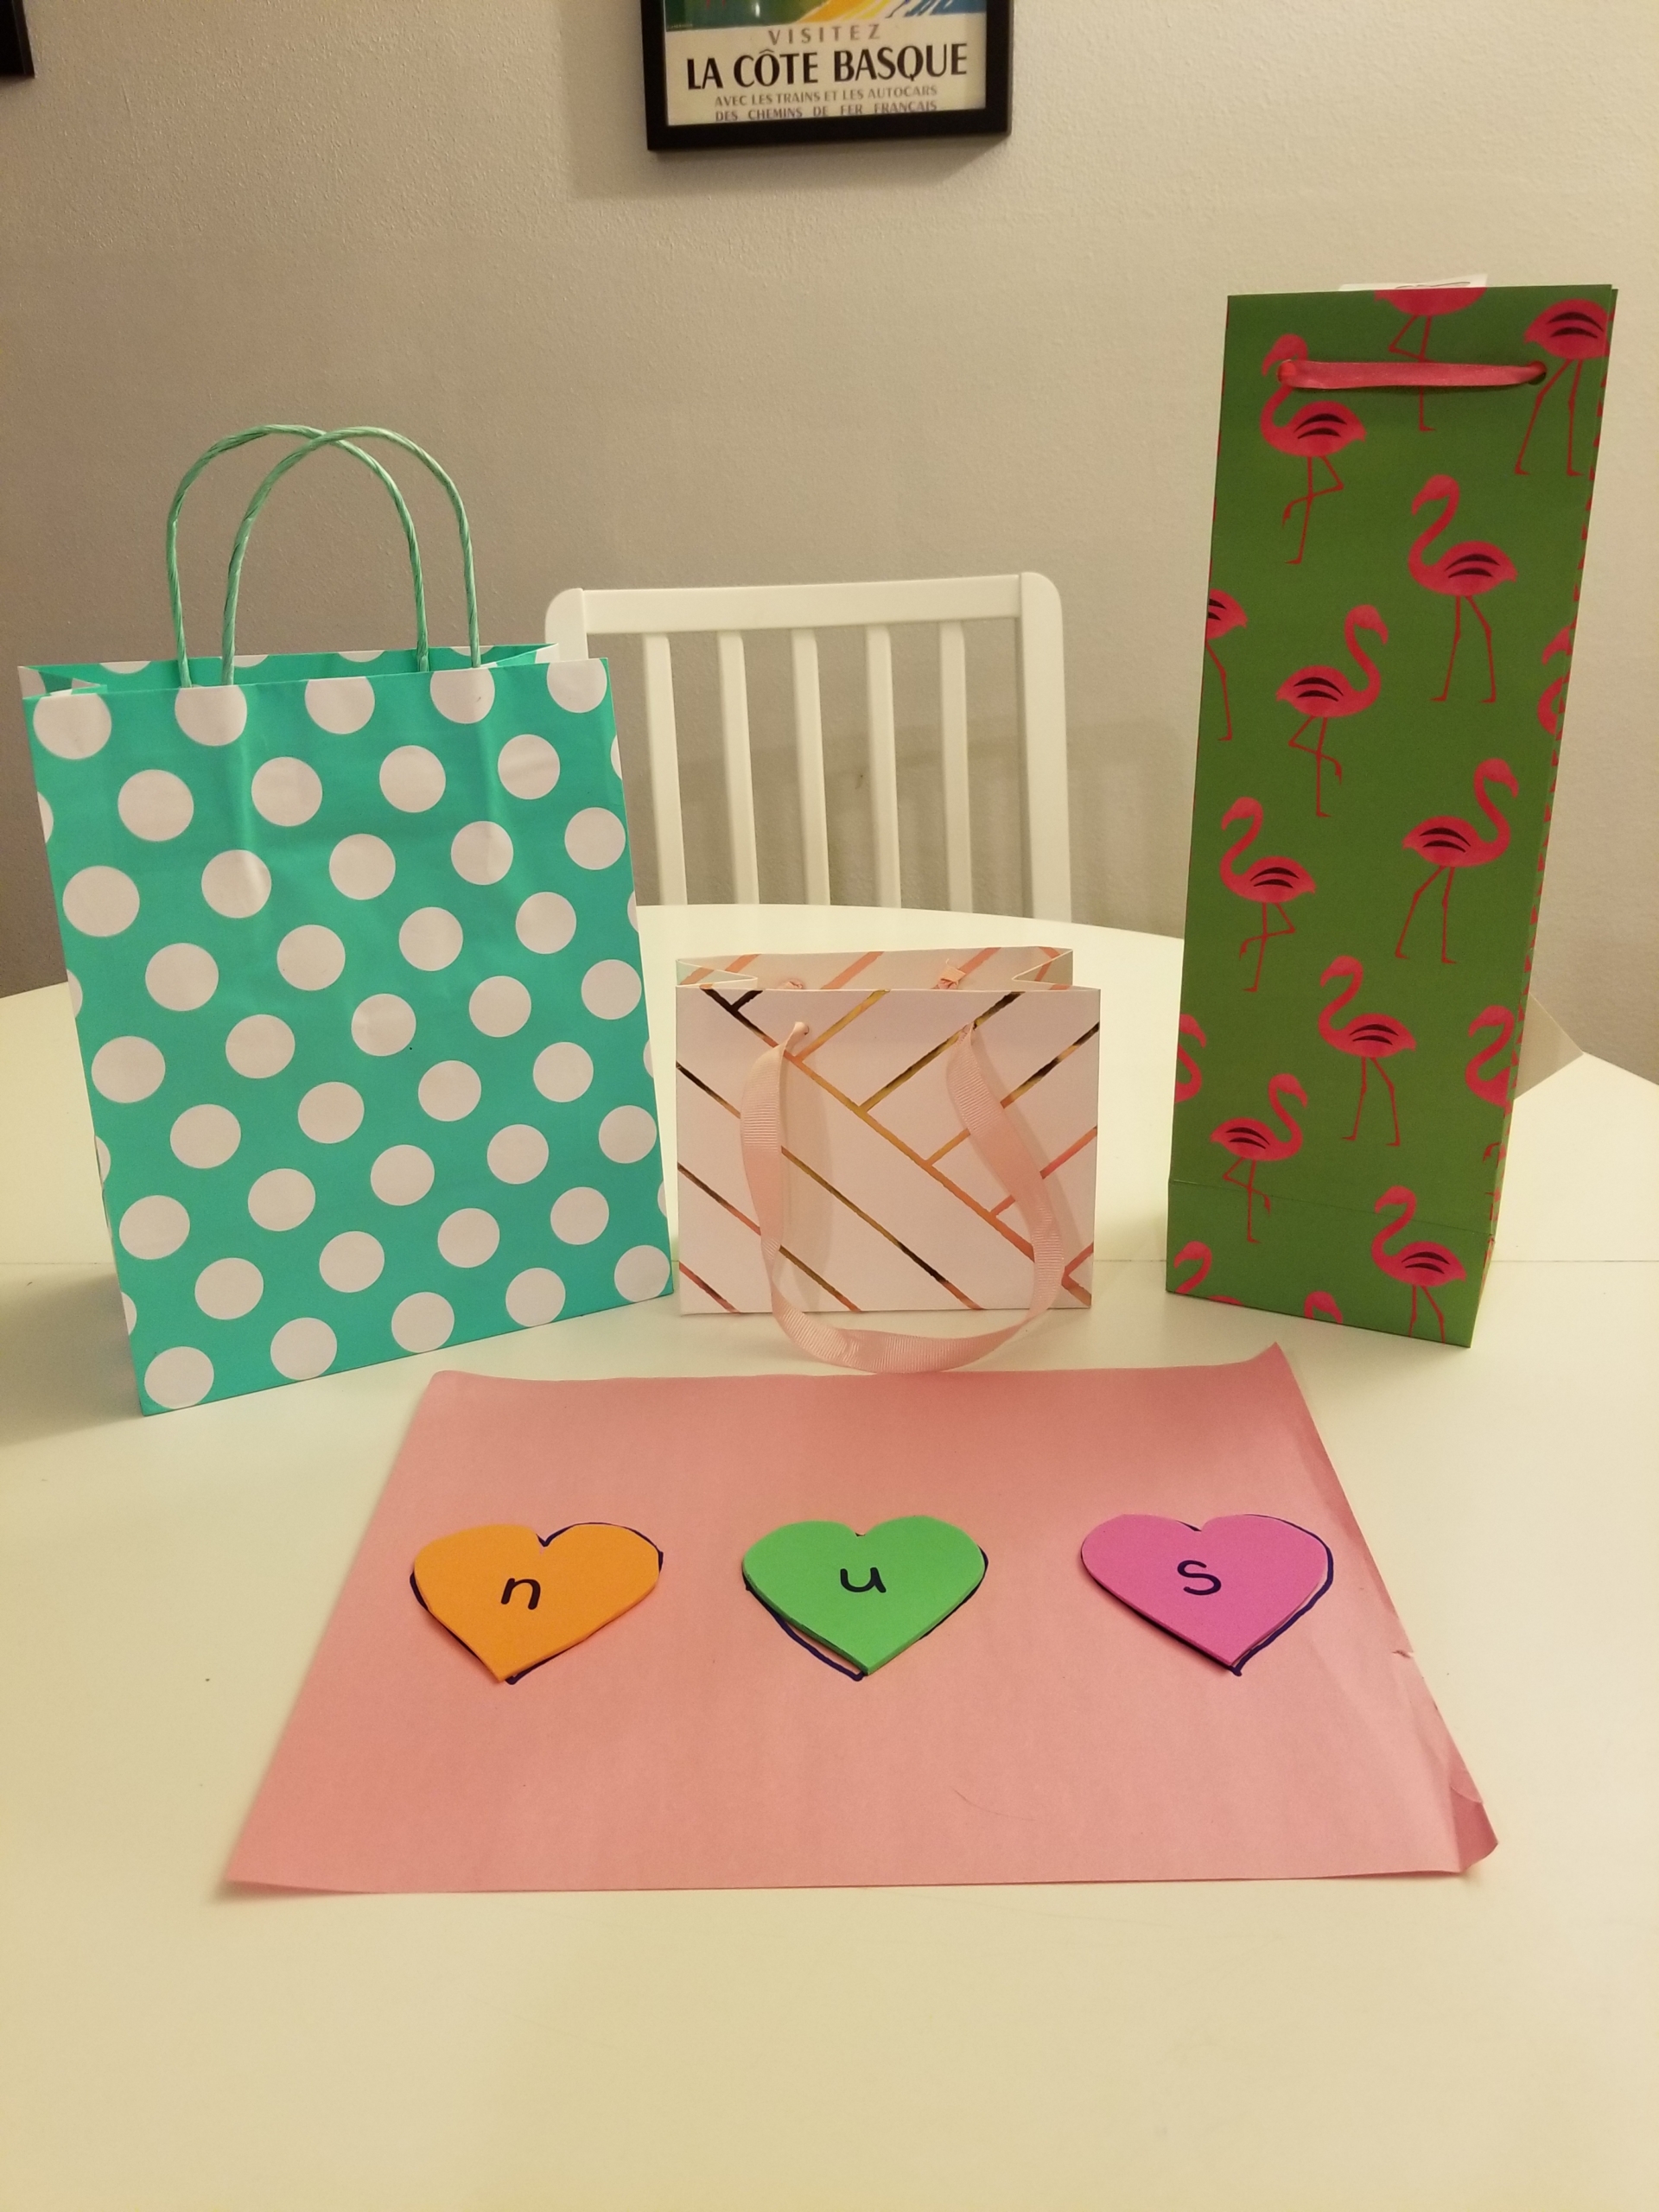
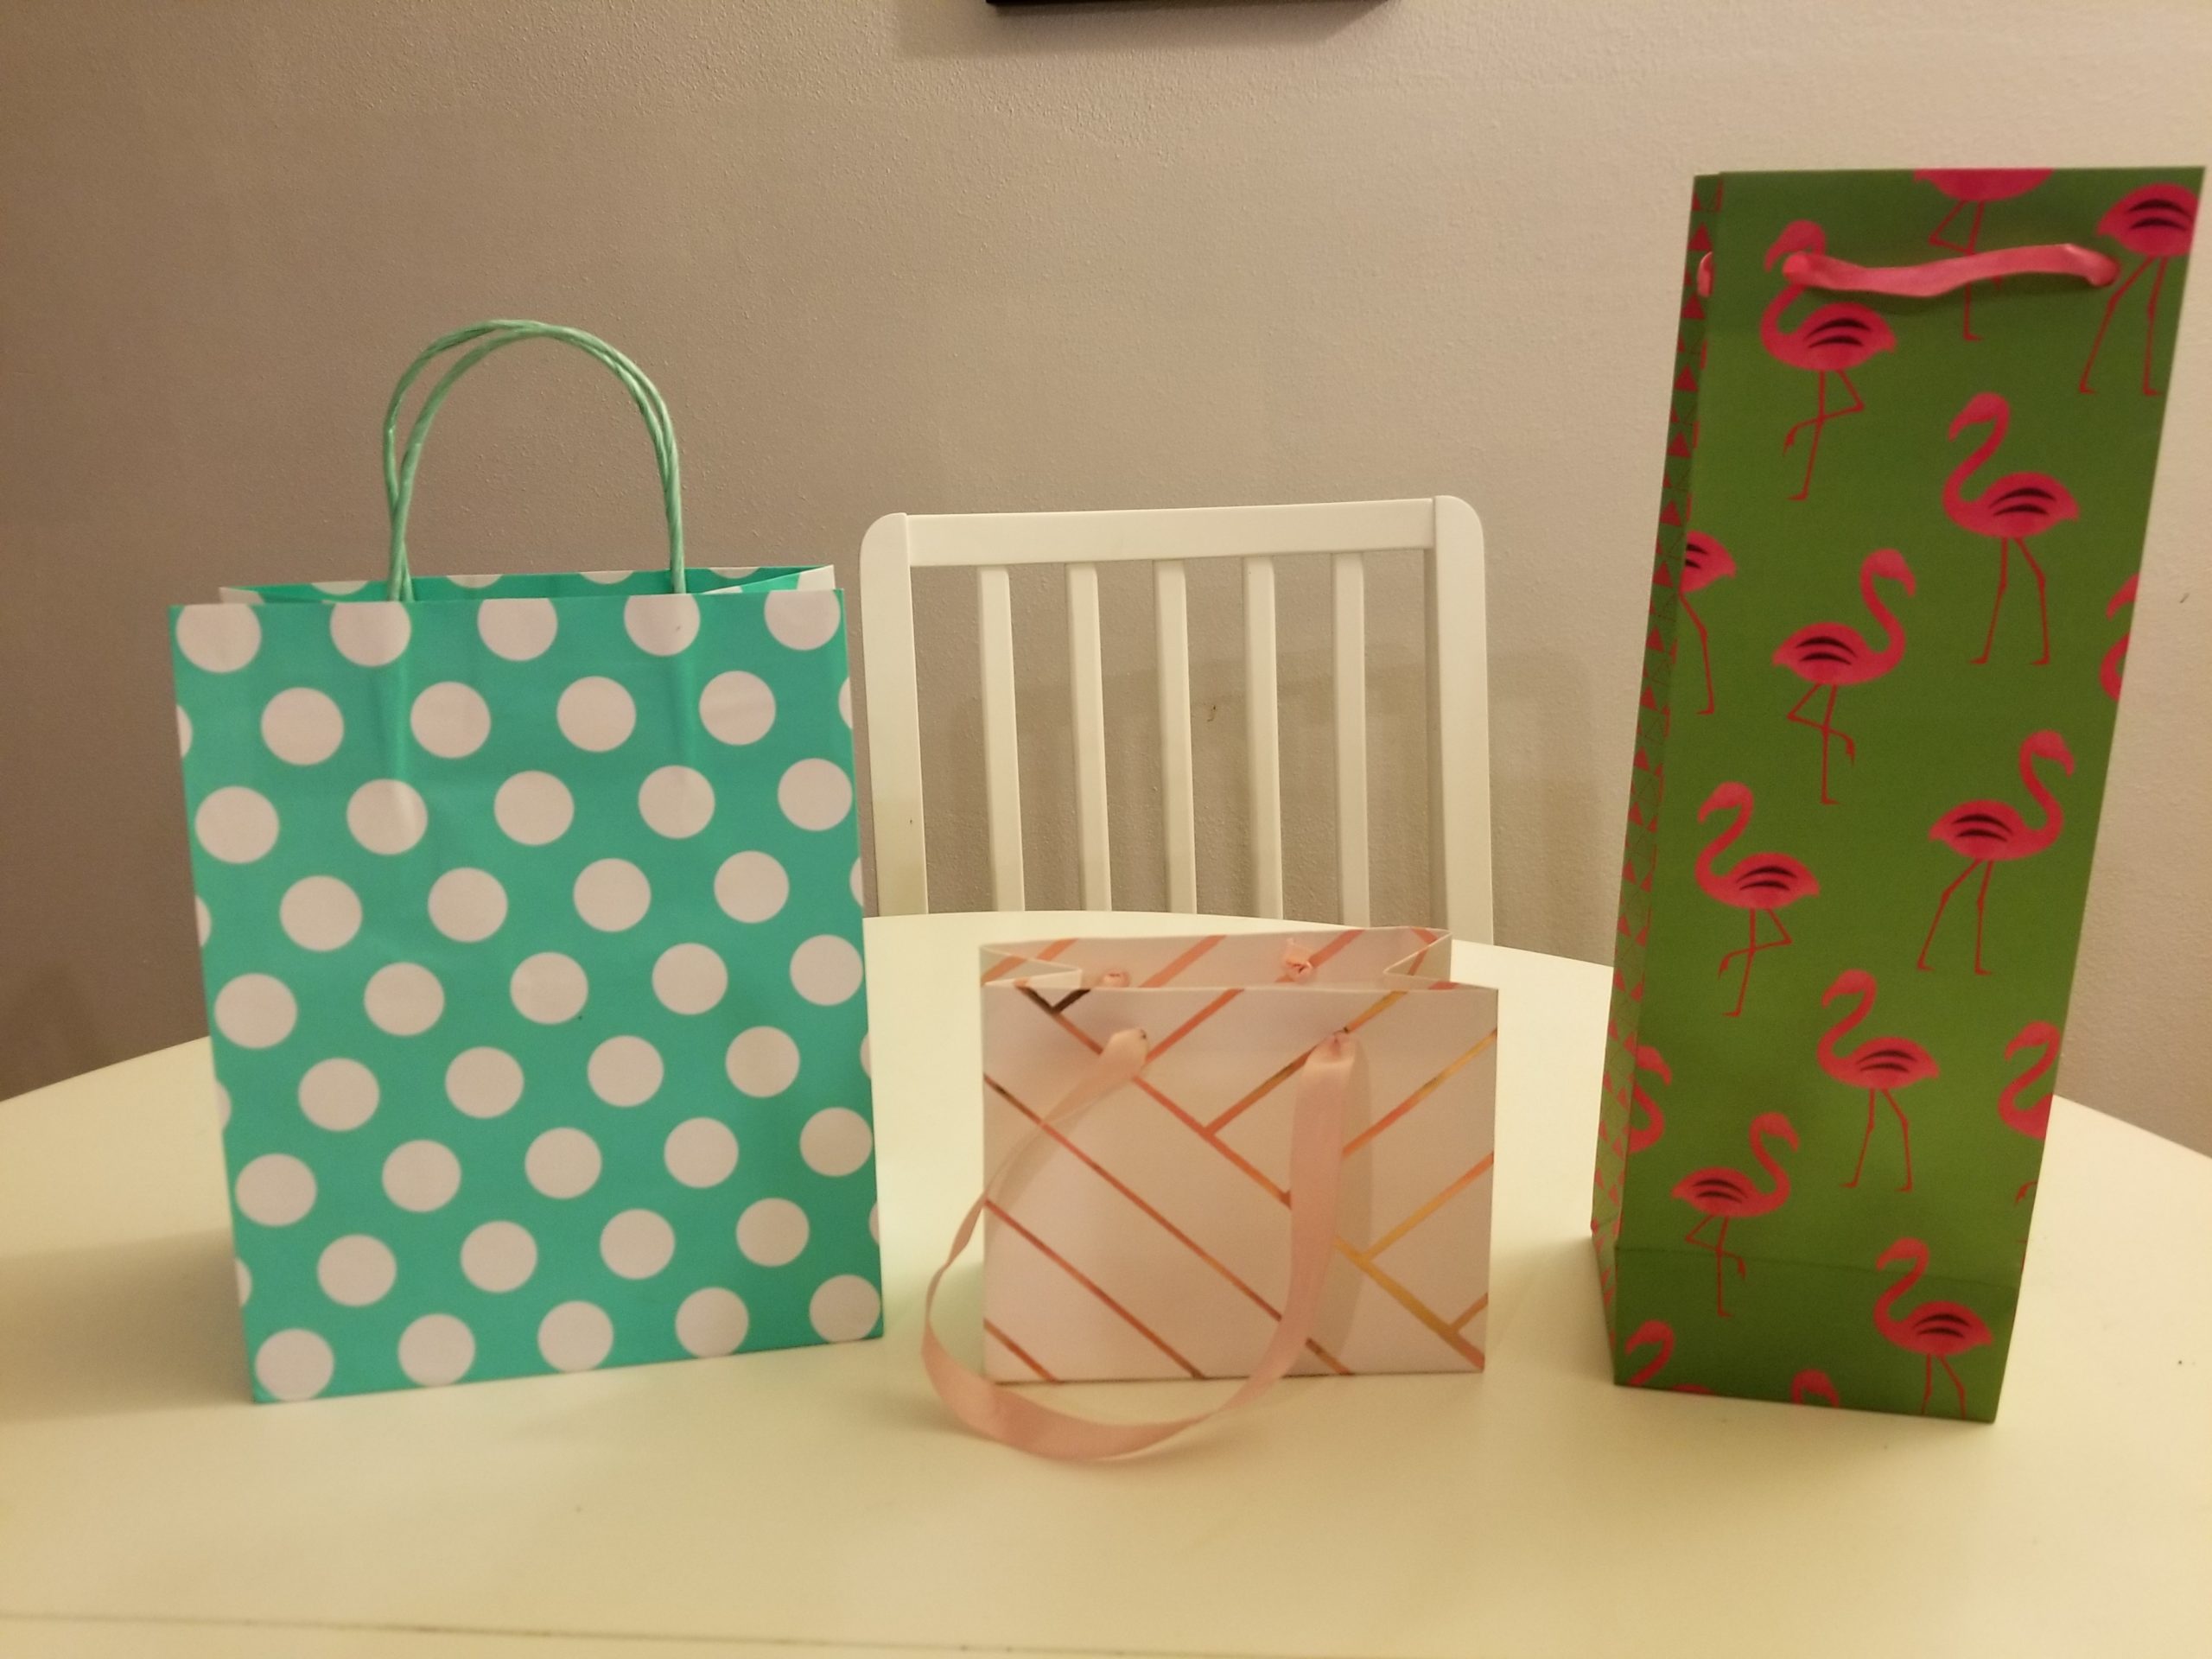
Step 4: Divide the hearts equally among the 3 containers. I like to use gift bags to make them festive, but that’s entirely up to you.
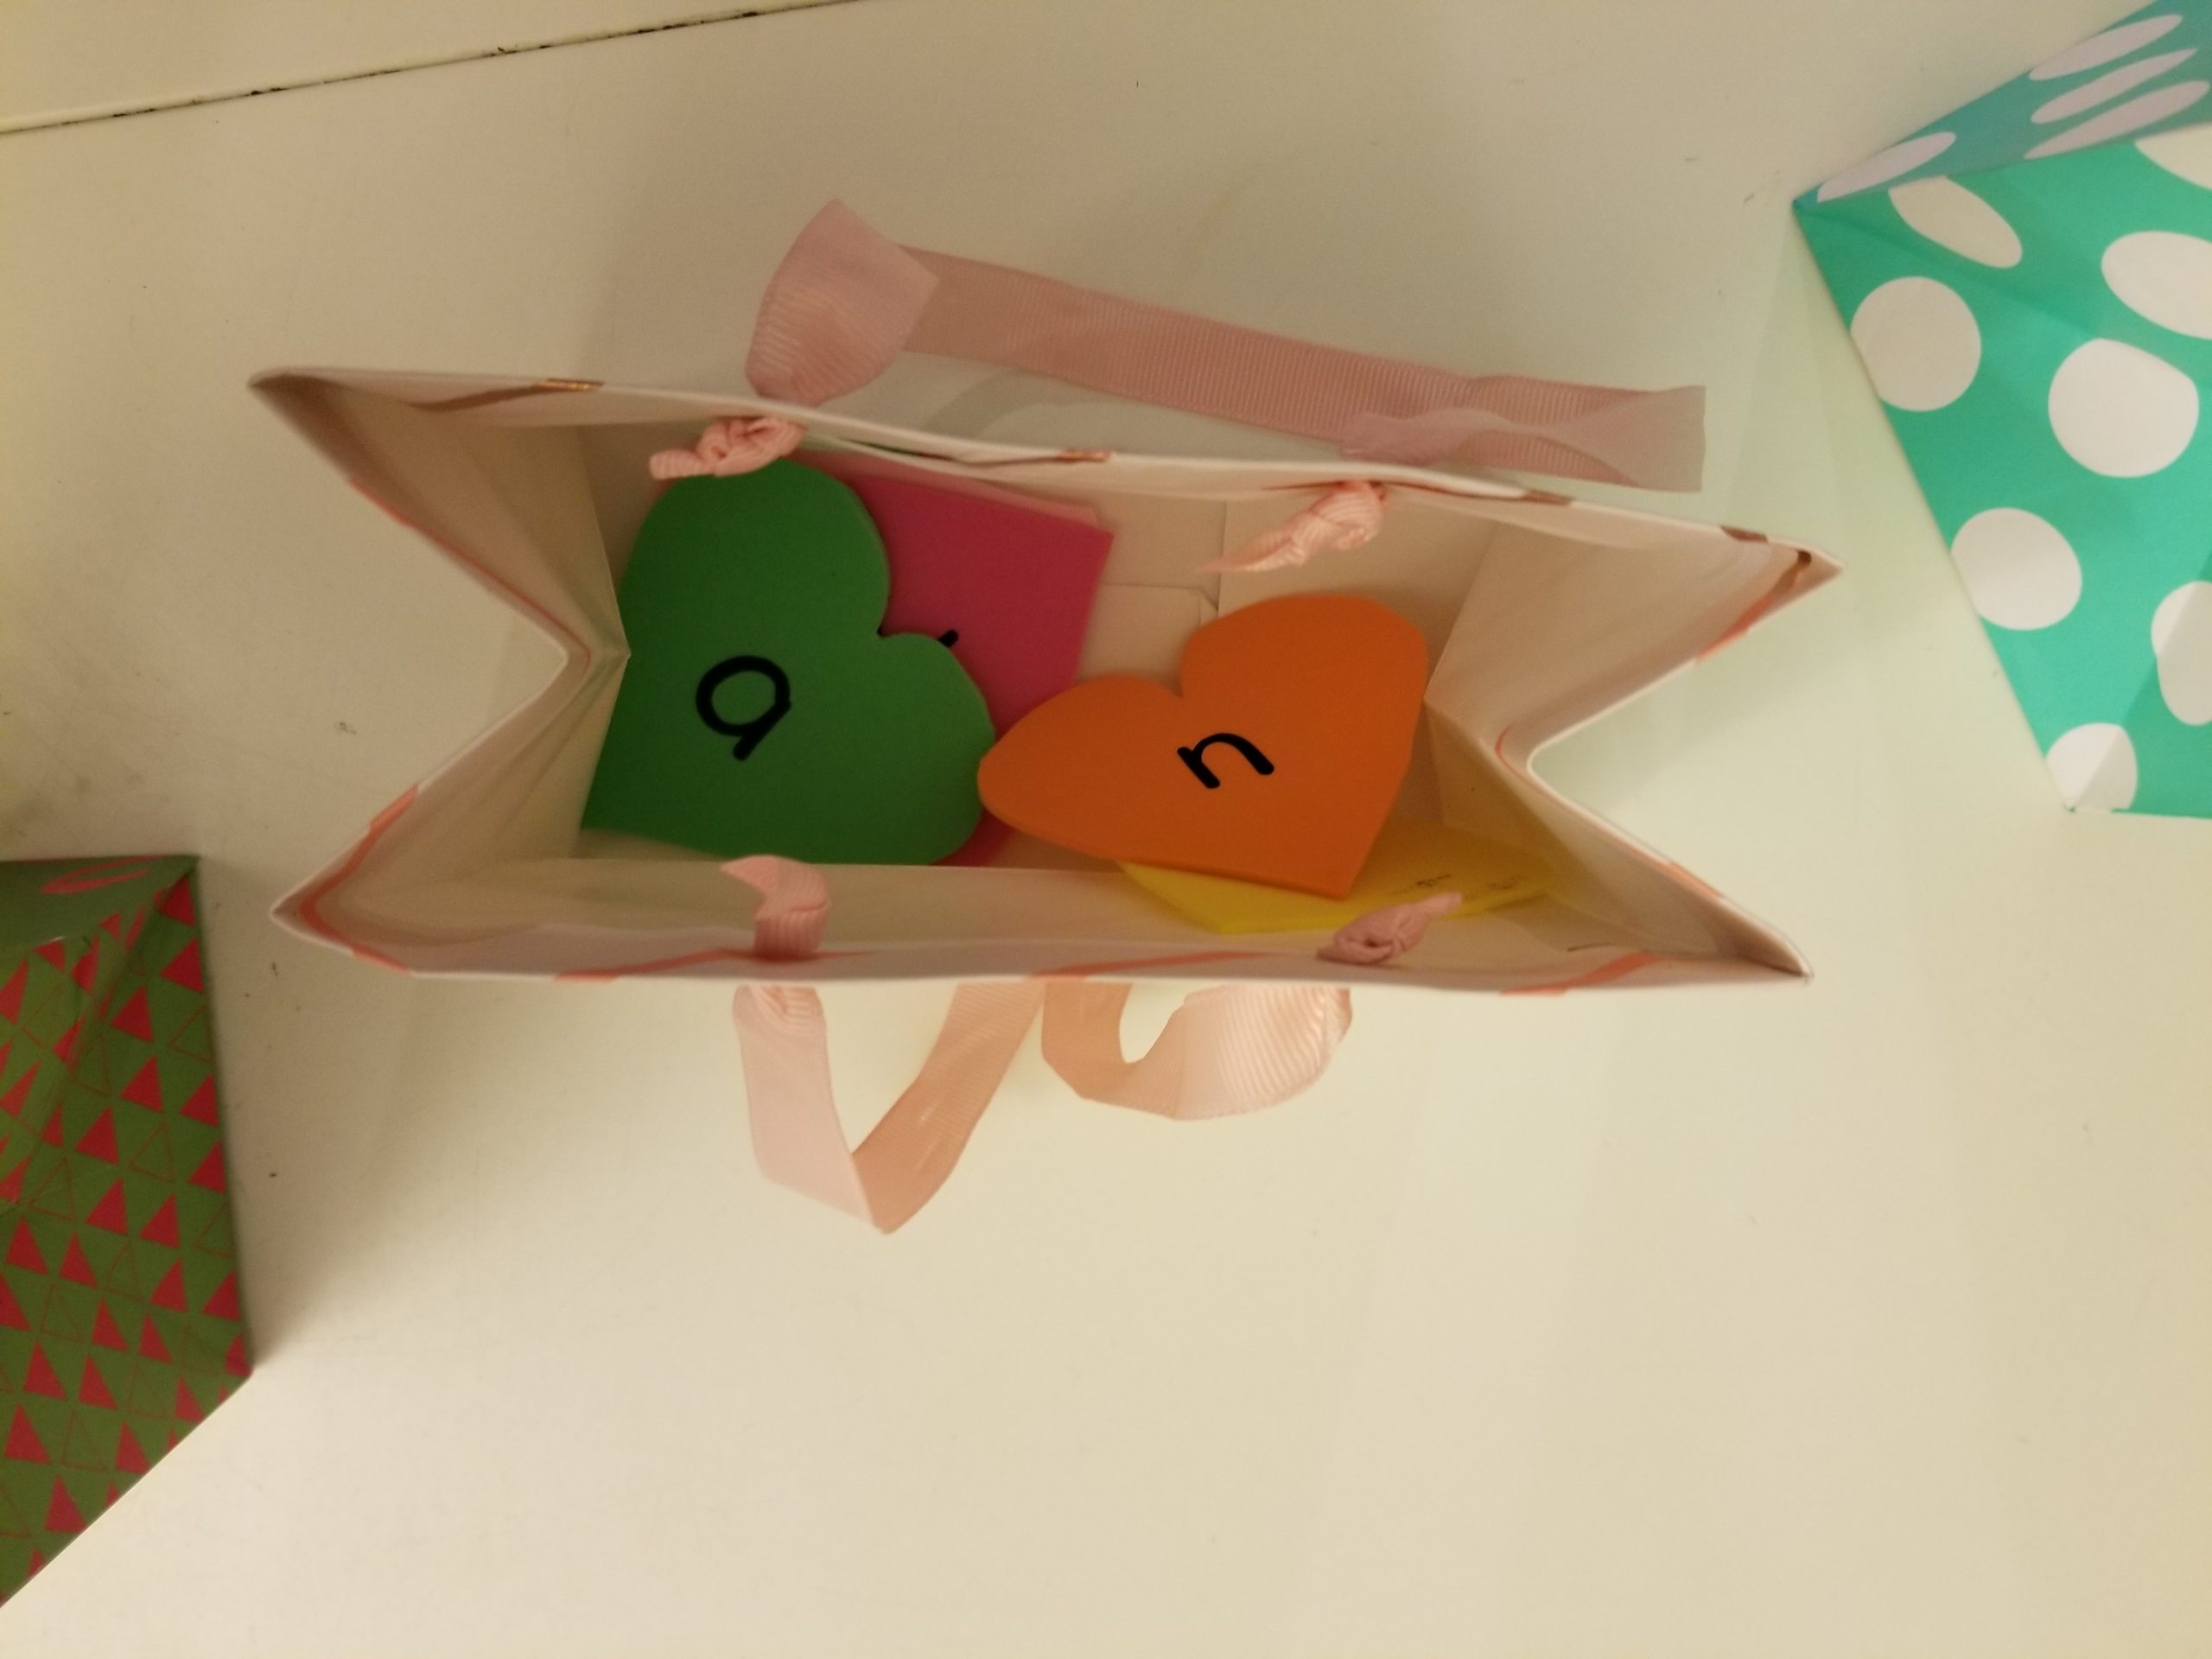
Step 5: Have your child reach into each container and pull out a heart. They can place their hearts on the paper you created in Step 3.
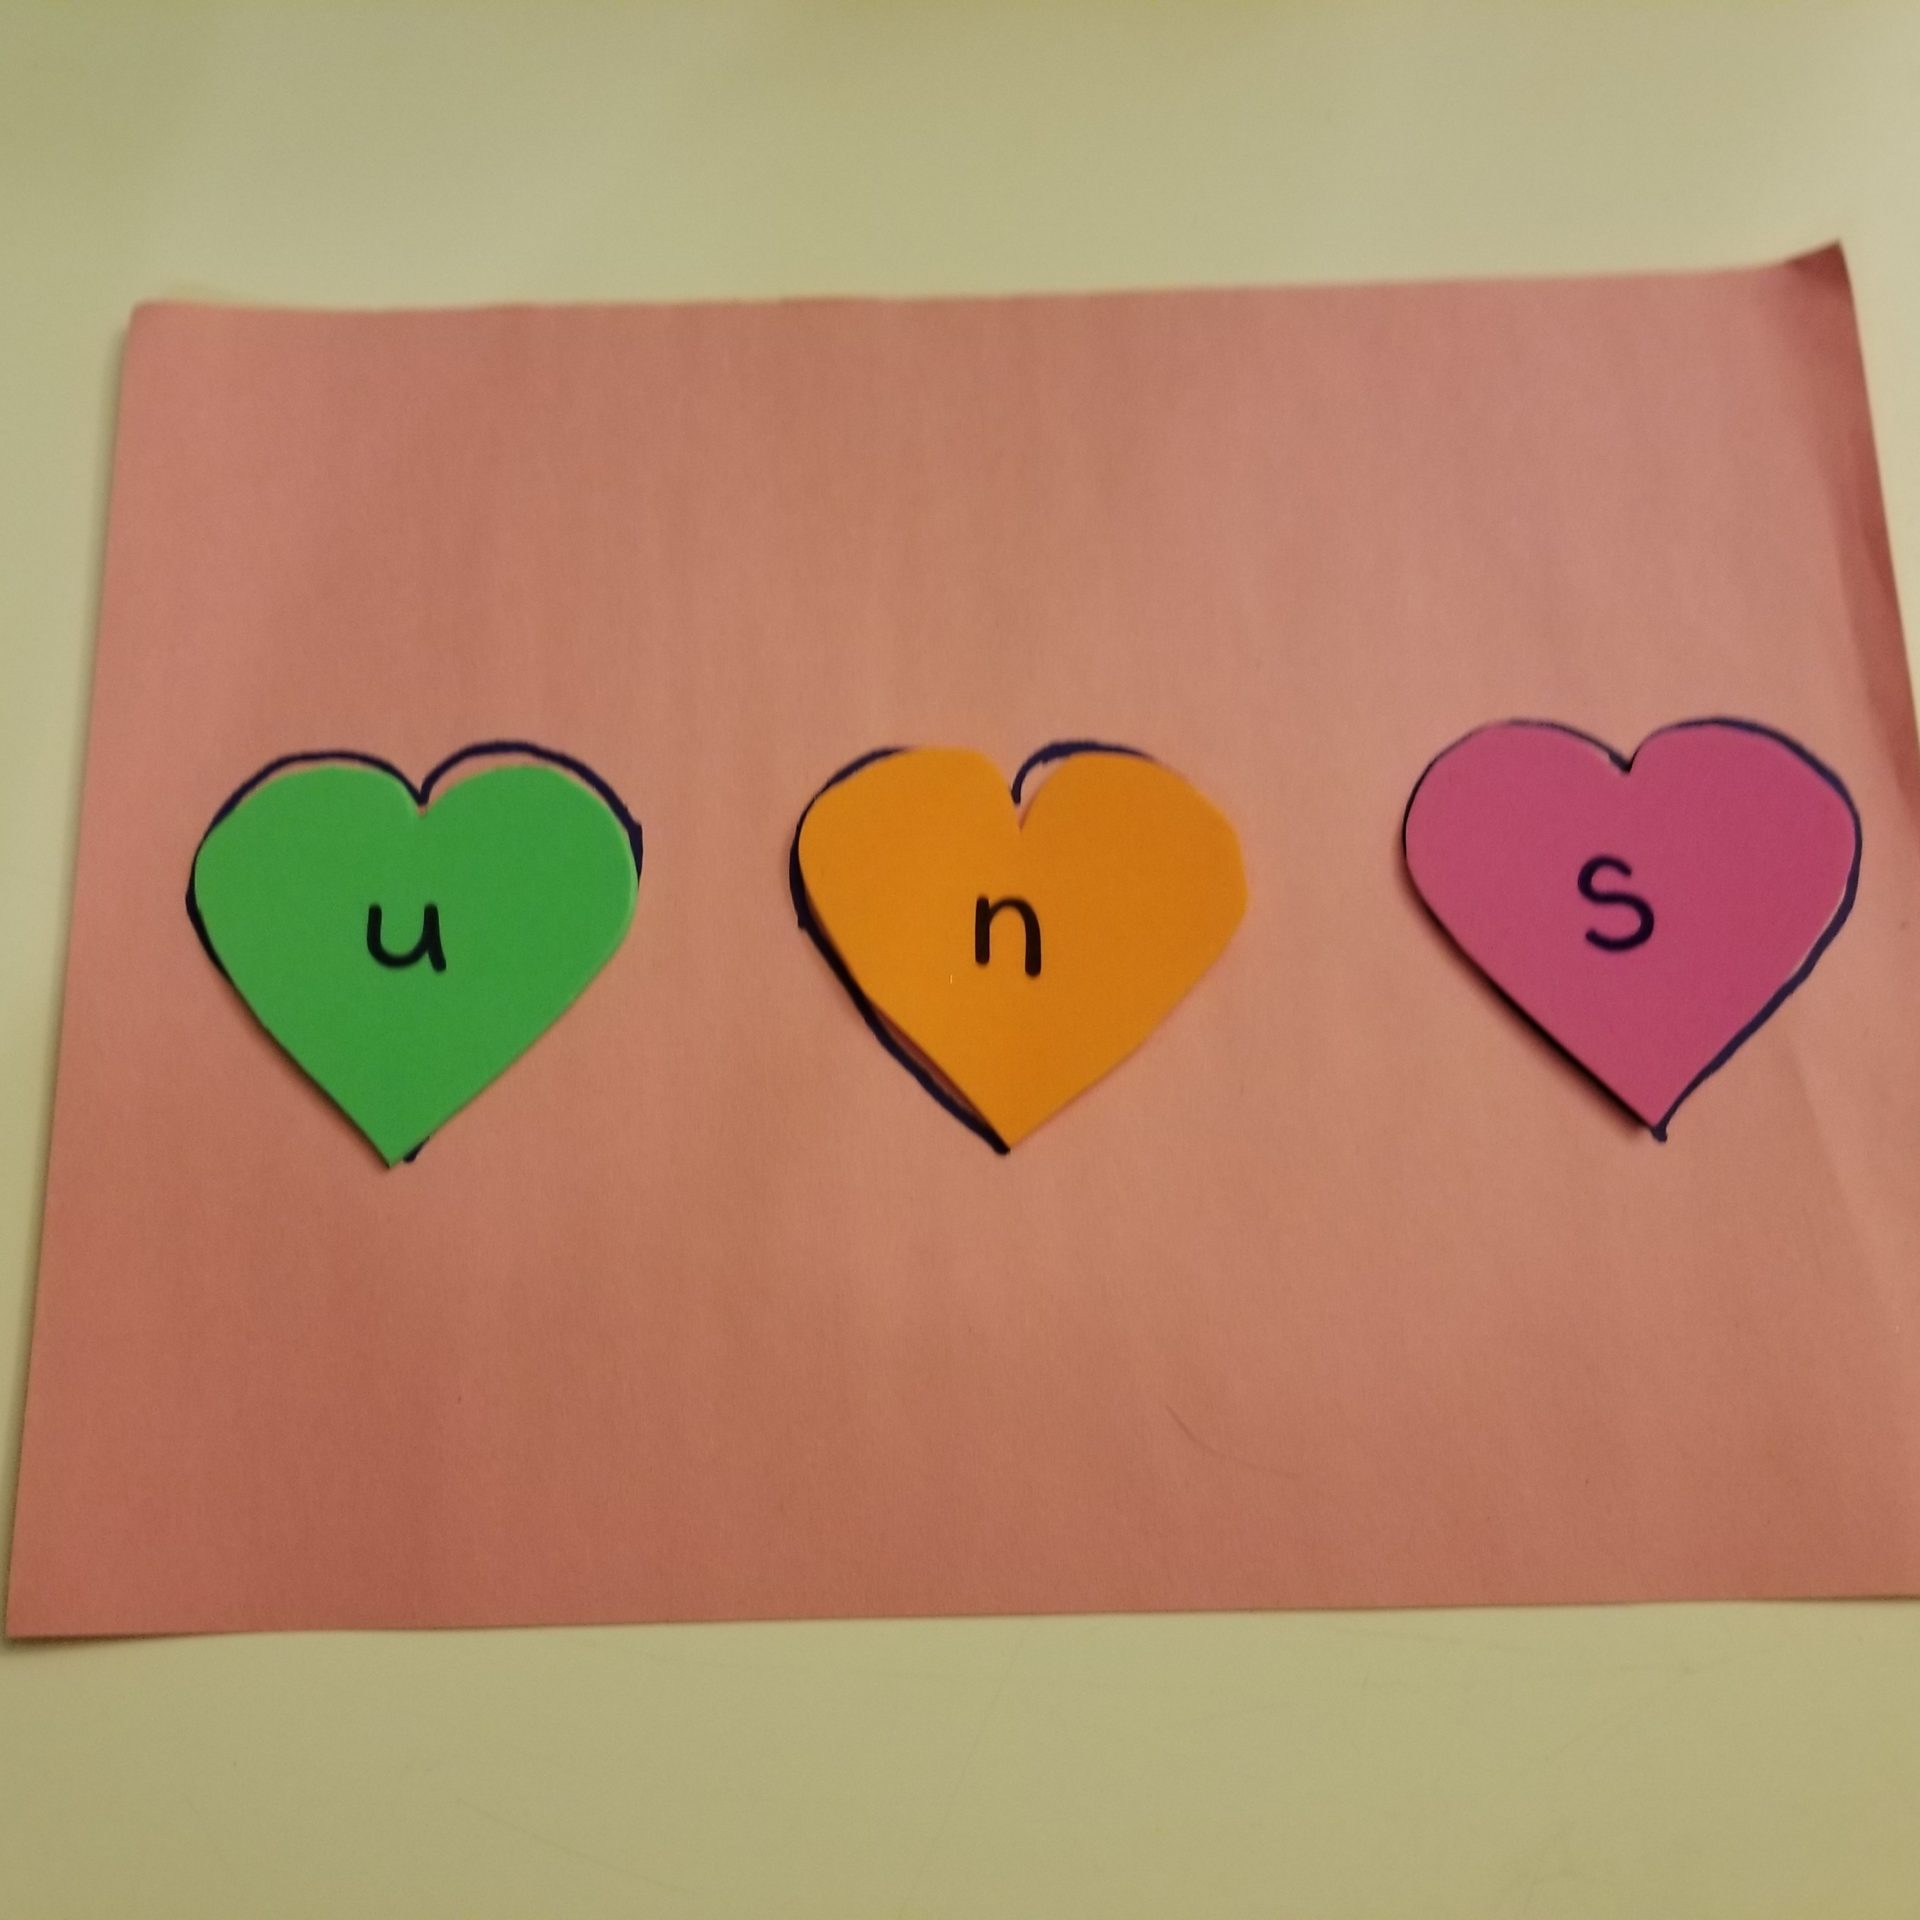
Do those letters make a word? What happens when you move the letters around? Can you make a new word? Maybe they don’t make a word at all. That’s okay too! When your child has finished with those letters, draw three more. Keep going until all the letters are gone.
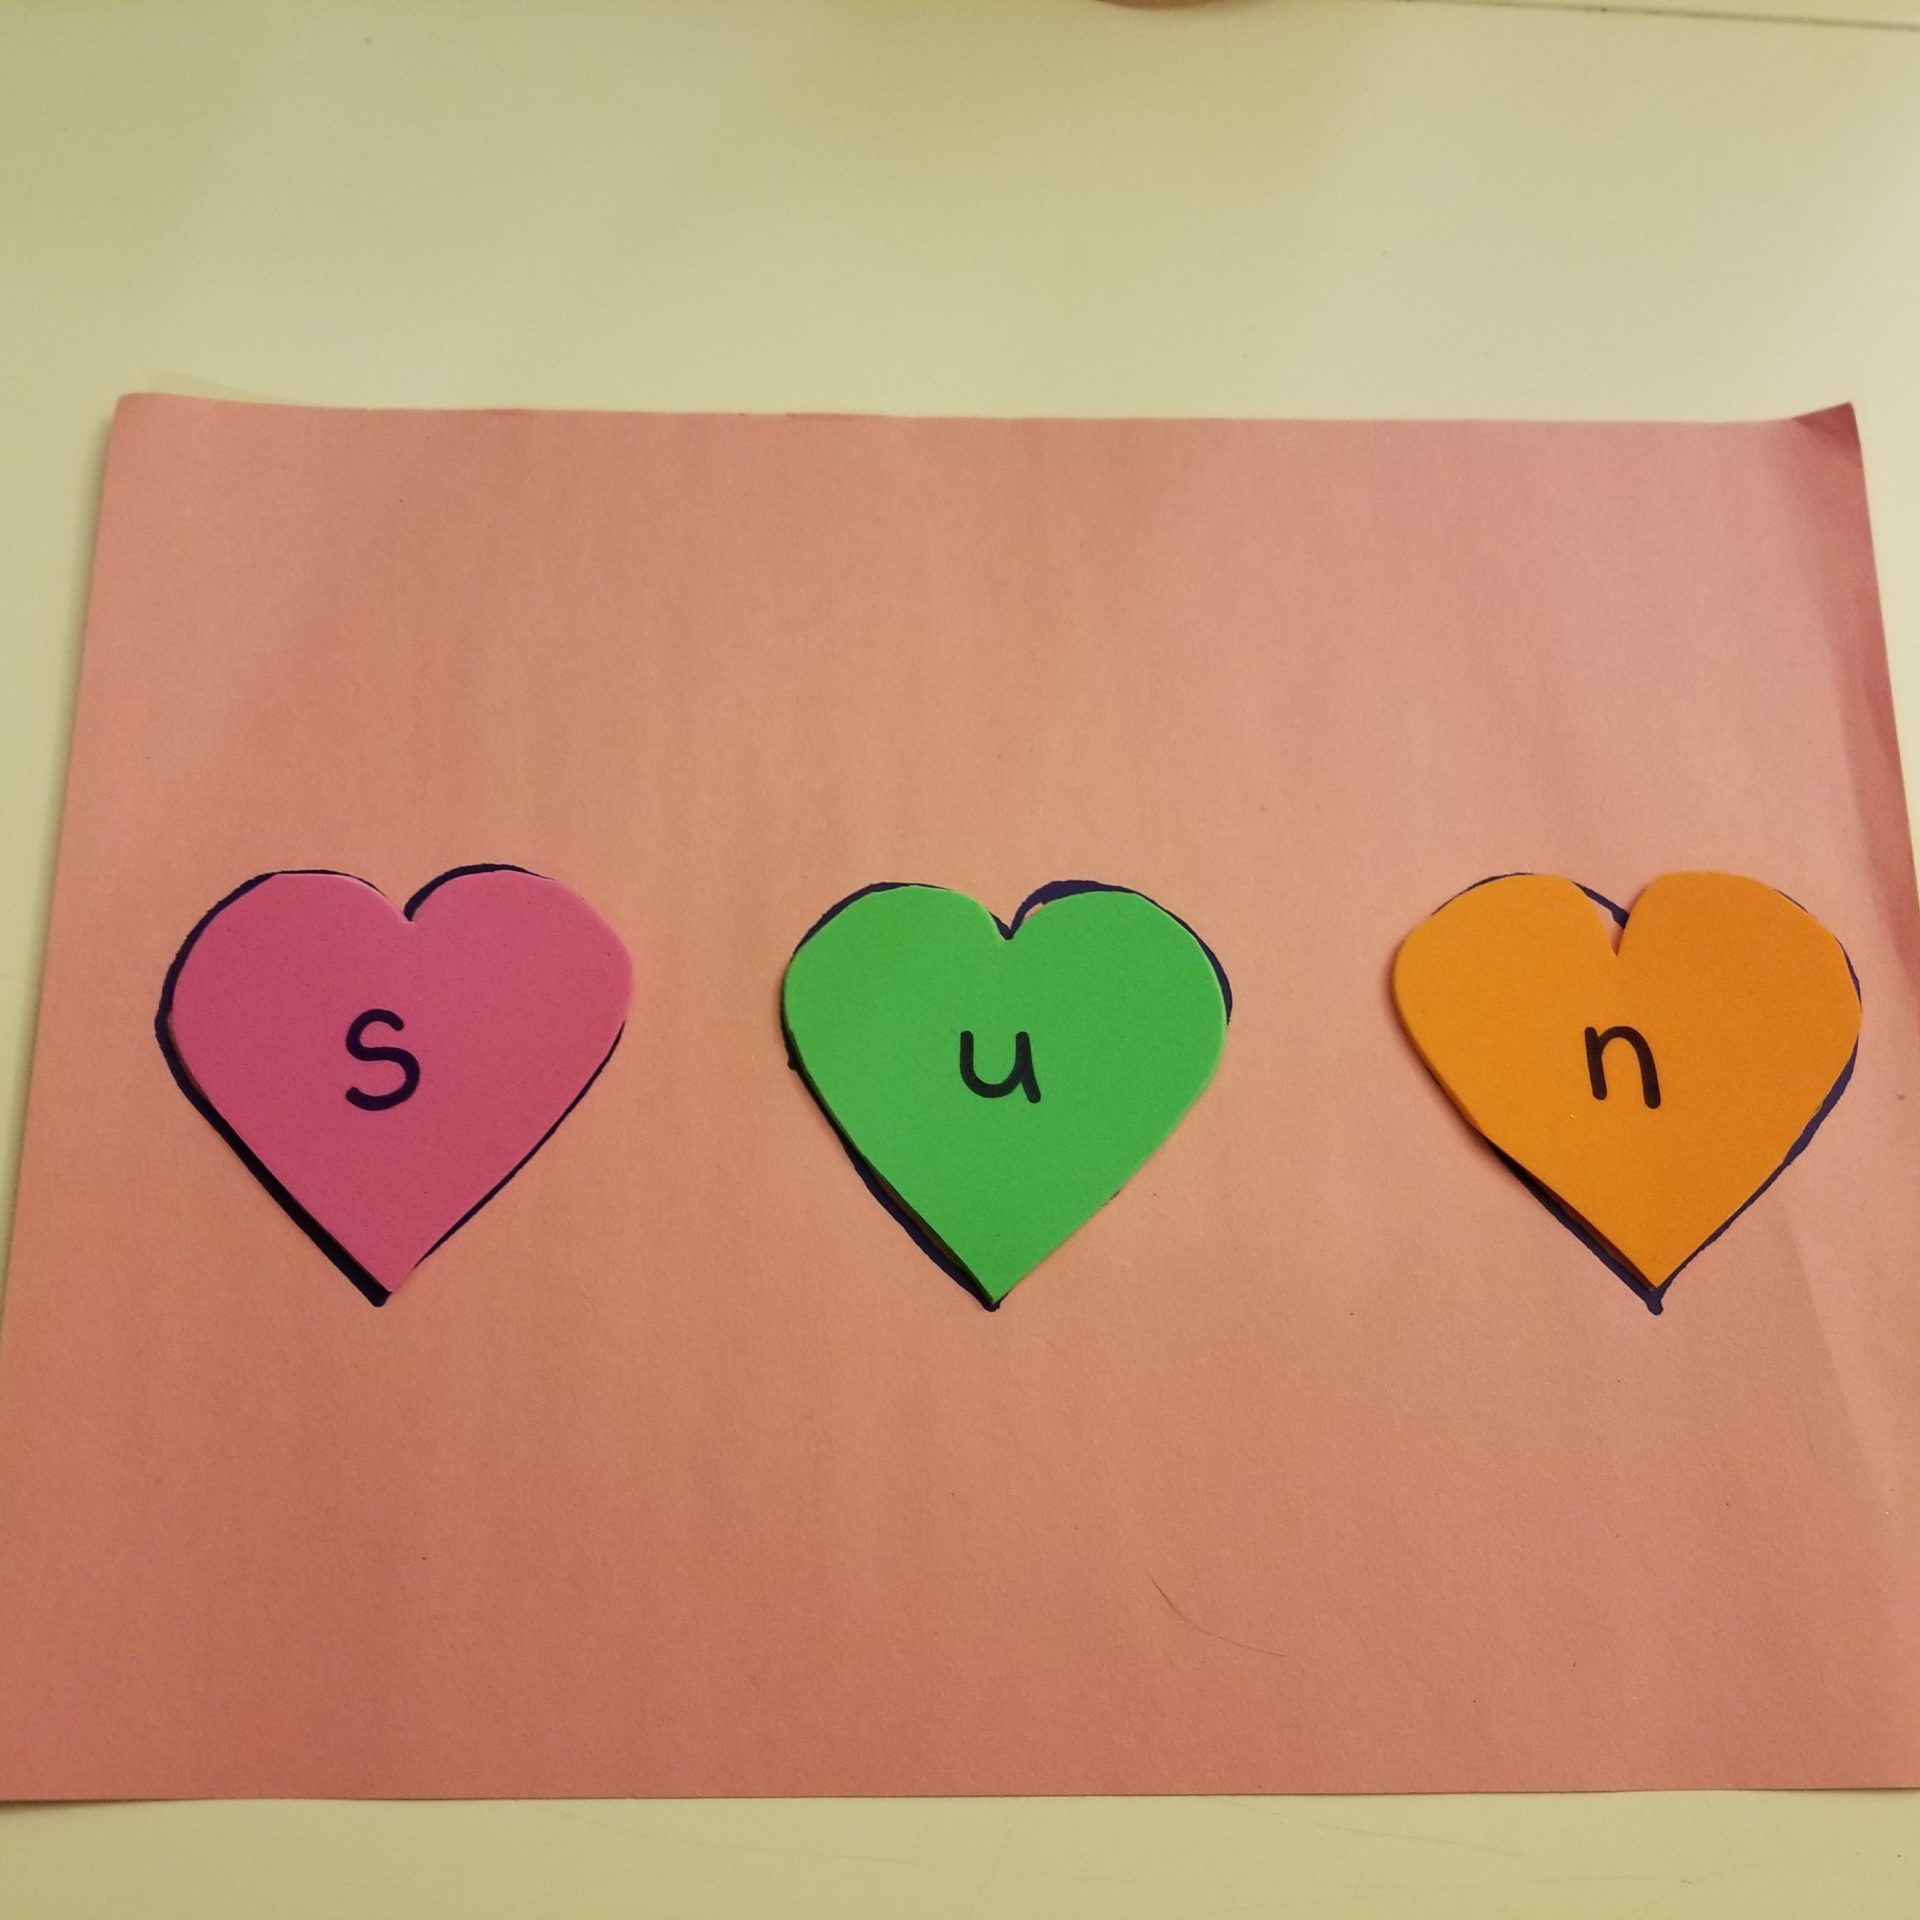
What’s important about this activity isn’t that your child makes real words; it’s that they practice sounding out letters in different combinations. Reinforcing awareness of the sounds that make up words can be silly and fun. It doesn’t need to feel high-pressure or as if they absolutely must know this word. Reading something silly like “opm” or “pom” instead of “mop” uses the same skills: letter recognition, reading left to right, and phonics.
Valentine’s Day is a day for love, and hopefully, with a little help from this activity, your children are learning to love reading.
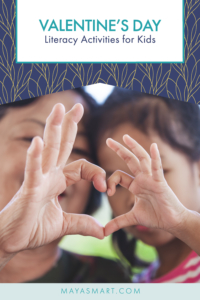
Pin Me for Reference :

This time of year, the internet abounds with reading challenges. Now, I’m all for bookish resolutions. But to be honest, I don’t want to read for a certain number of minutes per day or tackle a specified number of books in a particular genre. I’m not going to log library and bookstore visits or rate my annual reads in Excel spreadsheets, either.
An intensive reading challenge with numerous deadlines and requirements is more likely to stress me out than spark joy. I’m more of a read-what-I-feel-like-for-as-long-as-I-feel-like-it kind of person. And as the new year begins, I’m prioritizing rest and relationships over rigid goals, so any bookish resolutions have got to fit within that frame.
That said, book enthusiast that I am, I do have a few reading resolution ideas worth pondering for their ease, community spirit, and positive vibes.
Resolution #1: Read in Community. Reading is one of life’s great solitary pleasures. You can curl up in a chair alone and be transported to another world full of drama and wonder. Discussing what you’ve read with others can extend the pleasure and deepen your exploration of the world created within the book’s pages. And, frankly, in times of great social isolation and distance, it’s a great excuse to gather.
As Margaret Atwood put it, “the real, hidden subject of a book group discussion is the book group members themselves.” Sure, we may tangle over a book’s (de)merits—its plot, characters, or style—but the subtext is always our individual revelations—our biases, convictions, and doubts laid bare. What a wonderful opportunity to learn and connect.
You can find book clubs via your local library, book festival, or by asking around. Virtual options abound and socially distanced outdoor gatherings are an option even after conditions allow indoor parties to make a comeback. Or you can start one custom-suited to your interests. I recently heard of a Bad Bugs Bookclub that brings scientists and nonscientists together to read novels where infectious disease forms part of the plot. Its goal? To give epidemiology a boost in awareness and understanding. Imagine the discussion! More importantly, ponder what types of books and people you’d like to spend more time with this year and find a way to connect the dots.
Resolution #2: Go with the flow. Sometimes picking your next read is the hardest part. Take it easy by letting someone else pick every now and then. There are numerous fabulous book clubs that can help you find your next great read. A few family book subscriptions with headquarters here in Austin are Ripple Reads, Literati, and Brown Book Box.
I’m an advisor to Ripple Reads, whose family book club and workbook help families and caregivers have meaningful conversations with kids about race, justice, and empathy. Its bimonthly family discussion guides and activities are crafted in partnership with leading university professors from the University of Texas Center for Innovation in Race, Teaching, and Curriculum. What’s more, through the Ripple Reads scholarship fund, children participating in the Friends of the Children Austin mentoring program receive a free subscription. Use the code MAYAFRIEND and Ripple Reads will donate $5 of your subscription cost to the Friends of the Children Austin scholarship fund.
Resolution #3: Give books a second life. Often we let space constraints, not value judgements, guide us when it comes to which books stay in our homes. I’m a major book buyer and that’s unlikely to change (see resolutions one and two), but 2020 taught me to be more discerning about what gets a permanent place on my shelves. As I saw my shelves overflow and book piles proliferate, I had to ask myself what good the books were doing collecting dust in my house when they could actually be donated to a library to be enjoyed by other people or sold to benefit library collections or programming.
A cursory survey revealed just a few truly cherished books with powerful stories worth returning to again and again, plus a solid collection of valuable (to me) reference books. But those two categories were far outnumbered by one-read wonders and perpetual to-be-read pilers—stuff I found compelling enough to buy on impulse but not intriguing enough to actually read. It was time to let those all go.
This year, I plan to donate at least 200 books to my local library system and to community-based early literacy programs, which are always in need of gently used children’s books. A friend’s brother jots down the titles of all the books he finished to mark the experience in memory without clinging to the physical package. I like the low-tech, low-pressure approach.
Bonus Resolution: Pay It Forward
It’s been an eternity since I stood in line in a bookstore with my arms straining under the weight of a giant pile of lovingly selected books. But as soon as I can, I’ll be back in BookPeople—buying up the shelves, to be sure, but also spreading the book love to others by leaving a gift card for the shopper in line behind me. This is the perfect random act of kindness for the return to retail. Who knows? Maybe they’ll pay it forward. Hat tip to Lauren for this stellar idea!
What do you think? Will you give any of these resolutions a try? Or, do you have something else in mind? Please leave a comment to let us know.
Pin Me for Reference :