By Michelle Luke
We all know reading aloud to kids is great for literacy. And inviting them to retell the stories in their own words afterwards can make it even better. Retelling helps deepen kids’ comprehension and support the oral language skills that underpin successful reading and writing.
In this story time activity, we explore Chinese traditions for the Lunar New Year. In traditional celebrations, a mythical Chinese lion dances in the new year to bring good luck and scare away the bad. The lion dances to the beat of a powerful drum and tells stories with its movements, accompanying the grand dragon and serving as a protector of the people. We’ll follow a simple tutorial to craft our own storytelling lion puppet that kids can use to retell the story.
Whether you grew up with these traditions, like me, or you want to learn about the Lunar New Year alongside your child, this project is a perfect way to mark the new year. And because it’s completely oral, this is a good early literacy activity for very young children, though it can be great fun with older kids, as well.
Materials:
- A picture book about the Lunar New Year
- Paper bag (lunch bag size is best, but any size could work)
- Paper
- Scissors
- Glue or glue stick
- Something to color with (colored pencils, crayons, markers)
- Streamers, tissue paper, ribbons (optional)
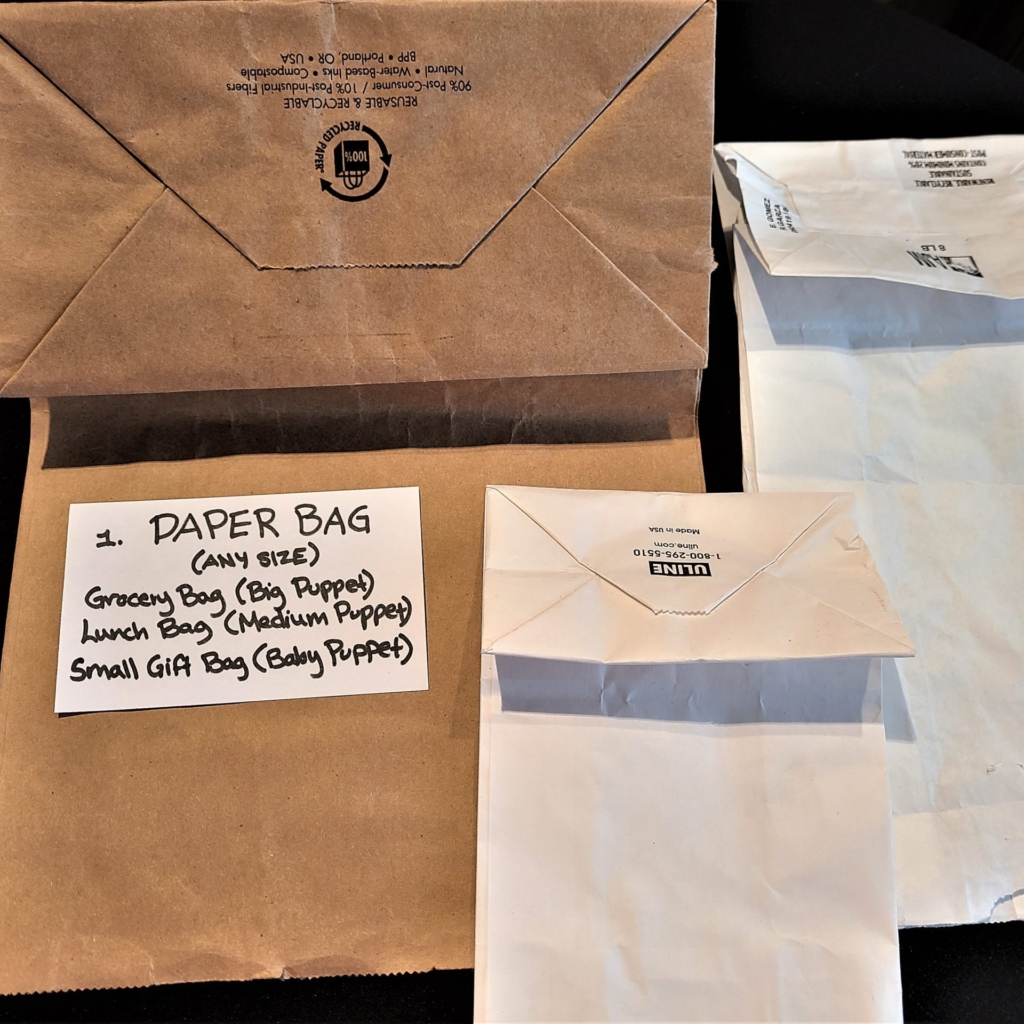
Cost: Nothing if you have these simple materials on hand.
Kick off this activity by telling your child about the tradition of Lunar New Year and the lion dance (you can find lots more information online if you want more background; for example, the China Highlights company has a good write-up).
Then follow our tutorial to make your puppet:
Step 1: Draw your lion’s head or print out our free lion puppet template.
Note: Because of its dragon-like look and the fact that a dragon also features in Chinese new year festivities, this lion is often mistaken for a dragon. But in fact it’s only the opening act for the dragon that dances at the culmination of events, on the 15th day of the celebrations, also known as the Lantern Festival.
Step 2: Color in the head, decorate it with whatever you like, and cut it out.
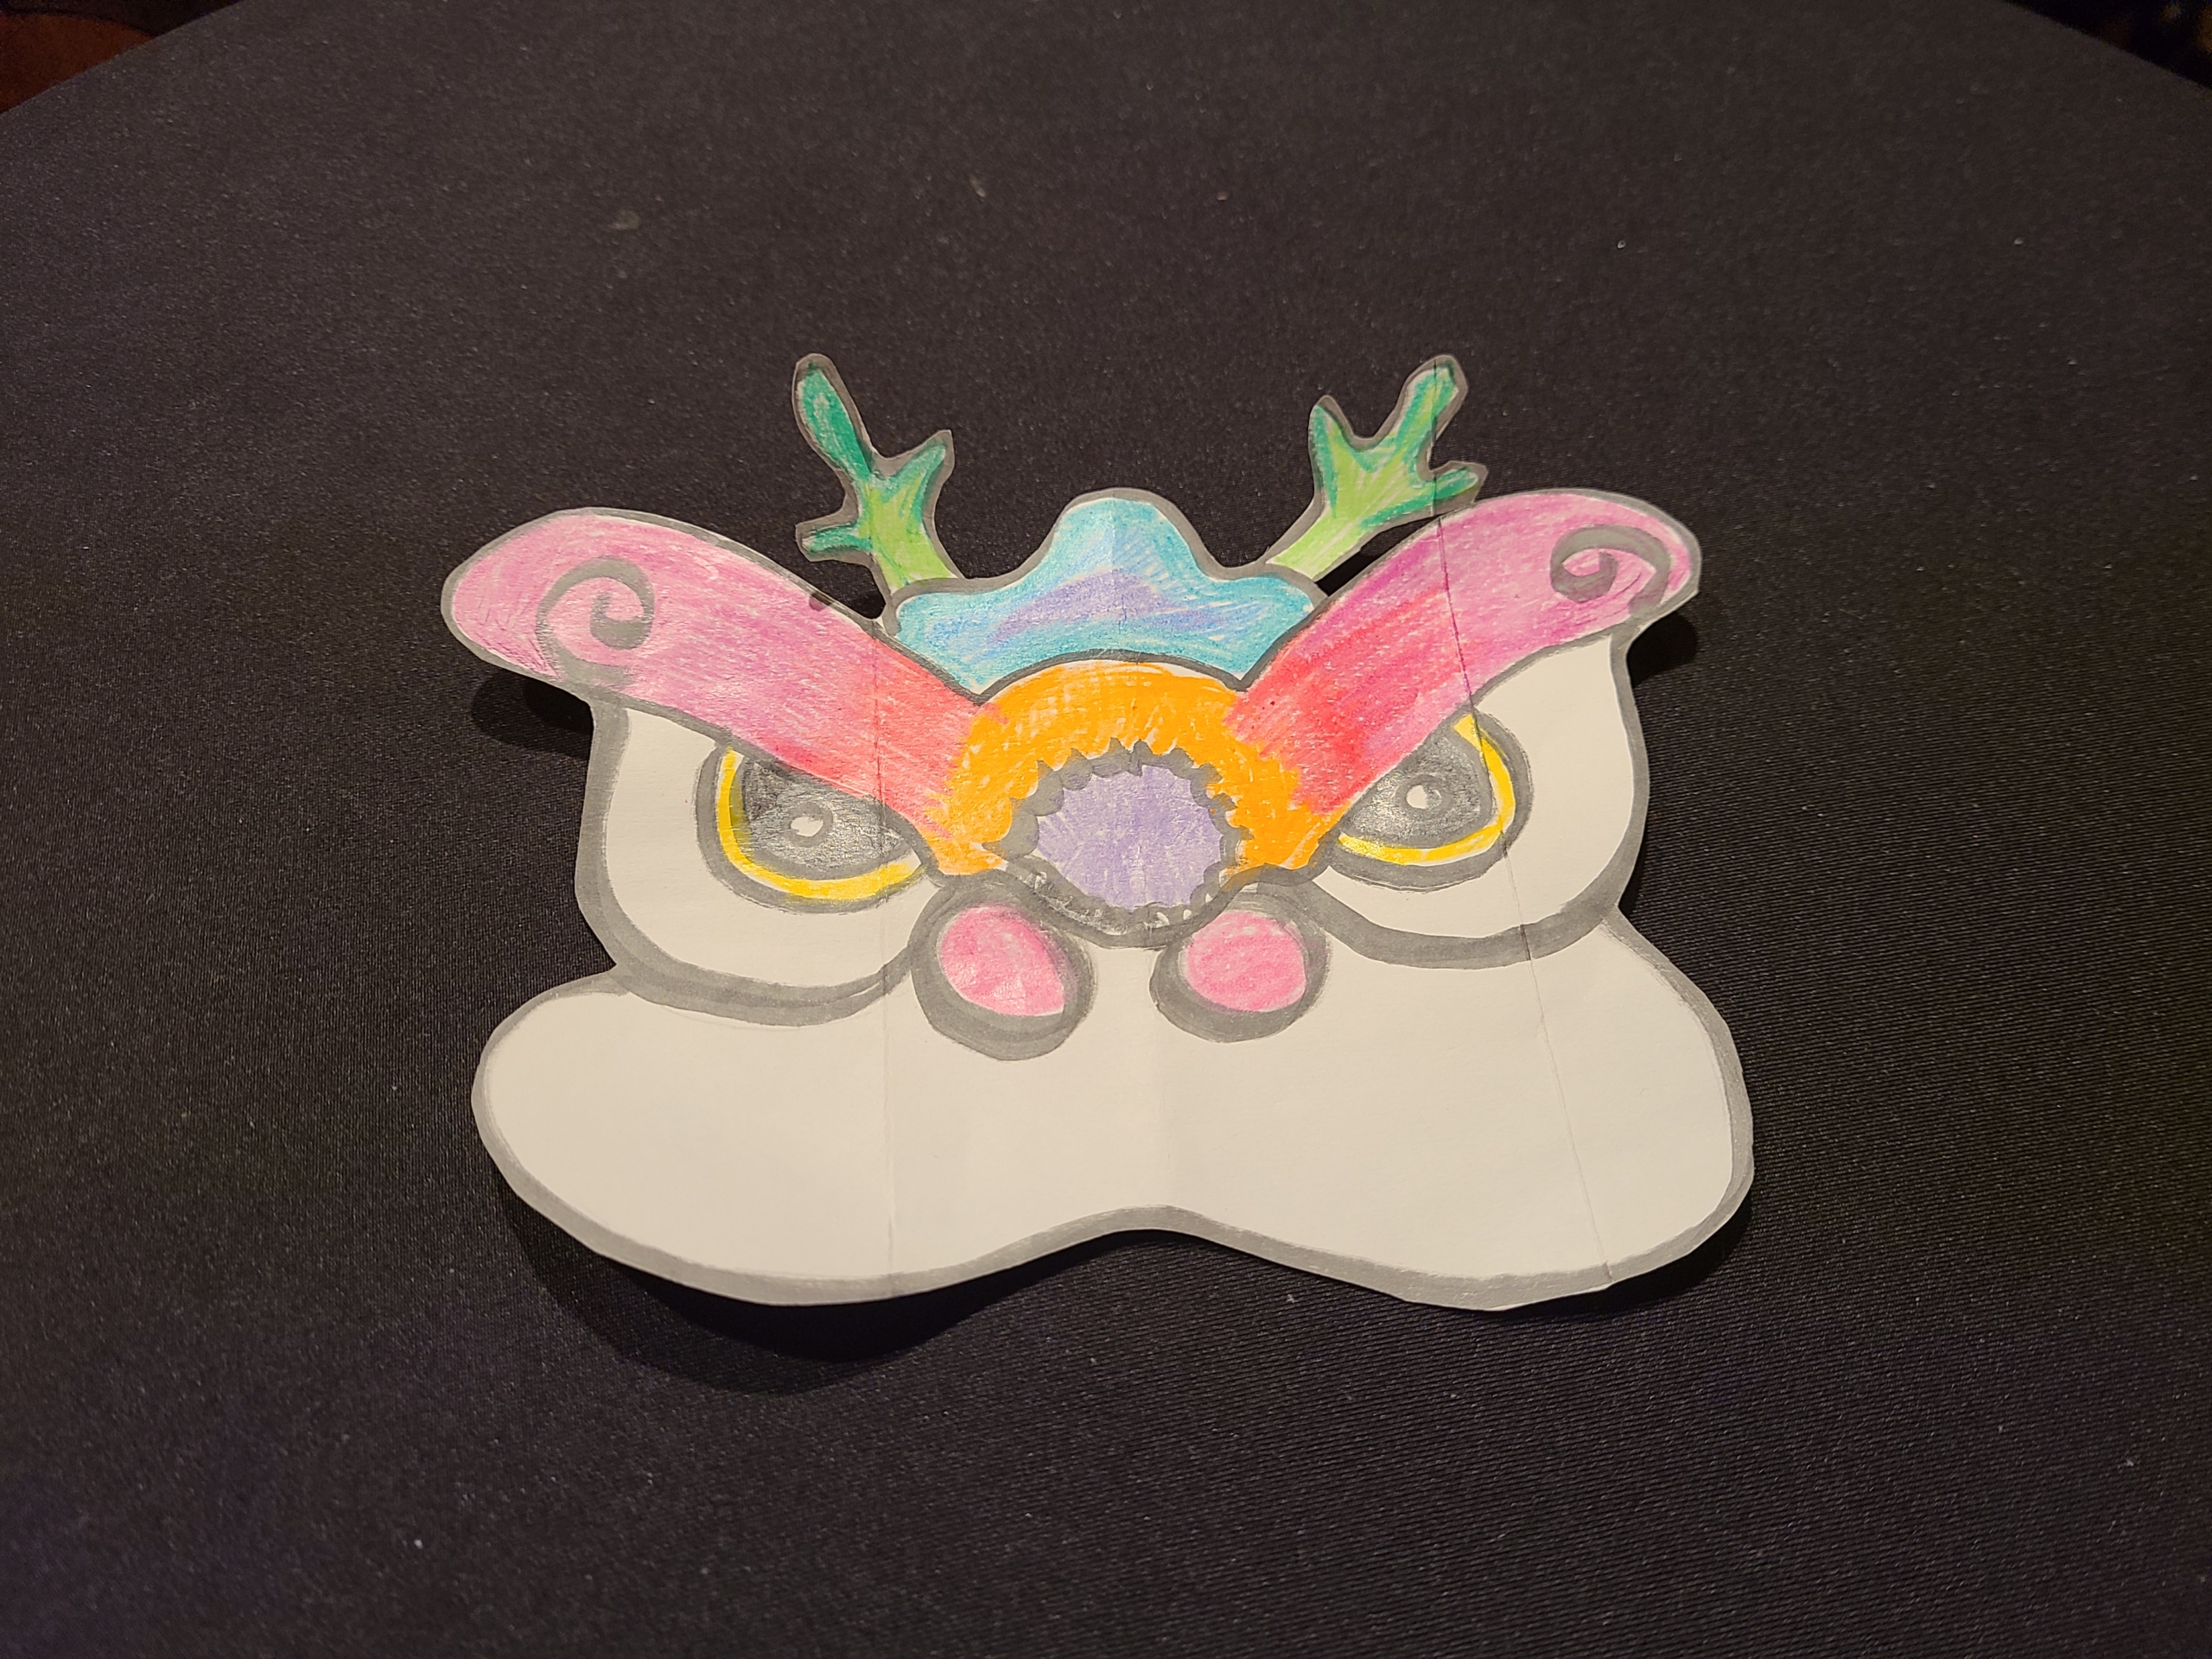
Step 3: Apply glue to the bag base and press the head gently over the glue to stick it onto the bag.
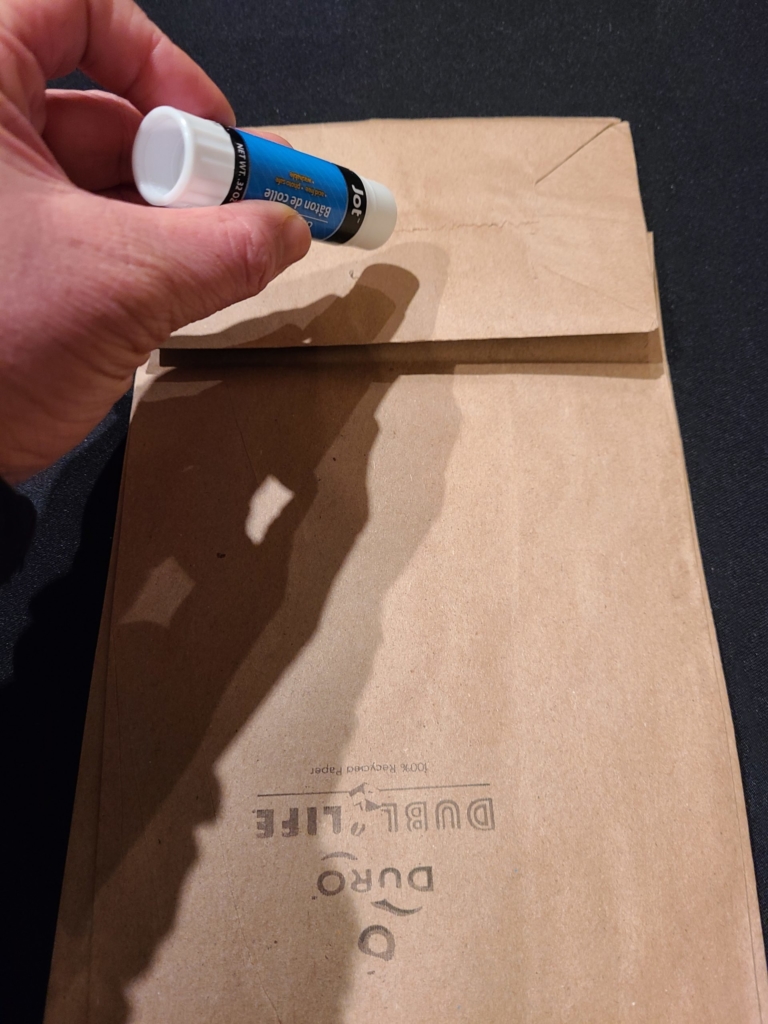
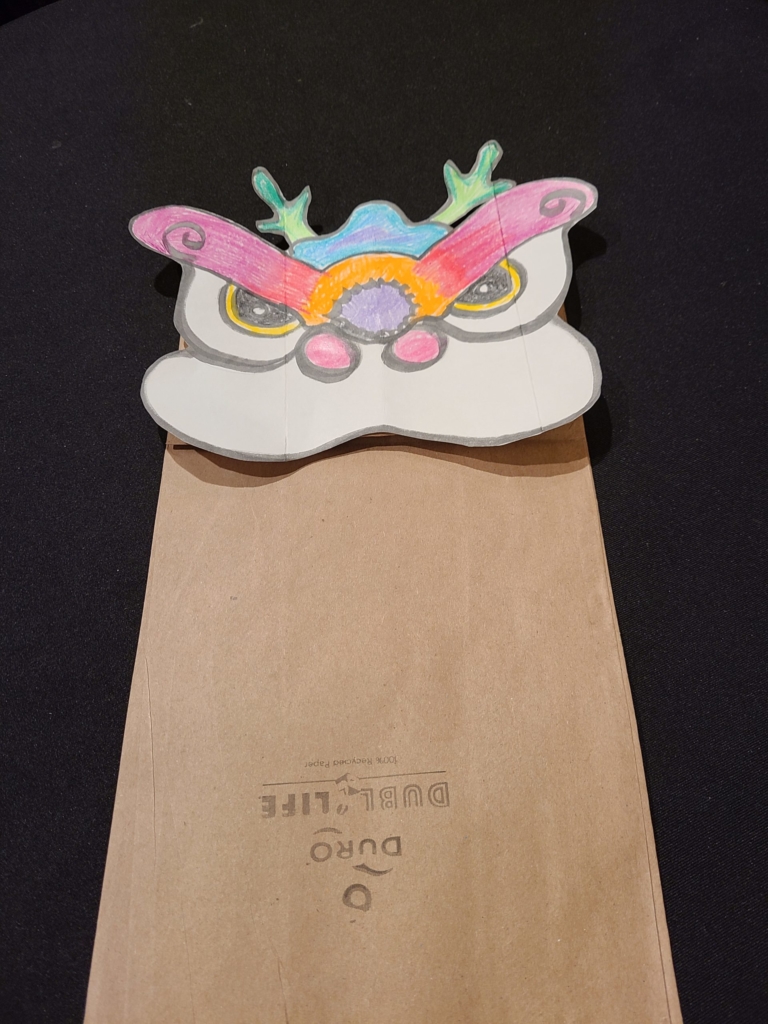
Step 4: Next you’ll add a beard and mouth to your lion puppet. Draw a white beard and cut it out. Make sure that it fits across the width of your bag. Then cut out a semi-circle to represent the lion’s mouth.
See below for a way to draw a traditional mouth: three thick arches and one thin one, with lines in the third arch. These represent the lion’s mouth, tongue, and teeth.
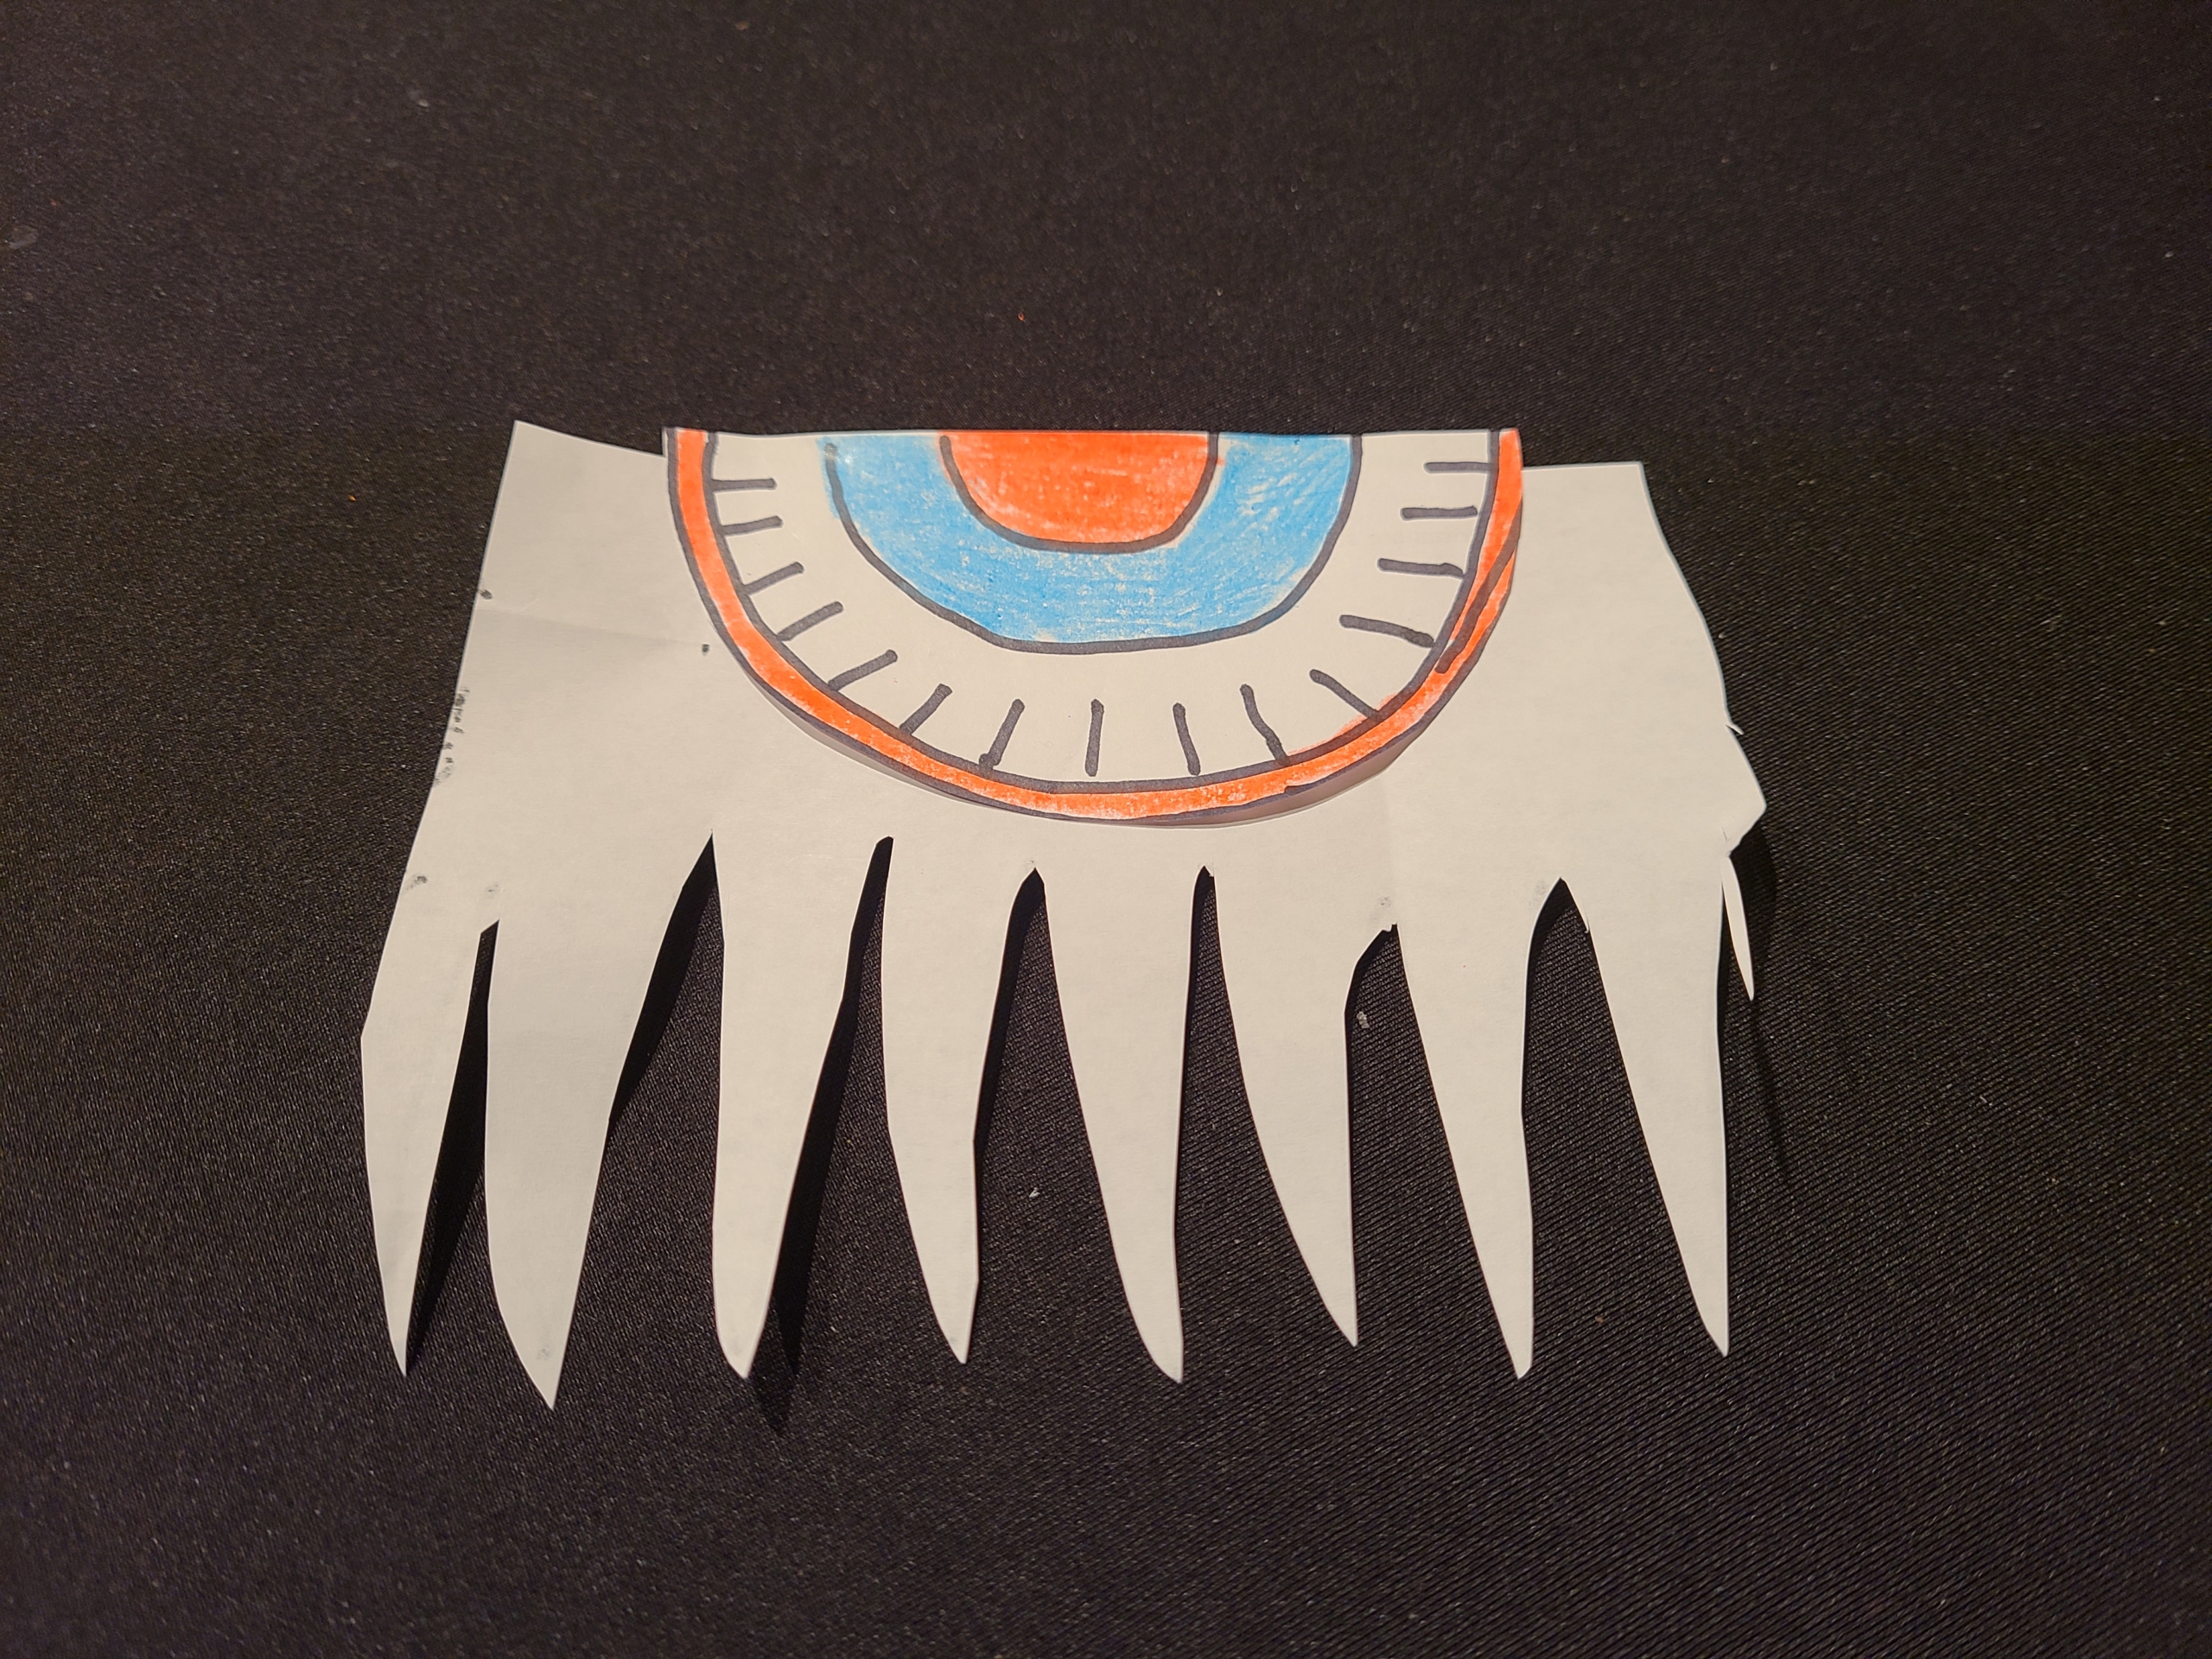
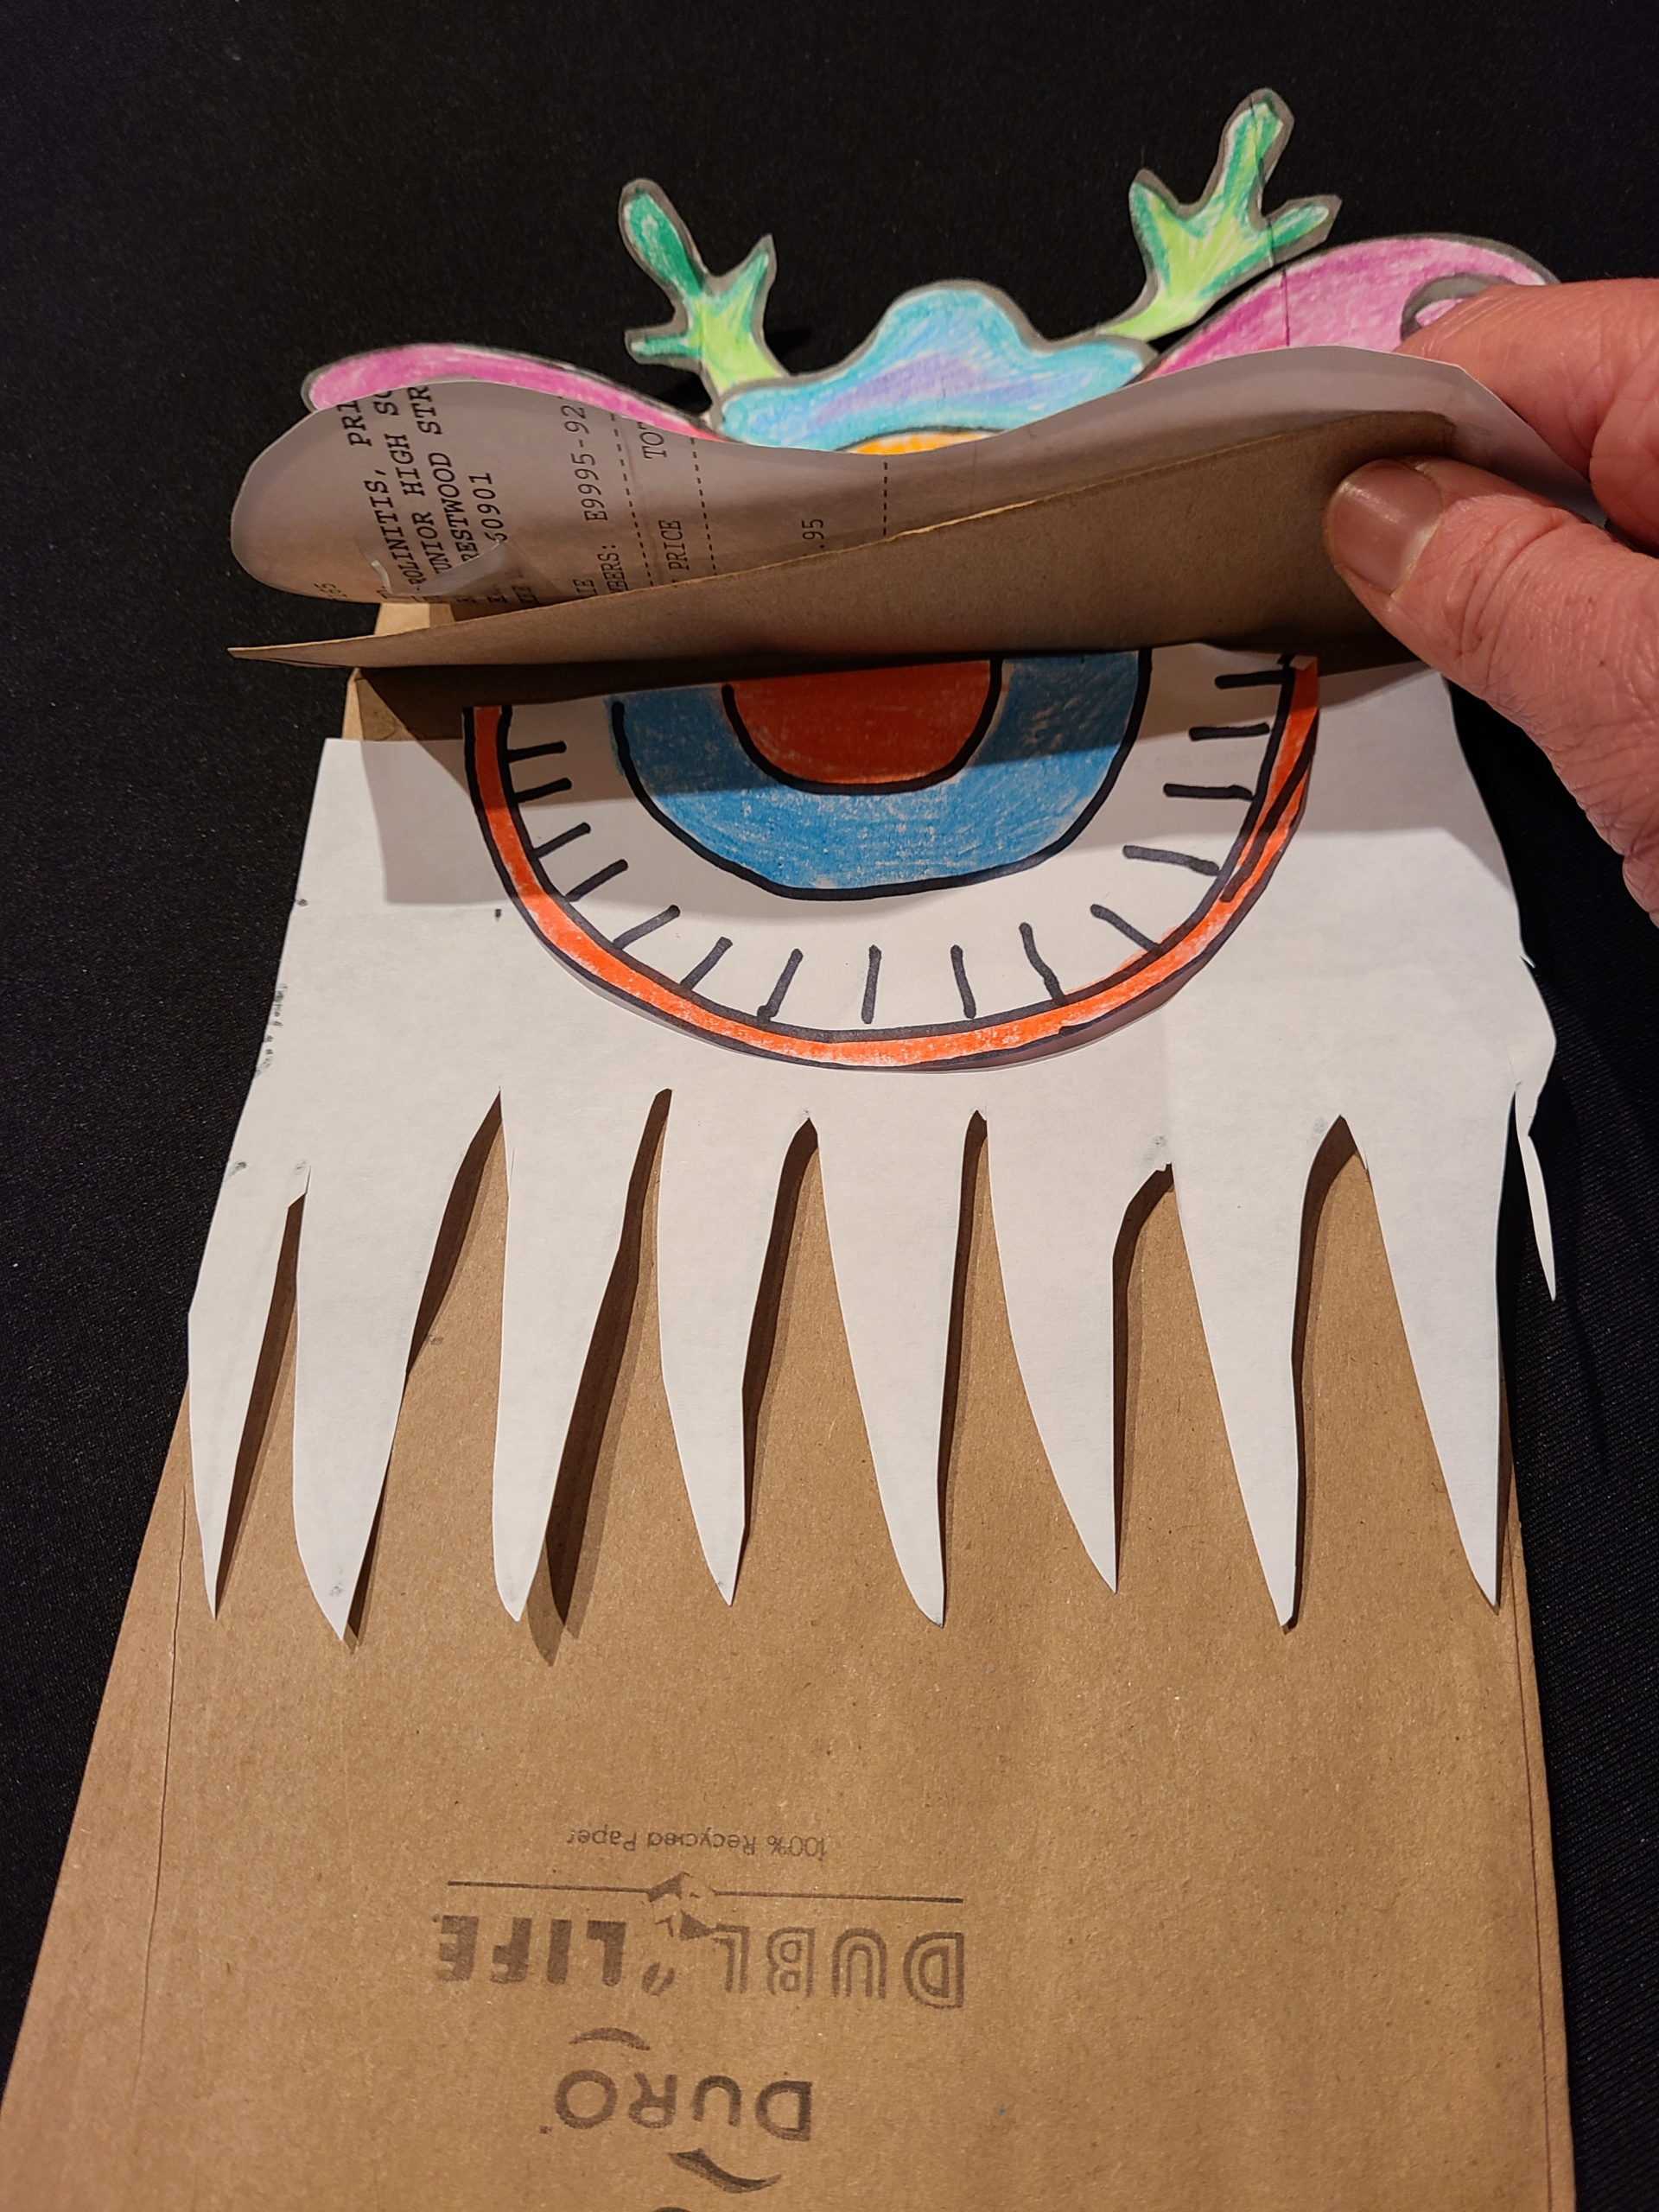
Step 5: Glue the mouth to the top center of the beard, then glue the beard onto the flat part of the paper bag just below the head flap. Make sure the upper edge of the beard is aligned with the bottom crease of the head flap by pressing it all the way up against the flap before gluing it down.
Your basic lion puppet is now complete! Feel free to stop here, or add some optional embellishments.
Step 6 (optional): Traditional Chinese lions are typically adorned with colorful wave patterns and long flowing tails. You can get as detailed as you like in decorating your puppet! For example: Draw waves or stripes on the lion’s body or embellish it with glitter, ribbons or feathers. Attach colorful streamers or strips of tissue paper to the back of the lion’s head, which will flow as it dances.
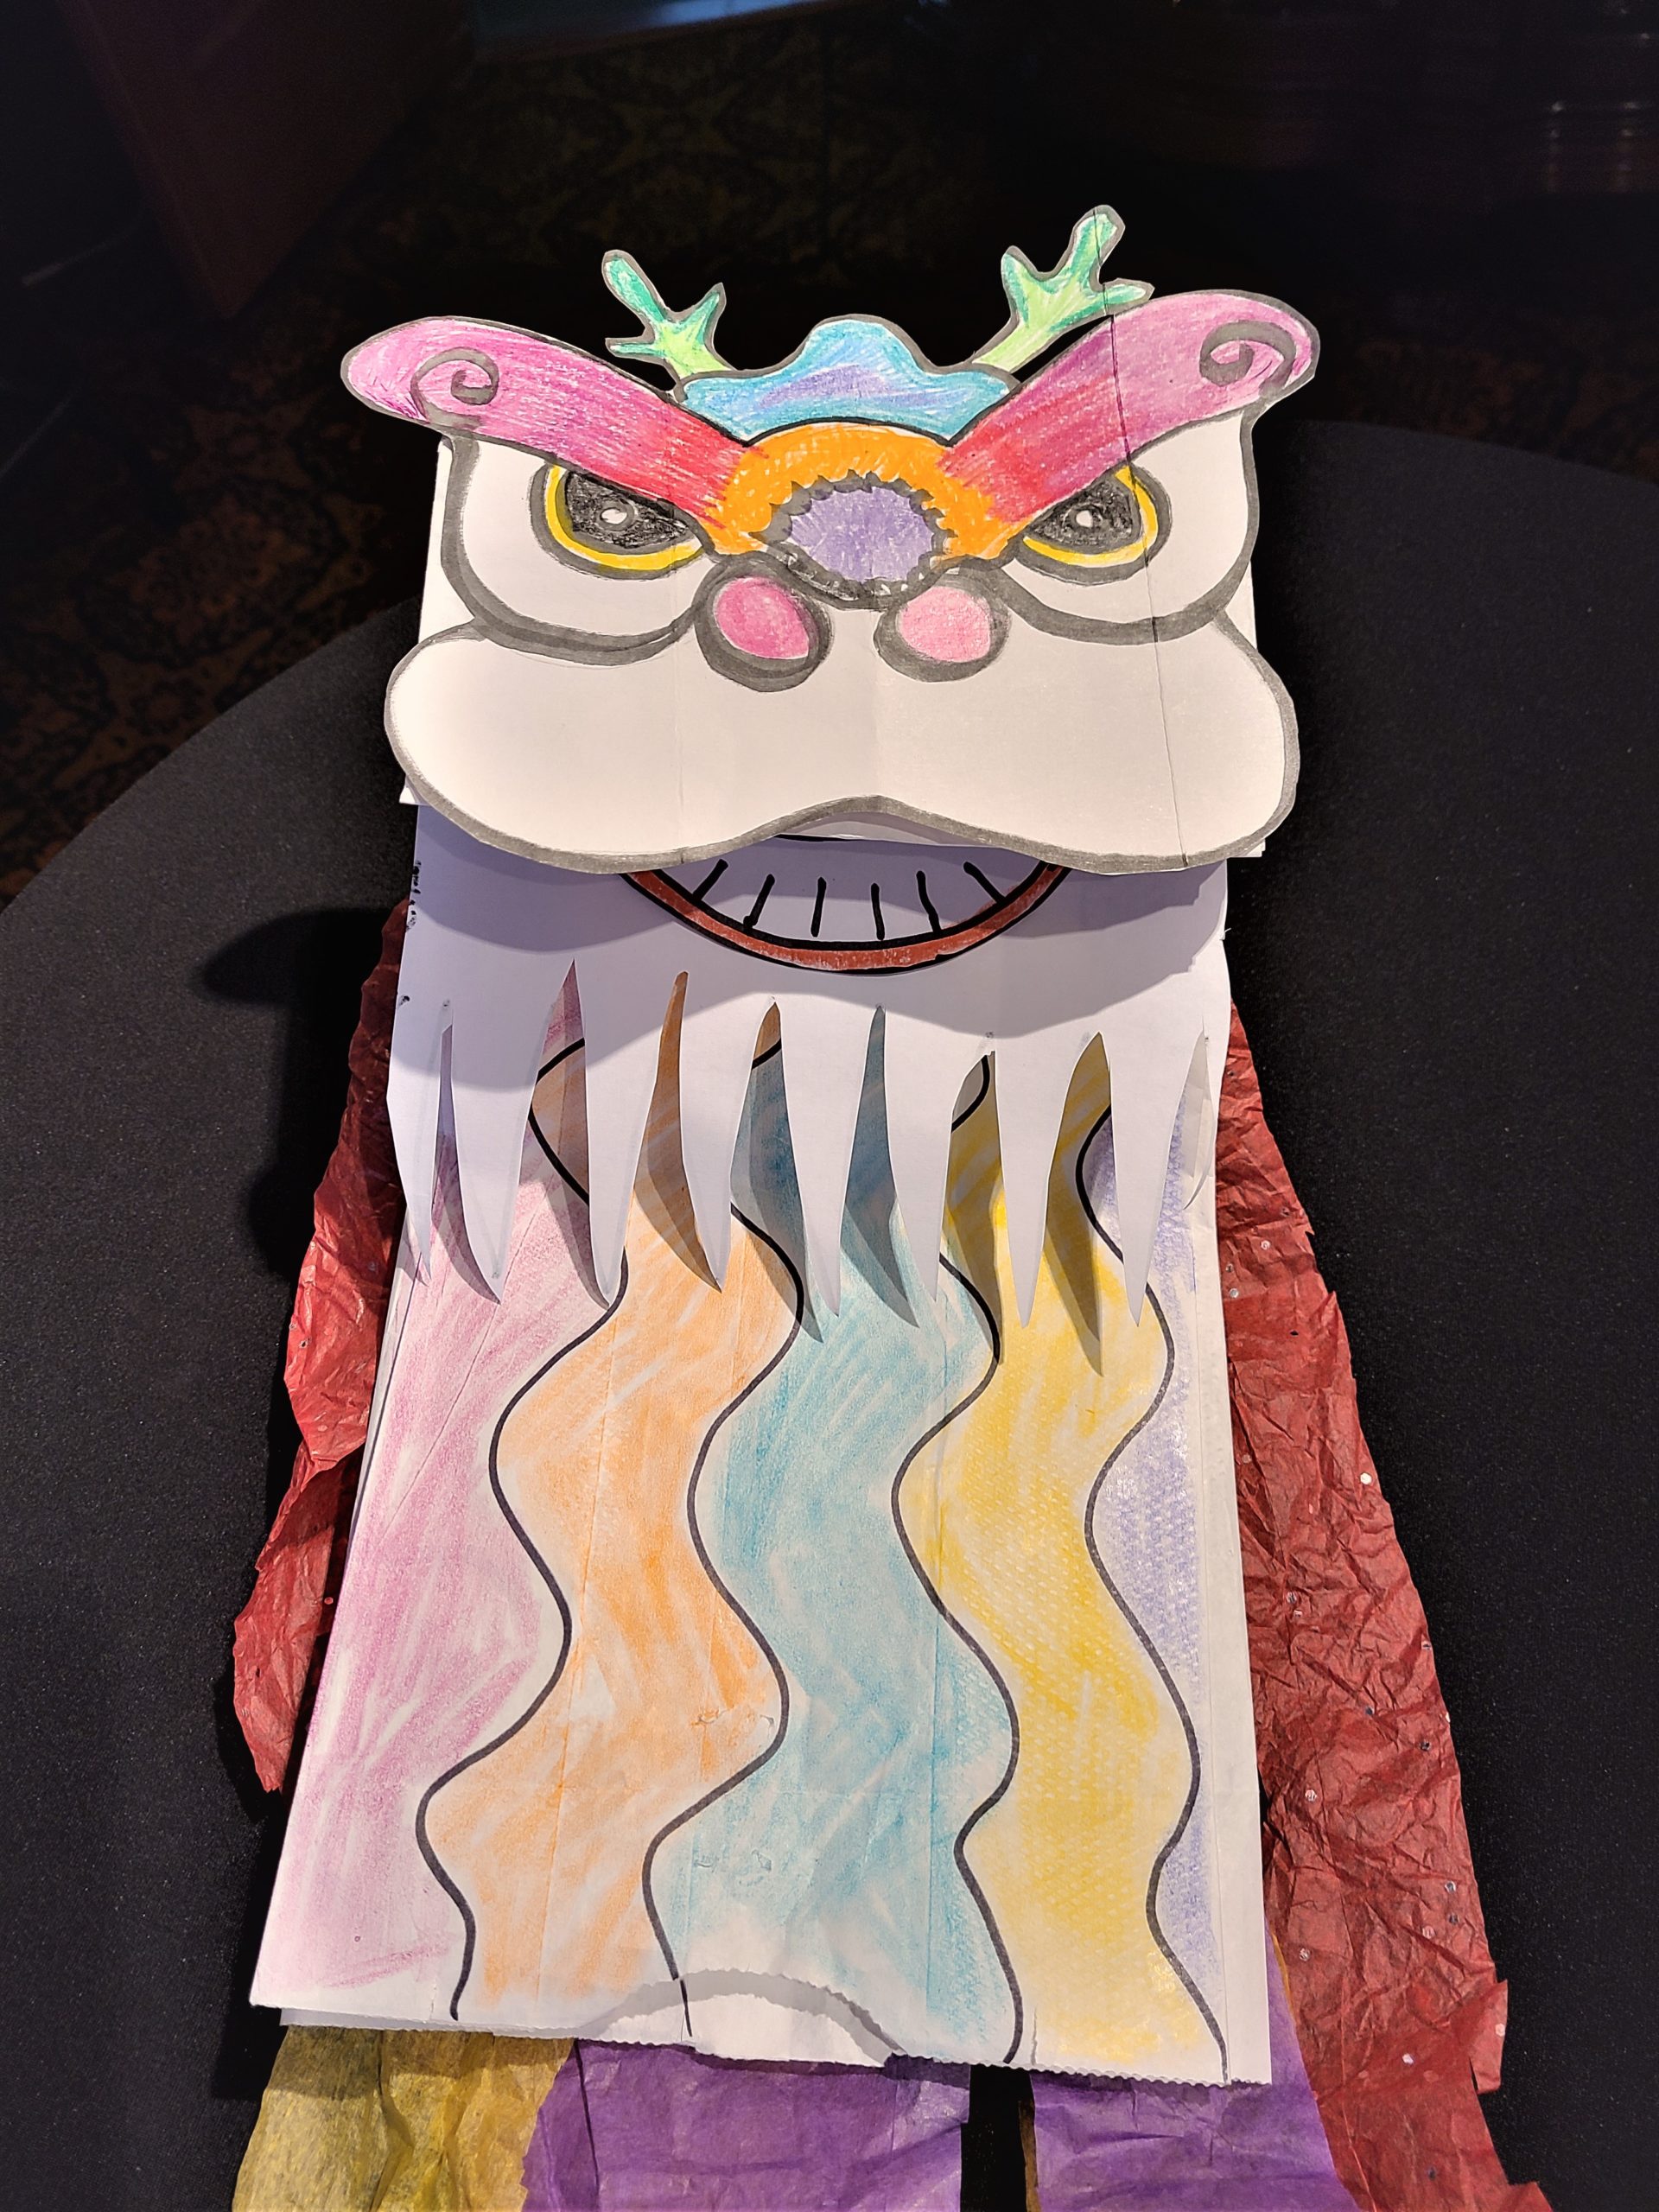
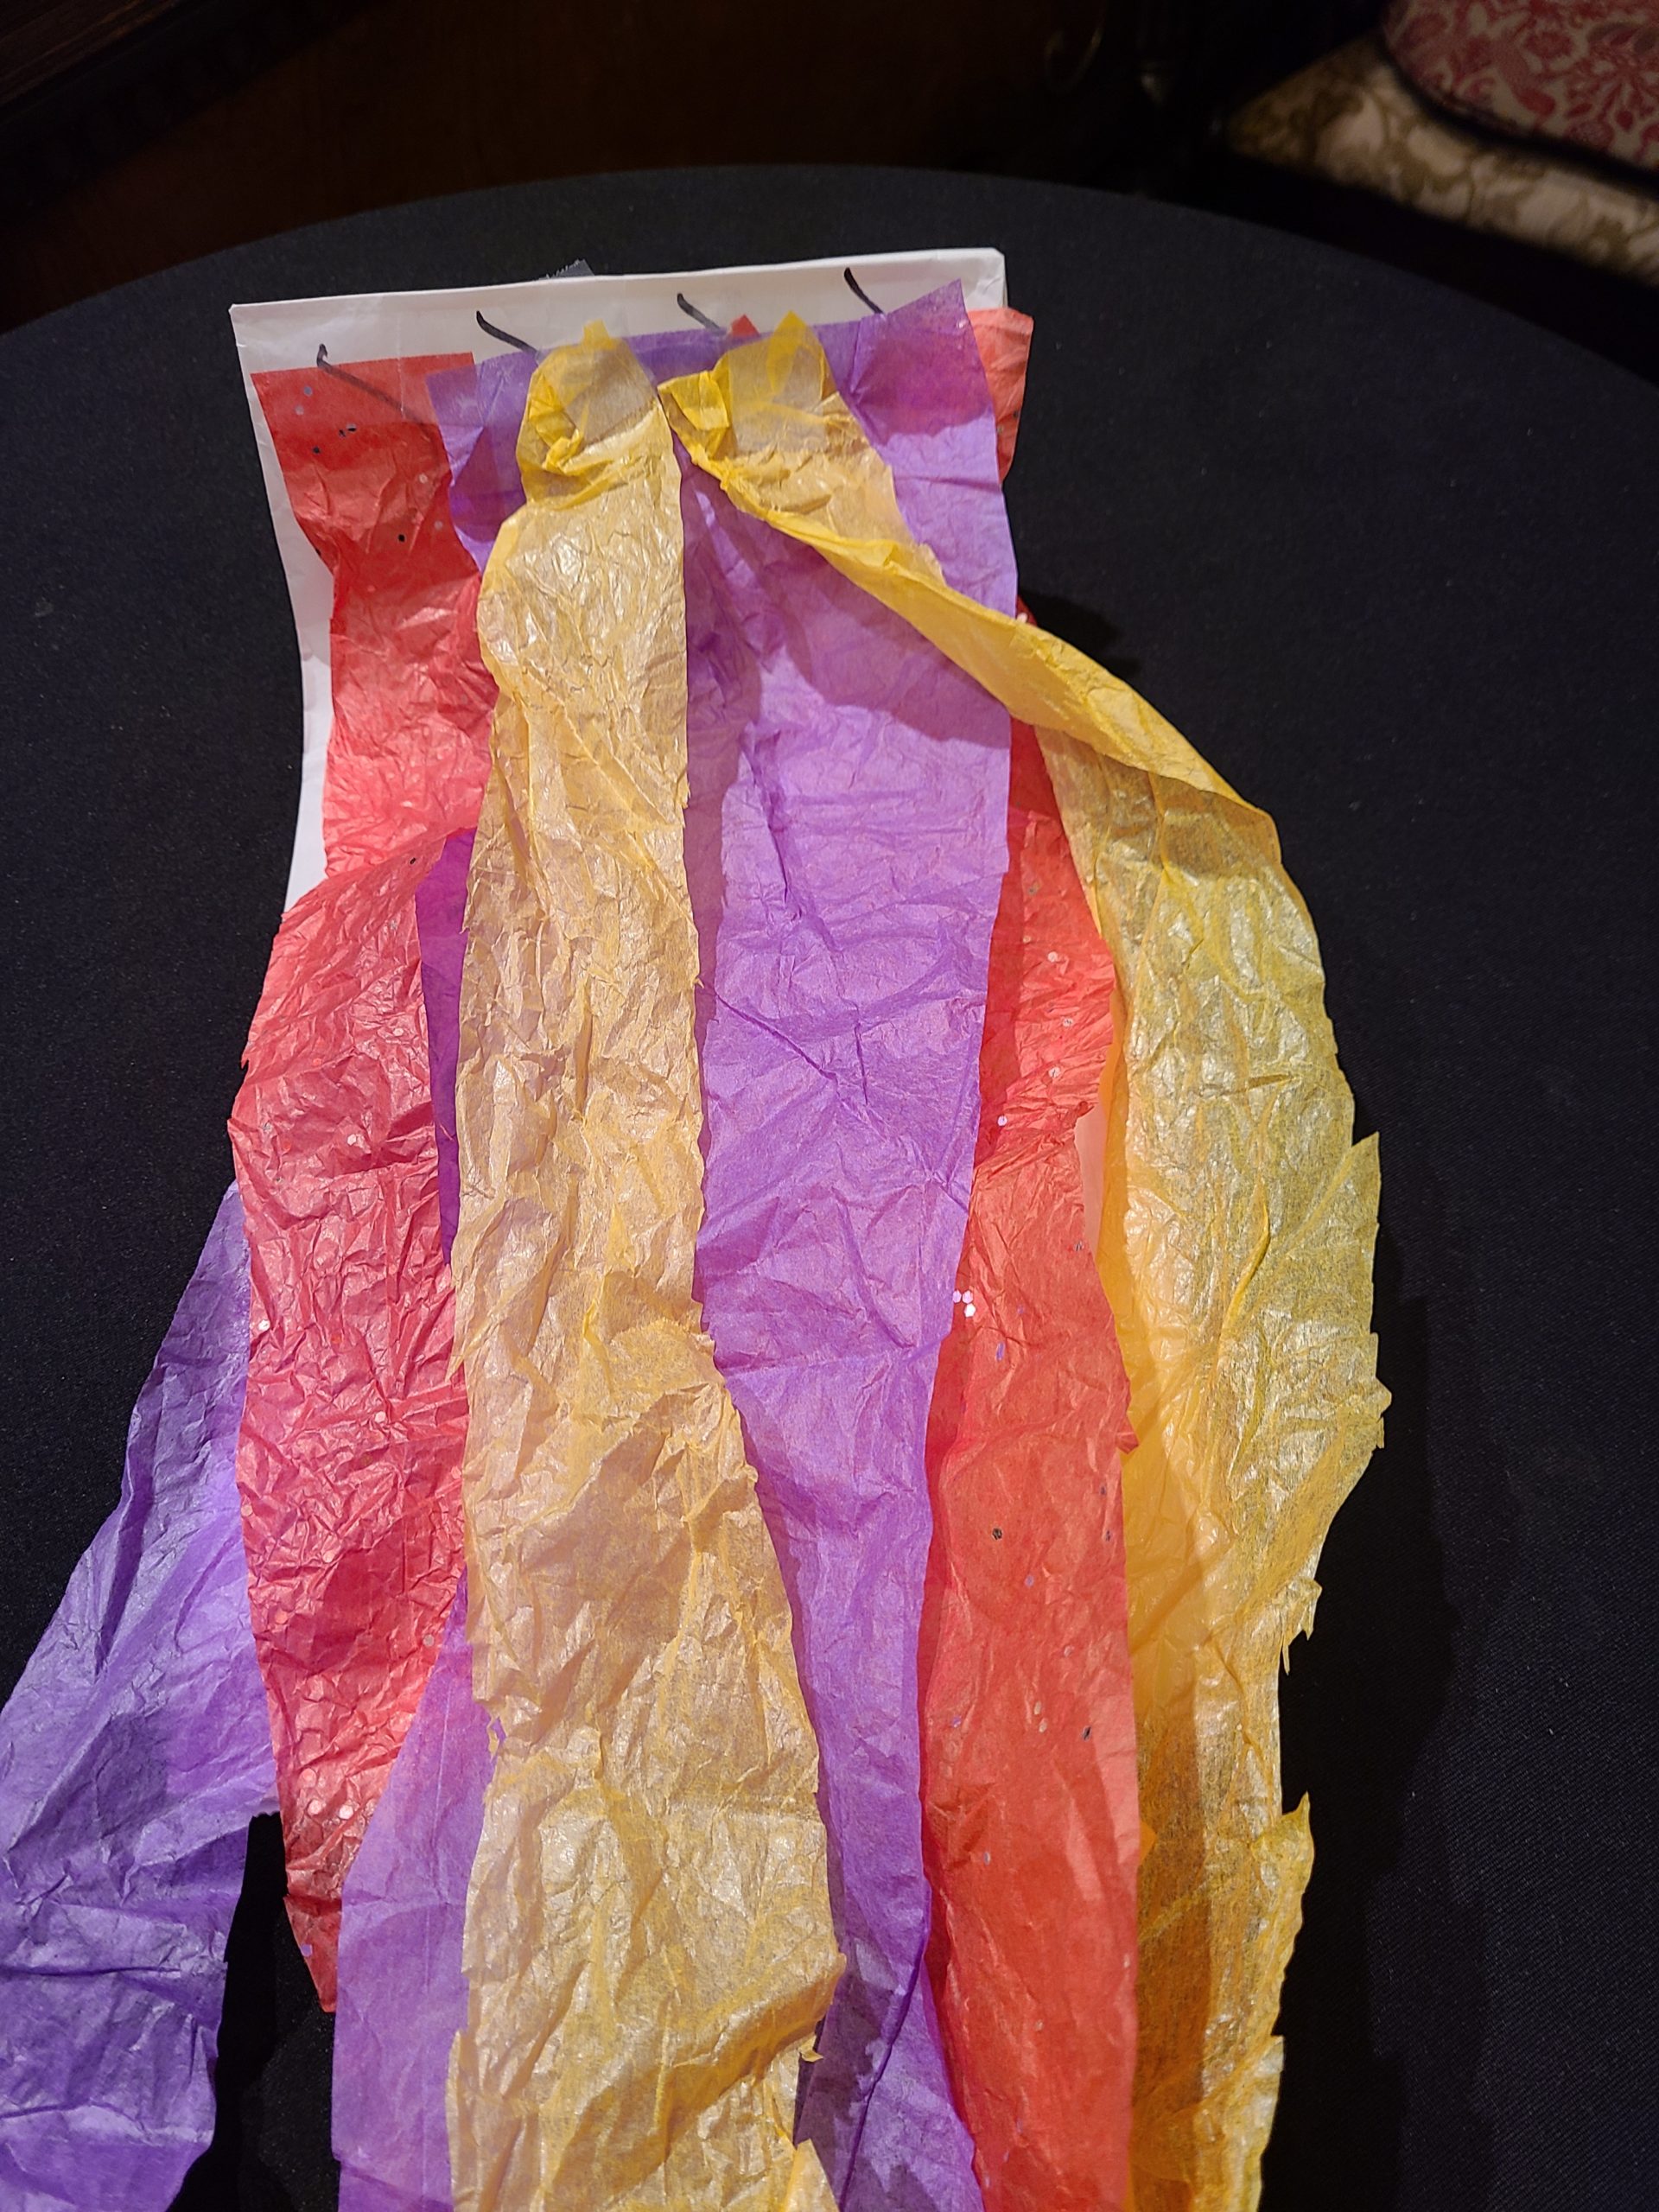
Once your puppet’s done, your child can use it as a storyteller. Read a book about the Lunar New Year together. Most public libraries will have a selection of options. (Two books I’ve enjoyed with my children are How to Catch a Dragon by Adam Wallace and Andy Elkerton or Lunar New Year by Hannah Eliot.)
Then invite your child to retell the story with the lion puppet acting out the key parts. You can even model reading part of the story using a funny “lion” voice.
Adaptation: For children who are starting to read, you can also engage the child with the puppet as a partner by having them use their lion to read the first word or first sentence of each page.
Have fun!

Happy Year of the Ox!
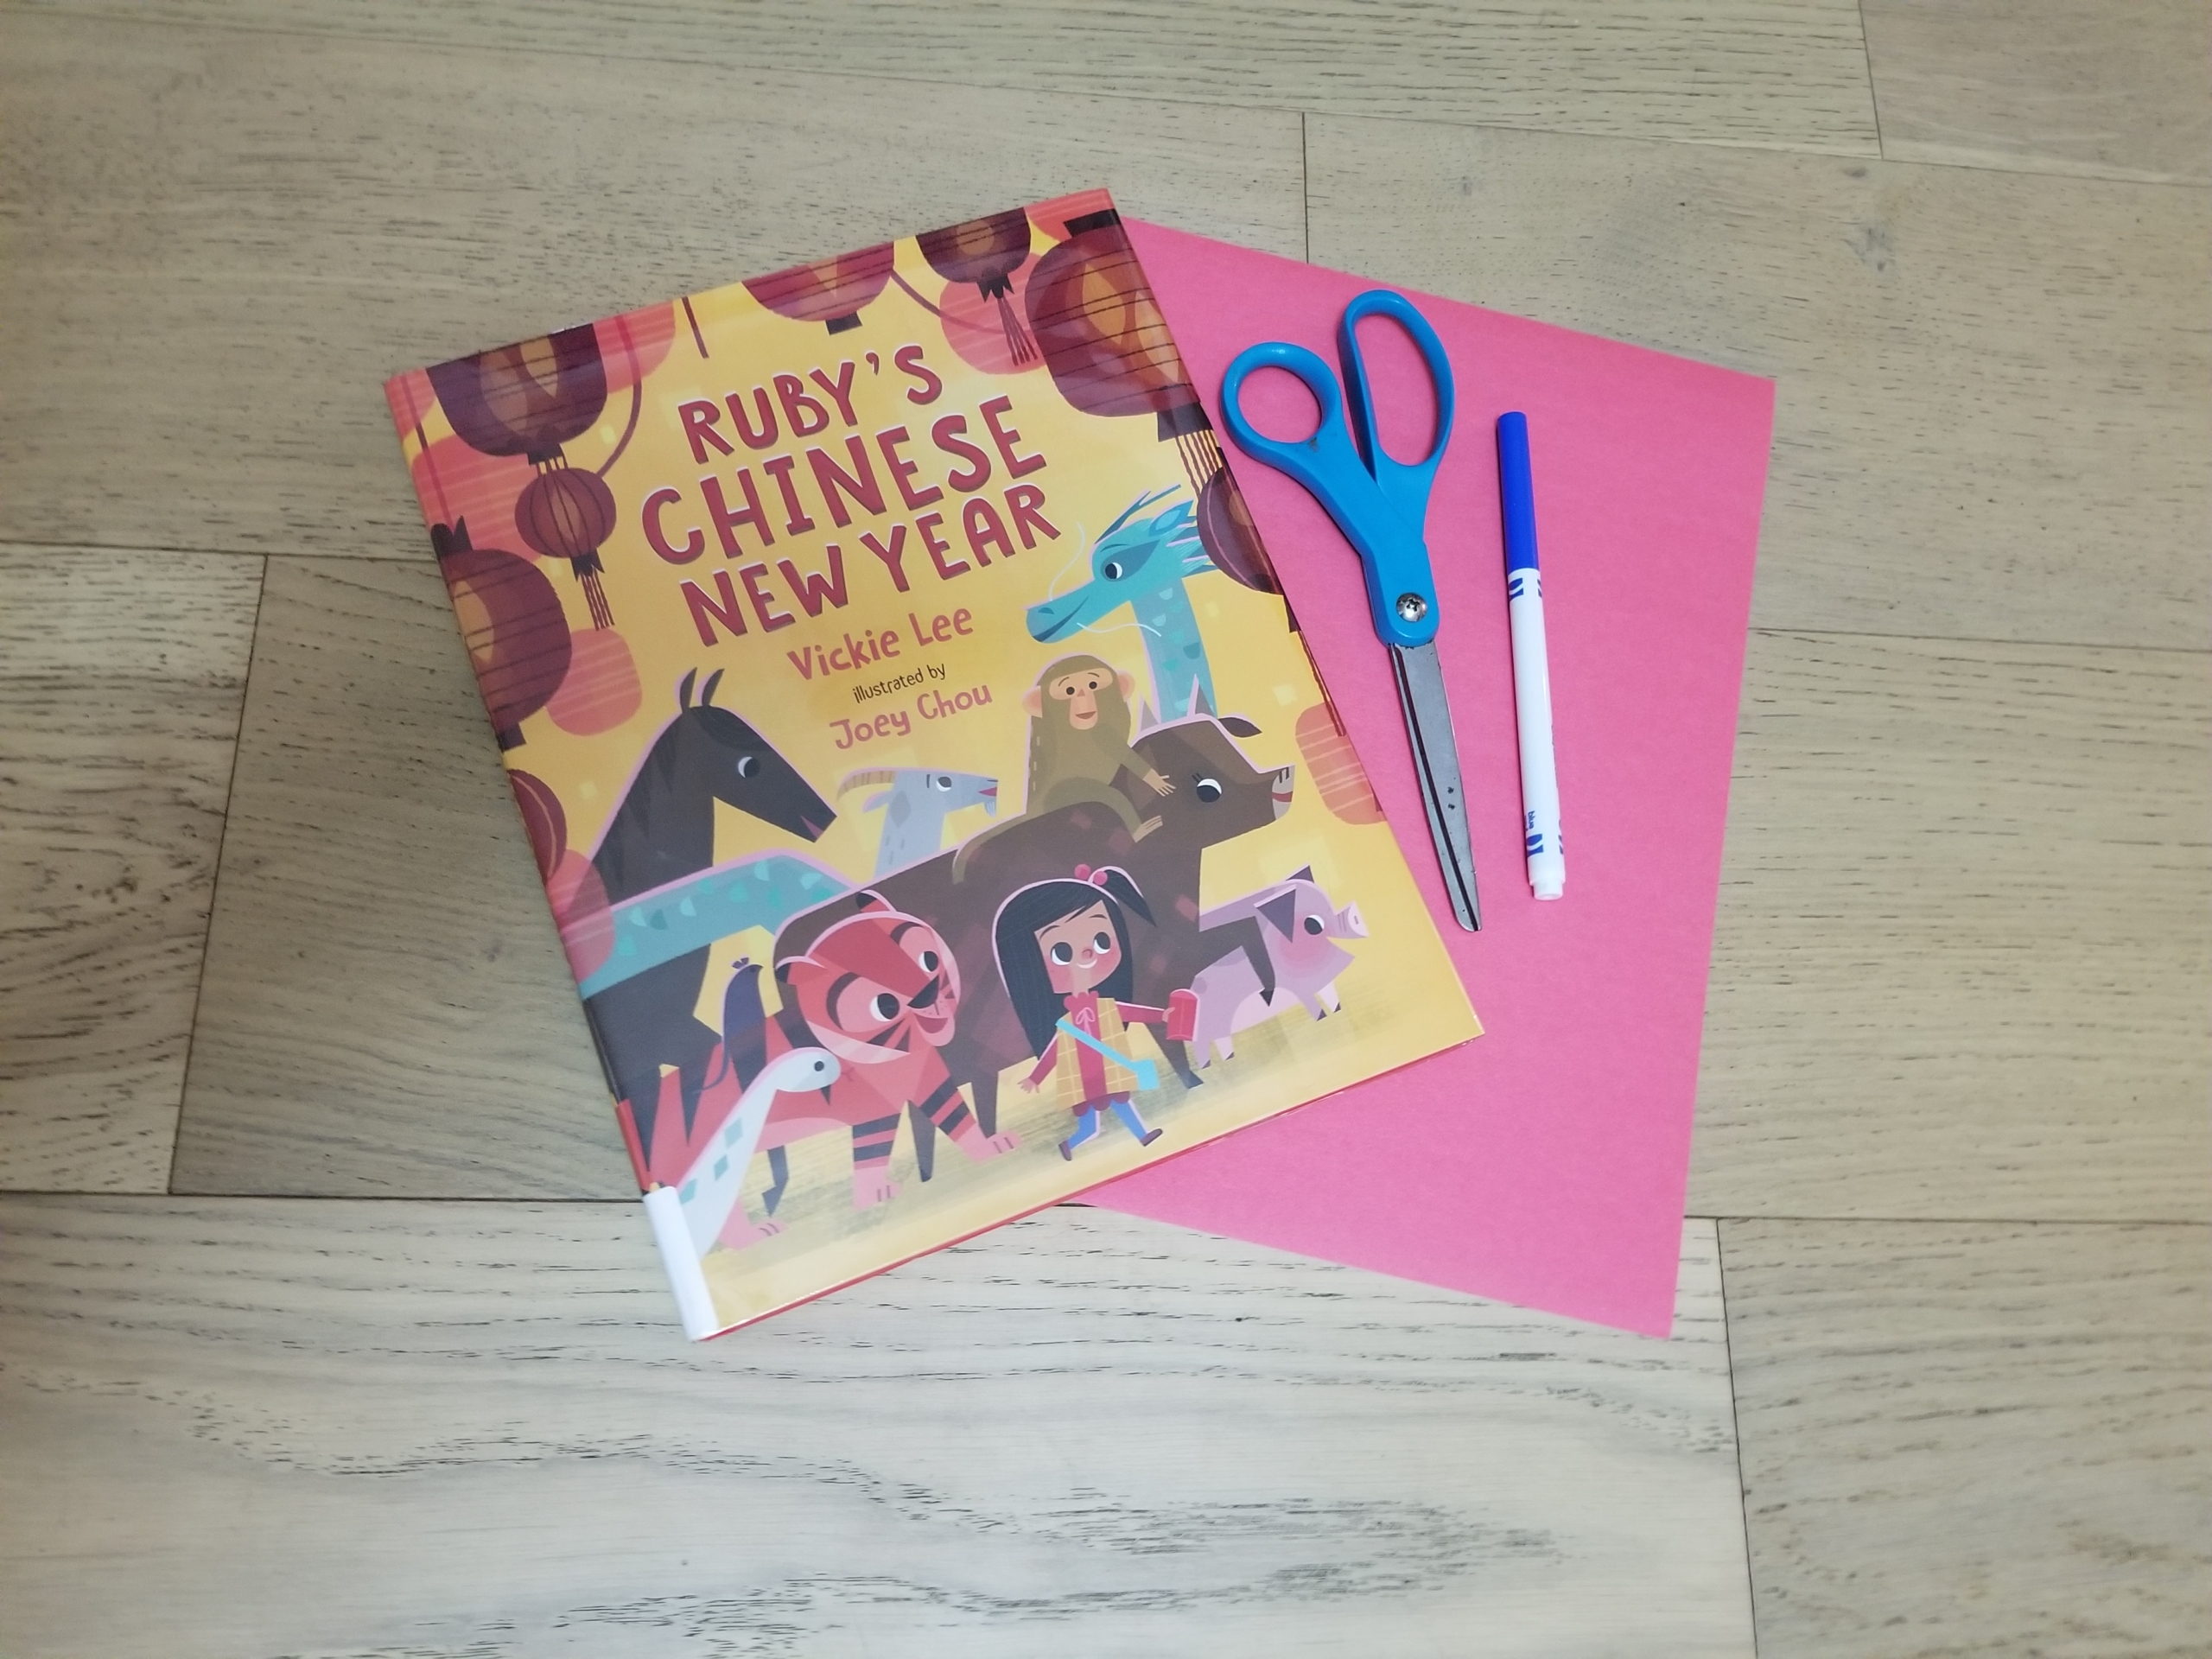
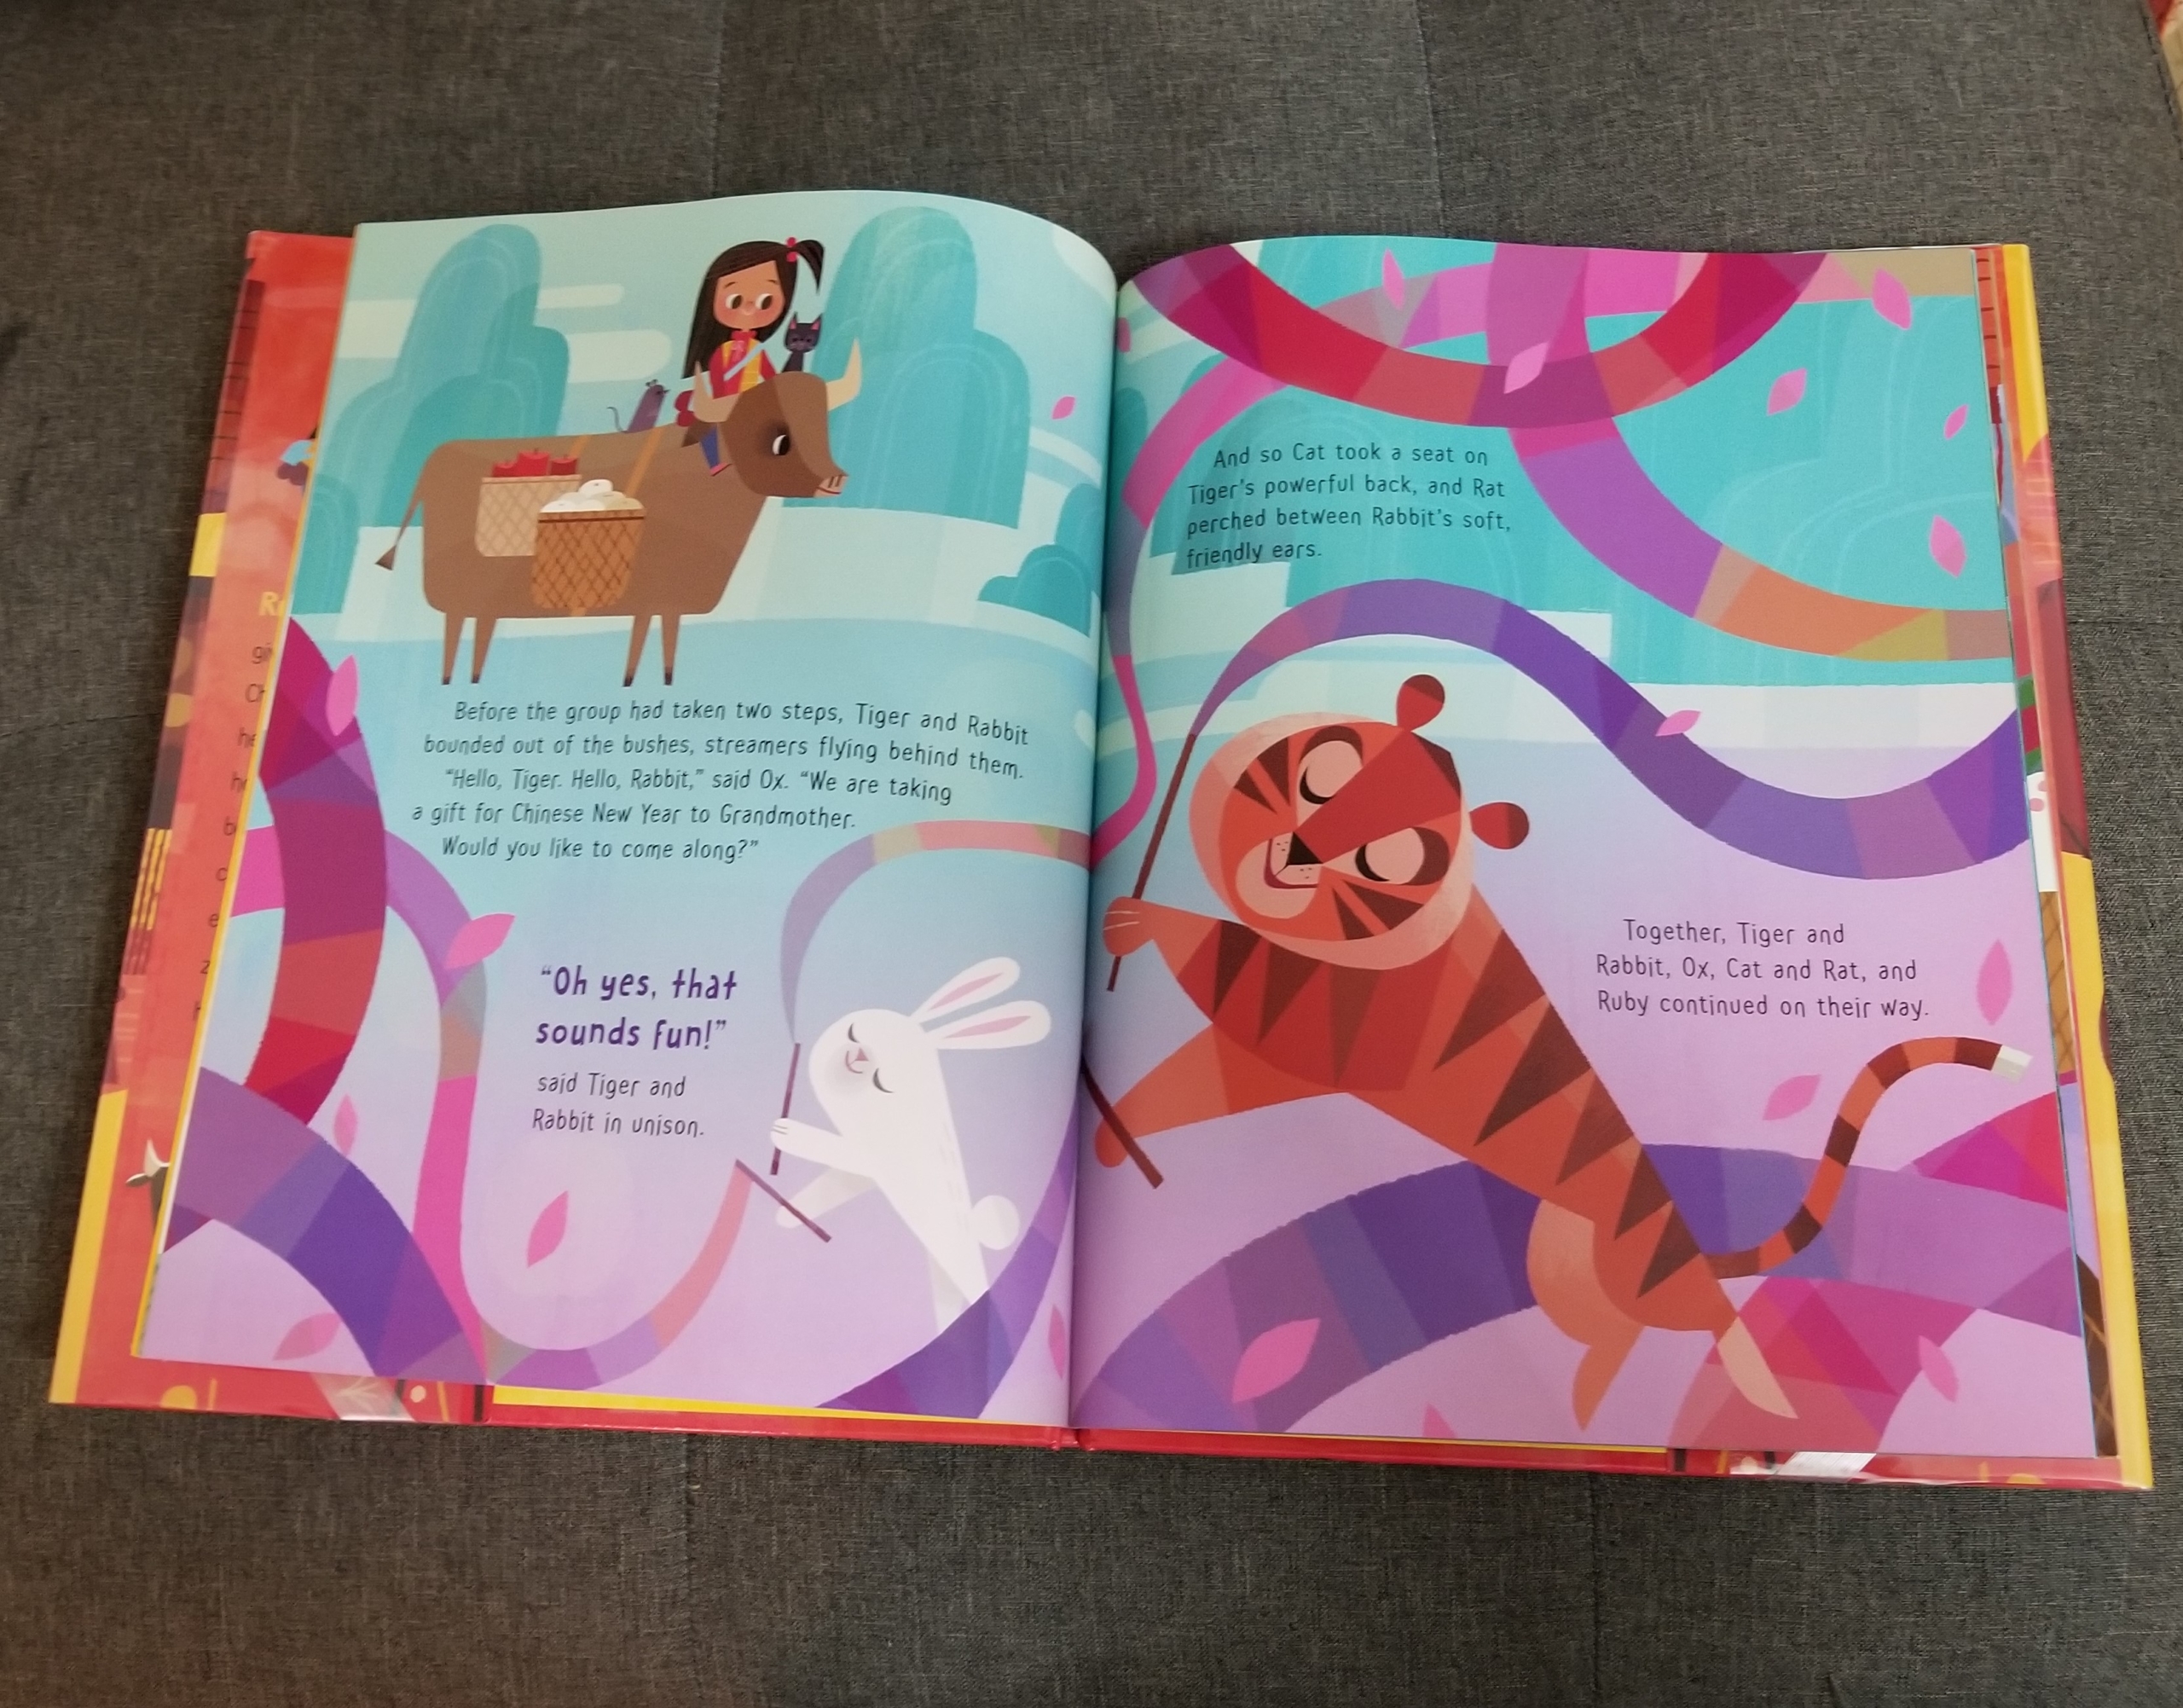
In China, each new year is characterized by one of the 12 animals of the Chinese zodiac. For 2021, it’s the ox. In this Lunar New Year story time activity, we’ll delve into this zodiac by reading Ruby’s Chinese New Year by Vickie Lee. This wonderful book is a modern interpretation of the traditional Chinese zodiac story, filled with the love of a young girl for her grandmother. (It also shares the classic tale at the end of the book.)
Next, we’ll expand the story time with a playful early literacy activity designed to build letter-sound knowledge. Your child will learn to isolate the first sound of each animal’s name and match it to the correct letter.
Materials:
- Ruby’s Chinese New Year by Vickie Lee (Alternate: The Great Race by Christopher Corr)
- Toy animals (or print or draw your own)
- Paper
- Markers, pencils, or pens
- Scissors
Cost: Free, if you get creative on your animal representations! (See Step 2.) If you prefer, you can buy a set of Chinese zodiac toy animals in the $10 range, such as this toy Toob.
Step 1: Read Ruby’s Chinese New Year together. You can most likely find it at your local library or on Hoopla. You can also find videos of it read aloud on YouTube. Then you and your child can look in the back pages to discover which animal is your child’s zodiac sign! It’s always fun to explore each member of your family and the animal associated with the year of their birth.
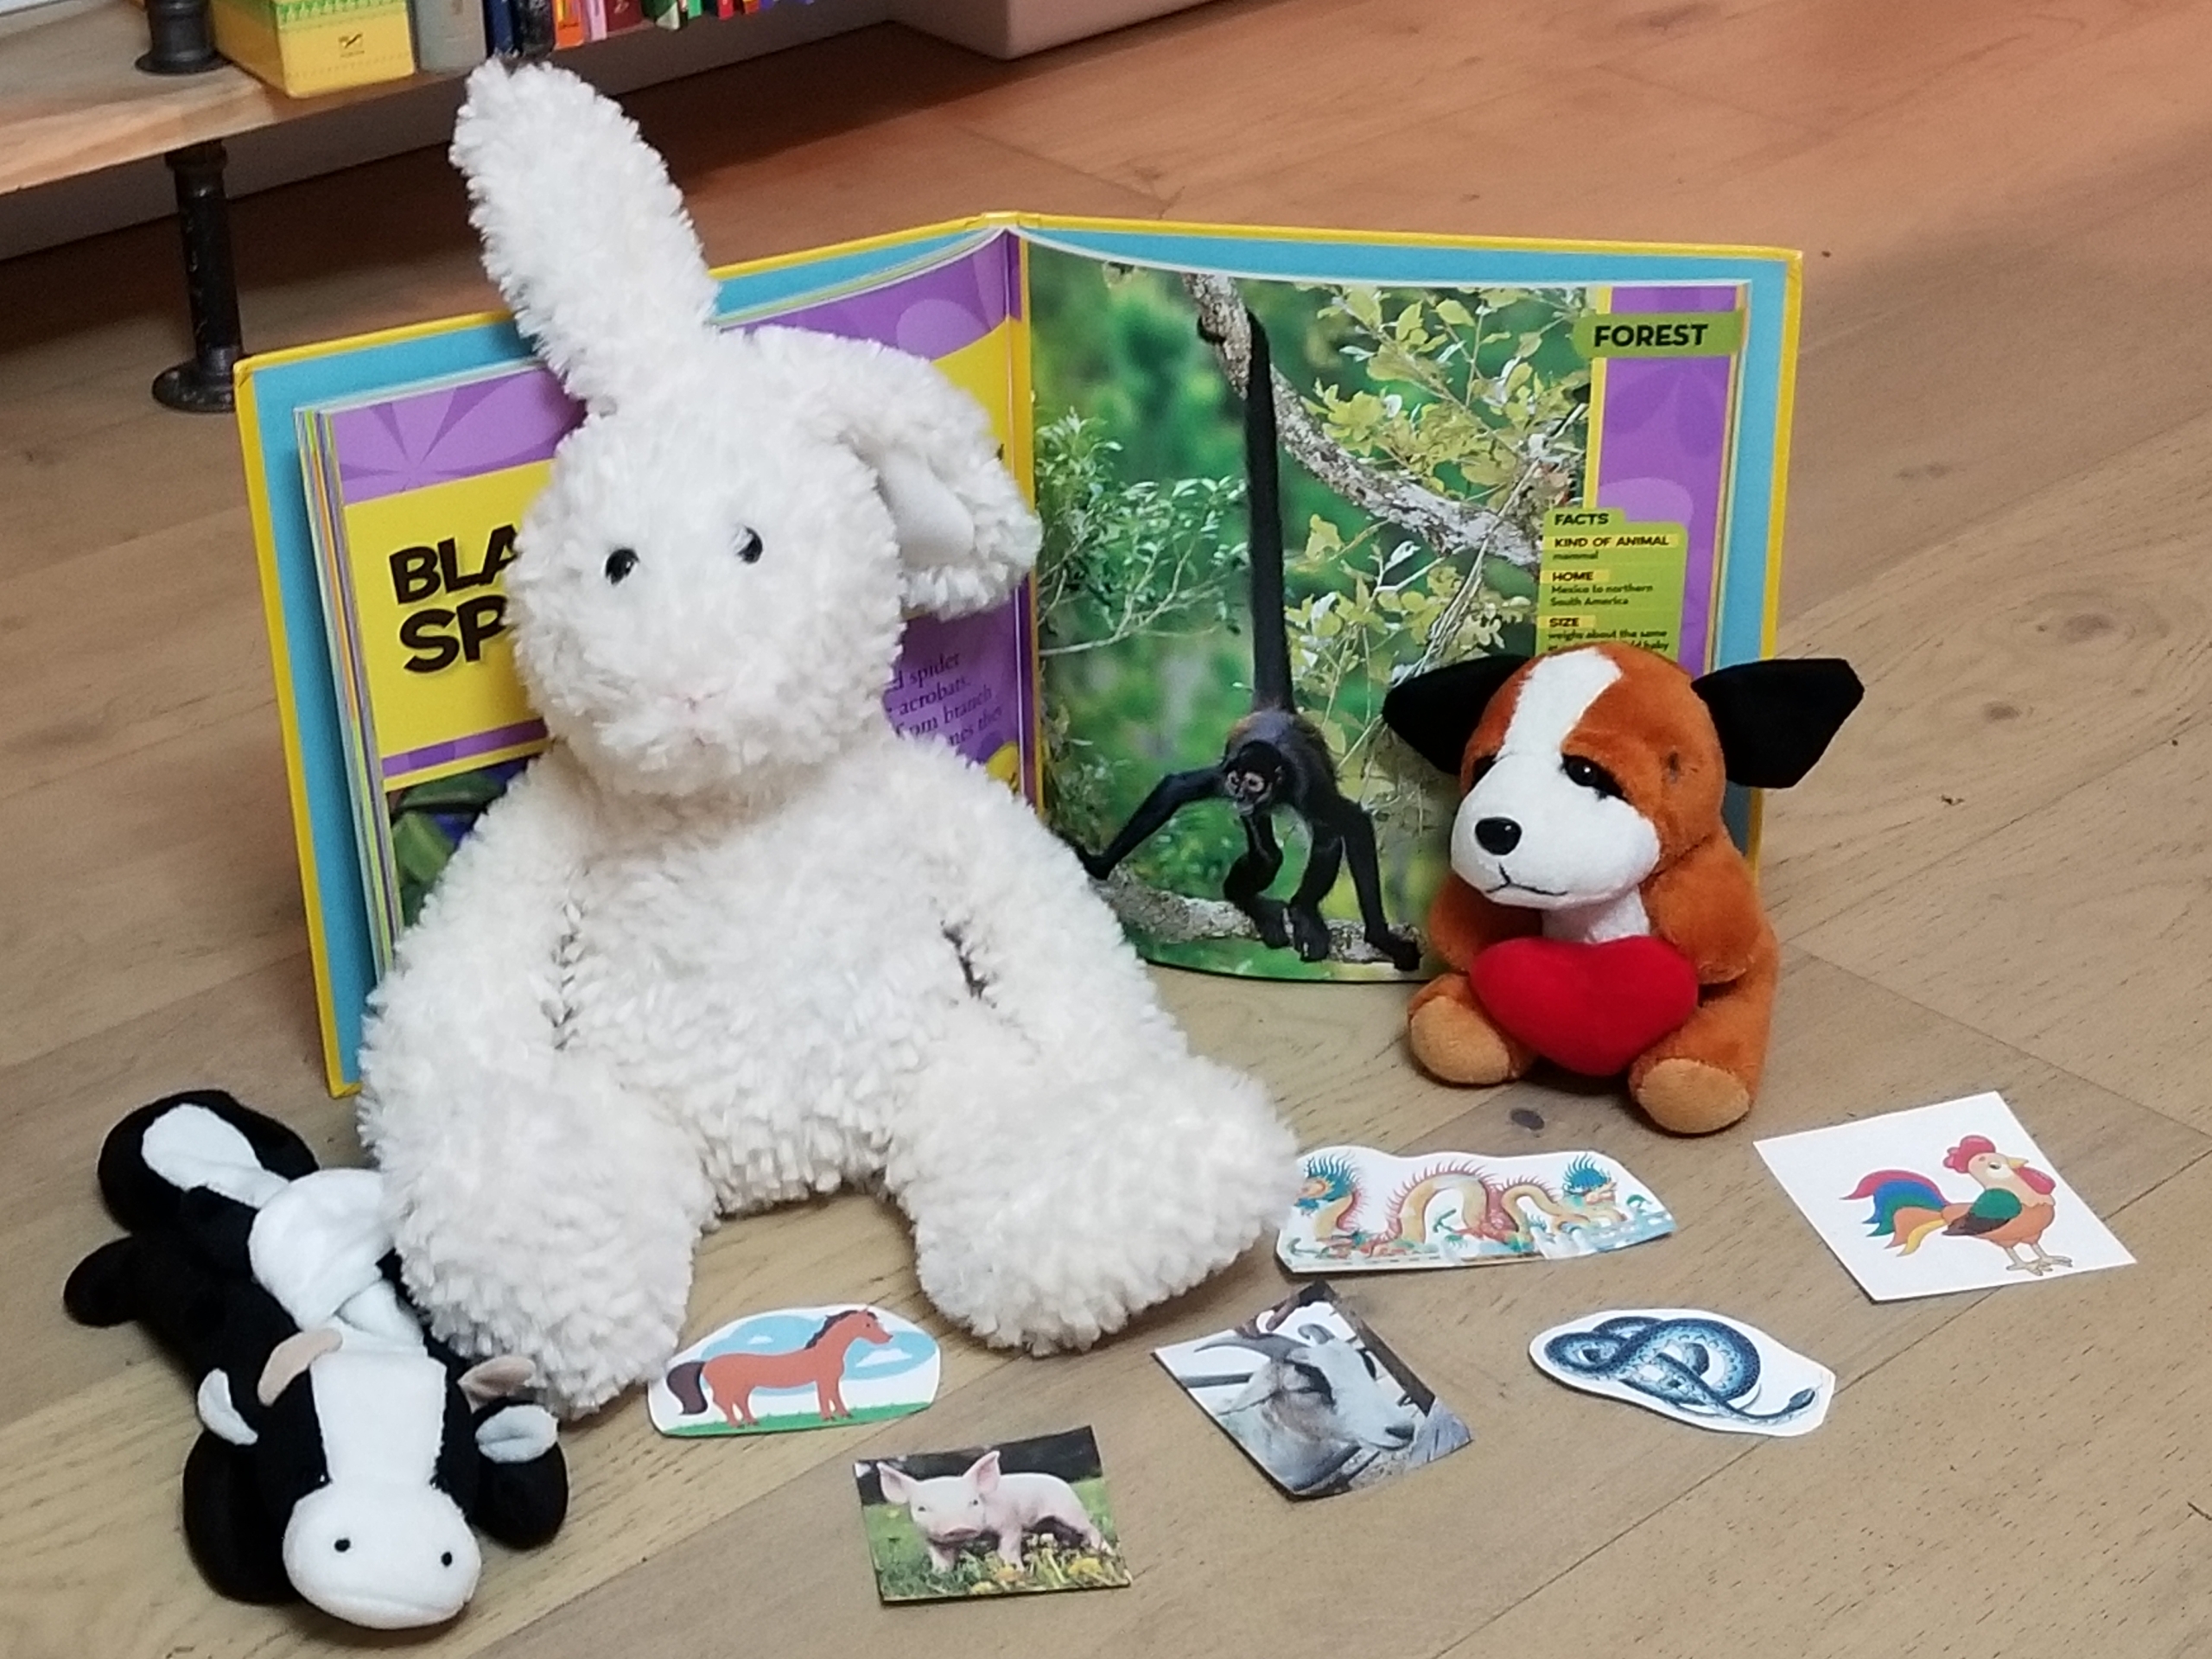
Step 2: With your child, gather together toys for each of the 12 animals in the Chinese zodiac: rat, ox, tiger, rabbit, dragon, snake, horse, goat, monkey, rooster, dog, and pig. If you don’t have a toy for some of the animals, you can print out pictures online, or draw your own, and then cut them out.
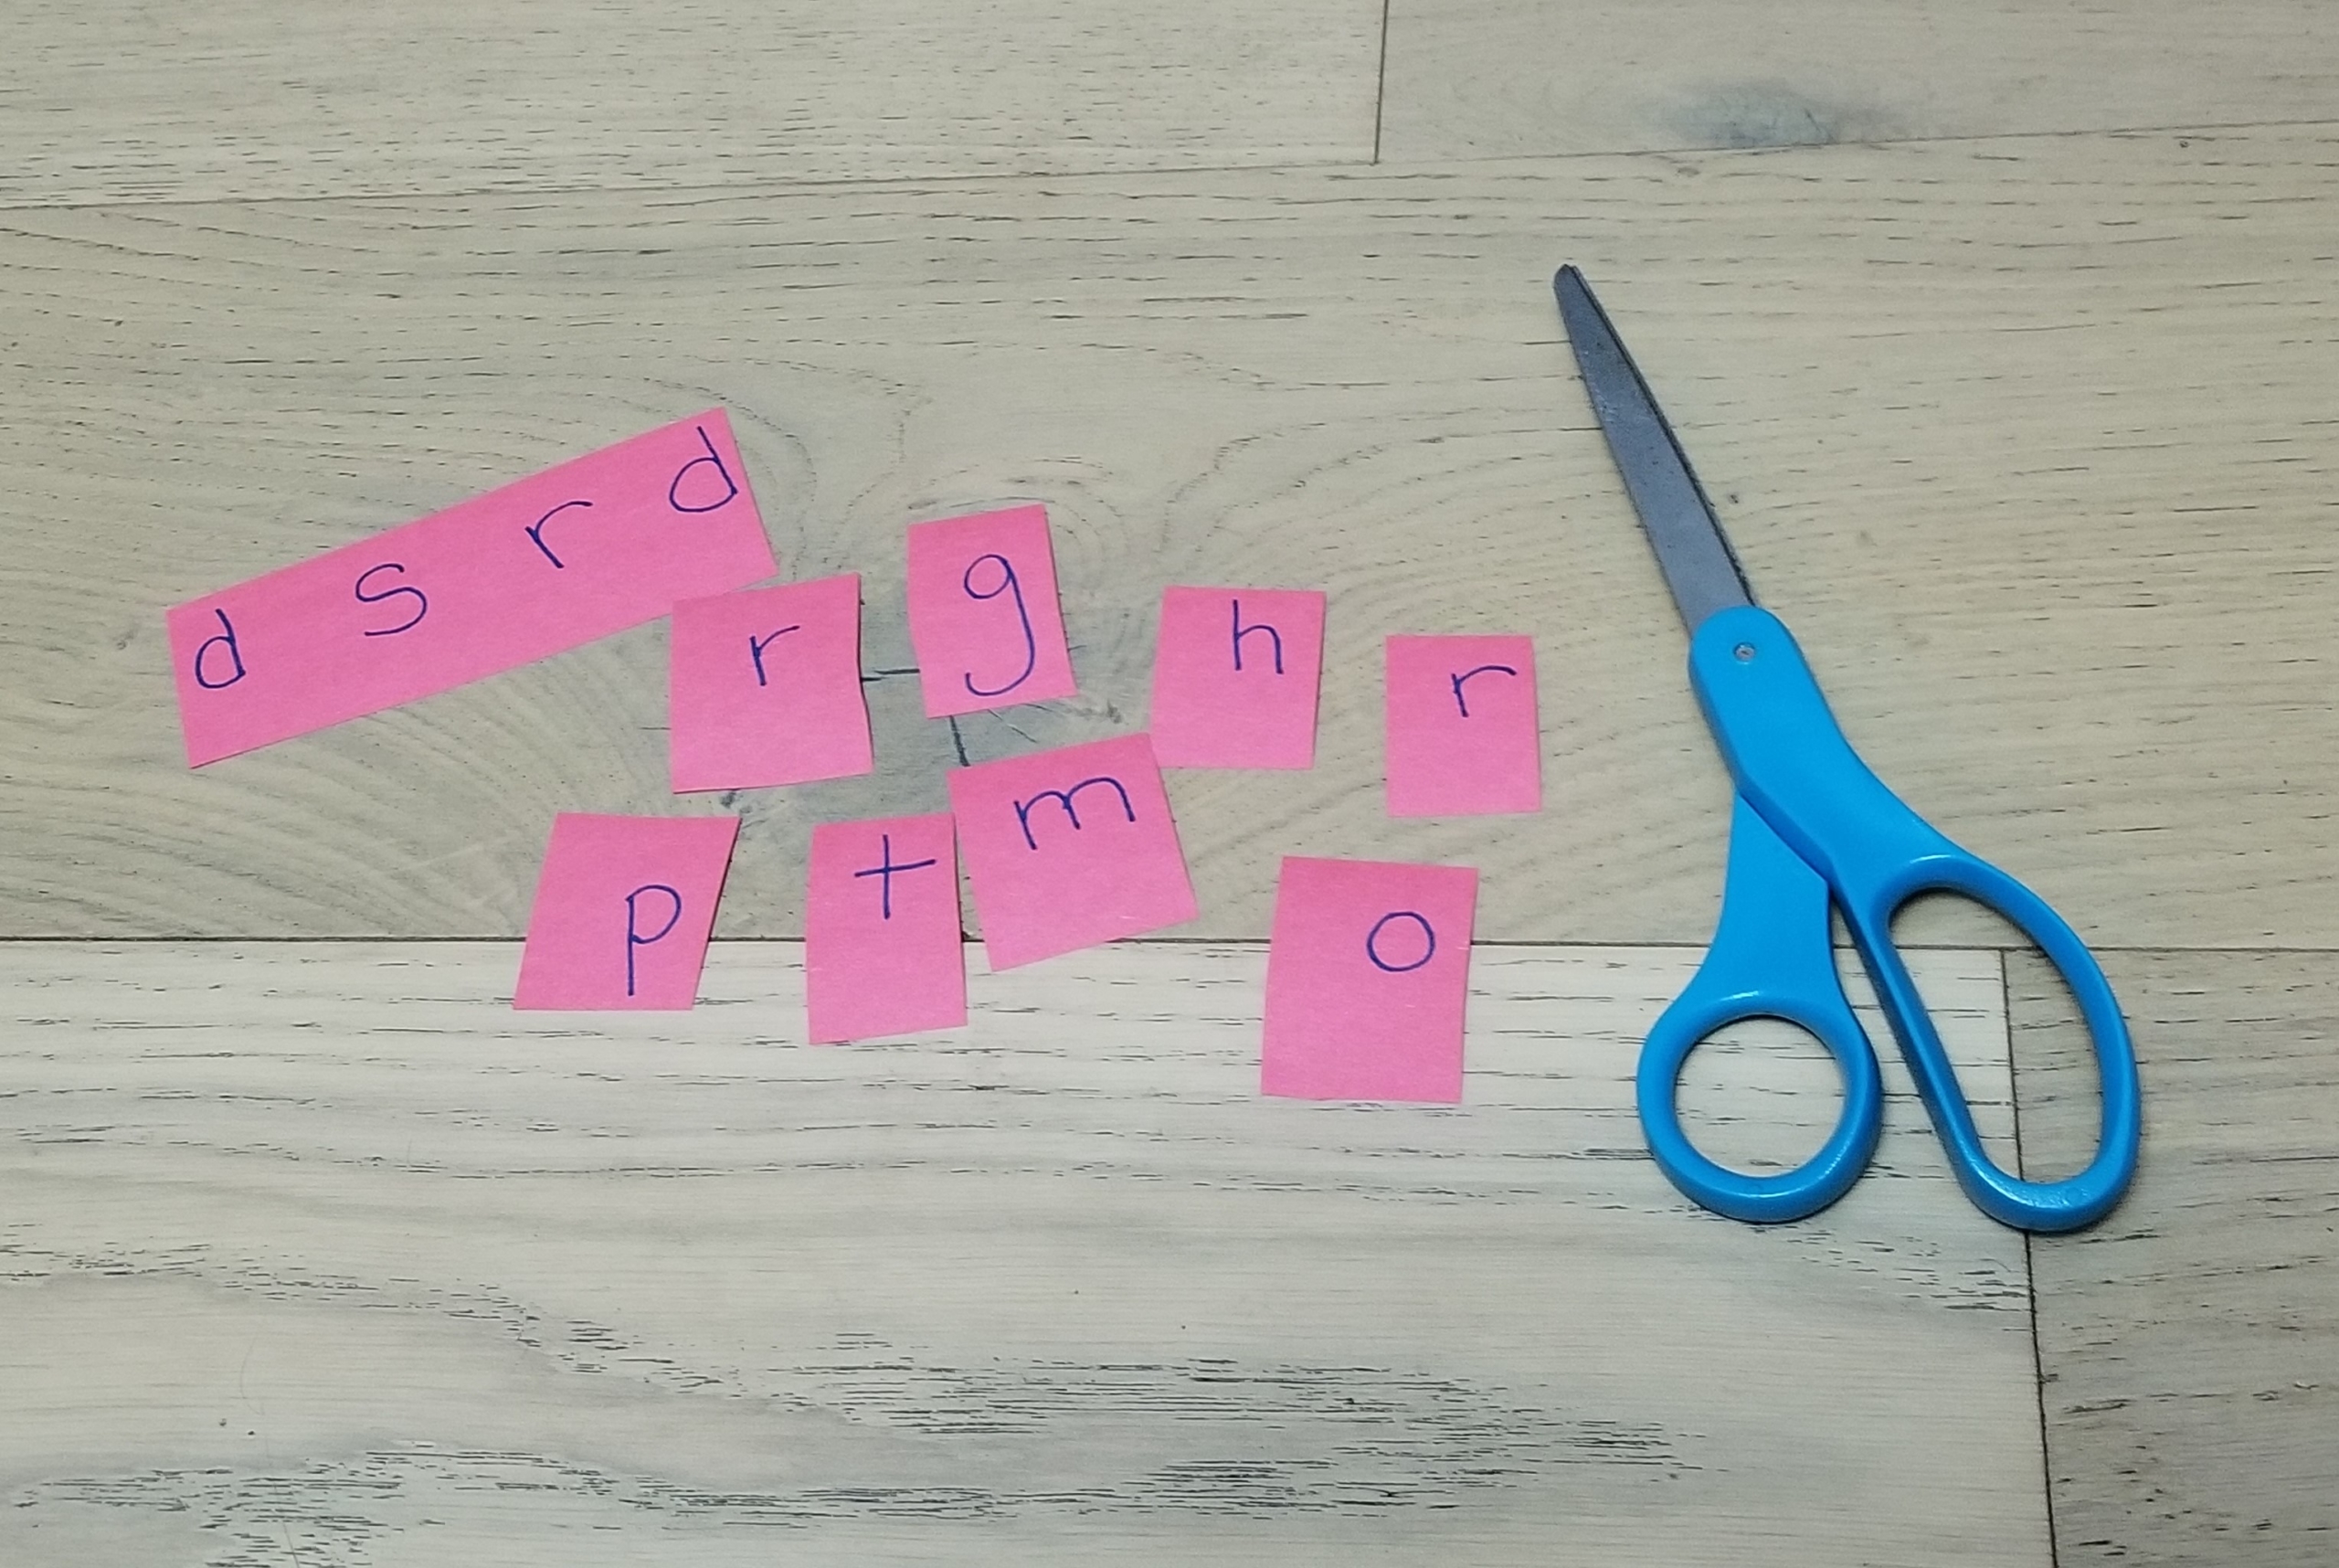
Step 3: Help your child write the first letter of each animal name (or write them yourself) on a piece of paper, and then cut out each letter. Review with your child the sounds that each letter makes.
Step 4: Point to an animal and ask your child to say its name aloud. Have them match the correct letter to the animal. Tip: I go in the order of the Chinese zodiac to reinforce the story of the animals.
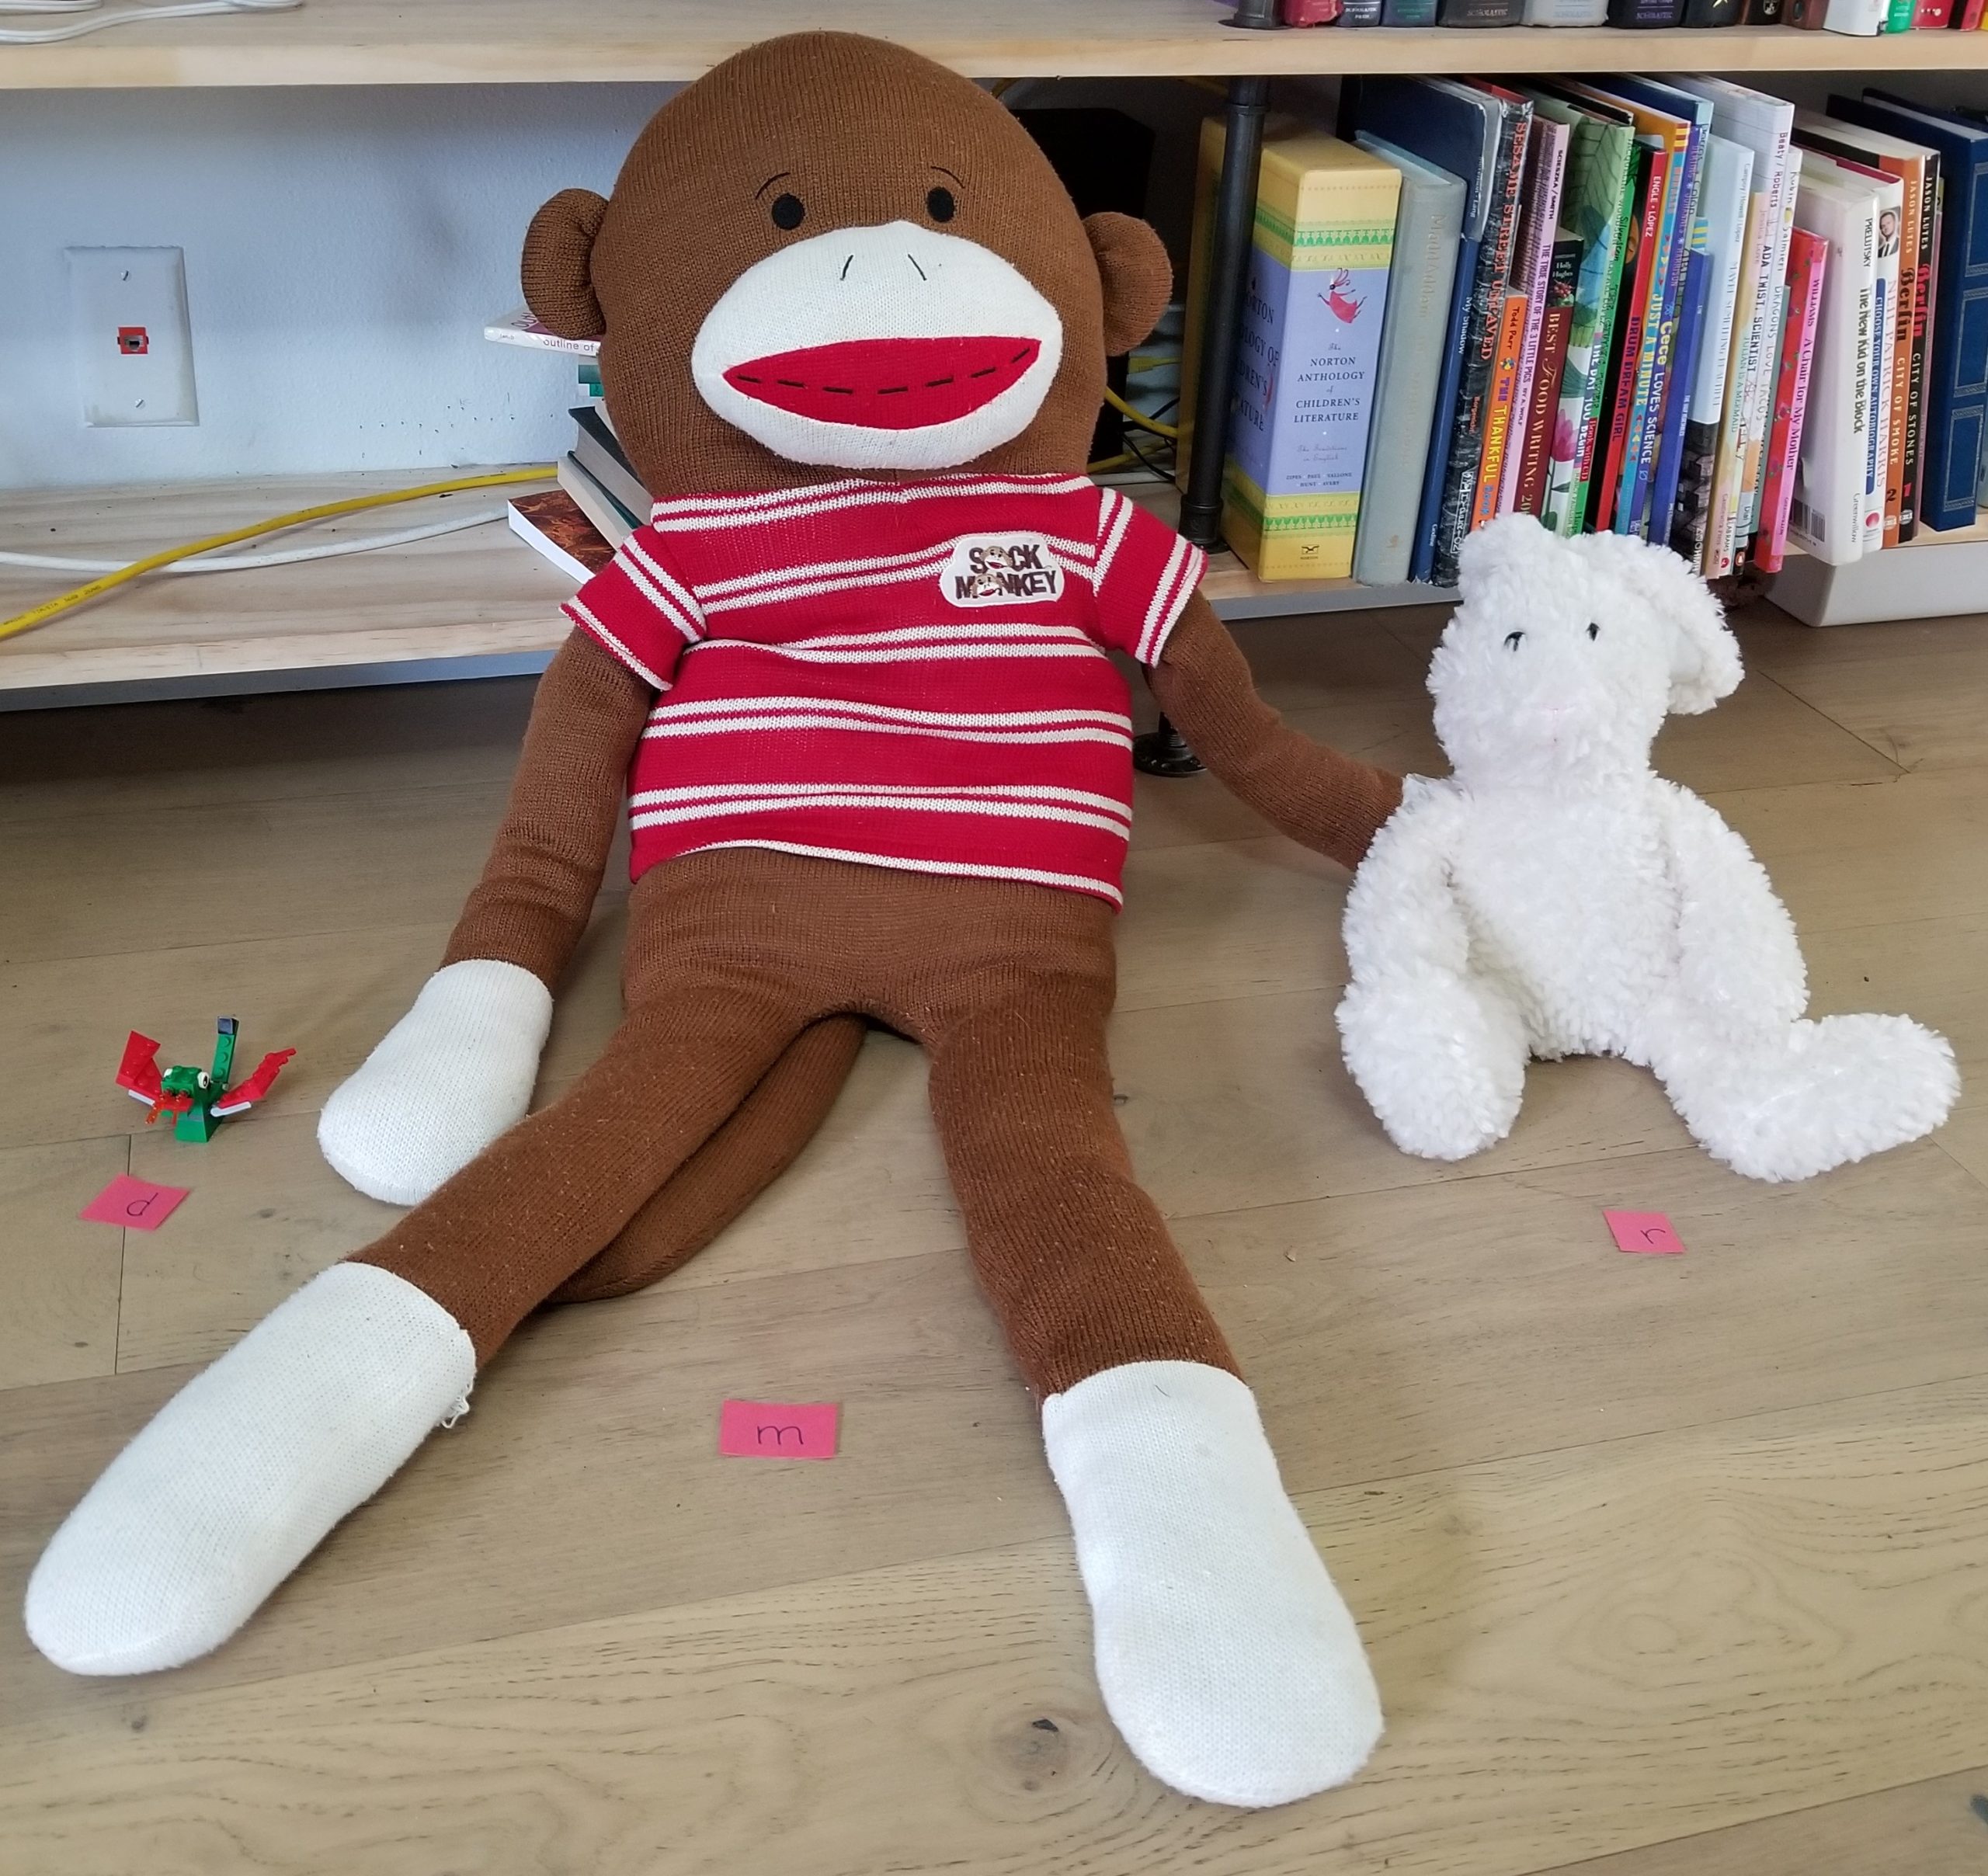
Bonus: Once your child has mastered beginning sounds, you can take this further by inviting your child to match the ending sounds. (Just remember that you—or they—will need to write a new set of letters!)
It’s wonderful to share the world of a book by reading to your child, but it’s even better when children are able to take hold of that book and share what they’ve learned with you. Practice with your animals, and don’t be surprised if next time they point out the letters all on their own!
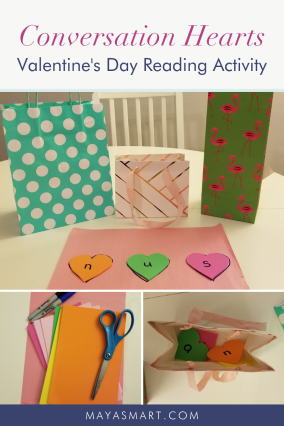
I love a holiday! Any holiday is a reason to change up our reading games and reinvigorate them with a new theme. (It also gives me a reason to use my copious amounts of glitter.) What better way to celebrate Valentine’s Day and literacy than to weave together love, candy, and letters!
This literacy activity lets children draw their own version of those ubiquitous candy conversation hearts and then try to create words with them. Children attempt to make as many words as they can with these hearts, practicing their reading skills. It’s a sweet, simple, and thematic way to teach the key skills of encoding and decoding.
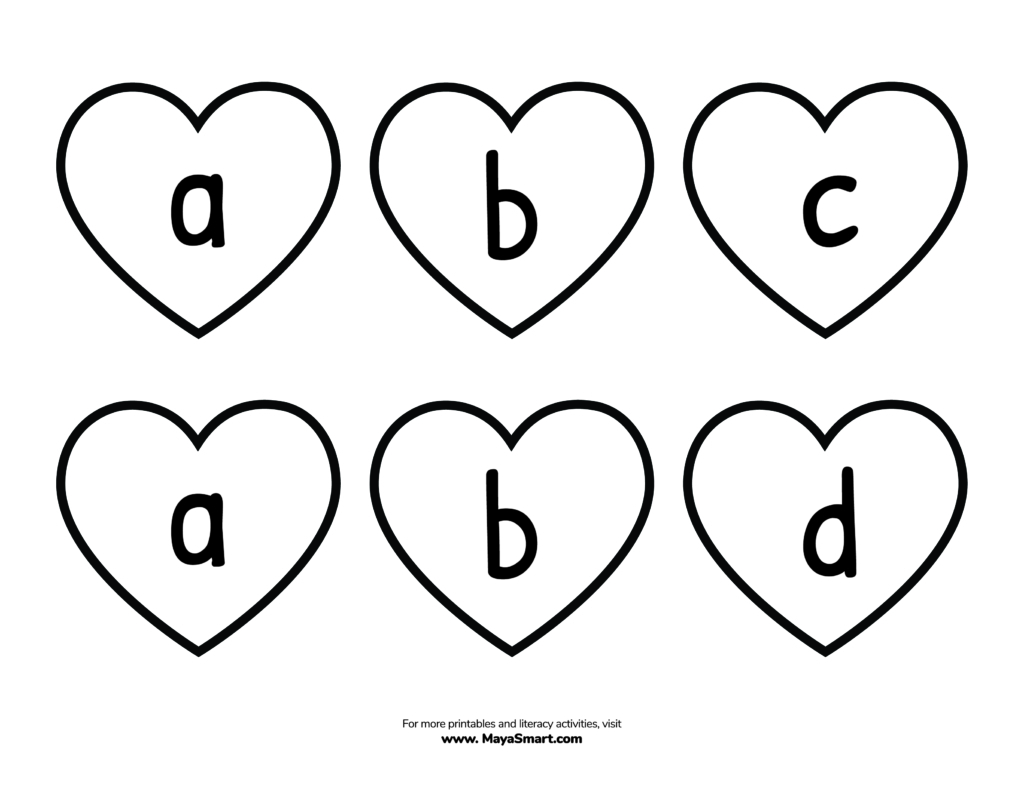
Not feeling crafty? Print our free conversation hearts Valentine’s reading game template instead of drawing your own!
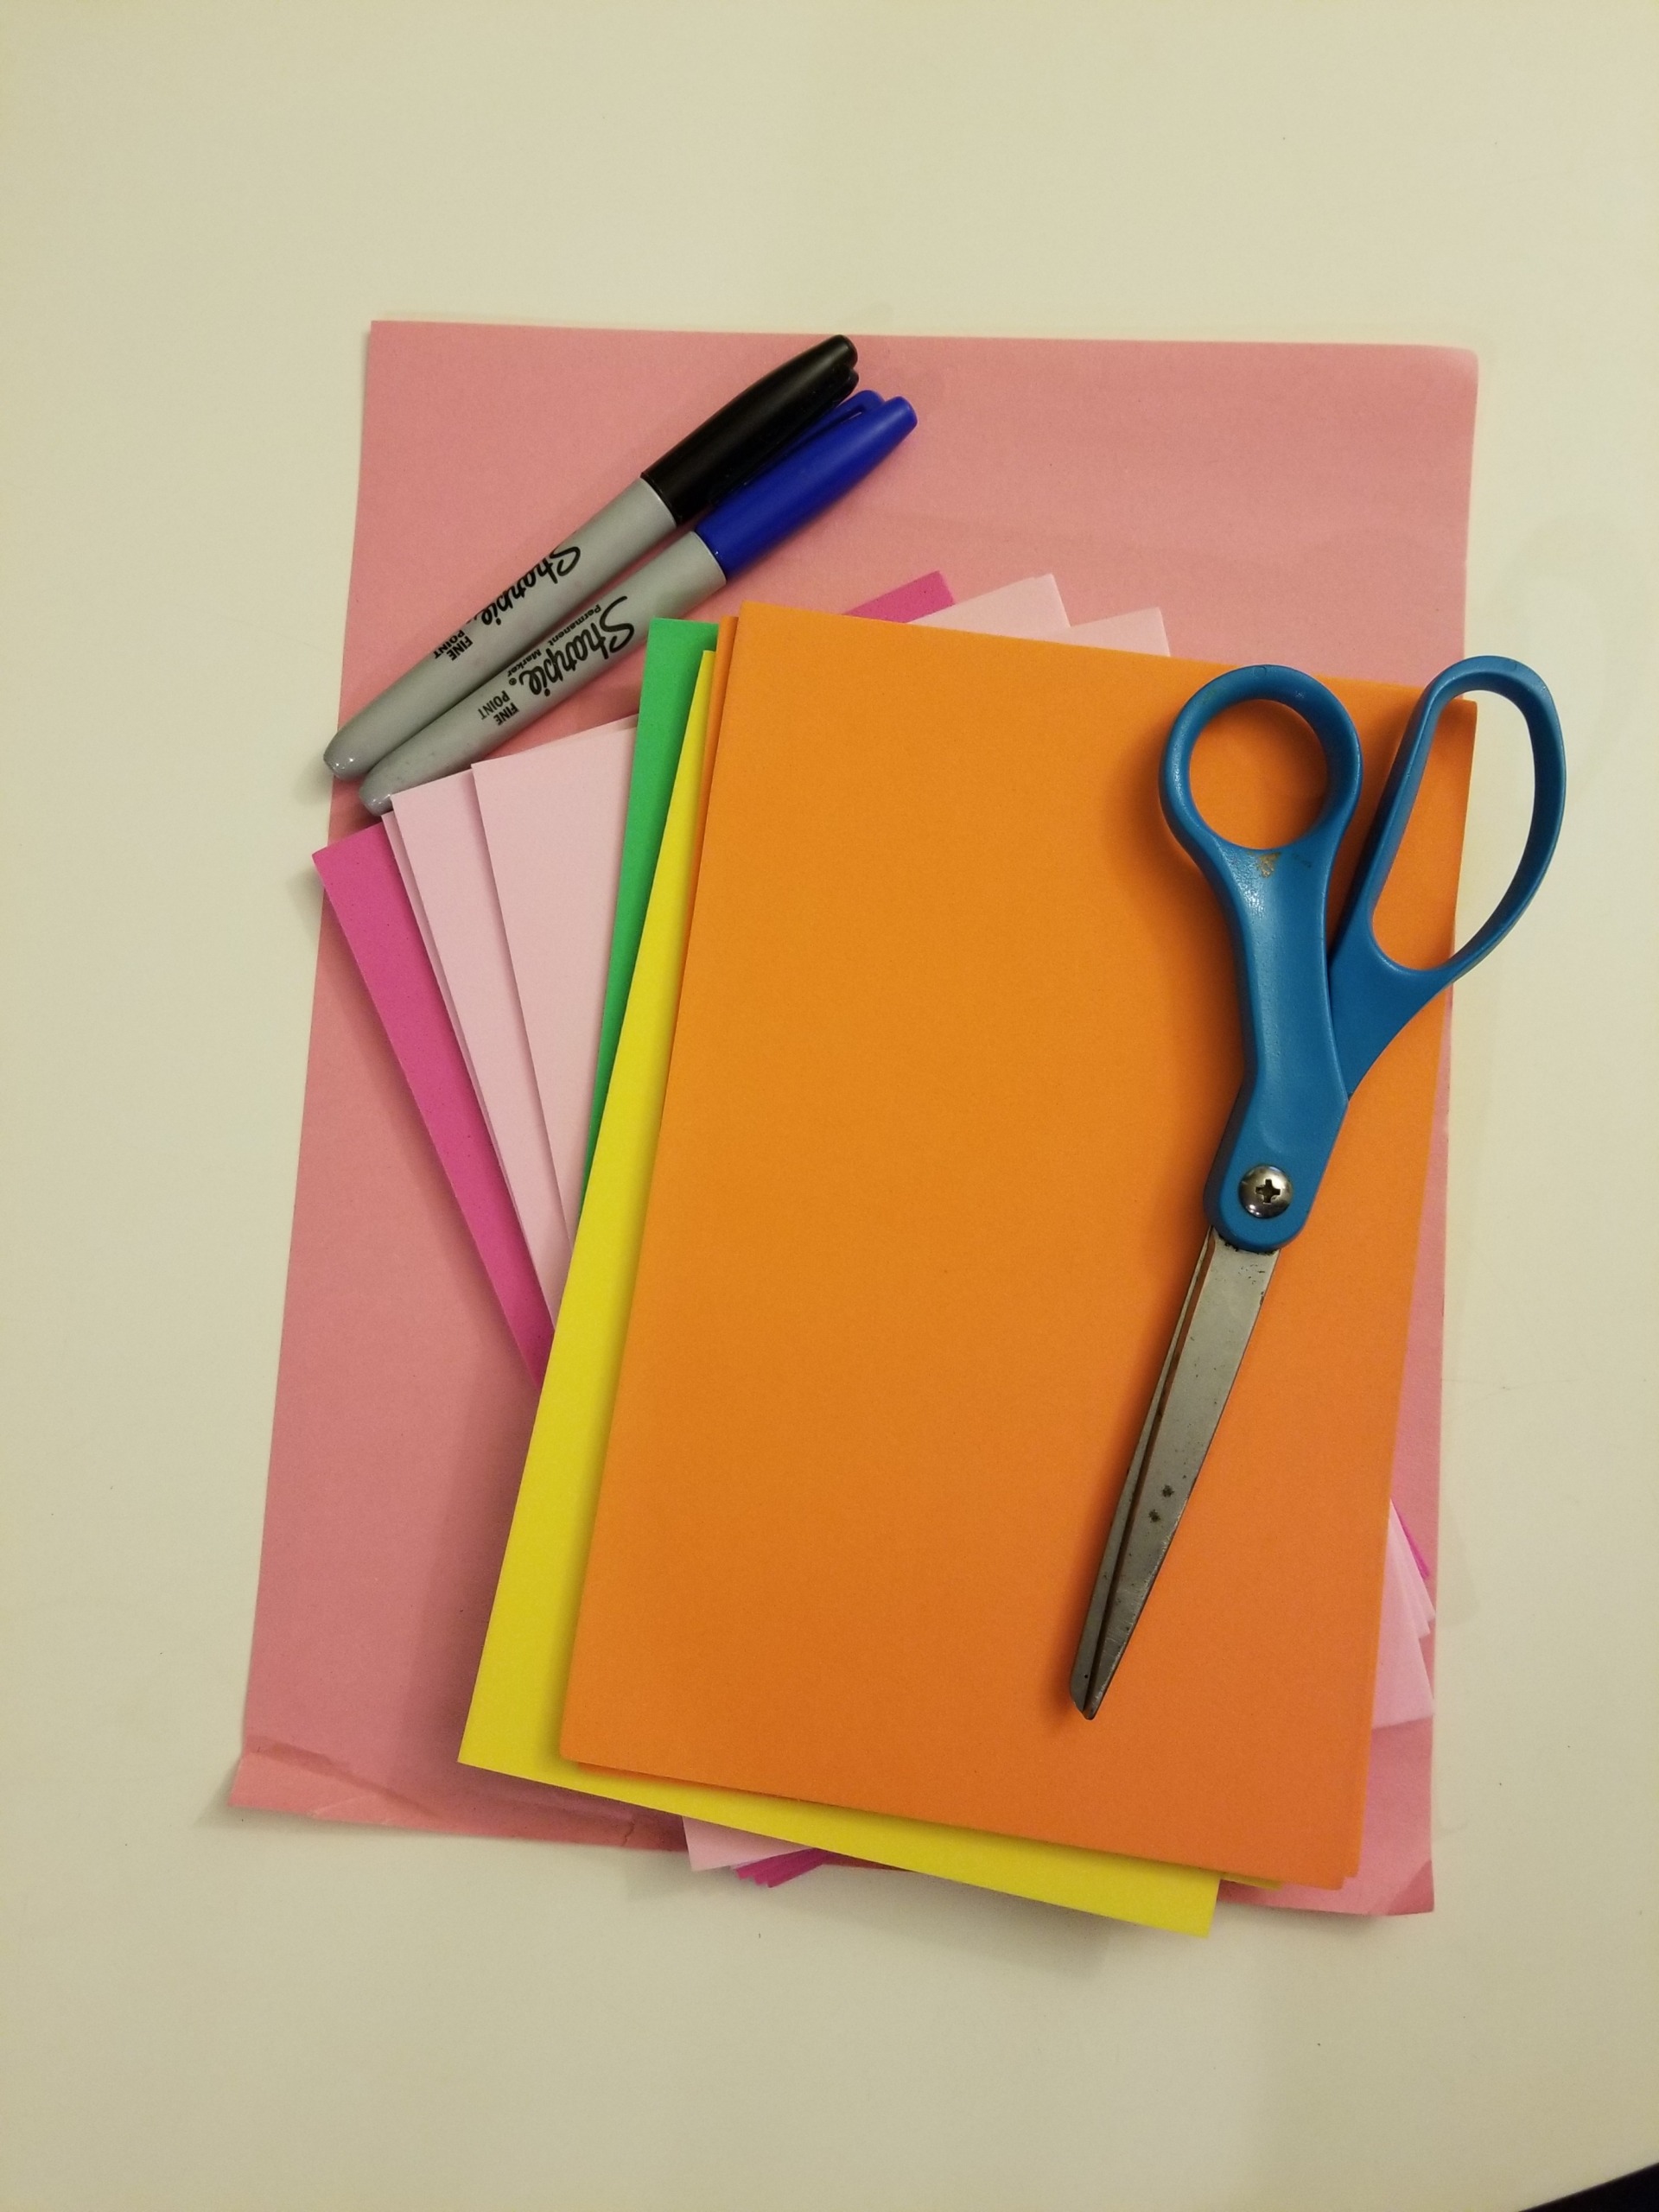
Materials Needed:
- 3 paper bags or other containers
- Craft foam (or construction paper)
- A sheet of paper
- Scissors
- Markers
Optional
- Clear packing tape
Step 1: First, cut out hearts from your craft foam or construction paper. I suggest around 30 hearts, about 10 for each container.
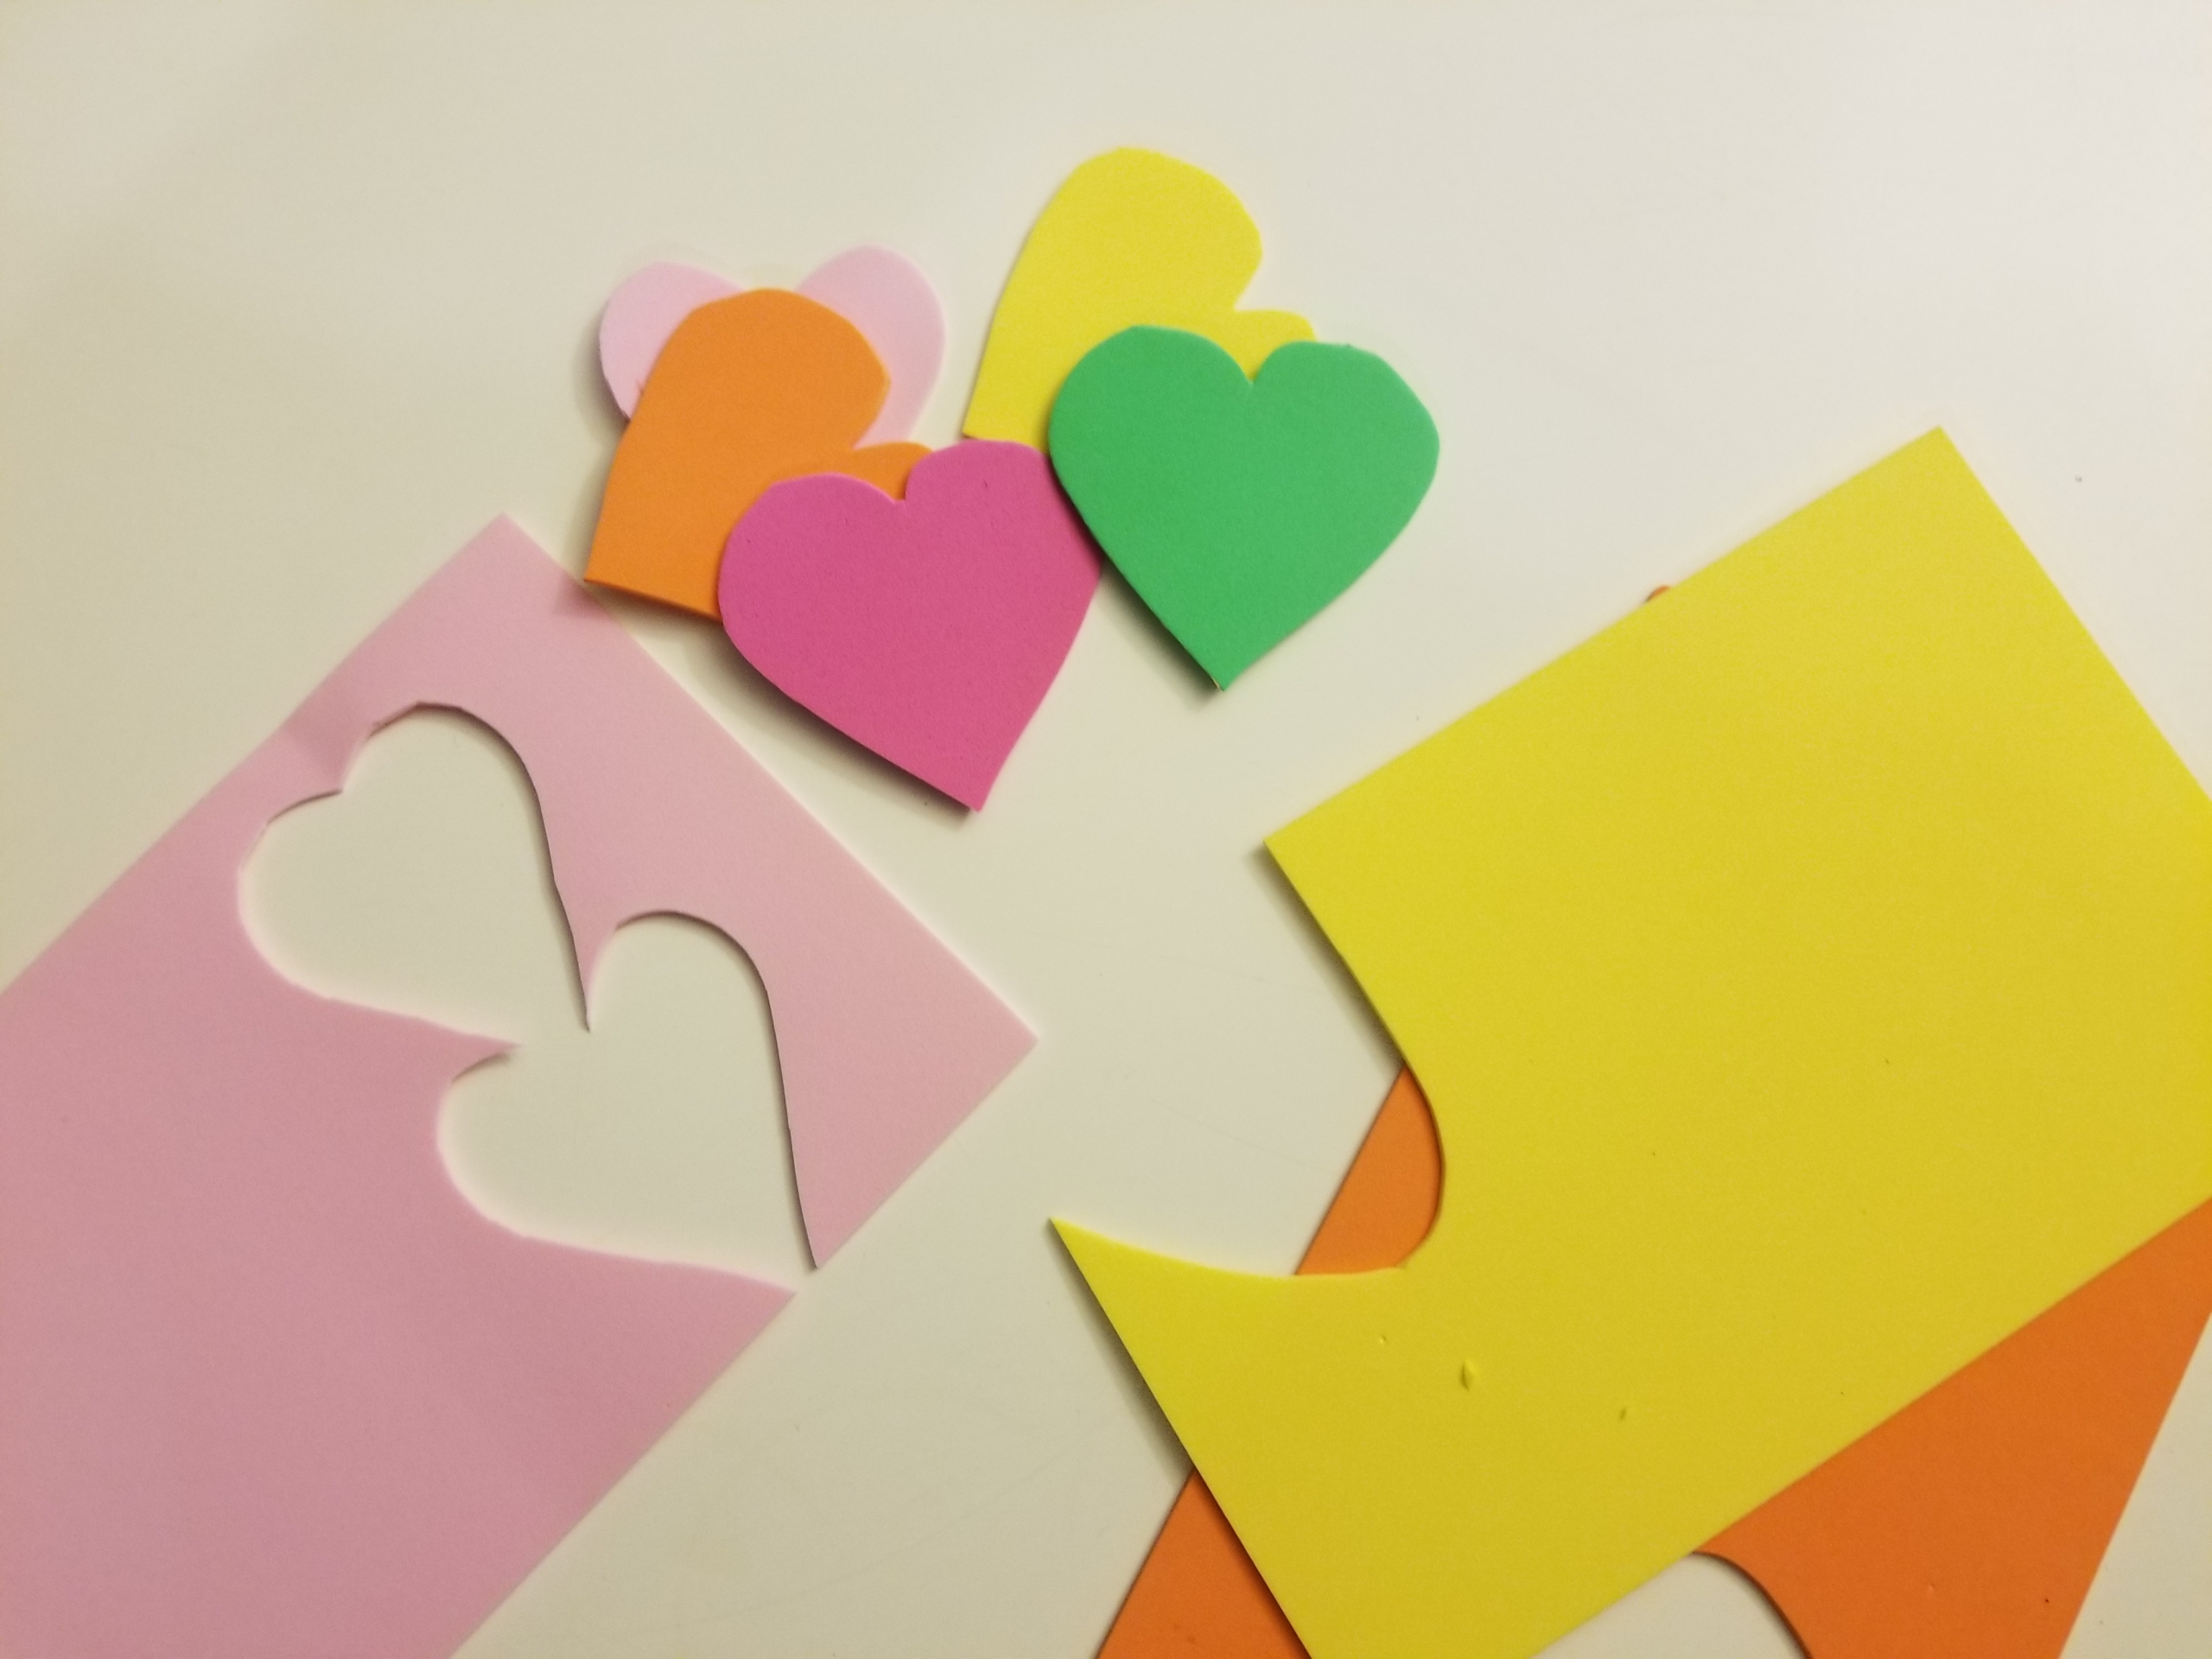
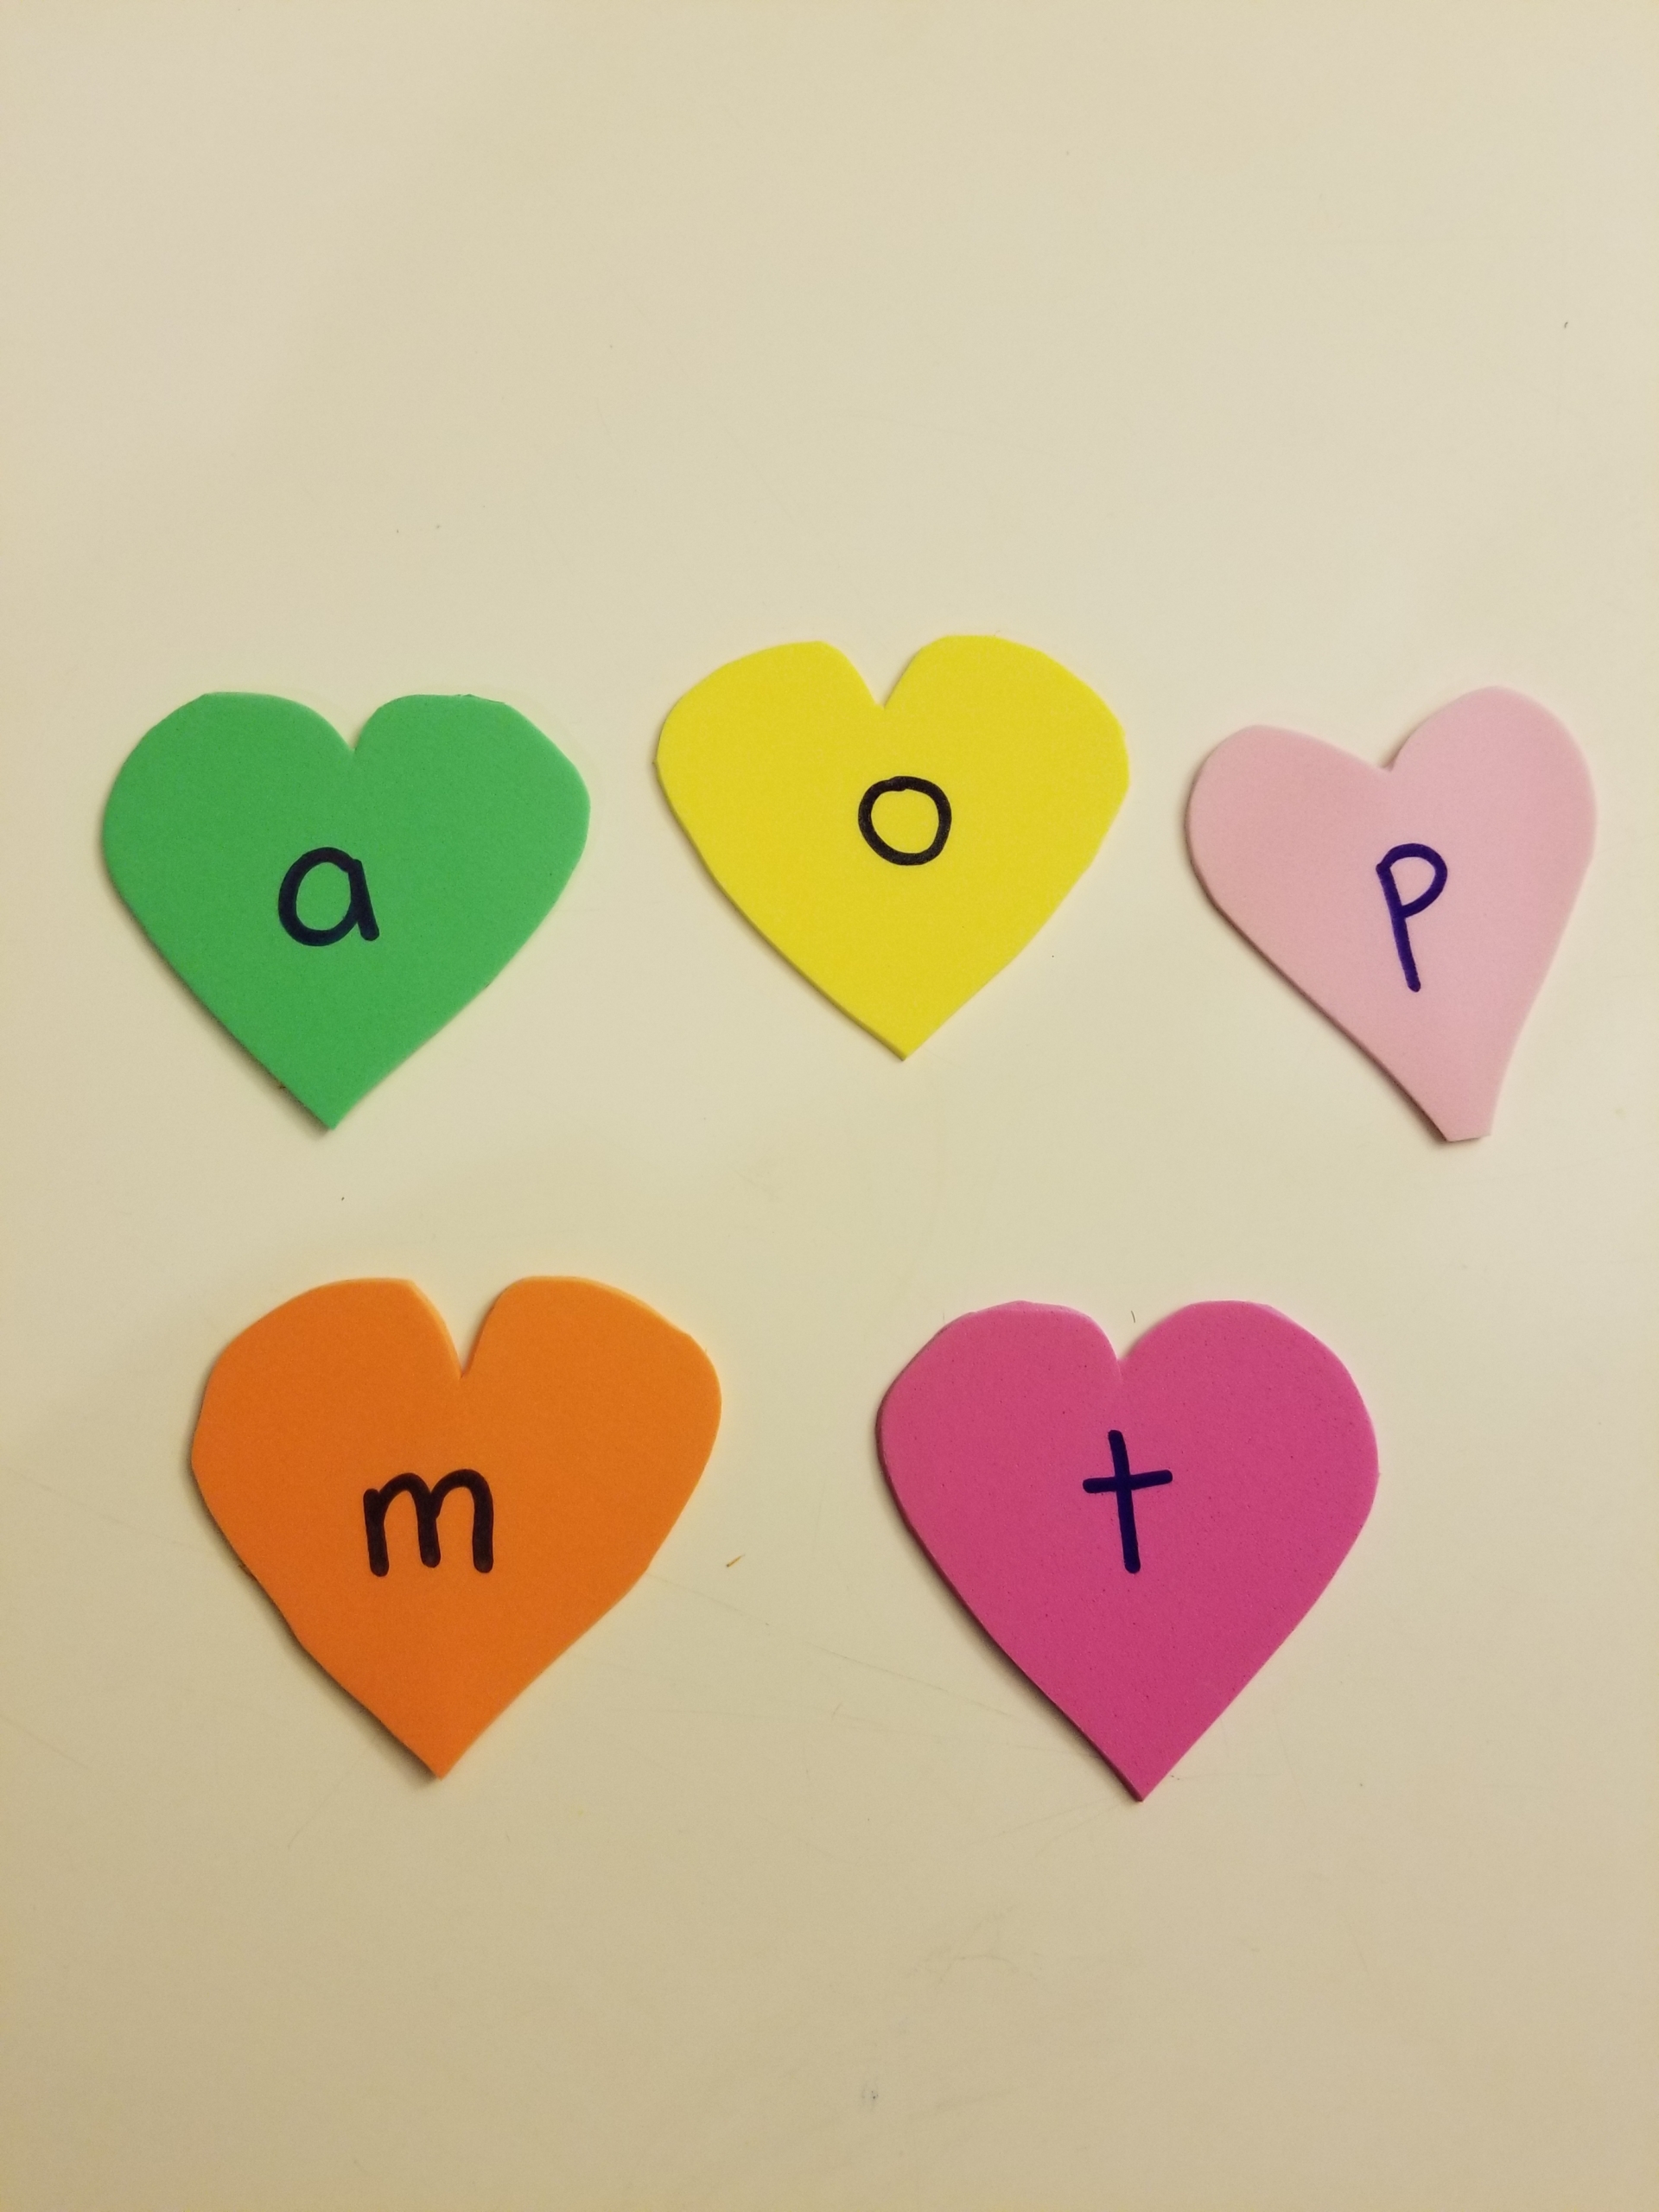
Step 2: On each heart, write a single letter. Make sure you include several copies of all five vowels, plus common consonants such as S, R, N, M, and T. When choosing your letters, keep in mind simple three-letter words children might be familiar with, such as mom, can, pig, dad, rat, and sun. (If your child or someone in your family has a three-letter name, include those letters too!)
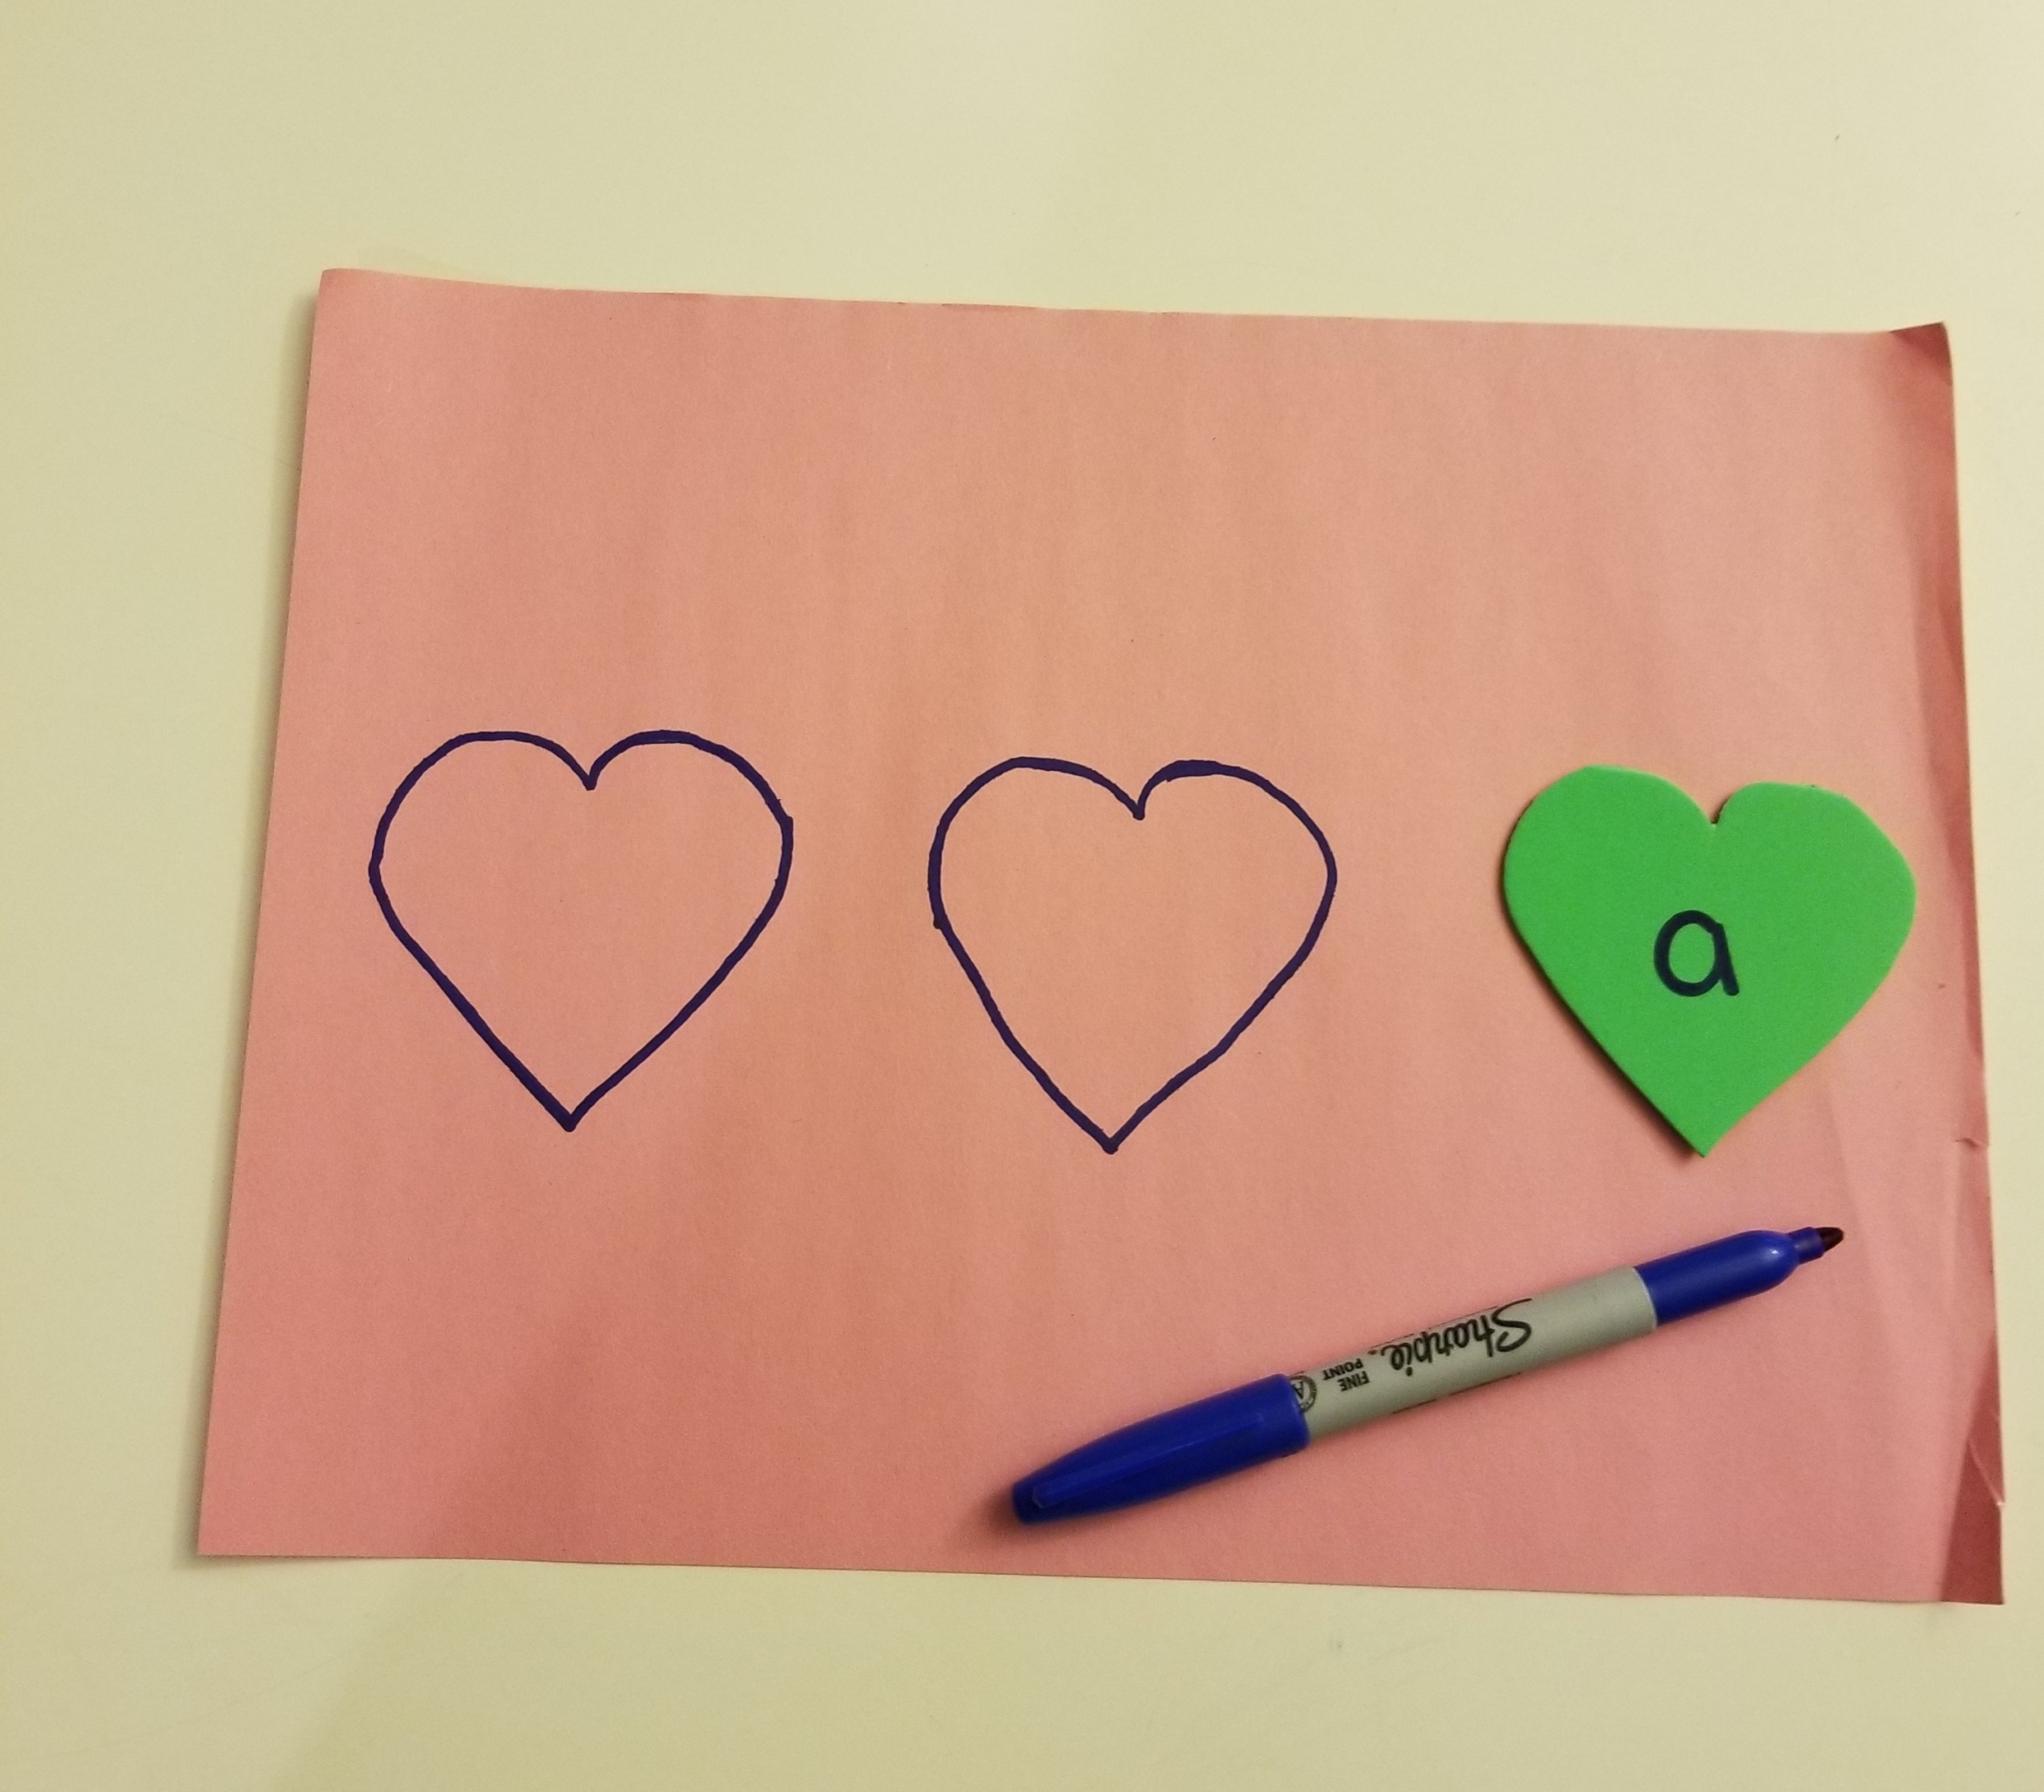
Step 3: Using one of your hearts as a template, trace three hearts in a row across a sheet of paper. These hearts will be where your child places their letters to create words.
Optional: To protect the paper and keep it in one piece for multiple uses, cover both sides with packing tape, our favorite hack for a “lamination” finish.
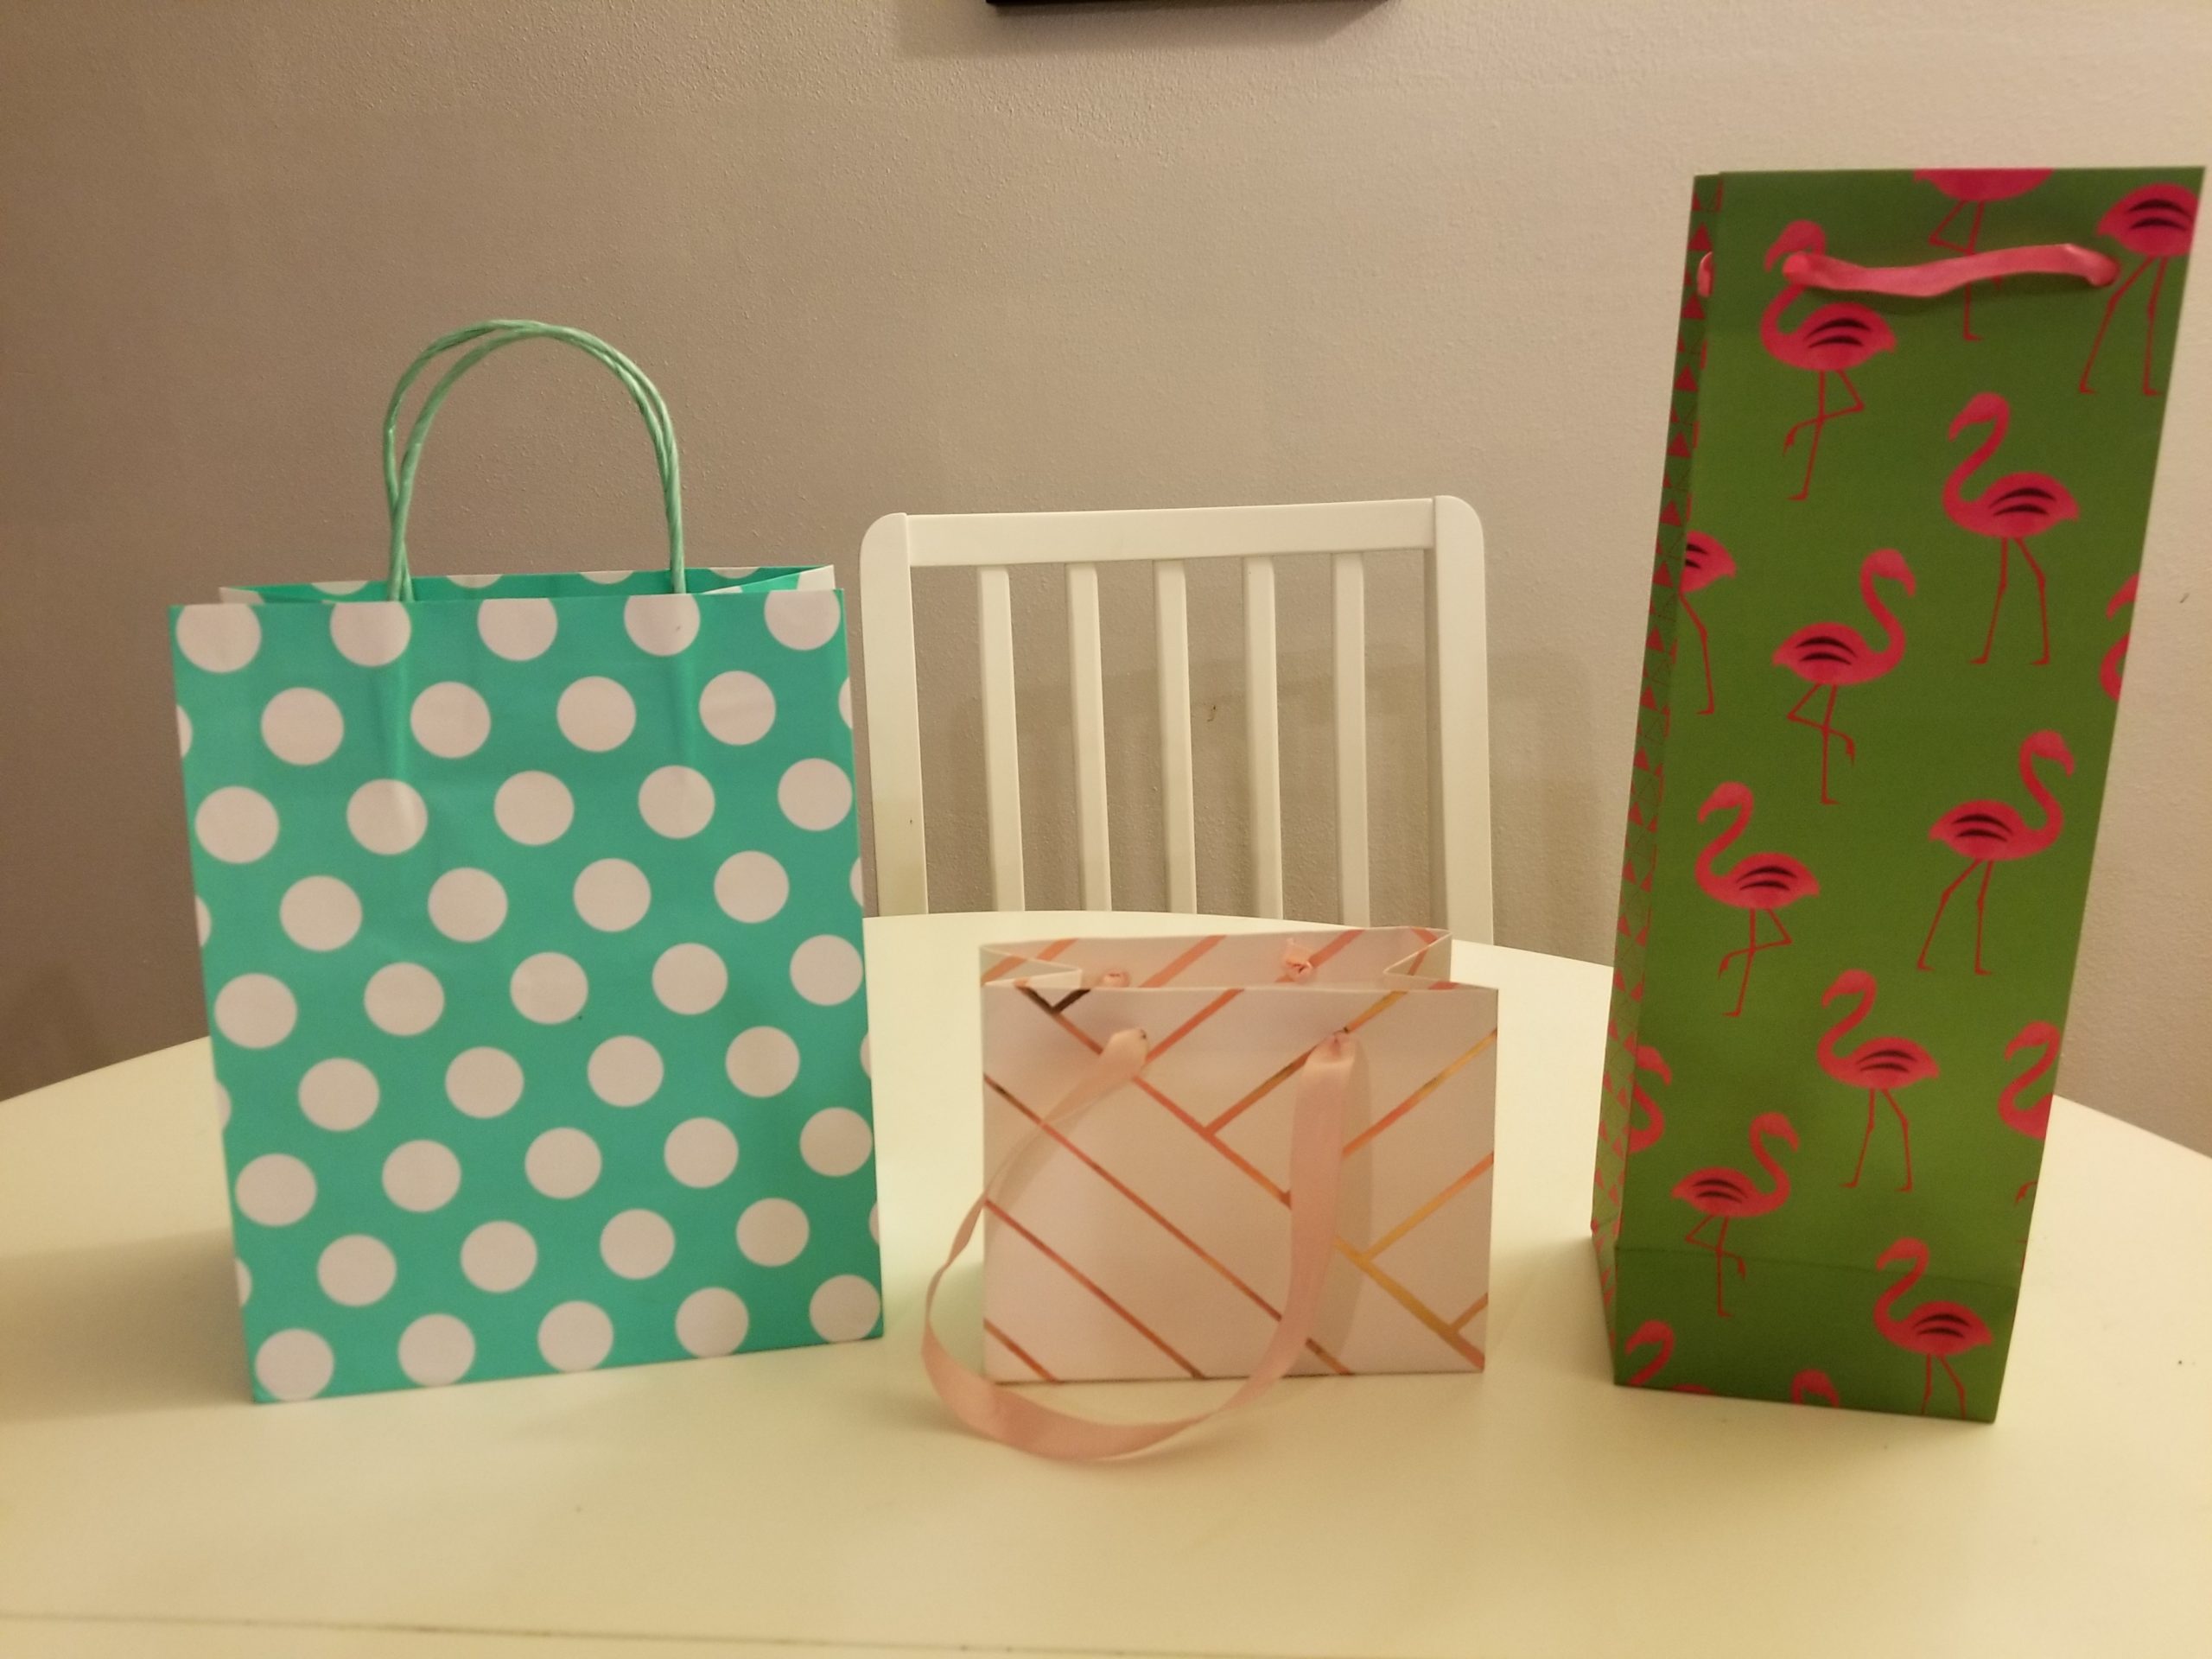
Step 4: Divide the hearts equally among the 3 containers. I like to use gift bags to make them festive, but that’s entirely up to you.
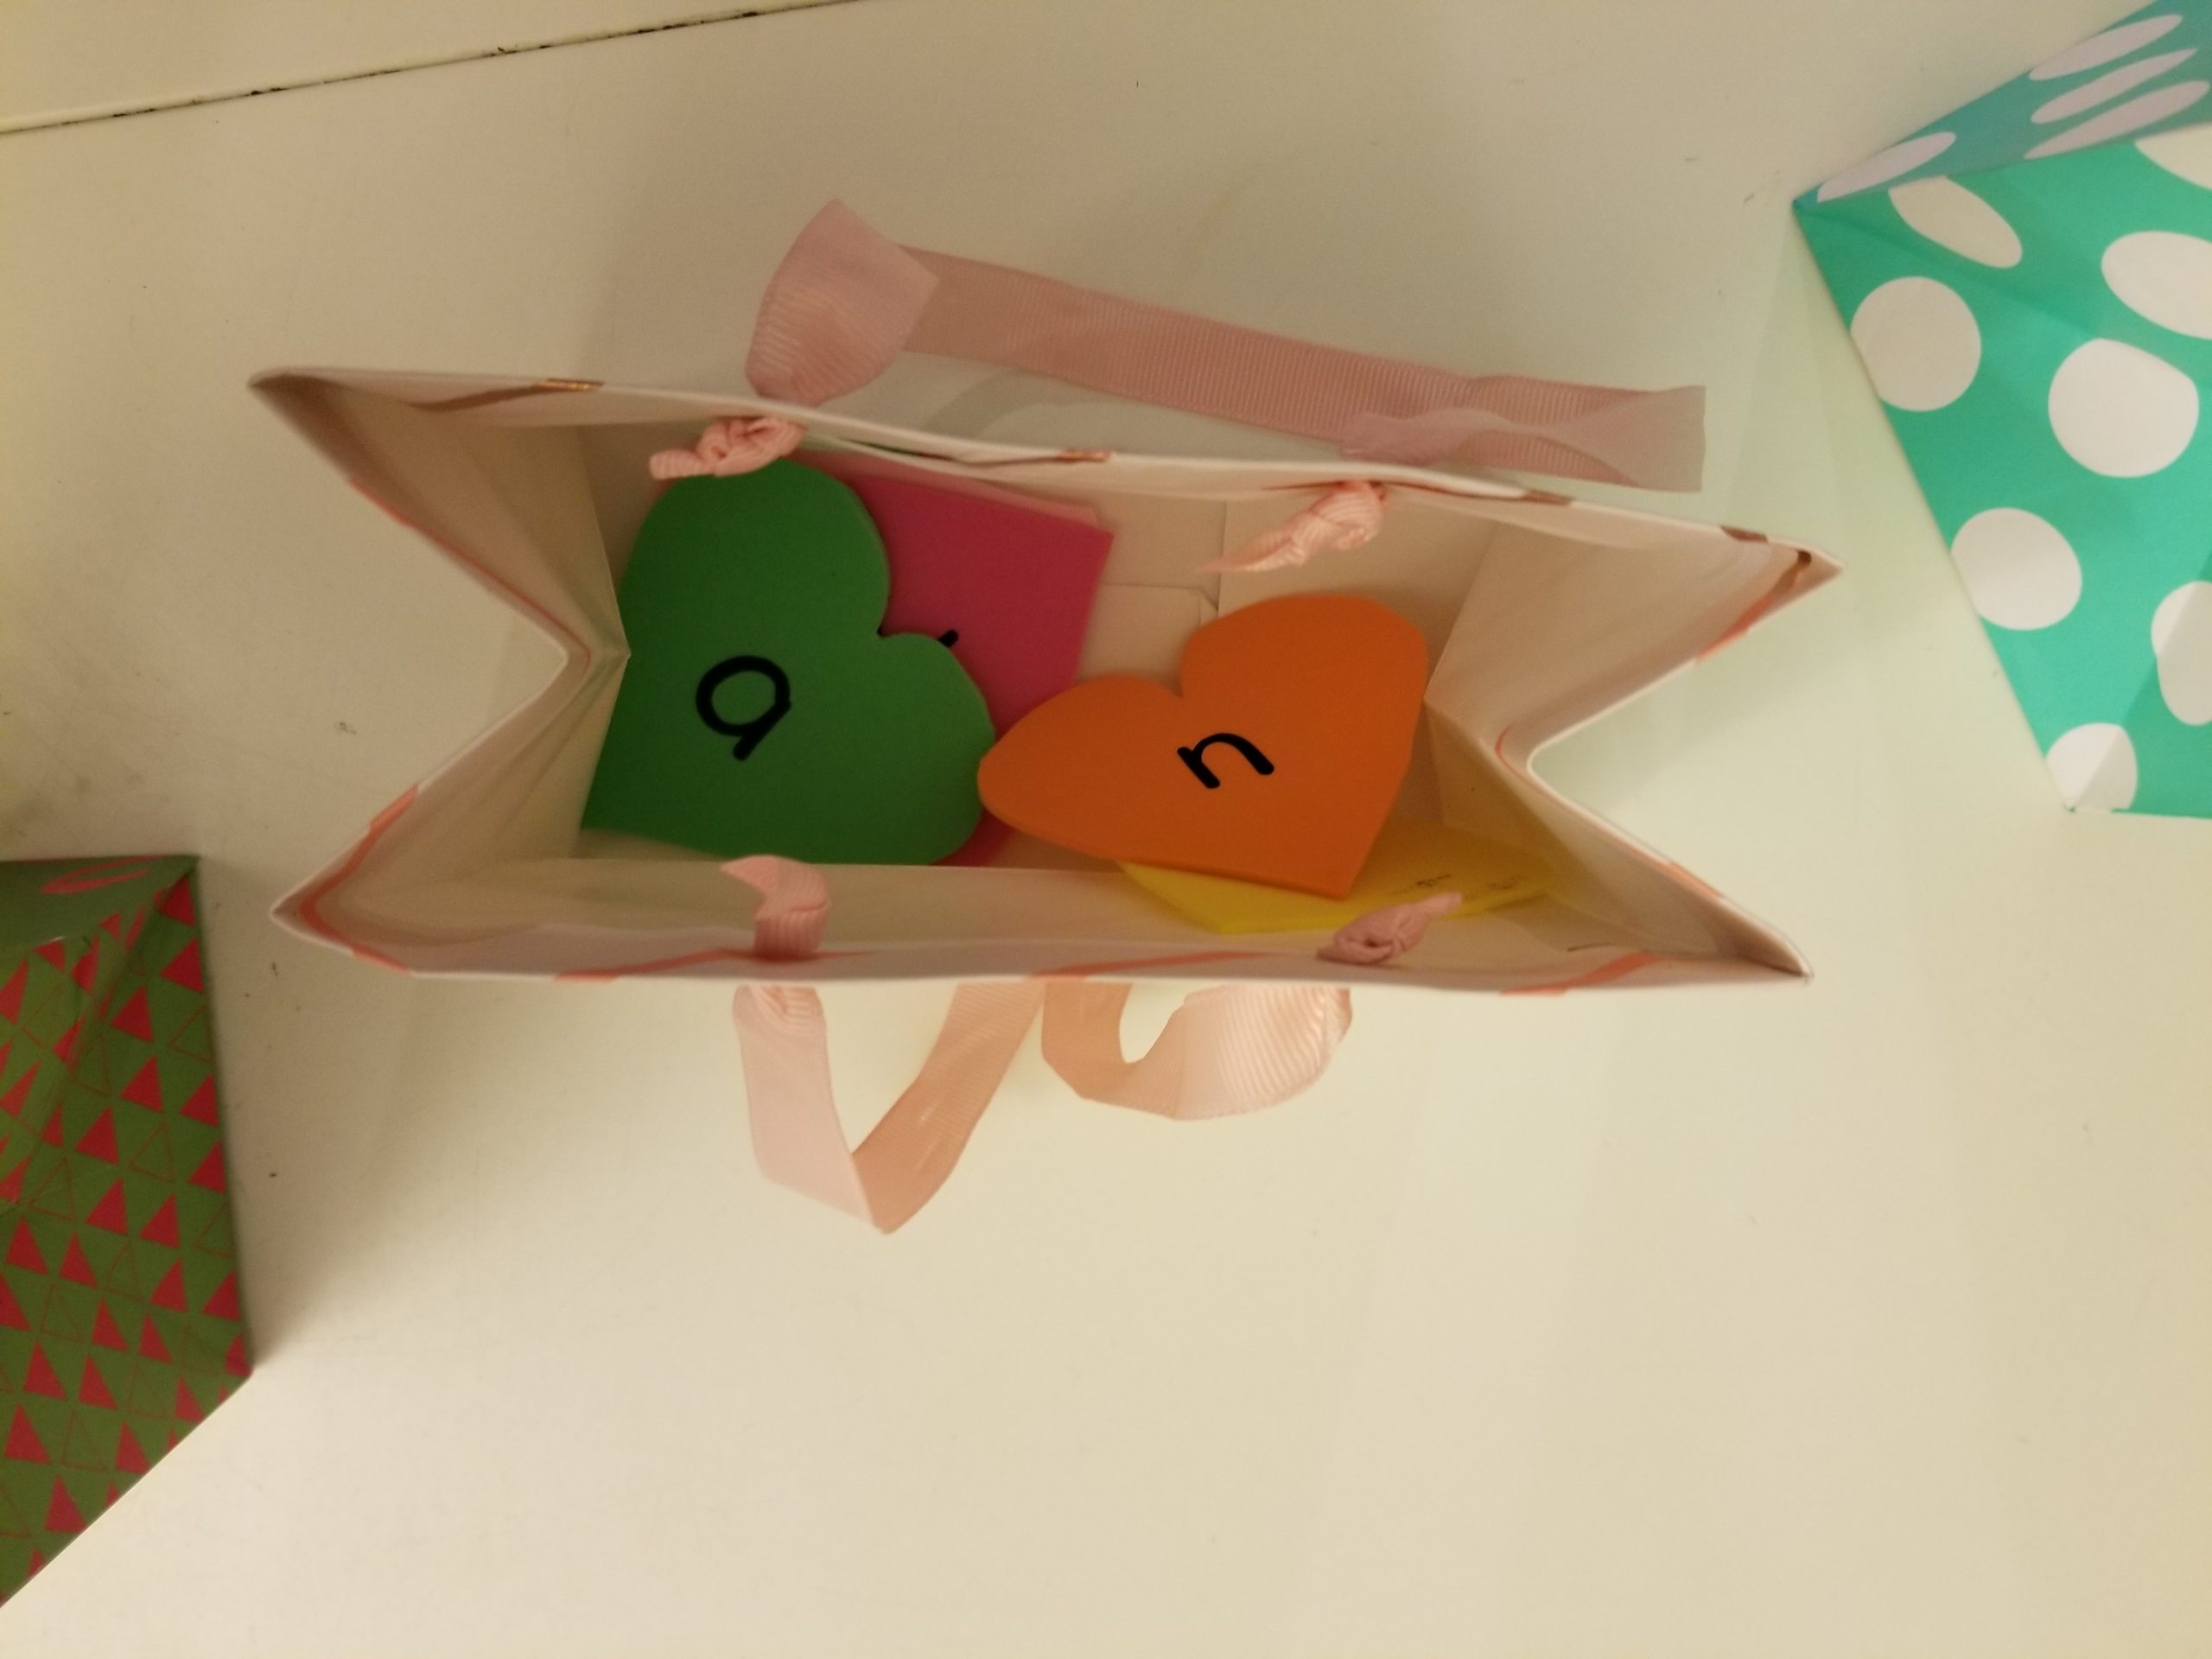
Step 5: Have your child reach into each container and pull out a heart. They can place their hearts on the paper you created in Step 3.
Do those letters make a word? What happens when you move the letters around? Can you make a new word? Maybe they don’t make a word at all. That’s okay too! When your child has finished with those letters, draw three more. Keep going until all the letters are gone.
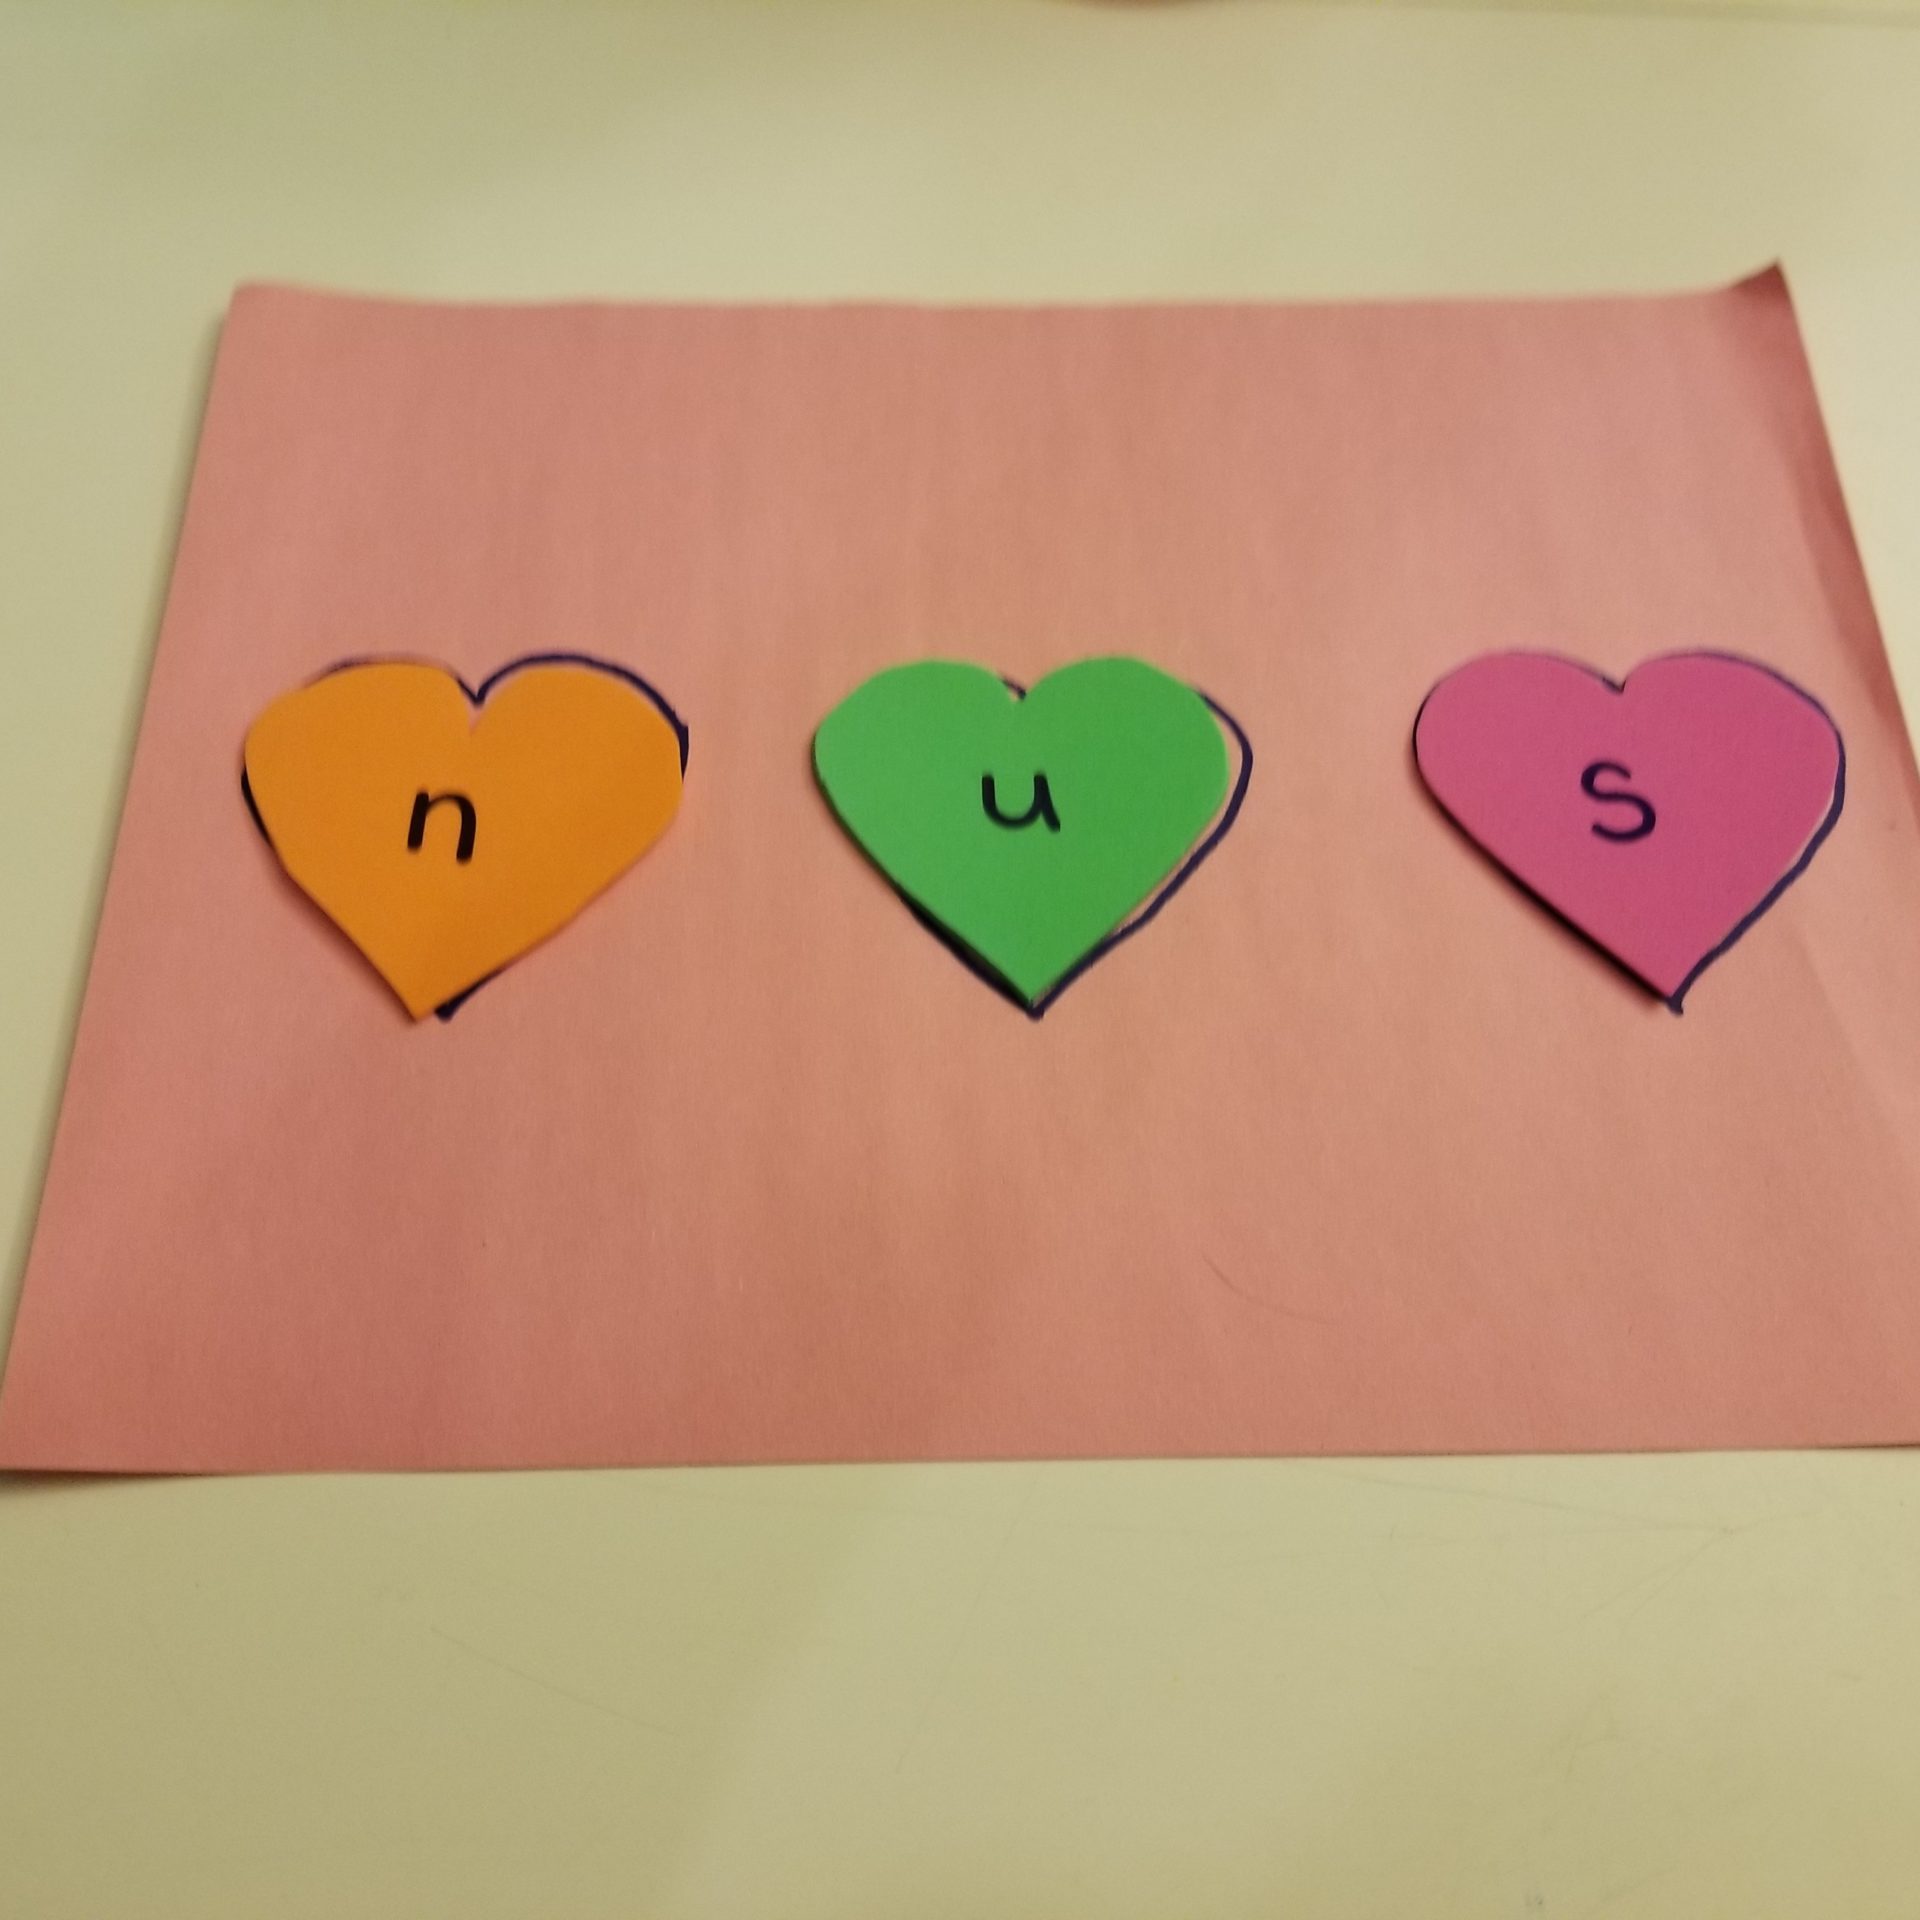
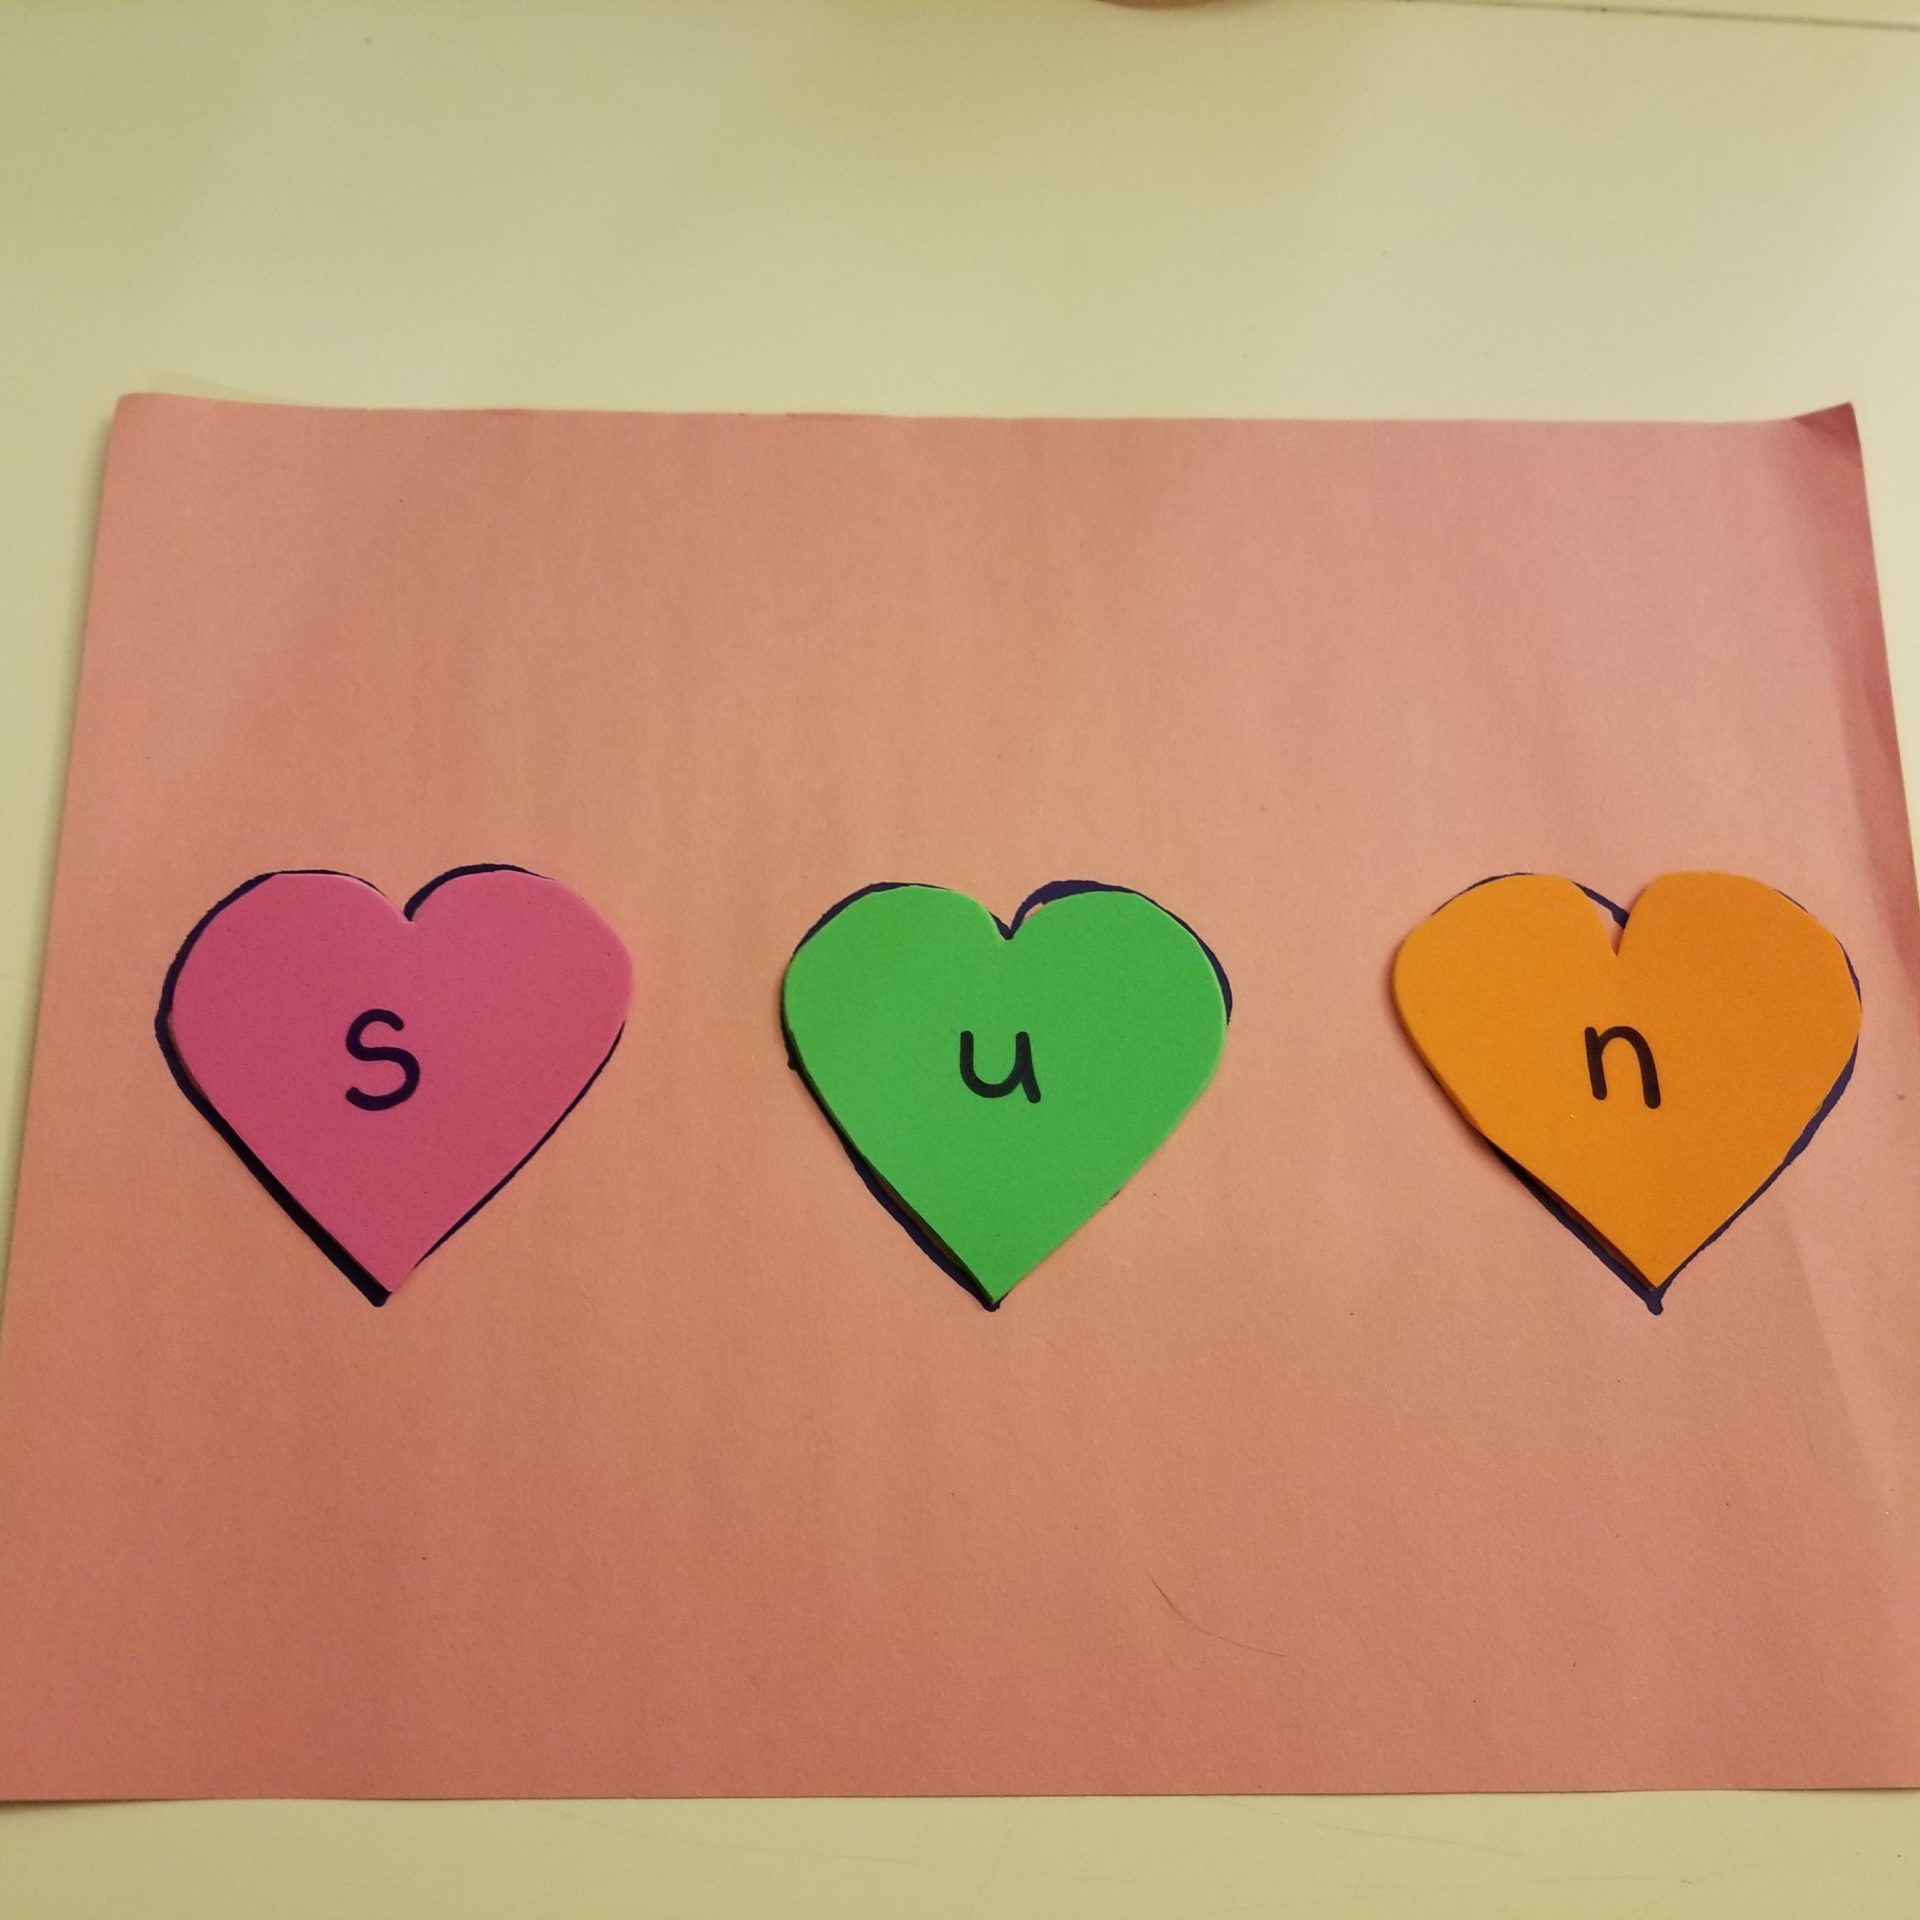
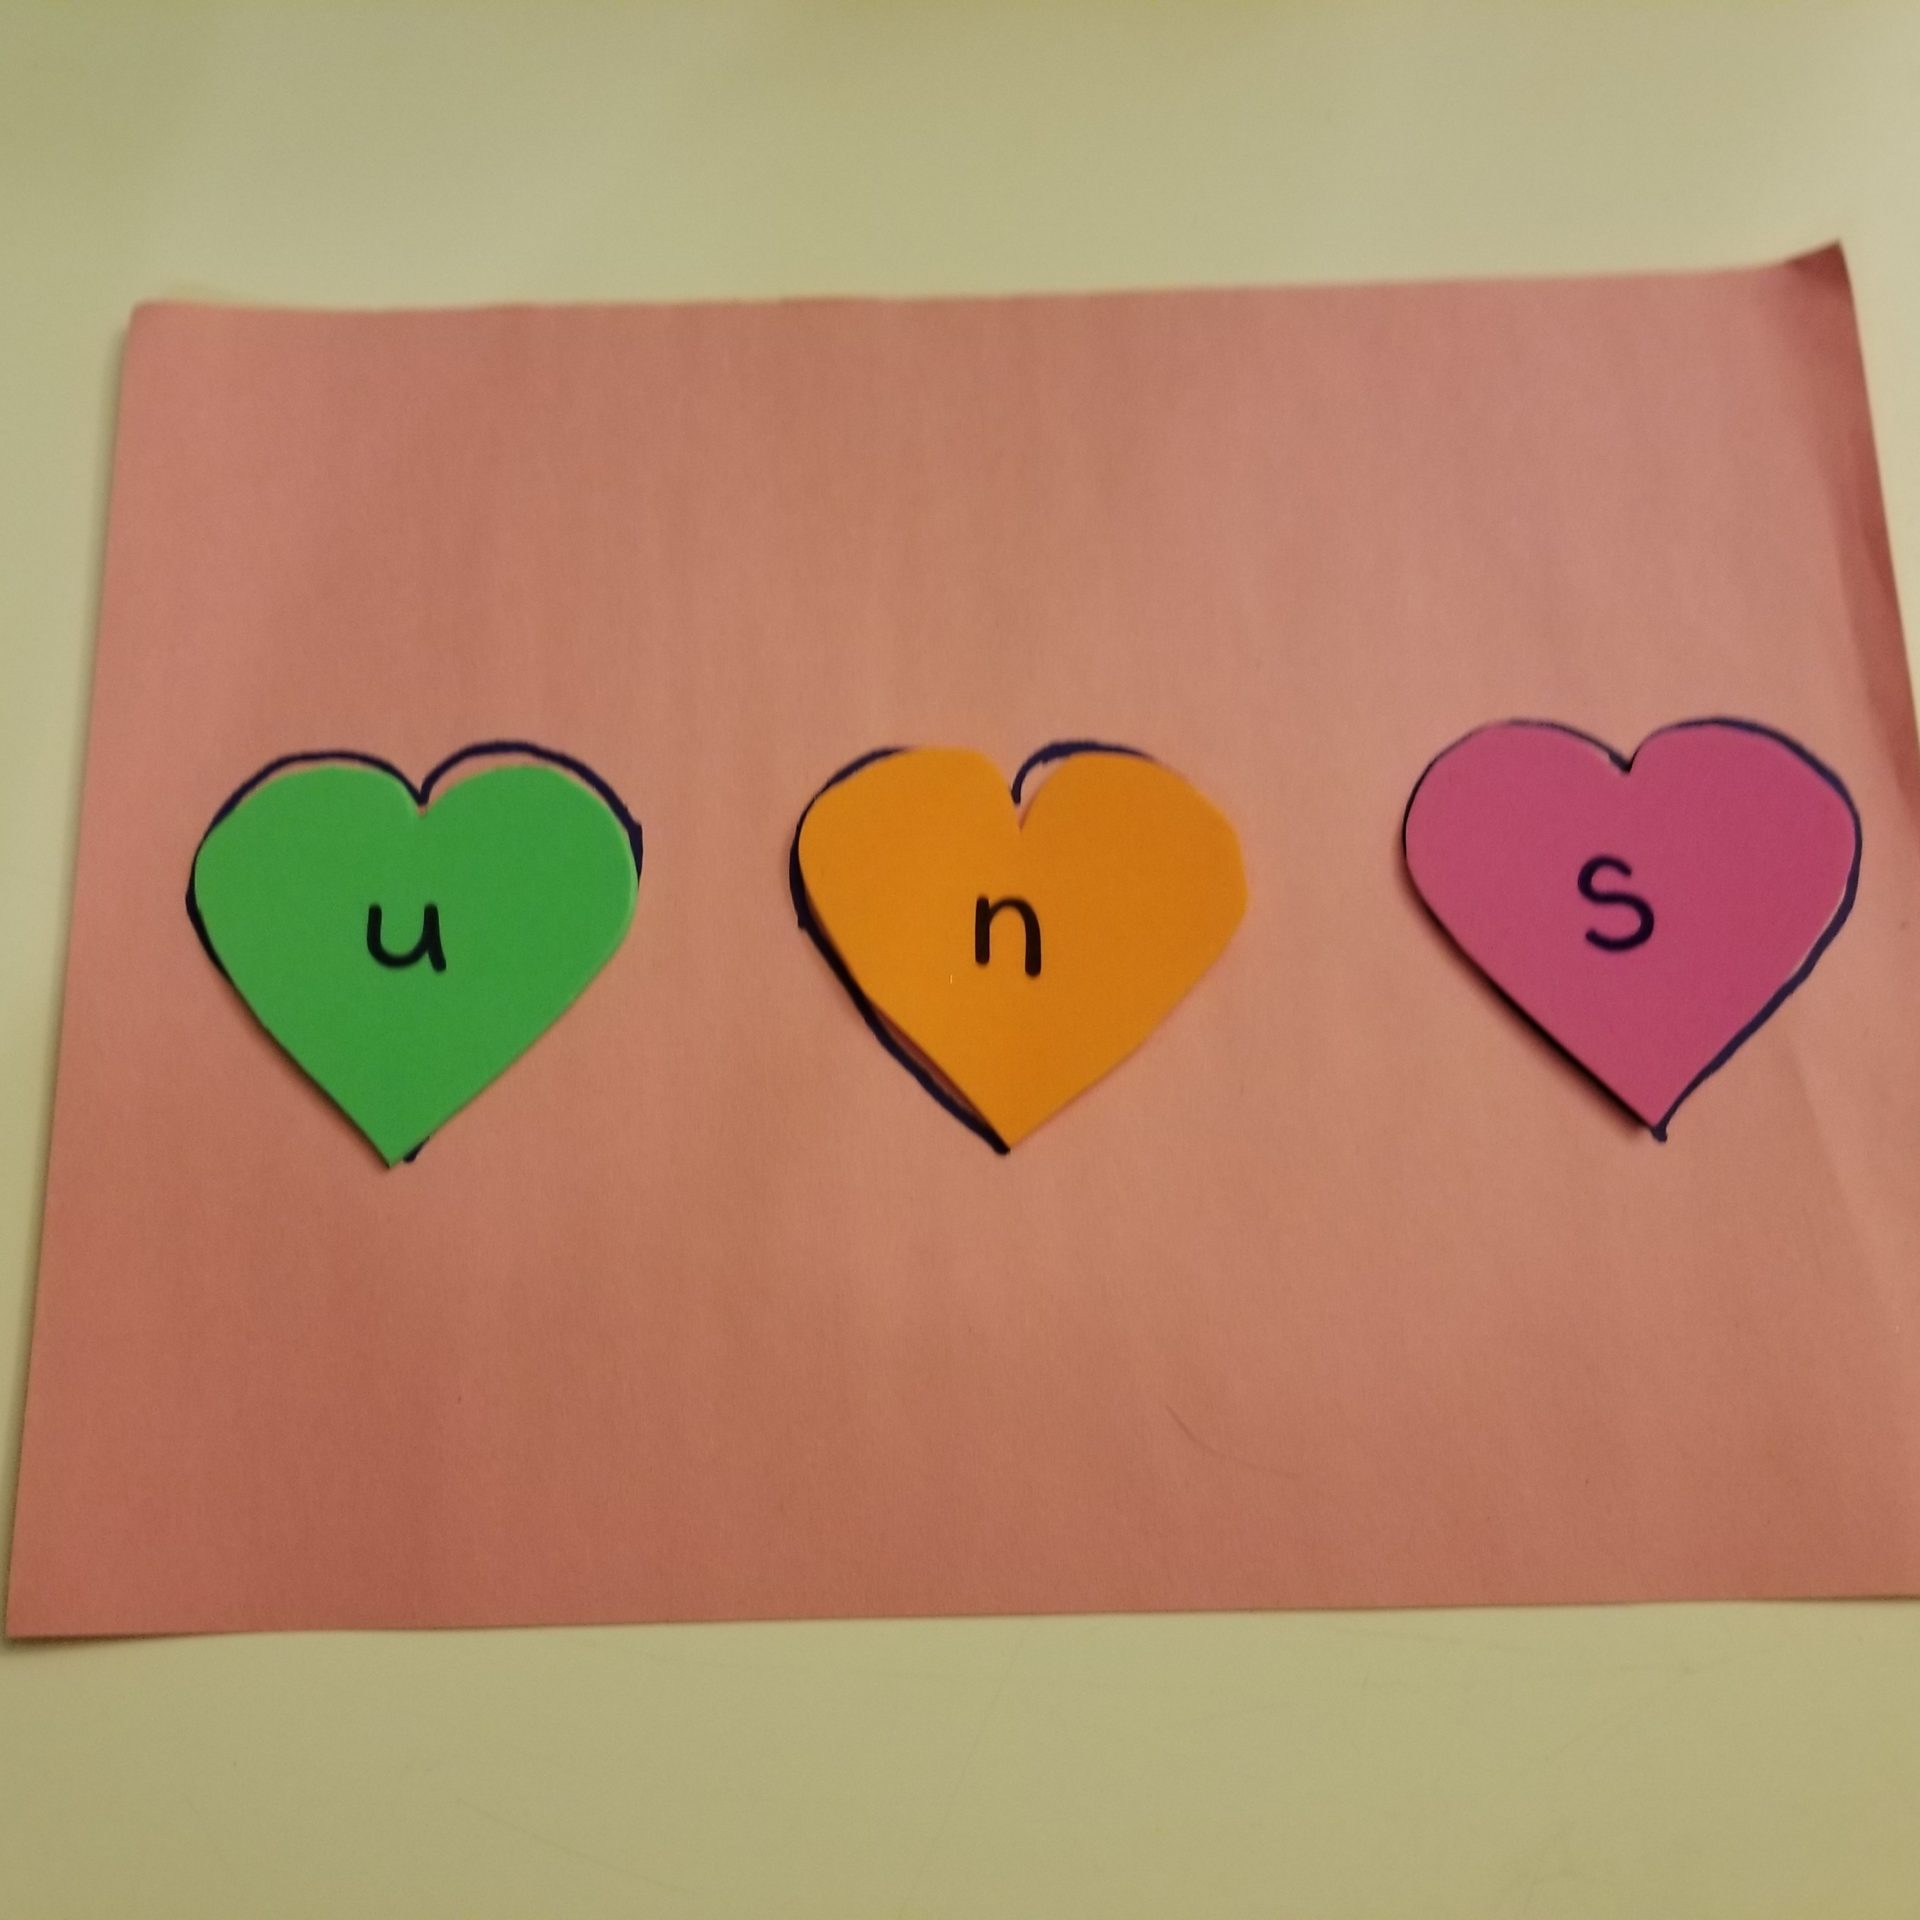
What’s important about this activity isn’t that your child makes real words; it’s that they practice sounding out letters in different combinations. Reinforcing awareness of the sounds that make up words can be silly and fun. It doesn’t need to feel high-pressure or as if they absolutely must know this word. Reading something silly like “opm” or “pom” instead of “mop” uses the same skills: letter recognition, reading left to right, and phonics.
Valentine’s Day is a day for love, and hopefully, with a little help from this activity, your children are learning to love reading.
Pin Me for Reference :
This time of year, the internet abounds with reading challenges. Now, I’m all for bookish resolutions. But to be honest, I don’t want to read for a certain number of minutes per day or tackle a specified number of books in a particular genre. I’m not going to log library and bookstore visits or rate my annual reads in Excel spreadsheets, either.
An intensive reading challenge with numerous deadlines and requirements is more likely to stress me out than spark joy. I’m more of a read-what-I-feel-like-for-as-long-as-I-feel-like-it kind of person. And as the new year begins, I’m prioritizing rest and relationships over rigid goals, so any bookish resolutions have got to fit within that frame.
That said, book enthusiast that I am, I do have a few reading resolution ideas worth pondering for their ease, community spirit, and positive vibes.
Resolution #1: Read in Community. Reading is one of life’s great solitary pleasures. You can curl up in a chair alone and be transported to another world full of drama and wonder. Discussing what you’ve read with others can extend the pleasure and deepen your exploration of the world created within the book’s pages. And, frankly, in times of great social isolation and distance, it’s a great excuse to gather.
As Margaret Atwood put it, “the real, hidden subject of a book group discussion is the book group members themselves.” Sure, we may tangle over a book’s (de)merits—its plot, characters, or style—but the subtext is always our individual revelations—our biases, convictions, and doubts laid bare. What a wonderful opportunity to learn and connect.
You can find book clubs via your local library, book festival, or by asking around. Virtual options abound and socially distanced outdoor gatherings are an option even after conditions allow indoor parties to make a comeback. Or you can start one custom-suited to your interests. I recently heard of a Bad Bugs Bookclub that brings scientists and nonscientists together to read novels where infectious disease forms part of the plot. Its goal? To give epidemiology a boost in awareness and understanding. Imagine the discussion! More importantly, ponder what types of books and people you’d like to spend more time with this year and find a way to connect the dots.
Resolution #2: Go with the flow. Sometimes picking your next read is the hardest part. Take it easy by letting someone else pick every now and then. There are numerous fabulous book clubs that can help you find your next great read. A few family book subscriptions with headquarters here in Austin are Ripple Reads, Literati, and Brown Book Box.
I’m an advisor to Ripple Reads, whose family book club and workbook help families and caregivers have meaningful conversations with kids about race, justice, and empathy. Its bimonthly family discussion guides and activities are crafted in partnership with leading university professors from the University of Texas Center for Innovation in Race, Teaching, and Curriculum. What’s more, through the Ripple Reads scholarship fund, children participating in the Friends of the Children Austin mentoring program receive a free subscription. Use the code MAYAFRIEND and Ripple Reads will donate $5 of your subscription cost to the Friends of the Children Austin scholarship fund.
Resolution #3: Give books a second life. Often we let space constraints, not value judgements, guide us when it comes to which books stay in our homes. I’m a major book buyer and that’s unlikely to change (see resolutions one and two), but 2020 taught me to be more discerning about what gets a permanent place on my shelves. As I saw my shelves overflow and book piles proliferate, I had to ask myself what good the books were doing collecting dust in my house when they could actually be donated to a library to be enjoyed by other people or sold to benefit library collections or programming.
A cursory survey revealed just a few truly cherished books with powerful stories worth returning to again and again, plus a solid collection of valuable (to me) reference books. But those two categories were far outnumbered by one-read wonders and perpetual to-be-read pilers—stuff I found compelling enough to buy on impulse but not intriguing enough to actually read. It was time to let those all go.
This year, I plan to donate at least 200 books to my local library system and to community-based early literacy programs, which are always in need of gently used children’s books. A friend’s brother jots down the titles of all the books he finished to mark the experience in memory without clinging to the physical package. I like the low-tech, low-pressure approach.
Bonus Resolution: Pay It Forward
It’s been an eternity since I stood in line in a bookstore with my arms straining under the weight of a giant pile of lovingly selected books. But as soon as I can, I’ll be back in BookPeople—buying up the shelves, to be sure, but also spreading the book love to others by leaving a gift card for the shopper in line behind me. This is the perfect random act of kindness for the return to retail. Who knows? Maybe they’ll pay it forward. Hat tip to Lauren for this stellar idea!
What do you think? Will you give any of these resolutions a try? Or, do you have something else in mind? Please leave a comment to let us know.
Pin Me for Reference :
Happy New Year! Lunar New Year, that is. Whether Lunar New Year is part of your family’s traditions or something you’d like your child to learn about, this activity is a fun way to share literacy and learning around this celebration.
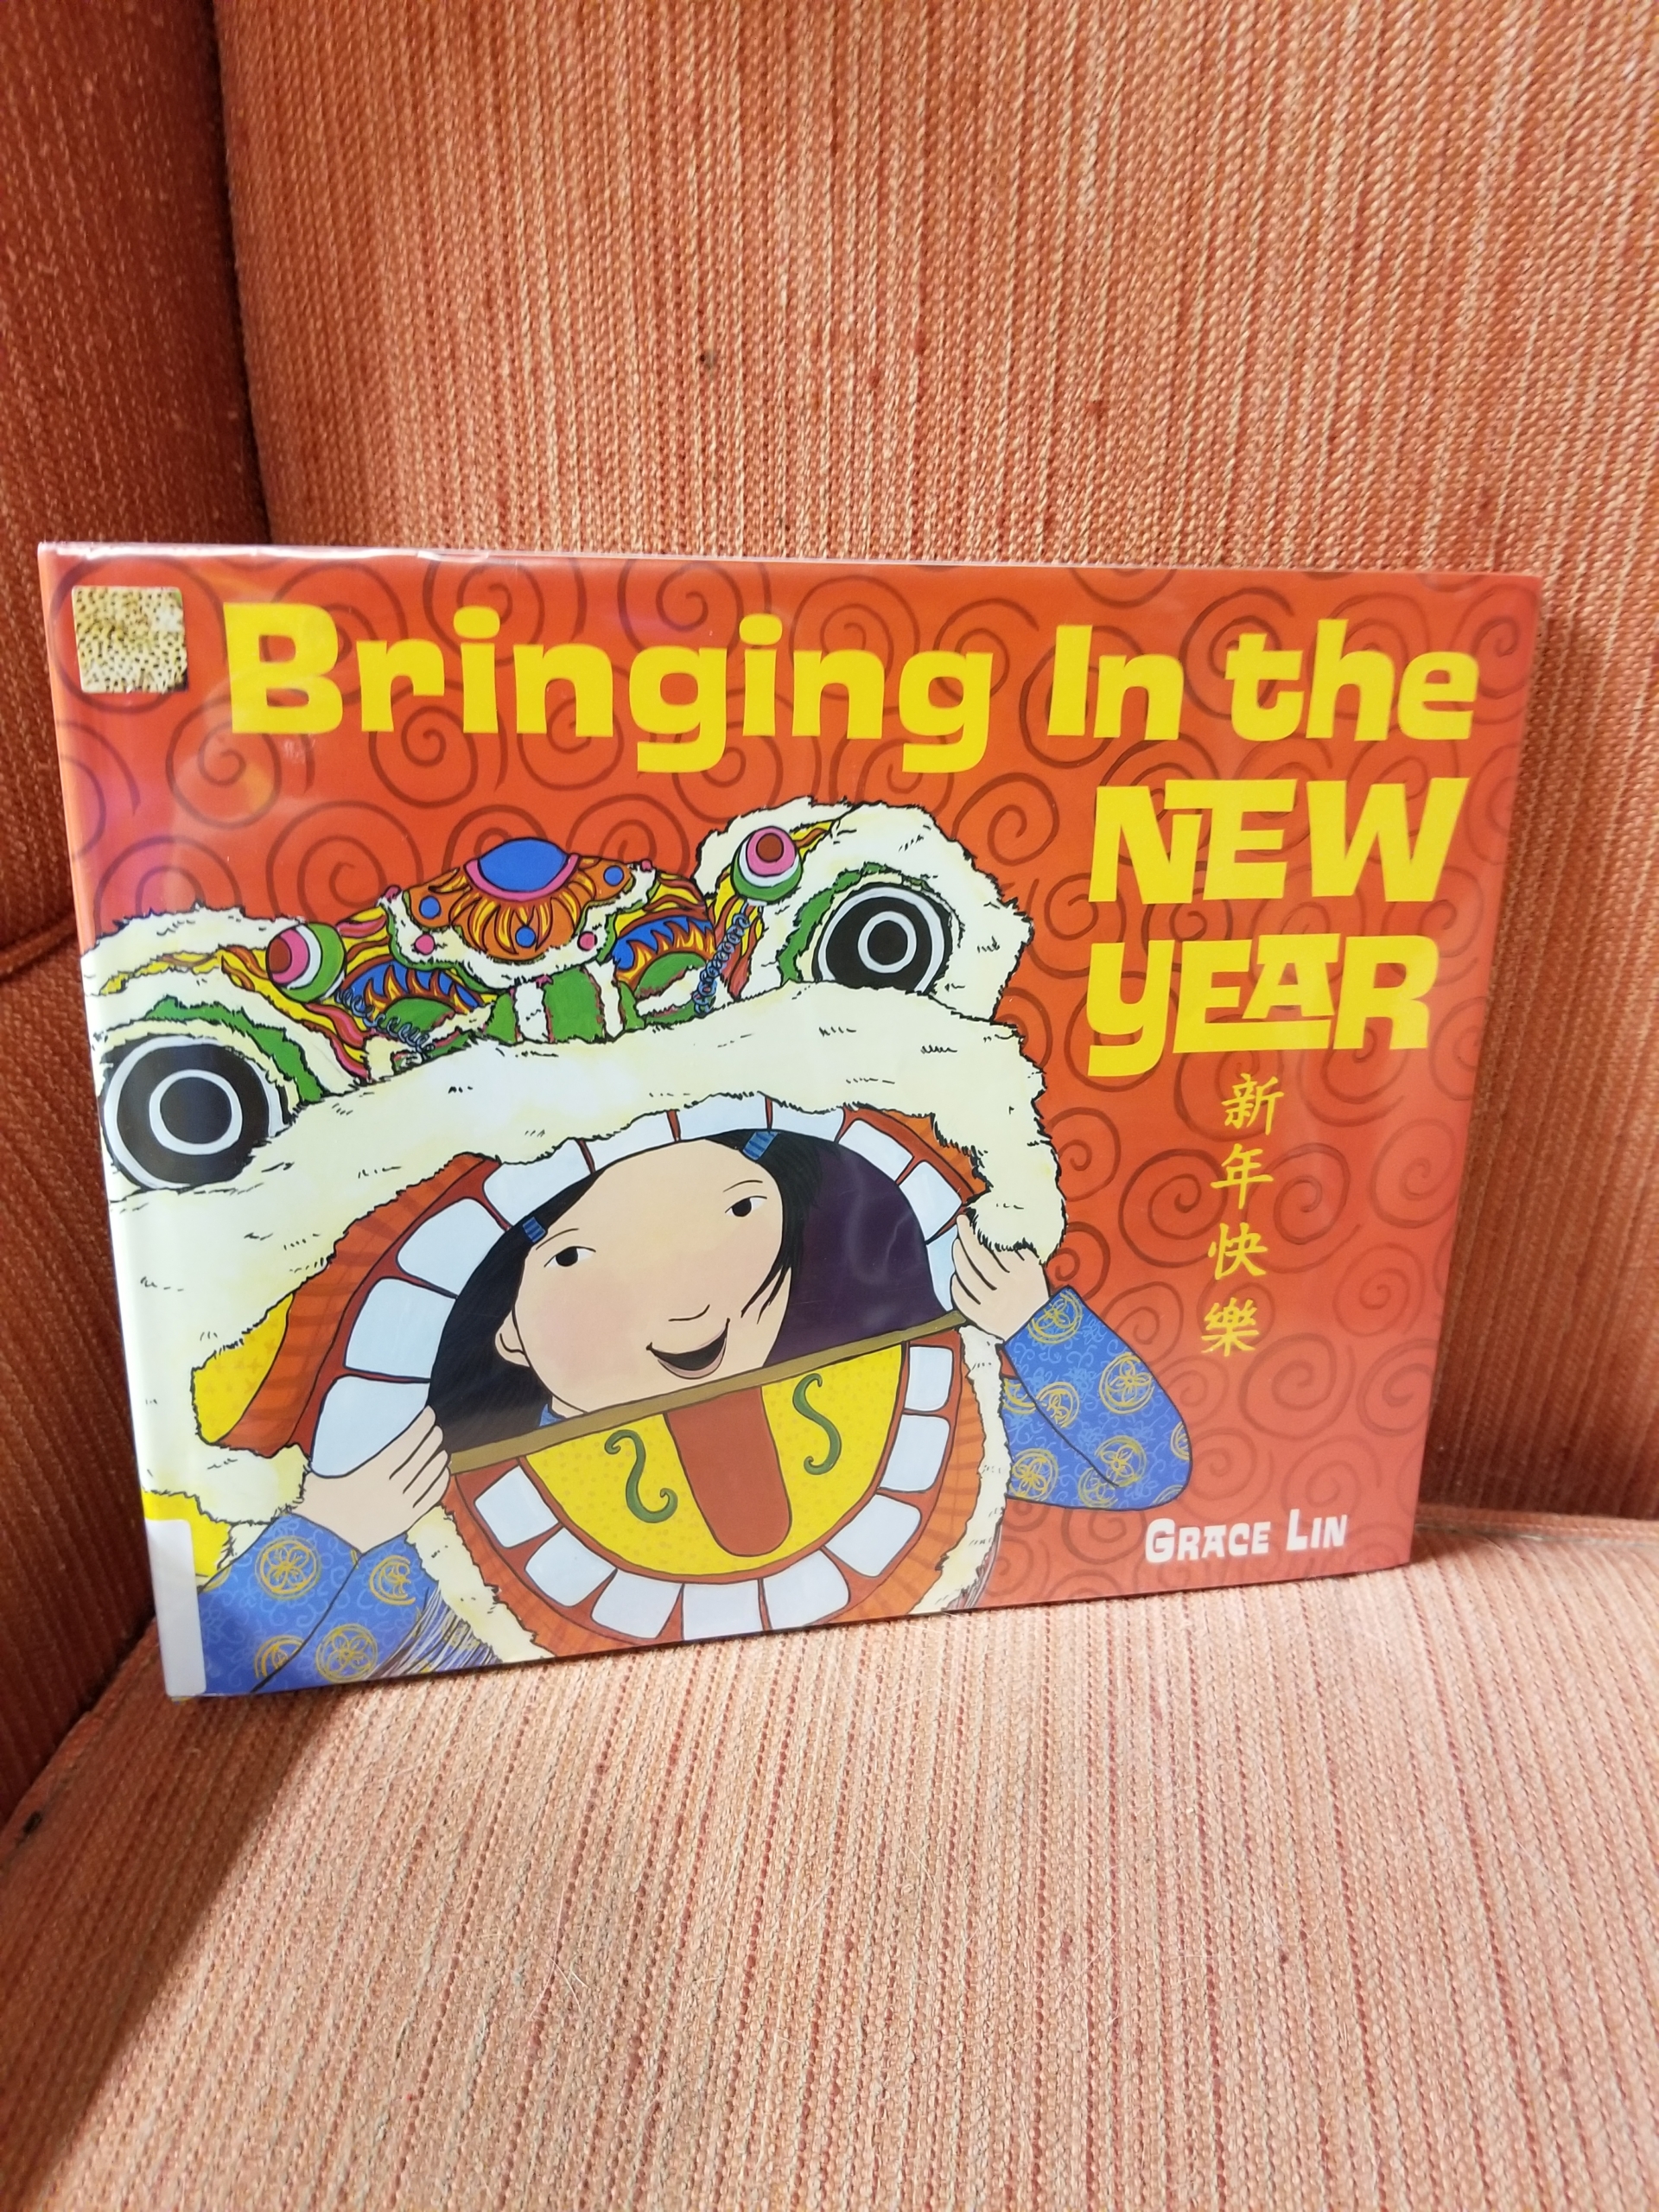
A book is always my number one choice for diving into any holiday or topic with children. And for this activity, I highly recommend Grace Lin’s Bringing in the New Year. Its vibrant illustrations, fold out pages, and simple text are a joyous way to explore Lunar New Year together.
In this story time activity, you’ll first read the book aloud to your child and then teach them how to read and write the names of loved ones as you create Lunar New Year envelopes for family members. It’s a great way to tie cultural traditions and literacy together in a fun and brain-building package.
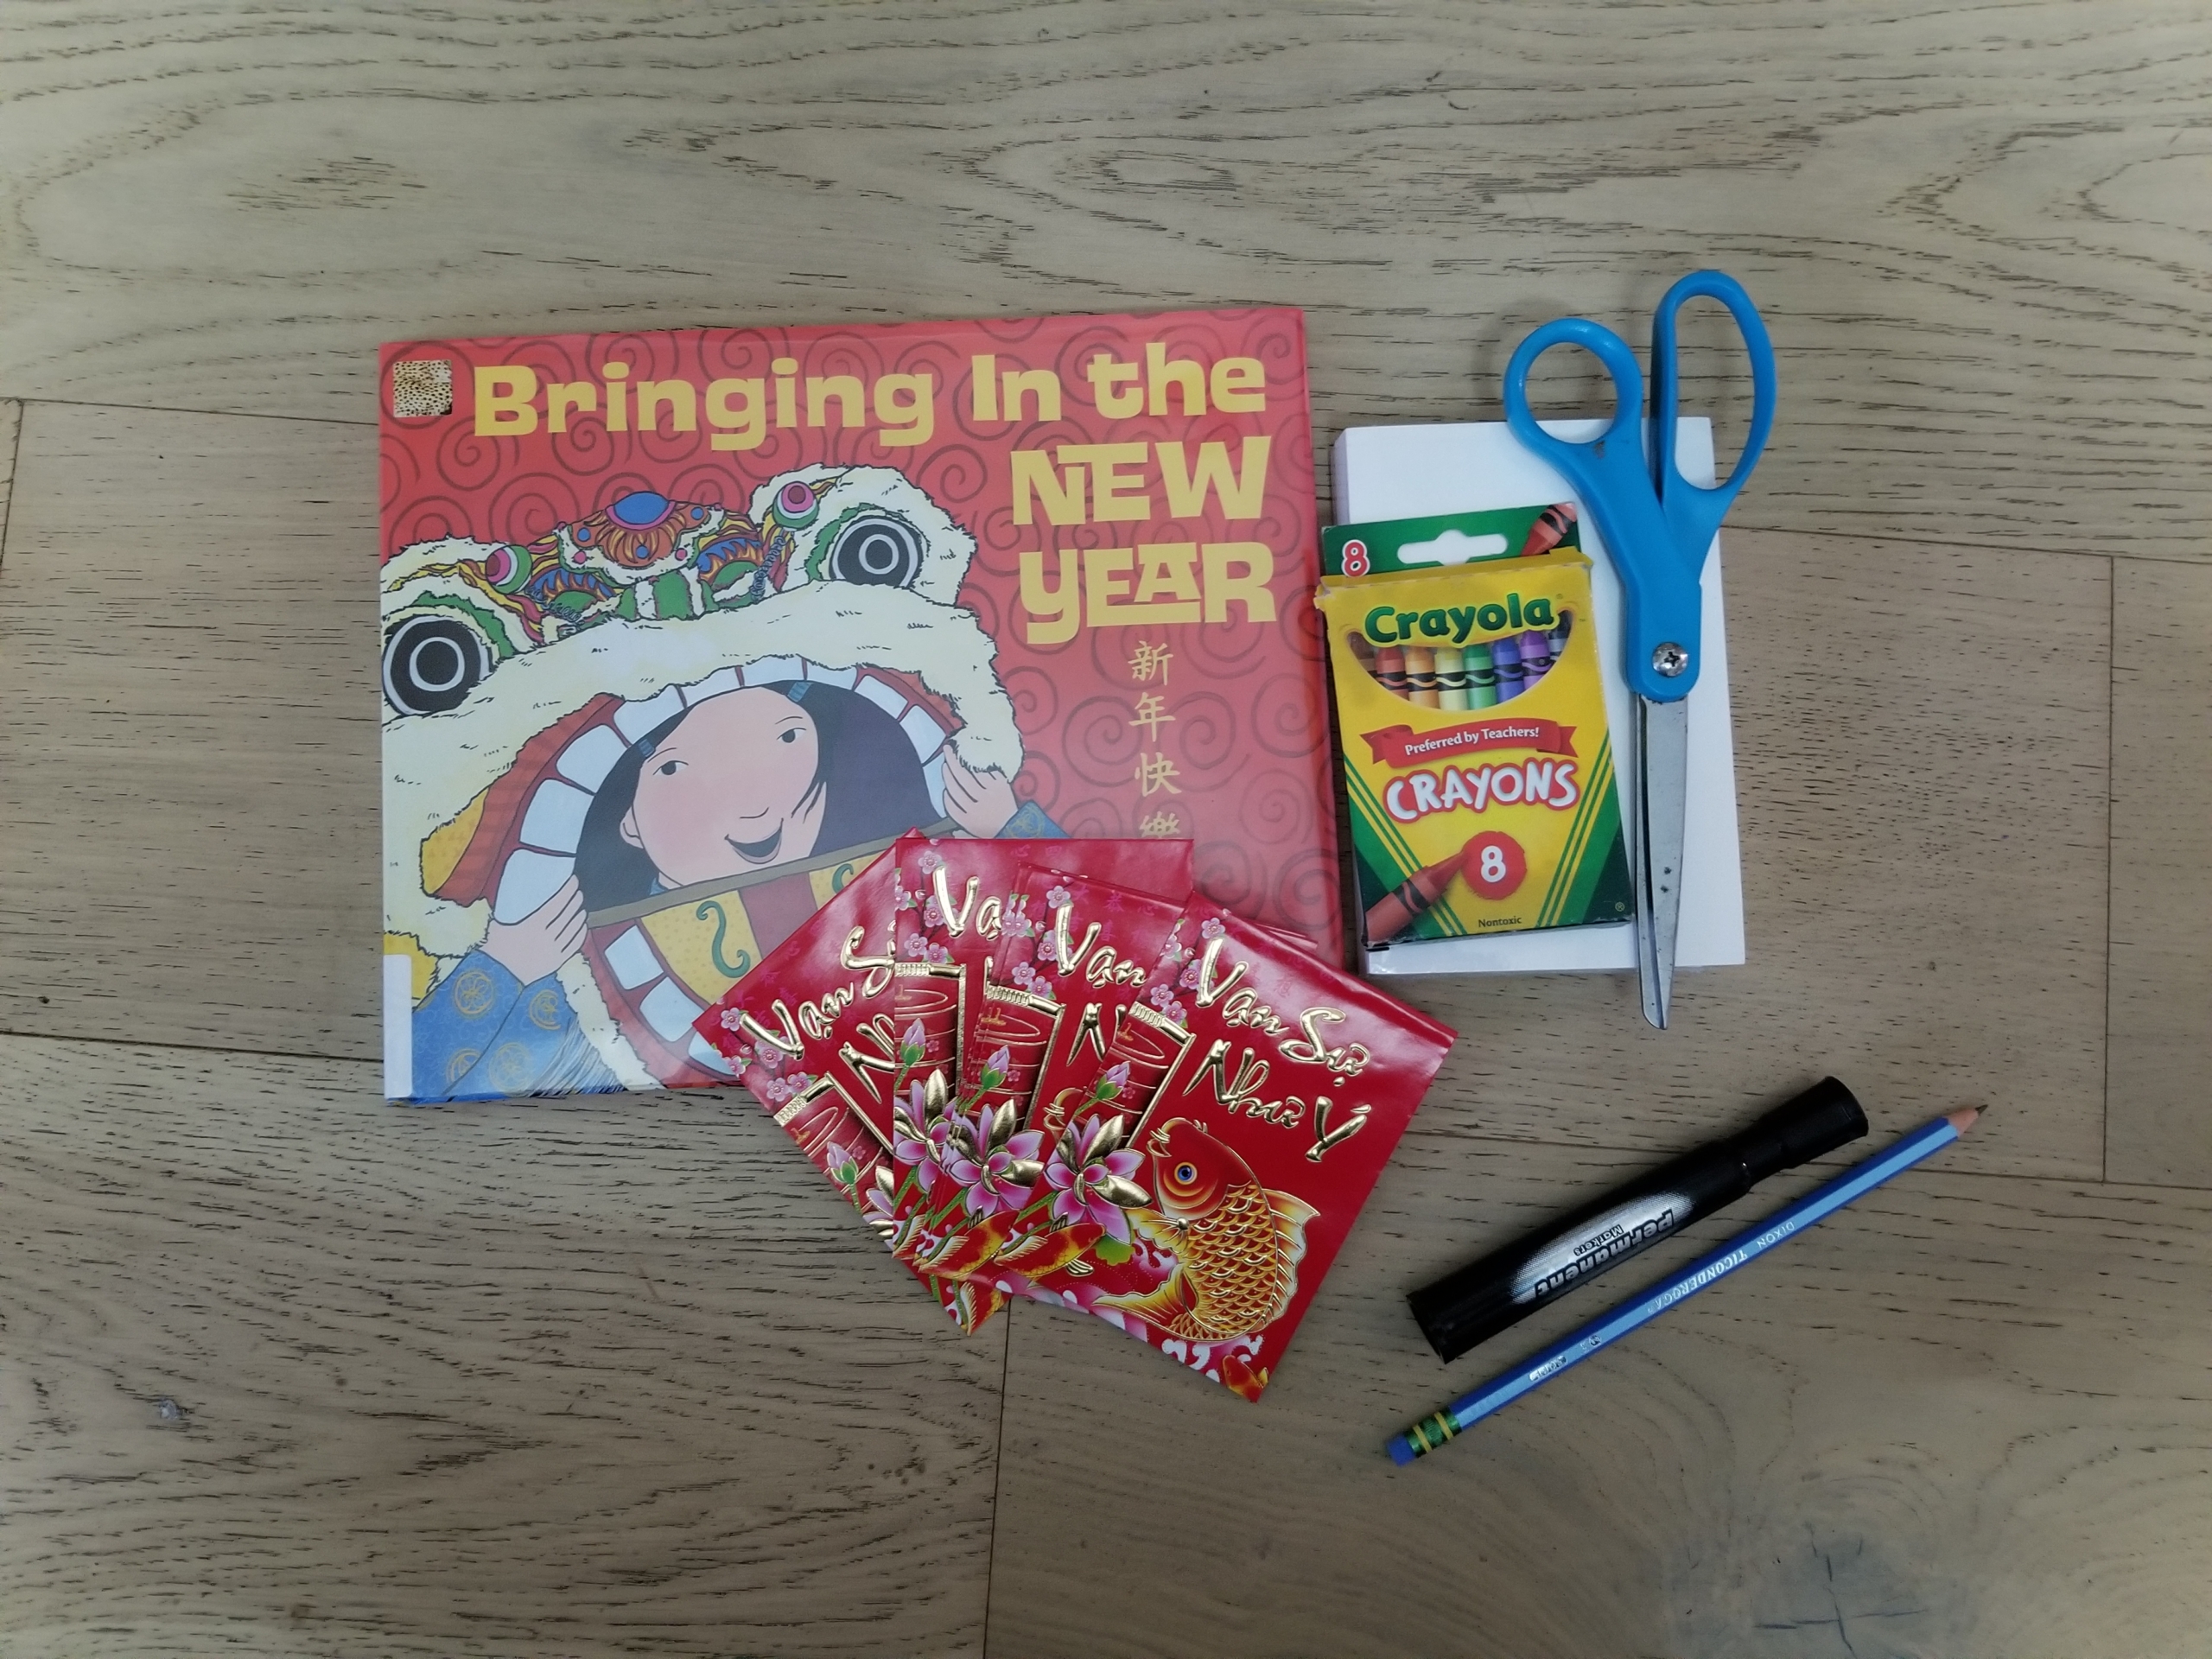
Materials:
- Bringing in the New Year by Grace Lin
- Red envelopes (enough for each member of your family)
- Index cards
- Pen and crayons
- Scissors
- Optional: Paintbrush
- Optional: Black paint (watercolor or tempera)
Cost: $5 to $10 excluding the book.
Tip: You can get plain red envelopes at any craft store or a stationary store. However, if you live in a town with an Asian neighborhood or market, you may be able to get beautiful red envelopes specifically for Lunar New Year.
Step 1: Read Bringing in the New Year by Grace Lin. Throughout the pages, children are holding red envelopes. Look for them with your child as you read. Allow time for your child’s questions and discussion, all of which builds literacy and bonding (check out our post on how to engage kids during read-alouds for maximum literacy benefit).
Step 2: On the outside of each envelope, write the name of one family member. You’ll make one envelope for each member of your family.
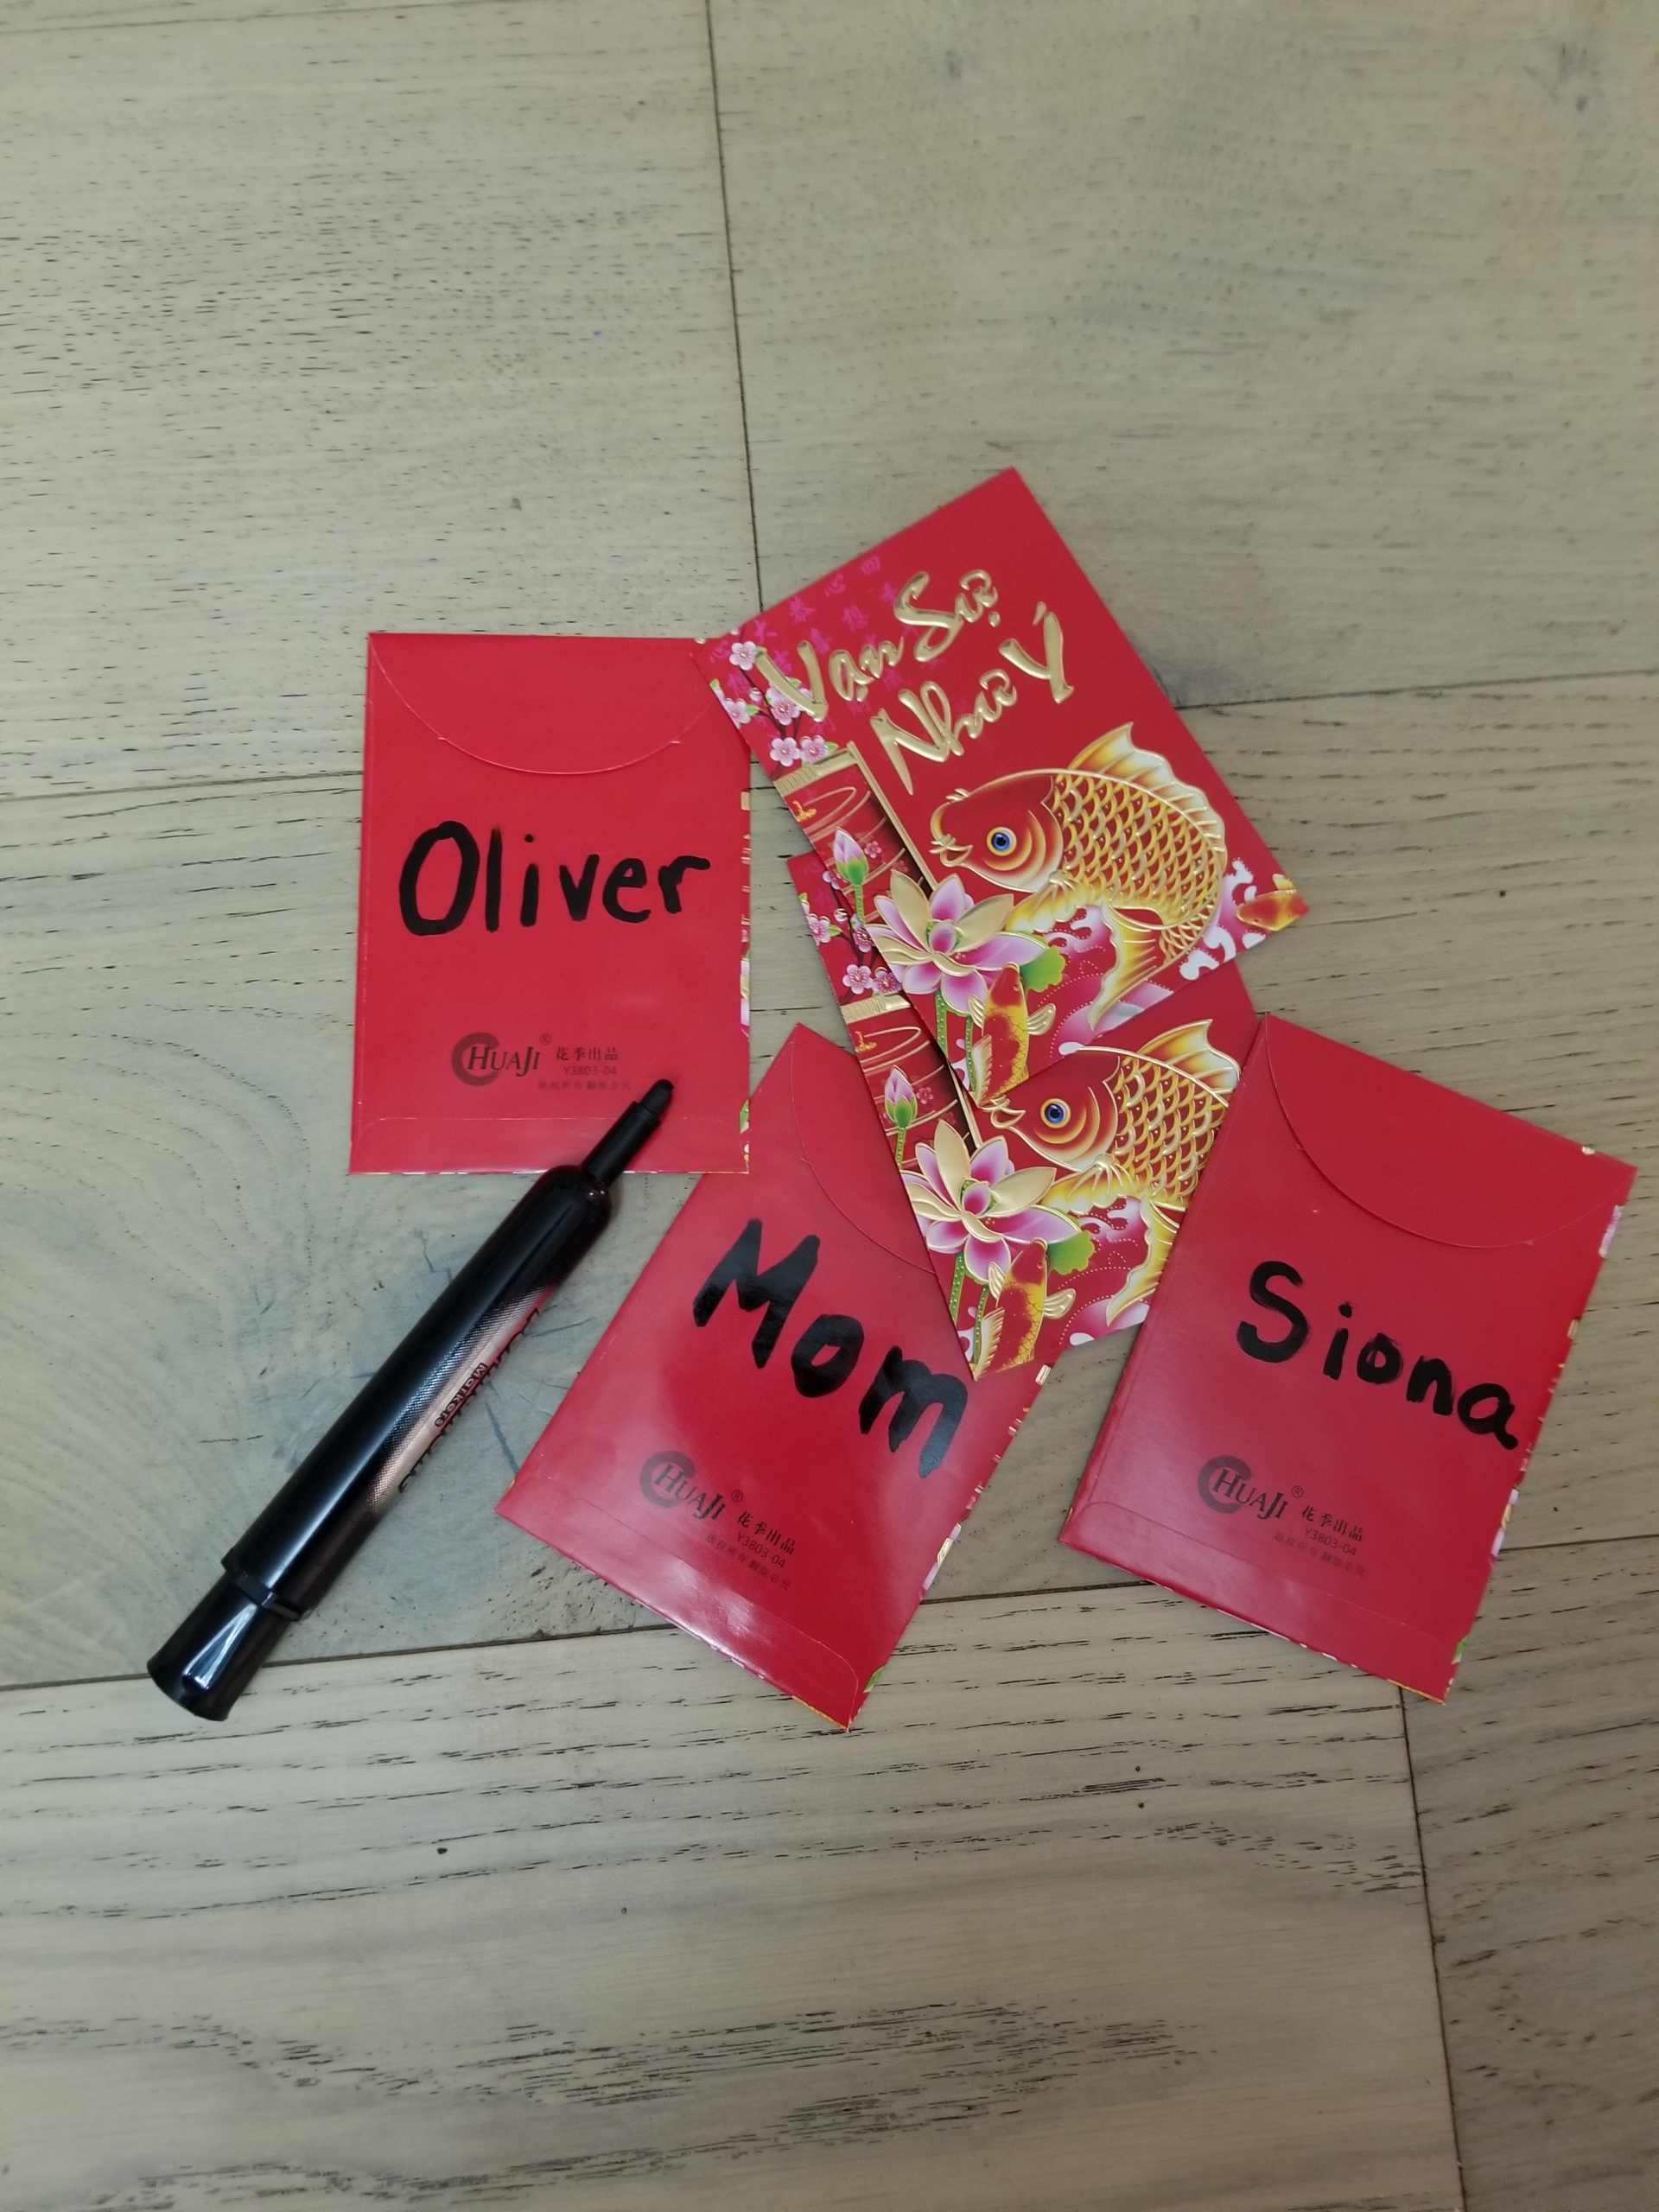
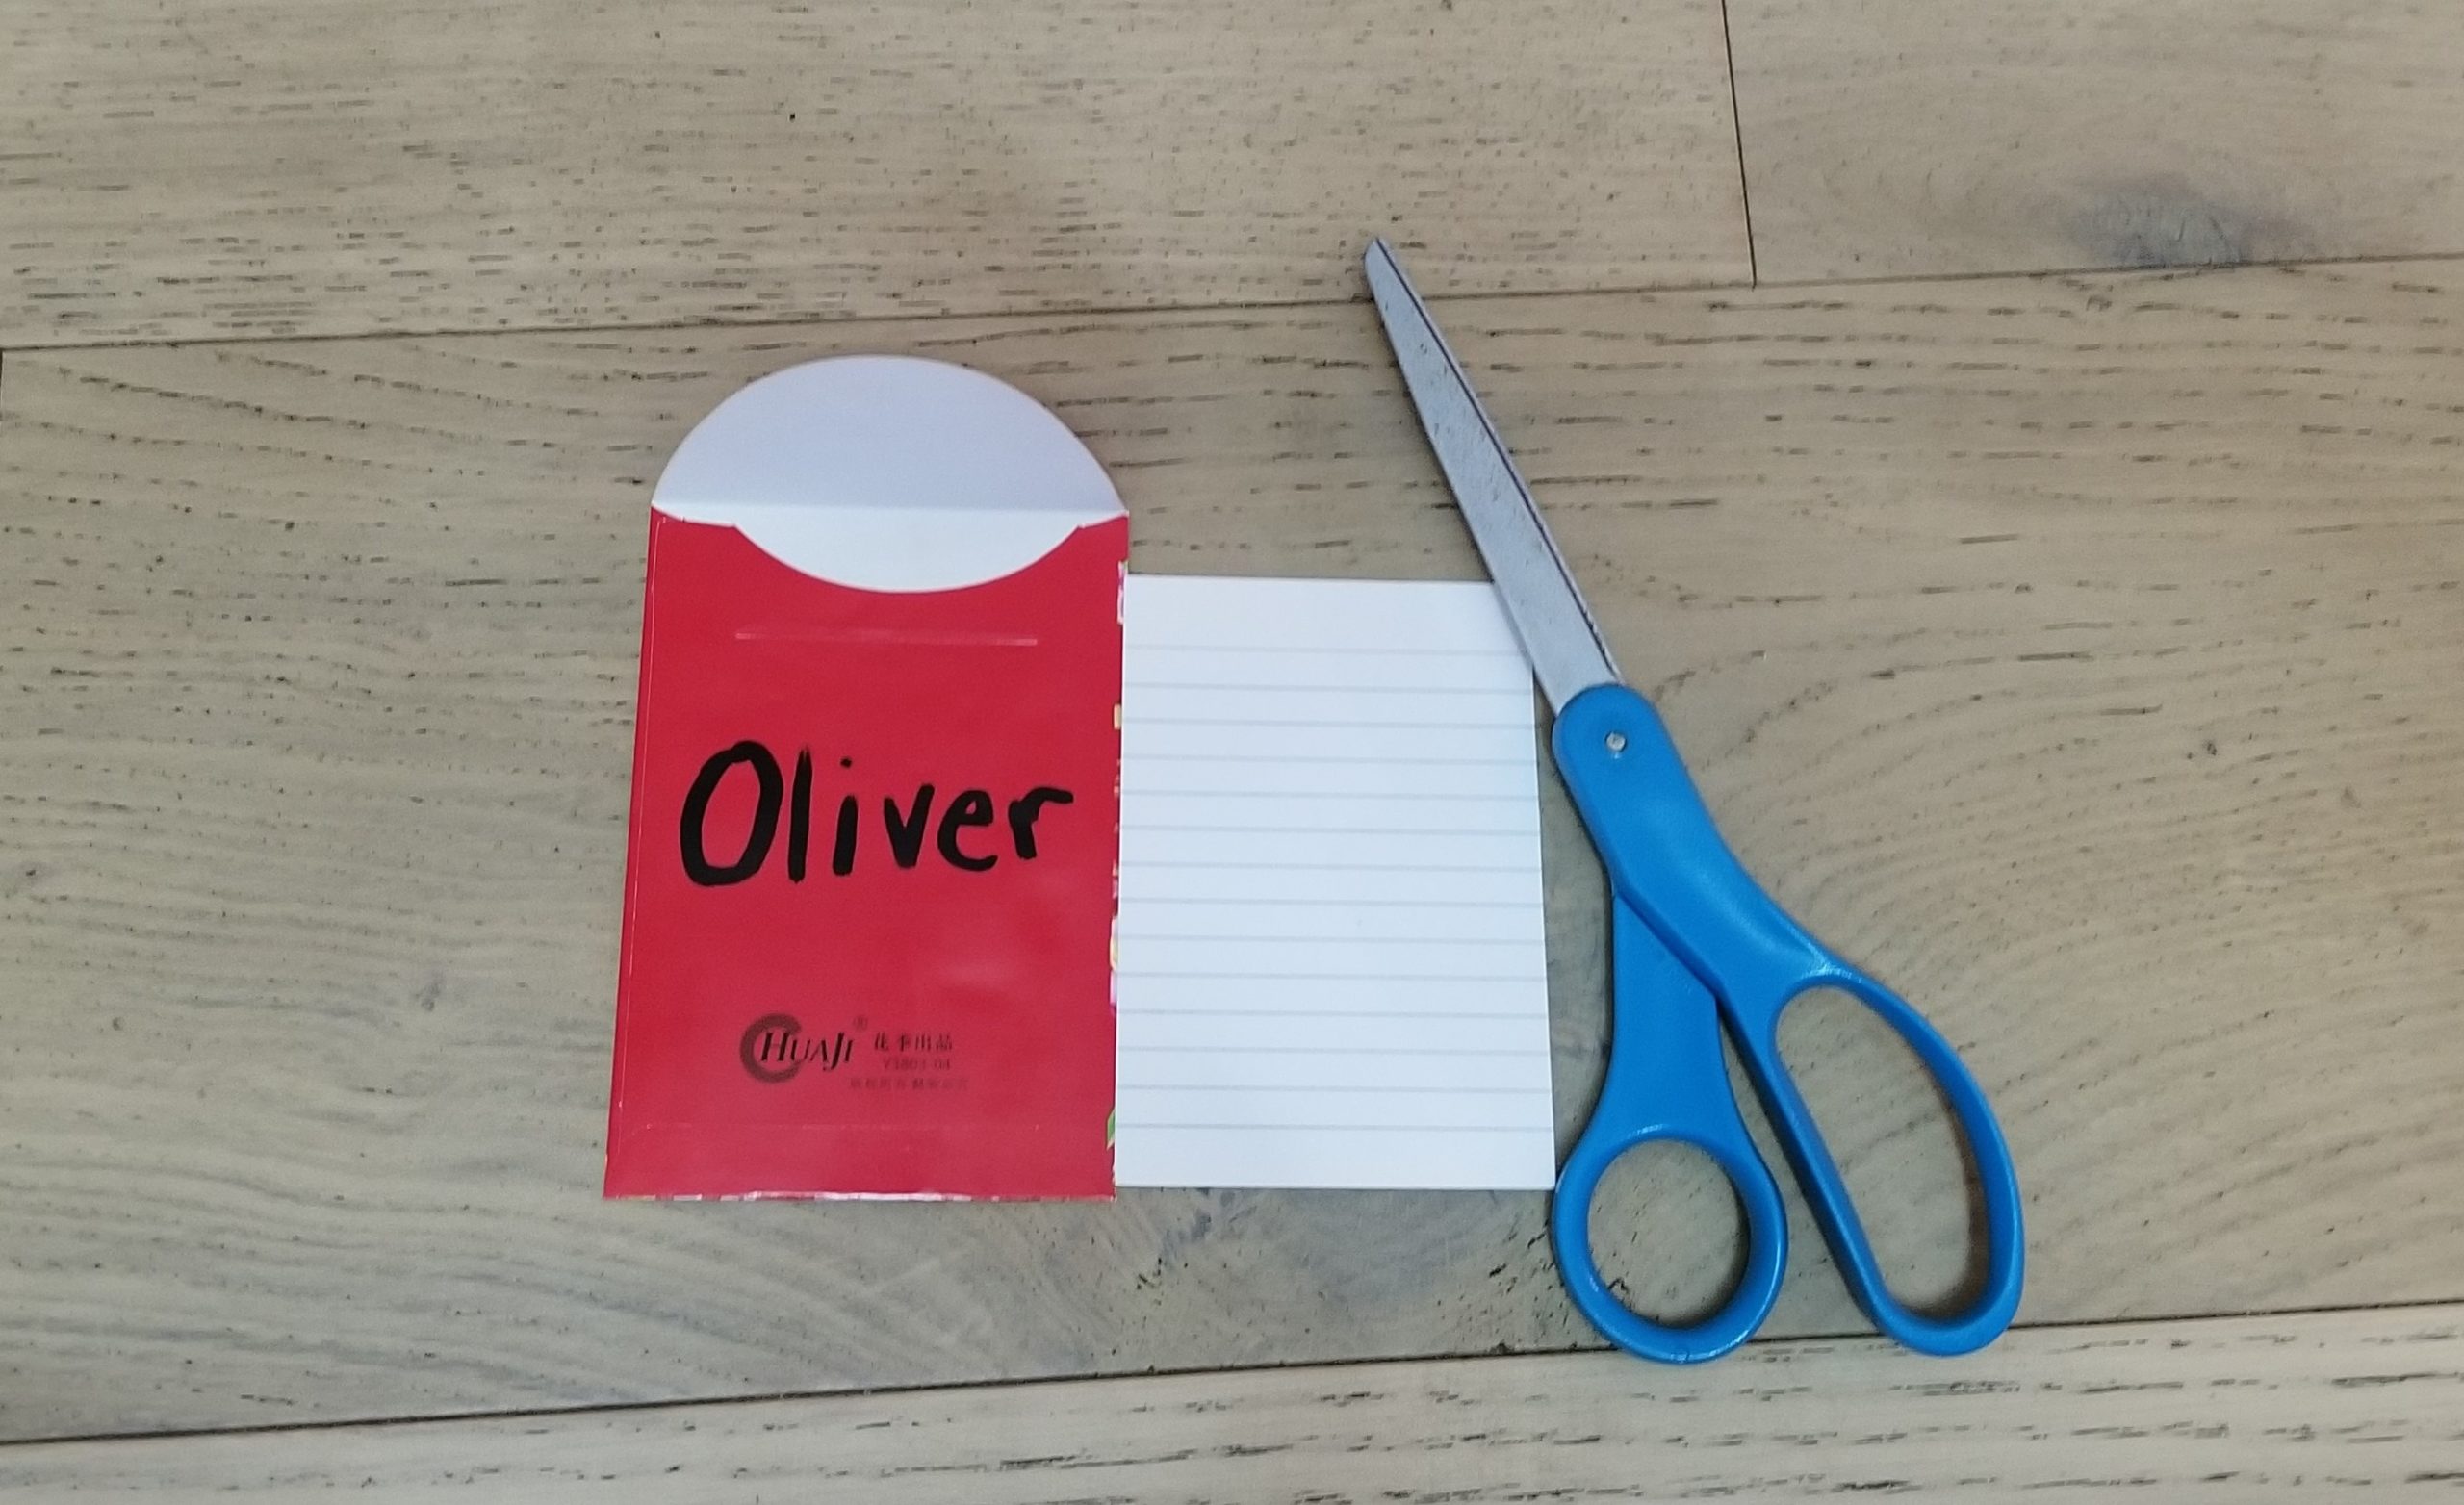
Step 3: Next, you’ll help your child write the name of each family member on a separate index card. But first, check if your cards will fit into the envelopes. If they’re too large, trim them to fit in easily. Tip: If your child isn’t ready to write freehand yet, write each name with dotted lines and let them trace it.
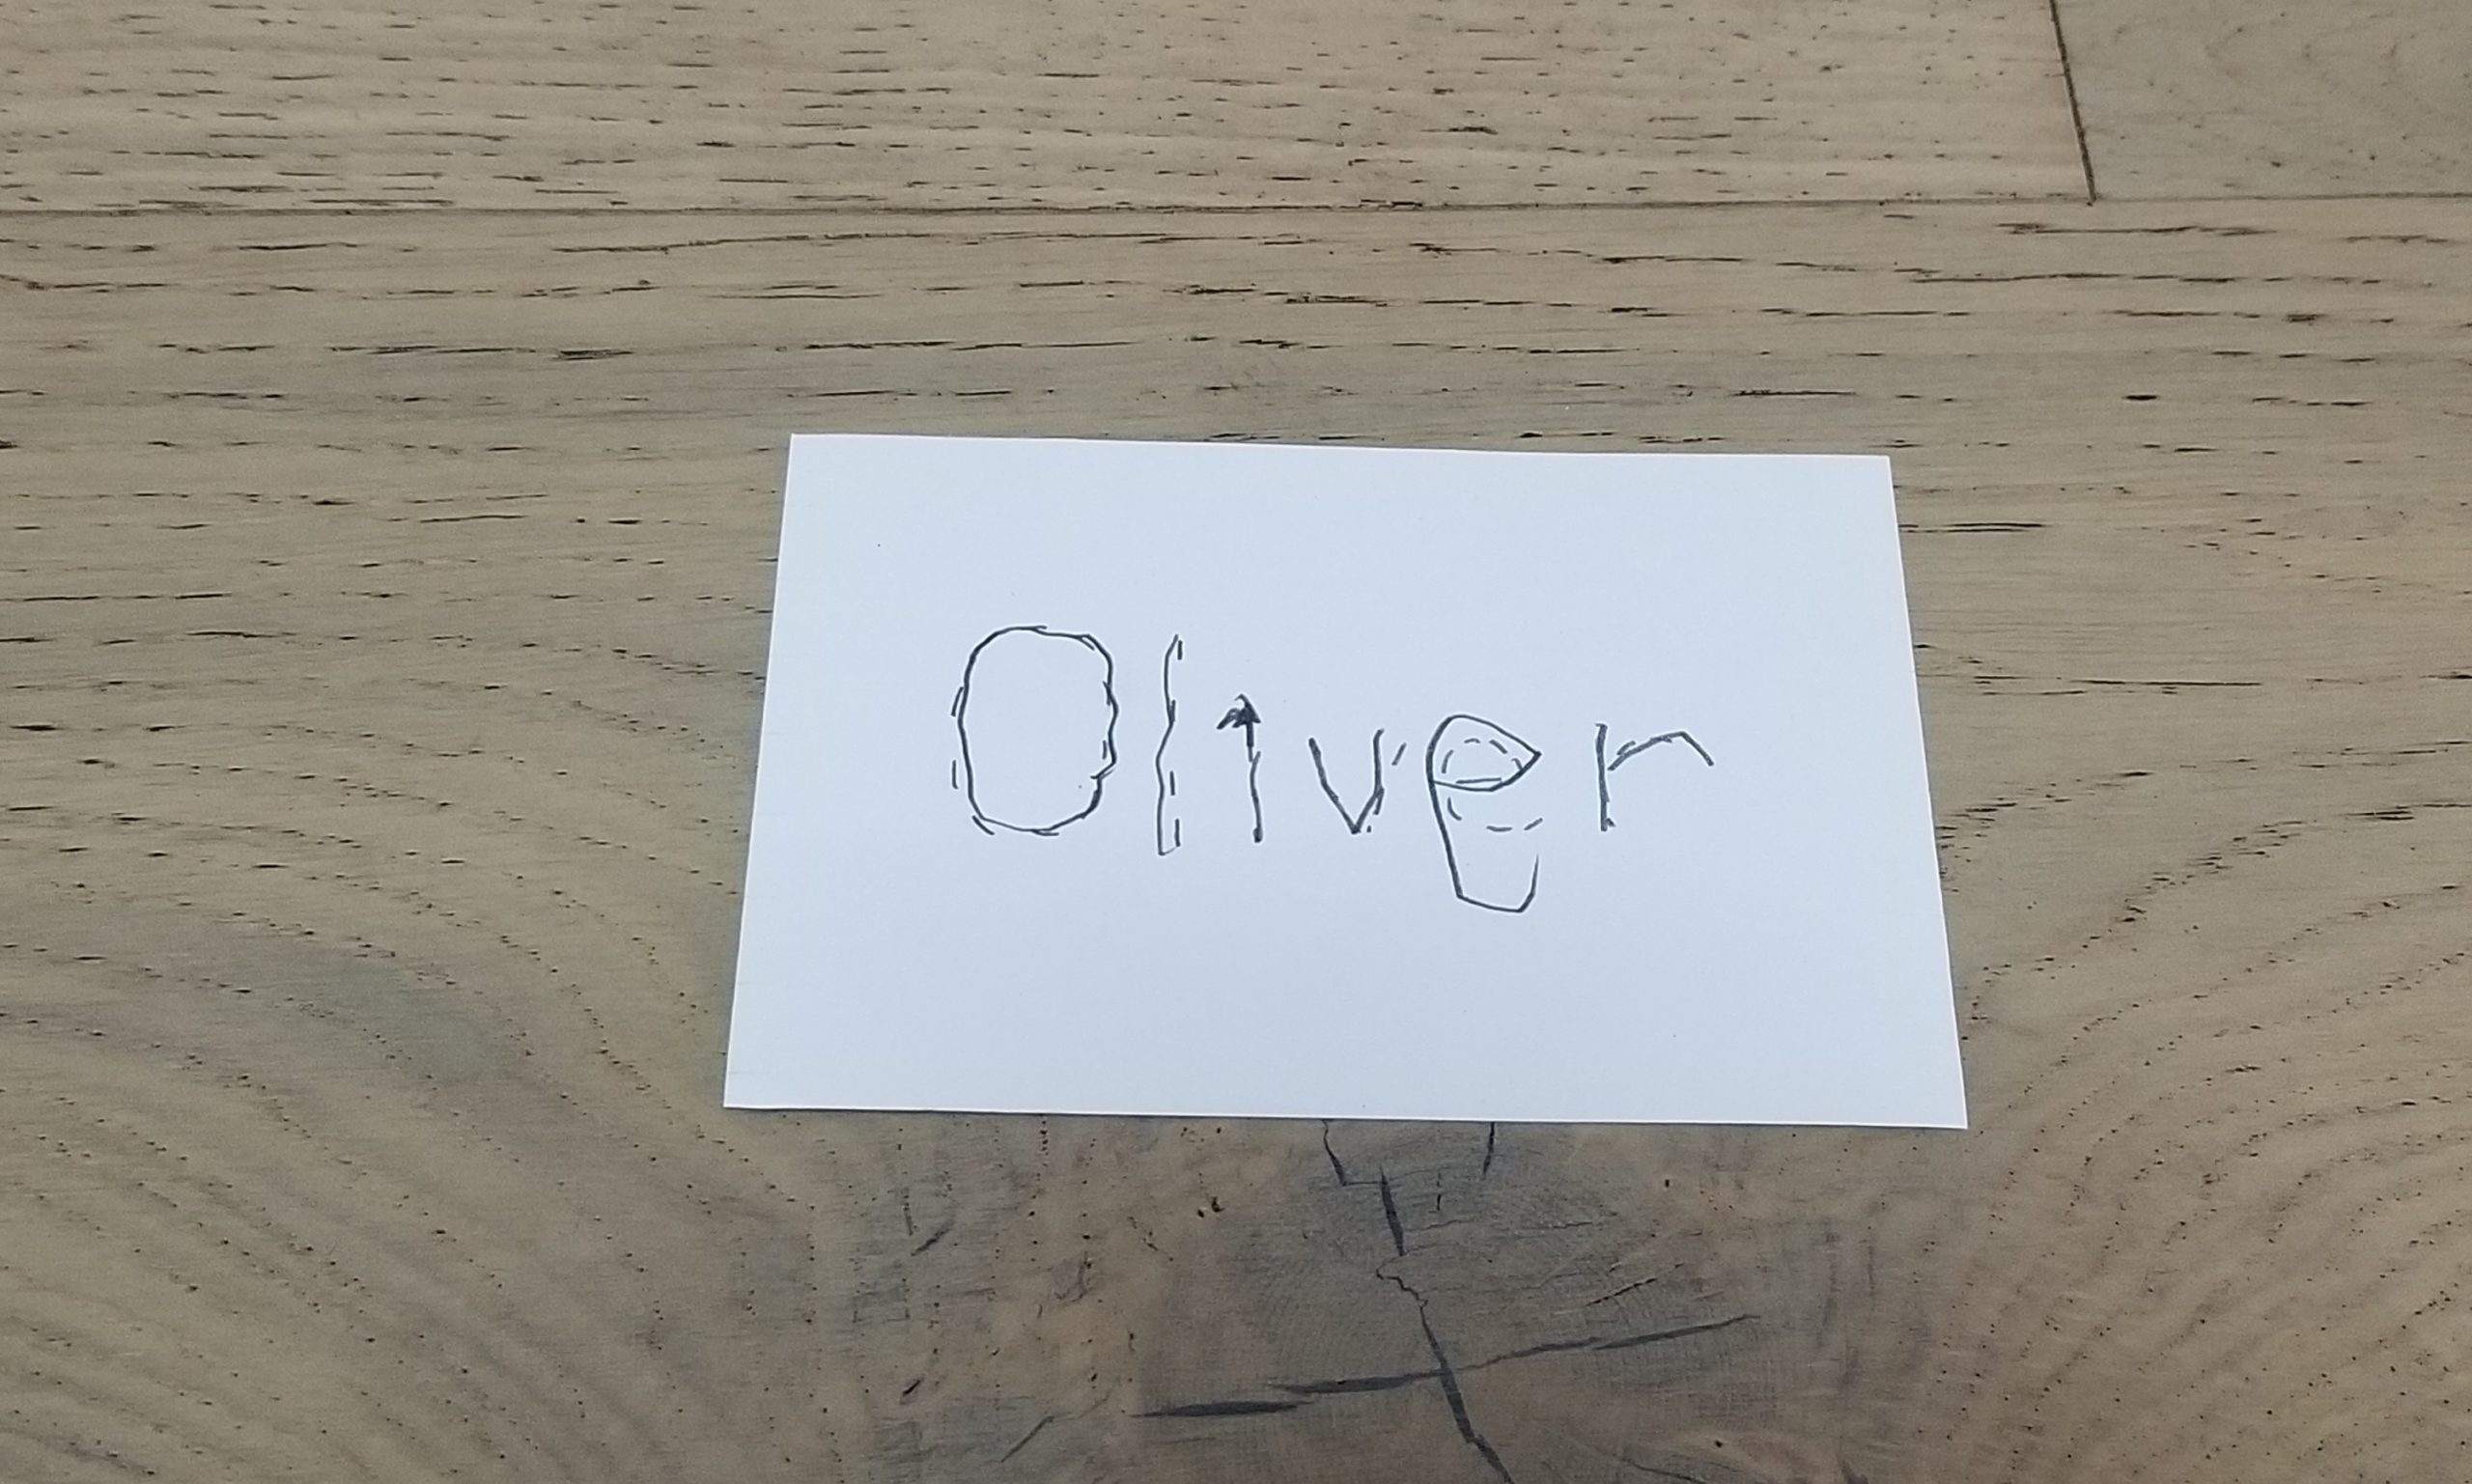
Optional: If you like, you can point out the images of Chinese calligraphy in Bringing in the New Year, then invite your child to paint the names, rather than writing with a pen.
Step 4: Let your child decorate the card any way they like. The more original, the better!
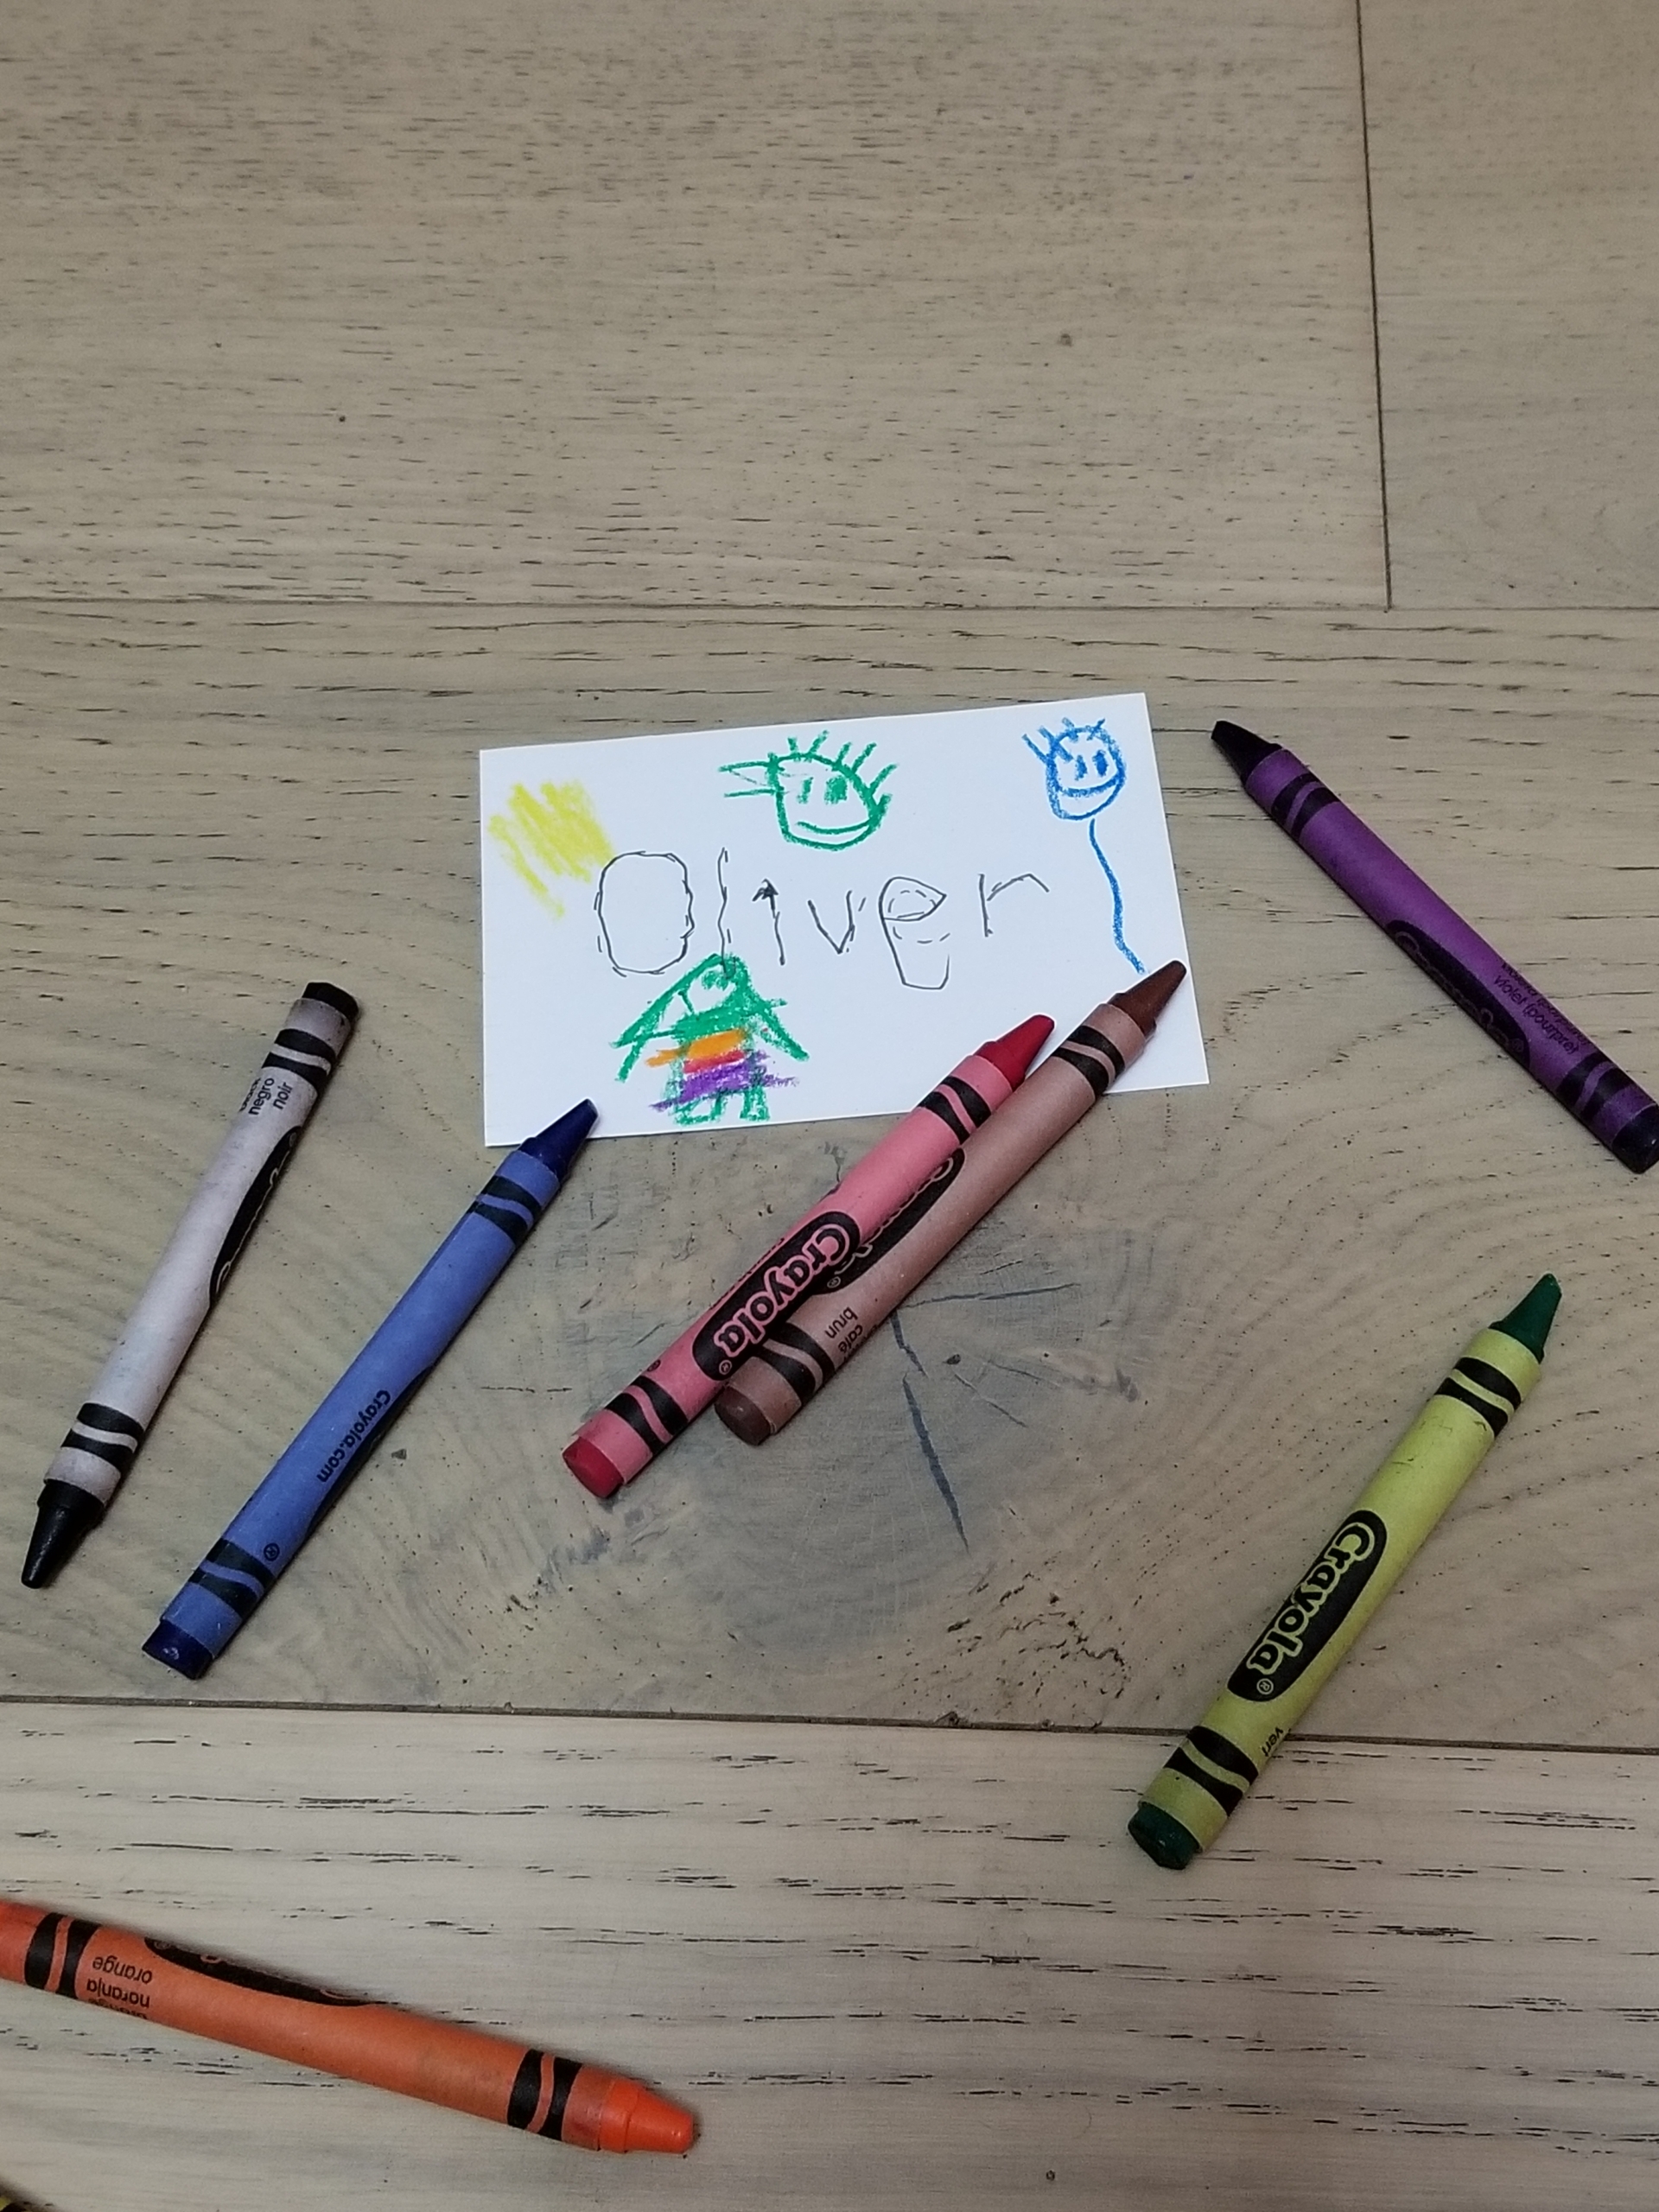
Step 5: Read the names on the envelopes aloud together. Next, ask your child to match the card and envelope with the same name. Your child can now put each card into the matching envelope.
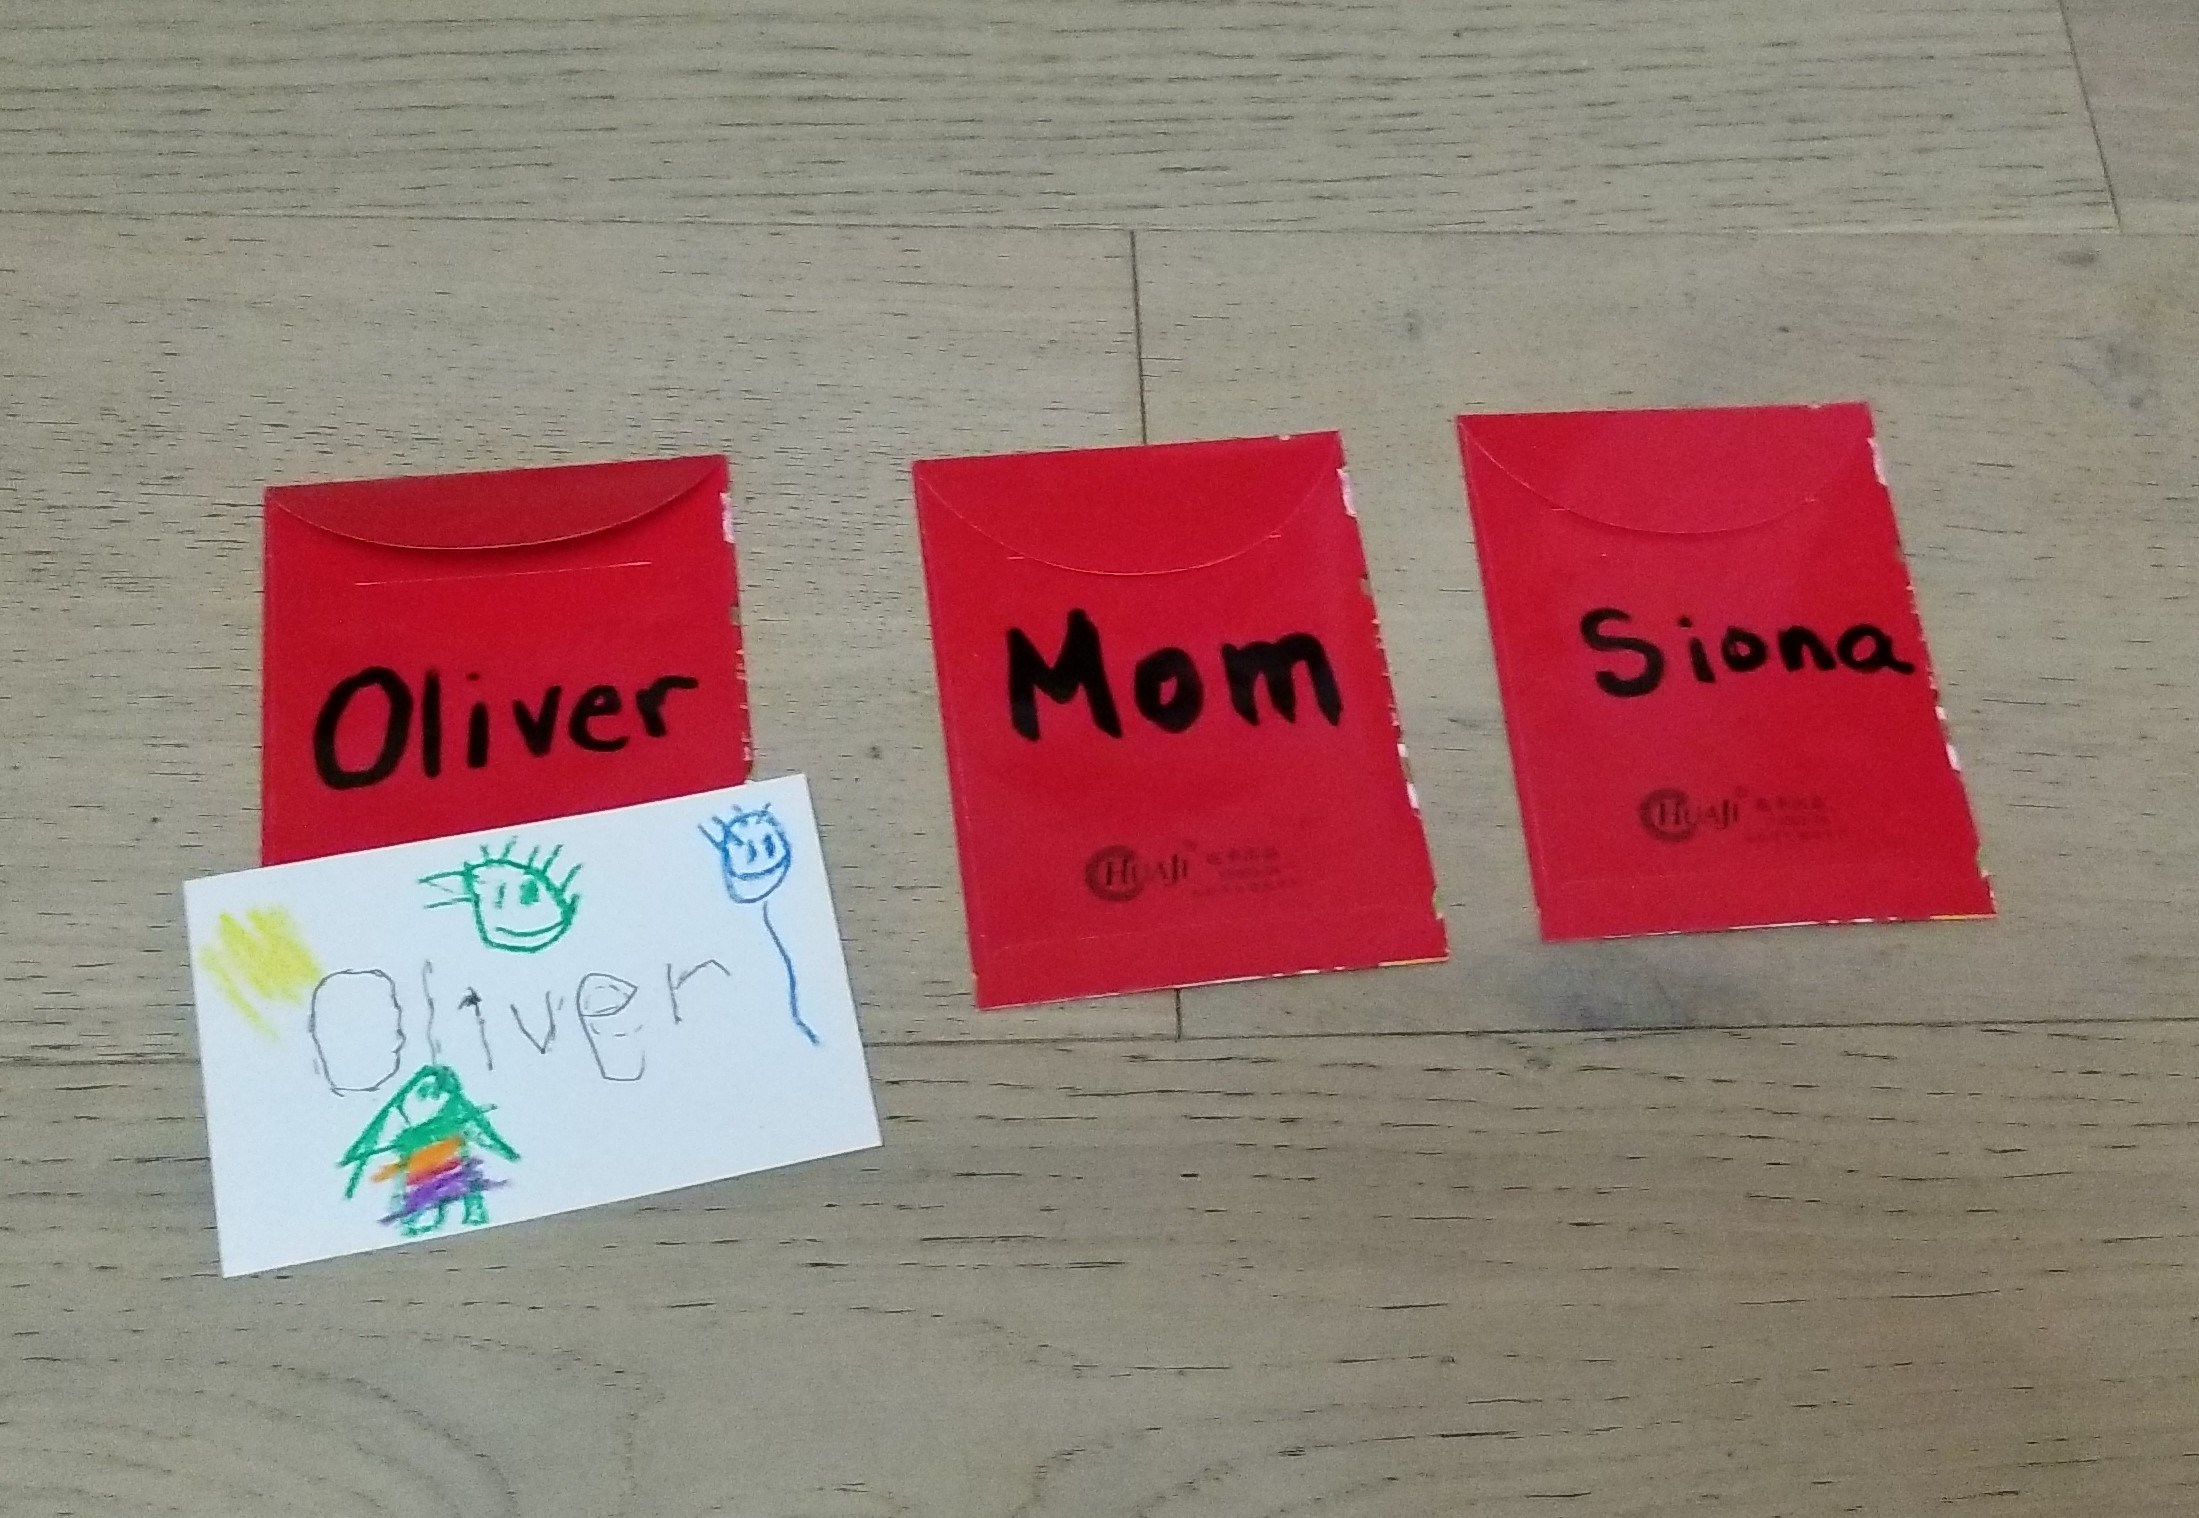
Now it’s celebration time! Help your child deliver the envelopes to their family members.
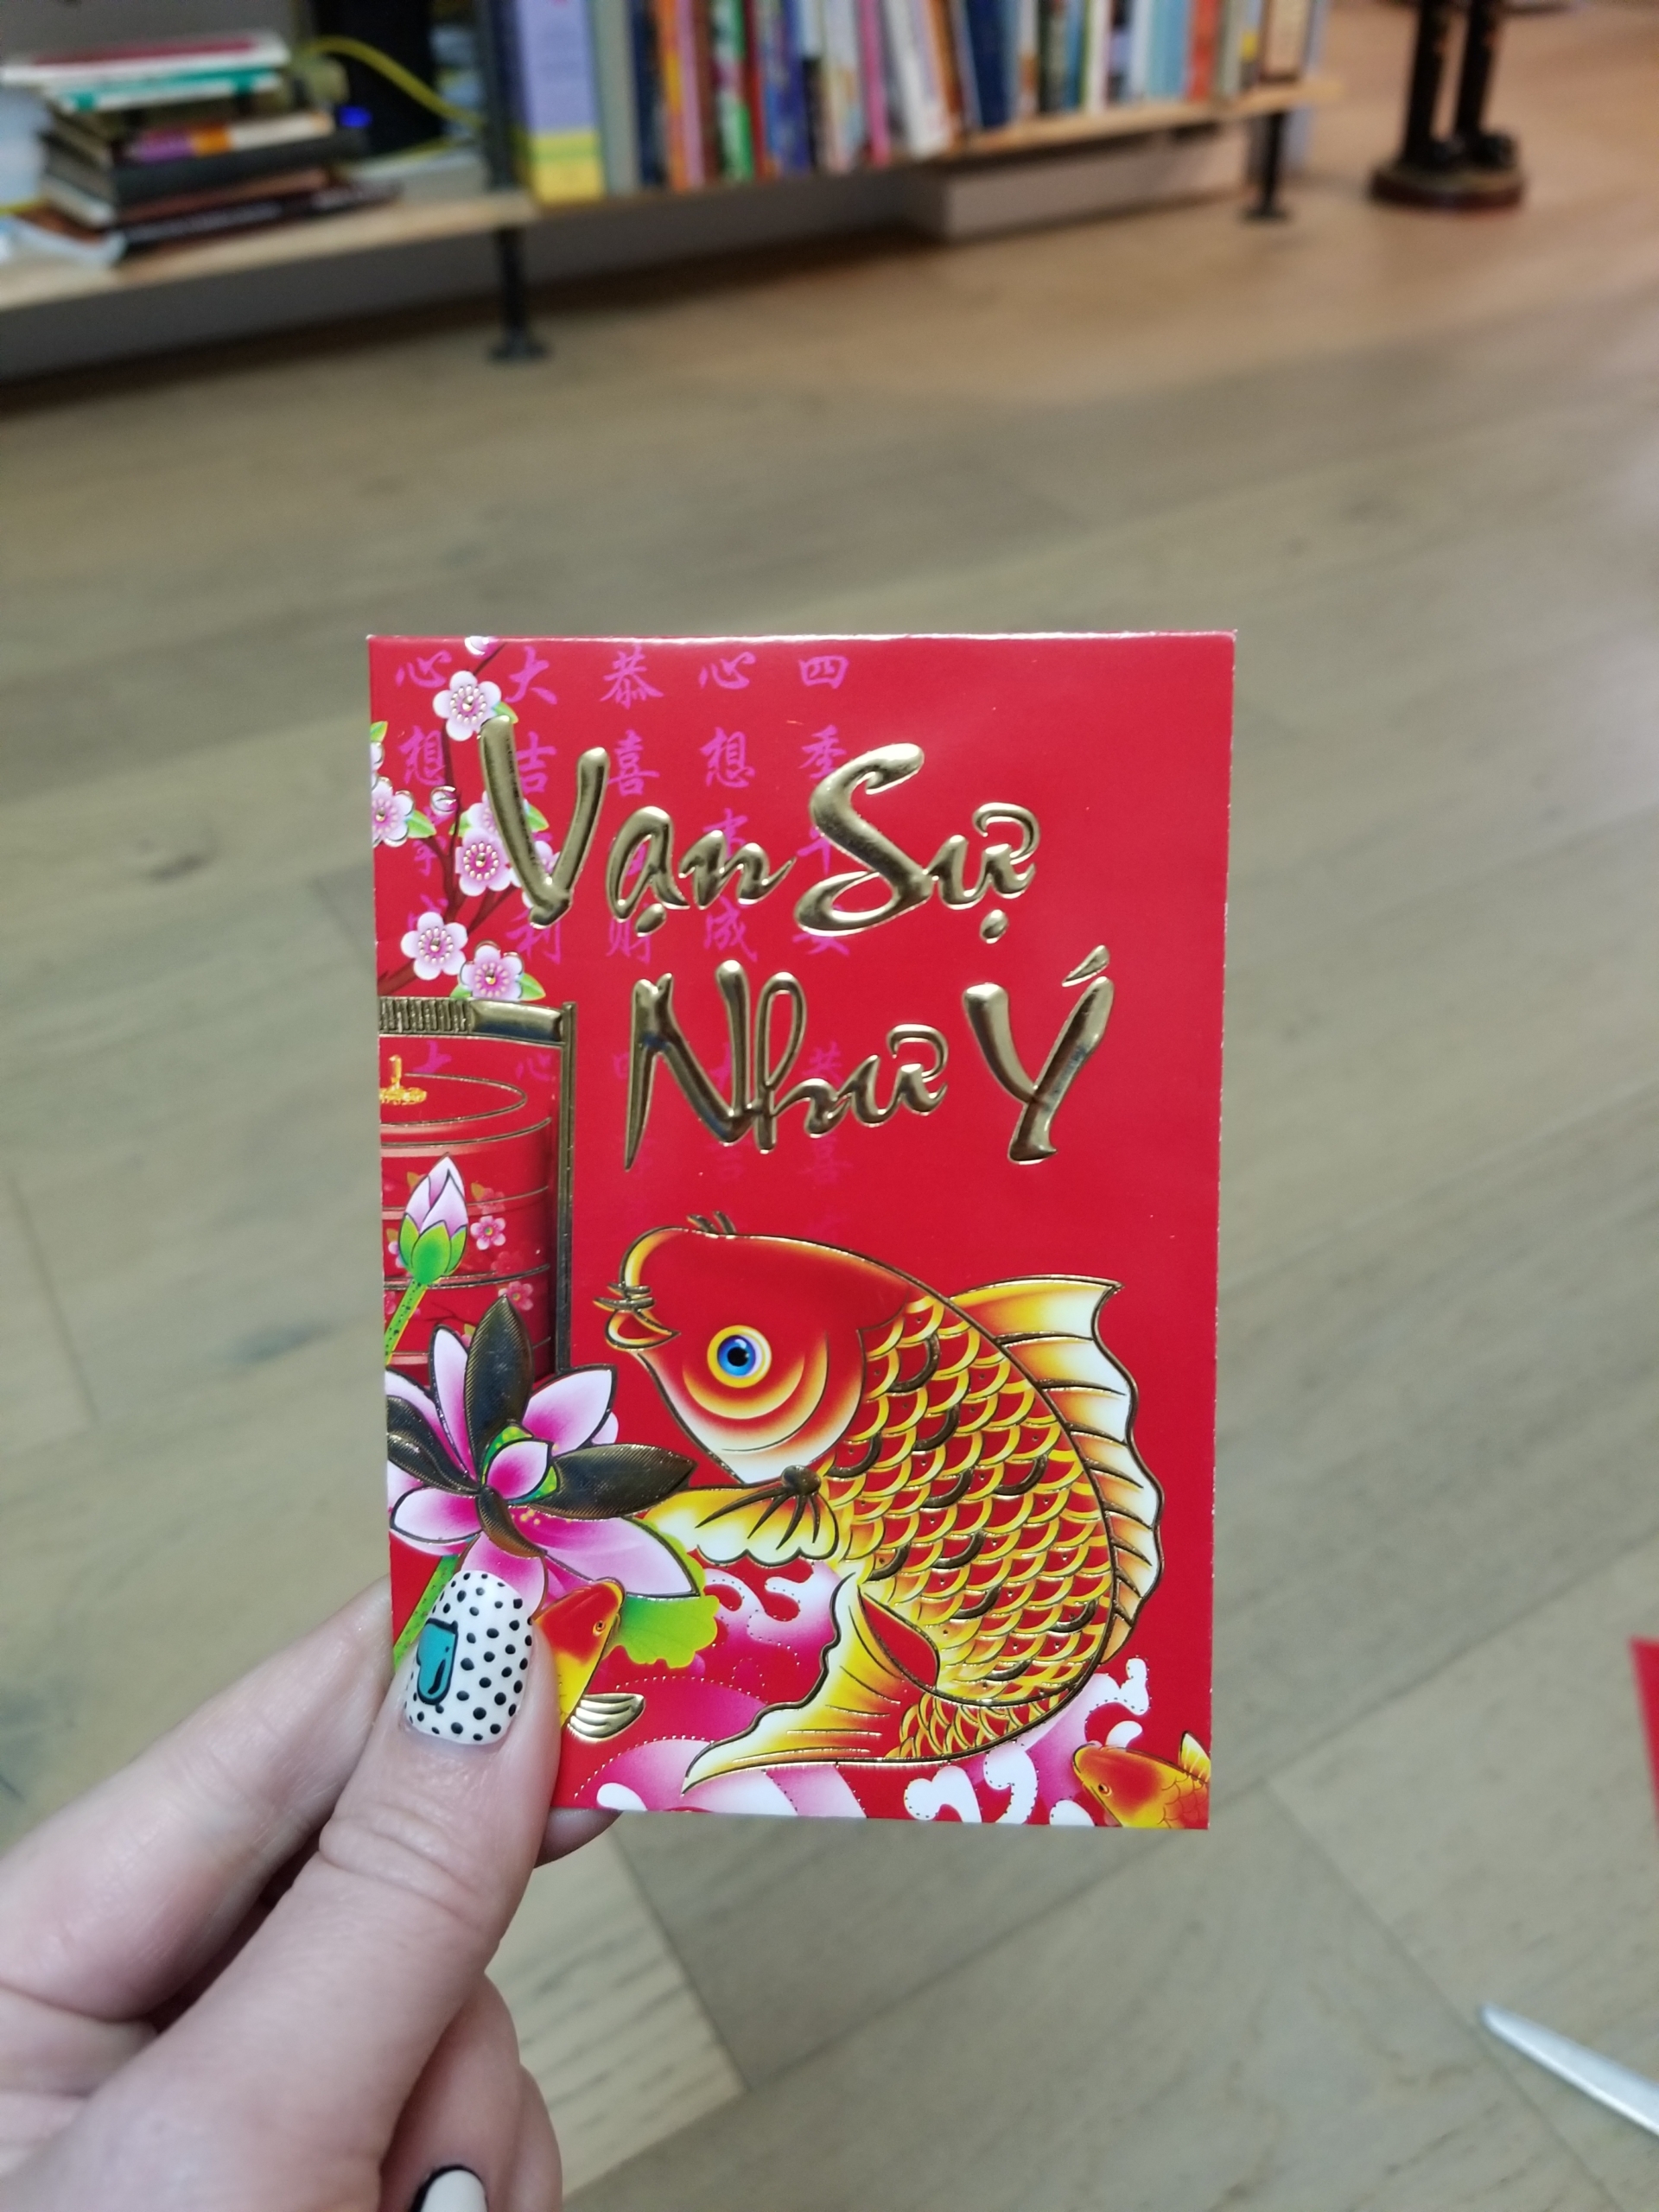
Reading and writing are tremendous achievements for children. You can share this accomplishment with them as you share this special holiday. Let us know how you’re supporting your child’s literacy during the Lunar New Year.
Reading resource for parents
More information about Lunar New Year: The dates of Lunar New Year are not set, like January 1st. As the New York Times puts it, “It can be easy to think of a calendar as a scientific given, or a reflection of the laws of the universe. In fact, as these holidays remind us, there are as many ways to track time as there are cultures and languages. Each calendar reveals something about how the people who created it relate to the world around them while also preserving rich cultural identities and memories.” Lunar New Year is celebrated throughout many parts of Asia and with many different holiday traditions. These may include fireworks, dragon dances, family visits, eating oranges, and the giving of red envelopes filled with money to children.
It’s the season of love, and Valentine’s Day presents us with an opportunity to explore the concept of love with our little ones. How does love make us feel? How do we show our friends and family we love them? What does love have to do with being kind?
These 14 children’s picture books about love reinforce early literacy and offer a wonderful starting point for conversations about love in all its forms. Whether it’s love for the planet, love for our friends, or even self-love—let these titles take you and your child on a reading journey that highlights what it’s really all about.
Pin Me for Reference :
Teaching reading and all the early literacy skills that underpin it requires time and repetition. As a teacher, I always seek activities that keep this practice variable and exciting. And as a certified chocoholic, how could I pass up the chance to mix up Valentine’s Day chocolate and literacy into one fun learning game?
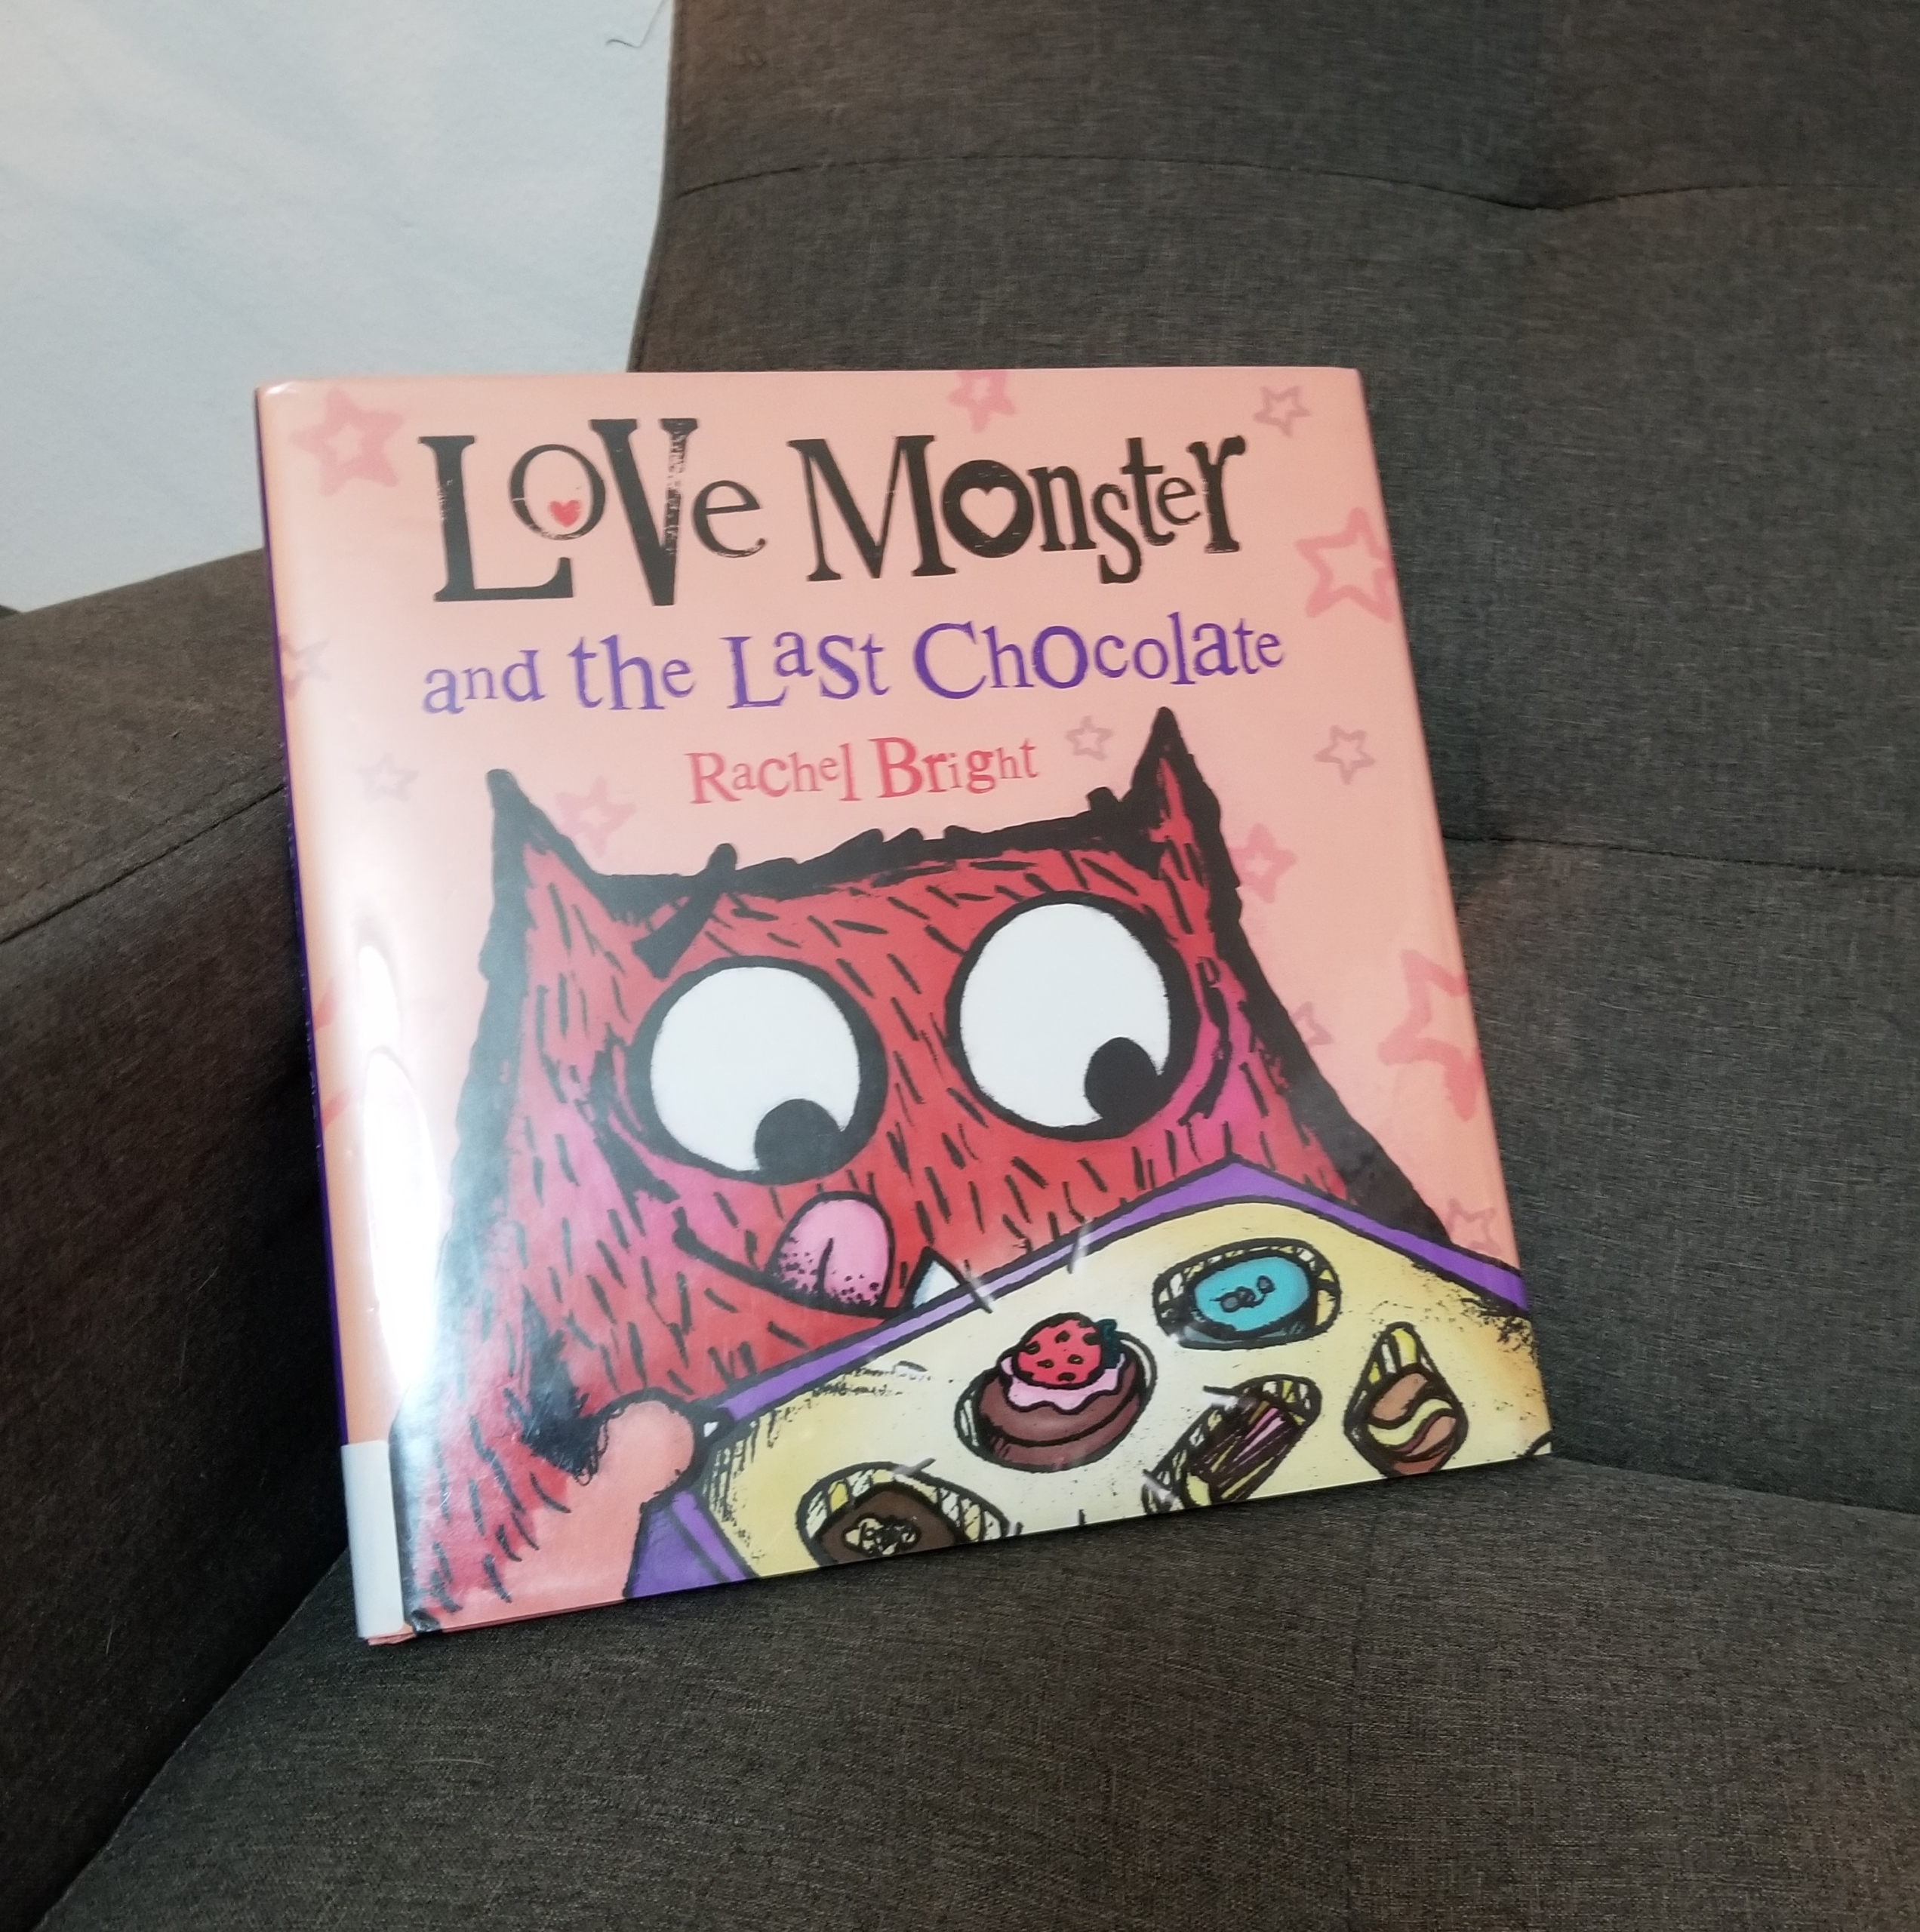
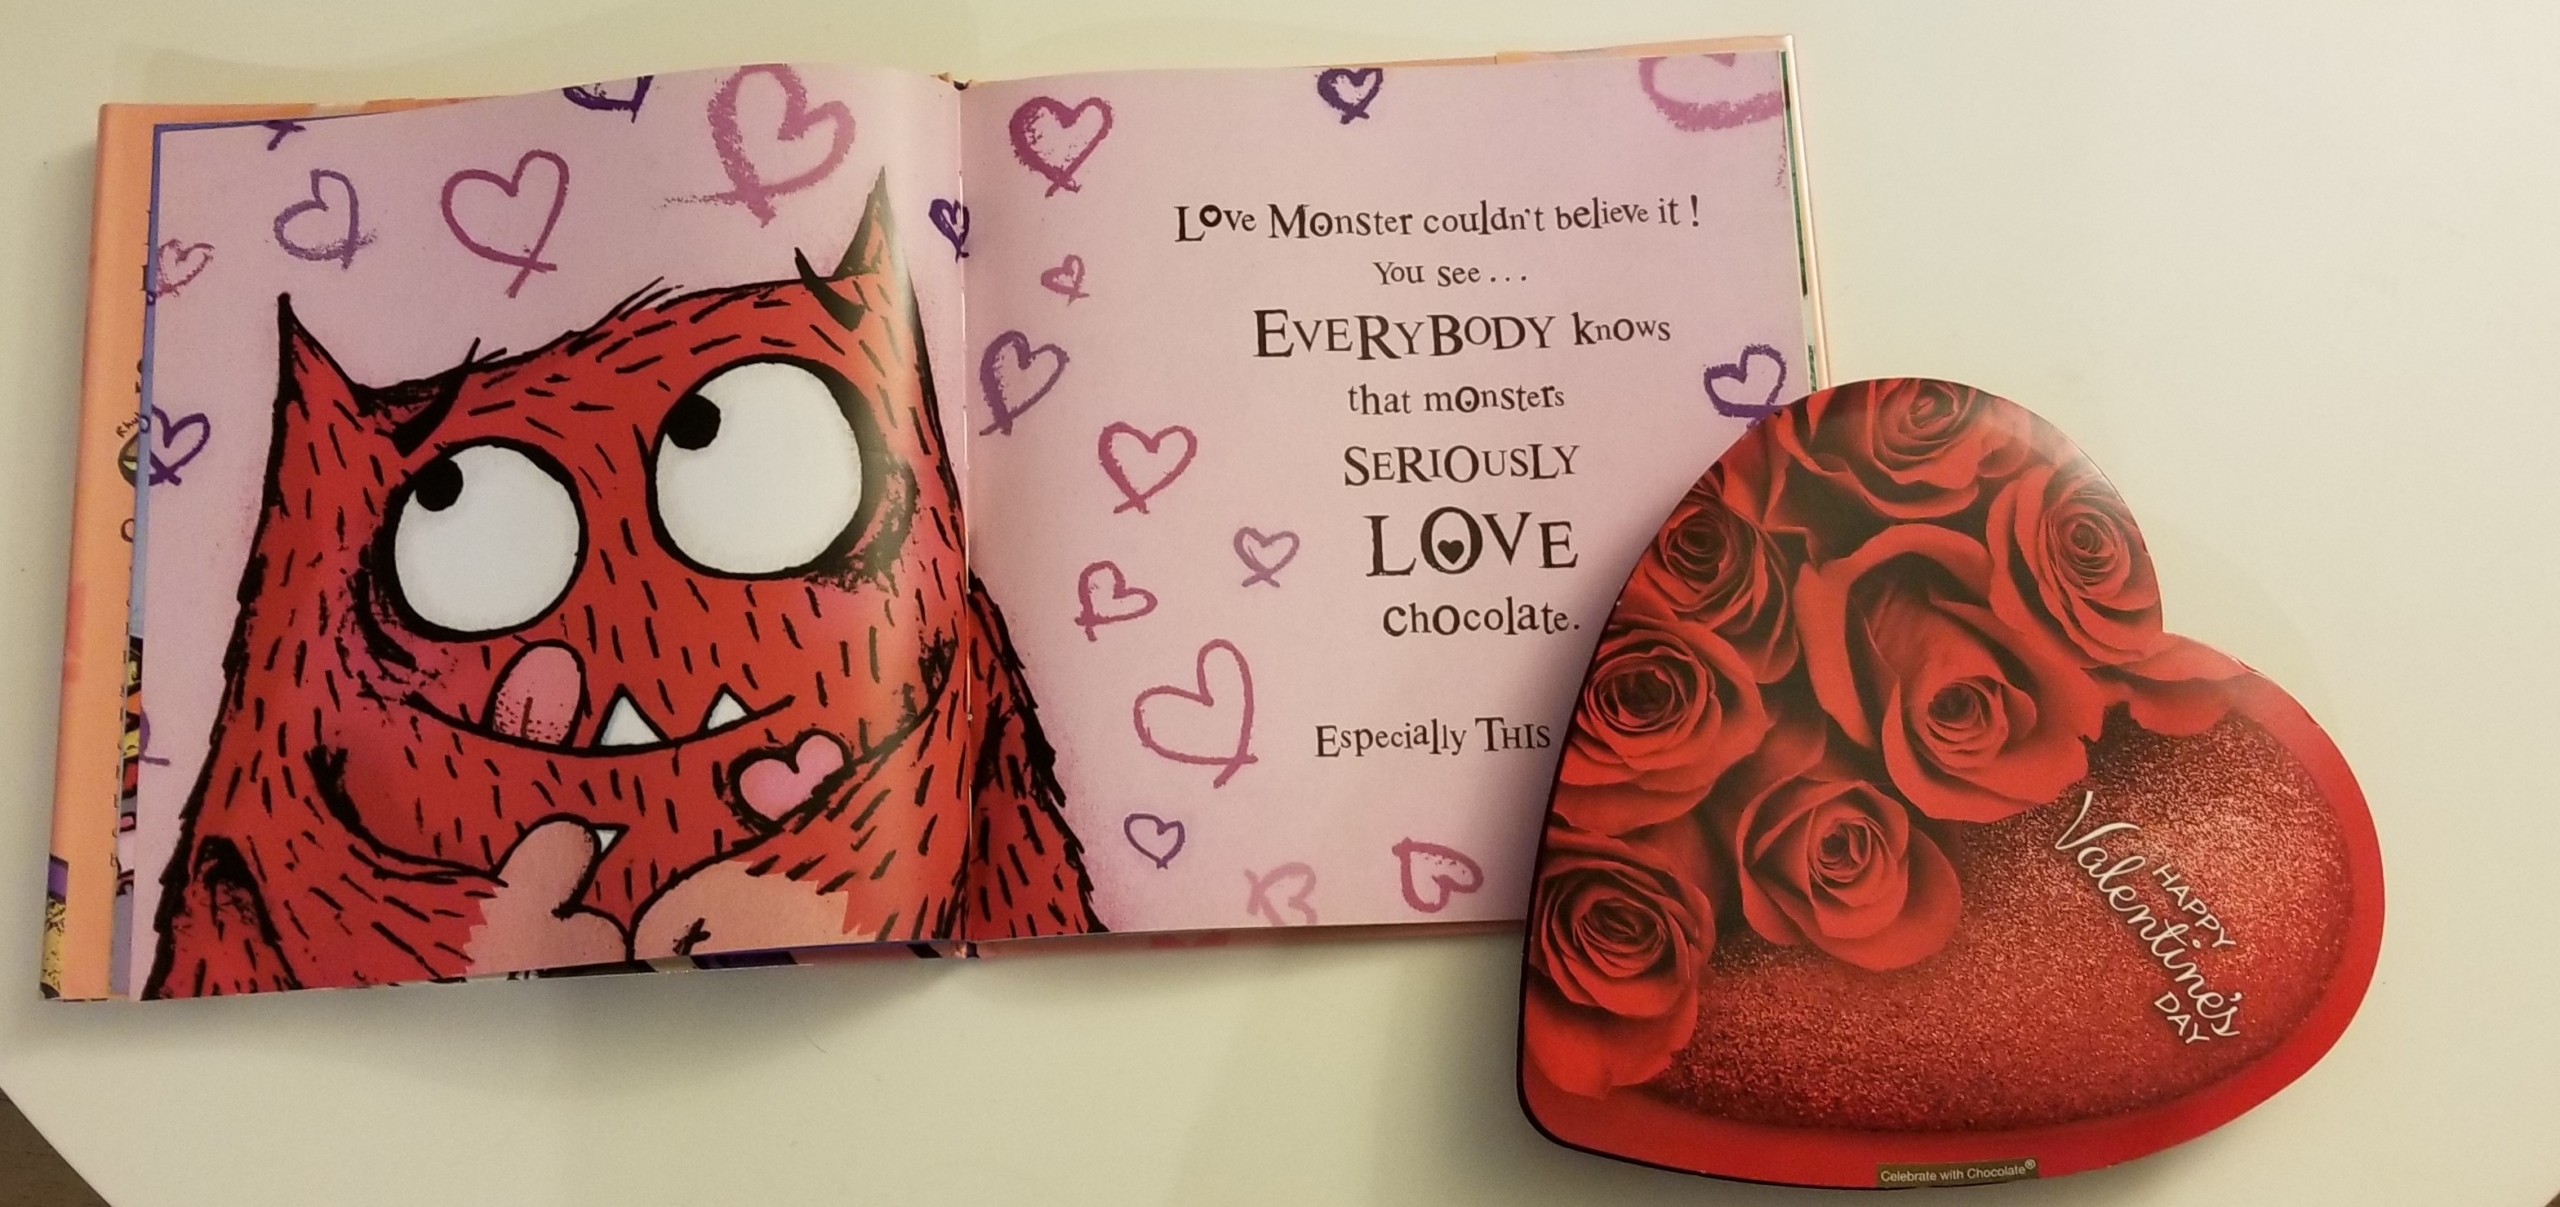
This activity begins with spending quality time reading a sweet picture book to your child. A part of Rachel Bright’s Love Monster series, Love Monster and the Last Chocolate is a delightful book that teaches children about friendship, generosity, and, of course, chocolate! Valentine’s Day can easily become a holiday that’s simply about candy and how much they get. This book sparks conversation about what it means to be thoughtful and how generosity is a way of showing how much you care about someone.
After reading together, you’ll upcycle a chocolate box into a memory matching game that teaches children to pair uppercase letters to their lowercase counterparts. This is important because so many uppercase and lowercase letters look nothing alike. Sure, O and o are easy enough, but E and e or G and g? To an early reader, these pairings don’t seem logical, so reinforcing them is crucial. This easy activity leads your child from a read-aloud that engages them in conversation about love and friendship to an interactive game that takes their letter learning to the next level.
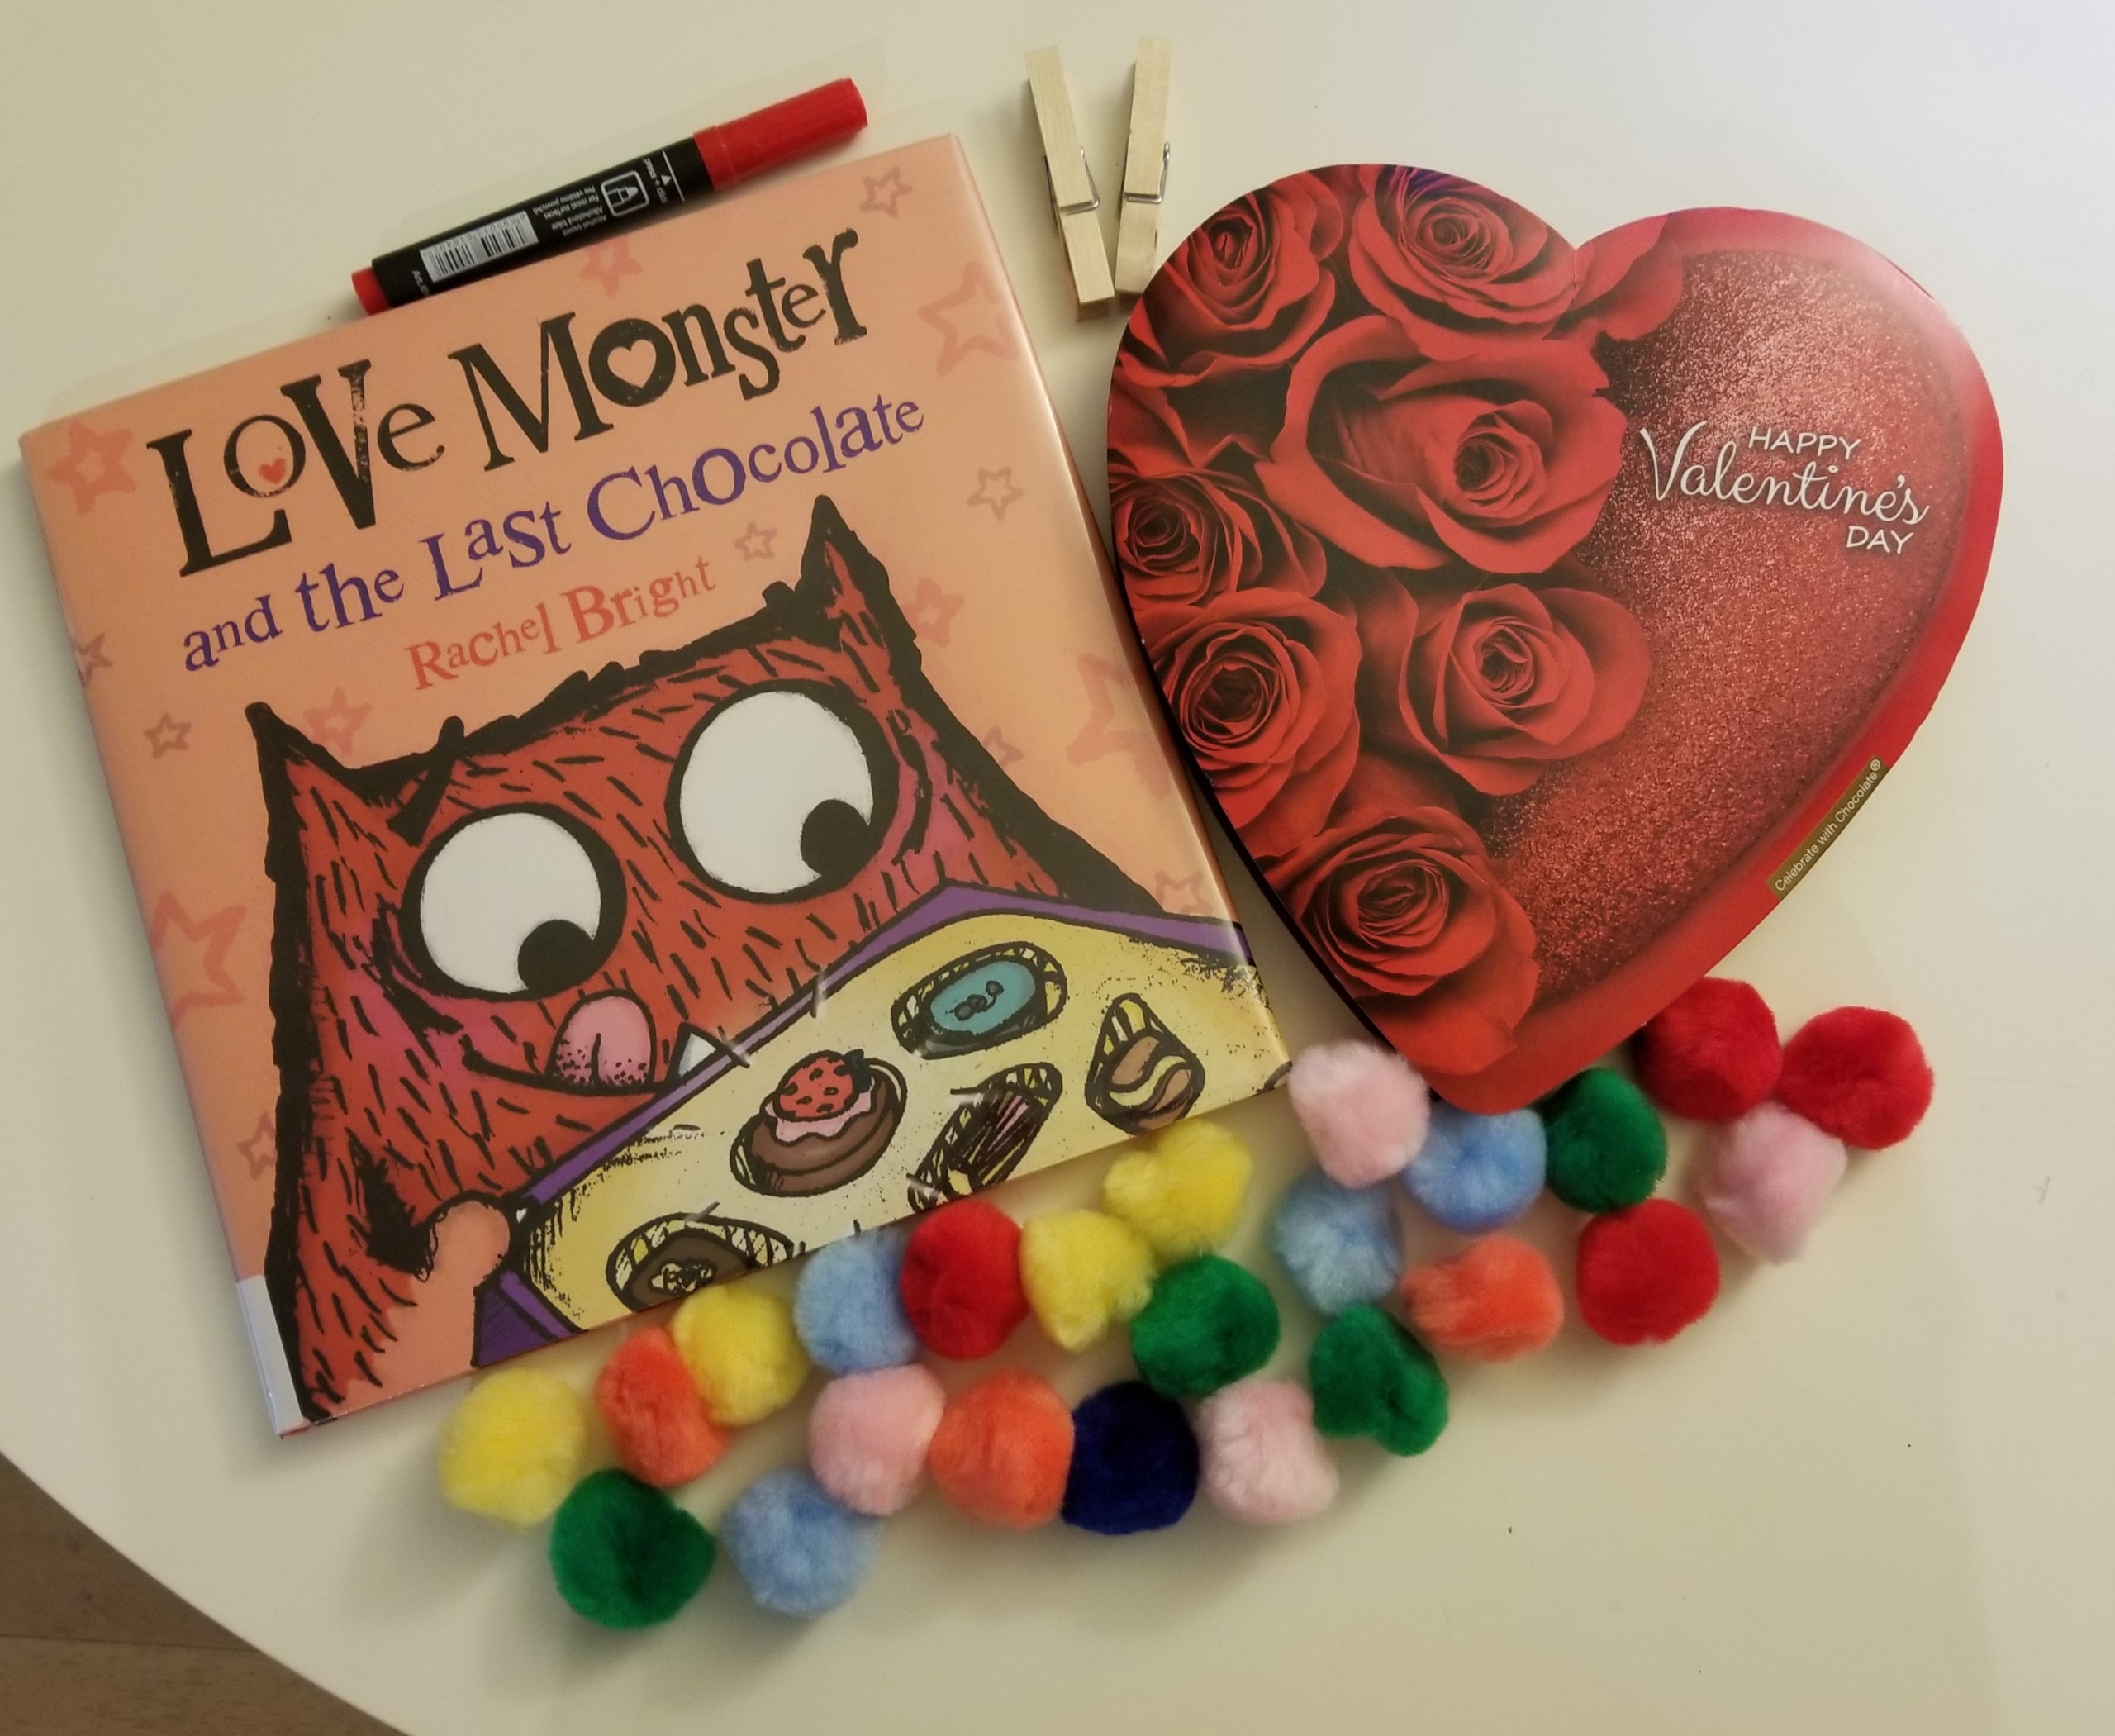
Materials:
- Love Monster and the Last Chocolate by Rachel Bright
- Valentine’s chocolate box
- Pom-poms
- Paper
- Scissors
- Markers
- Hot glue gun if your chocolates have paper wrappers instead of an insert with spaces for each chocolate
- Tweezers or clothespins (optional)
Step 1: Snuggle together and read Rachel Bright’s Love Monster and the Last Chocolate. Allow time for literacy-building tangents (check out our post on how to engage kids during read-alouds for maximum early literacy benefit).
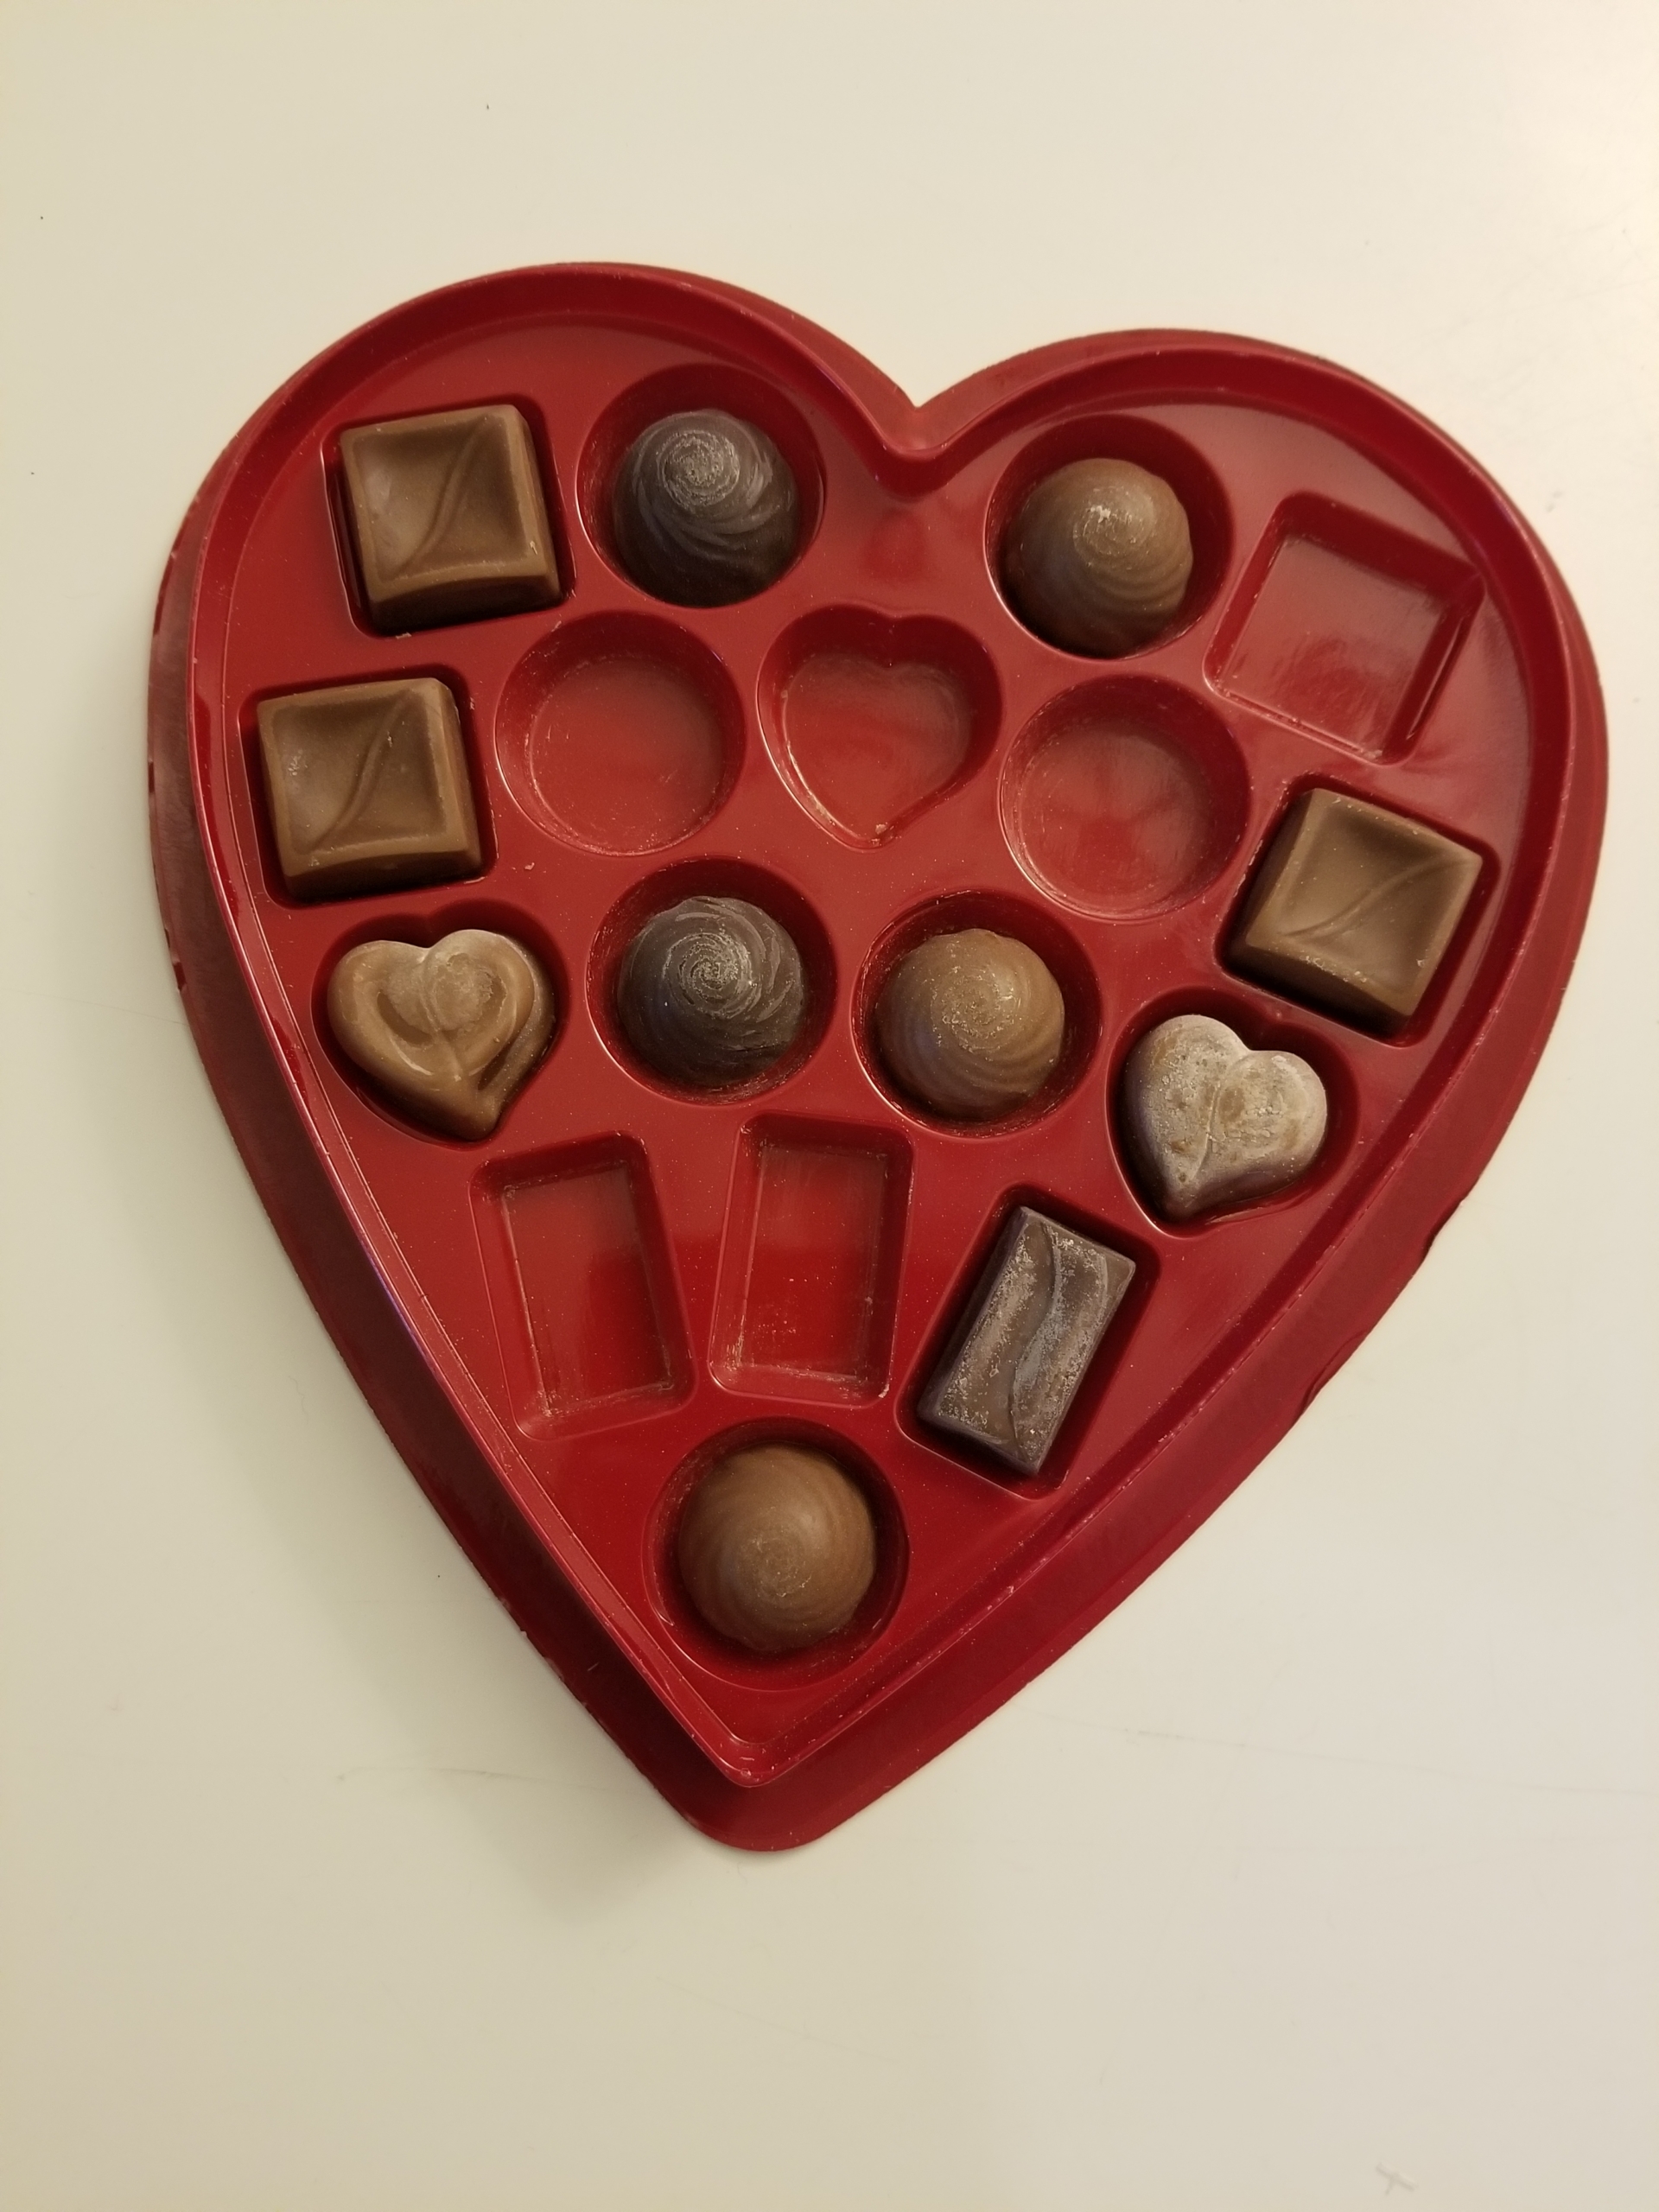
Step 2: Empty out the chocolate box! Share some with your child, and save the rest. (If you’re like me, you’ll want to keep some to reward yourself for your patience in the face of tantrums or missed naps!)
If you have the kind of chocolate box with little papers around each chocolate instead of an insert like the one shown below, glue the papers into place.
Step 3: Cut out pieces of paper that fit into the empty chocolate spots. If your box has paper wrappers, the pieces of paper should fit into each wrapper.
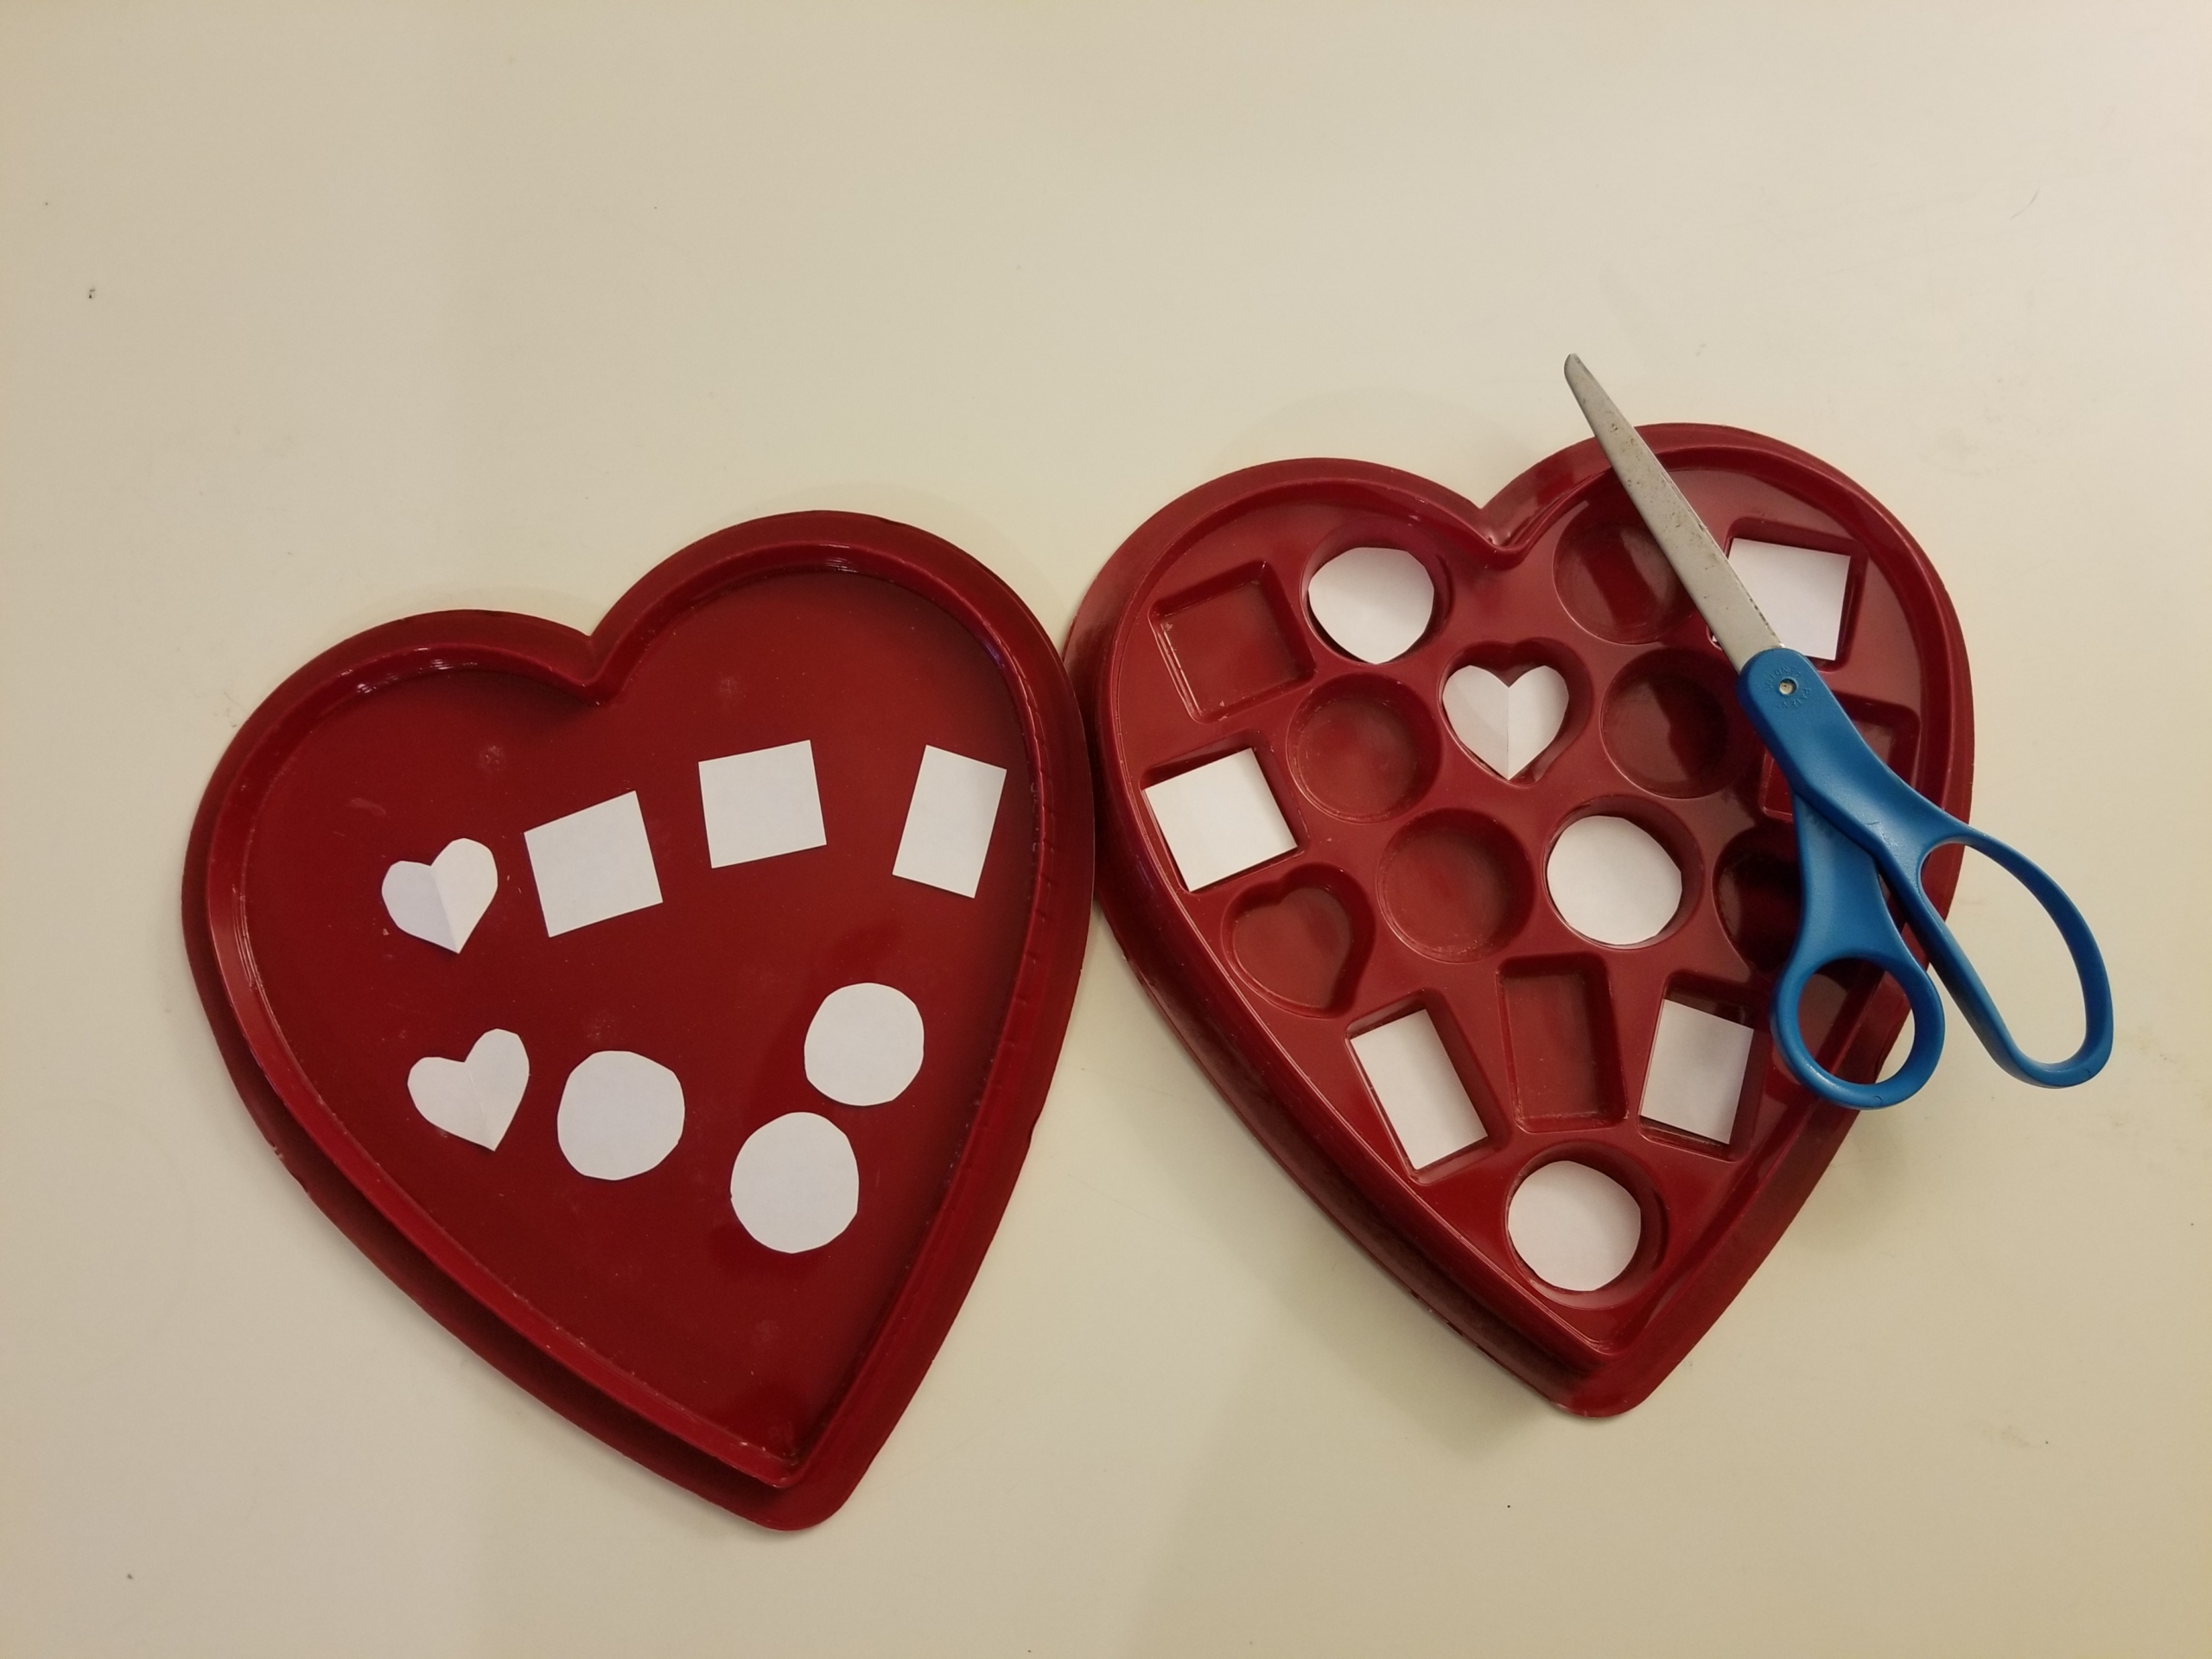
Step 4: Write a single uppercase letter on one of the pieces of paper, then write the letter in lowercase on another piece. You’ll write one uppercase and one lowercase of each letter, to make pairs. Continue until you have enough letters to fill the spaces. (If there are an uneven number of spaces, just leave the extra spot empty or fill it with a cute picture.)
Tip: When choosing letters, children respond well to the letters in their own name. Also, for kids who are just beginning to learn letters, l recommend avoiding multiple lowercase letters that look very similar. For example, b, d, p, and q all in the same game can be very confusing and discouraging.
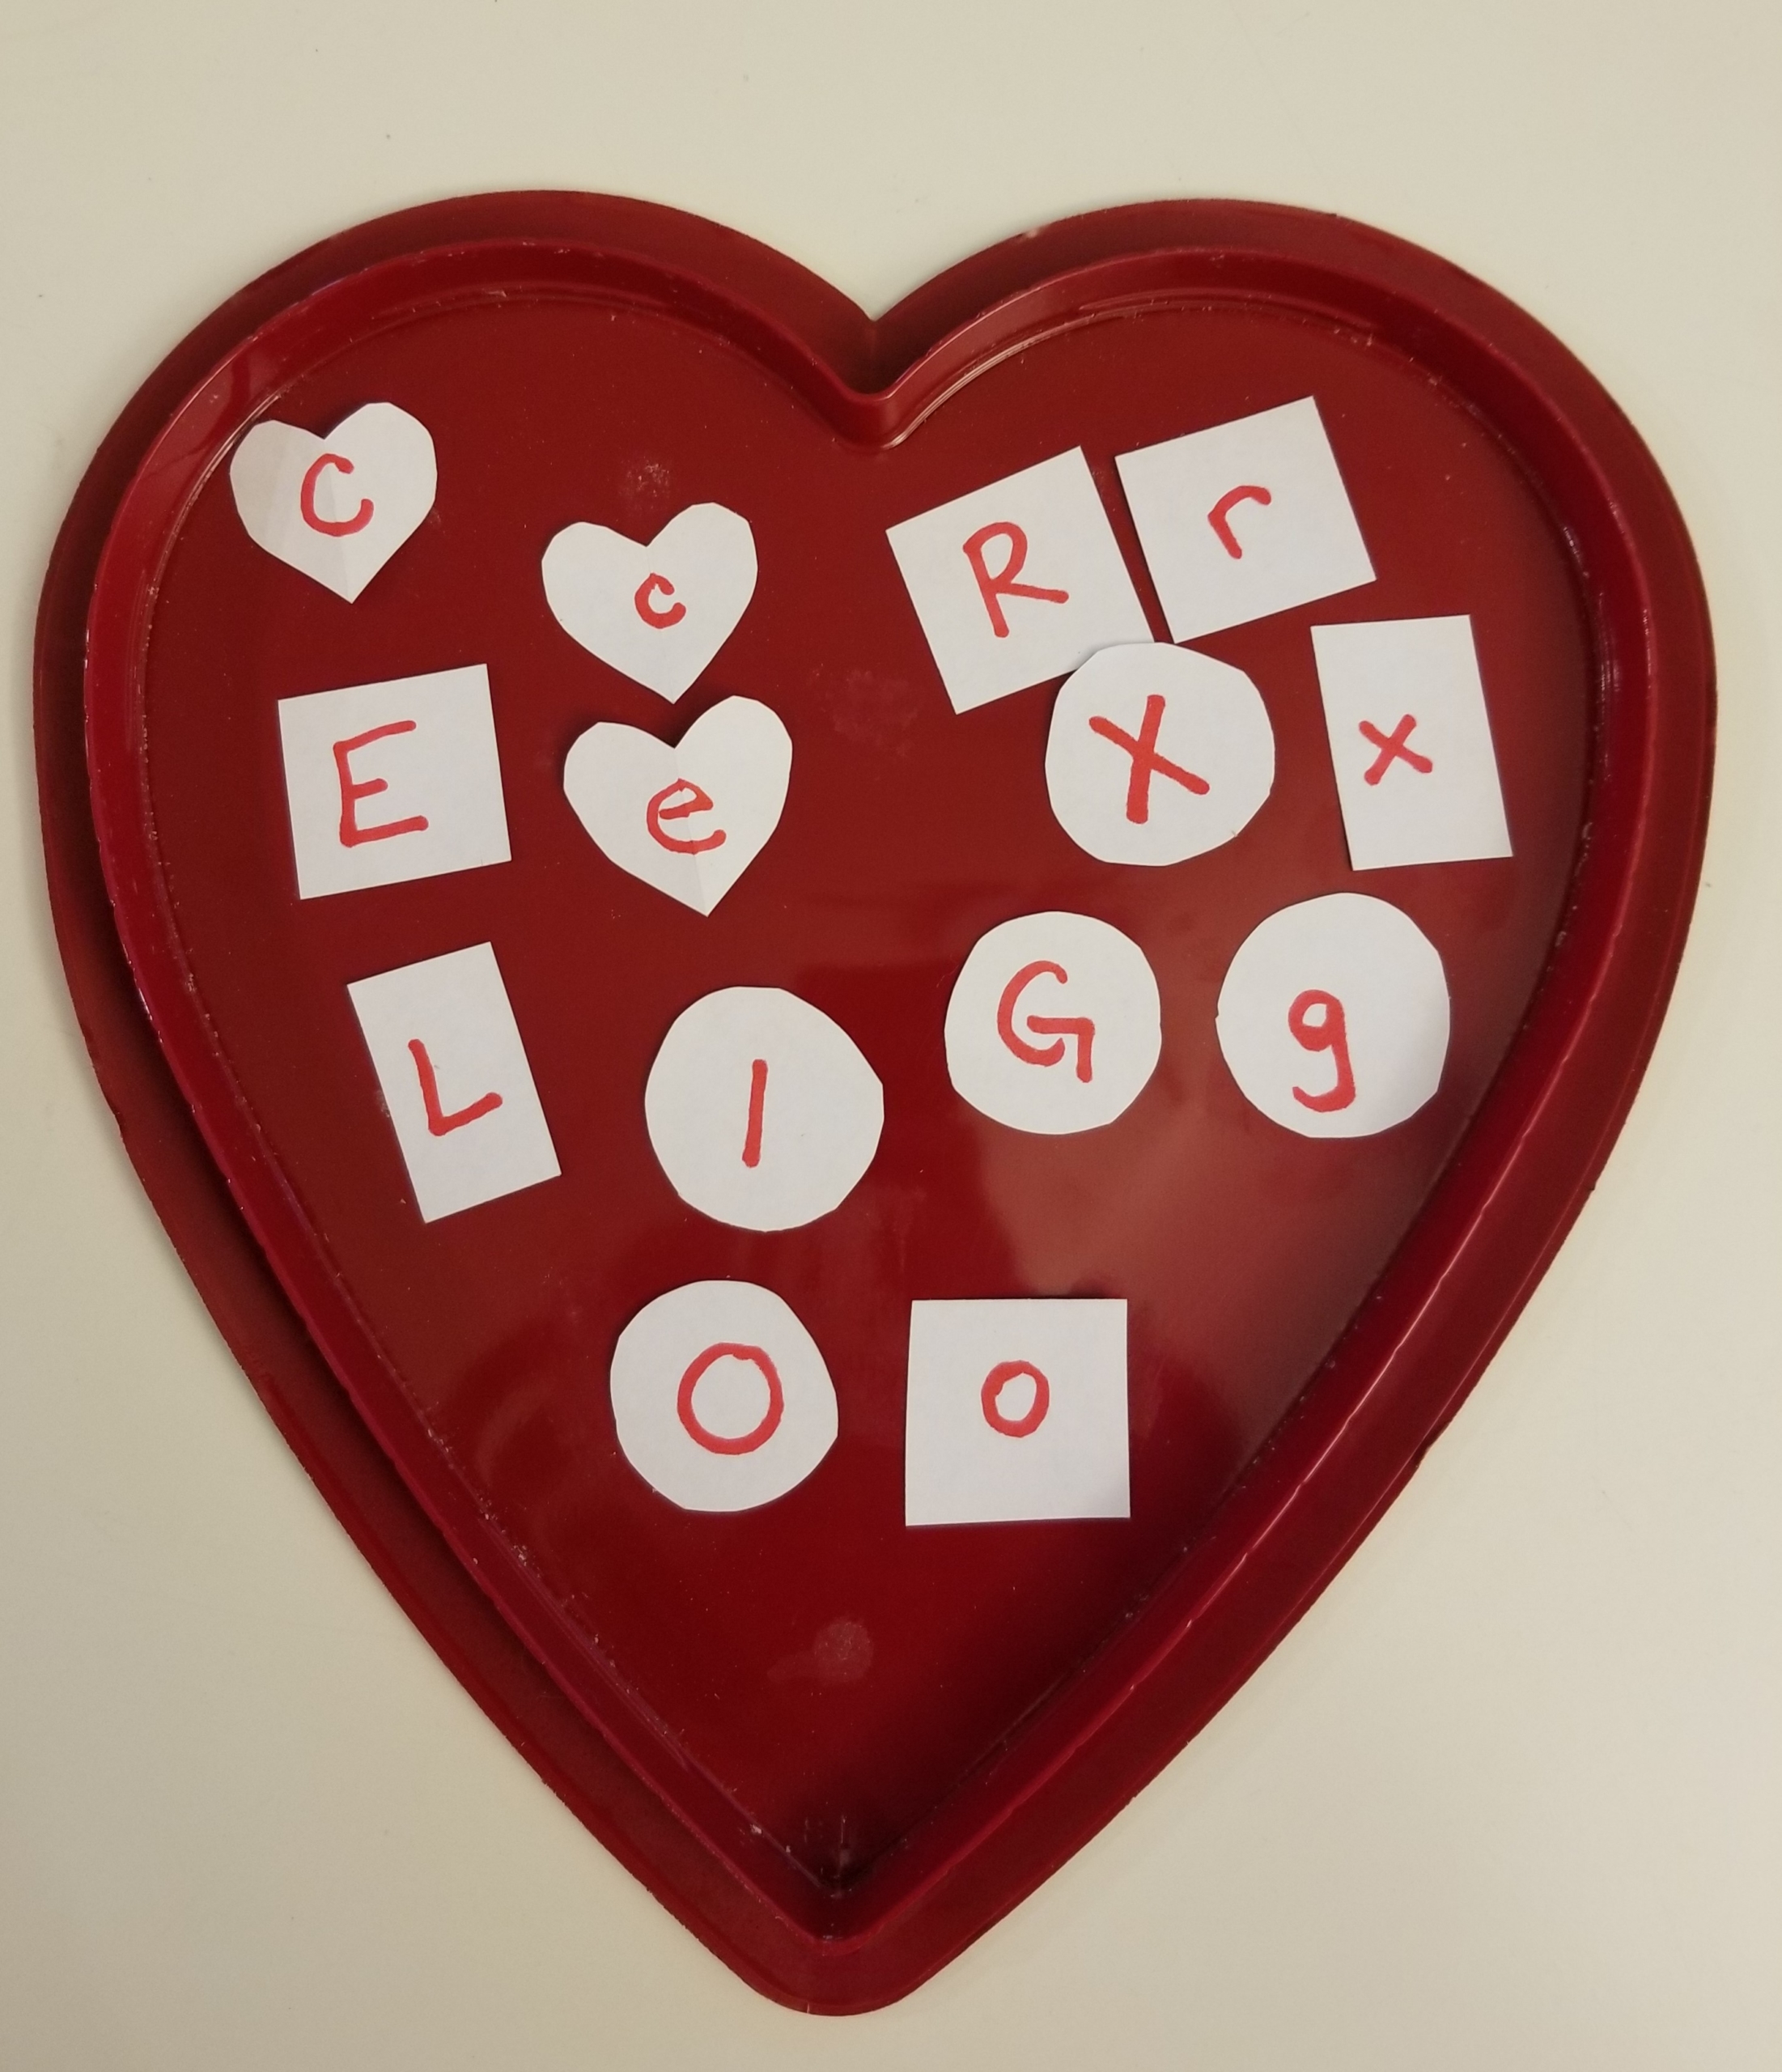
Step 5: Place the paper shapes into the empty chocolate spots, then cover each with a pom-pom. Be sure to mix up the pairs.
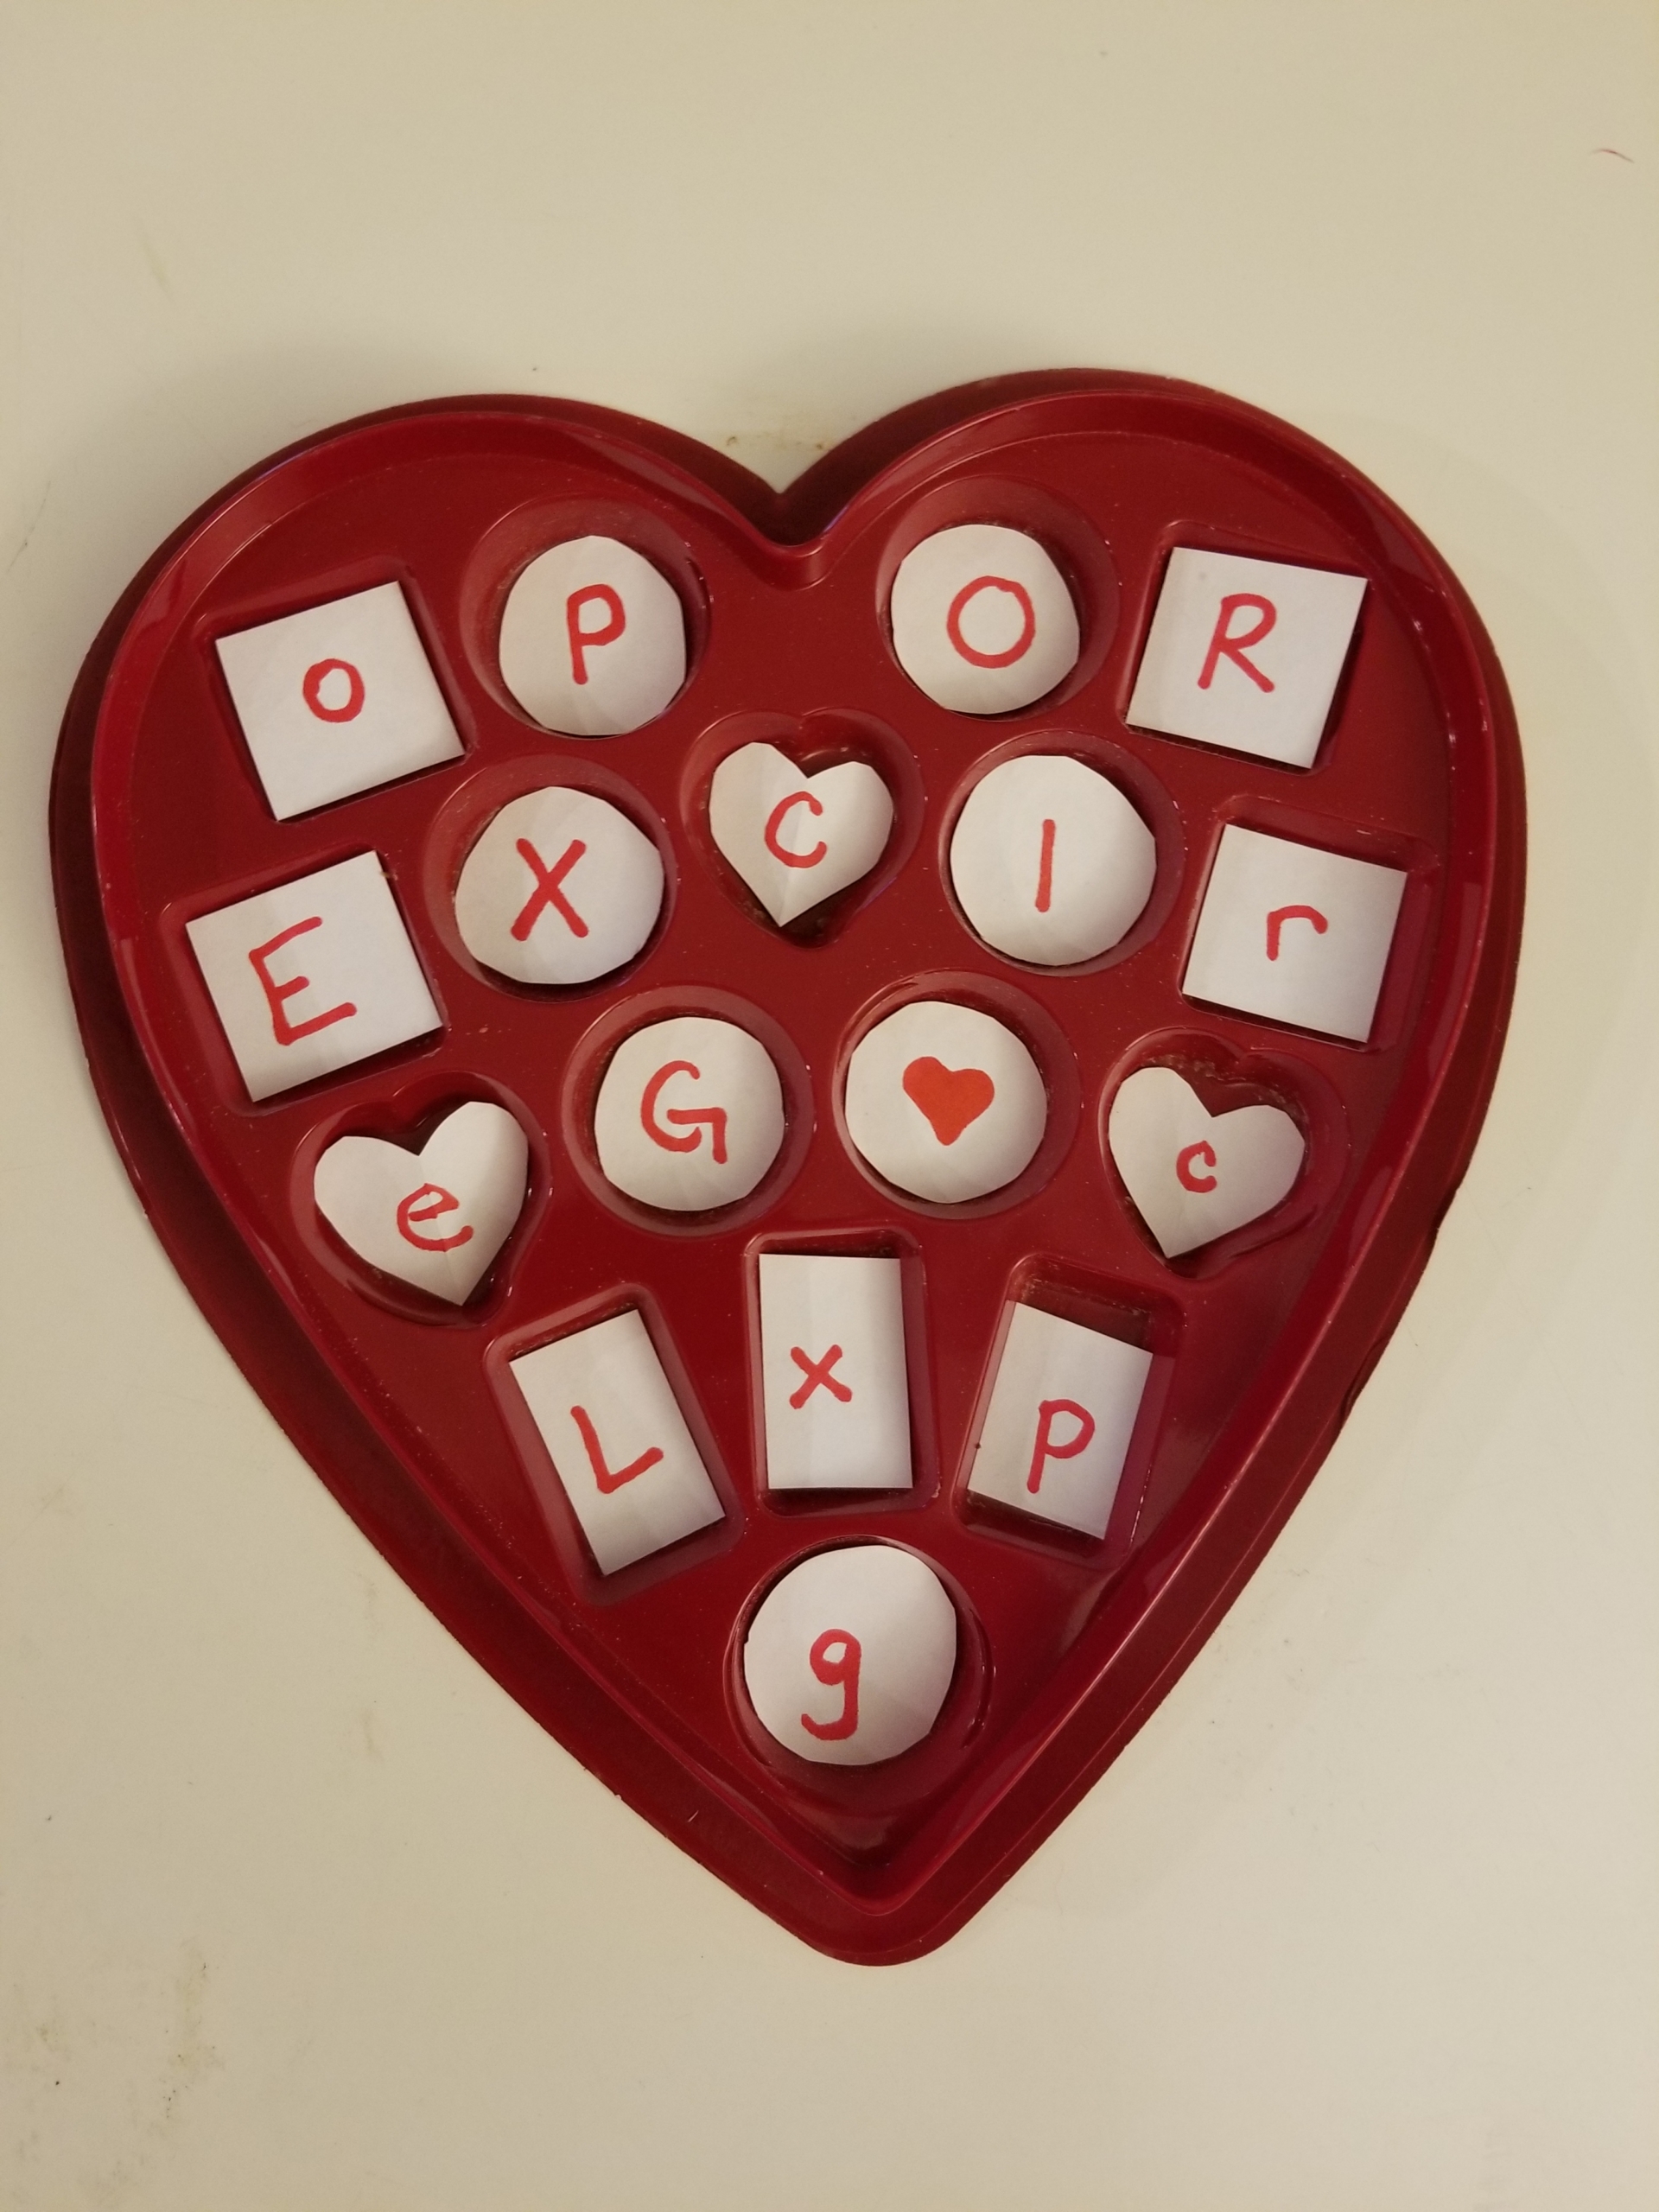
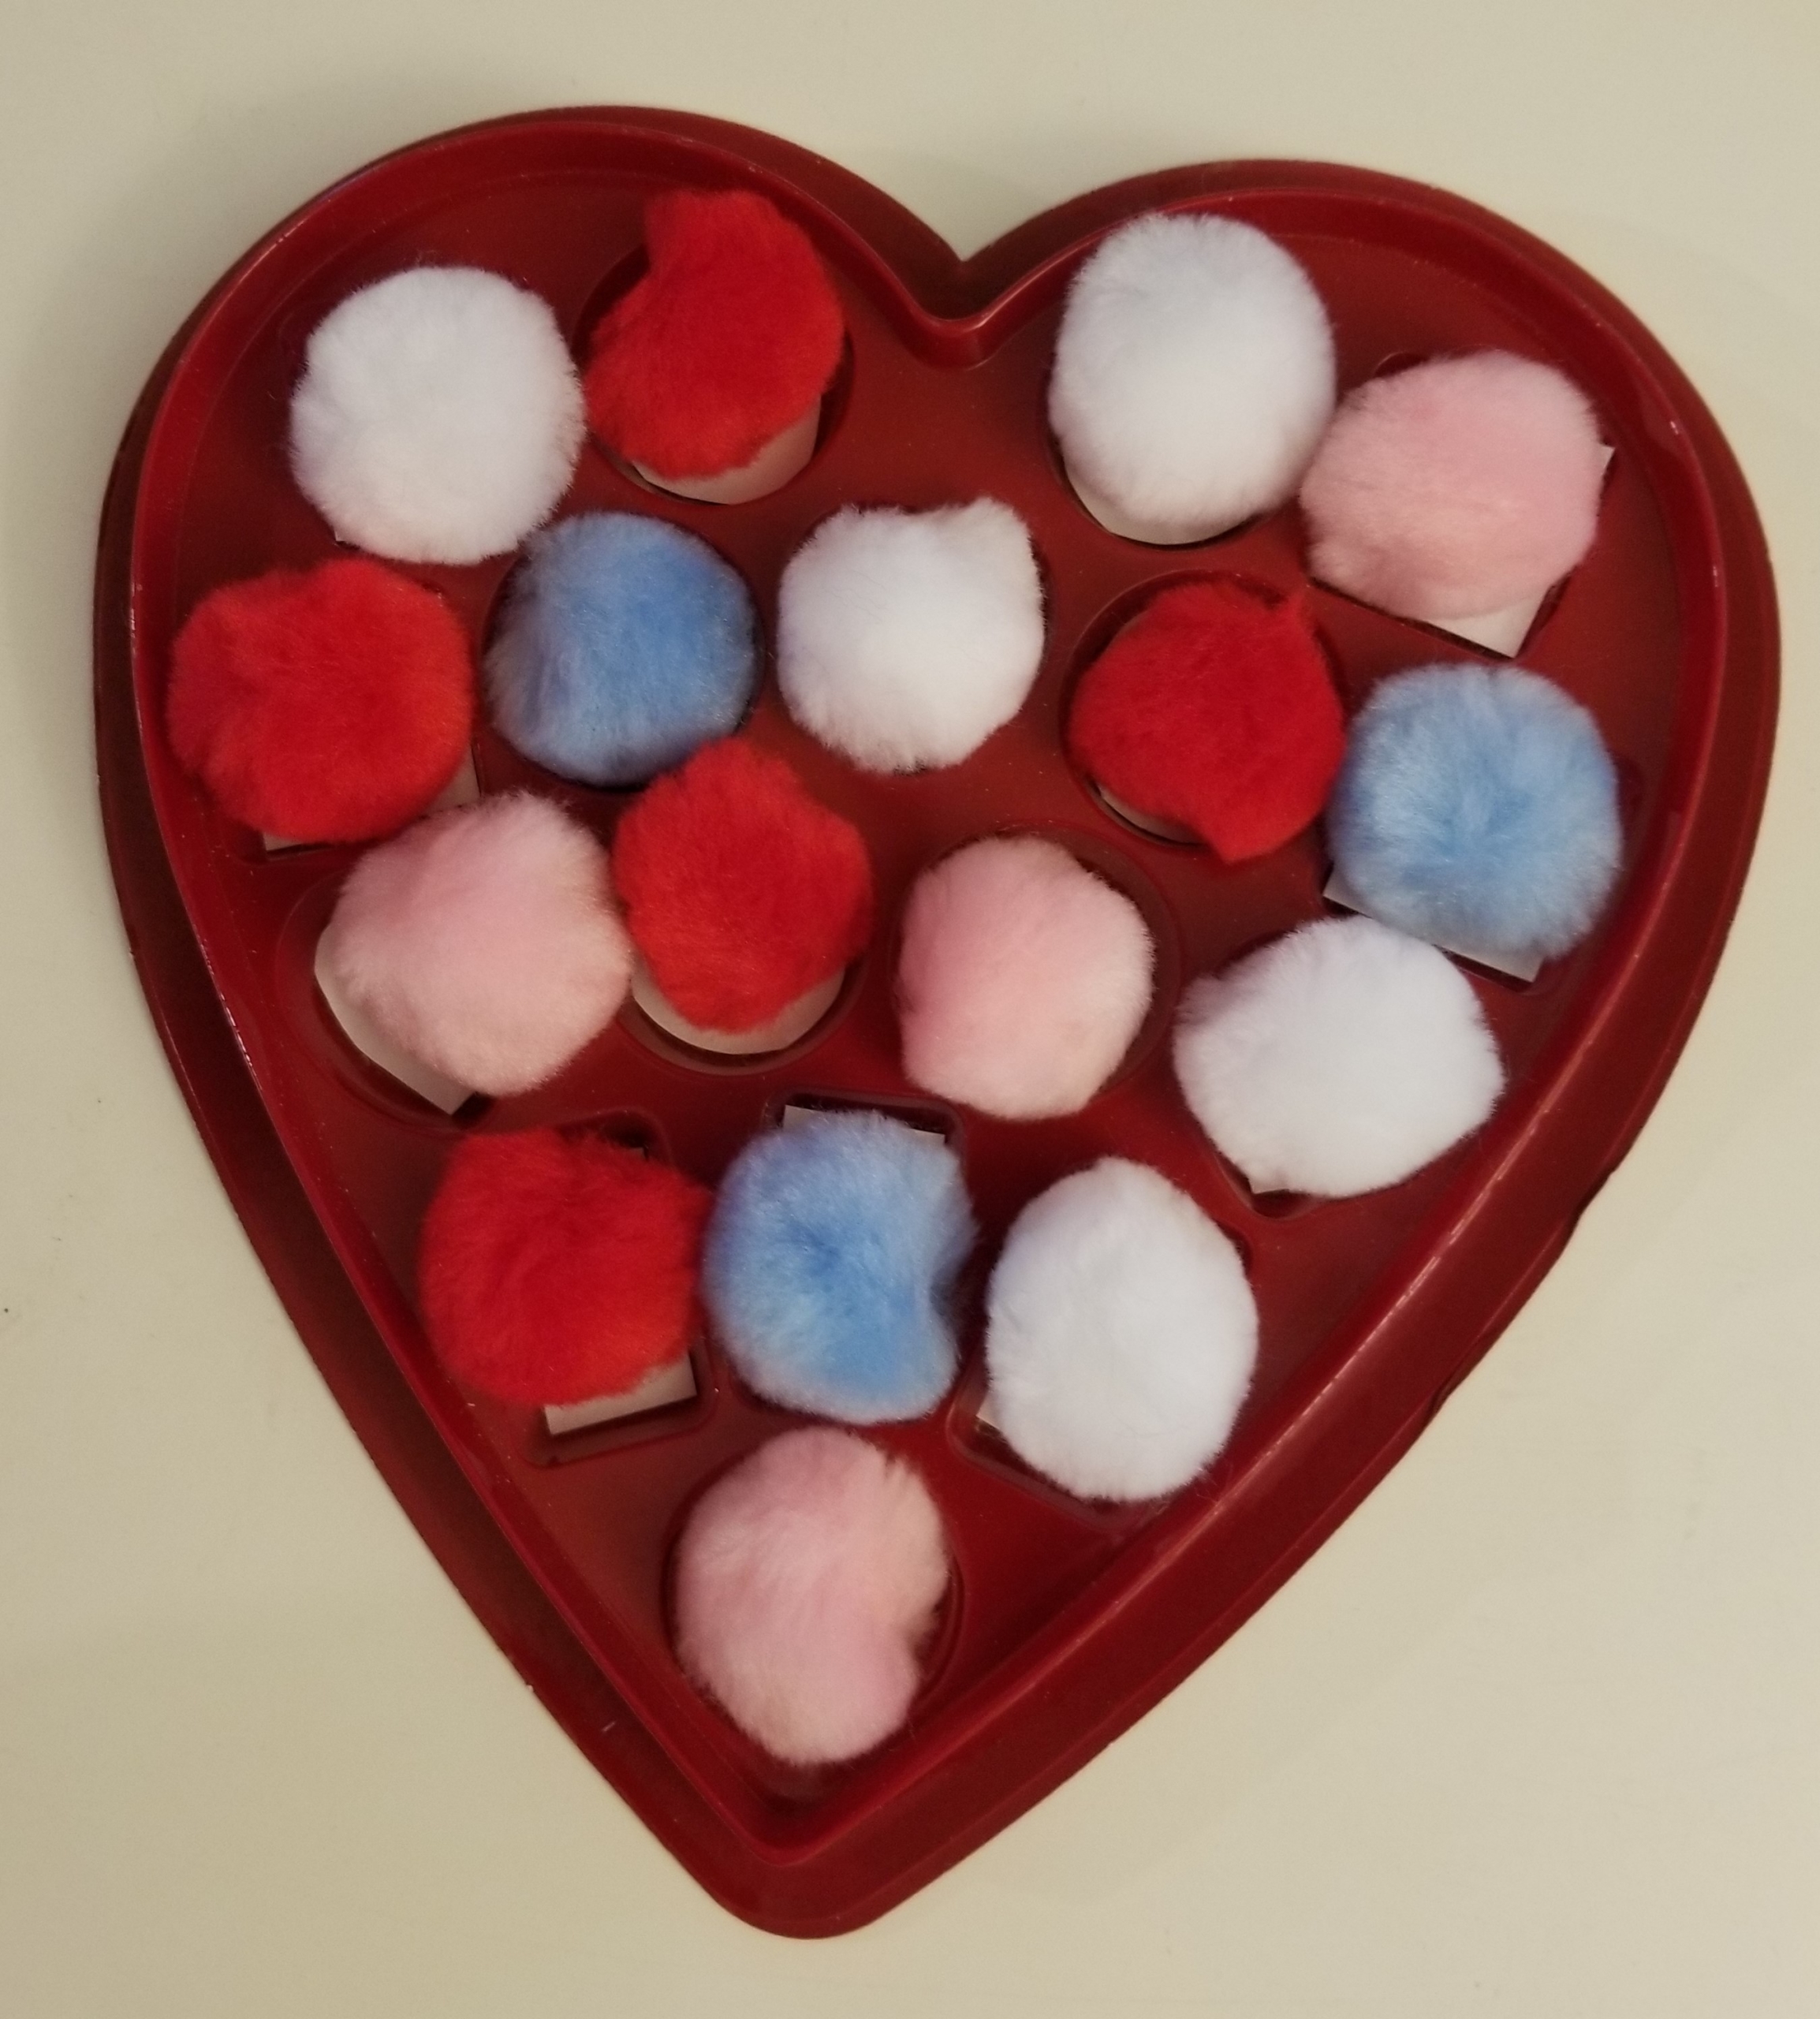
Step 6: Give your child the box and take turns lifting the pom-poms to look for letter matches! This game works just like a classic memory matching game: Each person lifts two pom-poms on their turn. If they get a match, they can leave the letters uncovered. If not, they put back the pom-poms to hide the letters again. When looking at the letters each time, use the moment to reinforce their names and sounds.
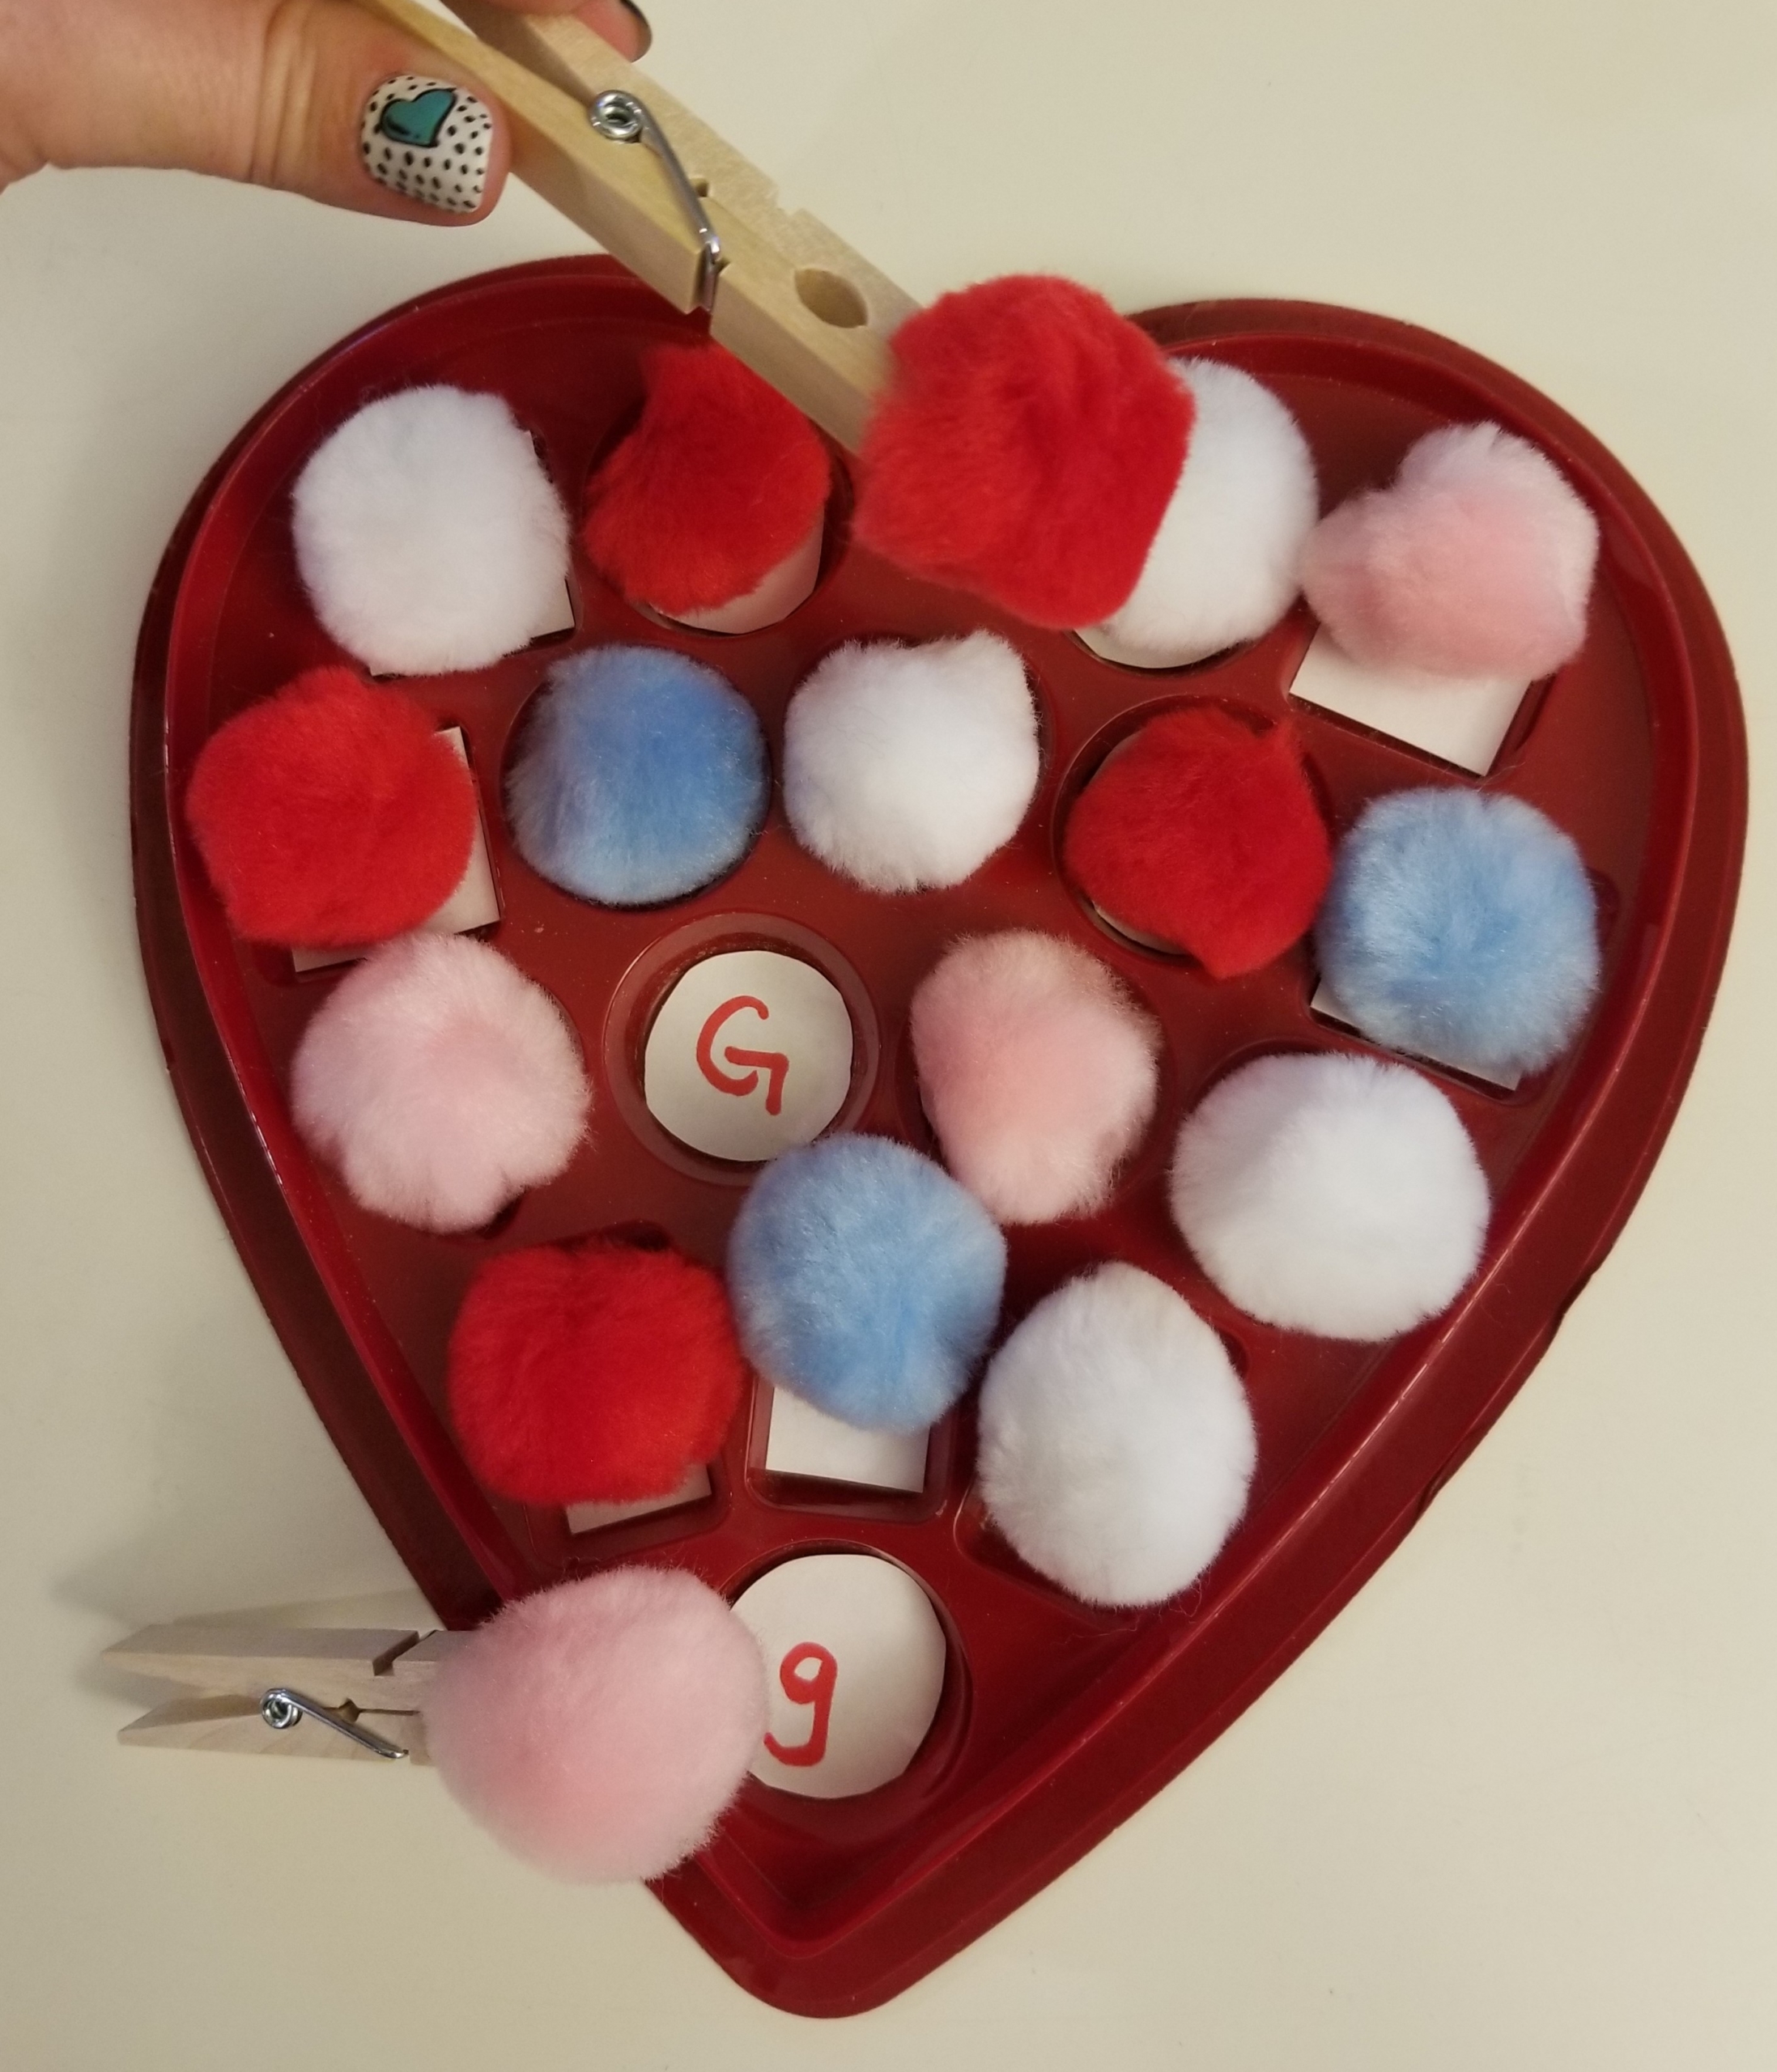
Optional: I use clothespins or tweezers as a way to pick up and put down the pom-poms. It’s a great way of developing fine motor skills and teaching proper pencil grip.
This activity is also easily adaptable. You can change the letters with each game, keeping it fresh and eventually using all 26 letters of the alphabet. You can adapt the game to teach counting, writing a number on one piece of paper and then drawing dots on its corresponding match. Or, for more advanced readers, pair rhyming words as matches.
There’s nothing as sweet as spending time with your child, so sneak in all the snuggles and playtime you can. Bonus: Enjoying a guilt-free chocolate treat in service of a good cause!
Pin Me for Reference :
There are hundreds of books dedicated to exploring the life, dreams, and work of Dr. Martin Luther King, Jr. Among picture books alone, approaches to King’s story include cradle-to-grave biographies, roundups of his famous speeches and quotes, and deep dives into stories of the March on Washington, the Montgomery Bus Boycott, his memorial in Washington, D.C., and more.
So how’s a parent to choose which books are best to explore with their child?
Here are a few of my top tips for finding the right-fit book to deepen your child’s knowledge of Martin Luther King, Jr.’s legacy and the American history it so vividly illustrates, plus write-ups of some great options curated by early childhood educator Chrysta Naron.
Explore Young MLK Jr.
Be sure to read books that depict King’s early life and his development into a Civil Rights Movement leader in adulthood. Stories that show King as a child and trace his rise in stature (and impact) help kids begin to see the roots of their own greatness—how their circumstances, education, and choices as young people today forge their futures.
Here are some great options:
Martin’s Big Words: The Life of Martin Luther King Jr. by Doreen Rappaport
This is a lovely choice because of the ways it seamlessly weaves historical context with direct quotations to illustrate how King learned to use “big words”—powerful, poetic, persuasive words—to fuel social change.
My Brother Martin: A Sister Remembers Growing Up with the Rev. Dr. Martin Luther King Jr. by Christine King Farris and illustrated by Chris Soentpiet
It’s often easy to place people on pedestals and think of them in just one light. King was a great man with incredible vision, strength, empathy, and fortitude. But he was also a little brother. He was a prankster, a friend, and the son of a preacher. My Brother Martin provides a personal and intimate look at King’s childhood and upbringing through the eyes of his sister, Christine King Farris. It offers insights into their family life, experiences, and the early influences that shaped him into the iconic civil rights leader he became. If you love a good origin story, this one is tops.
Put Leadership in Context
King is such a widely recognized historical figure that it’s easy to assume that kids know more about the man and the details of his life story than they really do. Years of Black History Month presentations and “I Have a Dream” speech snippets often don’t add up to a deep knowledge of what exactly King stood for, what he aimed to accomplish, and how he went about the work.
So be sure to include a solid chronology, such as I’ve Seen the Promised Land by Walter Dean Myers, in the mix of books you choose. And Martin Rising: Requiem for a King presents the final months of King’s life in verse.
My Daddy, Martin Luther King Jr. by Martin Luther King III and illustrated by AG Ford is an excellent way to get into King’s story from the perspective of his son. Martin Luther King III is a human rights activist who followed in the footsteps of his father. In 2013, he took pen to paper and crafted this lovely children’s book about his relationship with his dad.
The book explores the loving relationship King had with his children and how his work influenced their lives. What would it have been like to have been the son of such a prominent man? This book shows King’s life and values from another angle we rarely see. It is a touching book that makes this historical icon that much more knowable to us.
And while King’s “I Have a Dream” speech (or a segment of it) is a staple in classrooms across the United States, it’s also worth delving into the text of that most-famous and most-quoted speech. The book I Have a Dream, lusciously illustrated by Kadir Nelson, is a beautiful and accessible way to enhance your child’s understanding. This rendition brings King’s words to life for young children, making the message more accessible and engaging. For an even more immersive experience, consider playing a recording of King’s delivery of the speech as you go through the book.
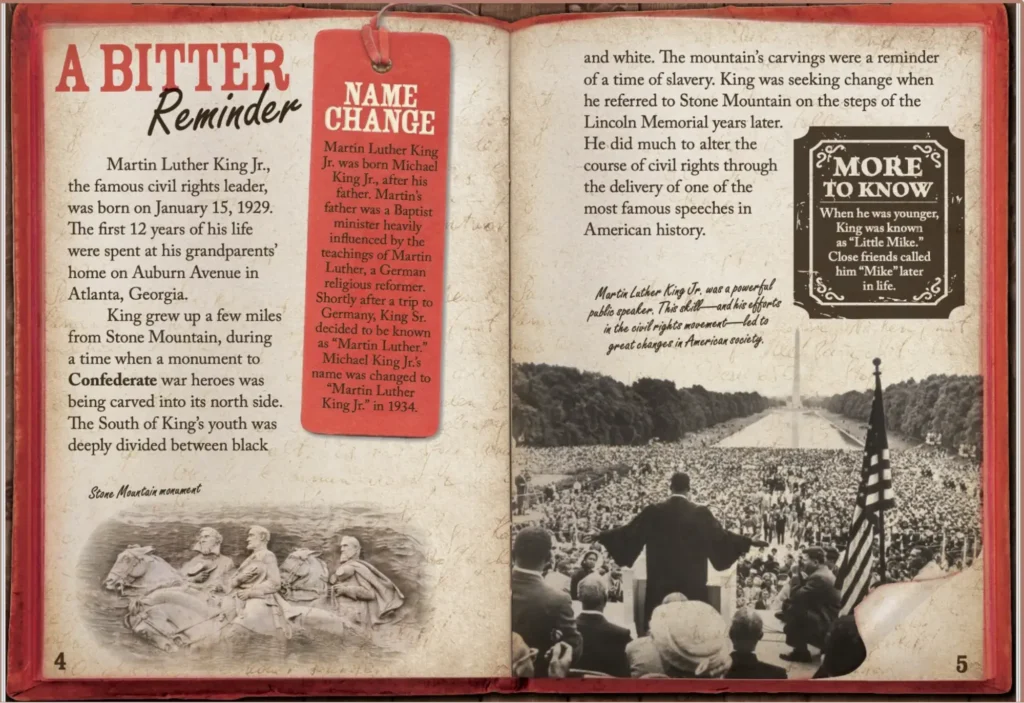
Keep in mind that the segregation, violence, and injustice of the Civil Rights era (and today) is difficult subject matter, but books needn’t be relentless in their focus on the tough stuff. Particularly with denser, more challenging material, kids crave and respond to a little digression now and then to lighten the cognitive load. Look for books that use info boxes and other graphic elements to keep things engaging. Take this page from Martin Luther King Jr. in His Own Words by Ryan Nagelhout. The eye-catching bookmark illustration and “More to Know” boxes break up the main text and deliver fascinating tidbits.
Go Behind the Scenes
Although history is often told with a focus on great men doing big things, the reality is that many people participate in the slow march toward progress. One of my absolute favorite behind-the-scenes books is A Place to Land: Martin Luther King Jr. and the Speech That Inspired a Nation by Barry Wittenstein. The text describes the making of the “I Have a Dream” speech, alongside gorgeous illustrations by Jerry Pinkney that show the faces of those who helped King craft his message and the numerous everyday heroes who inspired its content. Young readers will gain valuable insights into the collaborative, deliberative nature of writing to fuel social change.
As a Kirkus reviewer wrote, “Wittenstein’s free-verse narrative perfectly captures the tension leading up to the speech as each adviser urged his own ideas while remaining a supportive community. Pinkney’s trademark illustrations dramatize this and the speech, adding power and further illuminating the sense of historical importance. Gives readers a fresh and thrilling sense of what it took to make history.”
Another excellent option is The Youngest Marcher by Cynthia Levinson and illustrated by Vanessa Brantley Newton. It’s a touching exploration of the Civil Rights Movement, suitable for both parents and their young children. The book beautifully narrates the remarkable story of Audrey Faye Hendricks, the youngest participant in a pivotal moment of the movement.
Through vibrant illustrations and age-appropriate language, it introduces young readers to the profound impact King’s teachings had on Audrey’s courageous stand against segregation. This book serves as an accessible and engaging tool for initiating conversations with children about the values of equality, justice, and the enduring legacy of the movement for civil rights. It also offers a wonderful opportunity to understand the impact of King’s personal relationships on individuals like Audrey.
More books that show MLK in community with others to make change include:
- Memphis, Martin, and the Mountaintop: The Sanitation Strike of 1968 by Alice Faye Duncan
- The Teachers March!: How Selma’s Teachers Changed History by Sandra Neil Wallace and Rich Wallace
- Martin & Mahalia: His Words, Her Song by Andrea Davis Pinkney & Brian Pinkney
Grapple with the Big Ideas
Older children who know King’s biography may be ready to dive into less straightforward accounts of his legacy. Faith Ringold’s My Dream of Martin Luther King explores King’s legacy through the deeply personal lens of a dream the artist had.
“In my dream, Martin appeared first as a child in a place so huge that it encompassed the whole world and all its people,” she writes in an opening scene. “There were children and old folks, men and women of all colors, races, and religions. They carried bags containing their prejudice, hate, ignorance, violence, and fear, which they intended to trade for hope, freedom, peace, awareness, and love. Some people had bigger bags than others, but everybody had something to trade.”
Touching on America’s terrible history of discrimination, violence, and segregation, the book ultimately points toward progress and optimism born of imagination. Abstract, yet resonant, it spurs more sophisticated conversation about the nature of our waking dreams and the path to accomplishing them.
Like this post? Share it!
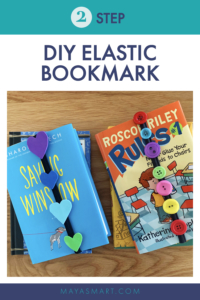
At last! A bookmark that won’t slide out of place and get lost in the depths of kids’ backpacks (or yours). Bookmarks are key tools in raising readers, and we’ve got you covered with this super-simple, two-step bookmark craft that makes adorable, functional page markers in minutes flat. All you need are some simple materials and a bit of creativity—or just start with our examples.
You can easily turn these elastic bookmarks into an awesome holiday craft, gift, or party favor by decorating them with holiday colors or shapes cut to fit your theme. There are endless possibilities when it comes to embellishments: We picked a few of our favorites from craft-drawer staples, but they’ll be cute with just about anything you have on hand! This kid-friendly DIY book craft is perfect for all ages. You’ll just want to supervise kids using the hot glue gun.
Materials:
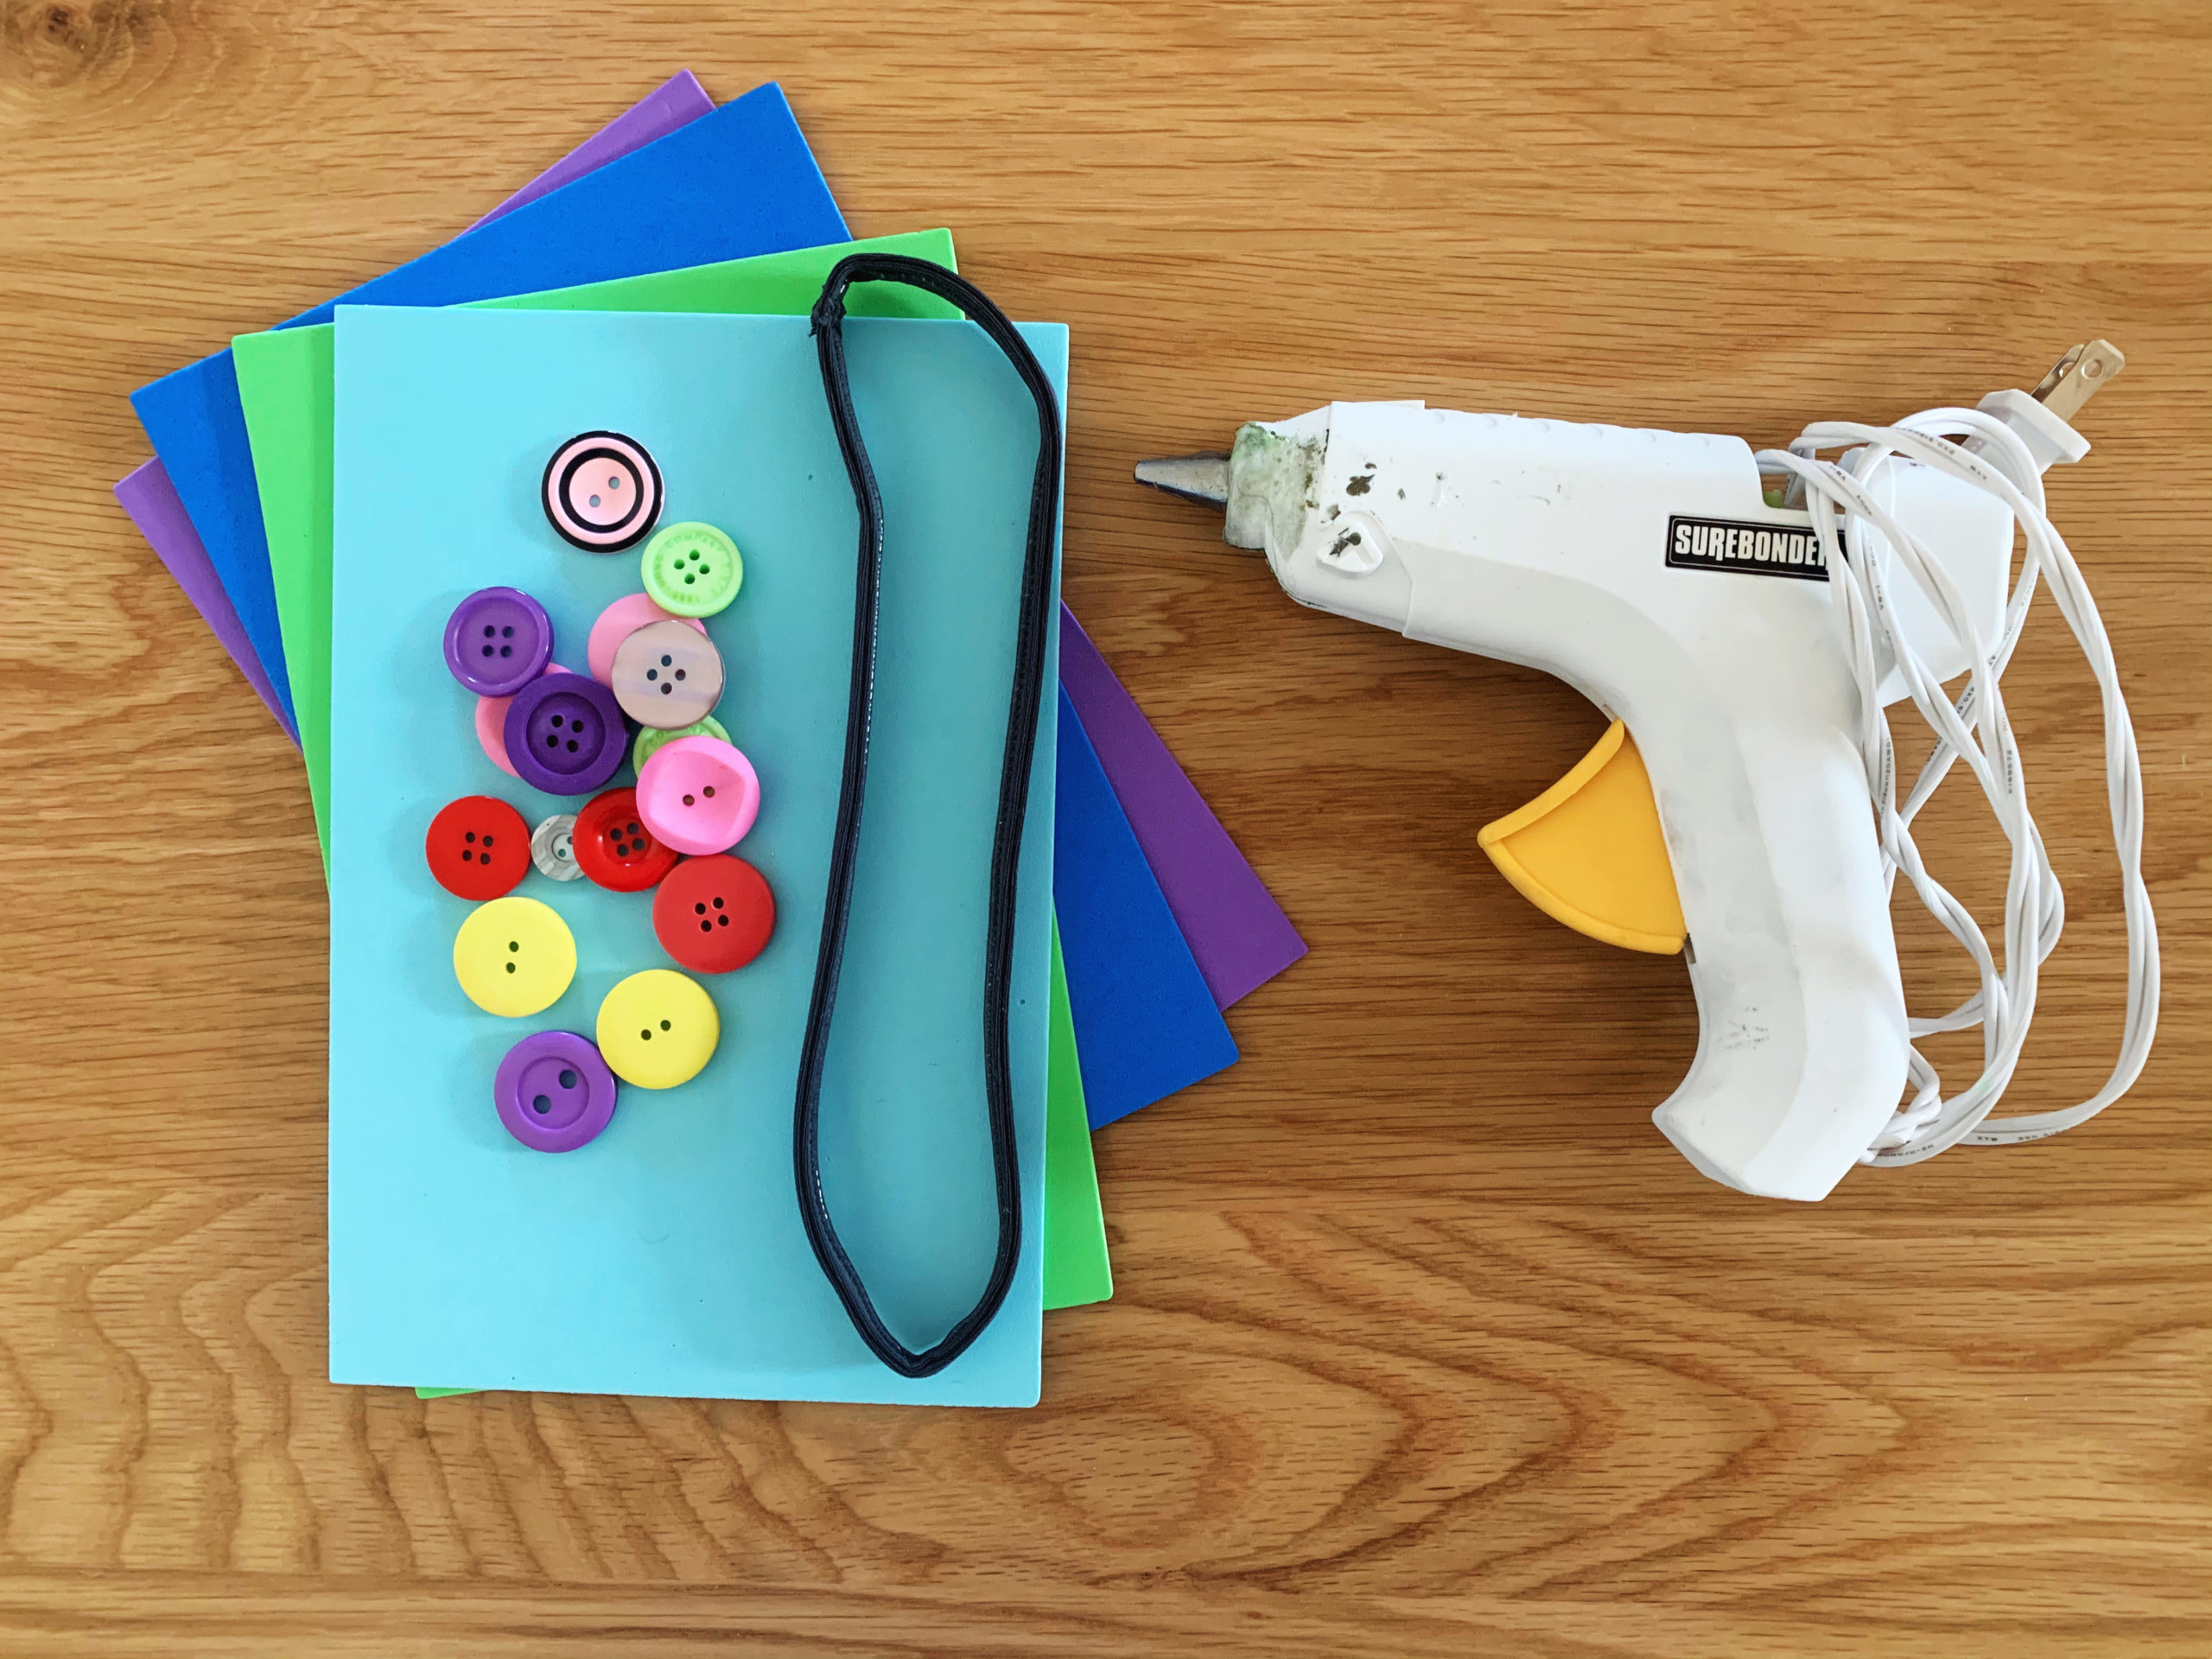
- Elastic headbands (make sure they’re the flat elastic variety)
- Hot glue gun
- Embellishments of your choice!
Embellishment Ideas: There are so many options out there, but here are three recommendations to get you started!
- Buttons: Maybe you have some mismatched buttons around the house … send your kids on a scavenger hunt through the junk drawers!
- Craft-foam letters/shapes: Cut out letters or shapes from craft foam.
- Paper flowers: Make one of our paper flowers out of old book pages. After all, what better way to decorate a bookmark than with upcycled book pages?
Have other ideas in mind? Please share in the comments below—we would love to hear what you come up with!
Cost: Parents of kids who like to pull their hair back often have one (or a few!) too many elastic hairbands around, in which case this is the perfect way to clean out that bathroom cabinet. Otherwise, you can purchase a pack of headbands online or at a local drugstore for about $5. Glue guns are high on our list of must-have craft tools and average around $10. Get creative with your embellishments, and that part should cost you nothing!
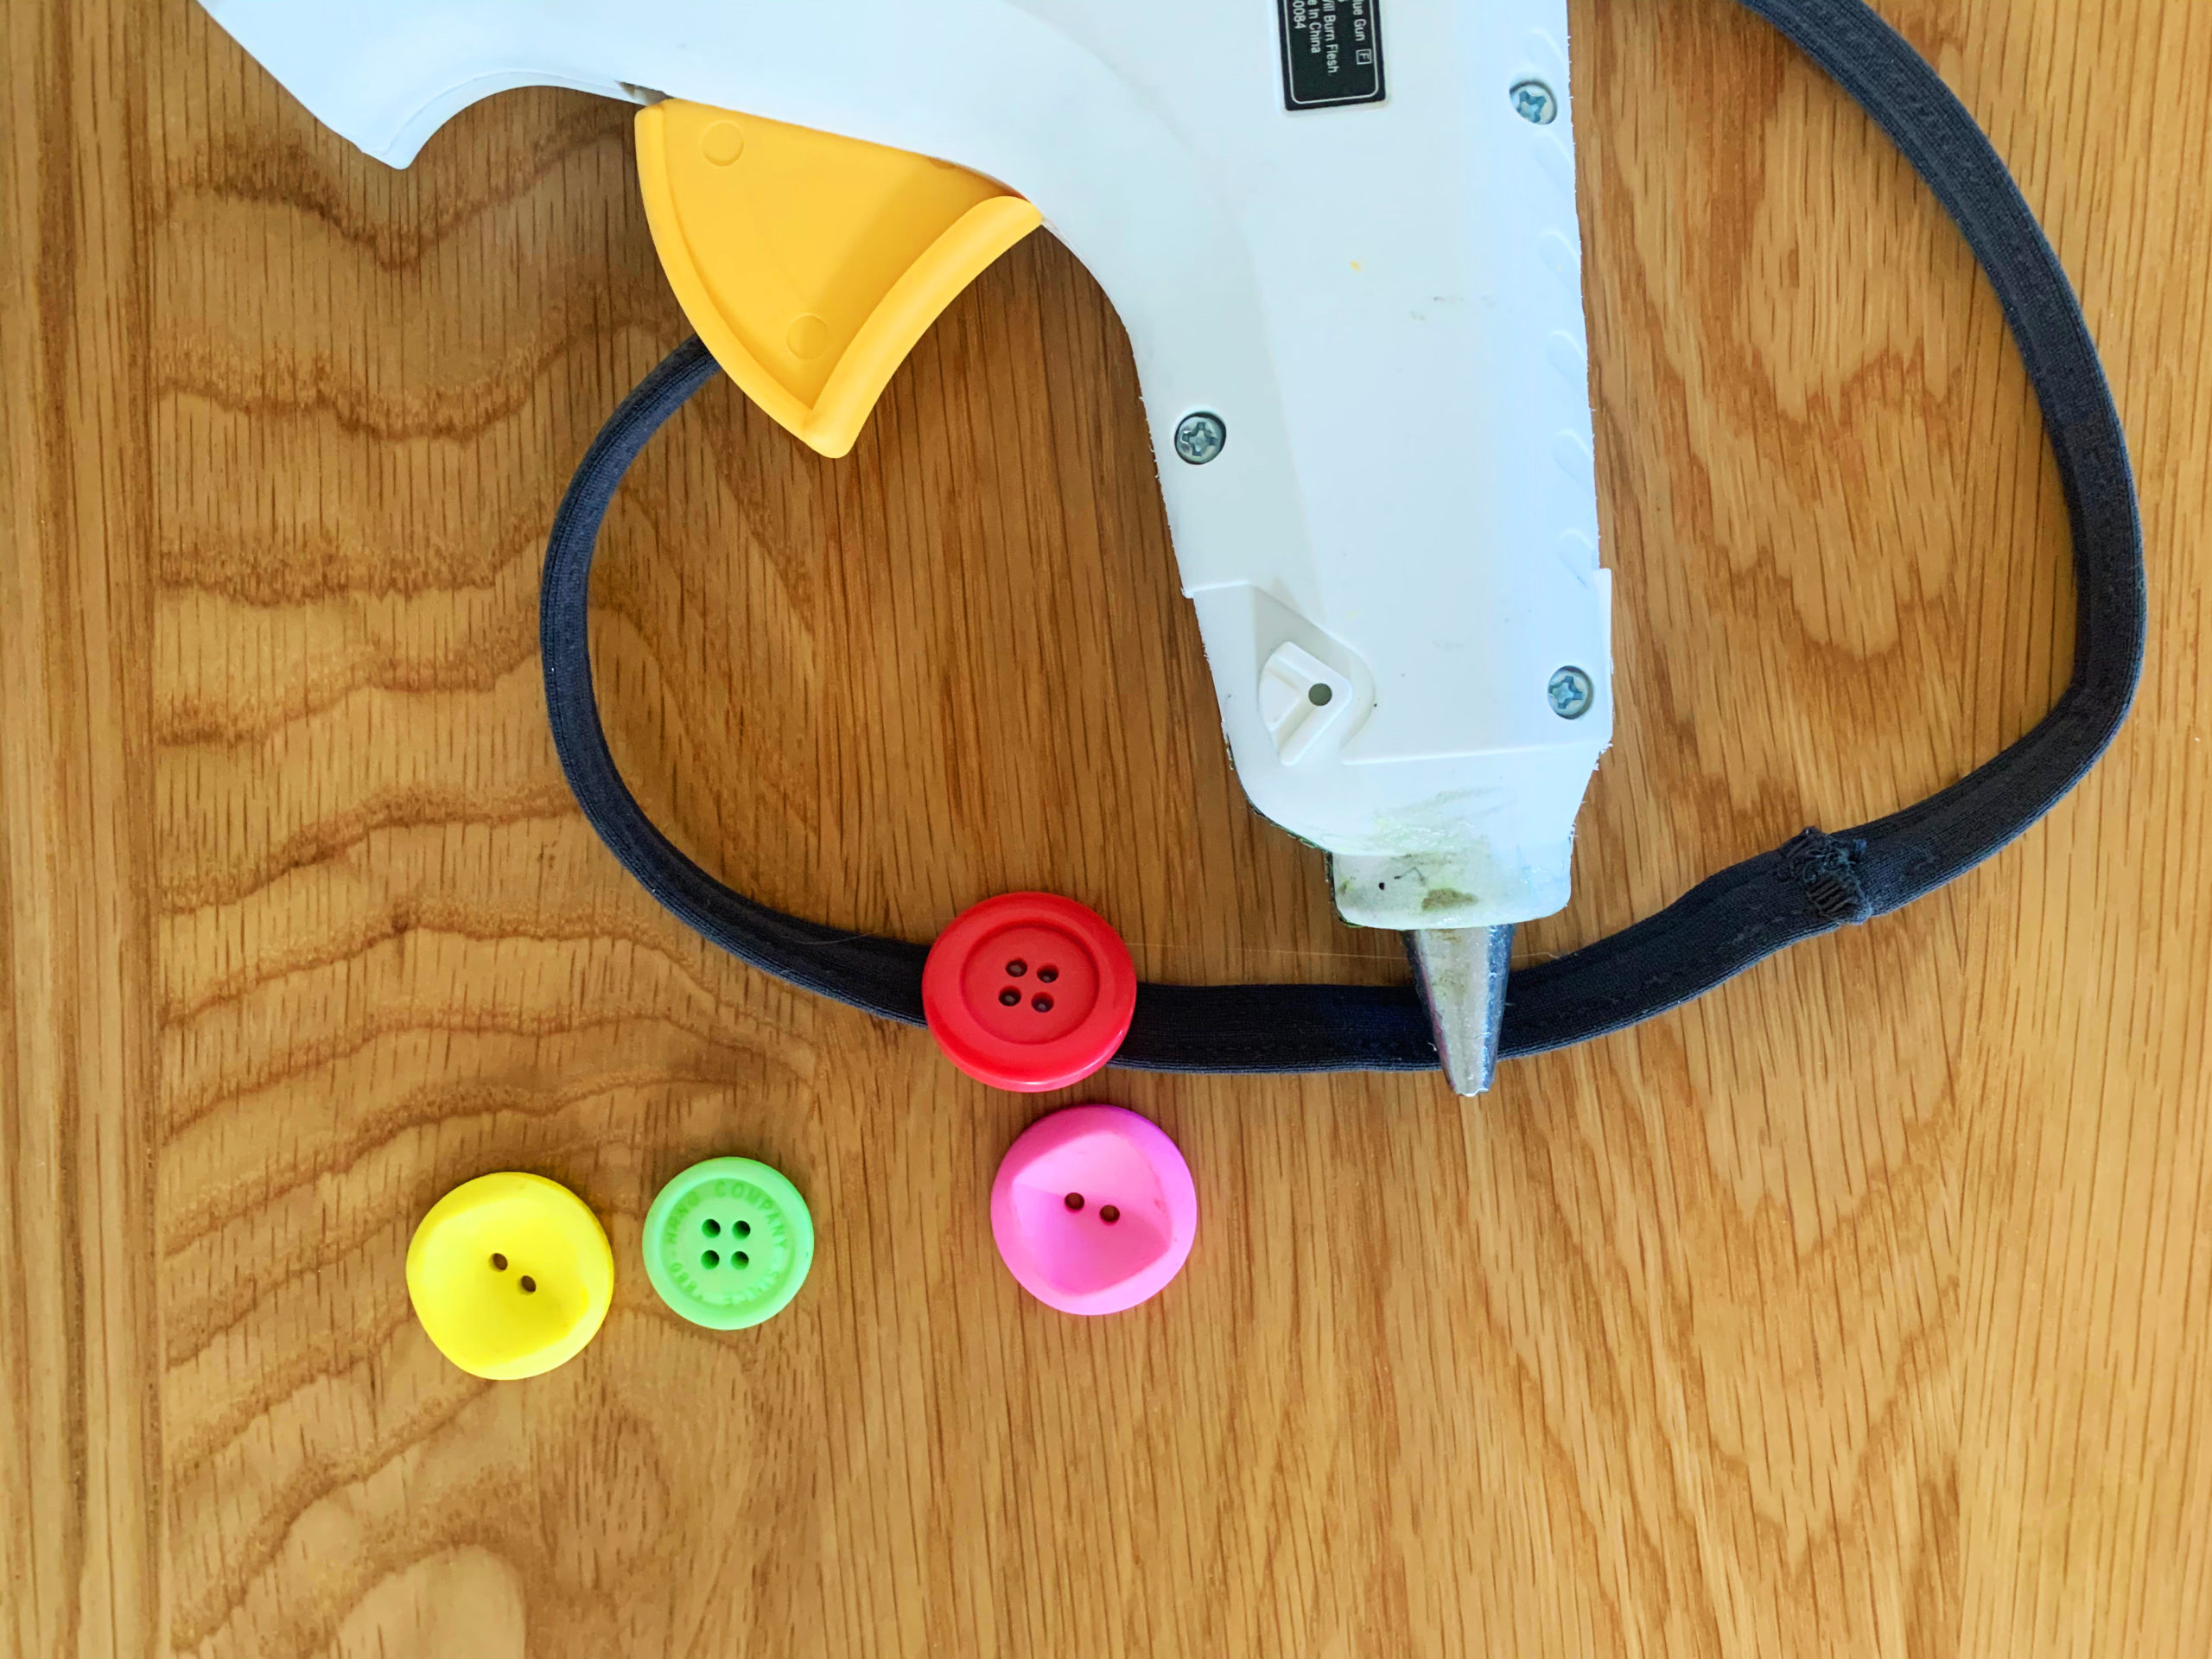
Step 1: The first step is just to plug in your glue gun and let it heat up while you gather or make your embellishments. Remember: Kids will need your supervision for the glue gun. If you are making your own embellishments, go ahead and do that now.
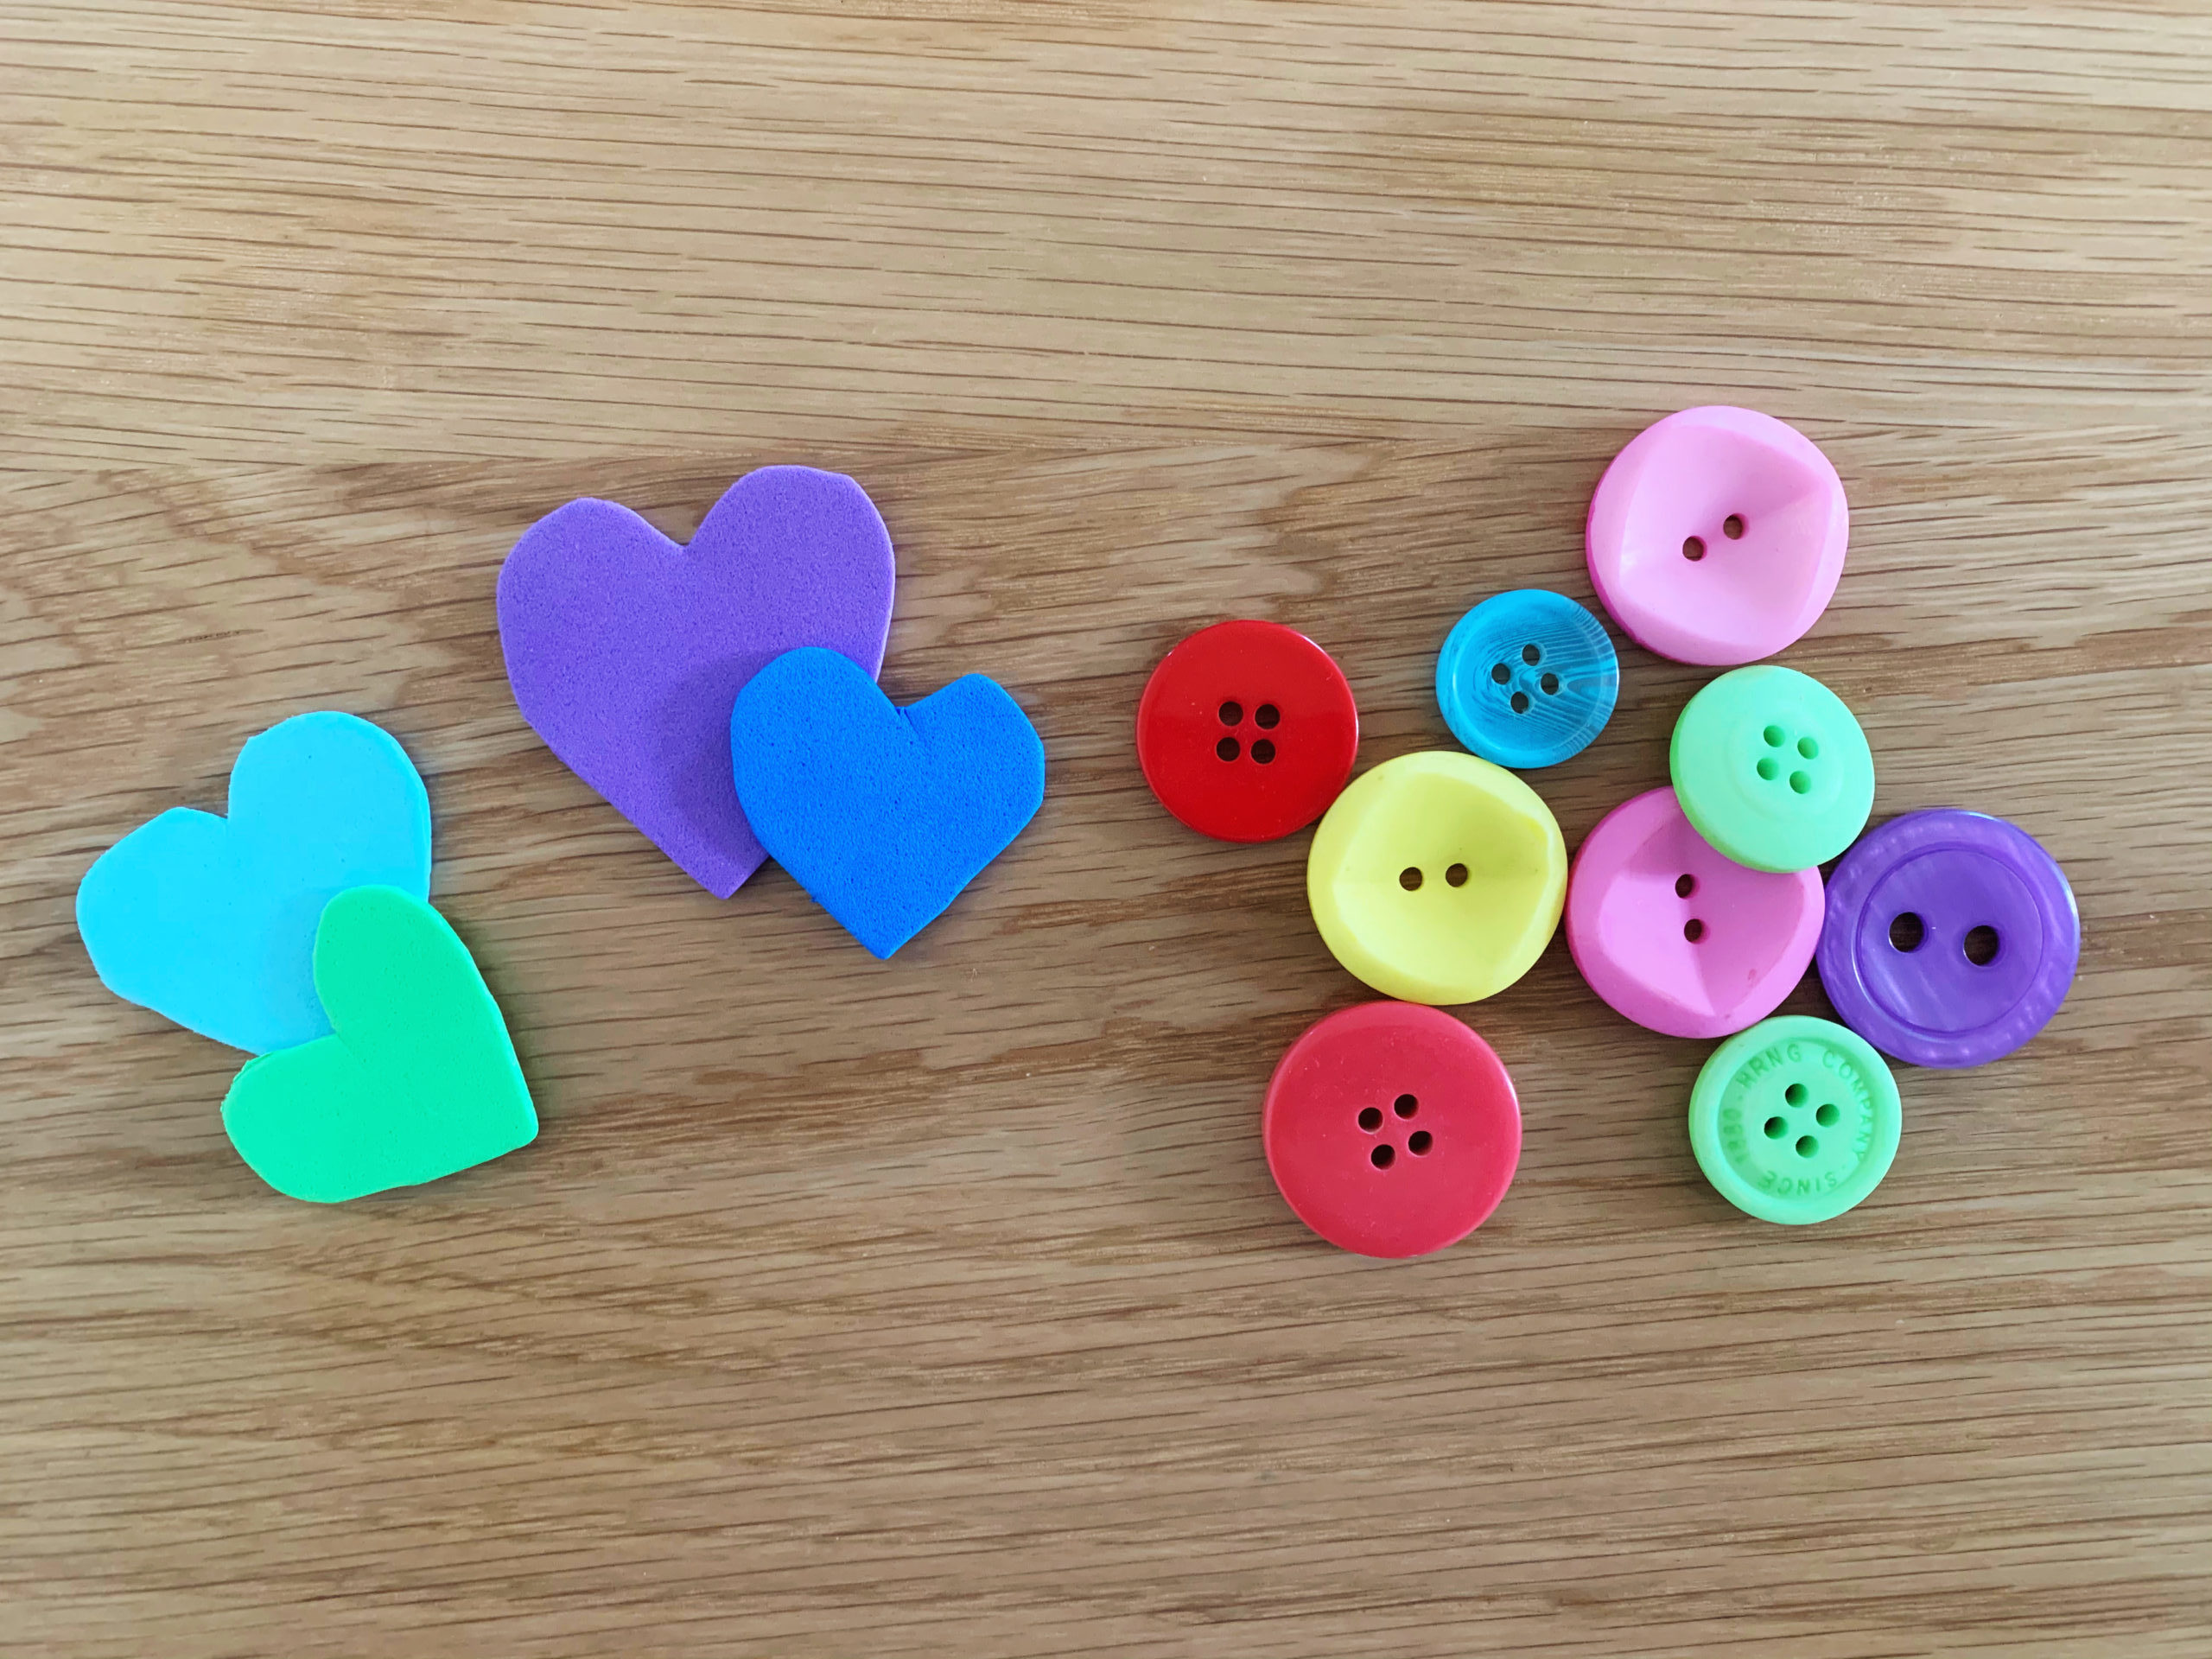
Step 2: Next, simply use the hot glue gun to attach your embellishments along one half of the headband. Make sure you don’t use more than half, so there’s a flat side to go inside your book—in fact, I recommend covering a little less than half. You can choose to add a lot of embellishments lined up close together, or you can space out just a few cute touches. Tip: If you’re spacing them out, you may want to mark where you want them to go, so as to get an even result. Let the glue dry fully, and then your new bookmark will be ready to use.
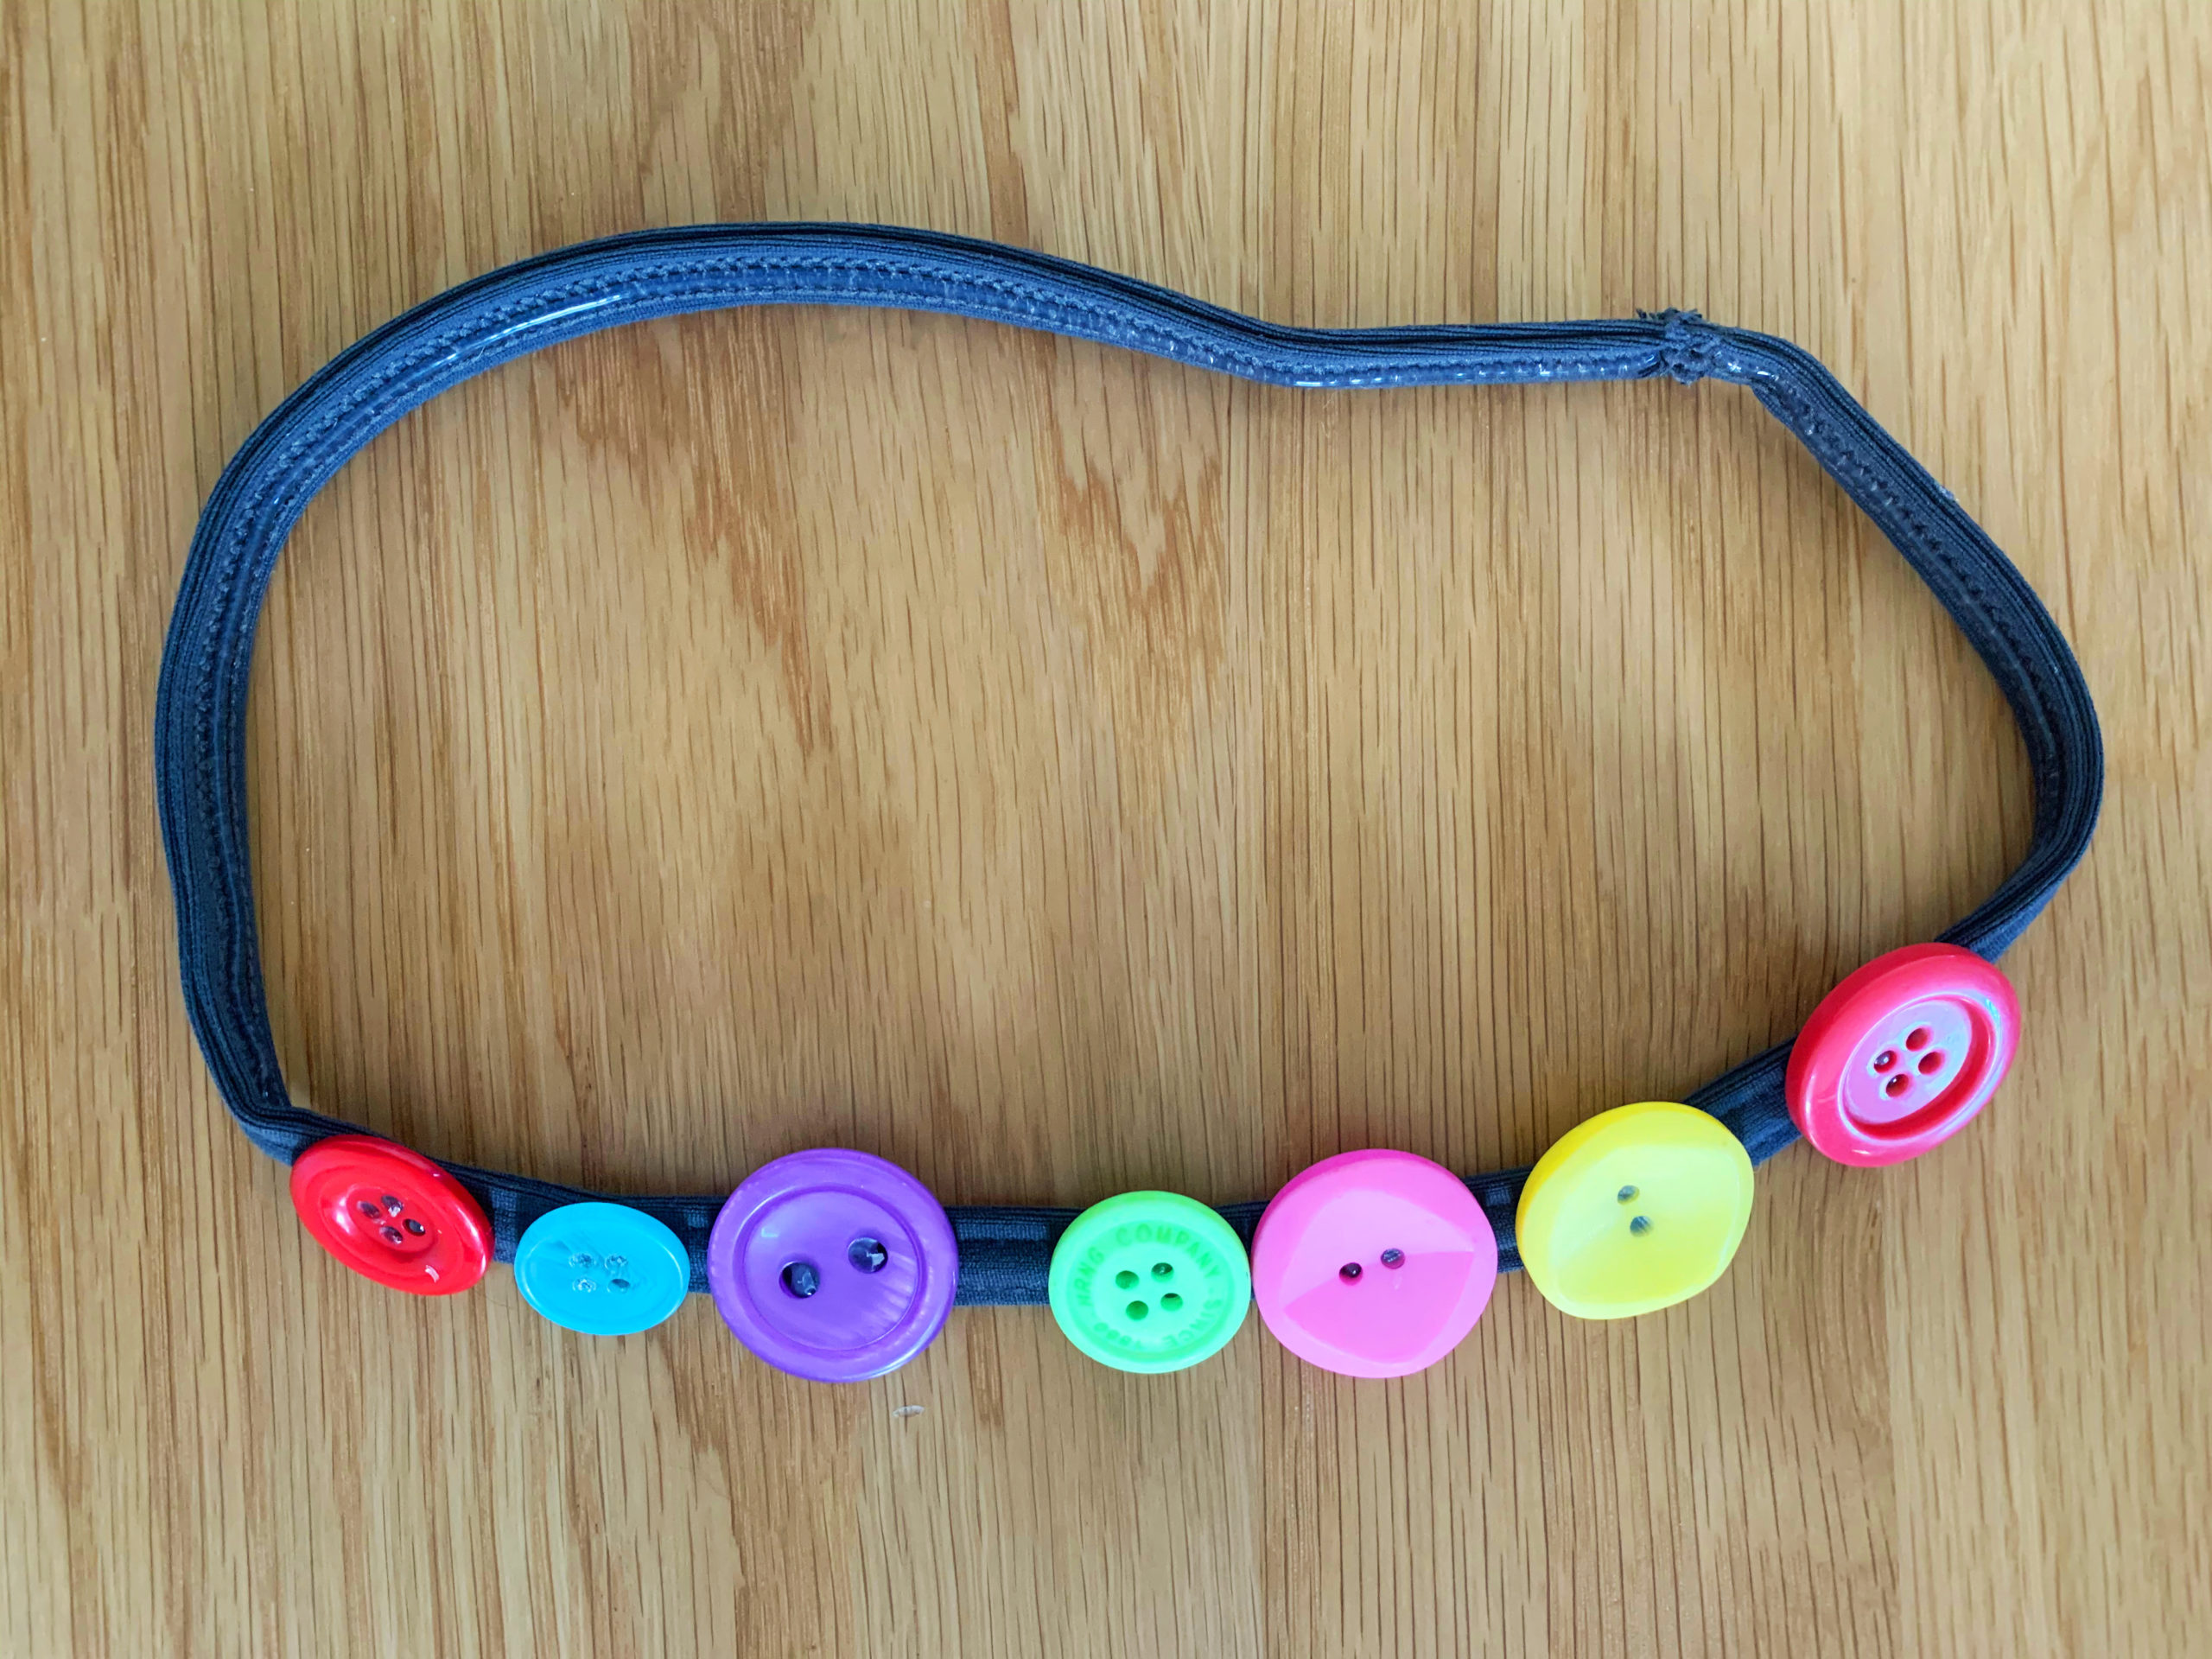
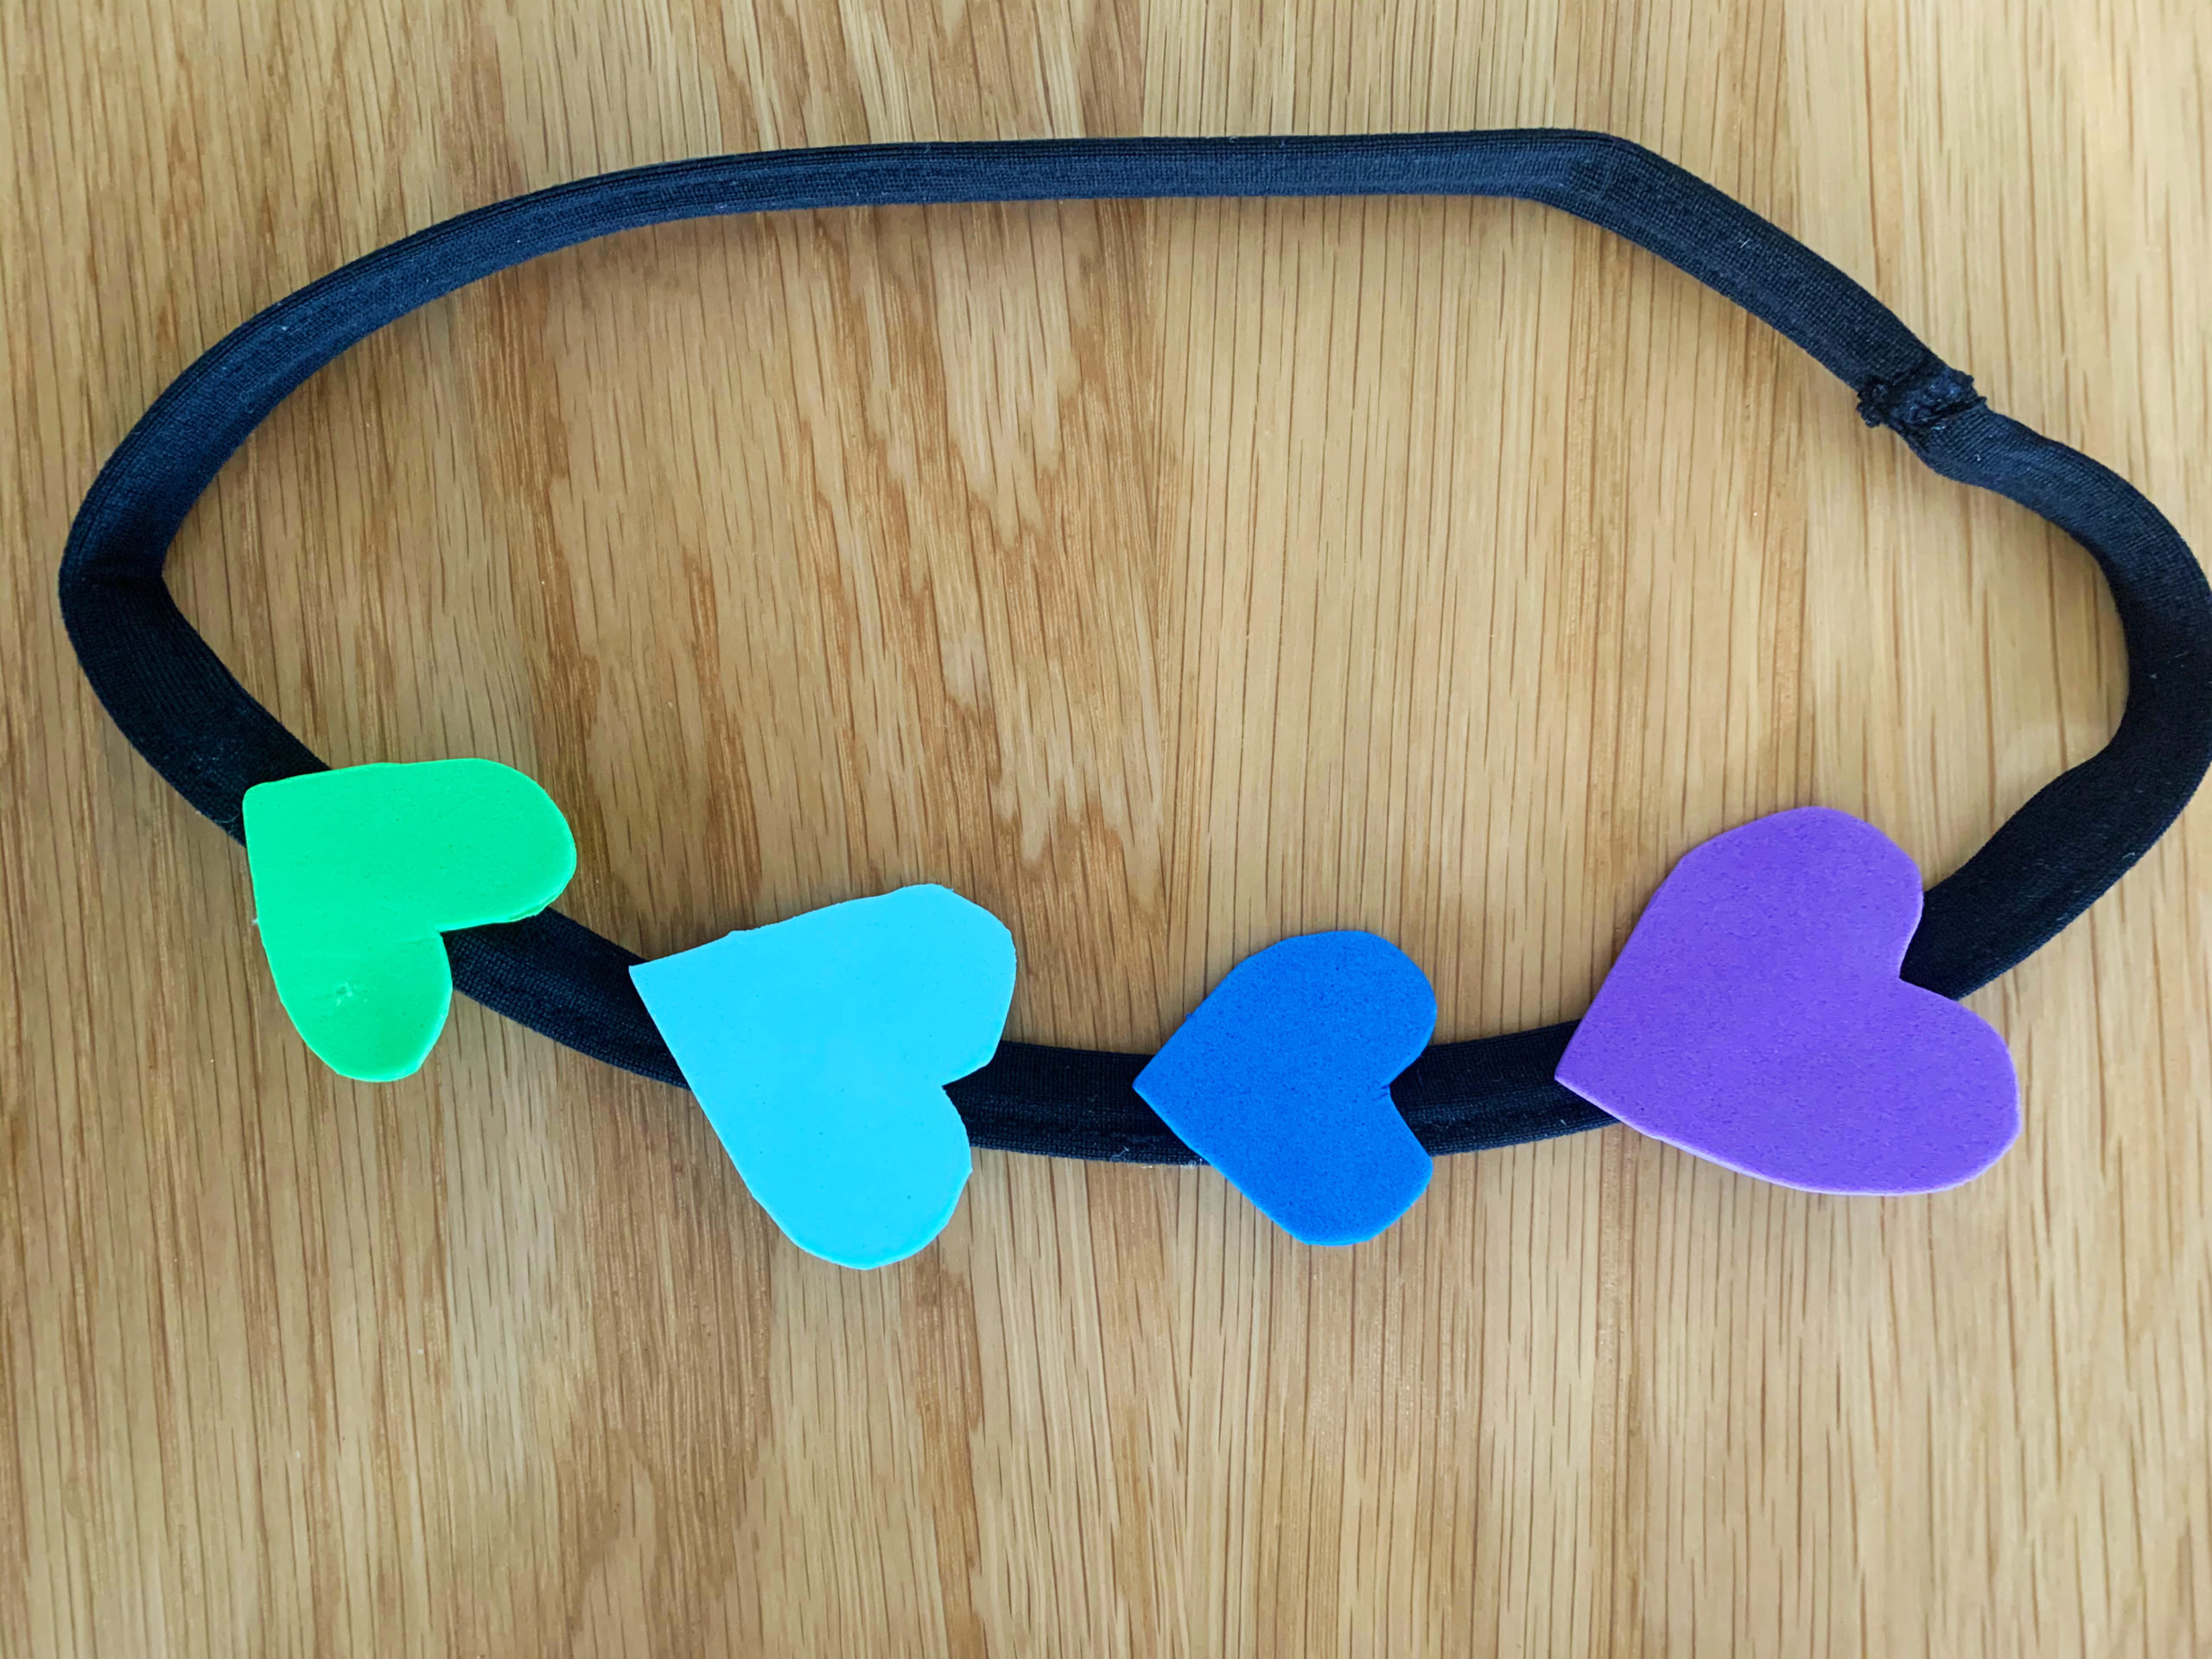
While this DIY book craft is joyously simple, you can get as creative as you want in making beautiful embellishments. But we love that even with just a few buttons, you can turn out a super-cute bookmark to save a page in your next book. With all our bookmark crafts, there is no excuse to fold down a corner!
Check out our other bookmarks and let us know which is your favorite: Bookmarks for Kids, Chucky Tassel Bookmark, Fruit Slice Corner Bookmarks, Cute Cat Bookmarks.
By Chrysta Naron
If you’ve ever sat with a beginning reader, you’ll notice that knowing letter sounds doesn’t magically jump straight to reading words fluently. Learning how to blend those sounds into a word is your child’s next step to literacy. However, it can be tricky to demonstrate without just doing it for them. With this word slide, your child will learn this key reading skill and be able to control the speed at which they read.
This simple activity is a great tool to teach reading. It’s something that you can make relatively quickly and with items you probably already have around the house. It has the added eco-friendly benefit that you can use it over and over again. (Always a plus in my book.) As a teacher, using these as a small-group activity gives children agency and the added skill of learning to help each other, a great chance for some social-emotional learning. This can be an awesome sibling bonding opportunity!
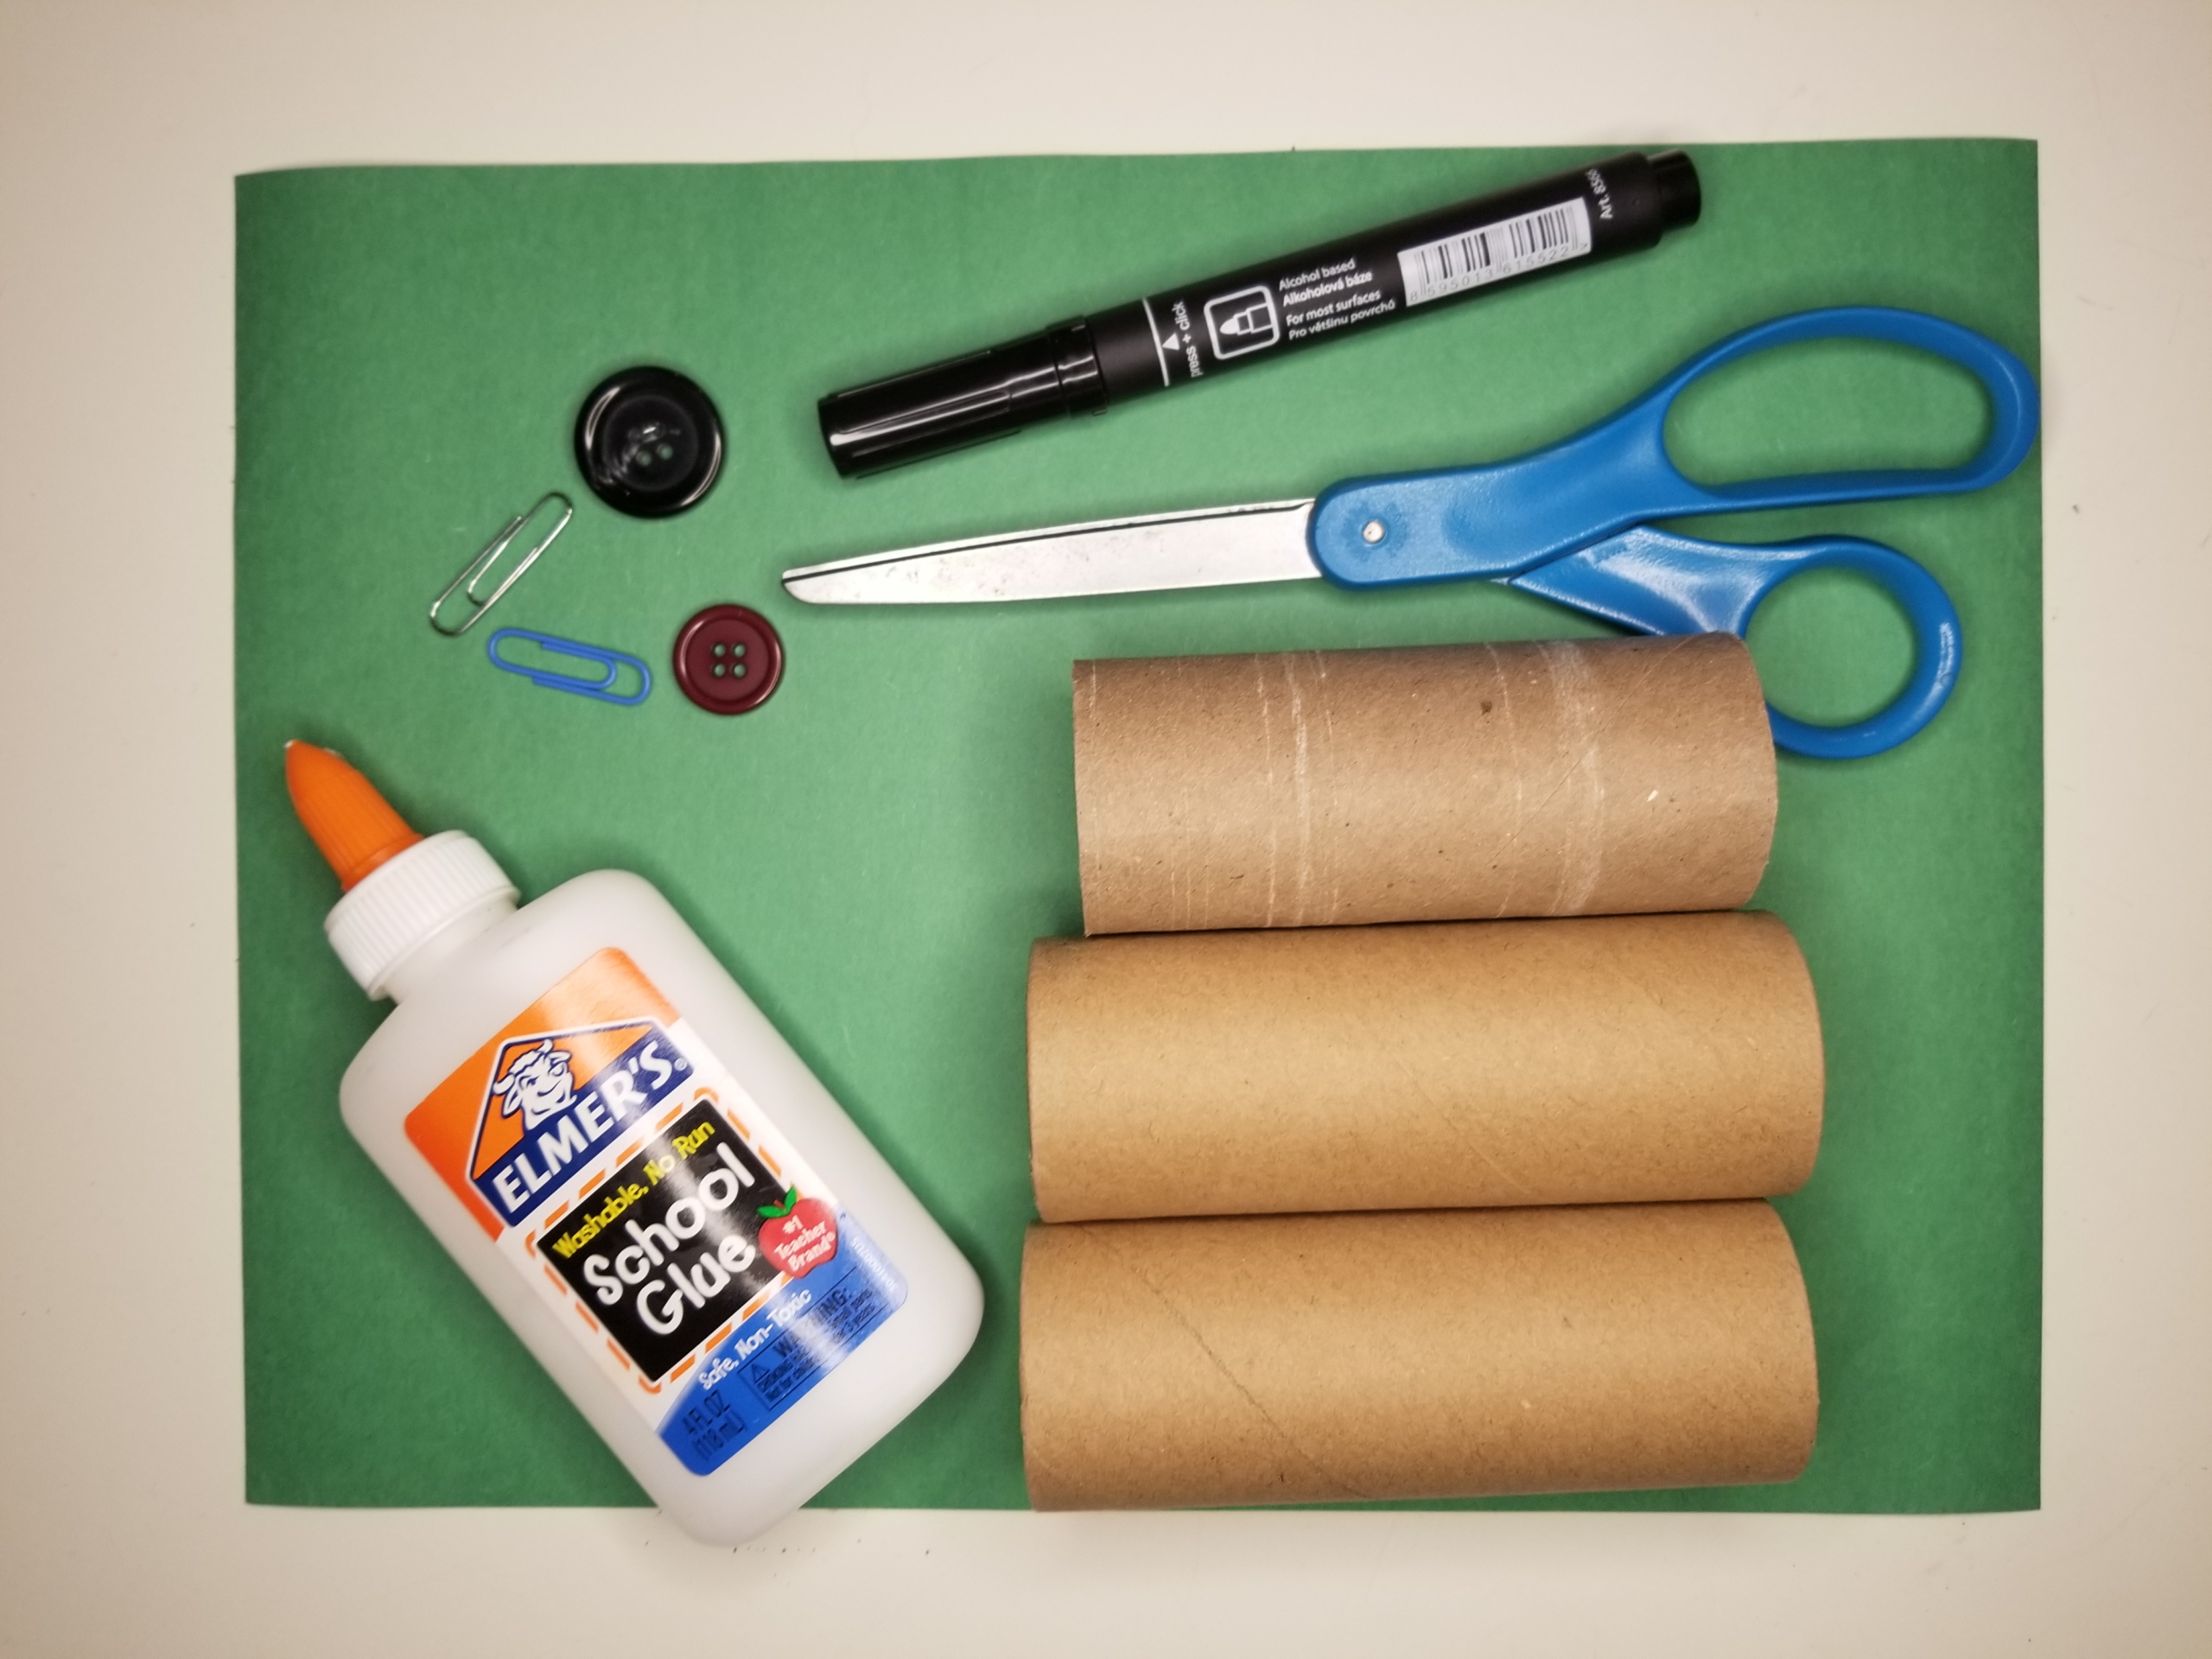
Materials Needed:
- 3 paper towel tubes
- Paper
- Marker
- Glue
- Scissors
- Buttons
- Paper clips
Cost: Free if you already own the materials!
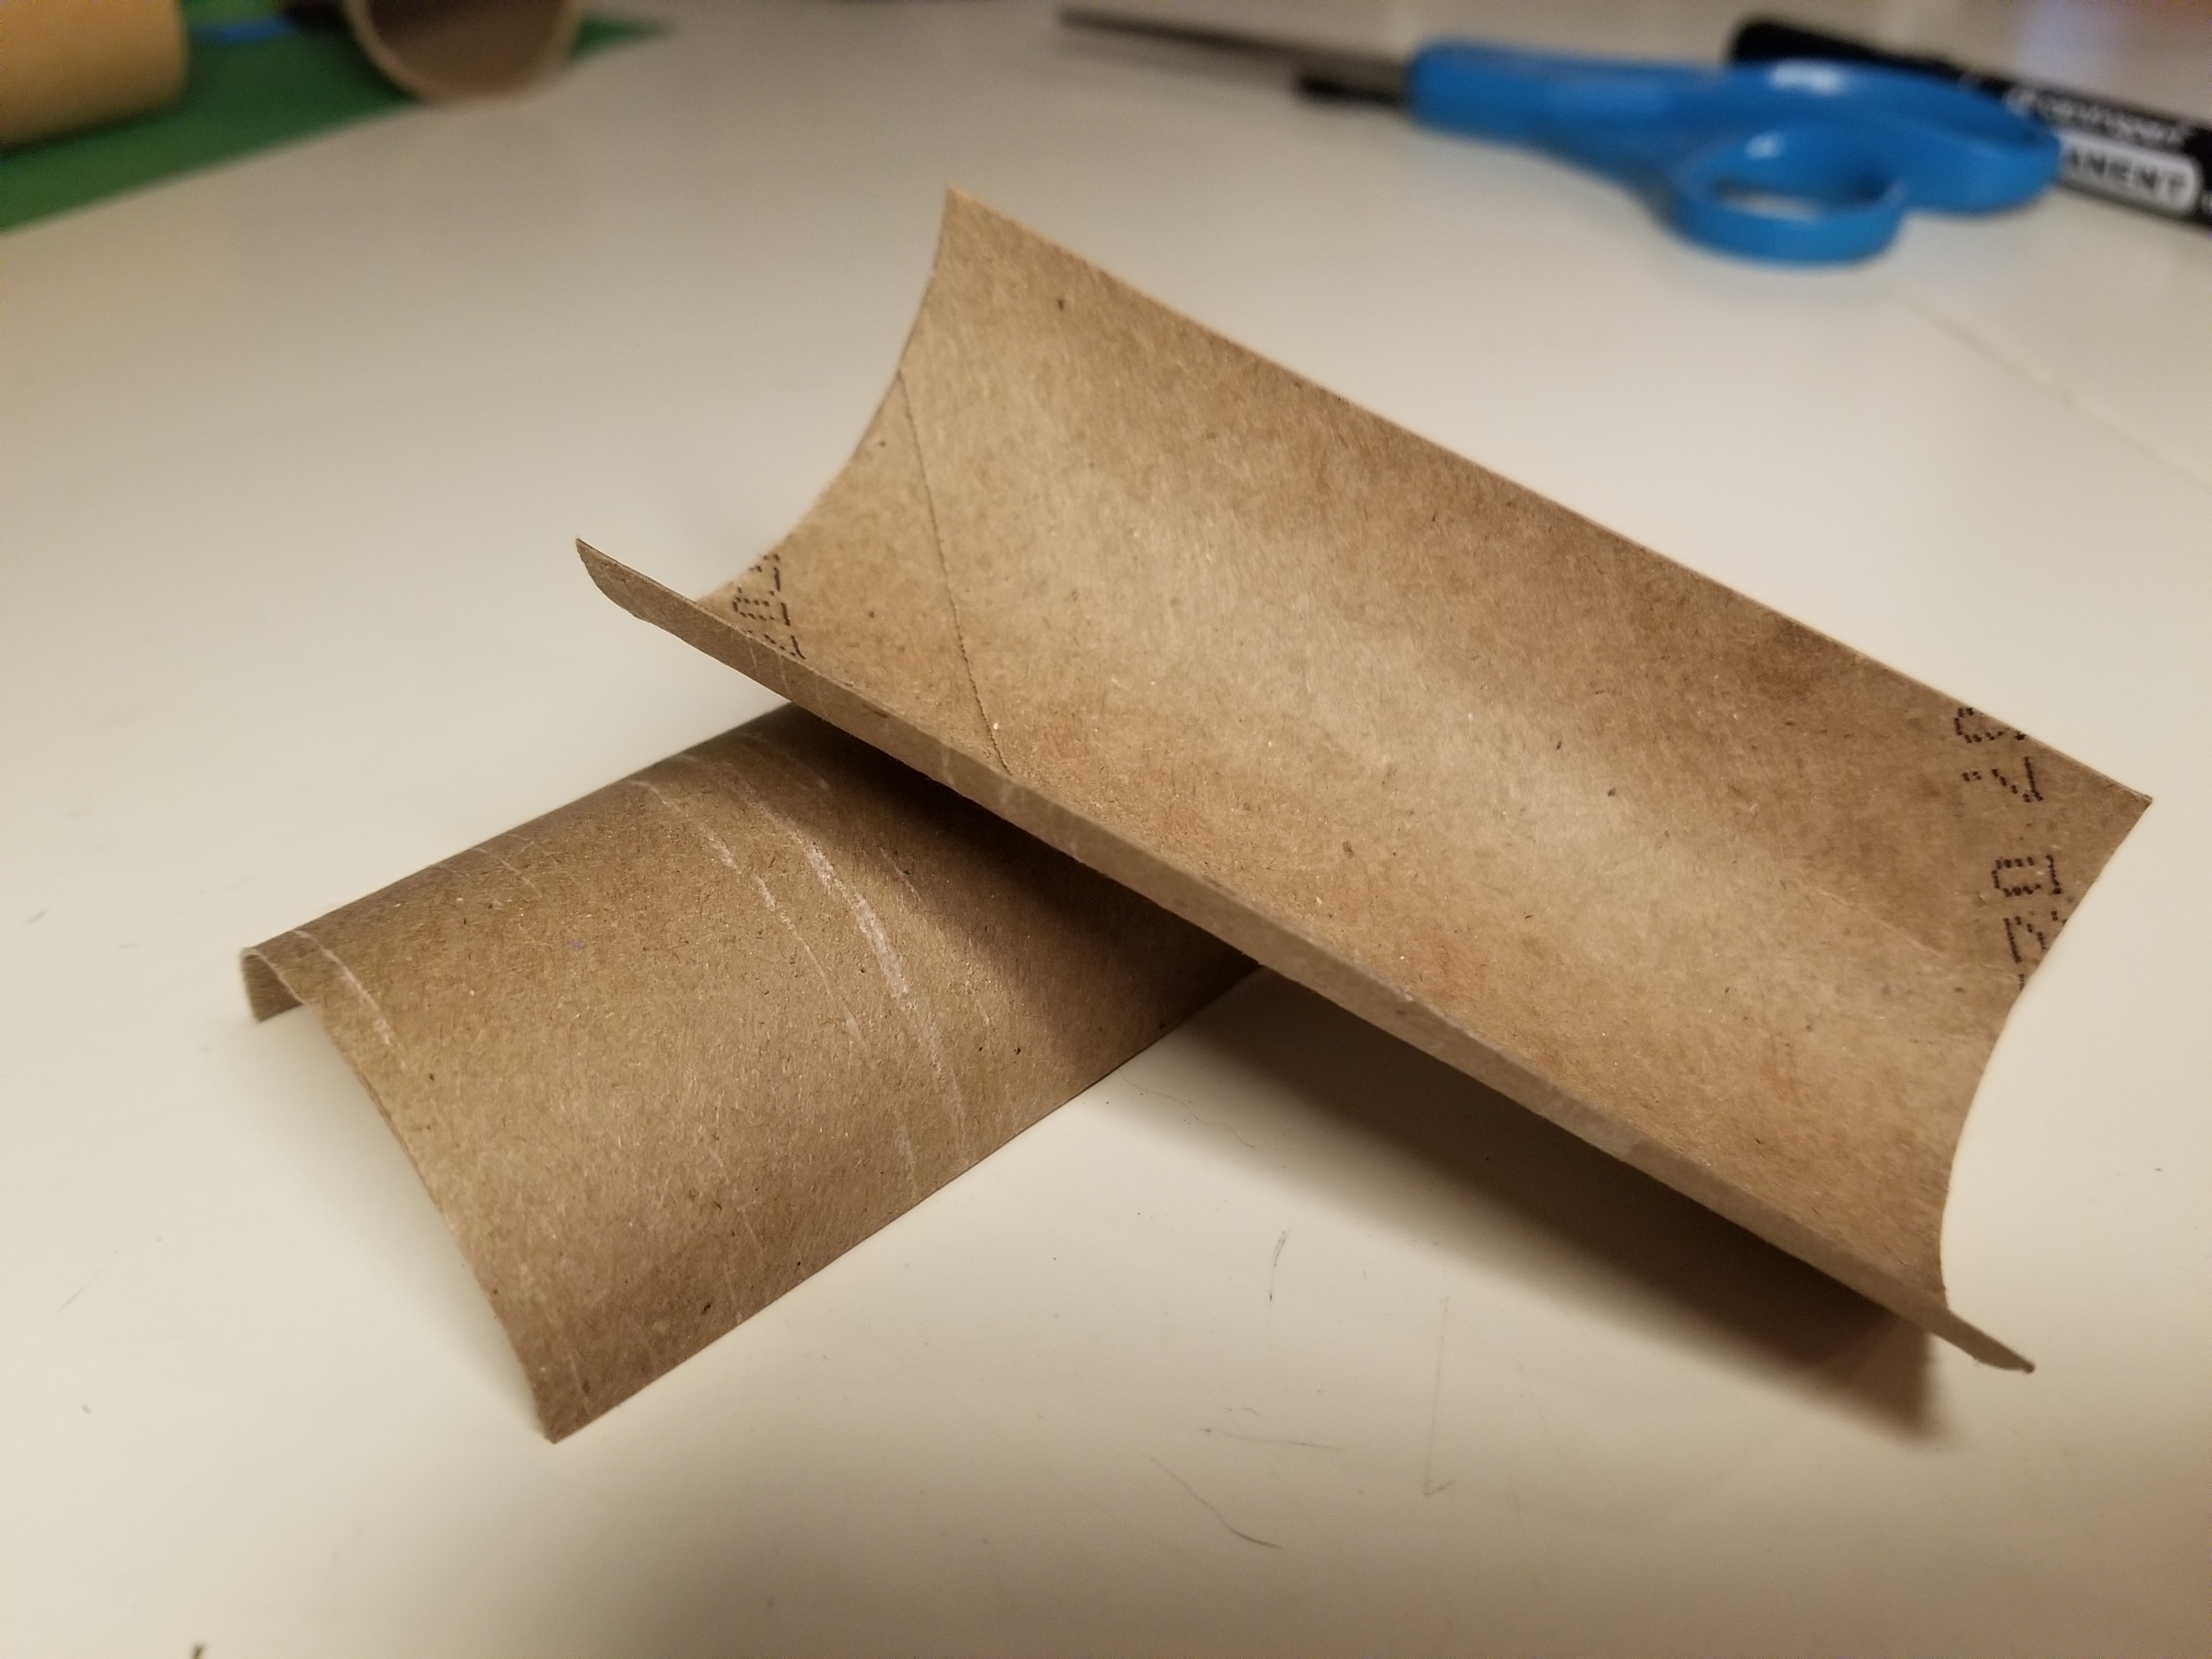
Step 1: Cut the paper towel tubes in half lengthwise, so each tube creates two arches. These are now your “slides.” Keep five for use today and save the sixth for another day.
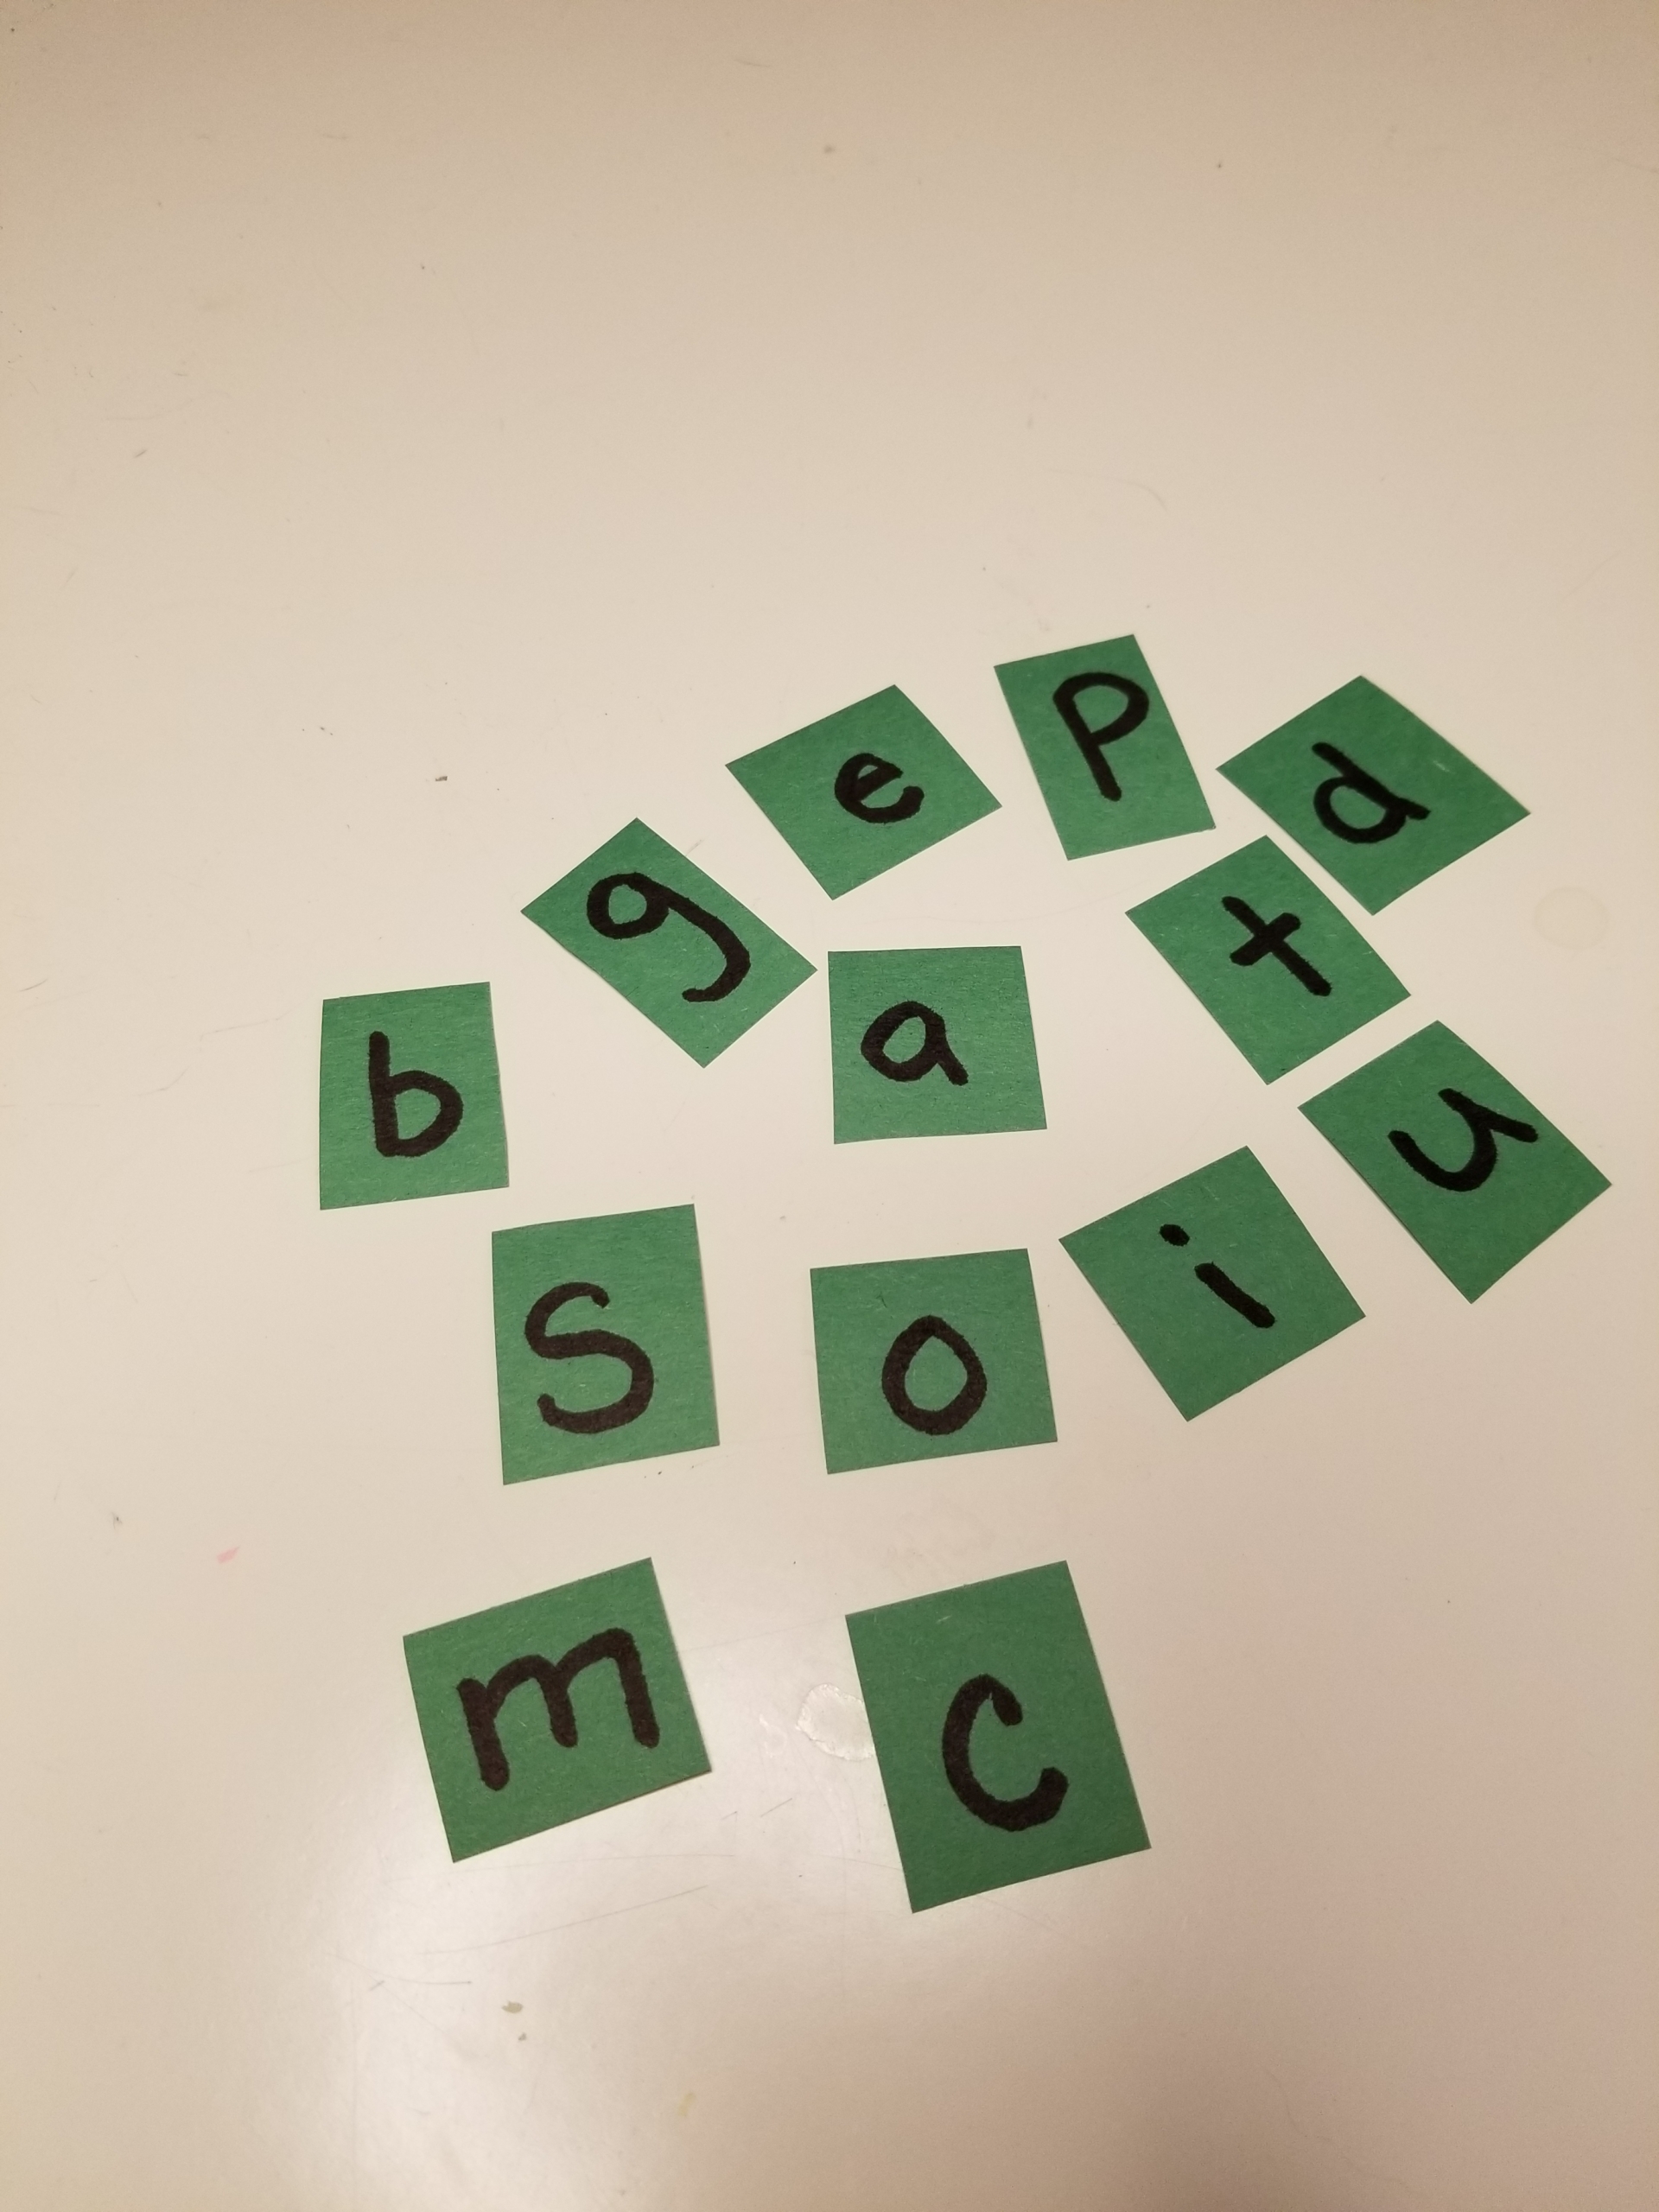
Step 2: On the paper, write a variety of letters, making sure to include all five vowels. You might want to write some letters twice, so you can make words like dad, mom, or pop. Cut out the letters onto little squares.
Step 3: Glue a vowel into the middle of each slide. Make sure to do it on the inside of the tube. Otherwise there will be a lot of falling and no sliding!
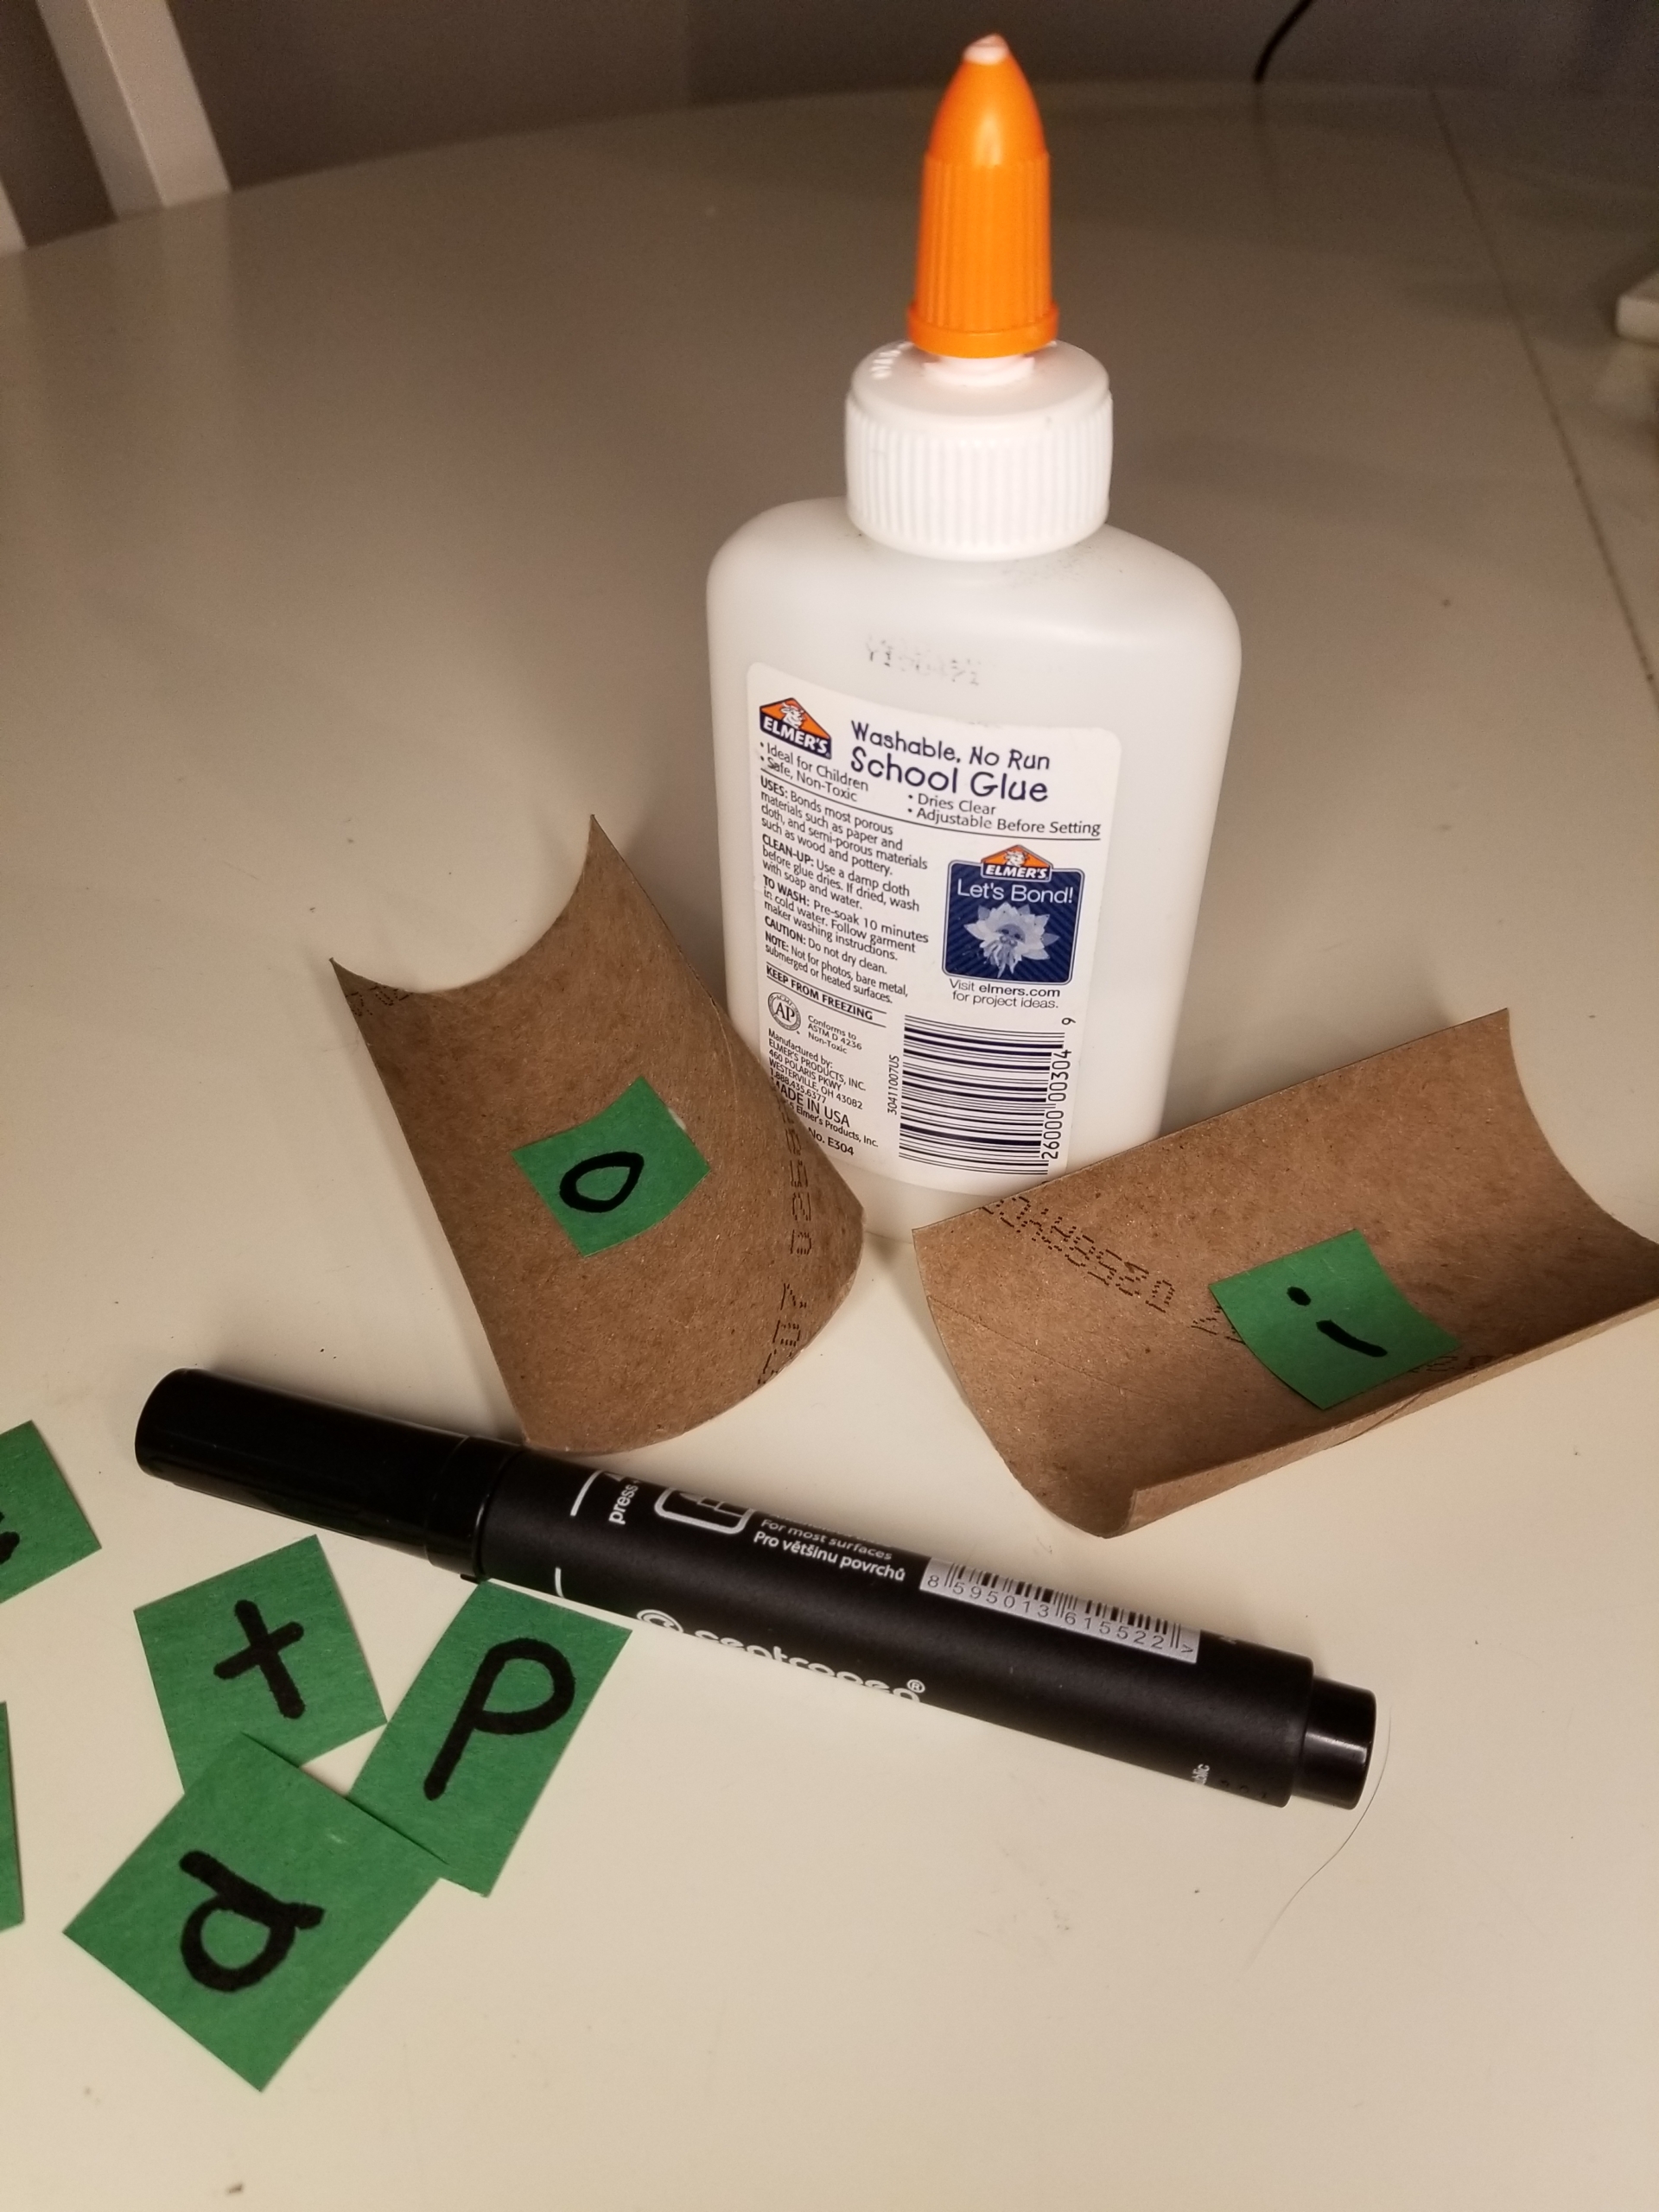
Step 4: Choose a letter to put on either side of the vowel, to make a word. For example, on your slide with the letter O, you might add the letters P and T to make the word pot. For the letter A, you might choose S and T to make sat.
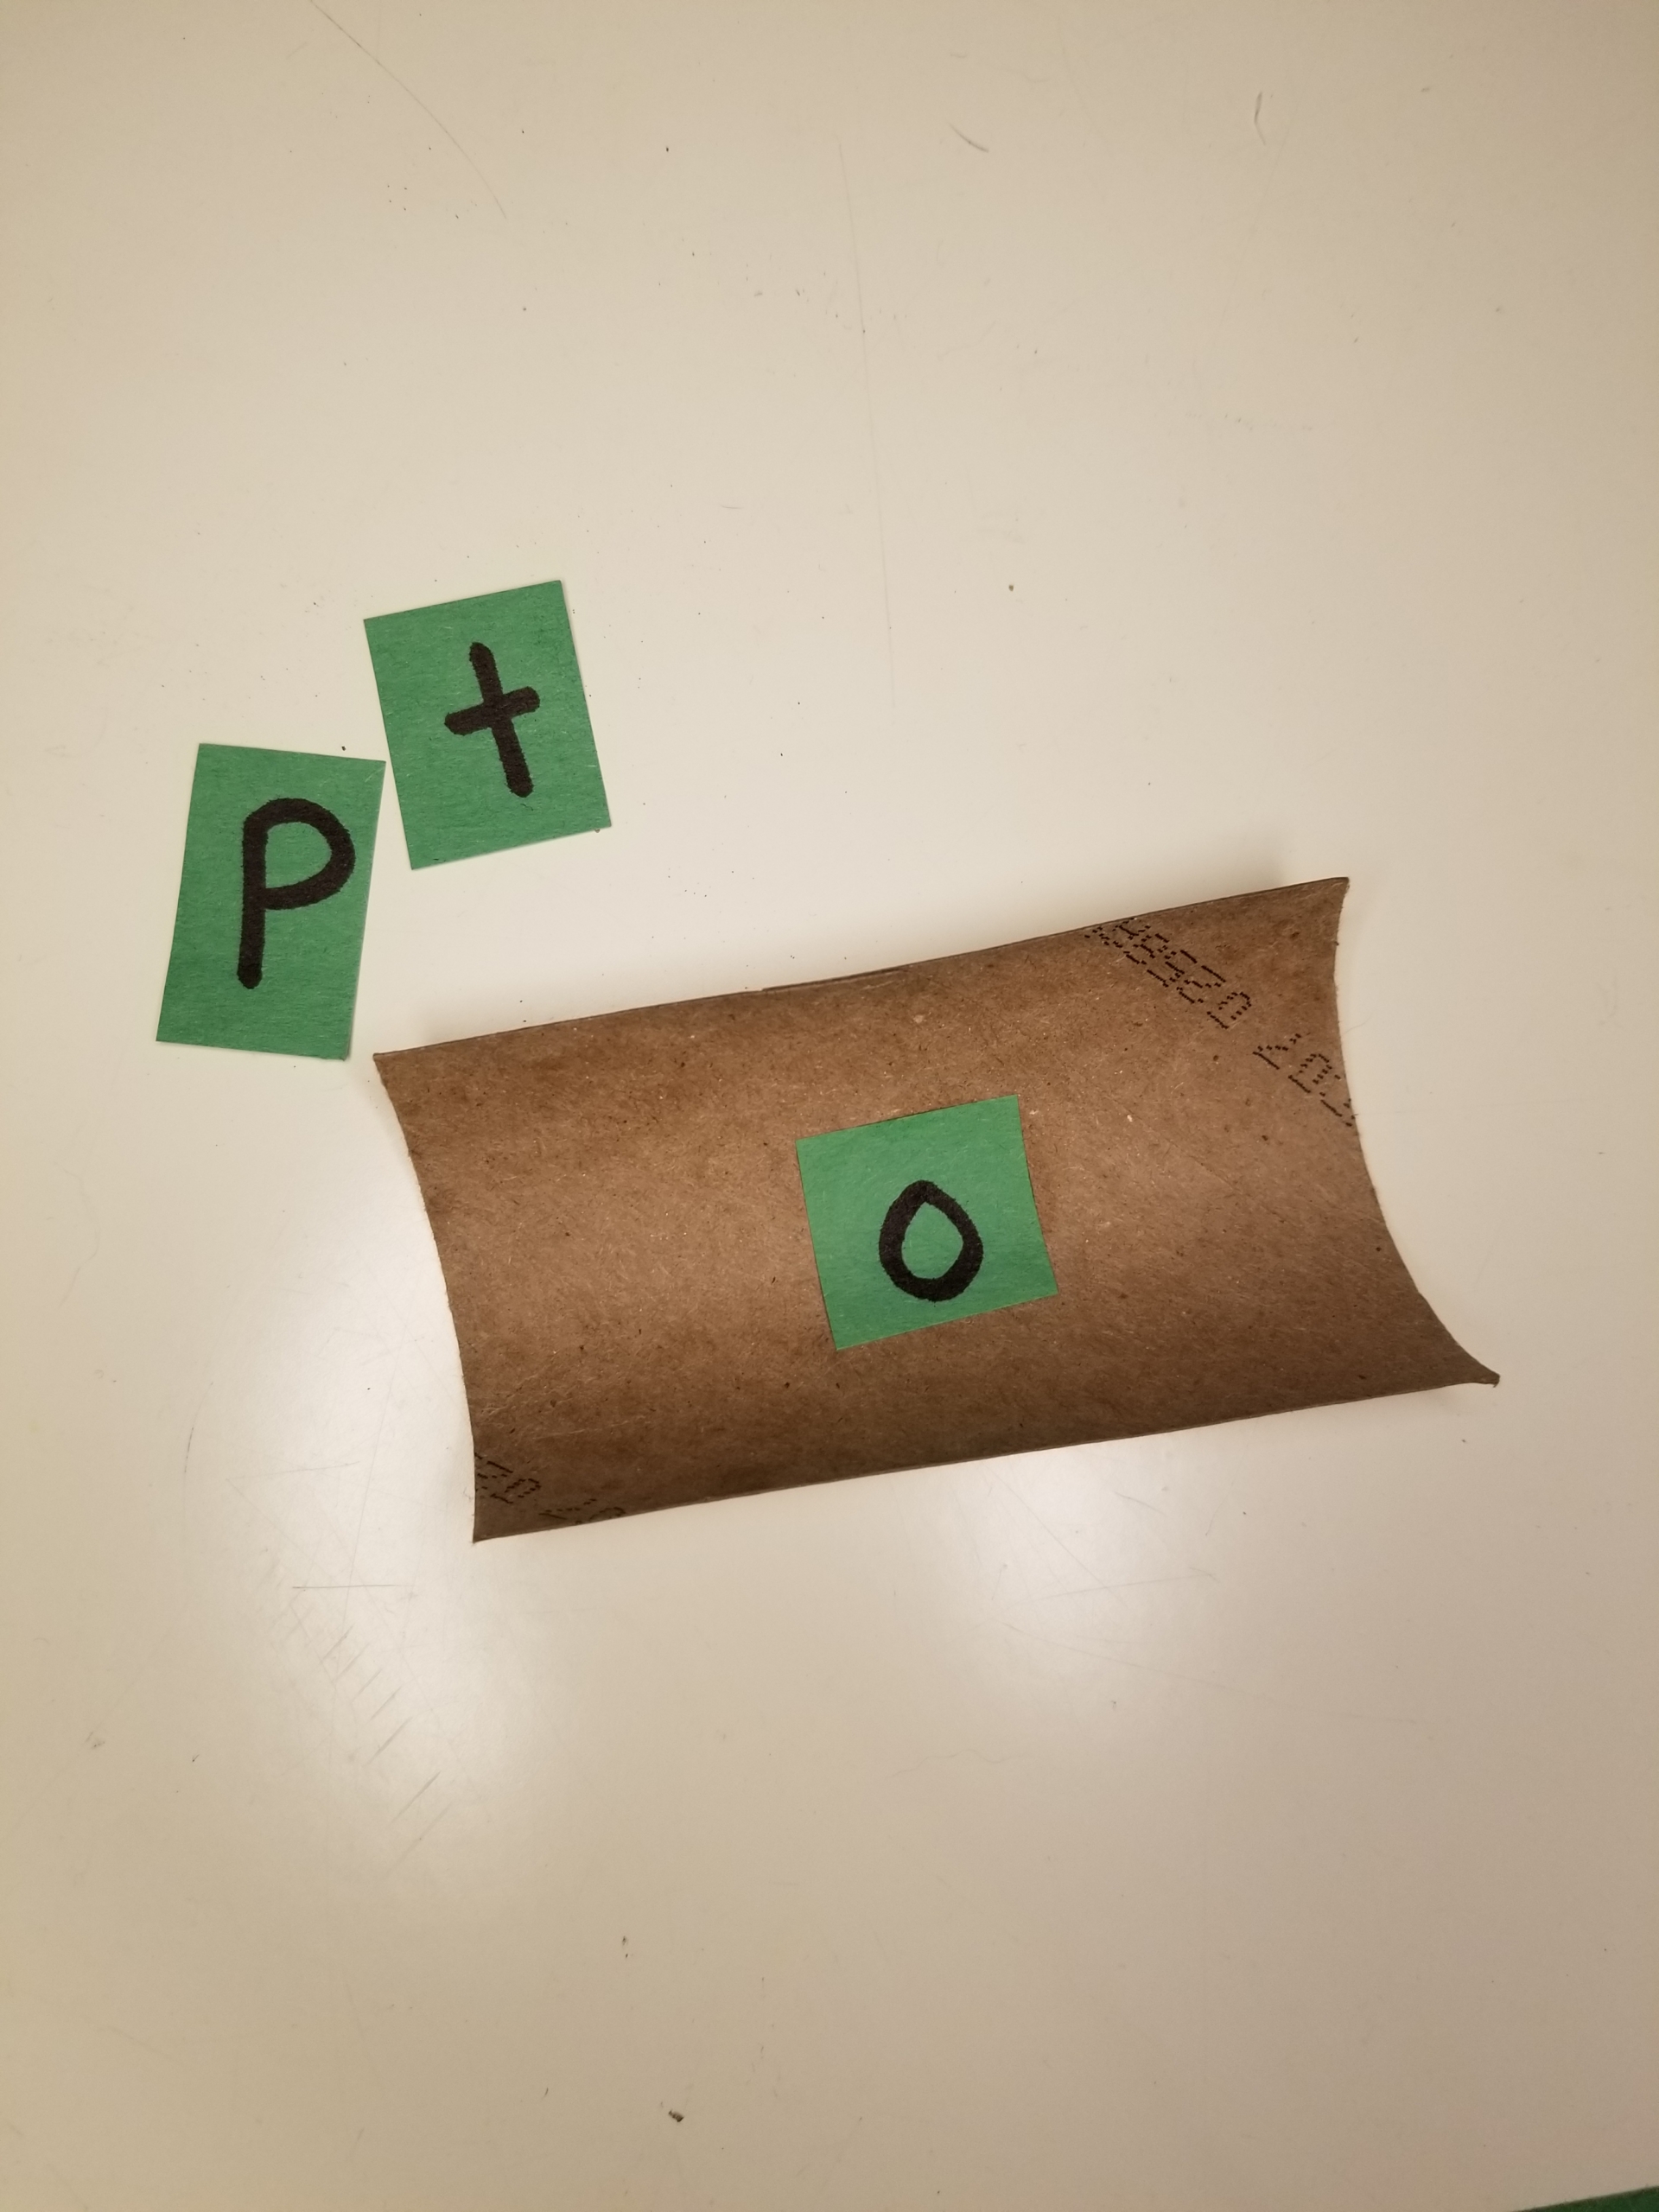
Step 5: Next, attach the outer letters with paper clips on each end of the slide.
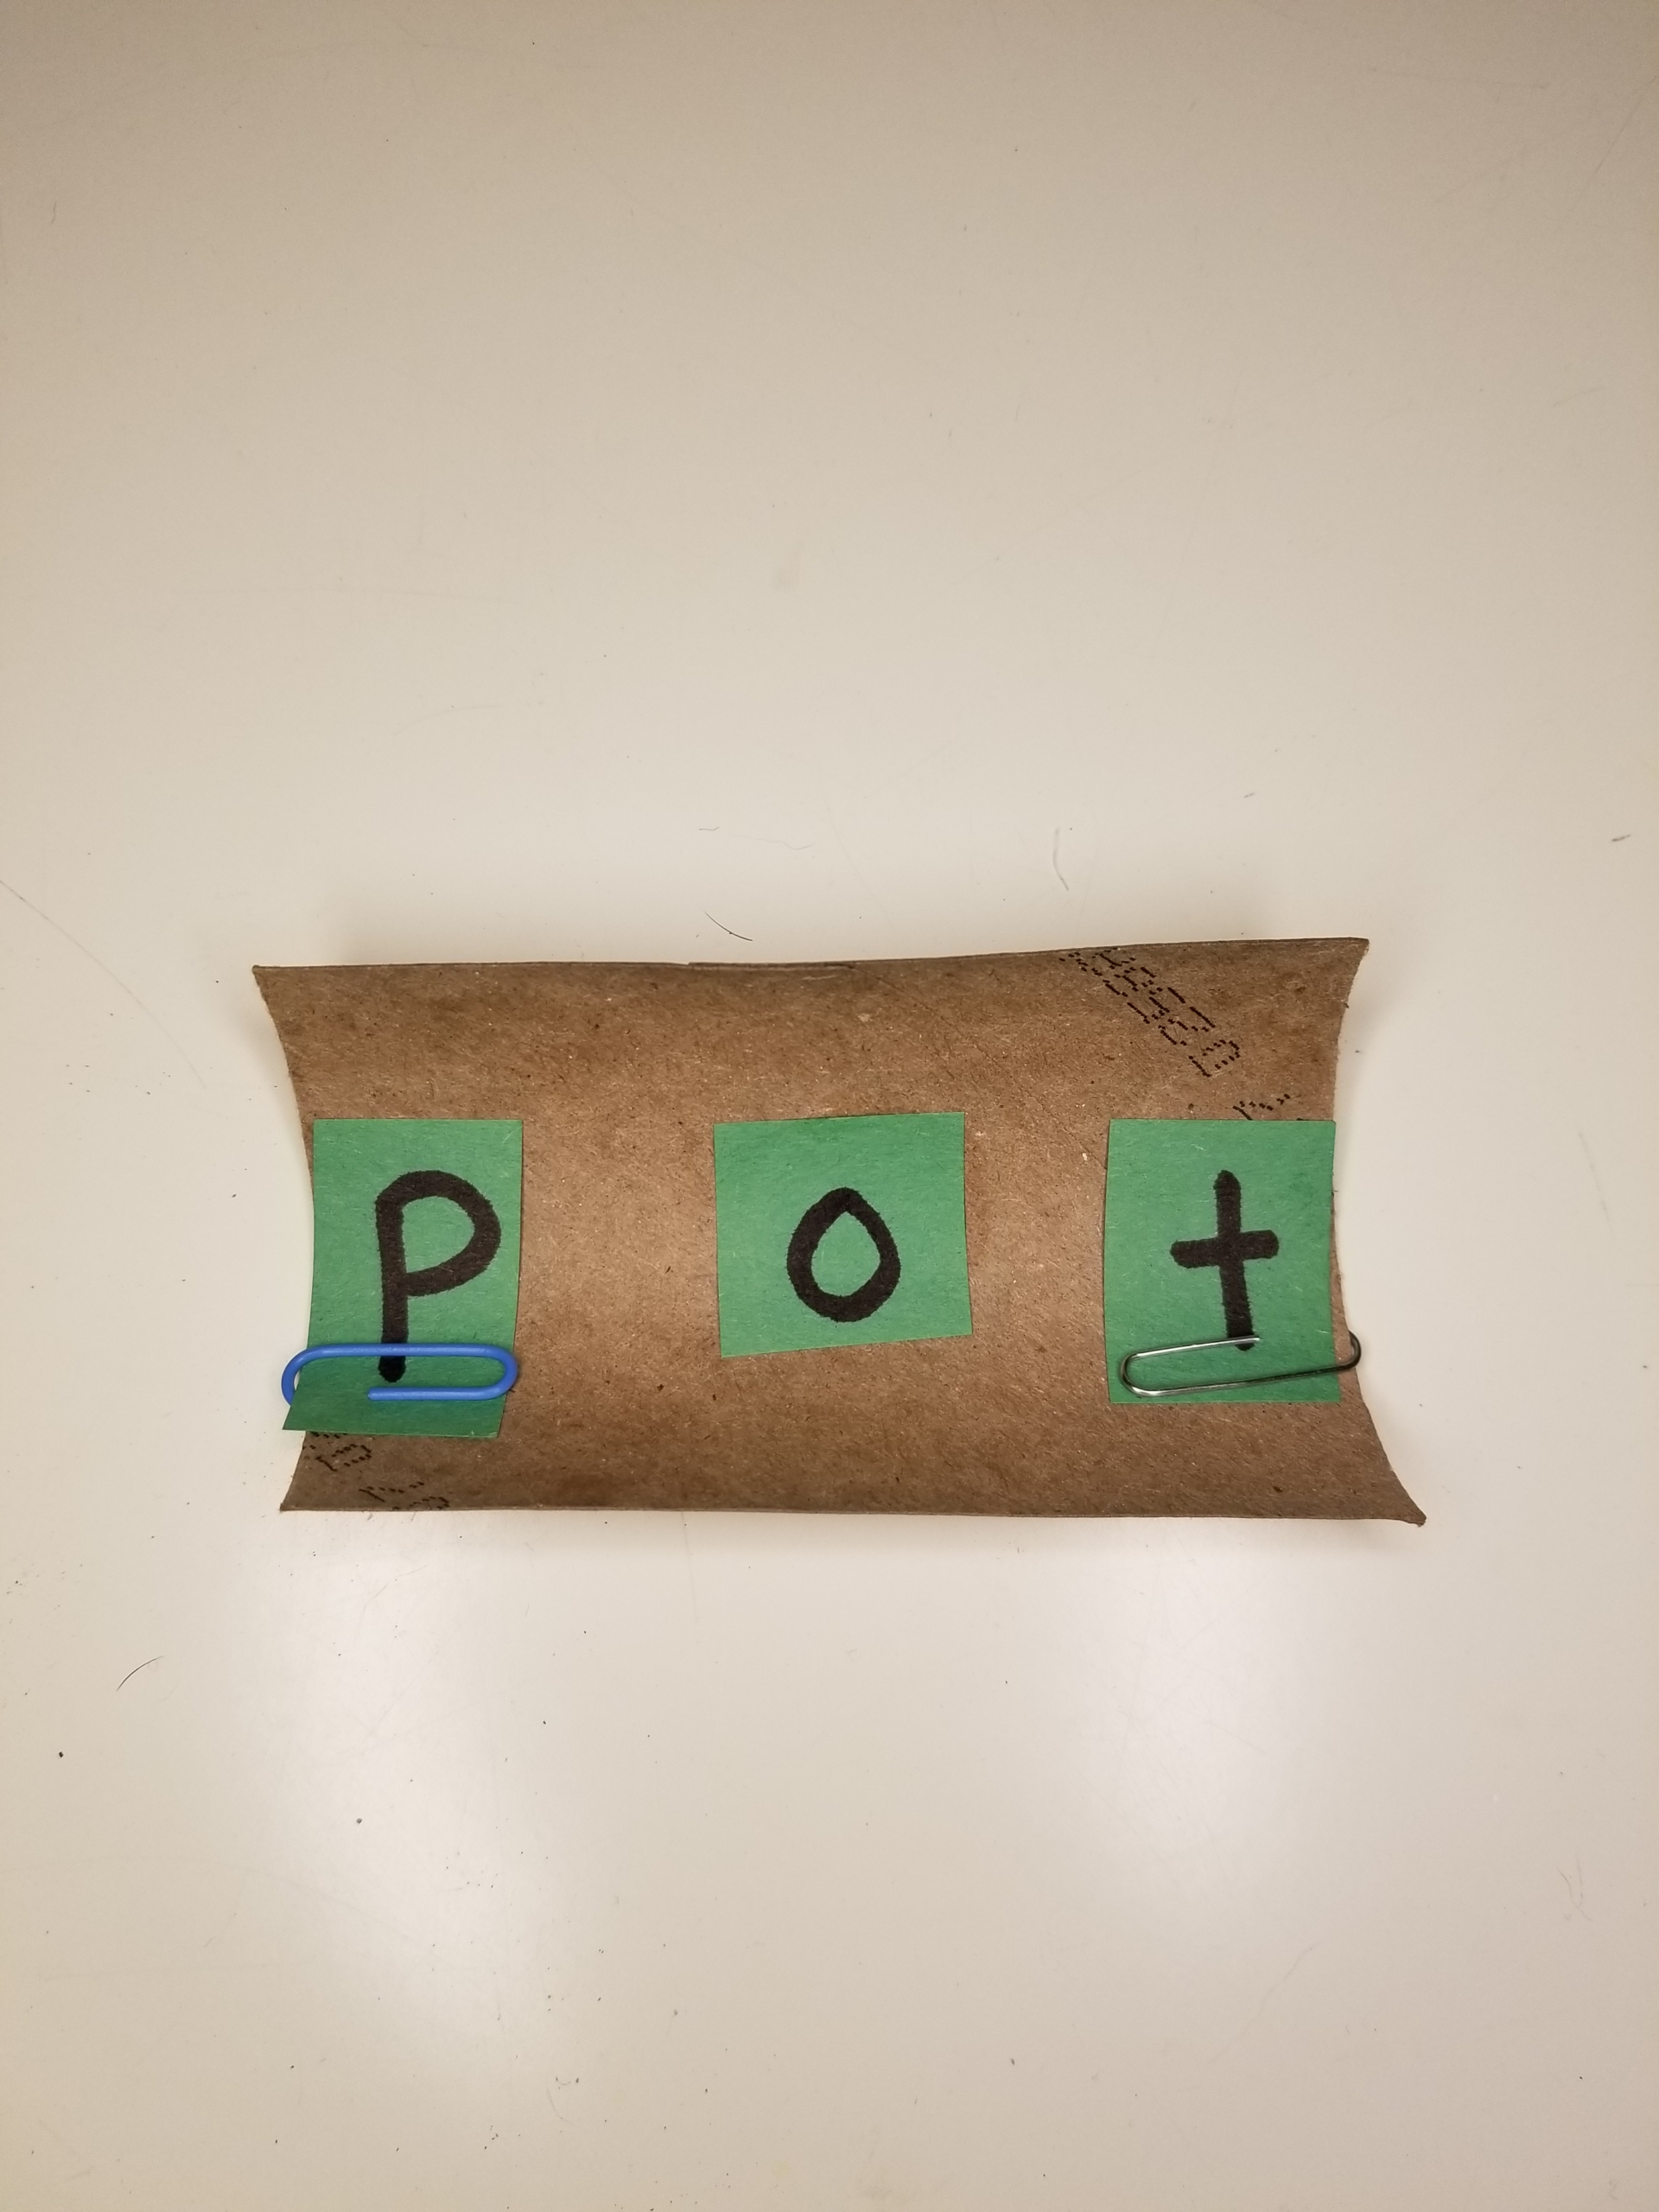
Step 6: Sit with your child and help them say each sound on the slide individually.
Step 7: Hold the slide flat and put the counter next to the first letter. Slightly tilt the tube so the counter slides down. Say the letter sounds as the counter slides along each letter. Now, let your child take over and slide again, then again a little faster—sliding the sounds faster and faster until they form a complete word!
Tip: If you don’t have buttons, you can use other small, smooth items like pennies, counters, or checkers. I would avoid round beads, as it is difficult to control the speed at which they slide.
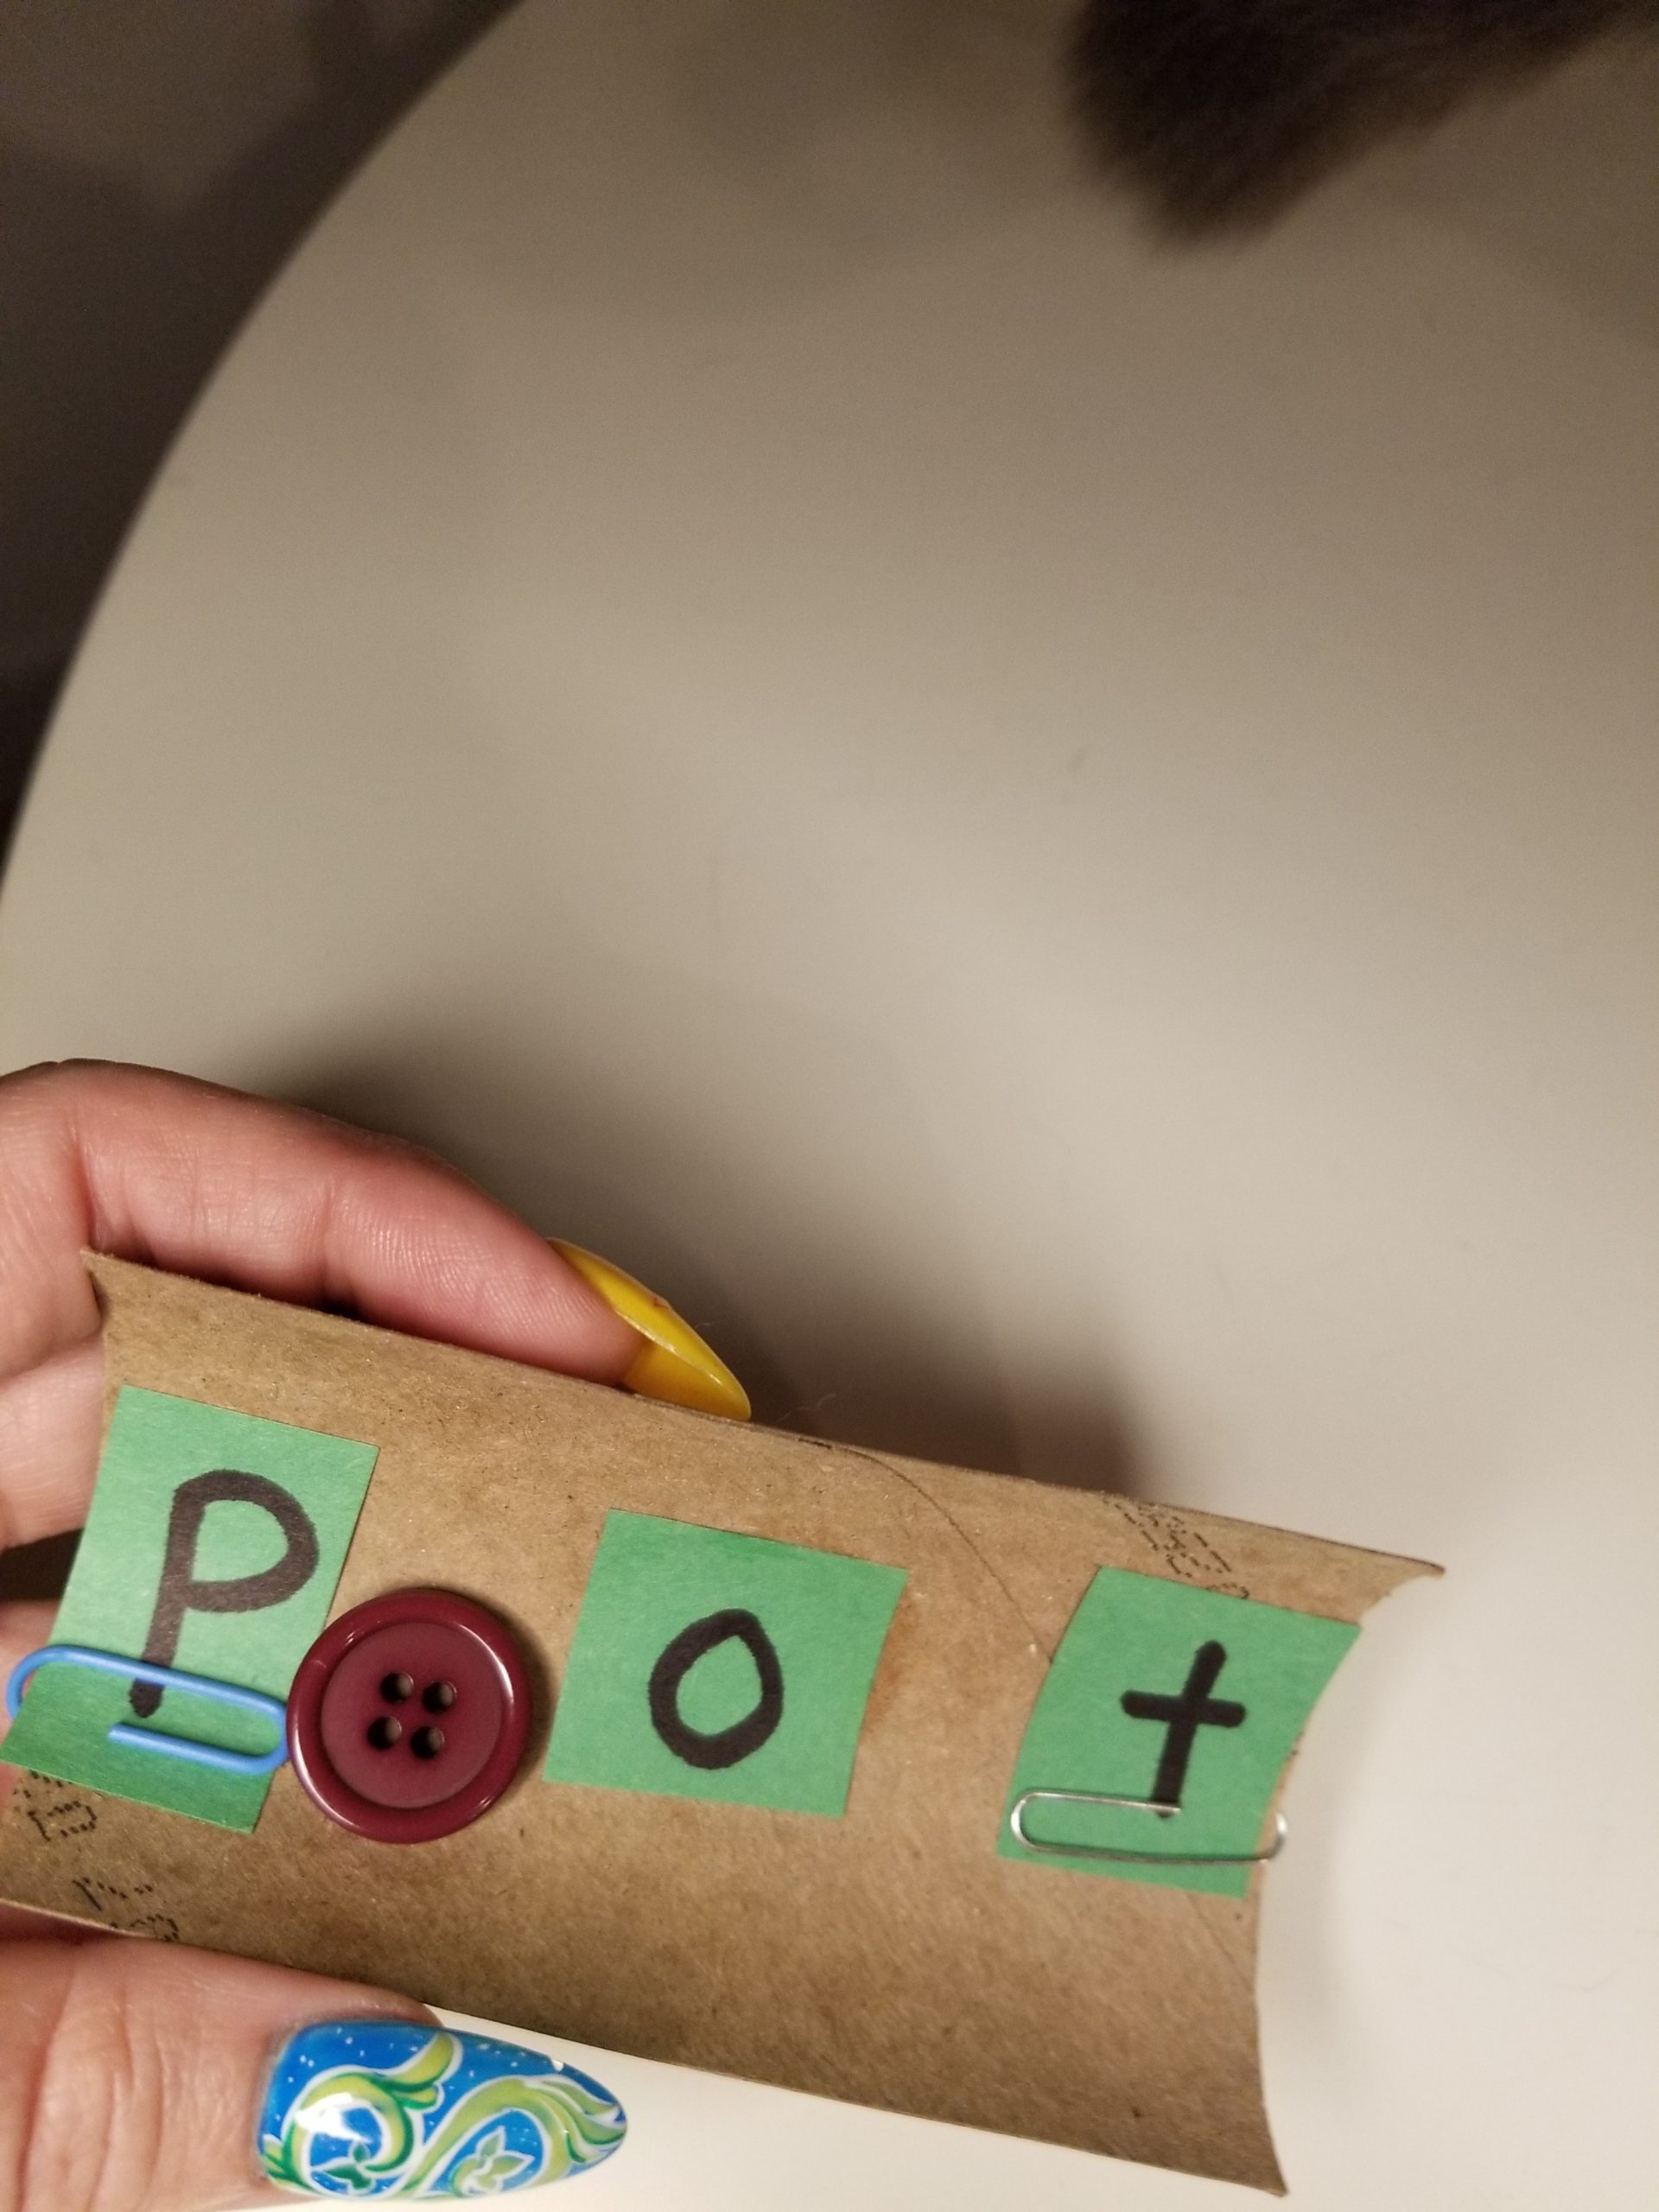
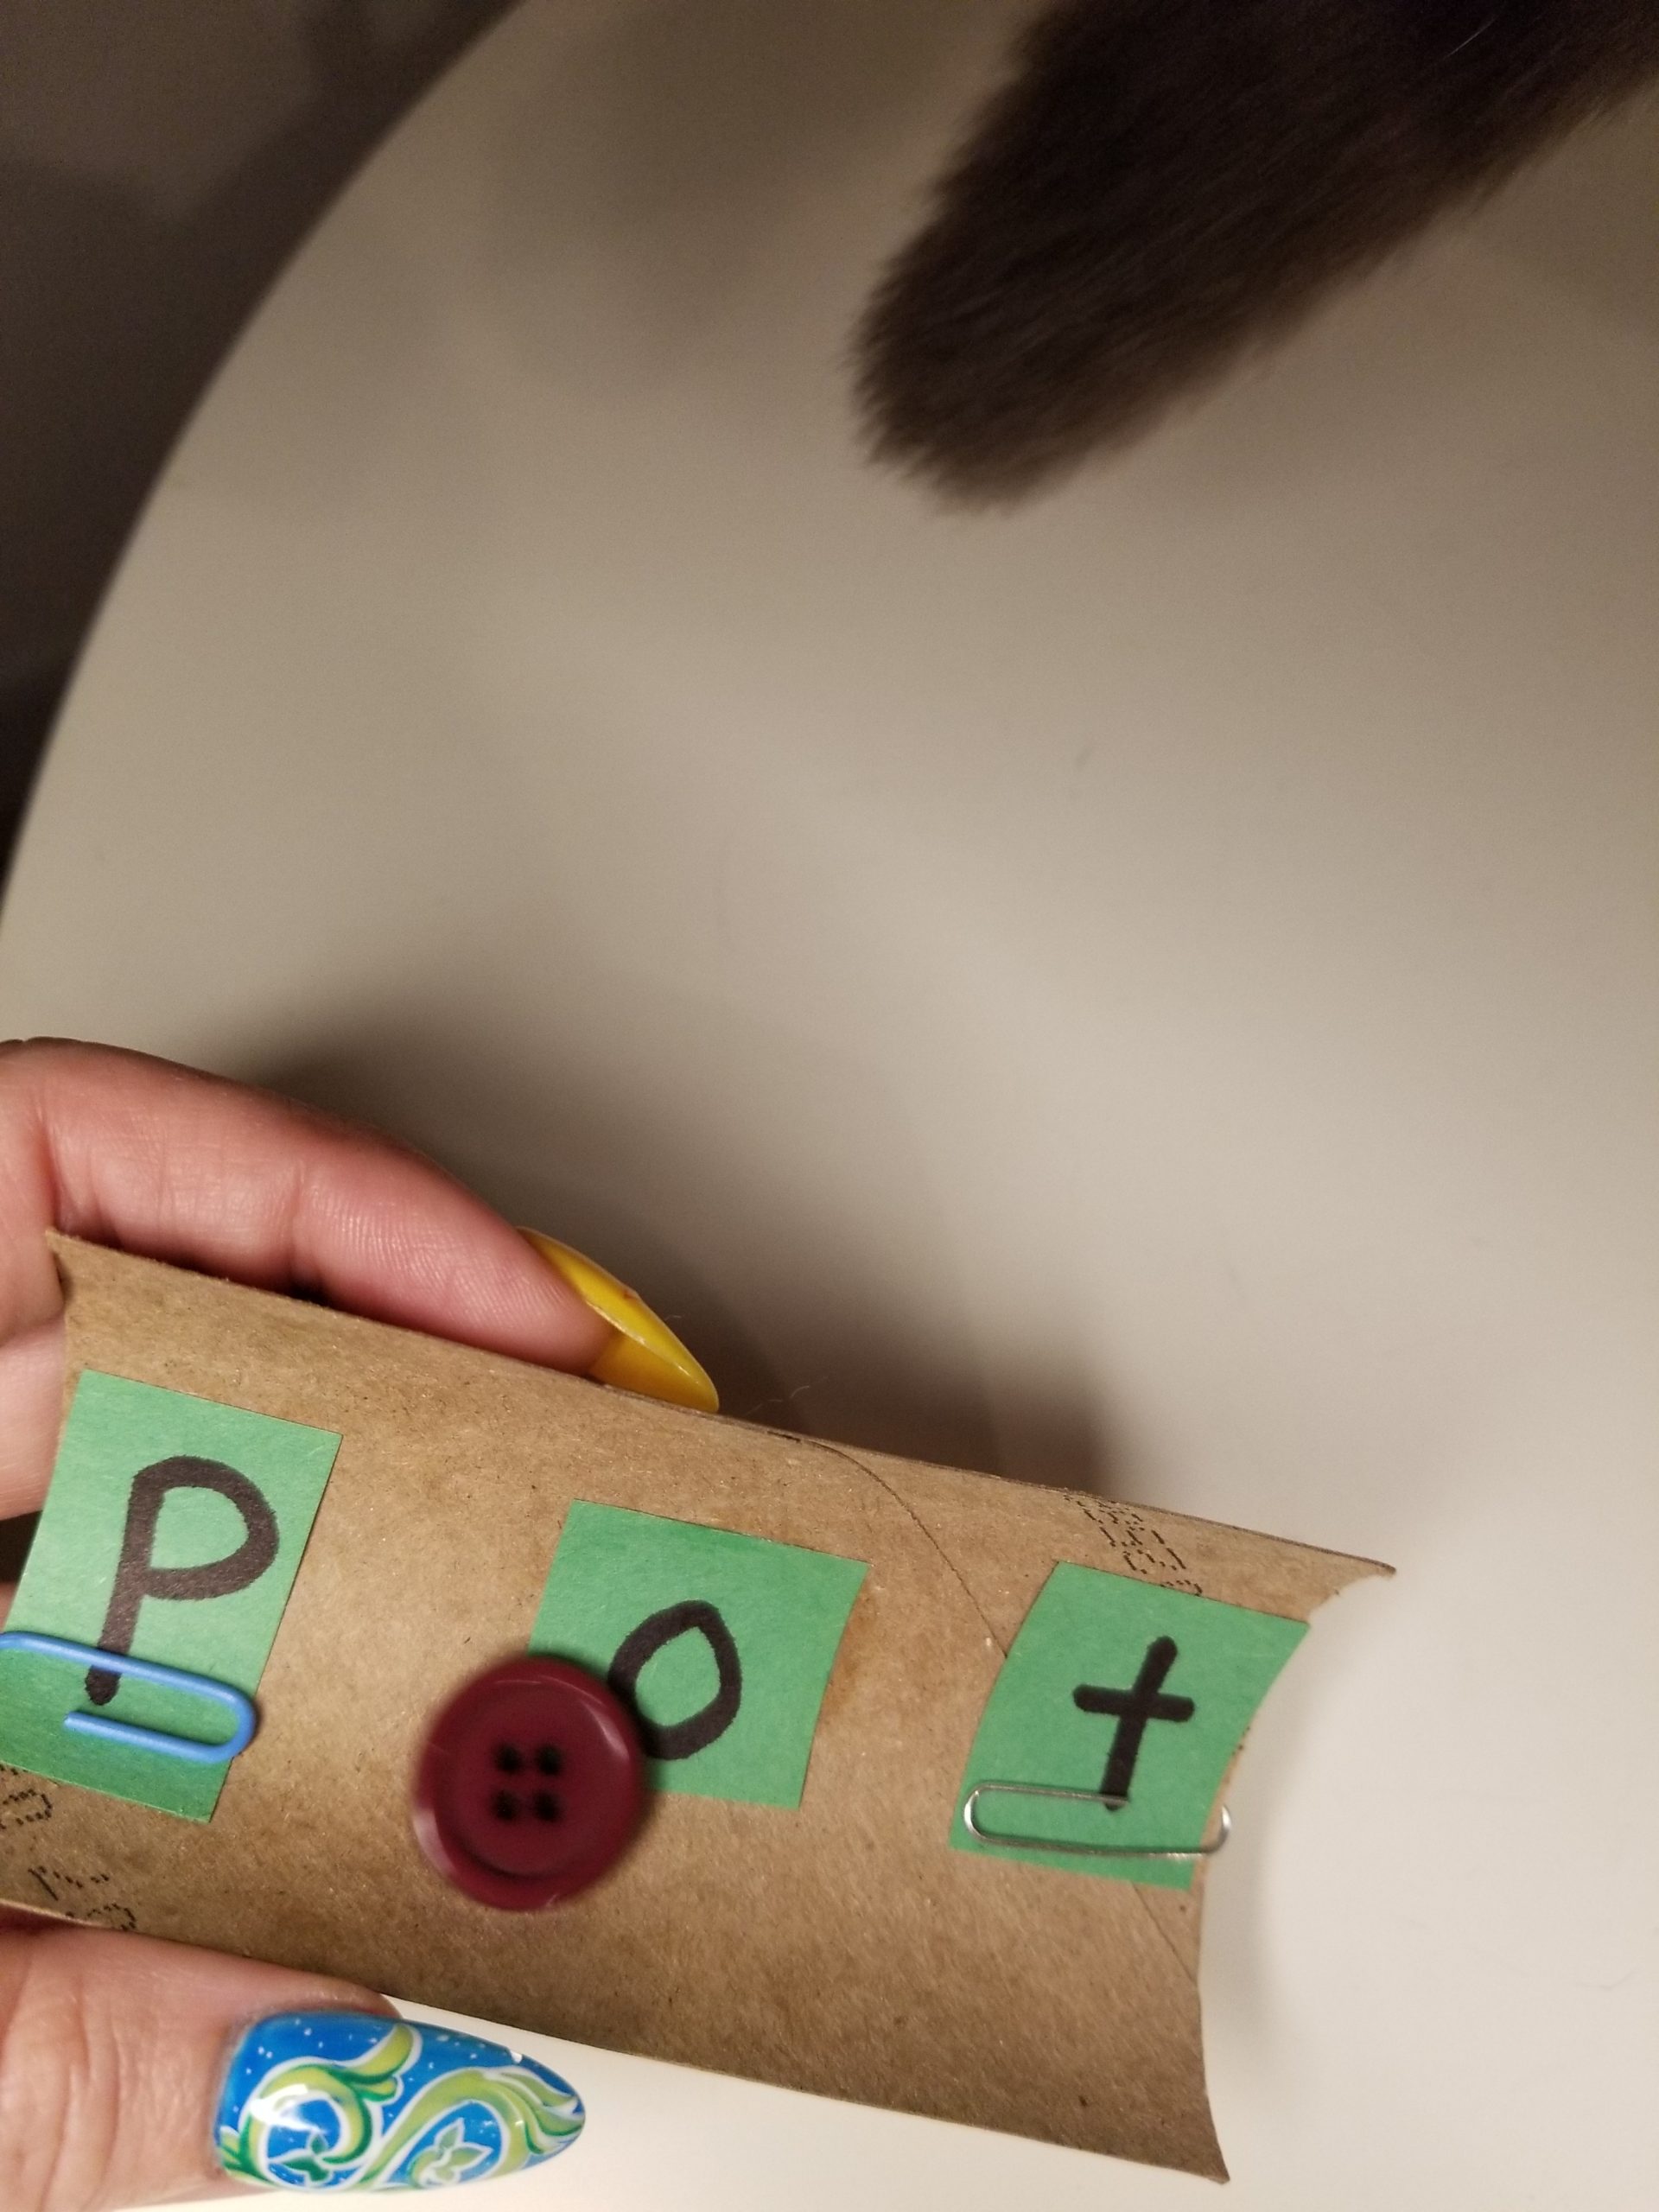
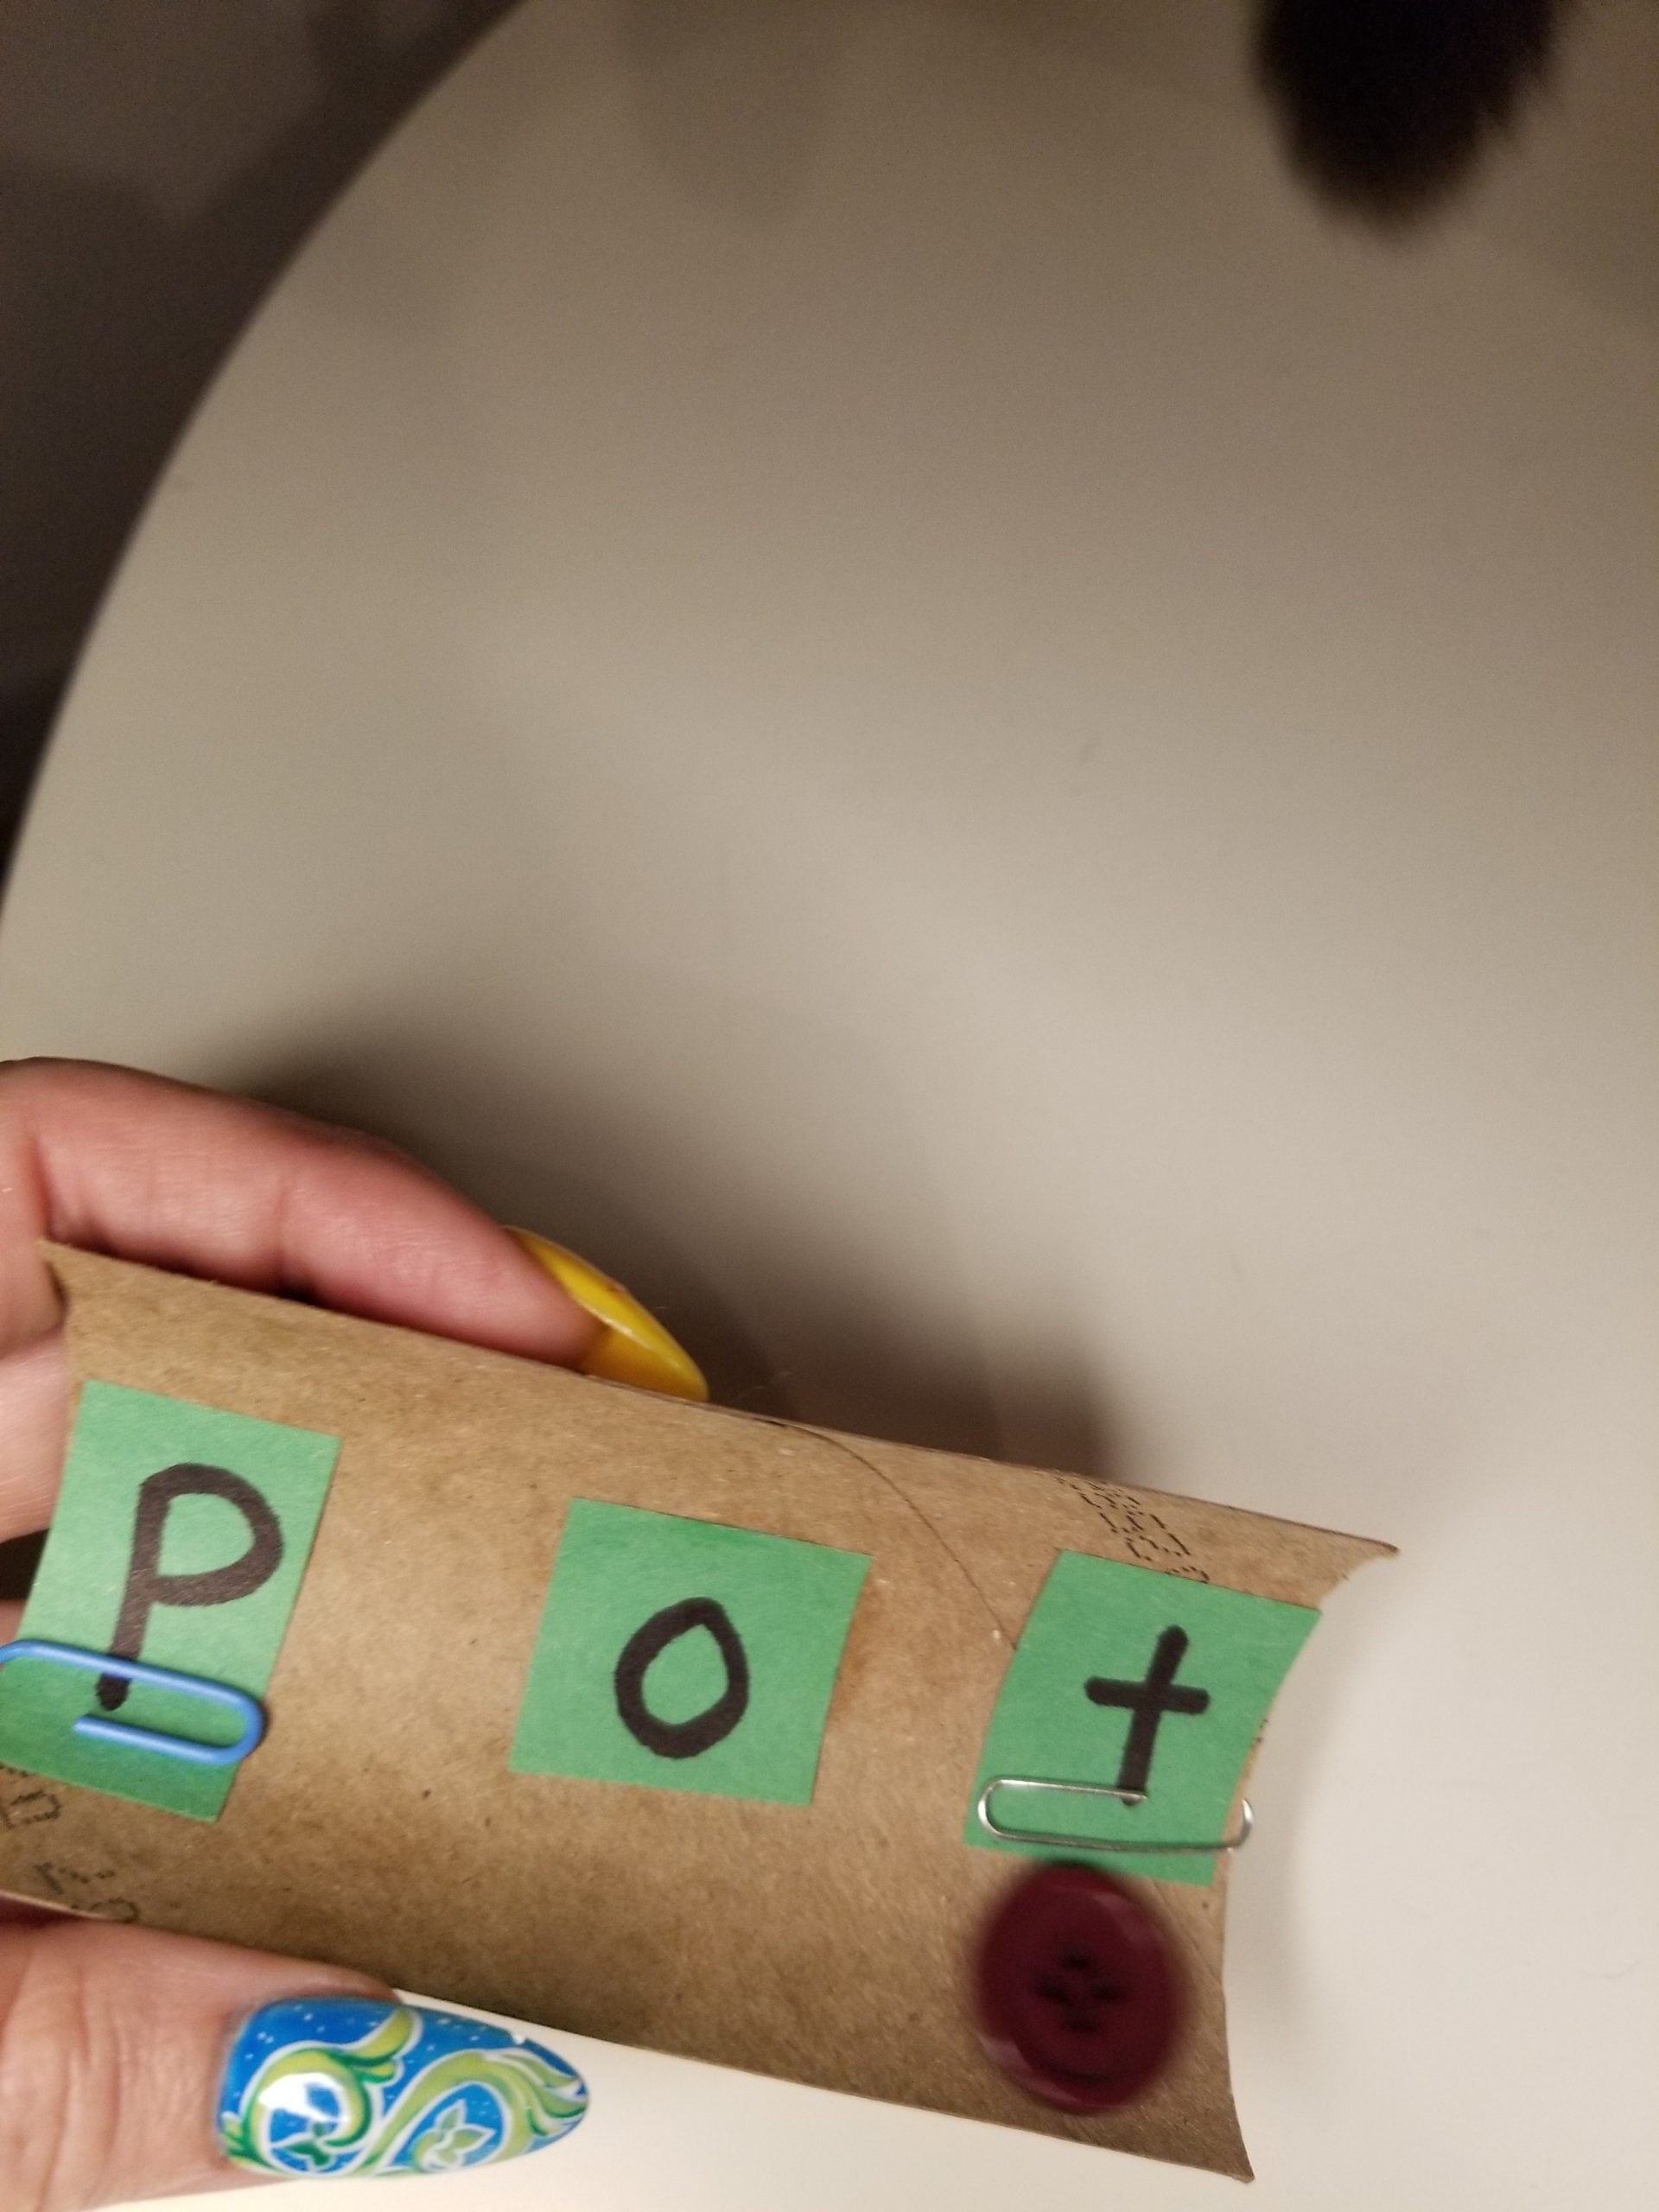
Now that you and your child have mastered using the slide, you can help them reproduce the skill when reading together. Ask questions like, “How would we say this on the slide?” or “Can we say and slide the sounds?” You could even keep the slides near your bookshelf as a tool for when your child needs more help.
Have fun sliding into reading!
Pin Me for Reference :