“No!” “Stop!” “Don’t!” Kids hear these words every day. There are rules for bedtime. There are rules for playgrounds and classrooms. There are rules for how we treat our friends and family. Sometimes you even have to set rules you never thought you’d set, like We don’t lick spiders.
But what about a set of rules for what kids can do? A set of rights that are protected and that they always get. Even if they bite their sister, throw a tantrum in the grocery store, or color on their bedroom walls—again. What would those rules look like? How would your family decide what those would be?
This is how I explain the Bill of Rights to my preschool class. The Bill of Rights promises people in the United States that, no matter what, they are allowed to do certain things or have permission to act in certain ways. And kids love it! The American ideal of protected rights is easily understood by children as young as three and four. So this Fourth of July, I want to show you how to create your very own Kids’ Bill of Rights!
In addition to being a great social-emotional learning experience, this Bill of Rights activity for preschoolers gives children the opportunity to improve their writing. They will be able to practice their pencil grip, sounding out words, and letter formation. It’s also a chance for beginning writers to use a skill called “invented spelling.” Invented spelling is when kids take a stab at writing a word using their emergent knowledge of letters and sounds. For example, a little one might spell people as pepul.
Invented spelling is a natural part of the process for children learning to write and allows even the youngest children to begin expressing themselves in writing. Think of these early efforts as precursors to conventional spelling, not misspellings alone. Let kids express their ideas and grow as readers and writers without the start-and-stop of being corrected along the way.
In this activity, you and your child will think about your values for your home. You’ll be able to discuss what is important to them and why it matters. Let’s get to learning and growing!
Materials:
- Copy of the Bill of Rights (Print it out or bring it up on a computer.)
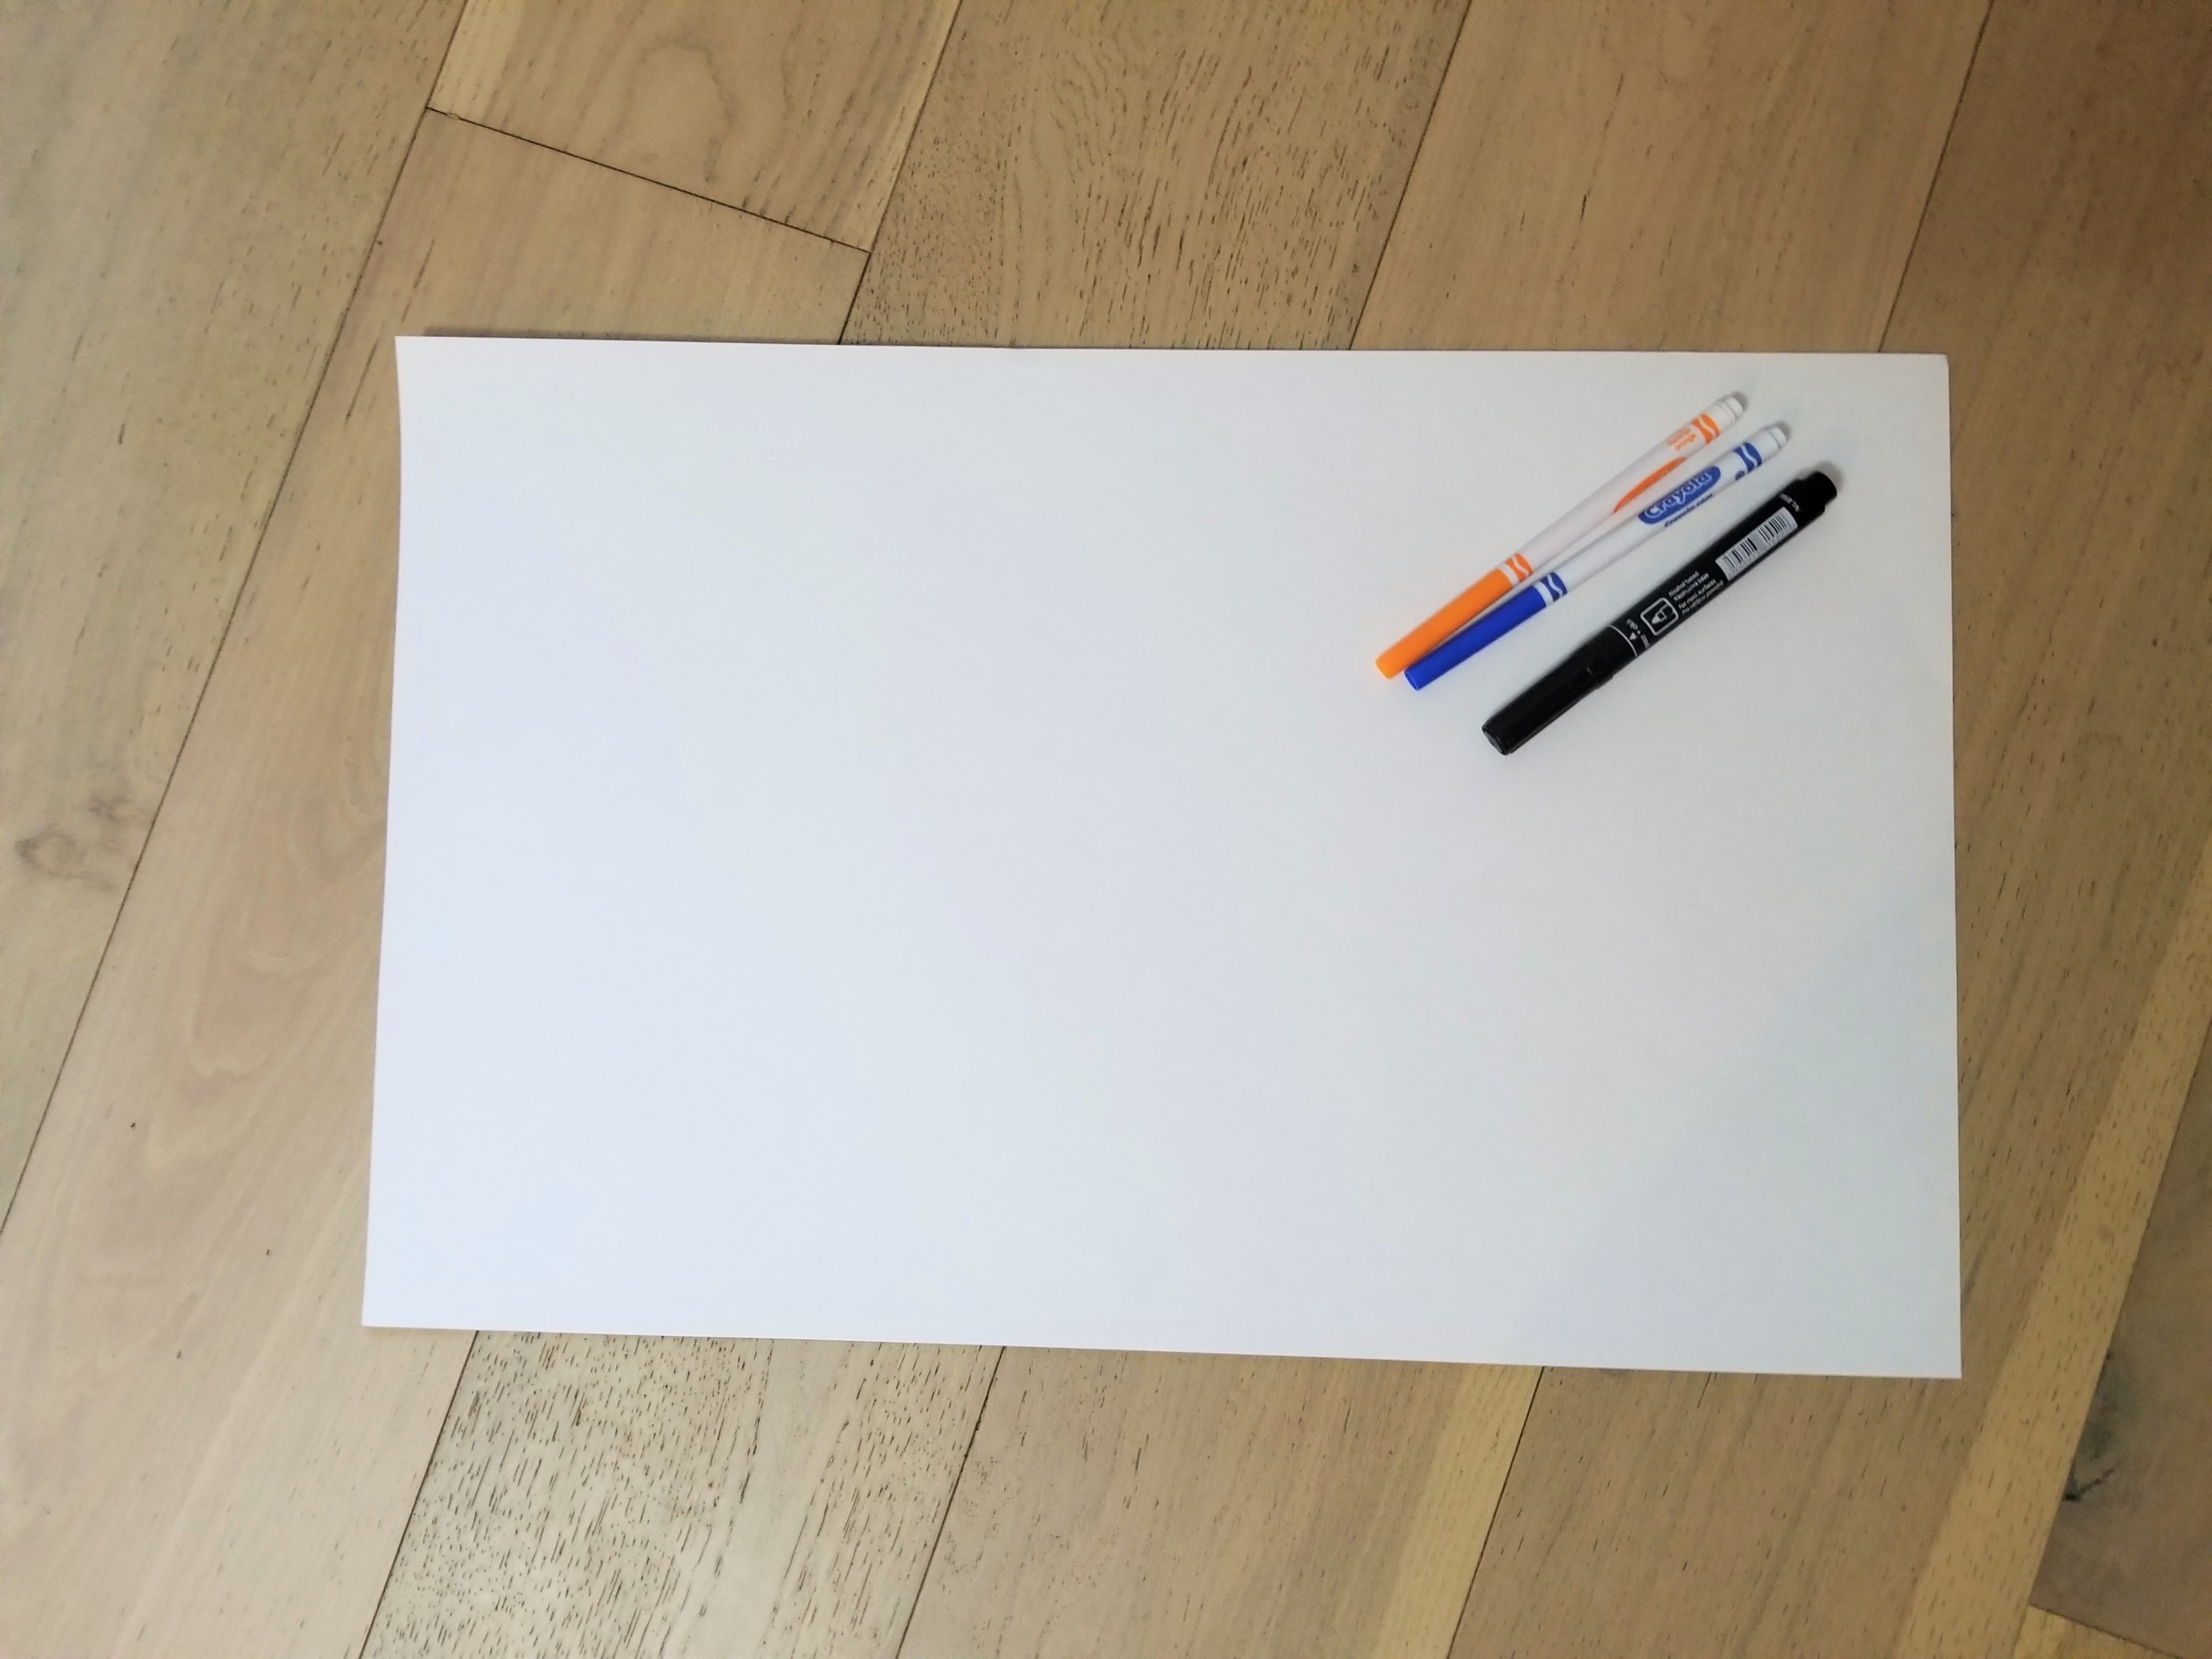
- Paper
- Pens or Markers
Cost: Free
Step 1: Review the Bill of Rights with your child. Some of the rights are complicated to explain to kids, so gauge what your child and family are comfortable discussing. I always make sure to cover the First Amendment, because children can really connect with those concepts.
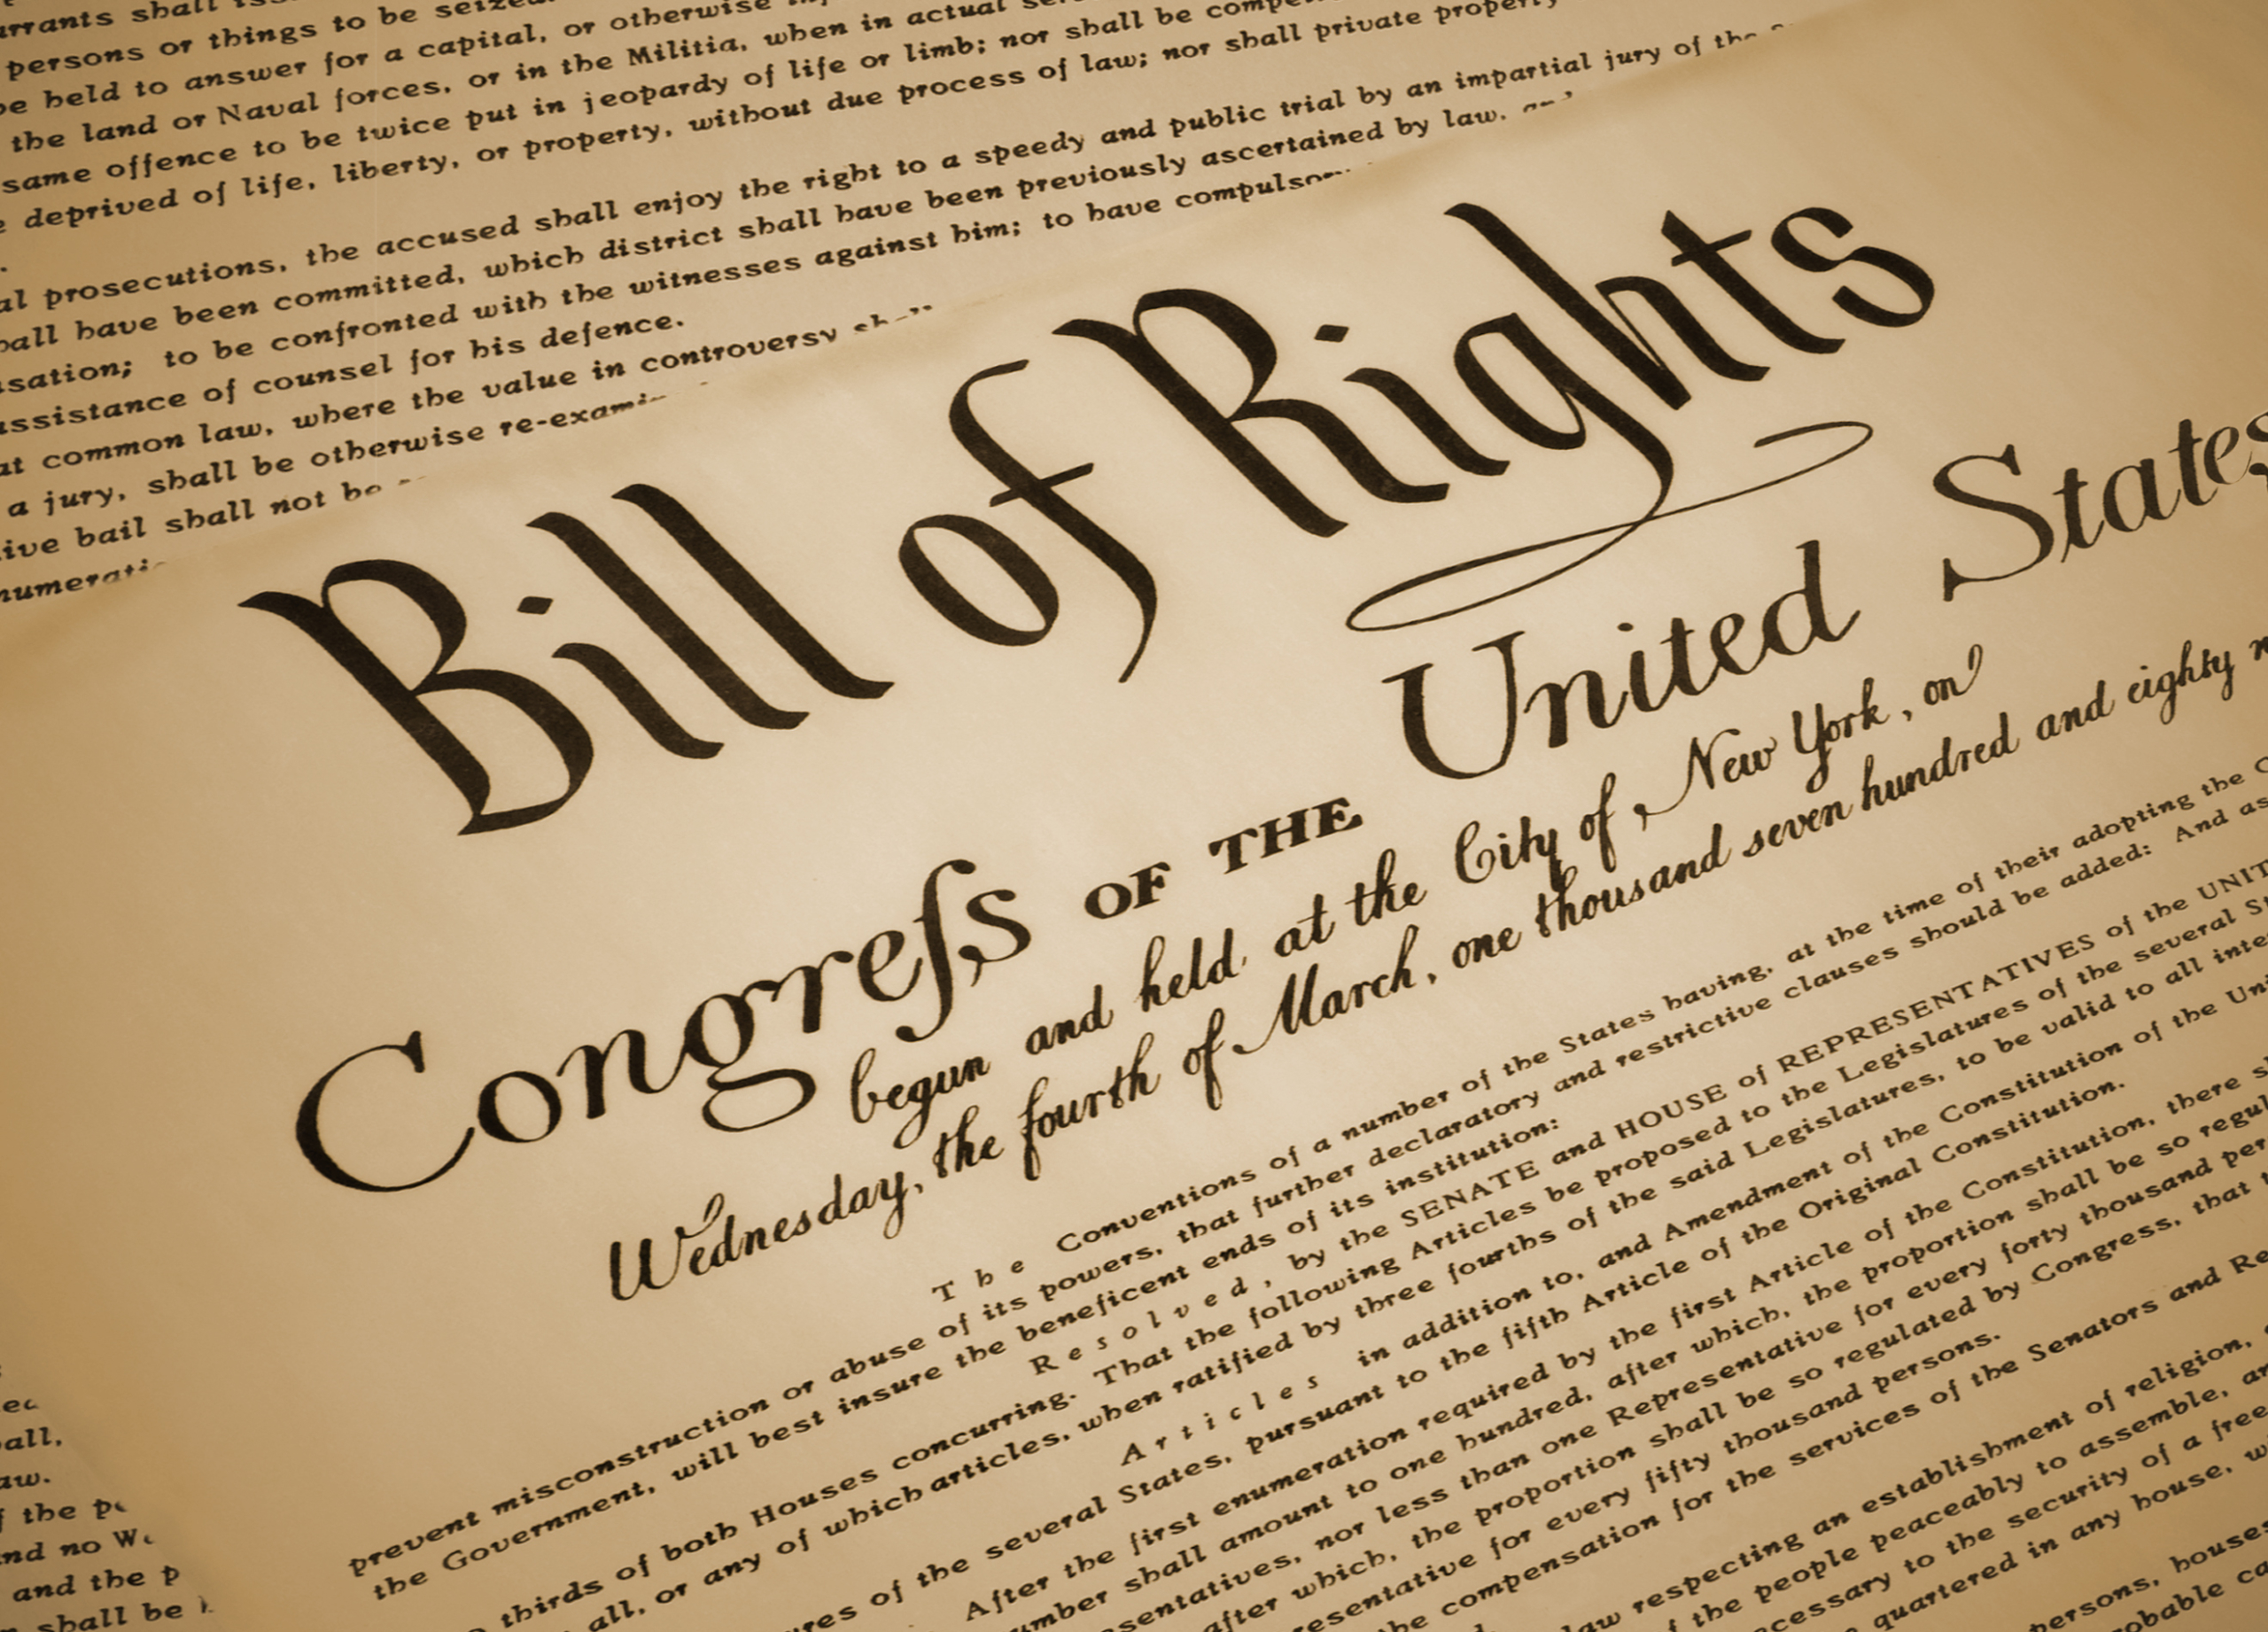
Step 2: With your child, discuss what they think should be in their Kids’ Bill of Rights. Remember: These are rights that are protected, not limitations on behavior!
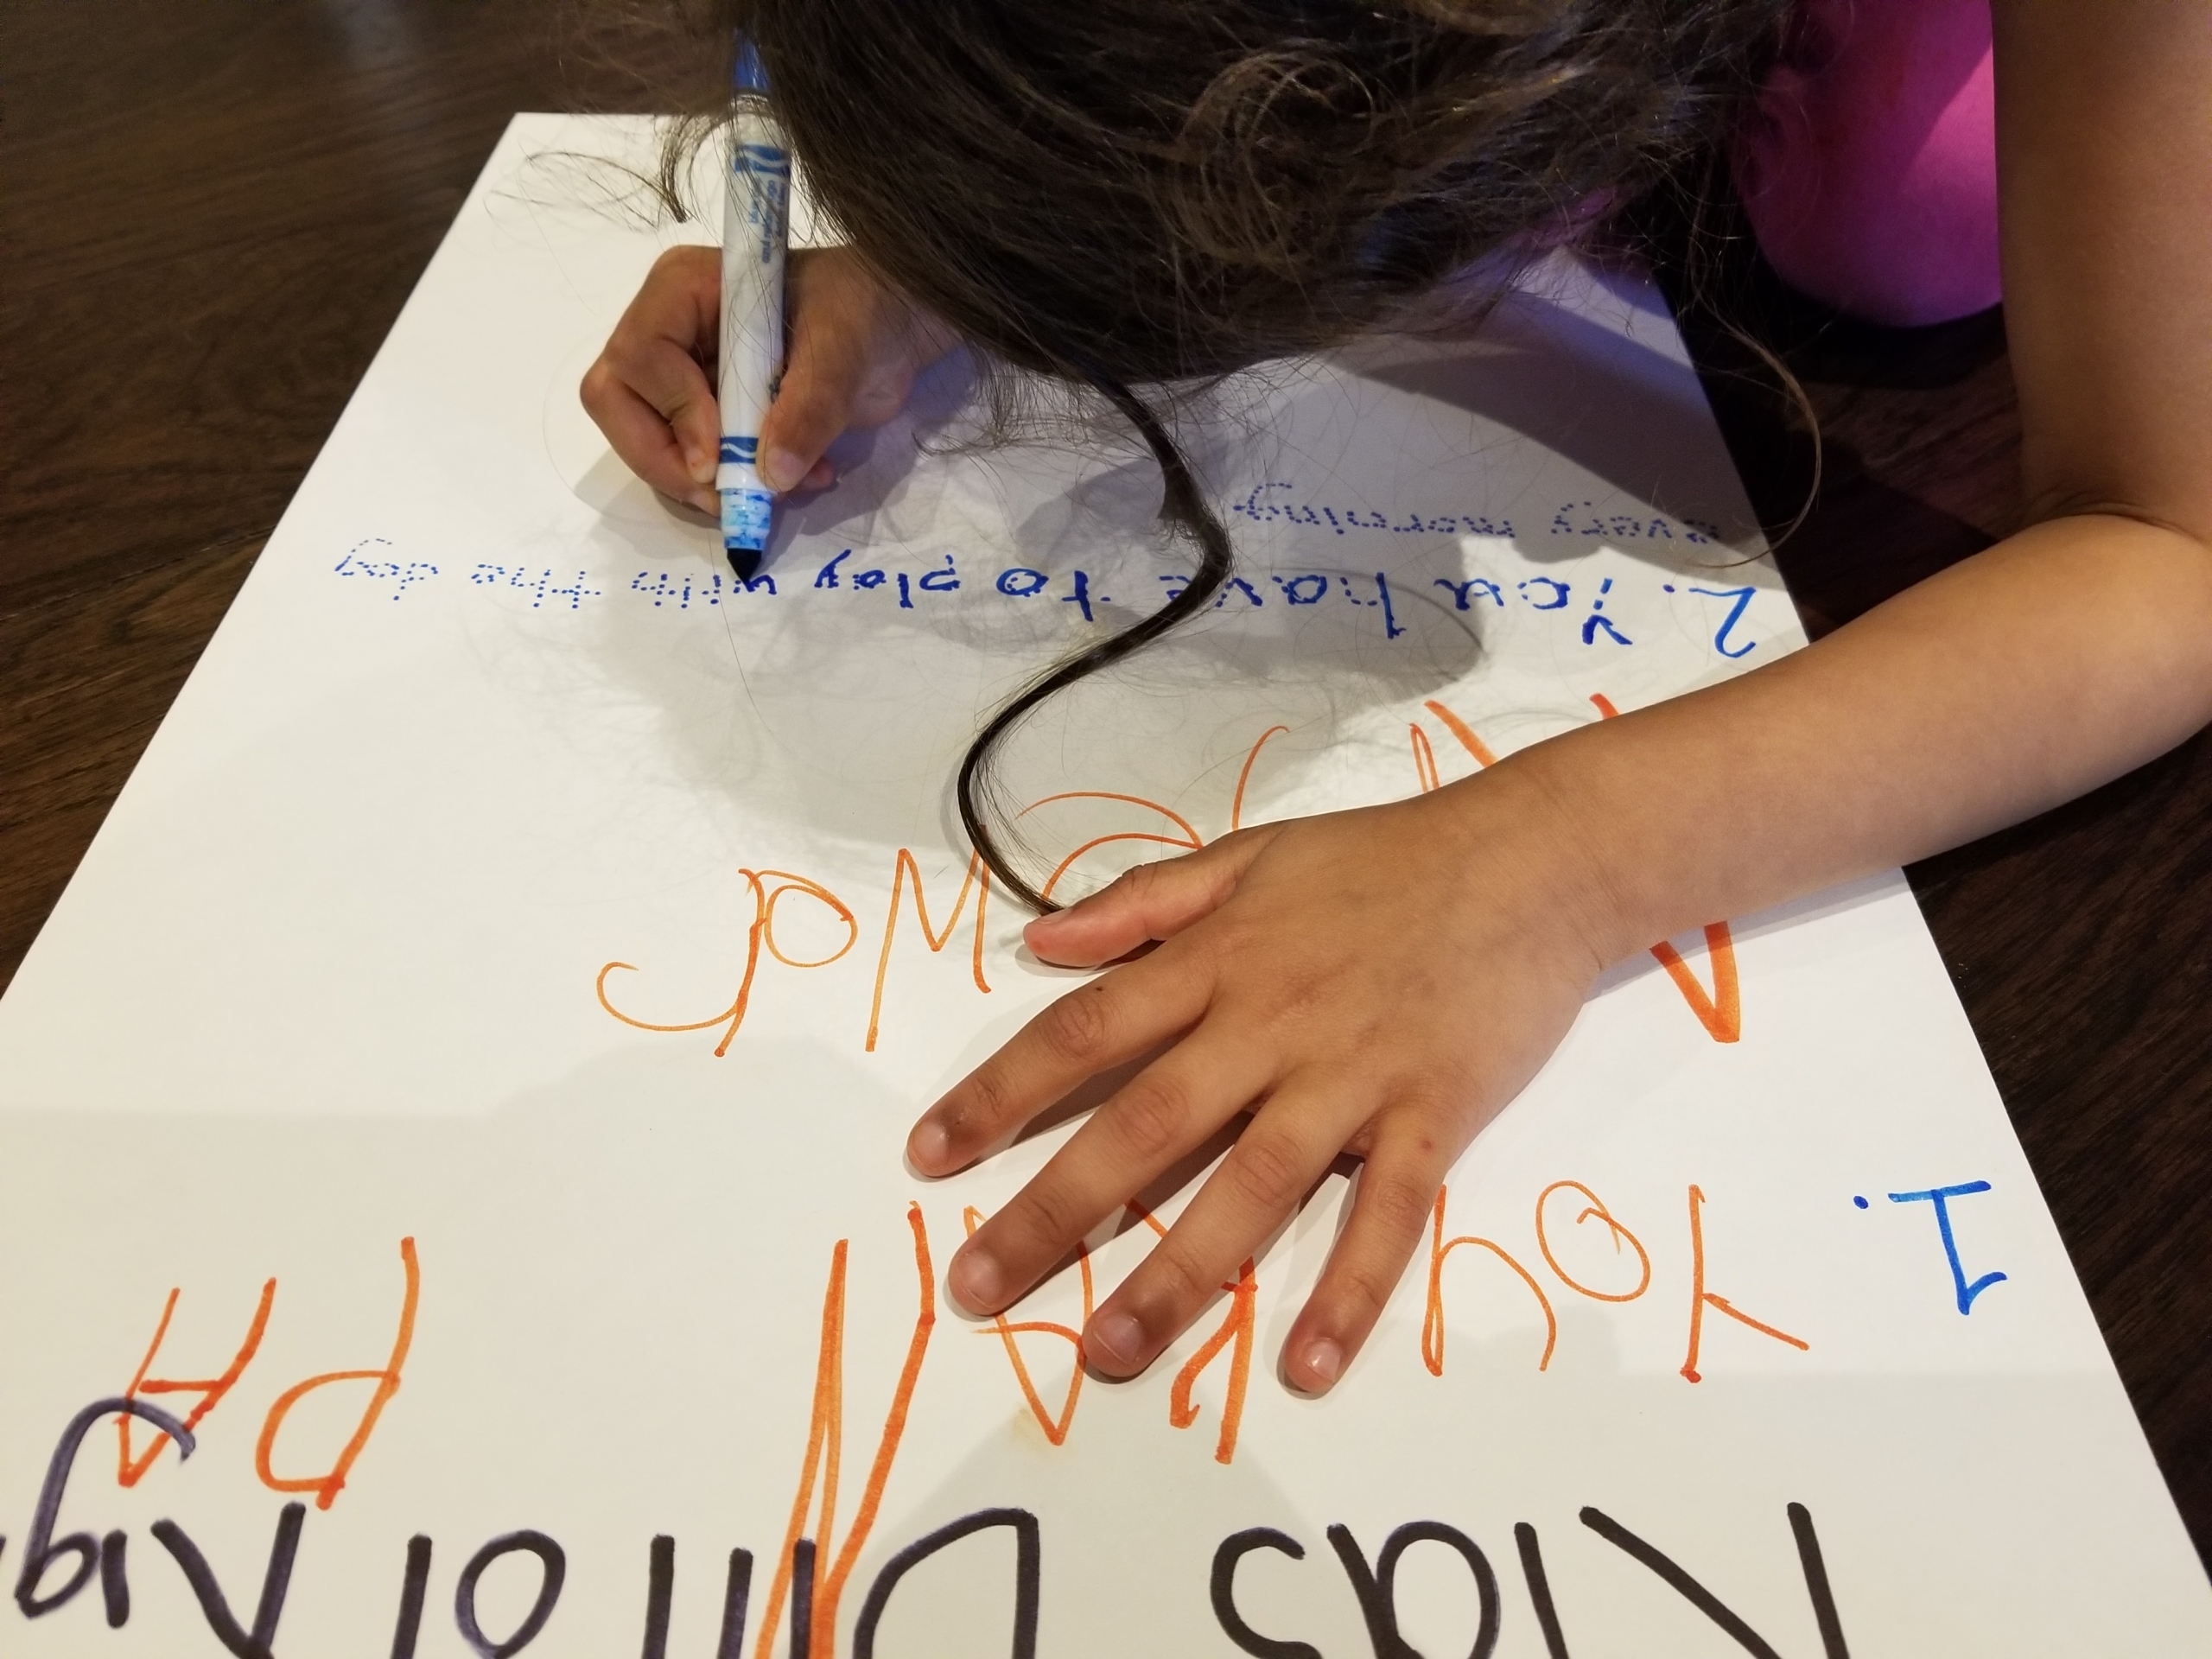
Step 3: Here’s where the writing kicks in! Let your child write out the rights that your family has decided on. You can do this in a number of ways. You can let them trace your writing. You can work together to sound out words and write with guidance. Or you can let them write independently, using invented spelling.
Step 4: Hang your Kids’ Bill of Rights in a place of honor! Now everyone can be reminded of how much you love each other and what you cherish about your family.
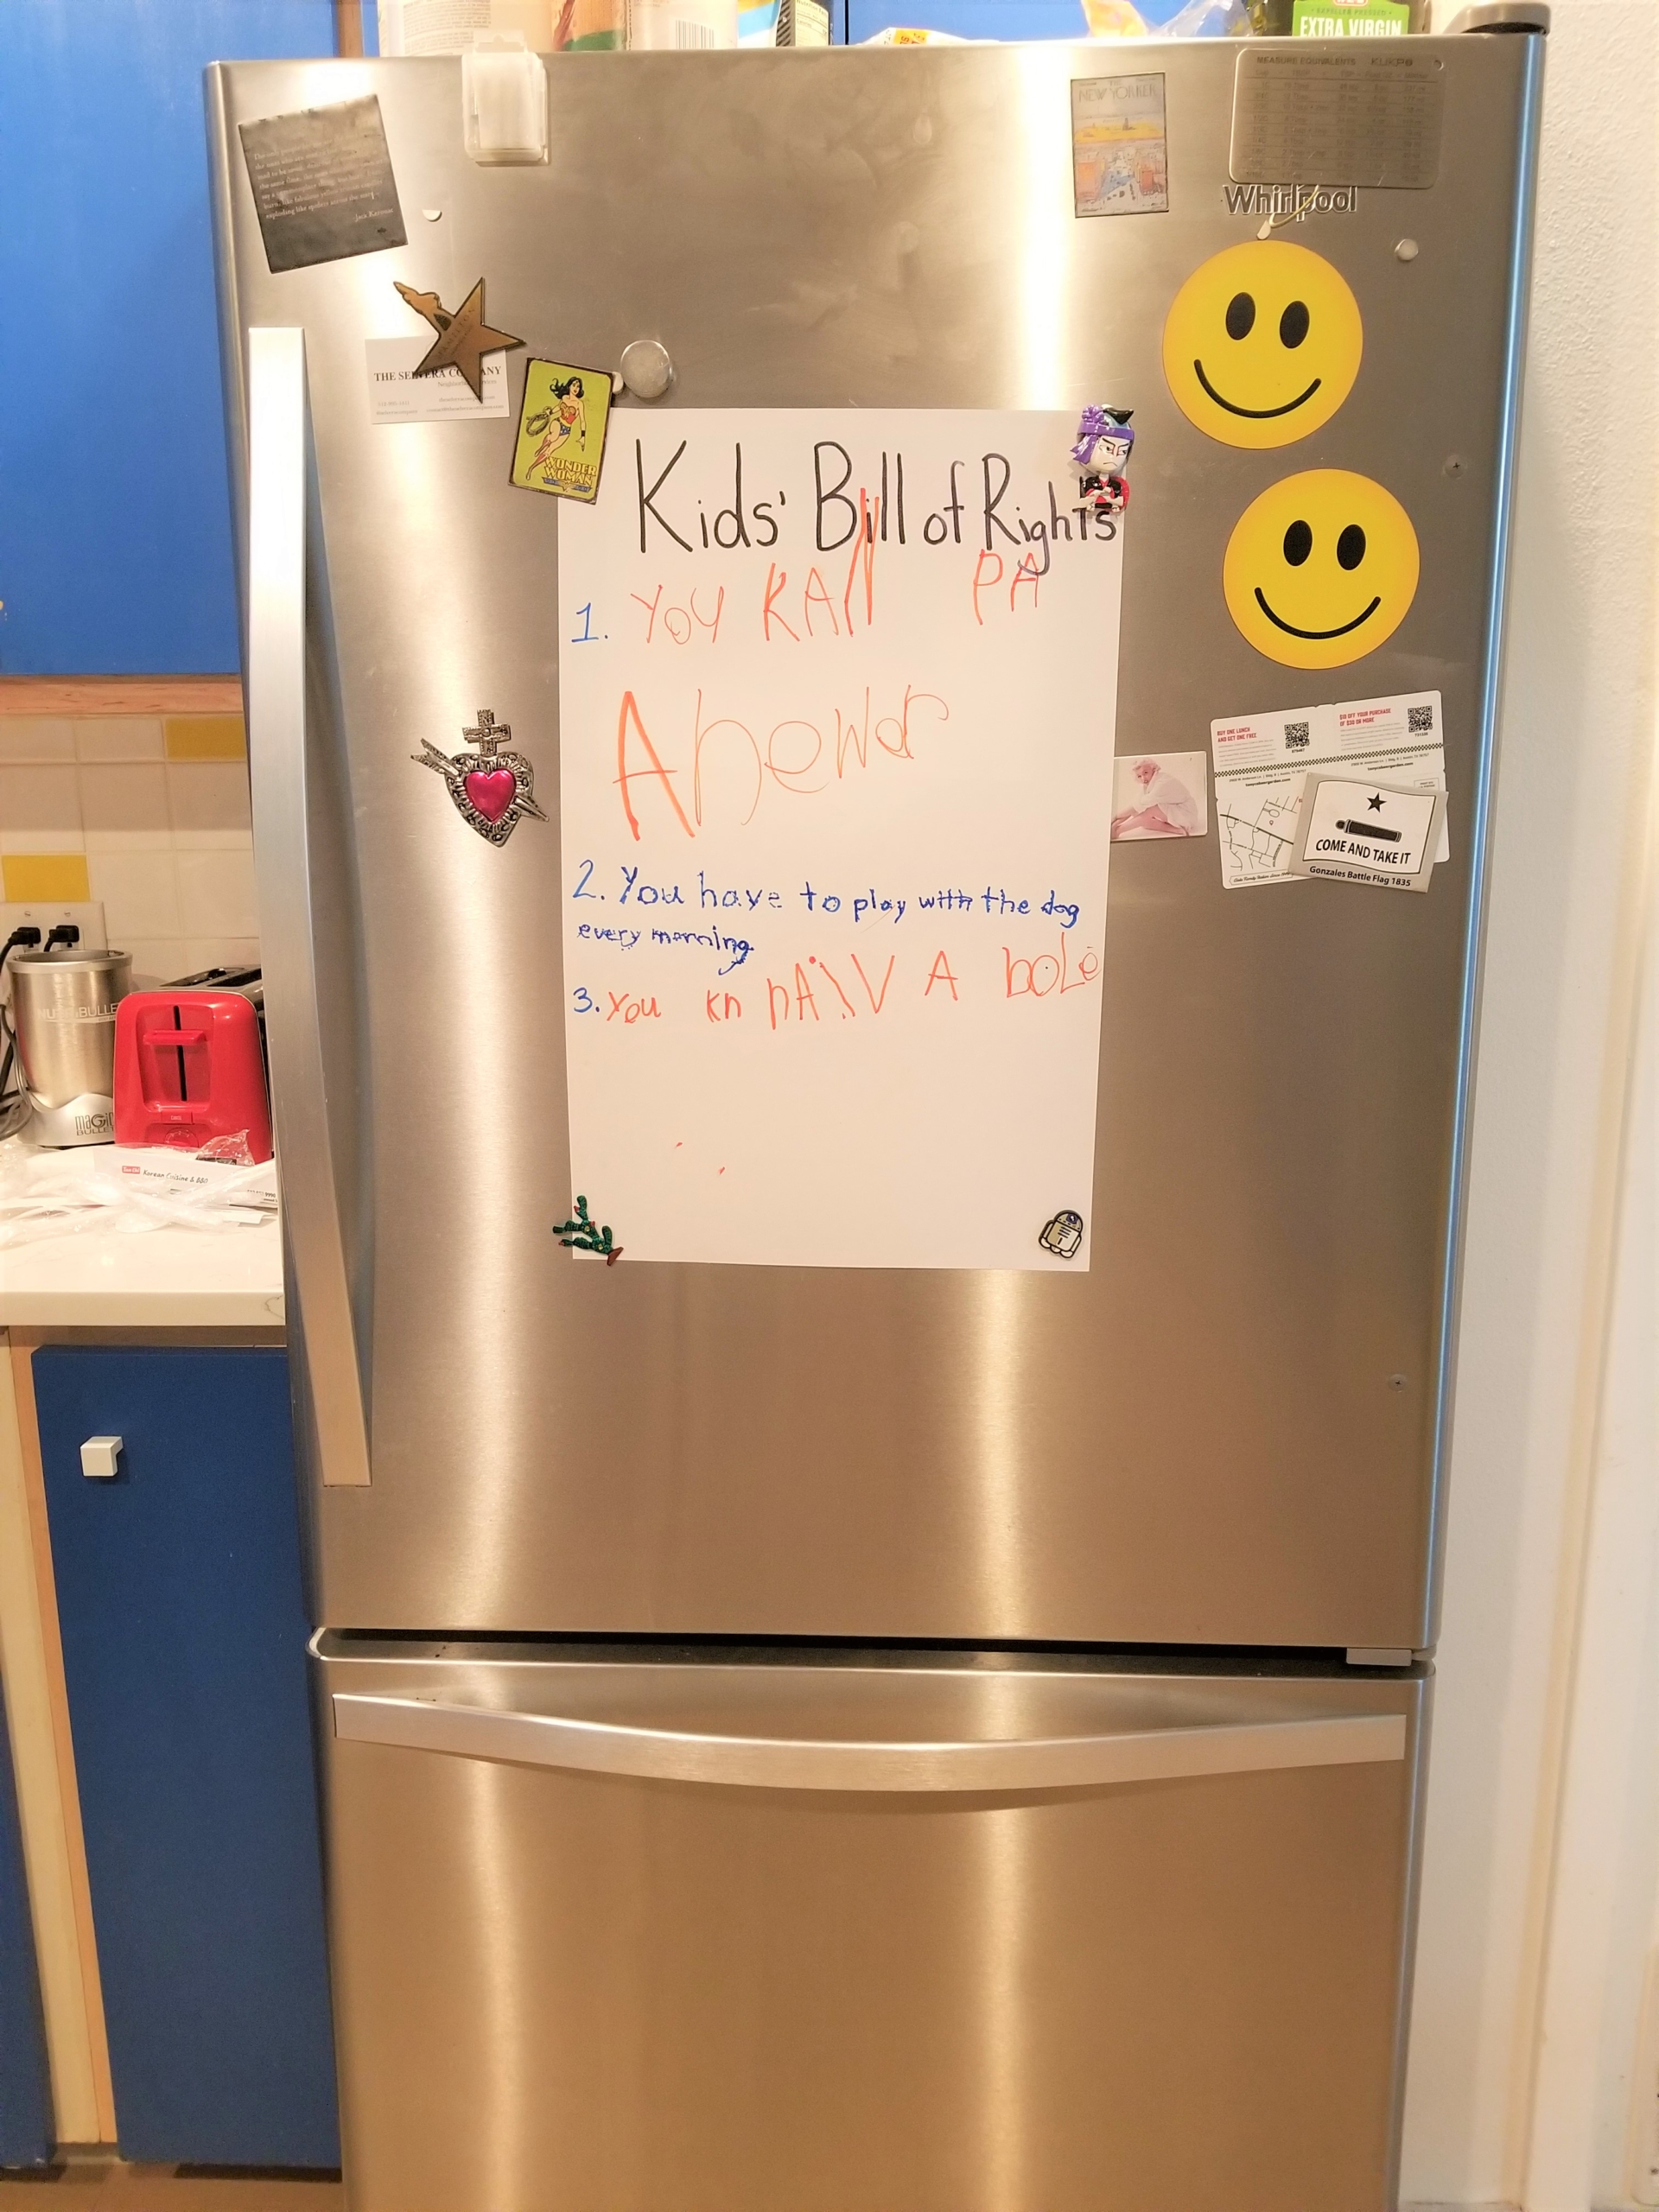
As children learn to define their needs, wants, and emotions, it is important that they also learn how to communicate them. By creating a Kids’ Bill of Rights, that communication will be both verbal and written. Children come up with really beautiful and equally hilarious choices. I’ve had responses from “We all have the right to be treated nicely” to “Everyone is always allowed to act like a dinosaur.” (Though you might have to turn down a few “We can have chocolate for breakfast every day” suggestions, as well.)
*Photos by Chrysta Naron.

