When kids aren’t together, sending hand-written notes is a great way to stay connected, not to mention lots of fun for both sender and receiver. Writing good, old-fashioned letters is also the perfect literacy activity for children—the kind they don’t even notice is educational. And this DIY book craft to make cute origami envelopes will motivate little and not-so-little penpals alike.
With just a few cuts and folds, this book page craft is relatively easy to make. When you’re done, you can decorate your envelope anyway you like, add a note inside, and deliver to a loved one for a fun surprise. These can also make cute holders with a personal touch for invitations, thank you cards, or cards to mark a special occasion.
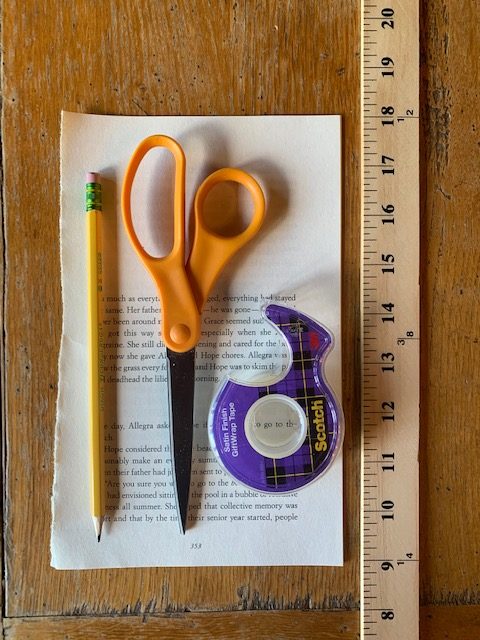
Materials Needed:
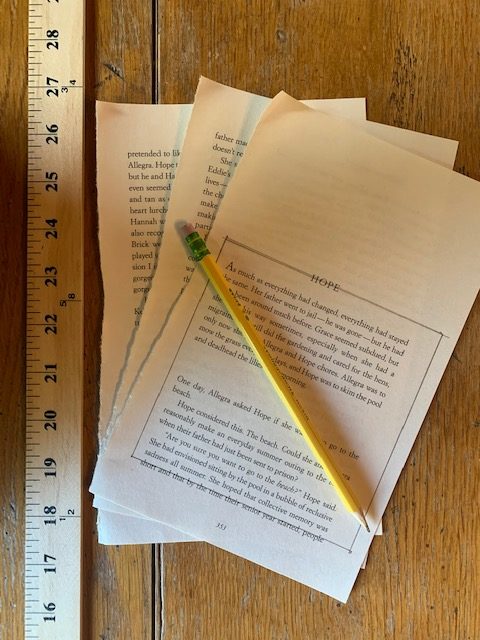
- Old book pages
- Ruler
- Scissors
- Clear tape (or fun washi tape!)
- Optional: Decorating materials (sickers, colored pencils, glitter, etc.)
Cost: You can purchase decorative washi tape for about $10, or just use regular tape. If you have an old book, this is the perfect way to upcycle some pages. Other than these basic supplies, you will just need your creativity!
Step 1: Measure and draw a square onto the book page you’re planning to use. Tip: Check what’s written on the page ahead of time. You don’t want to accidentally send something inappropriate!
I made my square 5” x 5”. I wouldn’t go any smaller than that for an ordinary note. But kids tend to love anything itty-bitty, so letting them experiment with going super tiny could spark their creativity. A doll or stuffed-animal postal service, perhaps?
Step 2: With your scissors, cut out the square you drew.

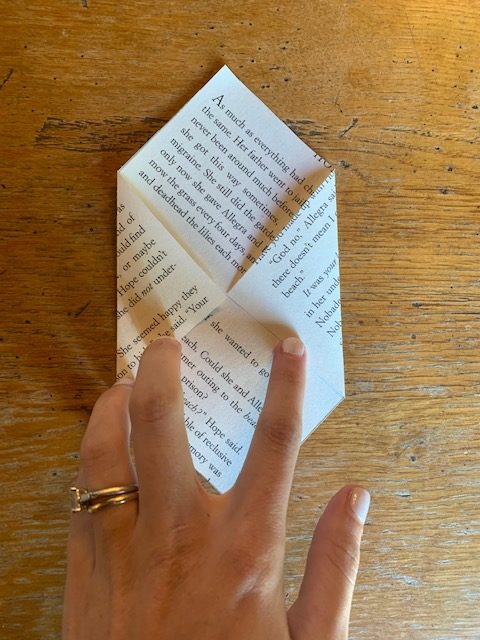
Step 3: Fold the two opposite side corners in until the points touch.
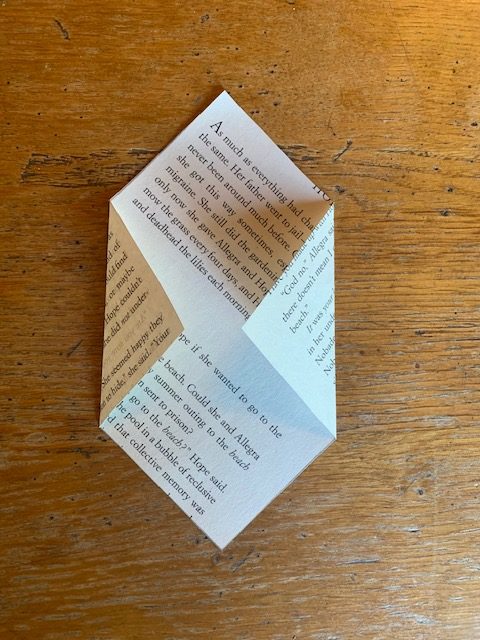
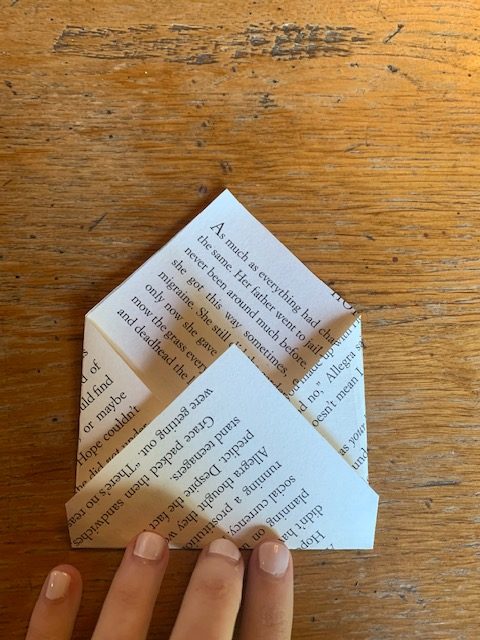
Step 4: Now fold up the bottom point, so that it reaches a bit past the place where the two side points meet.
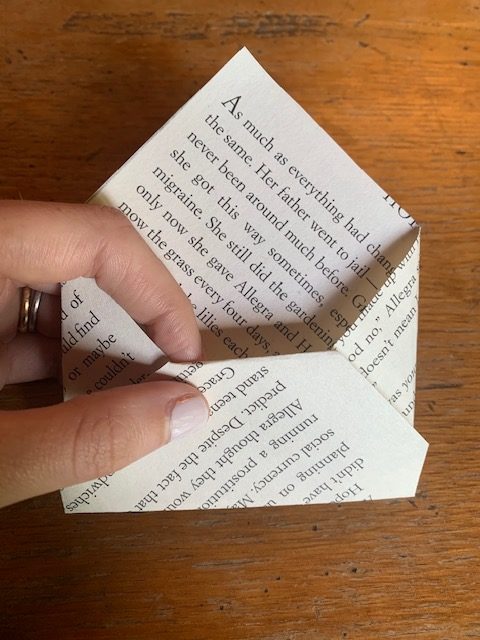
Step 5: Next, fold over the bottom point towards the back of the envelope and tuck it under the two side points.
Step 6: Tape the edges so the bottom flap stays closed. I used clear tape, but decorated washi tape would also be super cute on this craft.
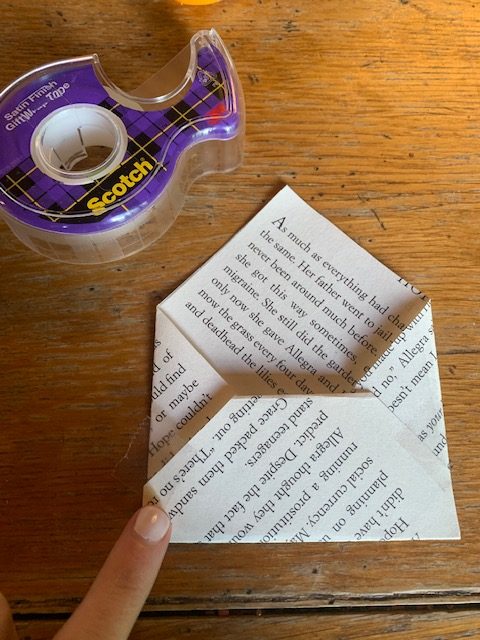
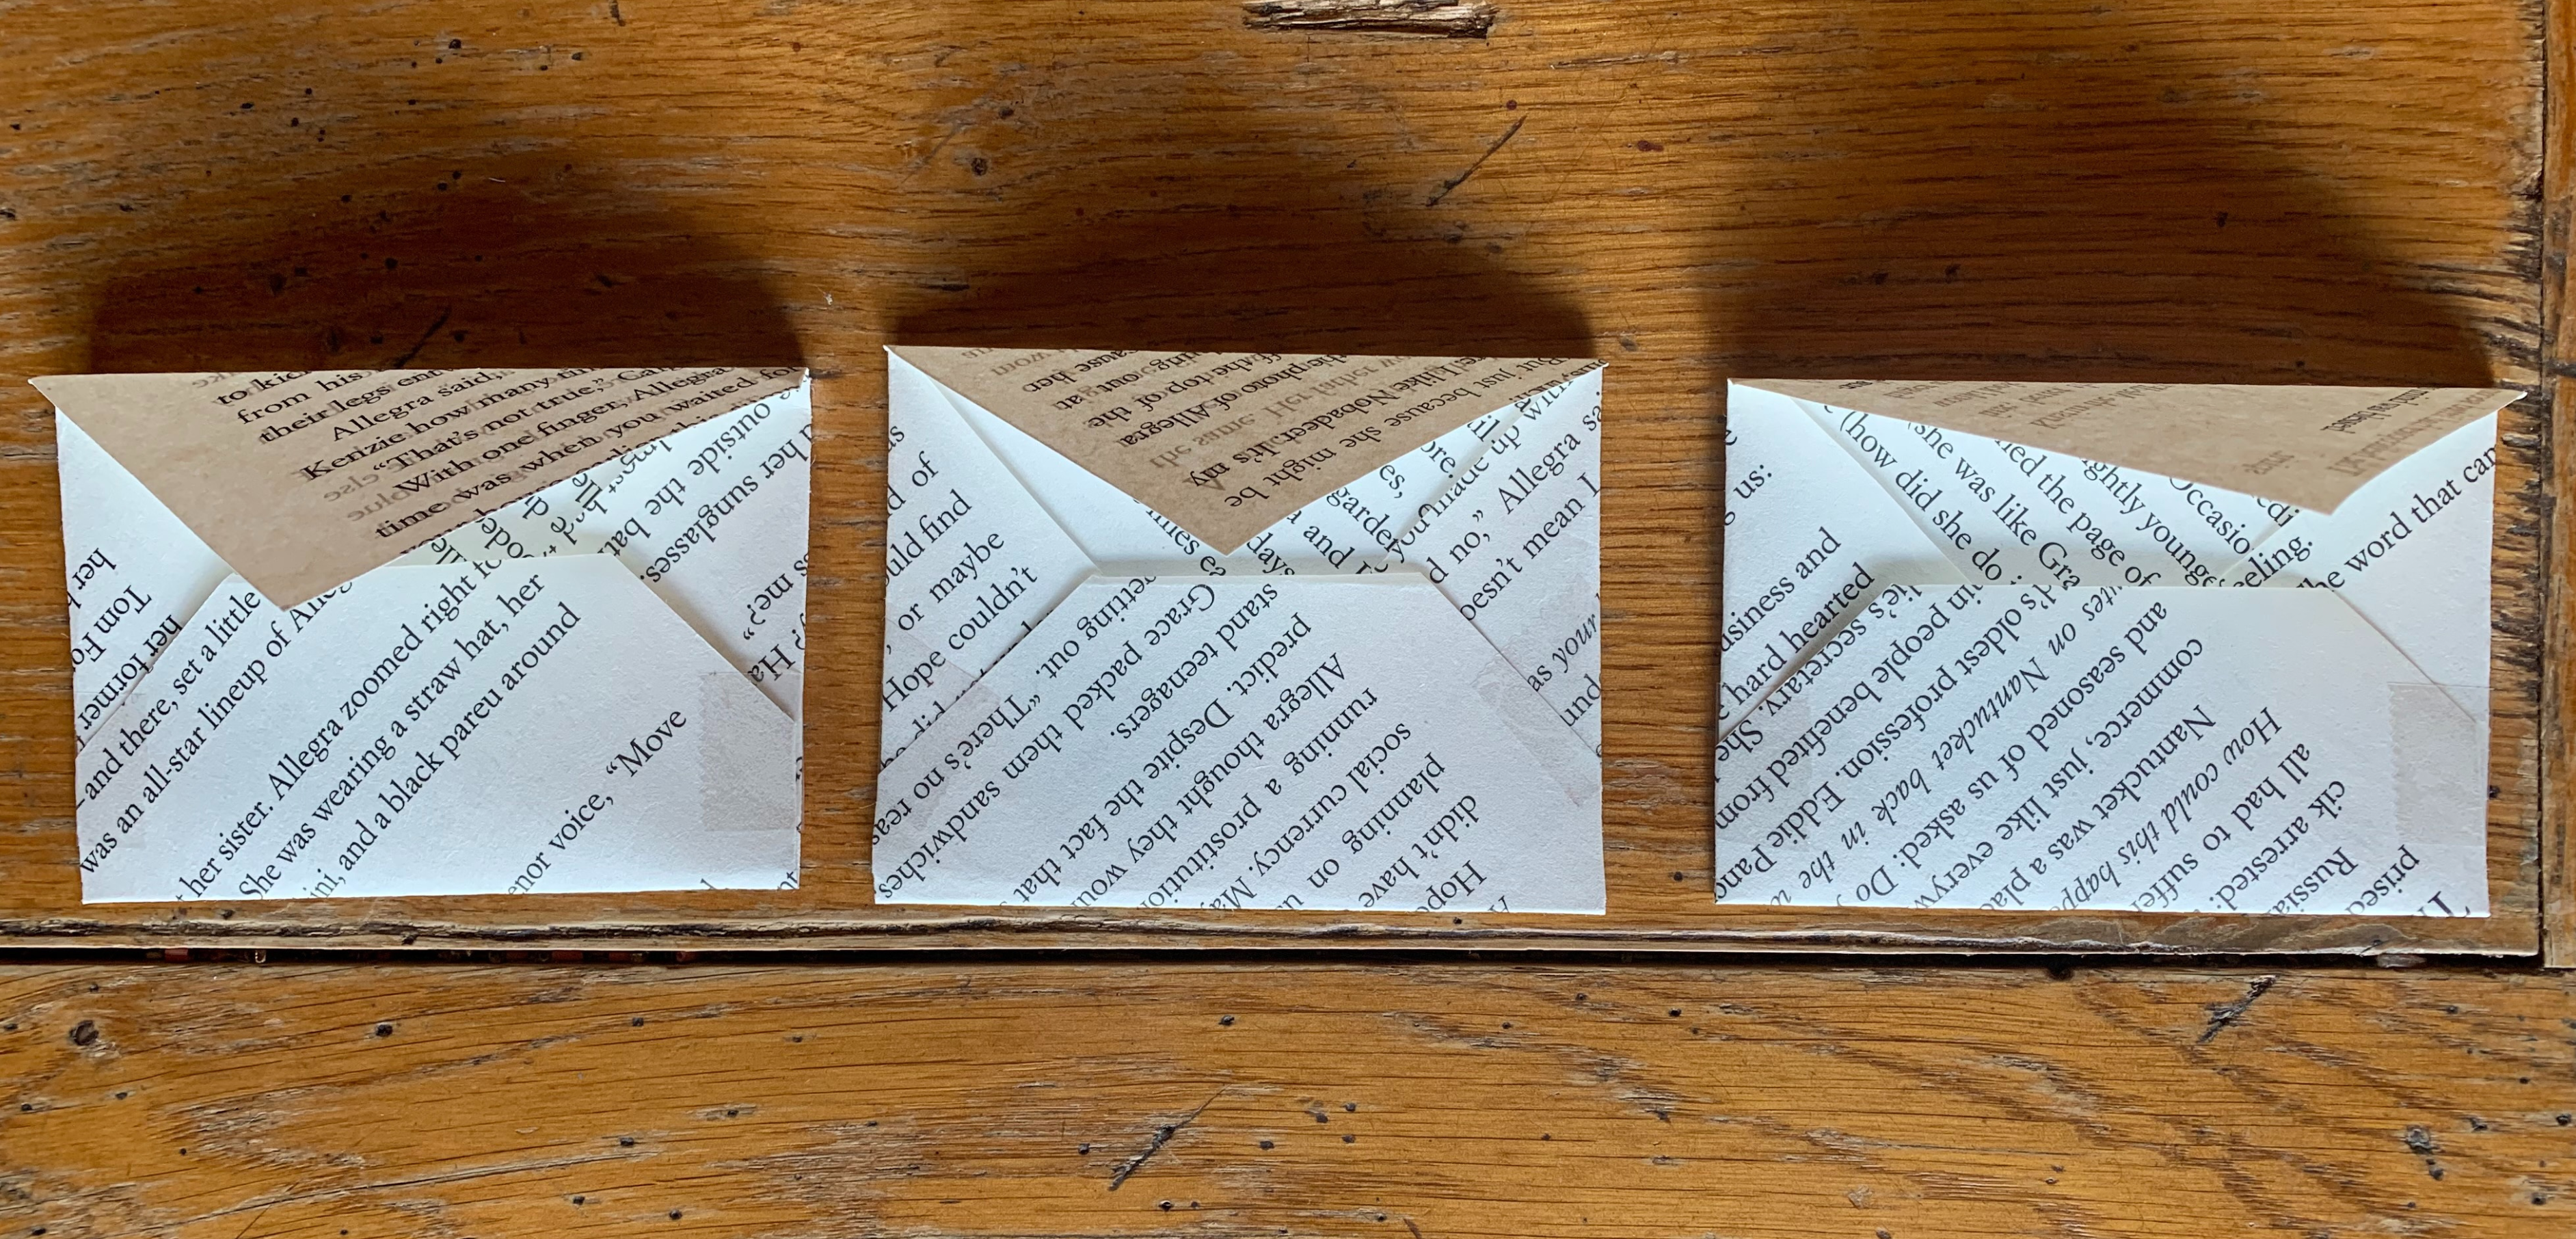
Step 7: Fold the top point down to fully cover the envelope’s opening.
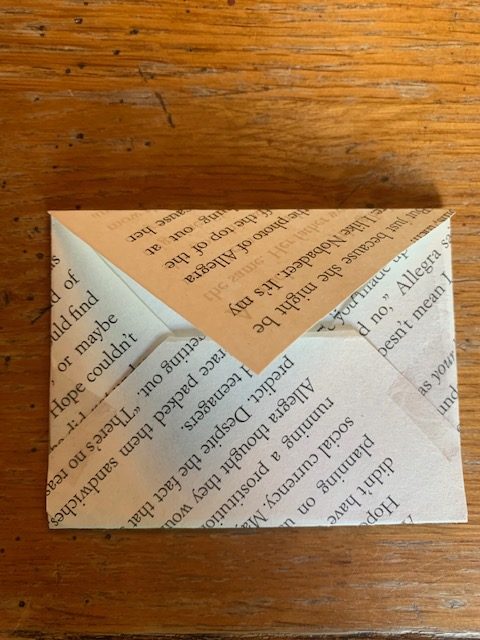
And your basic tiny envelope is complete, but you can still decorate it, if you like! You might add color with pencils, crayons or pastels; glitz it up with glitter glue; or pop on some stickers or other simple decorations.
When you (or your kids) are happy with your envelope, you’re ready to get writing. Prepare your card or note, stick it in the envelope, and secure the top flap with another piece of tape or a sticker. Note: This could also be a chance to use one of those fun sealing wax kits available in stationery stores and online, or make your own by melting candle wax over the edge of the flap and pressing a coin into the slightly cooled wax. (Of course, please be careful if using a flame, and never let children do this alone!)
Now you’re ready to drop your creation into your recipient’s mailbox! You can also mail your card—just put it inside another envelope to make sure the postal service can process it without problems. Have fun!
