
By Chrysta Naron
Word families, sets of rhyming words that share the same ending spelling and pronunciation, are great tools for helping kids recognize patterns and build awareness of the sound structure of words. For example, the “at” word family includes words like “cat,” “hat,” “sat,” and so on.
Word families are wonderful because they teach two skills at once. First, children learn to connect certain letter combinations with particular ending sound chunks or rimes. This can help them learn new words by analogy. Second, word families prompt great rhyming practice—and who doesn’t love that?
In this home-literacy activity, you and your child will create word-family flowers. This craft is a cute way to physically show how changing the first letter in a word family creates new words. Kids can manipulate the petals themselves to spell words, so they can return to this activity later to review and experiment on their own. I even use this as a tabletop activity for my preschool and kindergarten students!
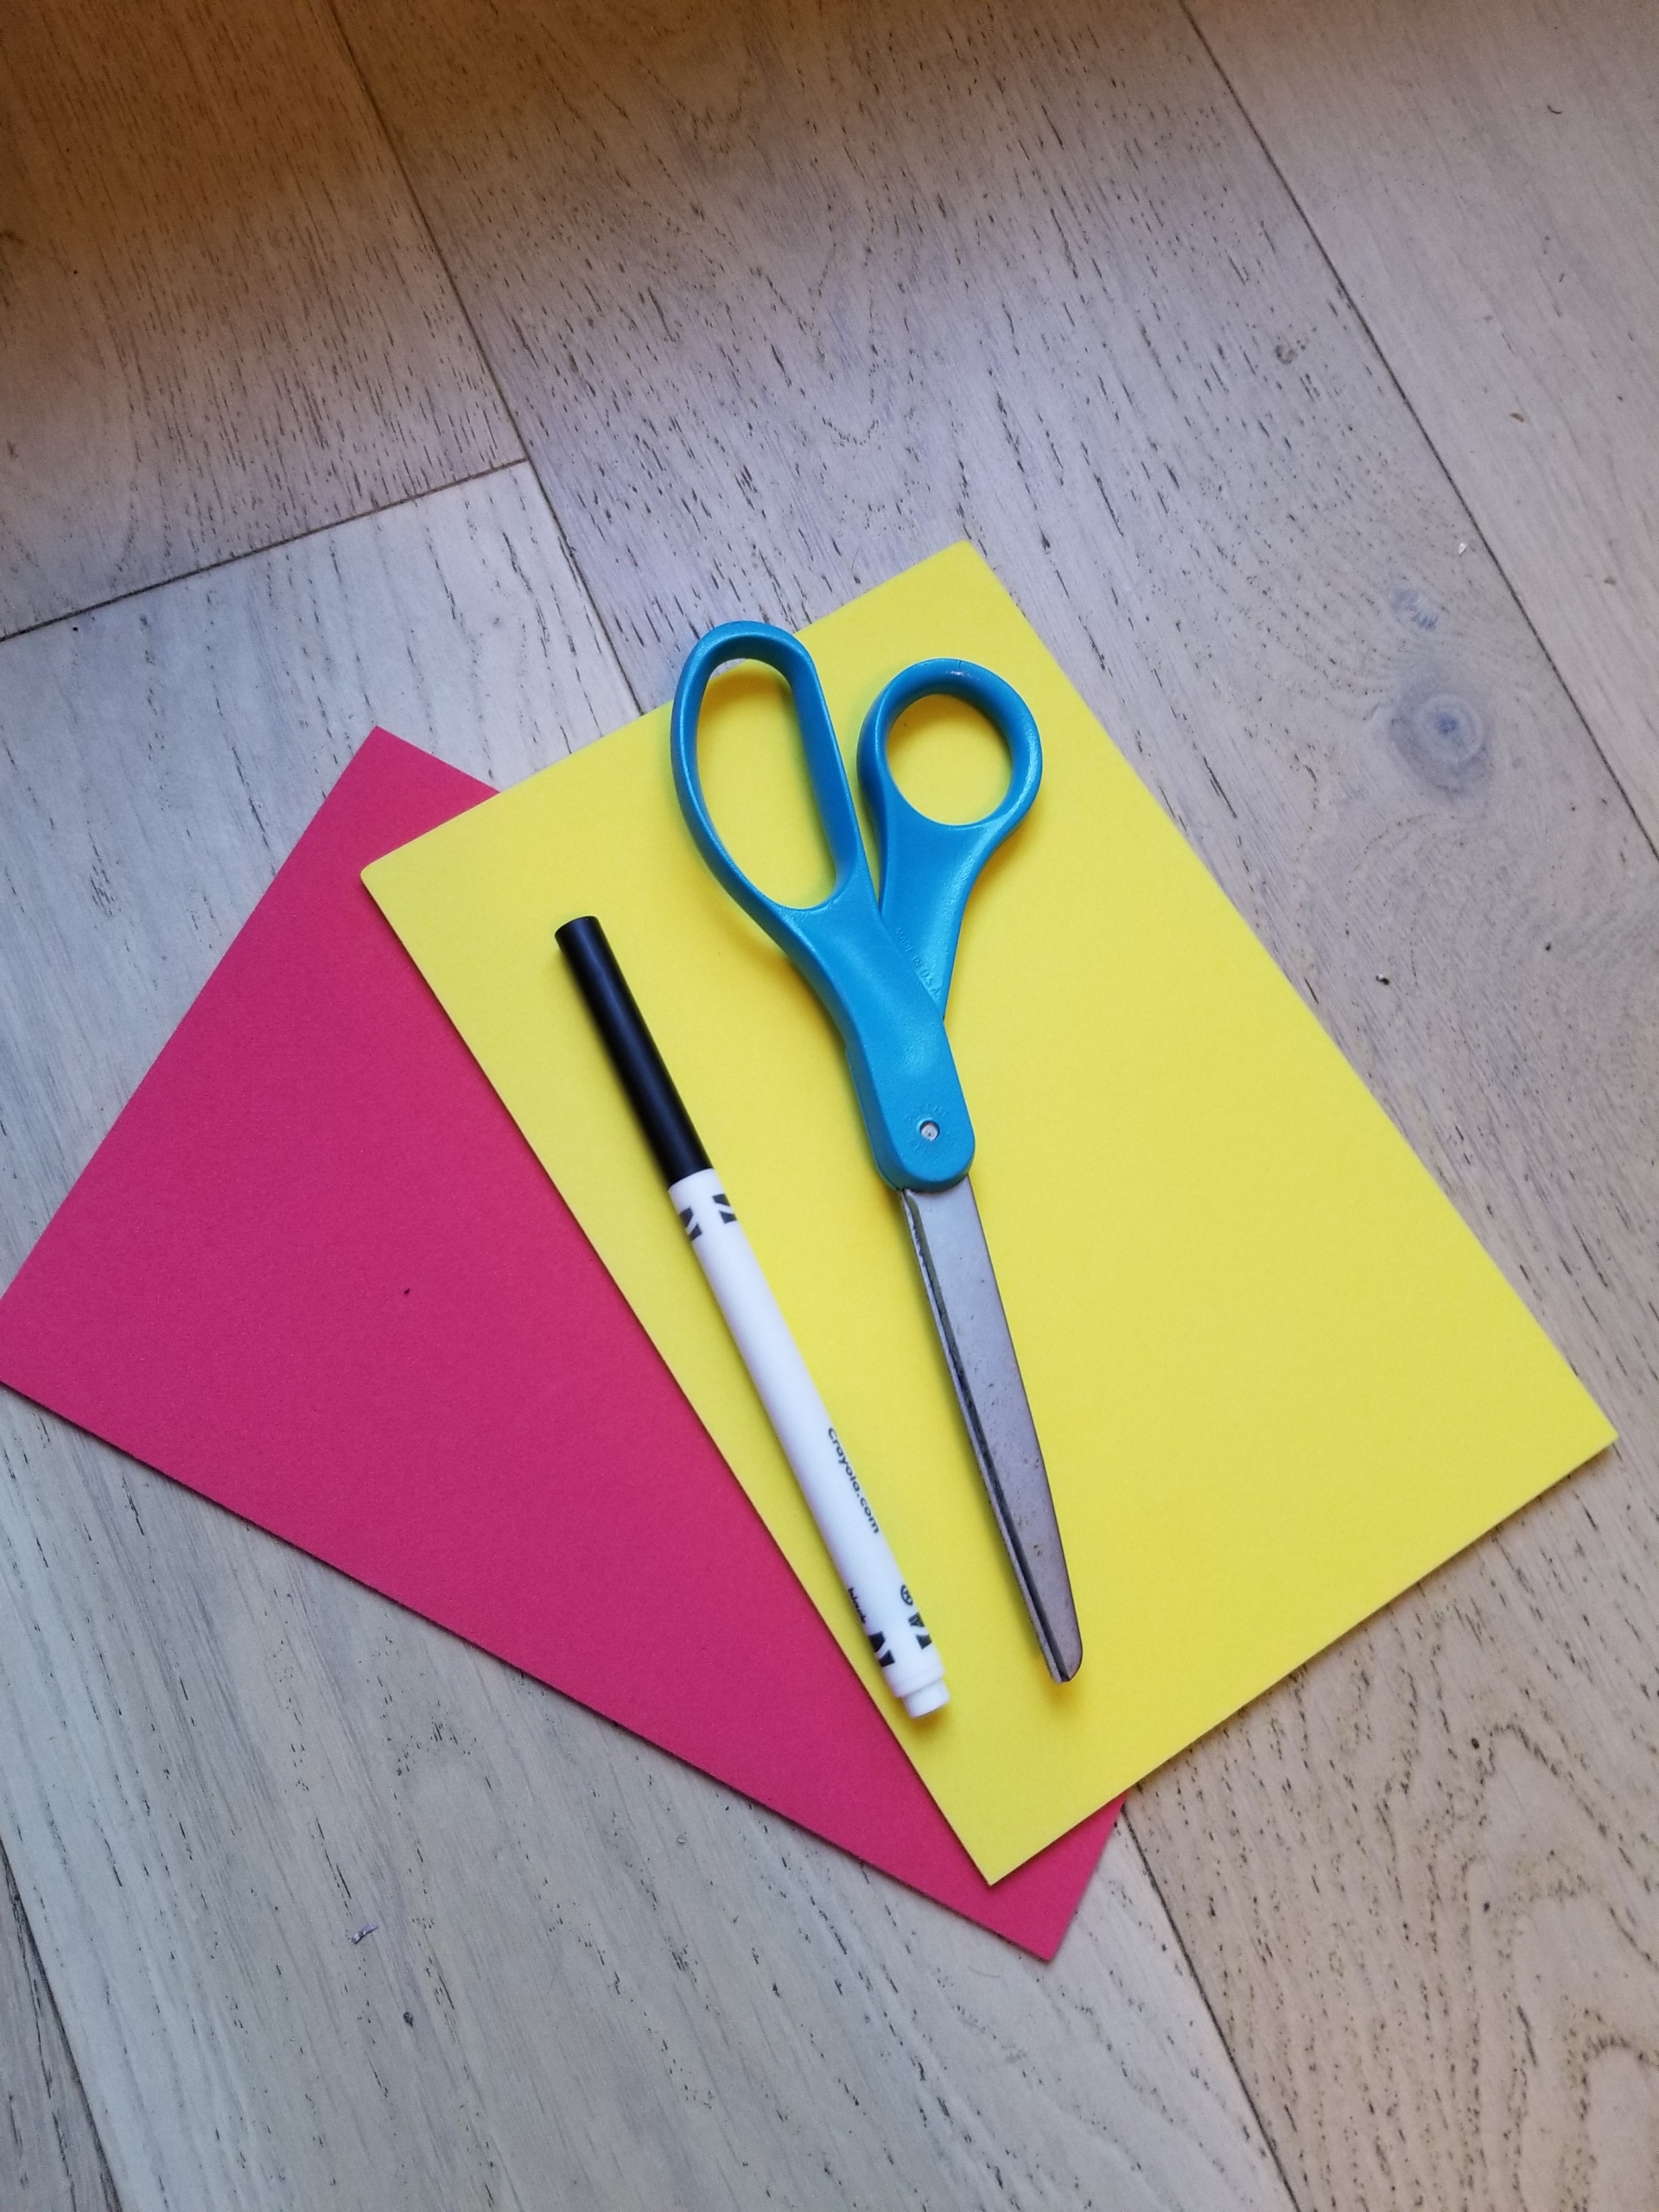
Materials Needed:
- Marker
- Scissors
- Craft foam sheets, cardstock, or construction paper of two different colors
Optional:
- Green cardstock or paper
- Glue
Cost: If you want to use craft foam, you can generally get 80-100 sheets for about $15.
Step 1: Pick one of the colors of craft foam/paper for the center of your flower. Using a marker, draw a medium-sized circle on the sheet. (I trace around the lid of a mason jar to guide me.) Draw as many circles as the number of word families you want to create. (See photos below for suggestions of word families to start with, or come up with your own.)
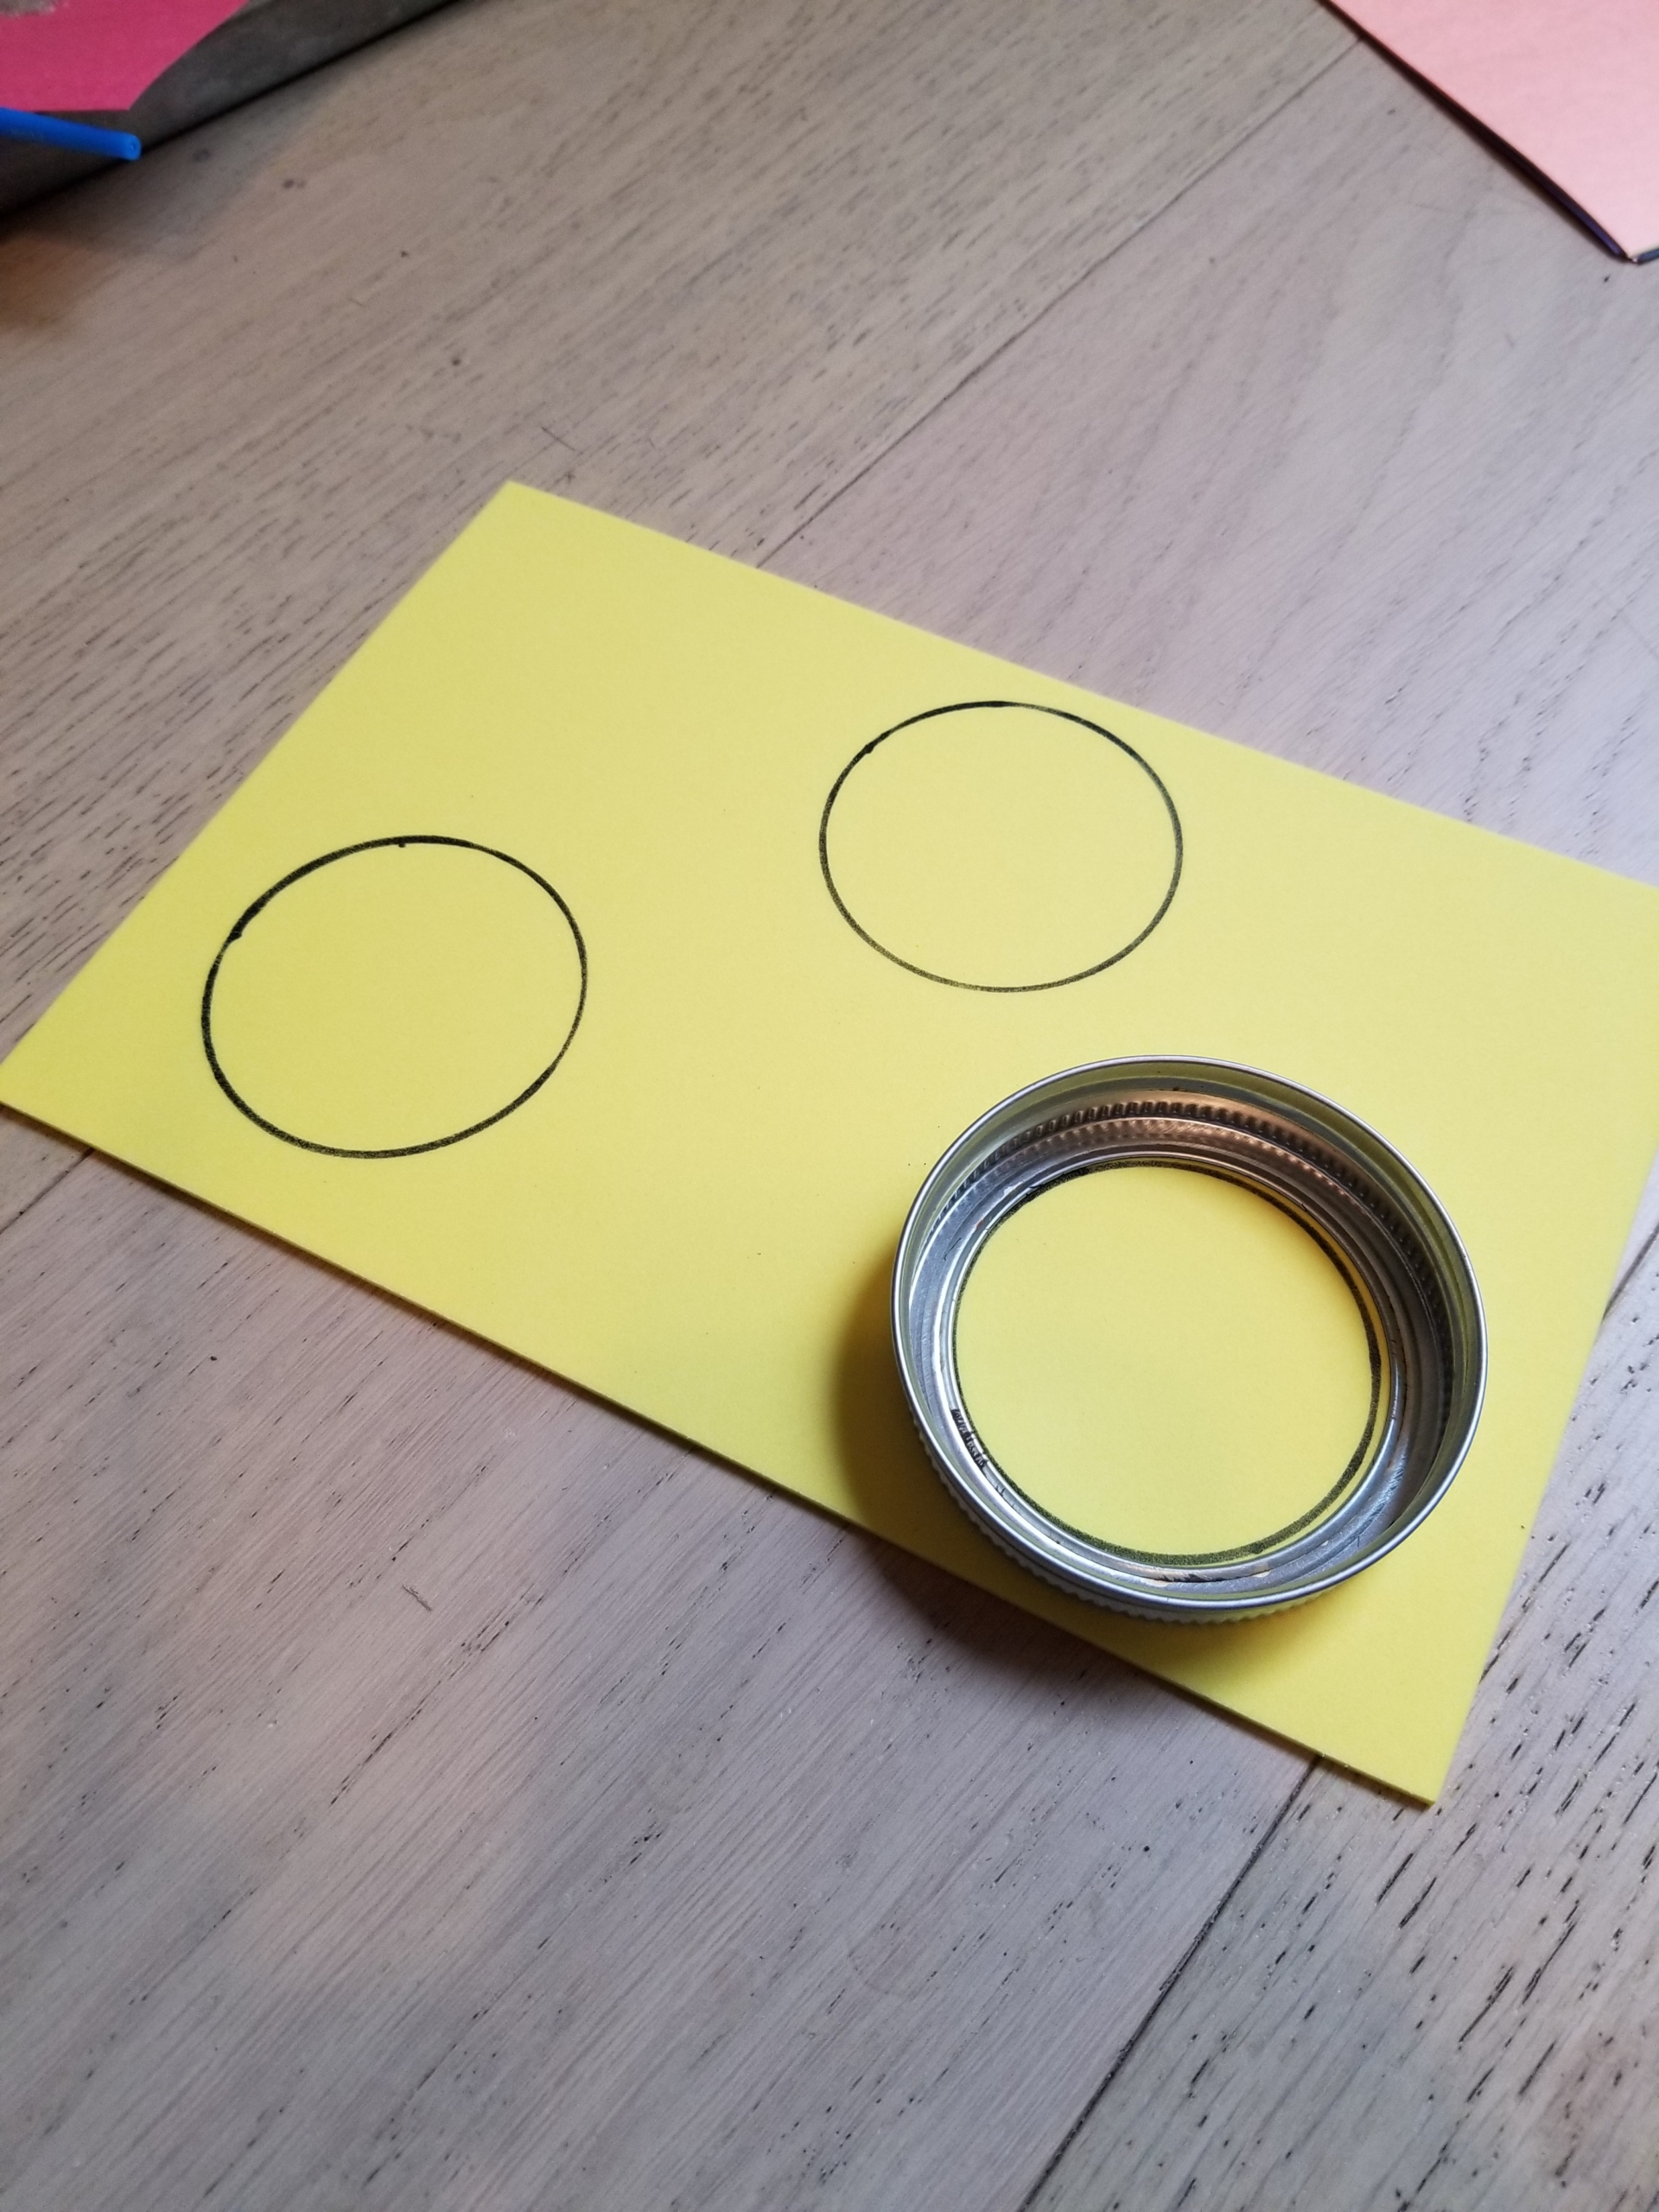
Step 2: Cut out the circles.
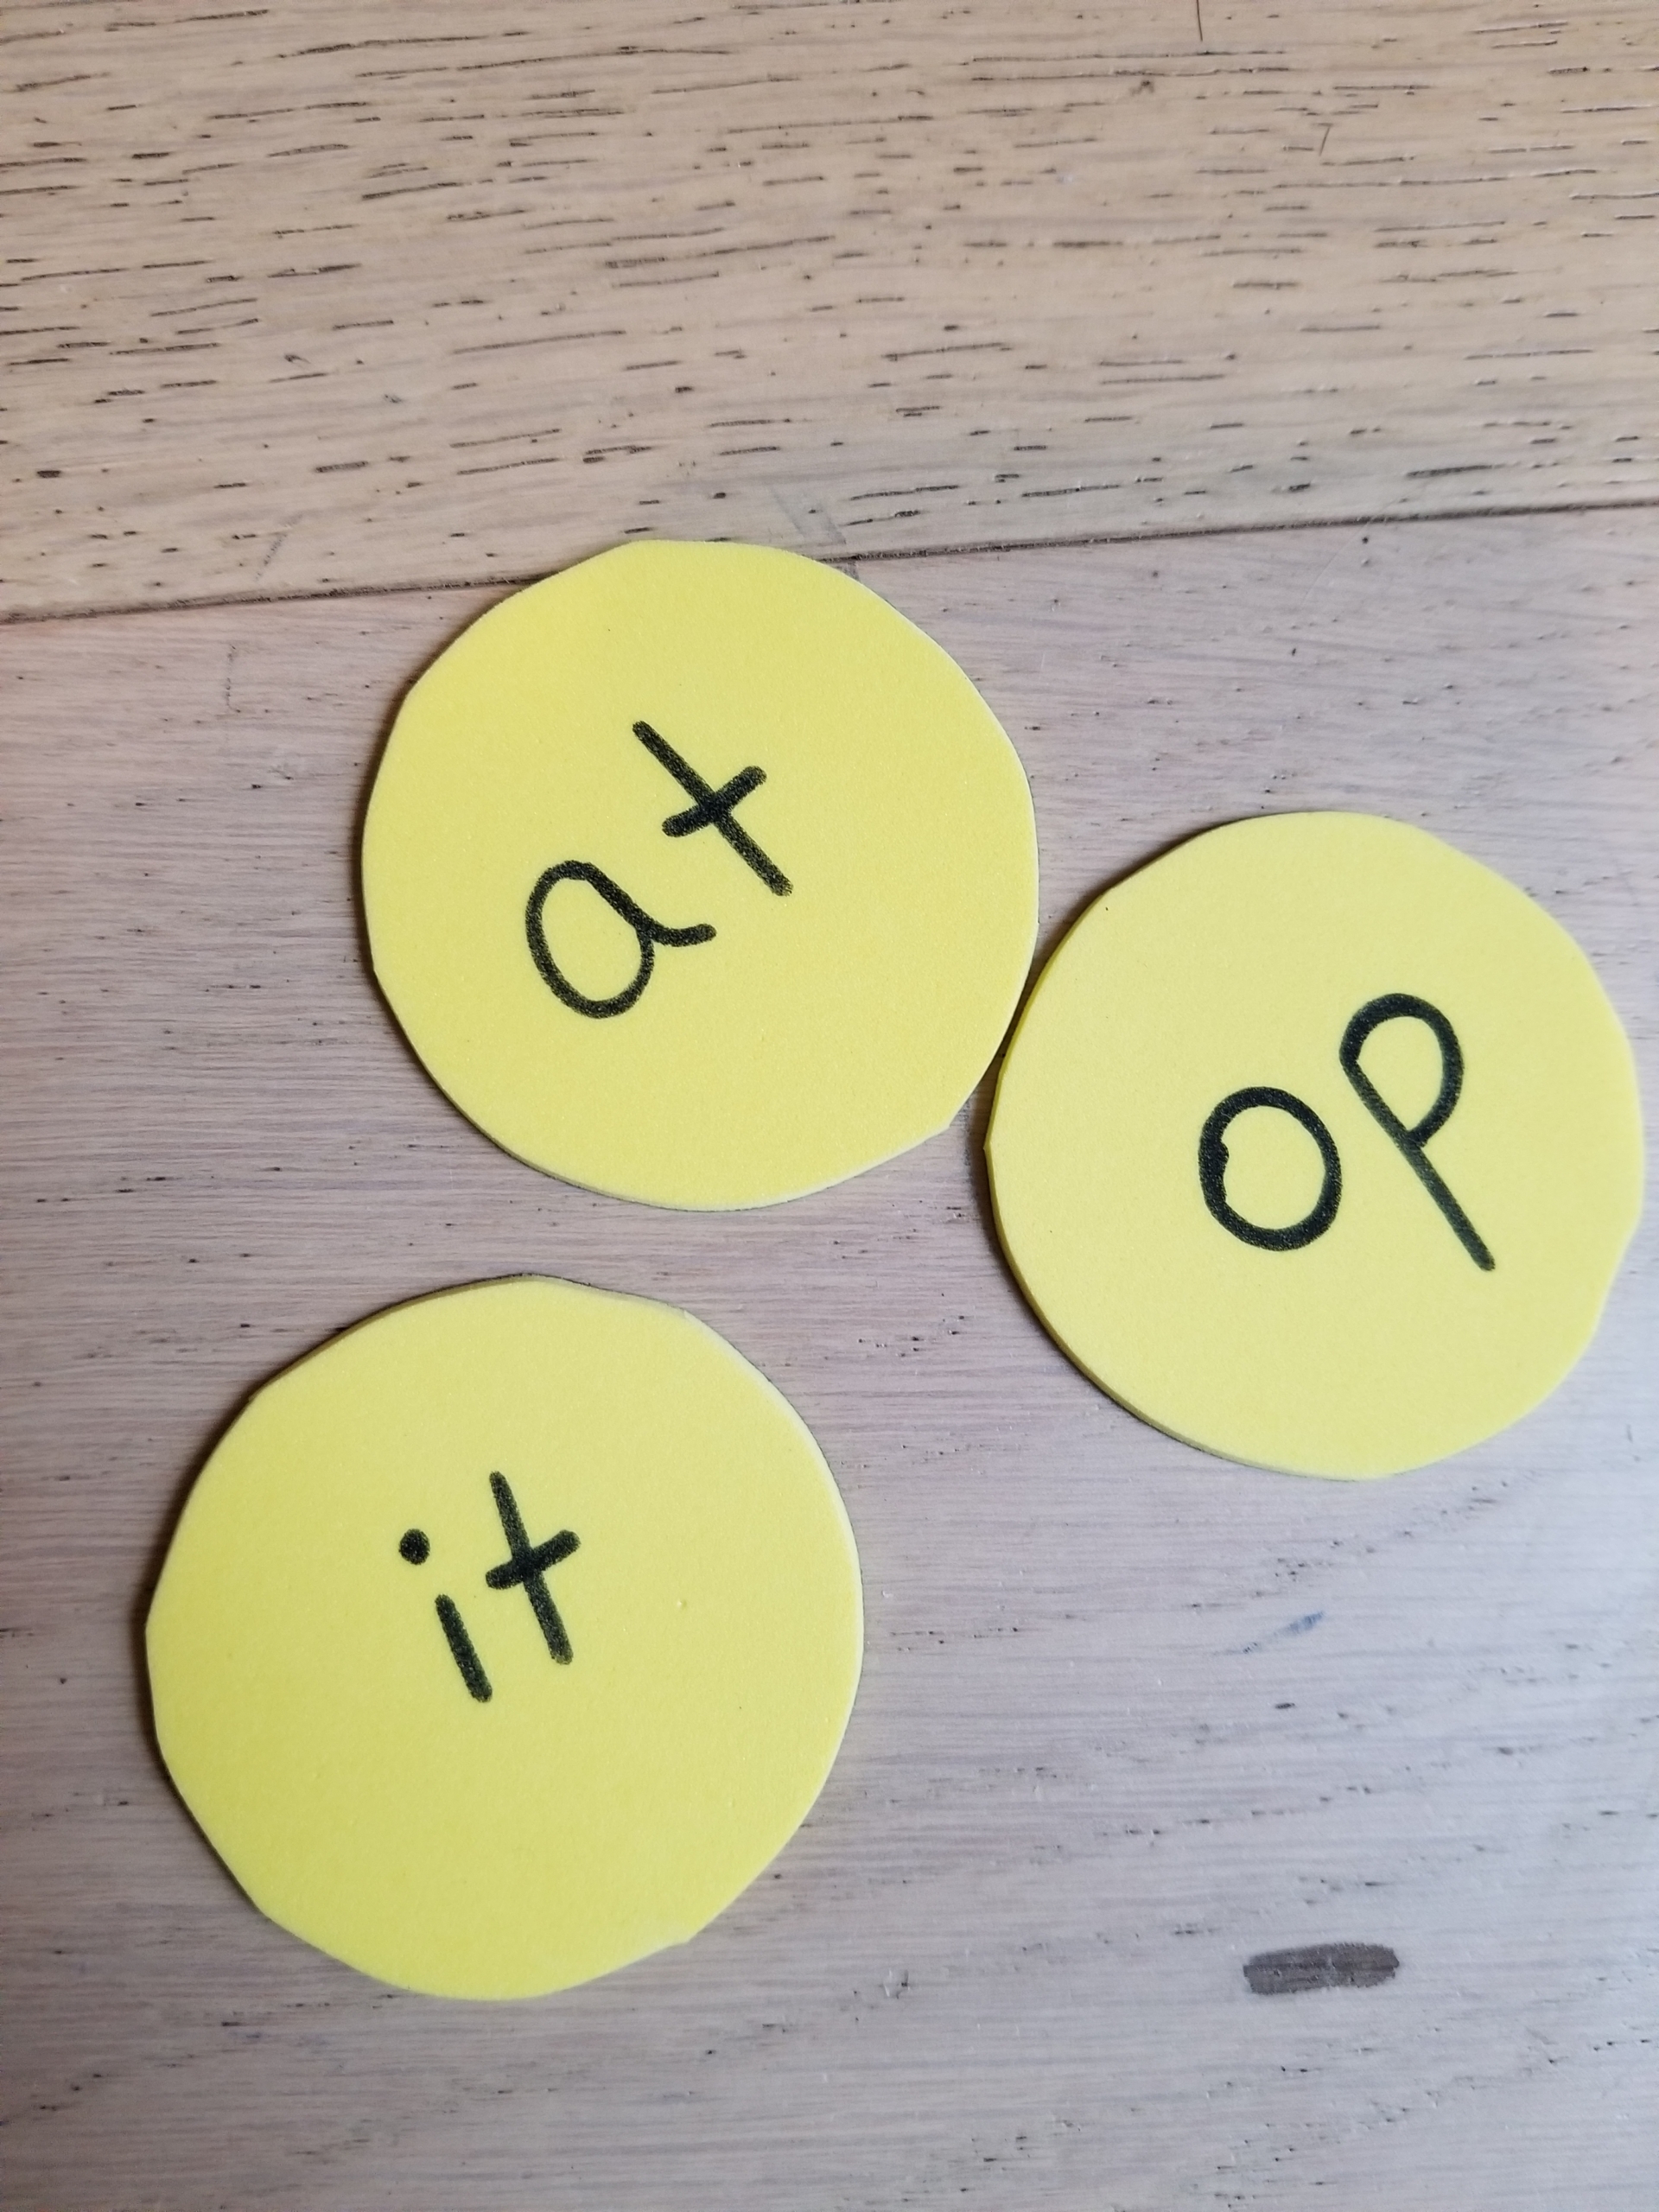
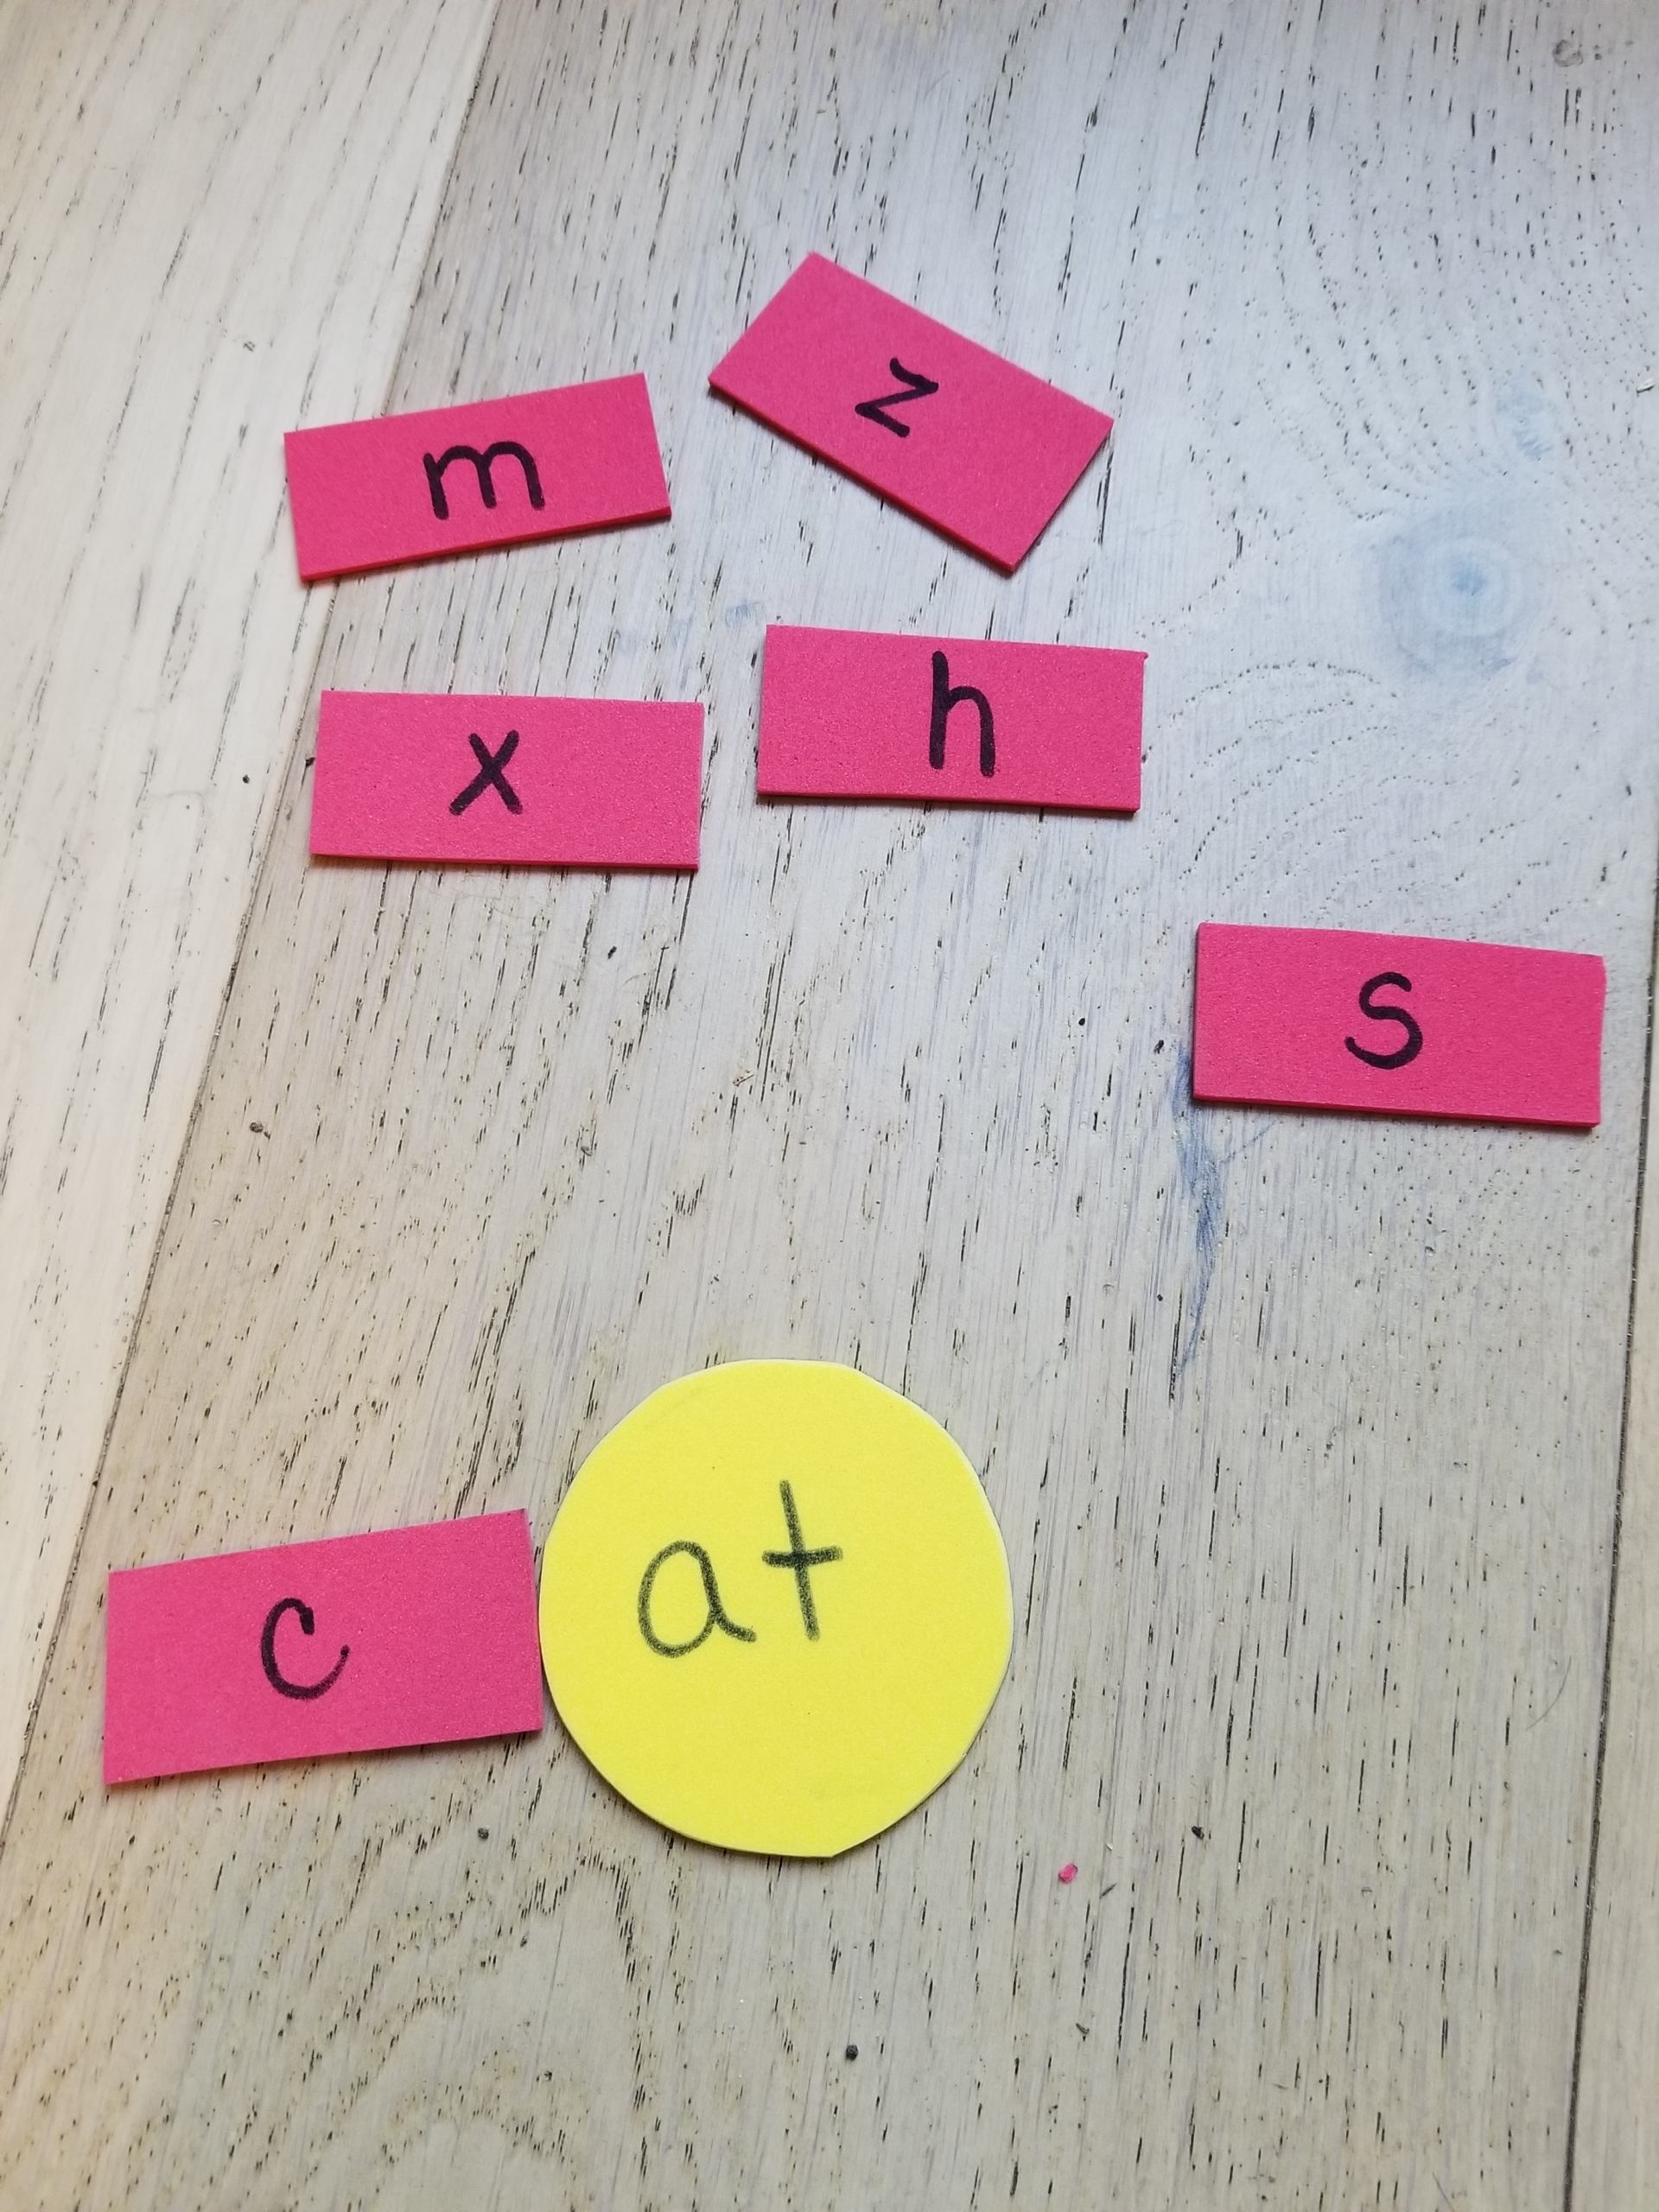
Step 3: In the center of each circle, write the middle and last letter of the words in your chosen word families. Quick start: Use the three in the photo below, or come up with your own word families.
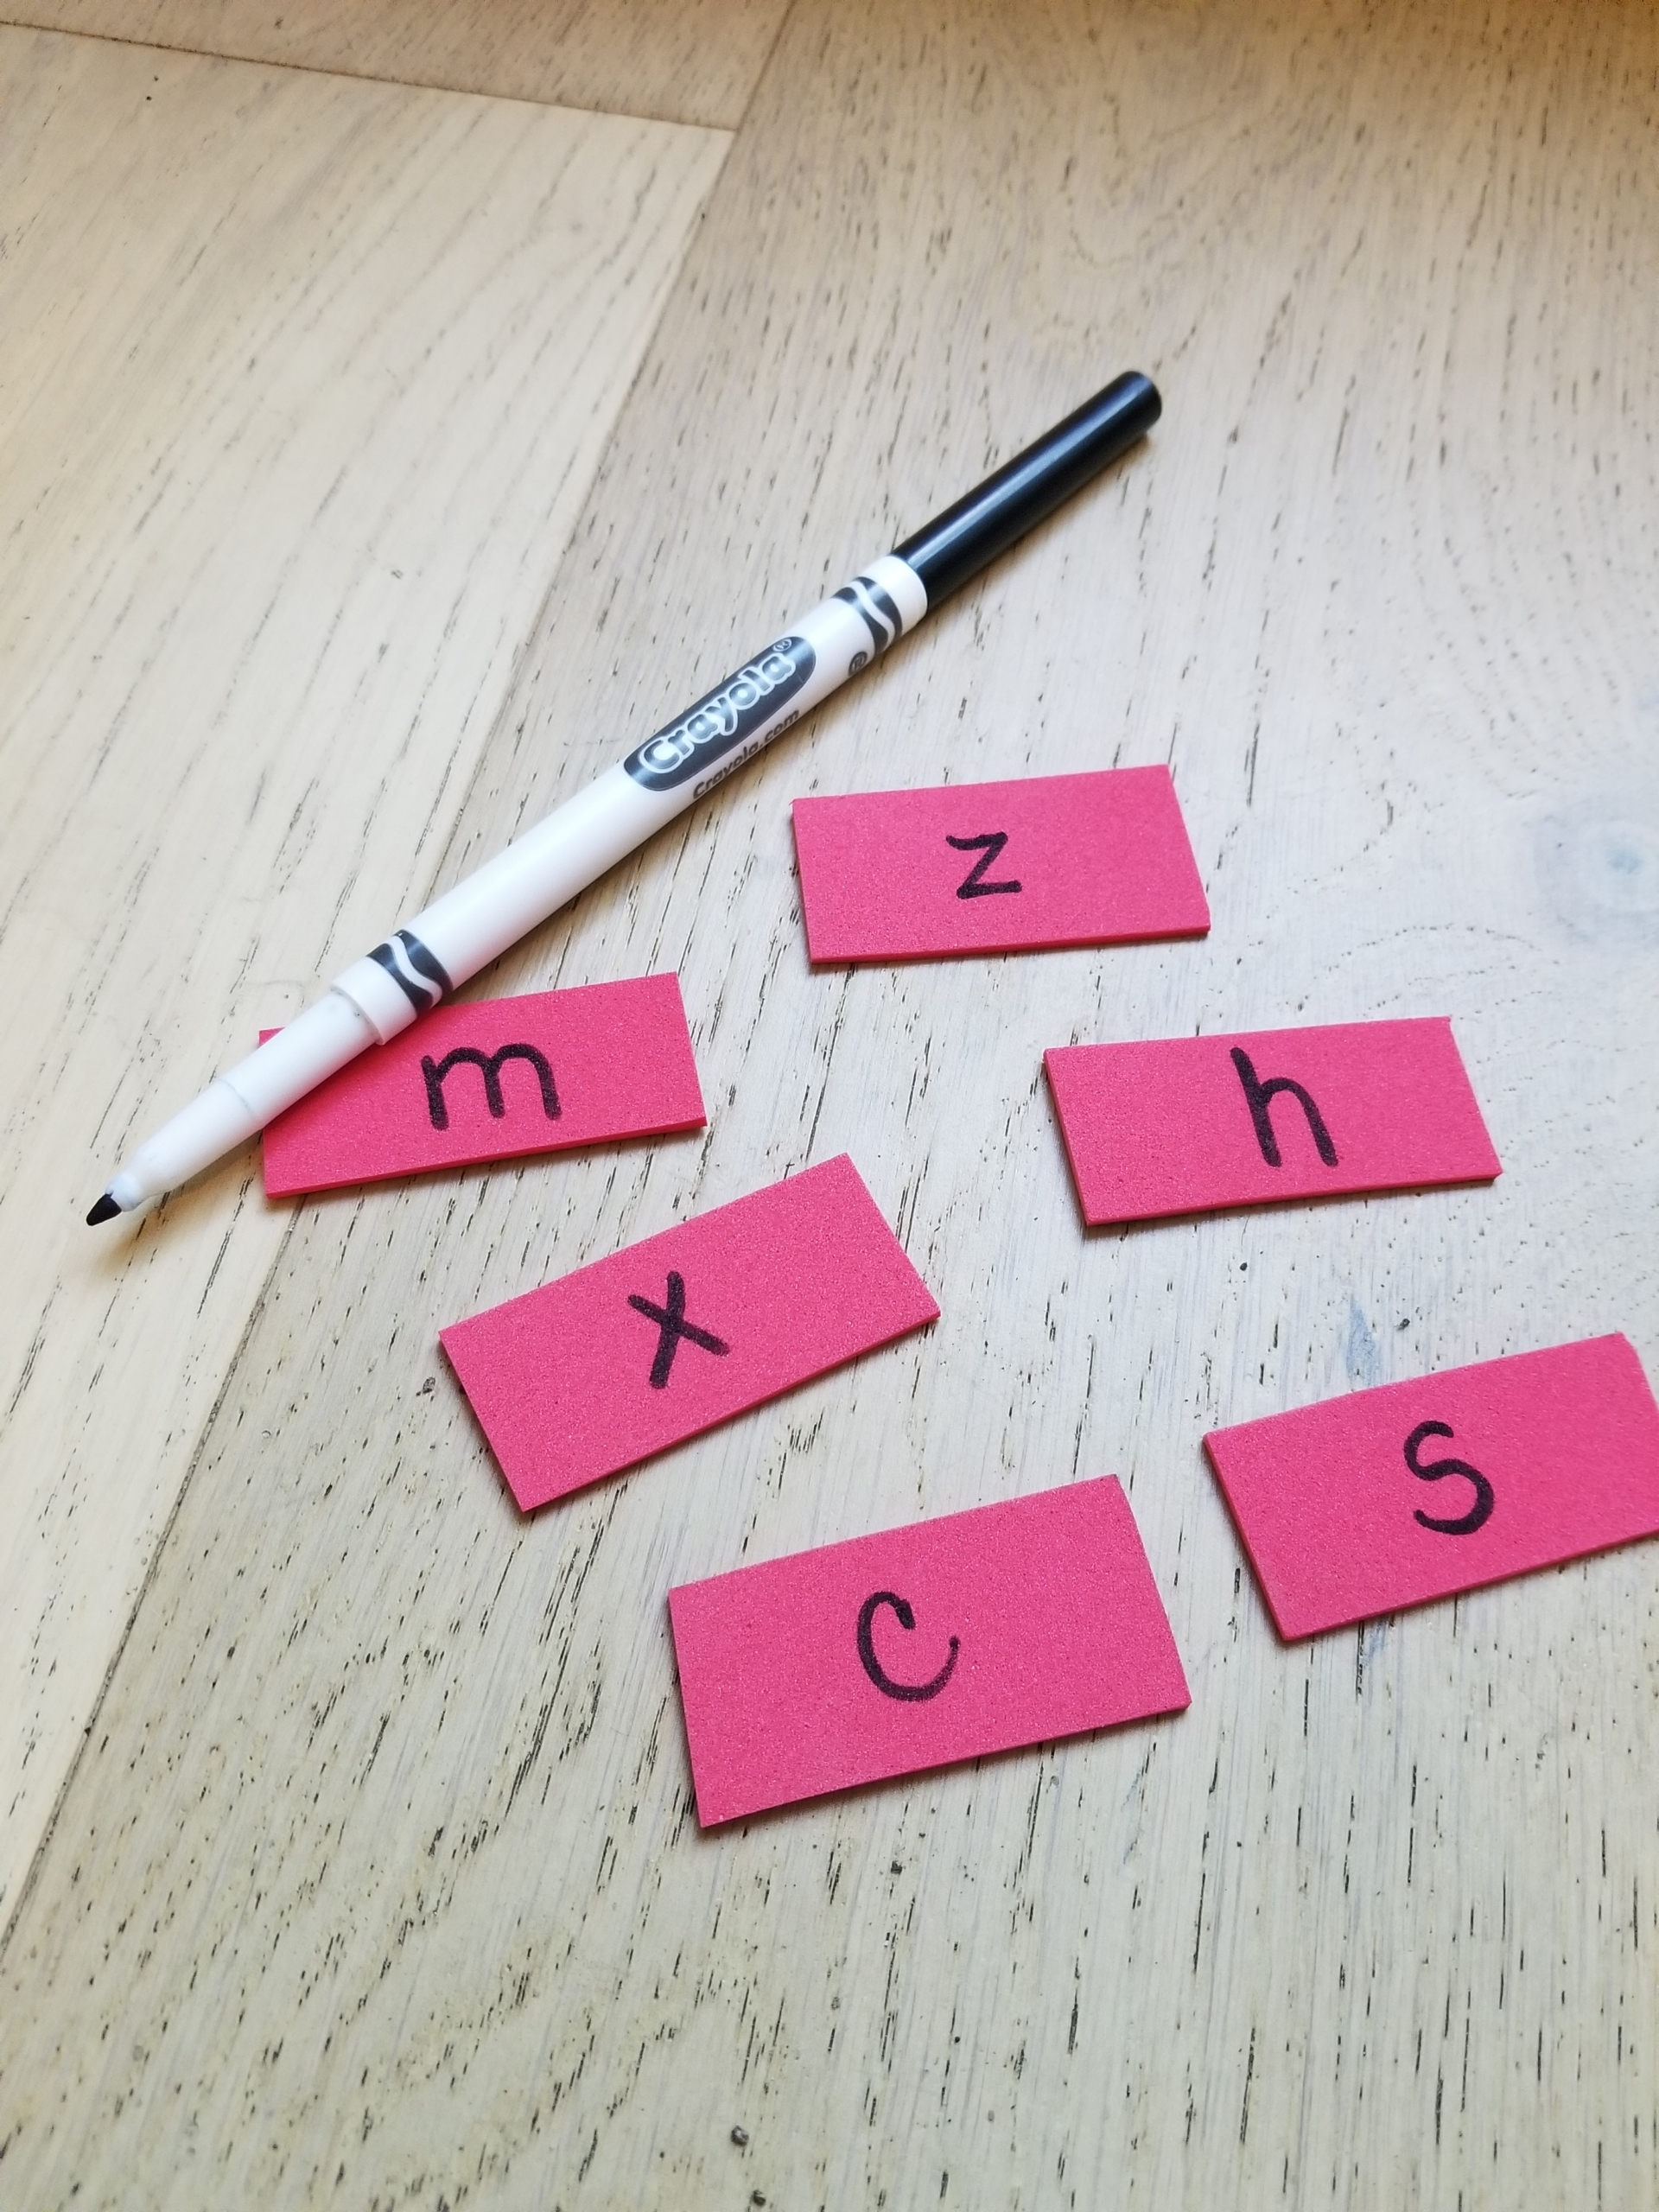
Step 4: For each circle, cut out six or so small rectangles from the second color of craft foam/paper. These will be the petals of your flowers.
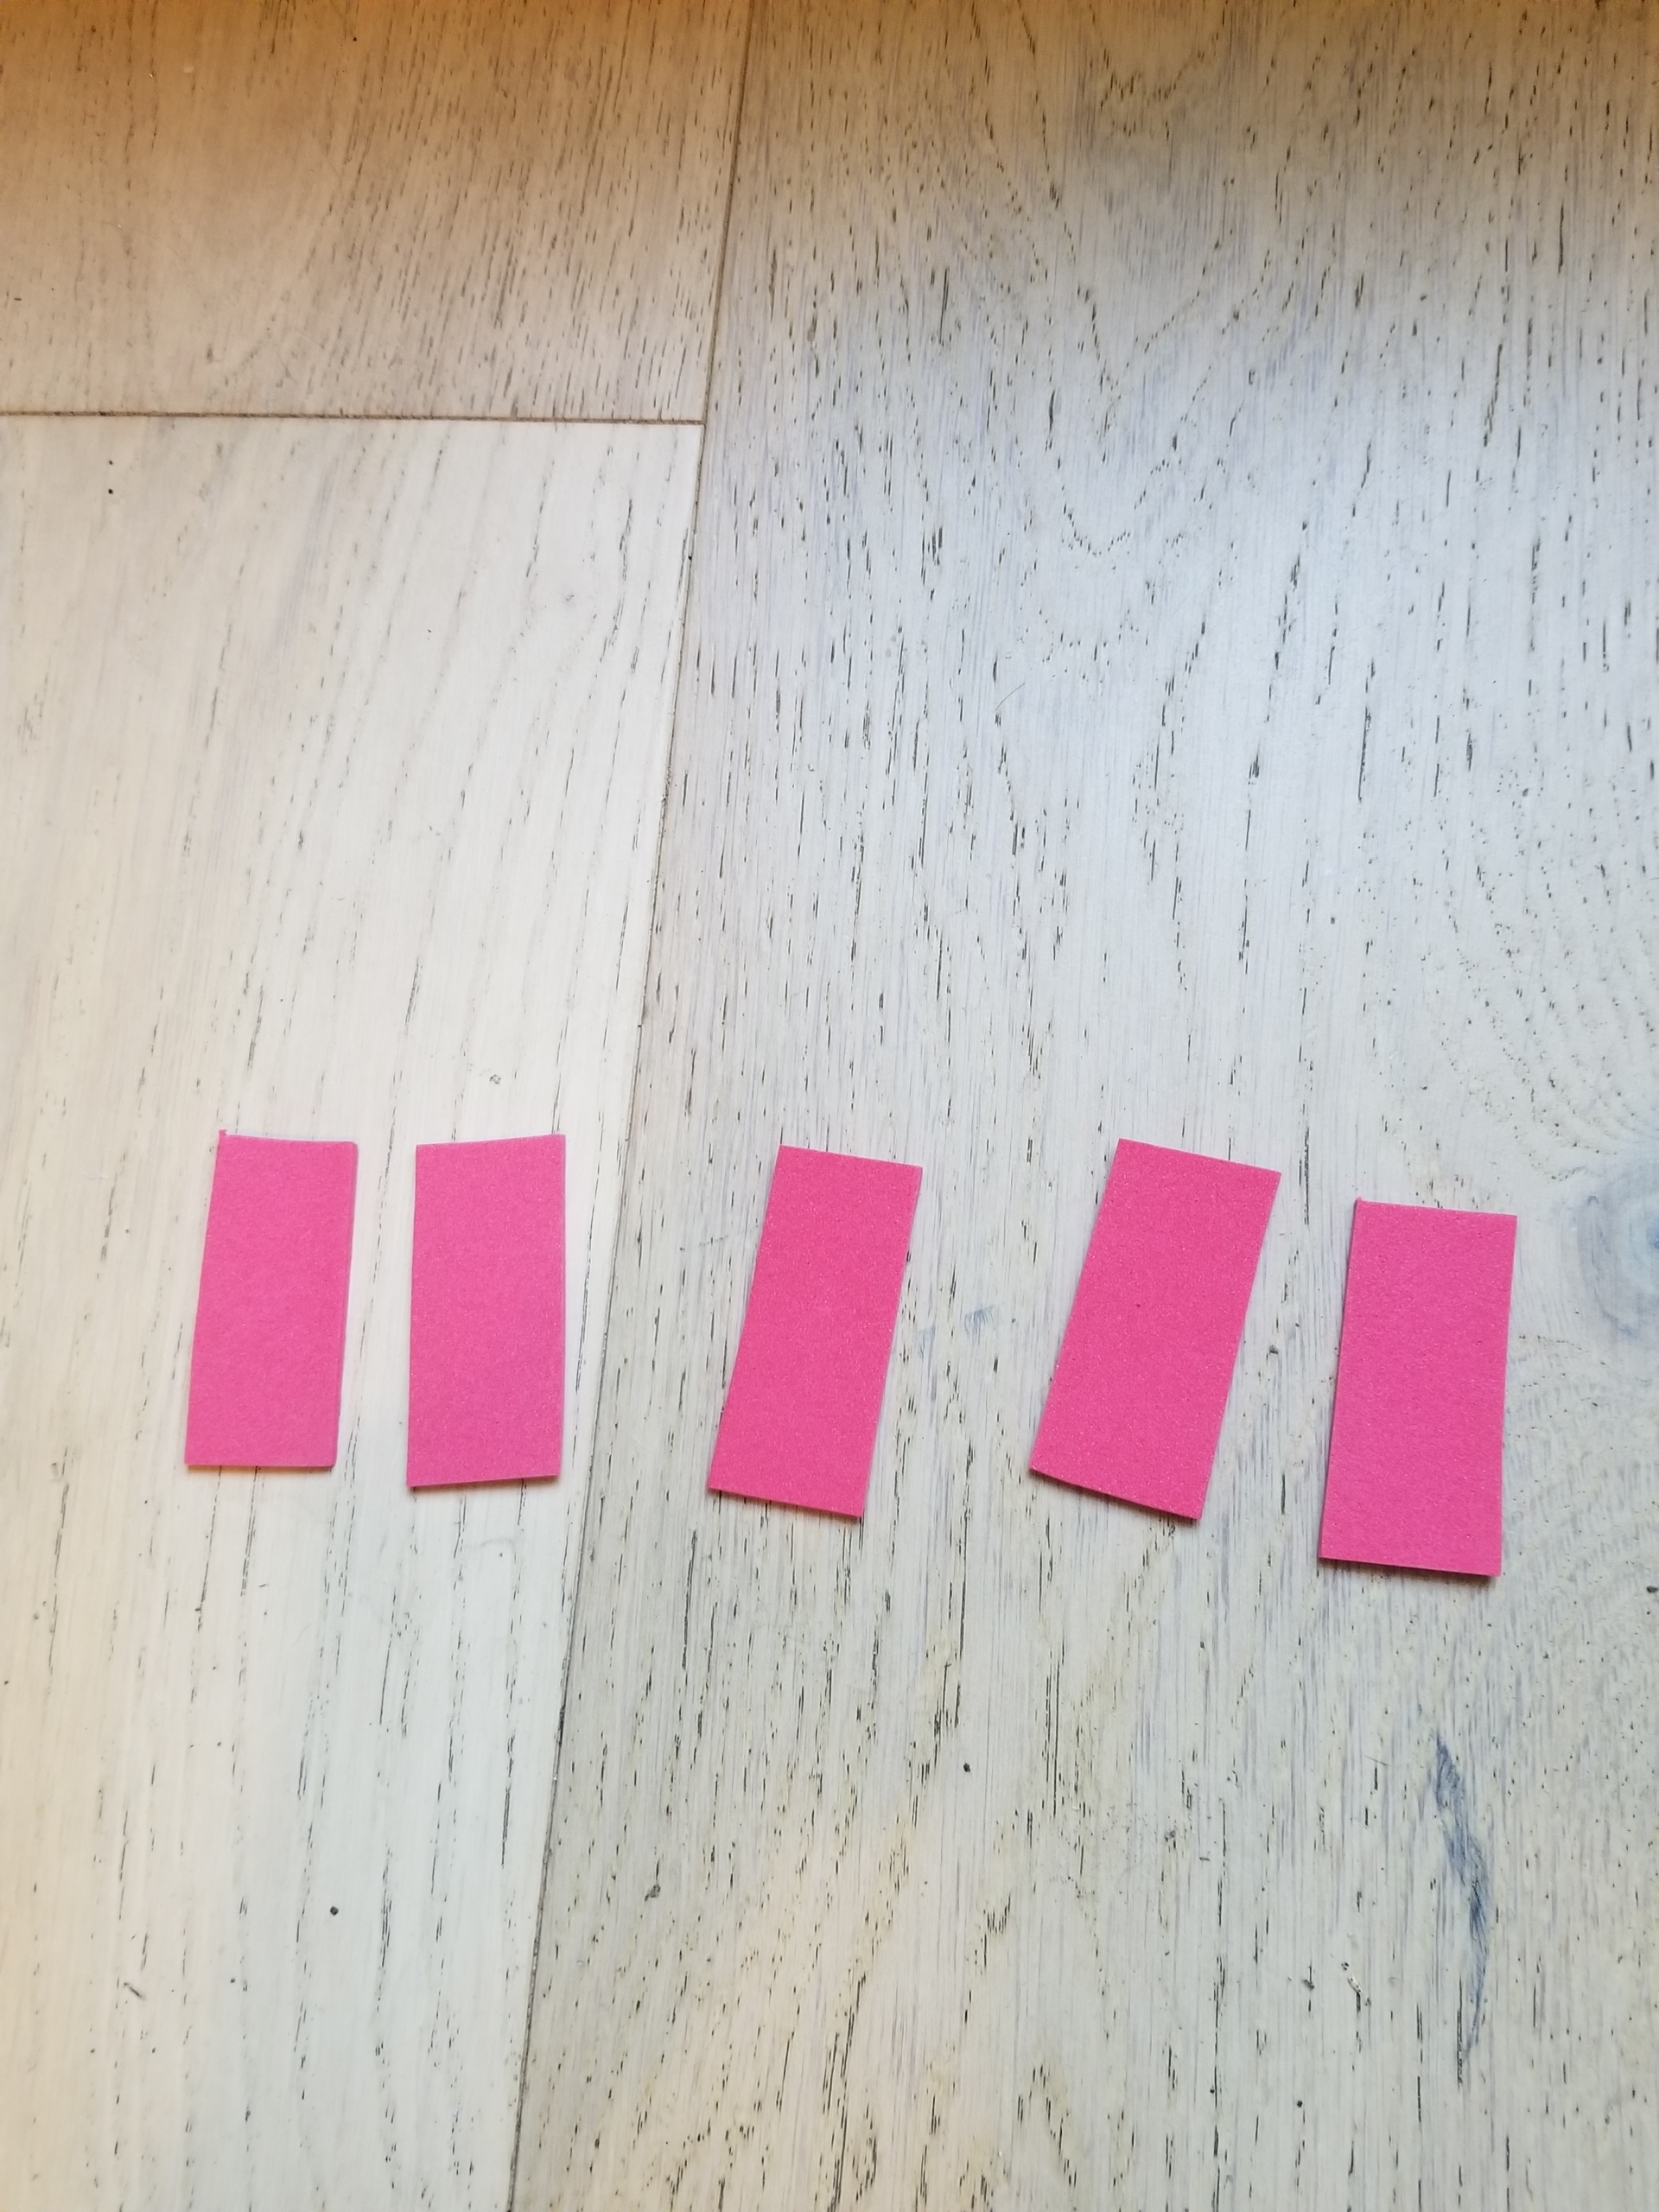
Step 5: On every petal, write a letter. Choose several letters that can create words for your word families, plus some letters that won’t make words for your word family. Quick start: If you’re using the word families above, and you want to make the petals interchangeable, here is a selection of letters that will work: b, c, h, m, p, r, s, f, t, l, d, g, n, w, x, y, z, j.
Step 6: Give your child the center of the flower. Help them sound out the letters written inside.
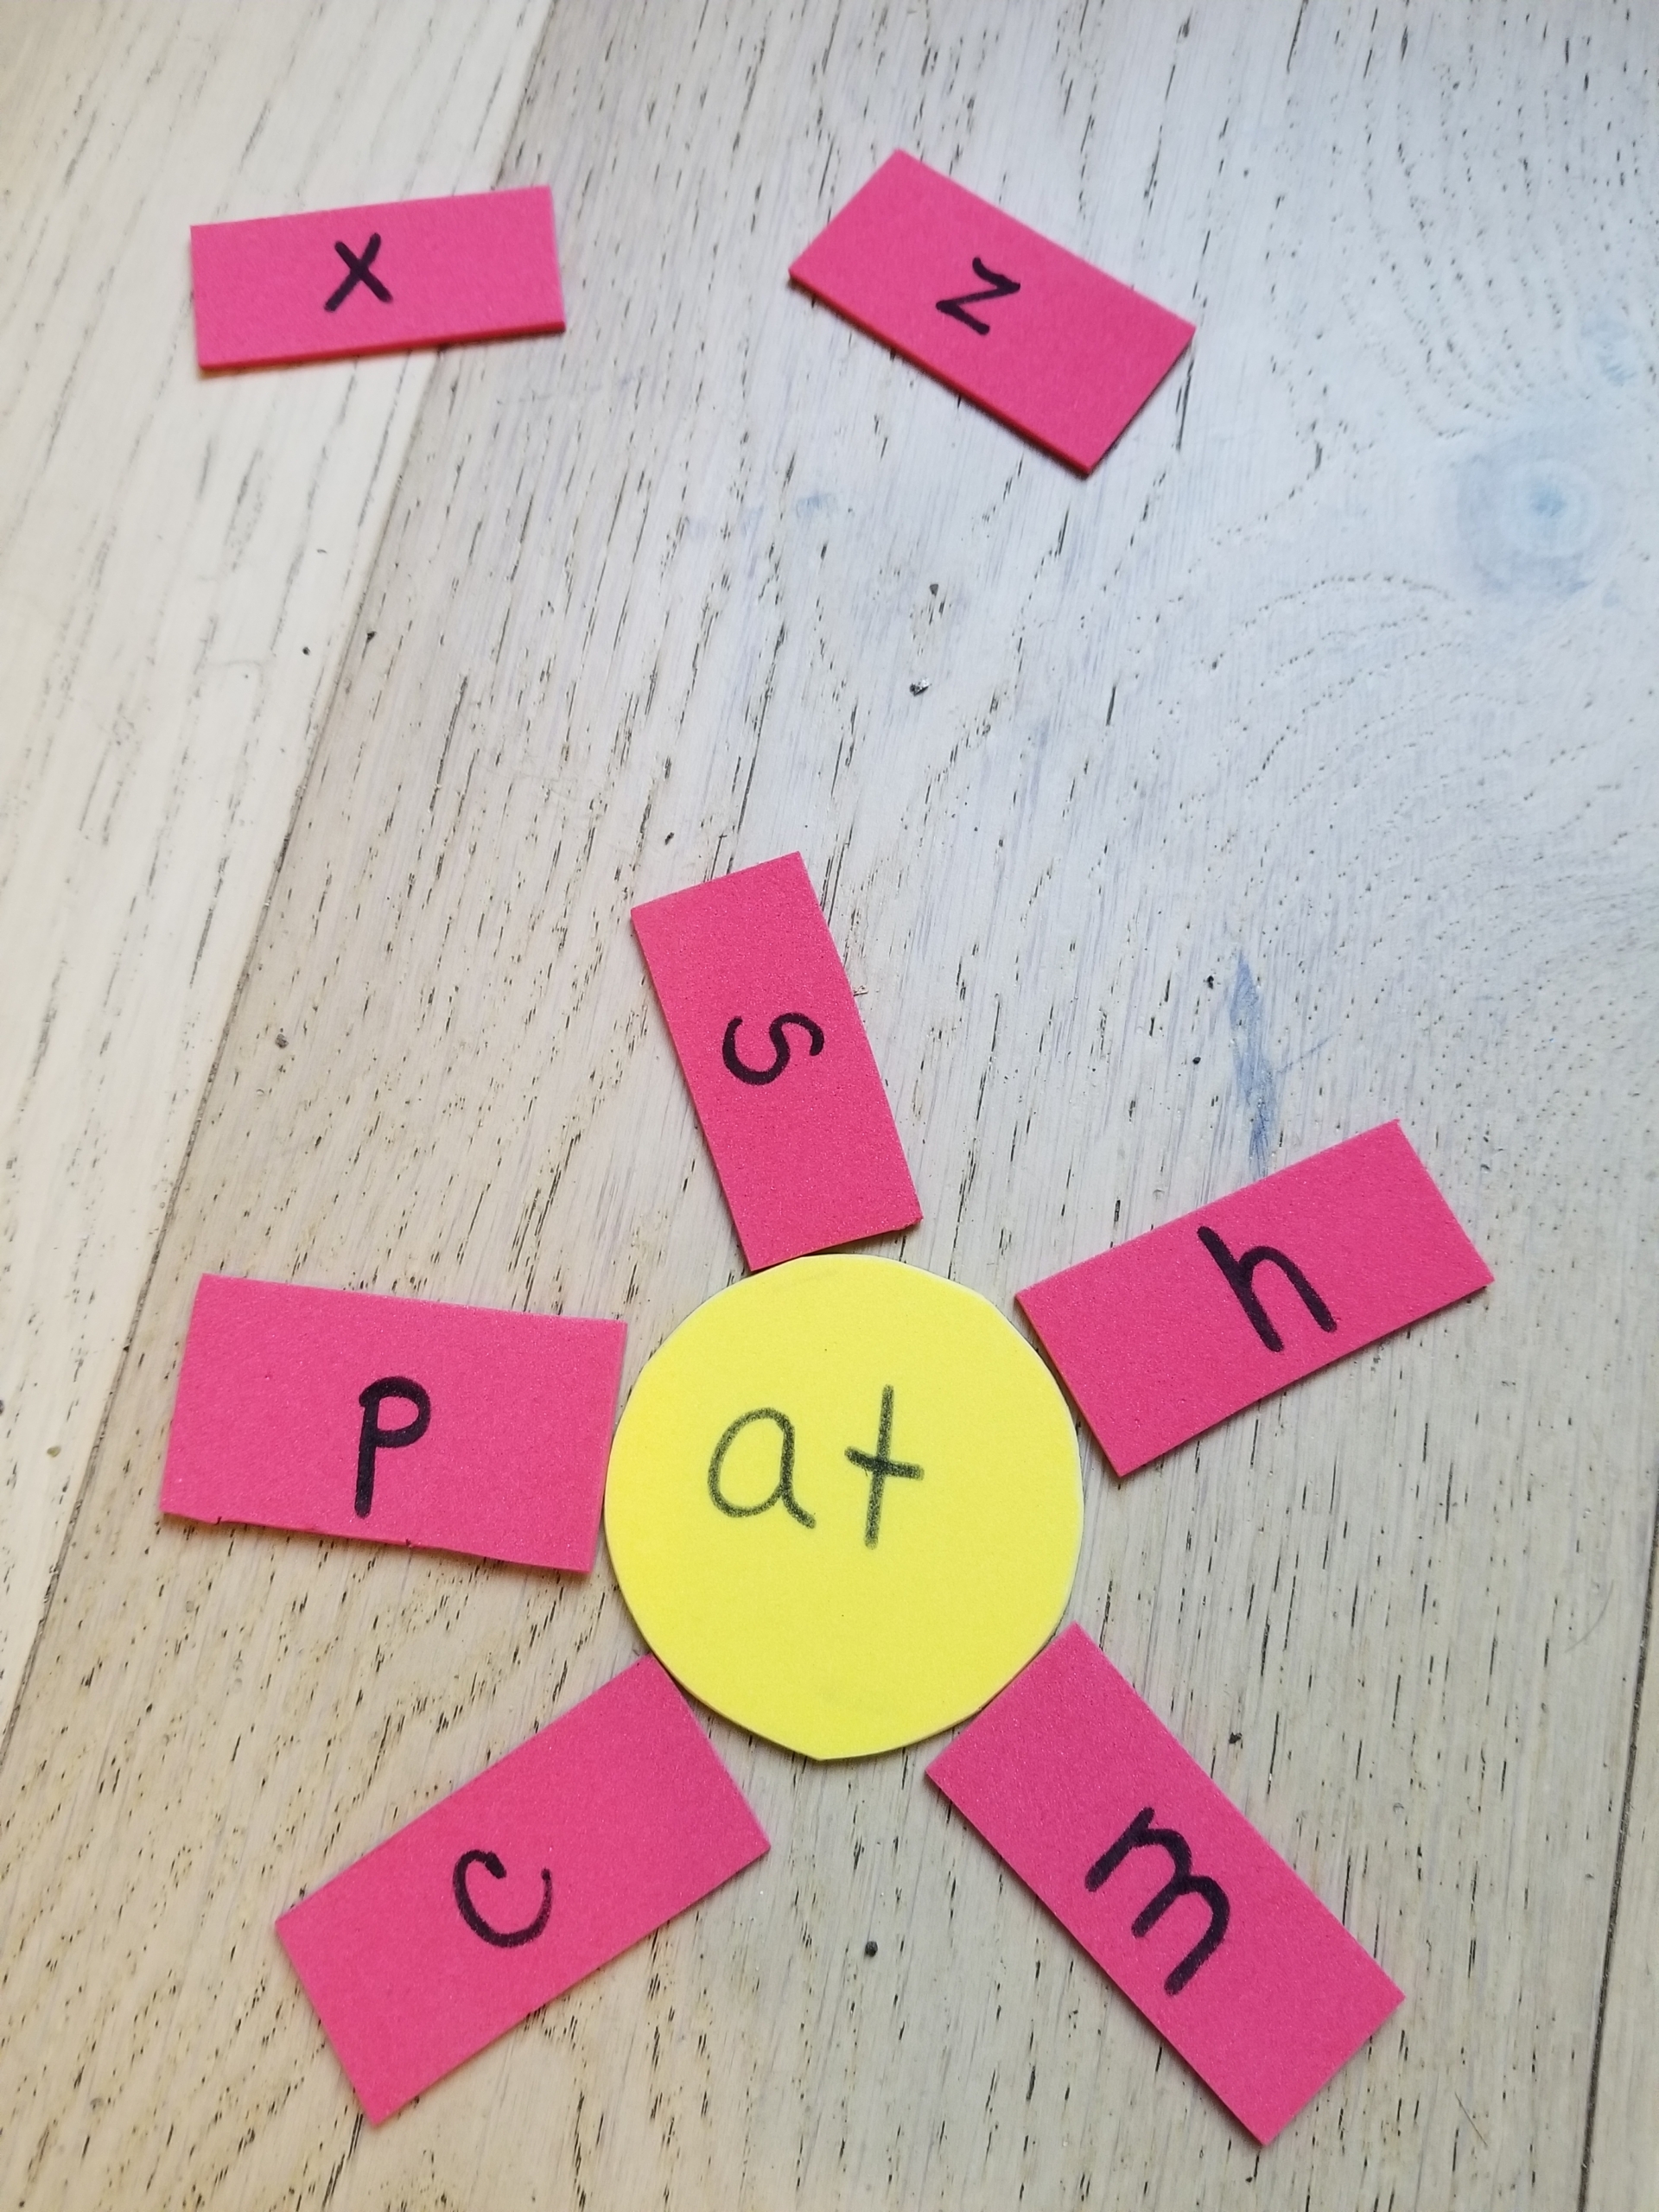
Step 7: Next, show them some of the petals with the letters. Ask, “If you put this petal on the flower, does it make a word?” Guide your child in sounding out the letters. If that letter makes an actual word, the petal stays on. If not, the petal gets “picked.” Tip: To keep it from being overwhelming, only show kids about six letters for each family, including many that make words. If they’re ready, you can push them by showing more letters all at once.
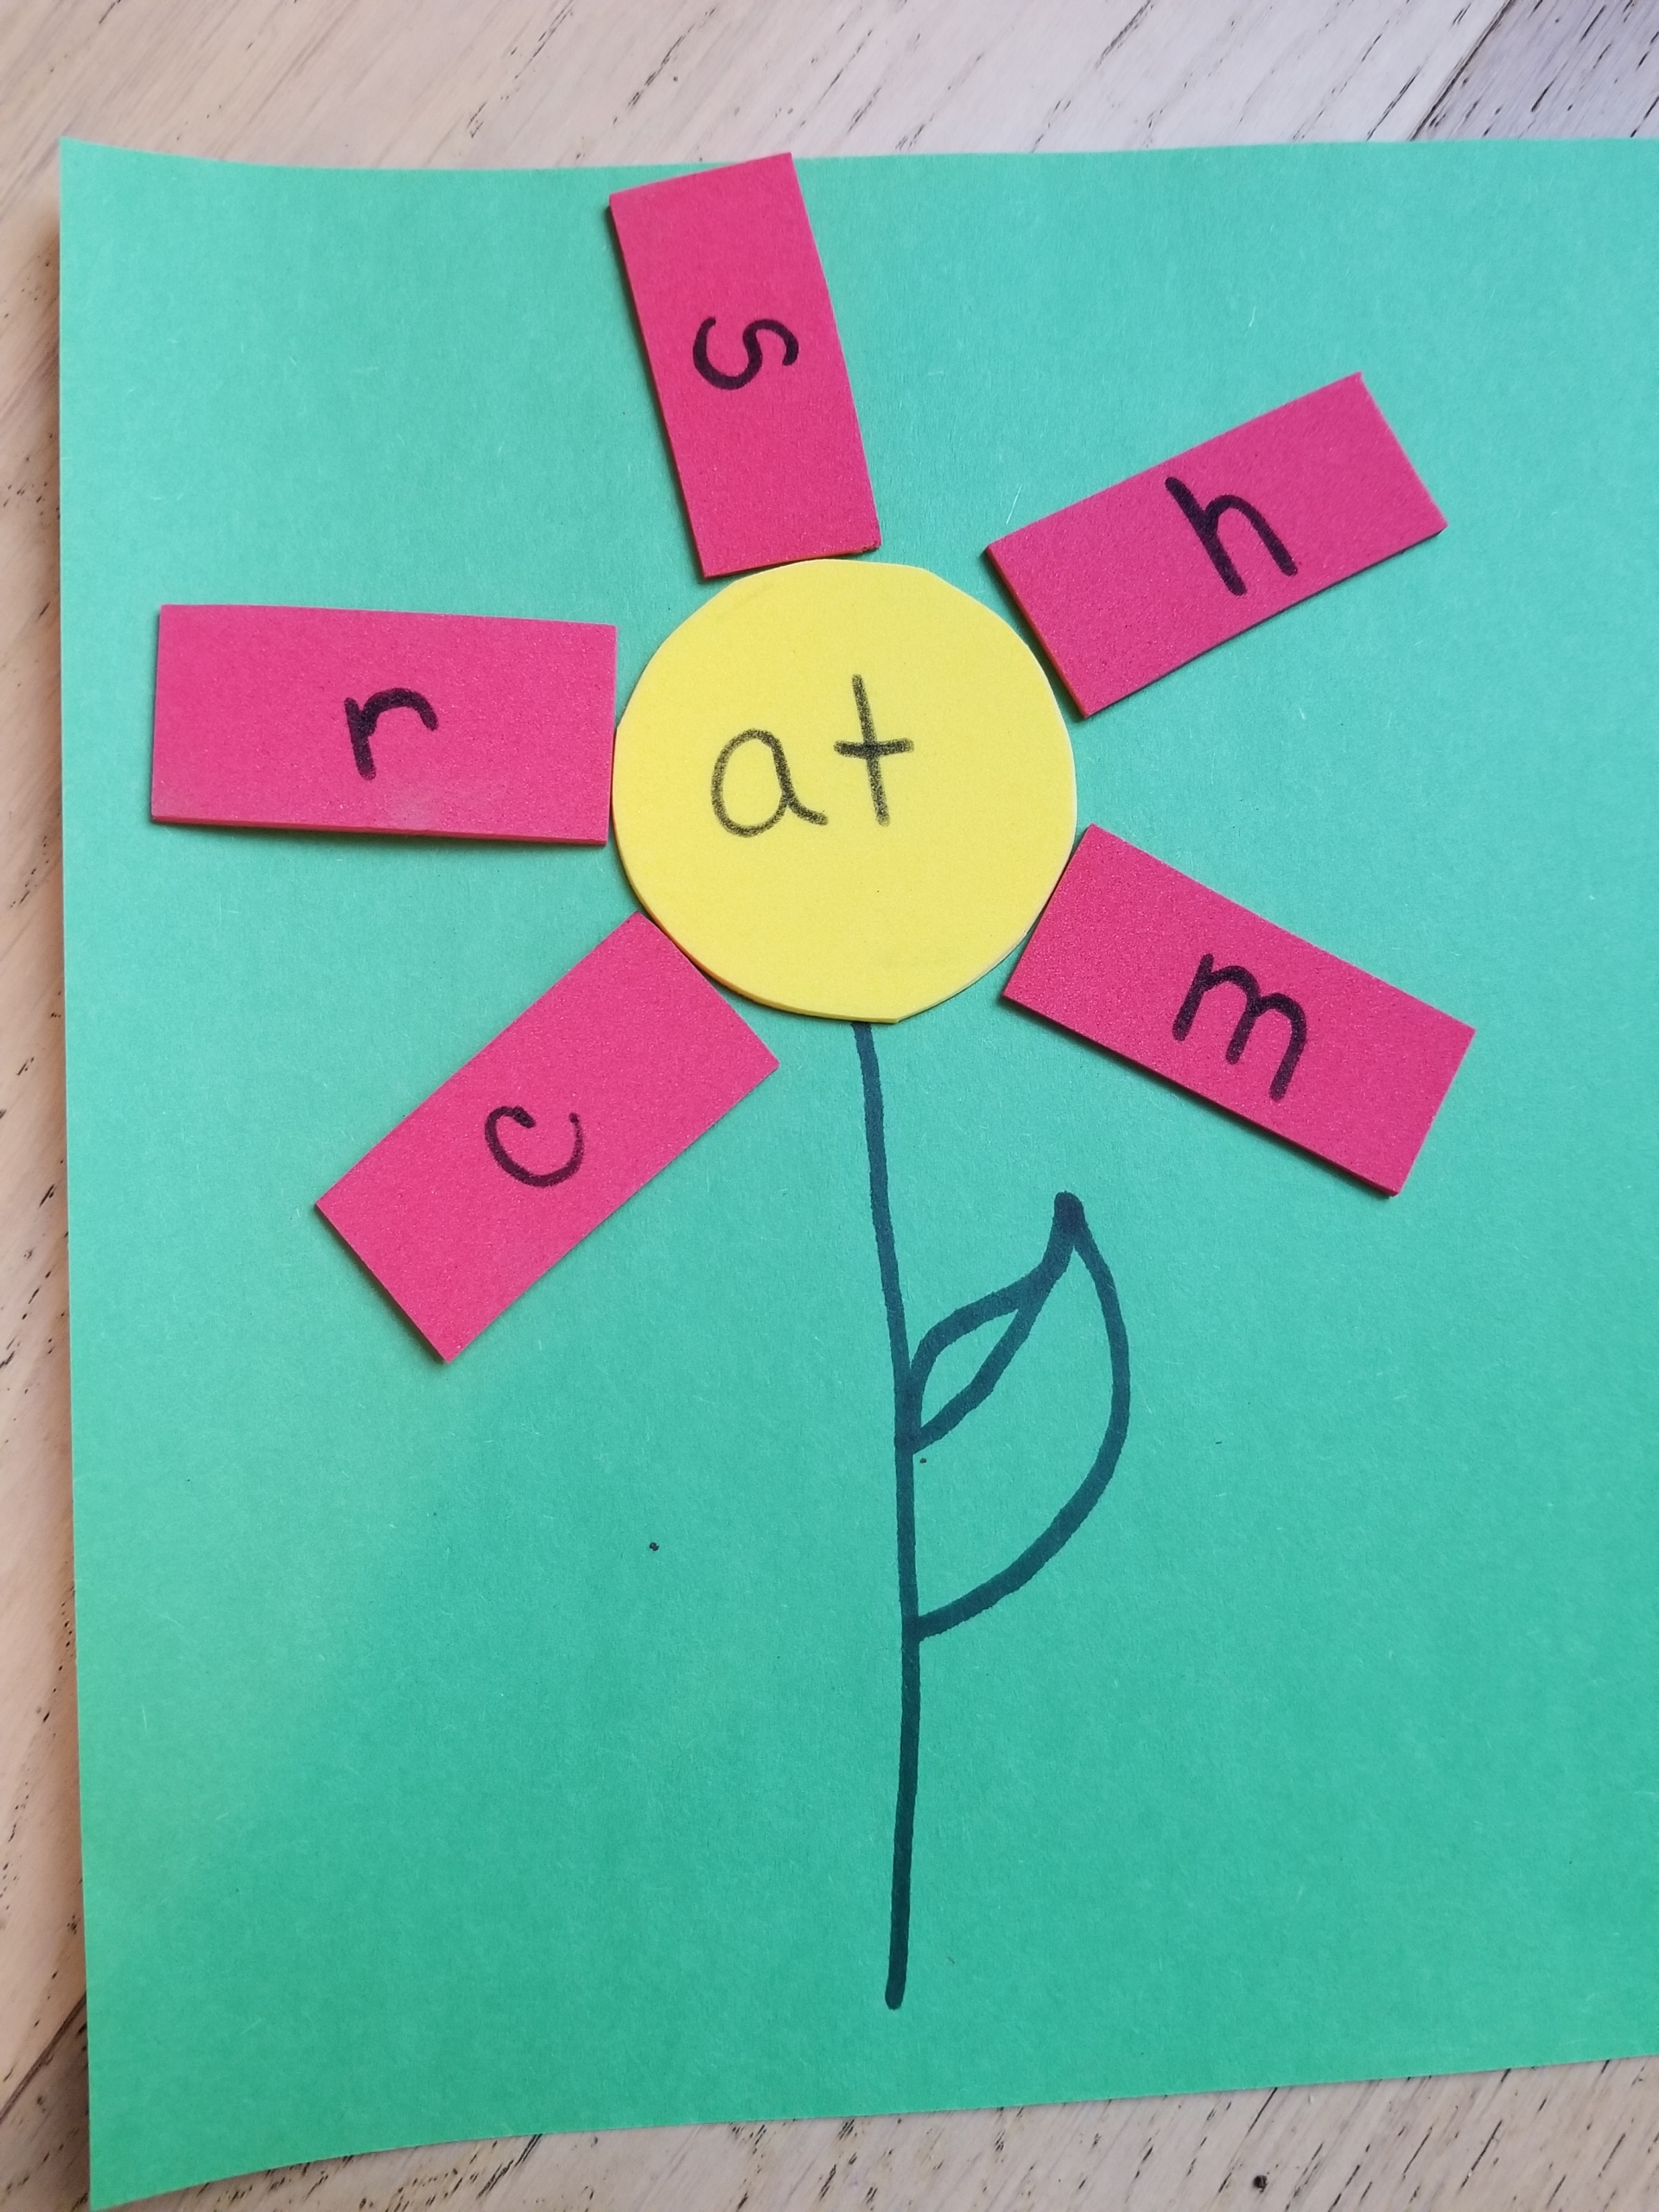
Step 8: After trying every letter, the petals that remain are your flower word family! Keep the pieces loose to make word families any time you like. Optional: Help your child glue your flower family centers to green paper and add a stem, creating a fun display to experiment with adding various petals.
Feel free to keep going and make as many different flowers as there are word families. Here’s a link to a word family list to get you started.
You can create a garden of words to visit again and again. And along the way, your little ones will blossom into readers and writers!
