Winter is here and you know what that means. (Or may I say, you snow what that means?) It’s time to help your kids make some seasonal crafts and decorations! And because we’re all about raising readers at MayaSmart.com, we’re going to throw some literacy practice into the mix, too.
In this educational winter craft, we’ll make word family snowmen that teach kids reading skills and make cute decorations for your home. All you need for this easy activity is 15 minutes (or less if you sign up to get our free printable—details below!) and some basic materials.
Word families are groups of rhyming words that share the same ending (both the spelling and pronunciation). For example, the “-op” word family includes words like hop, top, pop, and so on. Word families are useful teaching tools that help children recognize patterns and build awareness of the sound structure of words. As they learn to connect certain letter combinations with particular ending sounds, kids can more easily read and spell new related words.
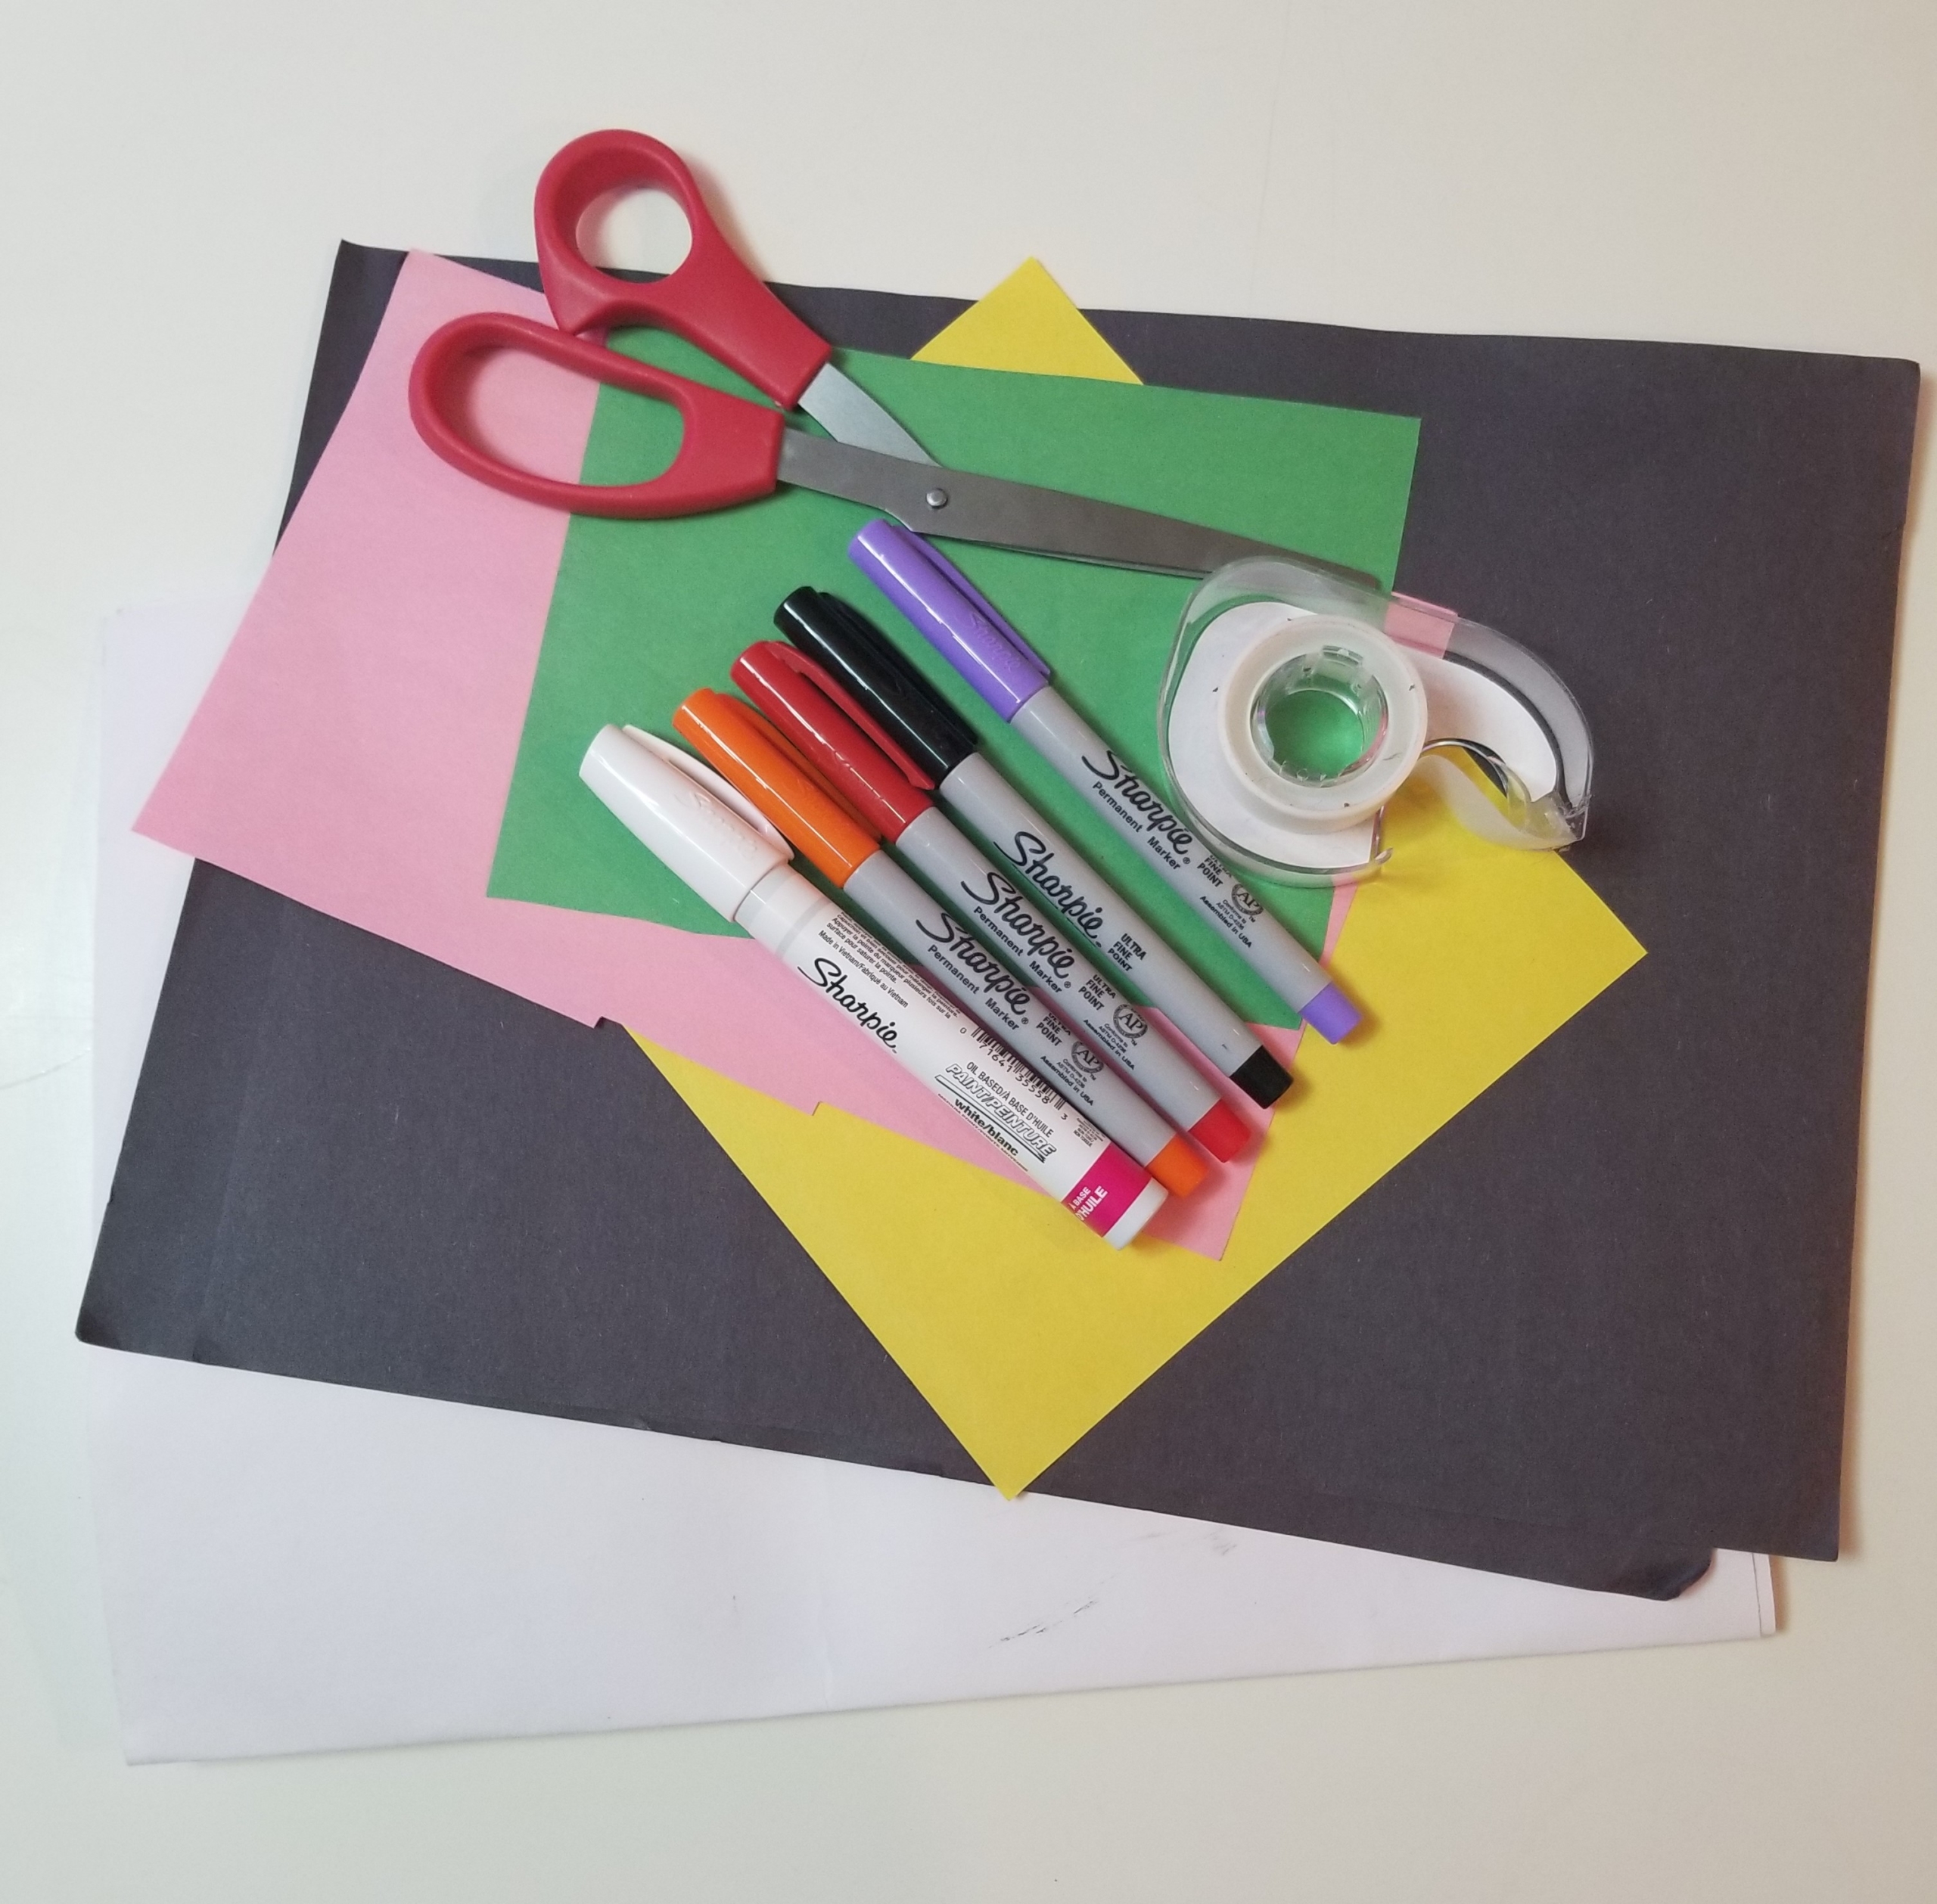
Materials:
- White or silver permanent marker
- Construction paper/cardstock: 1 sheet each of black, white, and 3 colors
- Scissors
- Tape or glue
- Markers
Cost: $0-5
Set the Scene: If you’re ready to really get in the snowman spirit, I highly recommend reading one of these terrific snow-themed books to go along with your educational winter craft. Snuggle up and read Snowmen at Night by Caralyn Buehner, The Snowy Day by Ezra Jack Keats, A Big Bed for Little Snow by Grace Lin, or Snowballs by Lois Ehlert. (Got other snowy favorites? Let us know in the comments below or on social media!)
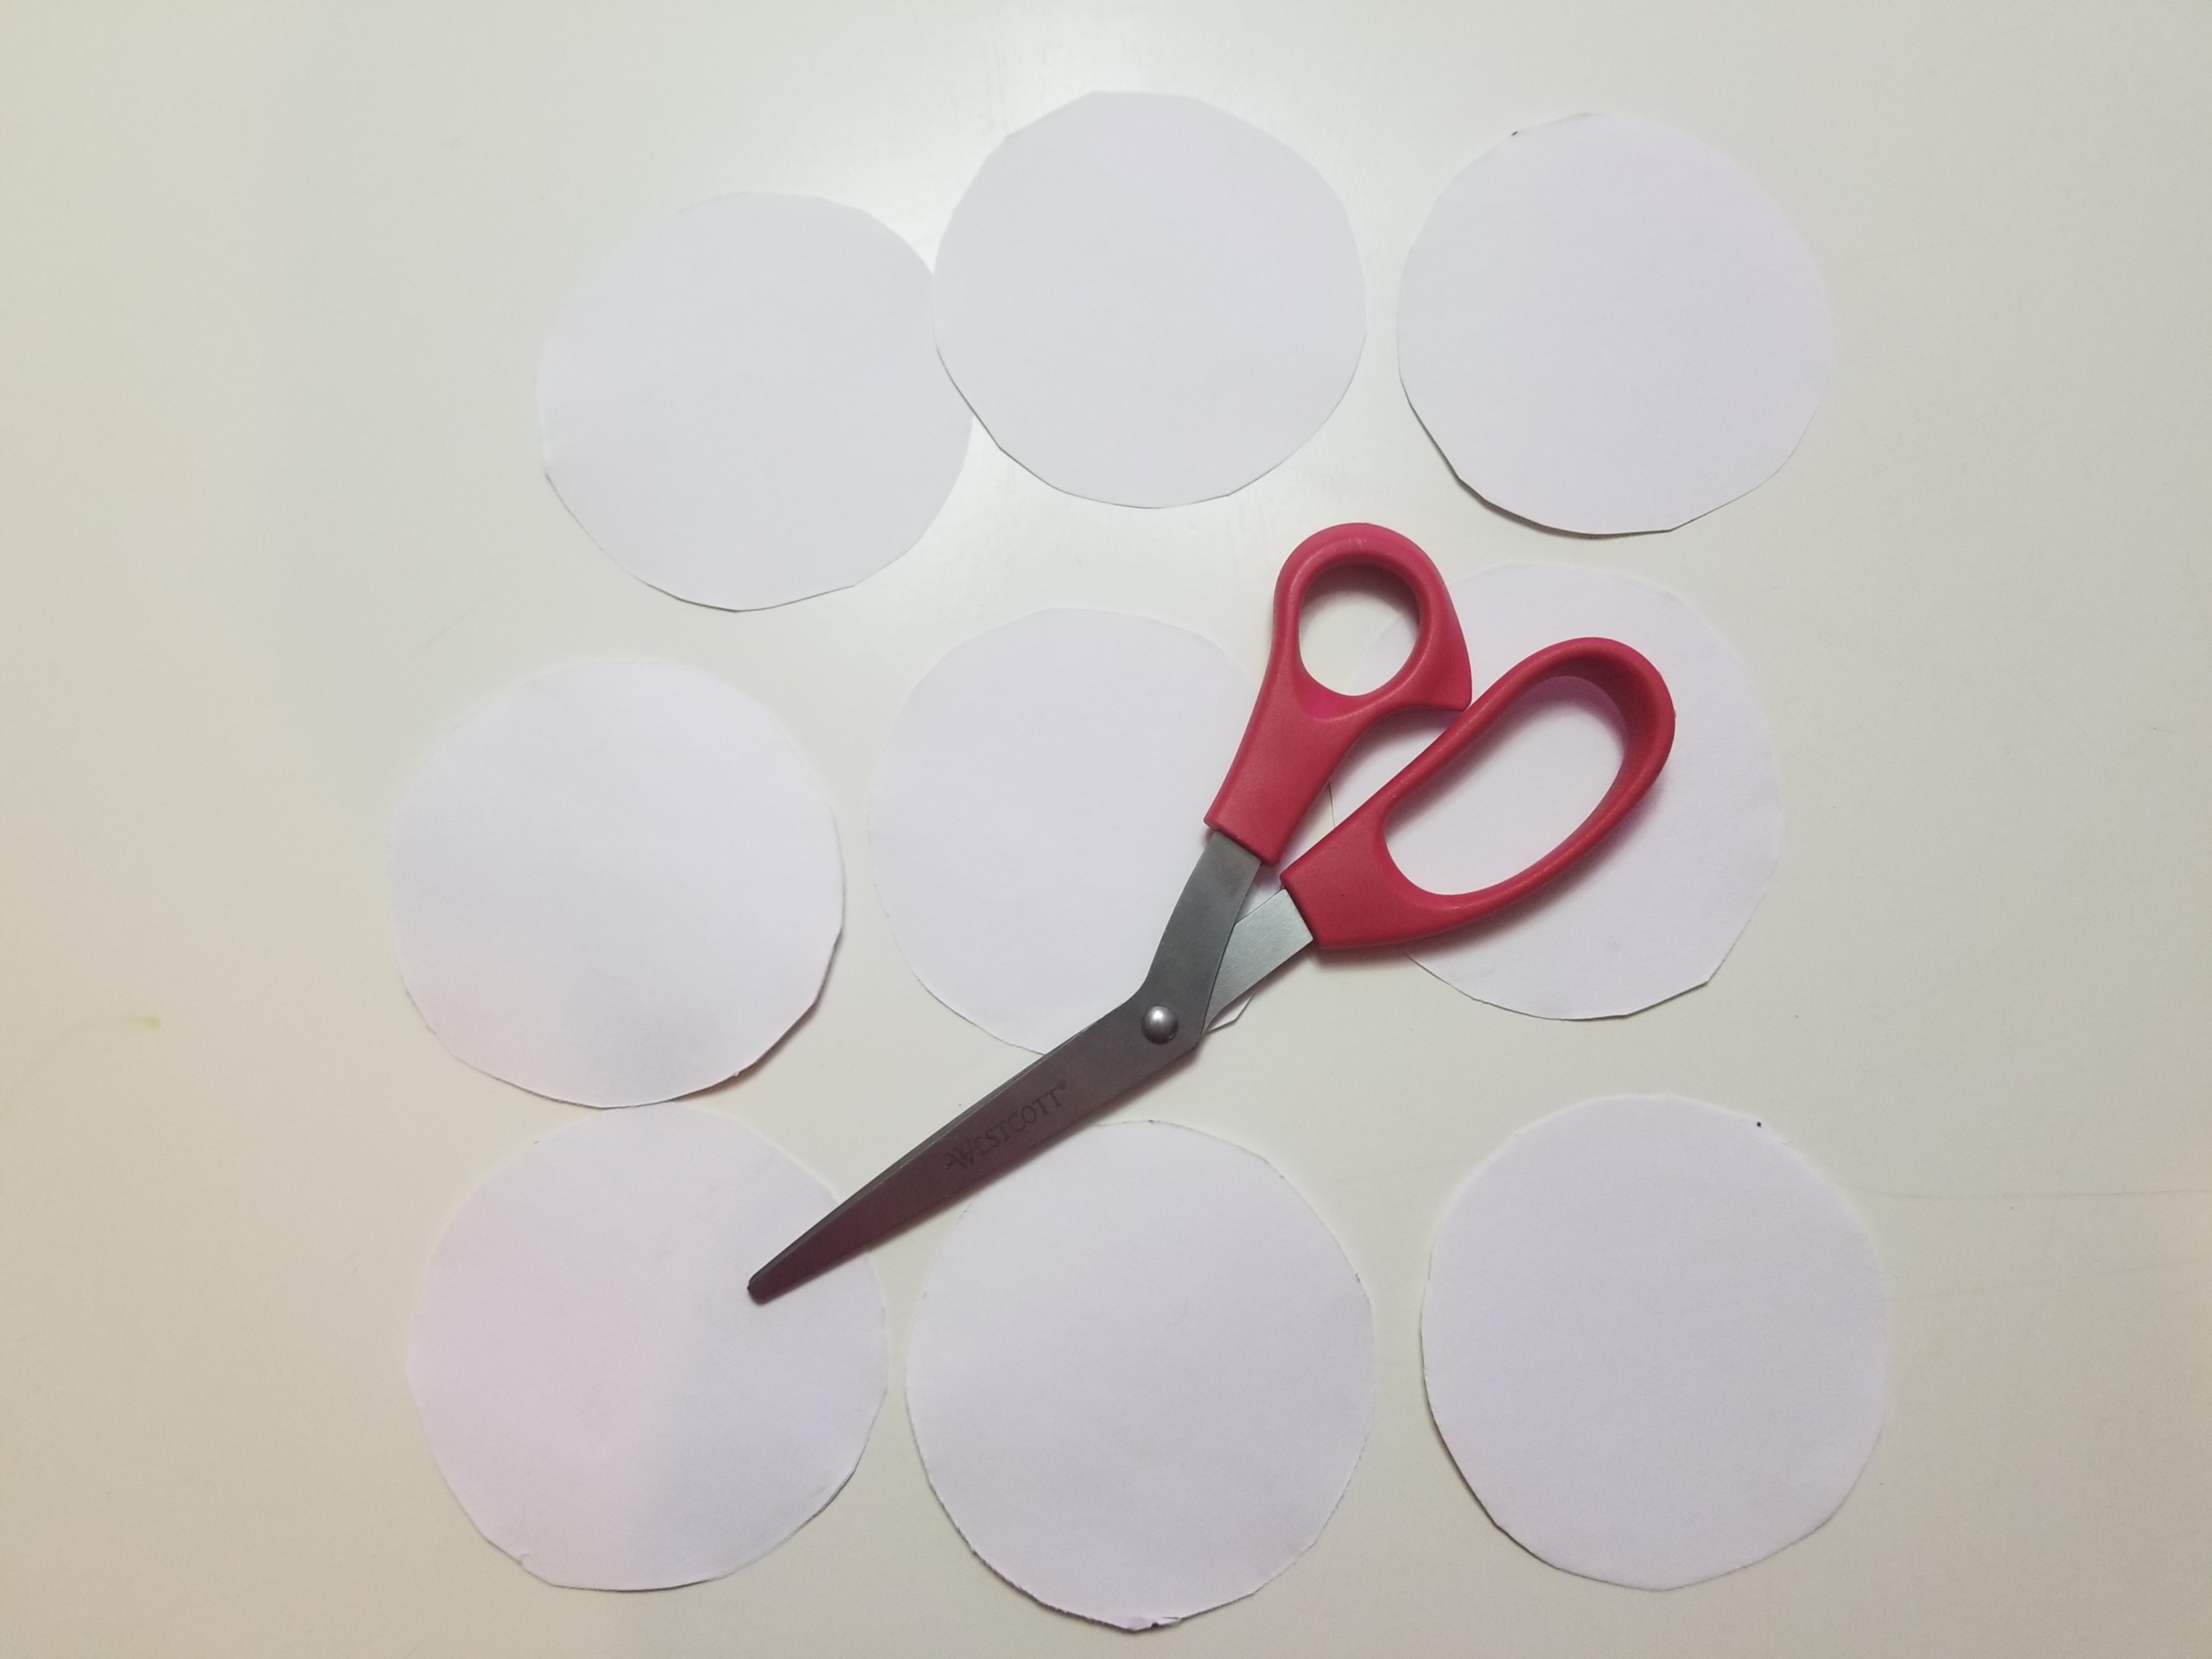
Step 1: Cut out nine white circles, 3 to 4 inches in size. (You’ll need to fit paper “buttons” inside.) This will be enough for three word-family snowmen. I find that any more gets a little overwhelming for preschoolers.
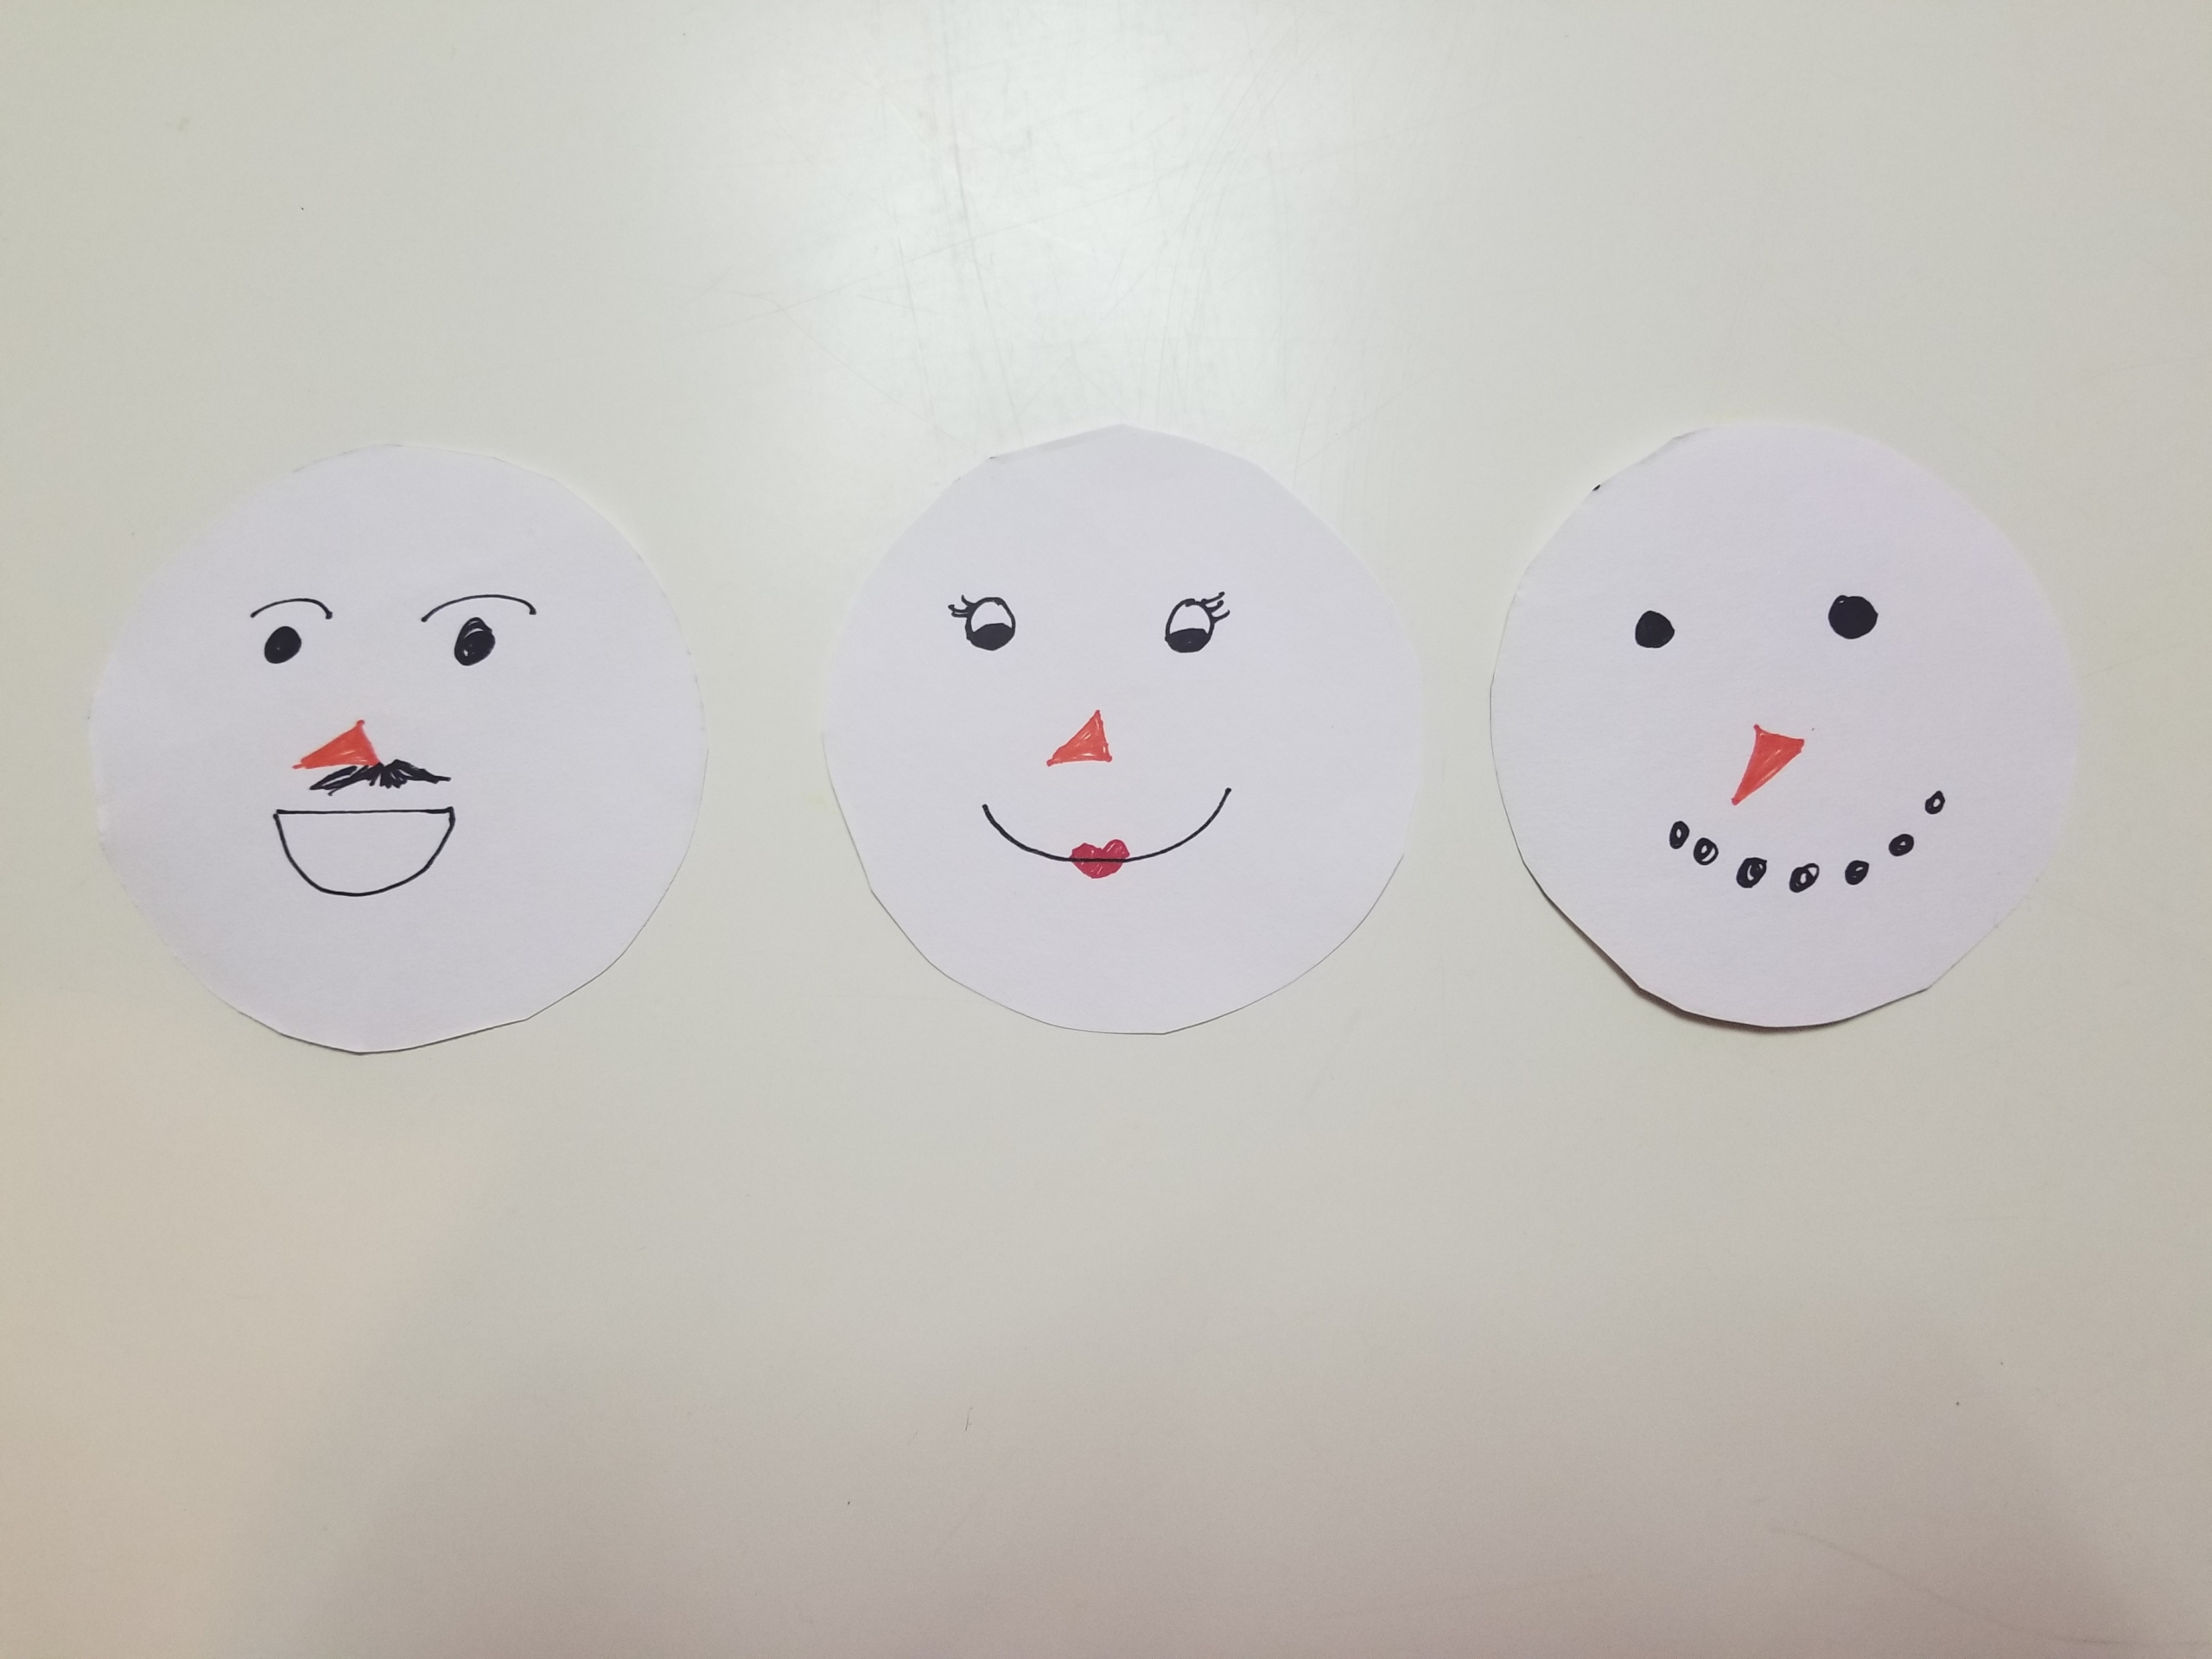
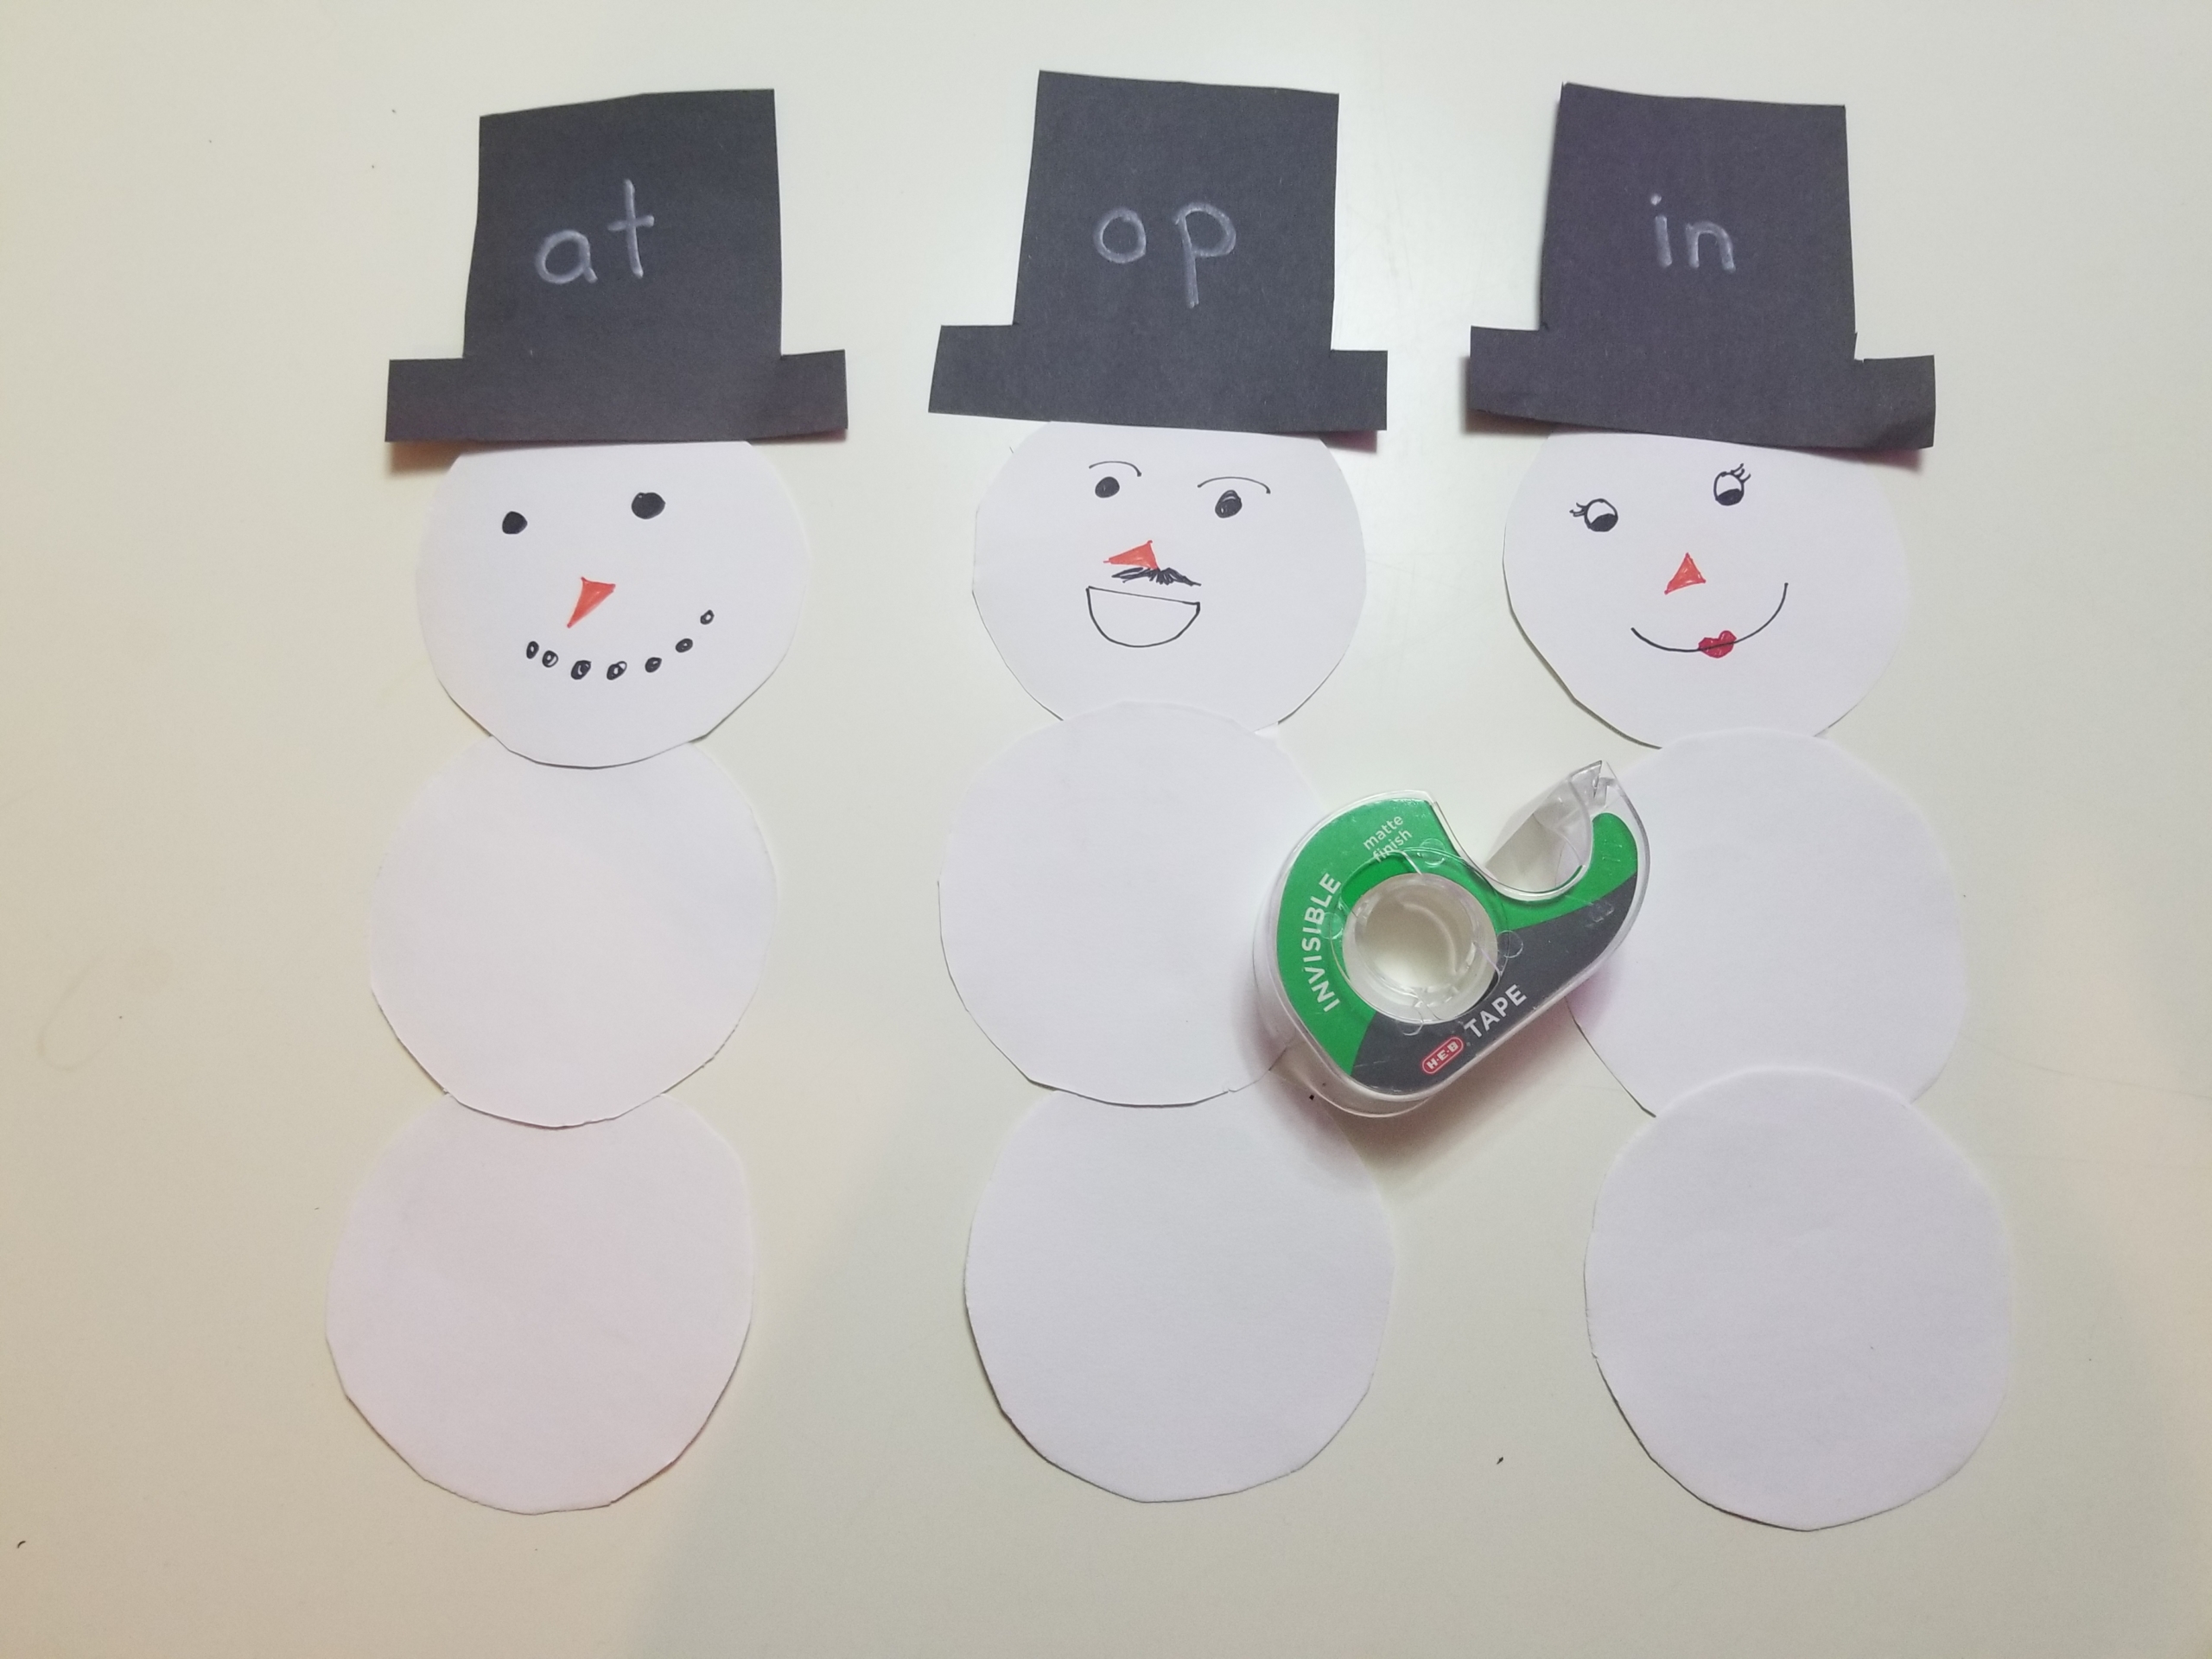
Step 2: Invite your child to help you draw faces on three of the circles.
Step 3: Cut out three top hats from the black paper. Write a word-family ending on each hat using a white or silver sharpie. Some great options include “op,” “at,” “an,” or “in.”

Step 4: Tape or glue the circles and hats together to make three snowmen.
Step 5: Use the colorful paper to make buttons by cutting out circles that are about 1½ to 2 inches across. (They need to have room to write a word on, but still fit on the snowman’s body.) I recommend cutting out two to four buttons per snowman.

Step 6: On the buttons, write words that correspond with word families. For example, hop/pop/mop/top, cat/hat/mat/bat, tan/fan/ran/man, fin/win/bin. You can also let your child write the words with guidance from you.

Step 7: Review the word-family sounds on each hat with your child. Then, help your child match the buttons to the correct snowman. If they can sound out the words themselves, great. If not, read the words to them and ask them to figure out which snowman they belong on. Repeat until all the snowmen have their buttons!

Feel free to glue the buttons on as they complete the snowmen to make some cute educational decor for your walls, or take the buttons off so they can play all over again any time they want.
And there you have it! With just a few minutes of crafting, you’ll give your child valuable reading practice—and have a great time doing it. If this educational winter craft doesn’t melt your heart, I don’t snow what will.
Did you make this word-family snowman craft with your child? Send us pictures!
