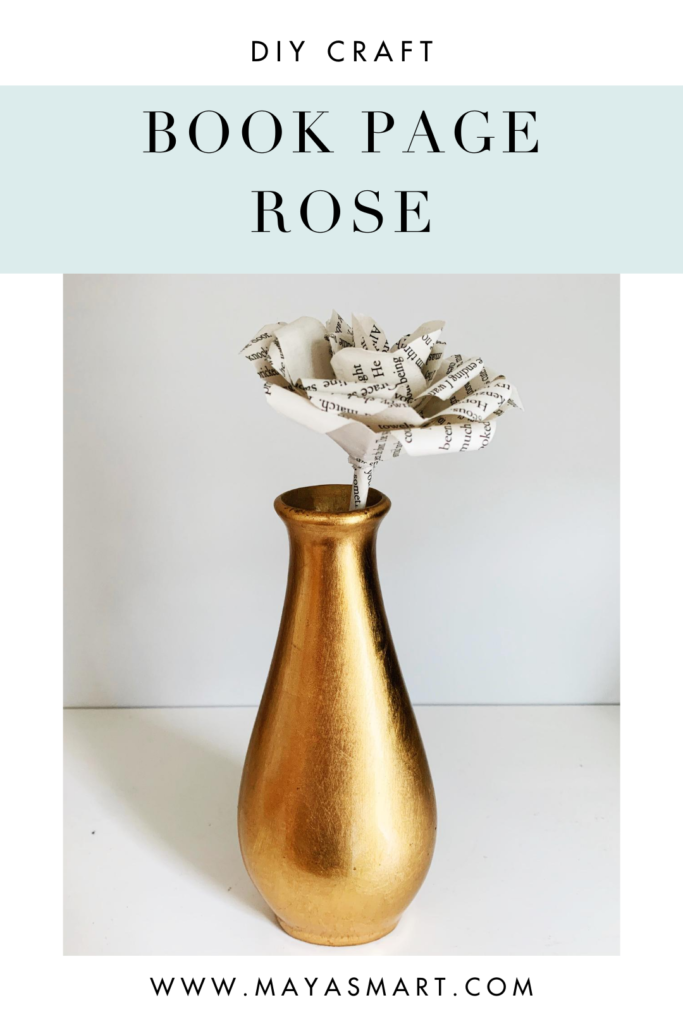
Book page flowers make such pretty decor. We have done a few different DIY book page flowers in this craft series. Why not make them all and combine them into a beautiful arrangement?
I have to say, I was staying away from roses because of how intricate and delicate they look. I thought making a DIY paper rose was going to be so much harder than it turned out to be. So don’t shy away from this beautiful flower! If anything, it’s actually simpler than some of the other flowers we’ve created.
Modify this craft for kids by using glue dots instead of a glue gun and letting them color or decorate the flowers. Let their creativity soar—not all roses are red!
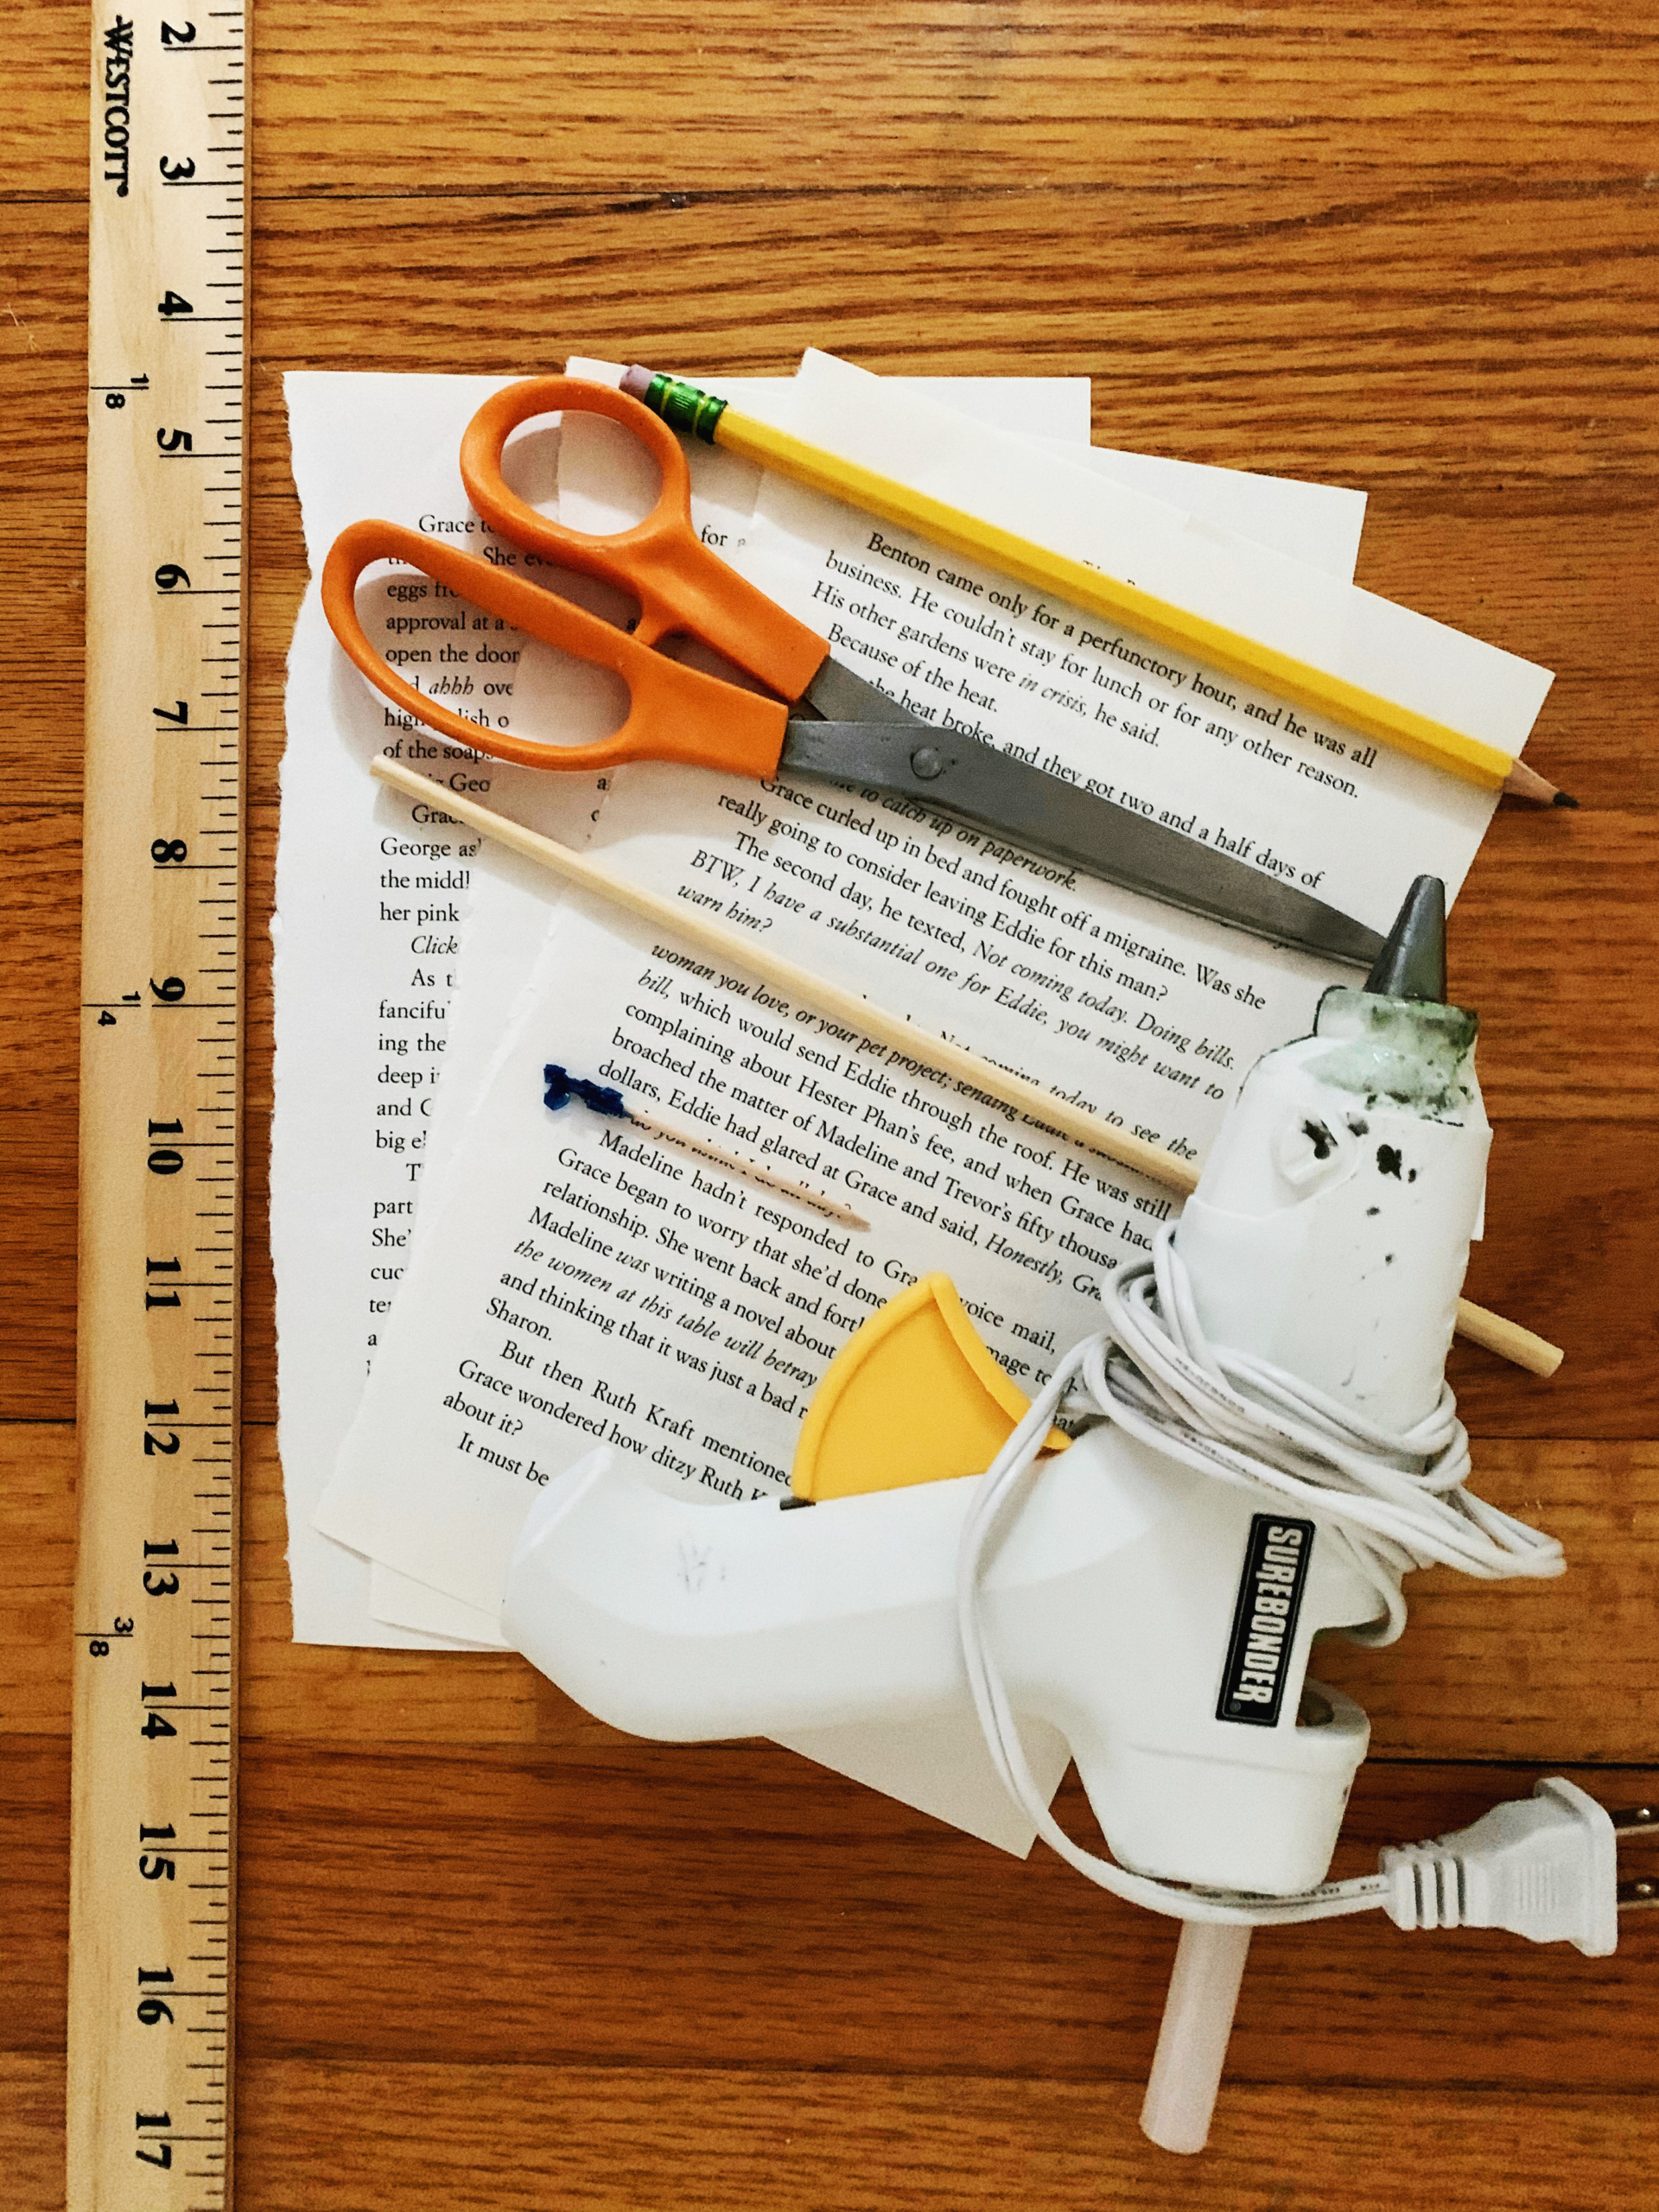
Materials Needed:
- Old book pages
- Ruler
- Scissors
- A toothpick
- Glue gun (or glue dots for a safe alternative)
- Chopstick, pipecleaner, popsicle stick, twig, wire, or anything you can use for a stem
- Optional: Decorating materials (stickers, colored pencils, glitter, etc.)
Cost: This craft uses pretty basic supplies, most of which you may have around the house. I decided to use a chopstick for my stem, but you can get creative with a different material for that if you don’t have an old takeout chopstick in your junk drawer. I listed a few alternatives above!
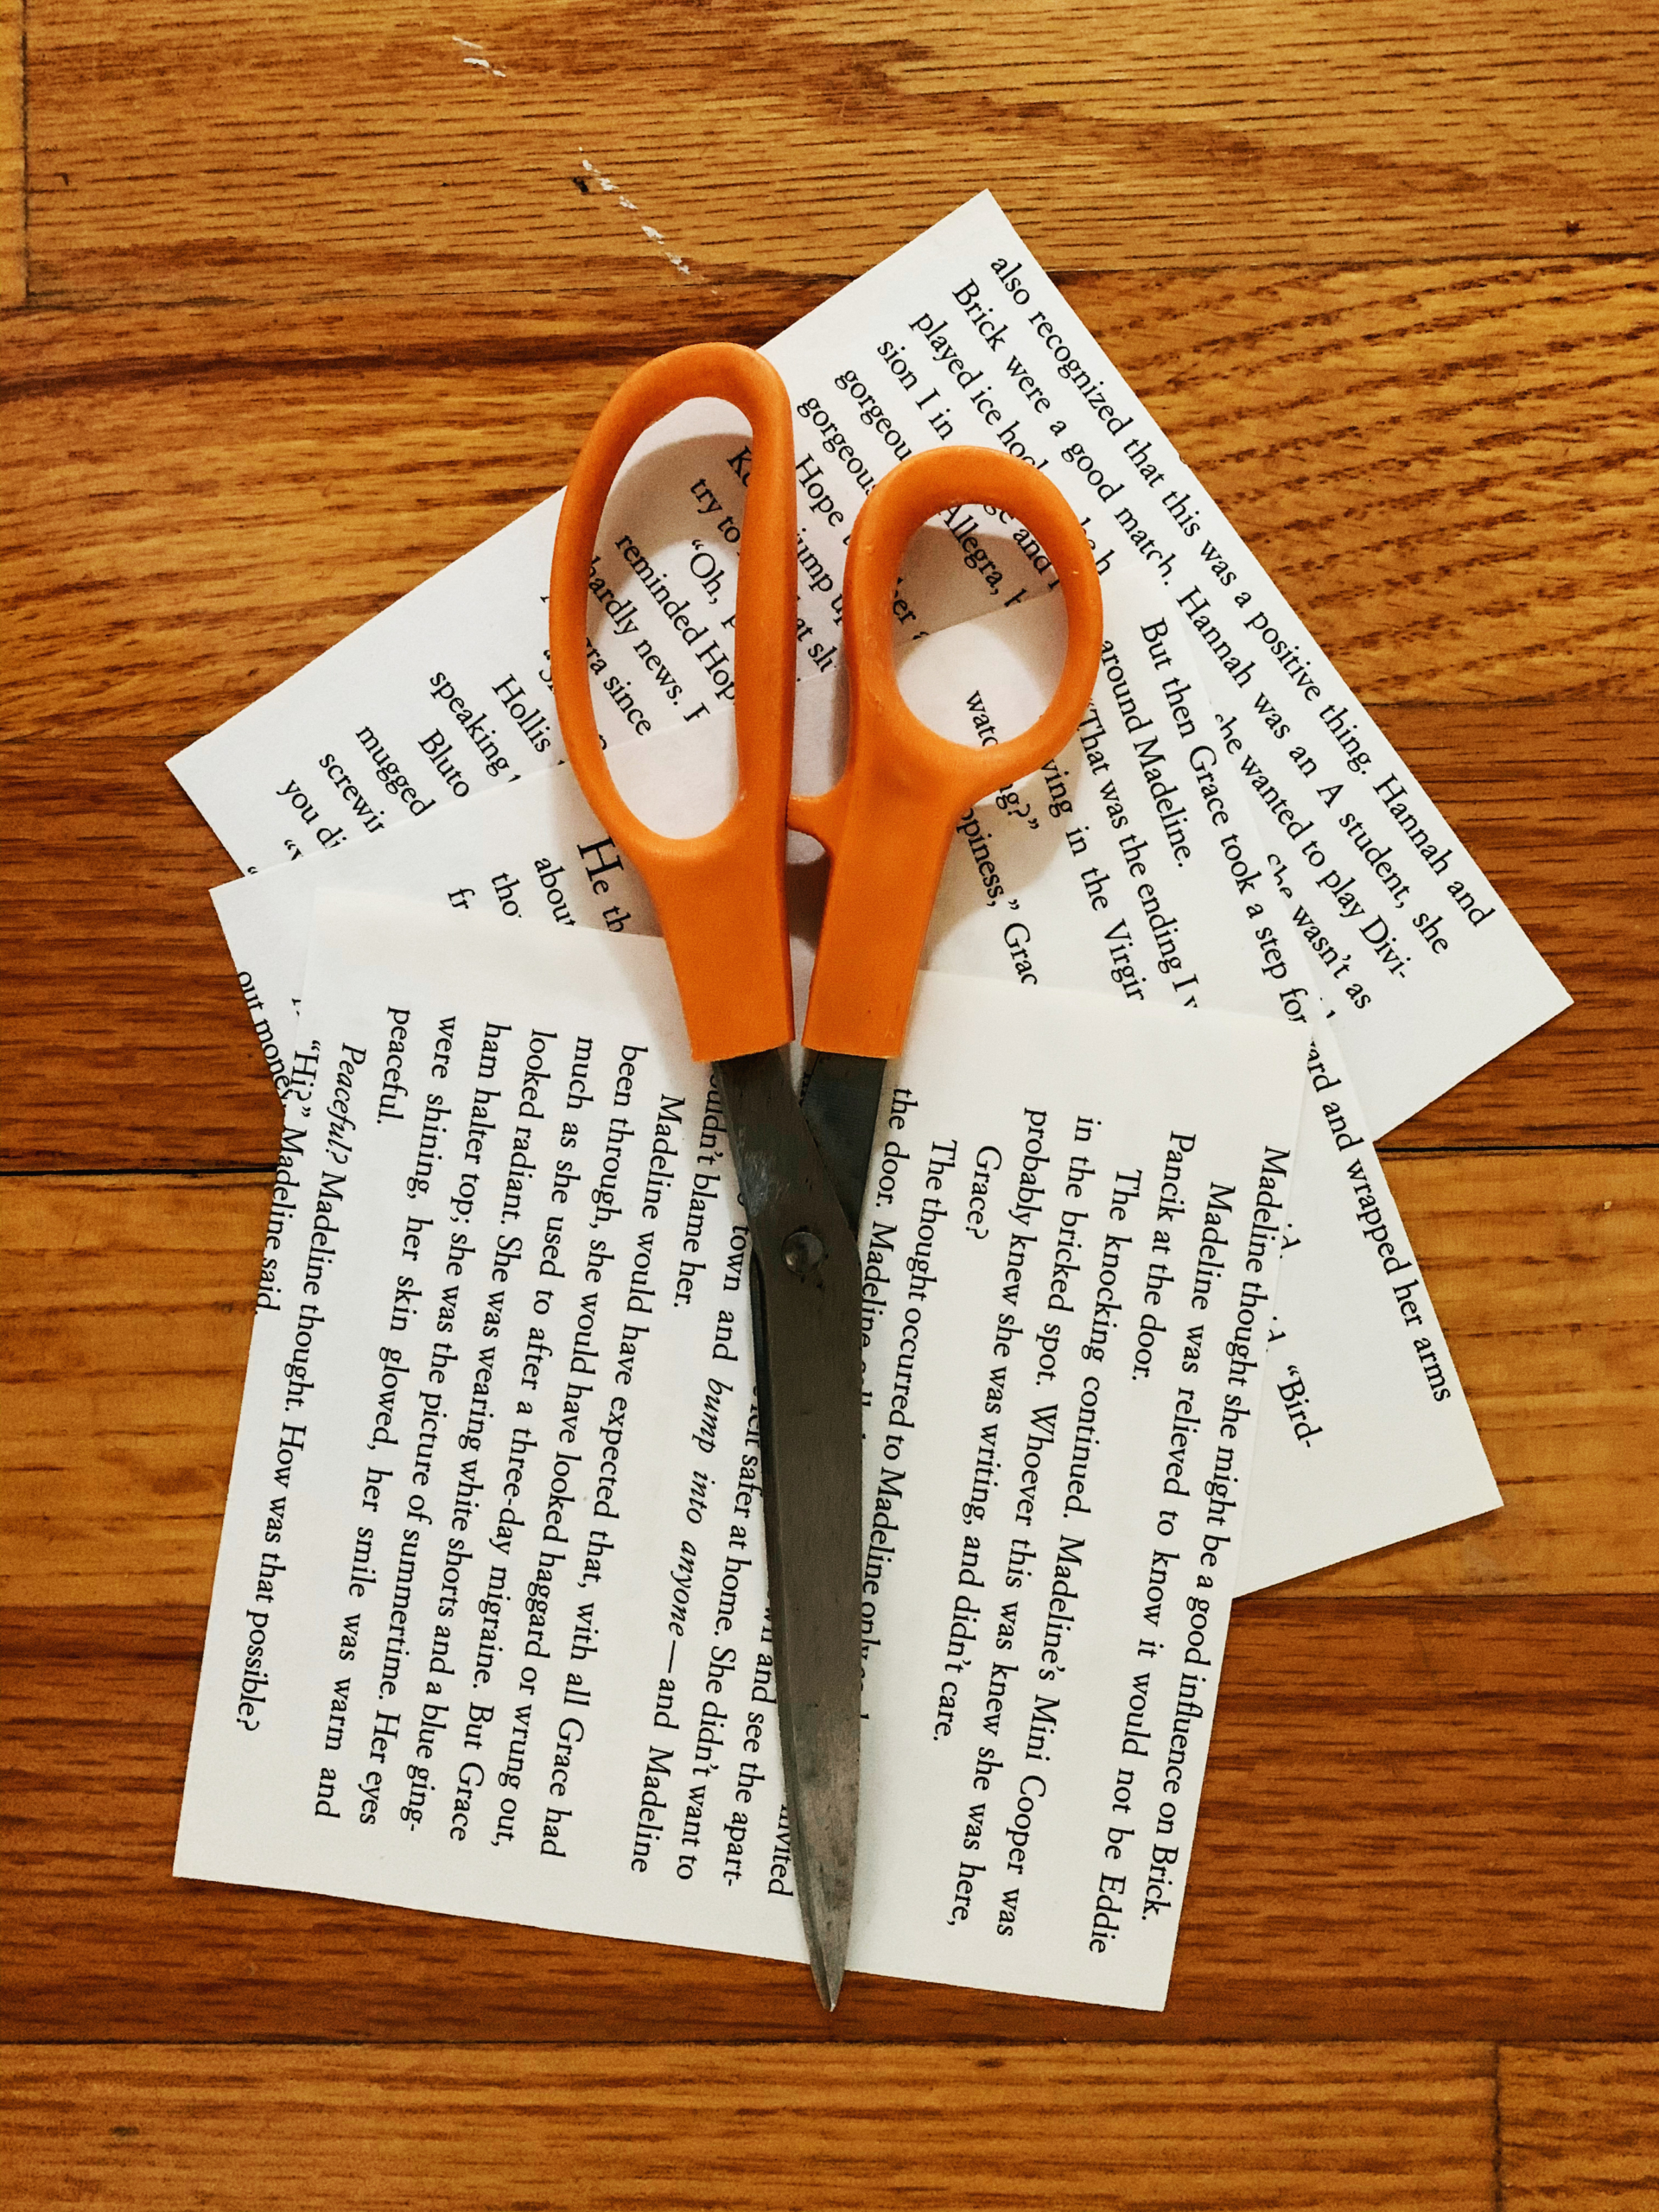
Step 1: You will need to cut 3 squares of equal size from the pages of an old book. Note: each rose needs 3 squares, so if you are making more than one rose, you’ll need to cut out more squares. I used 5 inch by 5 inch squares. You can go bigger than this, depending on the size of your old book pages, but I wouldn’t recommend going much smaller than 5 inches or it will be difficult to fold and glue the petals together!
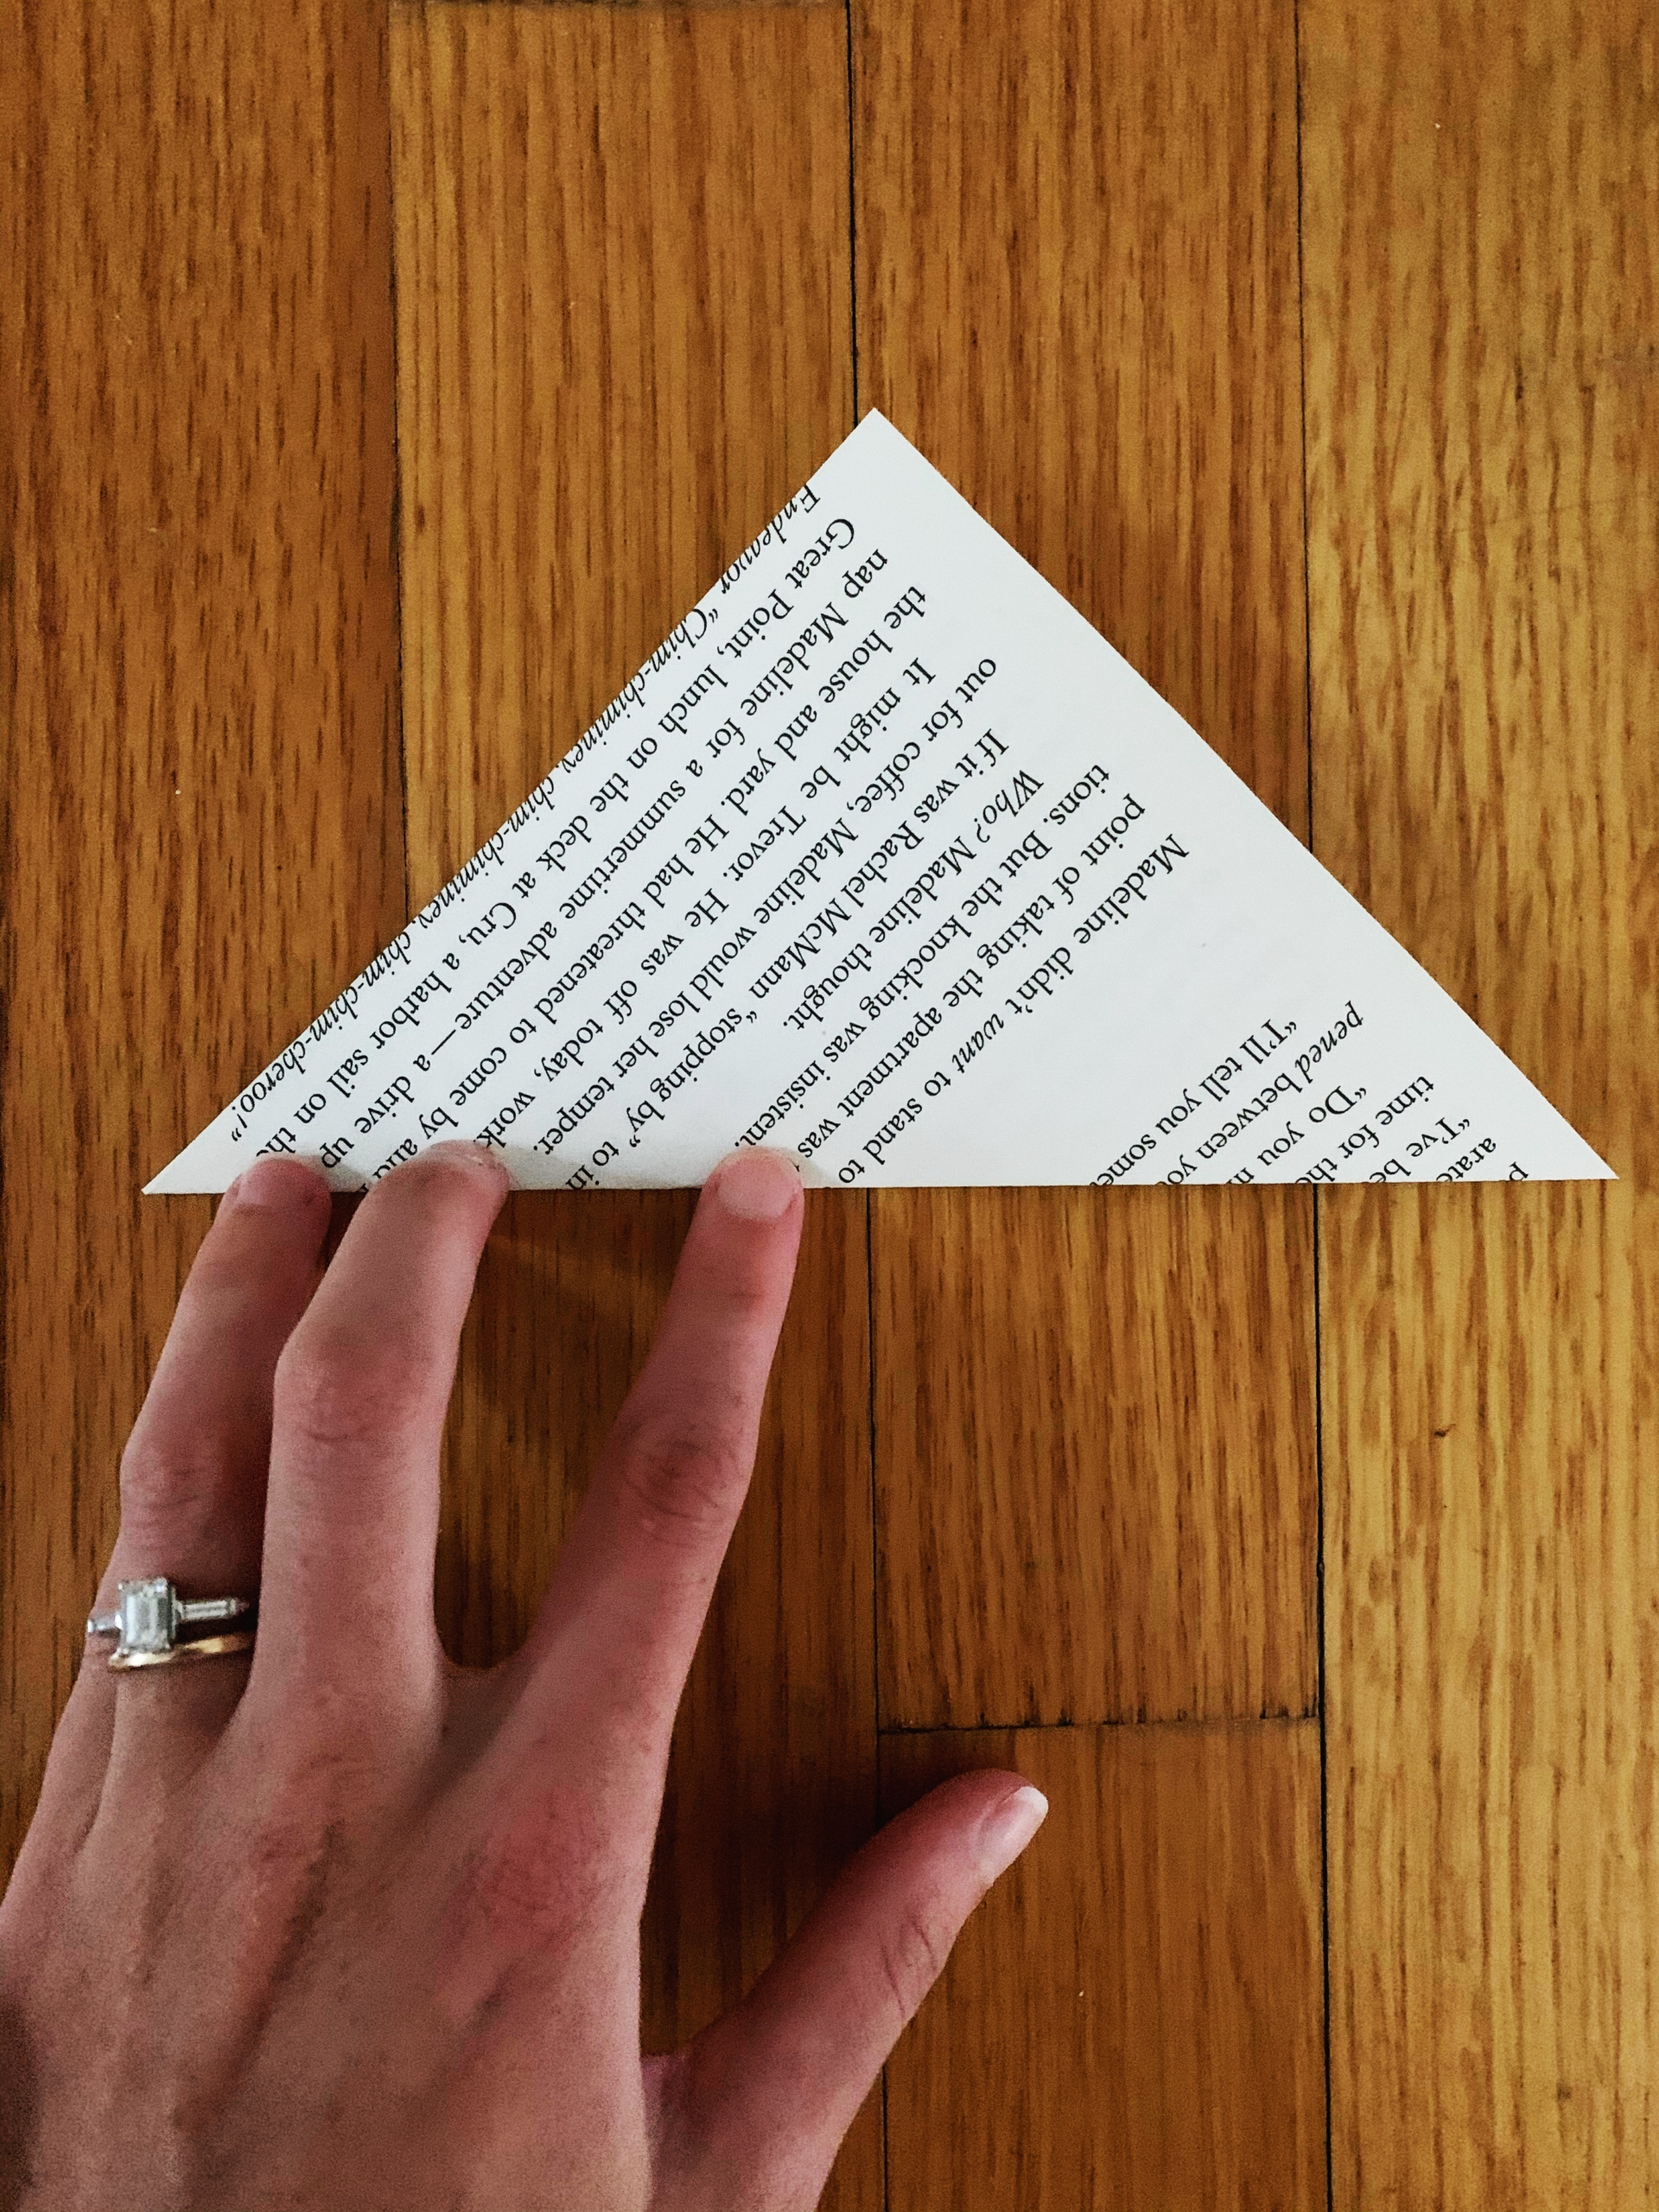
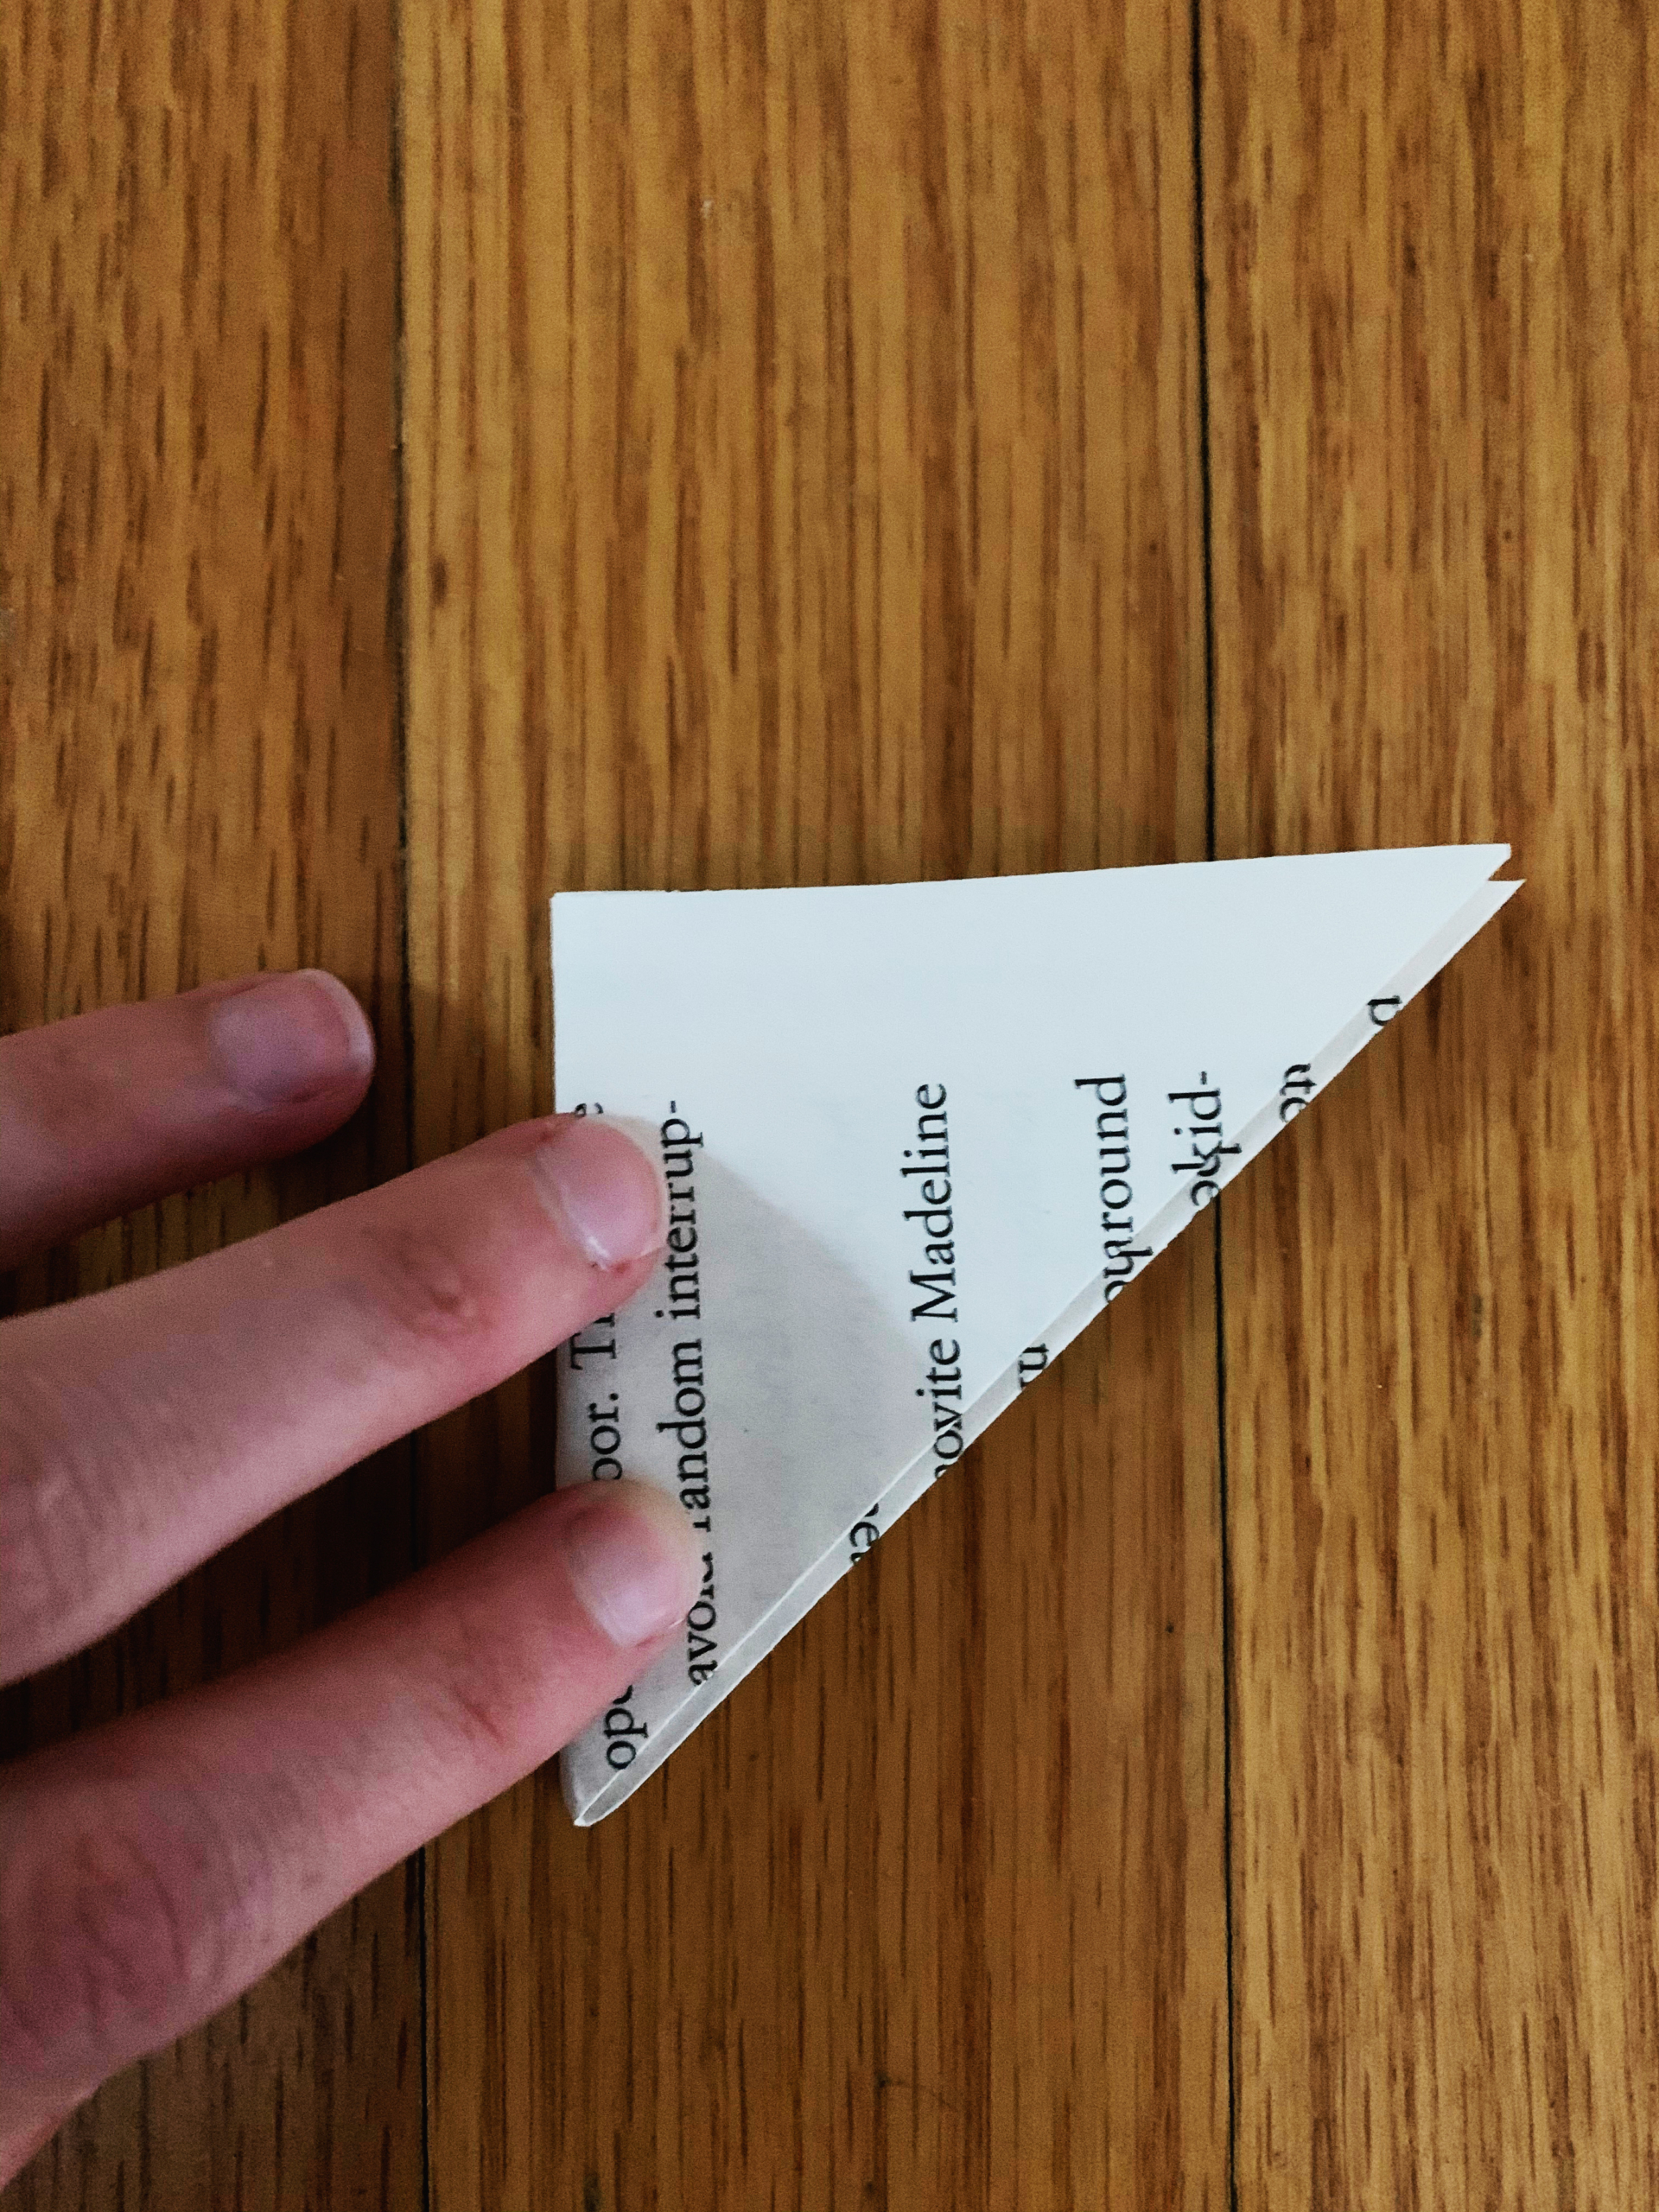
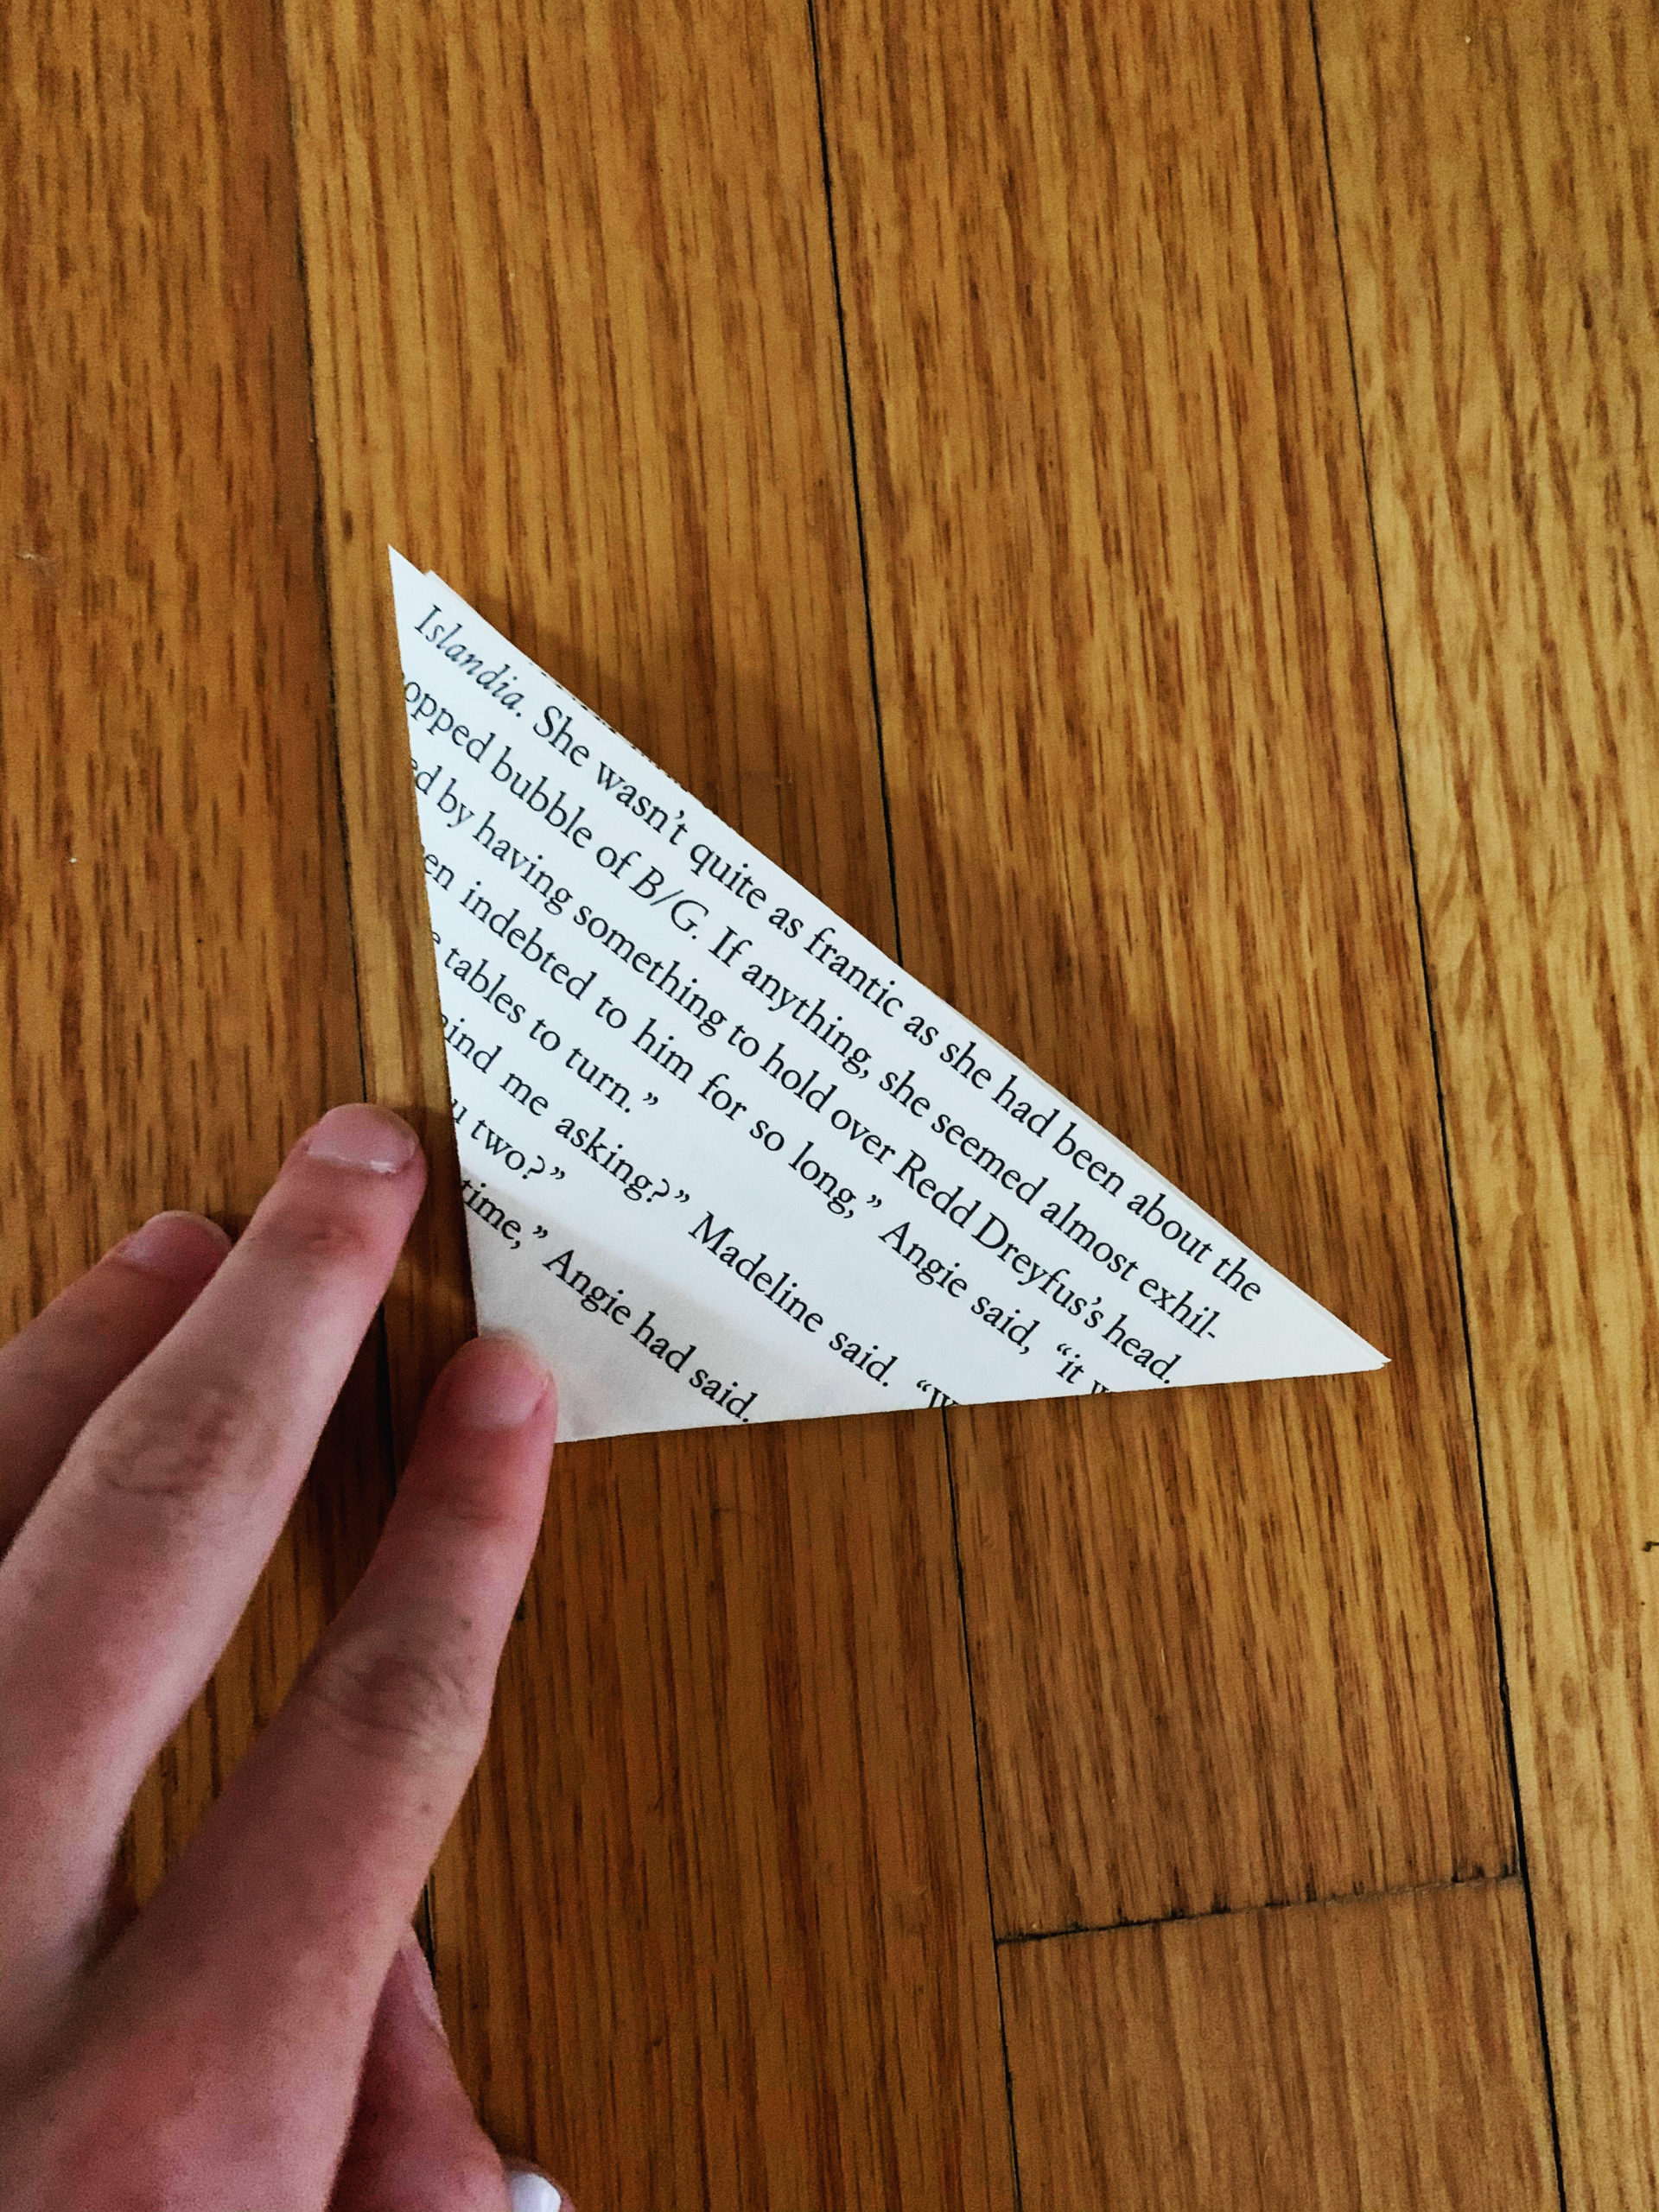
Step 2: Next, fold each of your 3 squares into a triangle, then fold that into a smaller triangle and finally fold that into a still-smaller triangle. The end result should be 1/3 the size of the first triangle.
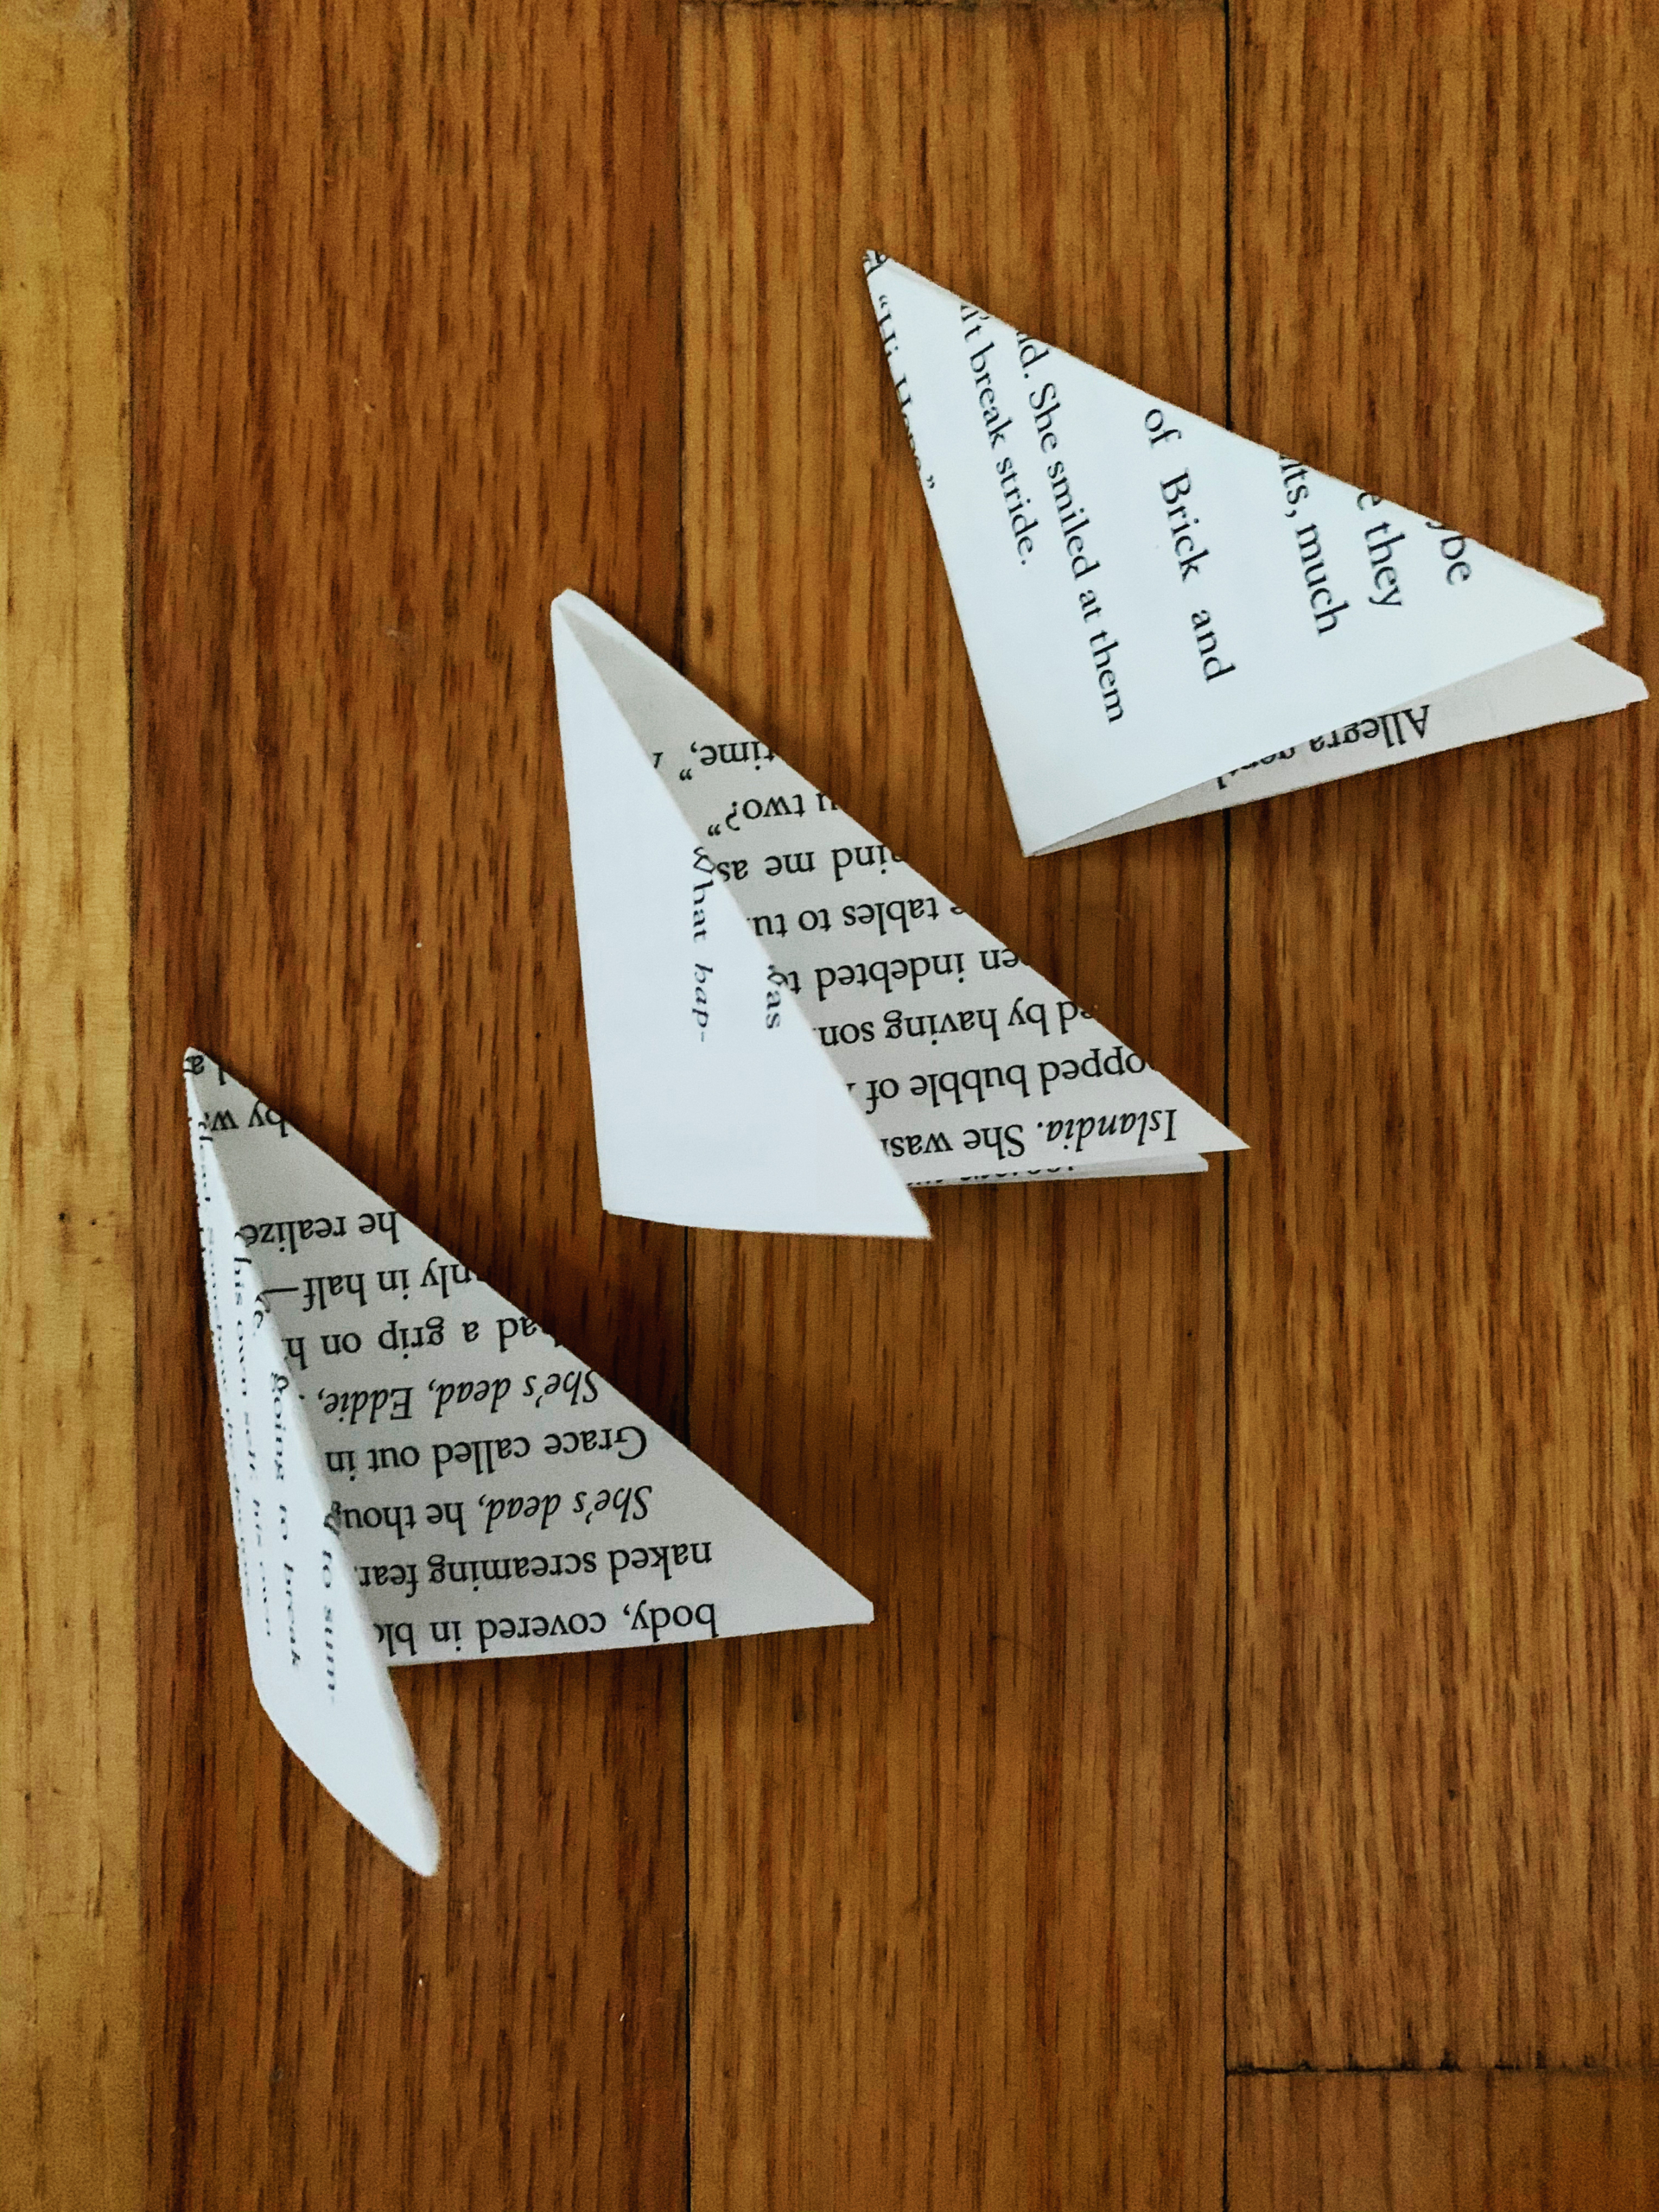
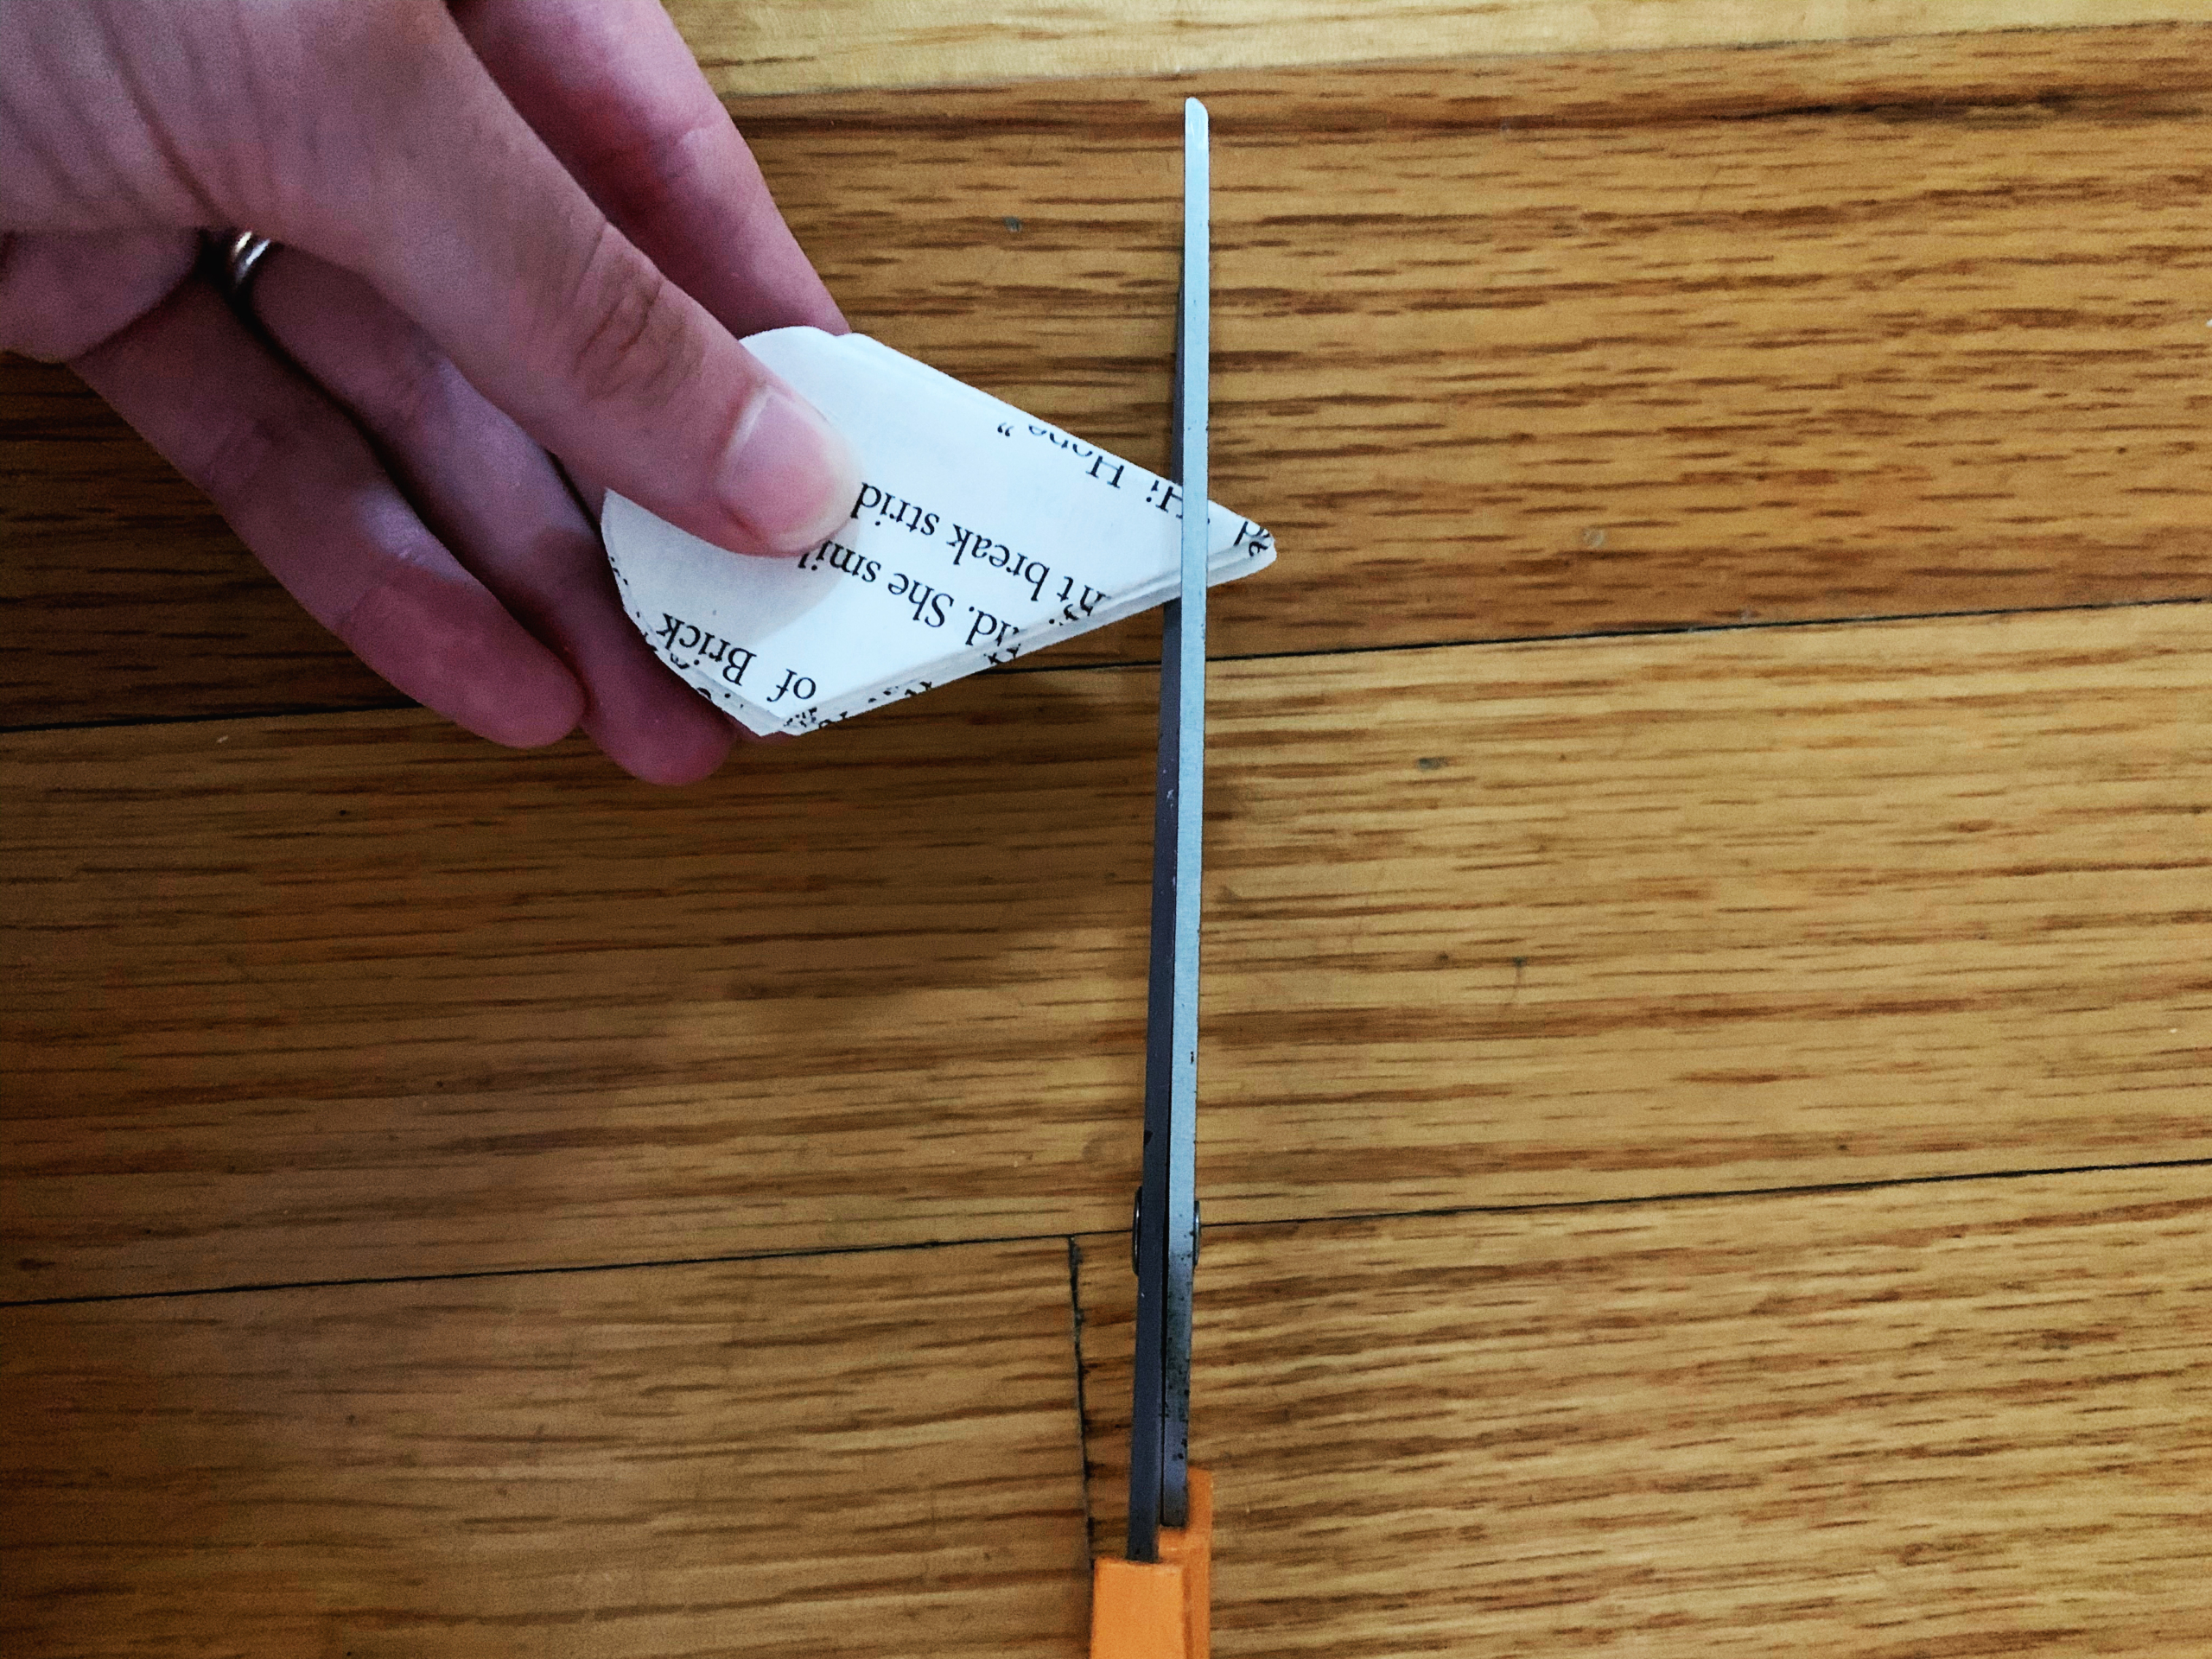
Step 3: Take one of the small triangles and keep it folded, with the pointed end facing down. Now you will cut the open top to make a dome shape (it should look like an ice cream cone). Repeat this cut with the other 2 folded triangles. Pro tip: Make sure the folded edge is facing the same way each time!

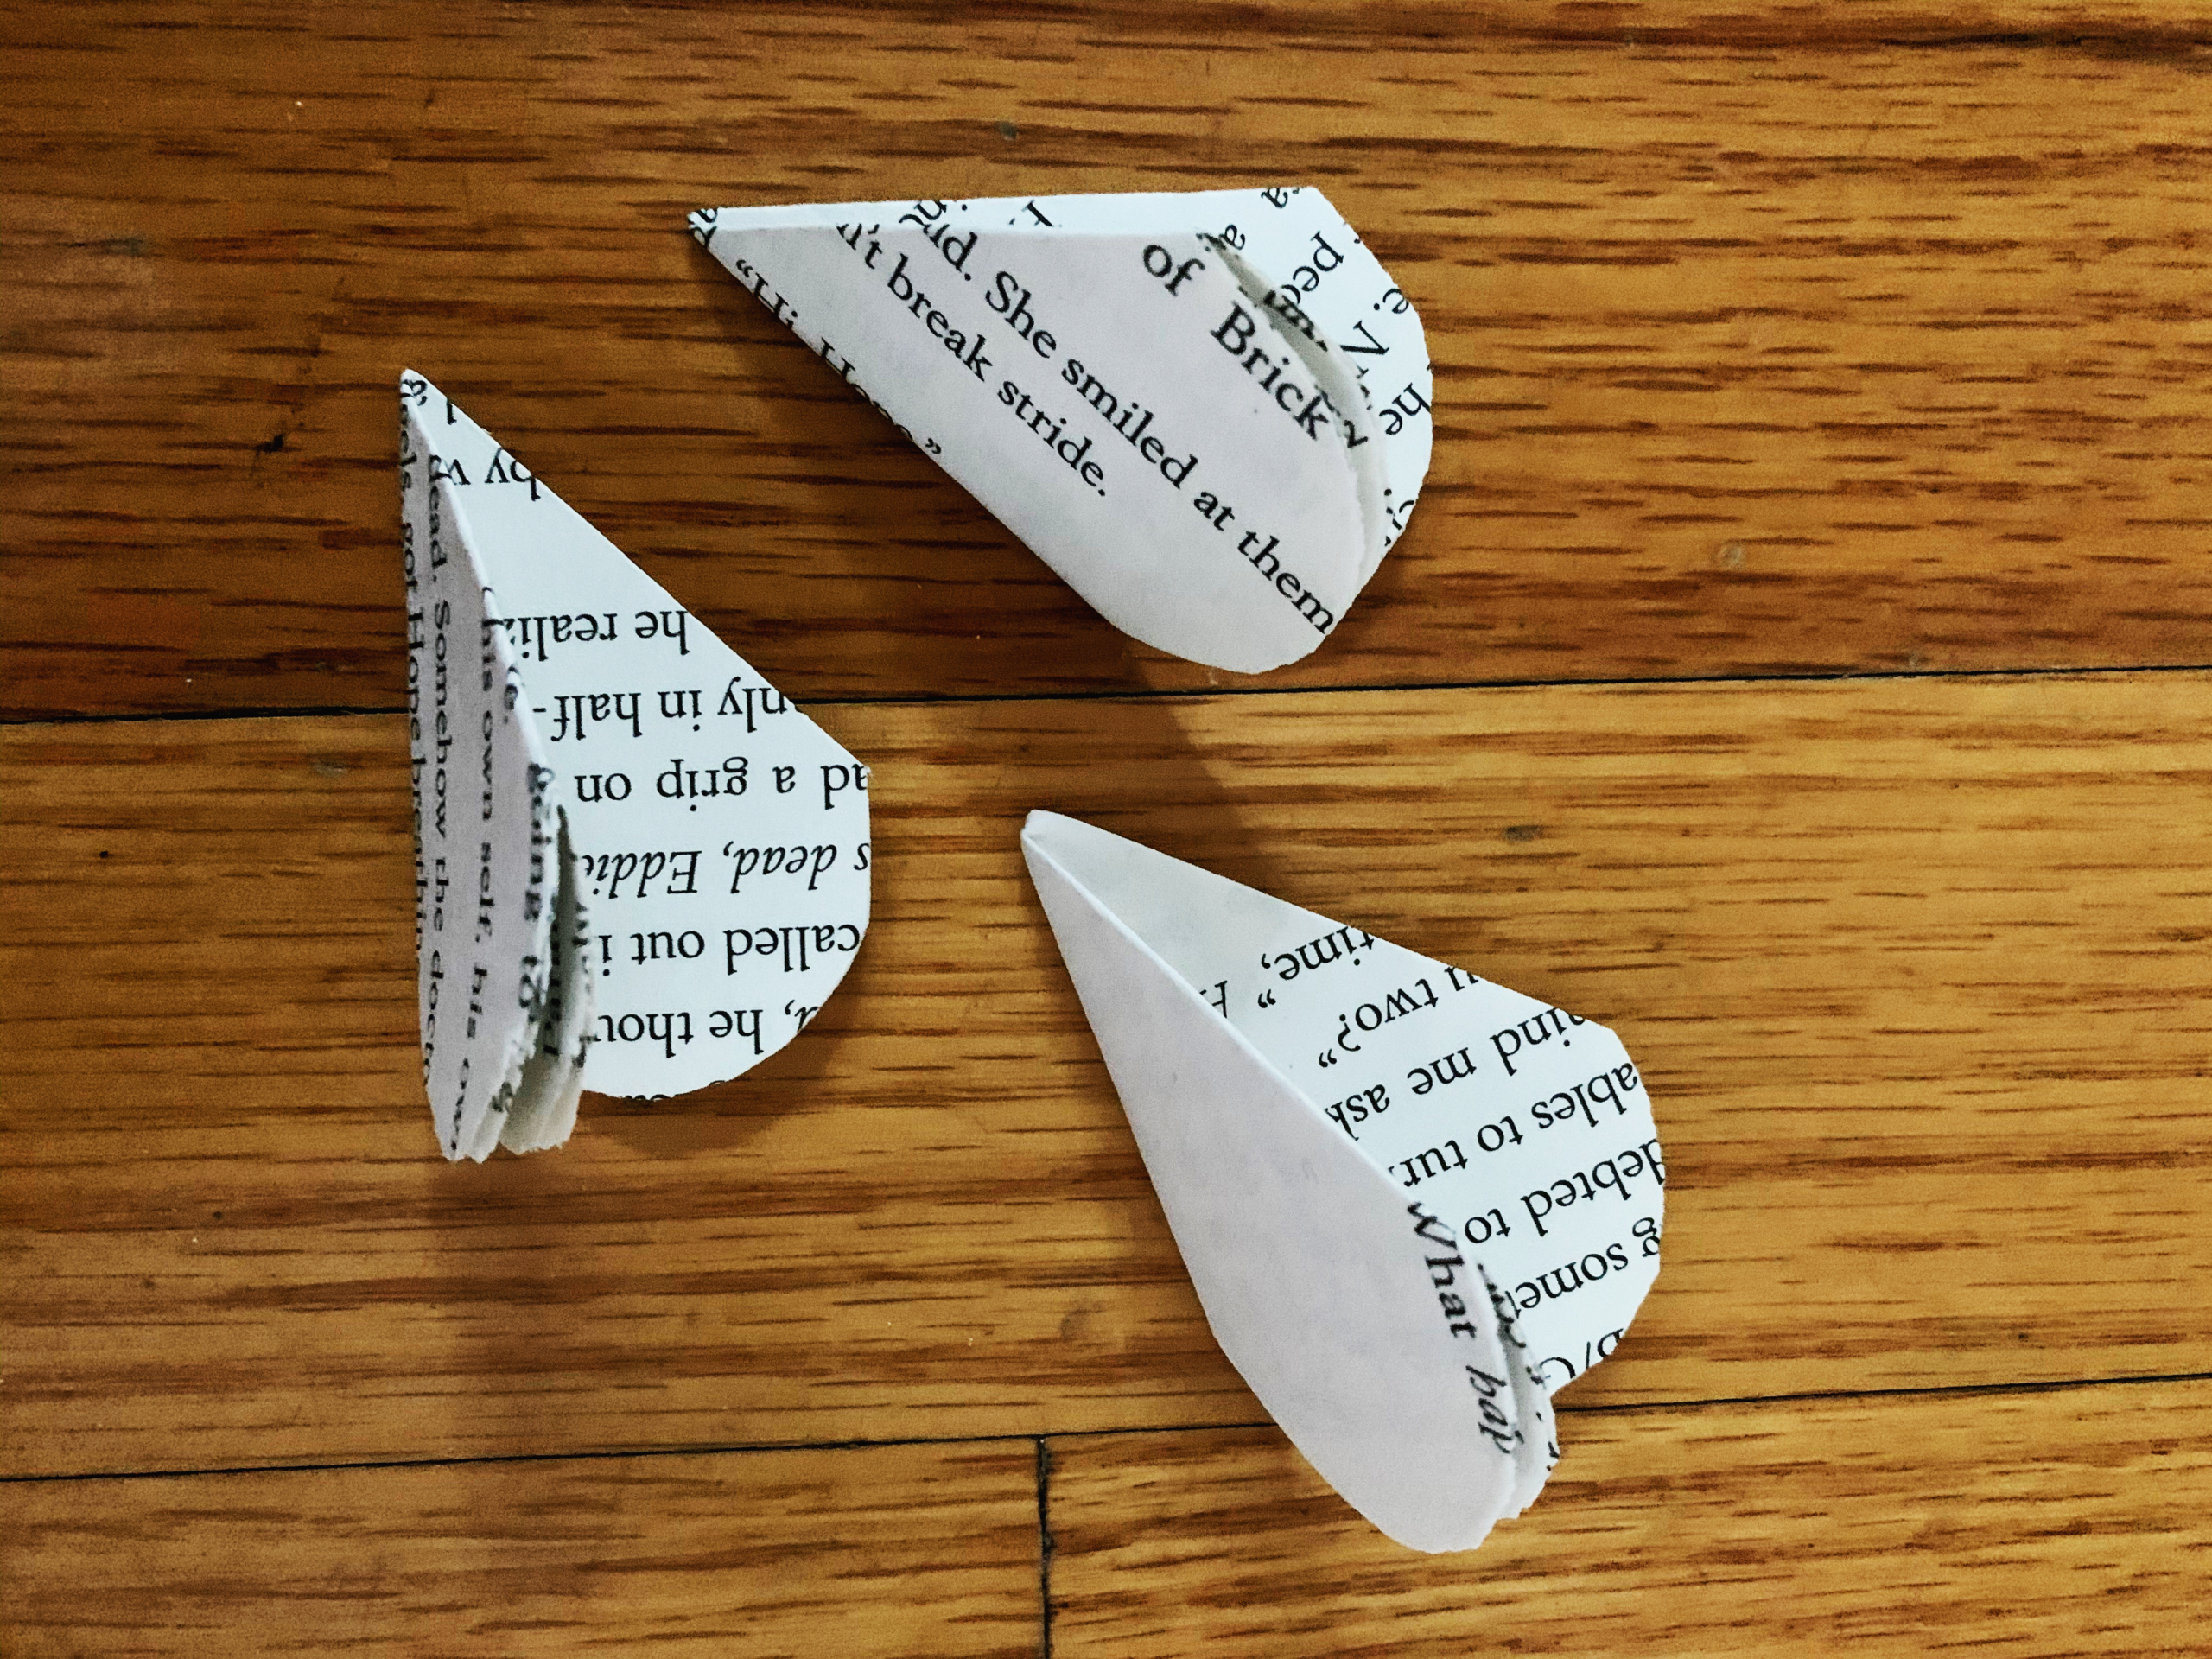
Step 4: Holding all 3 in your hand, cut off the bottom point of the triangle, leaving a small hole at the base of each triangle.

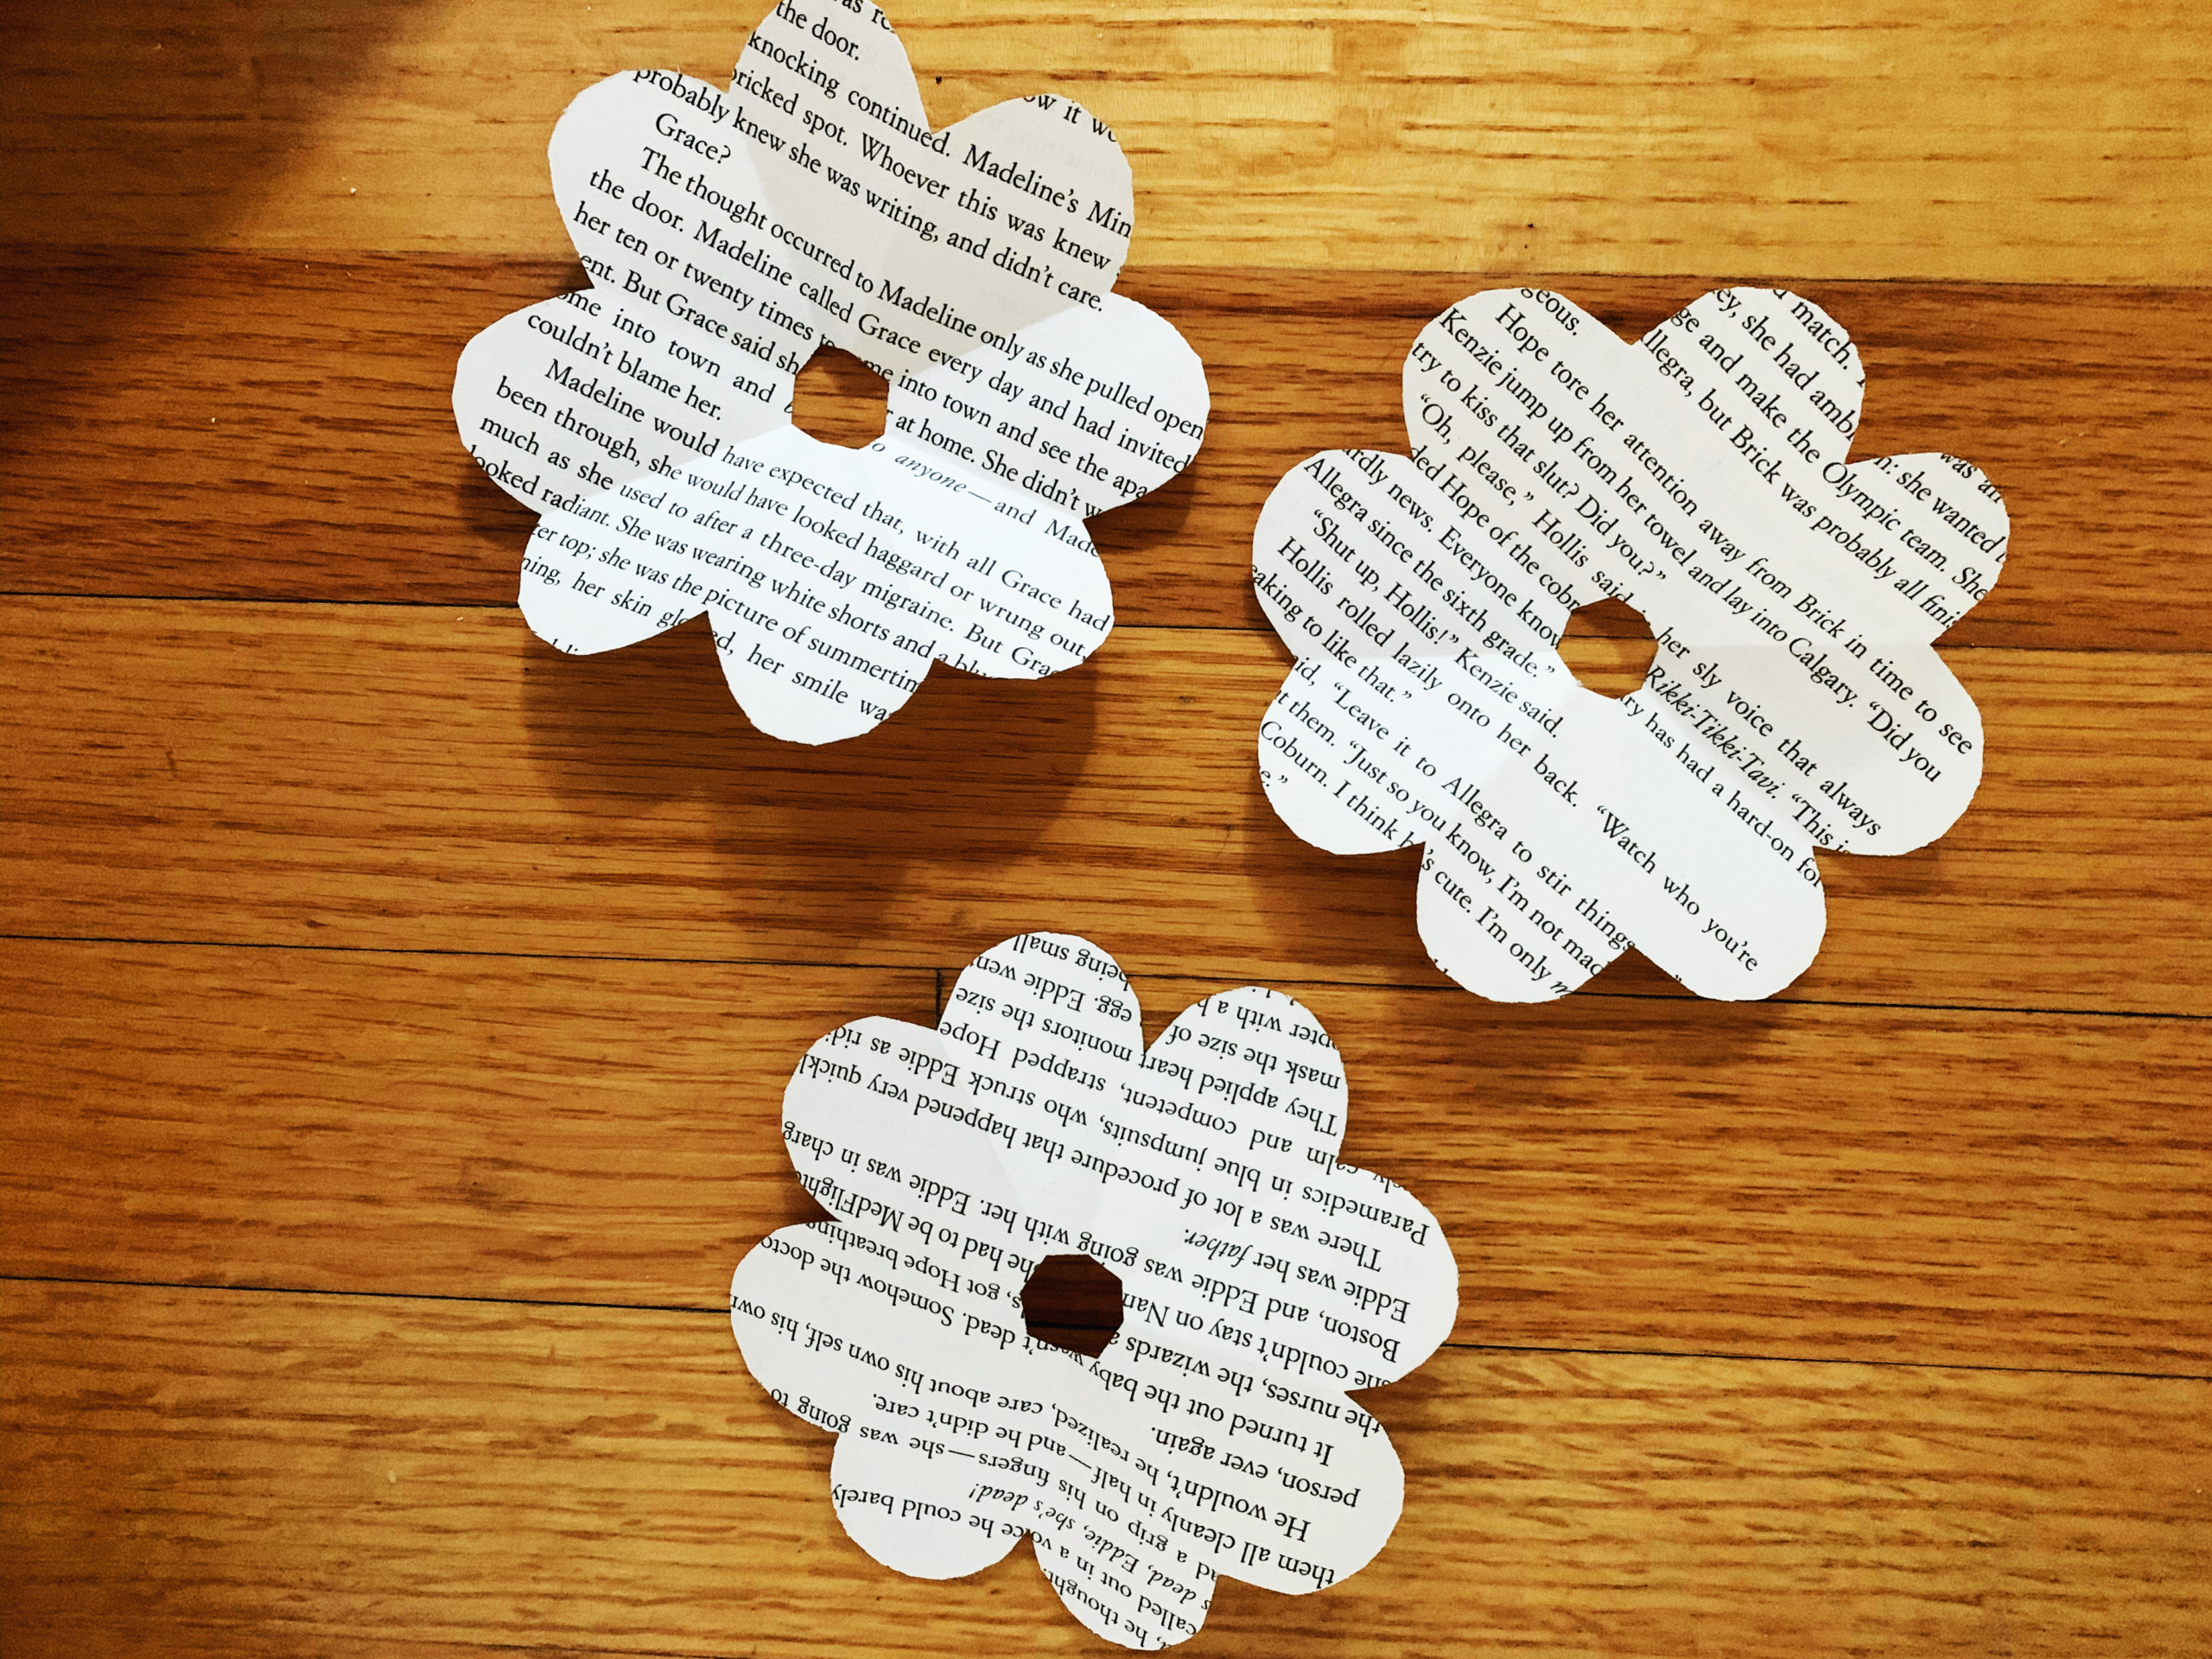
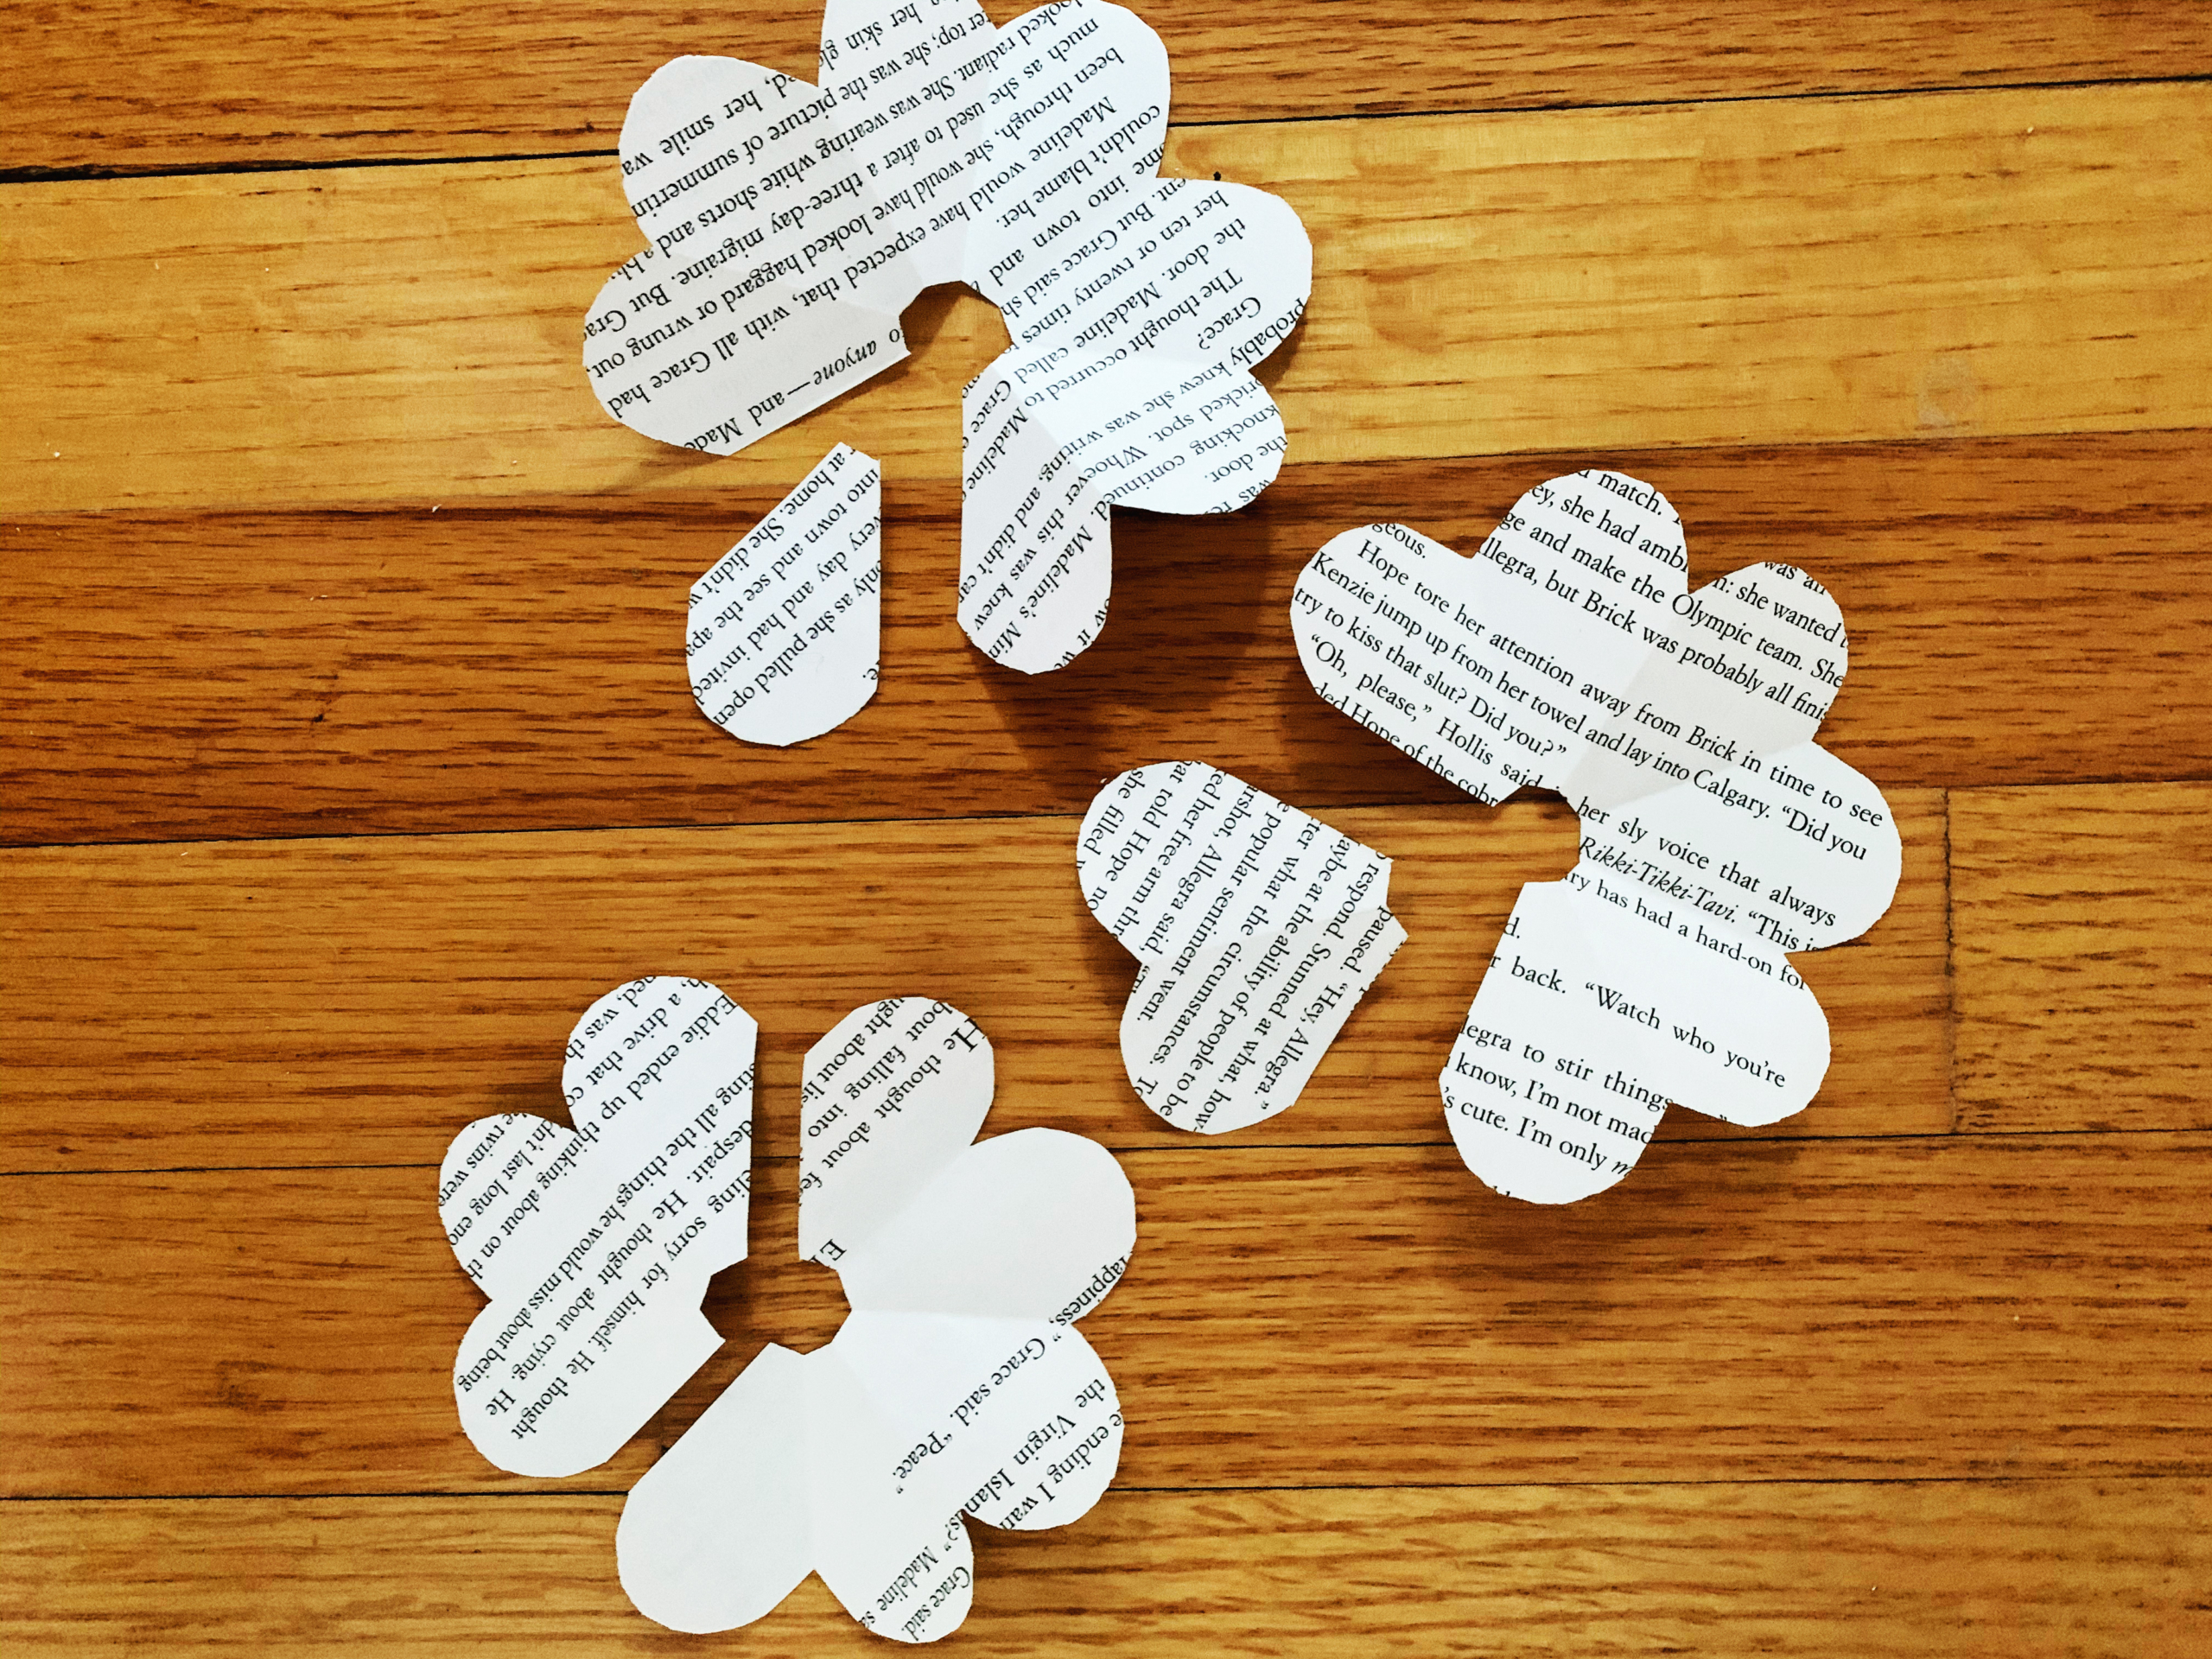
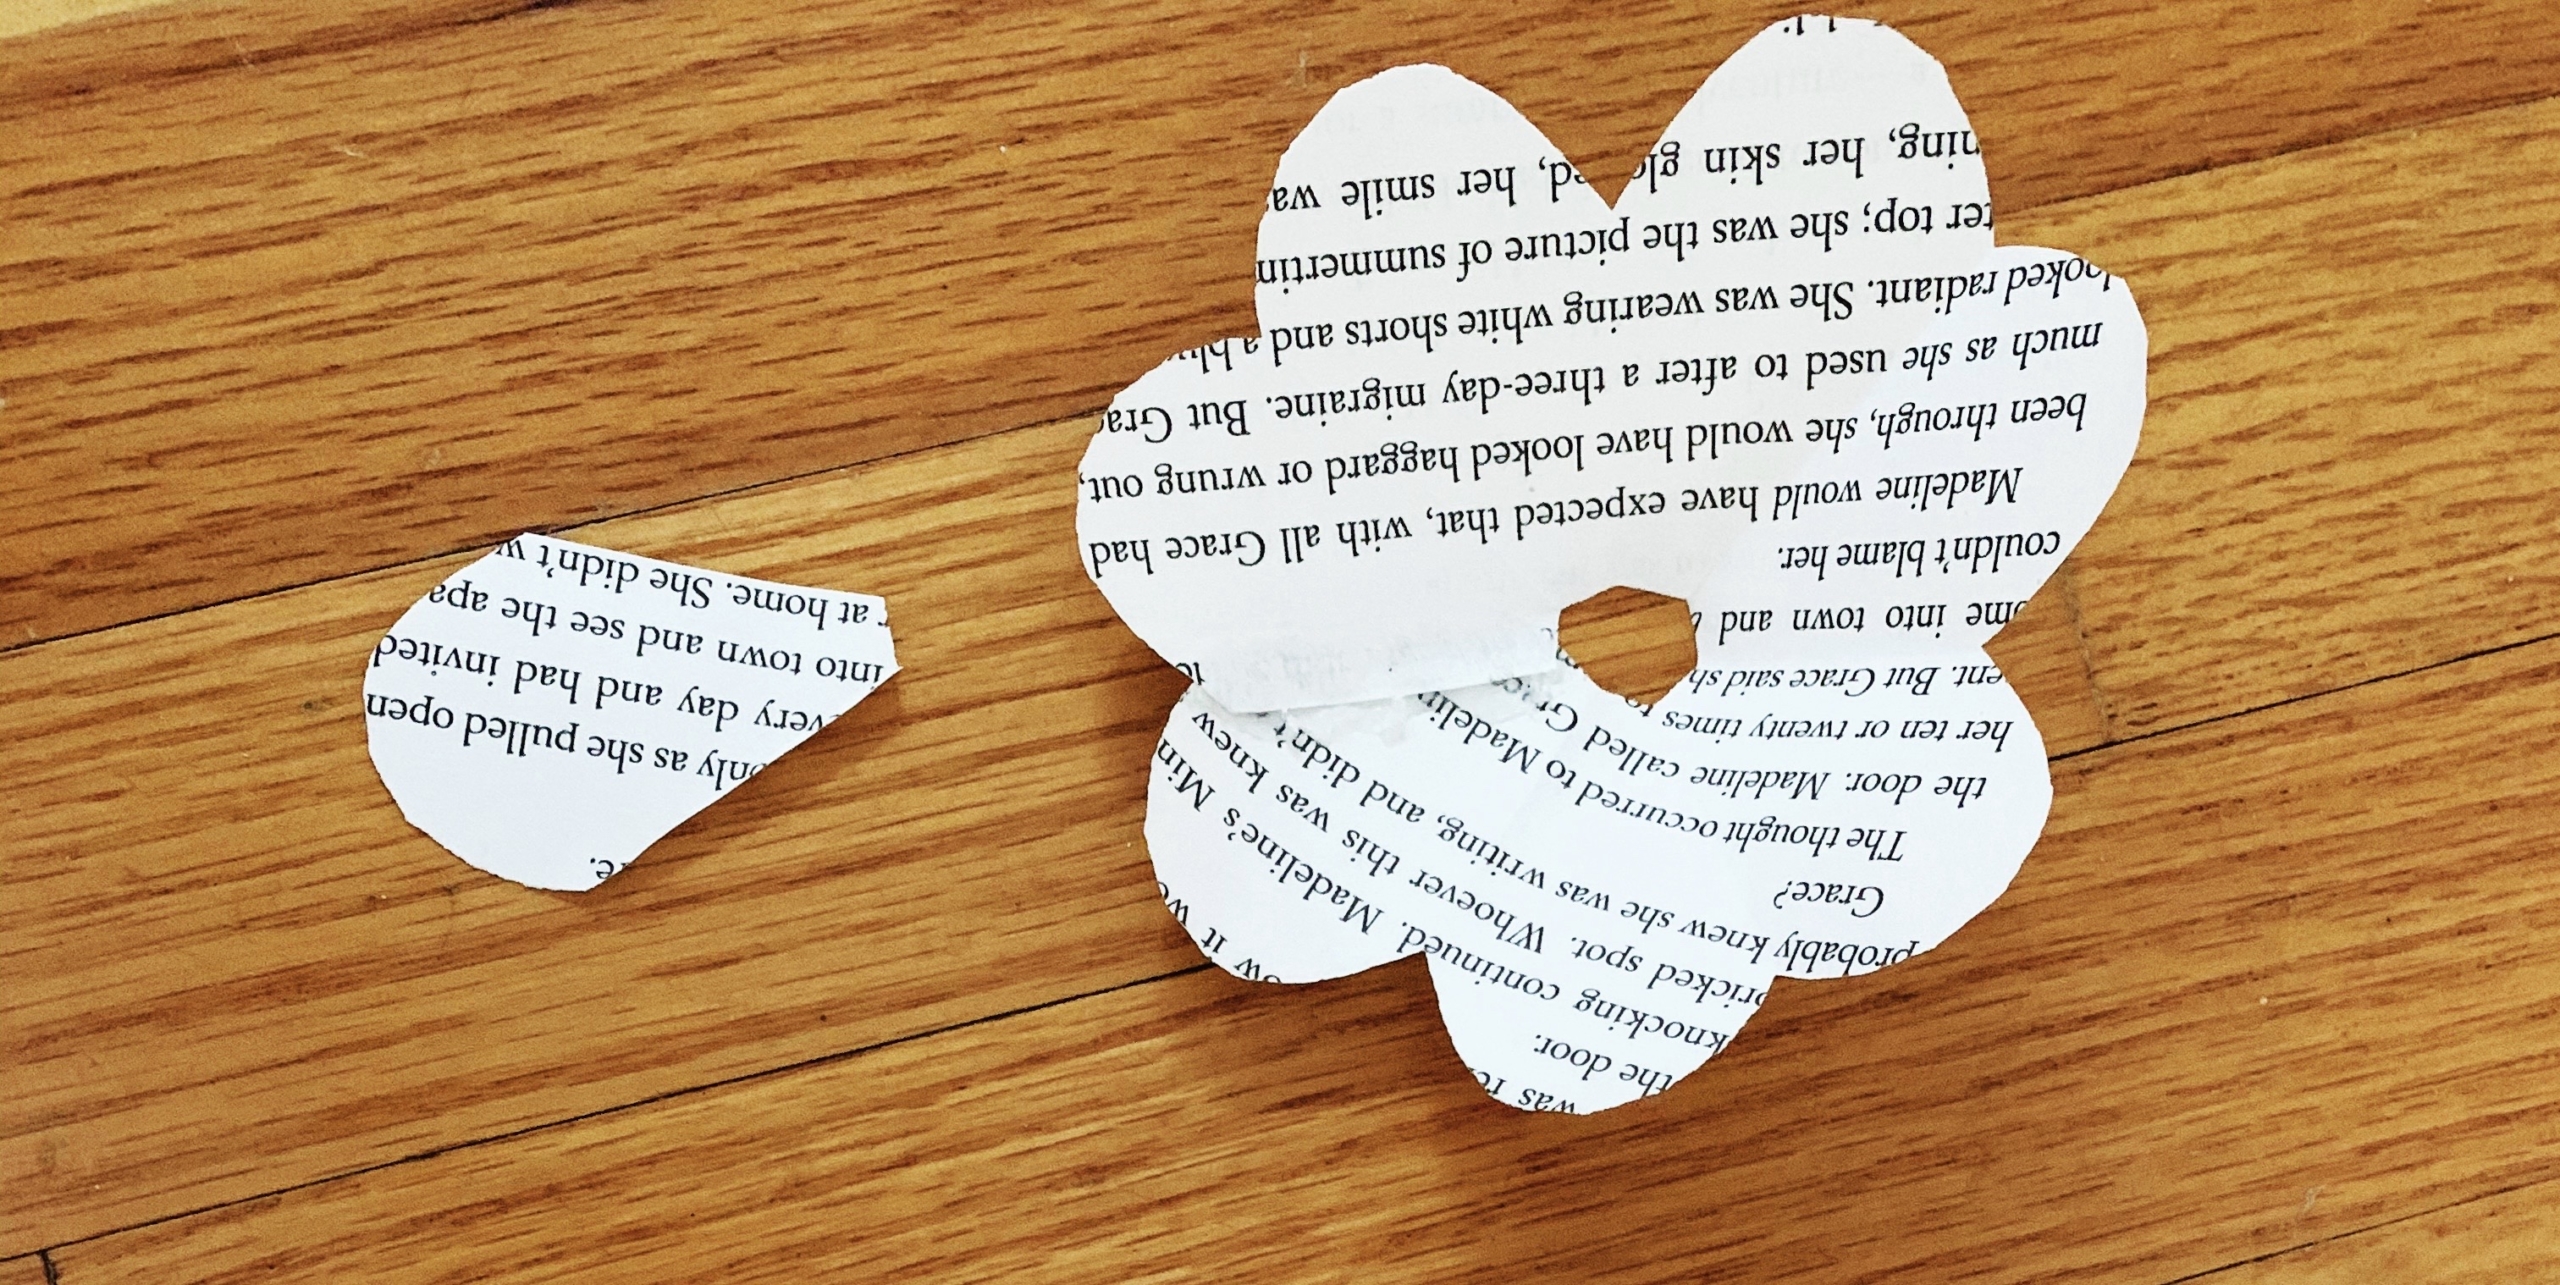
Step 5: This next step might seem complicated, but it’s not! Just go slow and count your petals. To start, unfold all your triangles. They will all start with 8 petals. From the first flower, cut out 1 petal. From the second, cut out 2 petals. And from the third, cut out 3 petals. You will now have 6 flower pieces: one with 1 petal, one with 2 petals, one with 3 petals, one with 5 petals, one with 6 petals and one with 7 petals.
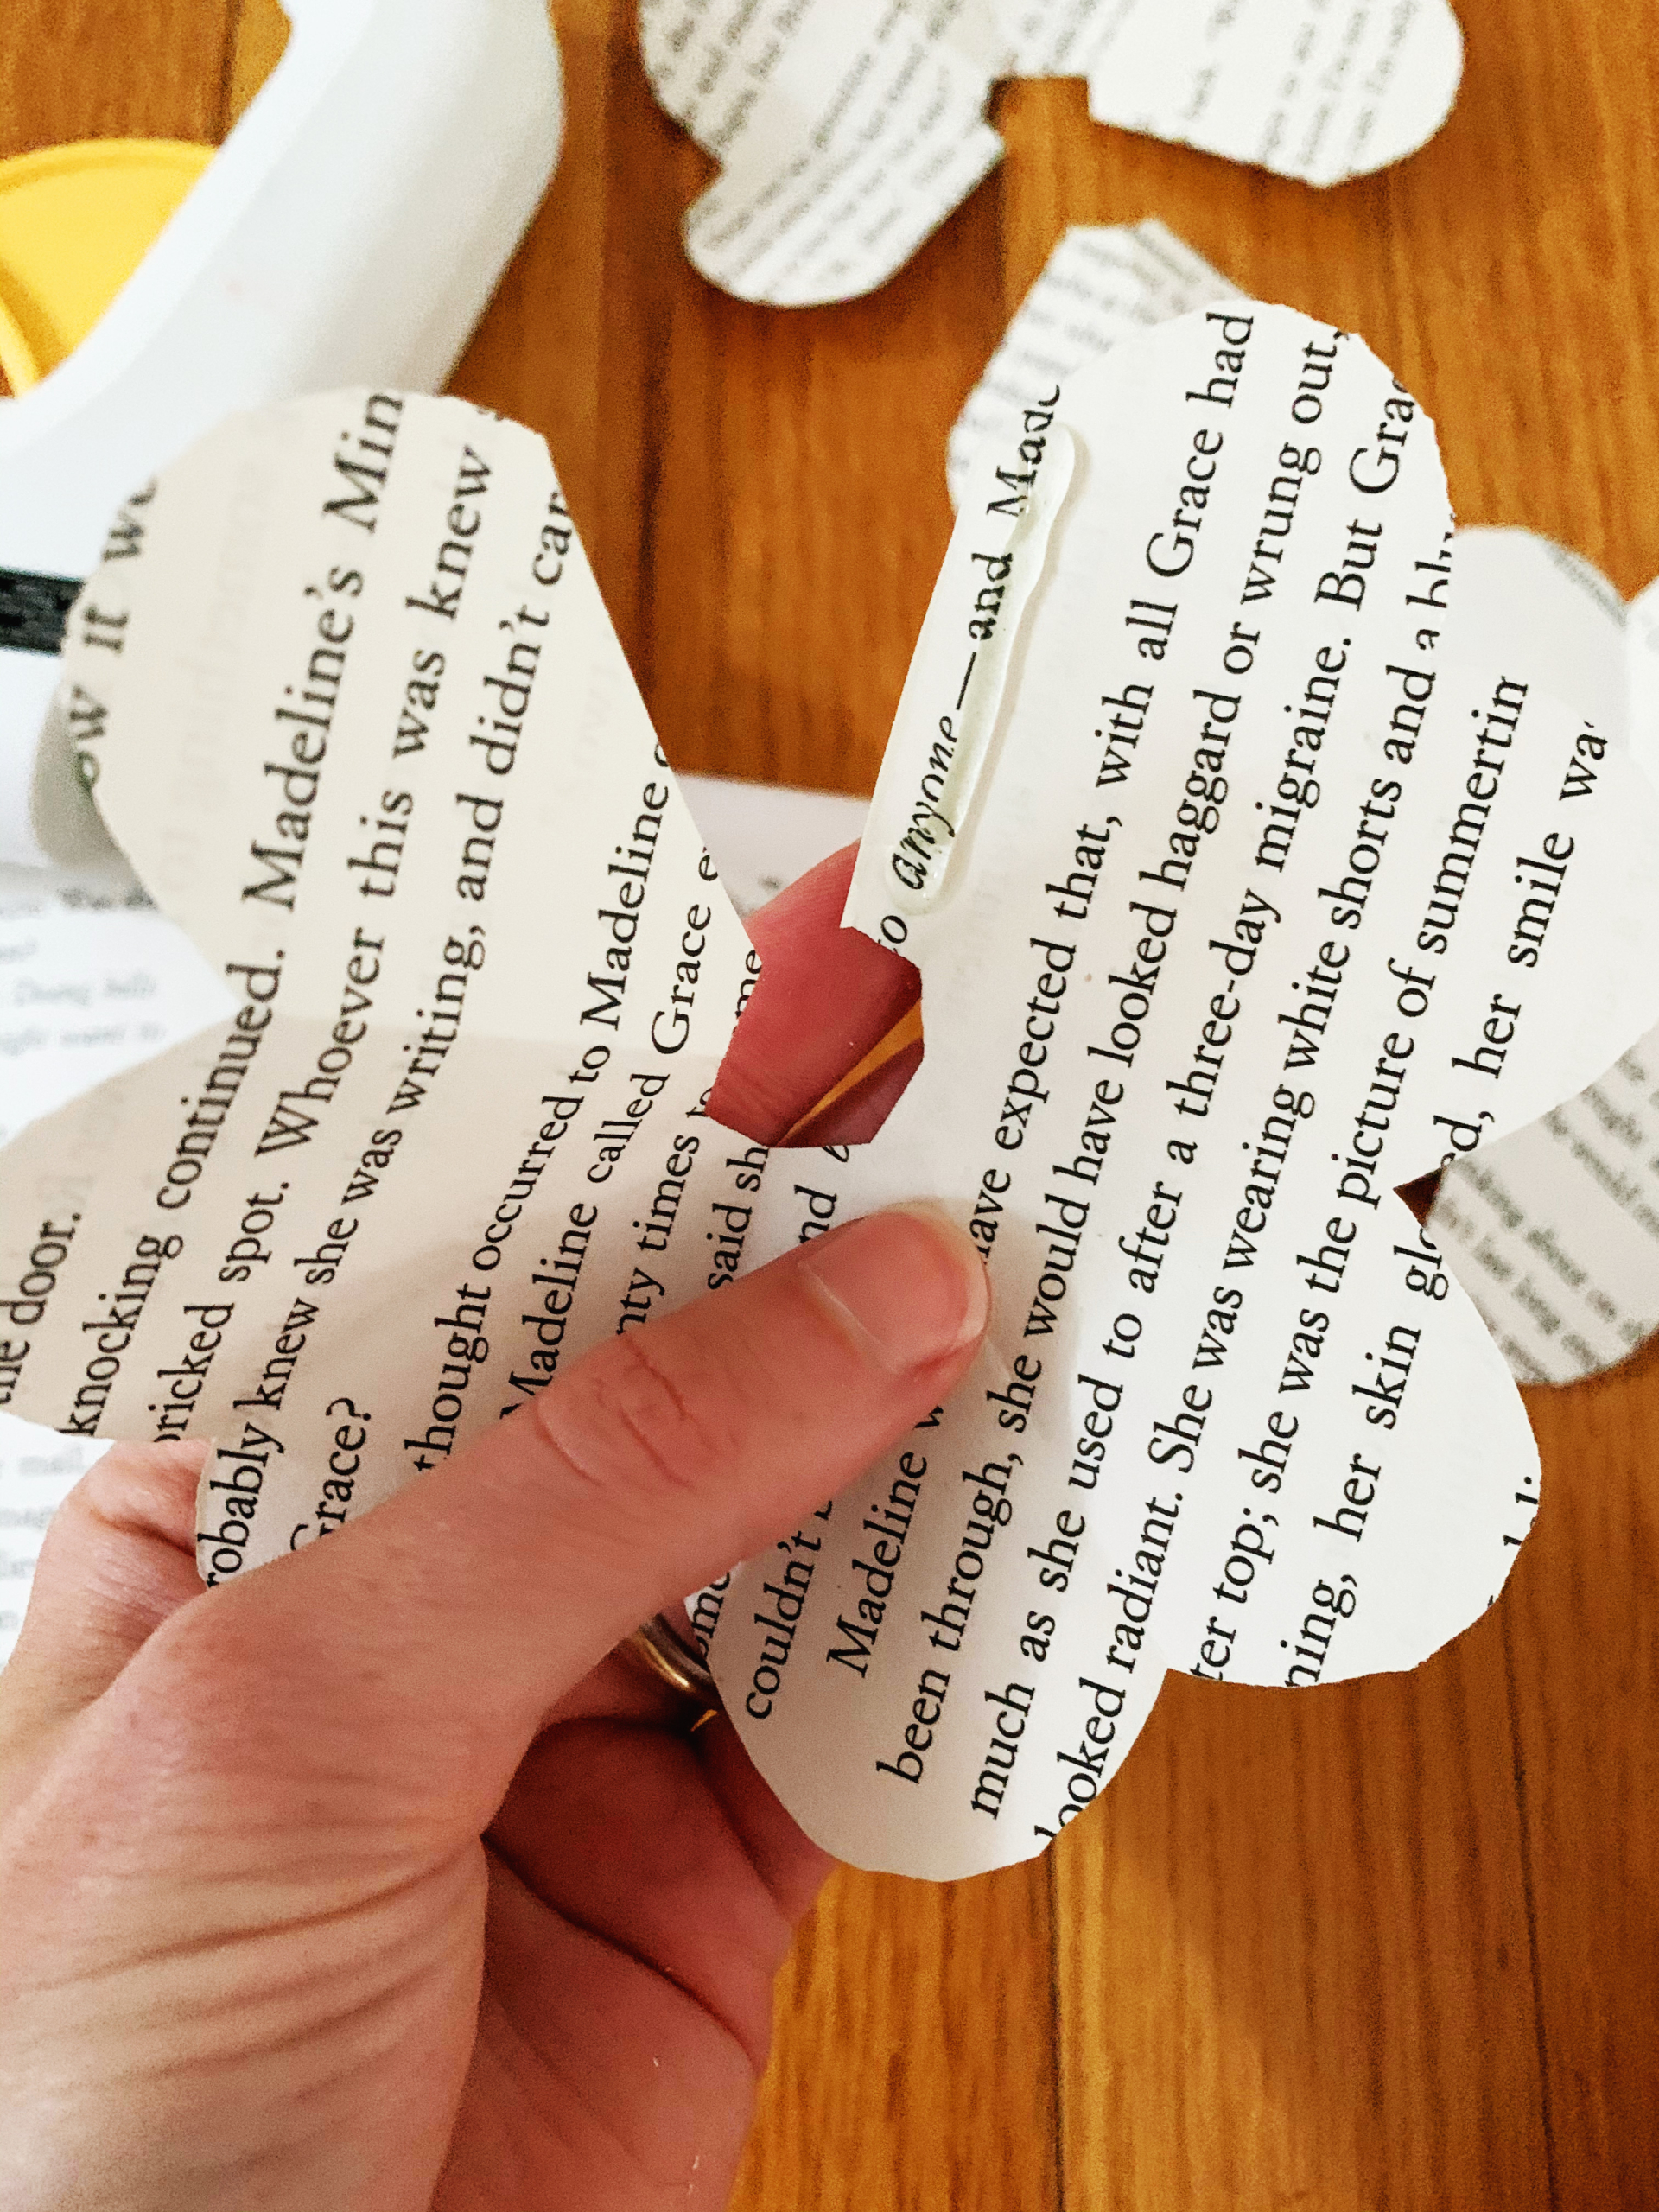
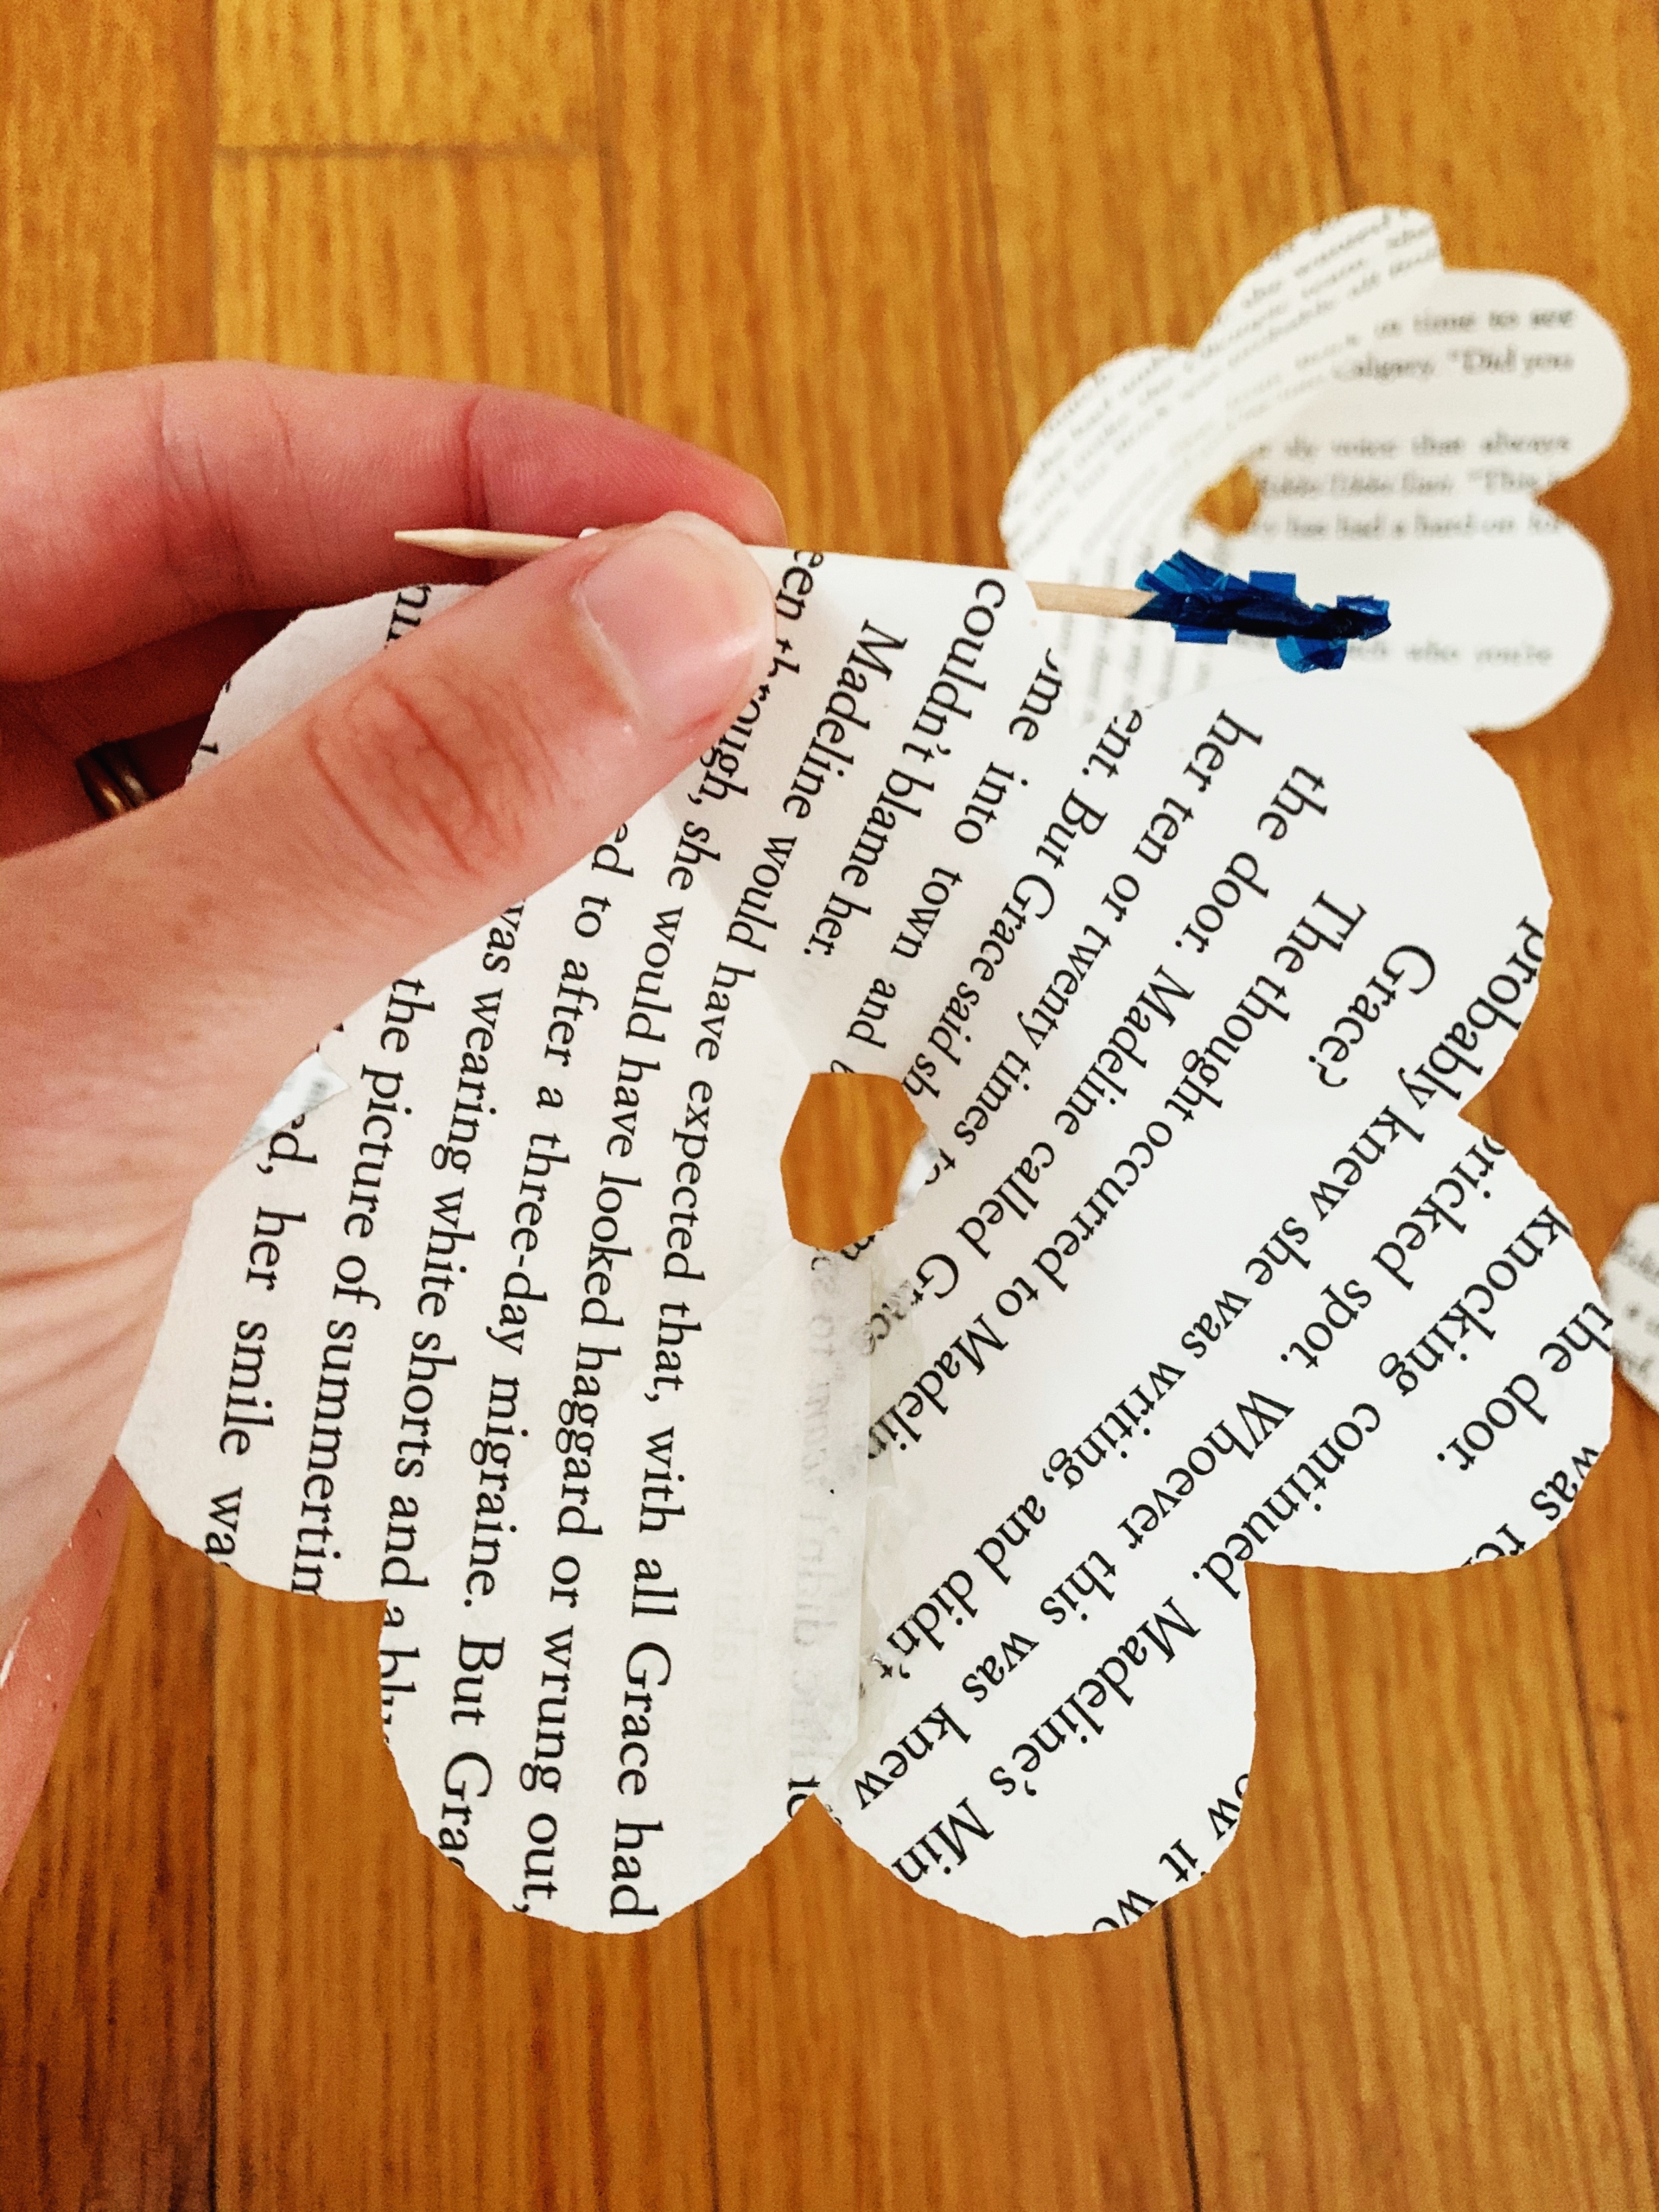
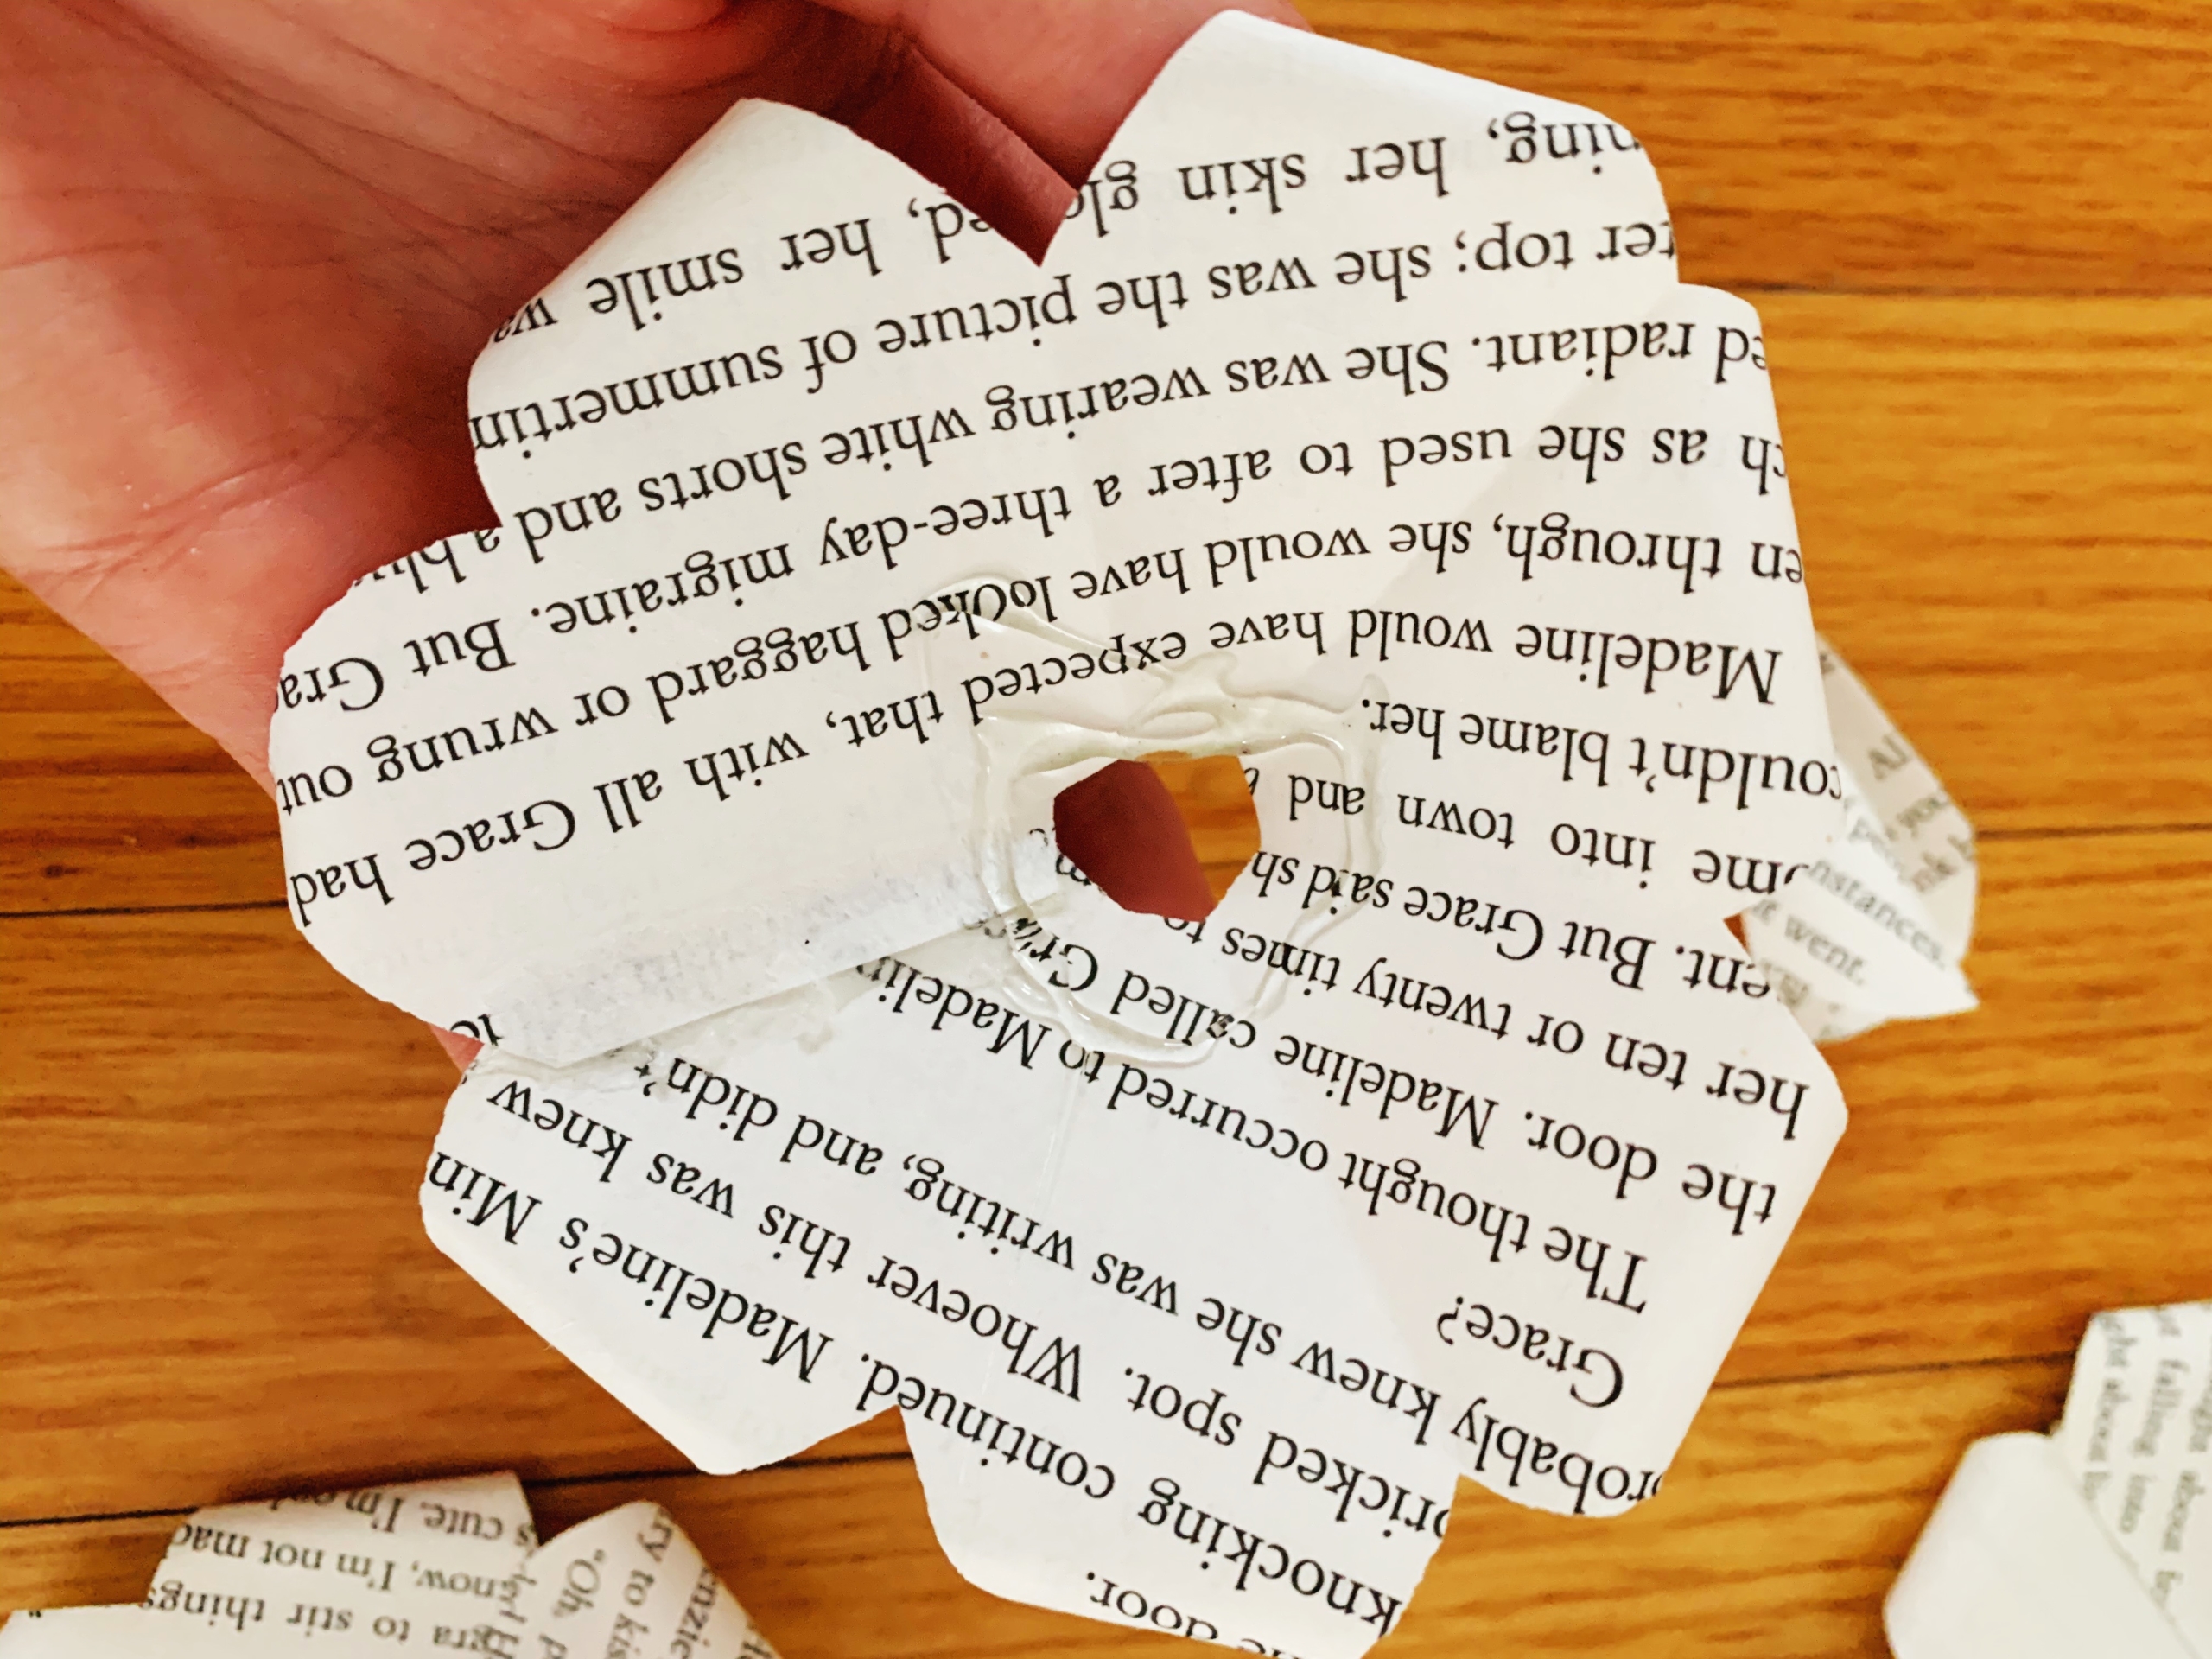
Step 6: Using a hot glue gun or glue dots, stick the edges together on the 3-, 5-, 6- and 7-petal pieces, as shown below. Just overlap the edges a bit when you glue them together.
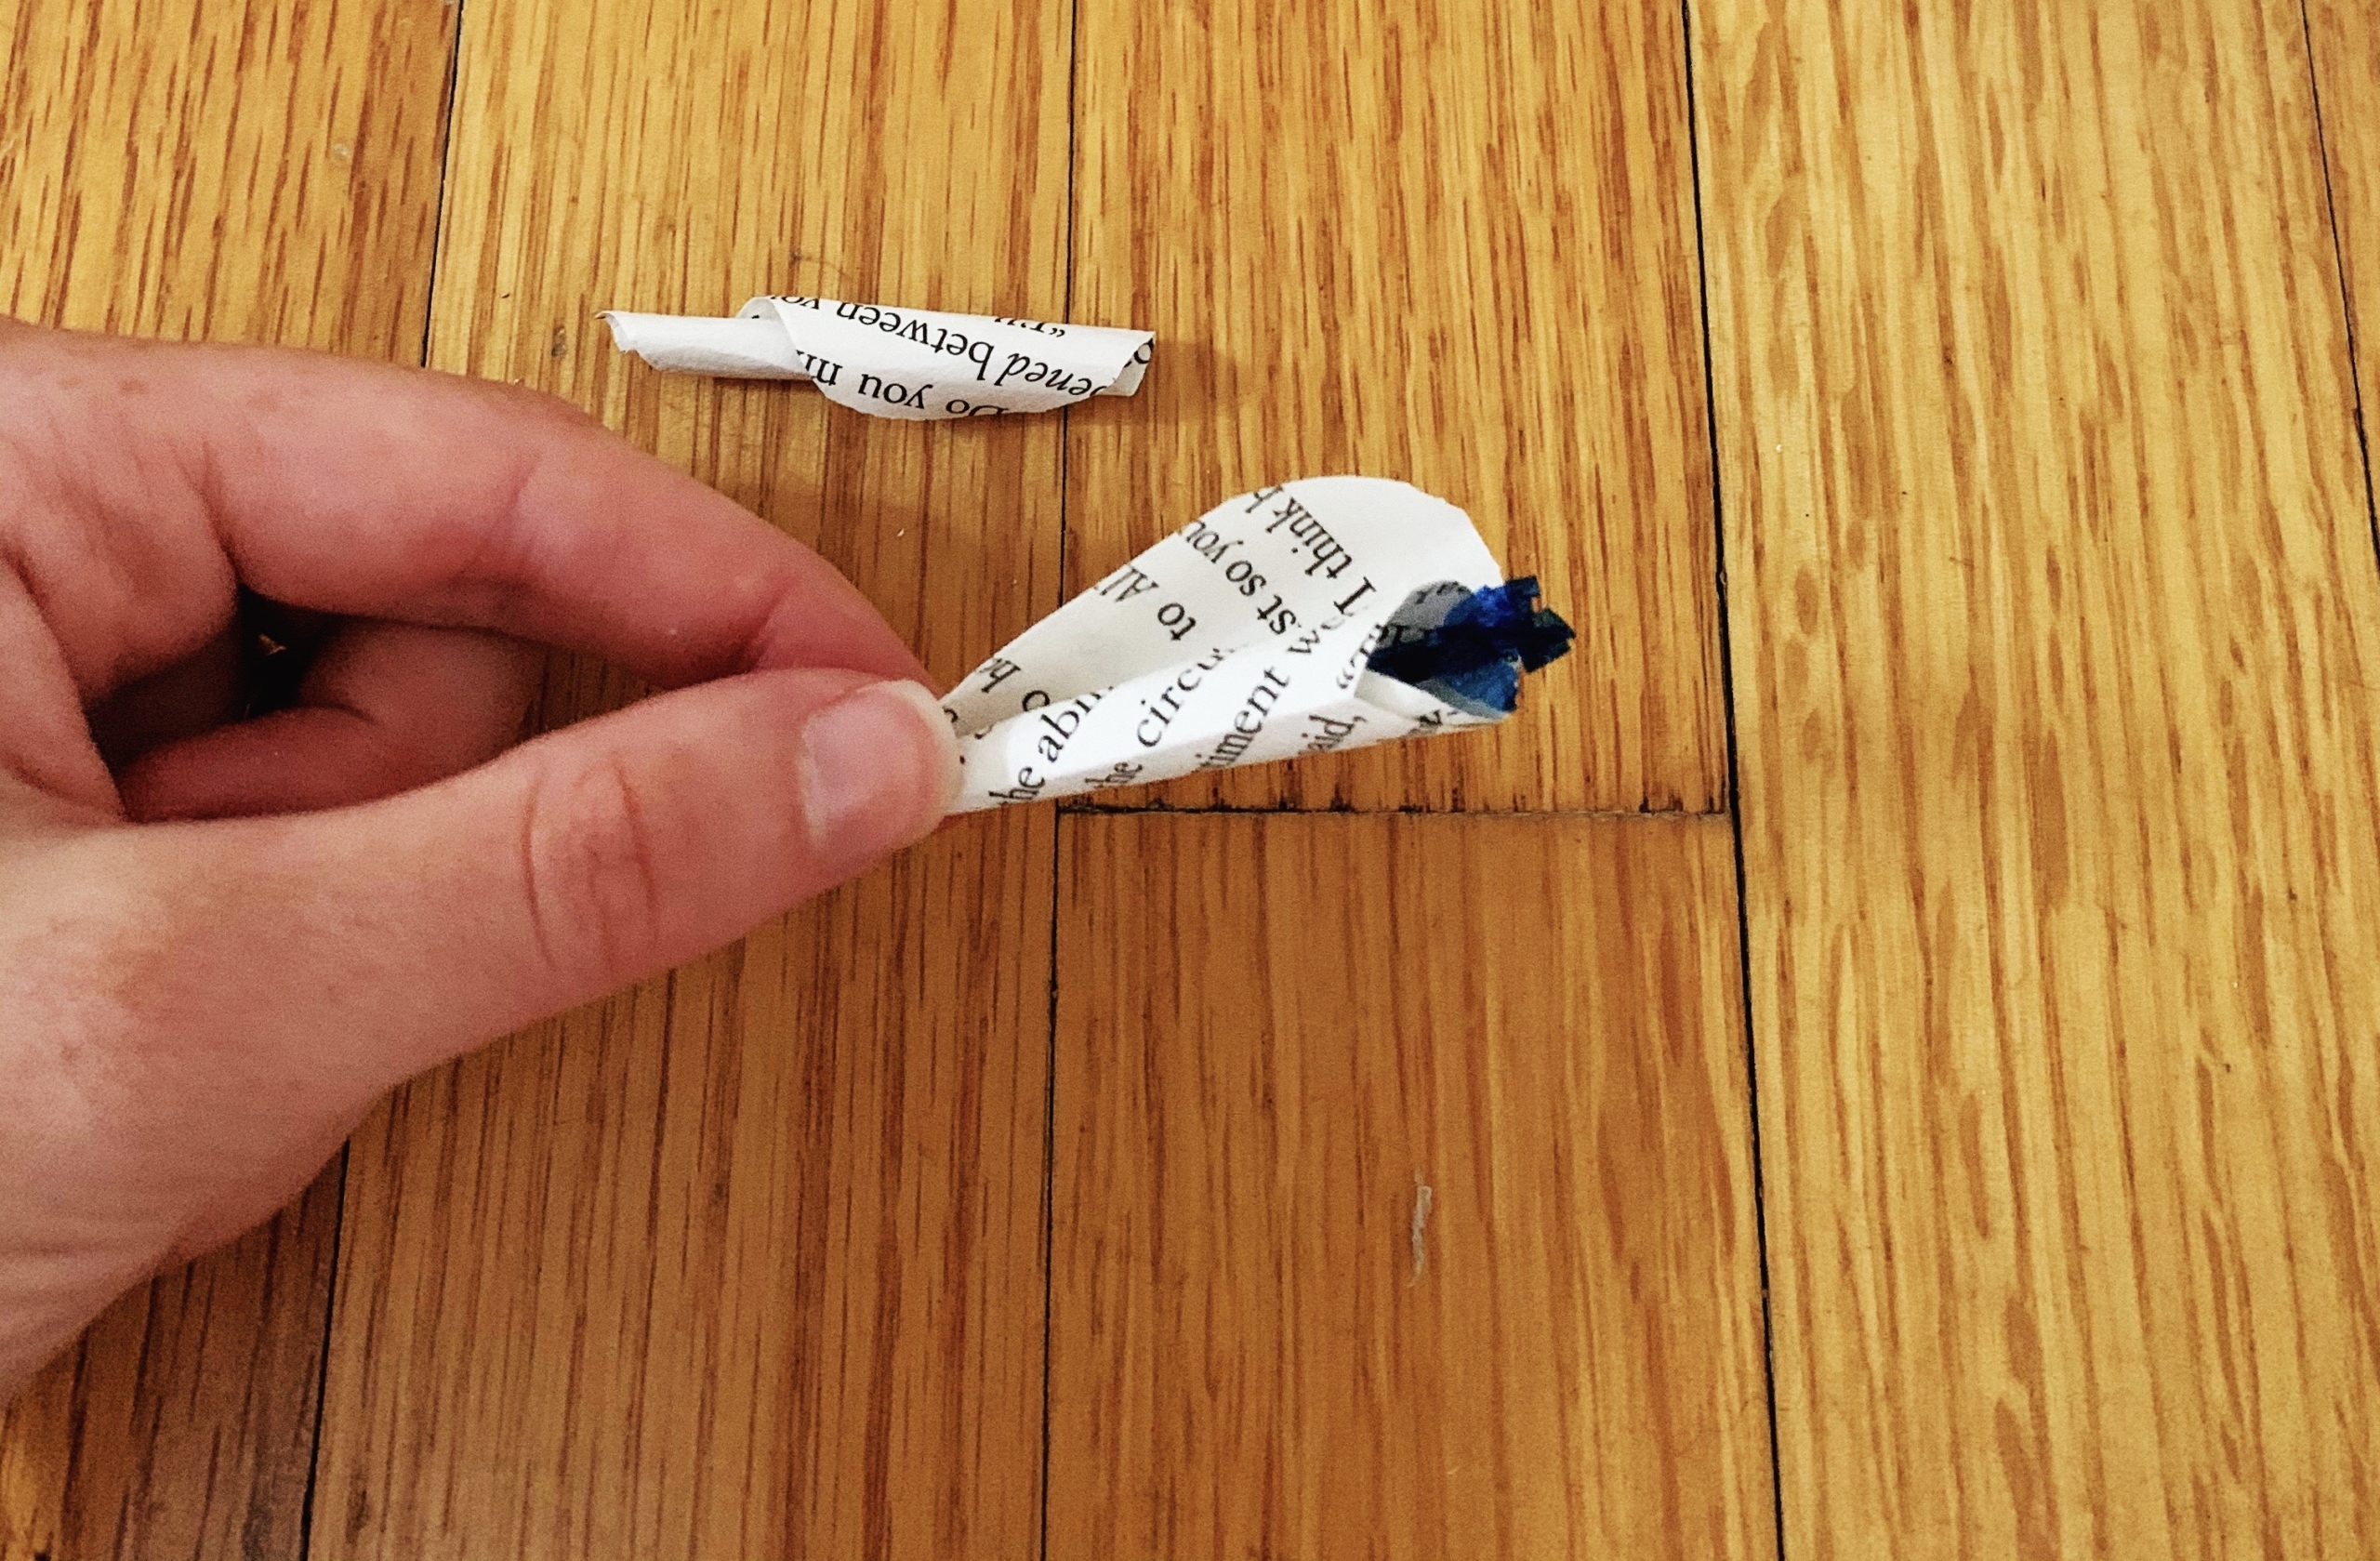
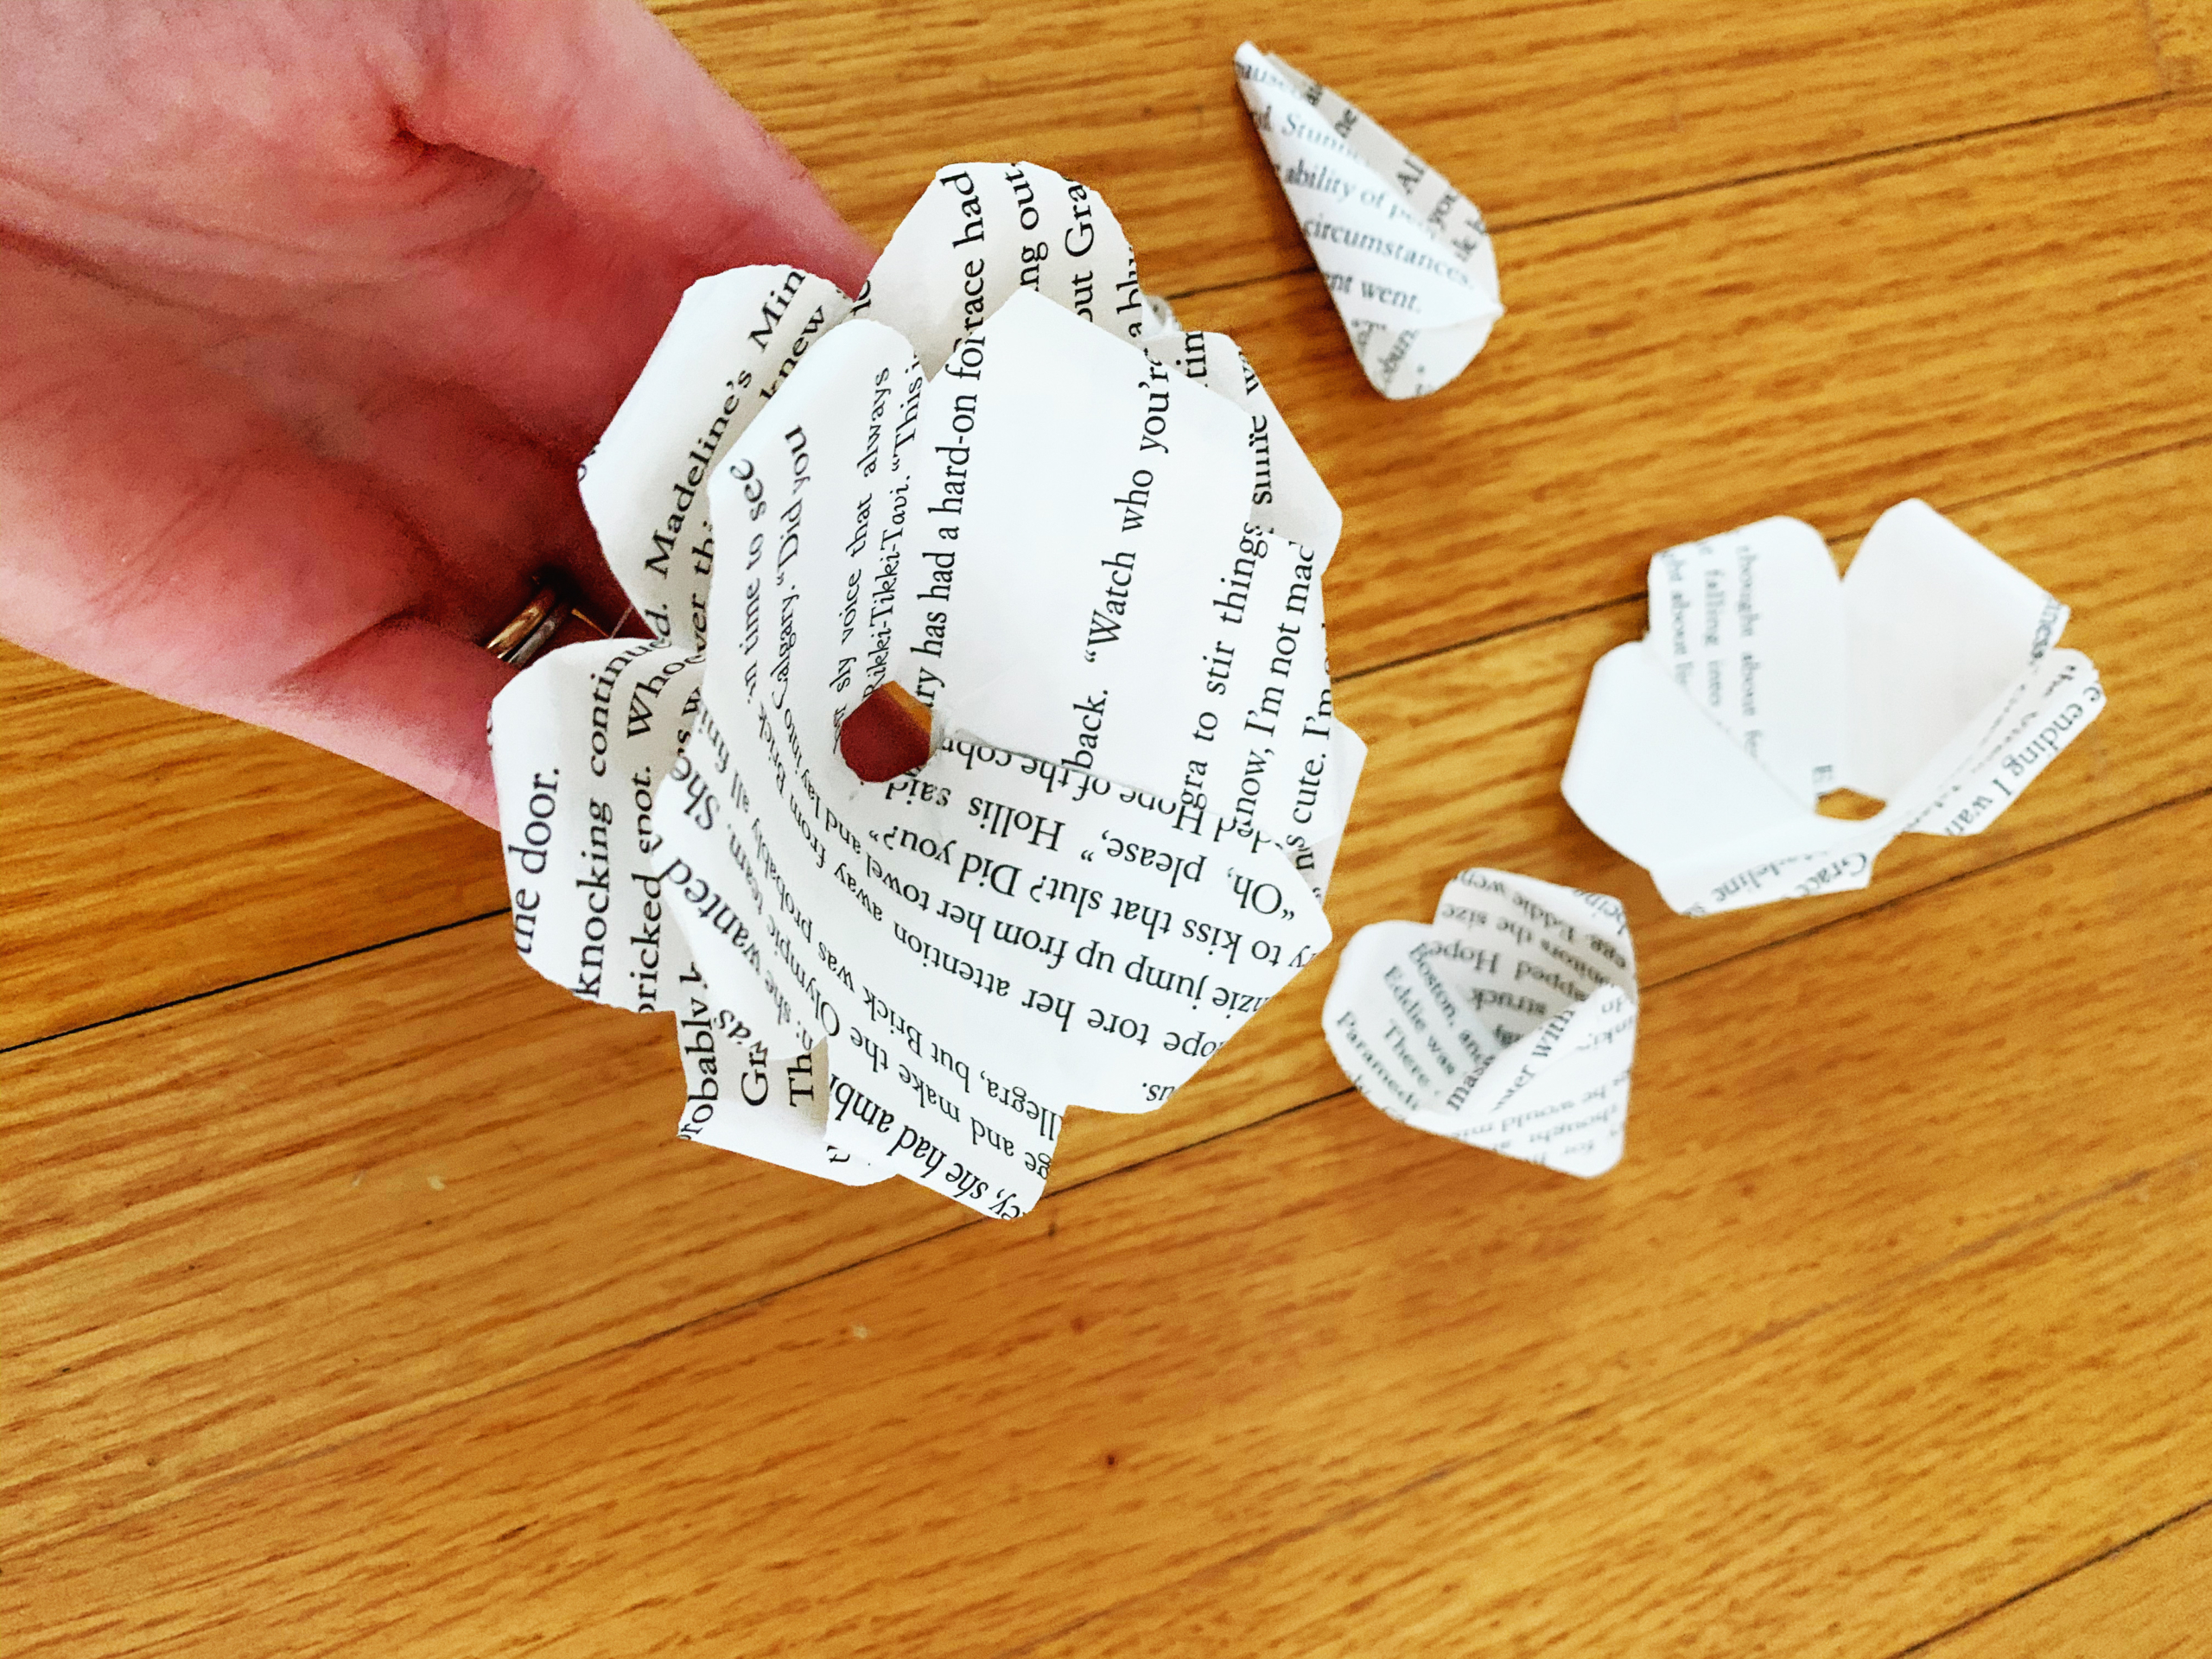
Step 7: Once the glue has dried, take your tooth pick and carefully roll the very top edge of the petals outwards. Then take the two last flower pieces that you haven’t touched yet, the single petal and the 2-petal piece, and completely roll these two pieces around the toothpick.
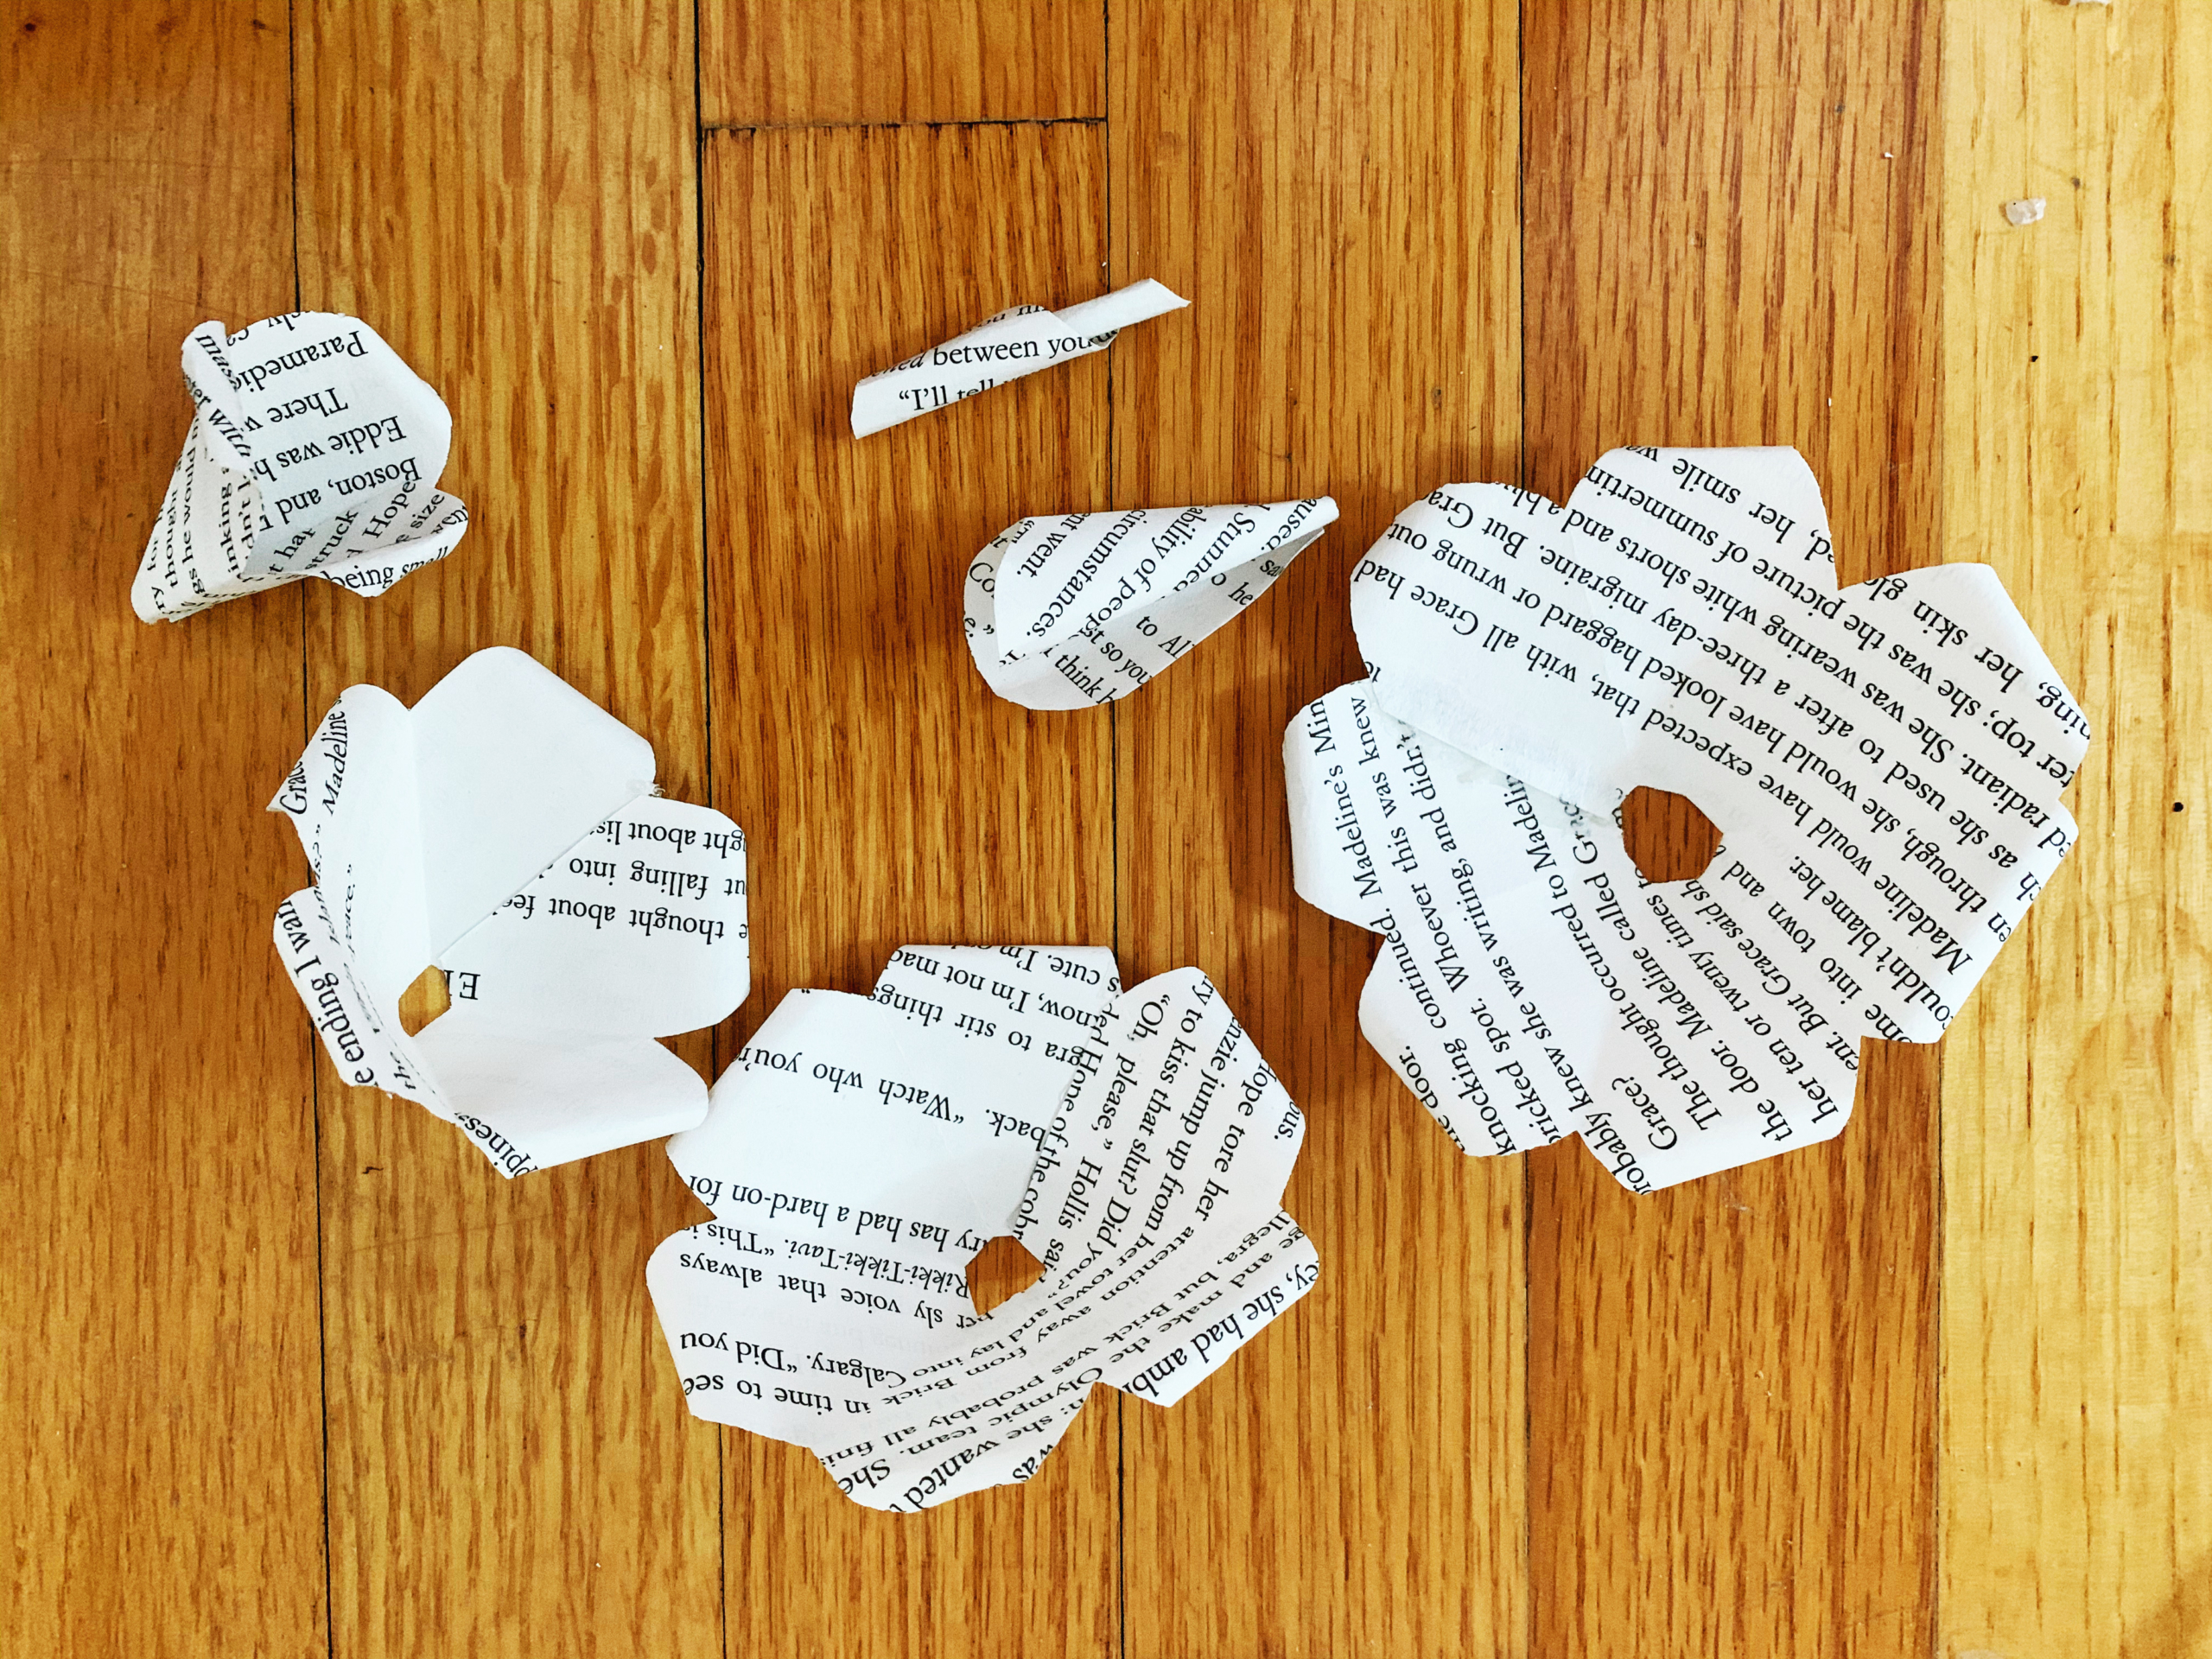
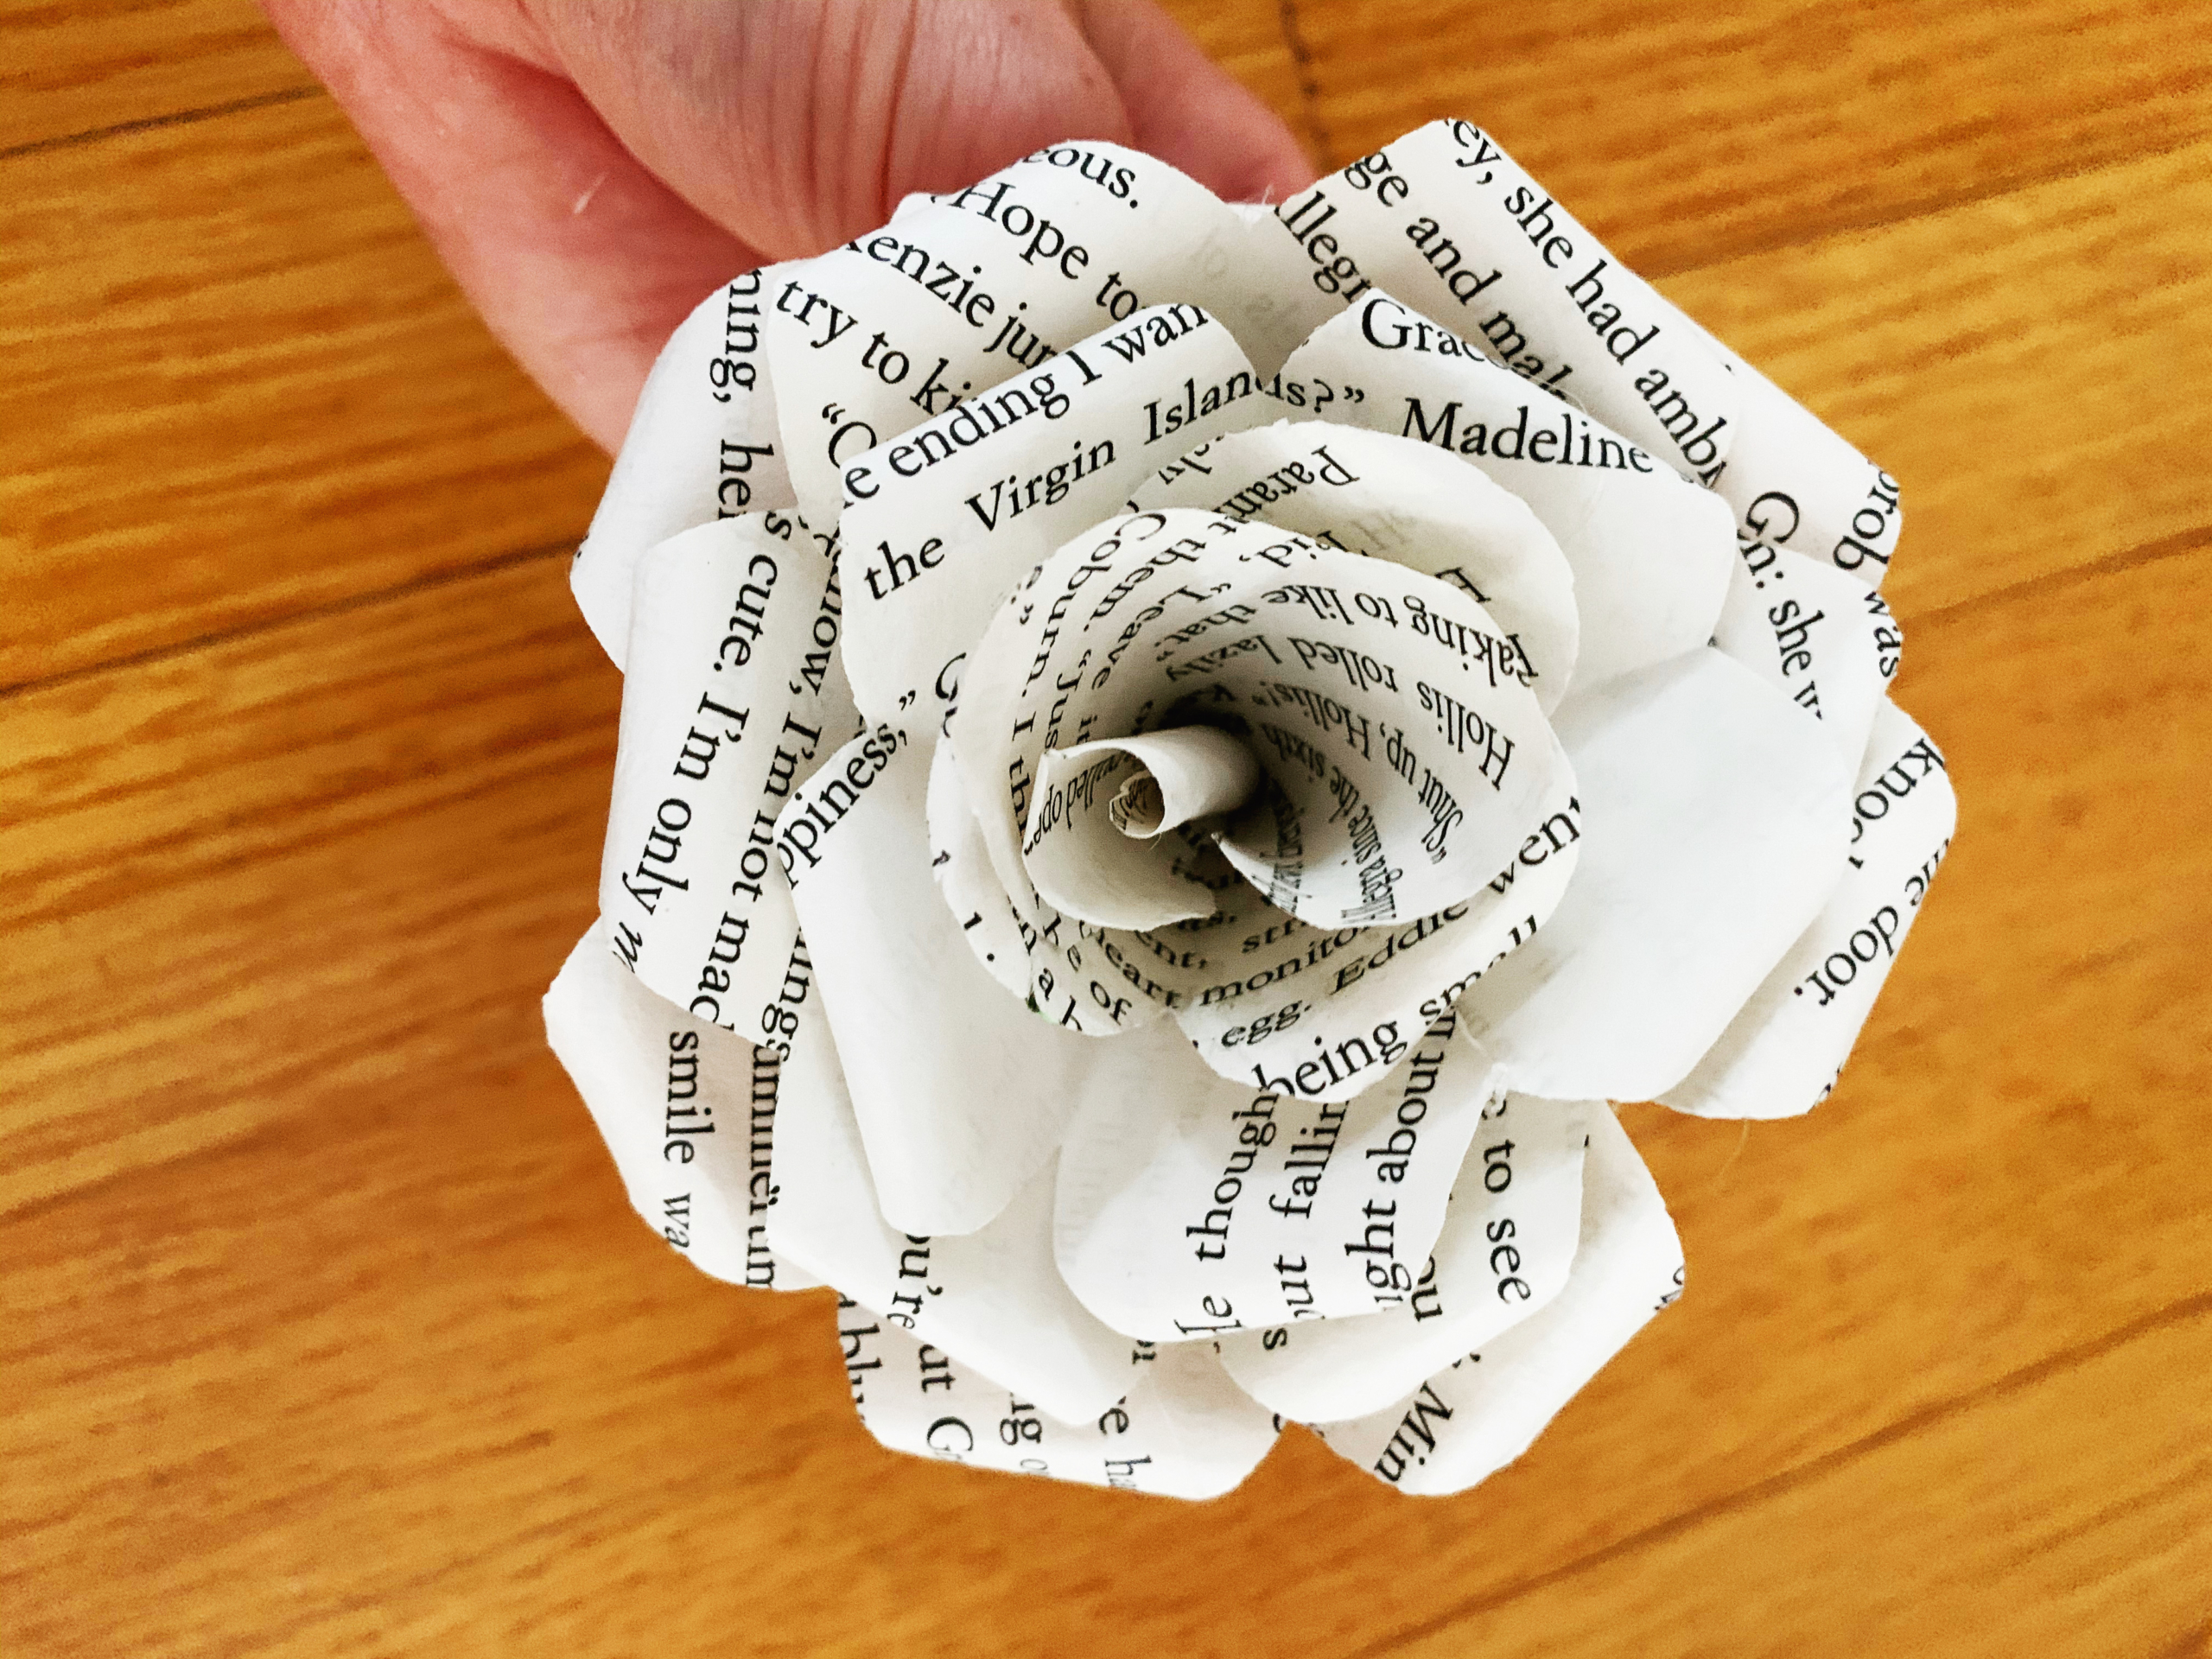
Step 8: Now it’s time to assemble your flower. Starting with the largest piece (7 petals) add a little bit of glue on the inside of the base and place the next smaller piece (6 petals) on top. Then glue the 5 petal piece to that and so on. Eventually the base of the 3-, 2- and 1-petal pieces will poke through the hole in the middle of the flower.
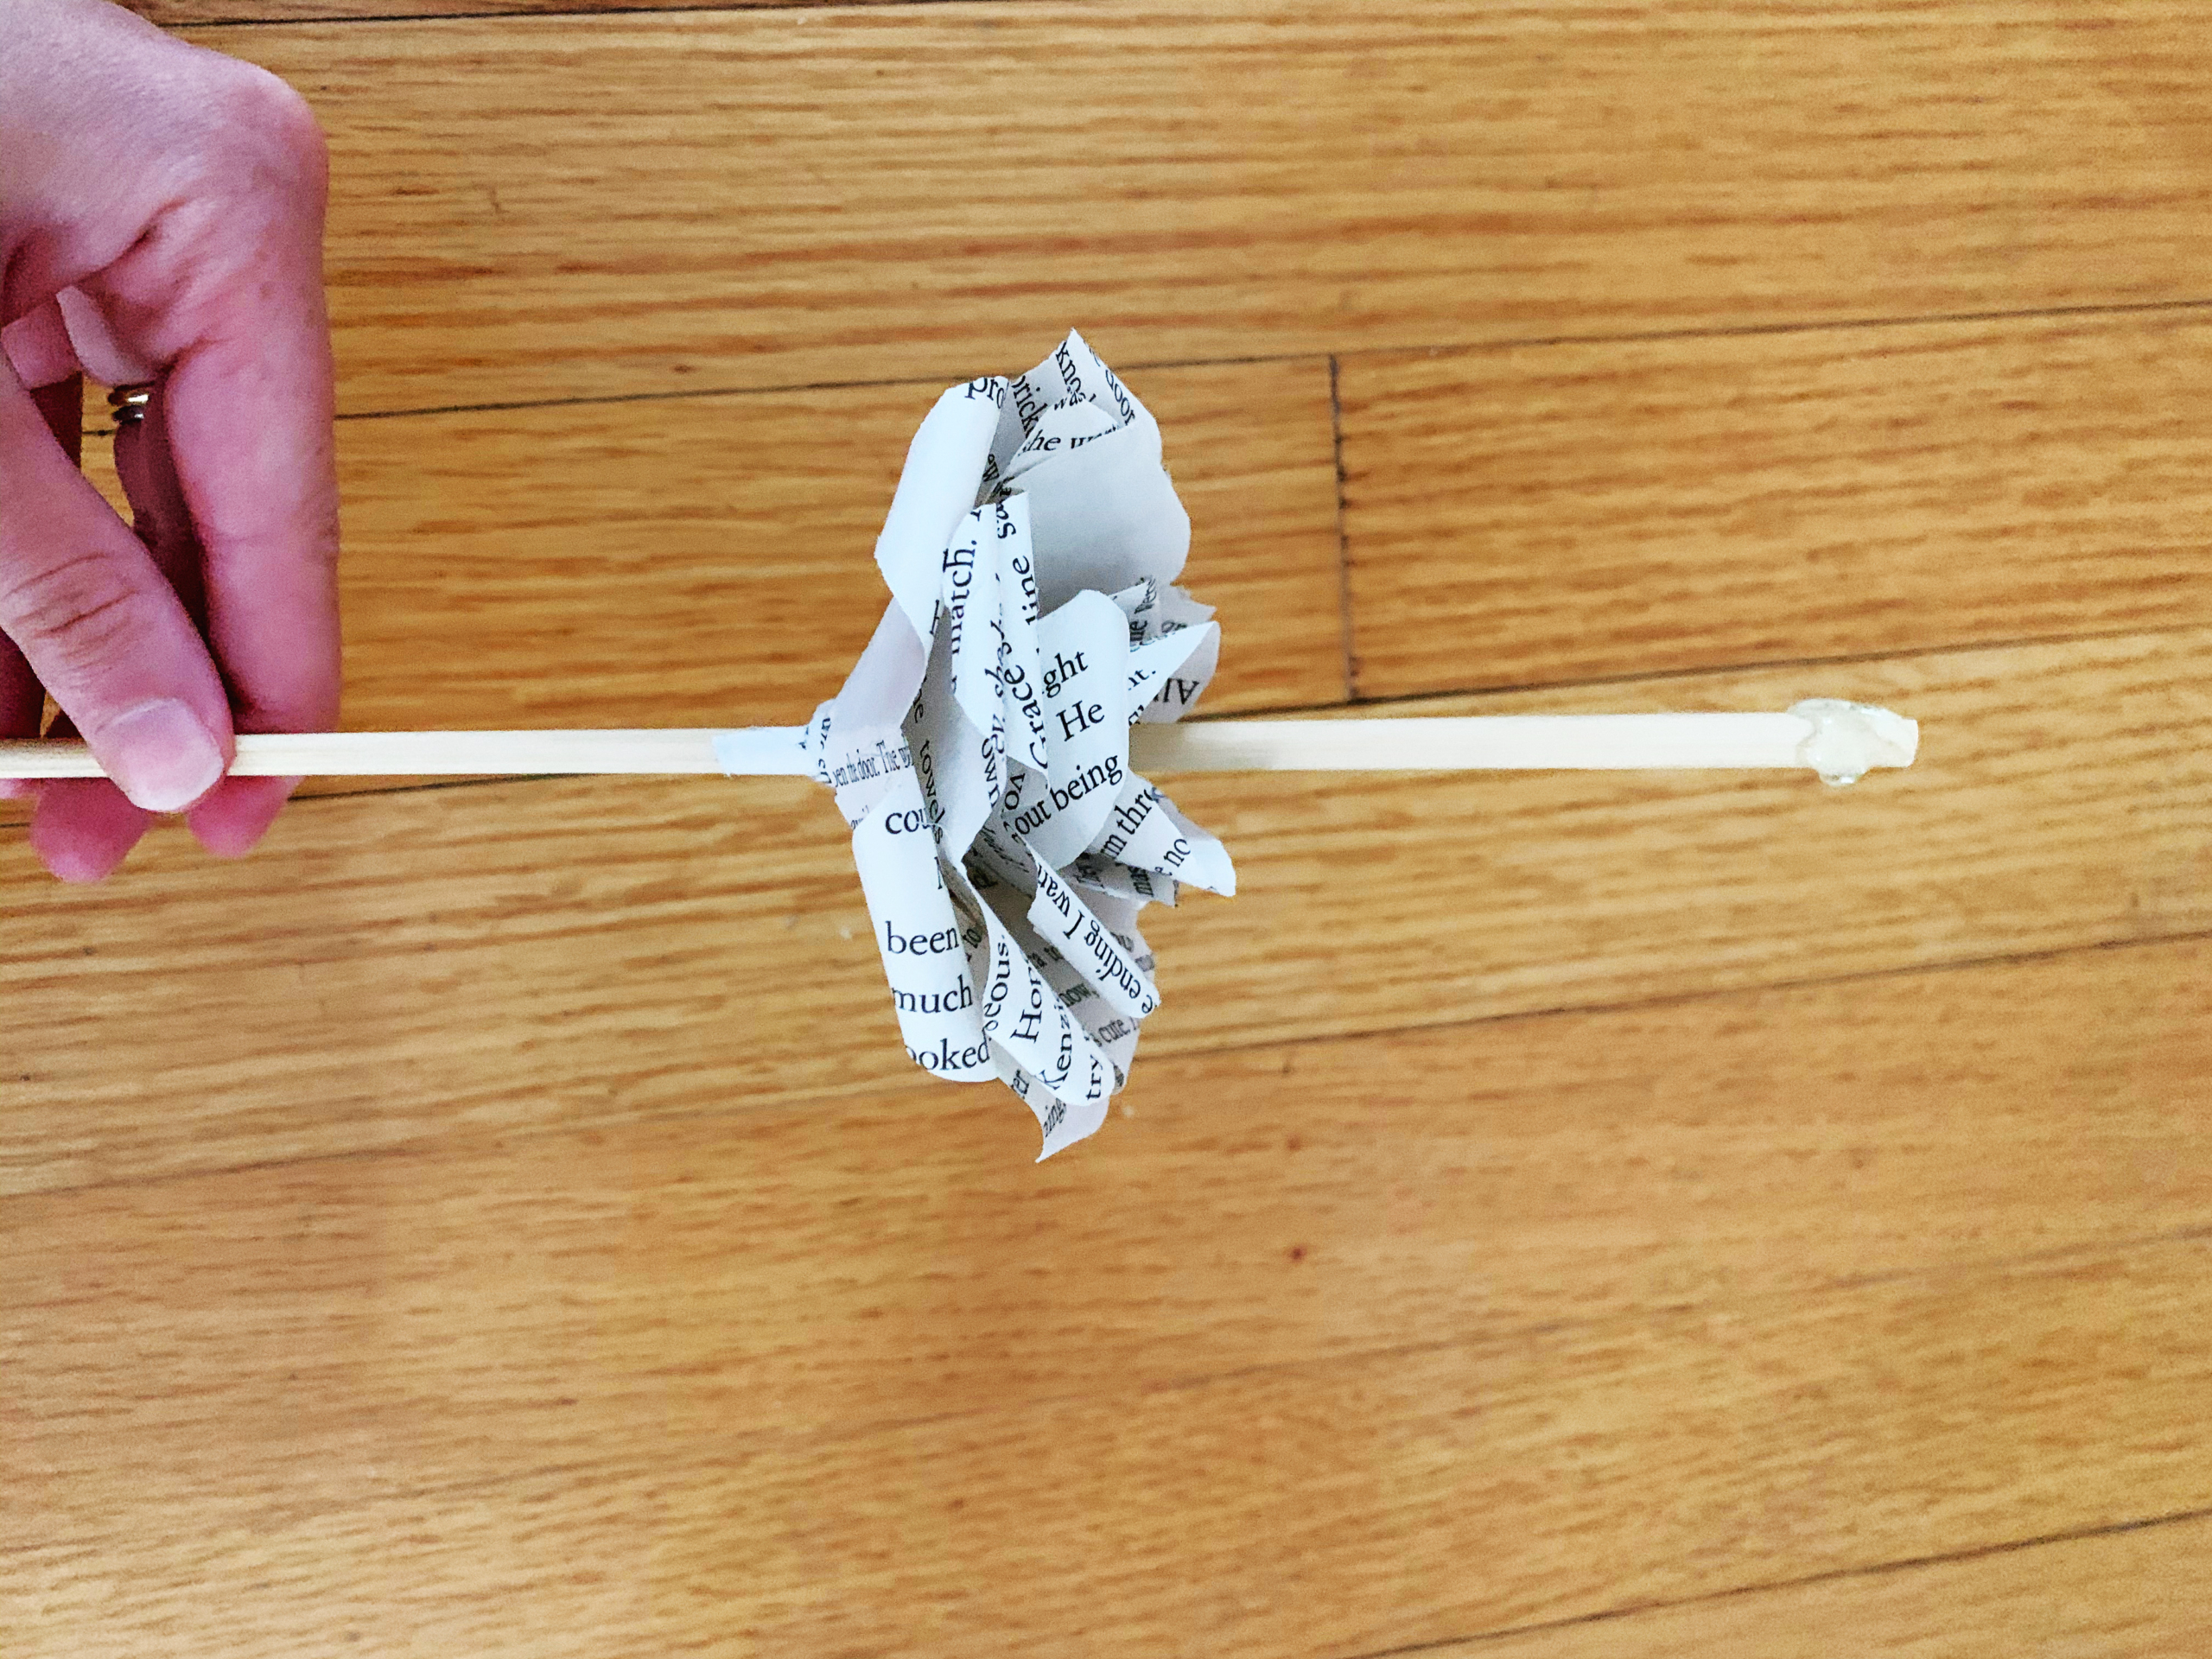
Step 9: You’re almost there! Last but not least is to add your stem. Put a decent bit of glue on the end of your chosen stem. Starting with the unglued side, stick that down through the center of your finished flower and pull it through so the glued end sits inside the flower.
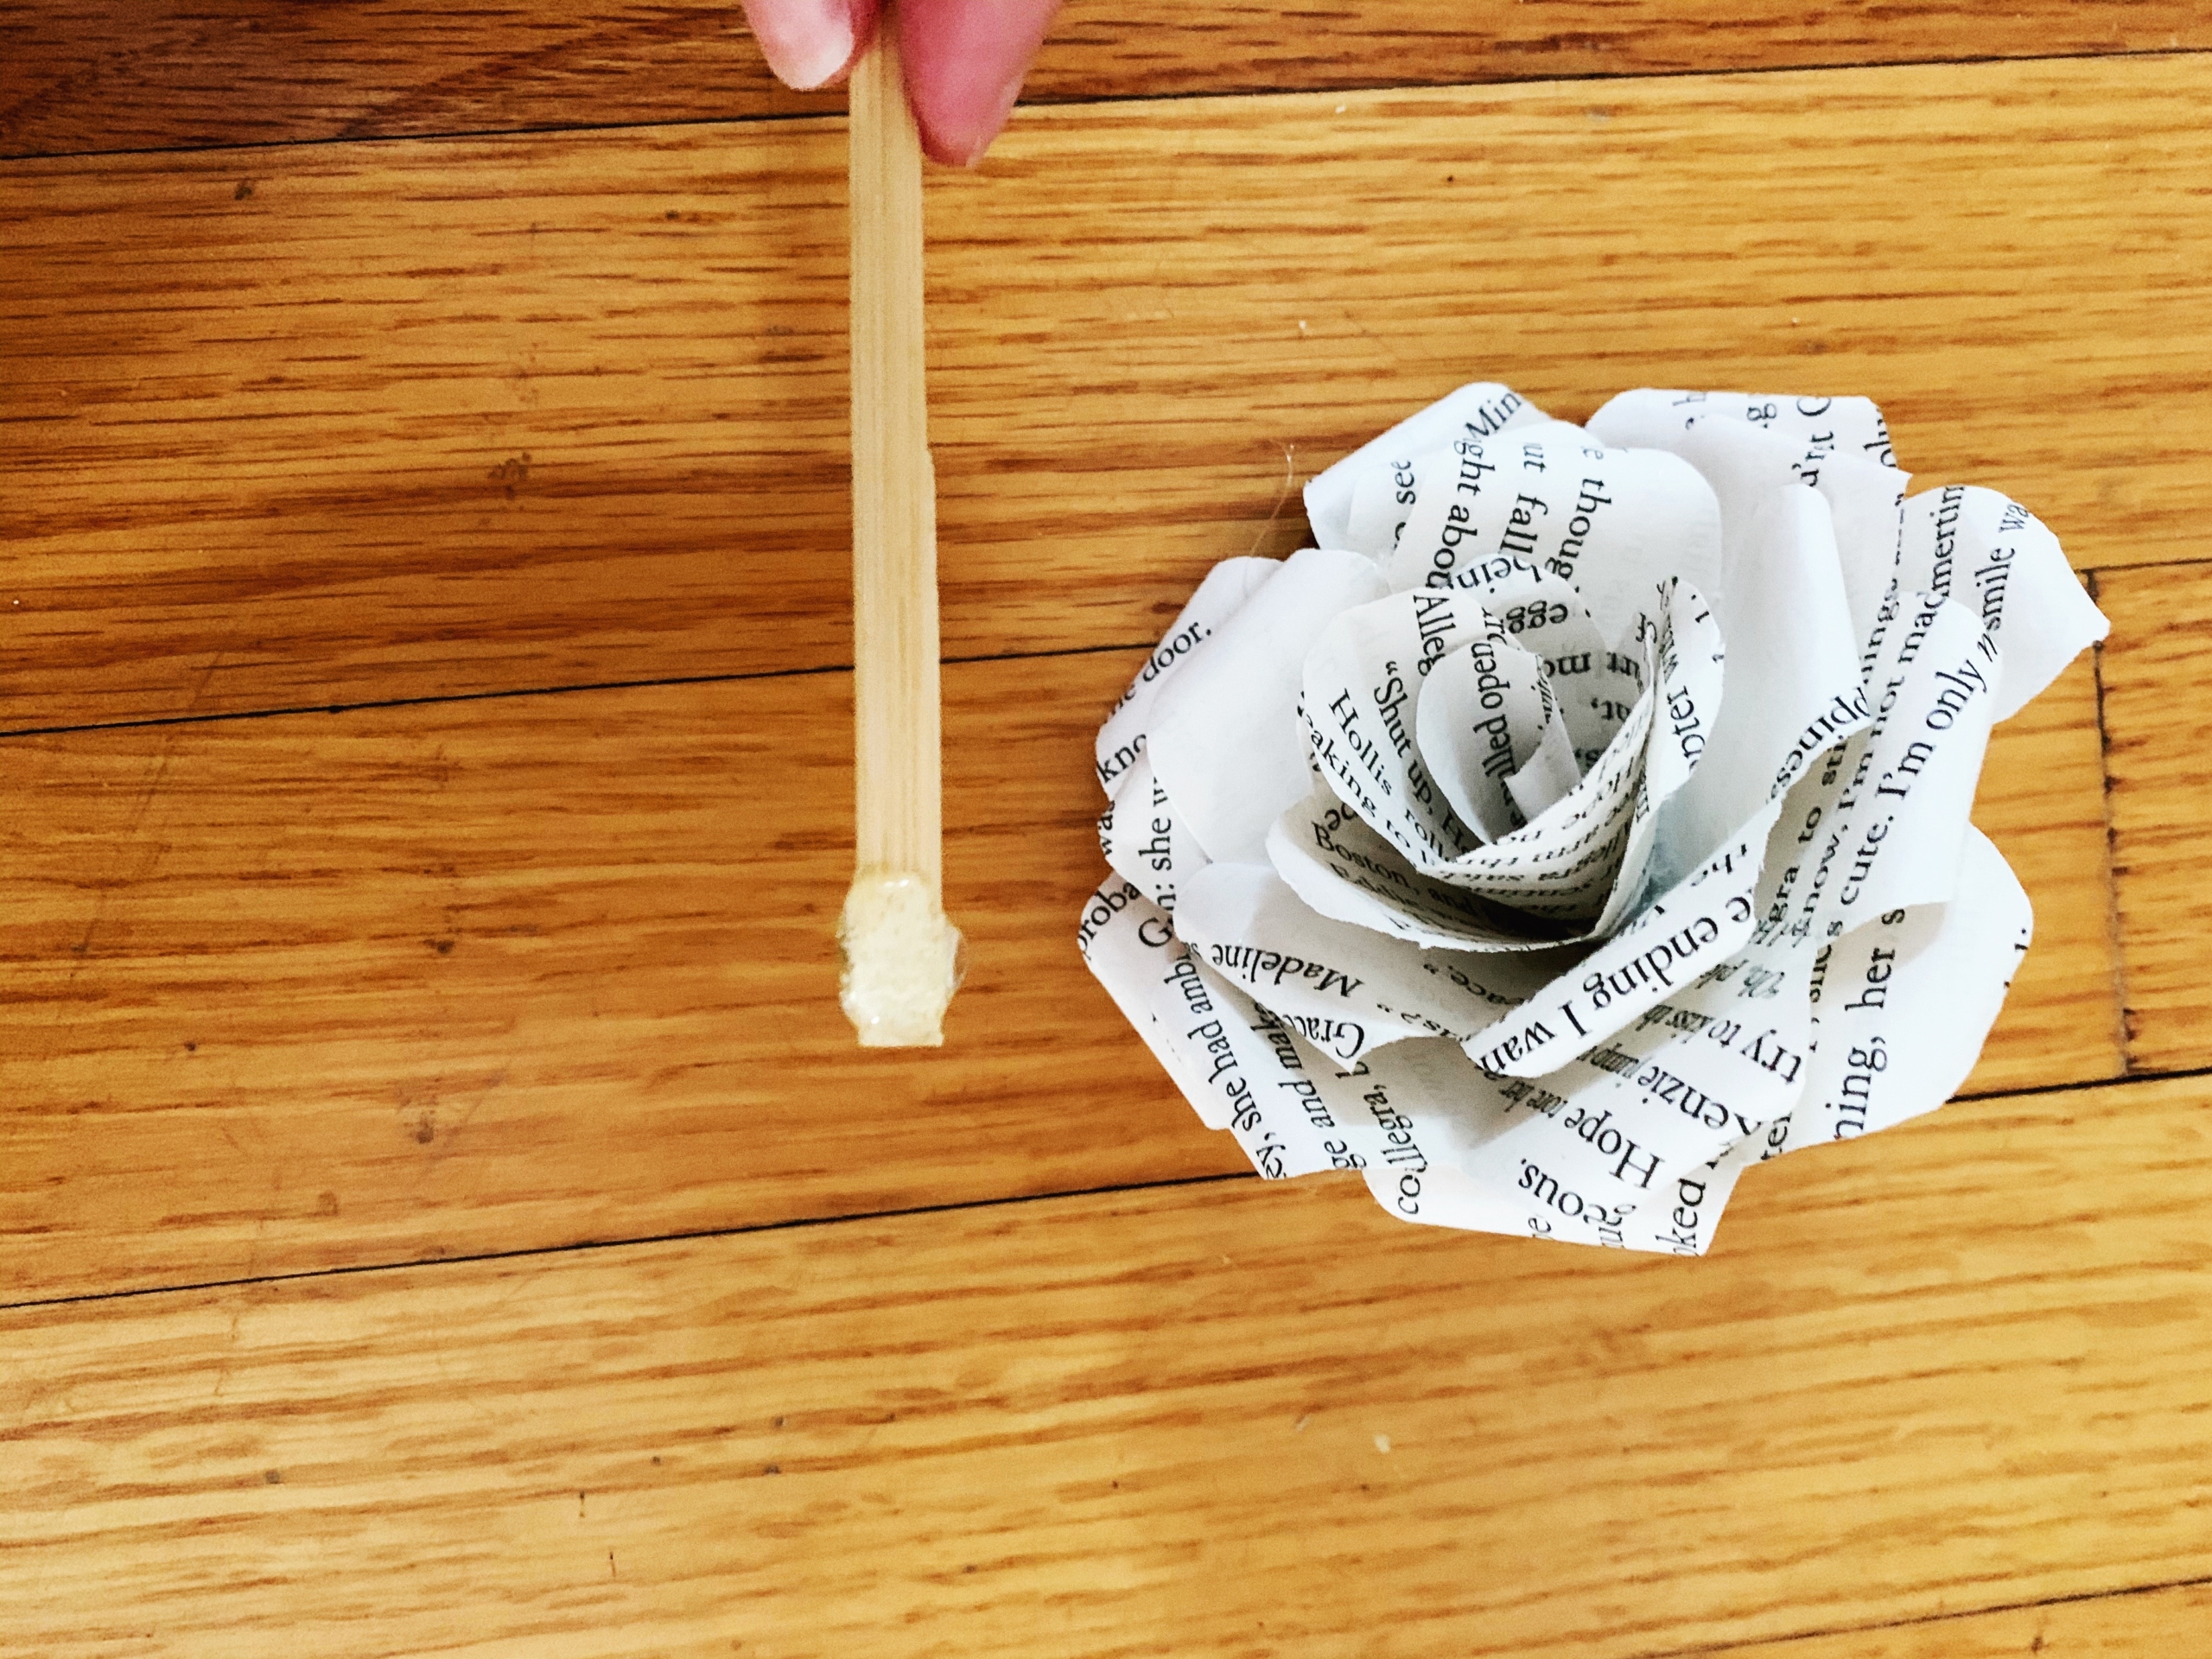
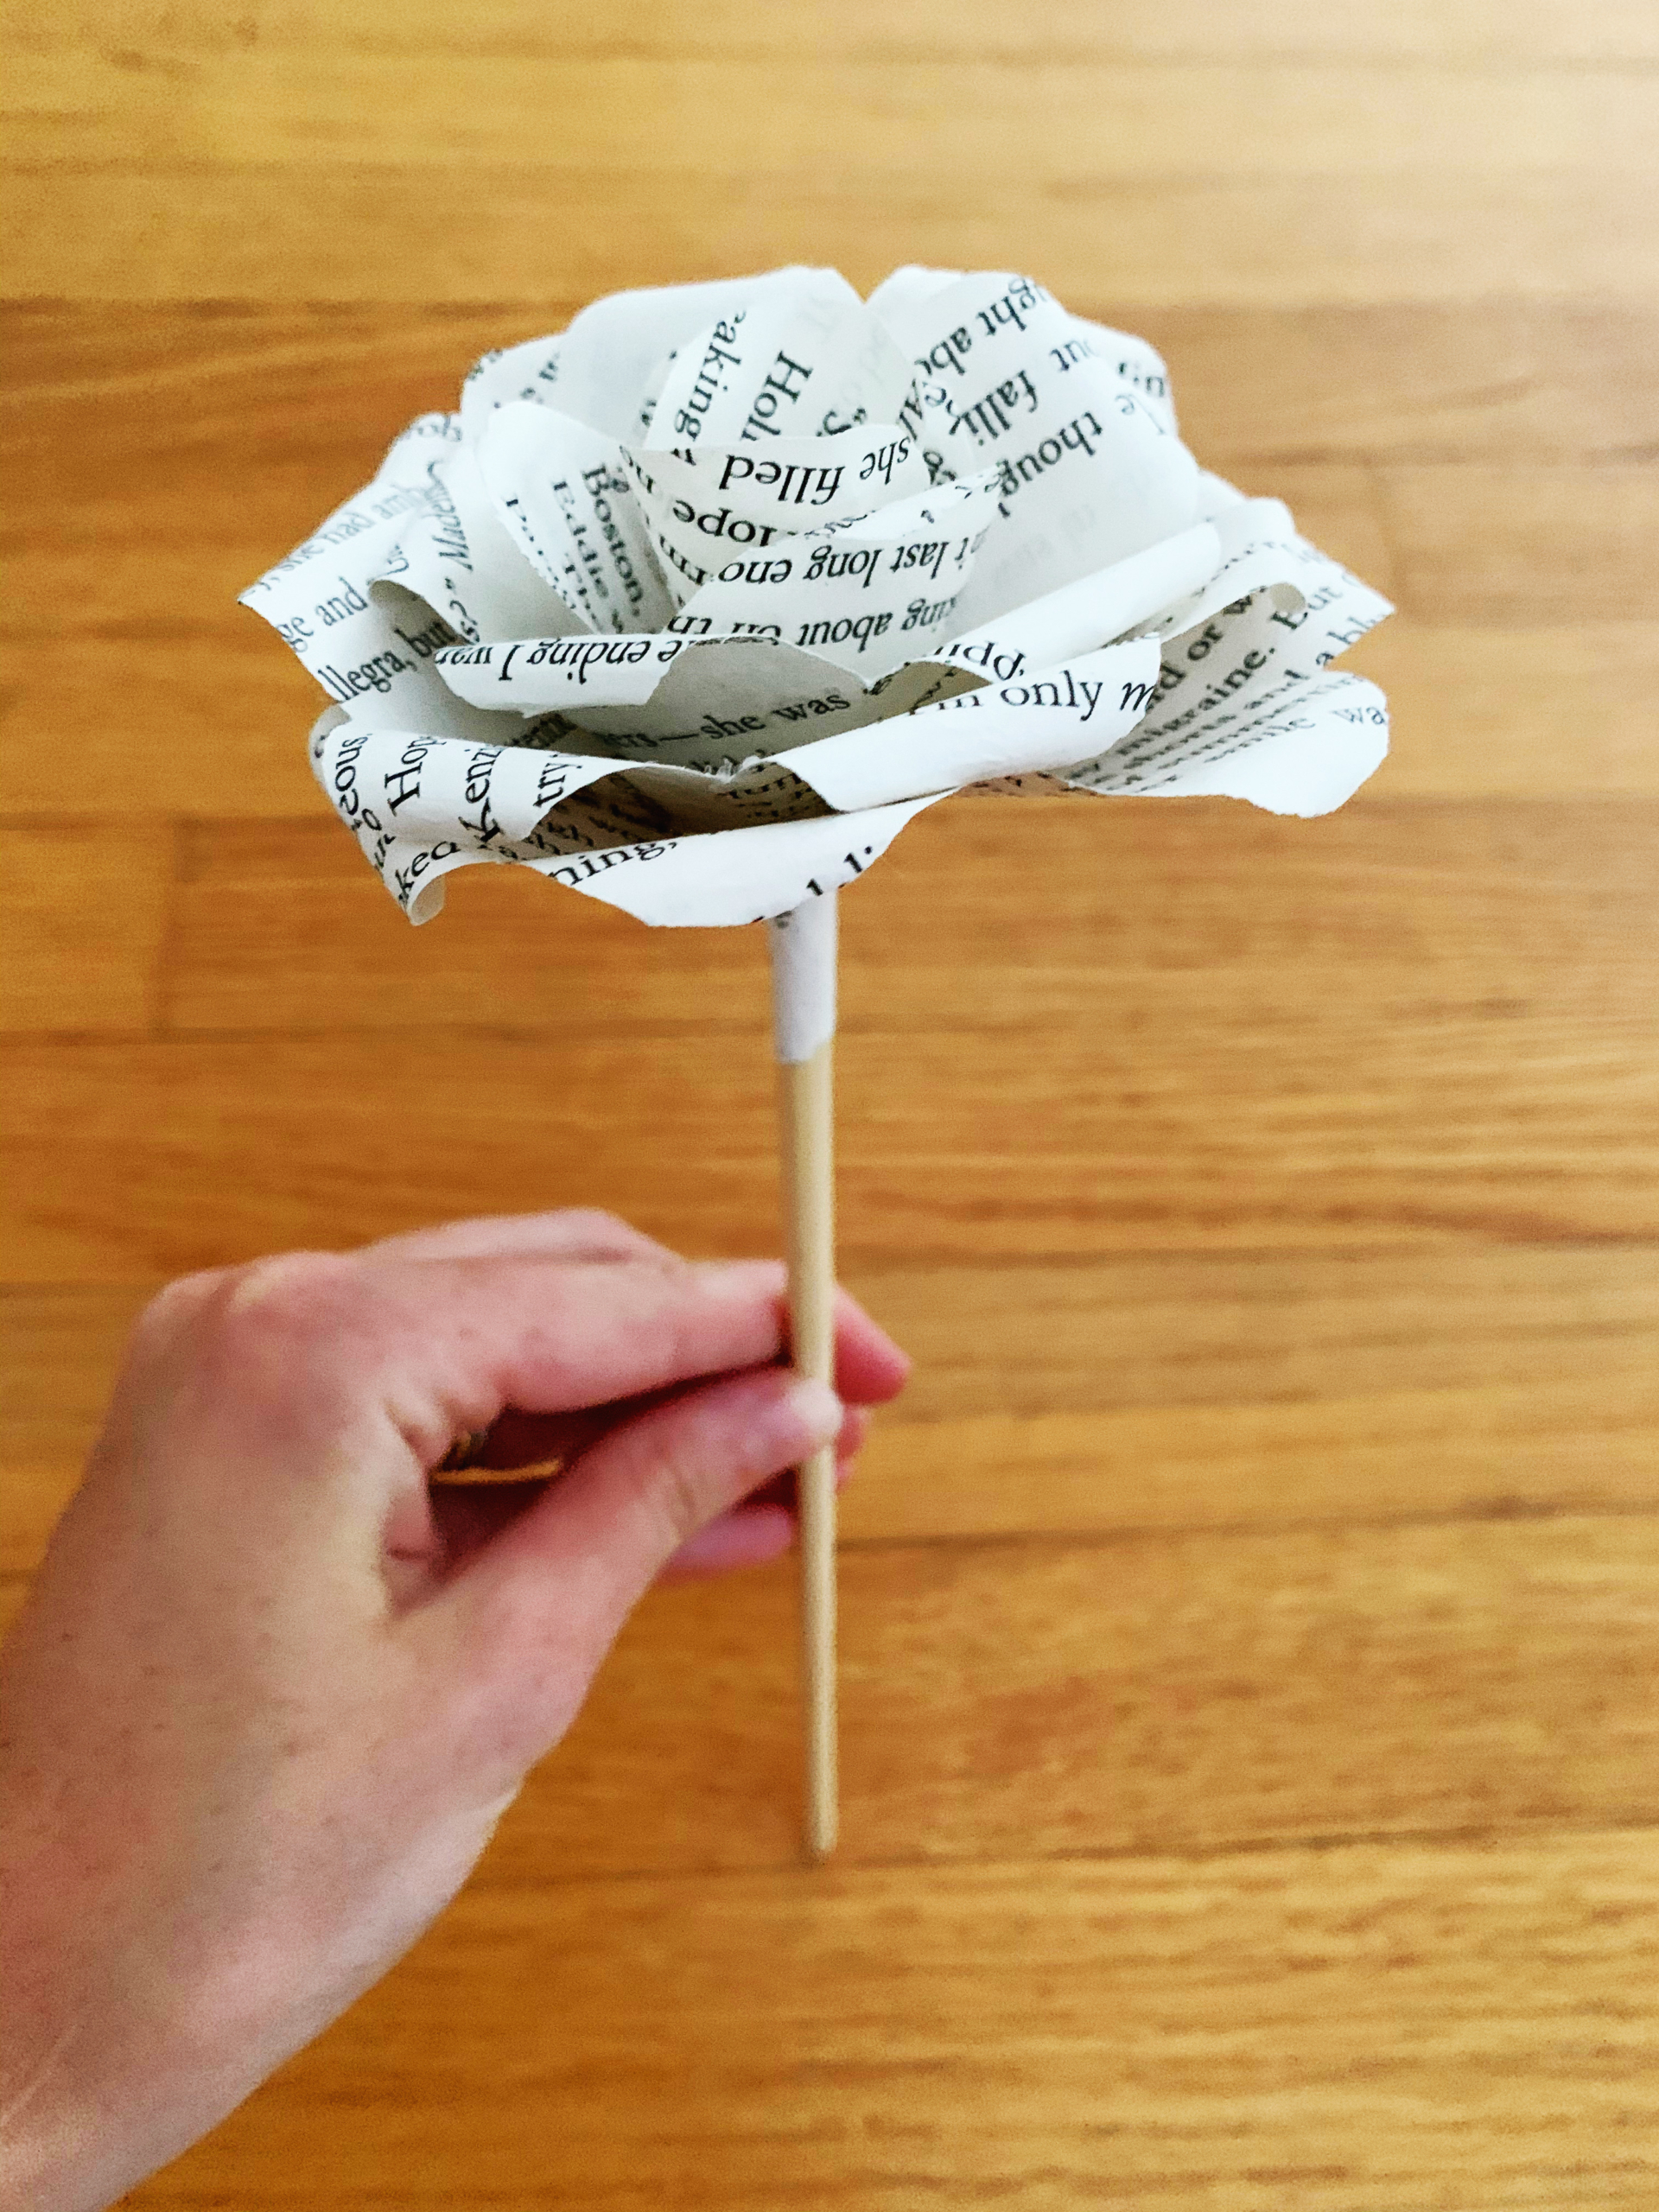
Once the glue is set, your beautiful book page rose is complete! Are there other DIY paper flowers you’d like to learn how to make? Let us know what your favorite florals are and we can add them to our list of DIY book crafts to share!