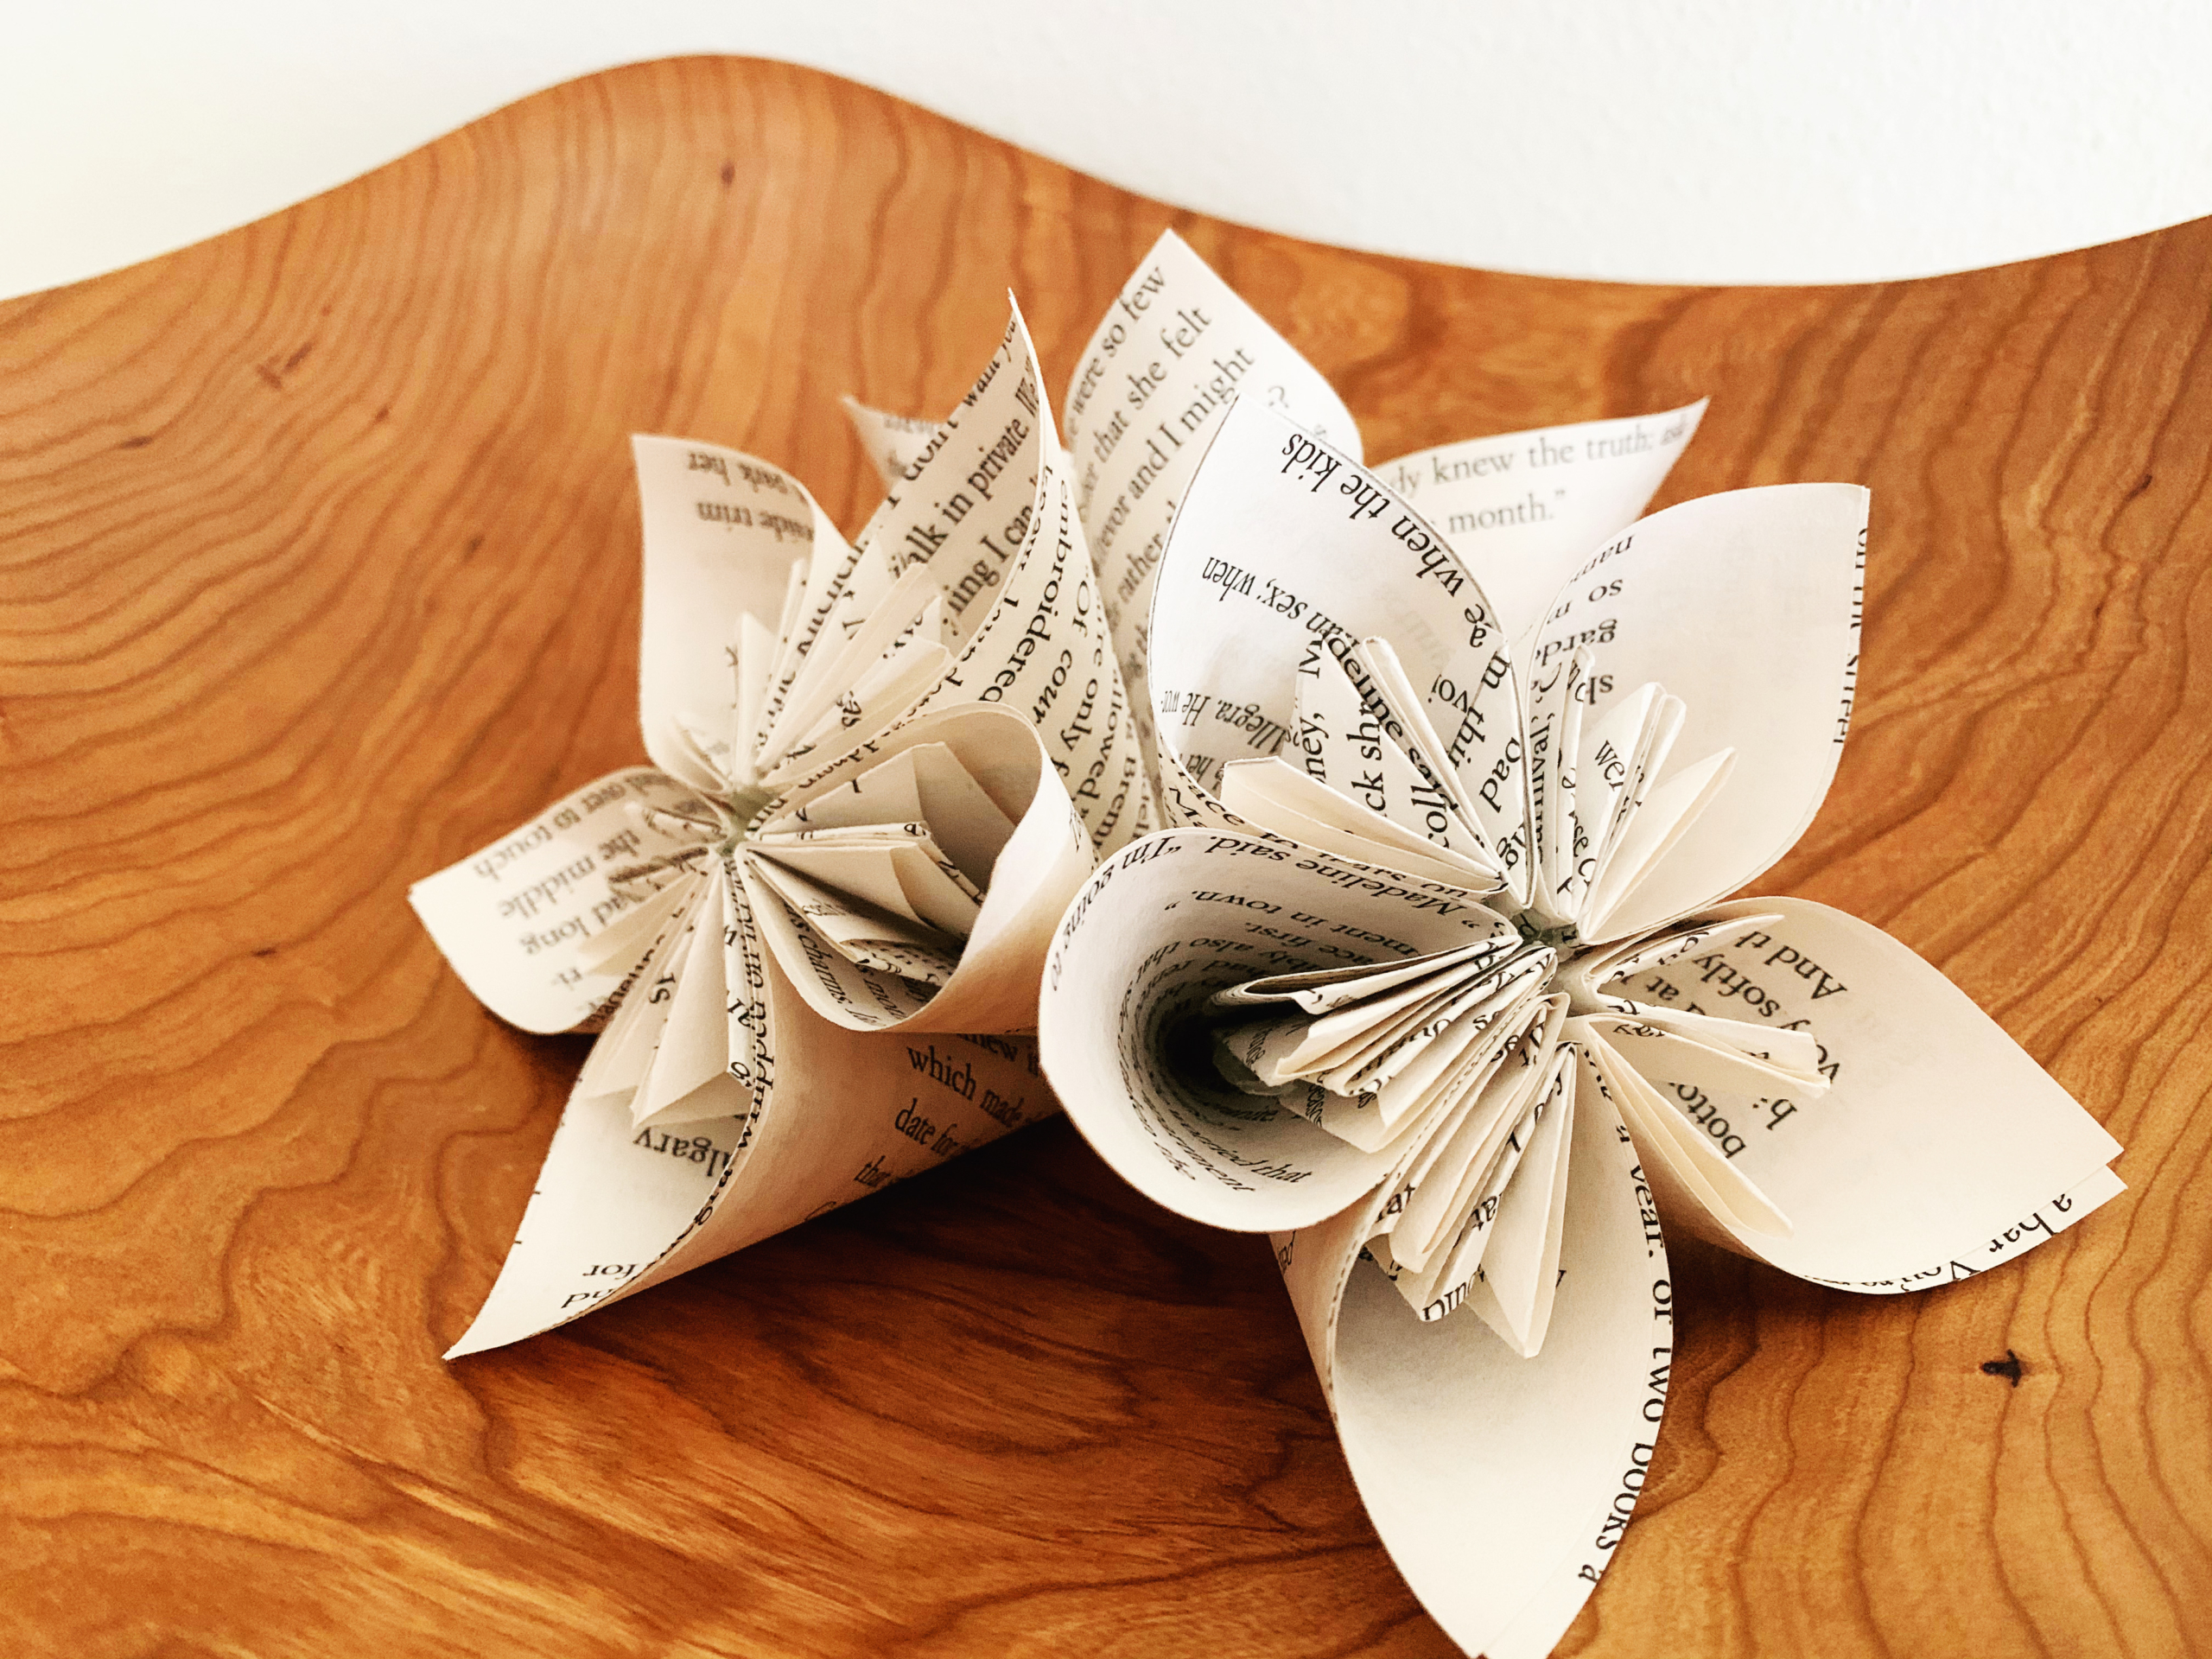
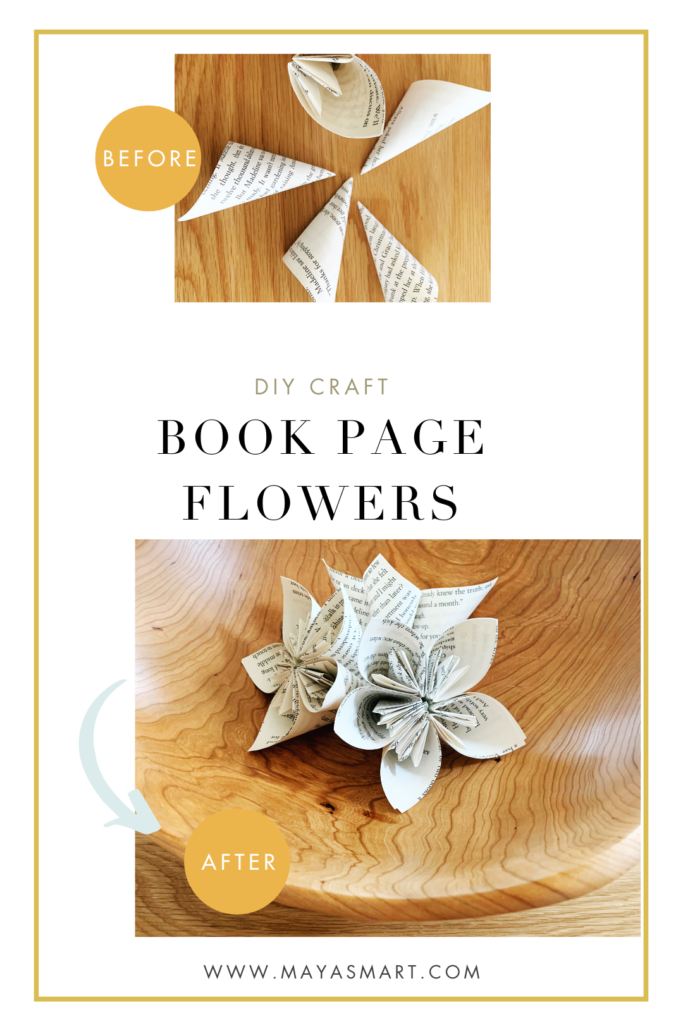
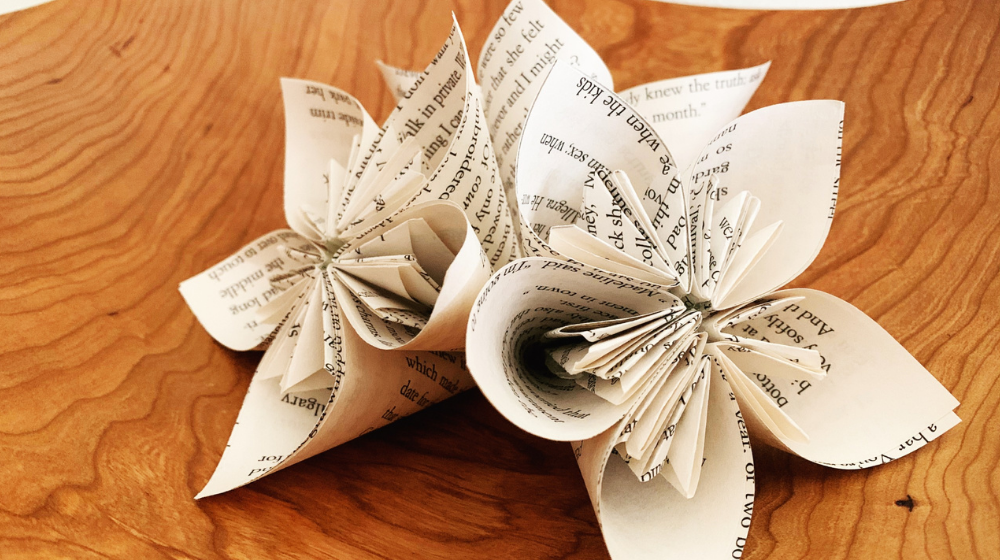
These literary blossoms are a fun craft to freshen your table or decorate for a special event. Display them in a natural wood bowl or scatter them along a surface for a sophisticated, minimalist effect. String them together along a streamer and hang them for a festive look. Or attach them to a small wooden dowel and put them in a vase—they can stand alone or add a cute touch to a bouquet of cut flowers. You could even get really creative and use them to top drink stirrers or a lit-themed cake.
However you use them, these DIY book page flowers are a lovely way to upcycle damaged or obsolete old books. There are many different patterns for book-page blooms out there (including our paper hydrangeas tutorial), and this one makes a particularly elegant flower. Once you get the hang of making the petals, this craft goes super fast. Kids can easily help out with this project. I recommend making it a fun assembly line to make the petals and then just helping them with the hot glue gun for the finishing touch!
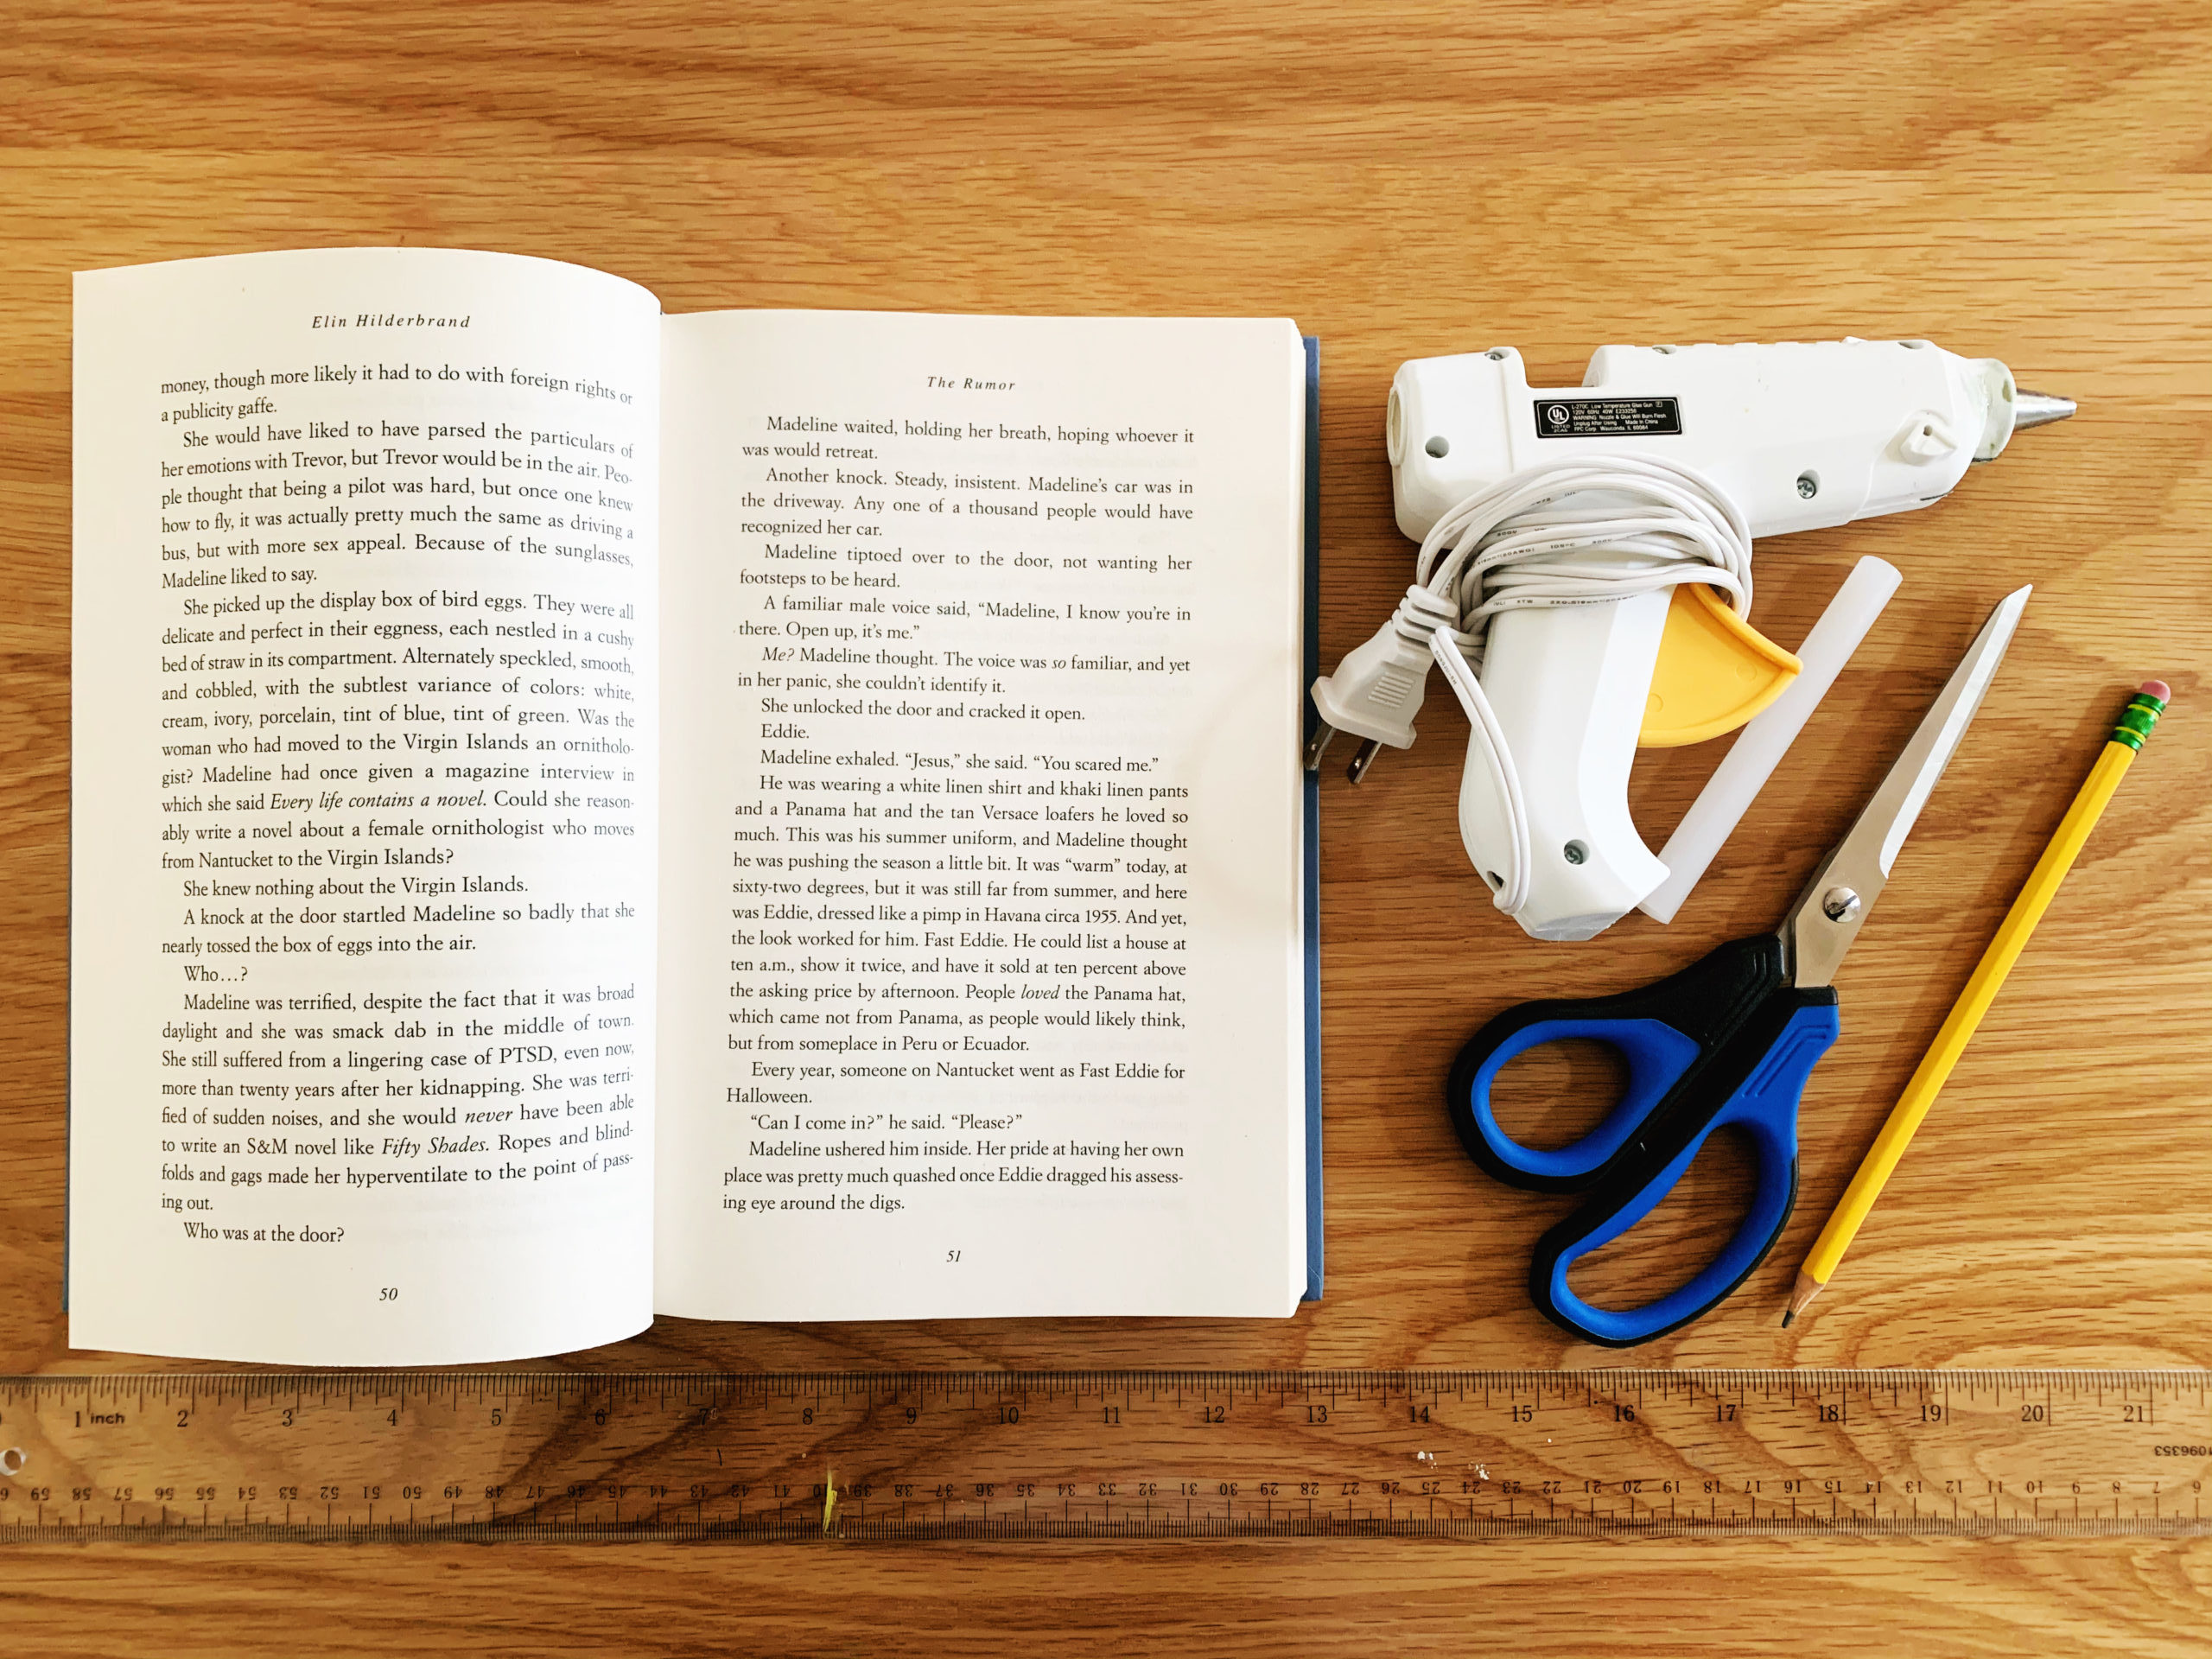
Materials:
- Old book pages
- Ruler
- Scissors
- Pencil
- Hot glue gun
Cost: If you have a glue gun, this project shouldn’t cost you a thing! This is the perfect chance to upcycling old book pages into beautiful decorations.
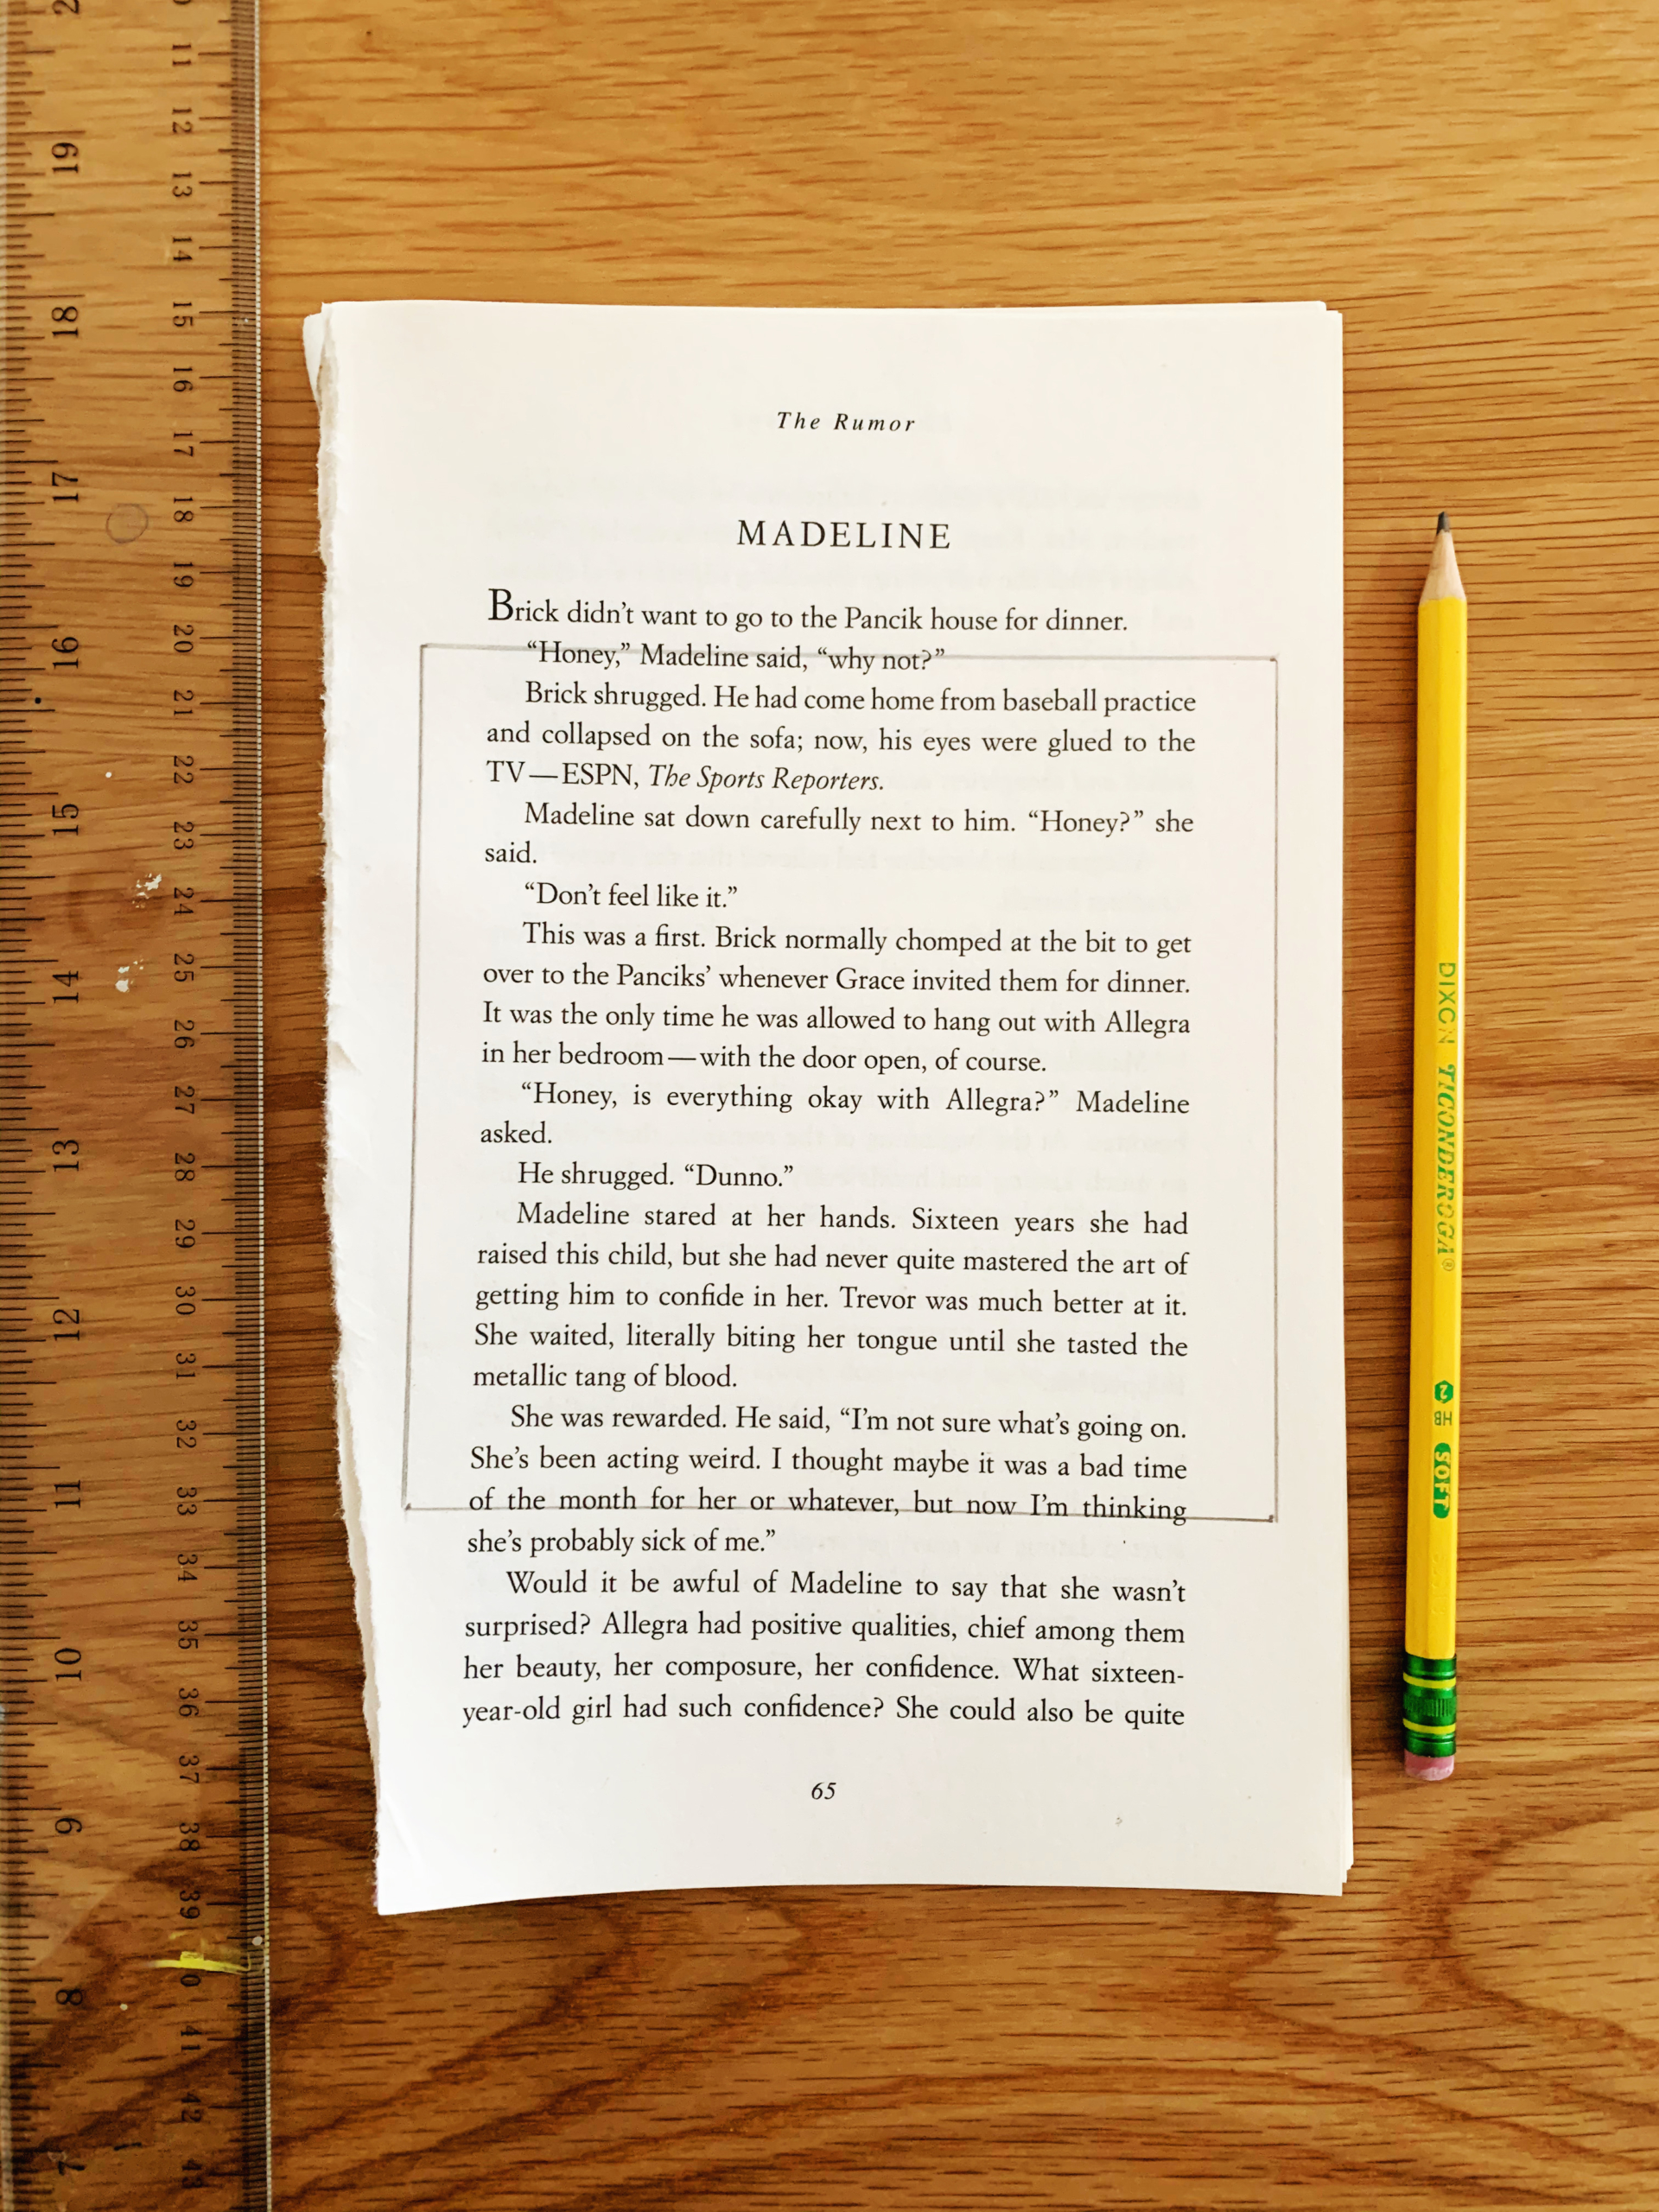
Step One: To start, you will need a perfect square from your old book pages. Each square makes one petal and you will need 5 petals per flower. I worked with 5” squares — but just remember, the larger or smaller your square, the larger or smaller your flower will be. If you plan on making a few, it could be fun to create a variety of different-sized flowers!
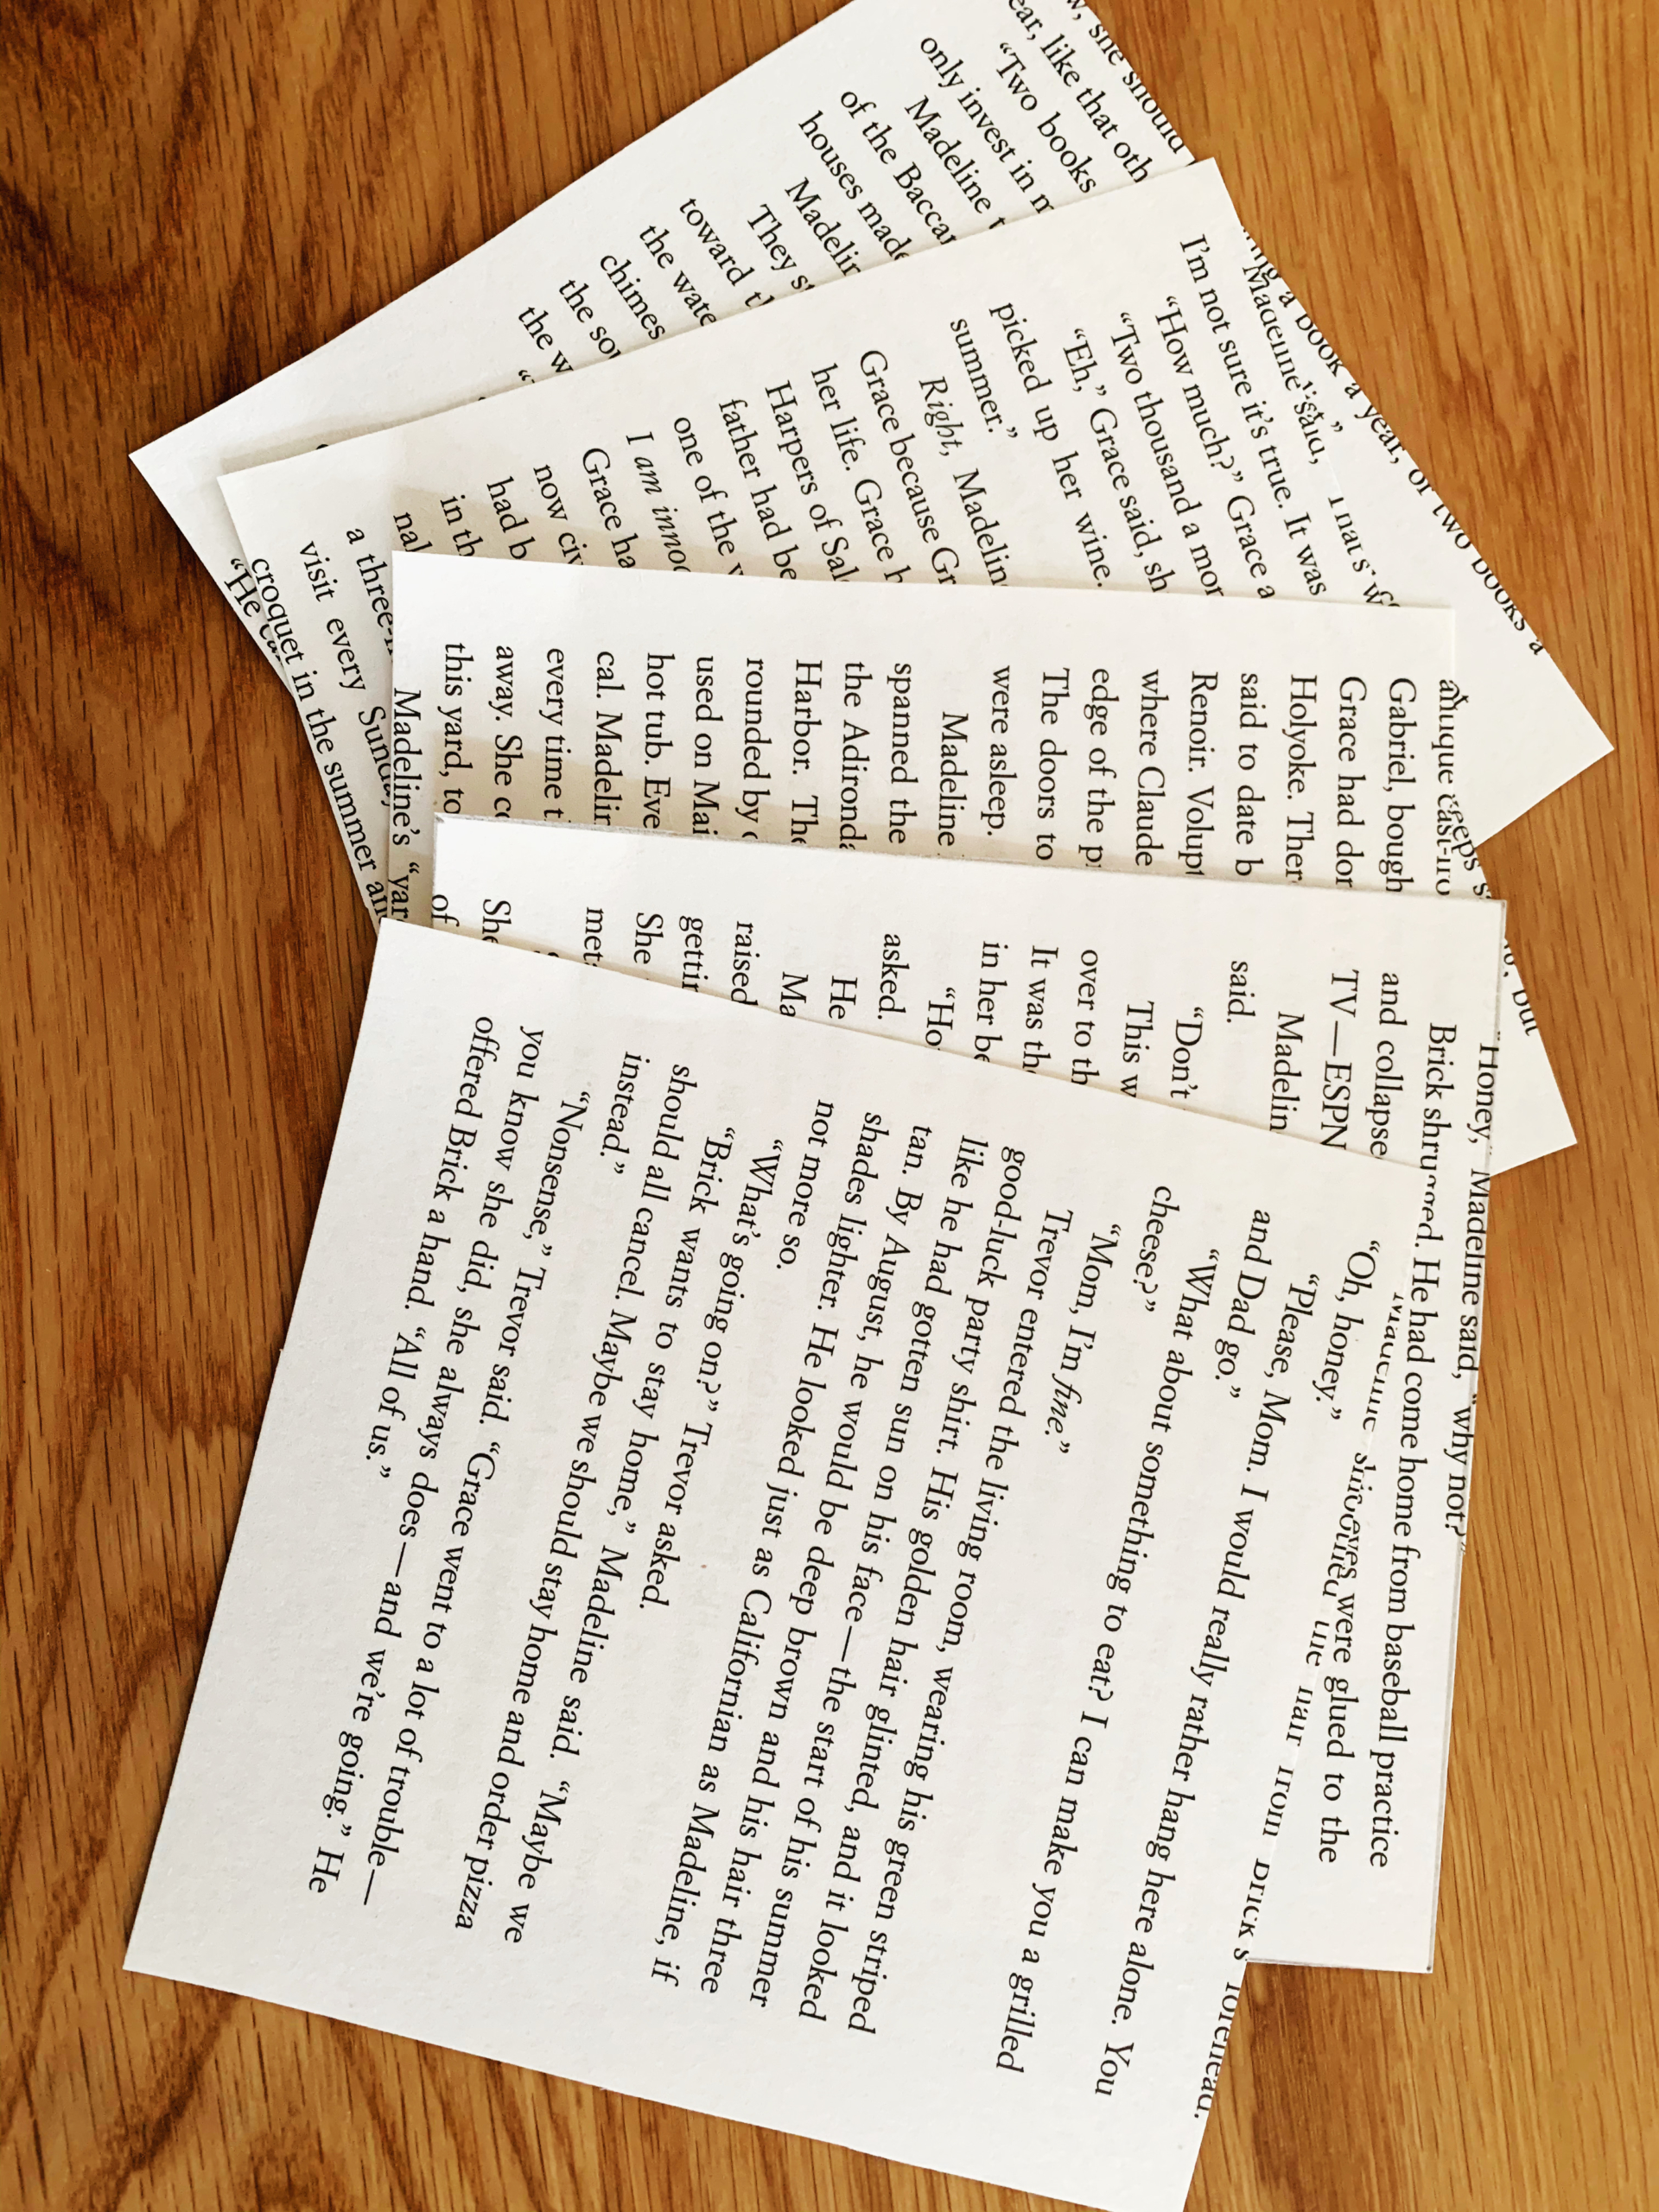
Step Two: The next set of steps are how to fold your petals. I broke this down step by step, so just follow along for each fold and you will end up with the perfect petal, and eventually, the perfect flower!
First, fold up one corner point to make a triangle.
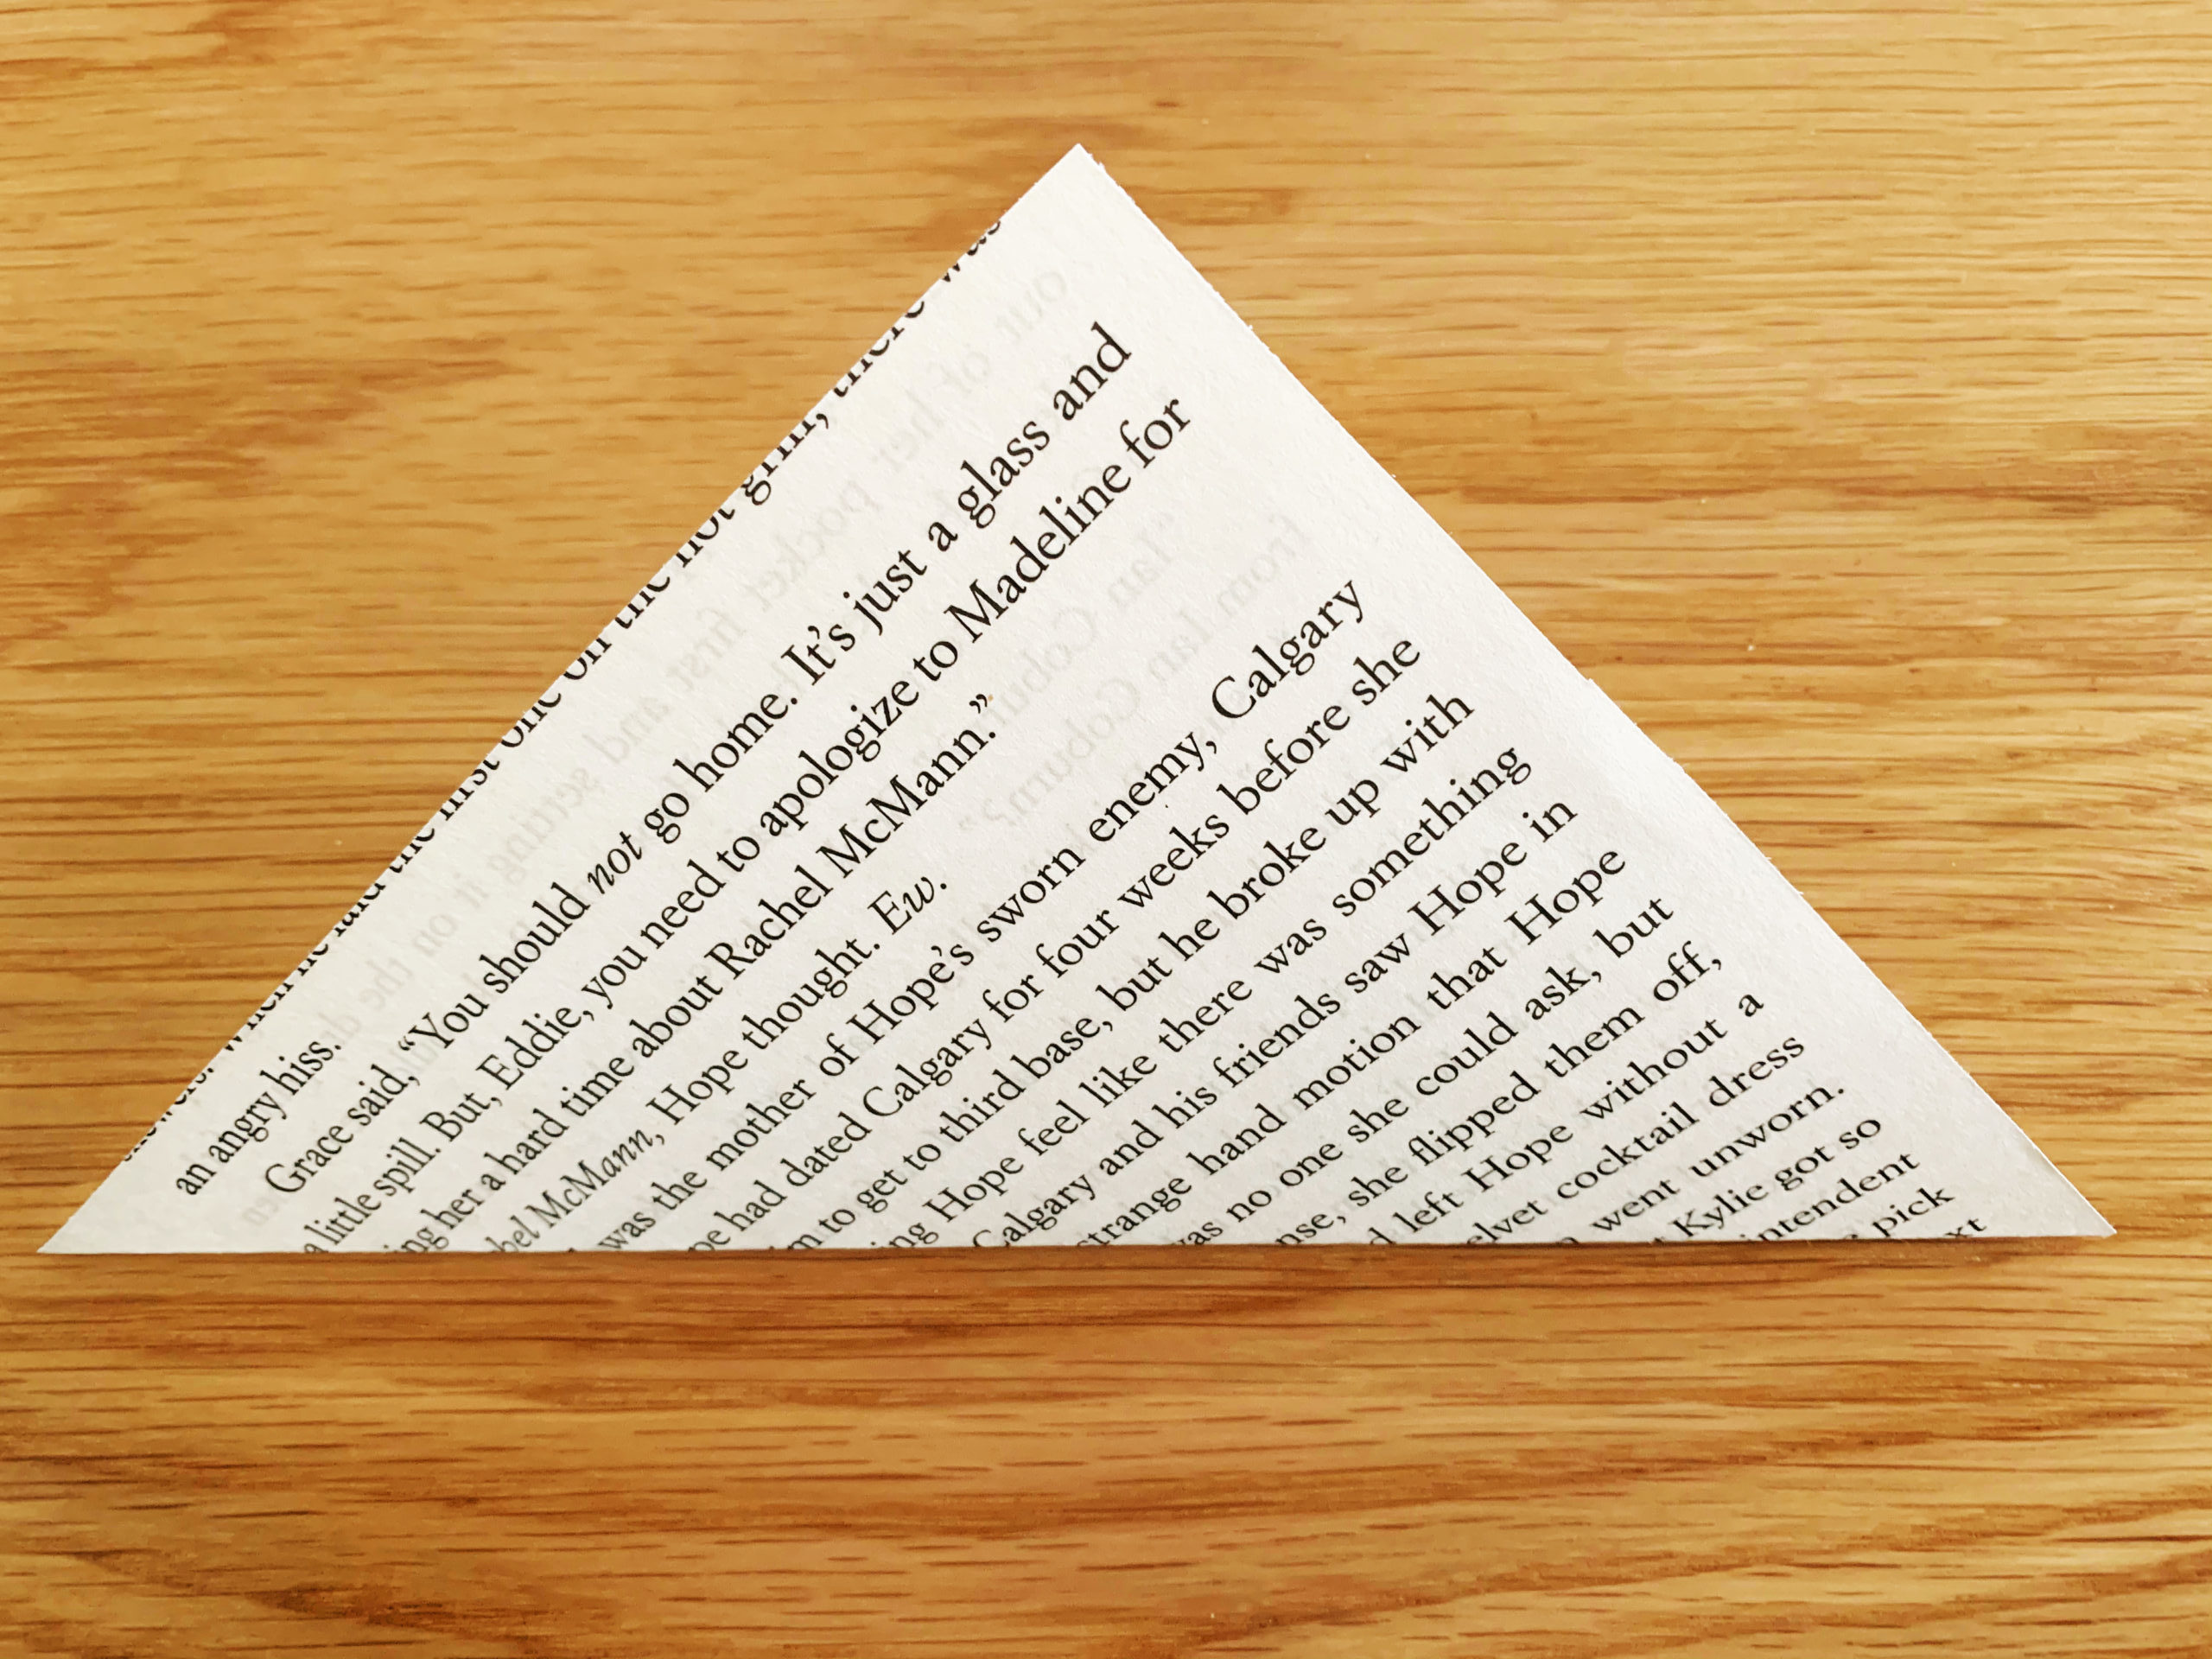
Step Three: Fold over the right point up to the top.
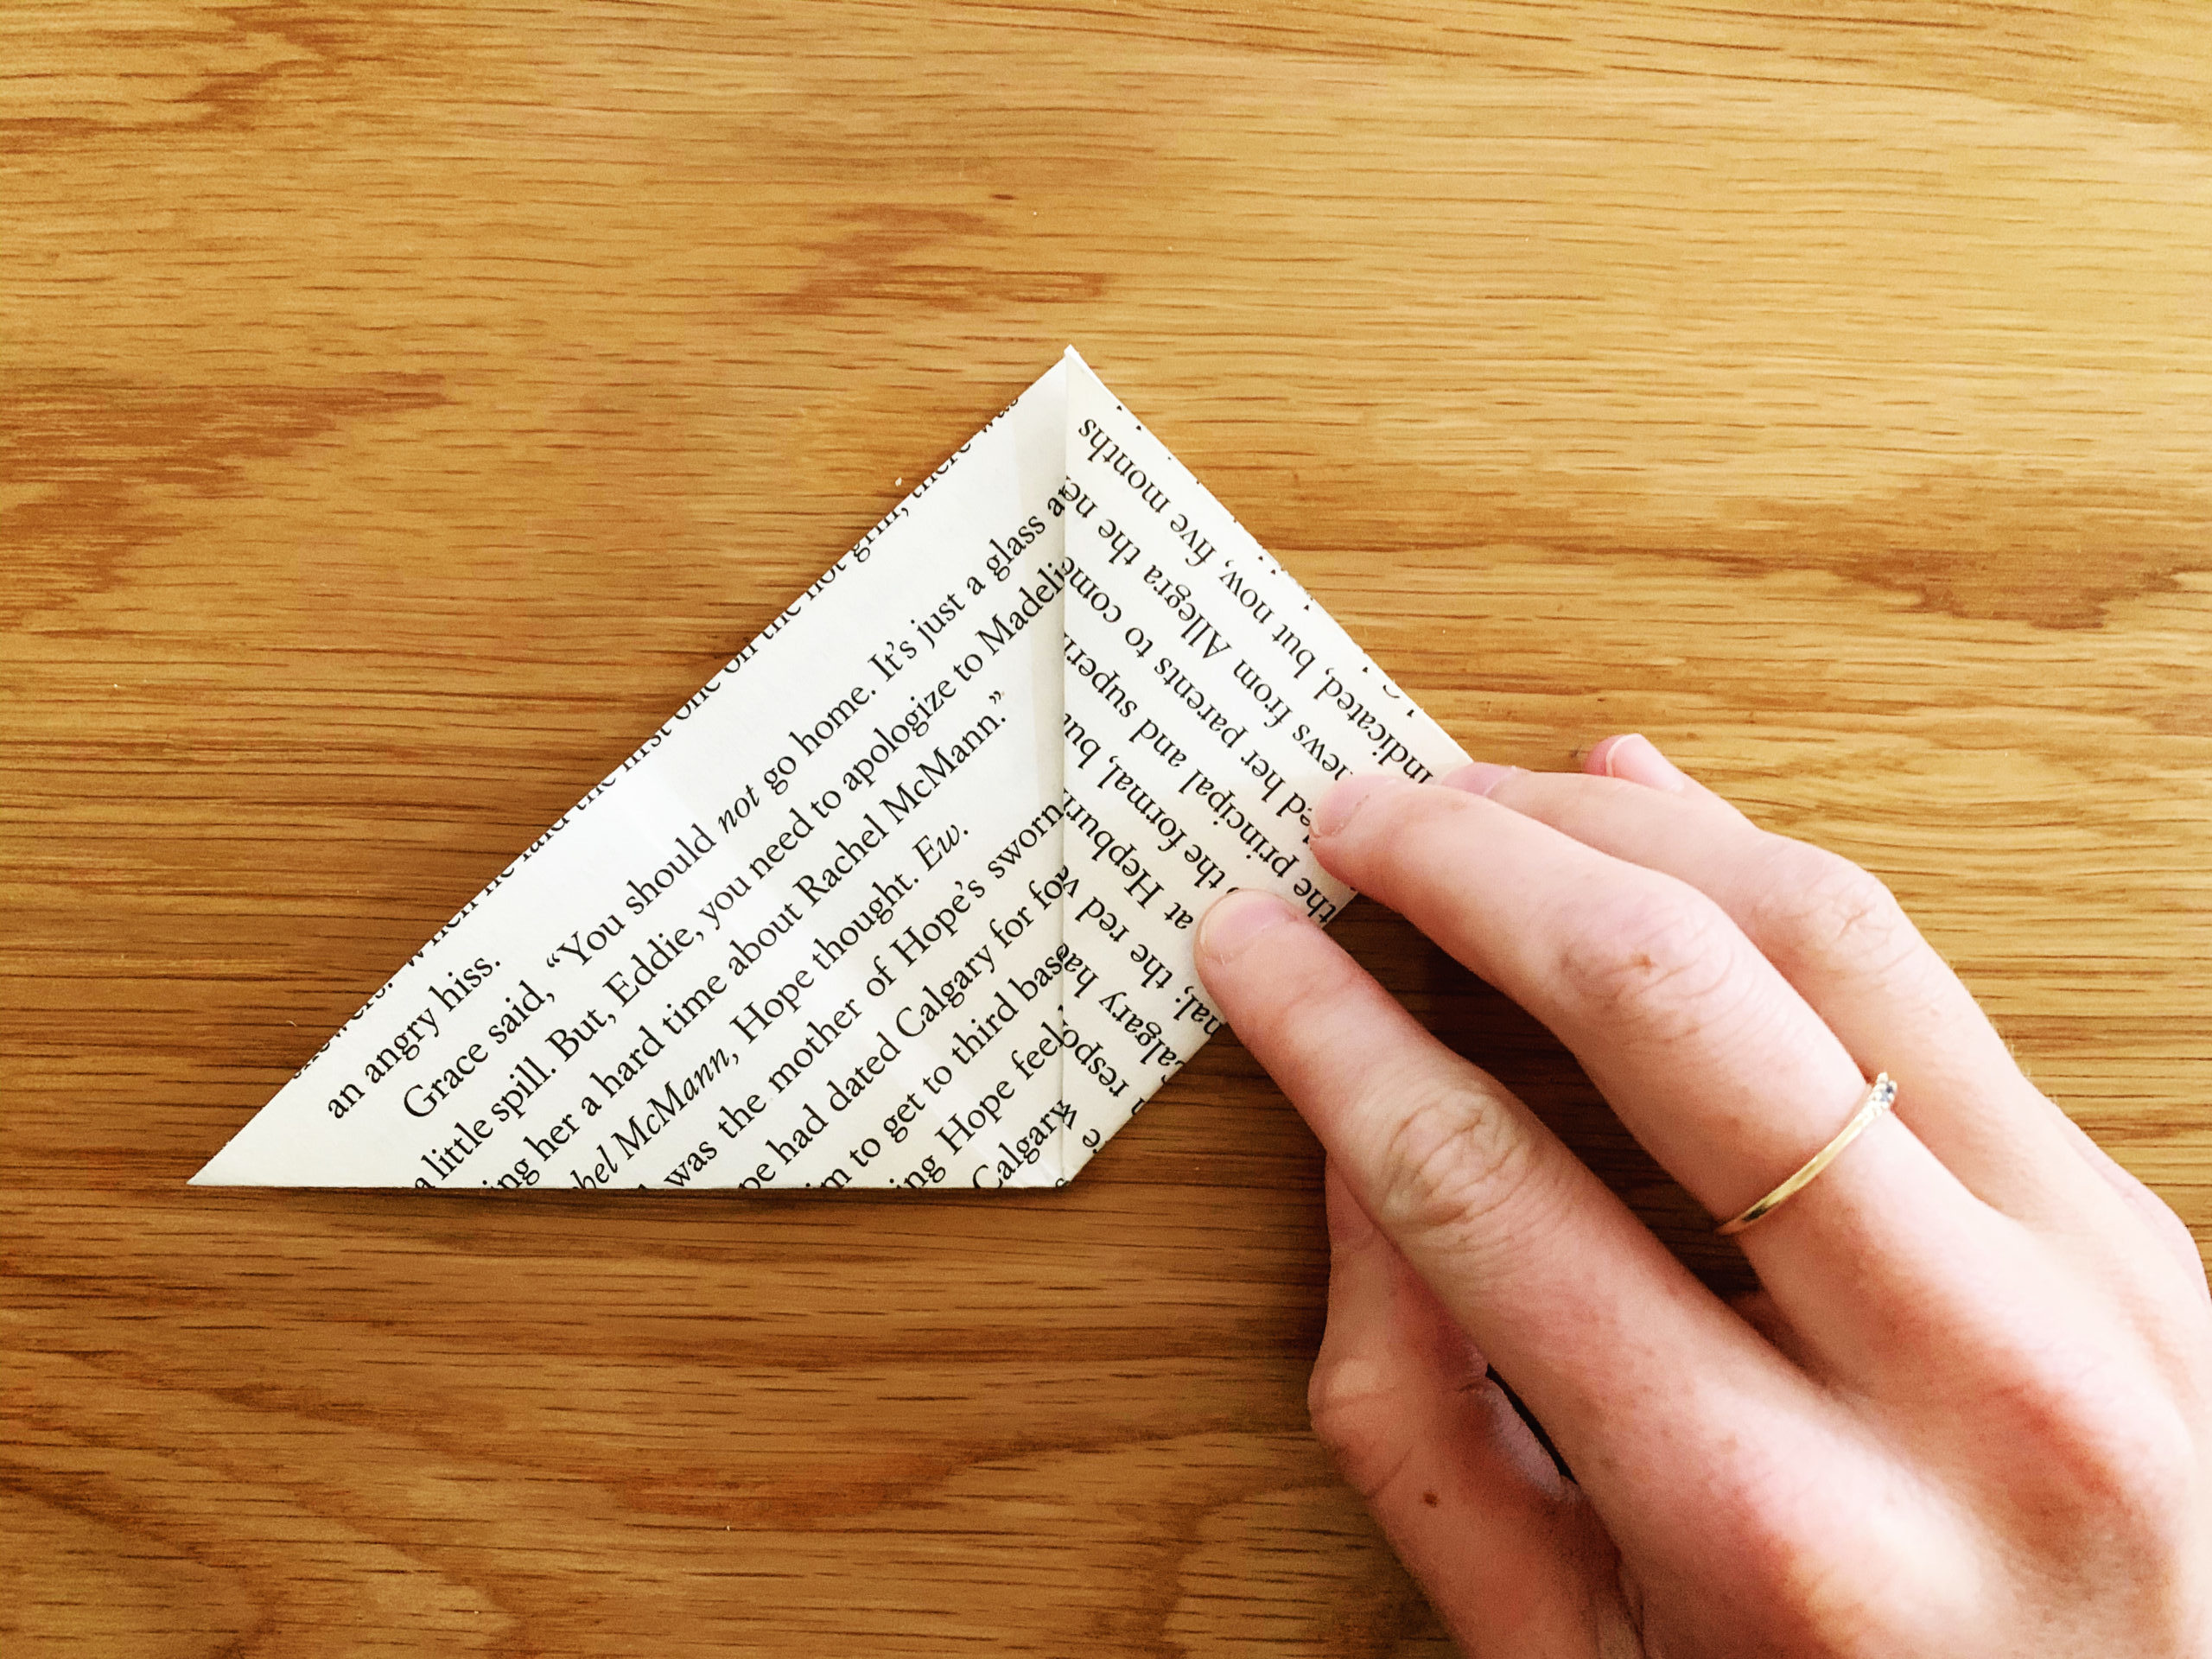
Step Four: Fold over the left point to the top.
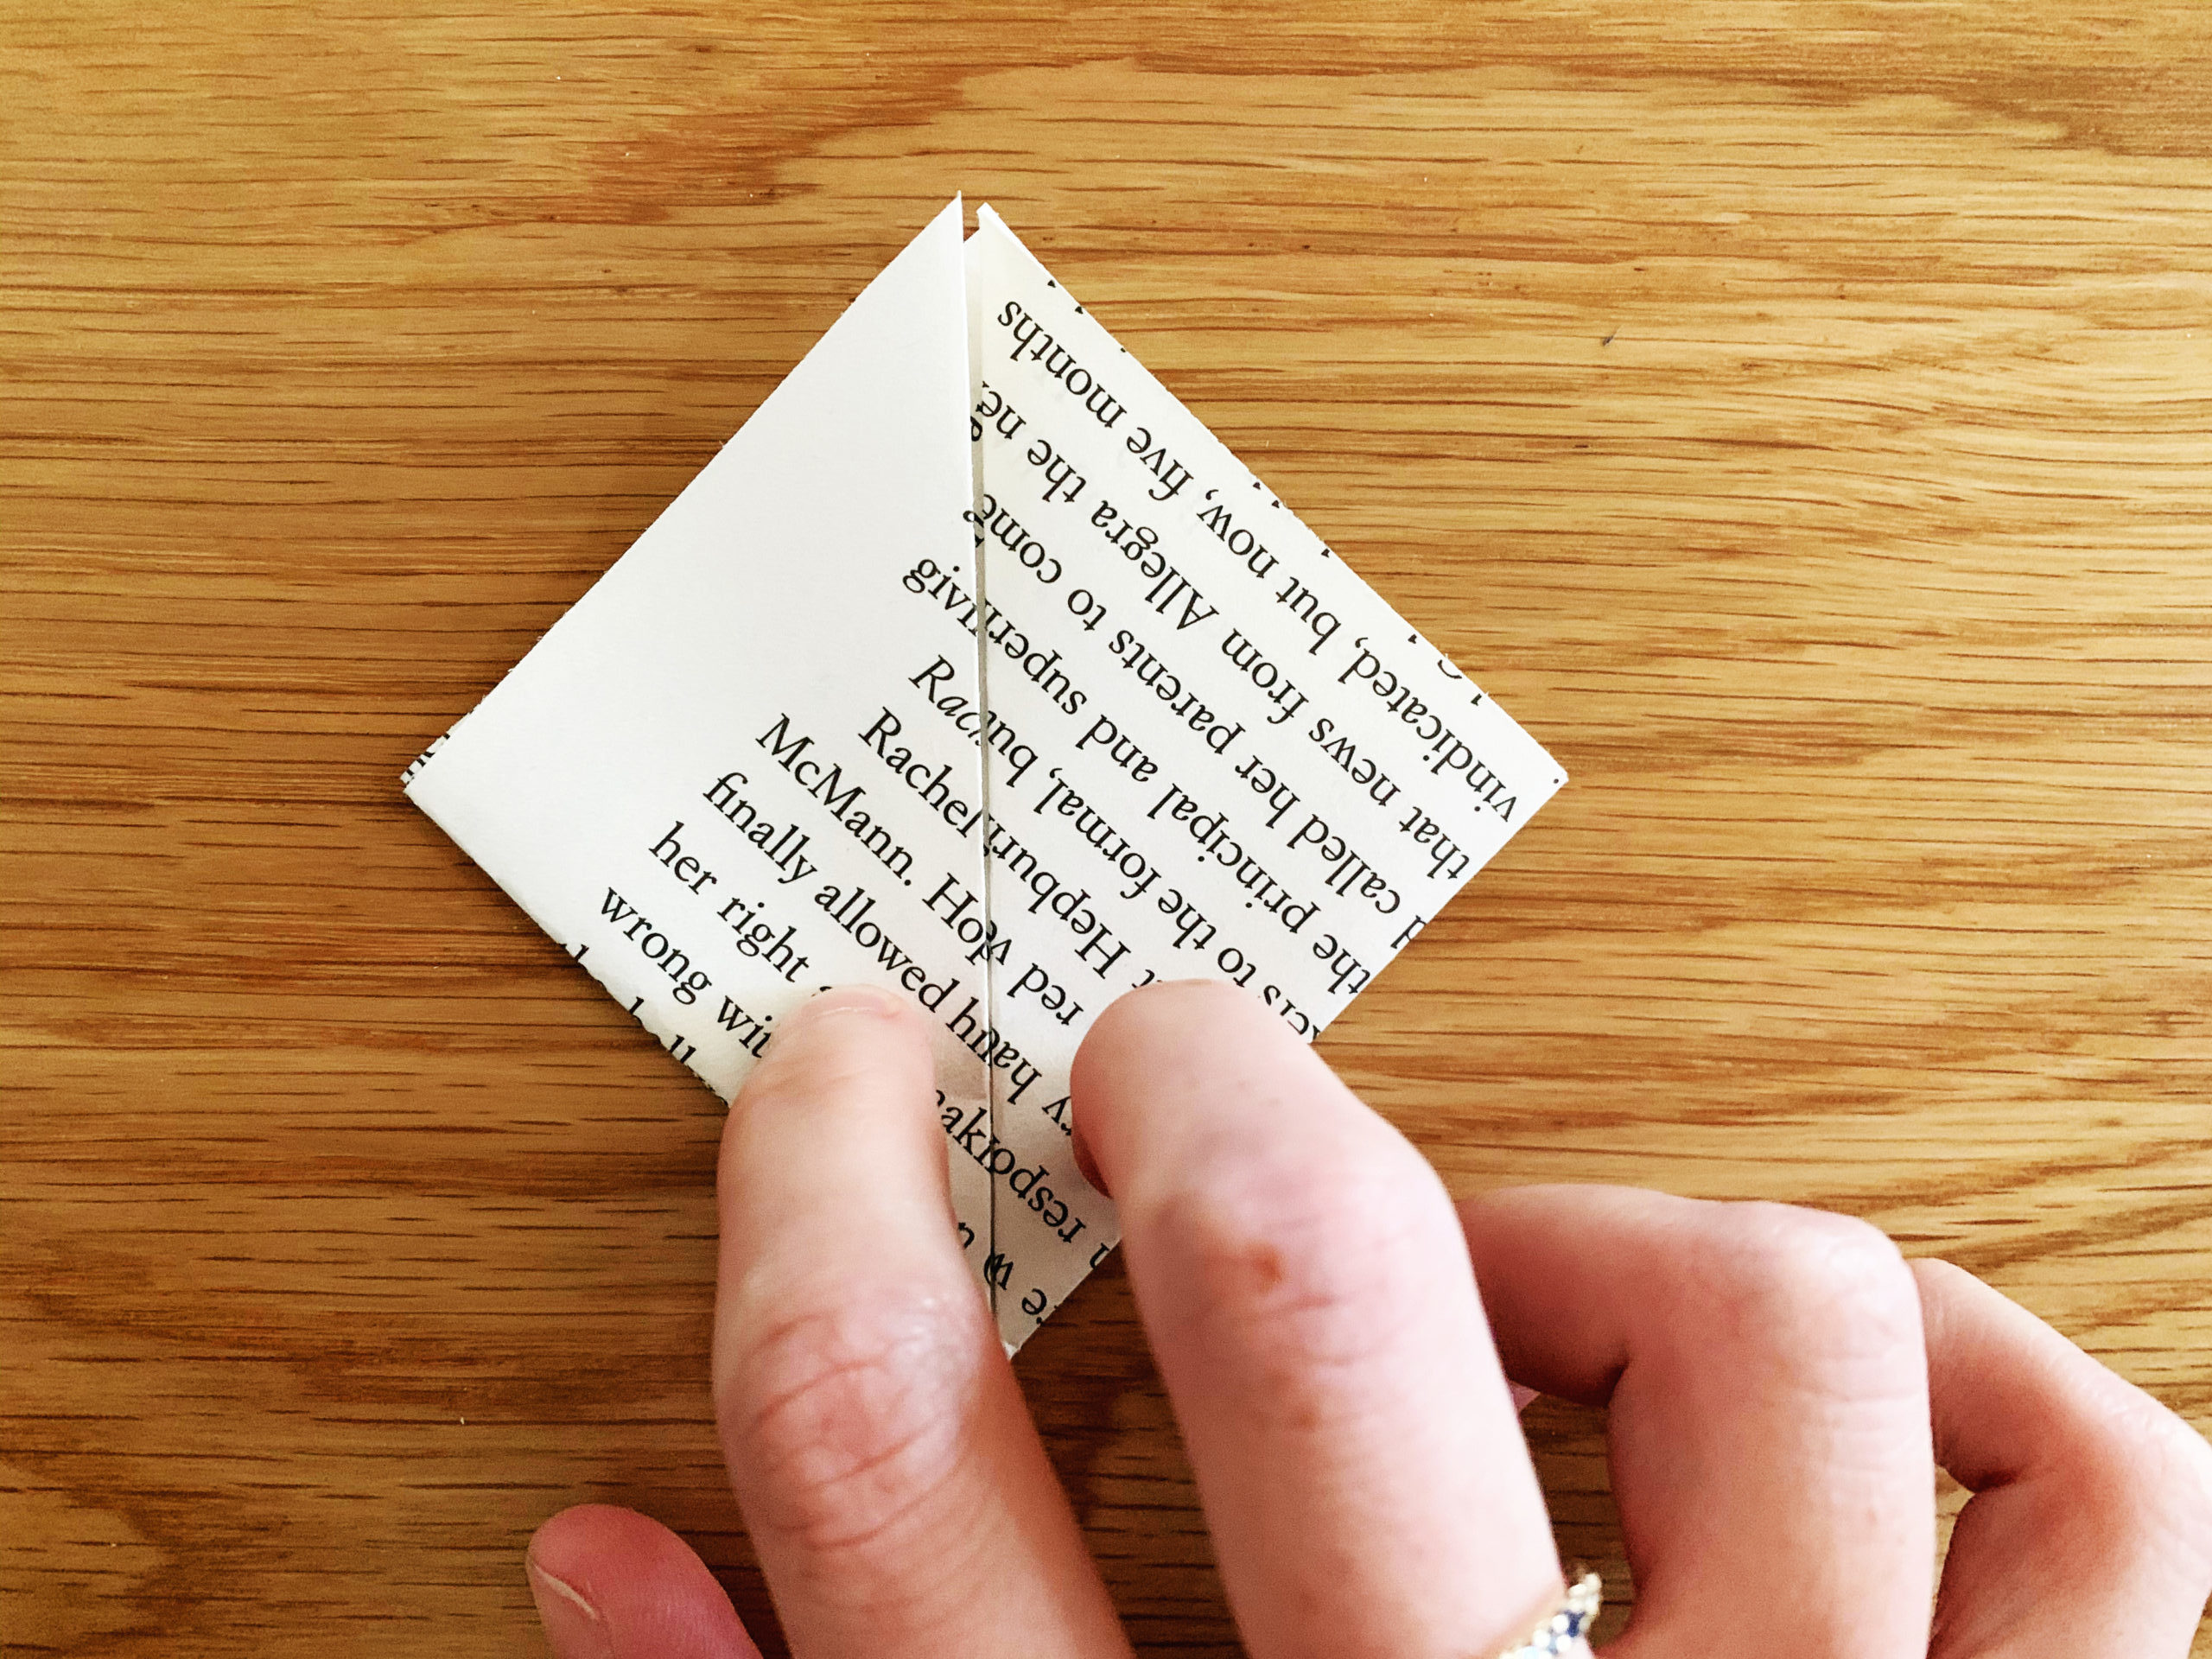
Step Five: Now take the top right point and fold it over towards the right, even with the side (see picture if this sounds confusing). Make a nice crease.
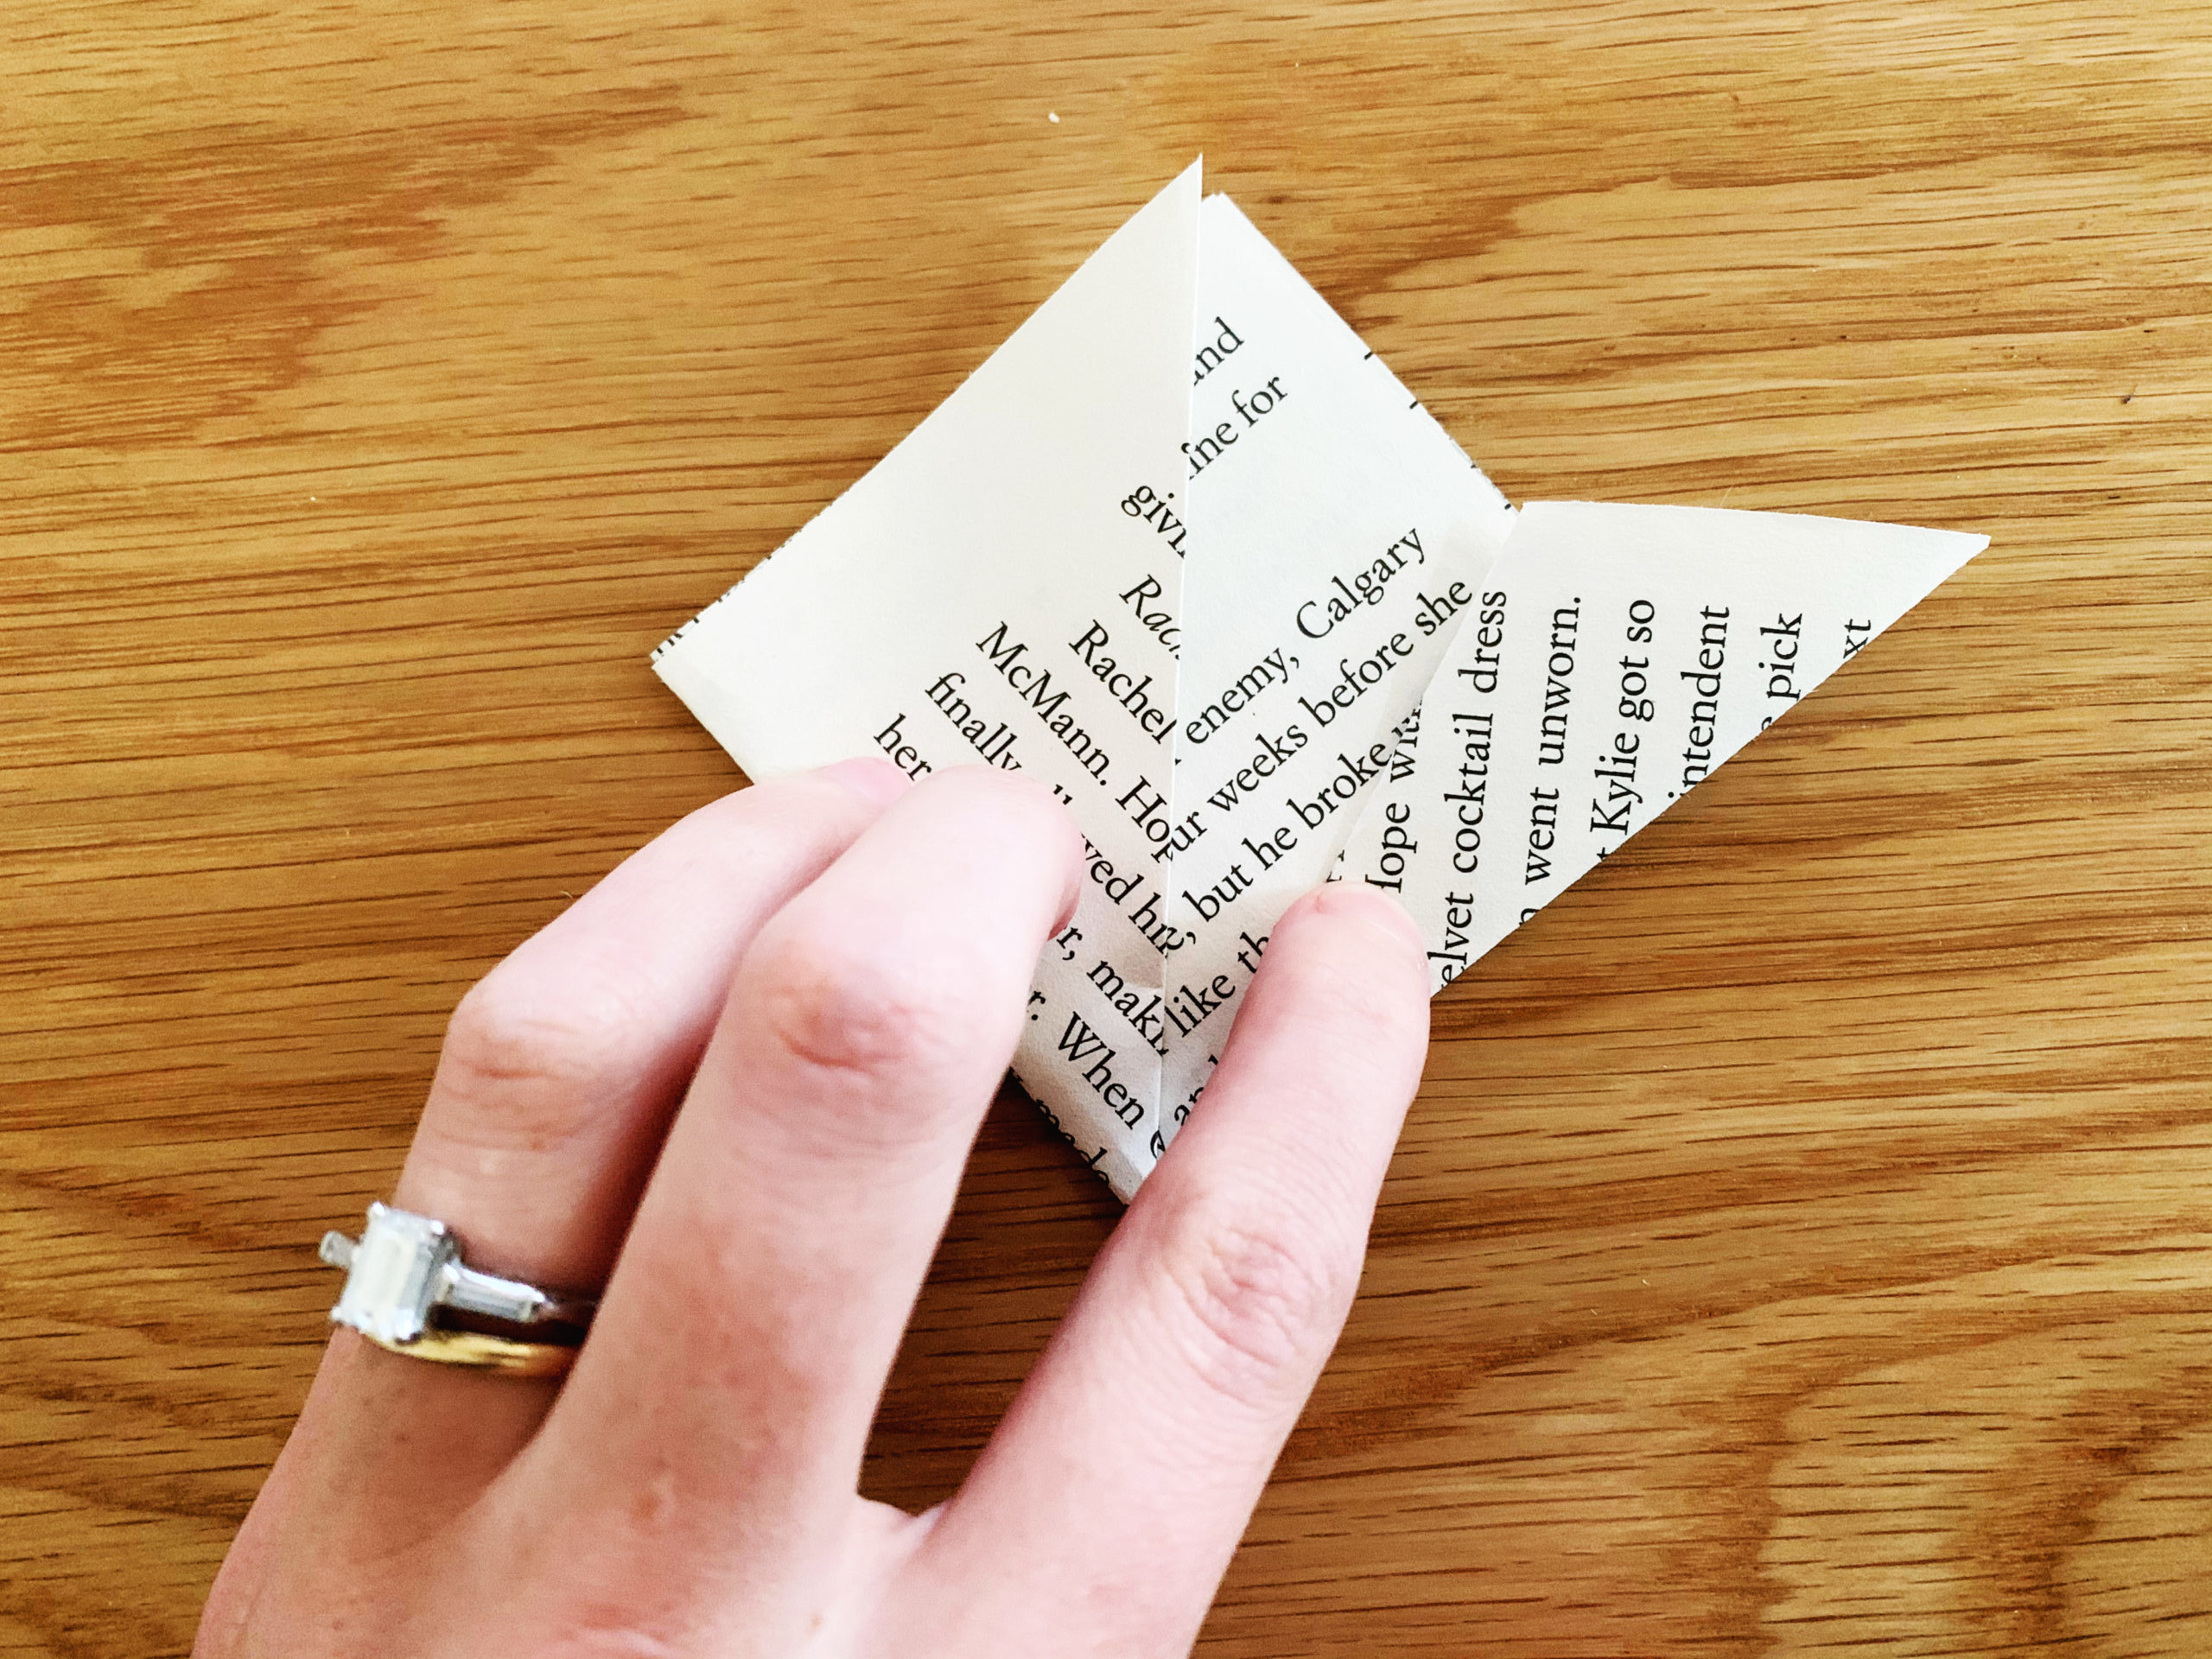
Step Six: Do the same for the left. Make sure to really crease these folds because you’ll need the crease lines as a guide in a few steps.
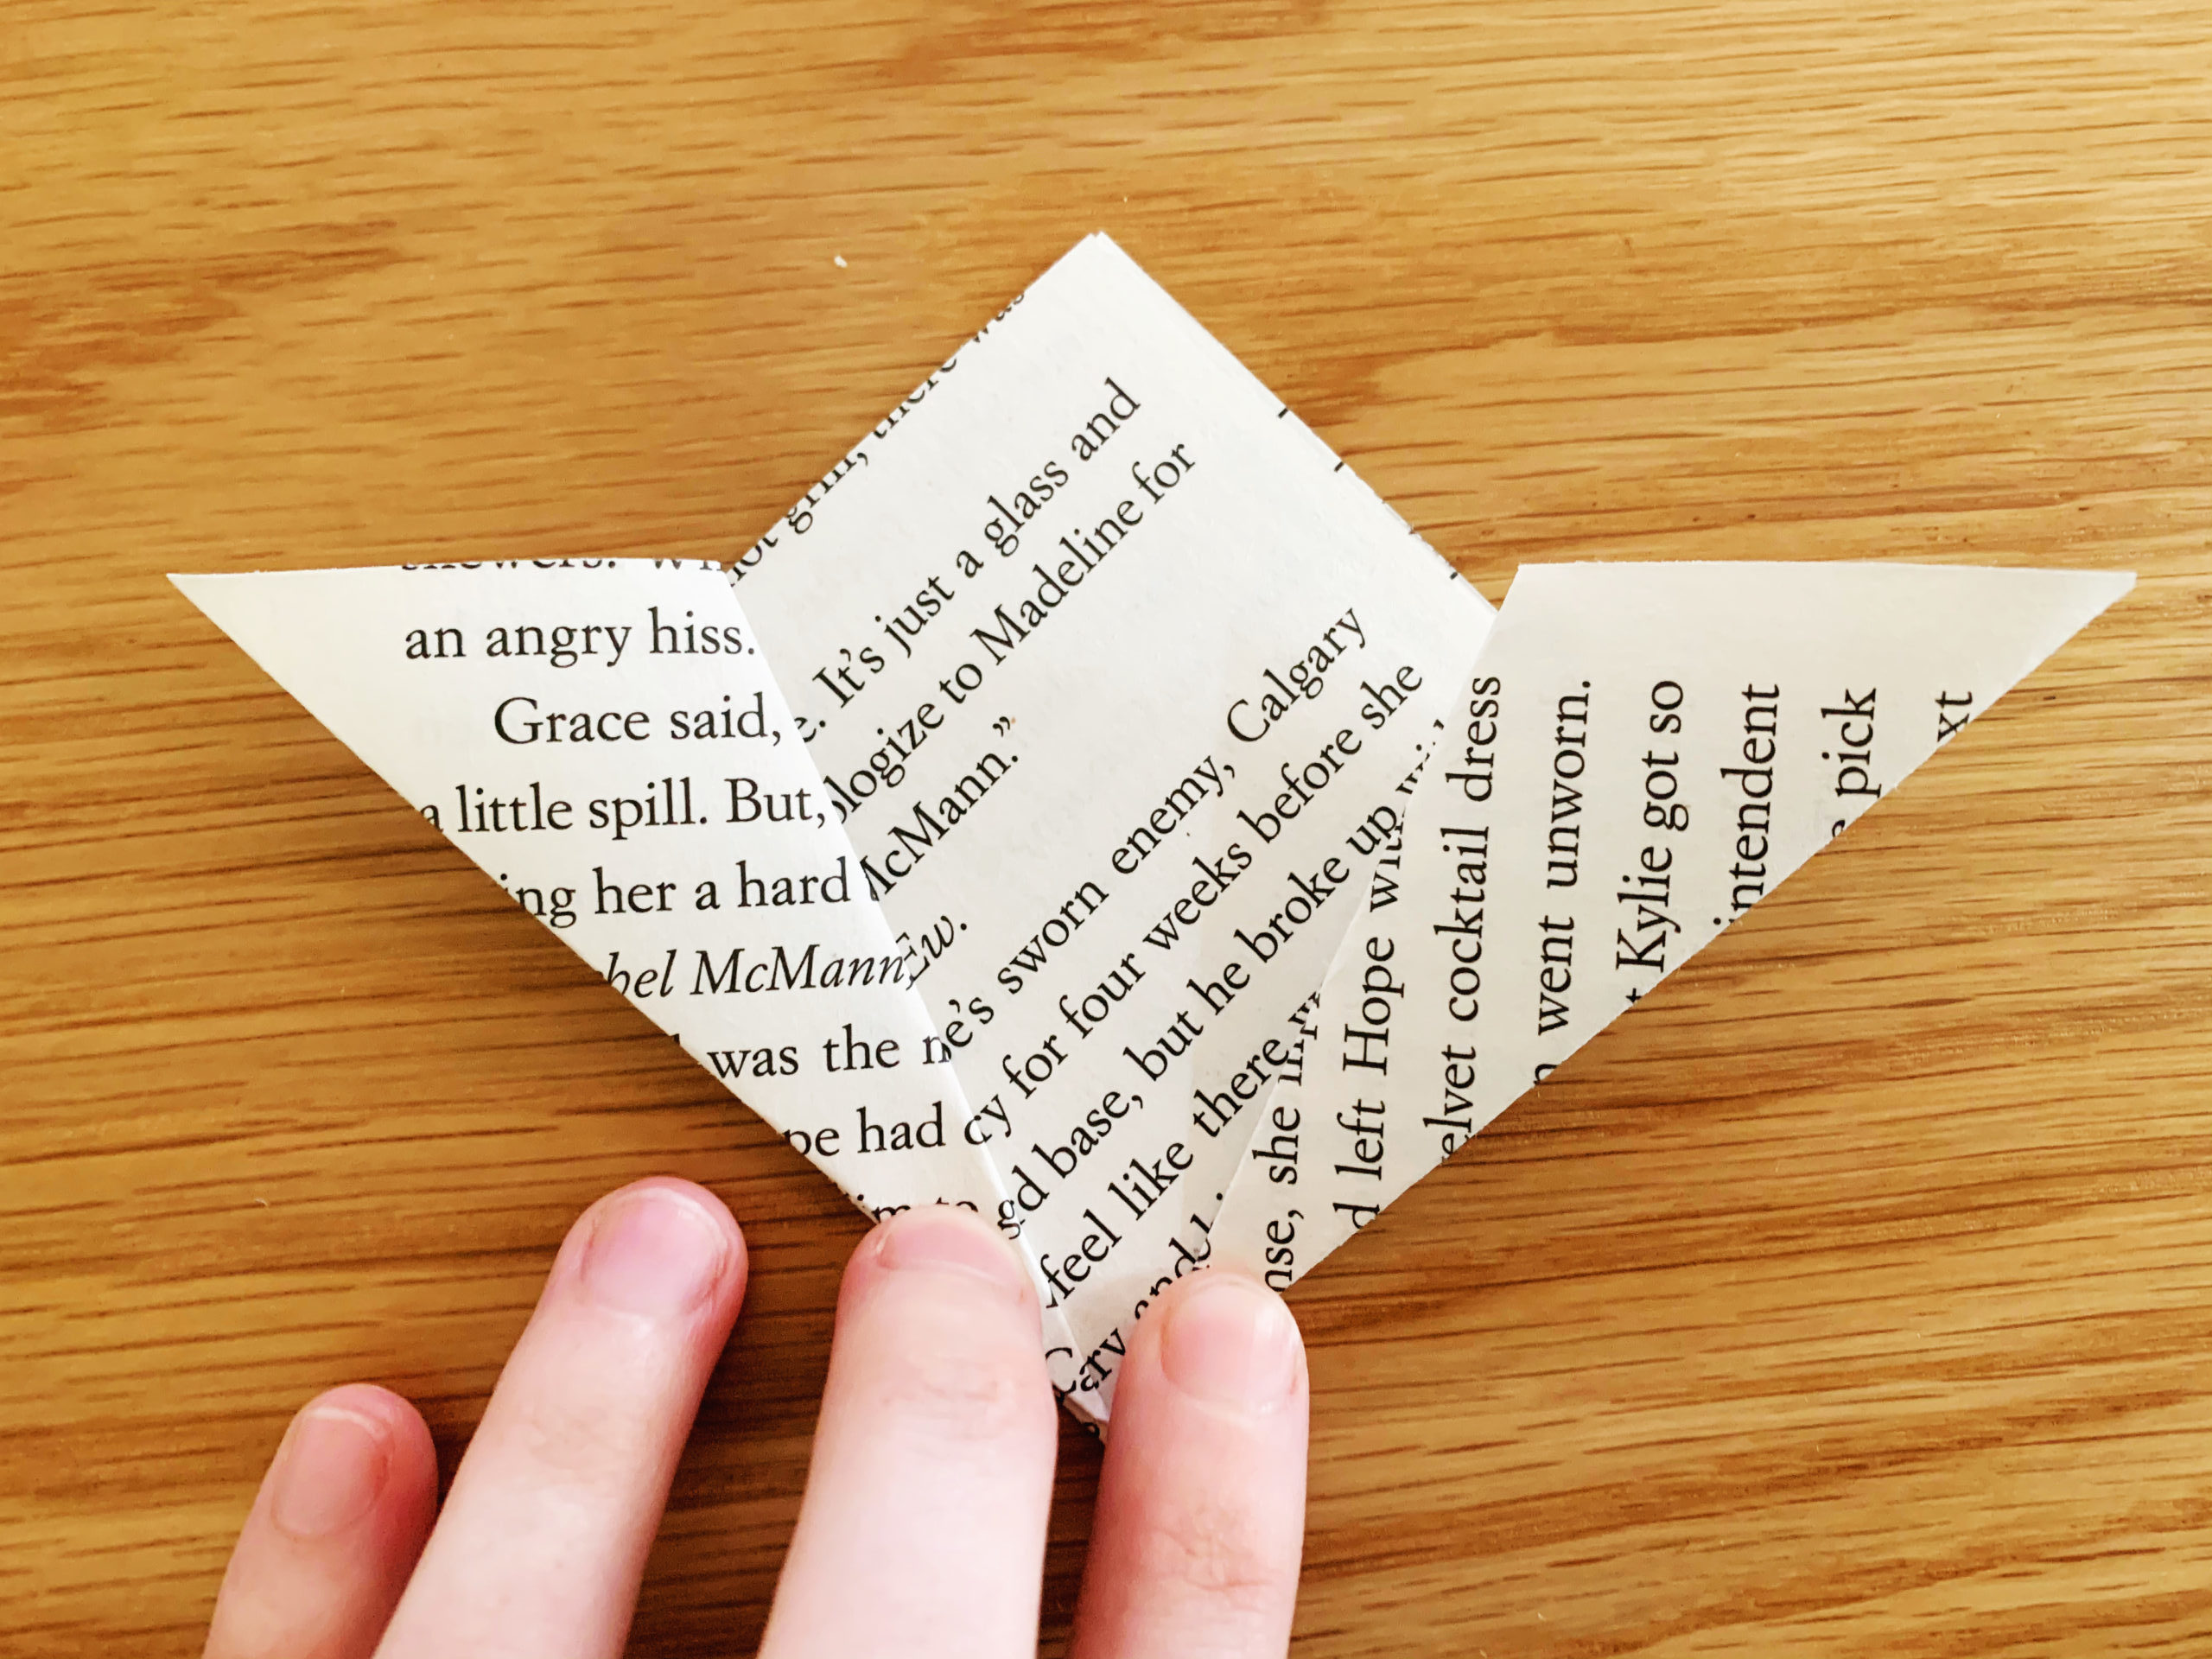
Step Seven: Take the right flap that you just folded over. Open it up with your pointer finger so that the side fold is now in the middle. Flatten it out and it will look like a kite.
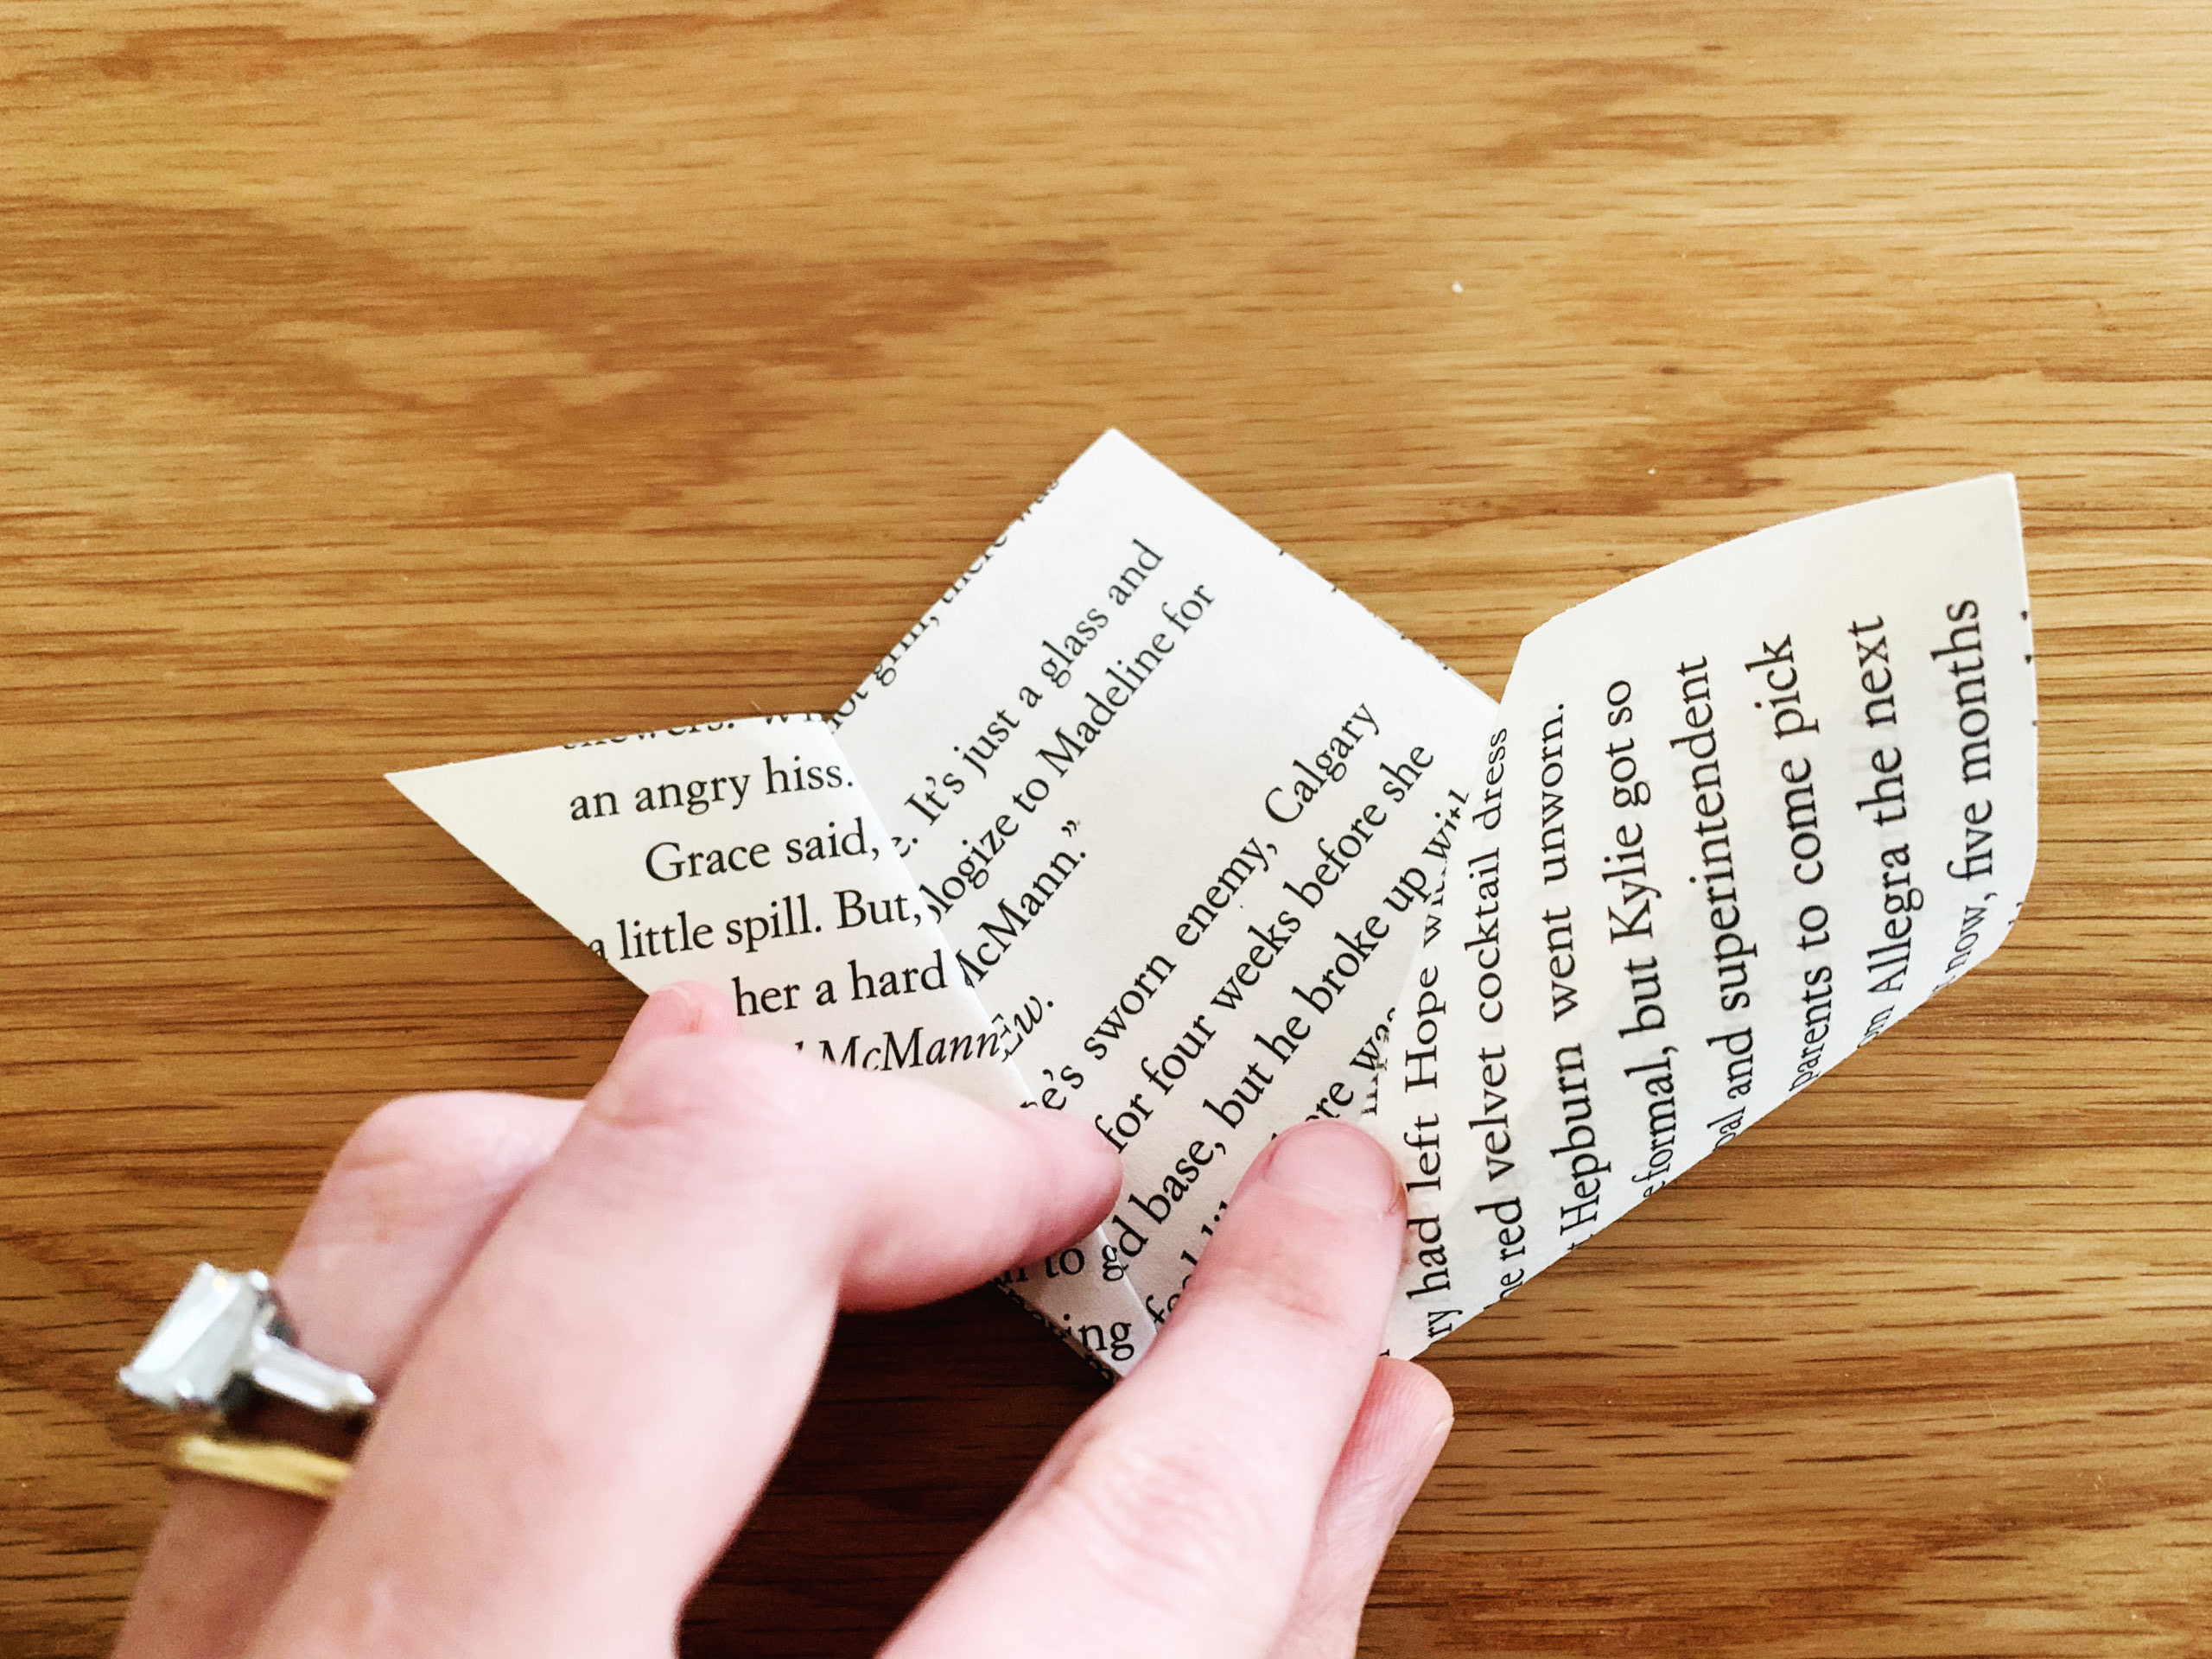
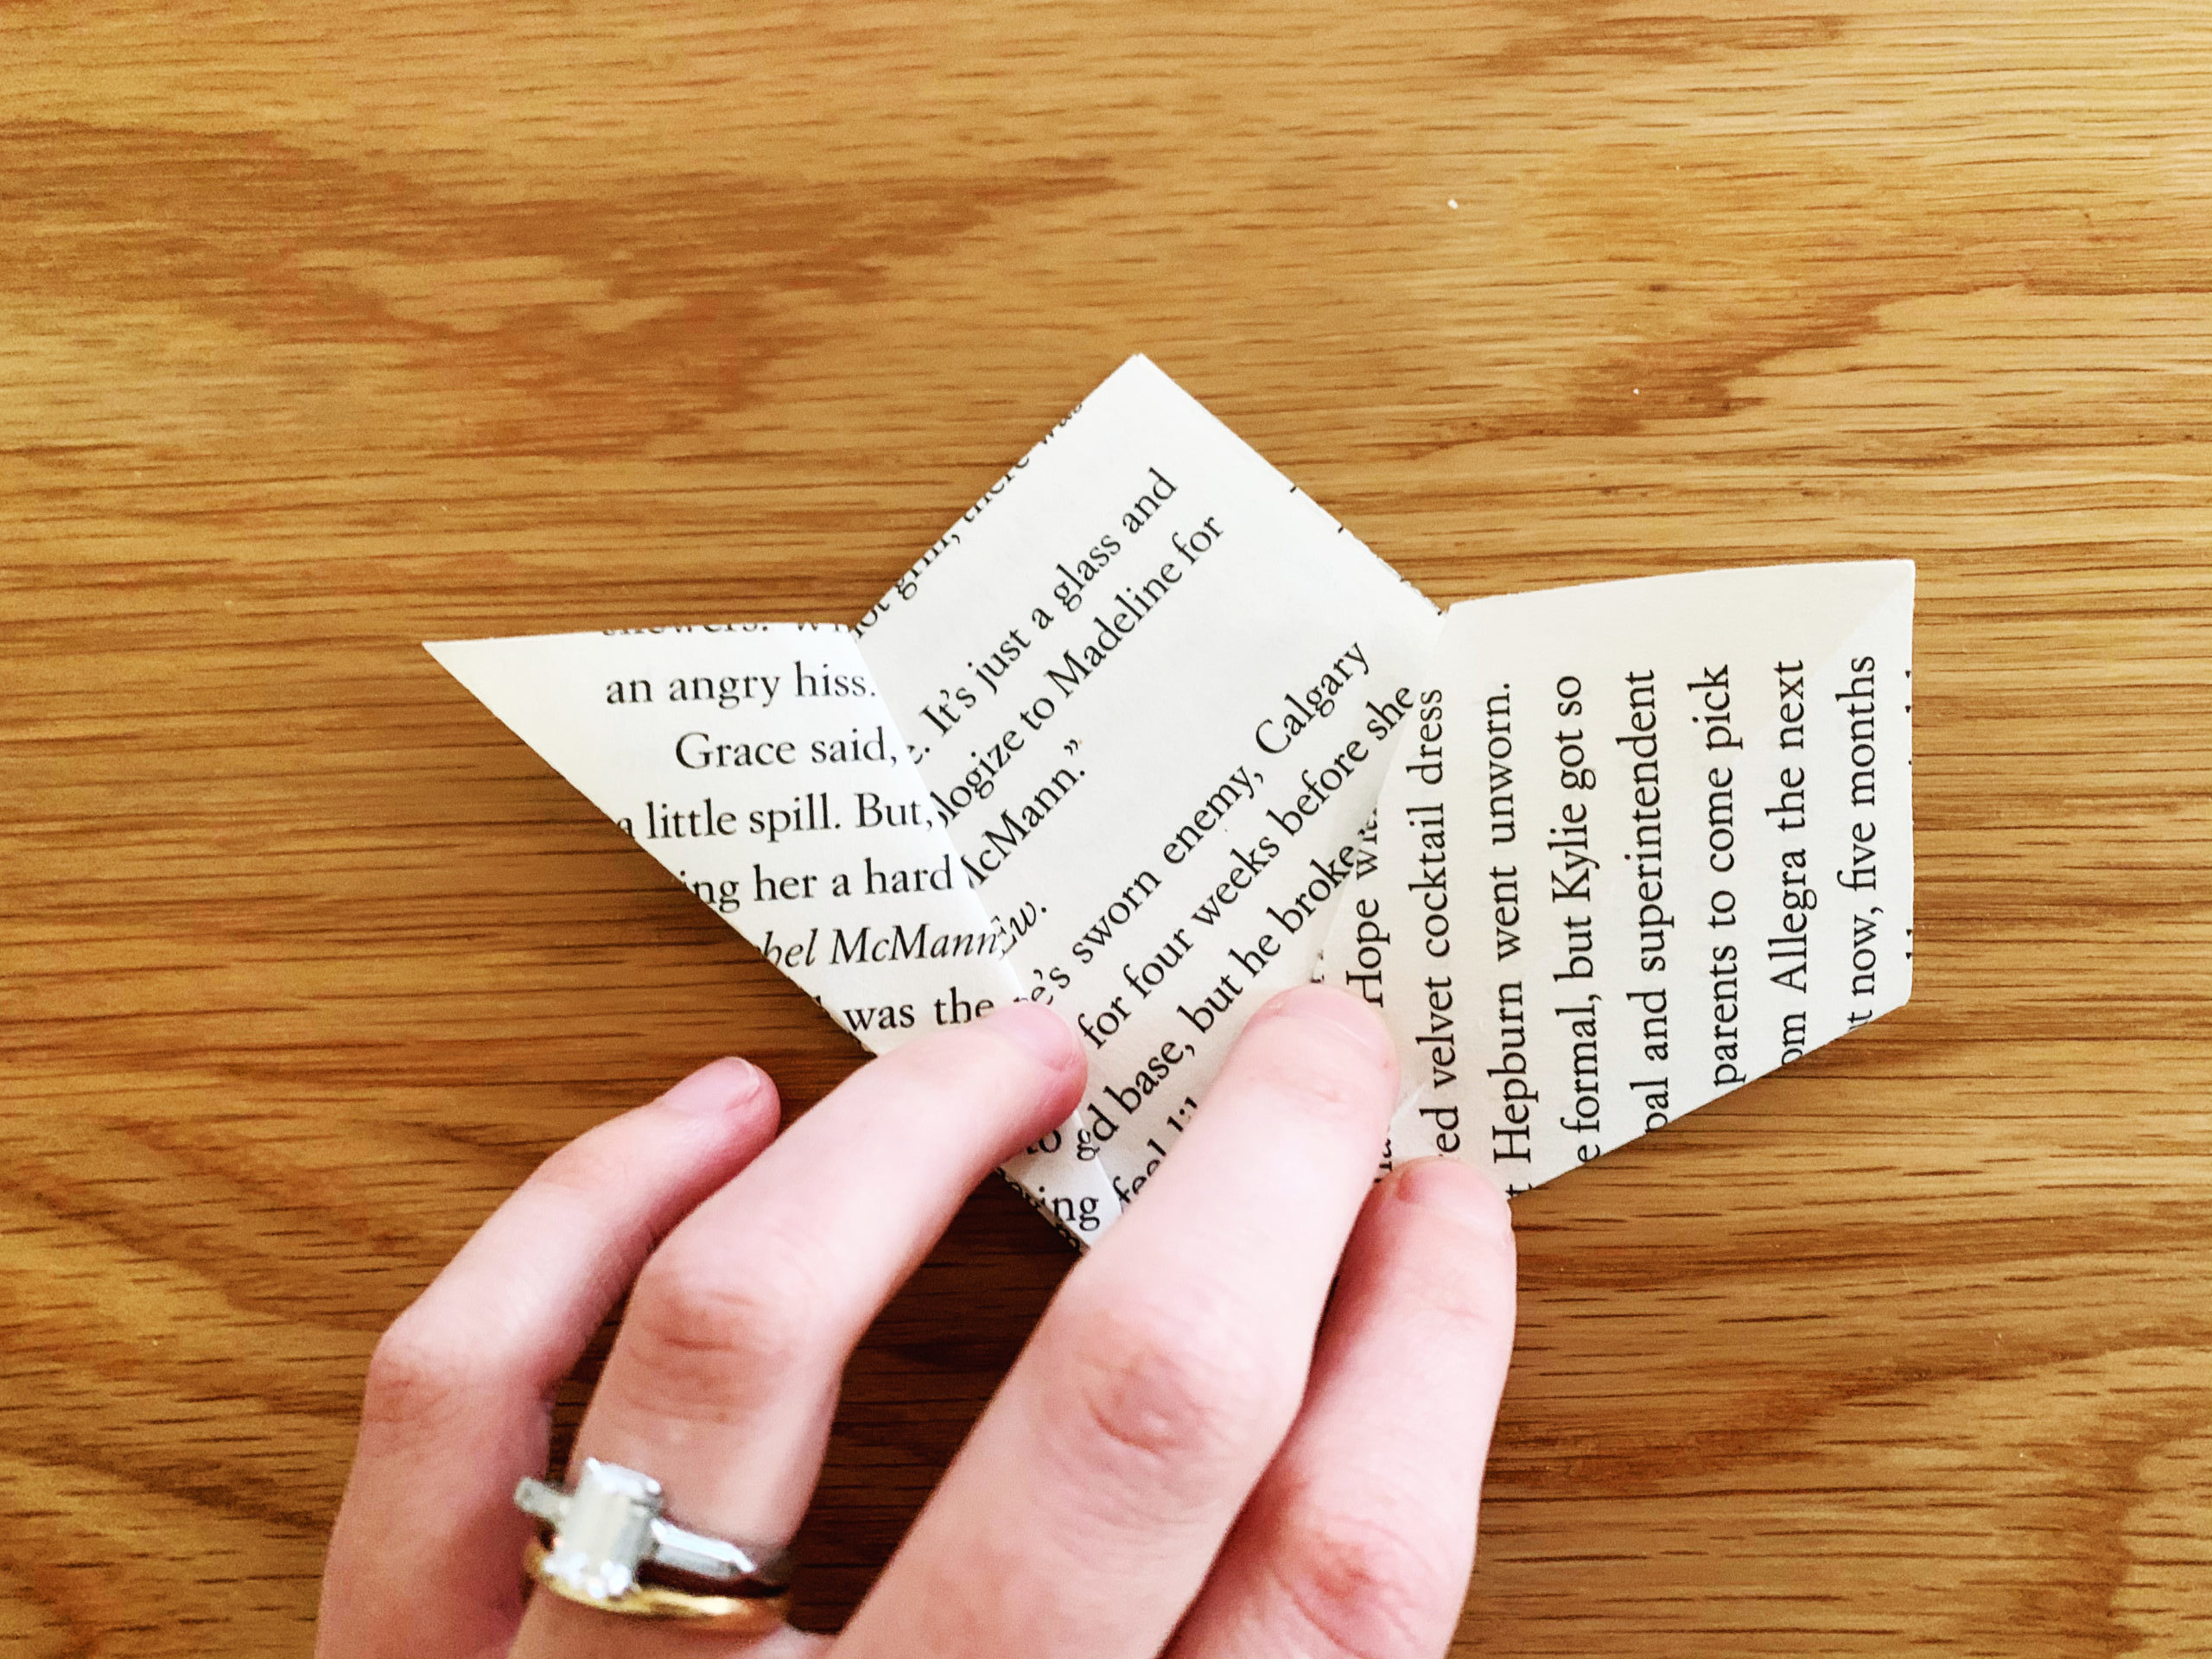
Step Eight: And do the same for the left side.
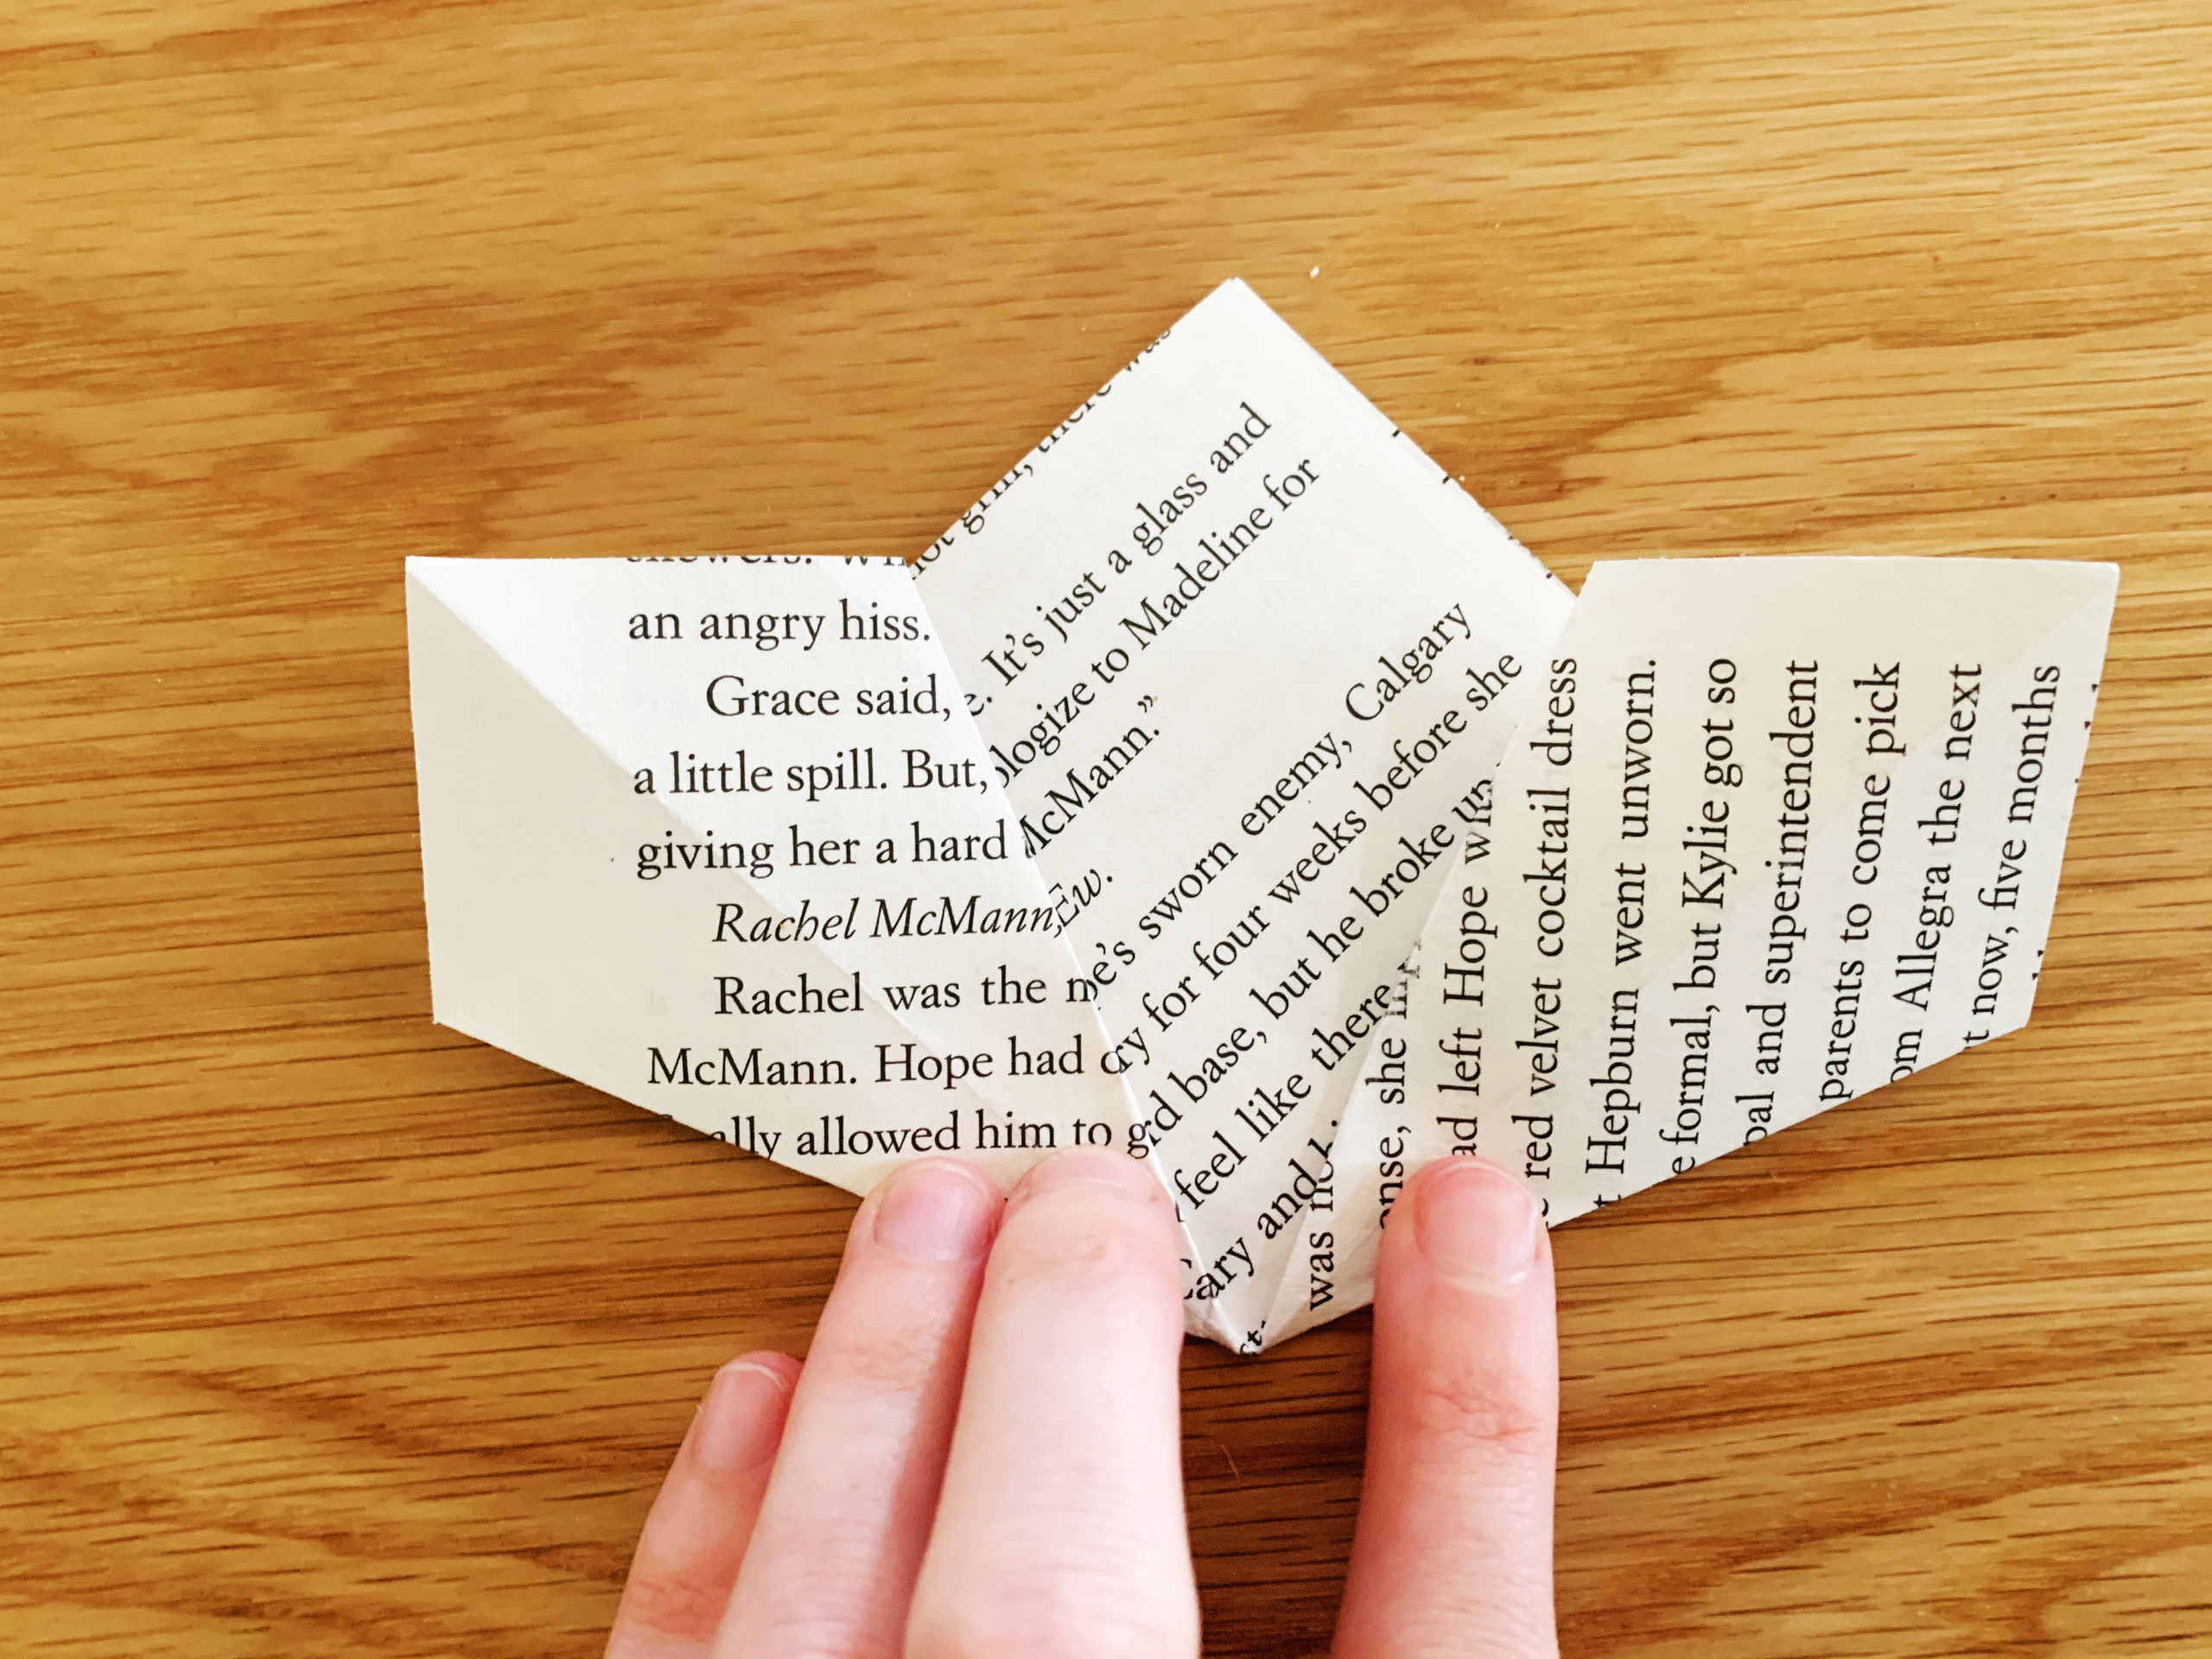
Step Nine: Next, fold over the top of the “kite” so it’s even with the triangle’s sides. Do that on both sides.
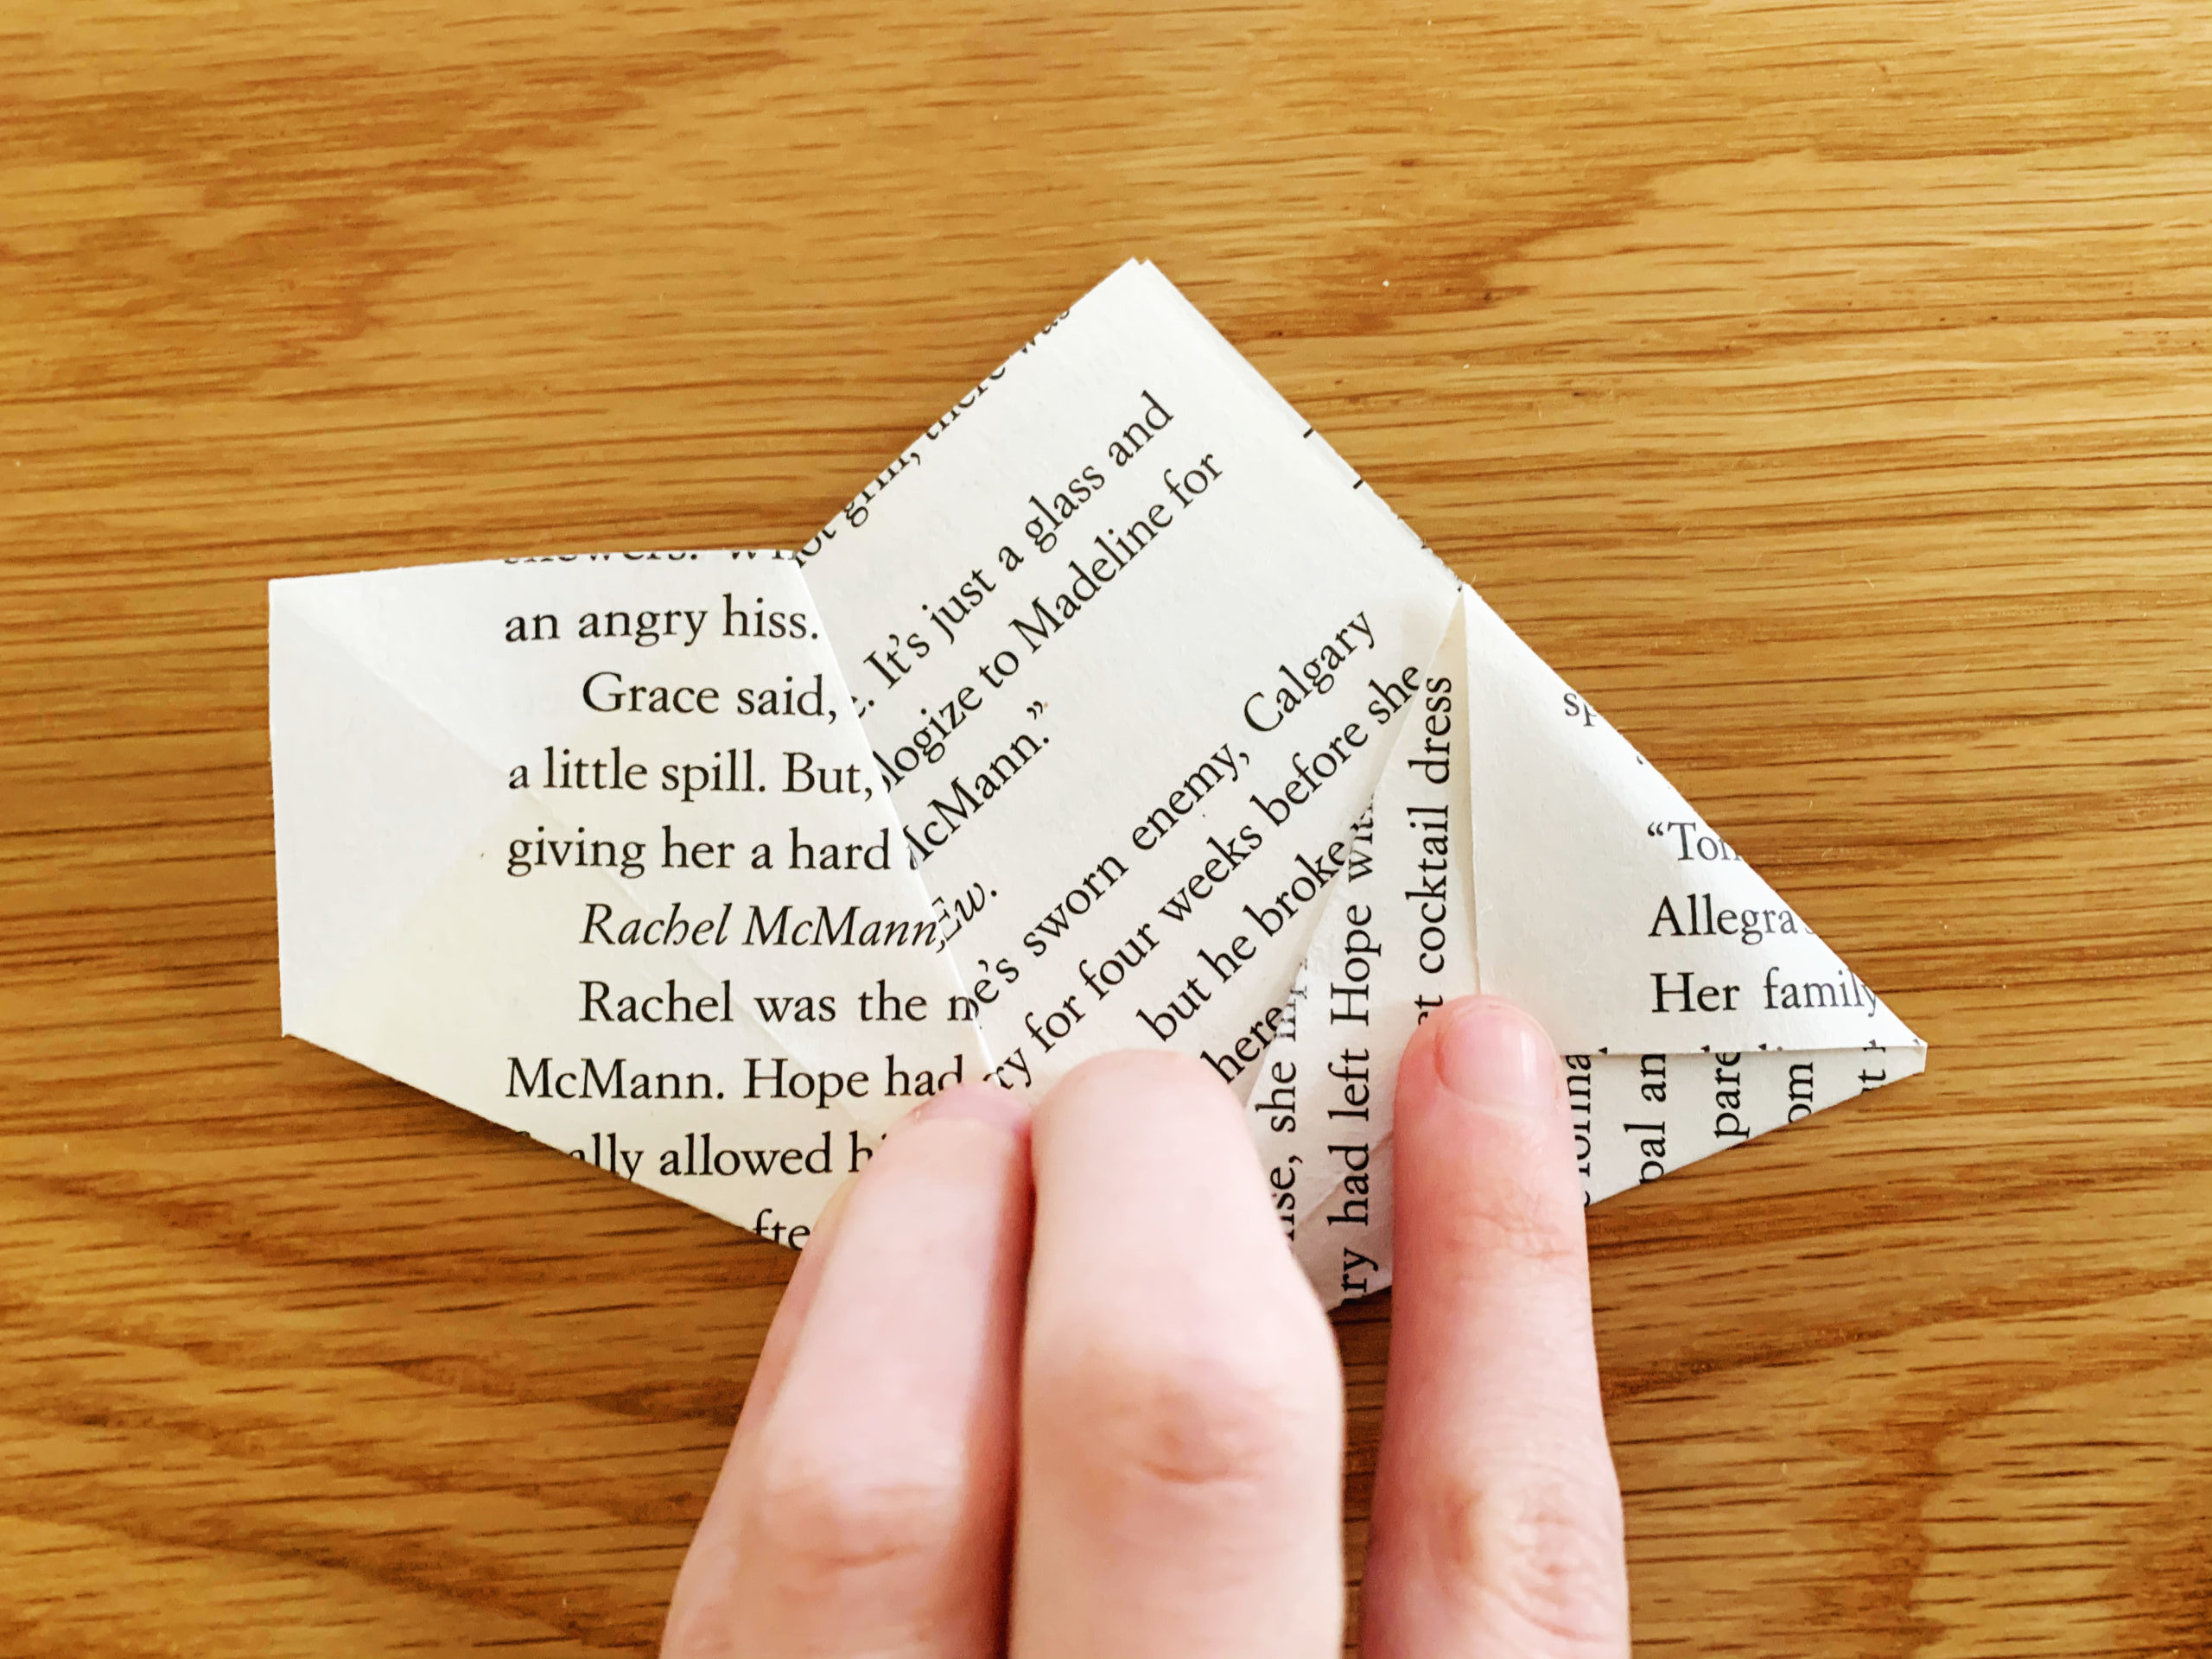
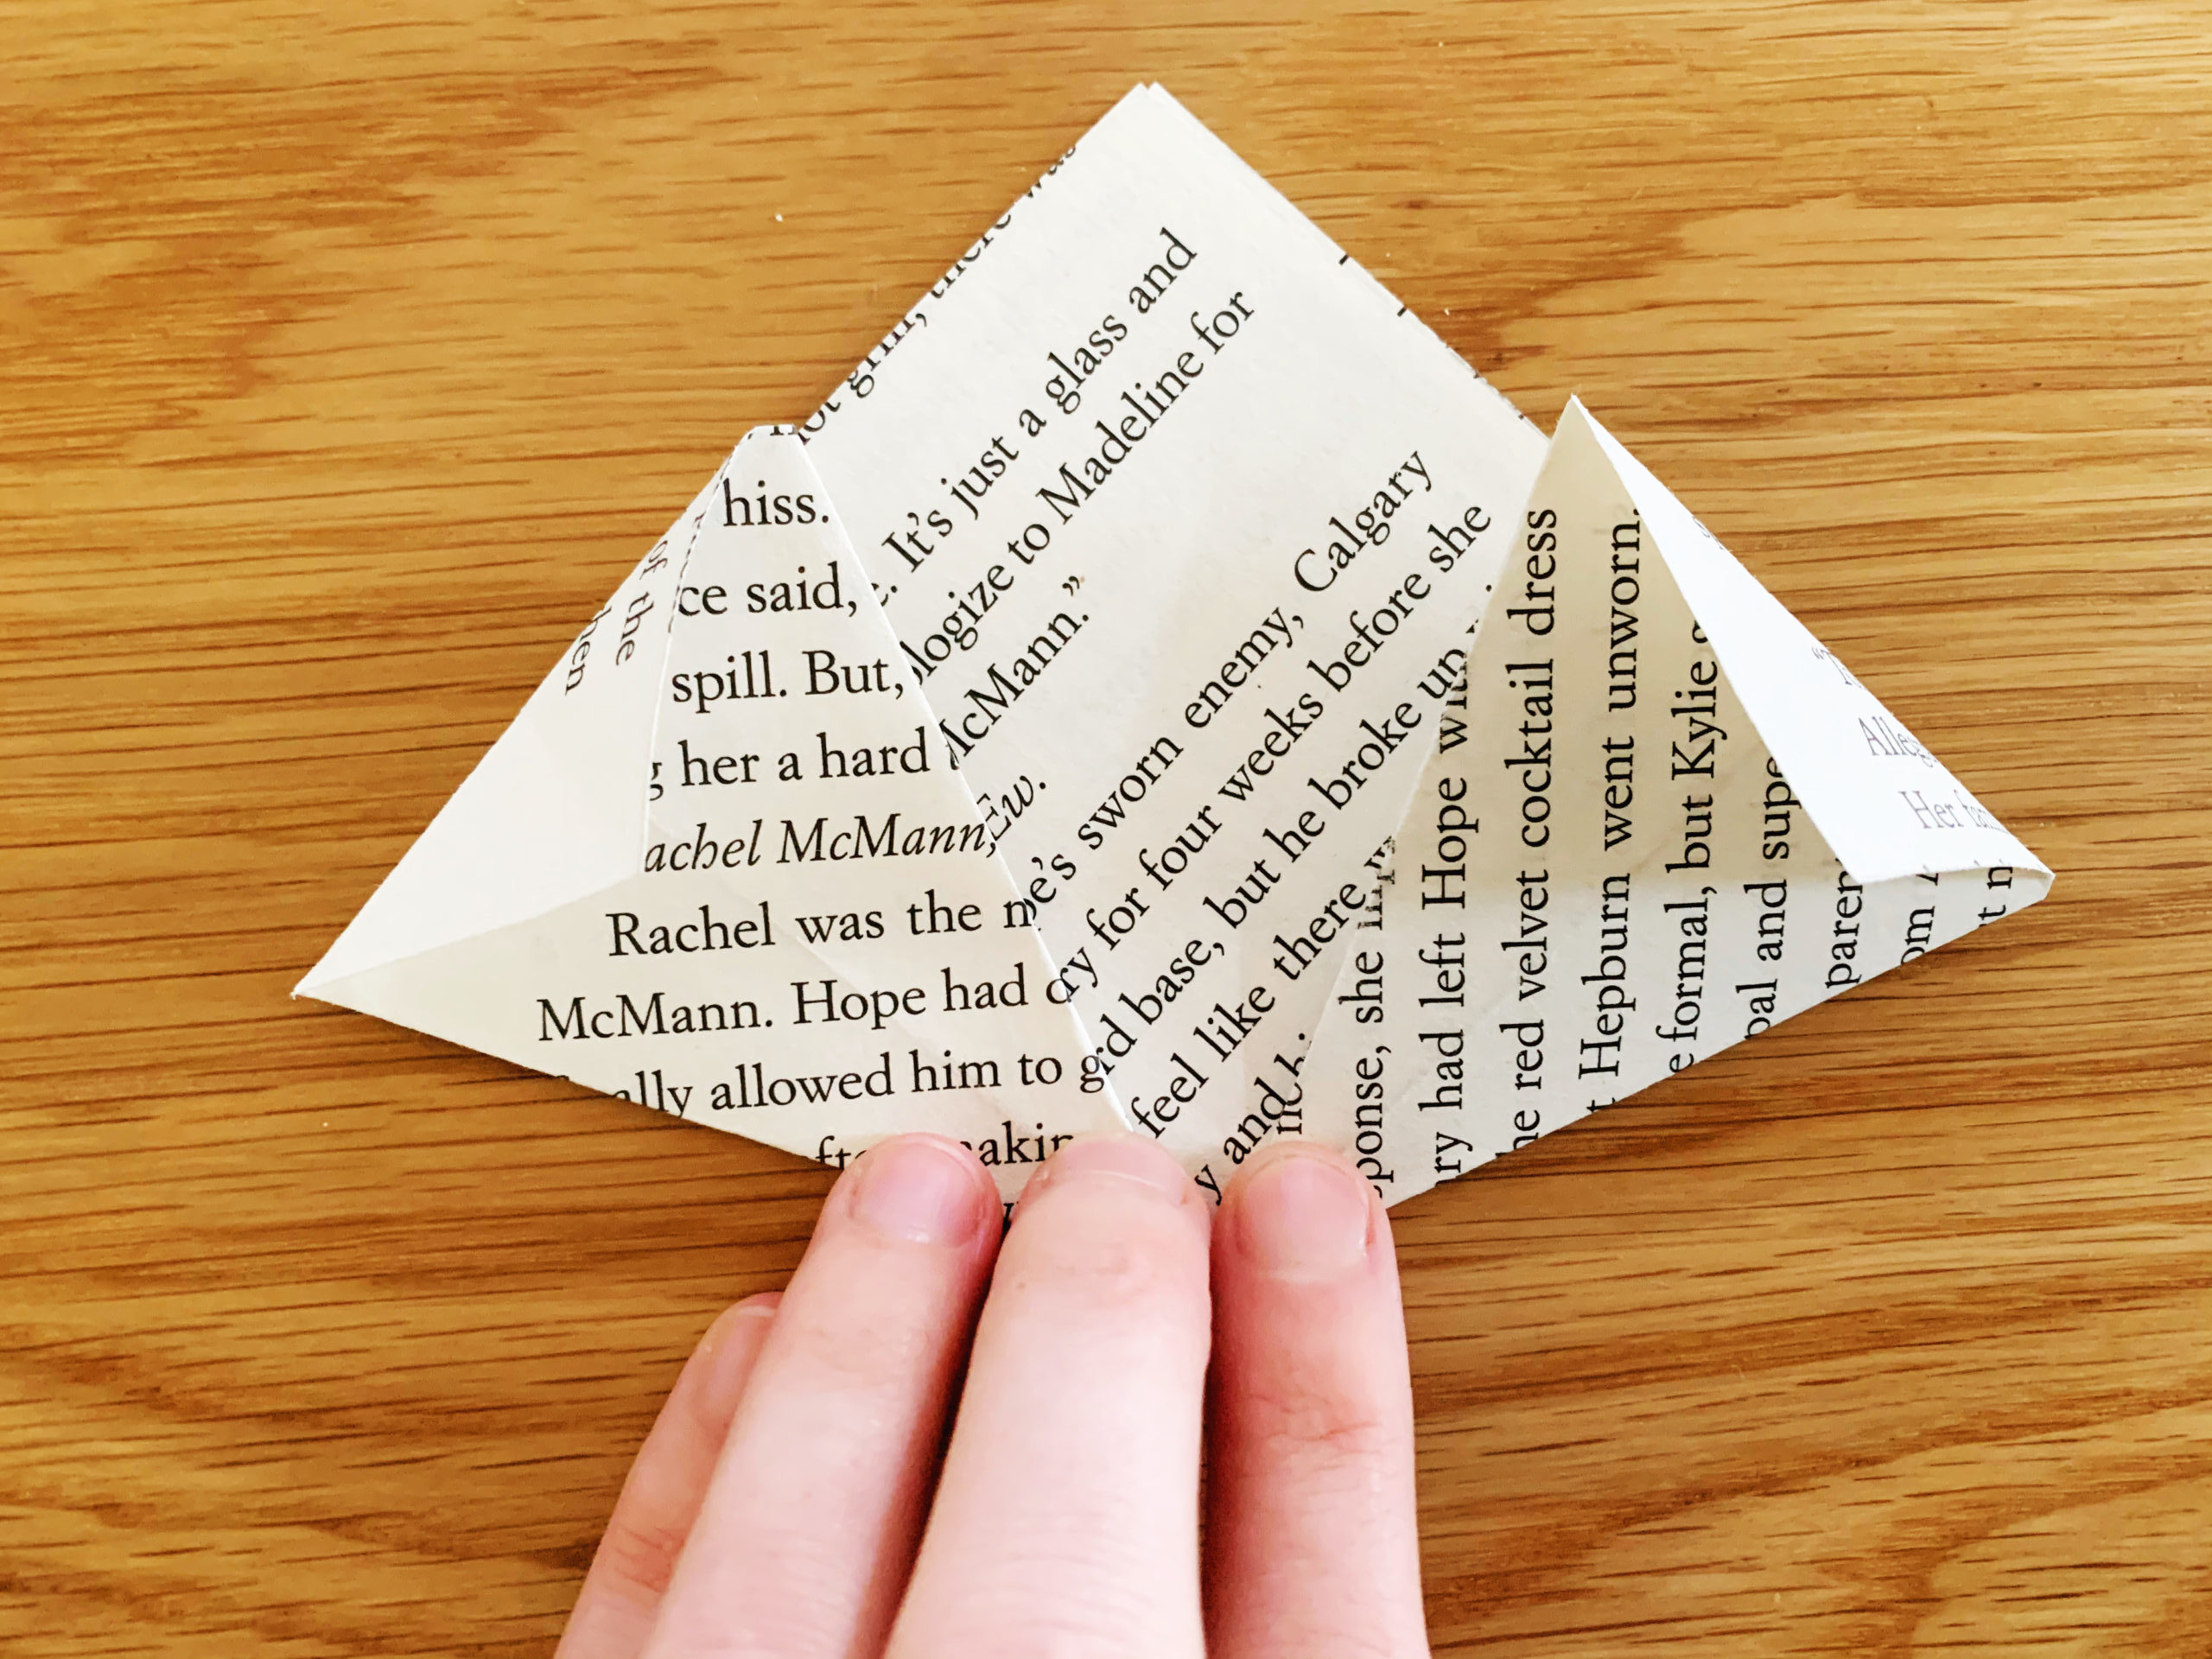
Step Ten: Now take the sides and fold it over towards the center. You will already have a crease here from your earlier fold (this is what I was talking about earlier!).
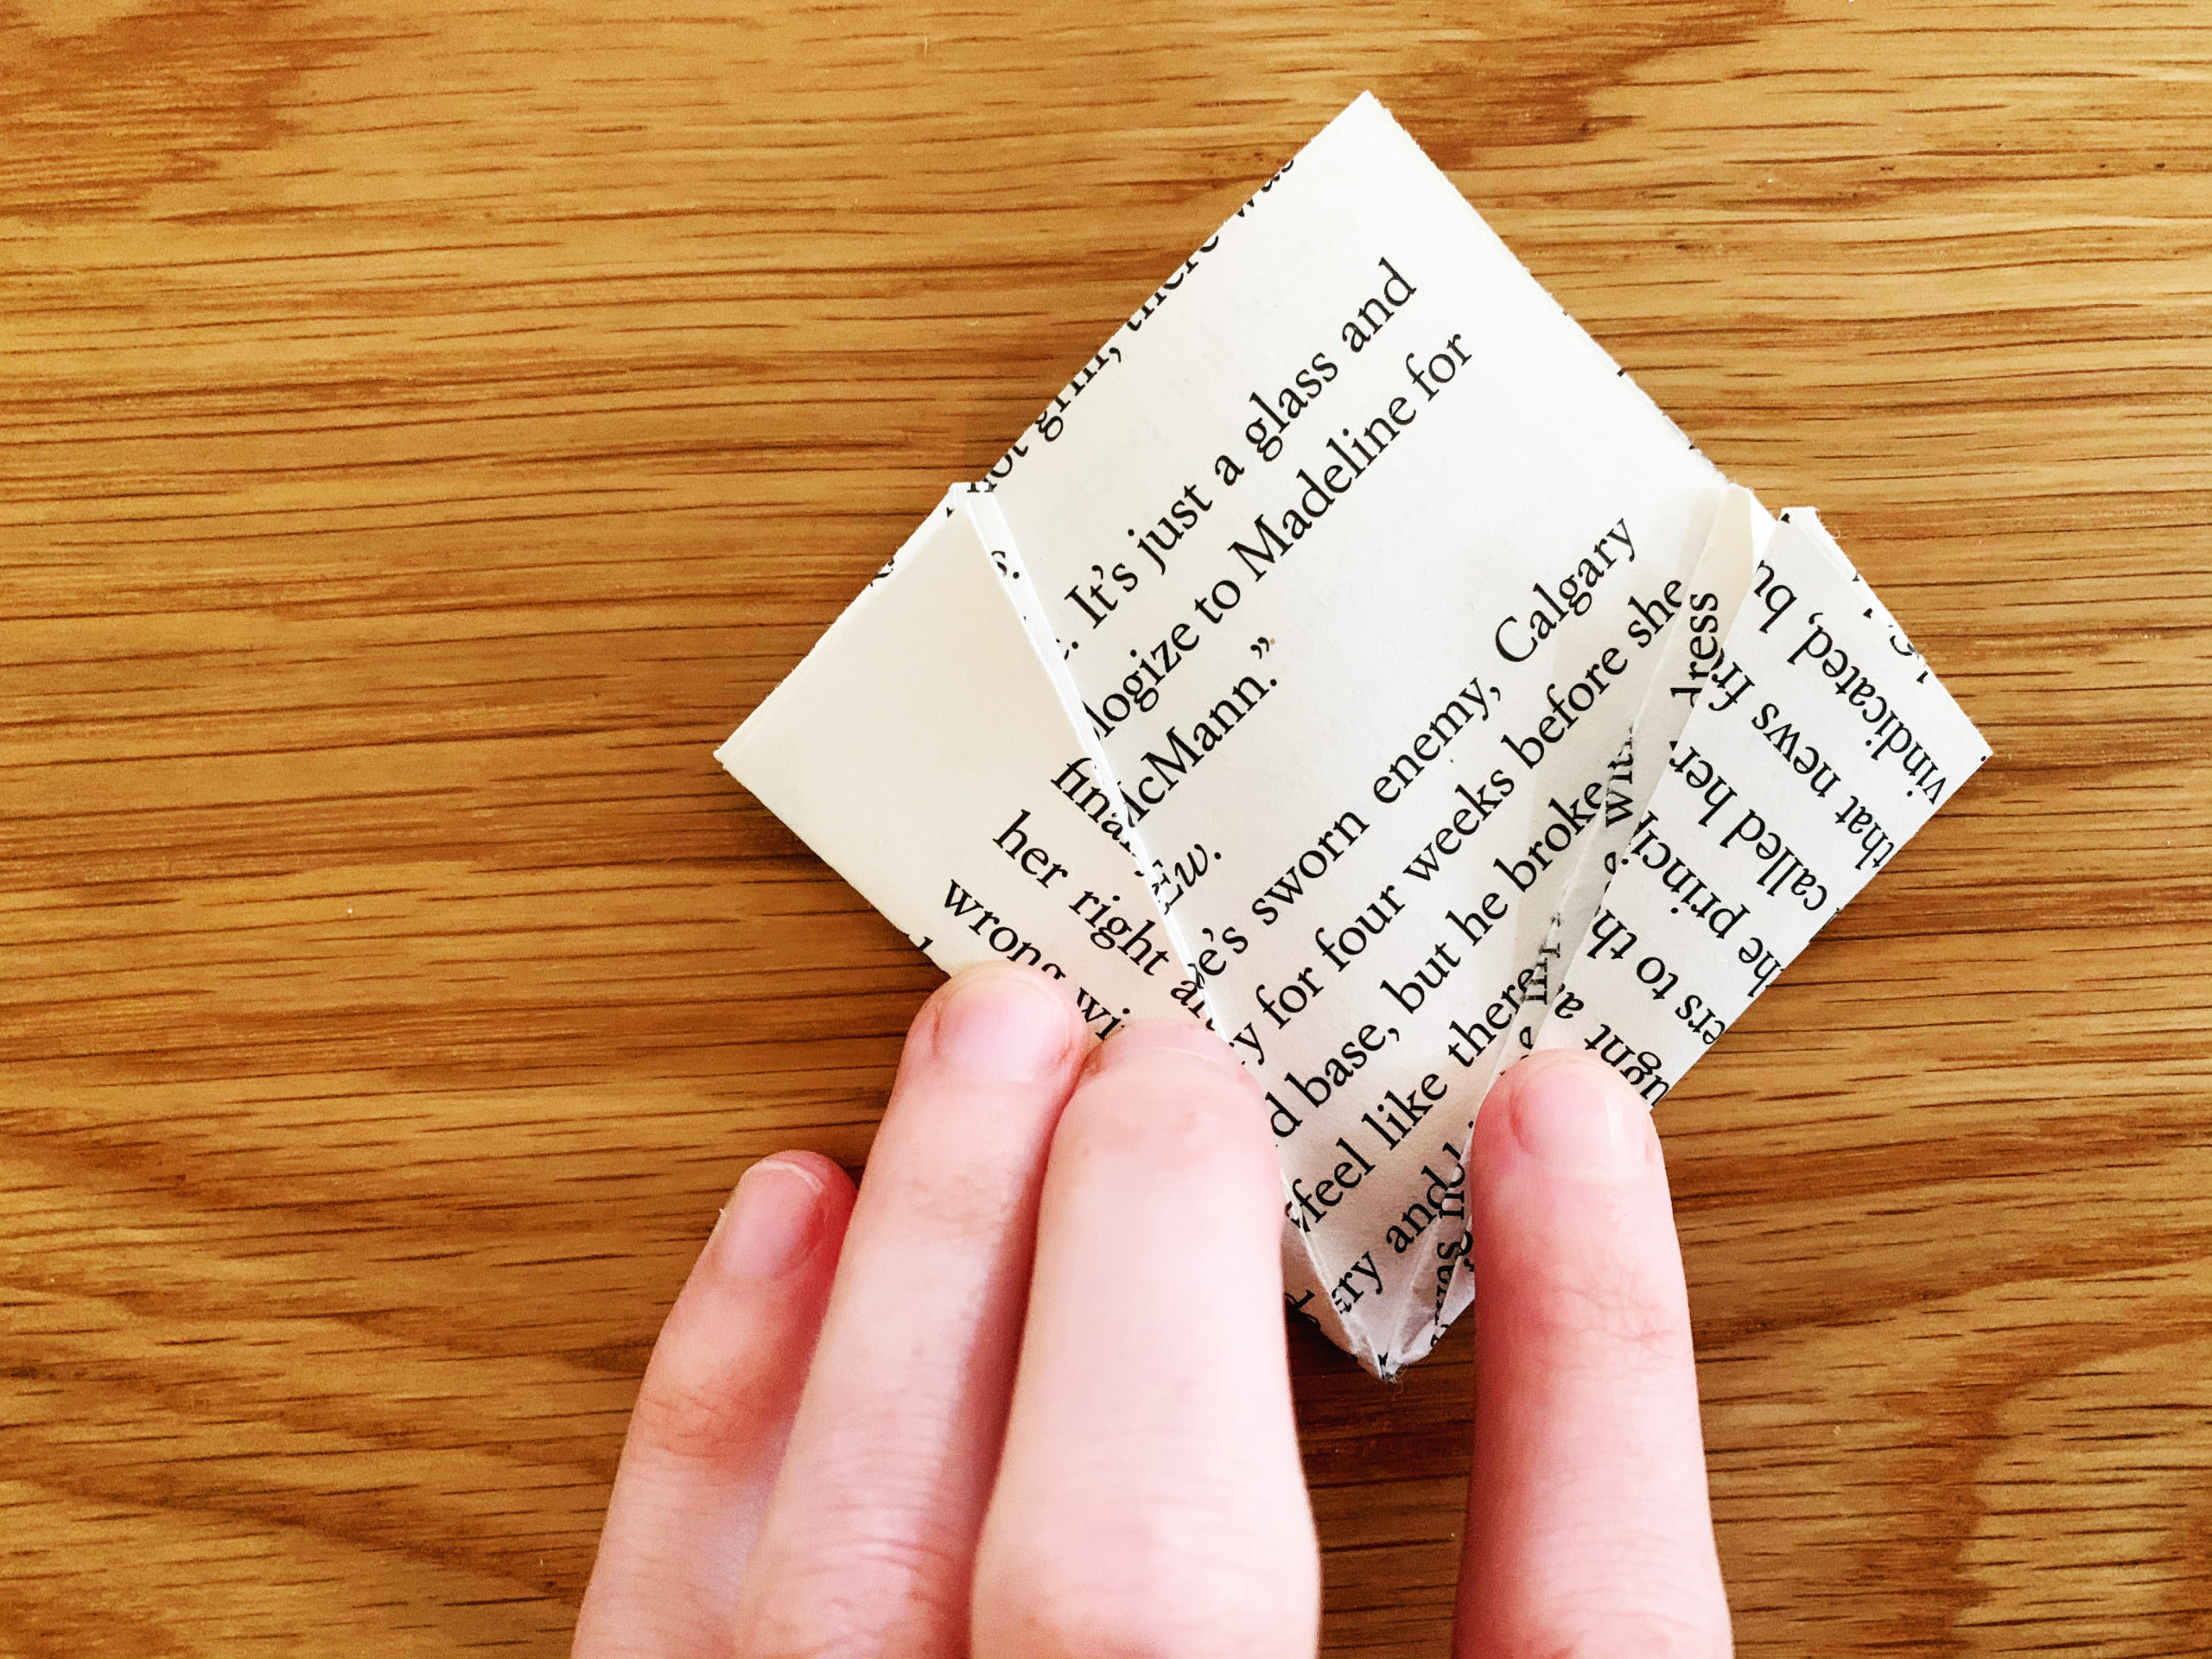
Step Eleven: Next, “curl” up both sides to meet. Don’t crease this part. You want it rounded like a flower petal.
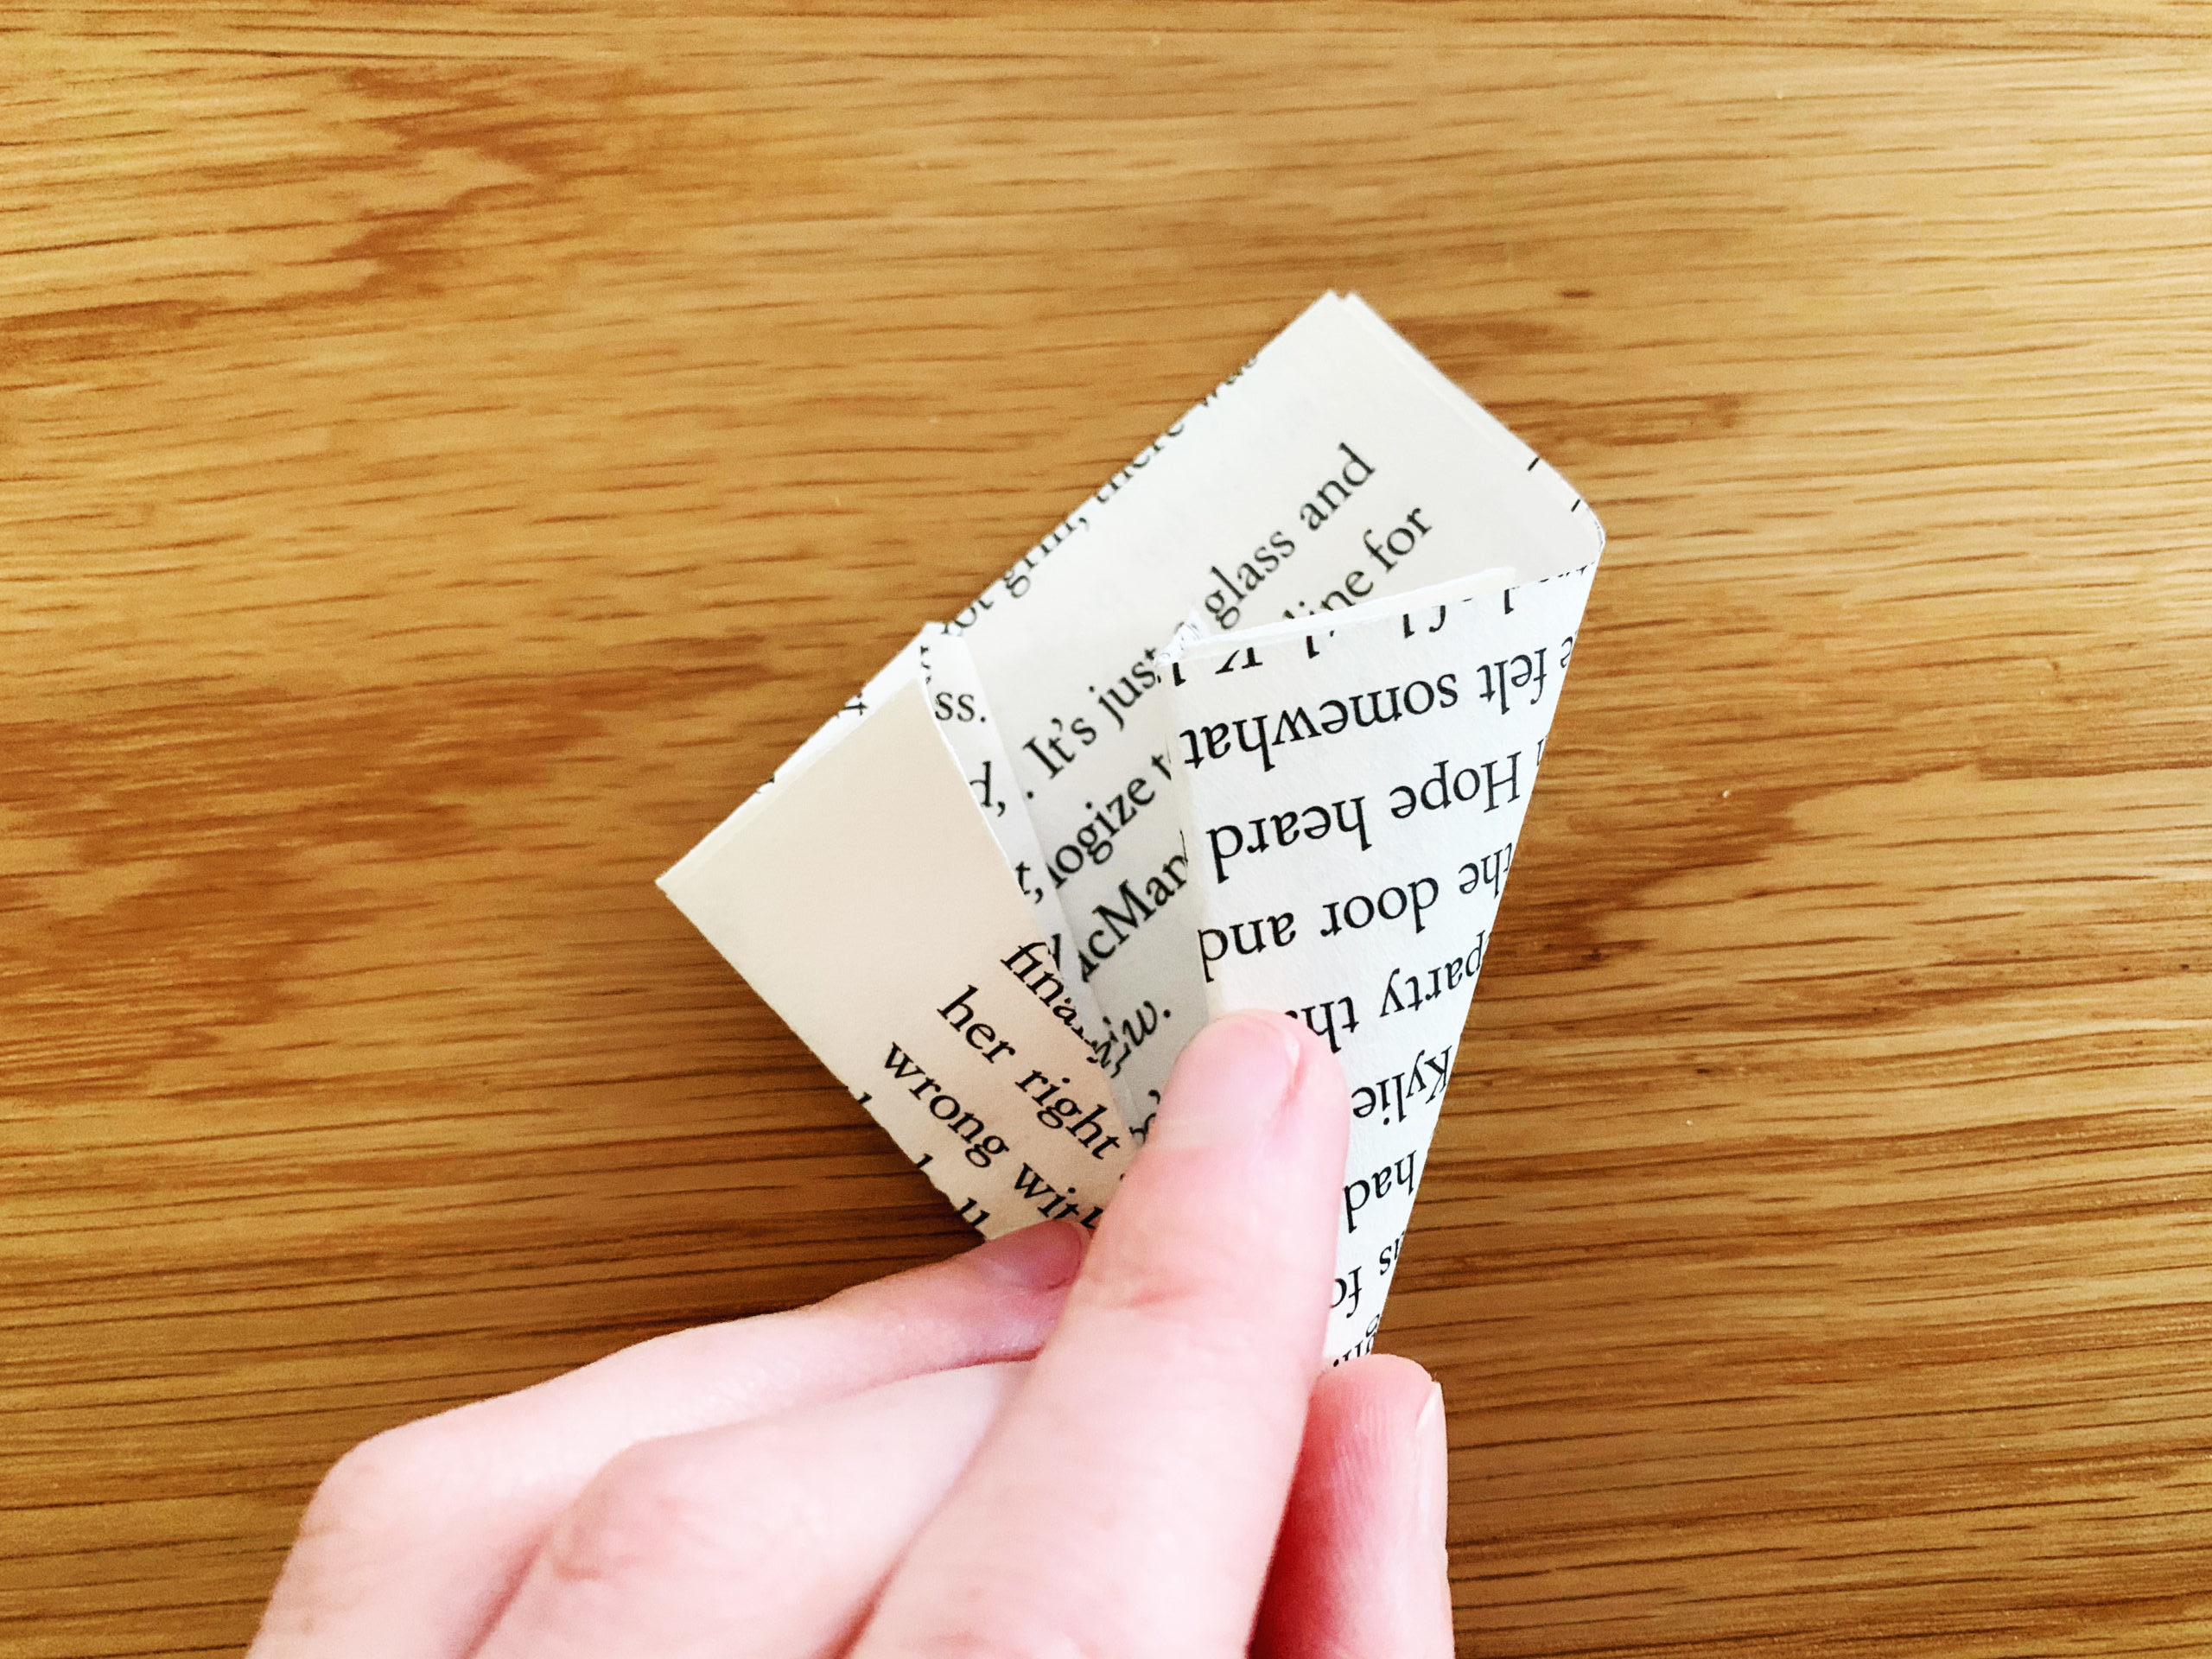
Step Twelve: While pinching the edges together with one hand, with the other take your hot glue gun and glue the sides together. You now have your petal!
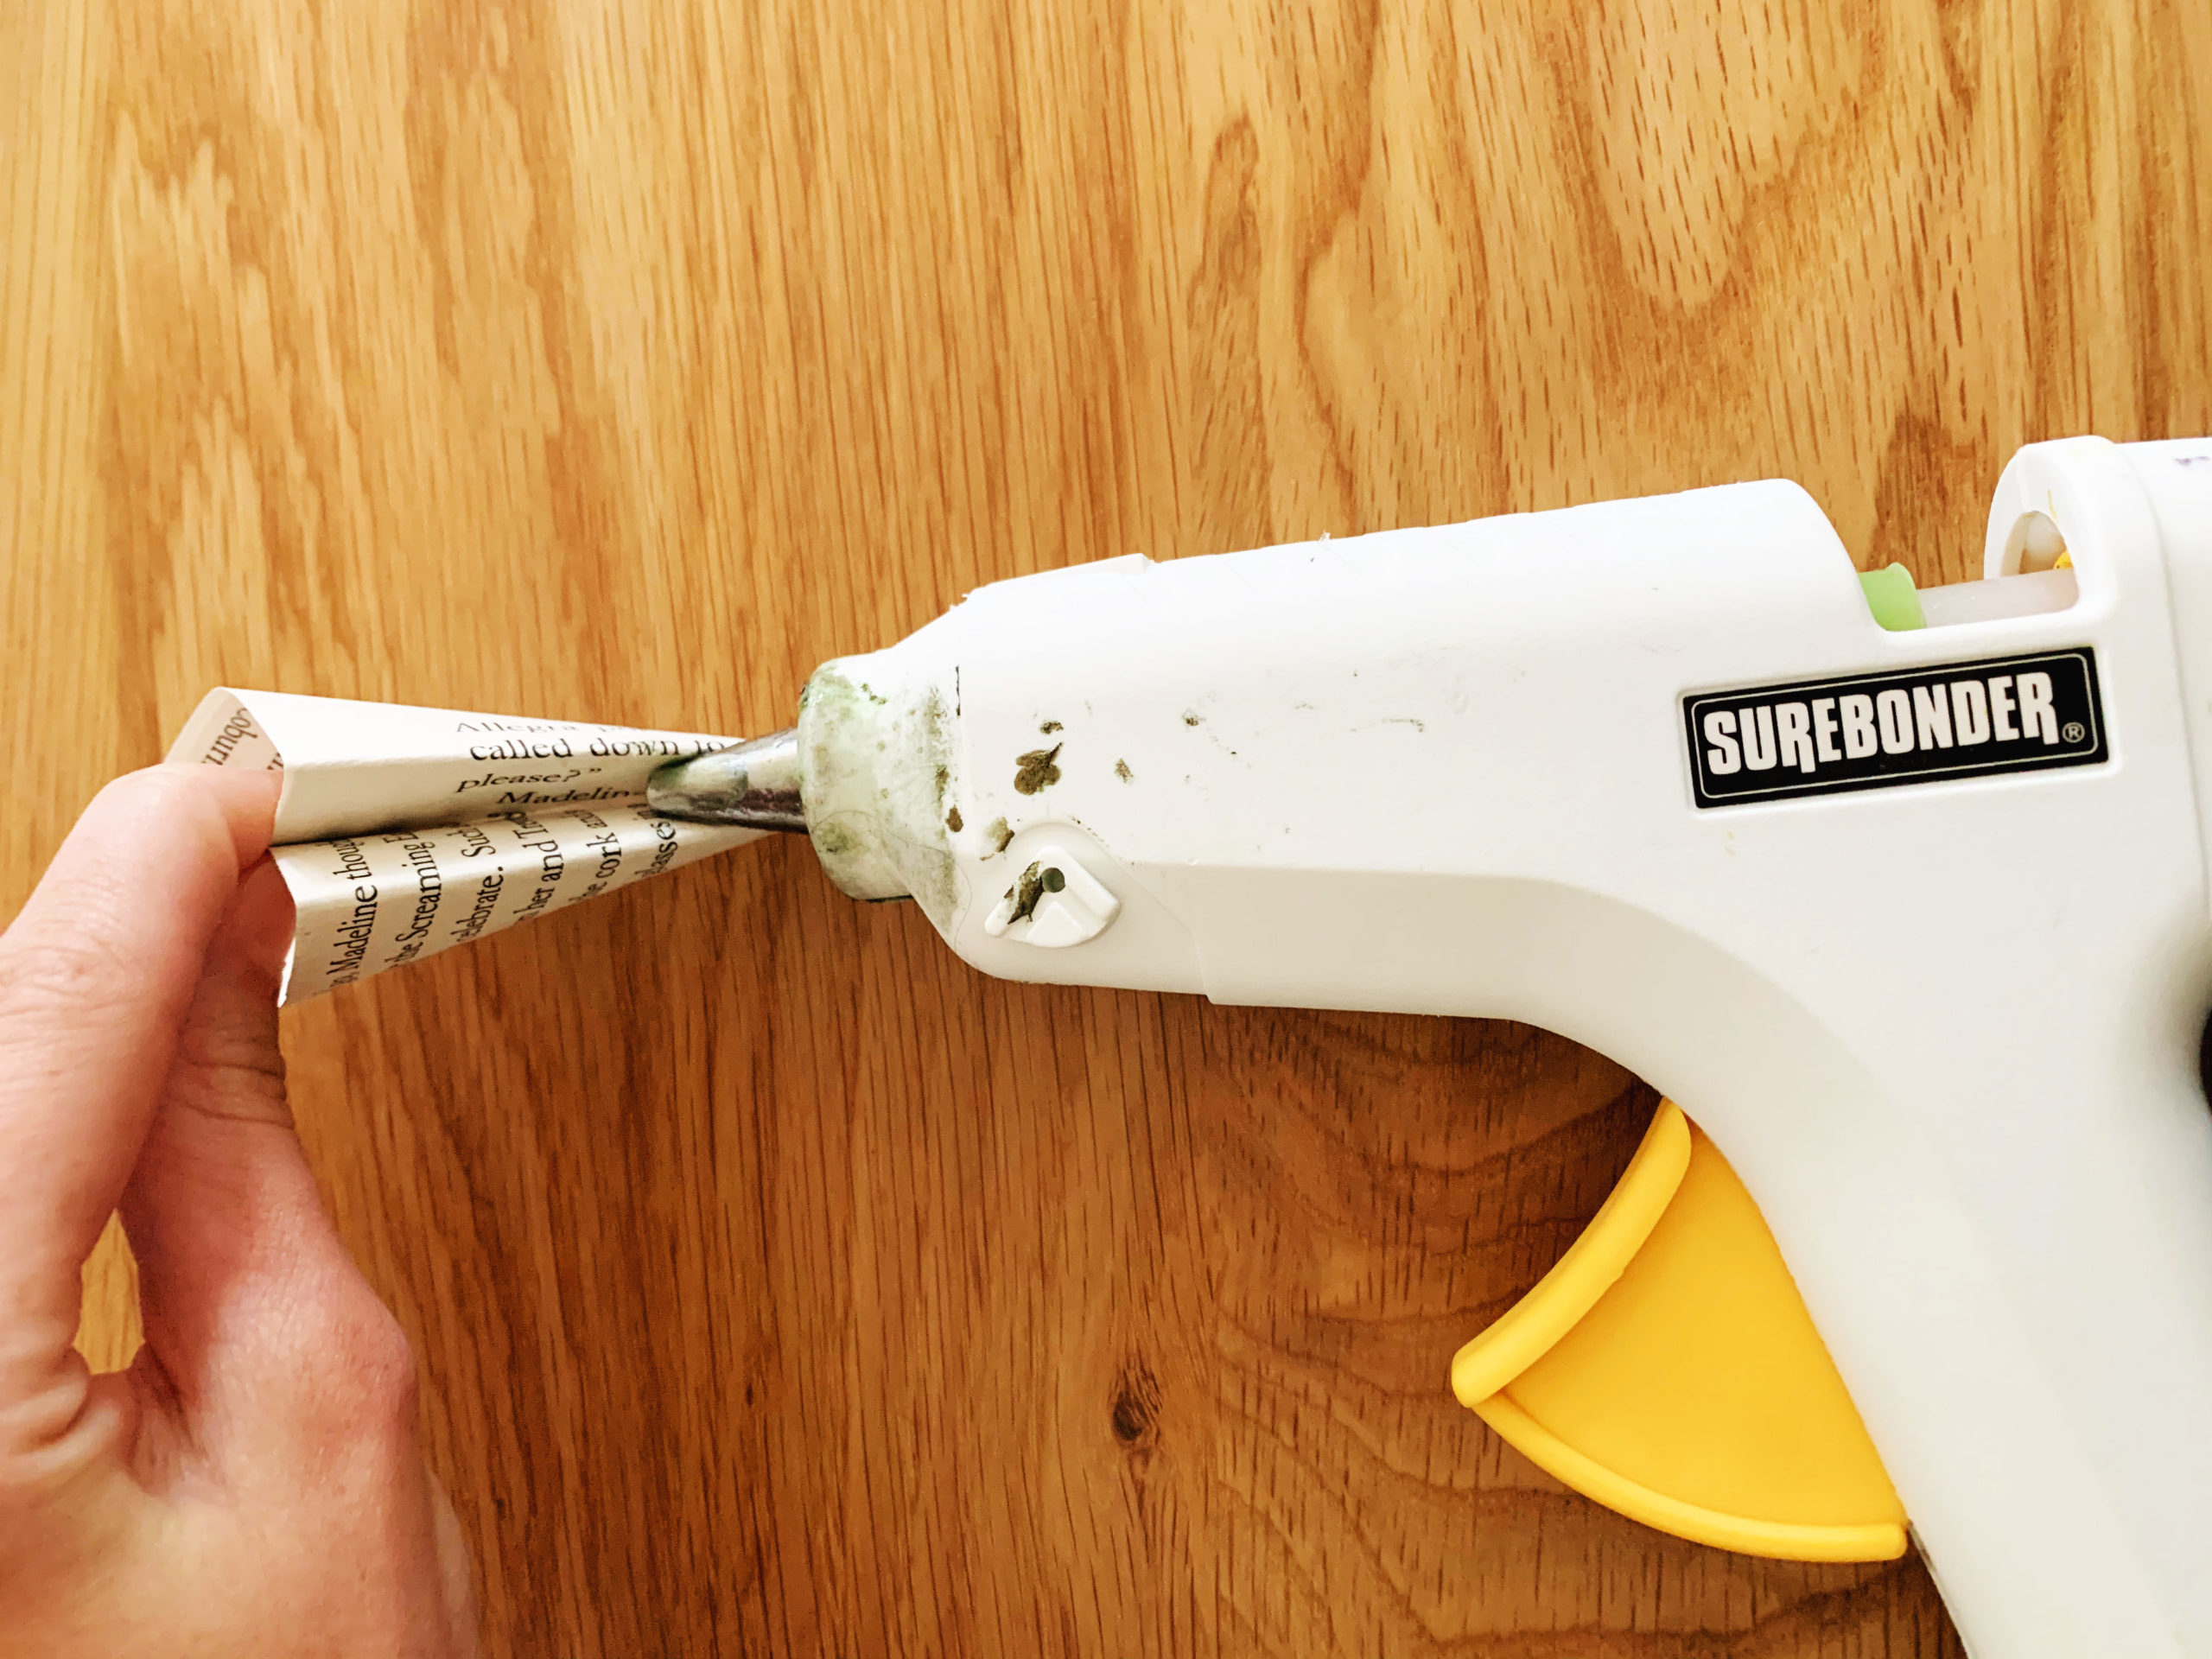
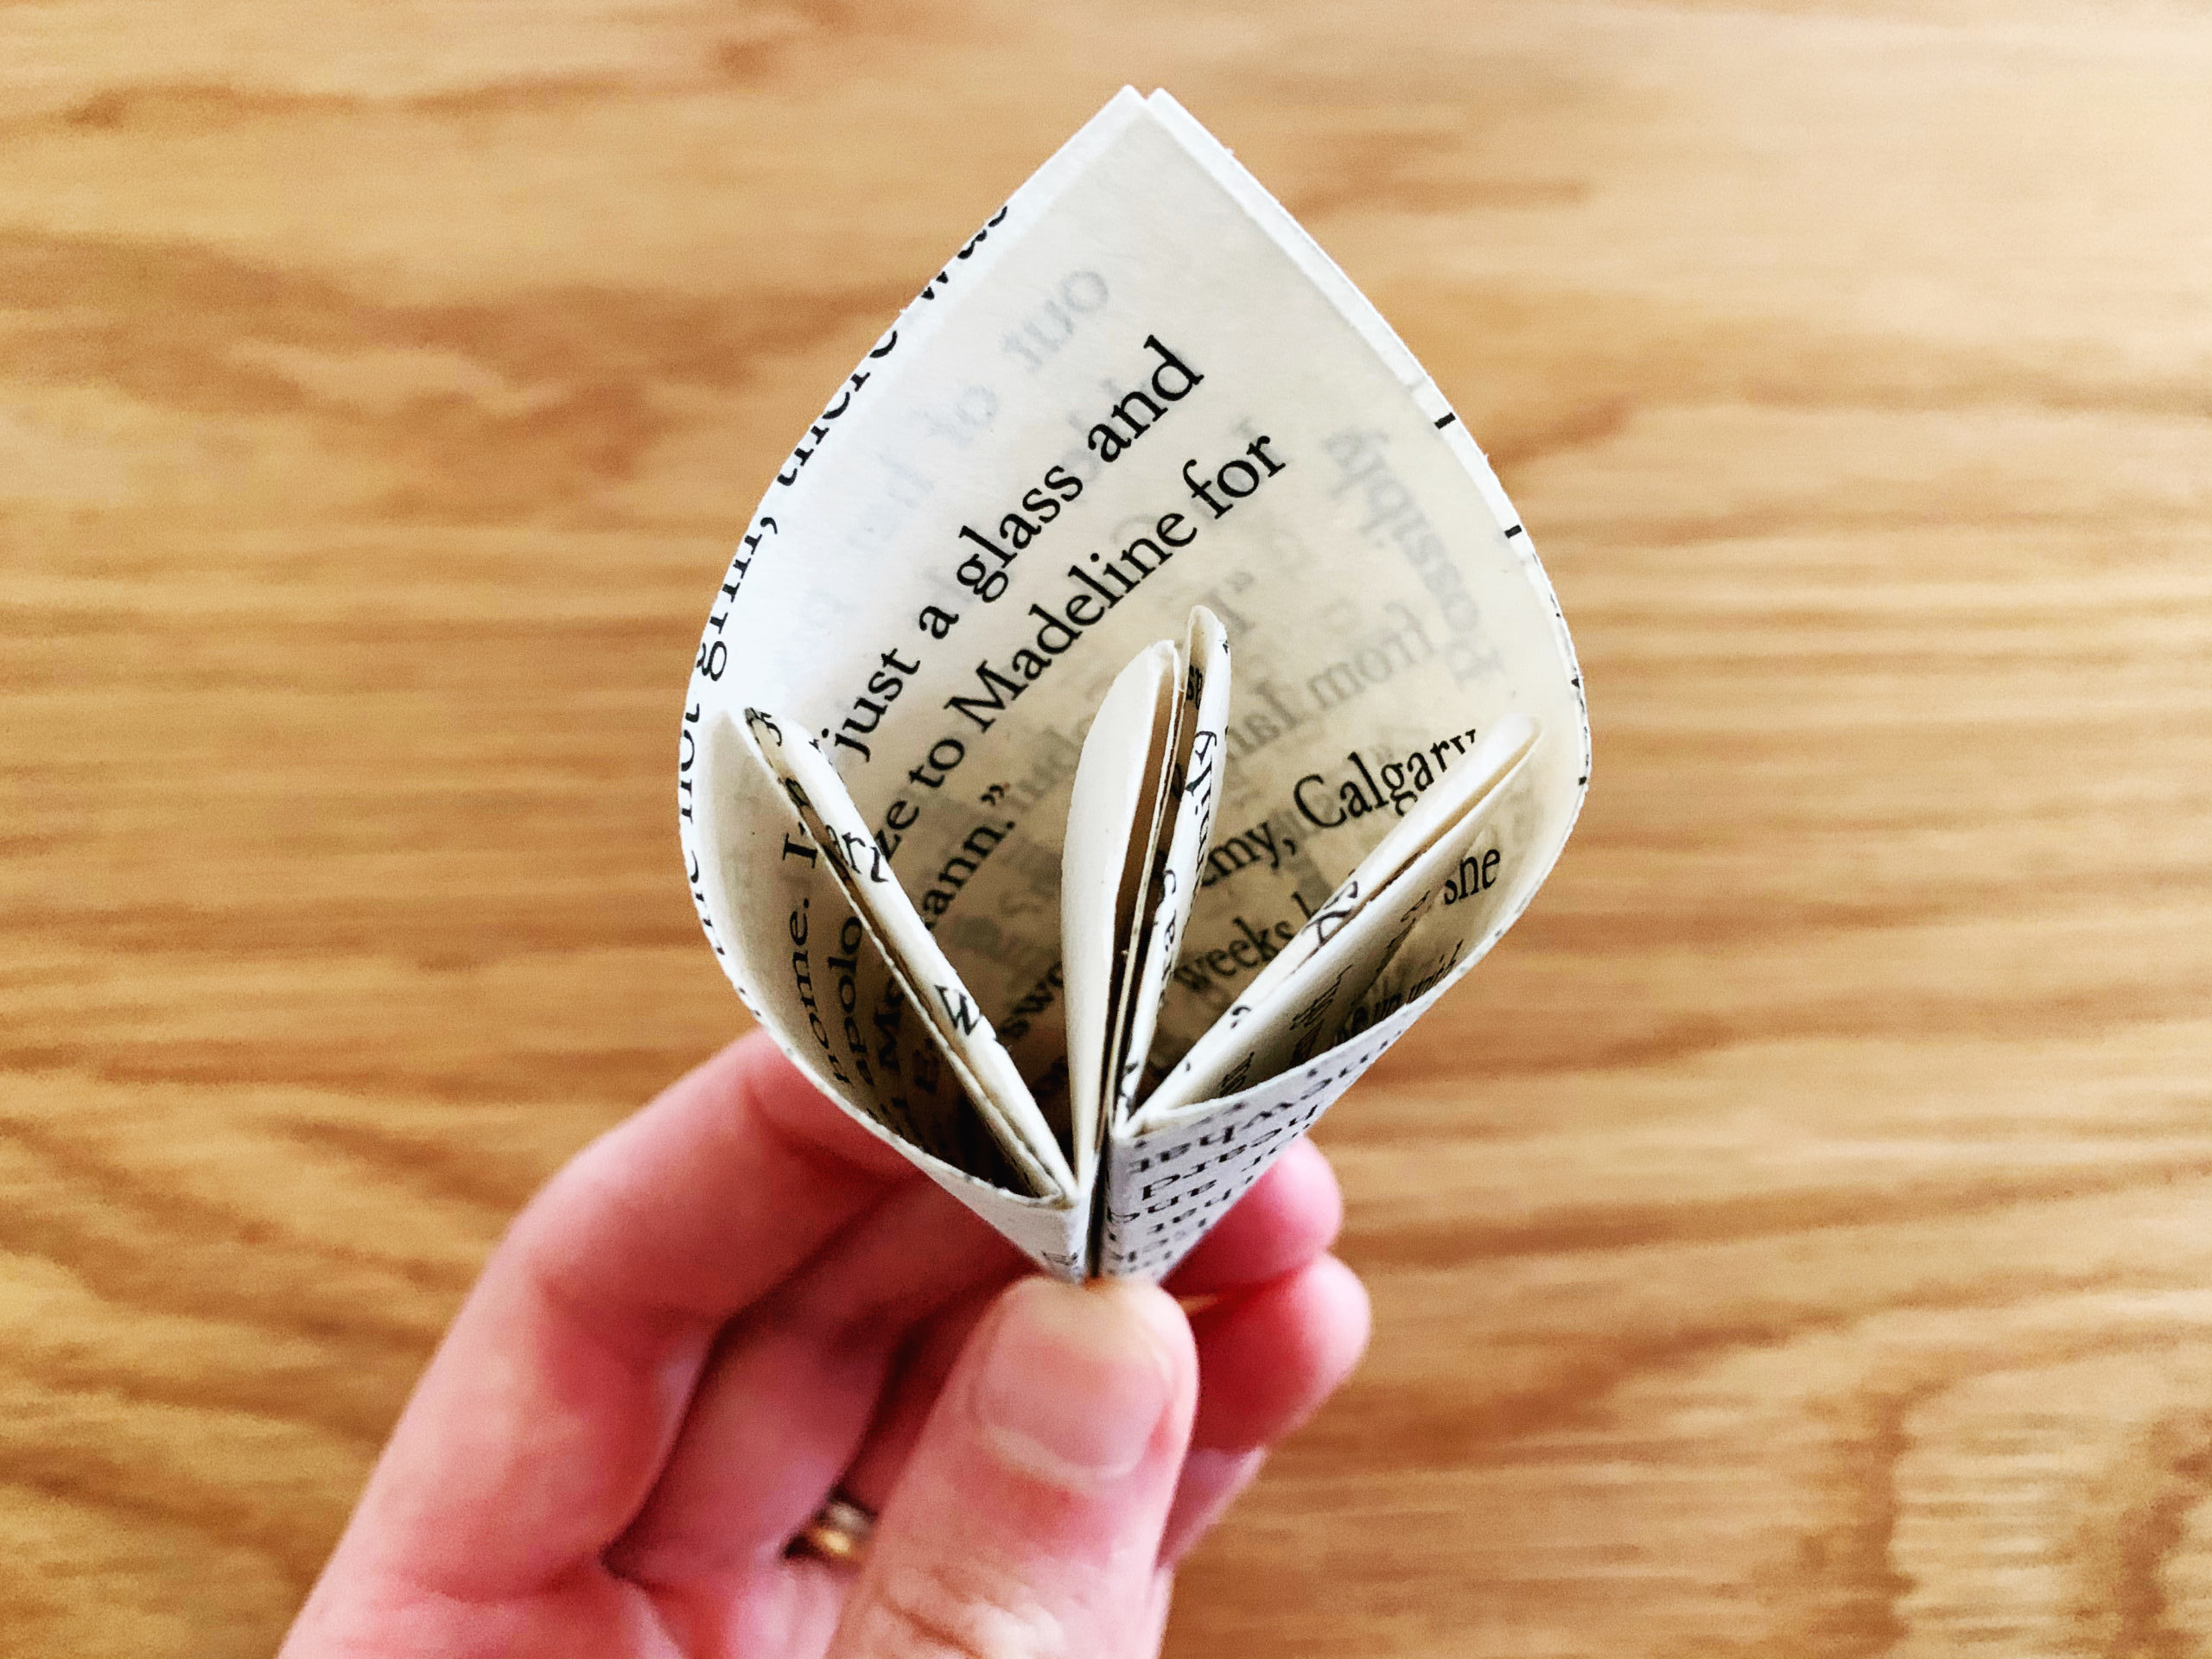
Step Thirteen: Repeat steps 1-12 until you have your five petals. Once you get the hang of it, these petals are super easy to make, I promise!
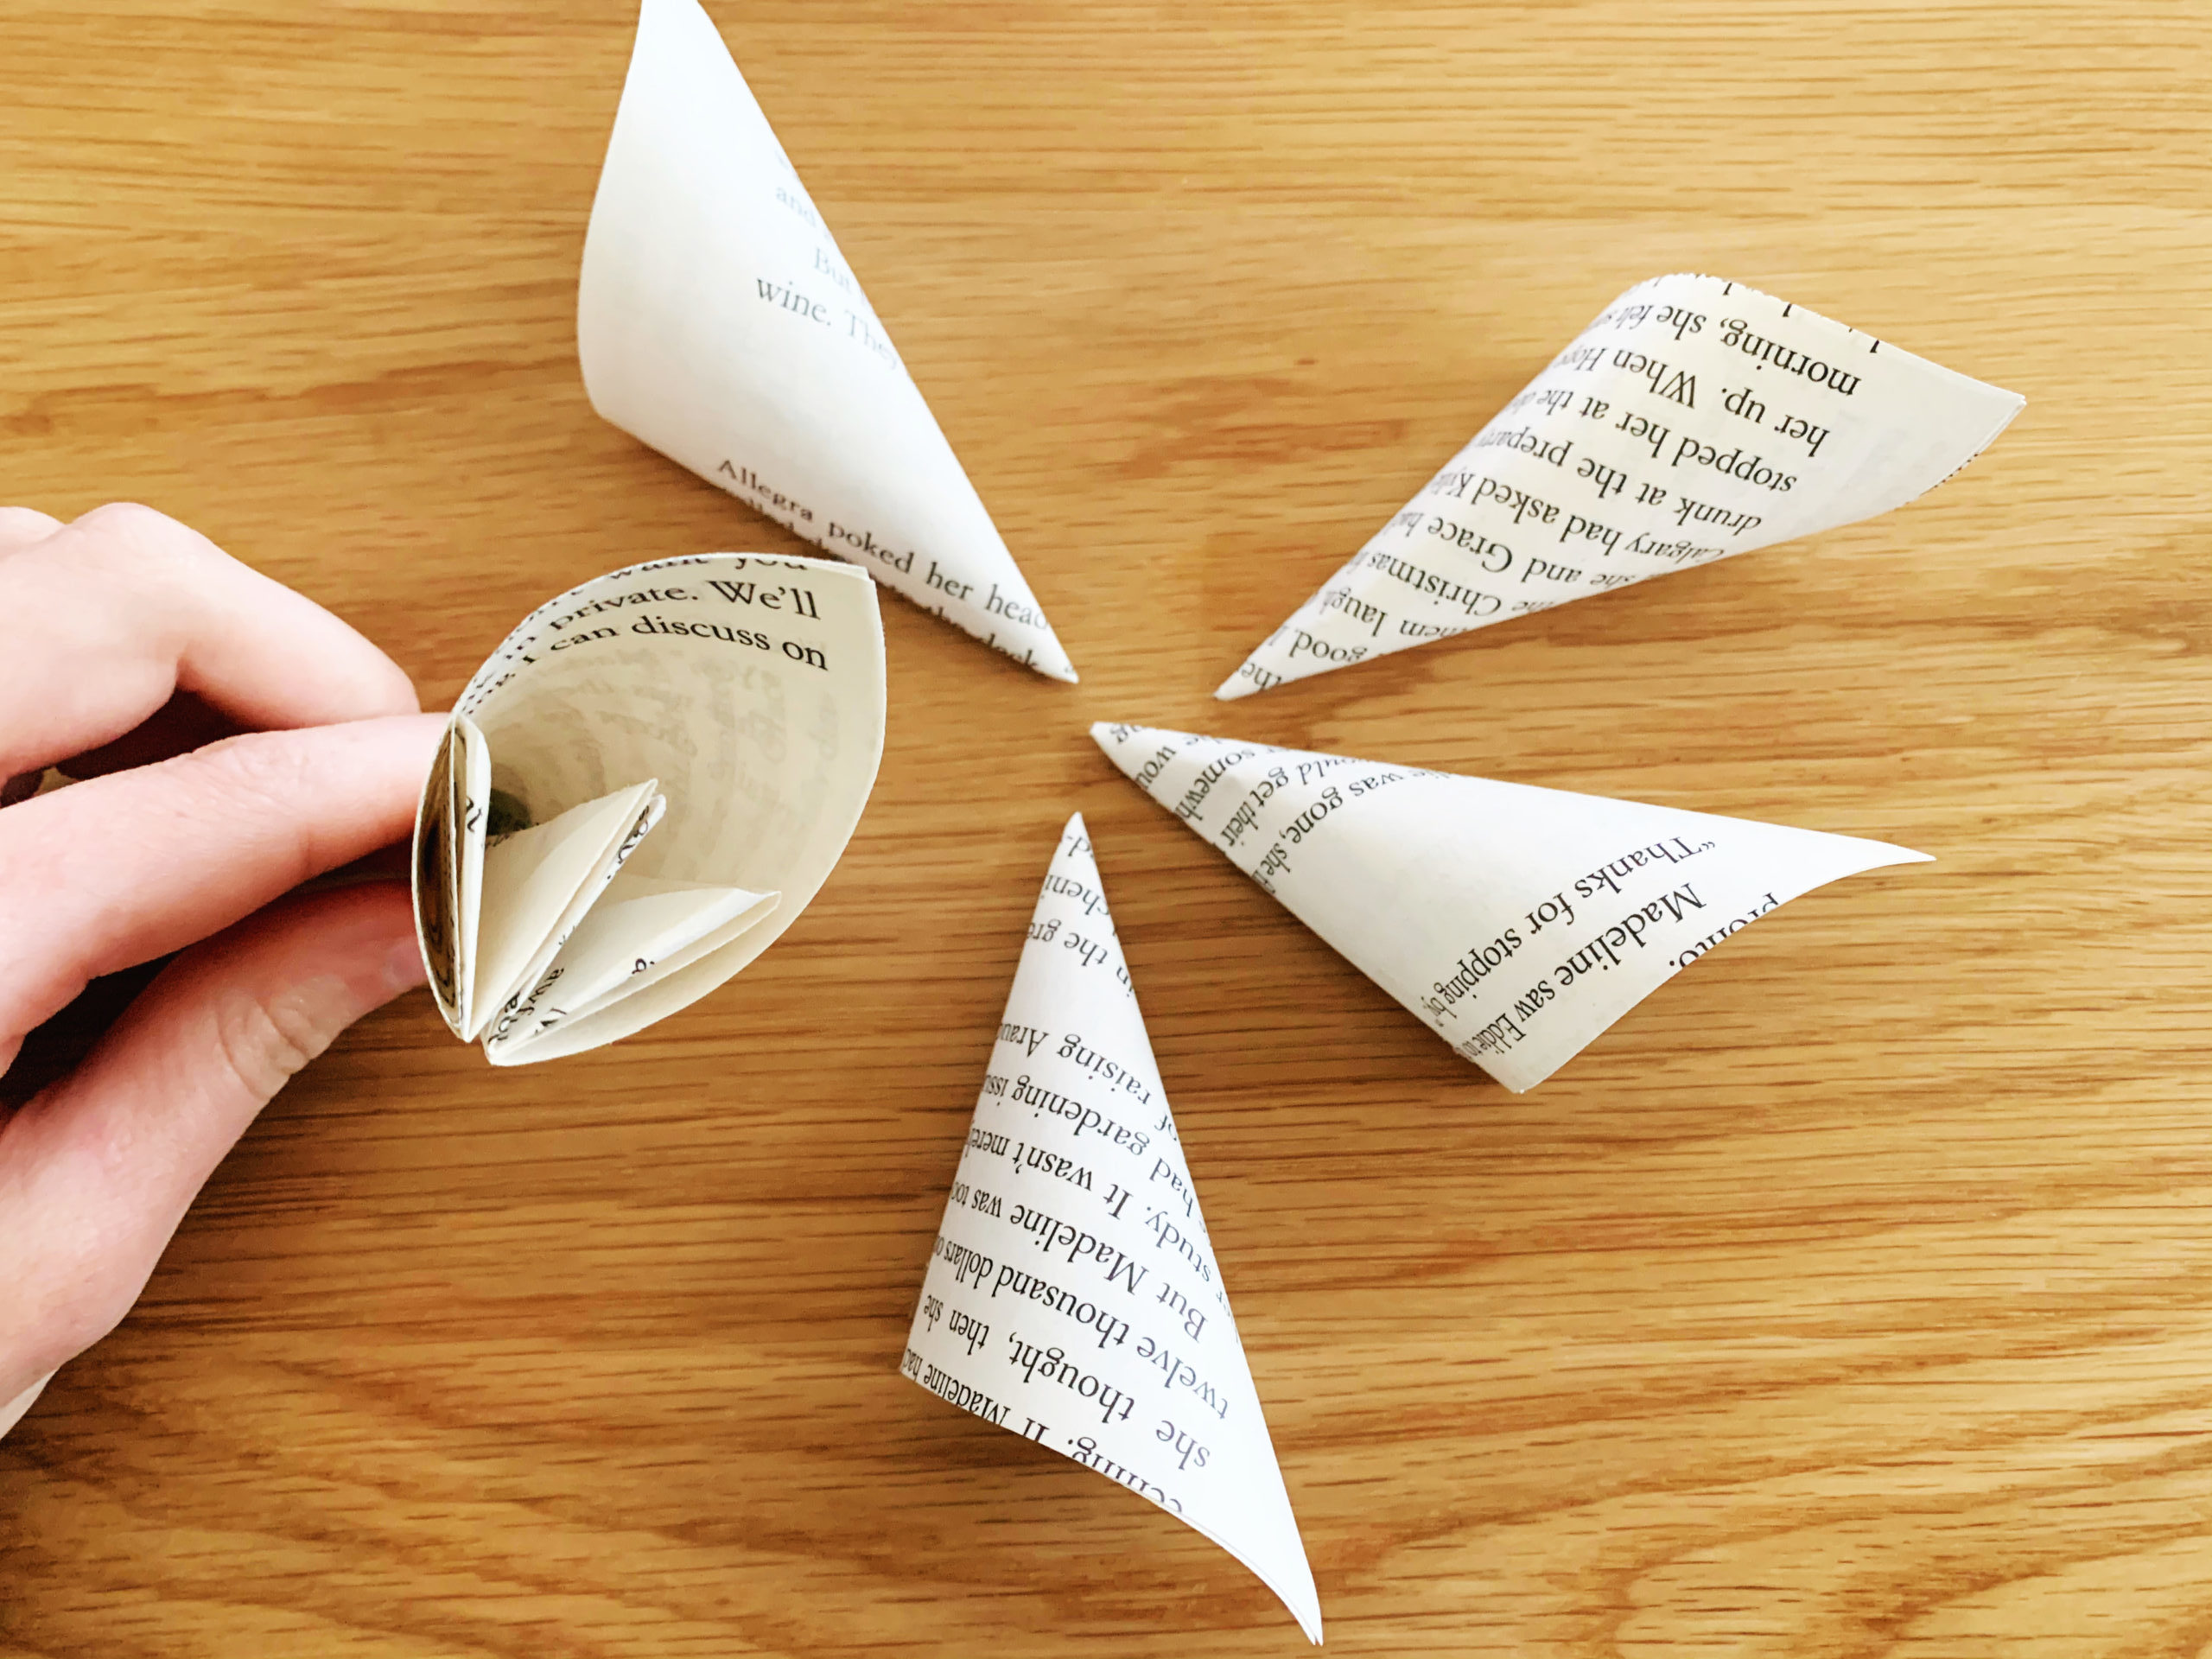
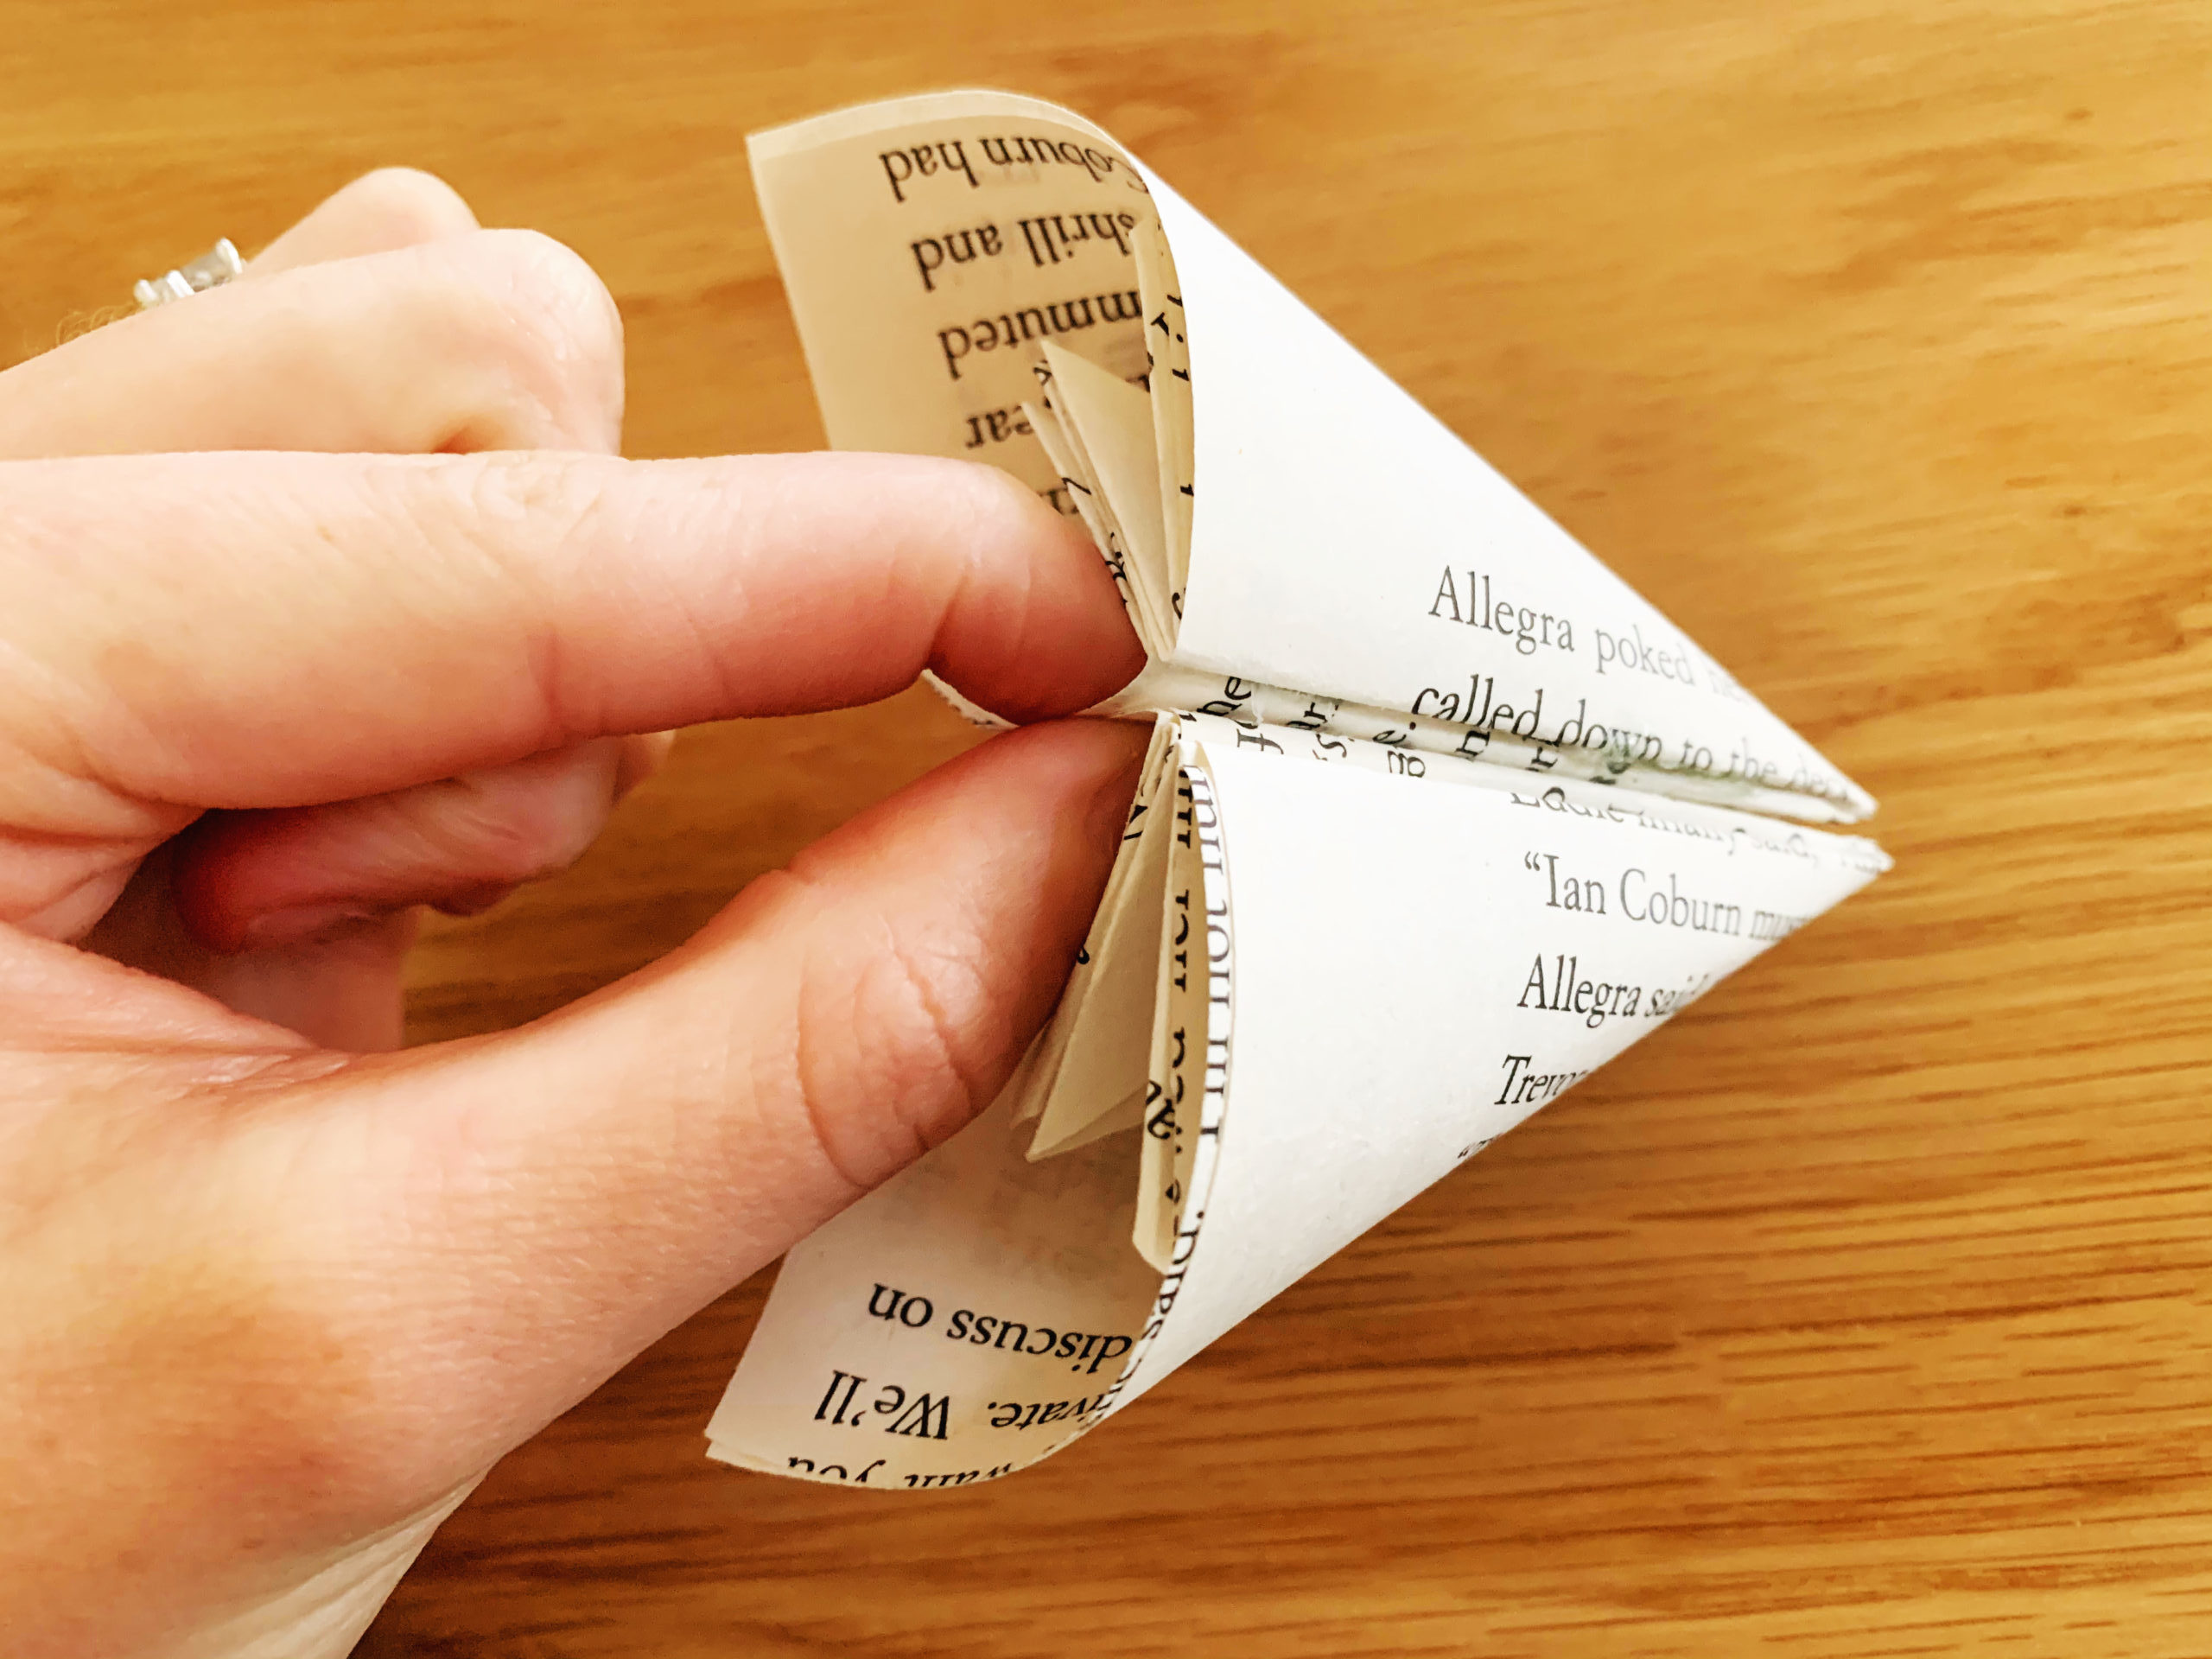
Step Fourteen: Now that you have your five petals, it’s time to glue them together to make your flower. Start with 2 petals and glue the edges together. Once that glue dries, add another bit of glue to the edge and add on the next petal. Just keep adding all your petals in this pattern and you will be holding a full flower before you know it.
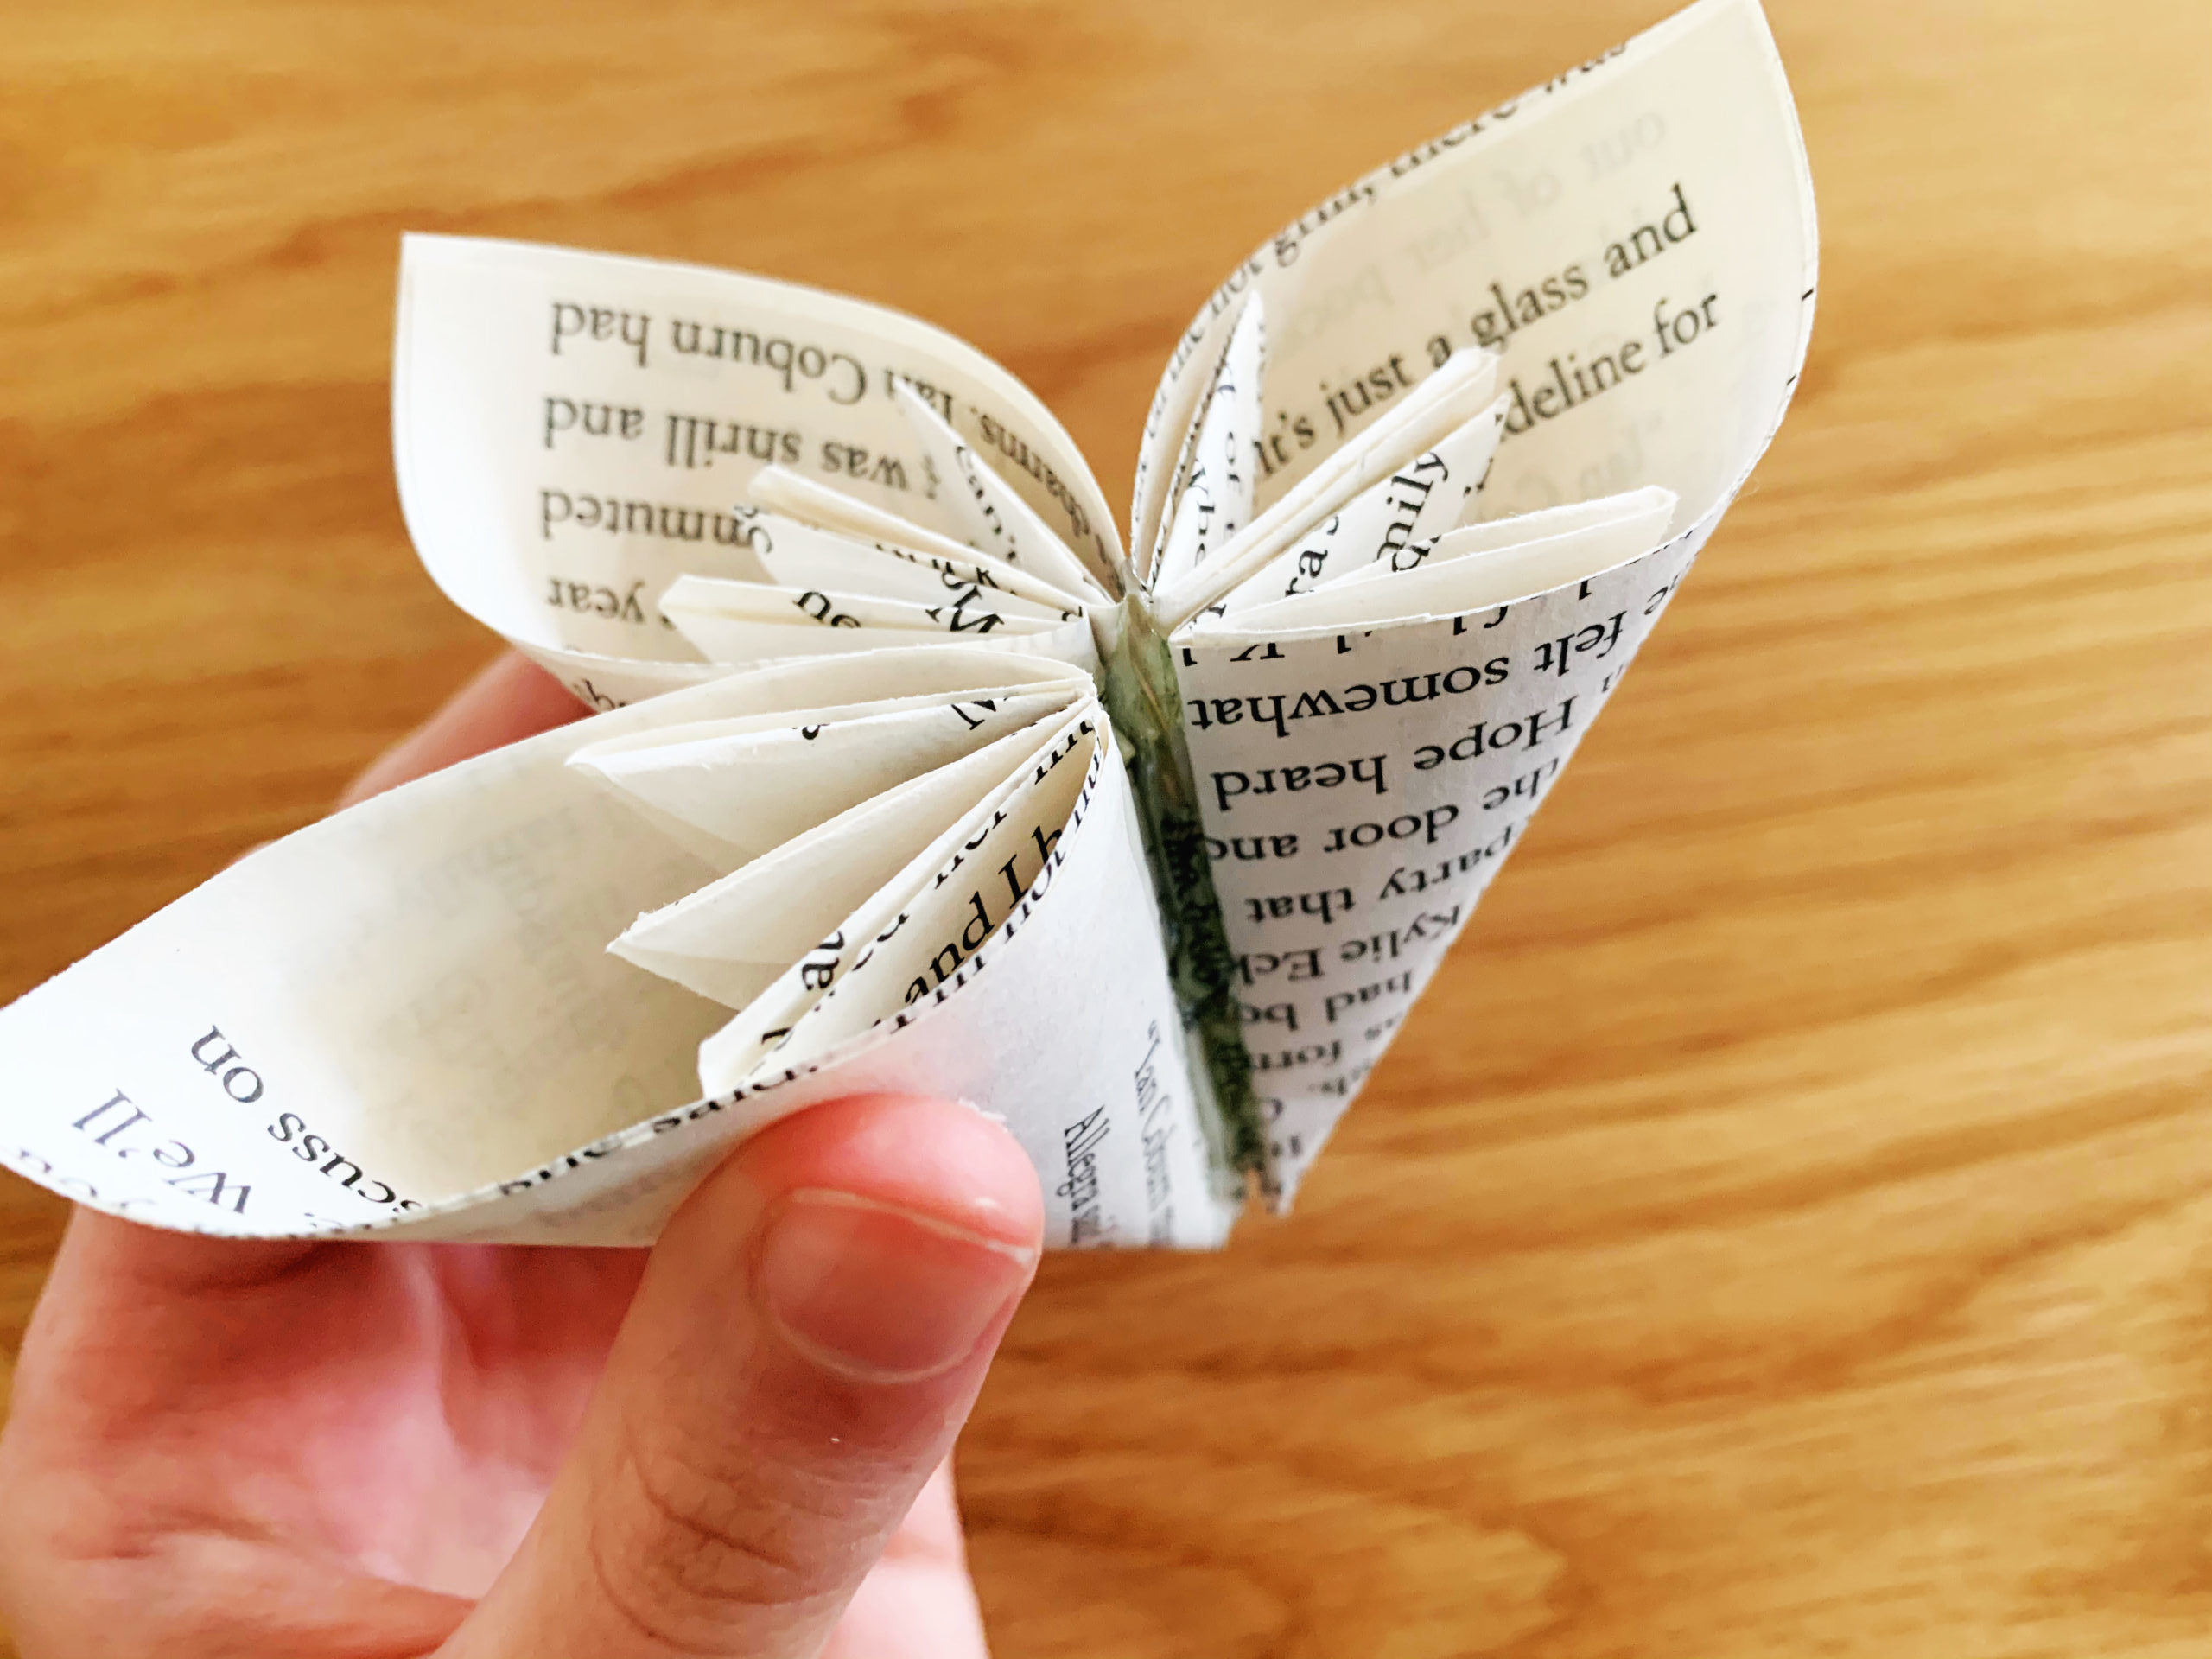
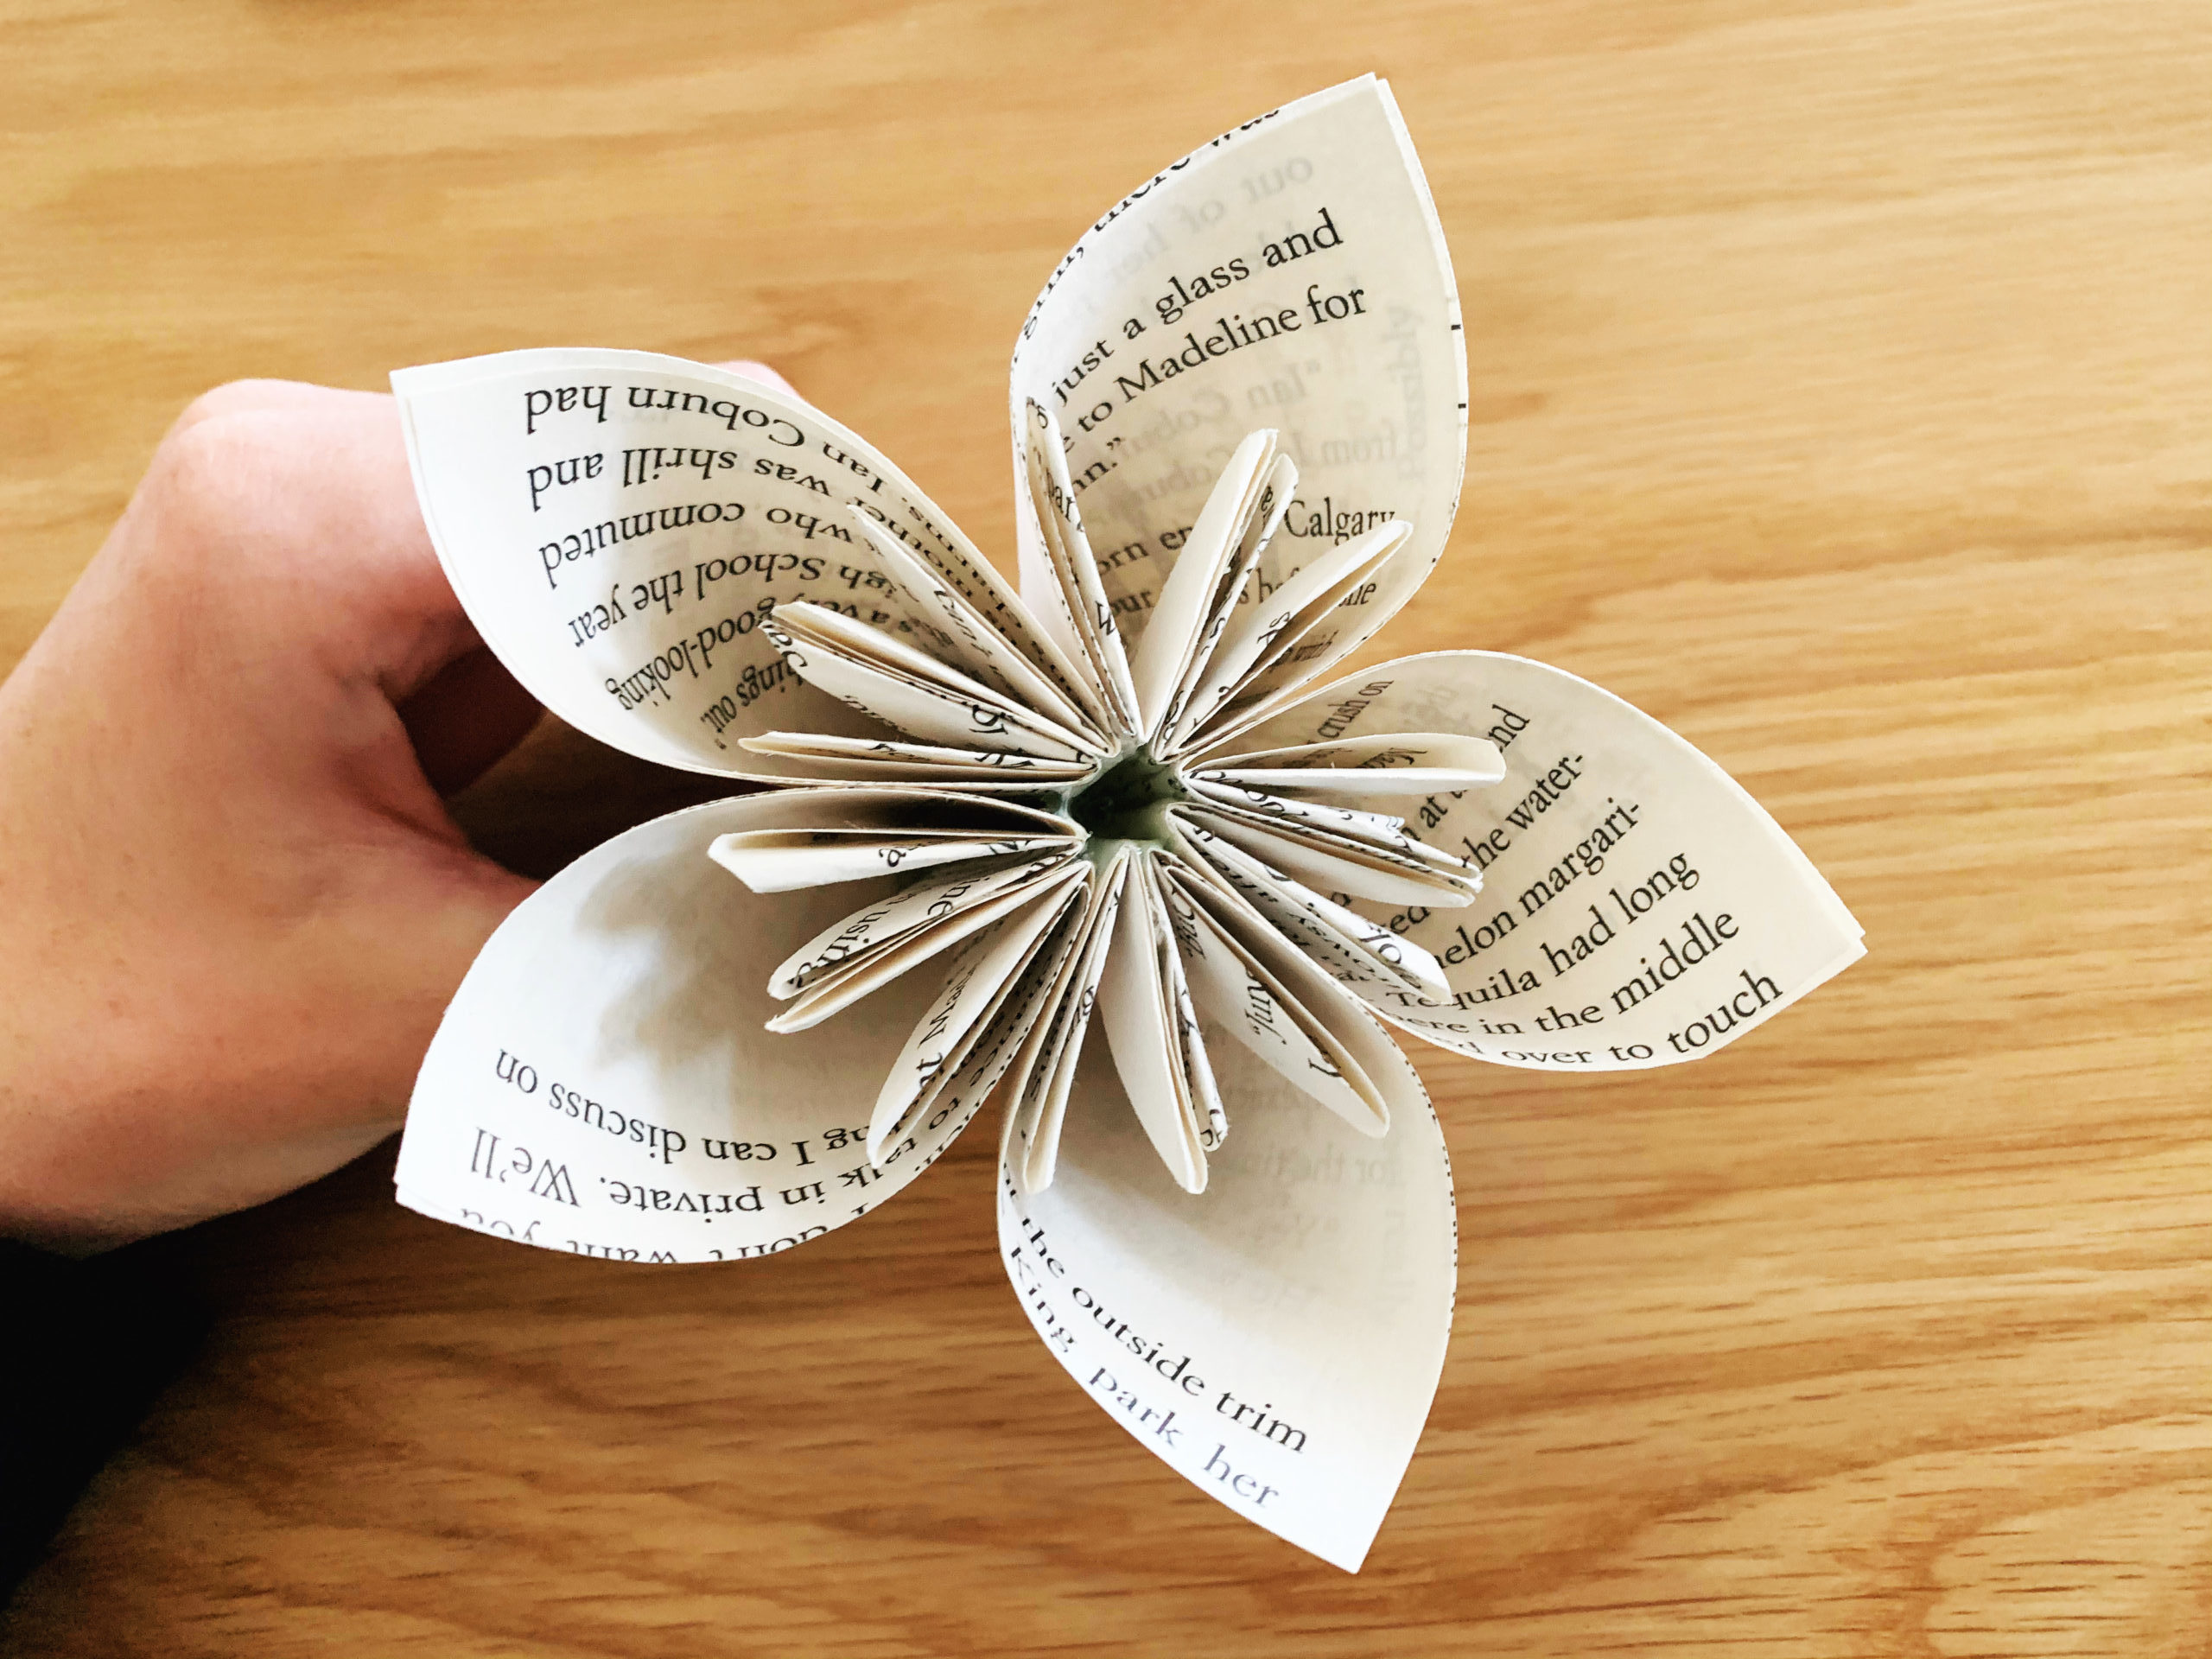
And you’re done! I chose to arrange the three flowers I made in a bowl, but there are so many different ways you can display these blossoms around your home. Let us know how you decide to decorate with them; we’d love to see what you come up with!
