Need to keep kids entertained on the go? This simple DIY activity kit is perfect for road trips or plane trips, for restaurants, or for anywhere kids need some distraction while they wait. (Think instant entertainment on the sidelines of big sister’s soccer game or big brother’s cello practice!) Help your child follow this simple tutorial to make their activity book, and then let them personalize it with their own decorations and favorite activities. Or stuff it for them as a fun surprise to have in your bag of tricks!
Keep your child’s activity book stocked with crayons or markers, stickers, and index cards (or paper cut to the book’s size), so they always have entertainment at hand. You can also create mini worksheets for some extra fun and even some early literacy and math learning. For example, draw an alpha-bingo game board on one of your index cards to include in the kit. You could also make some of our word-family flowers to keep in a zip-close bag or envelope in the kit. And any coloring image, traceable letters/numbers, etc. that can print on a 3” x 5” piece of paper will also fit in your DIY activity book.
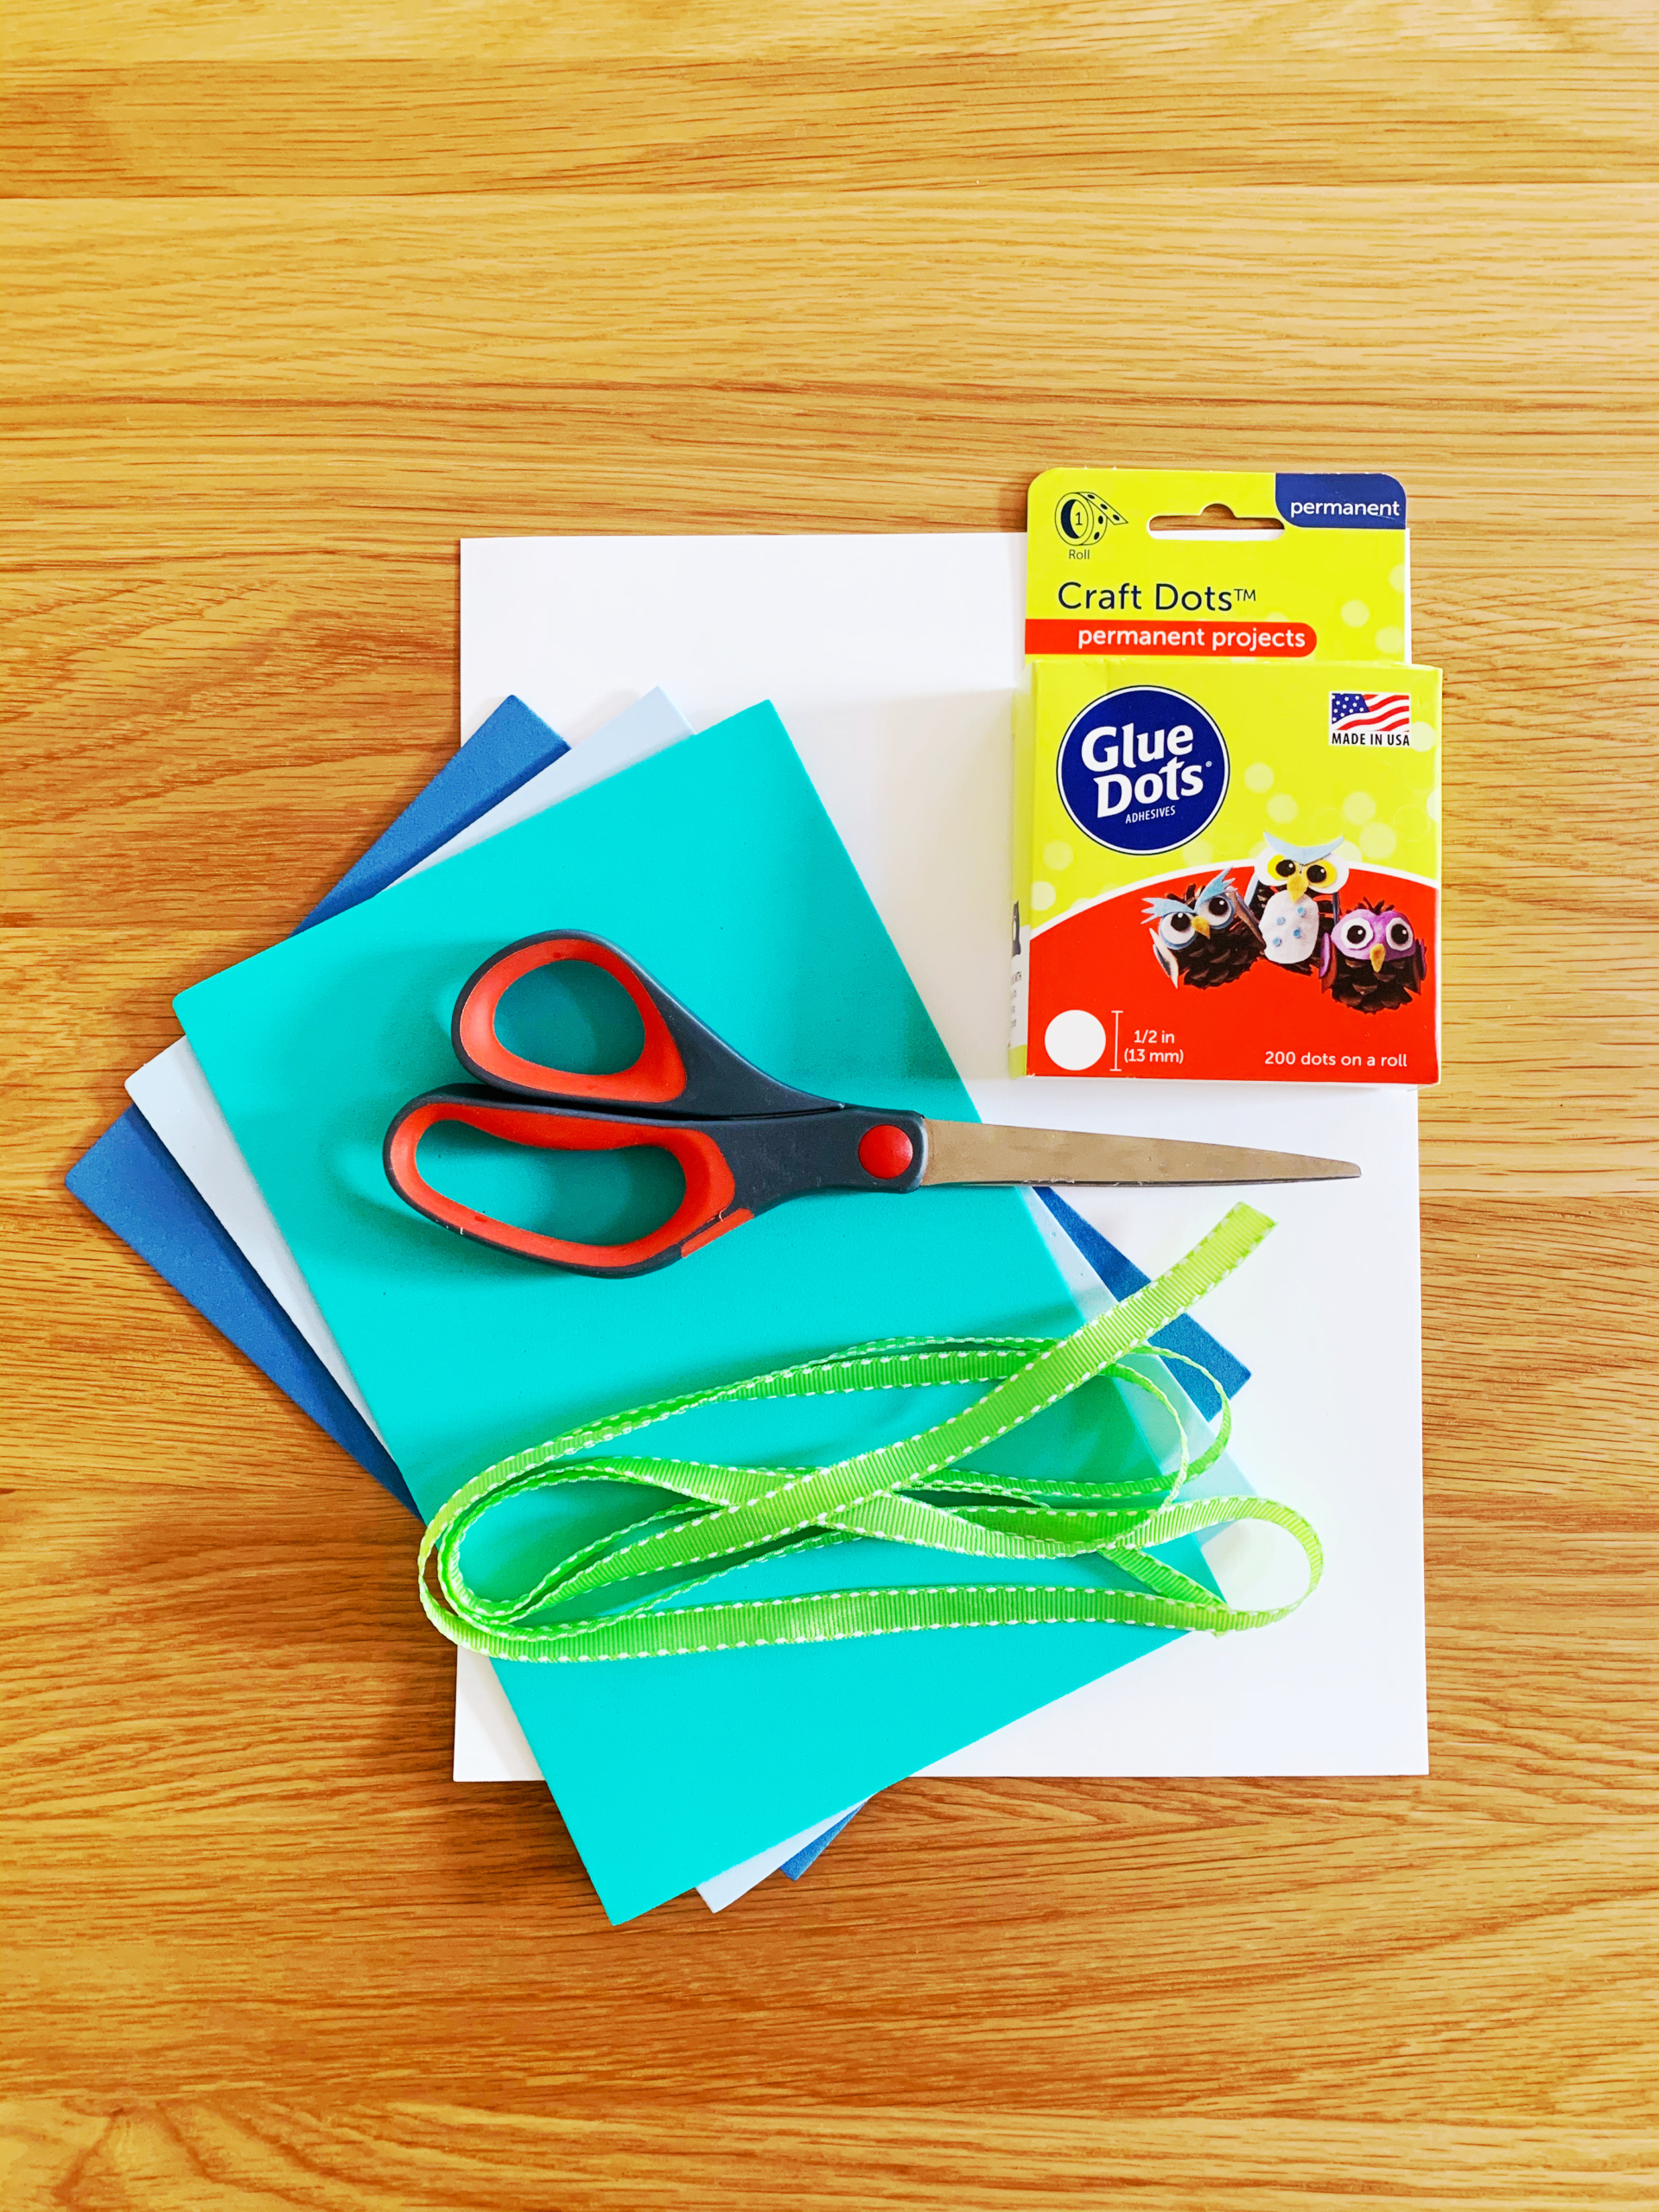
Materials:
- Three pieces of 6” x 9” colored craft foam
- Glue dots
- Scissors
- Ribbon
To fill your activity kit:
- Crayons, markers, pencils, etc.
- 3” x 5” index cards (or cardstock/paper to cut into pieces)
- Stickers, etc.
Cost: The materials you might need to purchase are the craft foam and glue dots. You can find them at a local craft store, or we’ve linked the materials to buy online. Craft foam is a fun addition to your craft closet, so you can’t go wrong with purchasing a multi-color pack (around $10), and glue dots (around $4) are a great way to make a no-mess project, especially for little ones!
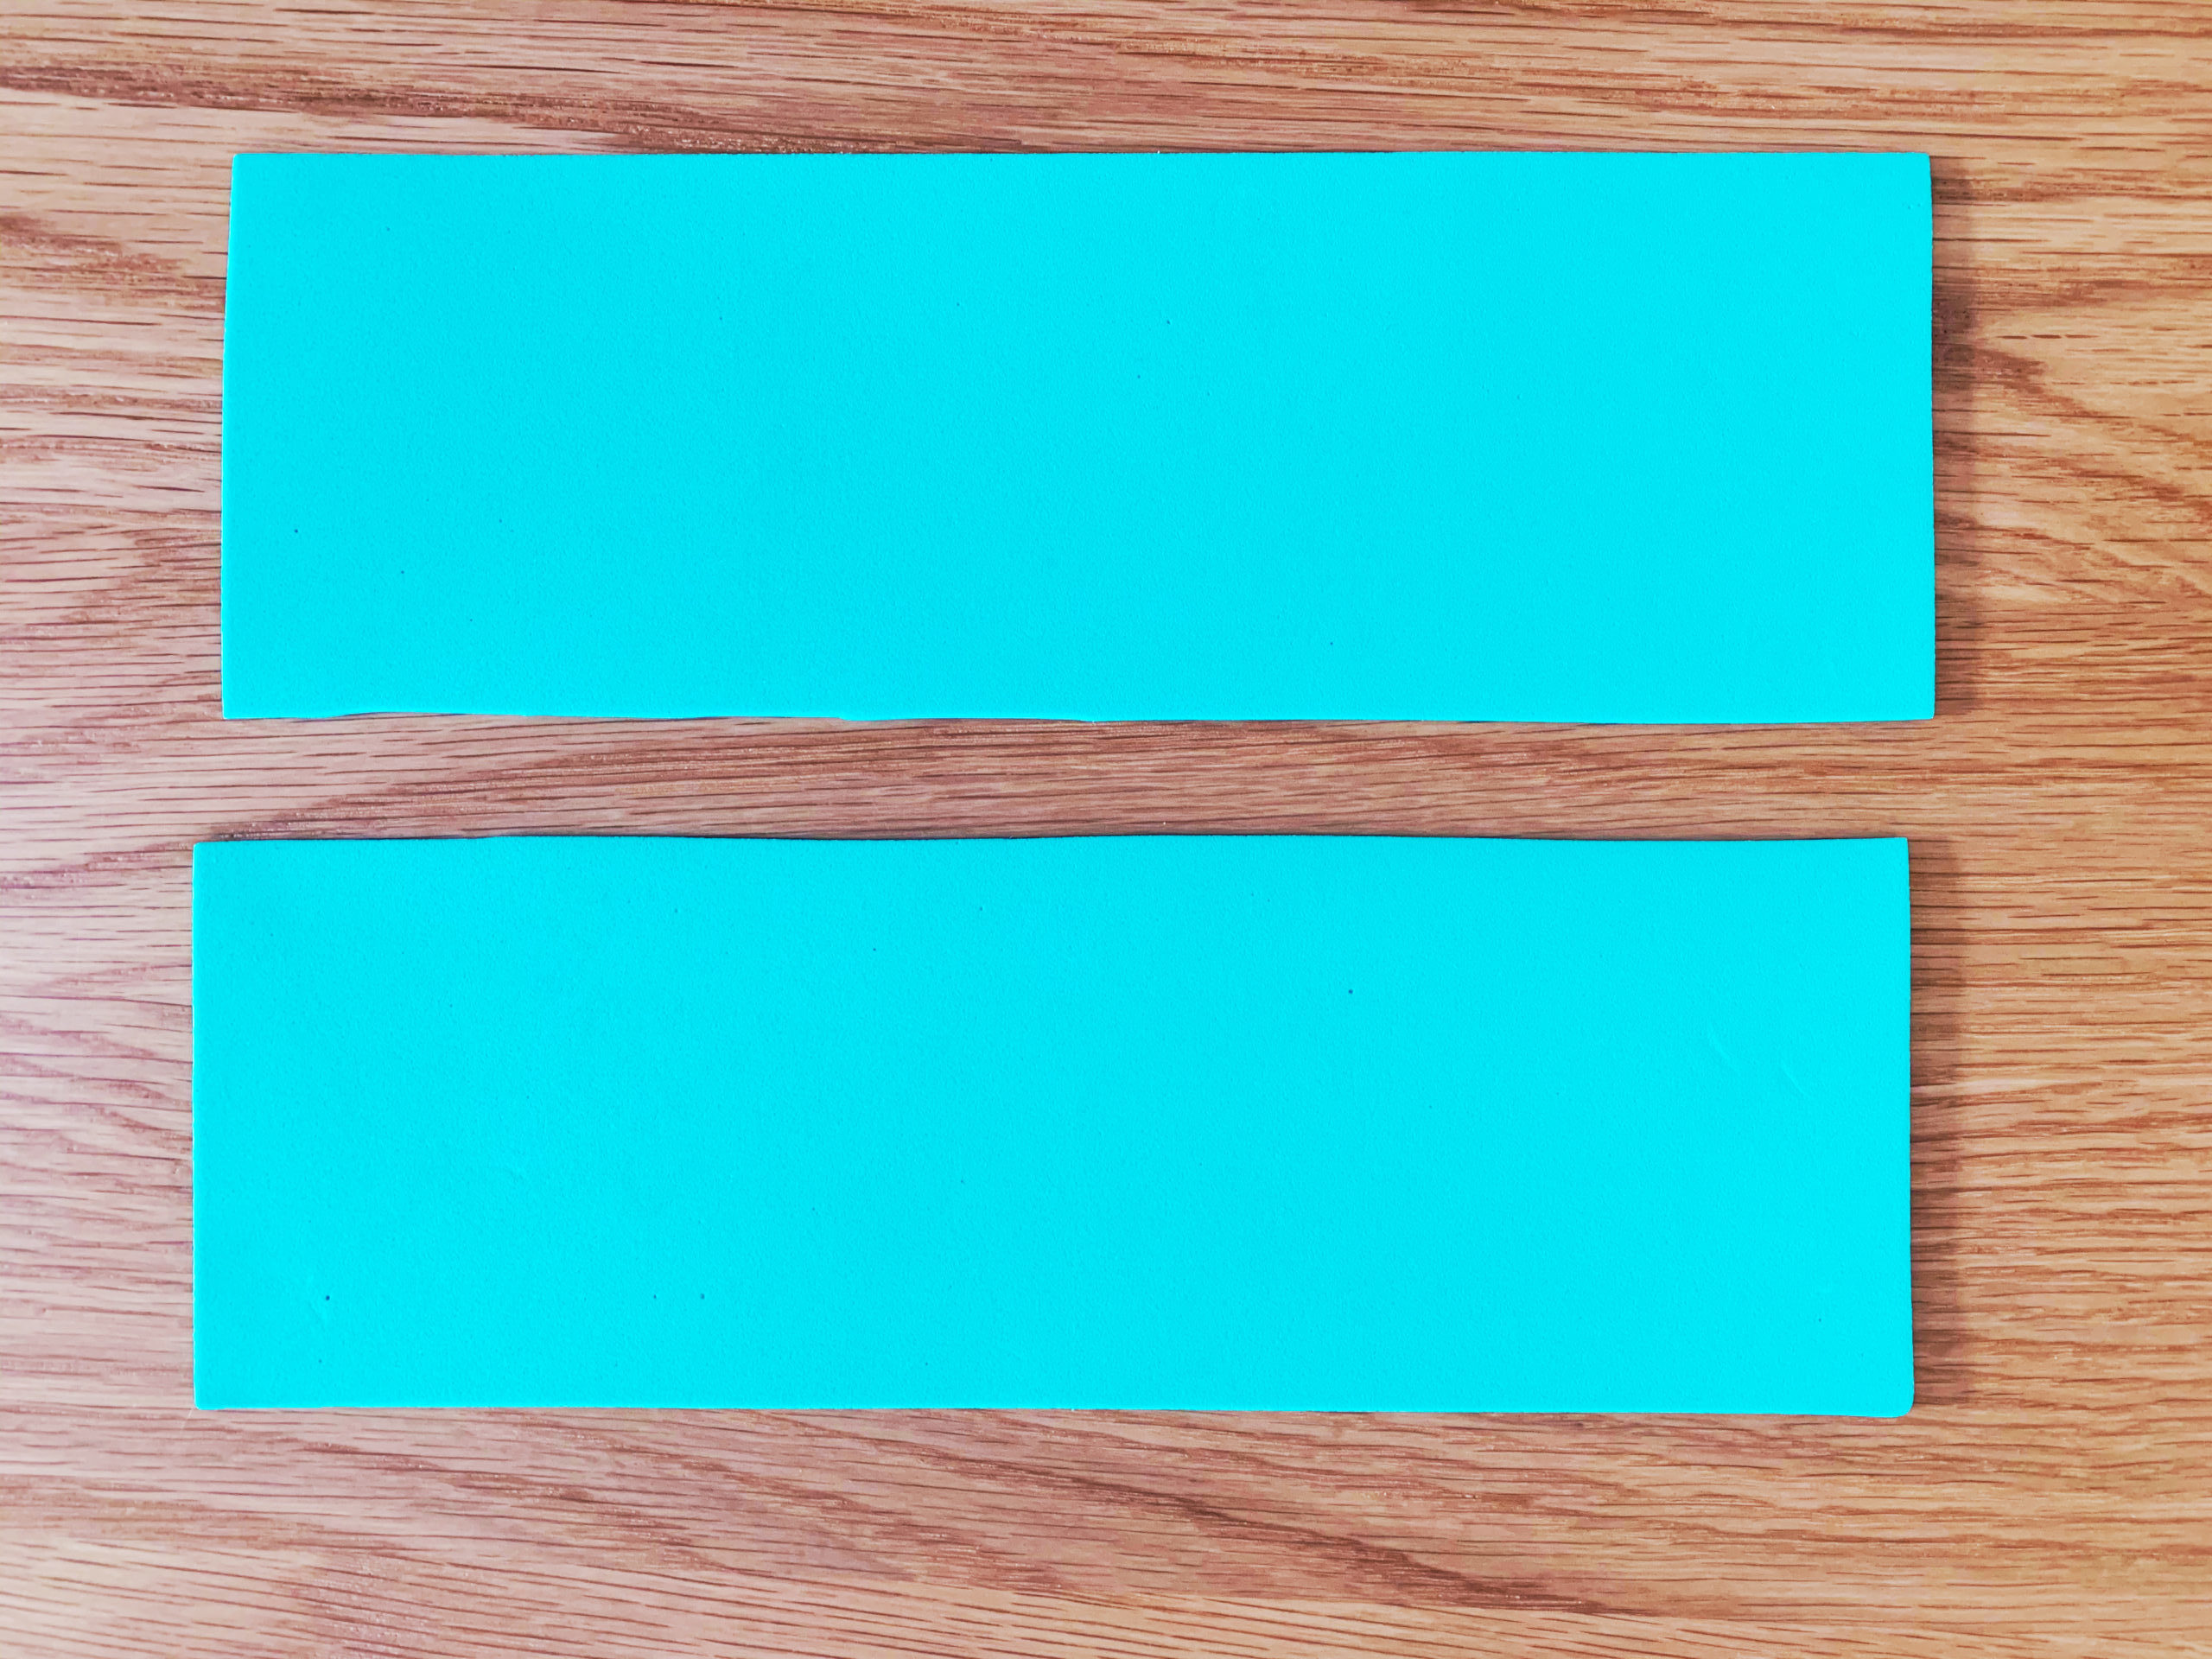
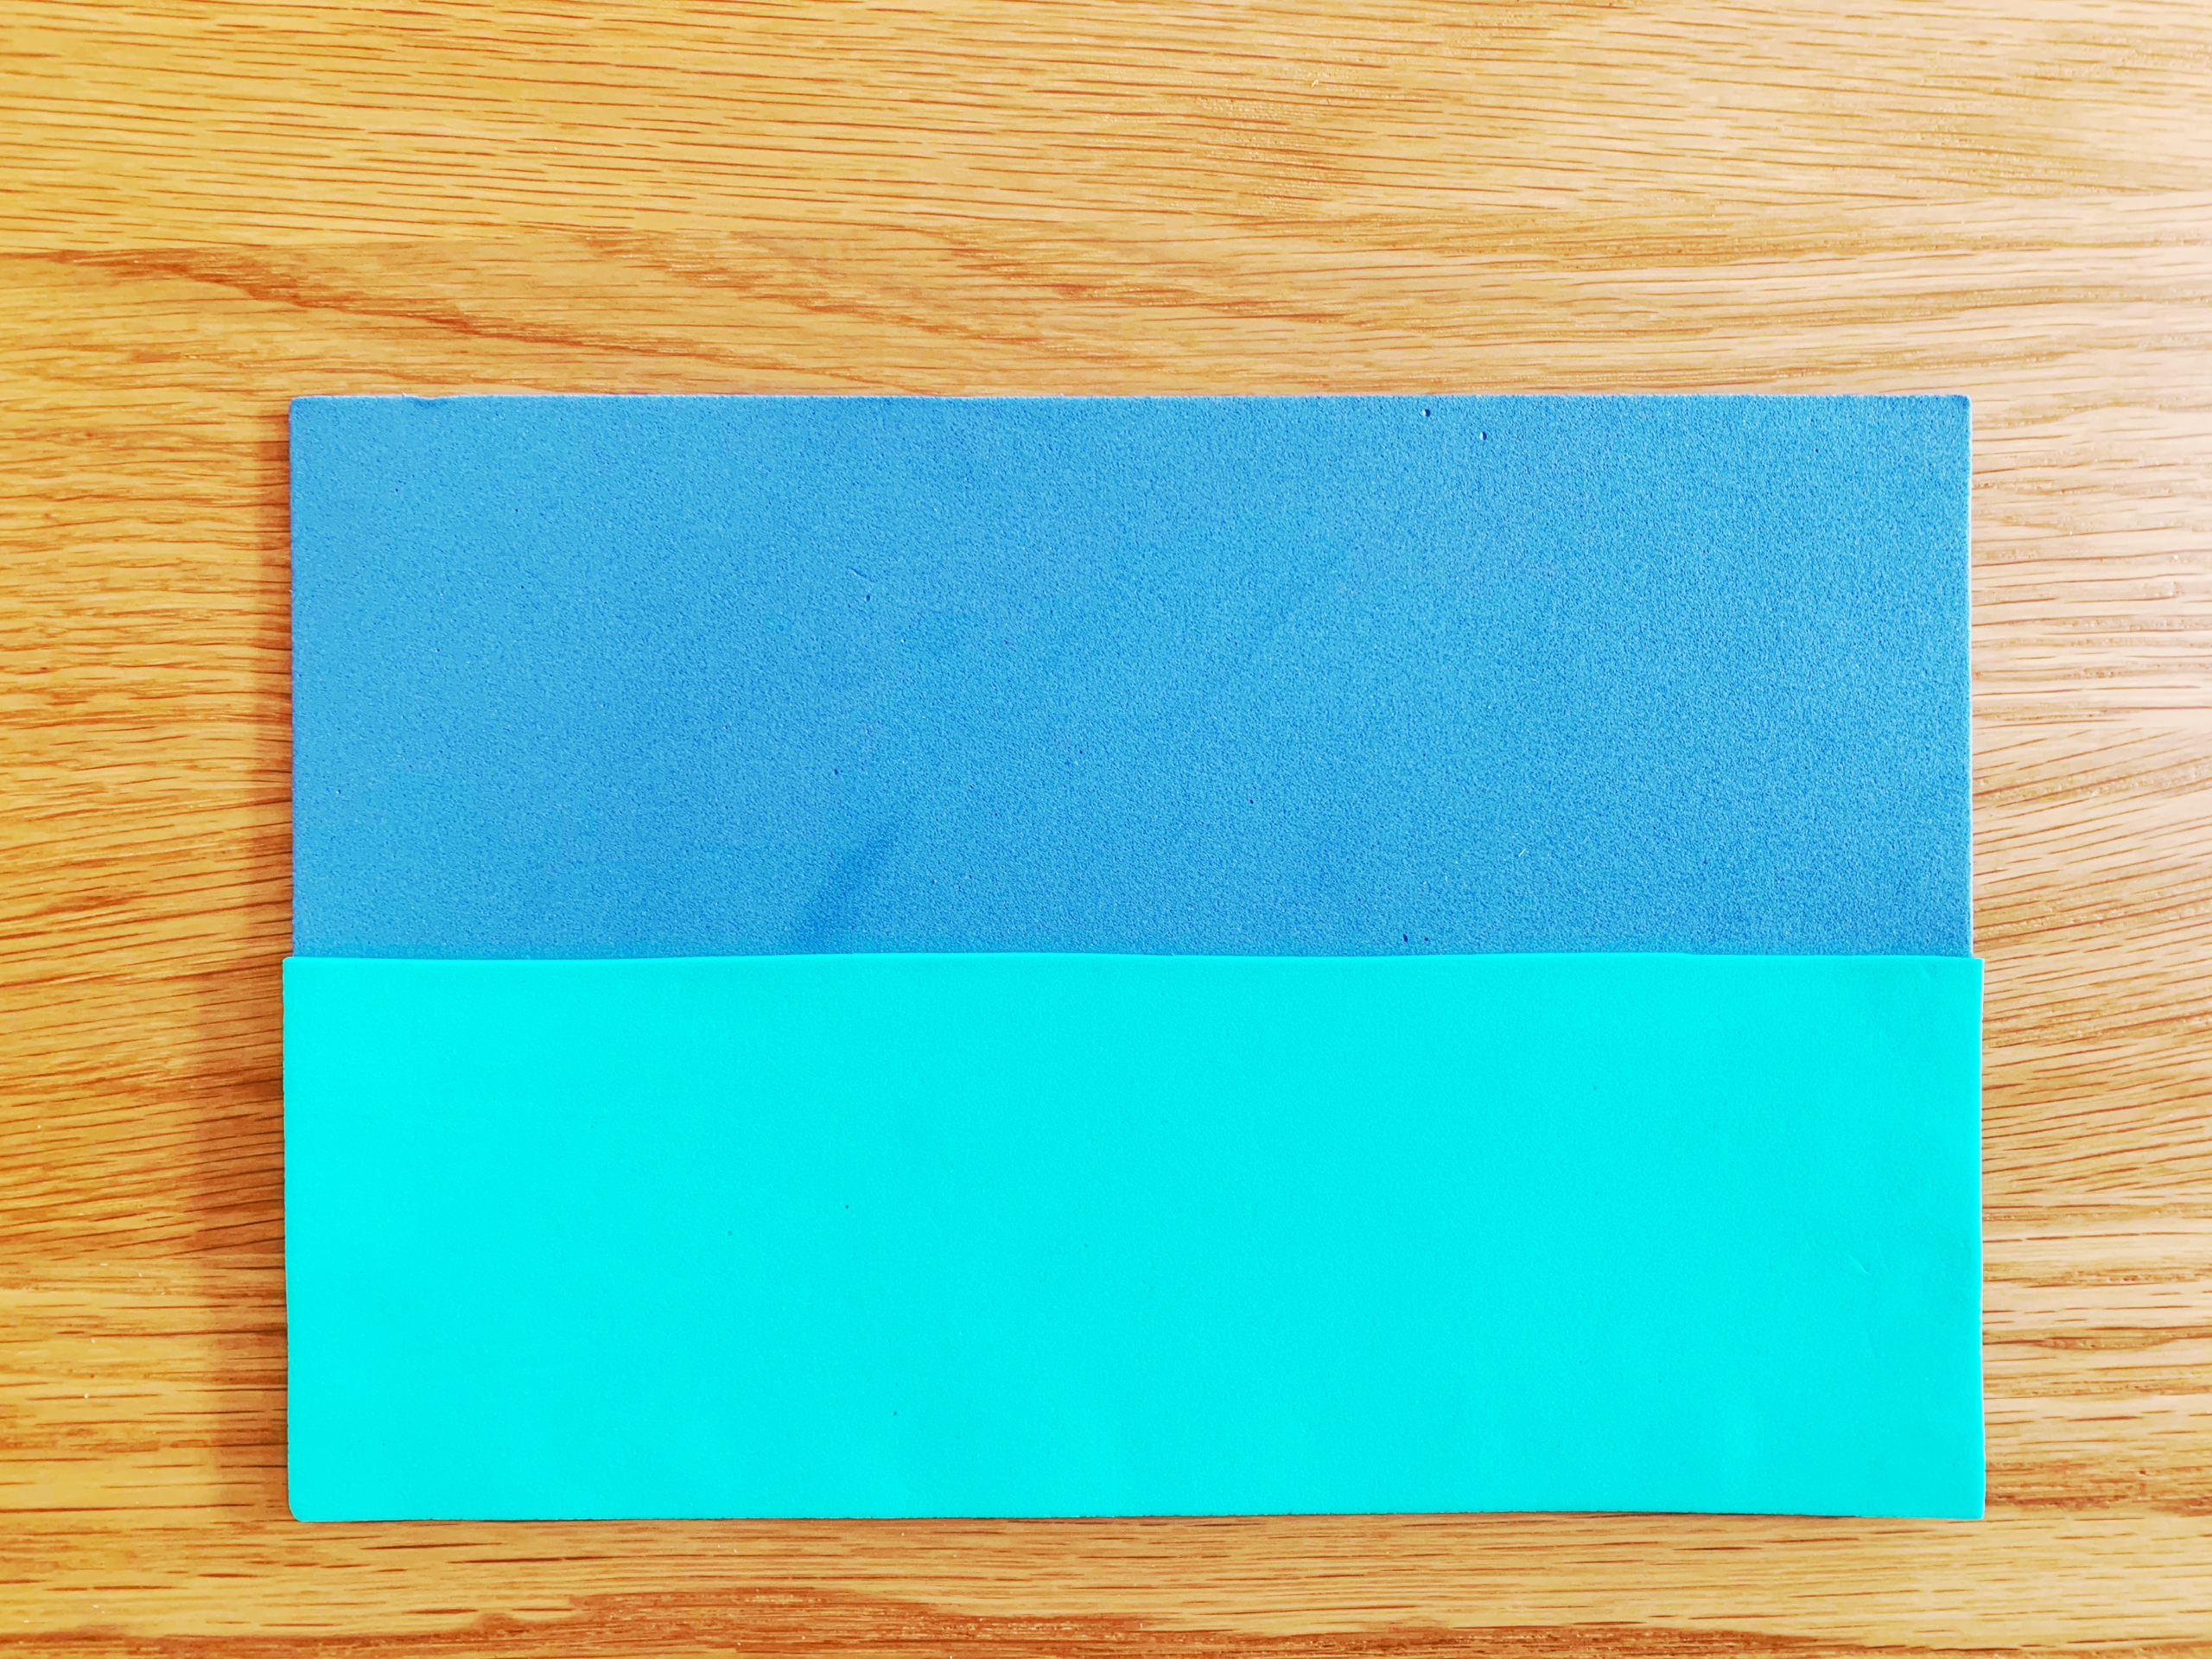
Step 1: Decide which piece of craft foam you’ll use for each part of your book. One will be for the cover, one will be for the inside pockets, and one will be an accent for decorations! Take the craft foam piece that you will use for the inside pocket and cut it in half lengthwise
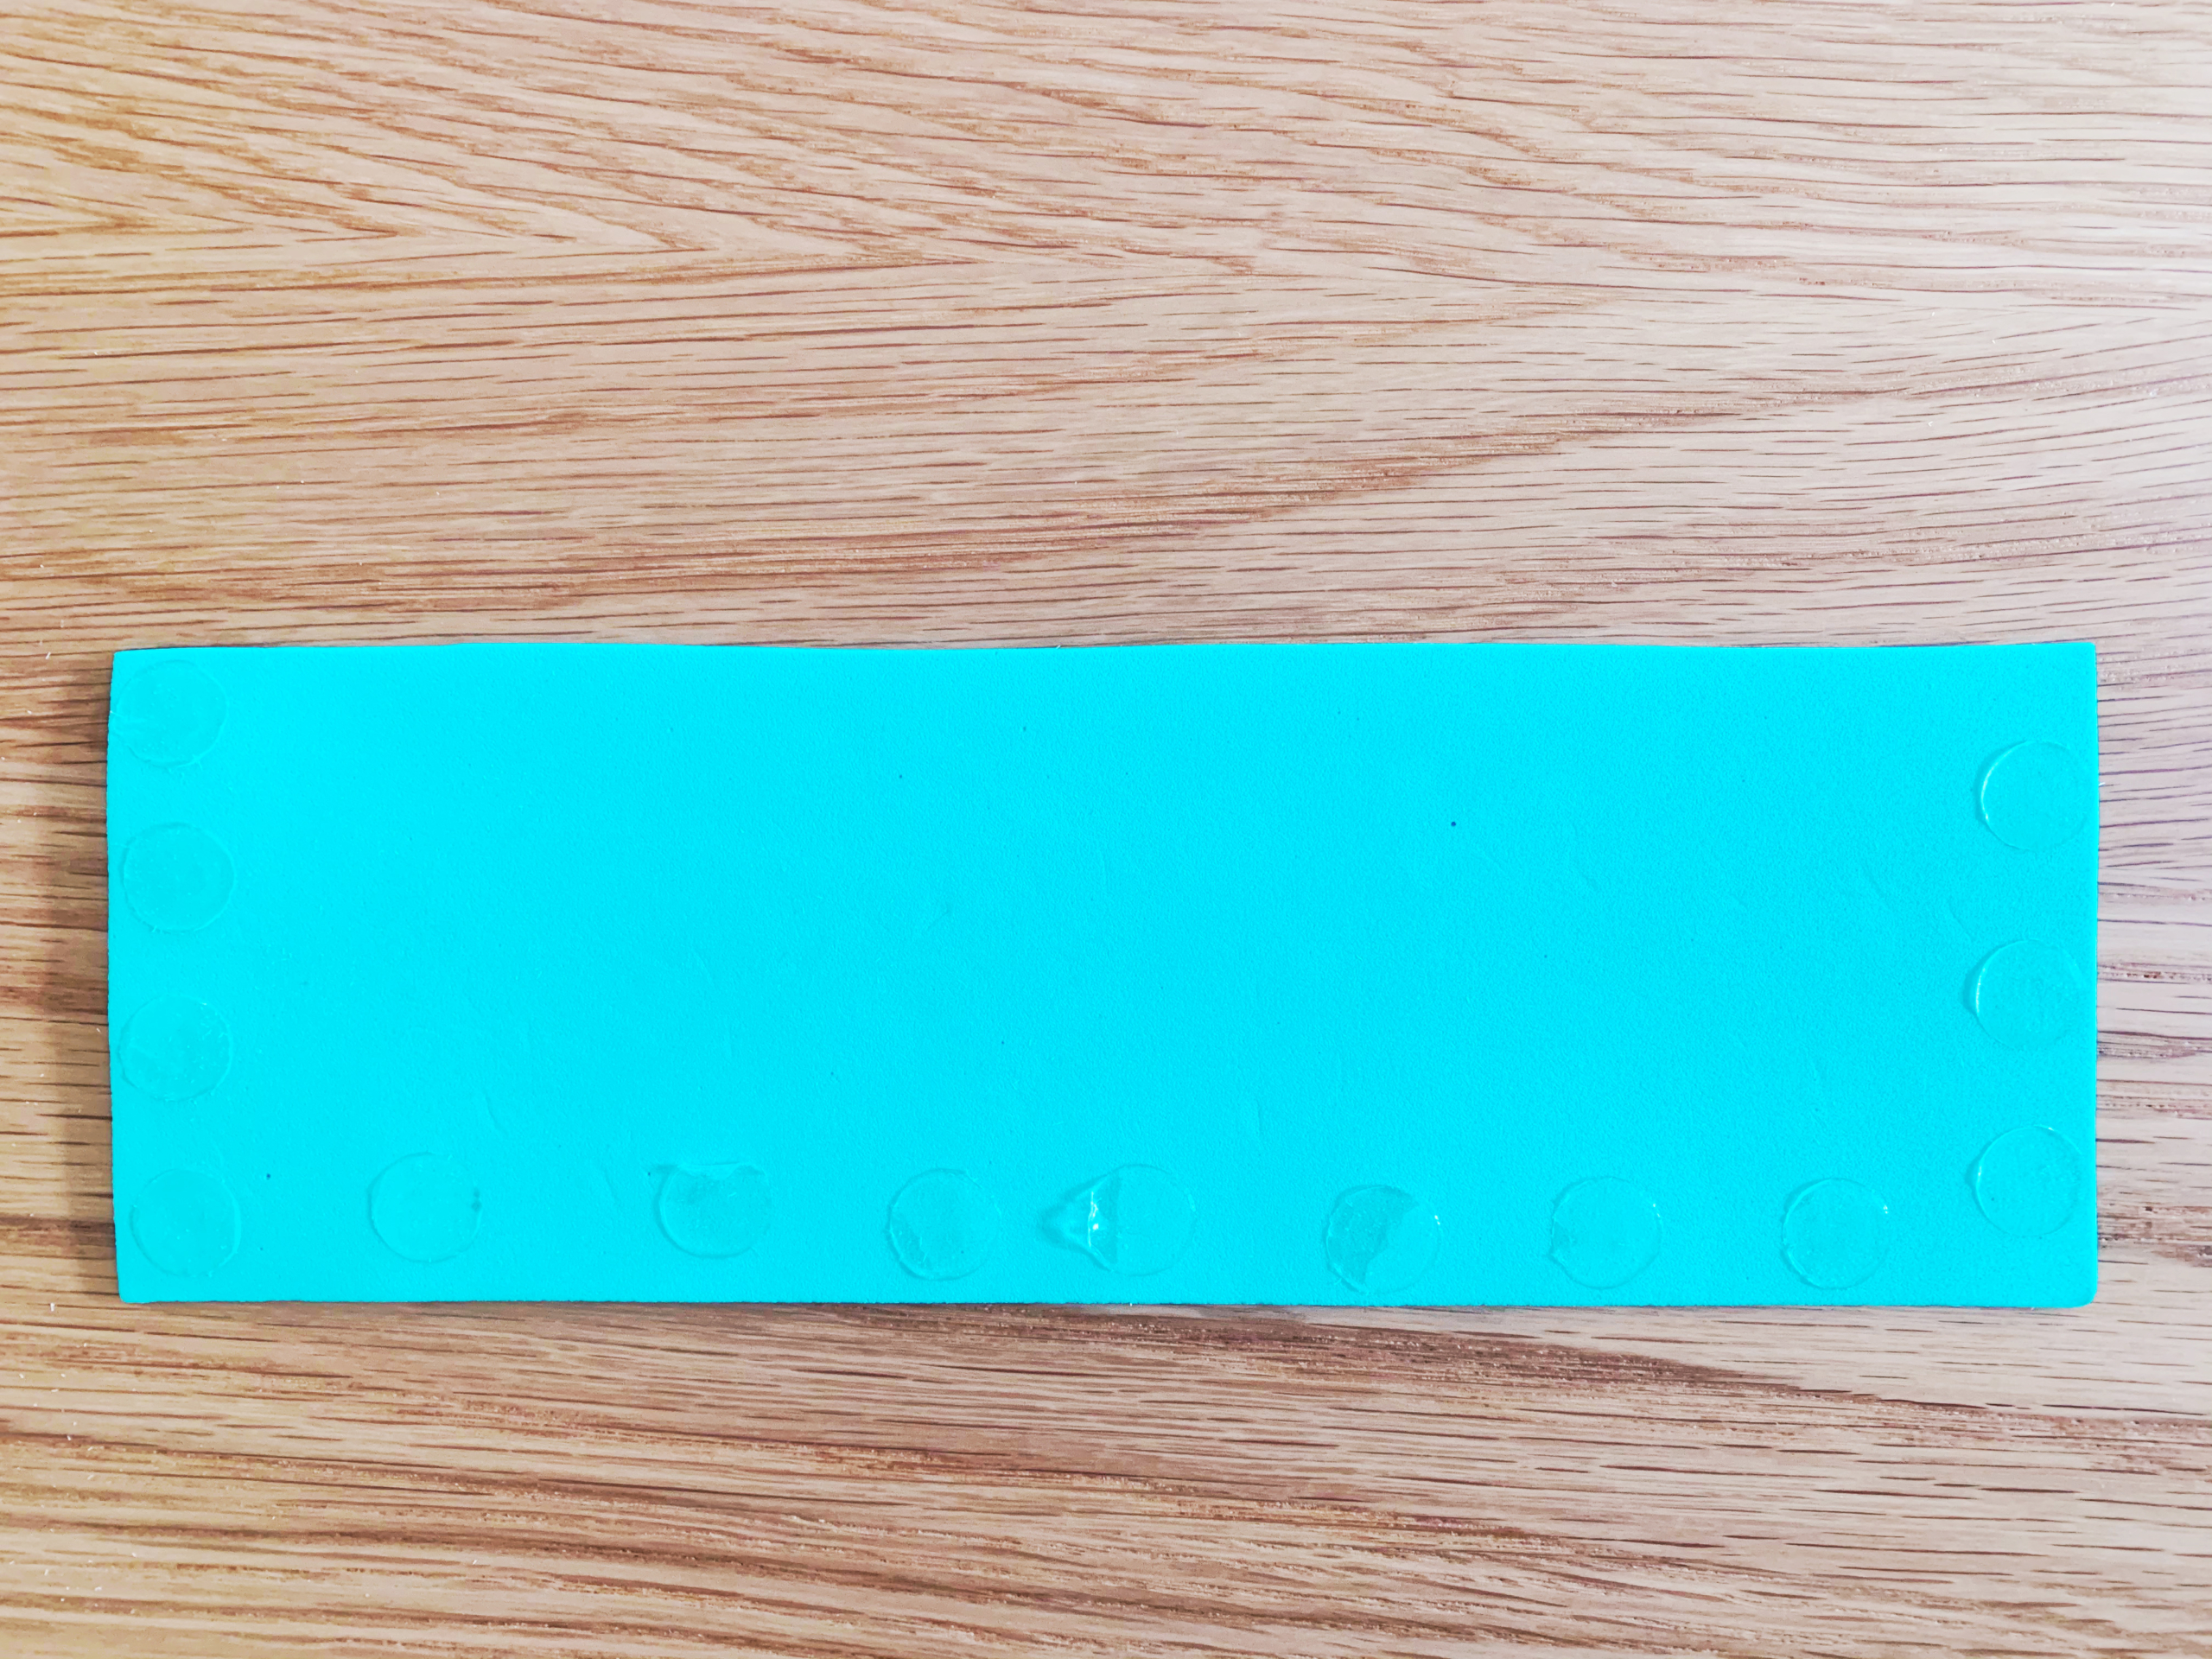
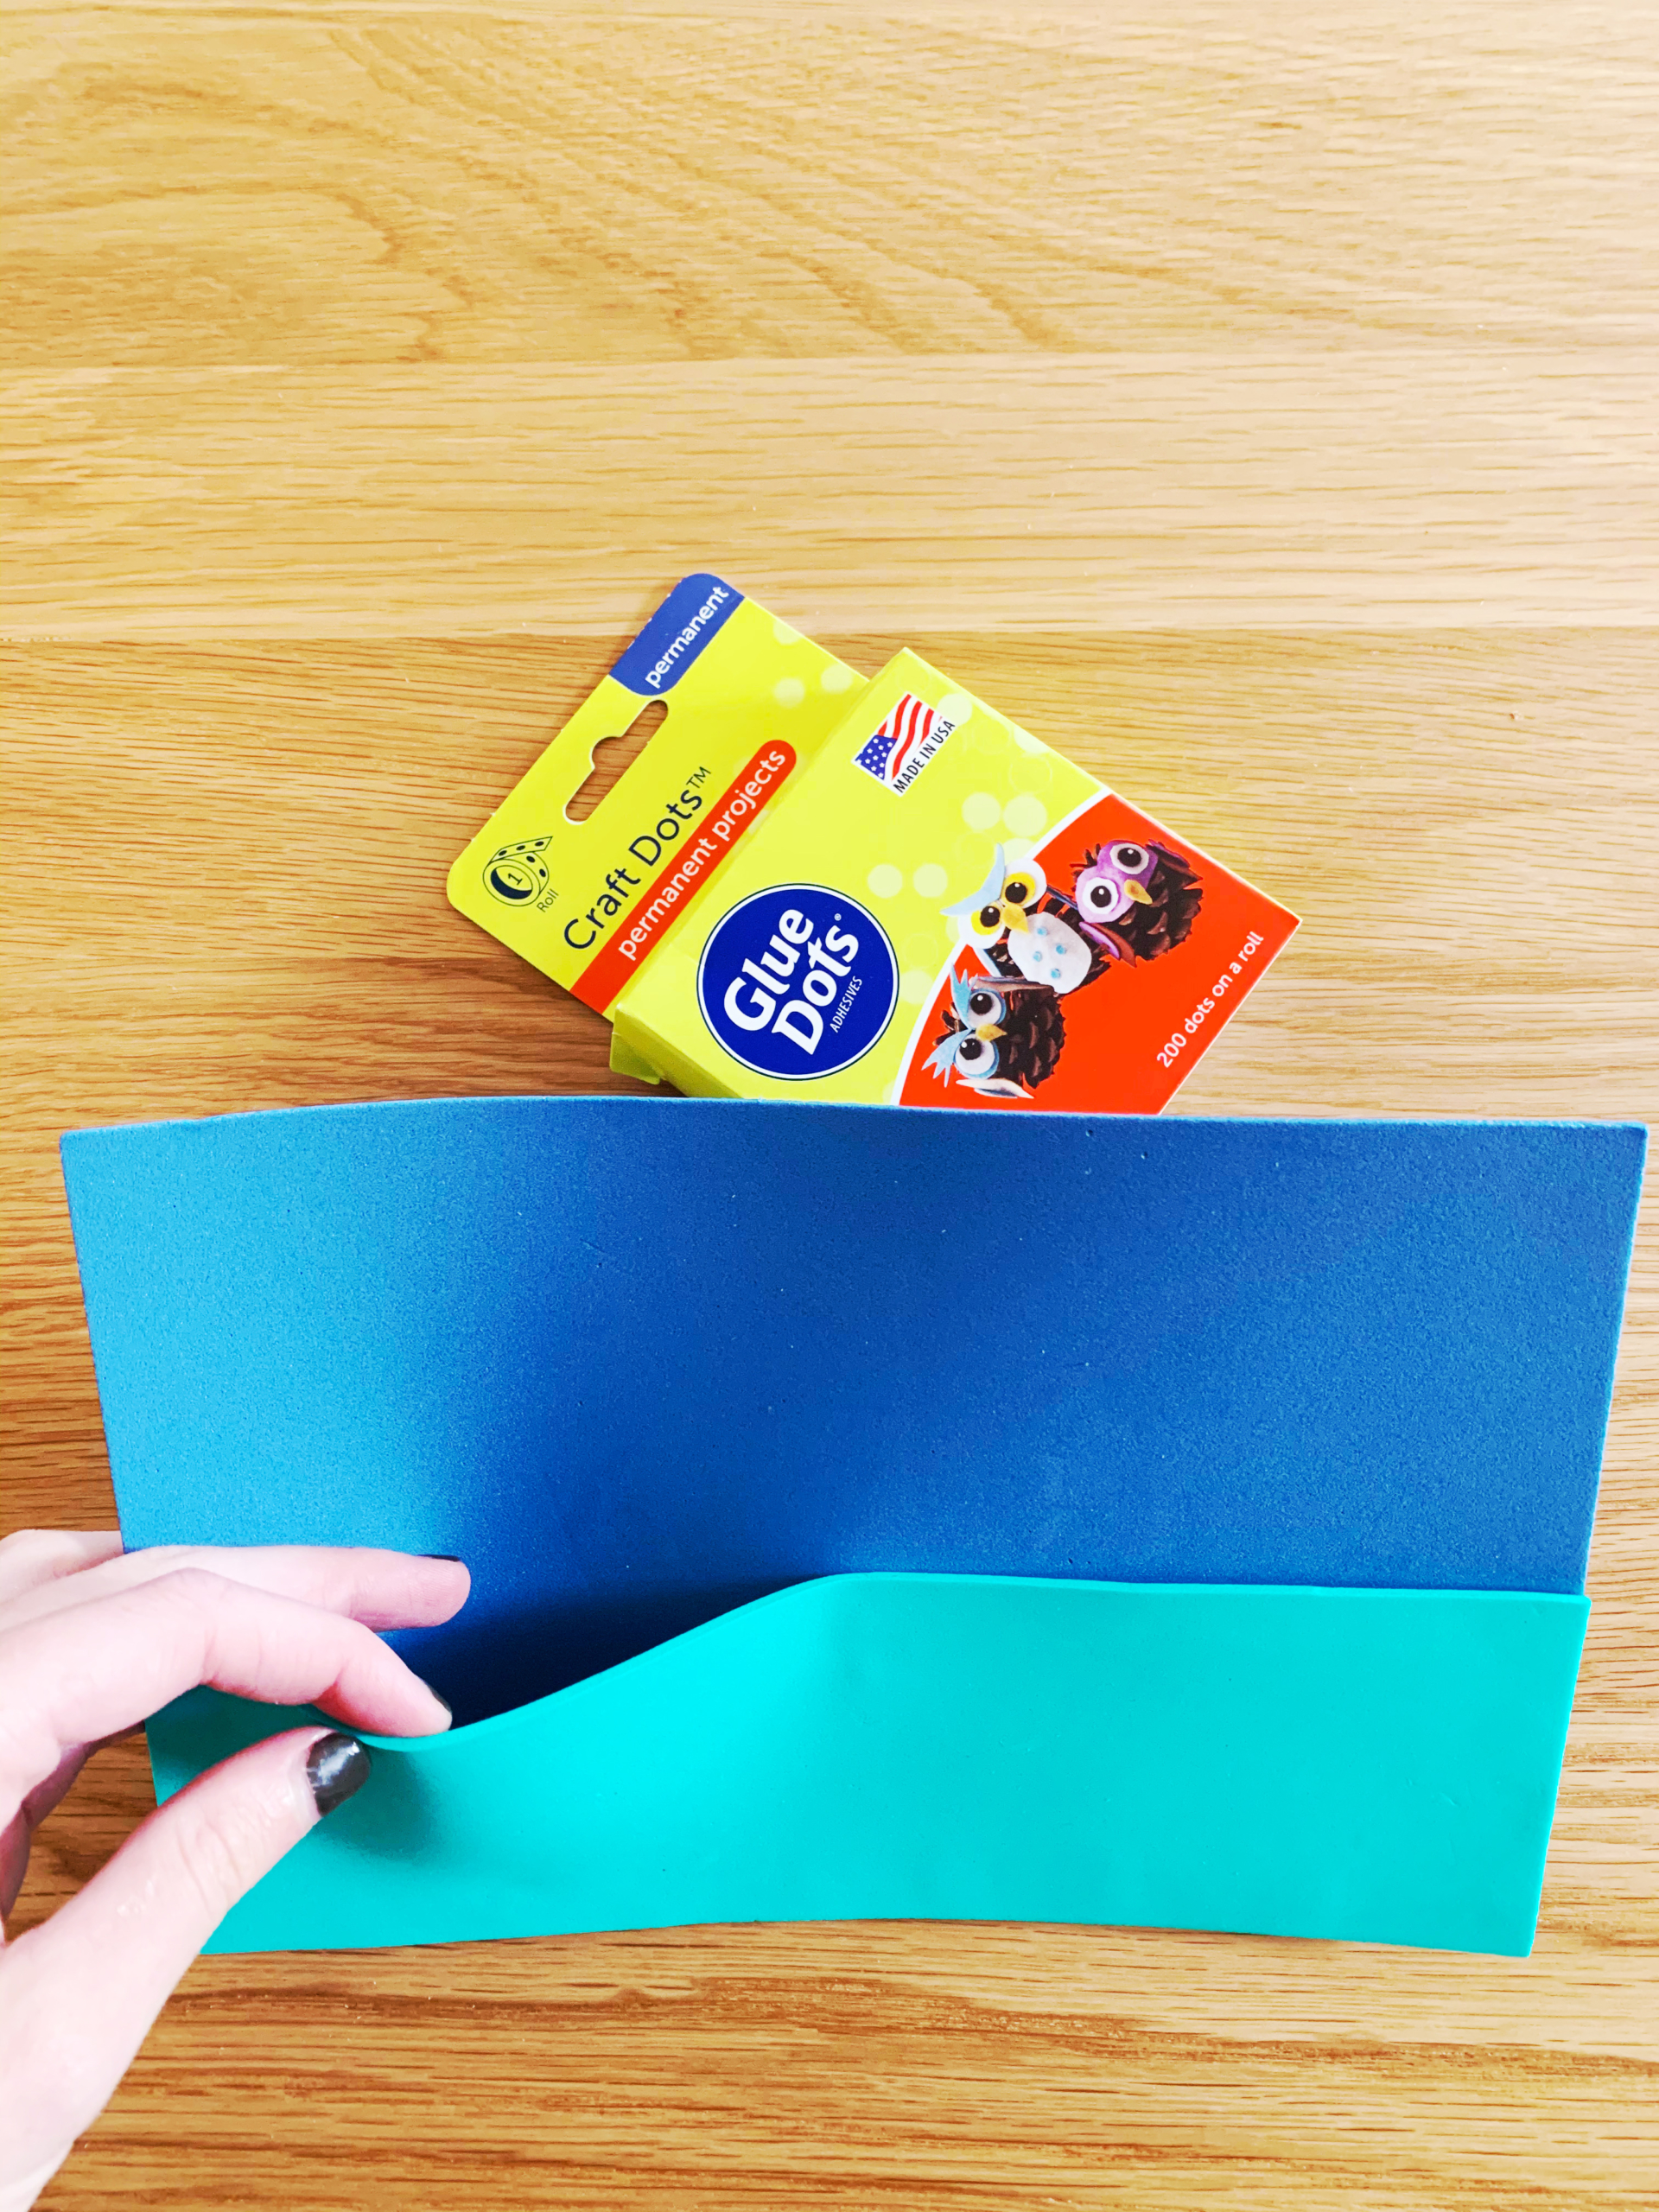
Step 2: Apply glue dots along the bottom long edge and the two short edges of one of the pieces. Next, place your cover piece of craft foam horizontally (so that it’s wider than it is tall). Then attach the pocket piece to your cover piece by simply flipping it over and lining the bottom and edges up with the cover.
Step 3: Now gently pull out the middle of the pocket and place a few extra glue dots in a line down the center of the pocket, to separate it into two pockets.
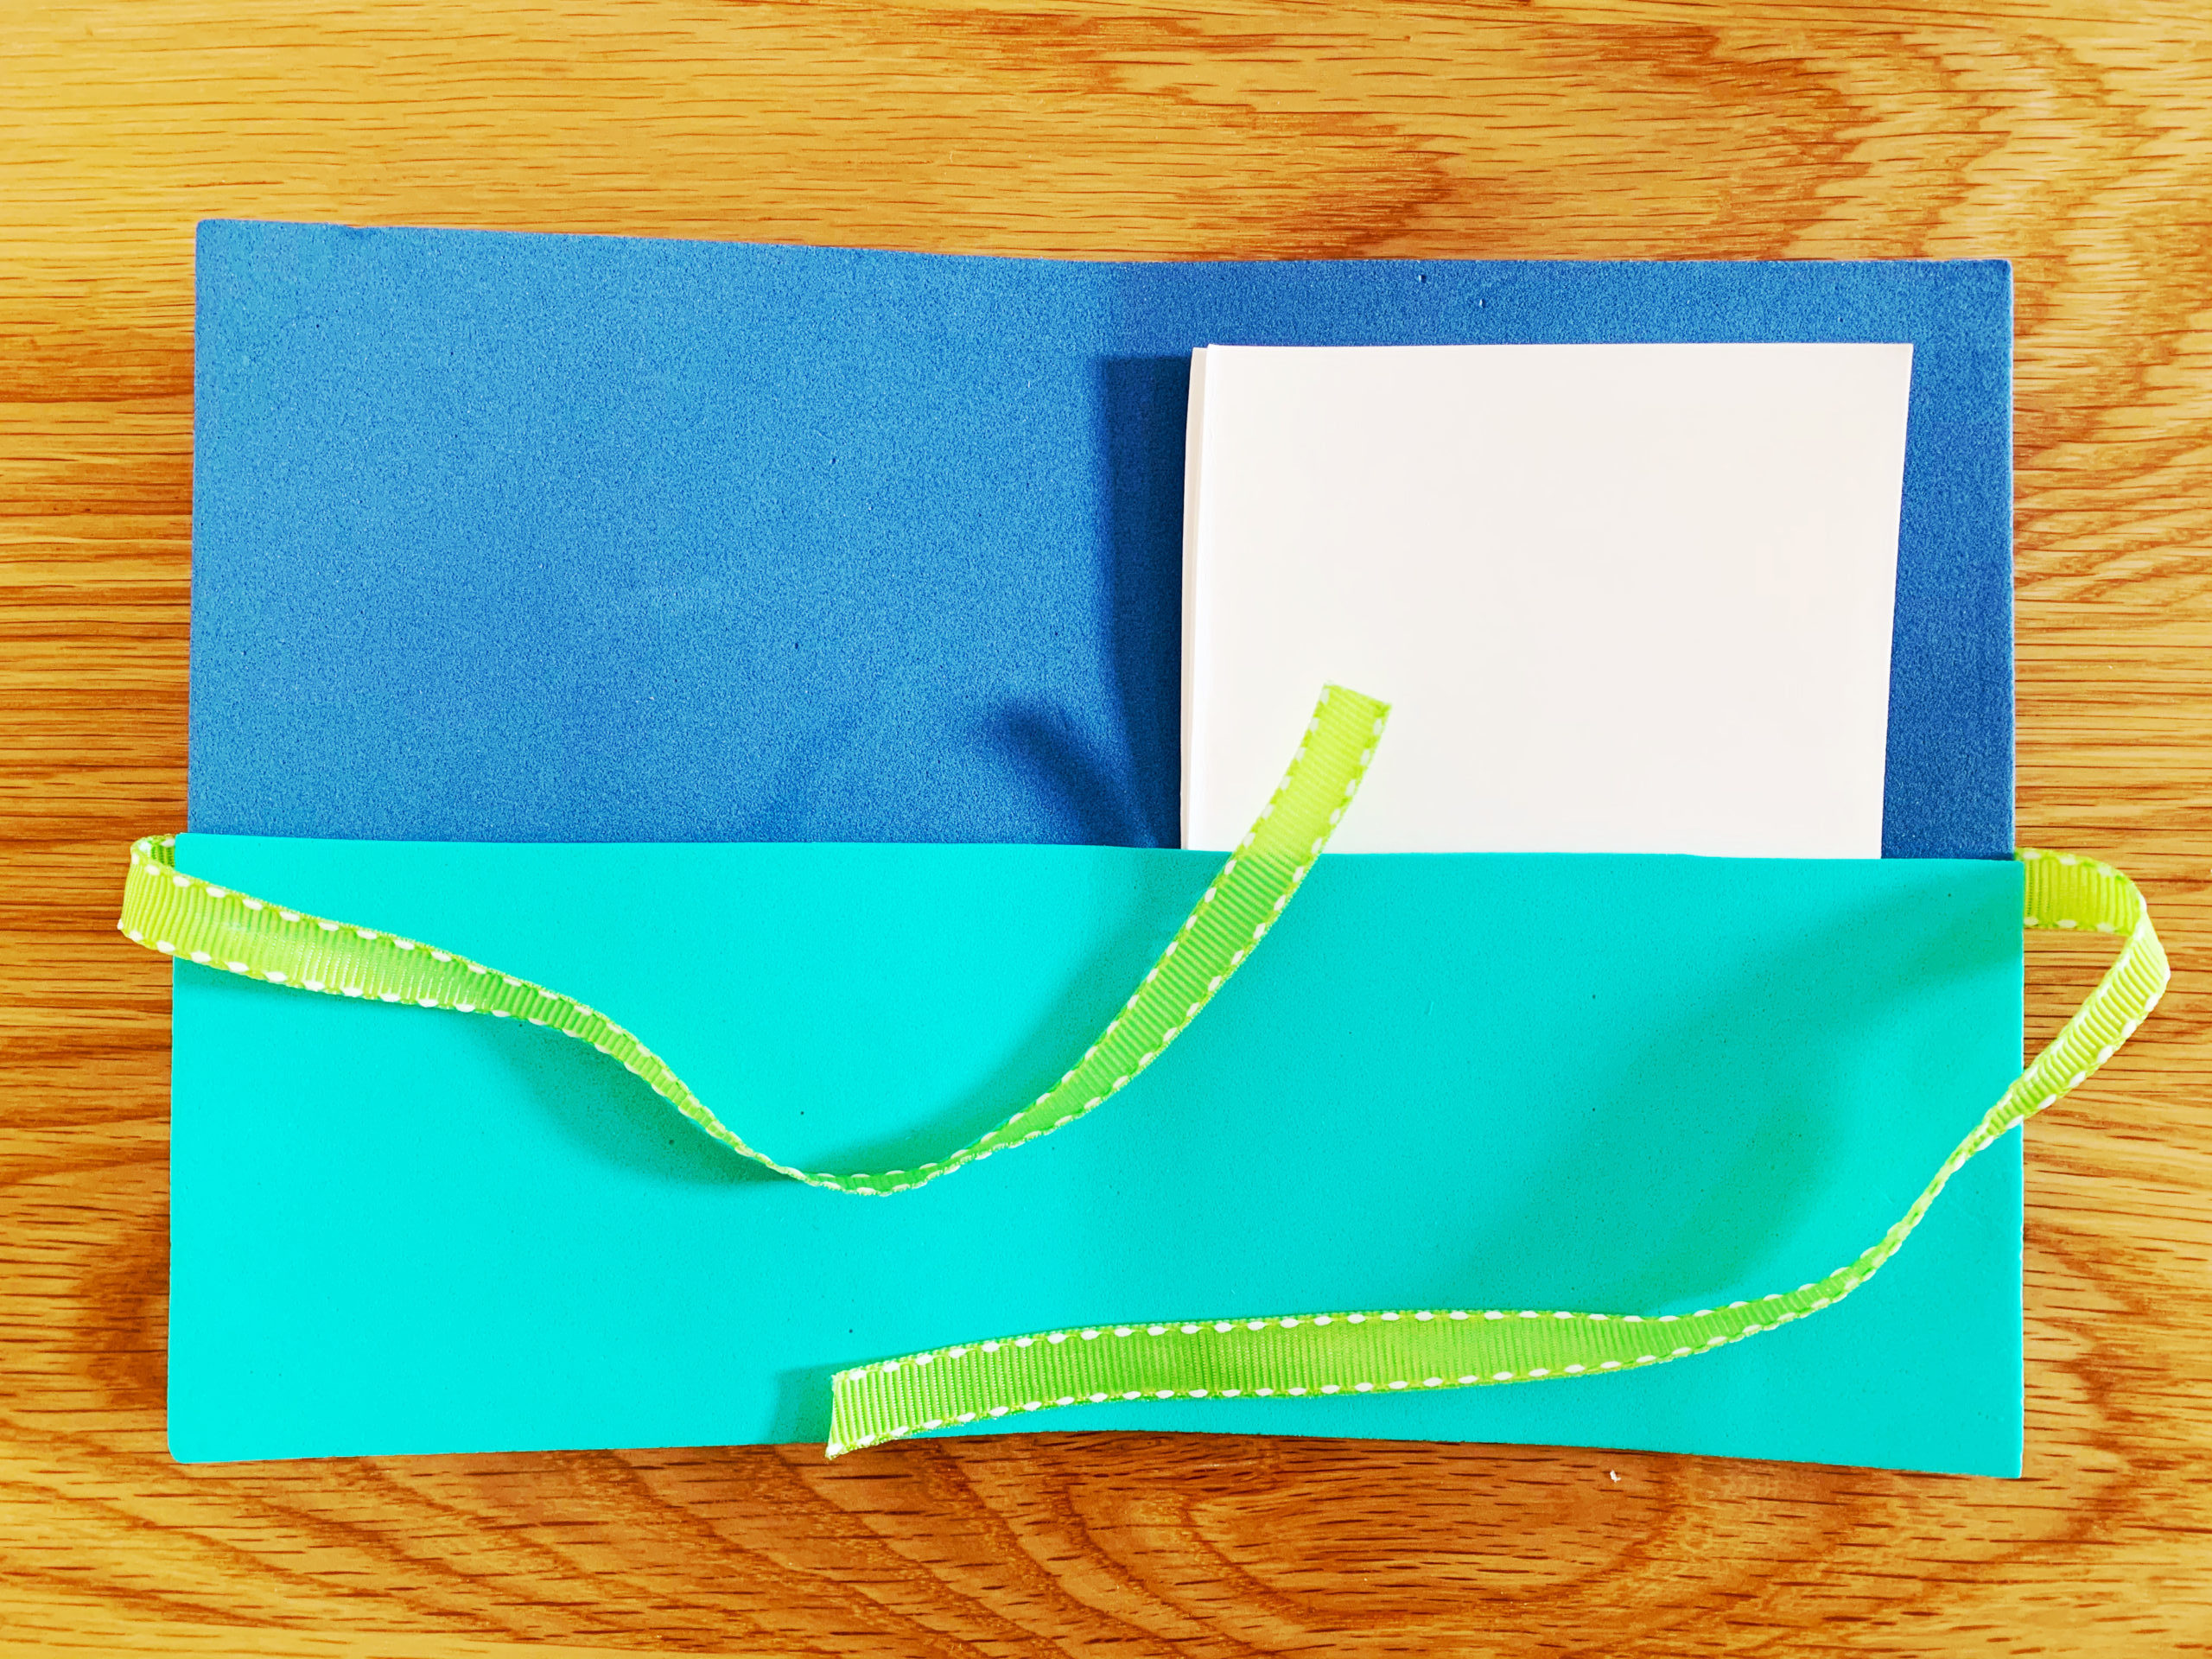
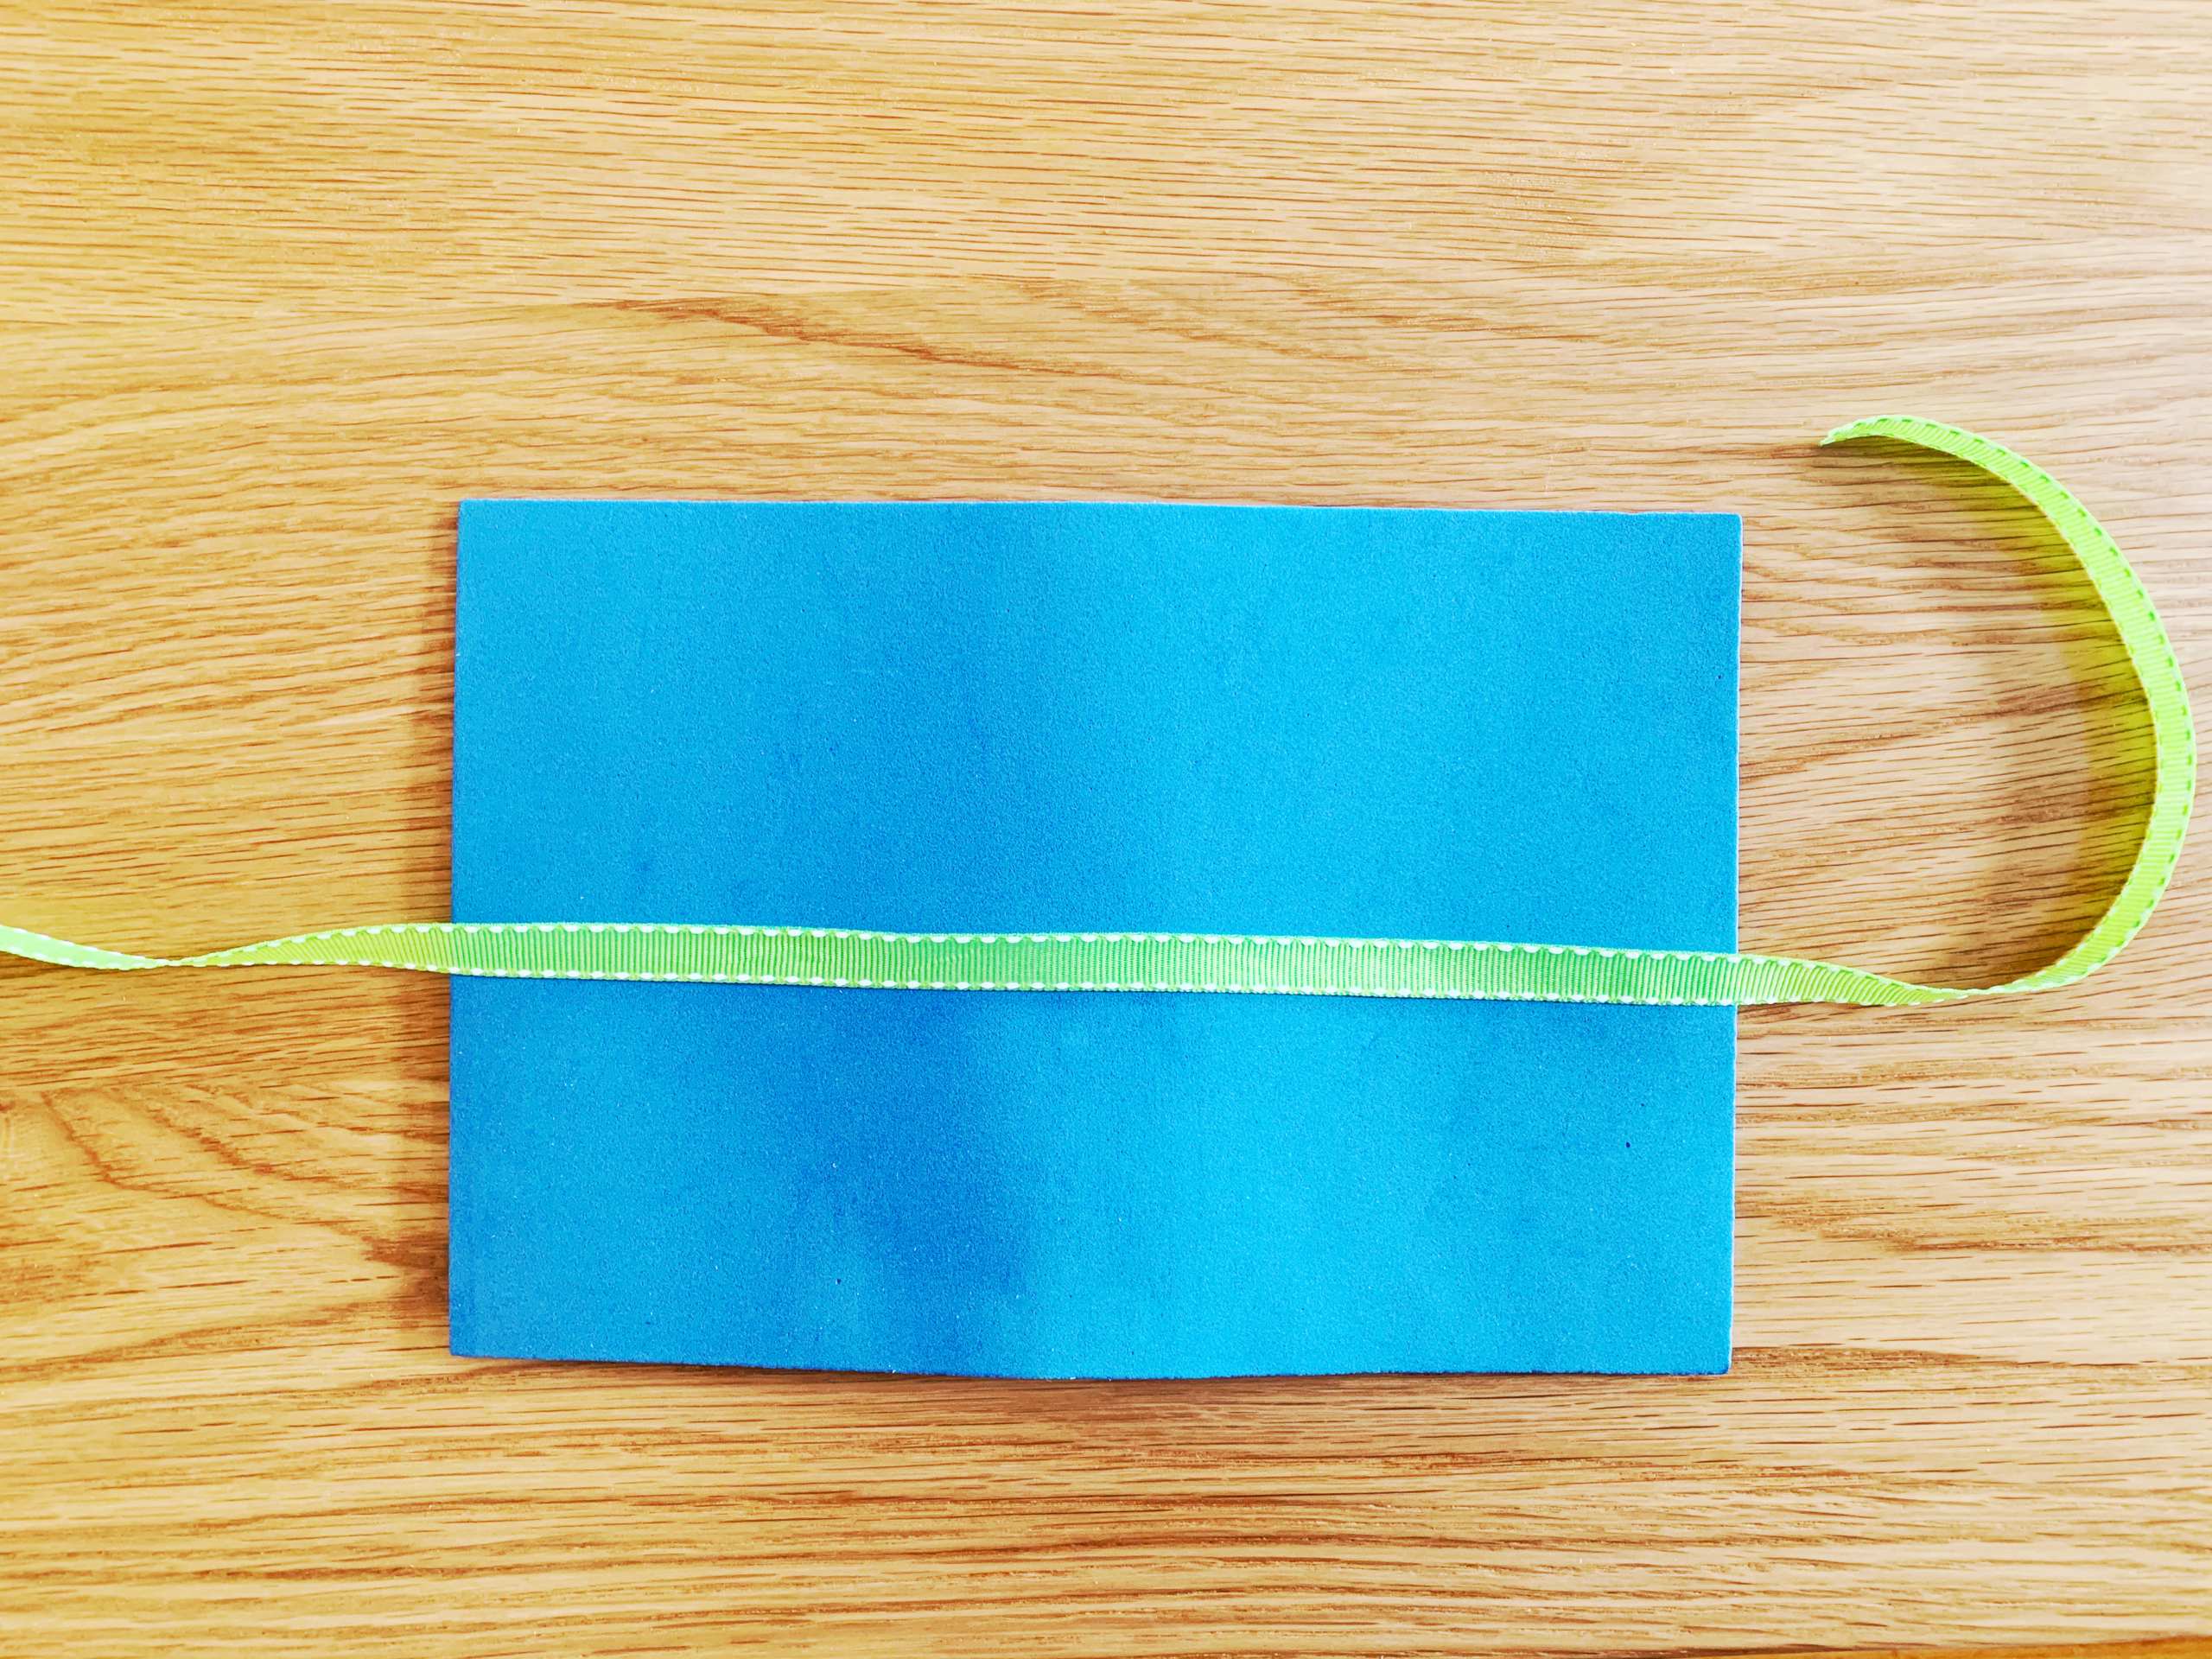
Step 4: Fold the book in half. Cut a piece of ribbon that is long enough to wrap around the outside. Secure the ribbon around the front and back of your book cover, with a few glue dots. Once in place, you will be able to use the loose ends of the ribbon to tie the book closed.

Step 5: Using the last piece of colored foam and the extra piece from what you used for the pocket (or more if you have it!), cut out small shapes to decorate the cover of your activity book by attaching them with glue dots. (You can also add further decorations with glue dots and write or draw on the craft foam with permanent markers. Just beware kids with Sharpies!)

And there you go! Your DIY activity kit is ready to hit the road. The glue dots make this craft so easy, and cleaning up is a breeze. Now all that’s left is to stuff your sweet new activity book with supplies to keep your little one busy. Index cards (3” x 5”) will fit in perfectly, or you can cut cardstock or paper to the right size.
Have any creative ideas of what to fill your book with? We’d love to hear from you!