Easter is coming, and that means egg hunts and baskets full of goodies. Chocolate and jelly beans are fabulous, of course, but if you’re like us you may be seeking additional ways to celebrate that involve a little less sugar. (And dying eggs can only get you so far.)
Don’t worry! We’ve got you covered, with various enriching activities and DIY gifts that offer plenty of Easter fun and build literacy skills at the same time.
We love DIY storytelling dice to get the ball rolling on inventing stories together with your child. This helps kids enrich their oral language, deepen their comprehension, expand their vocabularies, and develop key skills underpinning reading fluency. What’s more, it’s easy and cheap to recycle a couple of old building blocks into your own Easter-themed storytelling dice.
Make them with your child as an activity during the build-up to Easter, or craft them on your own as a cute Easter-basket stuffer. After all, the more space taken up with little novelties, the less room for sweets. And what better way to fill out your little one’s basket than free, educational, and eco-friendly surprises?
Follow the tutorial below, or try our other fun Easter activities.
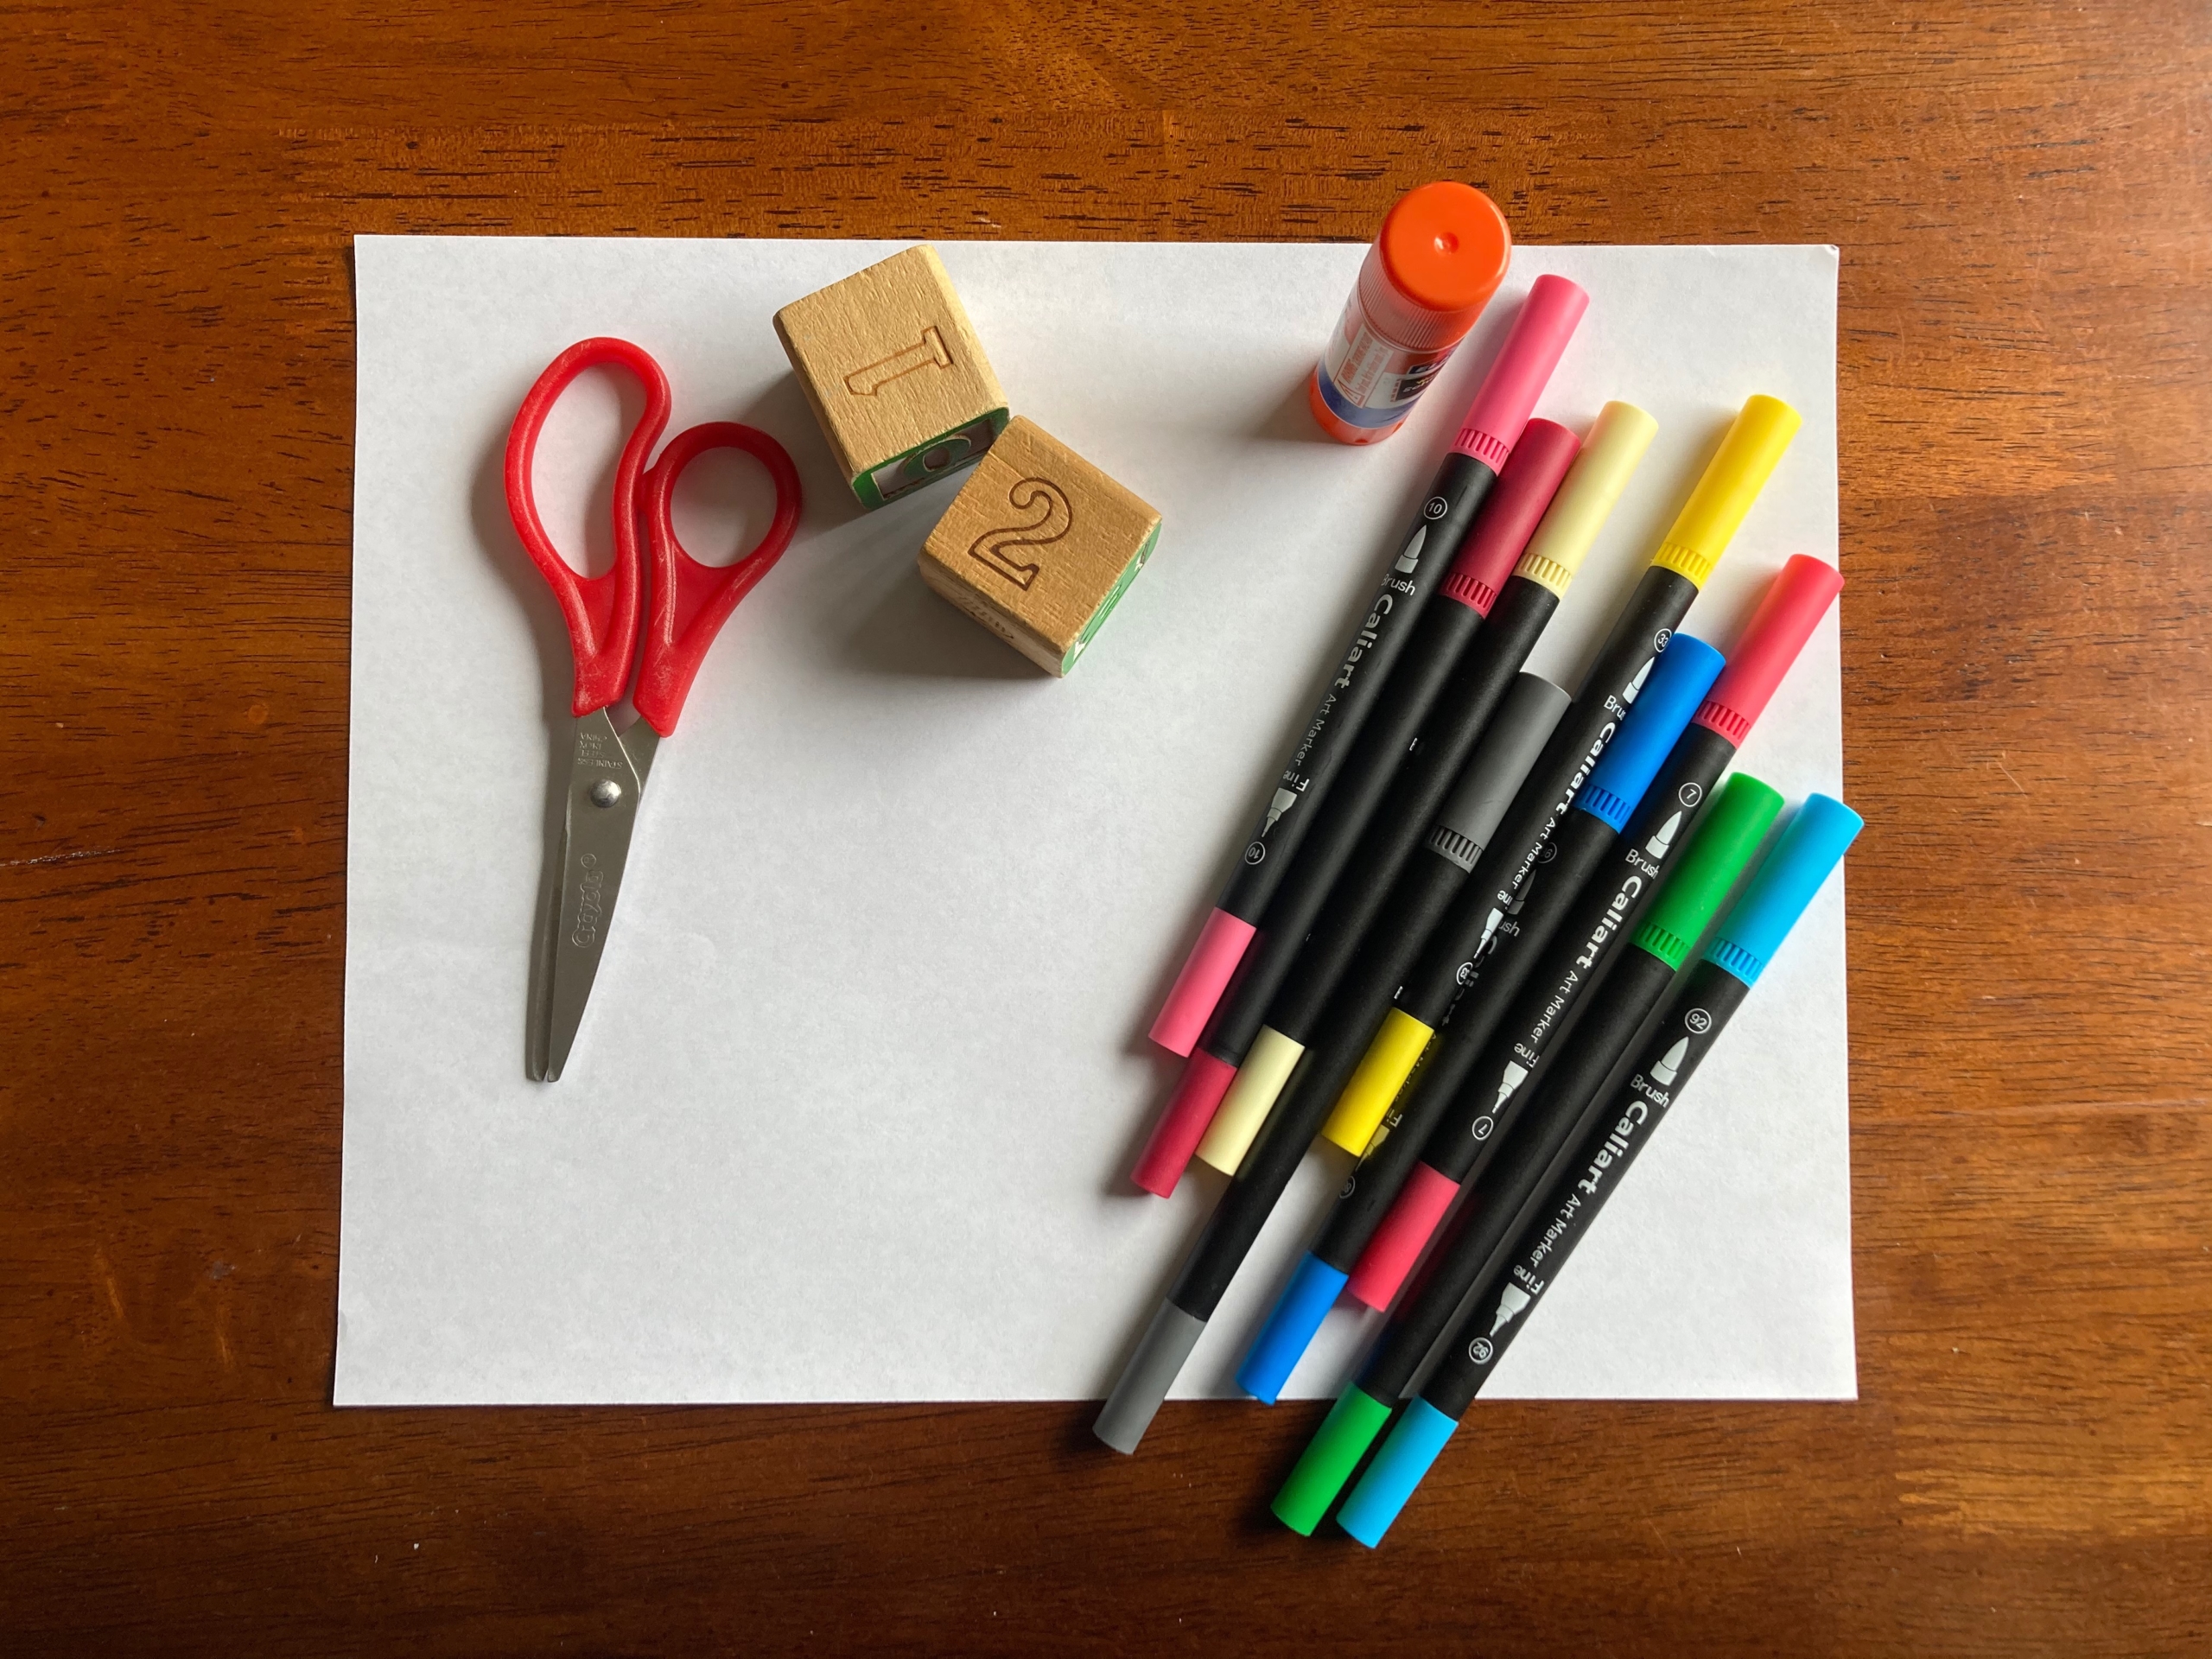
Materials:
- Square building blocks (2)
- Glue or tape
- Paper
- Markers
- Scissors
- Mod Podge (optional)
Cost: Free!
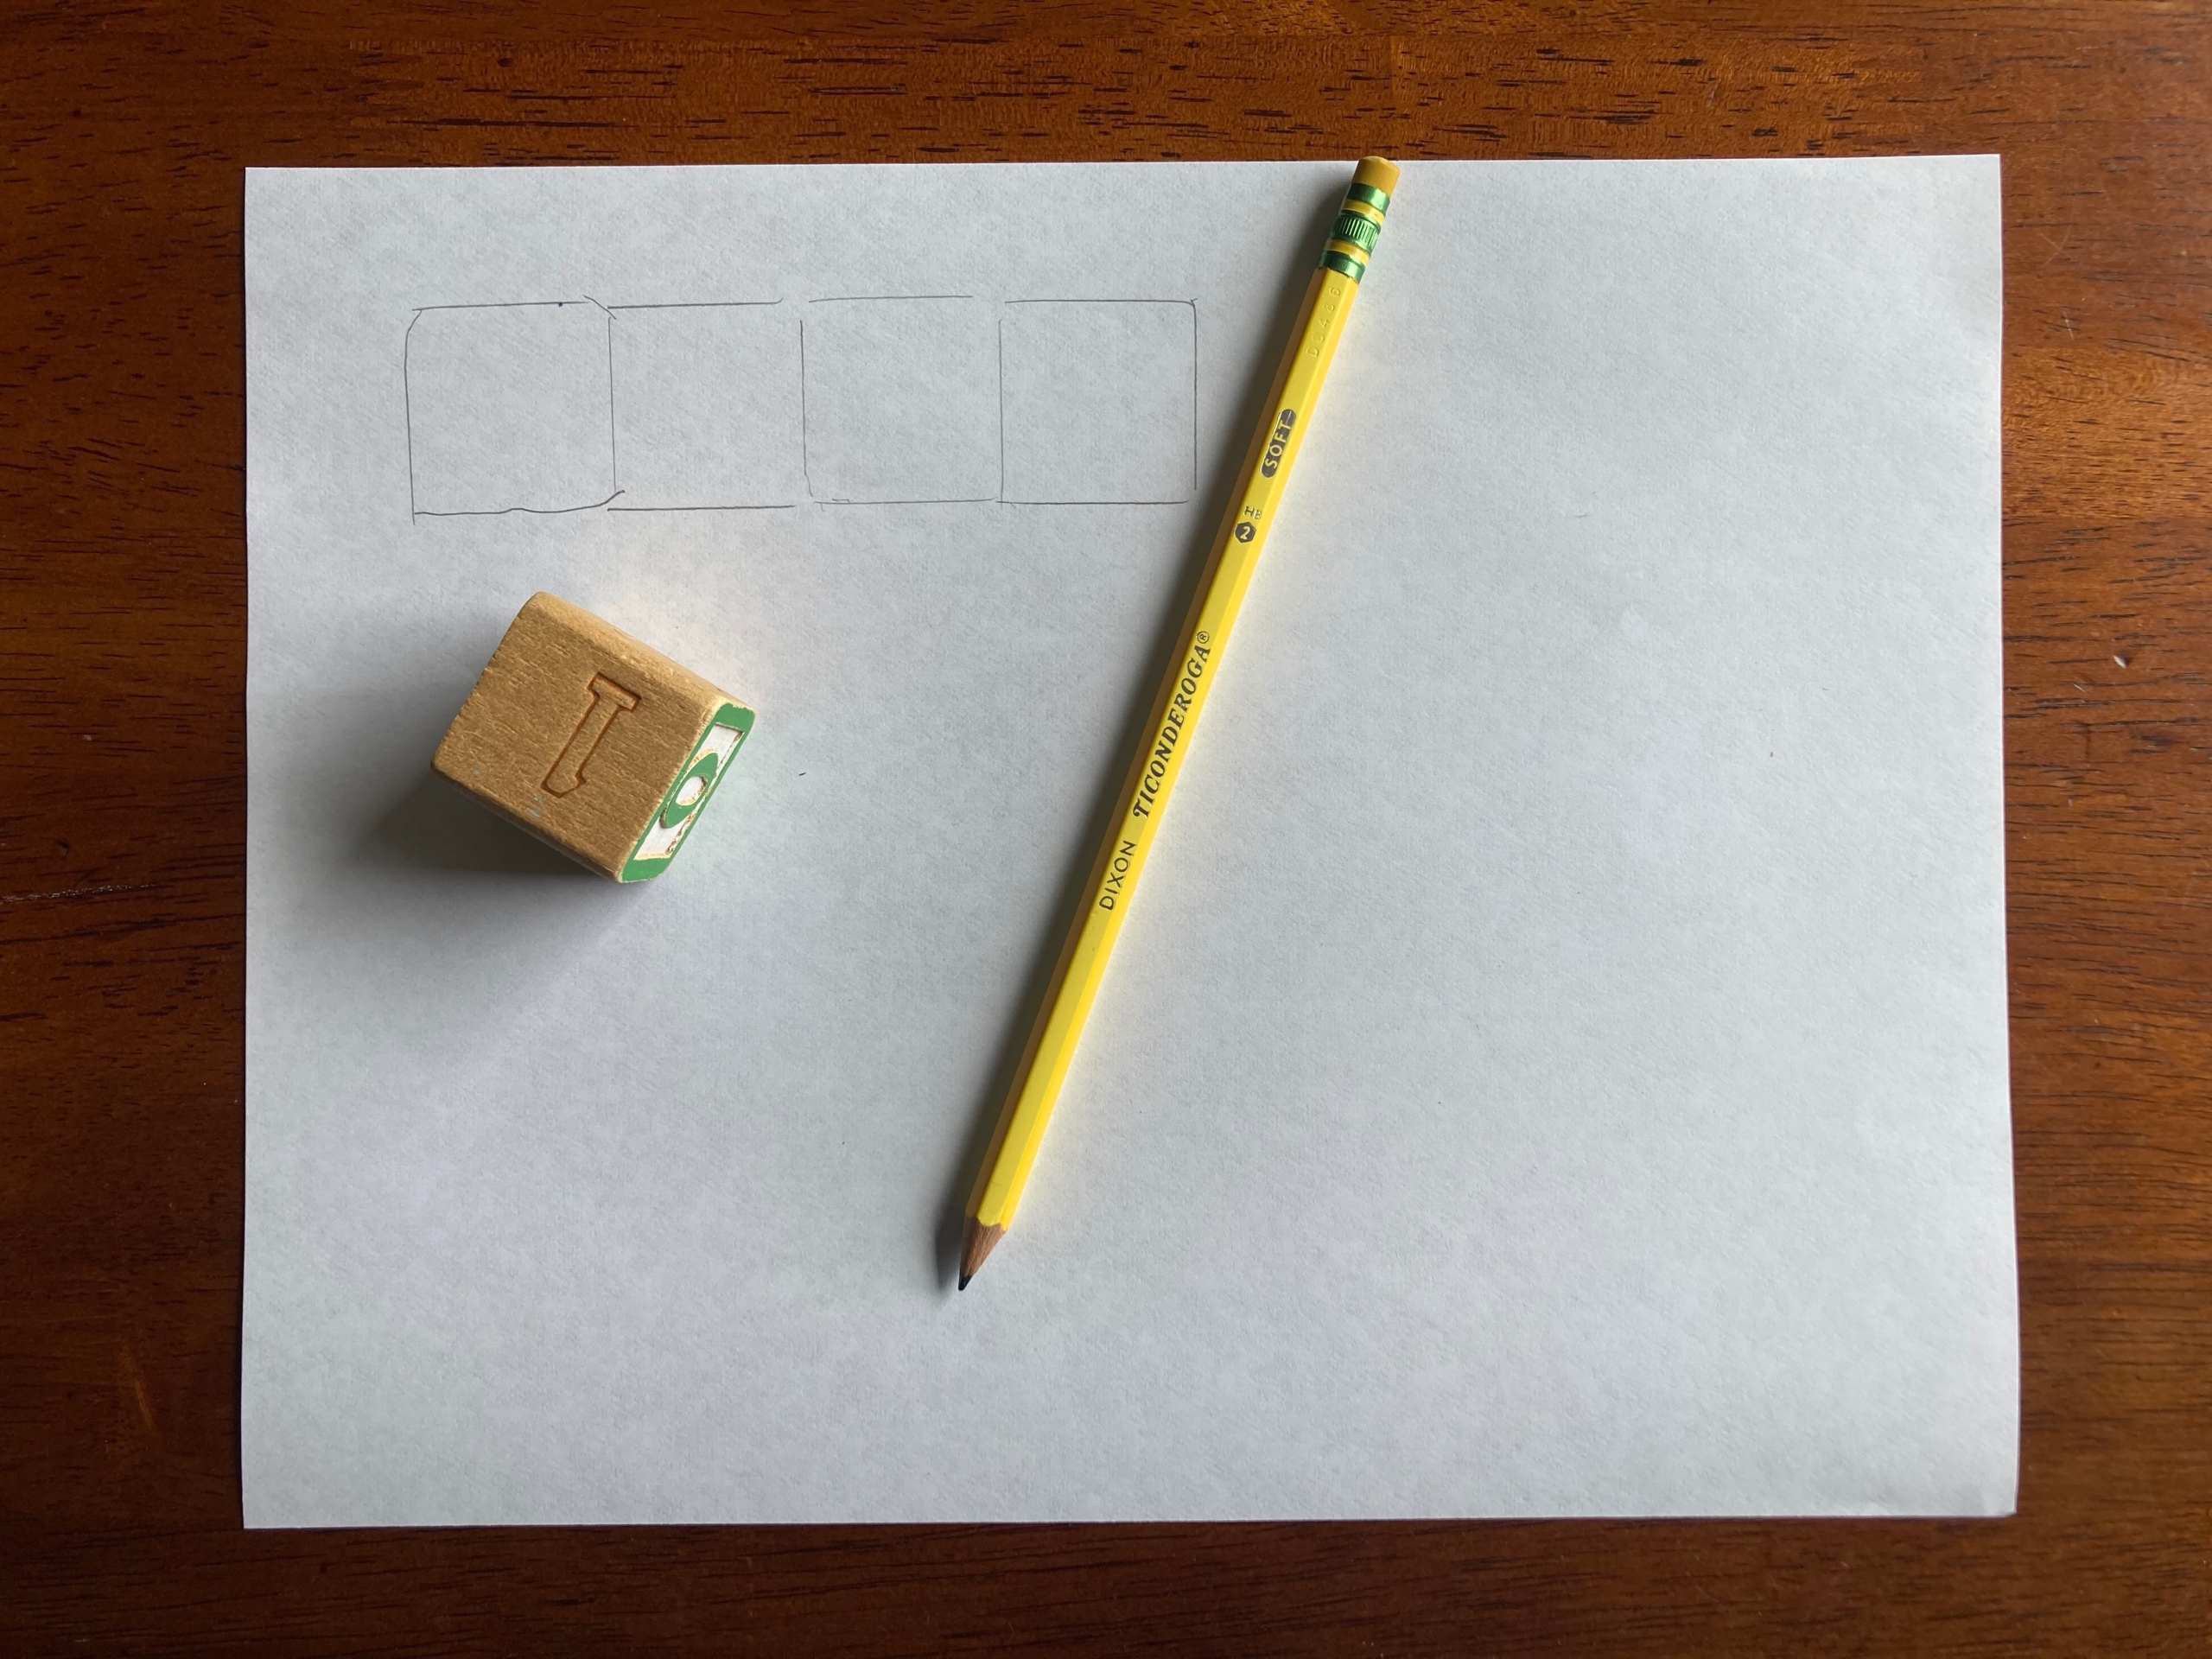
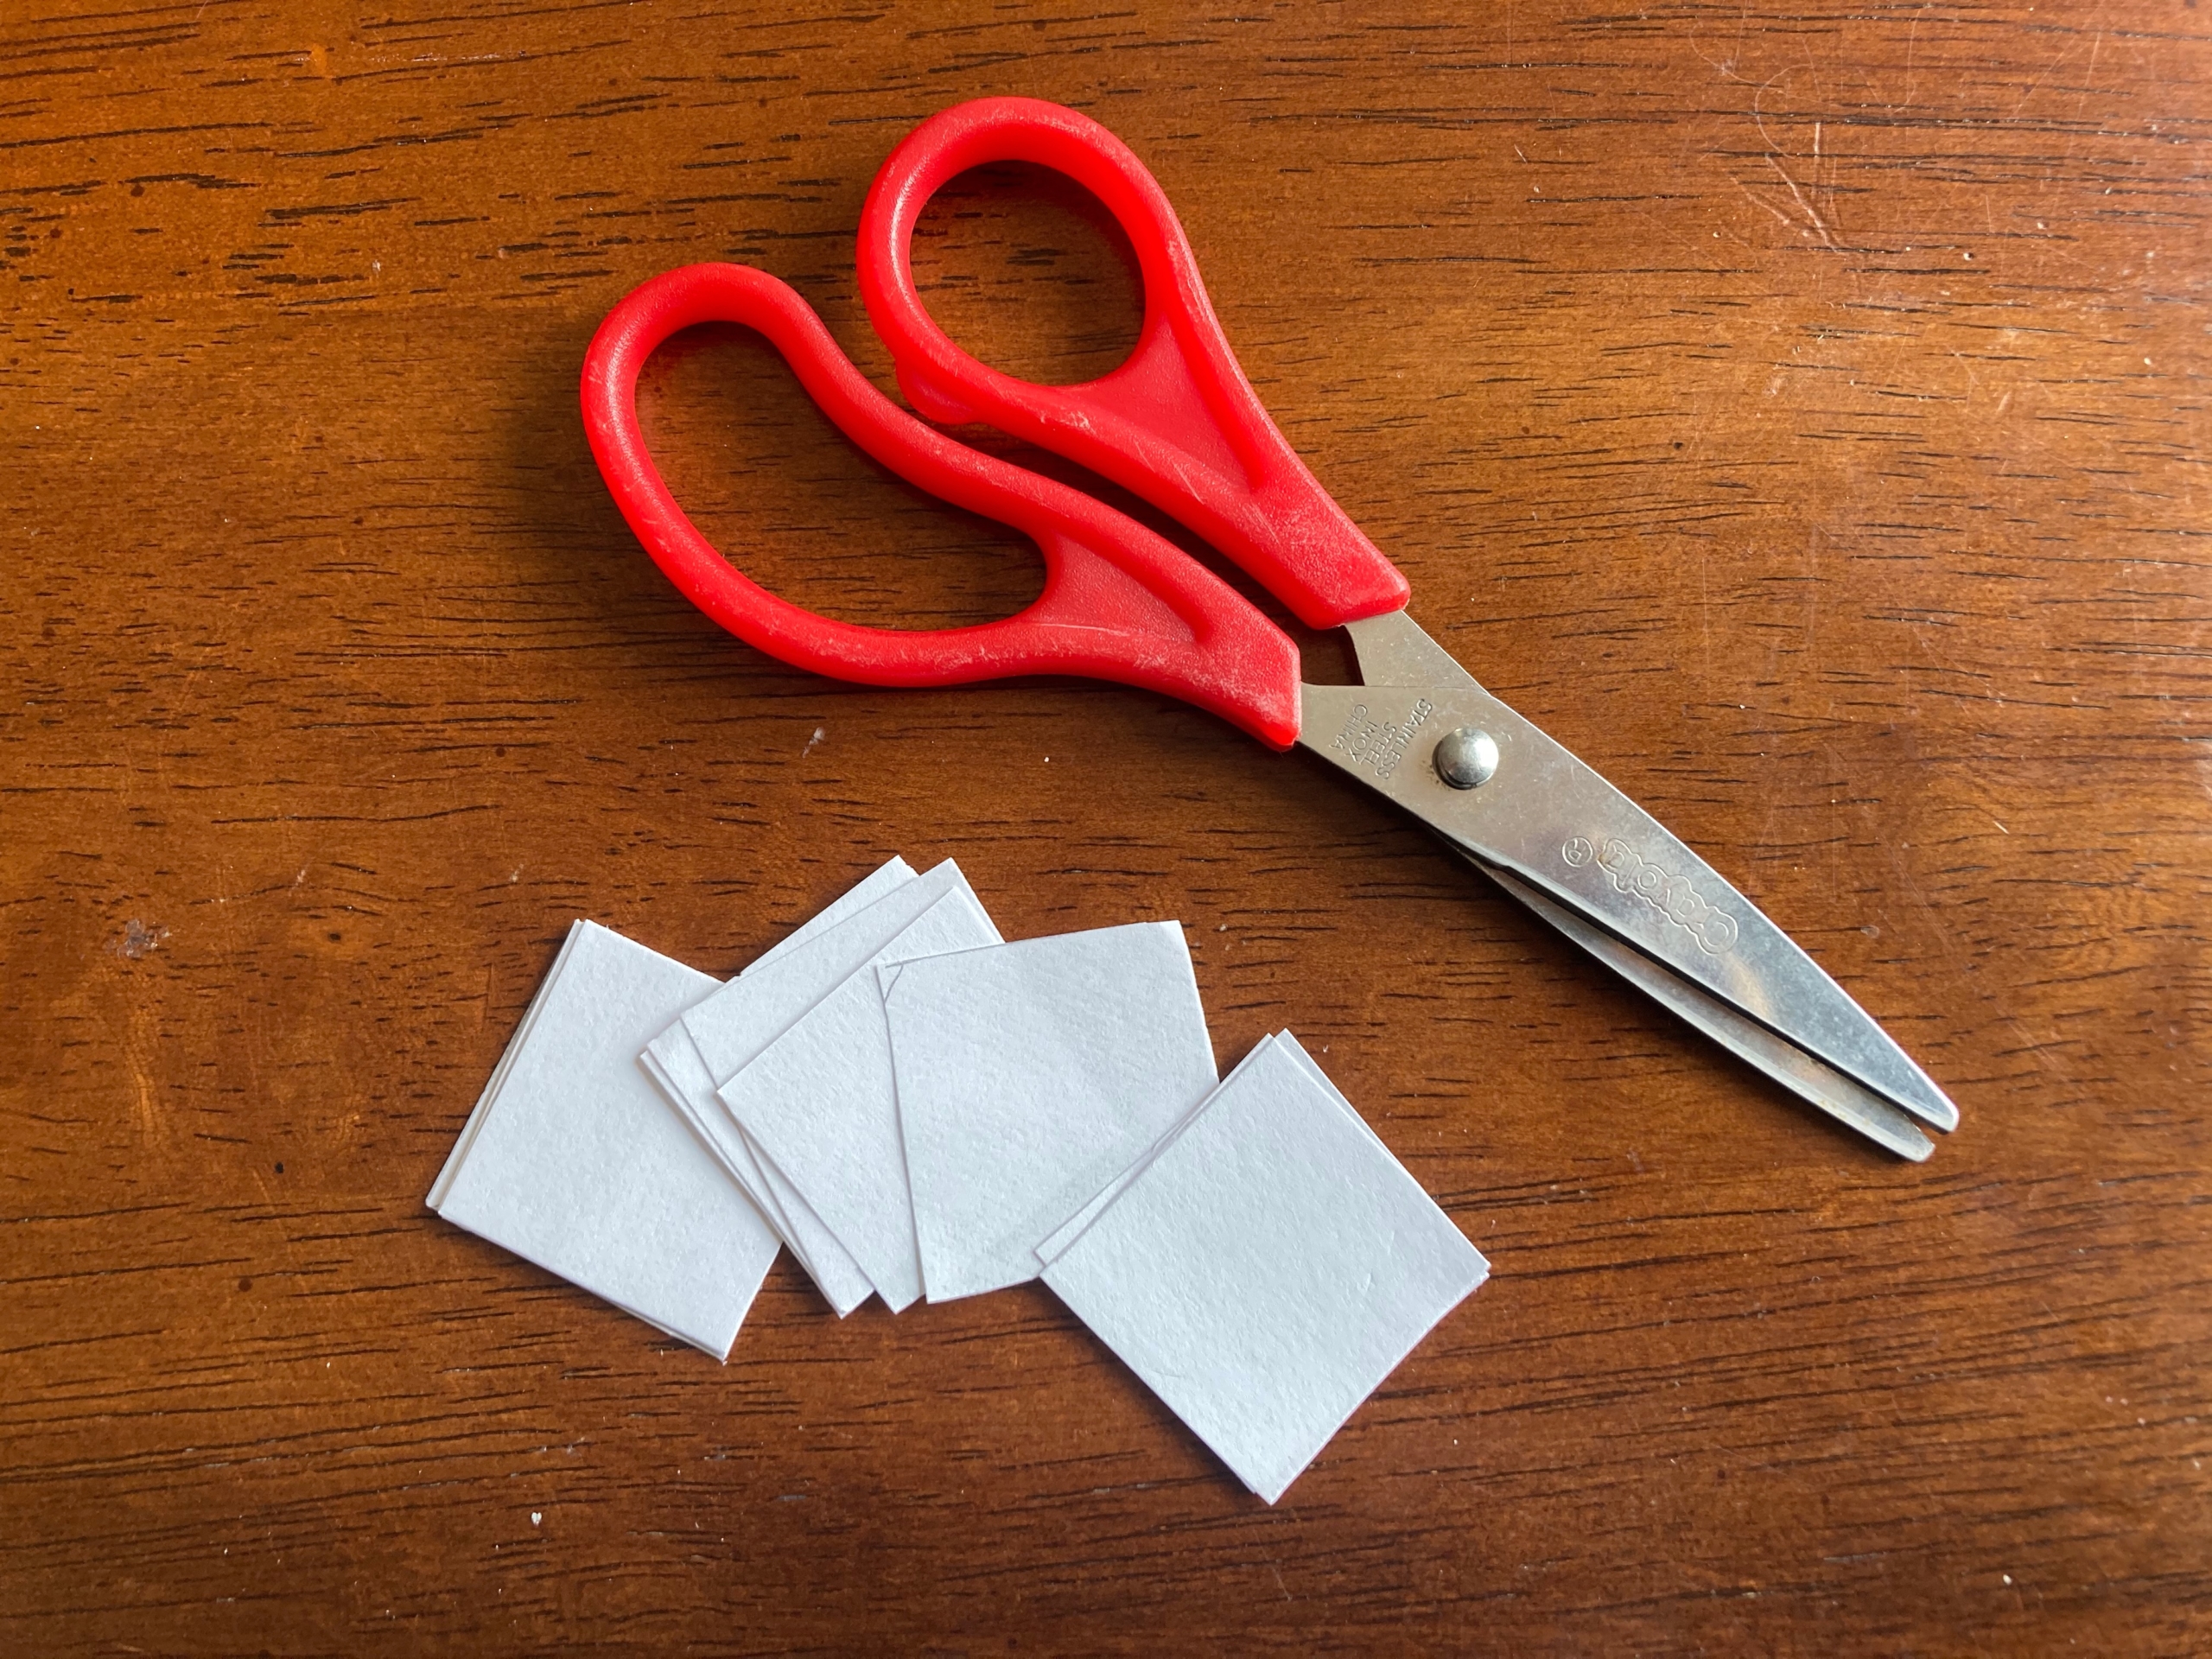
Step 1: Lay your block on a piece of paper and trace it. Repeat 12 times, to make 12 squares. Cut each square out, a little inside the line.
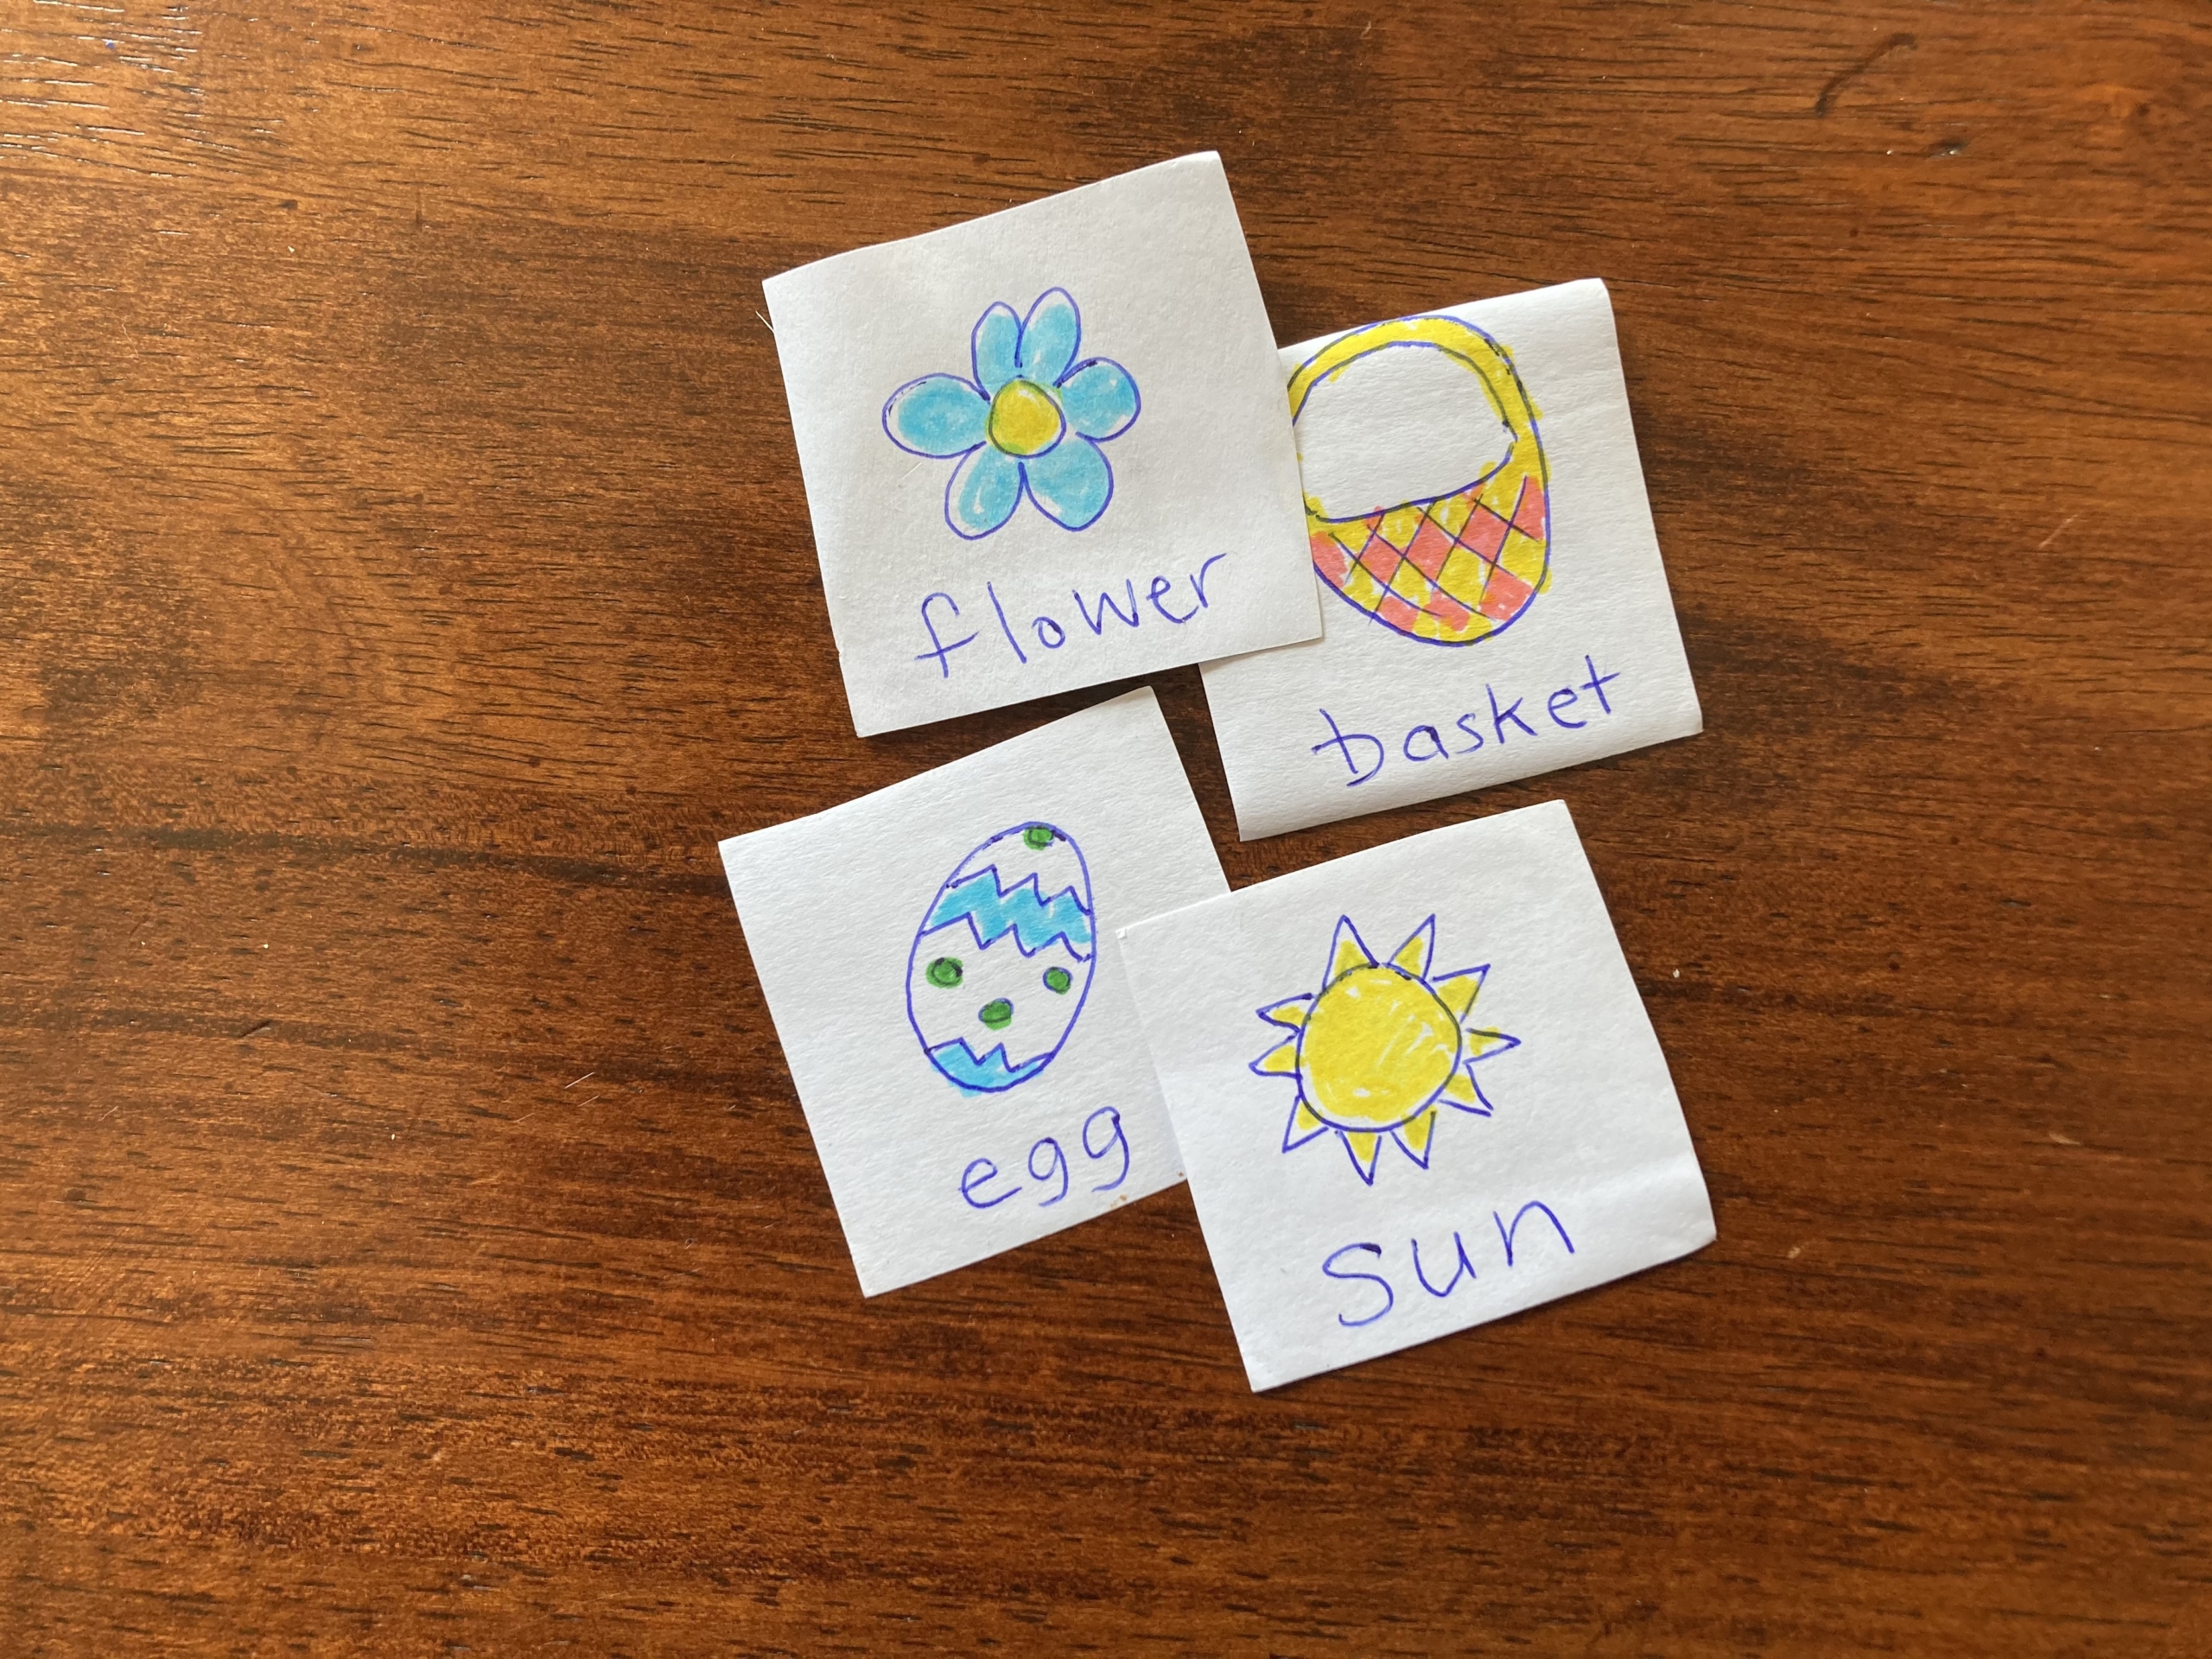
Step 2: Draw simple pictures of Easter and spring-related pictures on six of the paper squares. Then write the name of each item underneath it in clear printing. Then draw another set of the same pictures and labels on the remaining squares, so that you have two of each picture.
Ideas: Bunny, egg, basket, hat, sun, chick, flower, tree, etc.
Step 3: Glue or tape the squares on all six sides of your block. Opt for tape if you want to peel off the labels later and return the block to toy duty, or choose glue if you want a more lasting Easter cube. Repeat with additional blocks if you want multiple storytelling dice.
Tip: If you really want to make it last, paint Mod Podge over the papers to give them a protective finish. Do this if you’re making these Easter storytelling dice as an Easter basket gift!
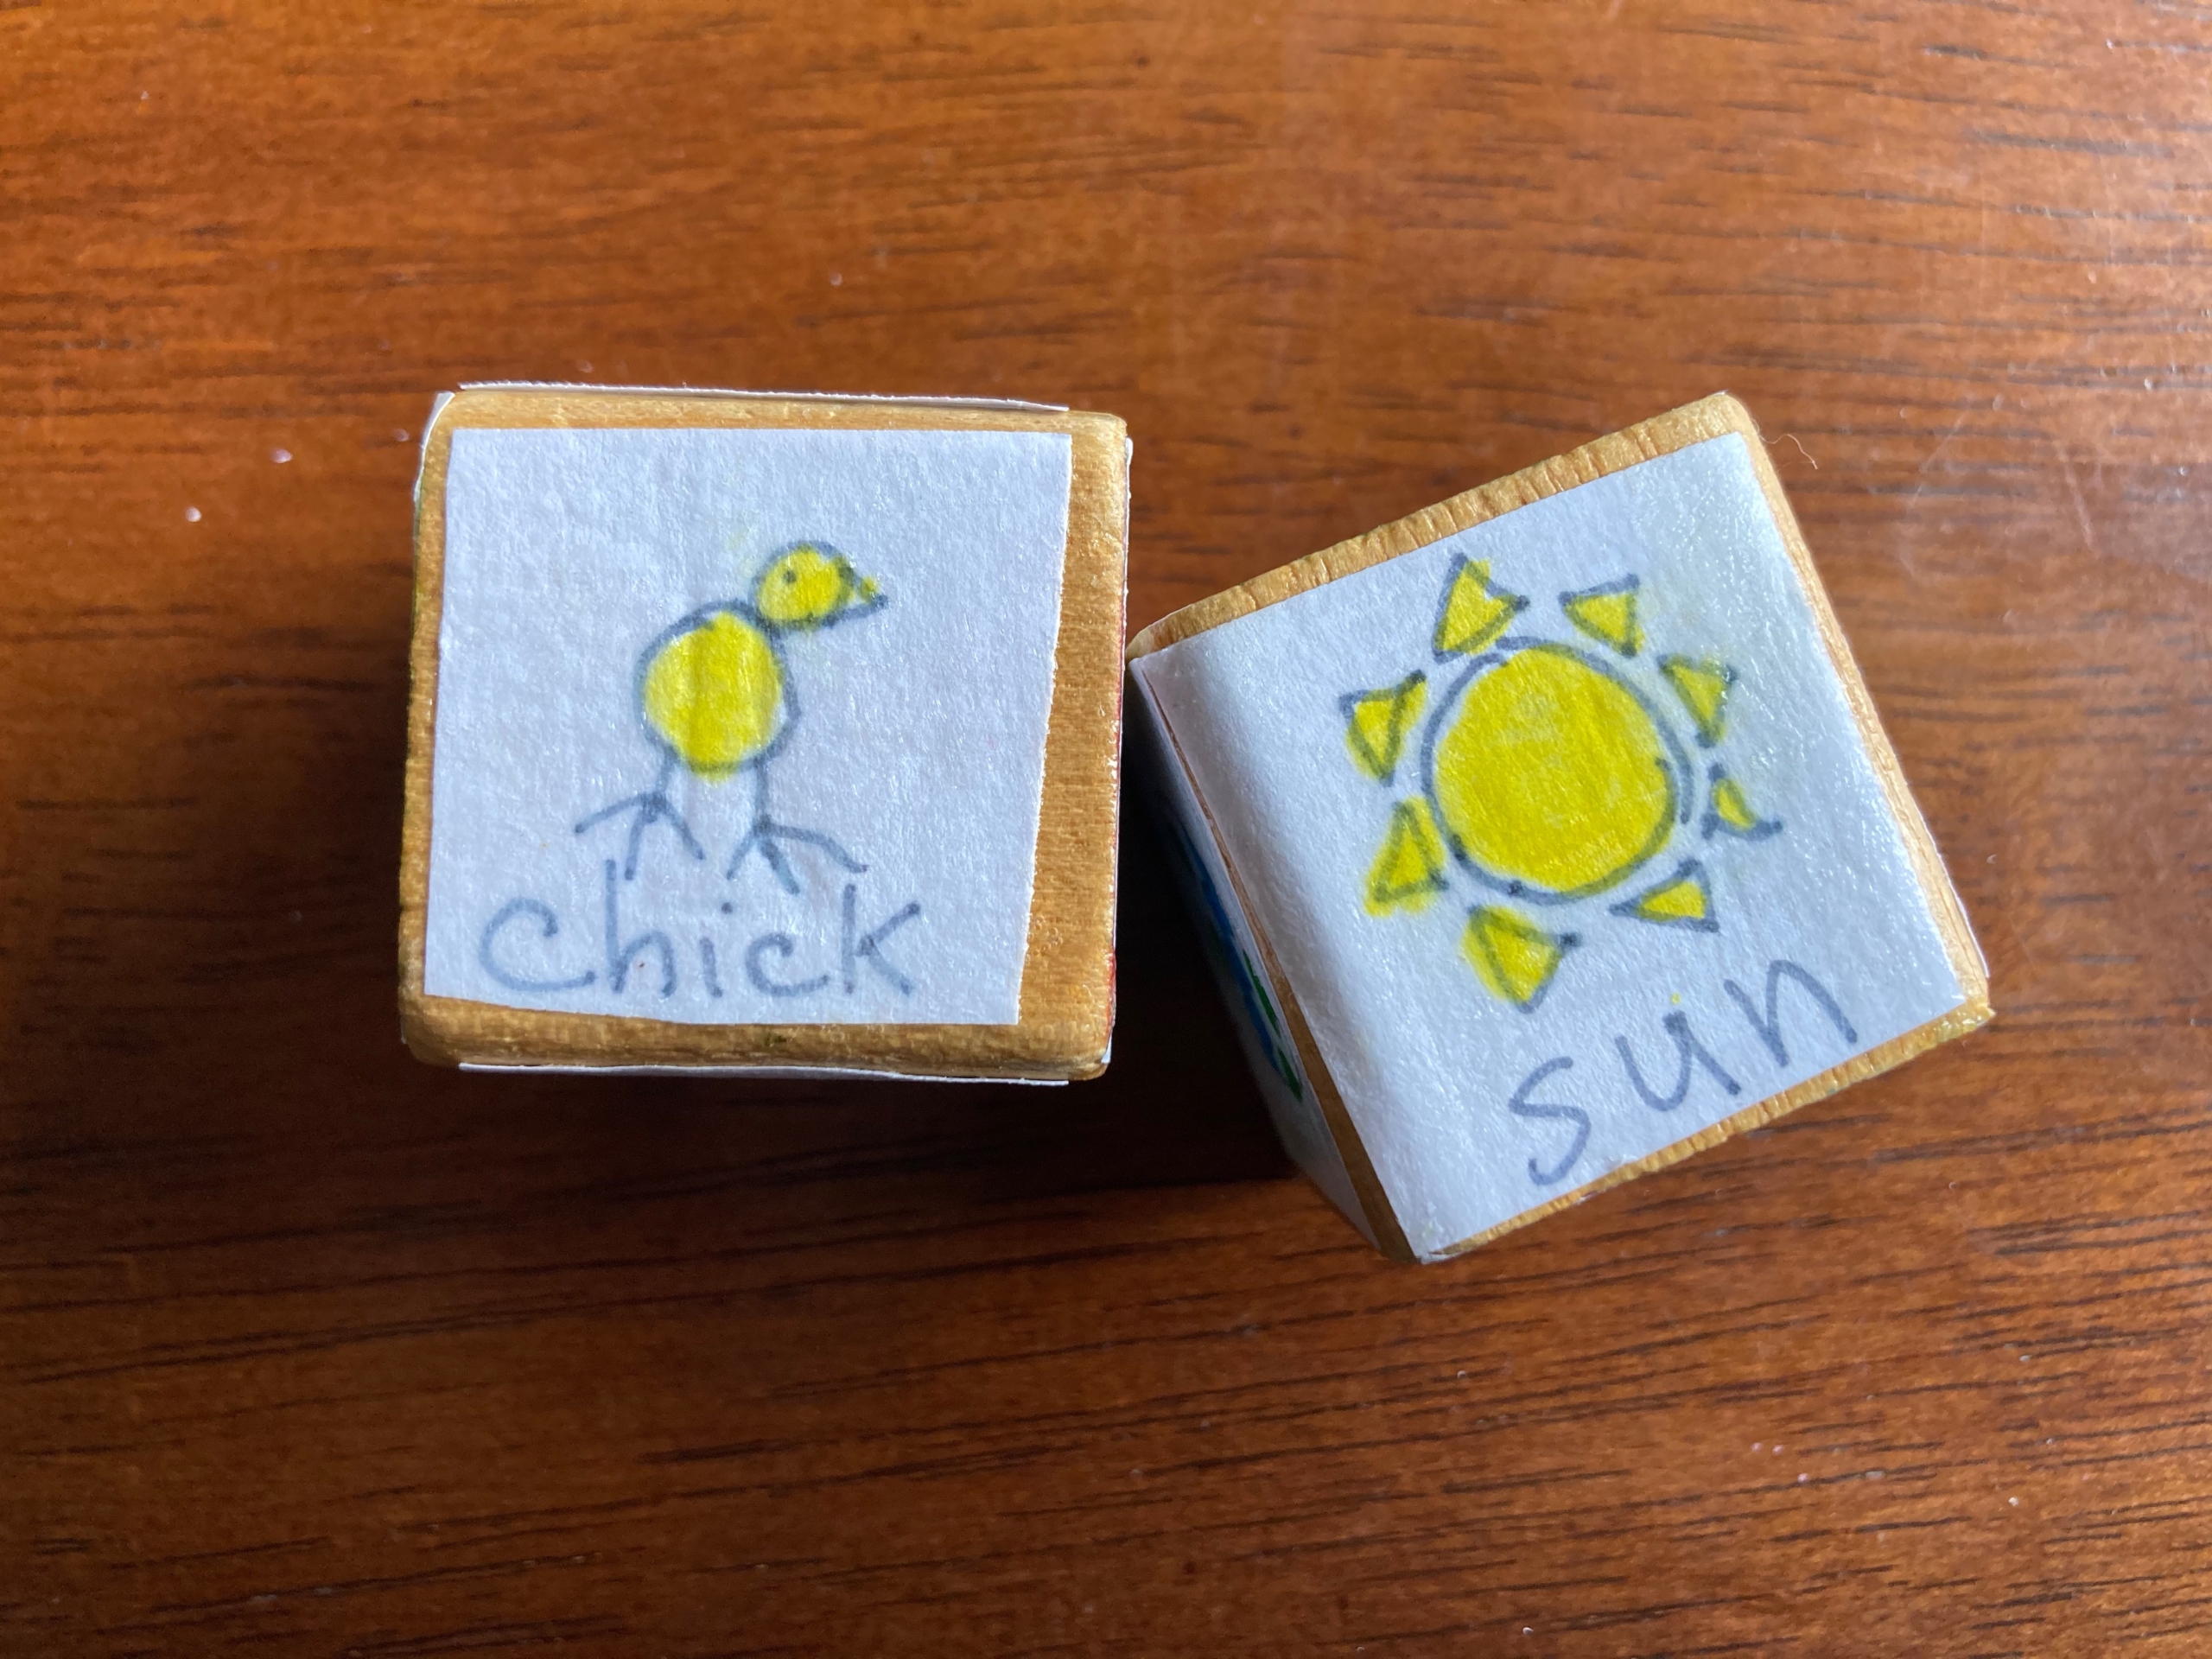
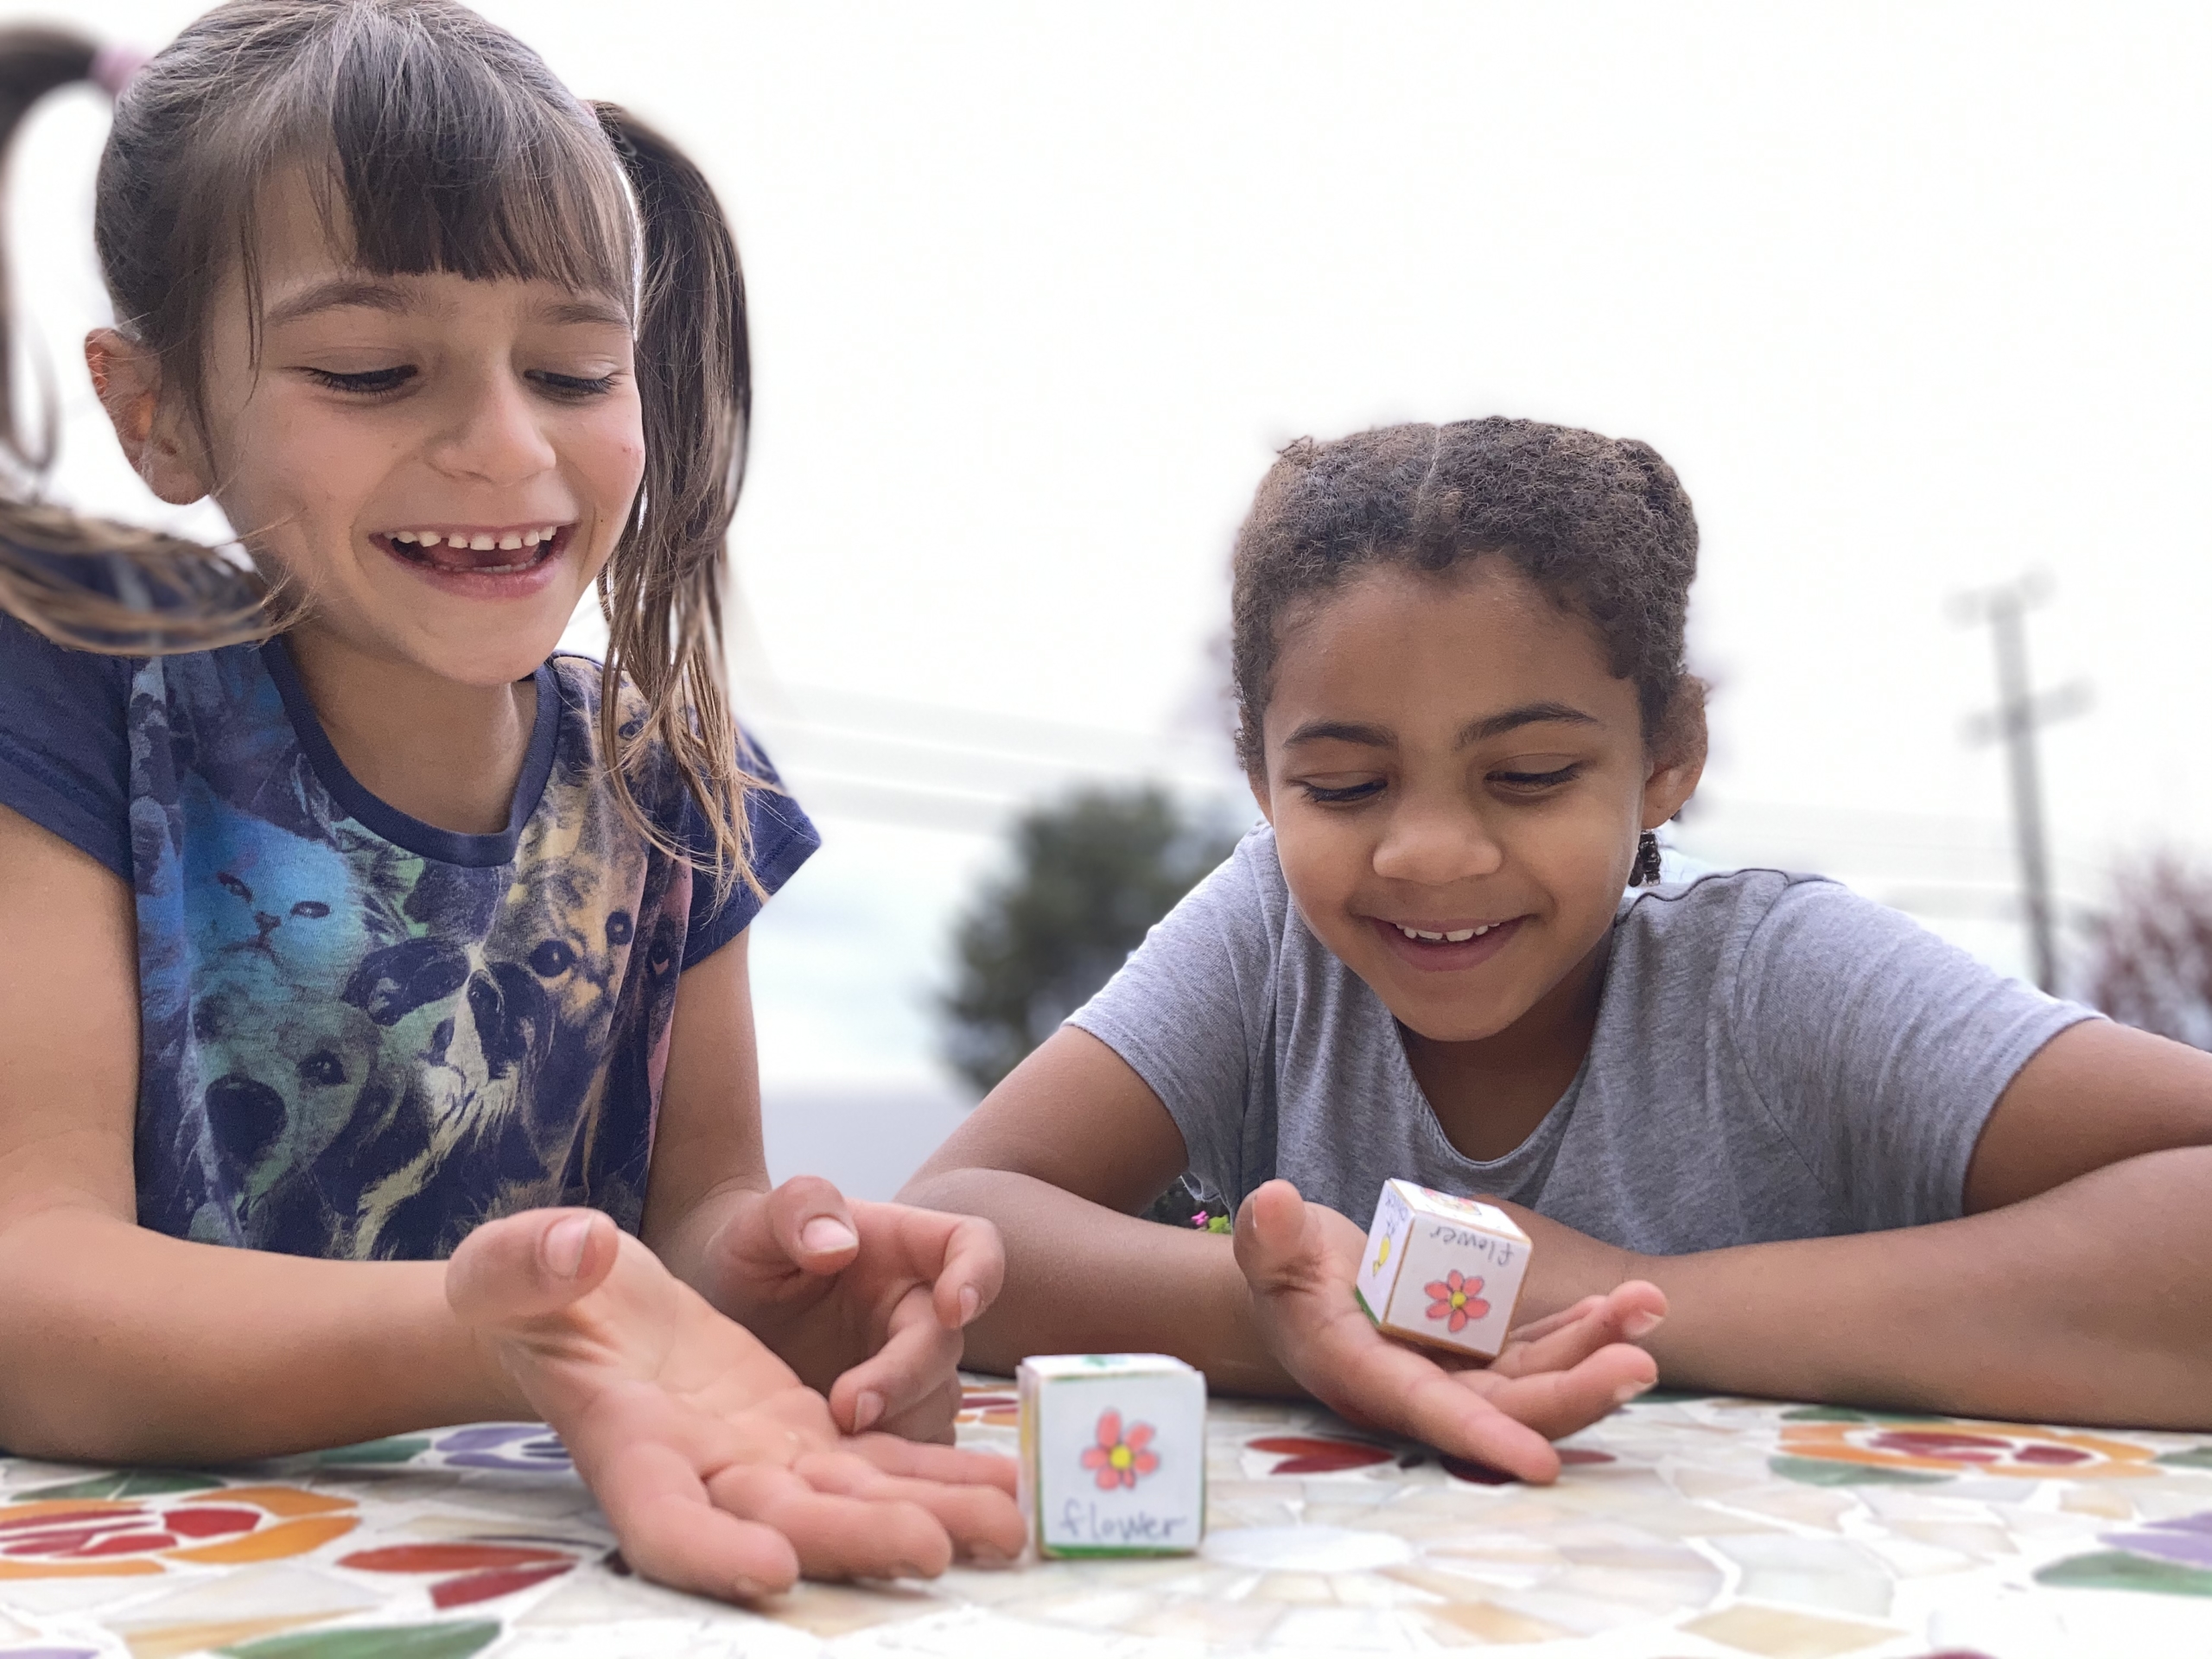
Now your storytelling dice are ready! Time to play. Here’s how: Take turns with your child gently rolling the dice. On your turn, make up a story featuring the two pictures that show up when you roll. (If the same picture comes up on both dice, roll again.)
Go first, to model for your child how to create a story from the prompts. Get creative and use lots of descriptive words to really bring your story to life!
Here’s an example to get your storytelling juices flowing:
Once upon a time, on a sunny Easter morning, a bunny was hopping along in a meadow. Suddenly, she spotted the most beautiful flower she’d ever seen in all her life.
As she stopped and looked around, she realized she’d entered a patch of radiant blossoms in every color of the rainbow. Luckily, she had her Easter basket with her, so she began gathering flowers to take back to her mother, when suddenly …
On your child’s turn, encourage them by listening attentively to their story, showing surprise and excitement as appropriate, laughing out loud if something funny happens, and generally demonstrating that you’re engaged in their story.
As you play, you can gently point out the labels below the pictures. This will help even the youngest kids to develop print awareness and learn that words represent objects. And older kids can begin connecting up the sounds and letter combinations with the items on the dice.
If you’re ready for more complicated stories—or just need more inspiration—roll the dice more than once per turn and take note of all the pictures that show up.

