Engaging kids in creative storytelling is a time-honored pastime and a fun, screen-free vacation activity for the whole family. It’s also a powerful tool to build key literacy skills, from vocabulary and comprehension to imagination and fluency. There are so many fun methods to get the stories flowing, including classic games like taking turns saying a word or a sentence to create a goofy group story.
One innovative method we like involves storytelling dice and storytelling cards. These clever tools serve as prompts to help you invent a story on the fly, weave a plot with twists and turns, build suspense, and captivate your little listener. Then you can turn things around, and use them to prompt your child to improvise their own story, developing their voice and confidence along with their storytelling chops.
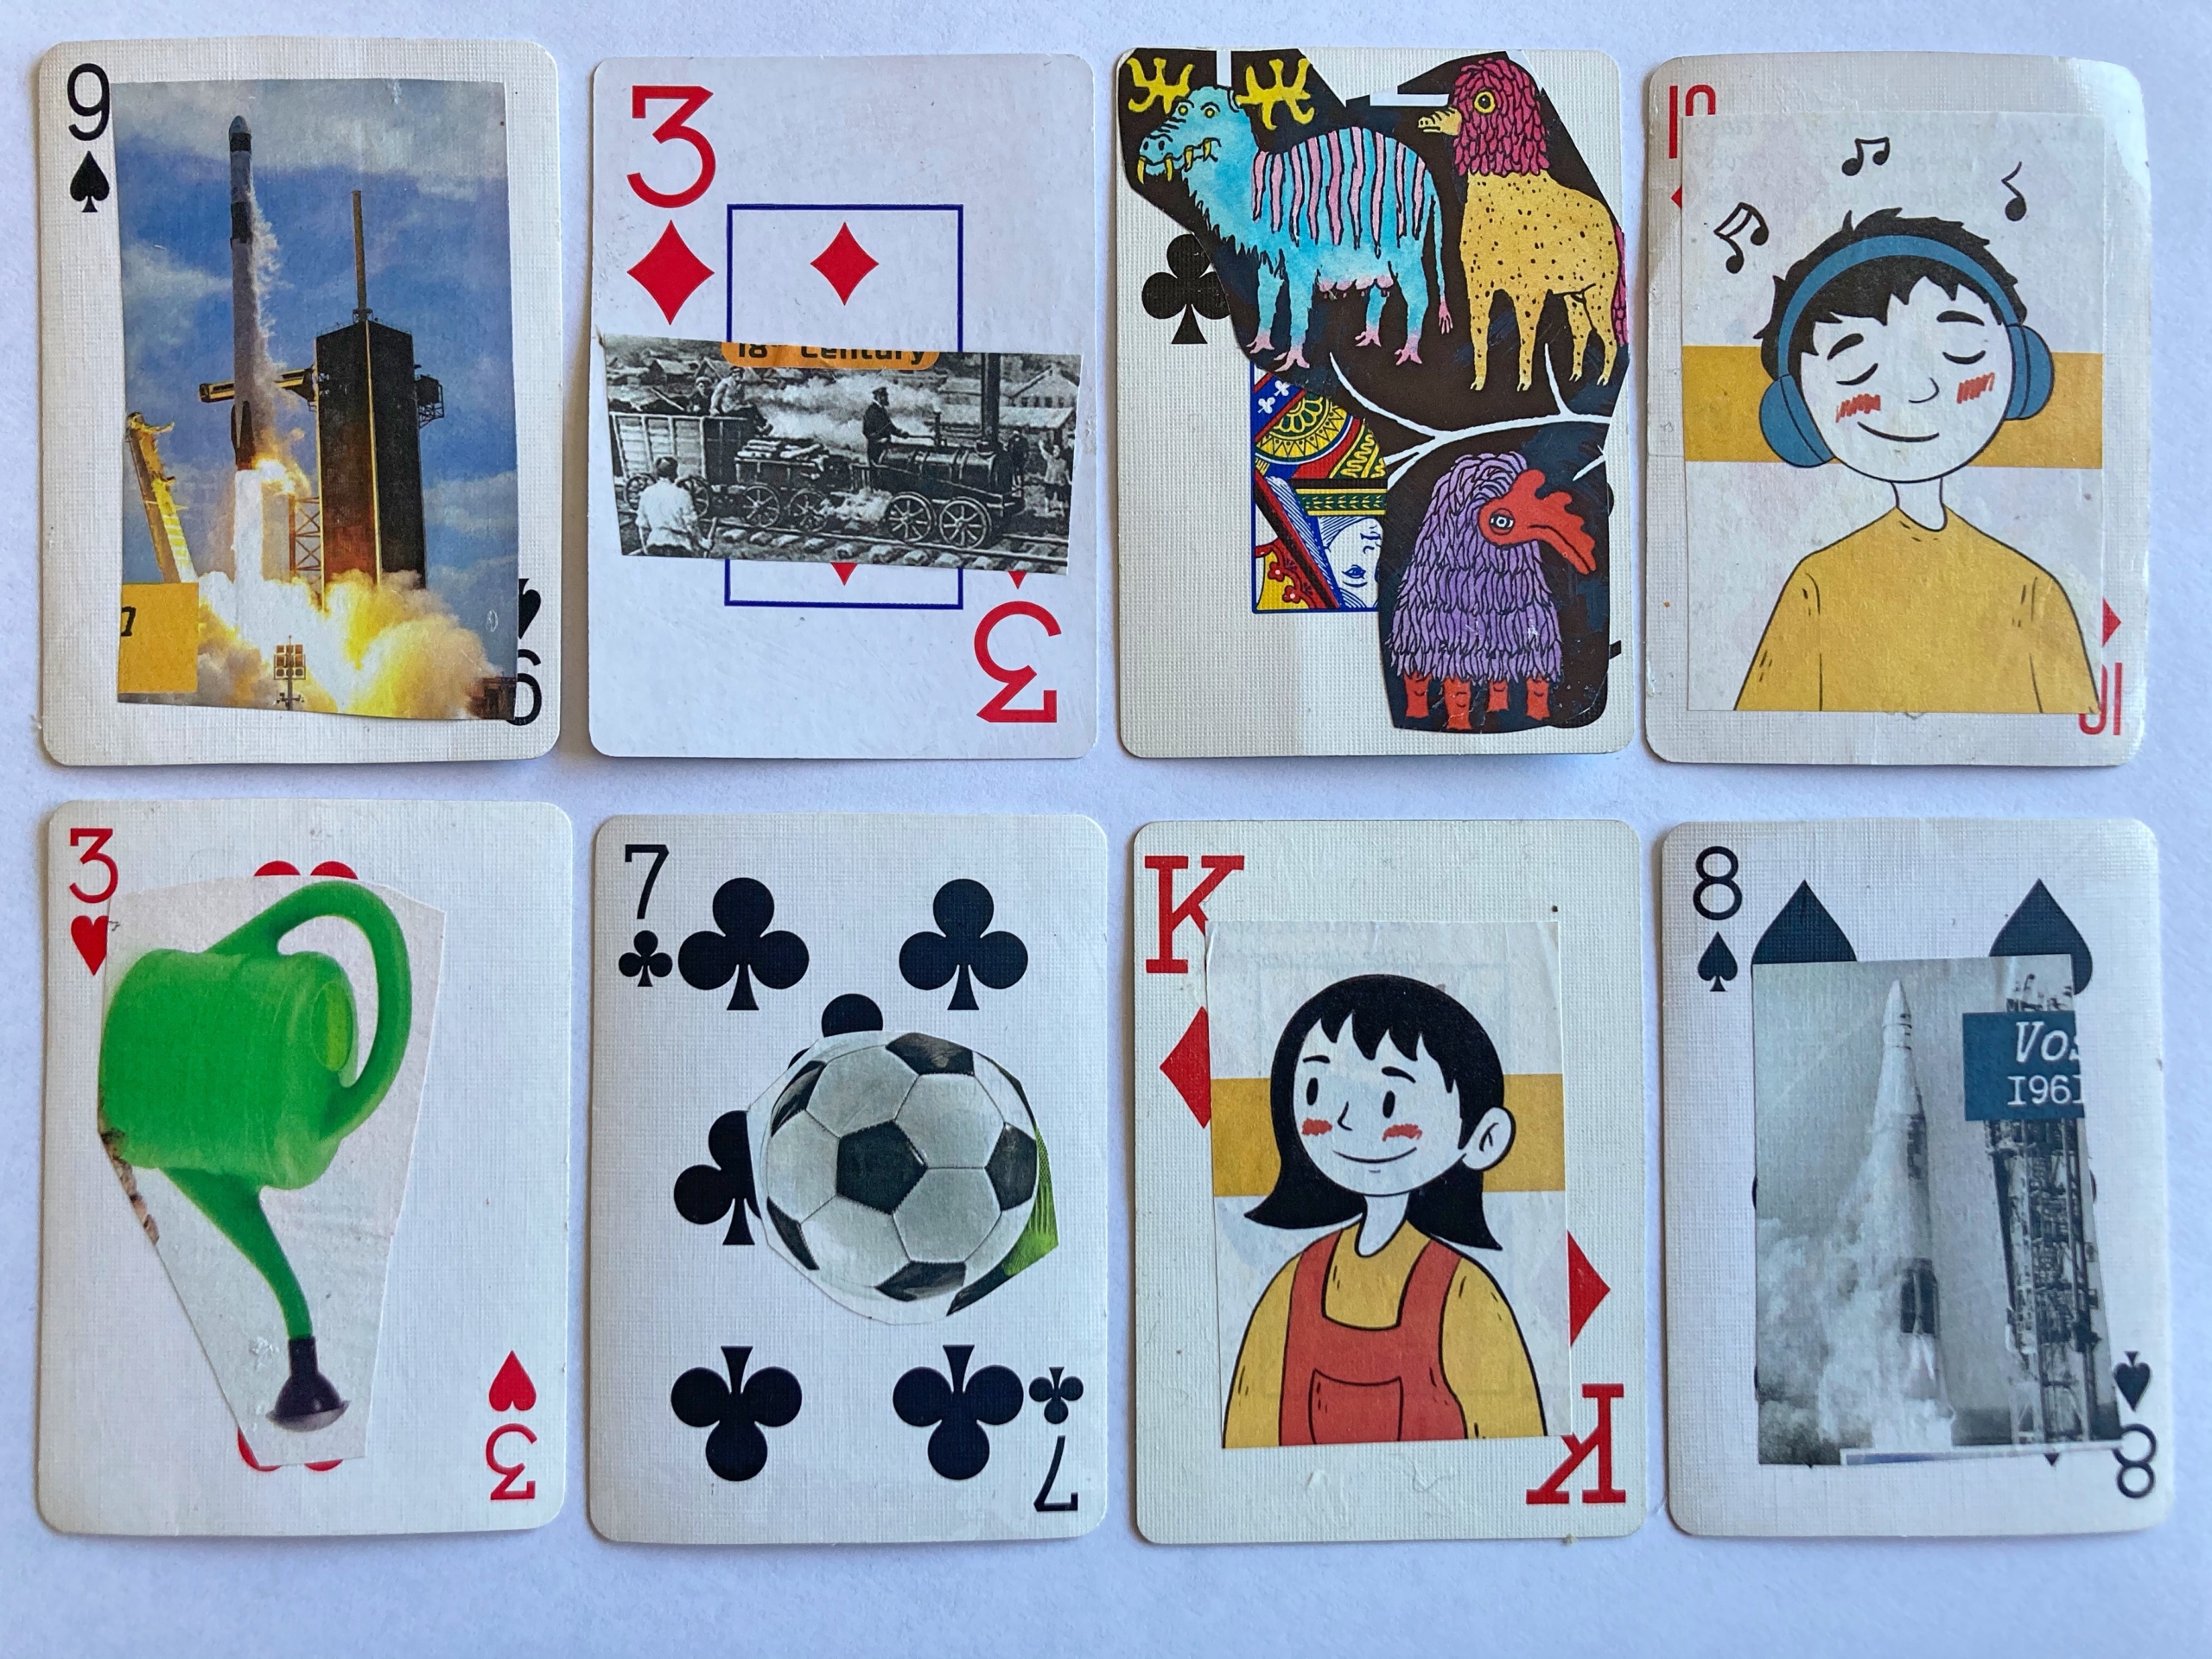
You can buy pre-made storytelling cards from various brands, but the truth is that all you need to make your own DIY storytelling cards is some old playing cards (or just index cards) and a magazine or two. It’s an awesome reuse of those incomplete card decks that any game-loving family acquires over time—read on to keep your mismatched playing cards out of the trash, your carbon footprint down, and your cash in your wallet. Why buy new when you can upcycle?
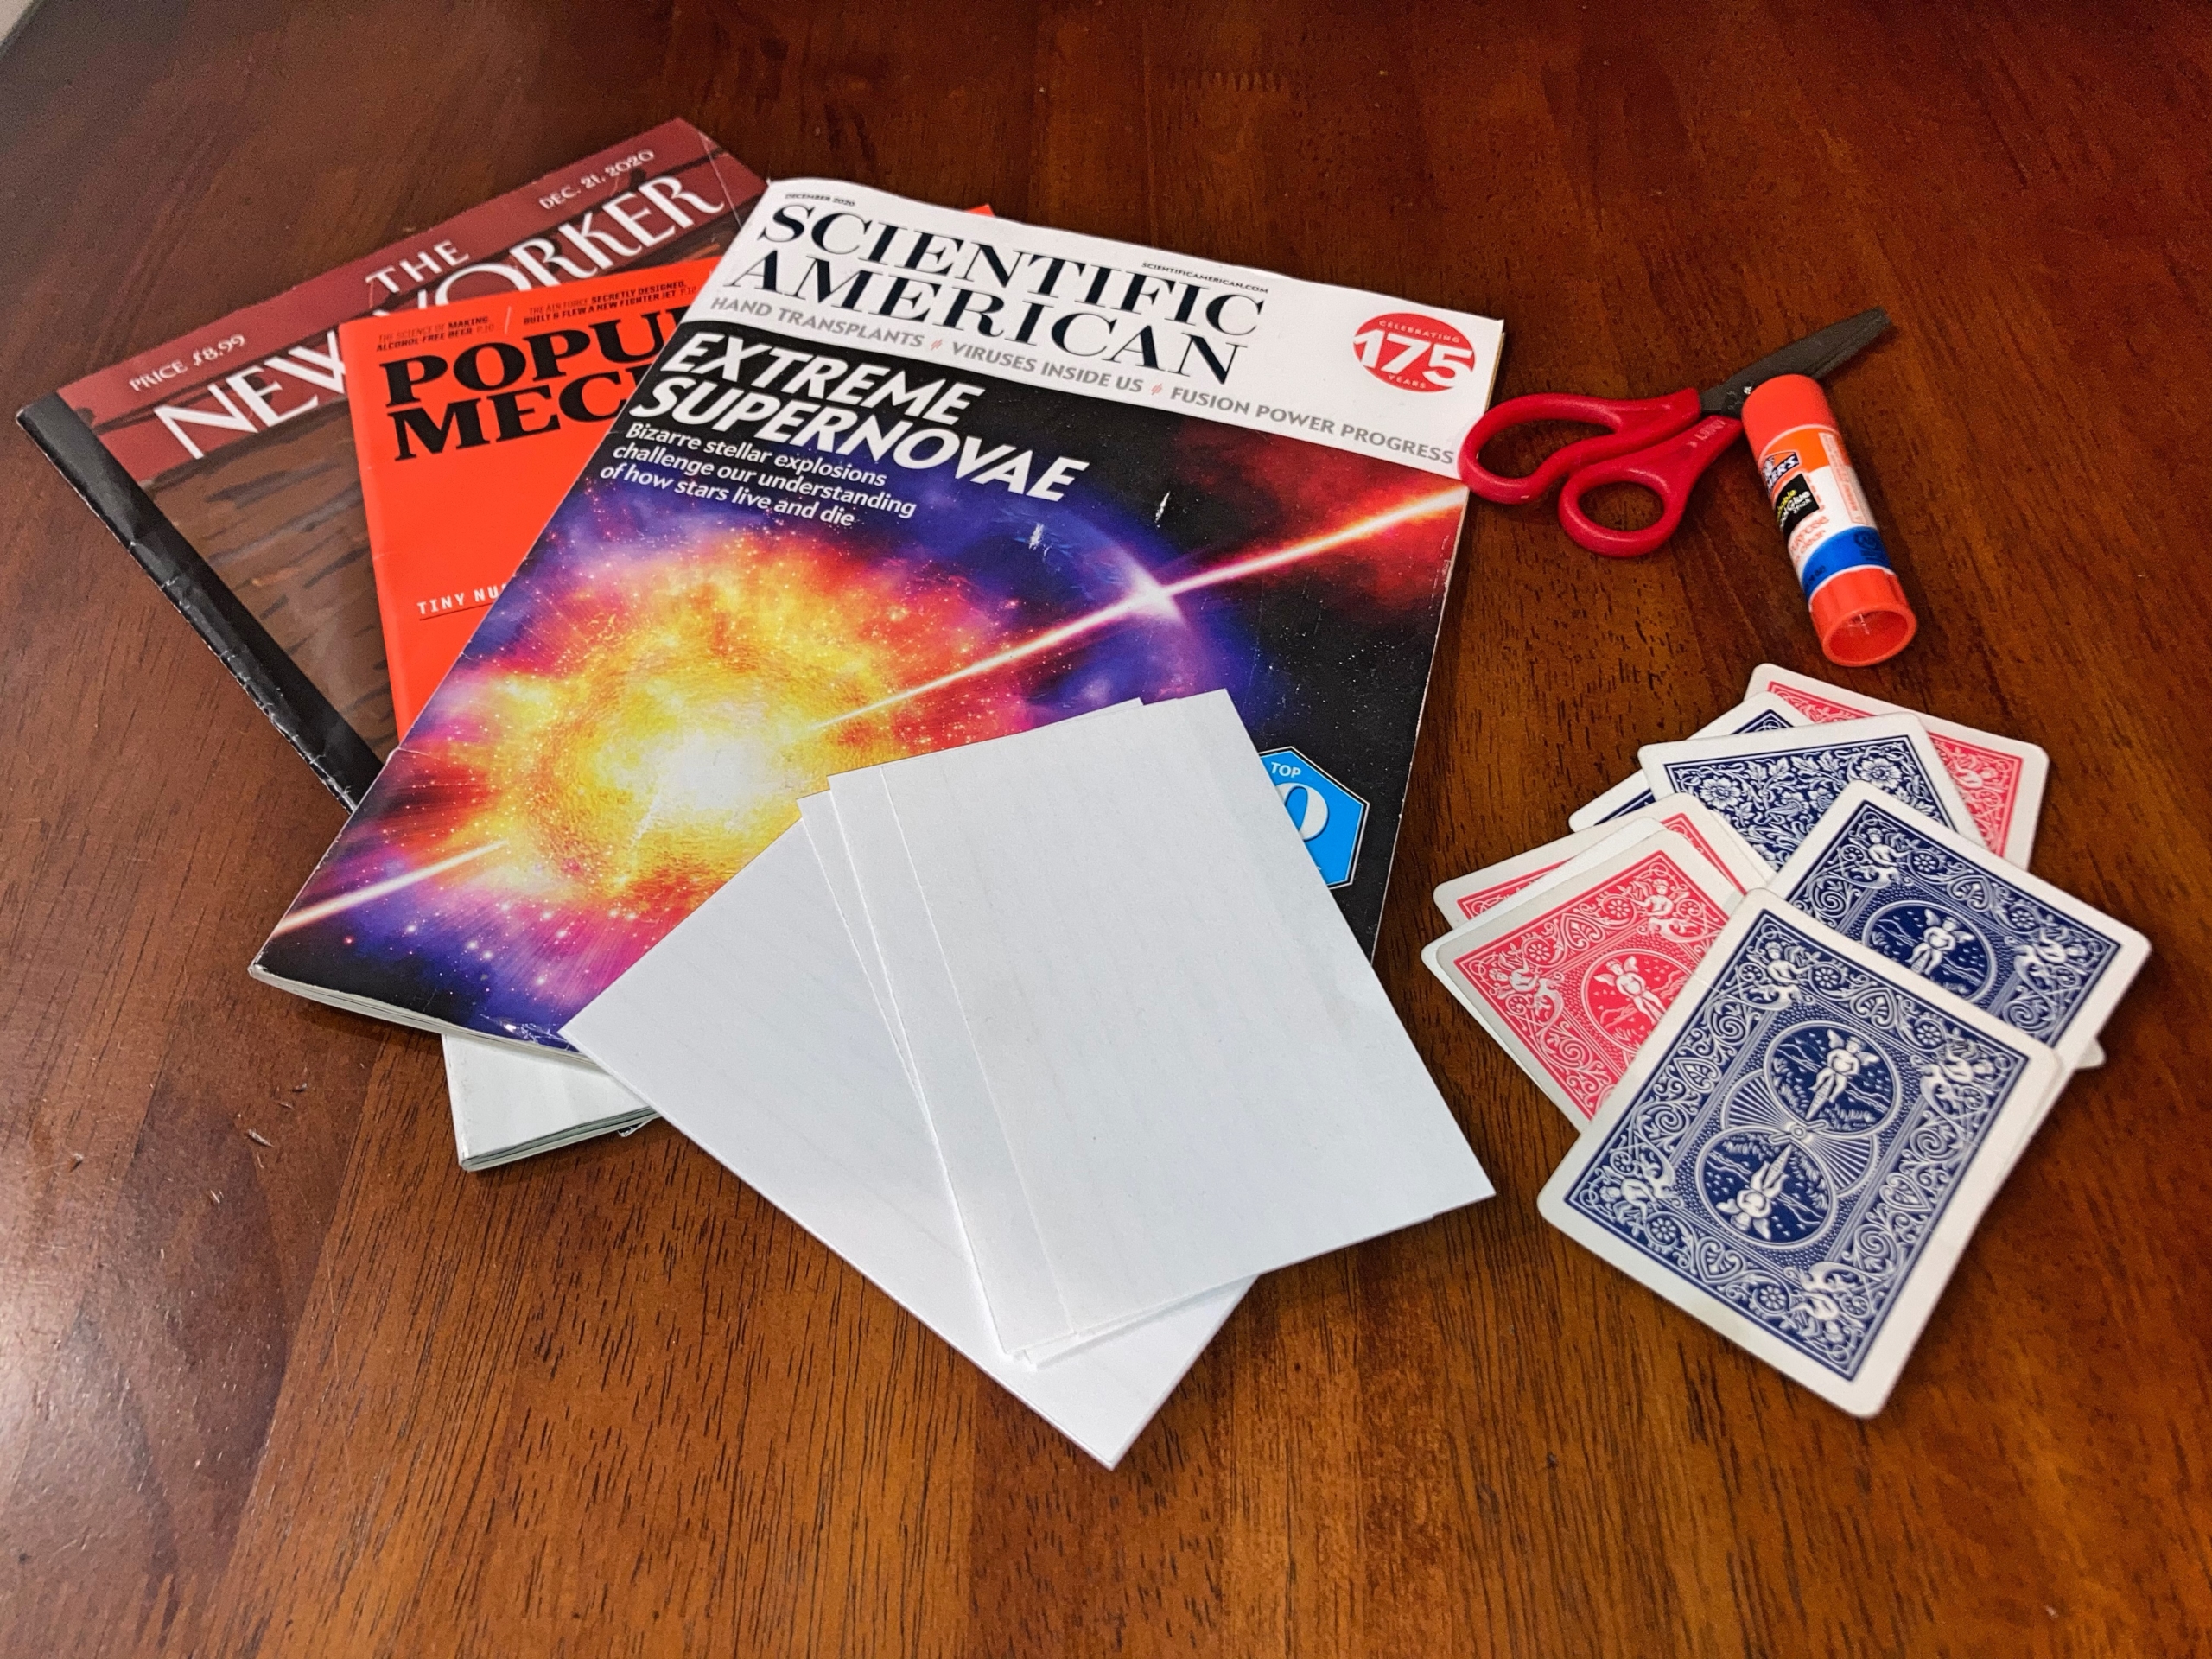
Materials:
- Old playing cards or index cards (at least six, or as many as you want!)
- Magazines or catalogs
- Glue stick (or glue, Mod Podge, etc.)
- Scissors
Cost: Free
Step 1: Start by flipping through any old magazines or catalogs you can lay your hands on for whatever fun pictures you can find (in a pinch, junk mail often has a lot of pictures that can work!). Check that the pictures are not larger than the cards you’re using, and then cut them out.
Tip: Look for pictures that will engage your child. Animals and people are great, but vehicles, toys, sports equipment, and other objects can work well too. Letting your child choose the pictures is a good way to involve them and make sure you use pictures they find interesting.
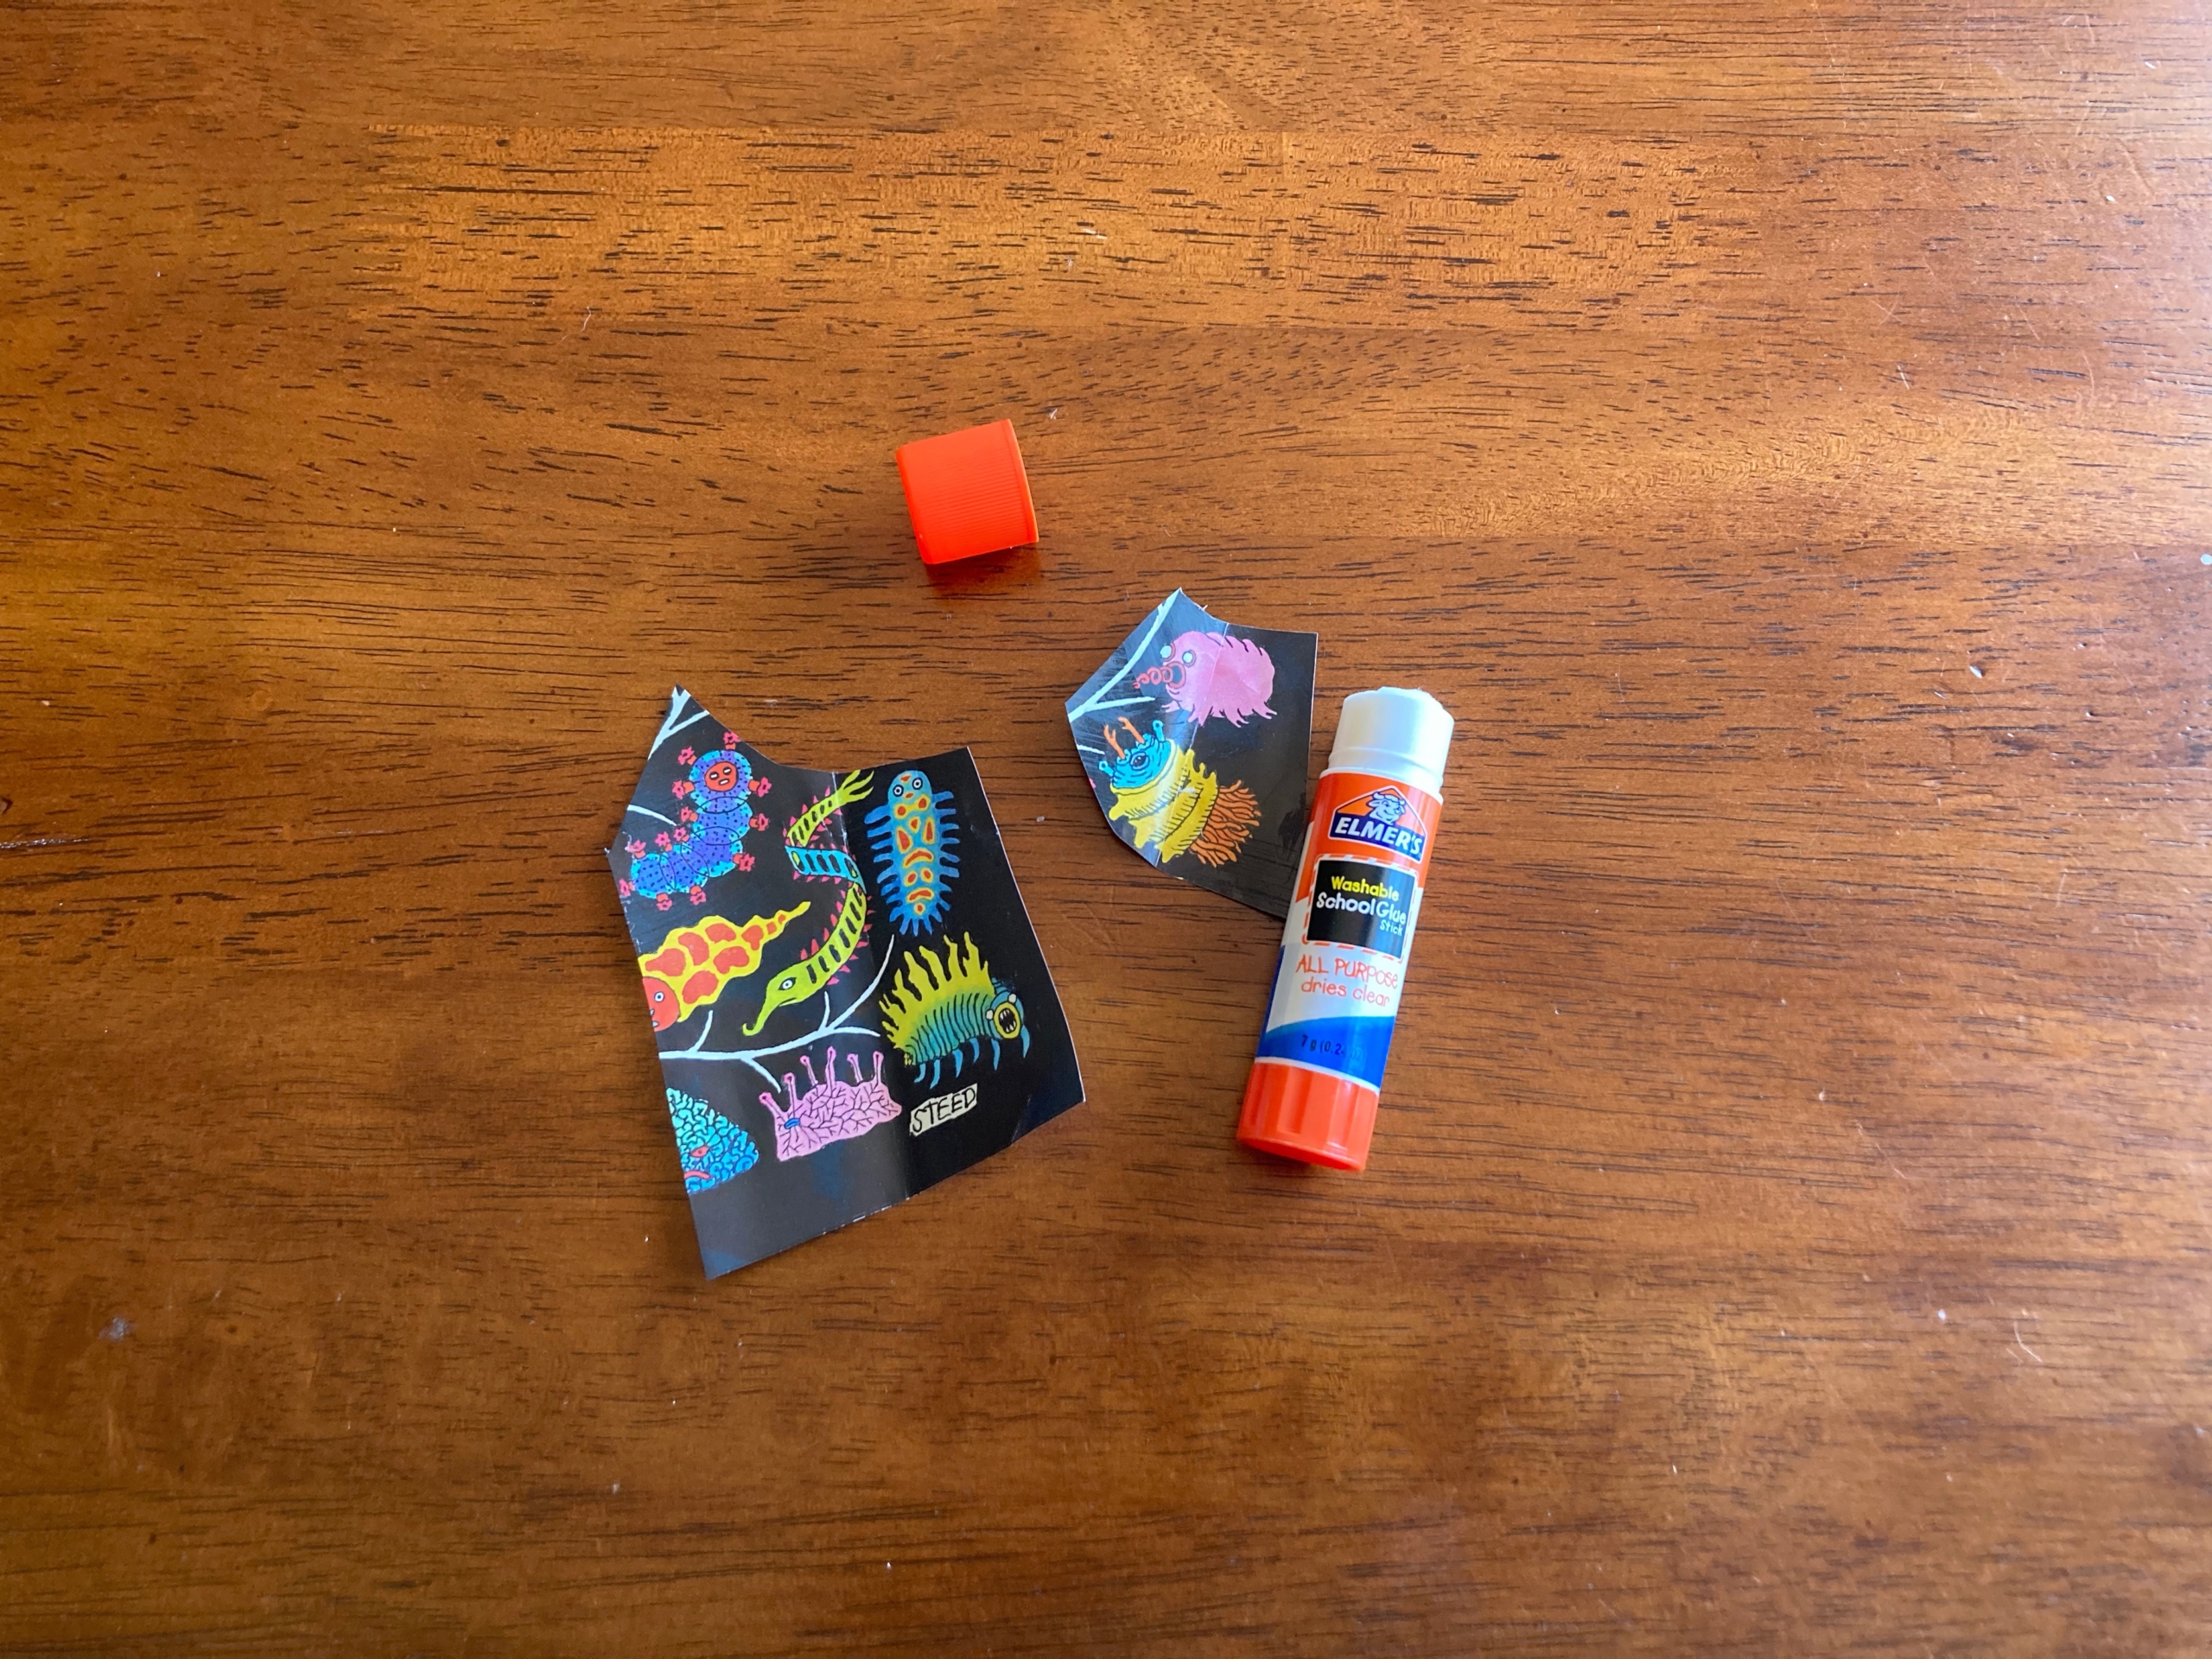
Step 2: Cover your work surface, if needed, and glue the pictures onto the number side of the playing cards or the blank side of the index cards. We tested out a variety of methods and found that a simple glue stick worked best for us. (Yay! Easy!) Painting on a thin layer of white glue or Mod Podge can work, as well.
Once the cards have dried thoroughly, lay them flat and cover them with thick books or other heavy objects overnight—the glue can curl them, but they’ll flatten right out after a few hours.
Optional: If you’re using index cards, you could consider encasing them with self-laminating sheets or wrapping them carefully in packing tape to make them more durable. Playing cards will already be nice and sturdy.
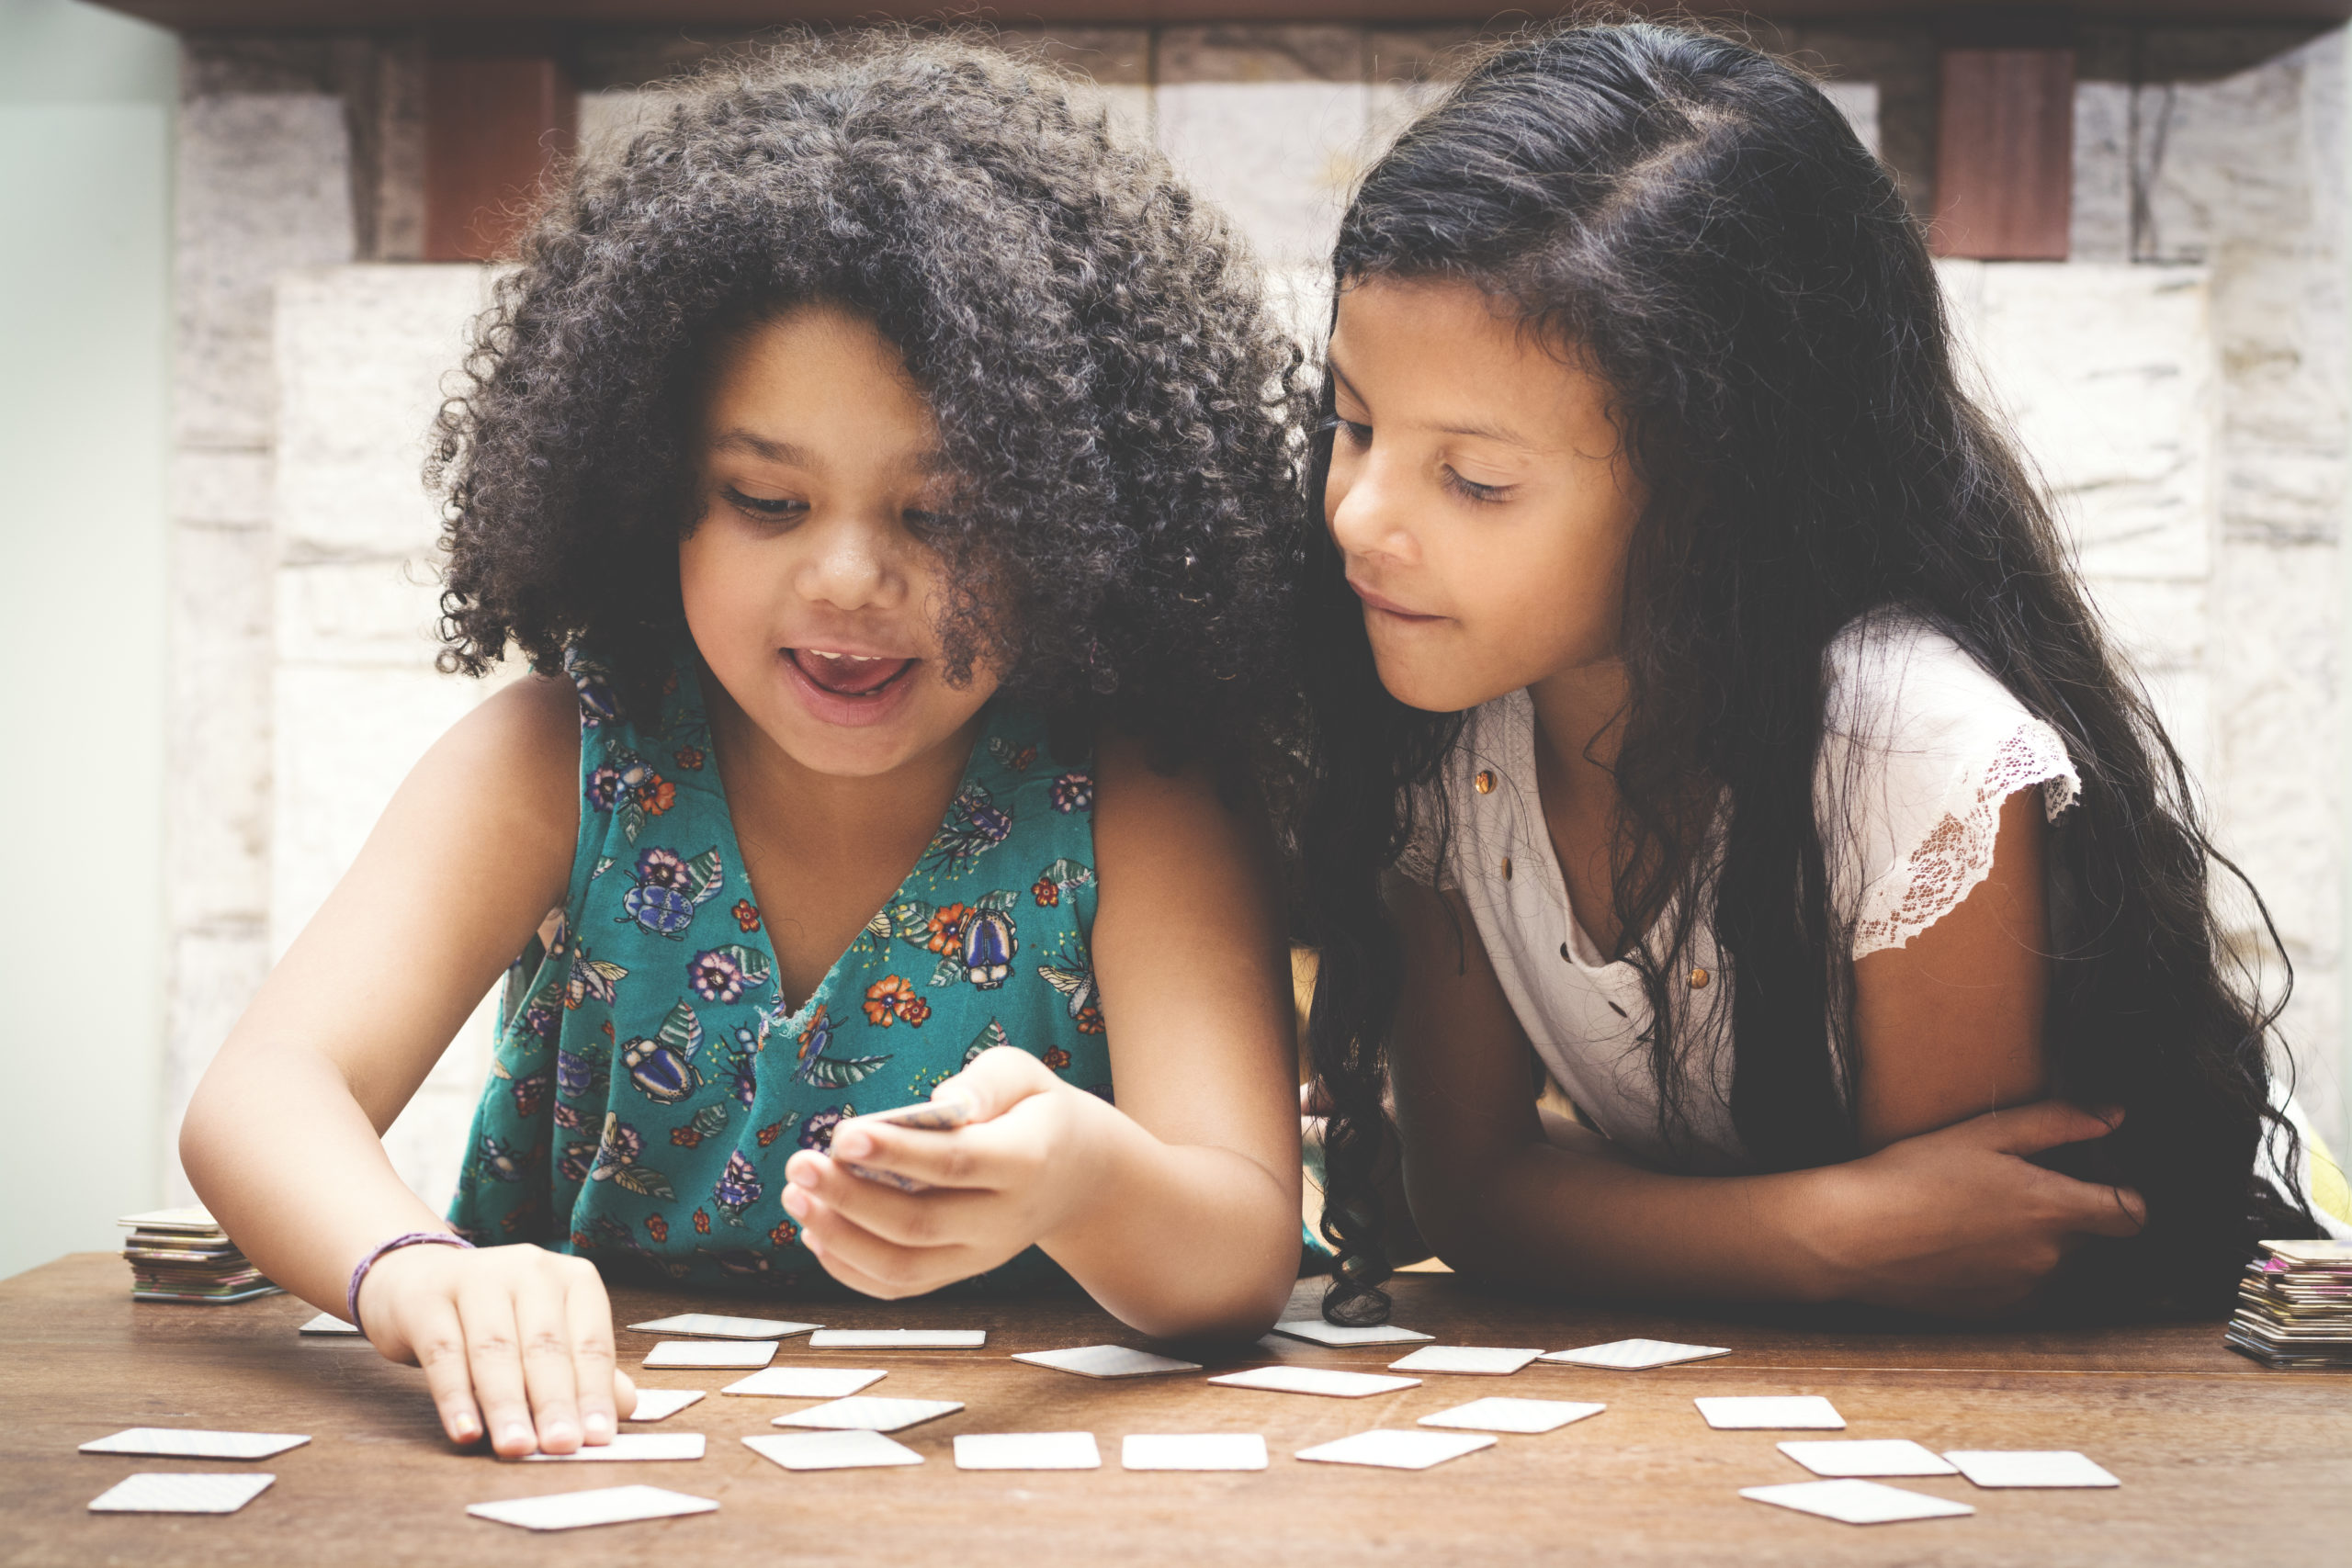
How to Play: Once your cards are ready, it’s time to let the stories begin. Turn over all the cards, mix them up, and then deal out your story prompts. You can turn over a number of cards and spin a yarn from the pictures, or you can turn over one at a time, adding another card every time you need a new twist to your tale. Use plenty of dramatic flair in your story, raising and lowering your voice, creating suspenseful pauses, or doing silly voices.
Let’s take a couple of examples using the DIY storytelling cards pictured above. Using a couple of the upcycled playing cards shown, a storyteller might improvise: There once was a boy who loved music and soccer more than anything in the world. One day, he was walking to the park with his mother when he came across a soccer ball along the way. That might not have been anything extraordinary, but there was something odd about this soccer ball. Oh, it looked like any soccer ball, sure, with its black and white shapes … but it wasn’t lying on the ground. No. This soccer ball was floating two inches above the sidewalk!
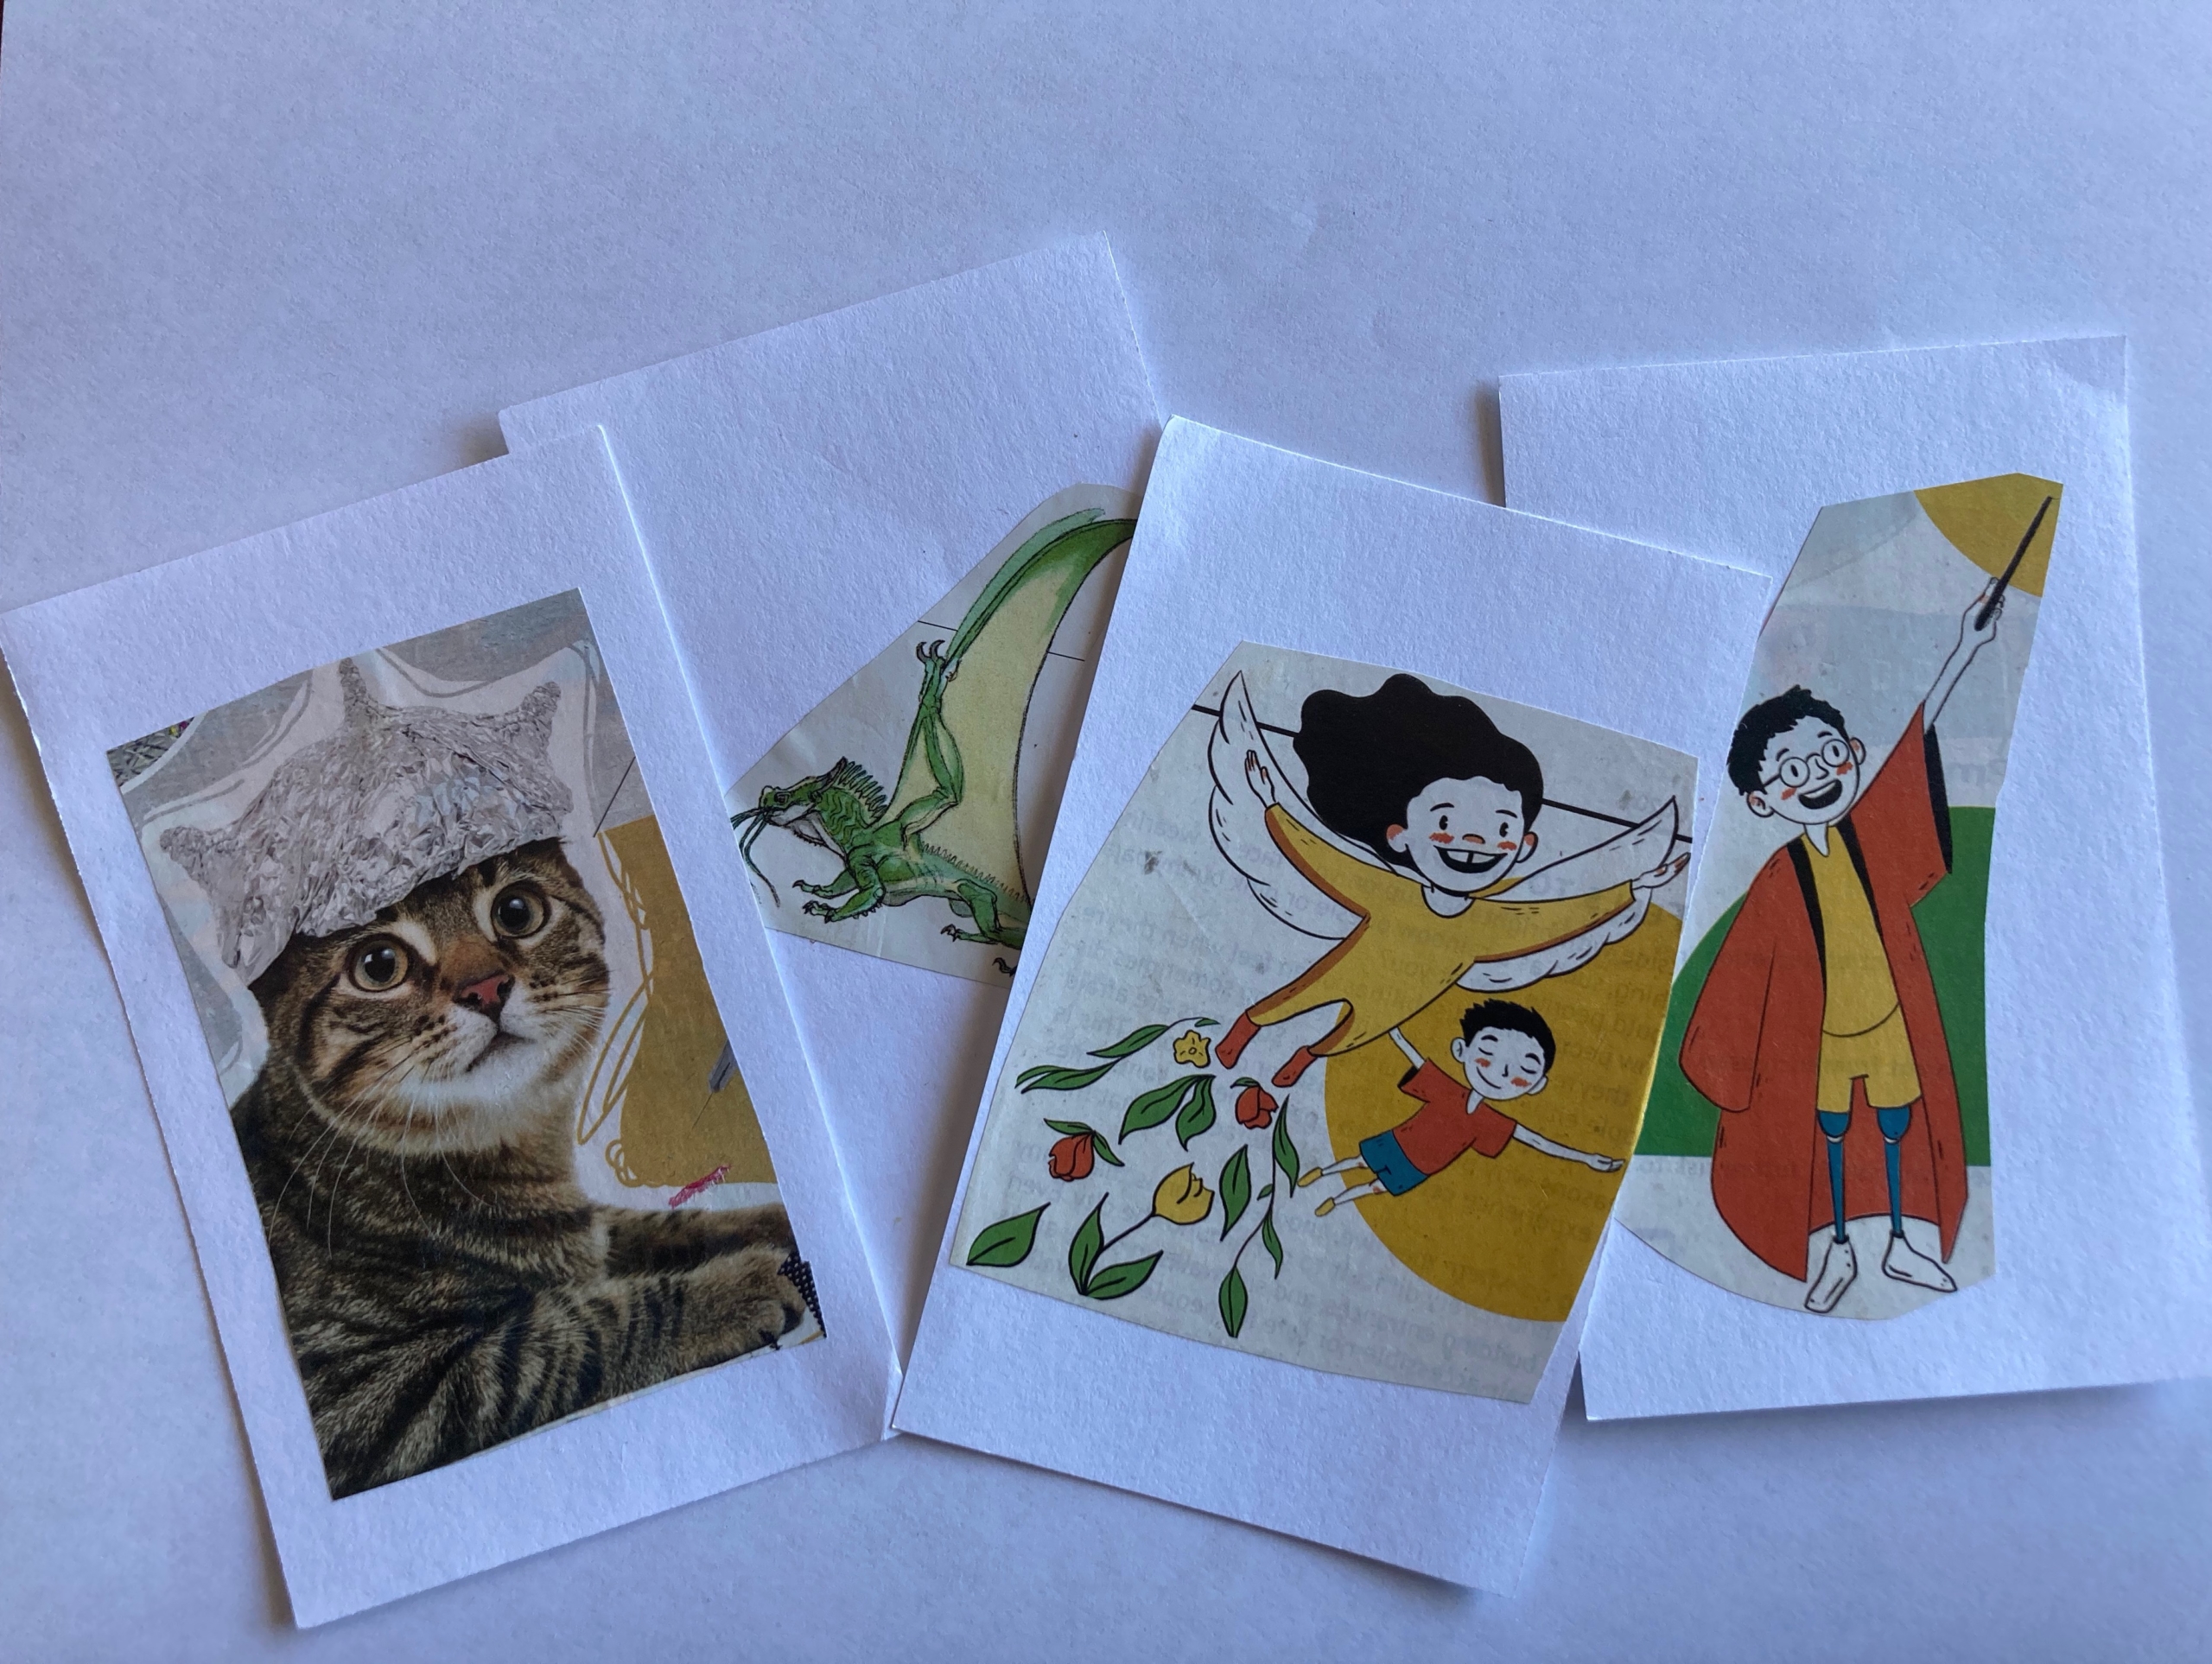
Or using the index-card storytelling prompts, you might begin: The Avalos family had a cat. Everyone in the neighborhood knew that, because that cat just loved to wander. It wandered over to Mrs. Small’s house for treats. It wandered over to the neighbor kids’ house for pettings. It wandered near and it wandered far. But it always came home for dinnertime. Until that one Wednesday when everything changed. That evening, the family sat down to dinner and the cat still hadn’t come home. Just before bedtime, they heard that cat meowing at the door. And when they opened the door, what did they see but the cat … with a hat!”
Add Some Writing: When it’s your child’s turn, offer to write down their story for them. They’ll be so proud, you’ll have a fun memory to keep, and it will help them build print awareness—the understanding of how letters and words on paper represent language. As they get older, have them write down their own stories, just asking for your help as needed.
If you want to add even more print awareness and word practice to the activity, you can write a word on each card with a permanent marker (e.g., ball, cat, etc.). The trick is to keep it fun and just mix in literacy practice in a natural way.
Adaptation for Older Kids: For kids who are reading, you can put more words on your cards or even make cards that have only words or phrases on them. Include unique, inspiring, silly, or spooky phrases to unleash your family’s creativity!
Keep your DIY storytelling cards in your bag for entertainment during long waits or car trips with your kids. They also make a cute homemade gift!
*Photos by Laila Weir
Pin me for reference