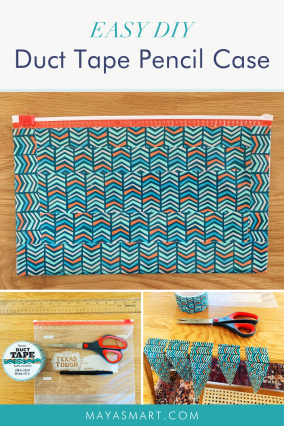
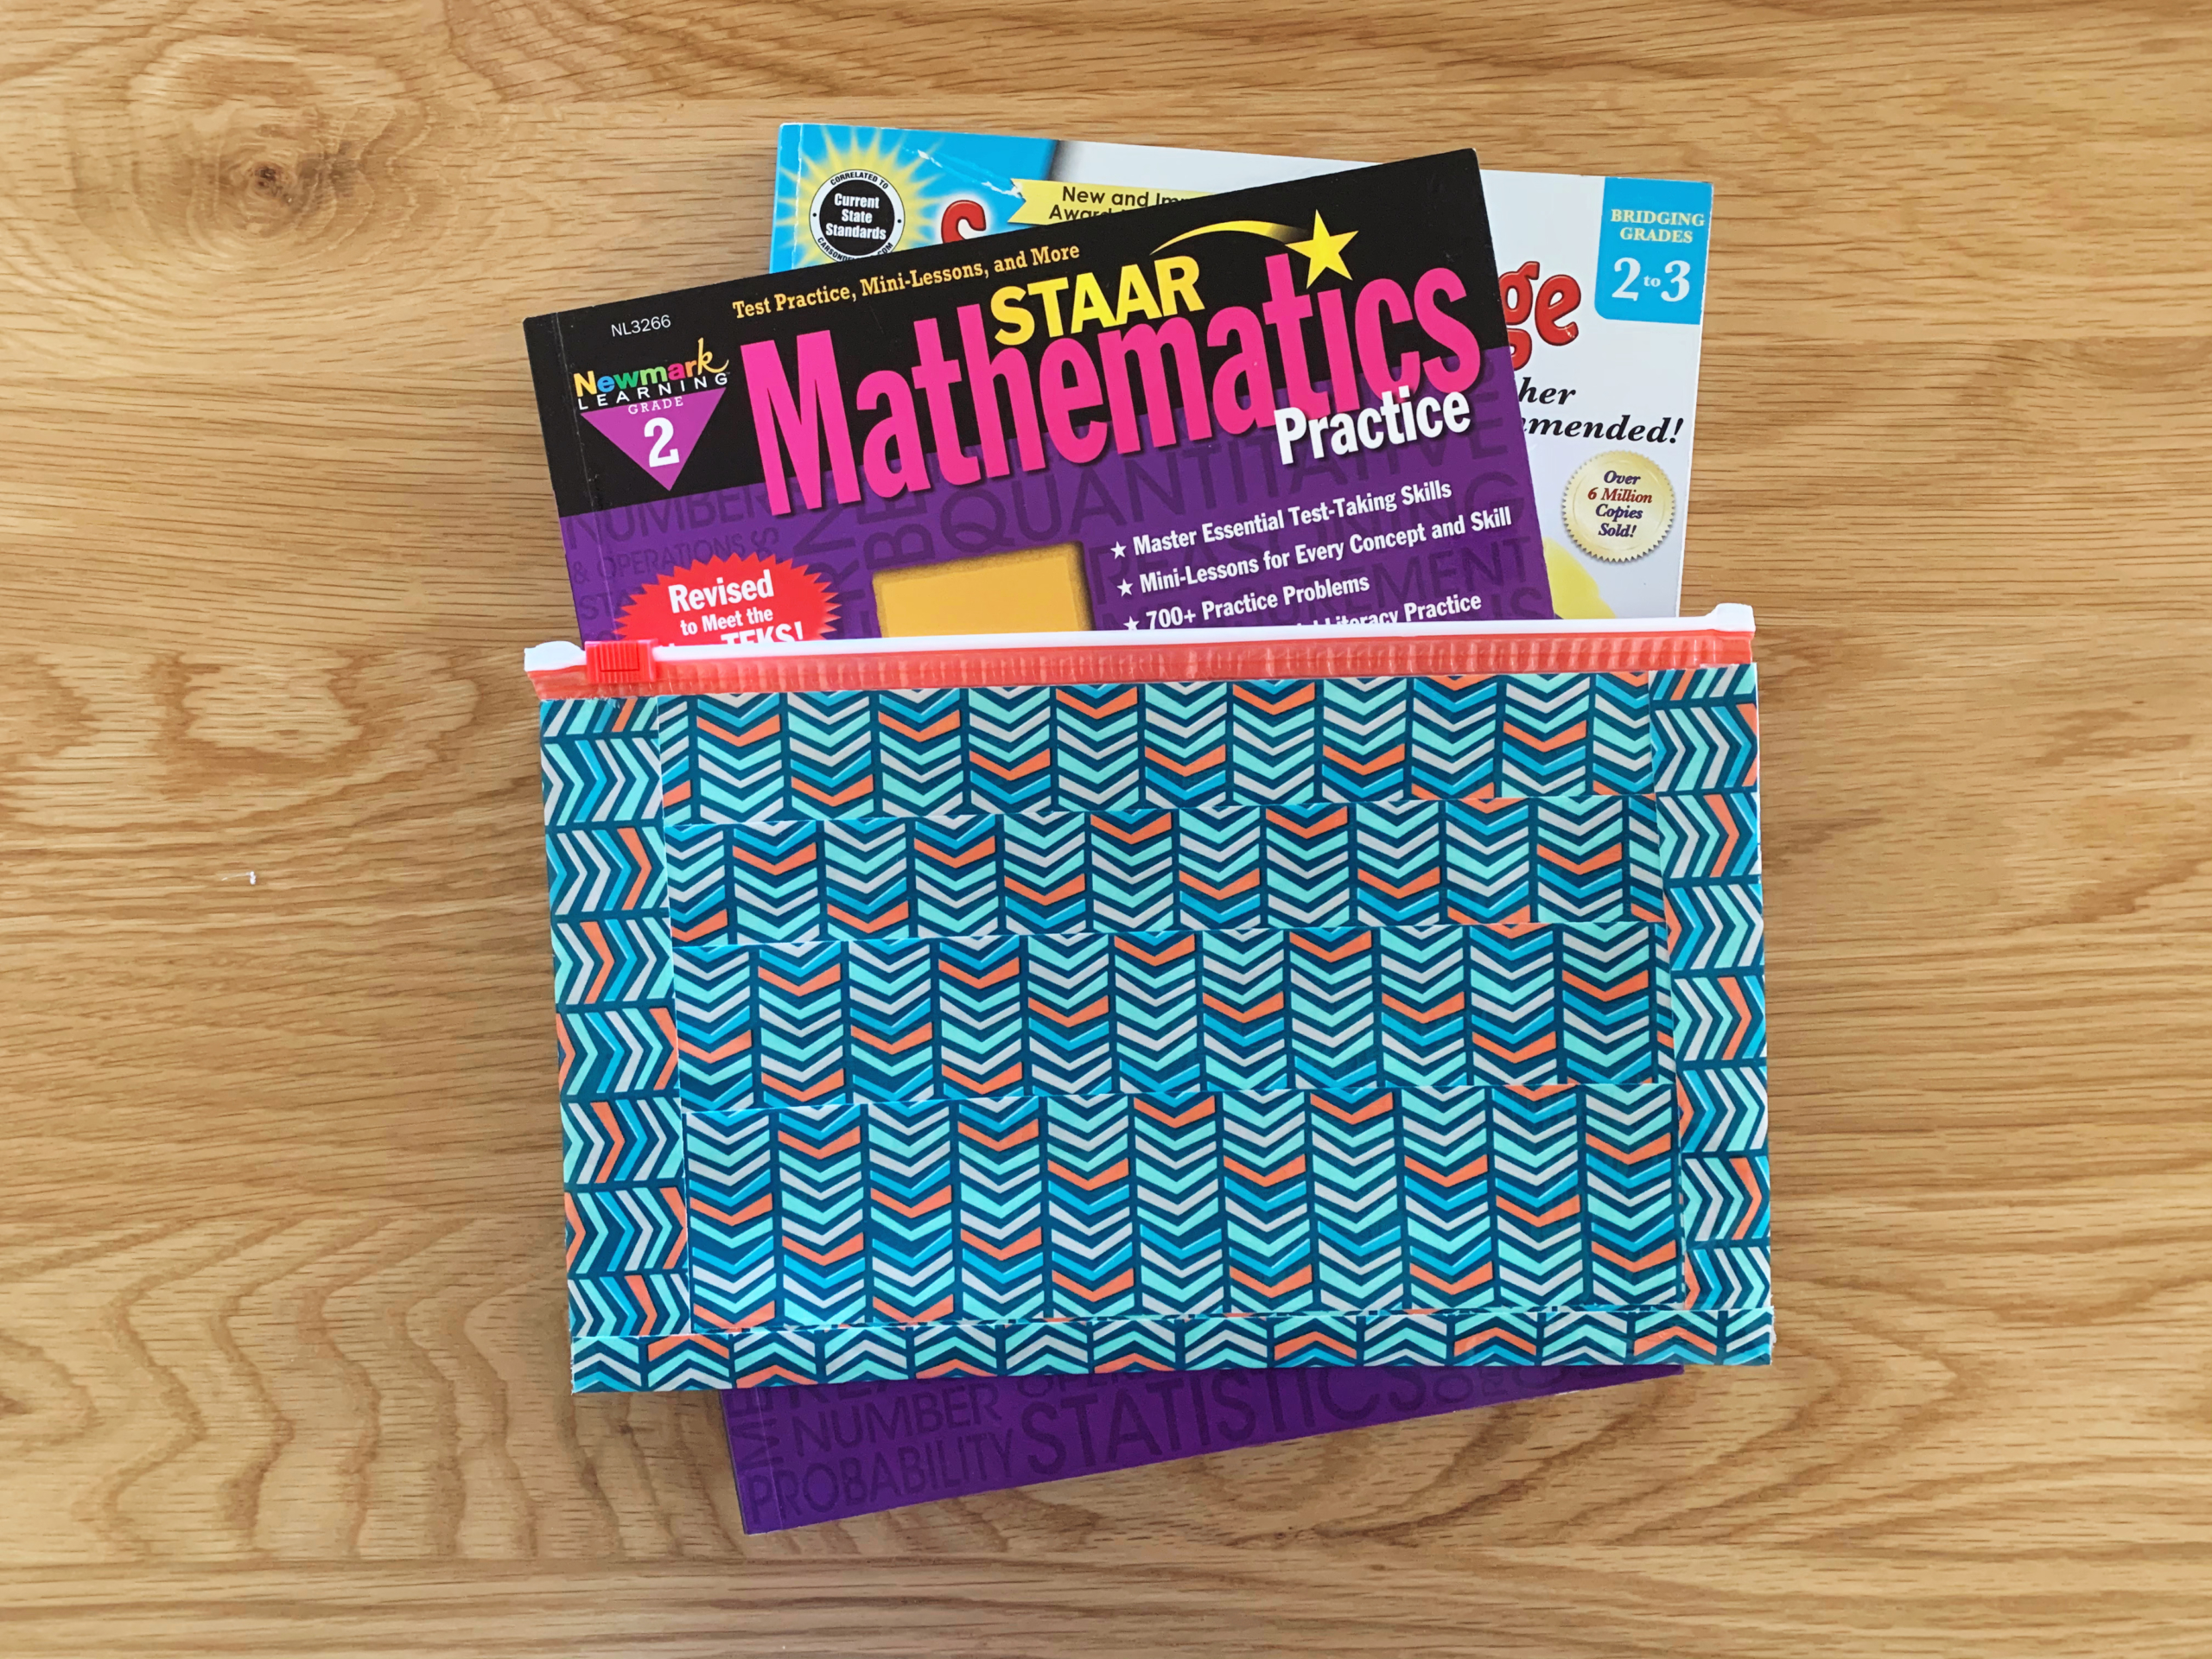
Why buy a pencil case when you can make your own in a few simple steps? Duct tape comes in so many fun patterns that you can use to create a super-cute DIY pencil case. You can even punch three holes along the bottom of your case and it will fit perfectly in a binder.
Once you get the hang of cutting the duct tape, this DIY pencil case craft will not take long at all. Kids might need a little help aligning the tape, but they can easily join in and create their own special, personalized bag for their school binder or backpack. It will make it so much more exciting for them to pull out a pencil for homework or to work on literacy activities at home! This could also be a great accessory to our to-go activity kit for kids.
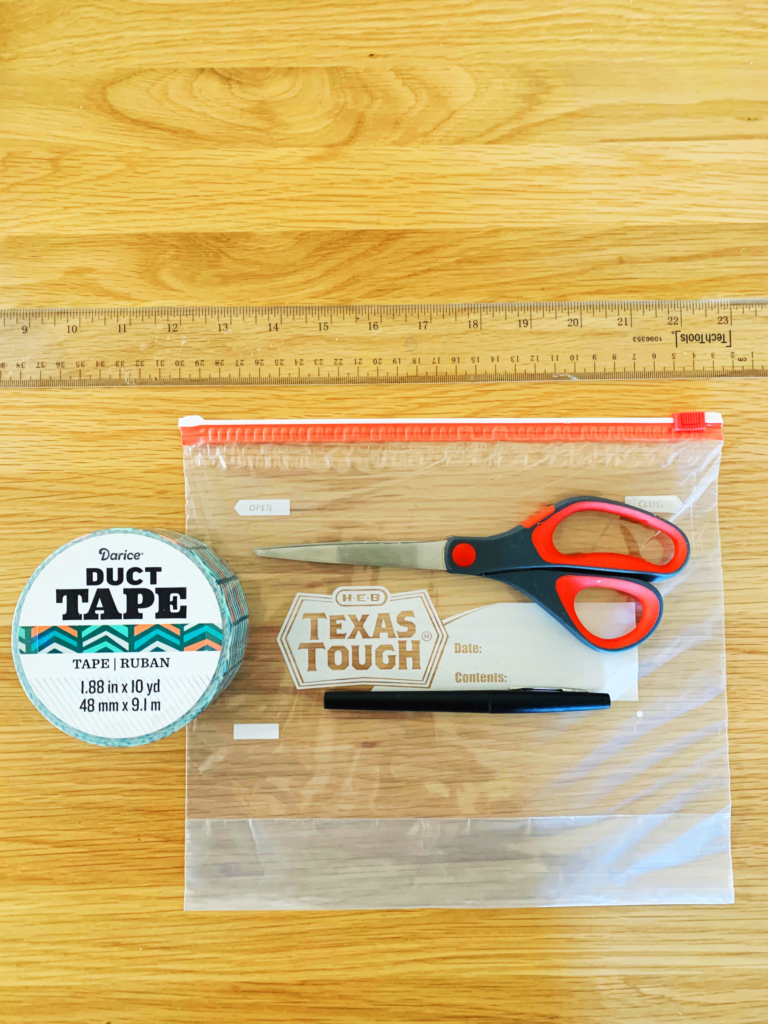
Materials:
- One gallon-sized ziplock plastic bag
- Duct tape in a fun print or color (or multiple styles to create your own pattern)
- Ruler
- Marker
- Scissors
Optional:
- Three-hole punch or single-hole punch
- Plastic cutting mat if you have one (this makes cutting the duct tape easier, but is definitely not necessary!)
Cost: Nothing, if you have these simple supplies on hand. Otherwise, duct tape should be available from a local craft store (or there are many options on Amazon!) for a few dollars.
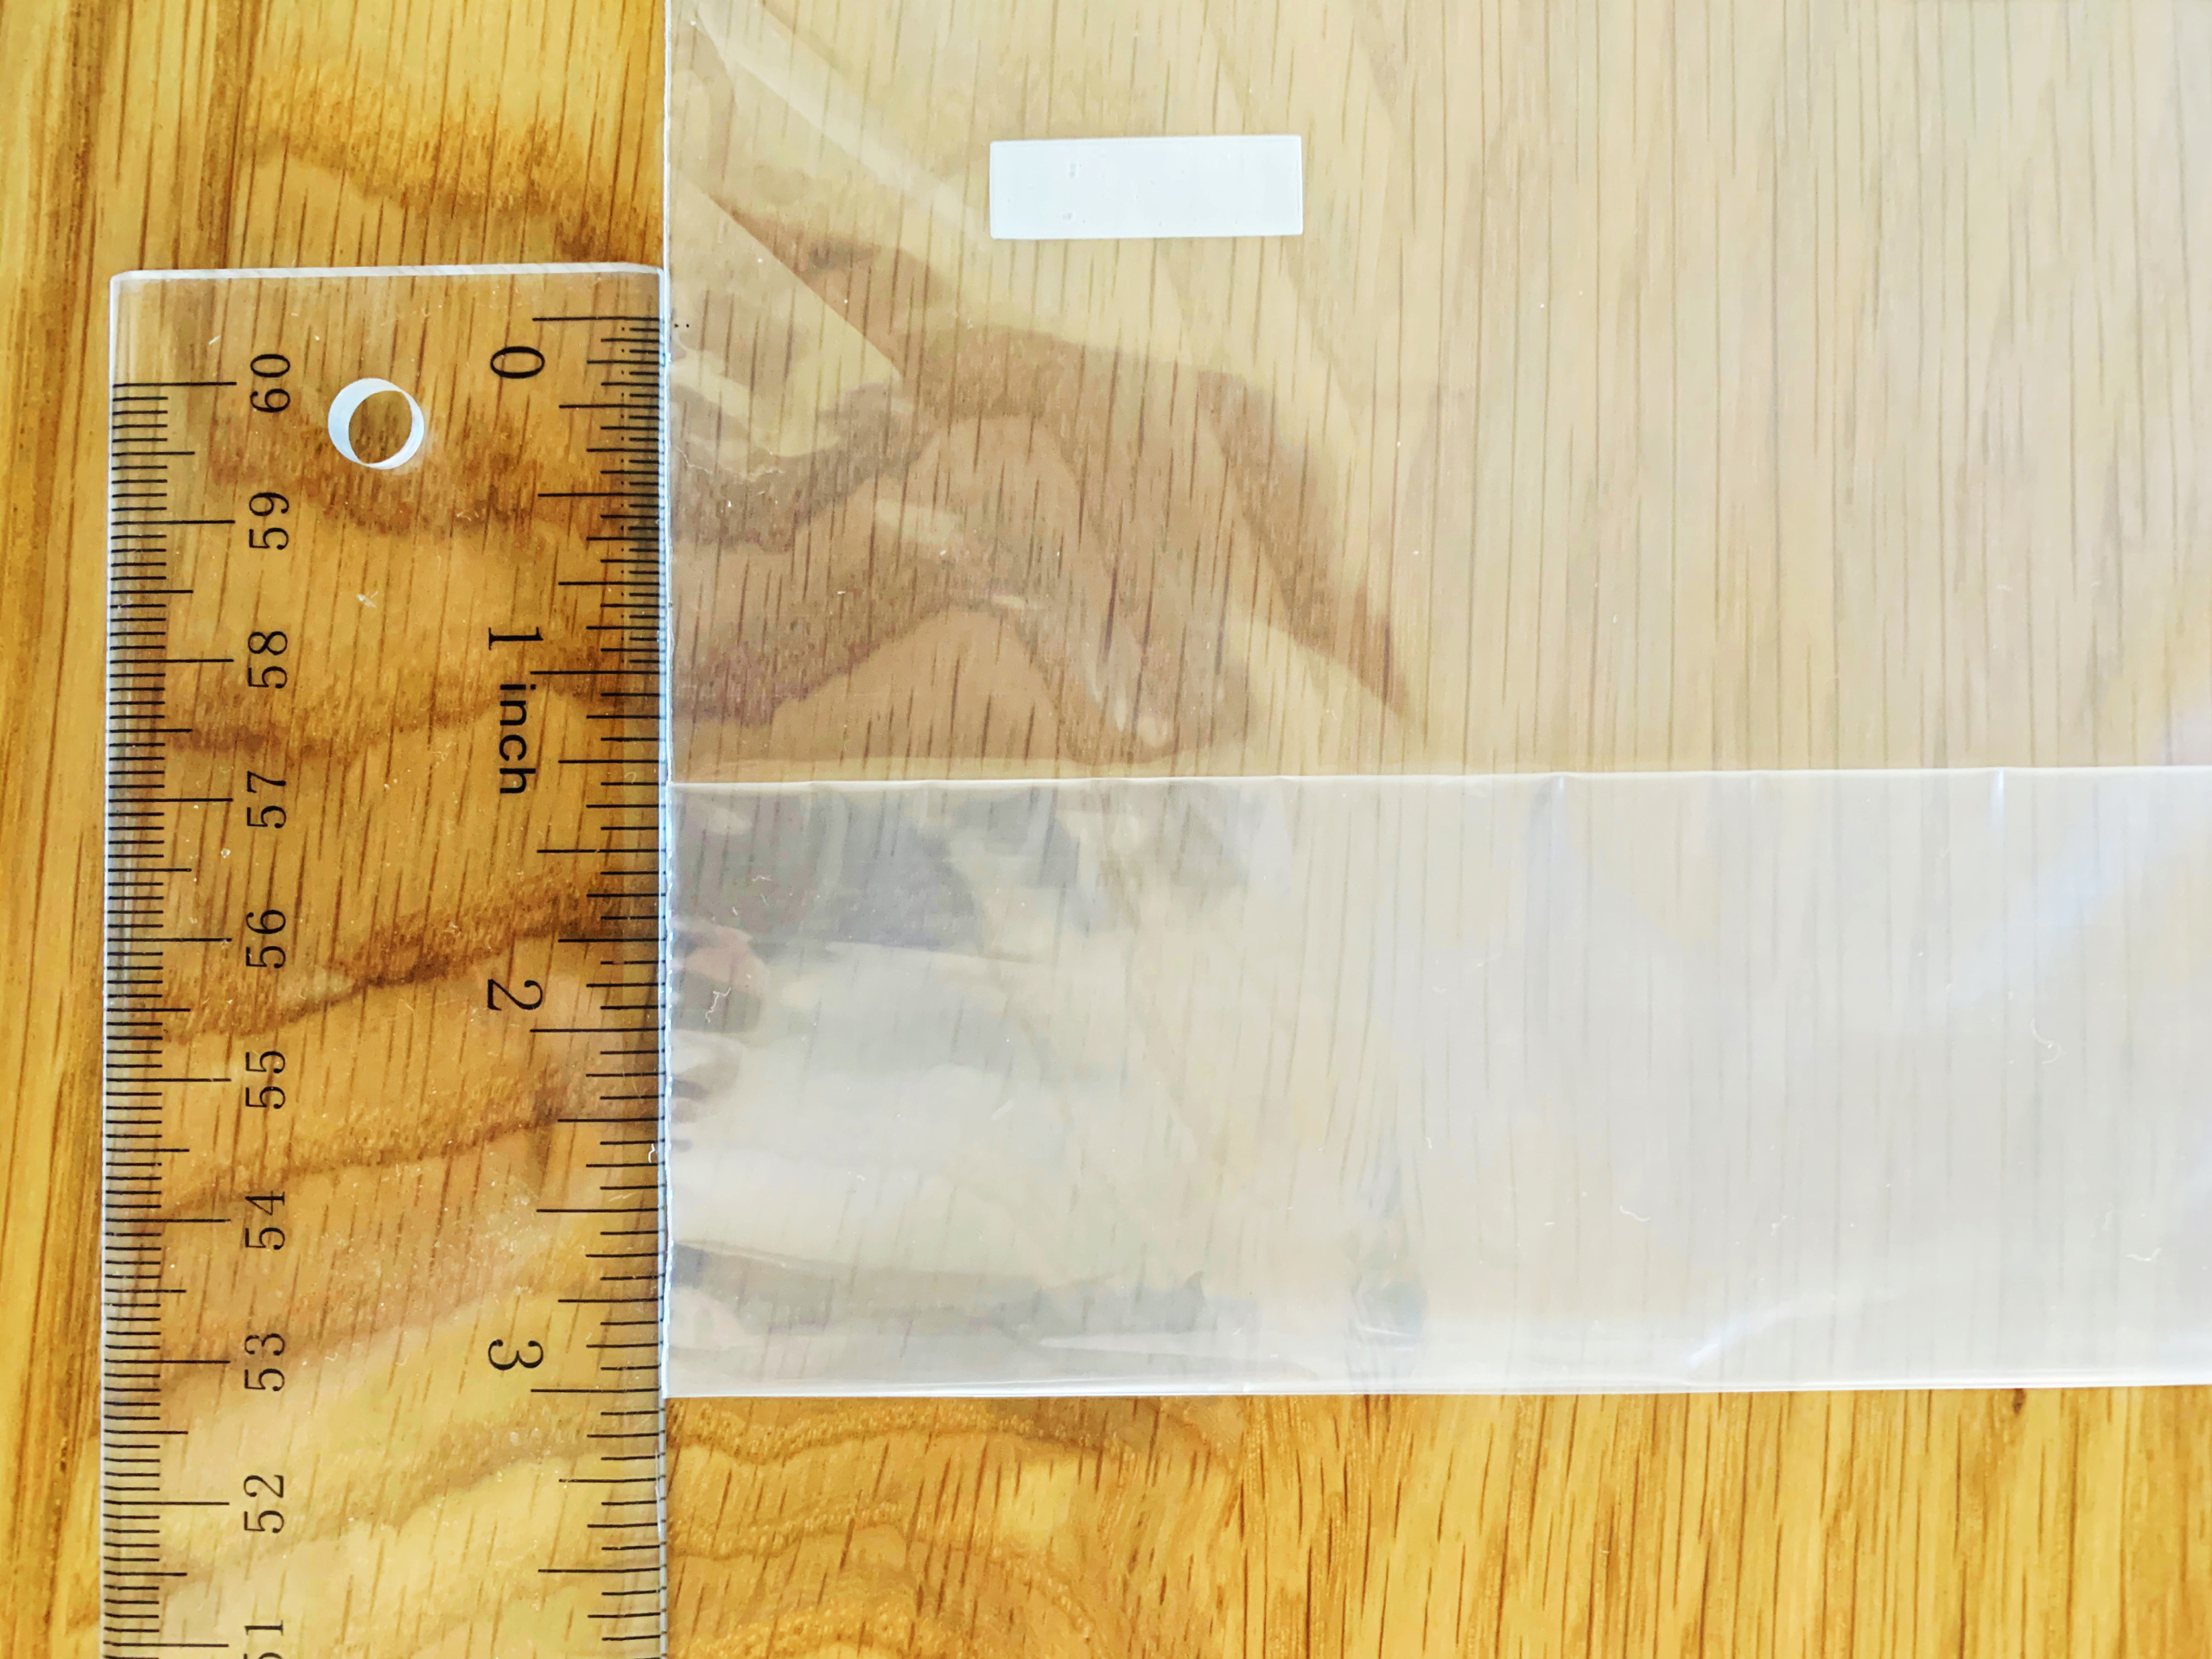
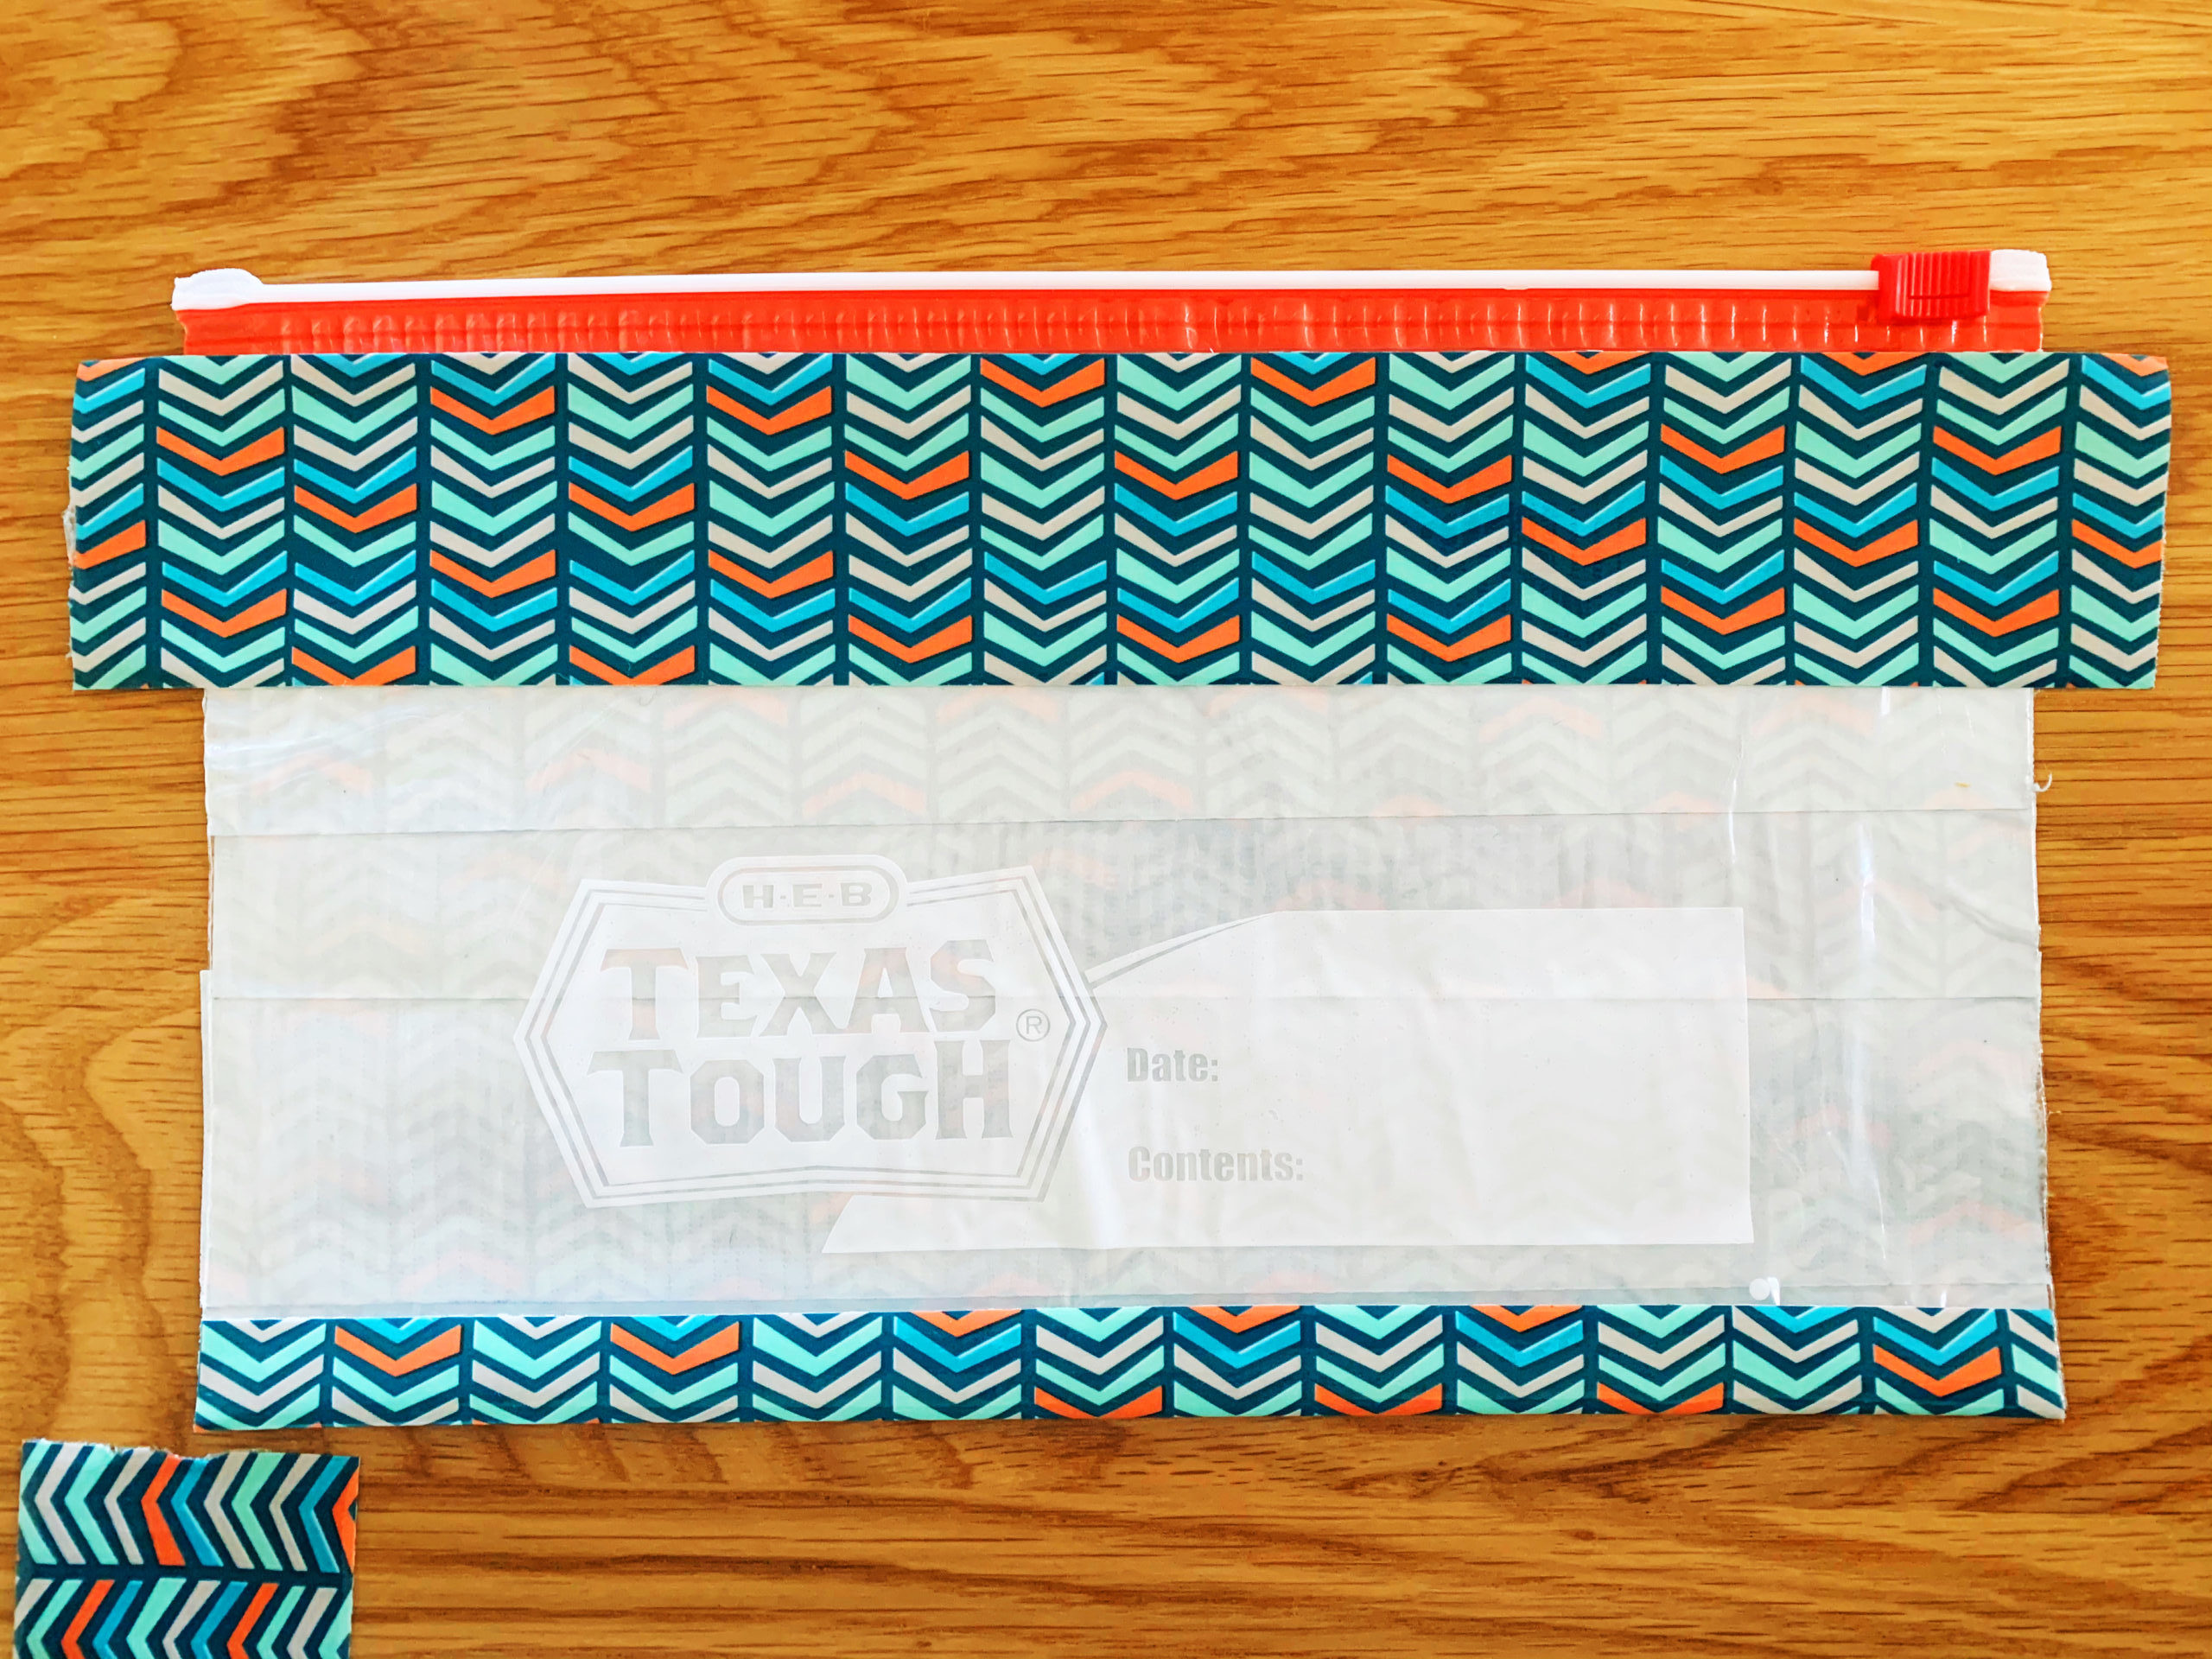
Step 1: Take your ruler and draw a line across the ziplock bag three inches up from the bottom. With your scissors, cut that part off.
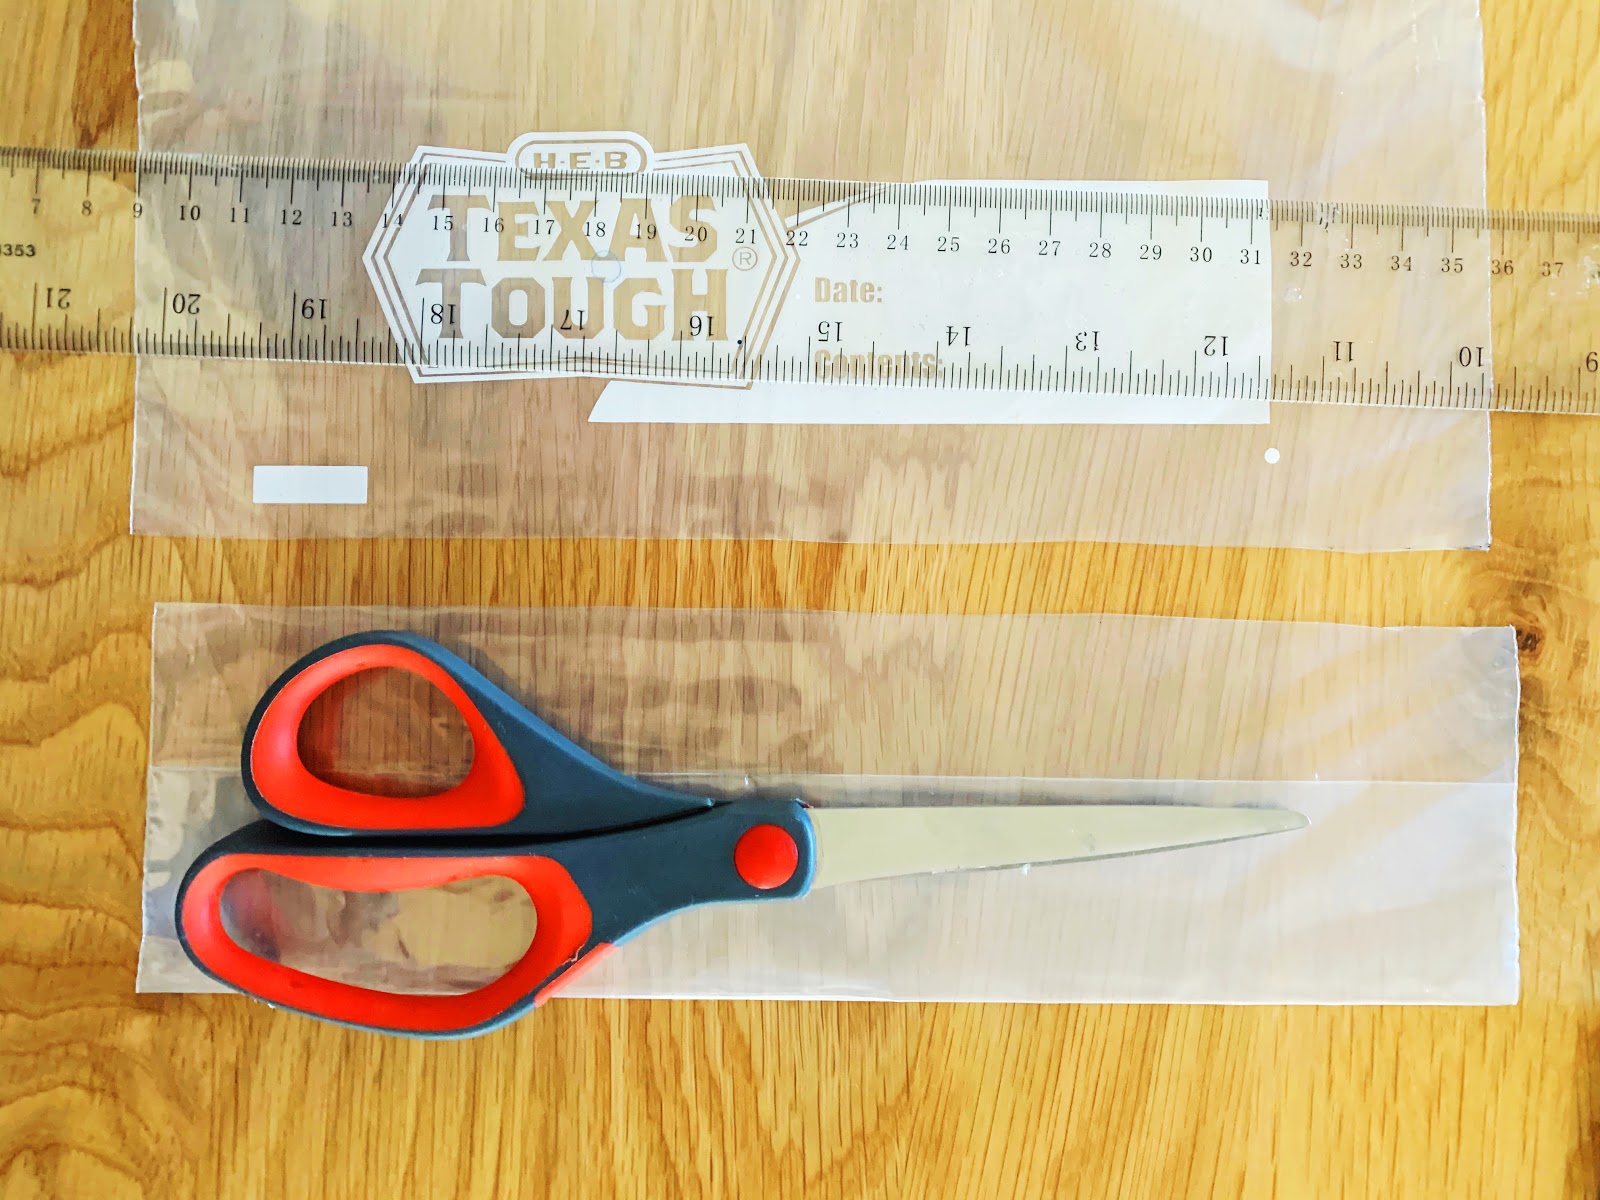
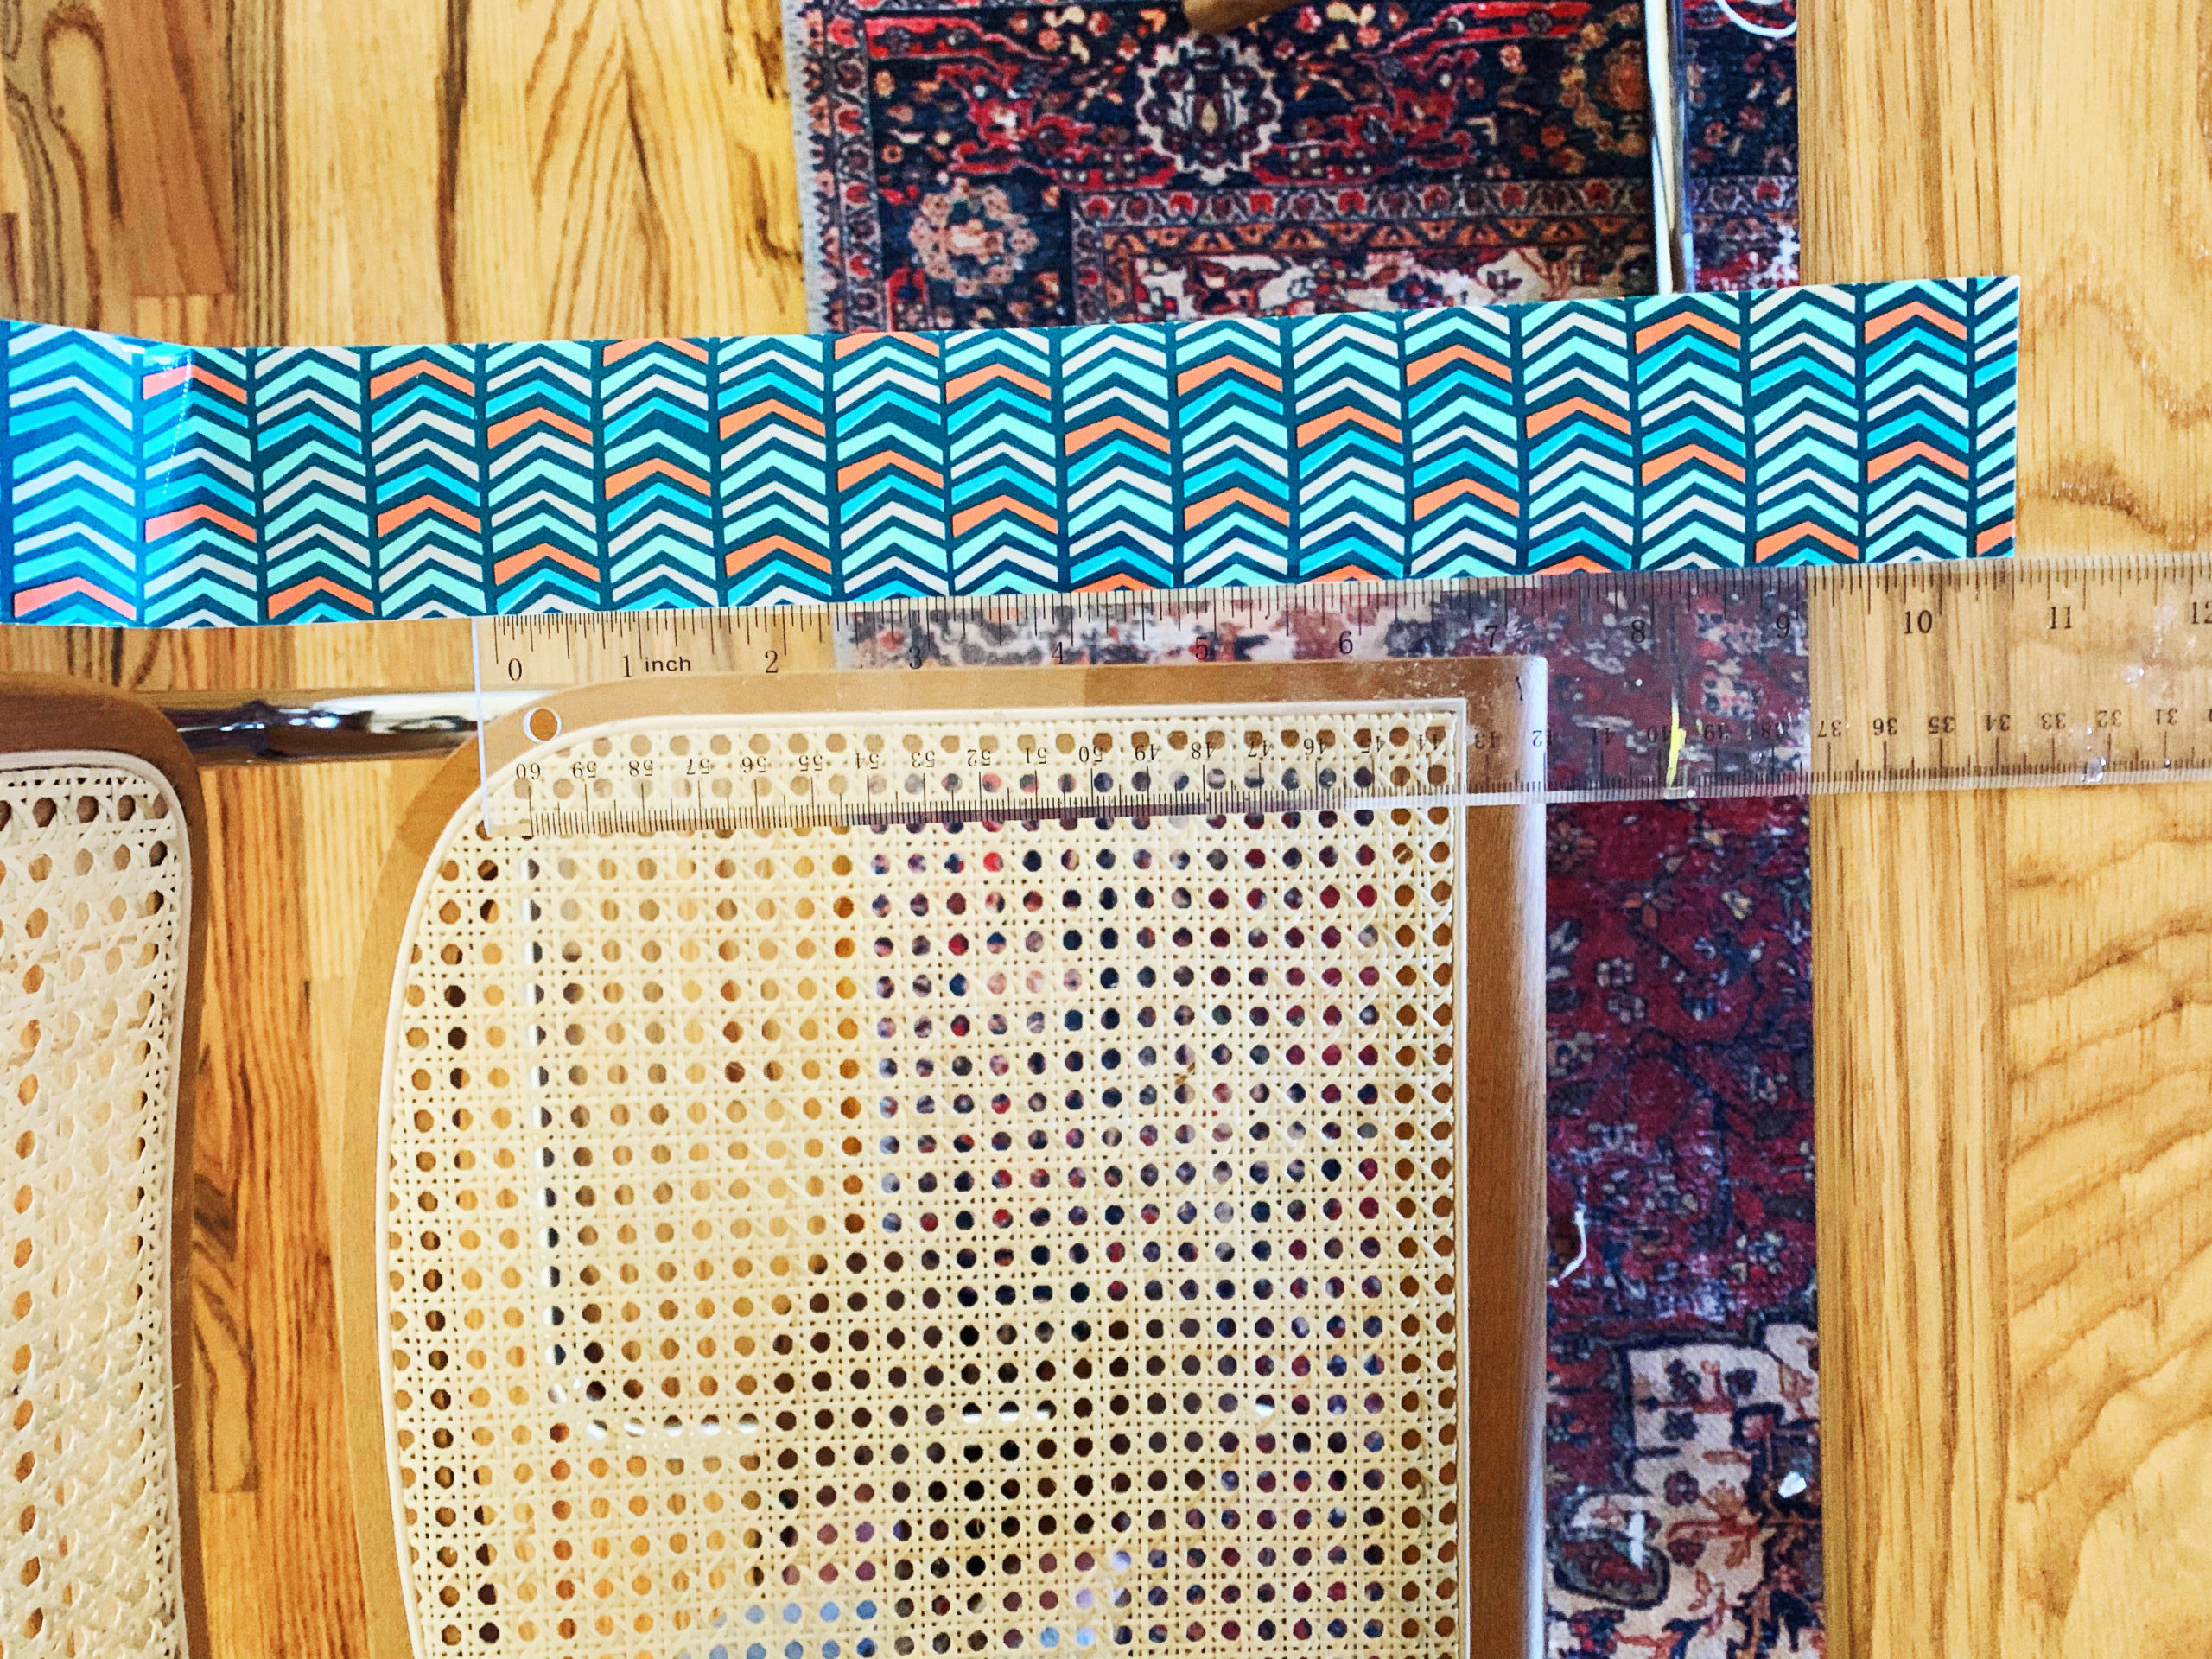
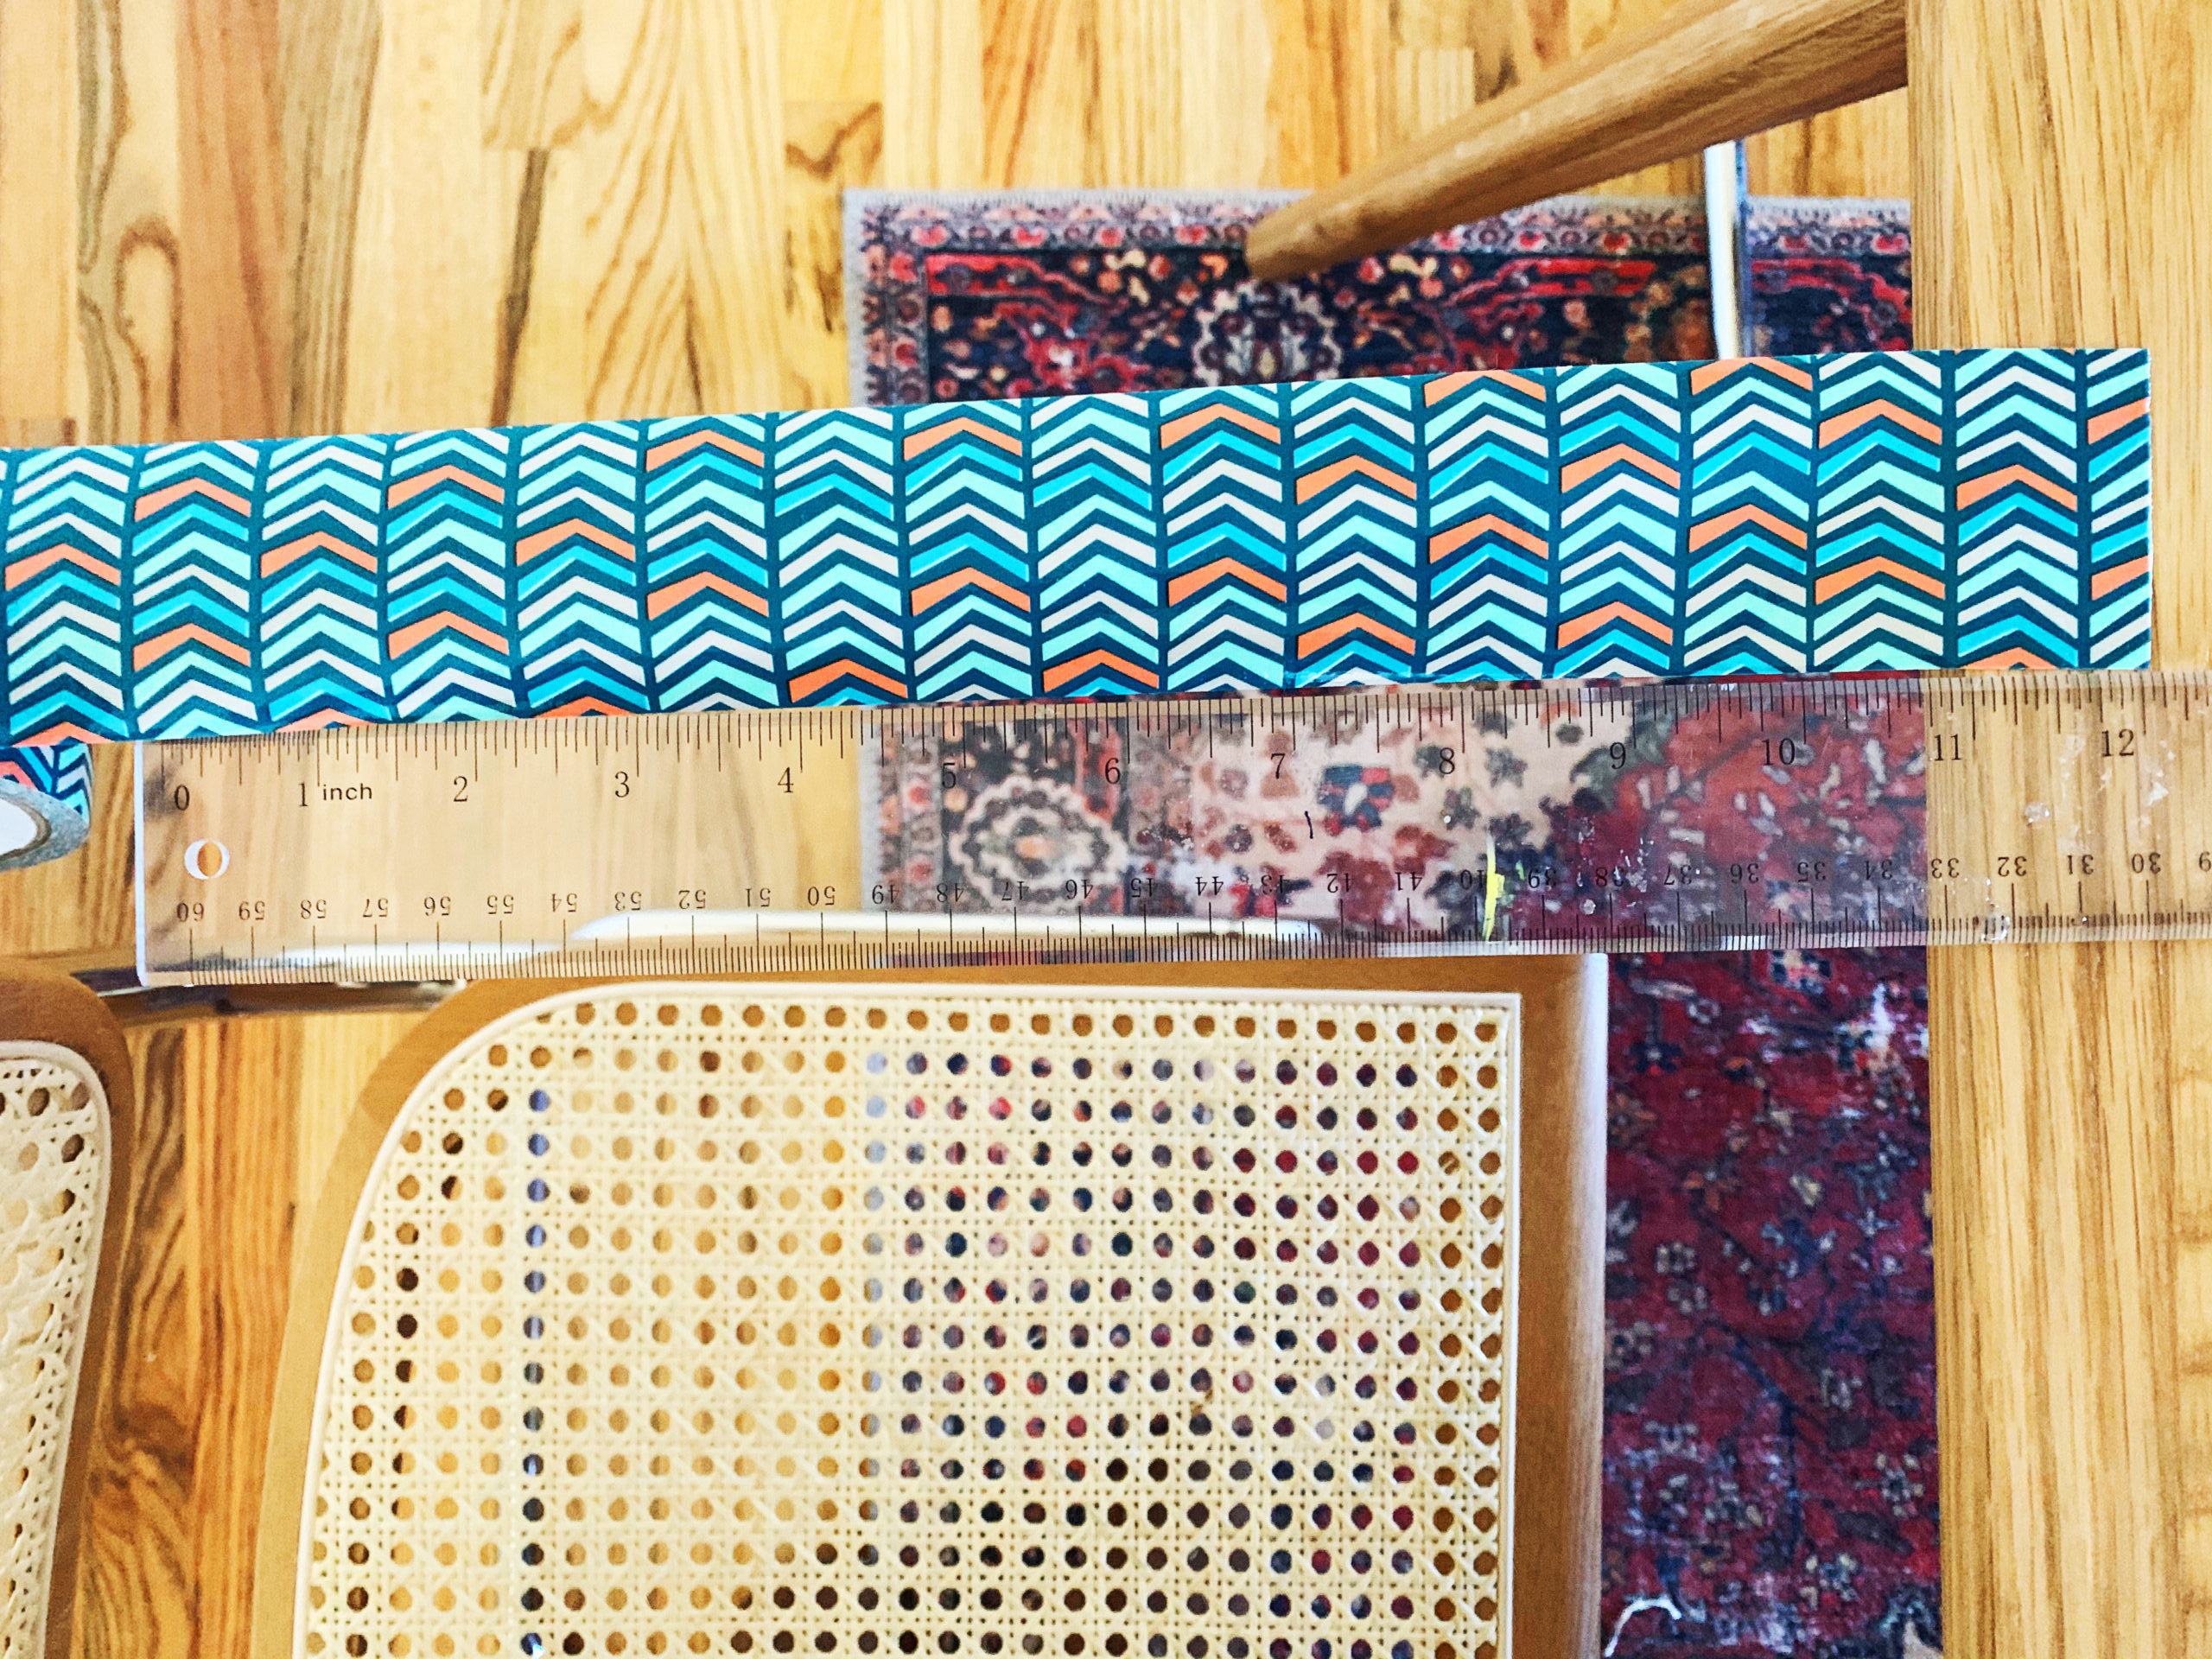
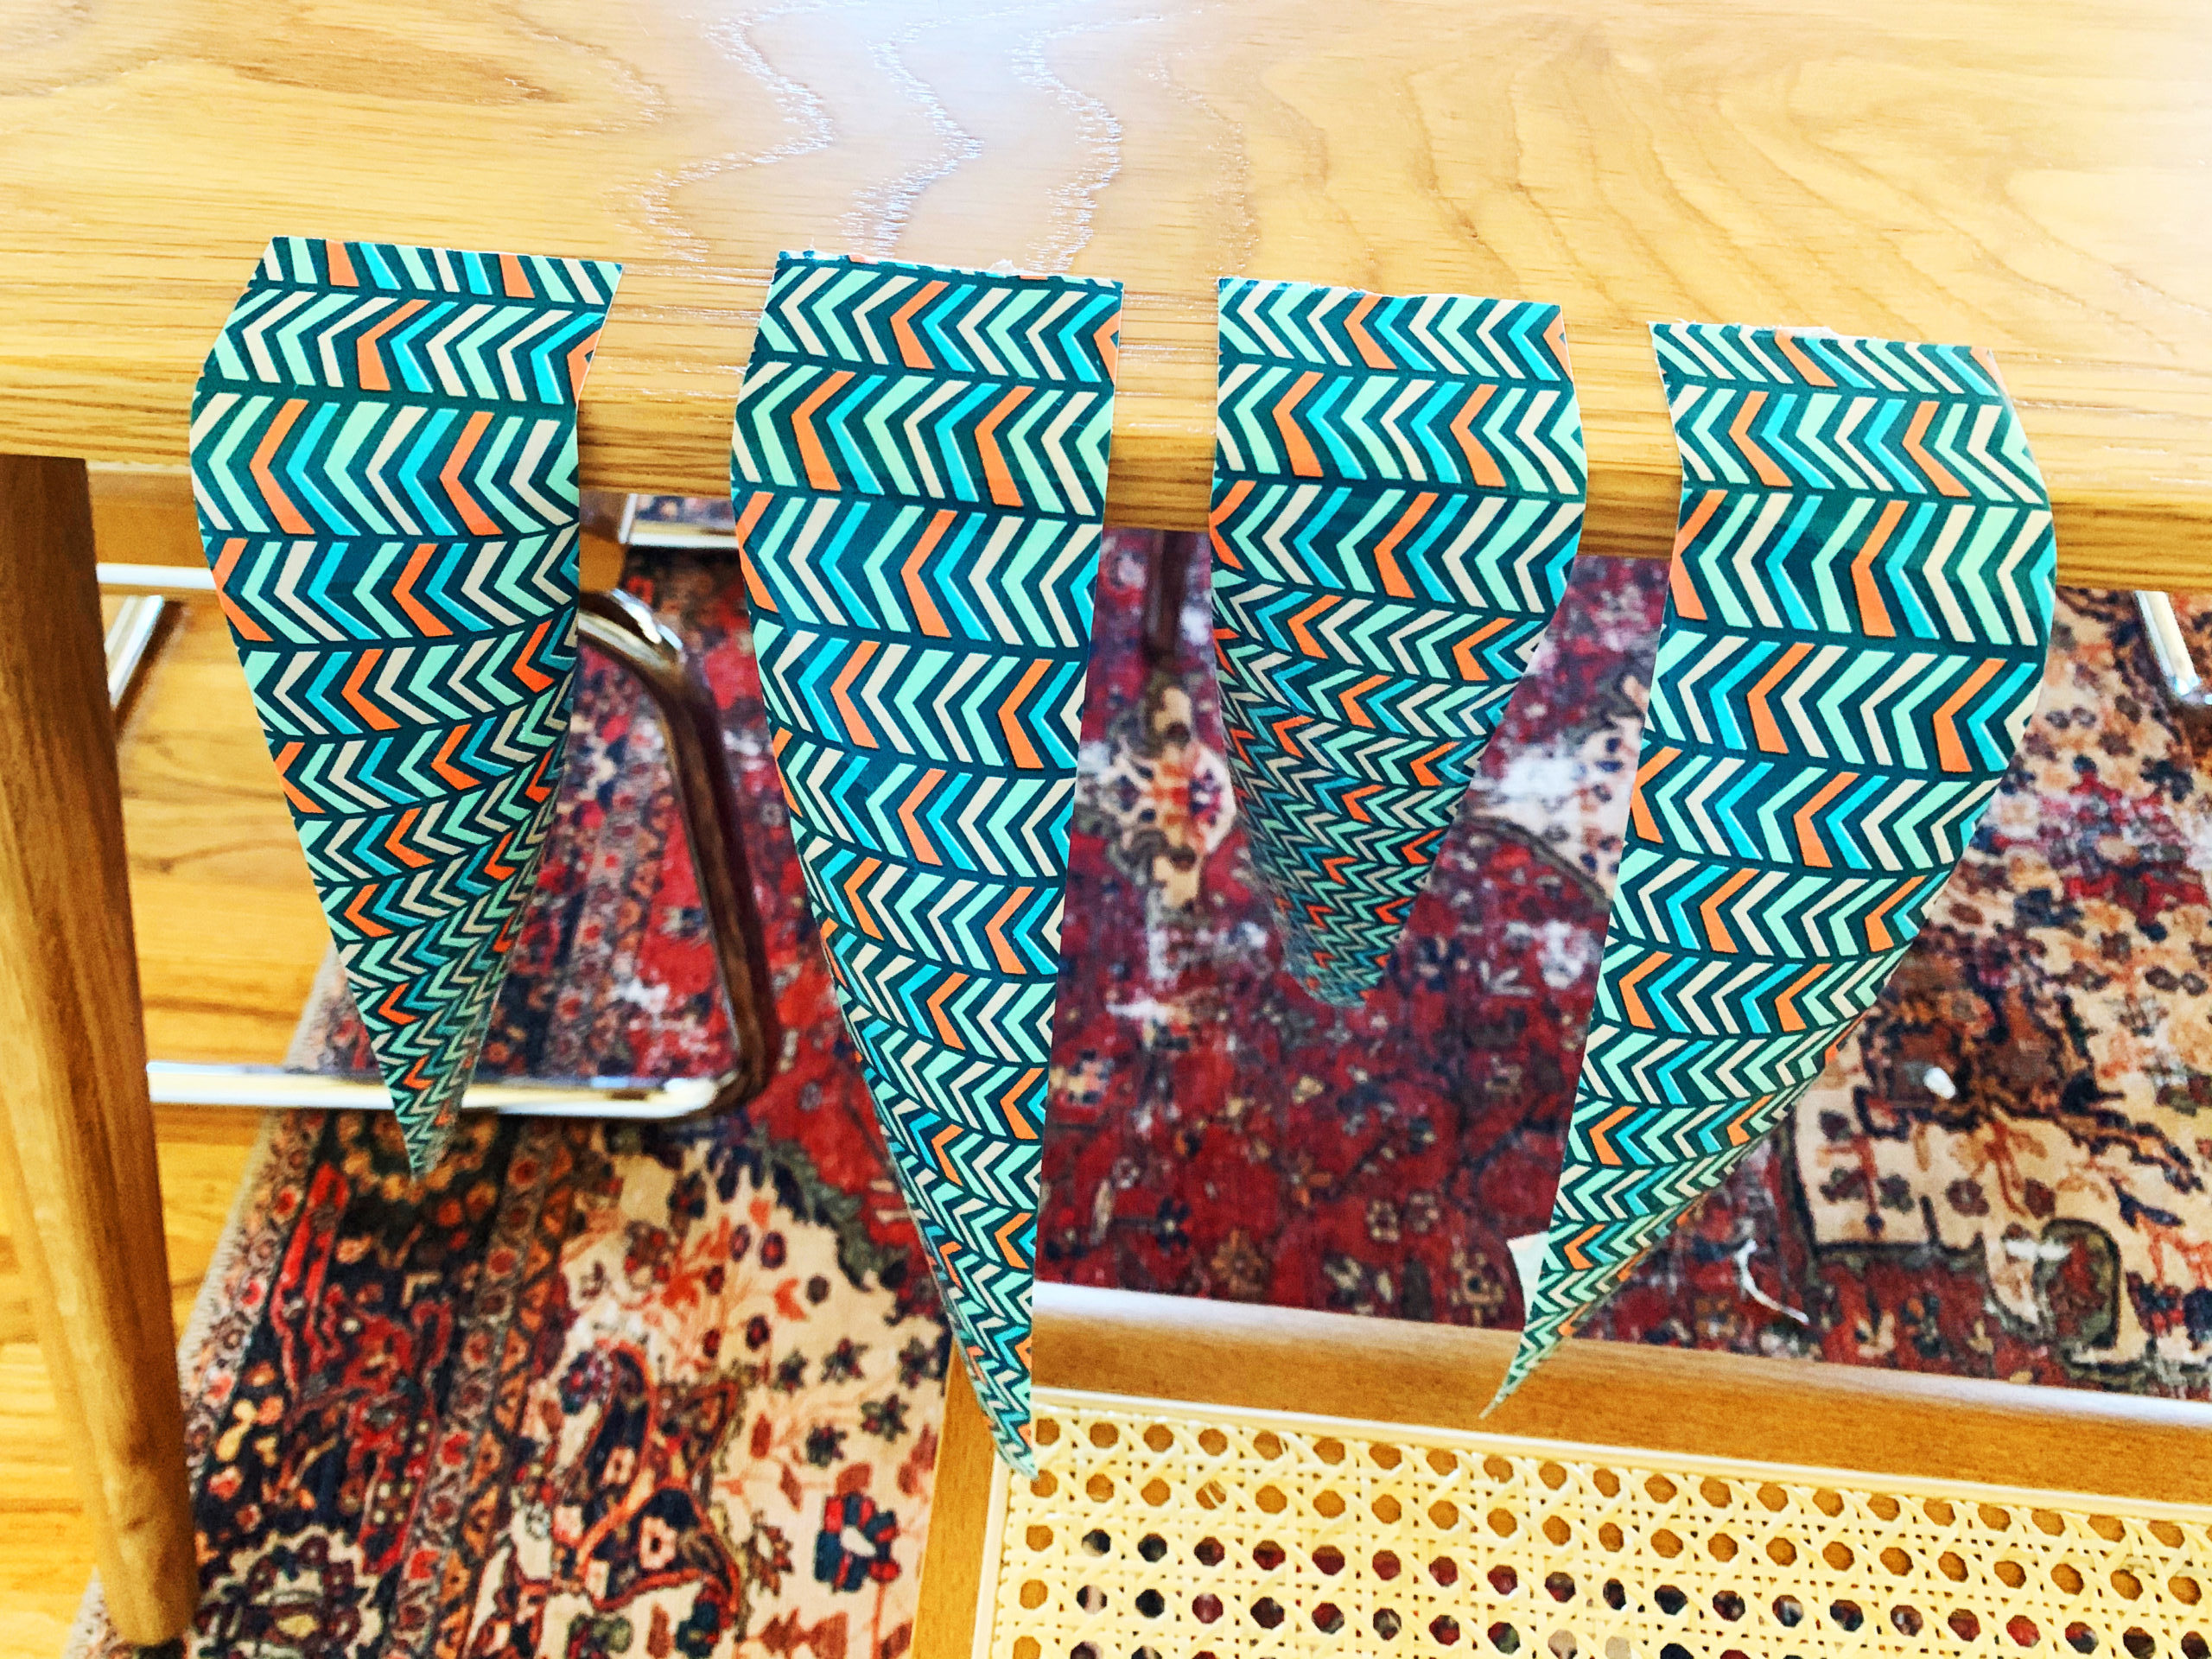
Step 2: Next, measure and cut five pieces of duct tape, 10 ½” each. Cut them all from one roll, or cut a variety of colors/patterns to mix and match! Tip: If you have a plastic cutting mat, you can lay the tape flat on the mat, and then peel it off once you have cut your piece. I did not have a mat, so I just attached the tape to the edge of my table, measured, and cut, and I had no problem.
Step 3: Starting at the top edge of the ziplock bag, carefully attach your first piece of duct tape over the plastic of the bag and all the way across to the other side. Try to make the piece as flat as possible! Simply repeat with three more pieces of duct tape, working your way down the bag. You will want to slightly overlap the pieces of tape where the edges meet, to ensure you fully cover the bag. The last piece should hang over the bottom of the bag just a bit, so fold that part over to the other side of the bag. One side down!
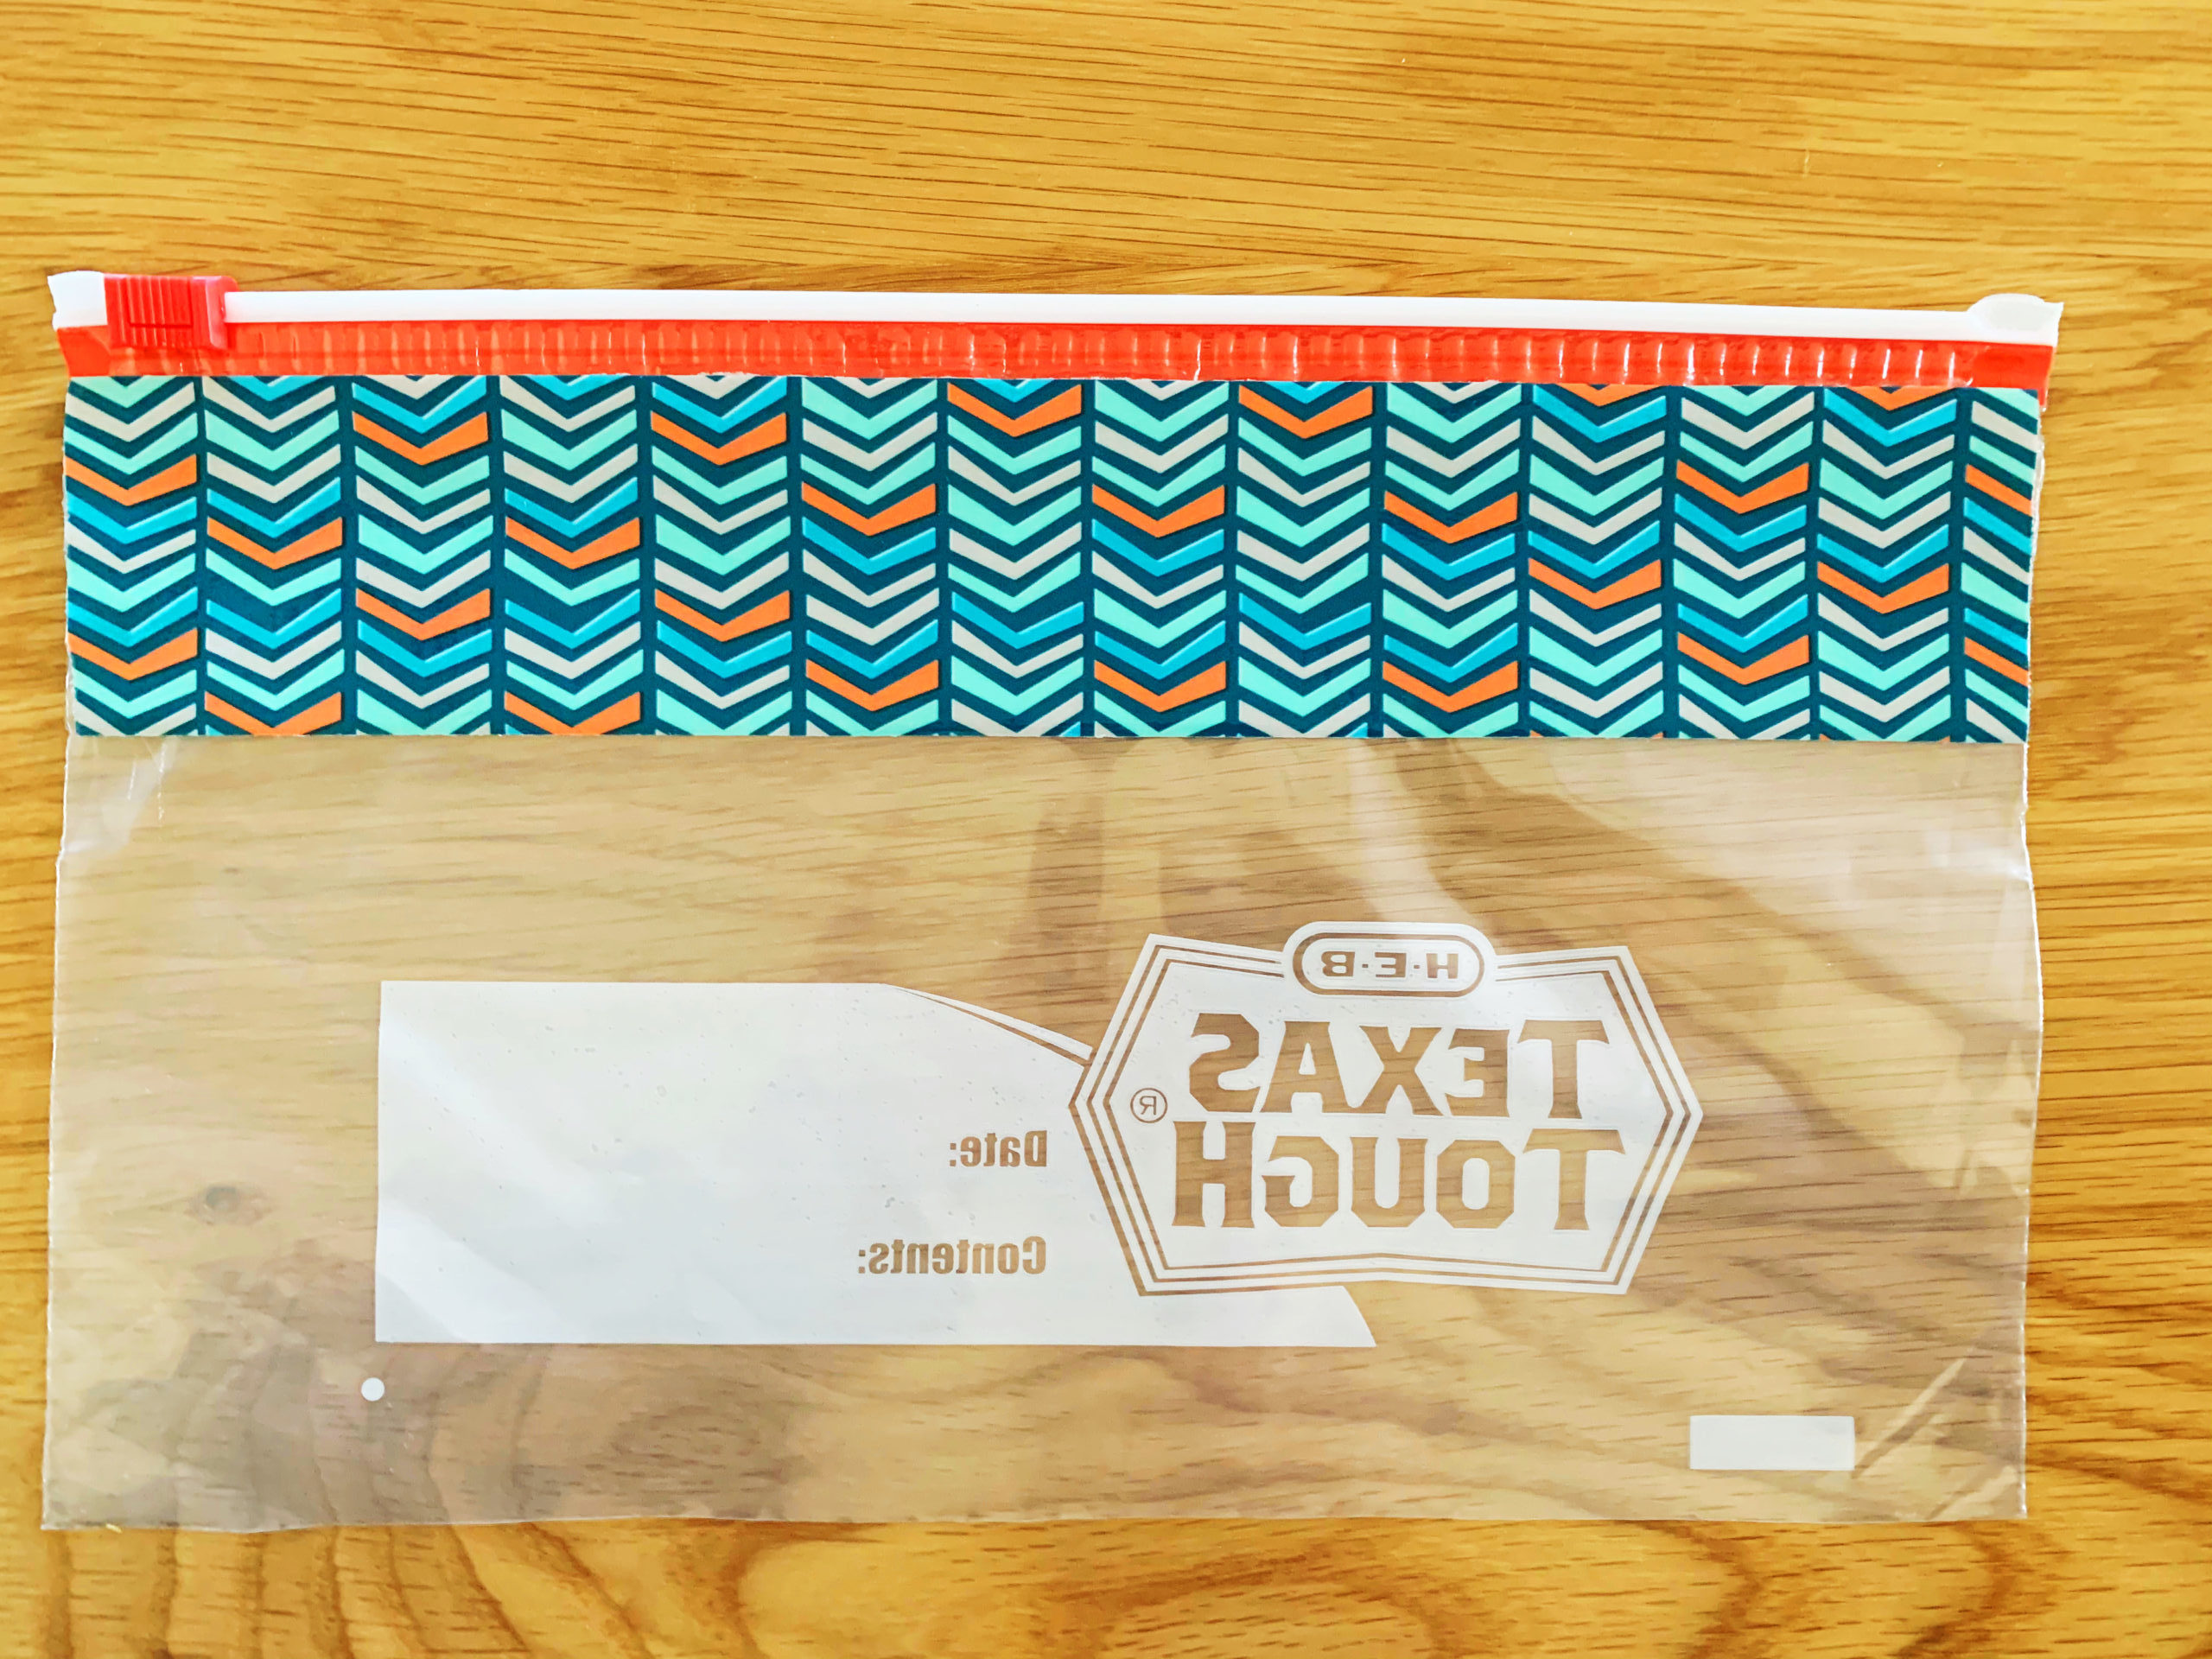
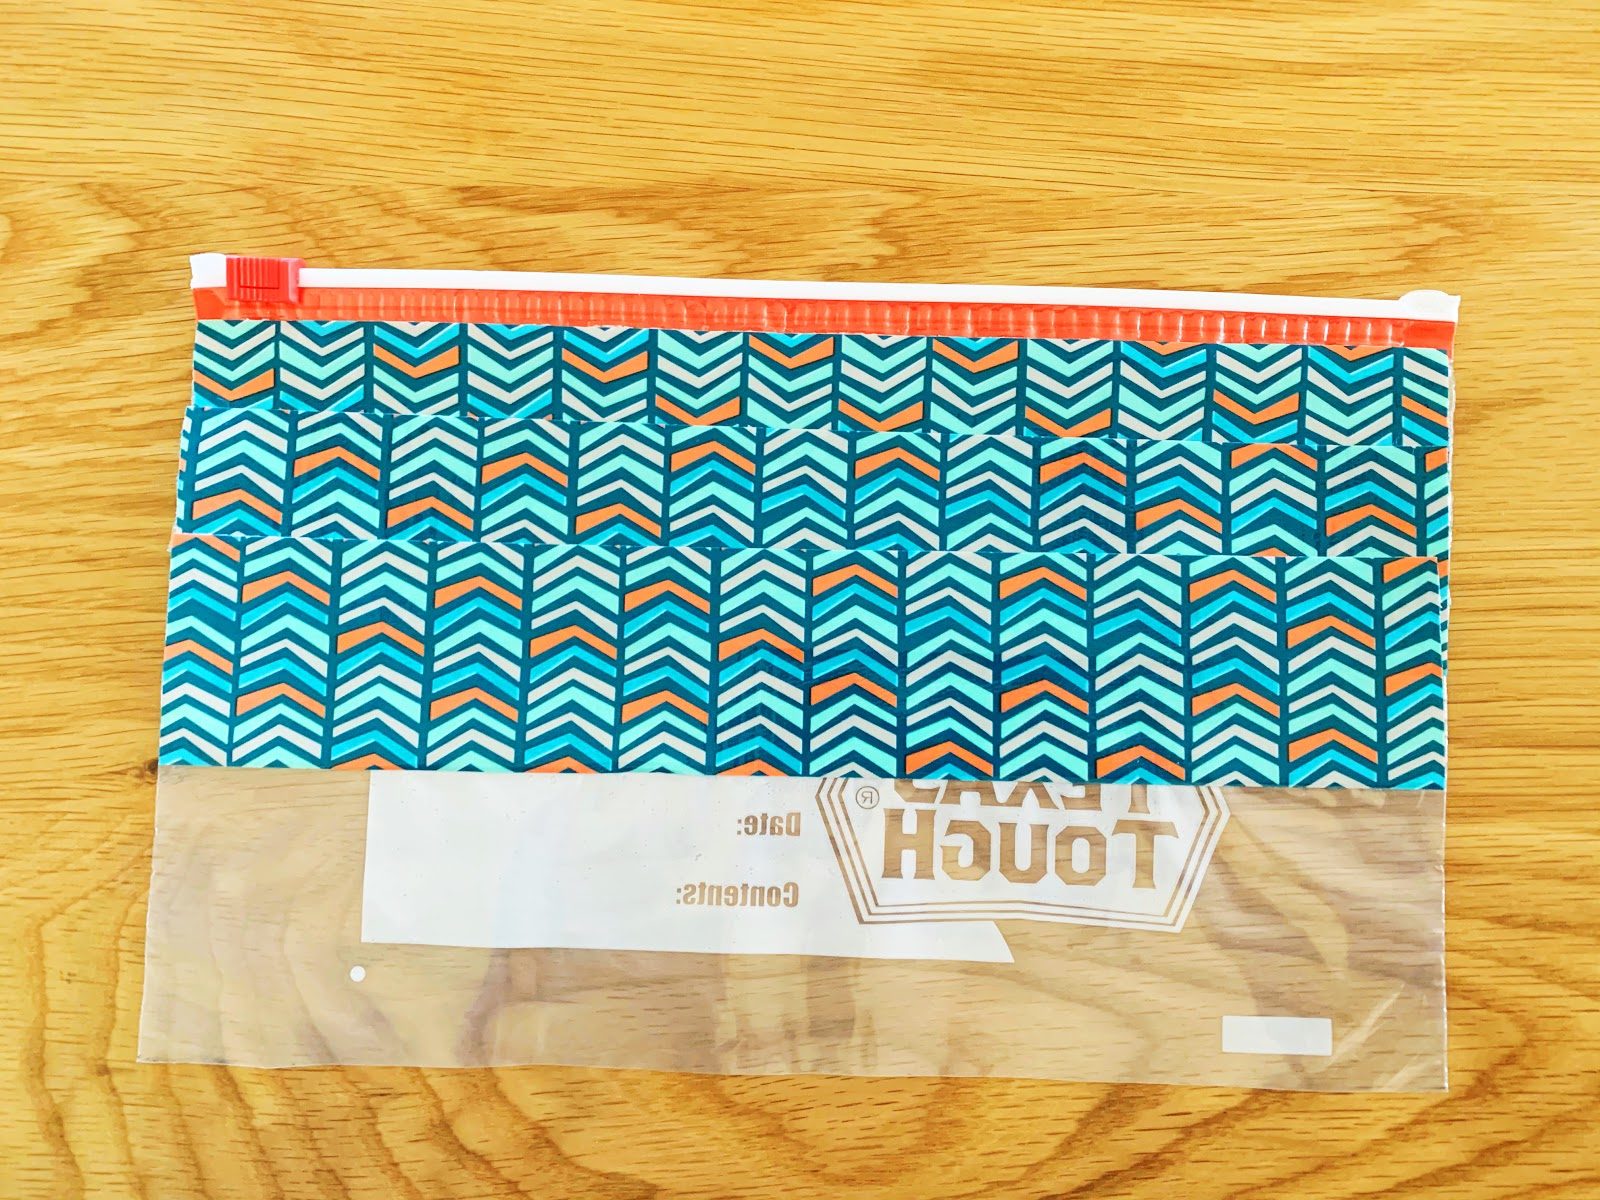
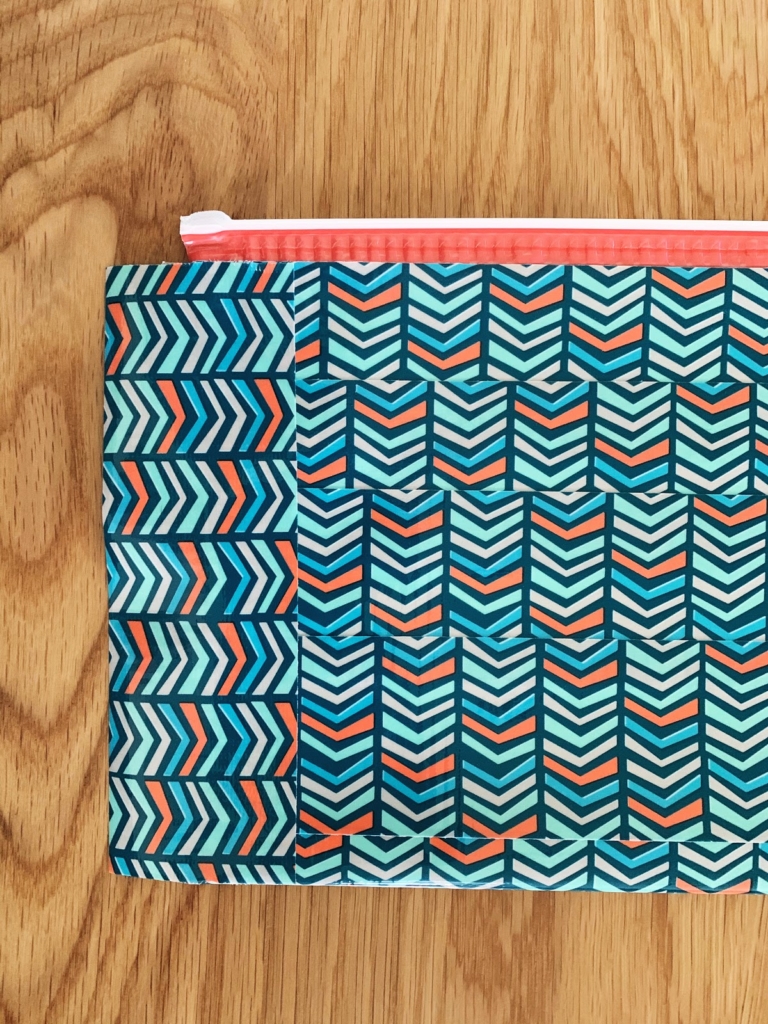
Step 4: Now it’s time to cover the other side of the bag. Cut four more pieces of duct tape, this time to 12” each. Repeat the same process as the other side, again starting at the top of the bag again, but this time leave about ½” extra tape on each side and fold that over to the other side. Continue to work your way down the bag just as you did before.
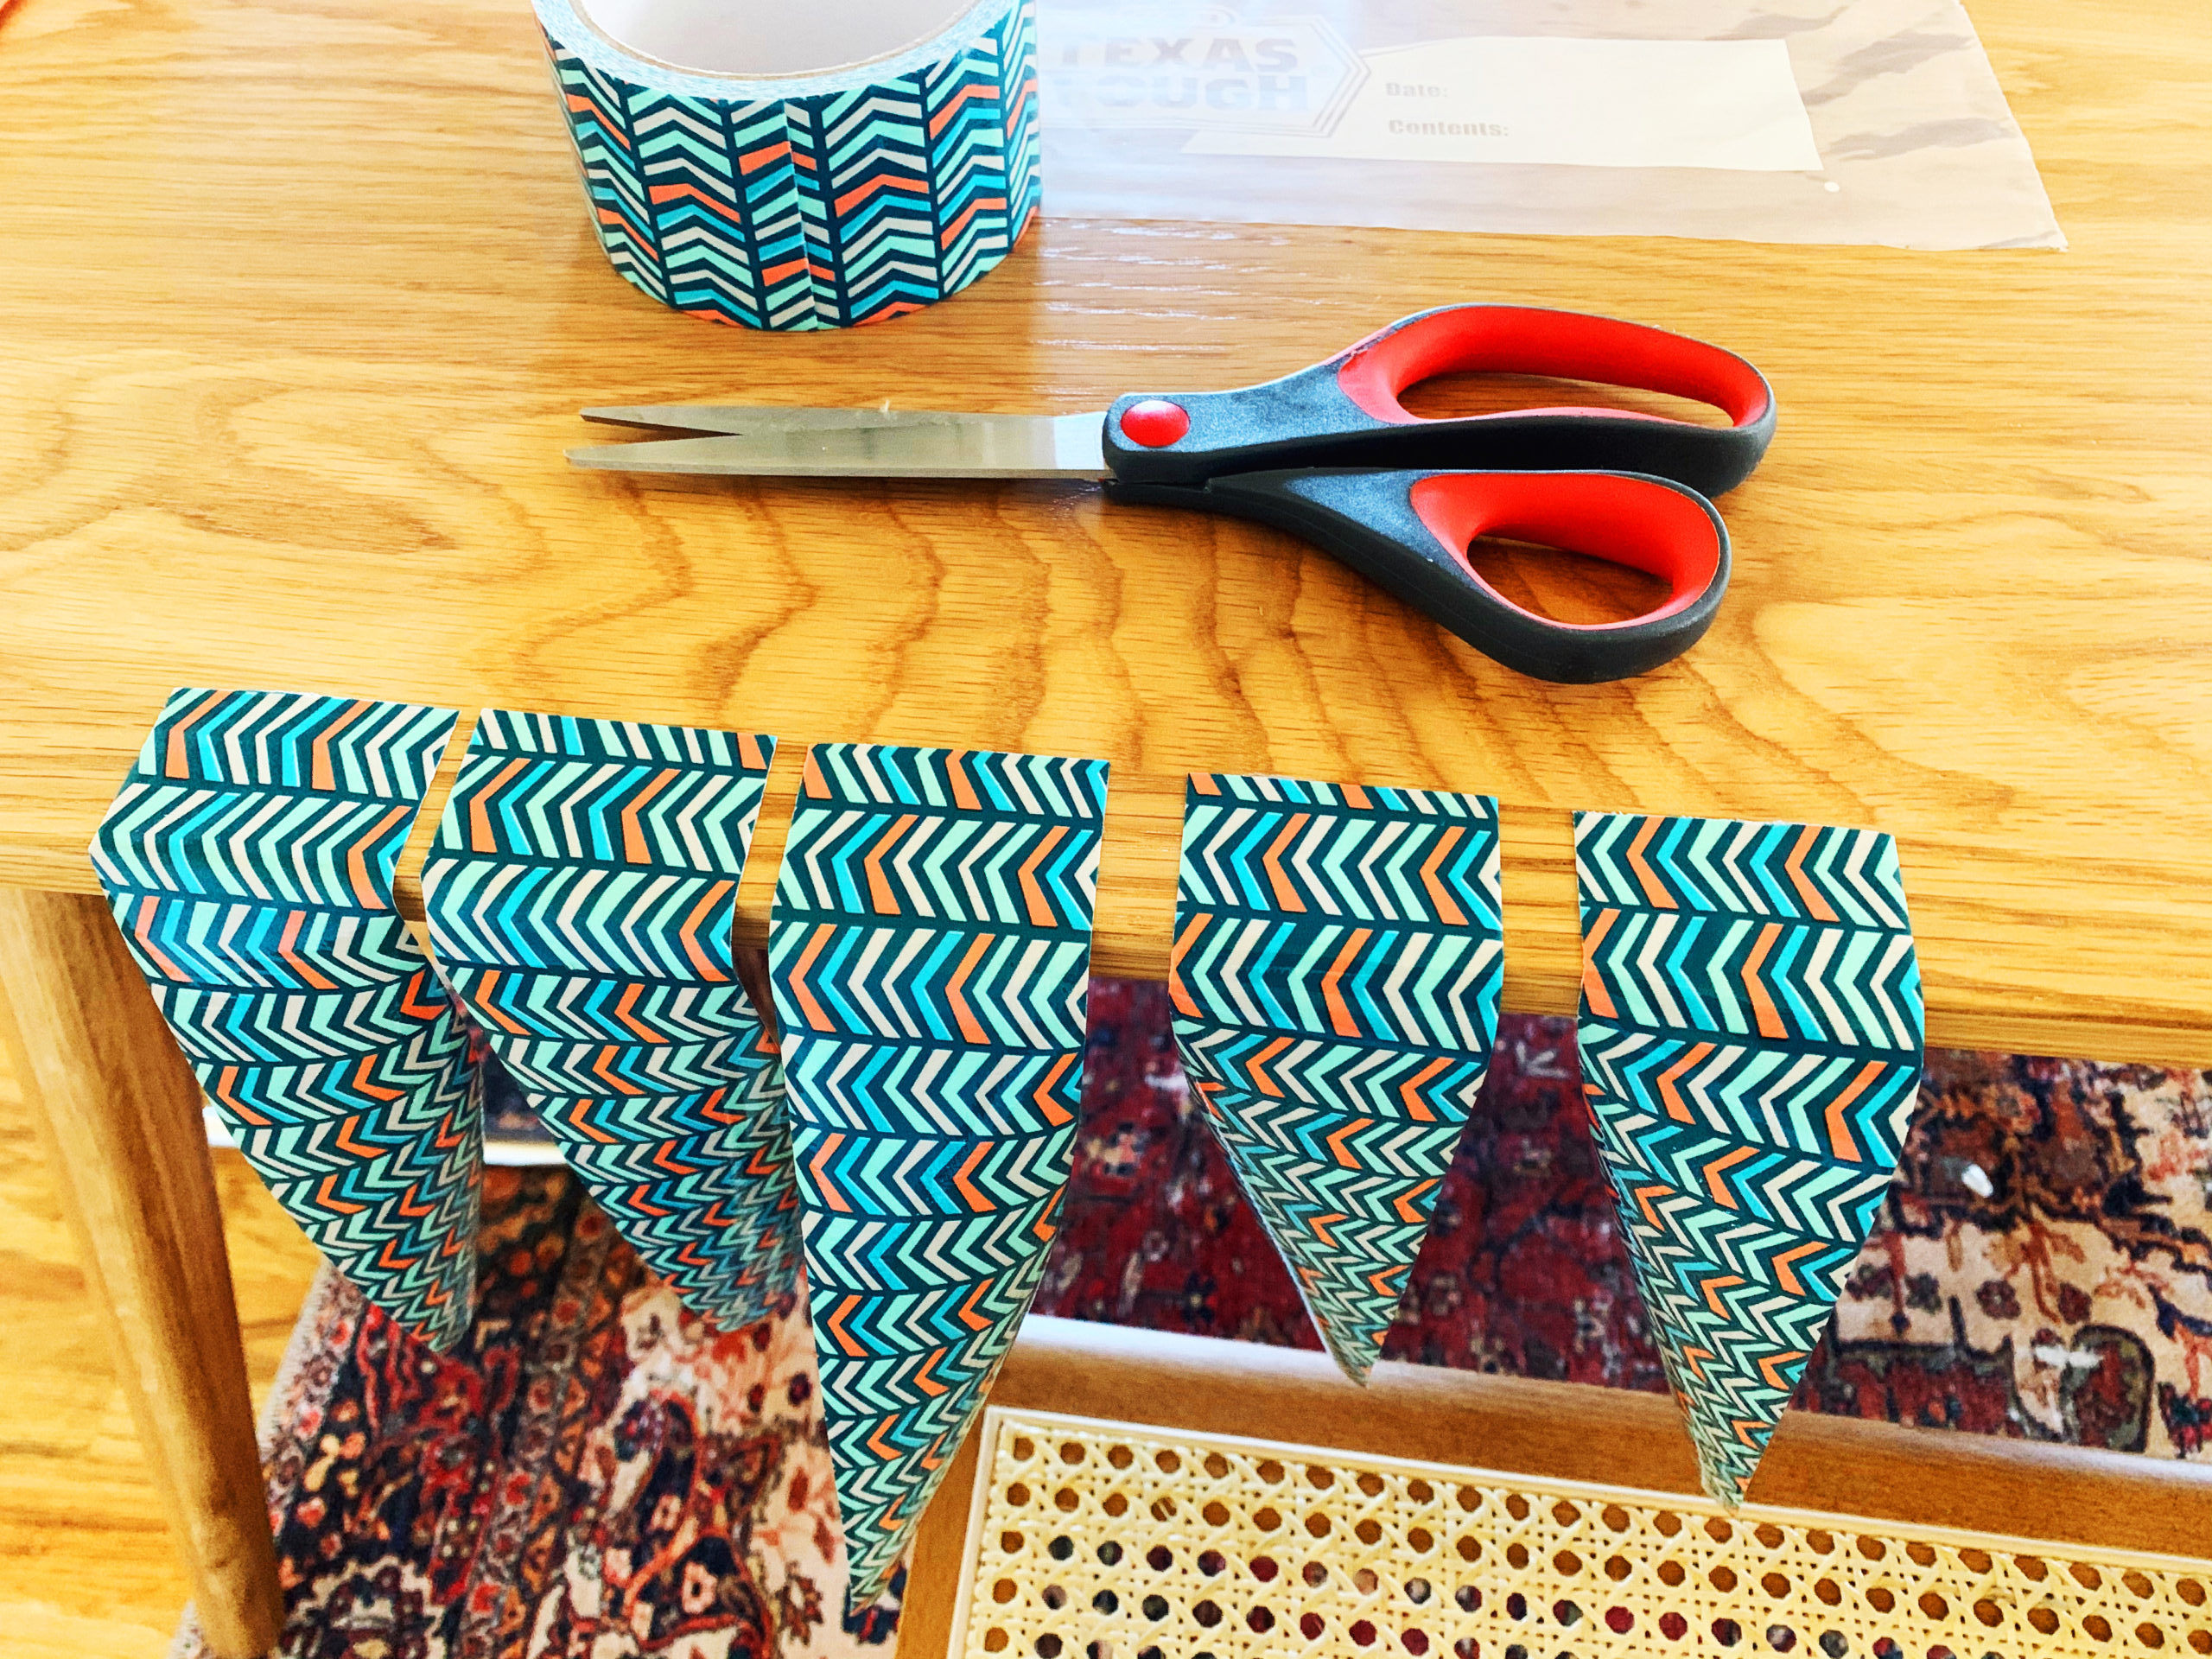
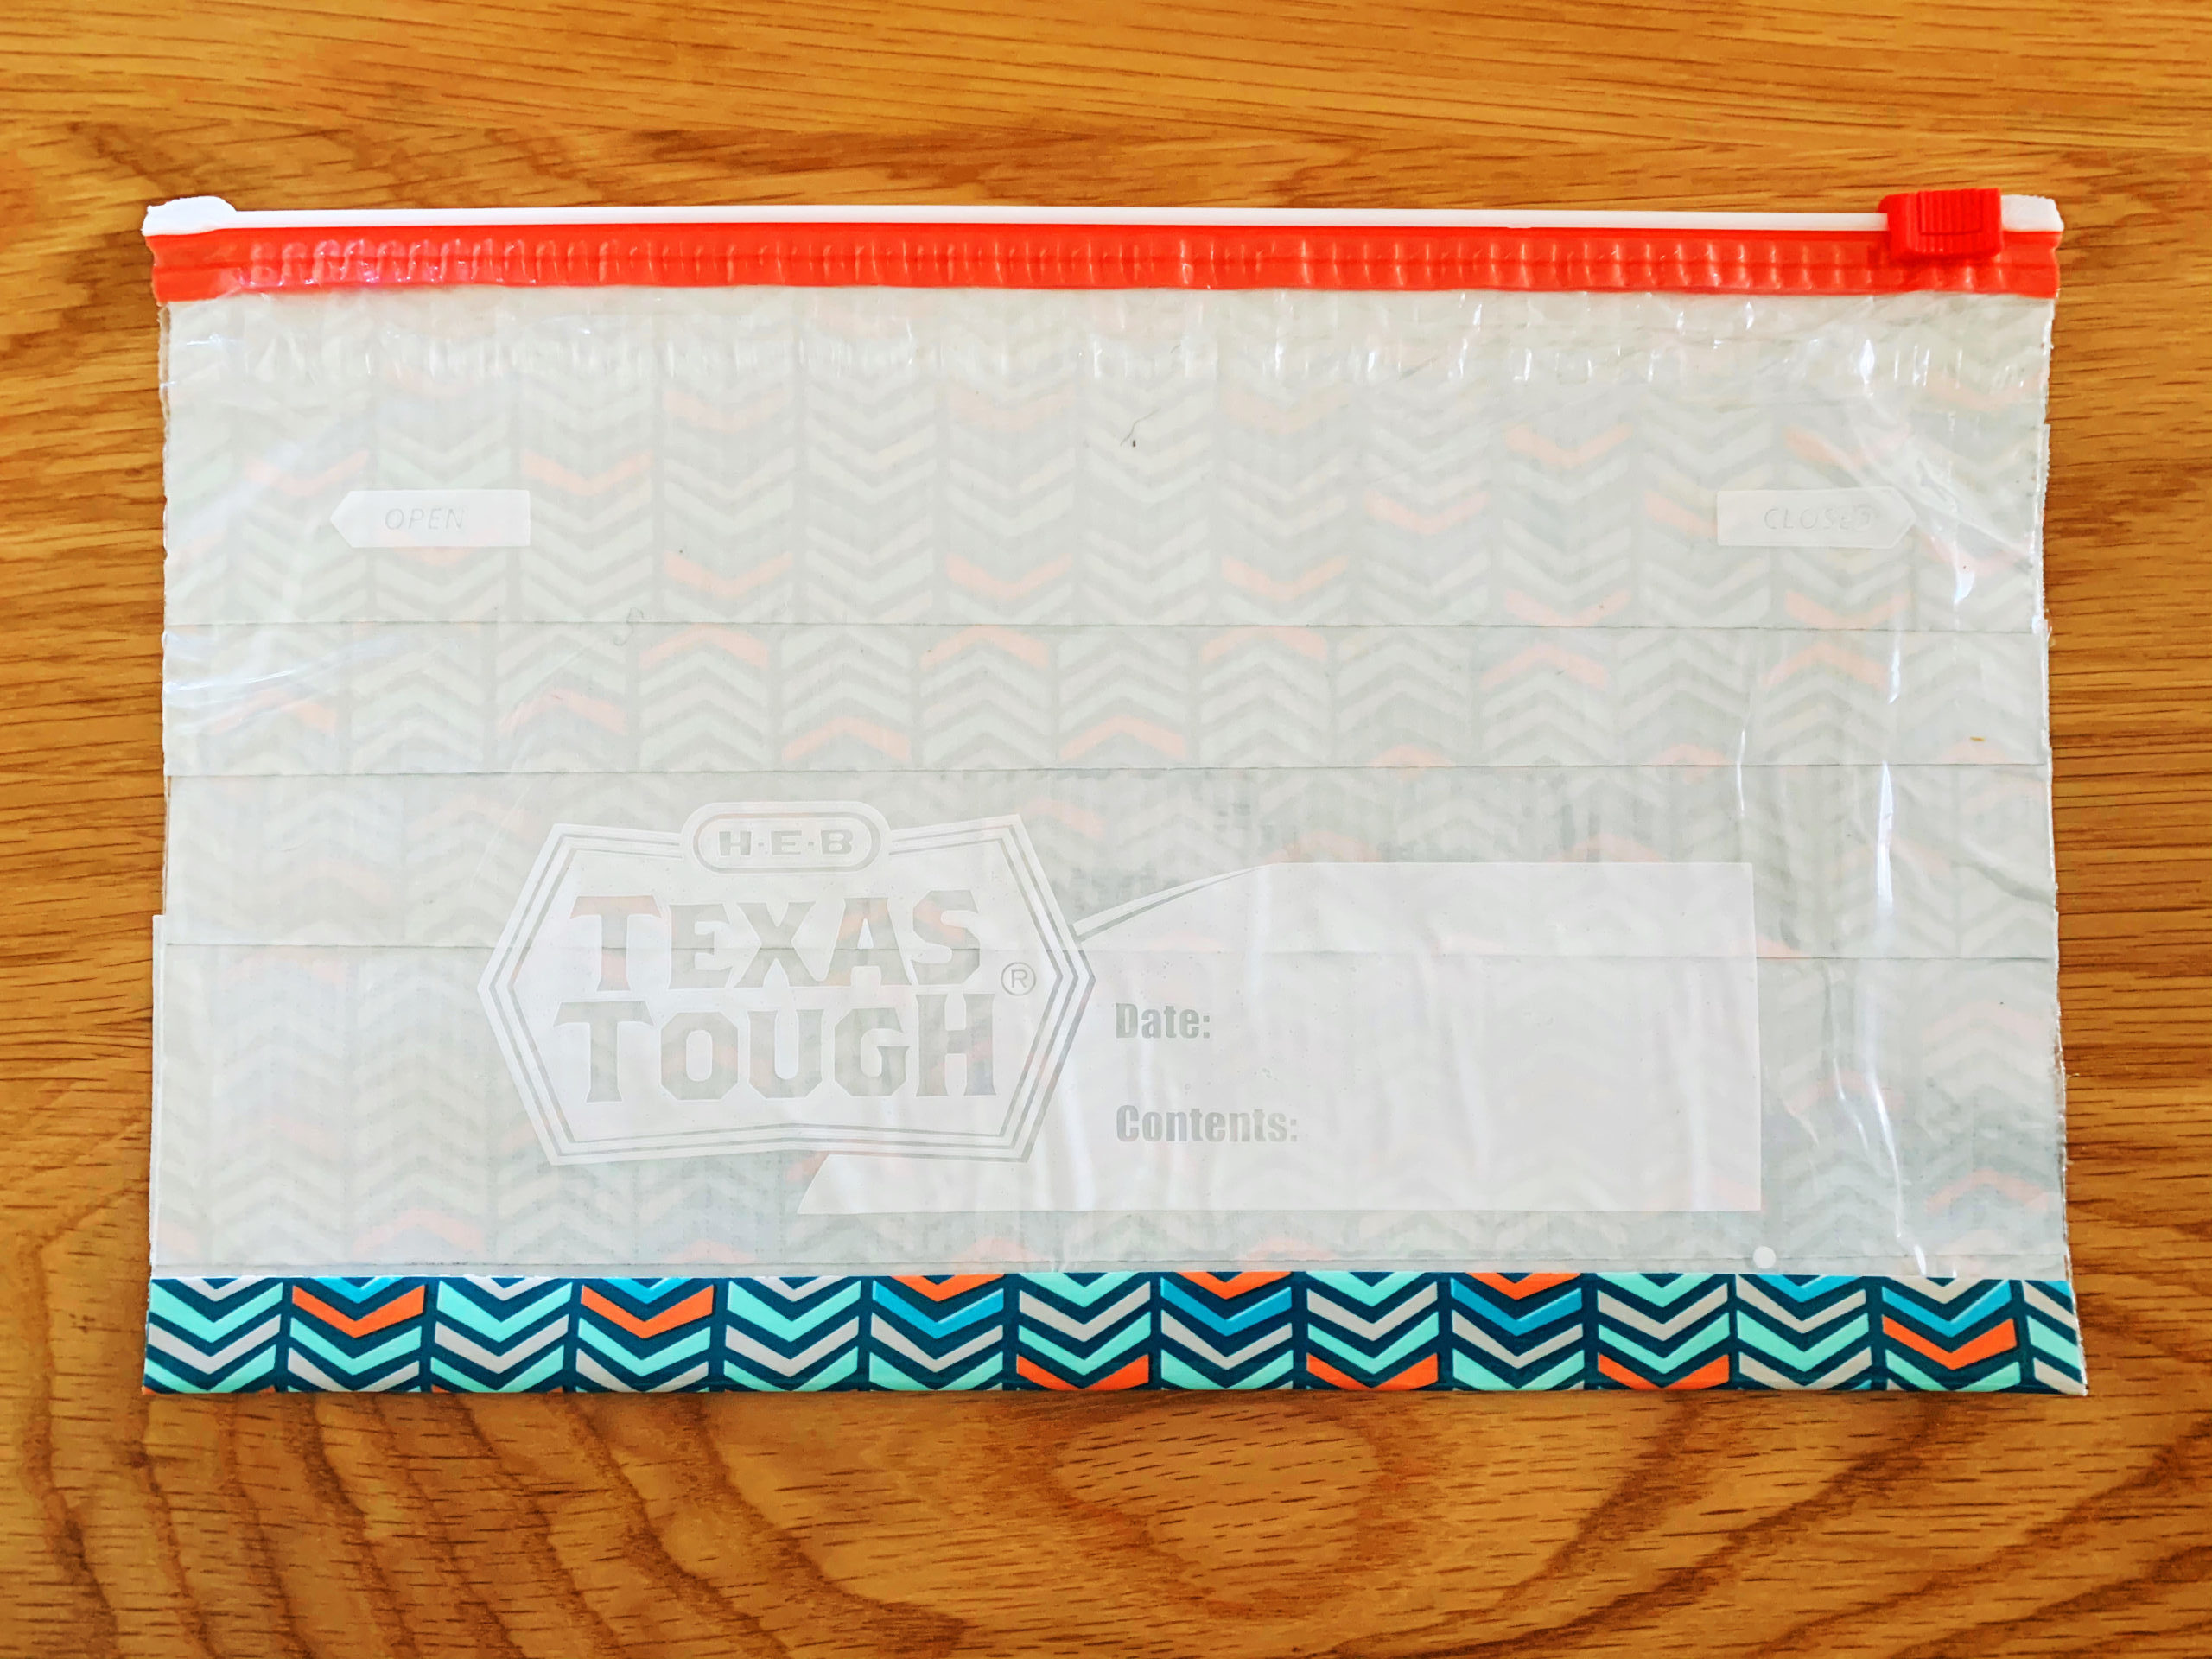
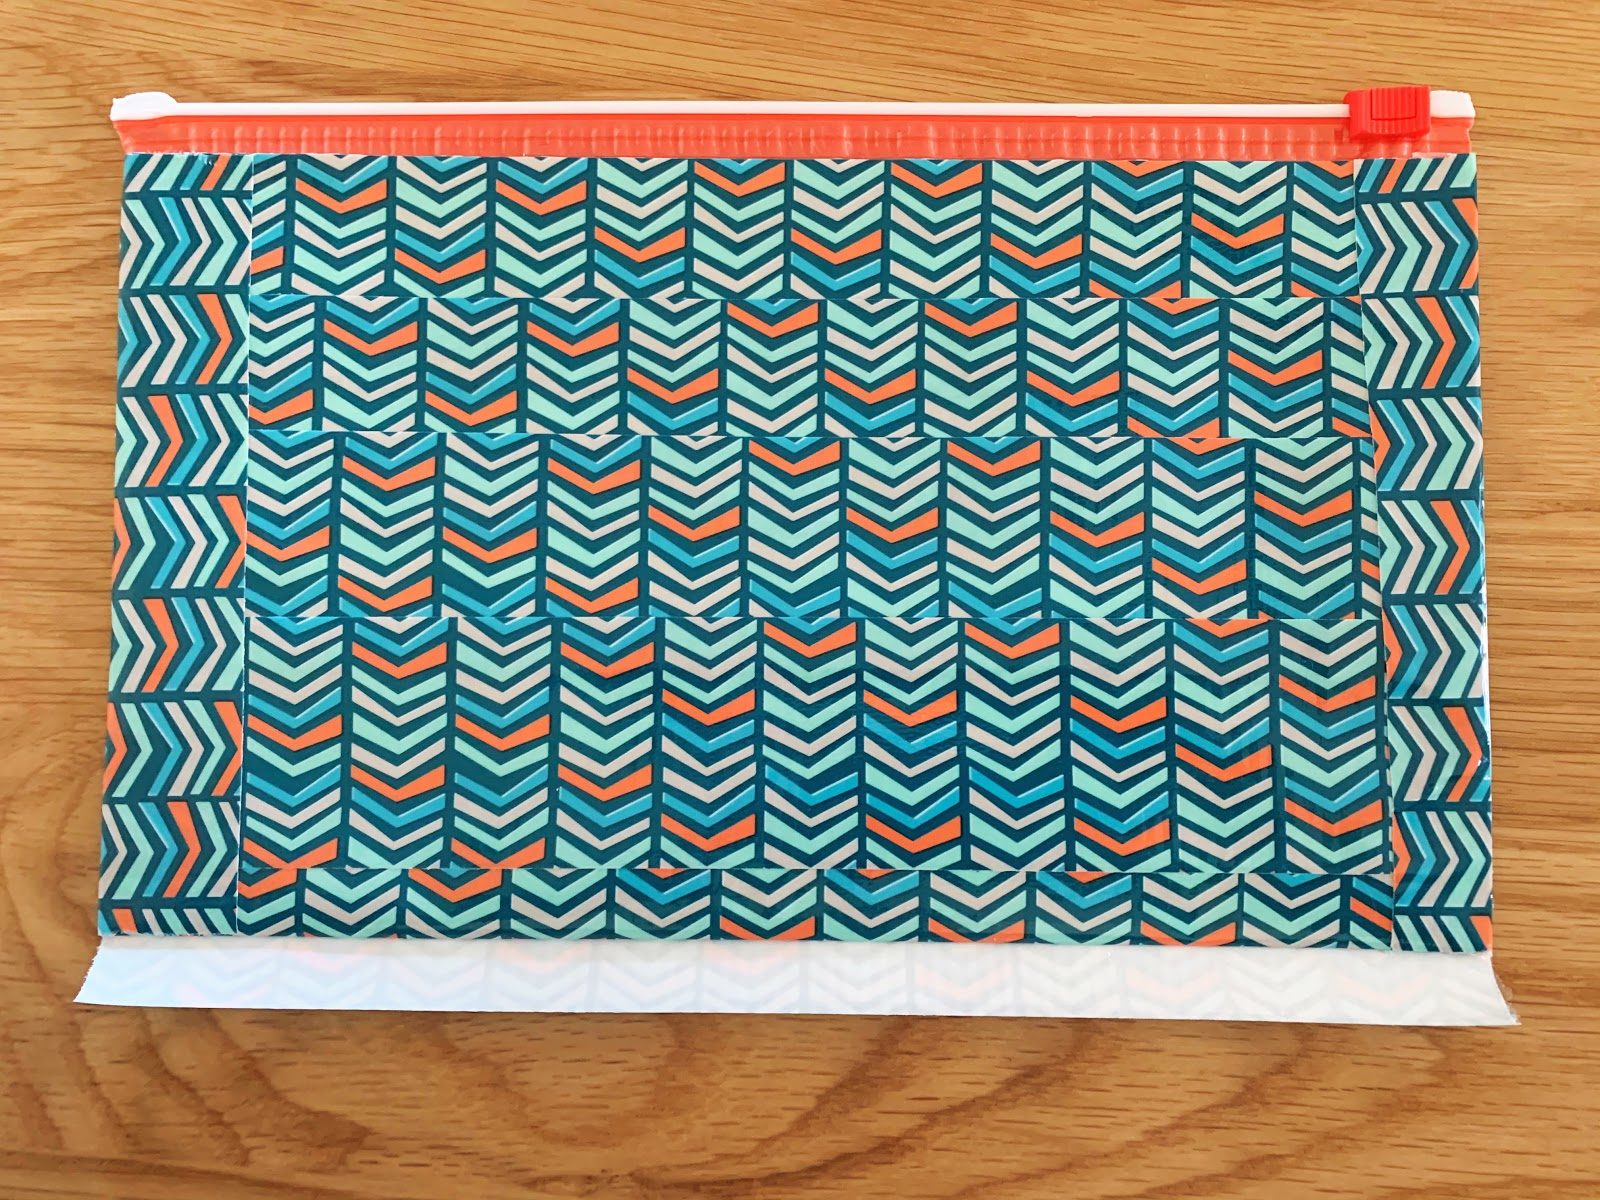
Step 5: Lastly, you will want to reinforce the sides and the bottom edge of the bag with another layer of duct tape. For this, you will need two pieces that are 7 ¾” long (for the sides) and one piece that is 10 ½” long (for the bottom edge). Press and smooth the duct tape around the side and bottom edges, so it’s secure on both sides of the bag.
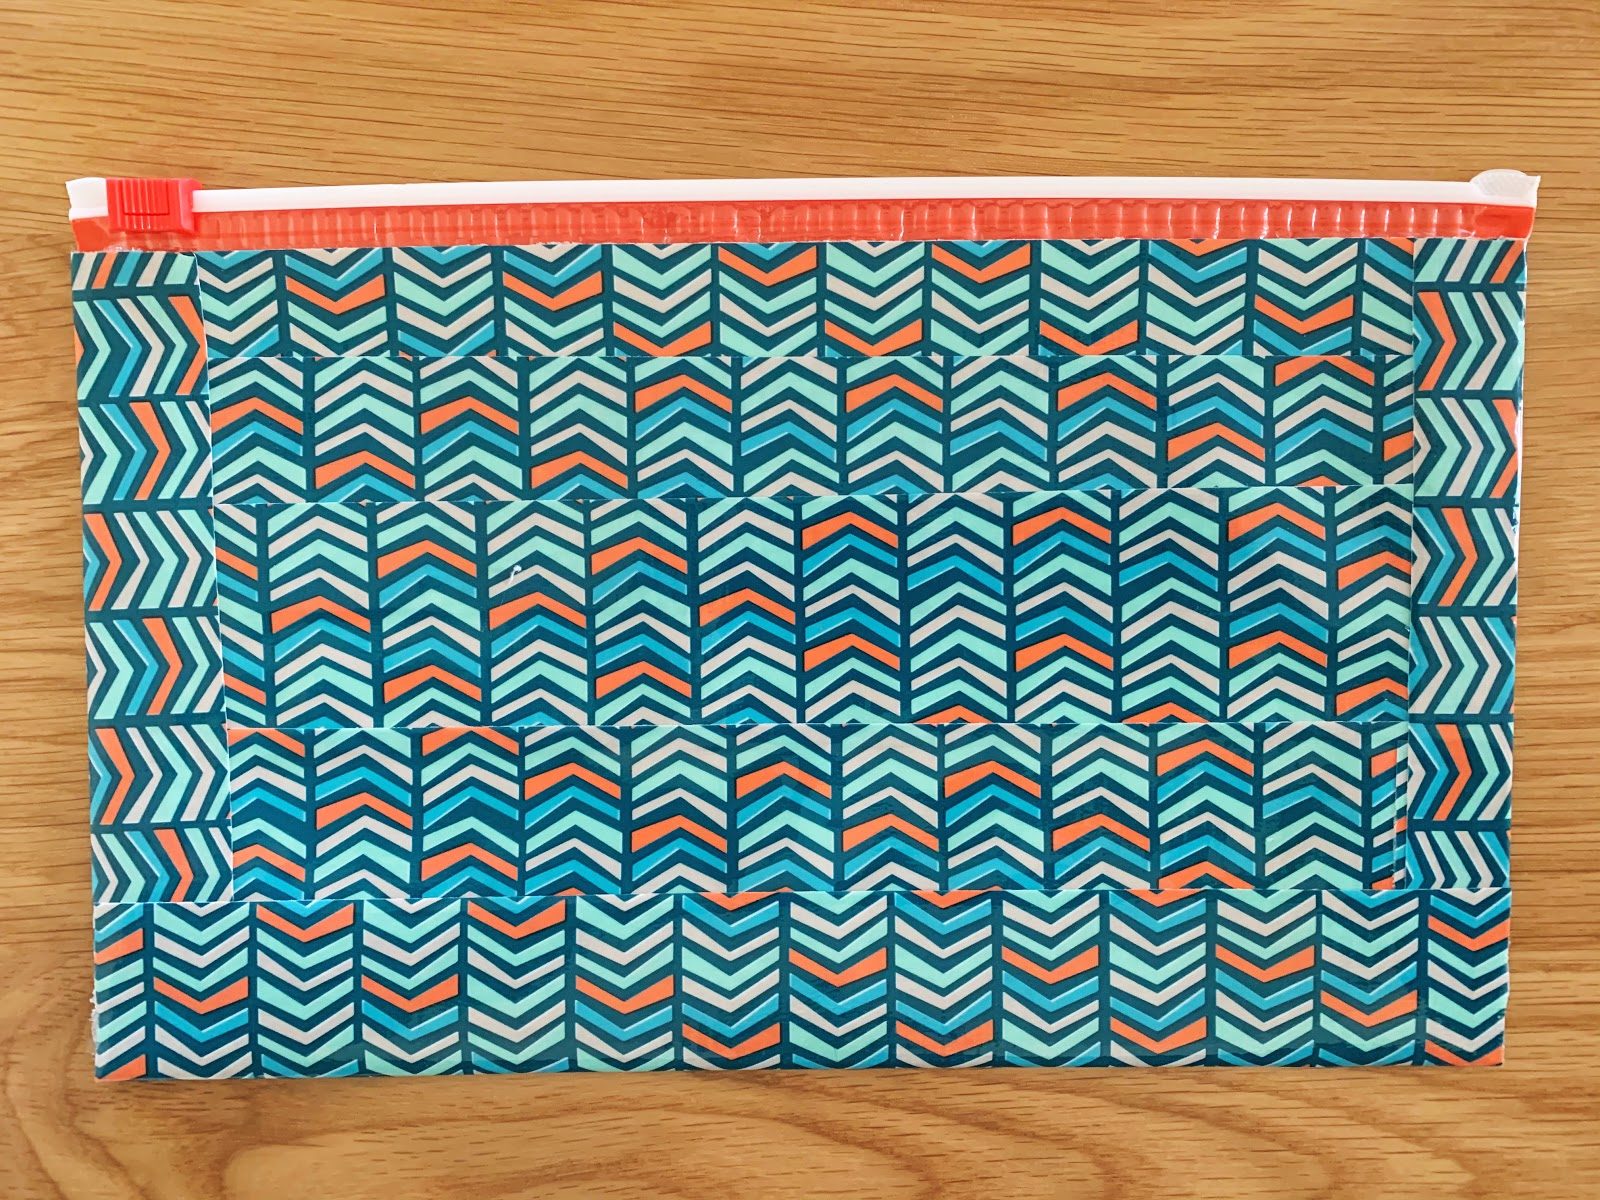
Optional: Step 6: The very last step (if you want!) is to punch holes in the bag so that you can insert your new pencil pouch in a loose-leaf binder. If you don’t use a binder and love your pencil pouch as-is, you can completely skip this step. For those that would like to, though, simply use a three-hole punch along the bottom edge of the bag. (If you don’t have a three-hole punch, you can trace the holes from a piece of binder paper and then punch them with a regular hole punch.)
Enjoy! We can’t wait to see what fun duct tape patterns you find—there are so many colorful options to choose from.
Pin Me for Reference :