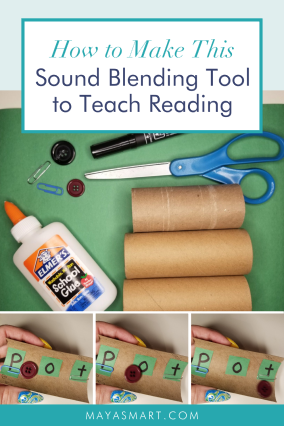
By Chrysta Naron
If you’ve ever sat with a beginning reader, you’ll notice that knowing letter sounds doesn’t magically jump straight to reading words fluently. Learning how to blend those sounds into a word is your child’s next step to literacy. However, it can be tricky to demonstrate without just doing it for them. With this word slide, your child will learn this key reading skill and be able to control the speed at which they read.
This simple activity is a great tool to teach reading. It’s something that you can make relatively quickly and with items you probably already have around the house. It has the added eco-friendly benefit that you can use it over and over again. (Always a plus in my book.) As a teacher, using these as a small-group activity gives children agency and the added skill of learning to help each other, a great chance for some social-emotional learning. This can be an awesome sibling bonding opportunity!
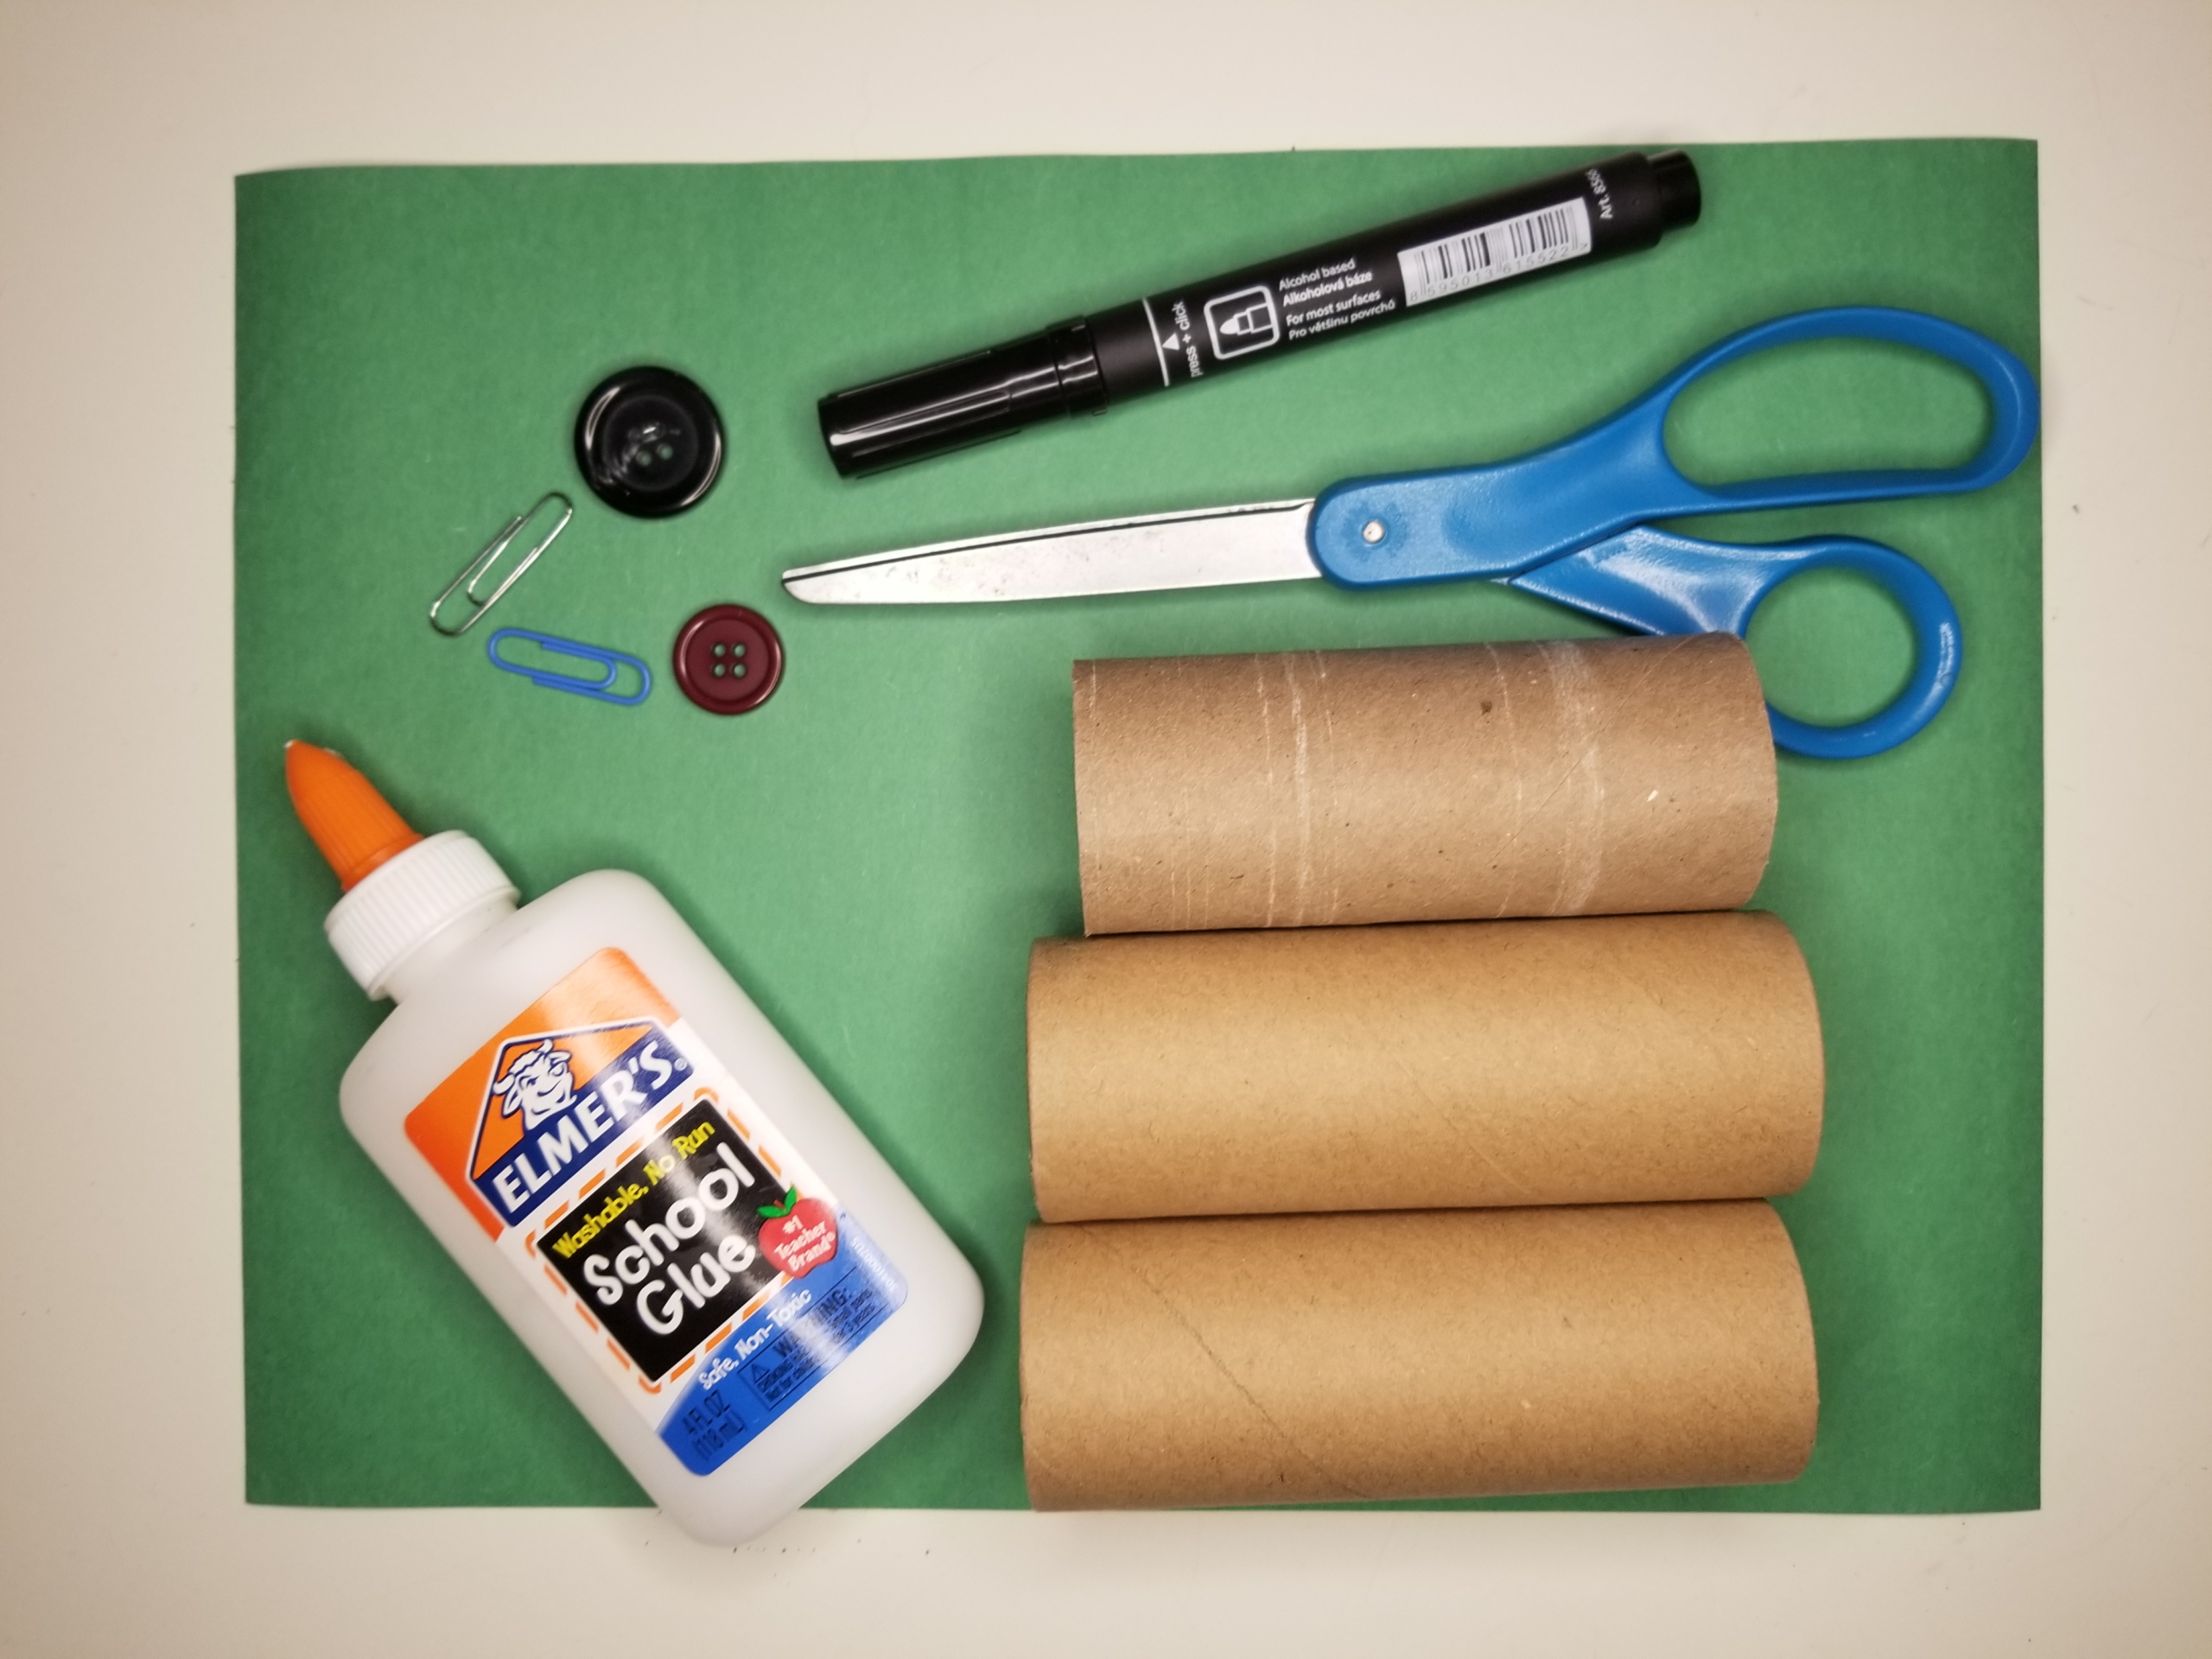
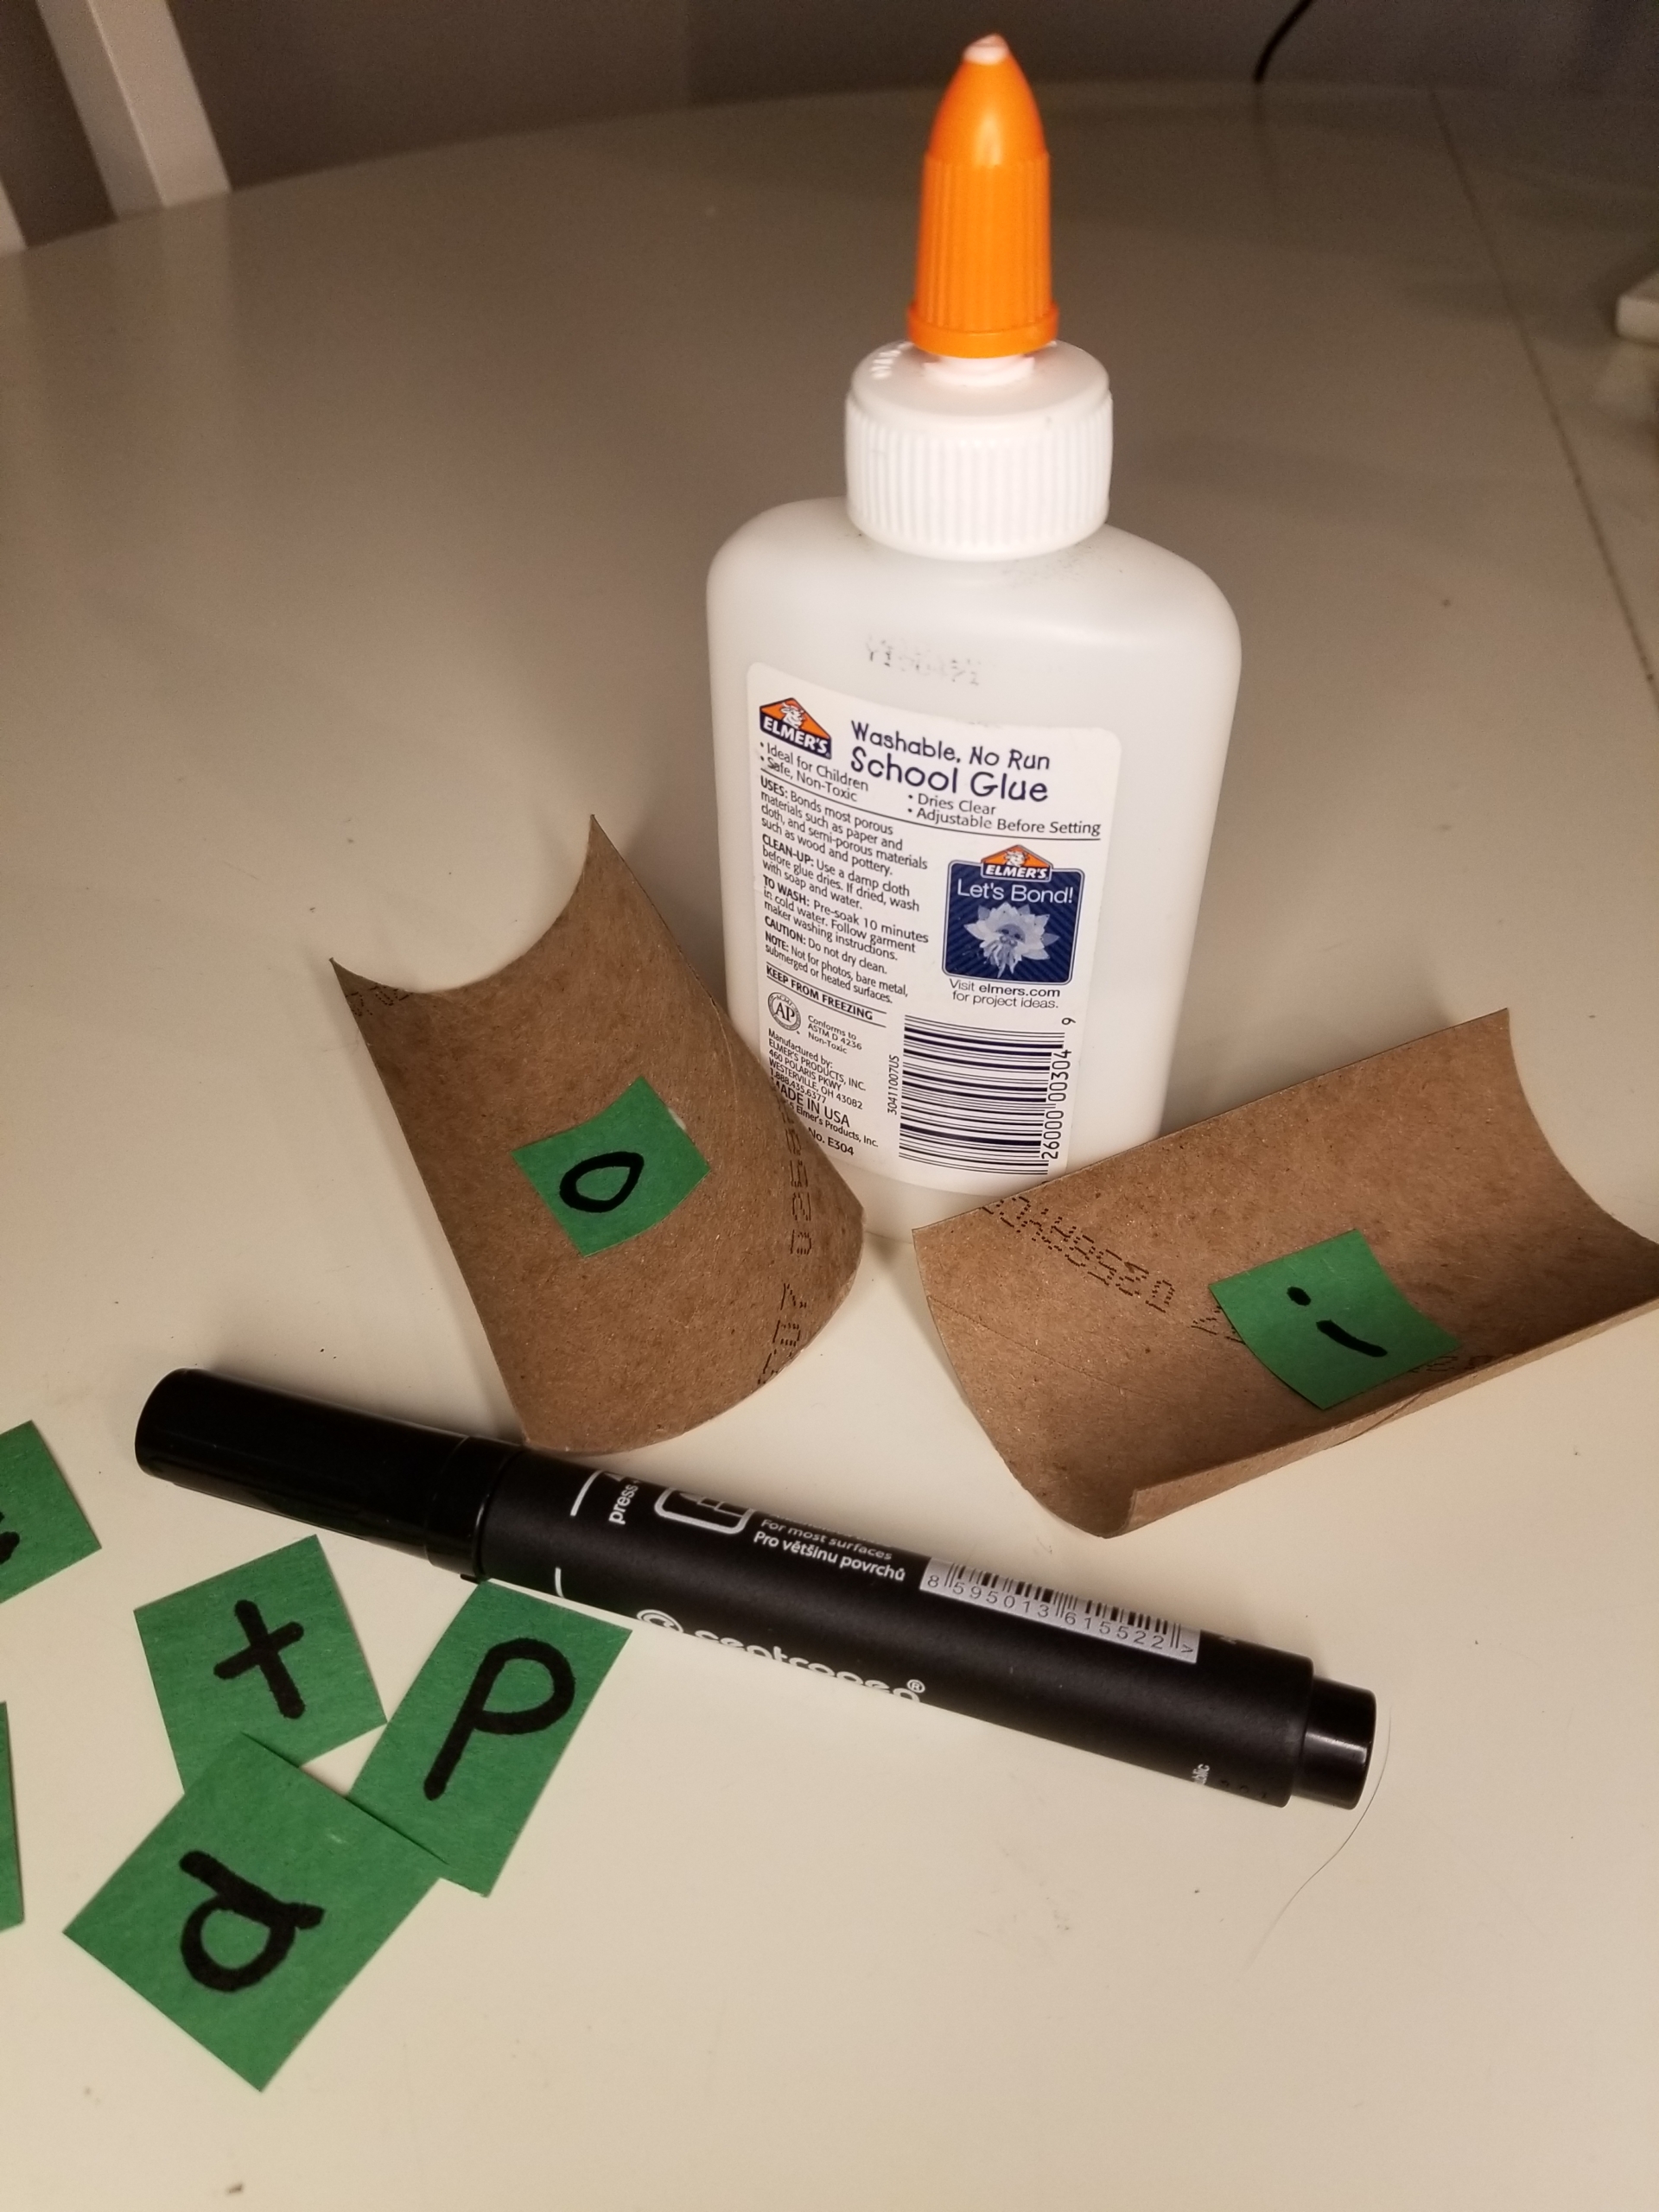
Materials Needed:
- 3 paper towel tubes
- Paper
- Marker
- Glue
- Scissors
- Buttons
- Paper clips
Cost: Free if you already own the materials!
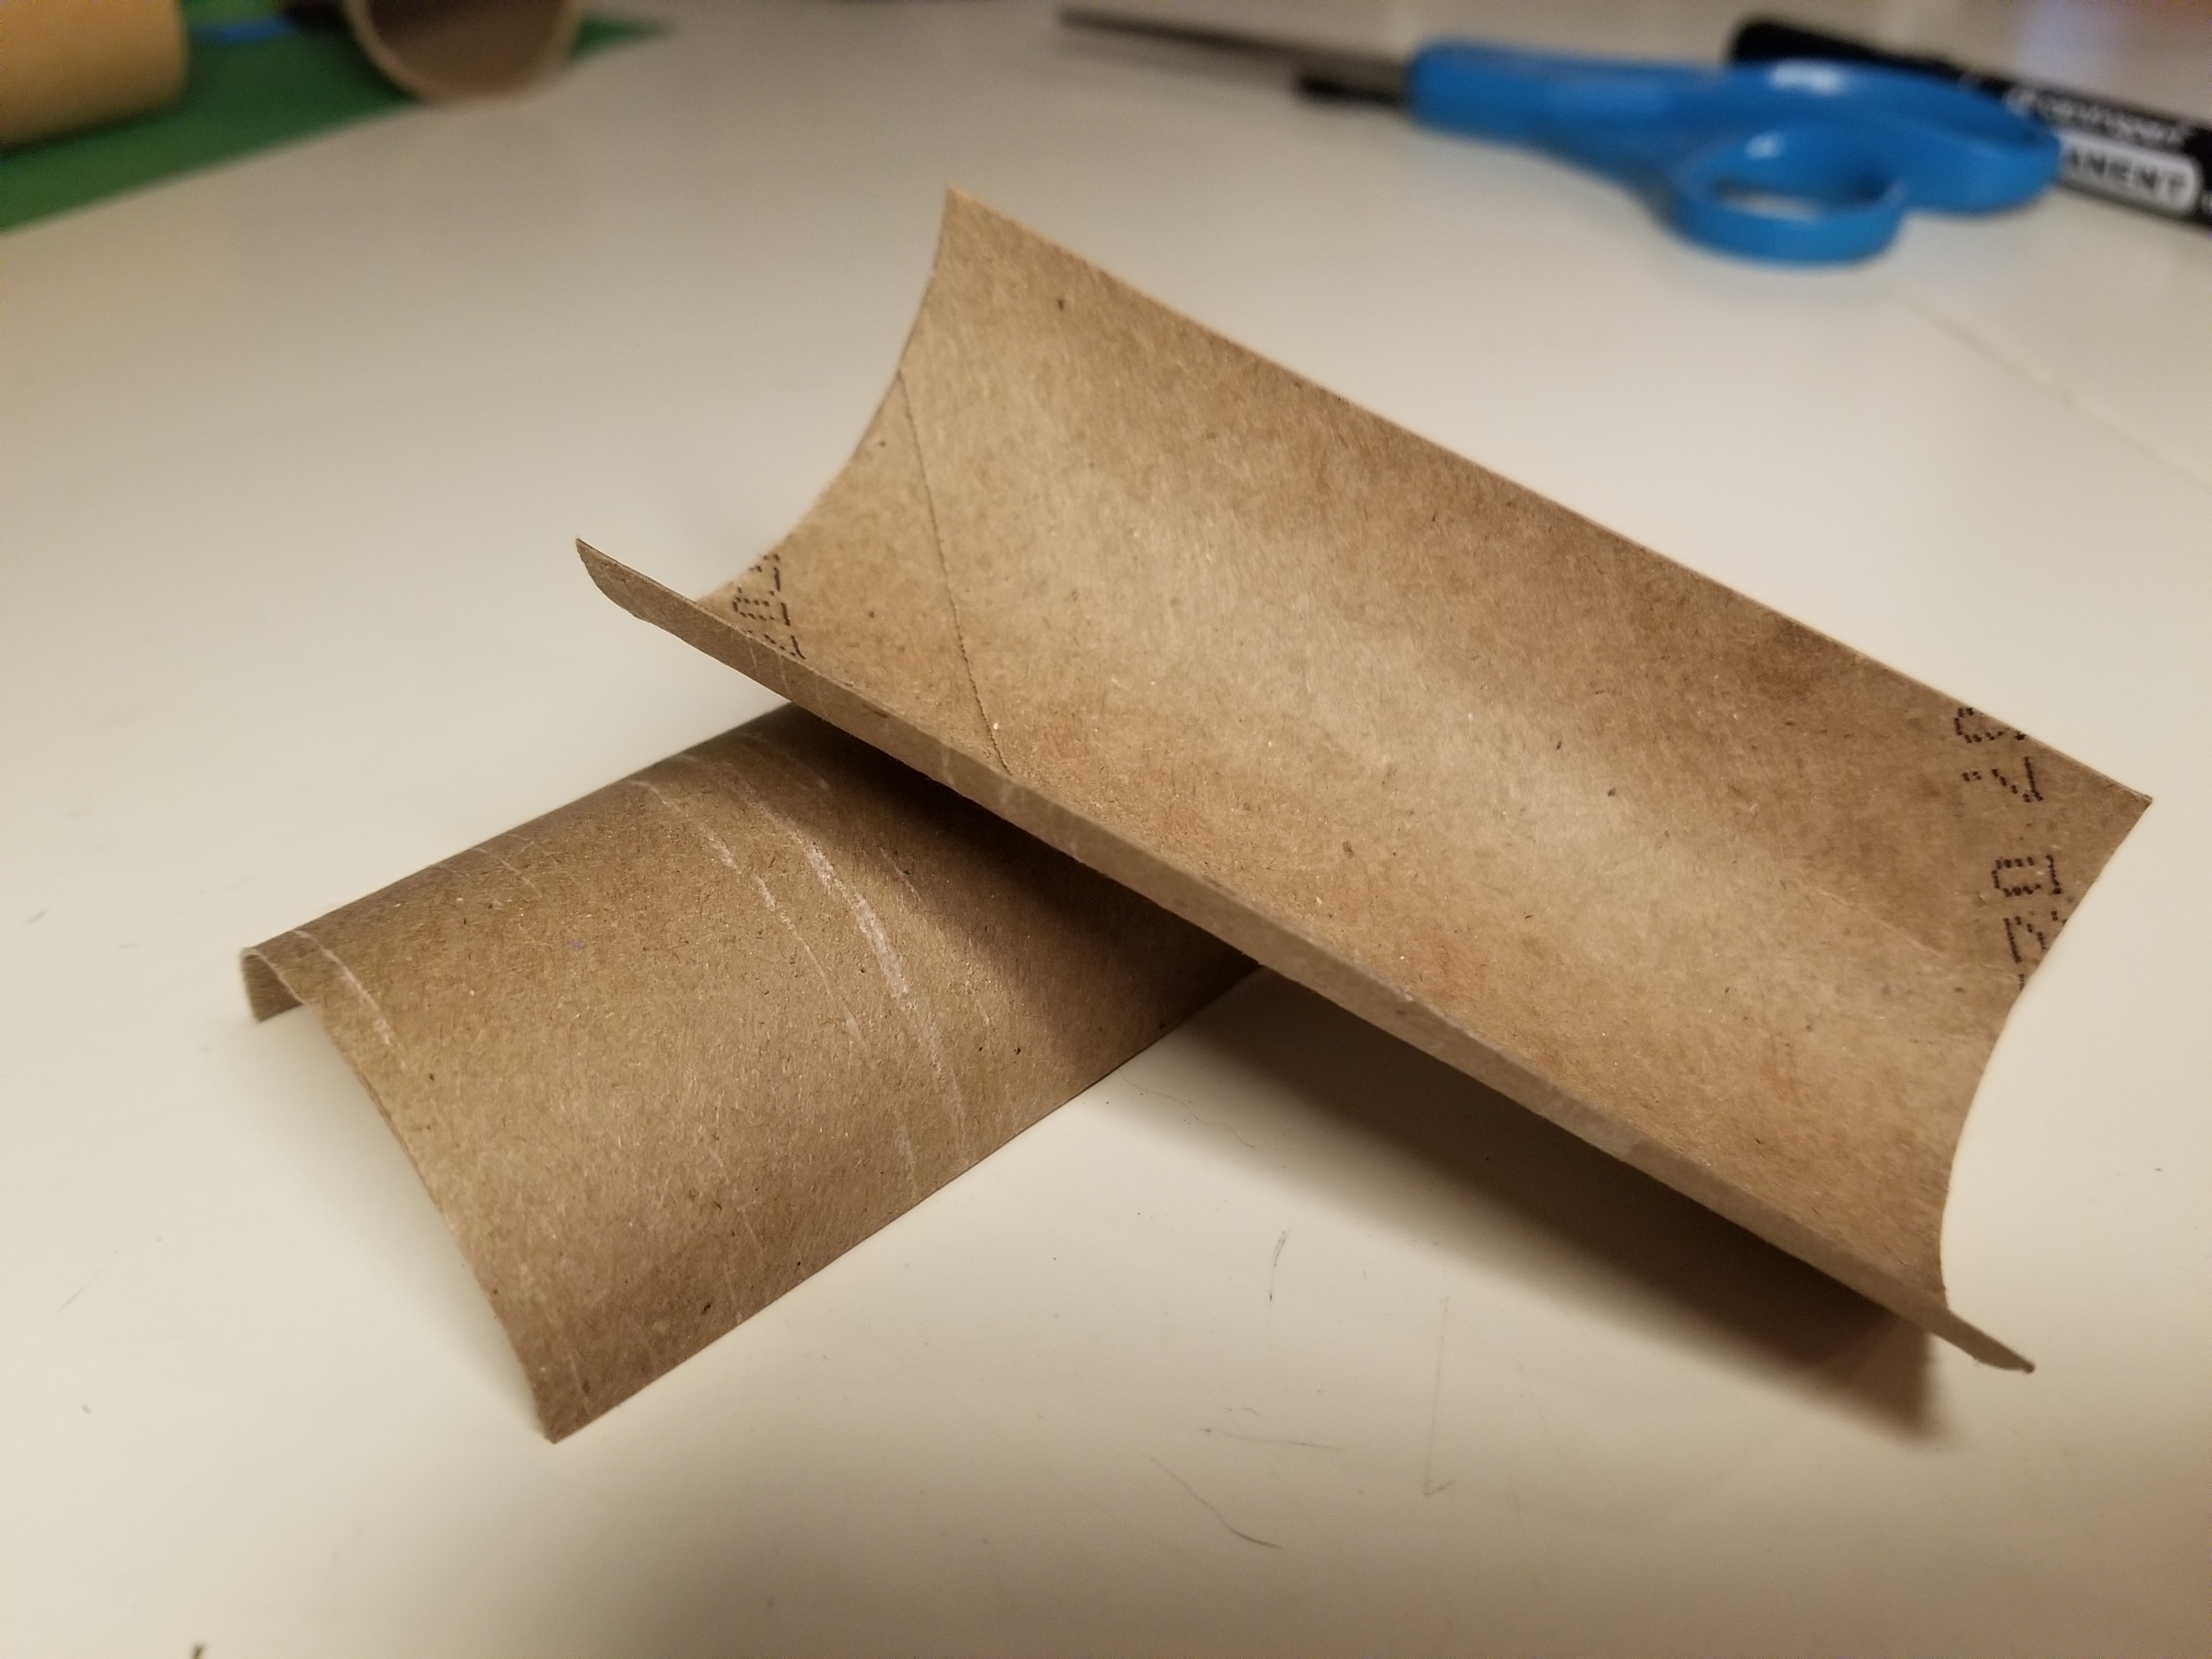
Step 1: Cut the paper towel tubes in half lengthwise, so each tube creates two arches. These are now your “slides.” Keep five for use today and save the sixth for another day.
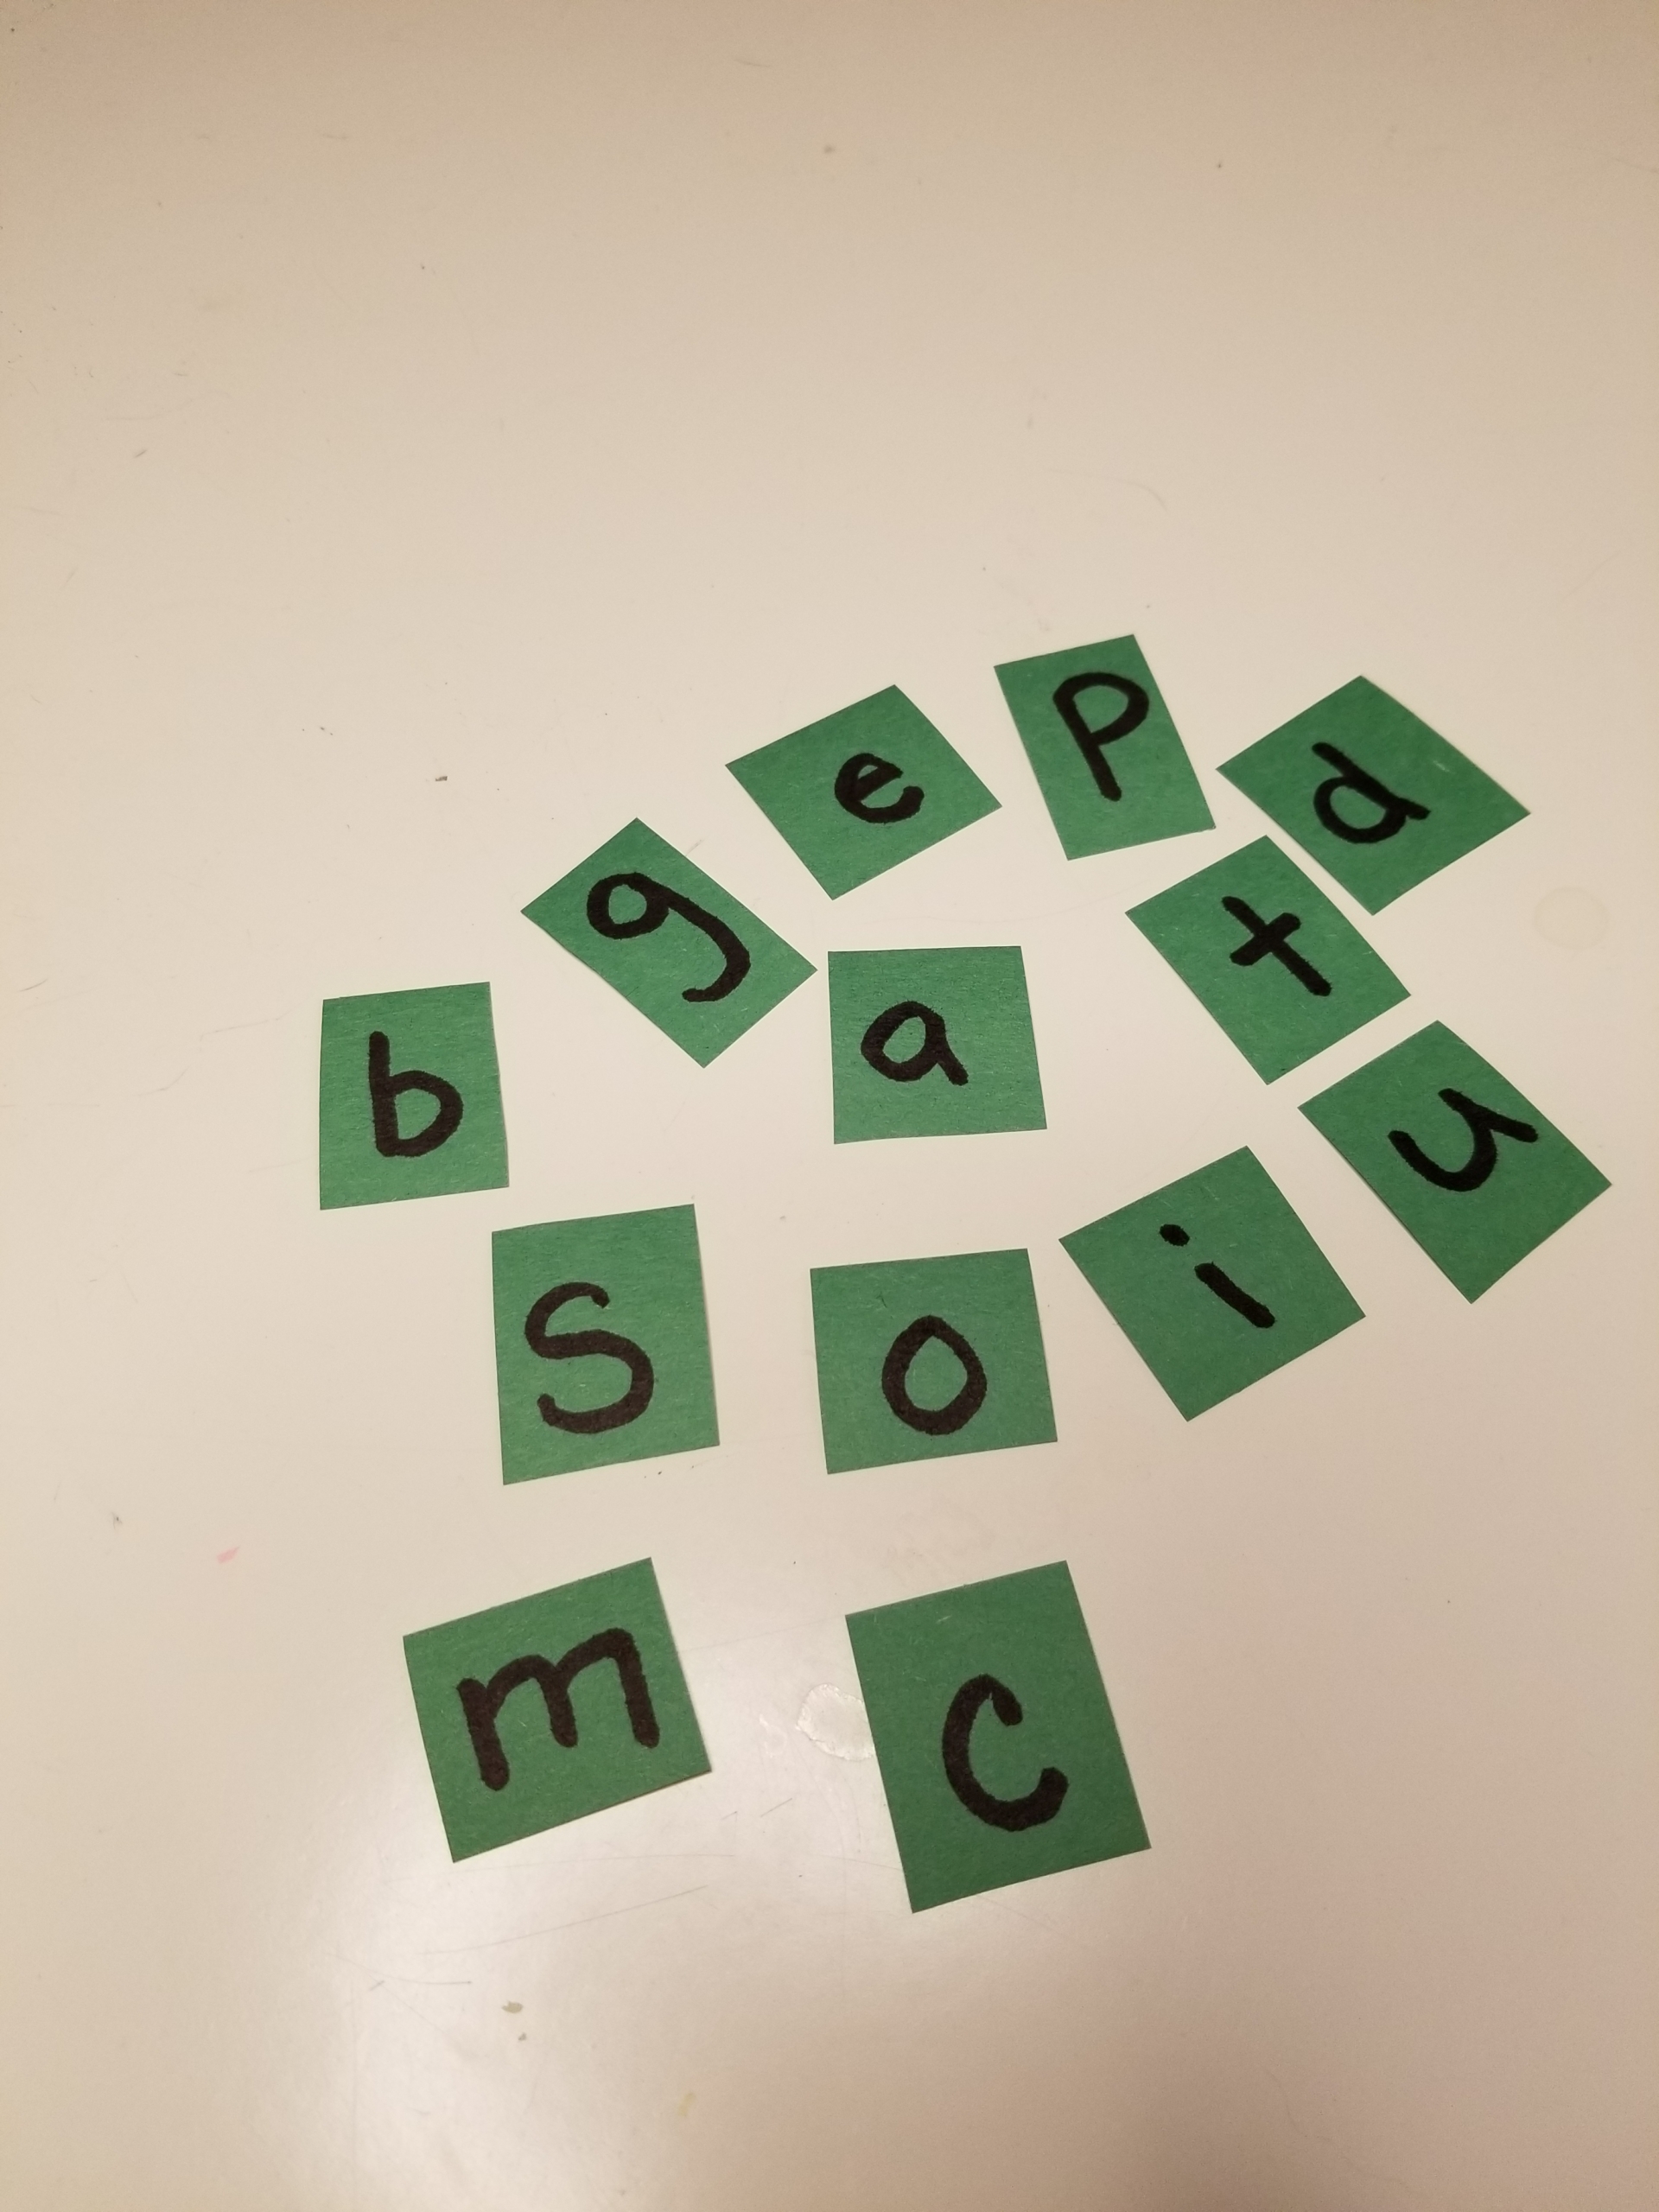
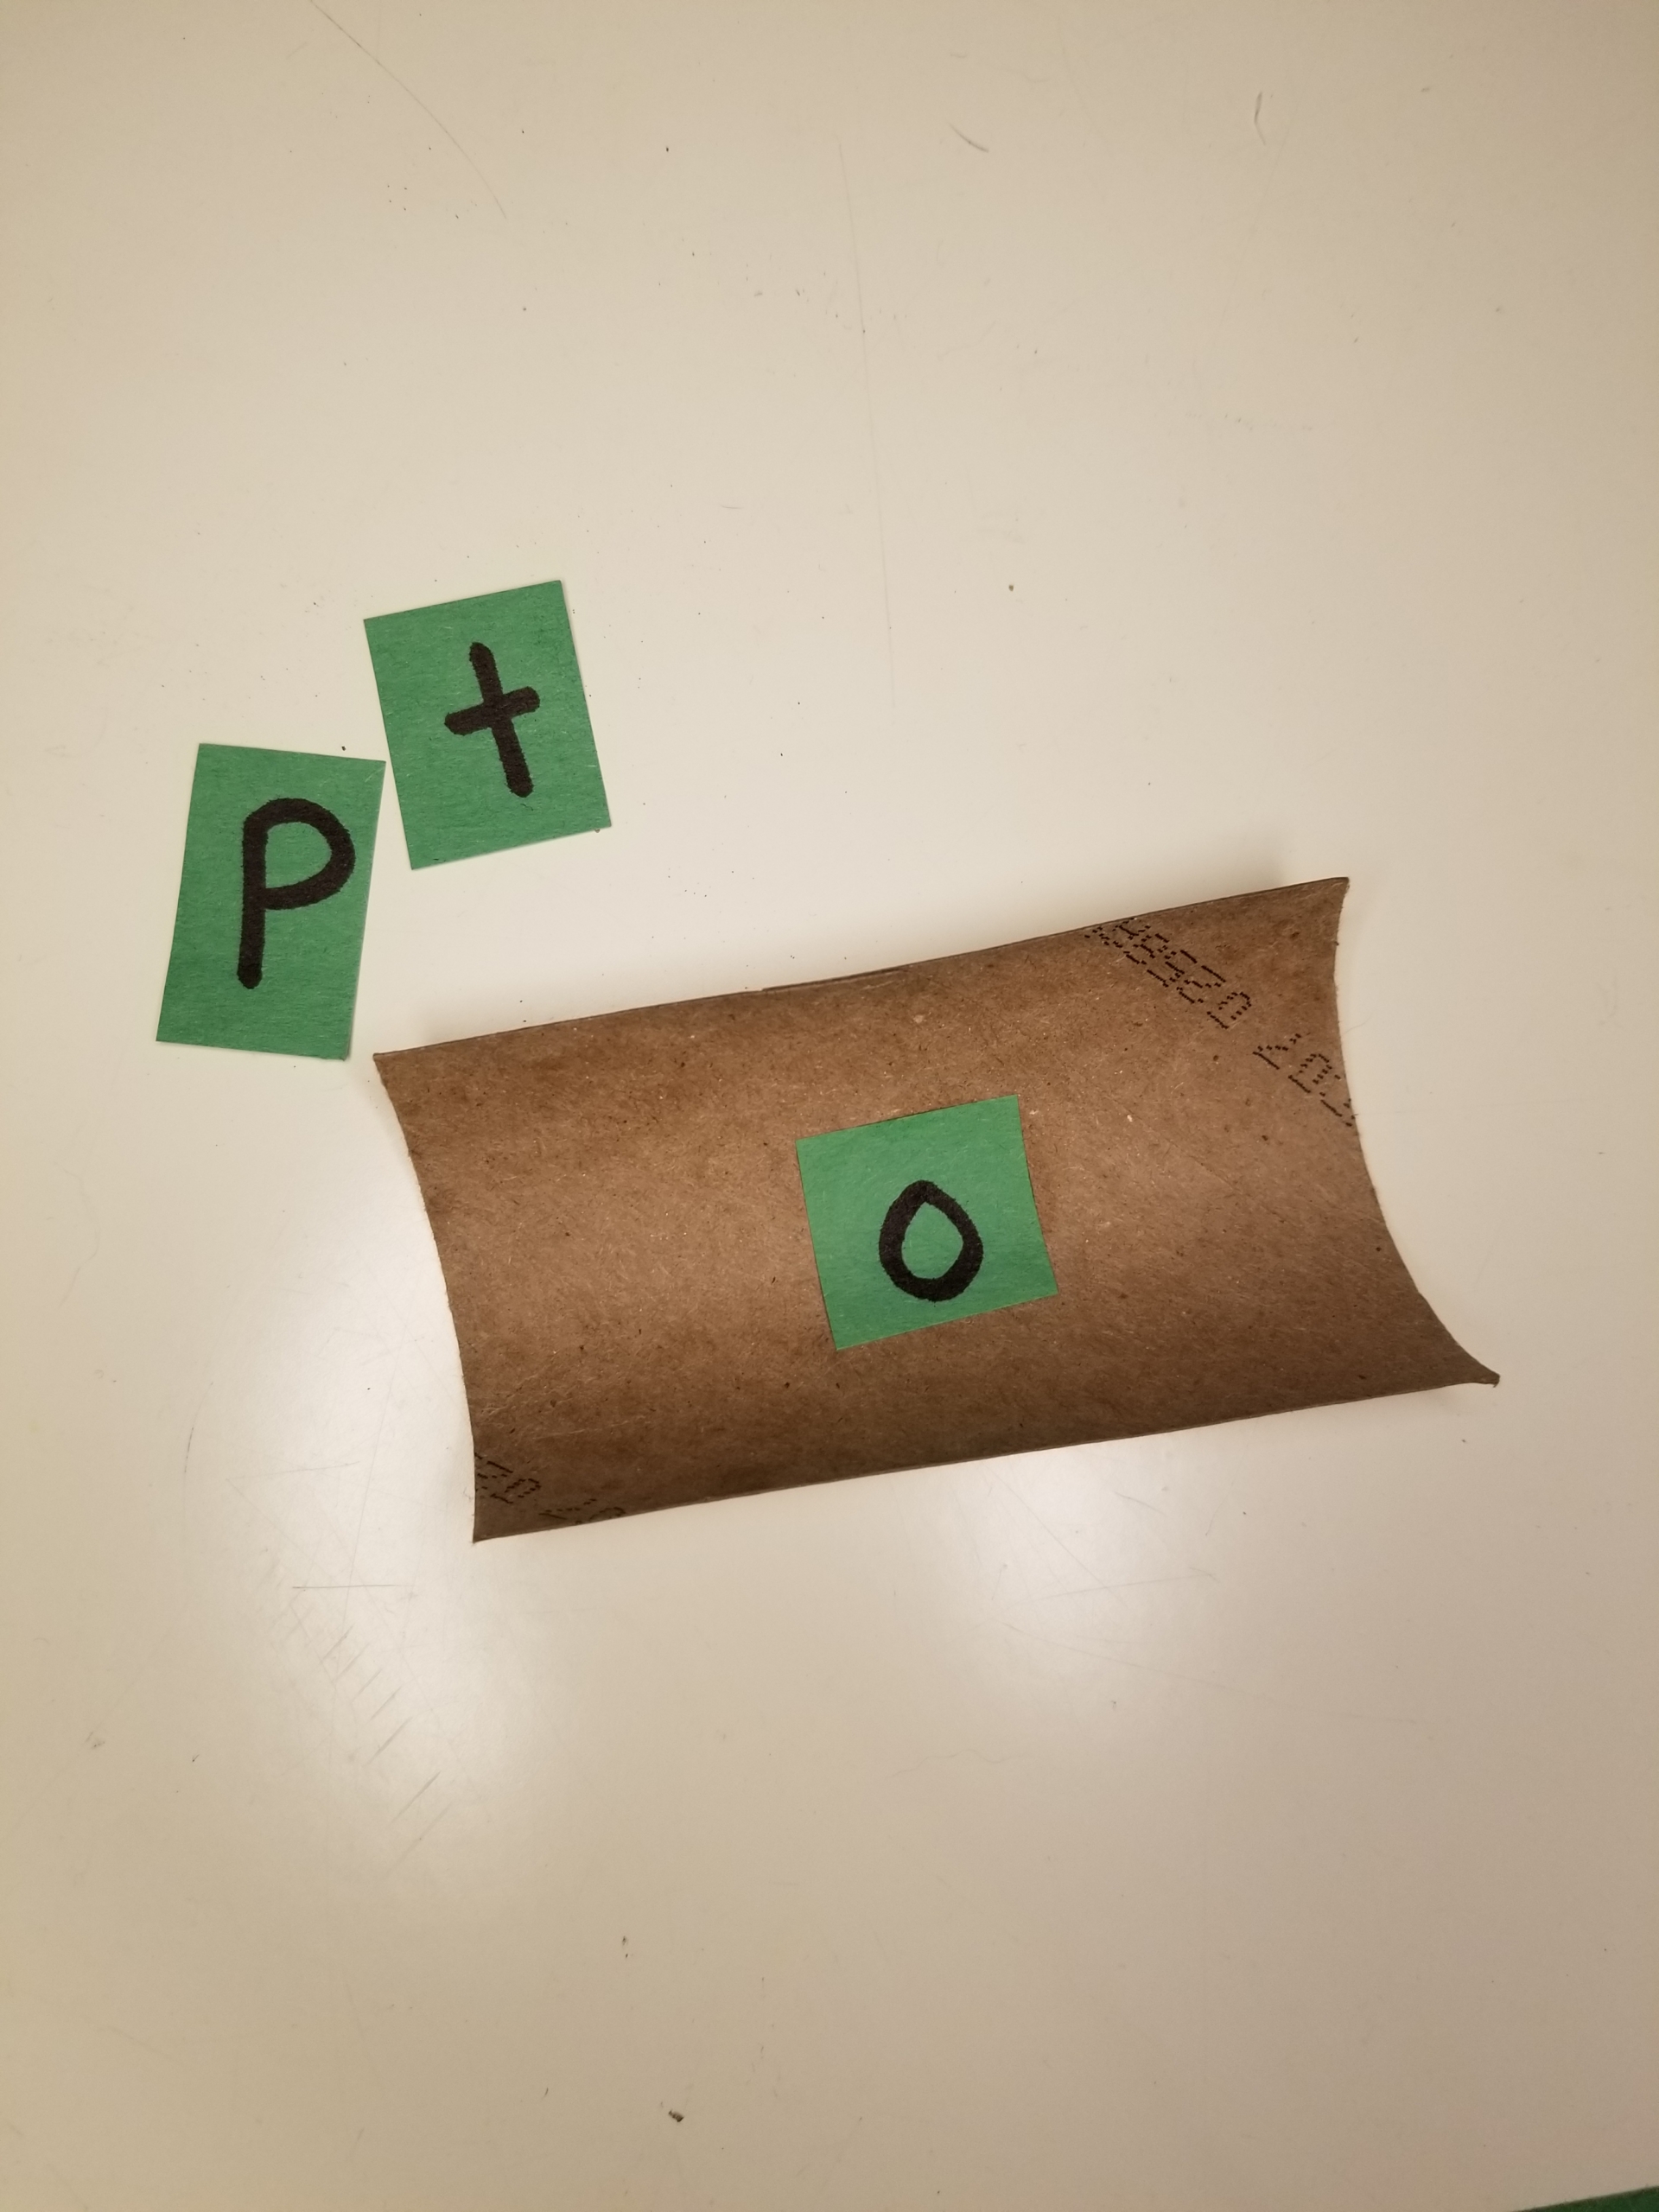
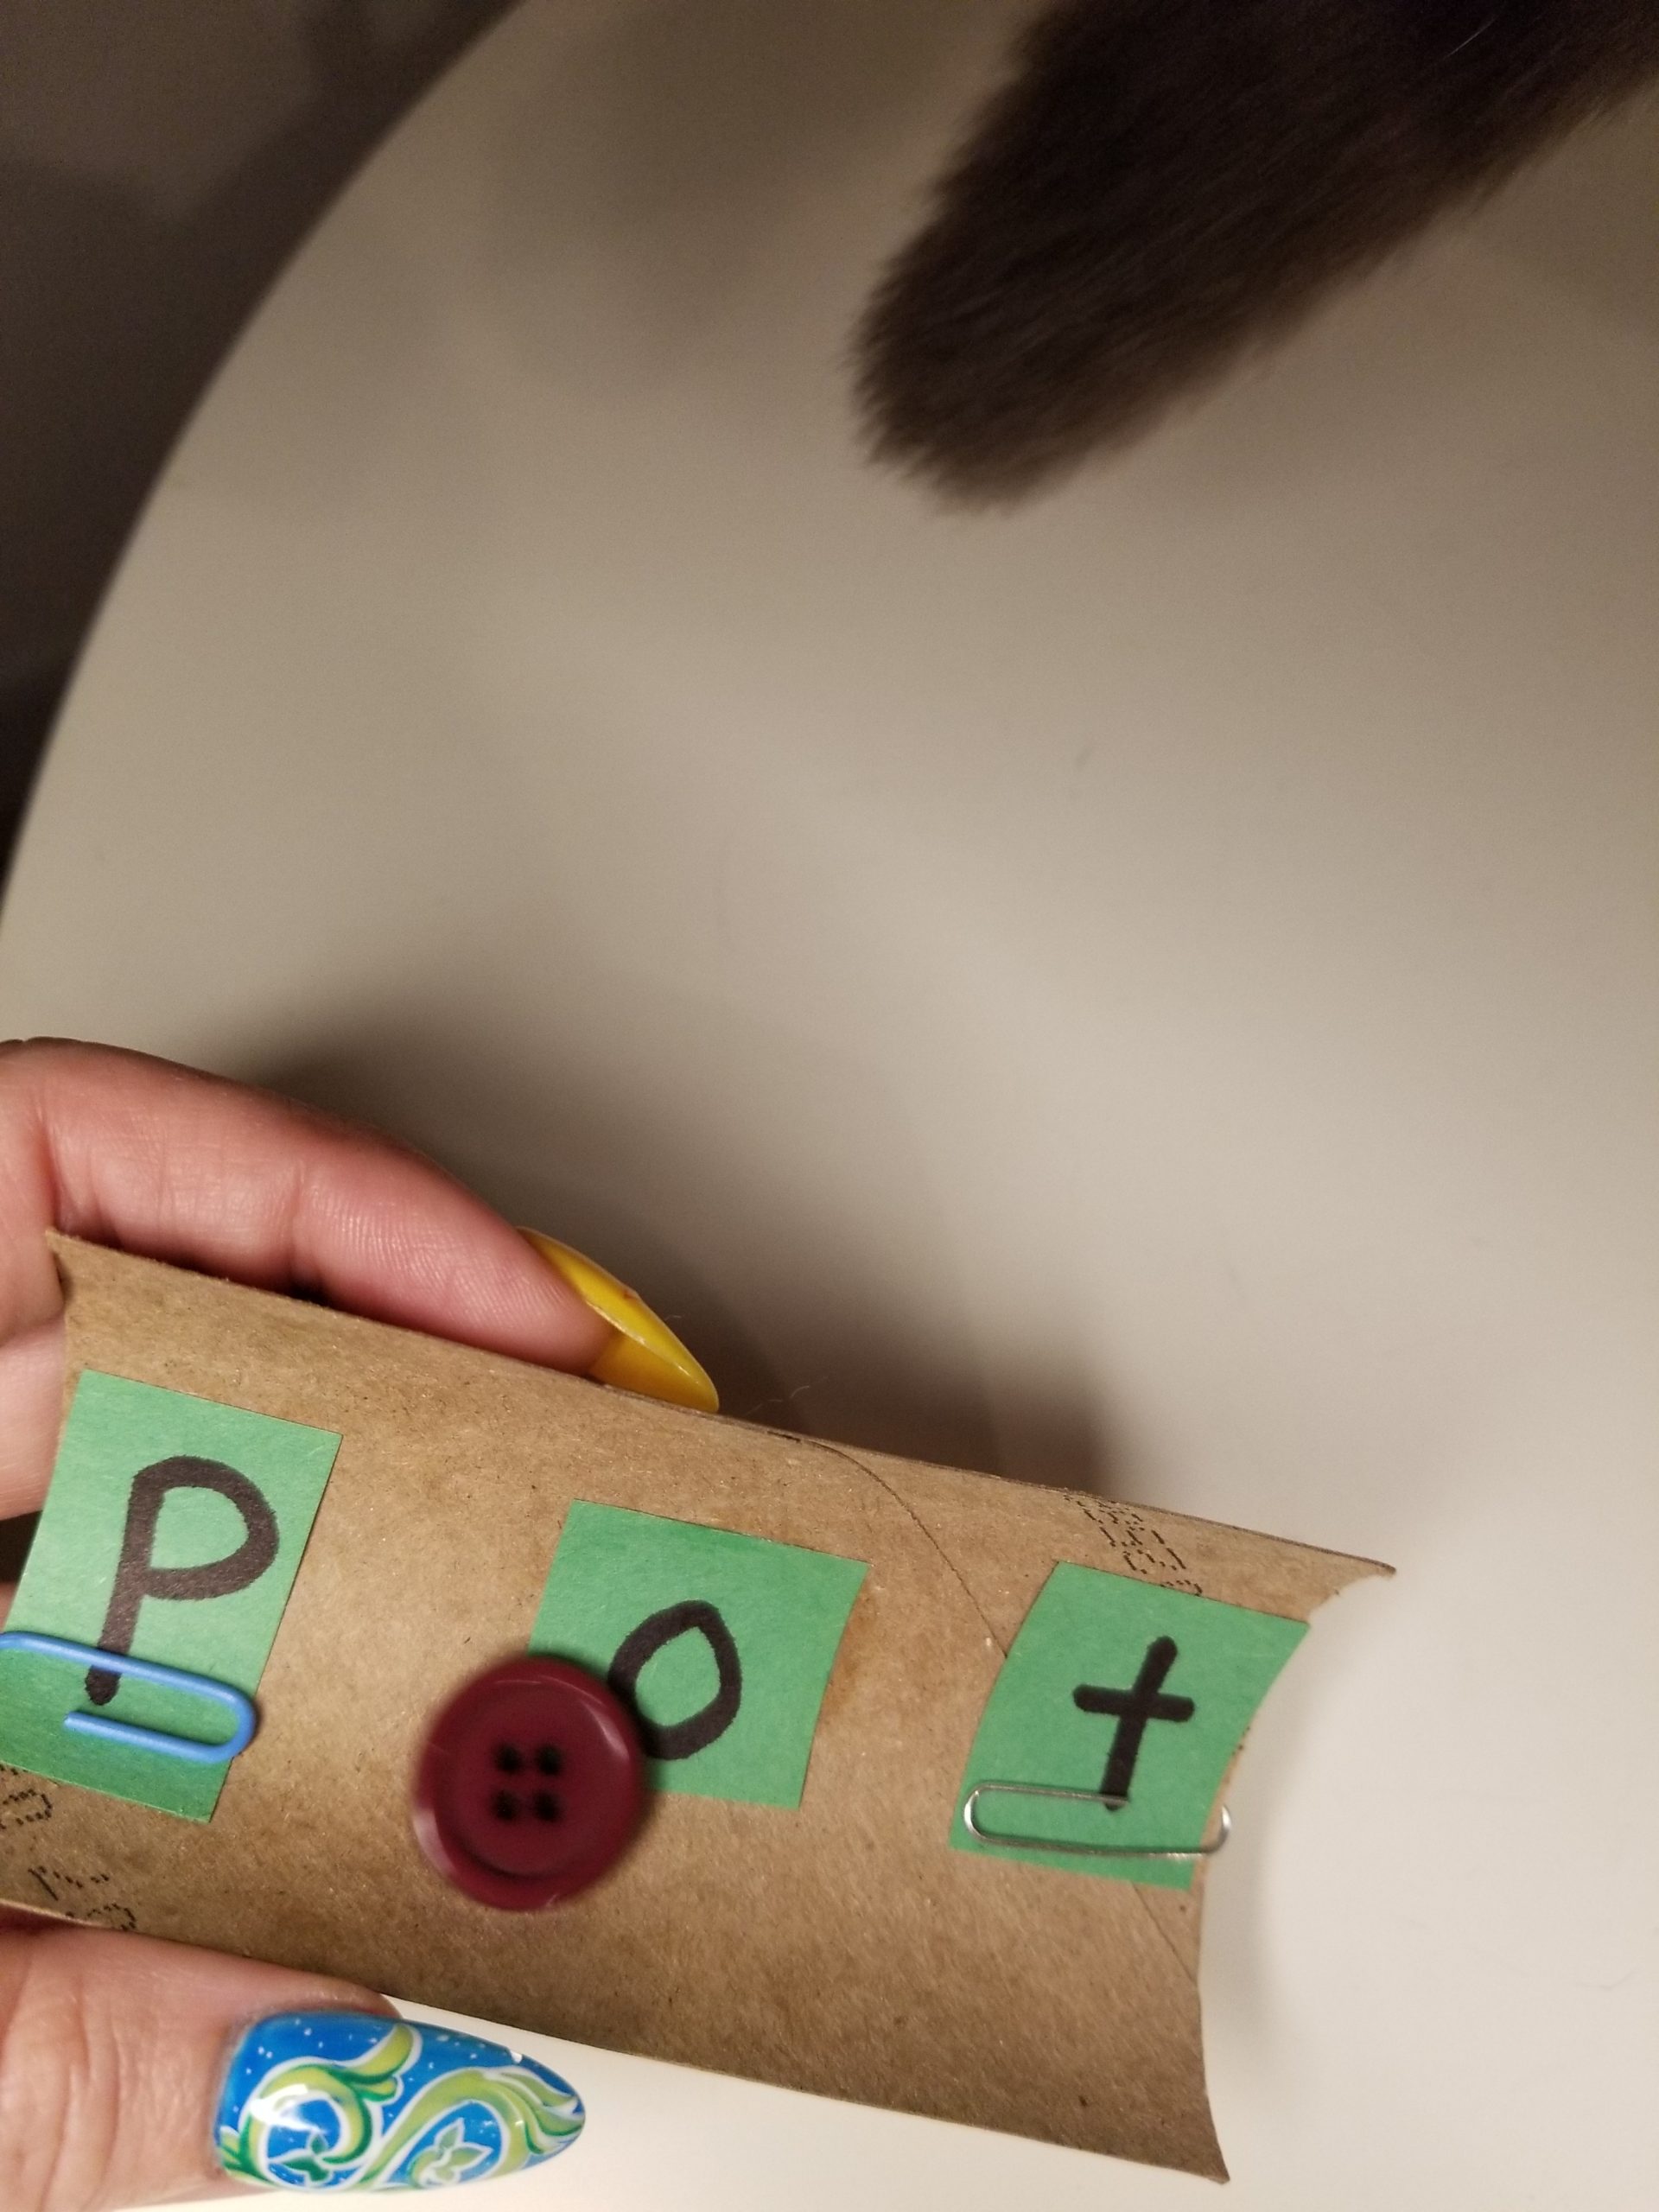
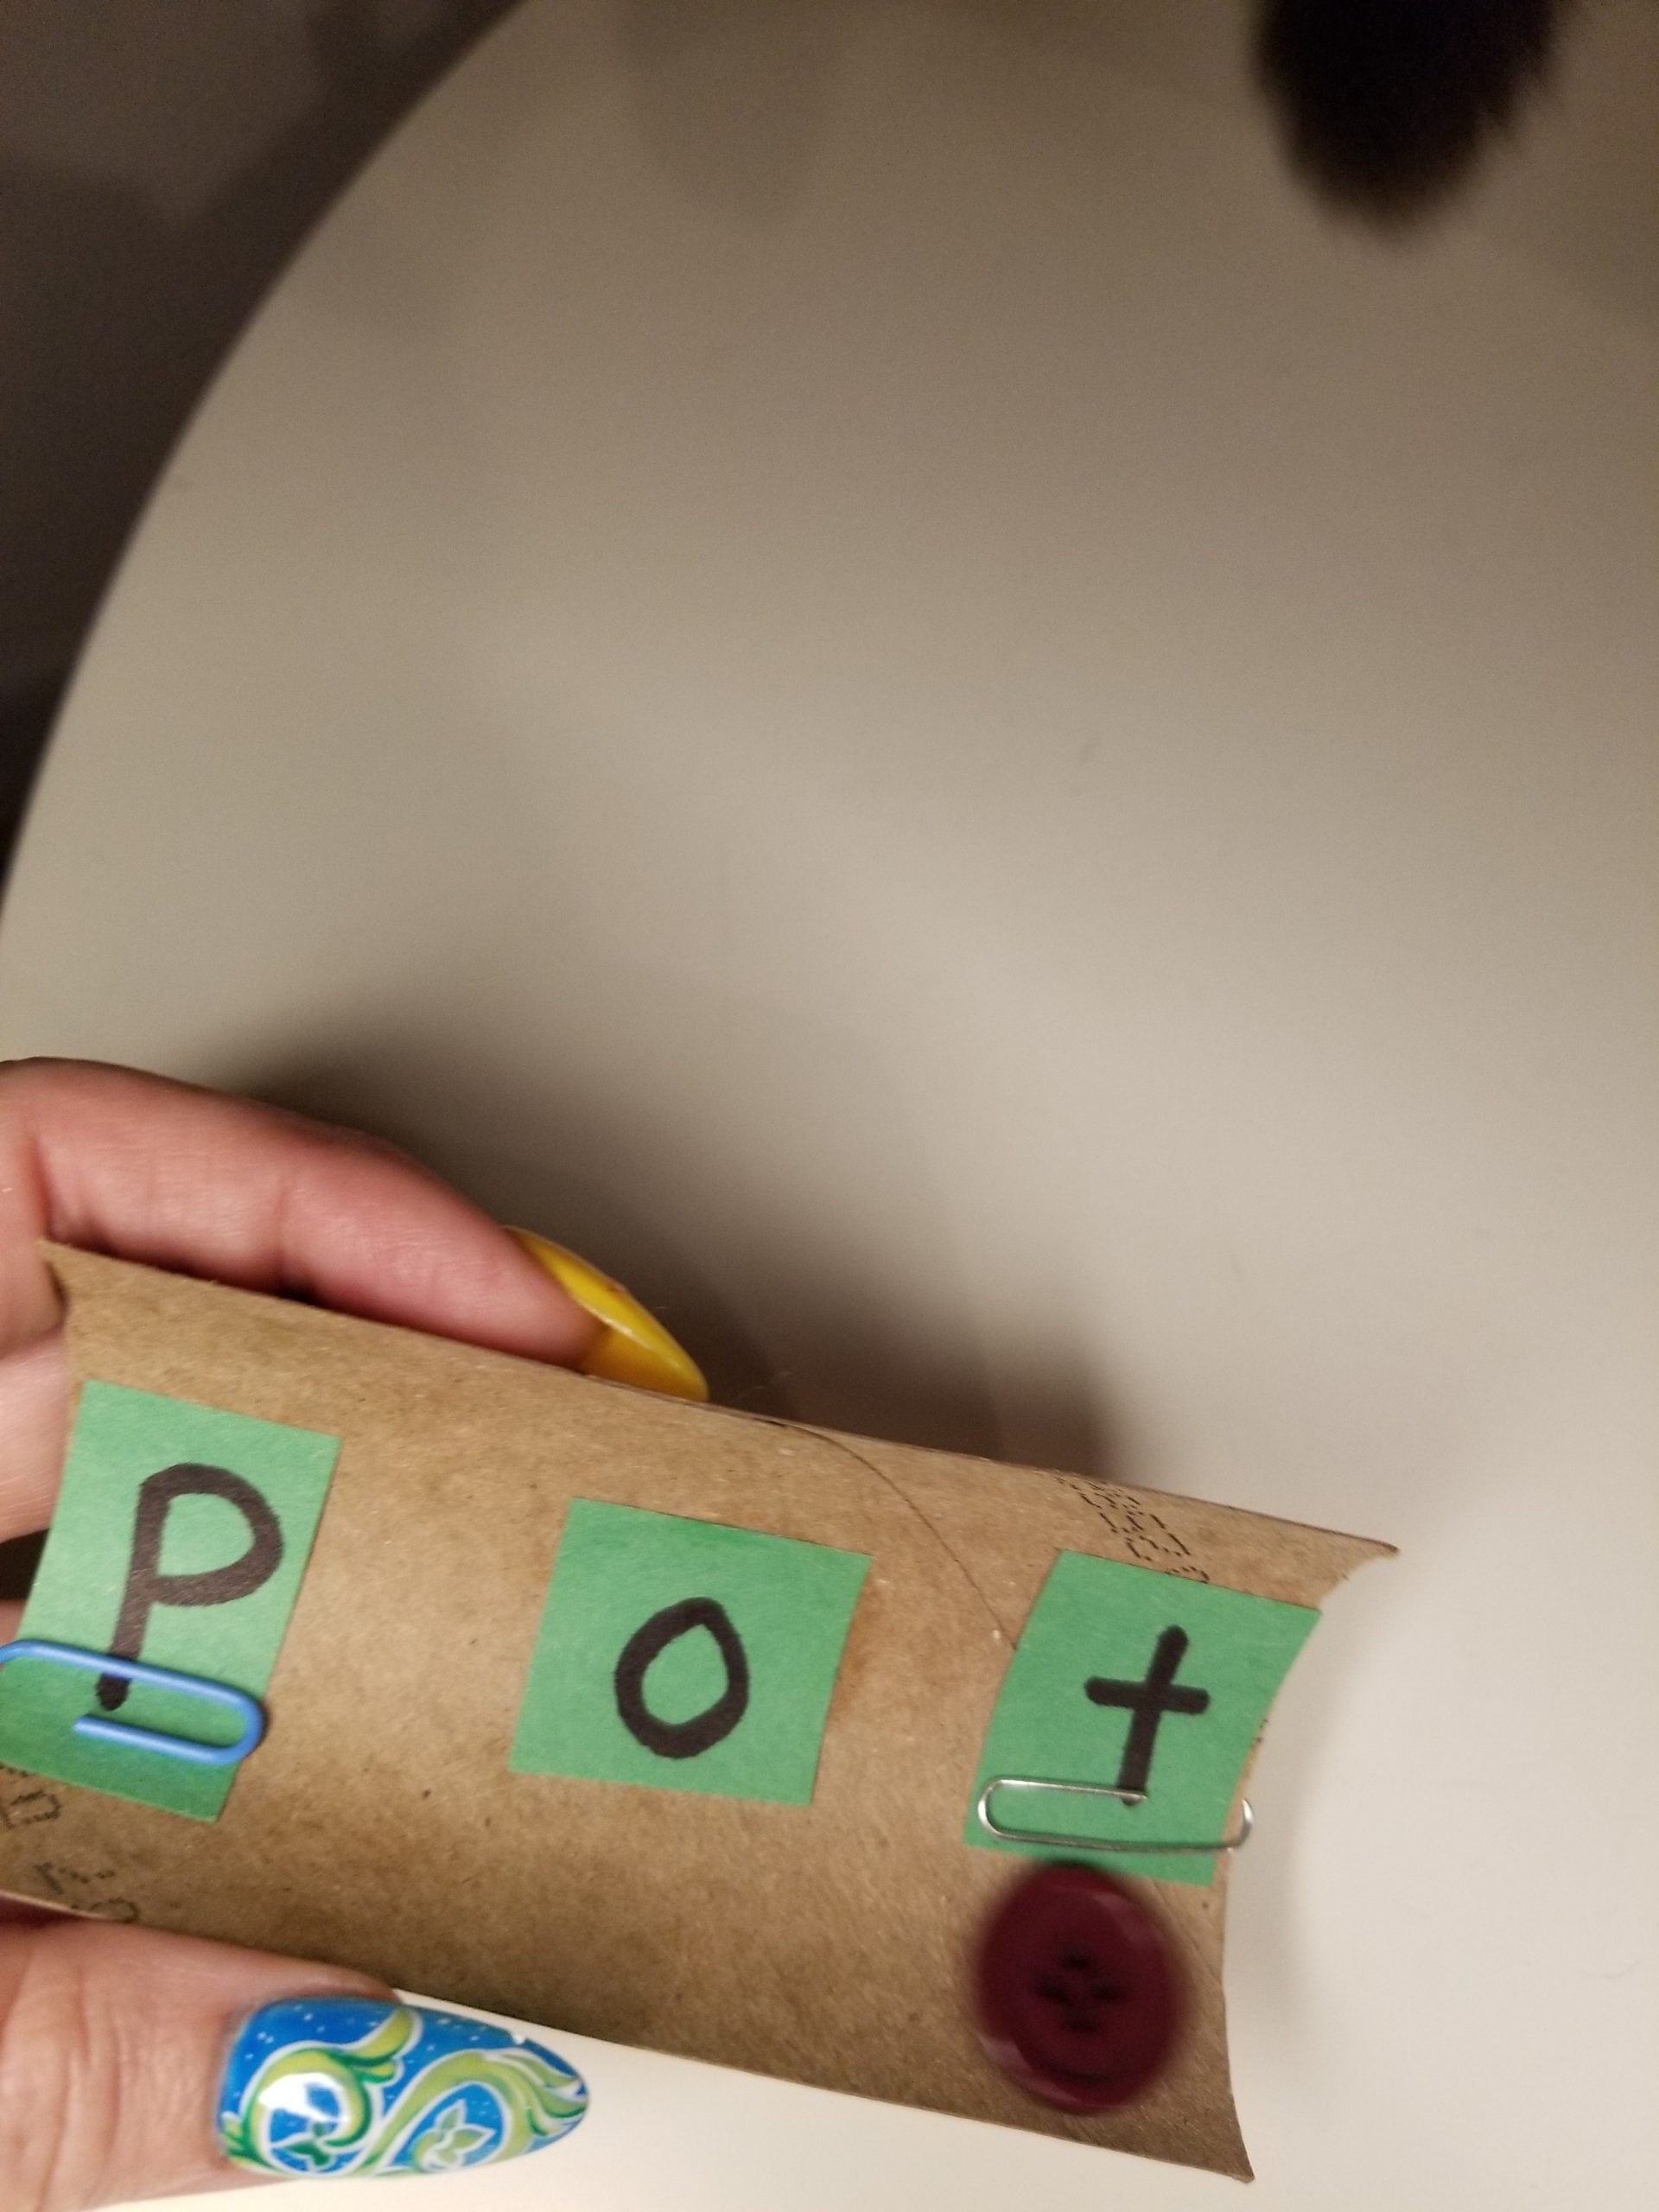
Step 2: On the paper, write a variety of letters, making sure to include all five vowels. You might want to write some letters twice, so you can make words like dad, mom, or pop. Cut out the letters onto little squares.
Step 3: Glue a vowel into the middle of each slide. Make sure to do it on the inside of the tube. Otherwise there will be a lot of falling and no sliding!
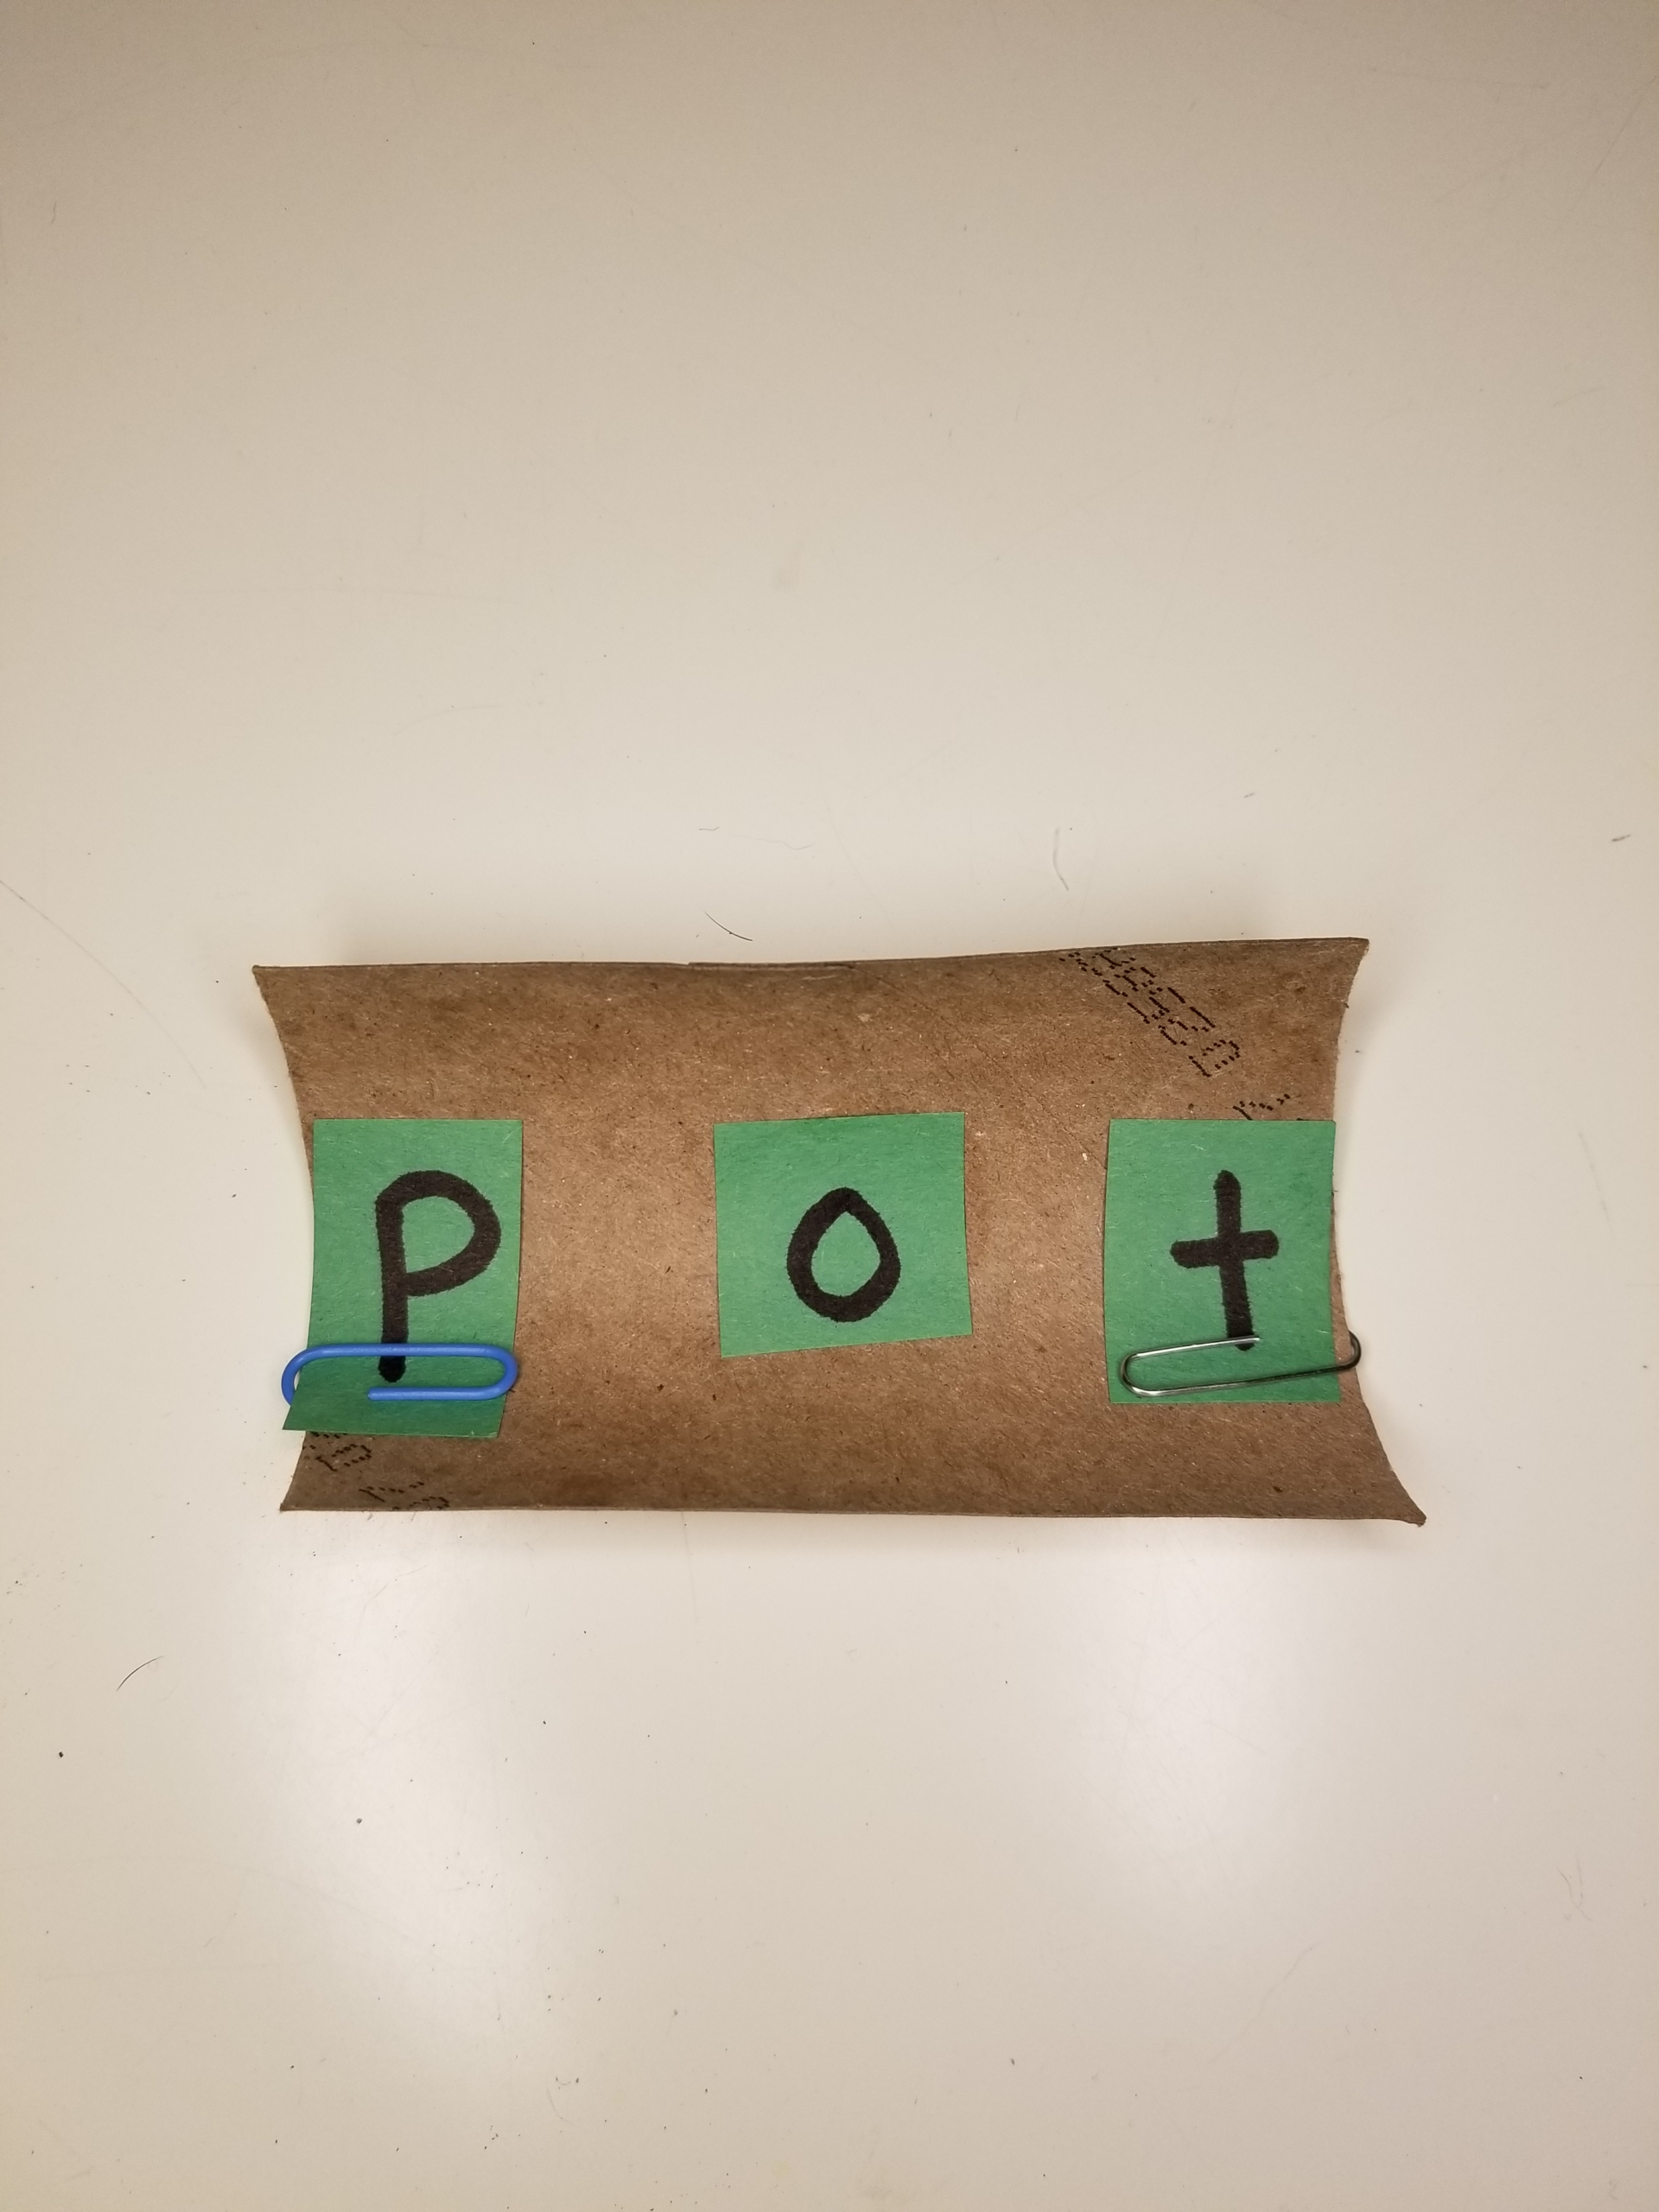
Step 4: Choose a letter to put on either side of the vowel, to make a word. For example, on your slide with the letter O, you might add the letters P and T to make the word pot. For the letter A, you might choose S and T to make sat.
Step 5: Next, attach the outer letters with paper clips on each end of the slide.
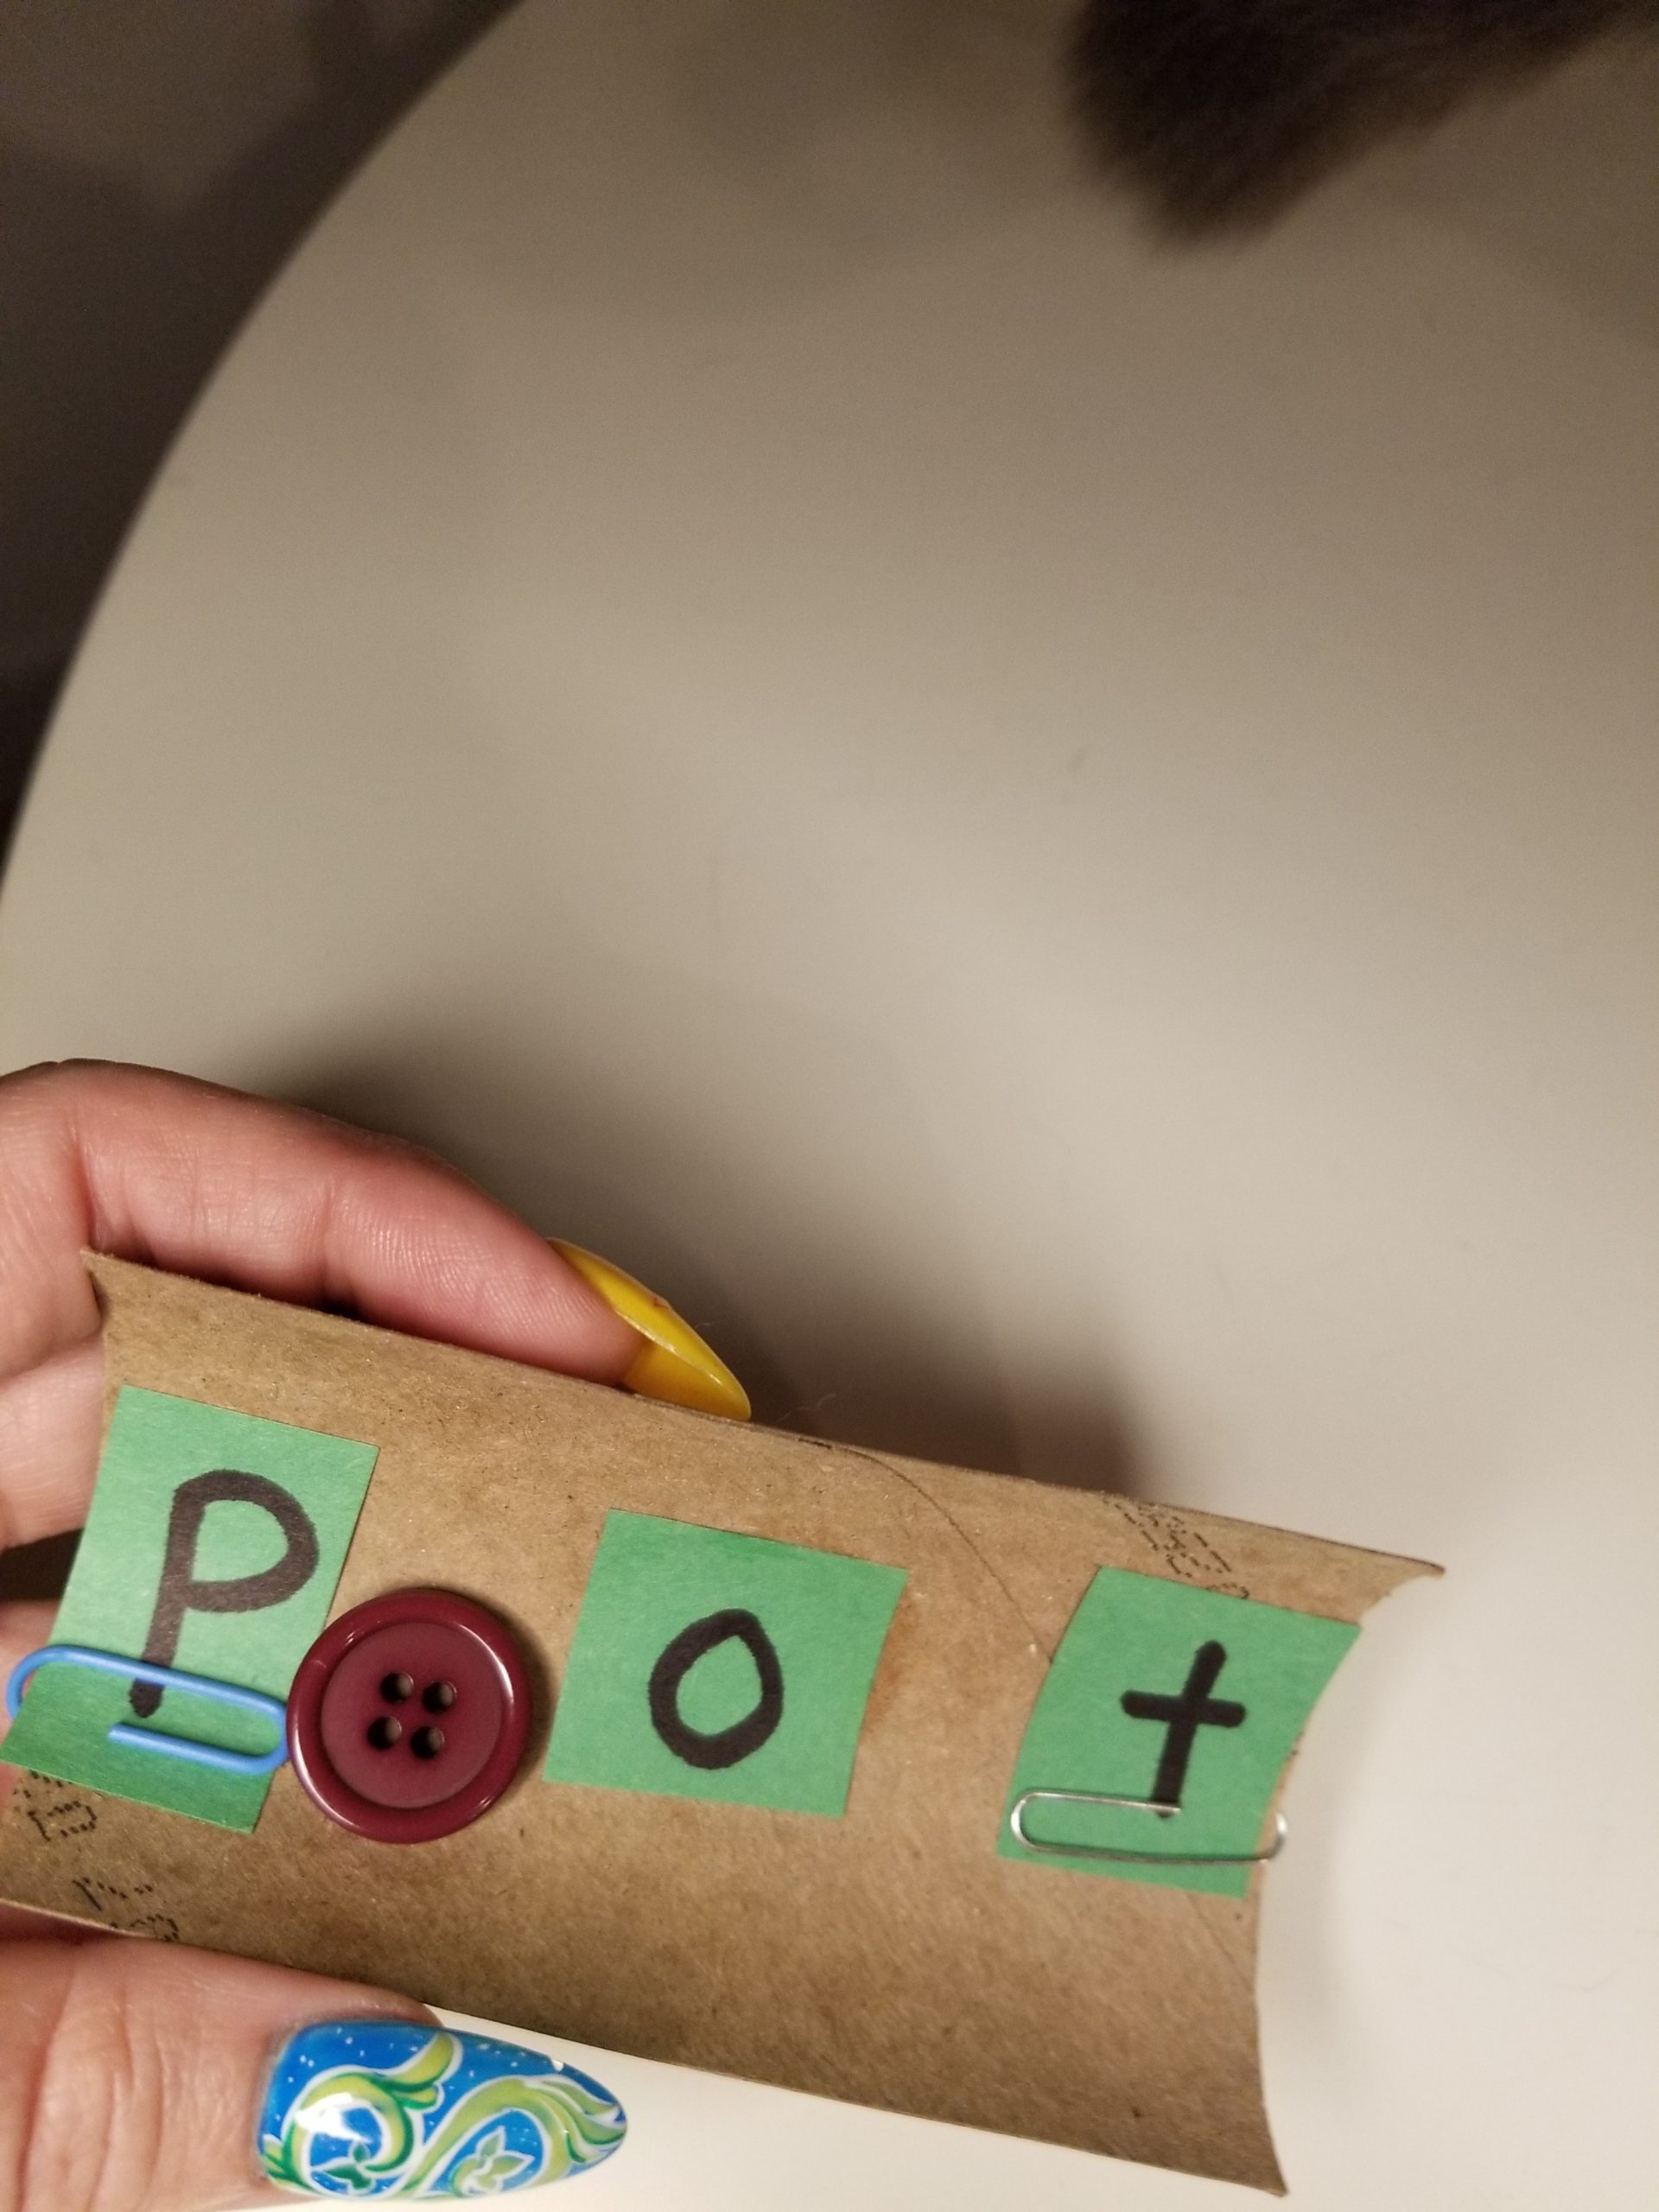
Step 6: Sit with your child and help them say each sound on the slide individually.
Step 7: Hold the slide flat and put the counter next to the first letter. Slightly tilt the tube so the counter slides down. Say the letter sounds as the counter slides along each letter. Now, let your child take over and slide again, then again a little faster—sliding the sounds faster and faster until they form a complete word!
Tip: If you don’t have buttons, you can use other small, smooth items like pennies, counters, or checkers. I would avoid round beads, as it is difficult to control the speed at which they slide.
Now that you and your child have mastered using the slide, you can help them reproduce the skill when reading together. Ask questions like, “How would we say this on the slide?” or “Can we say and slide the sounds?” You could even keep the slides near your bookshelf as a tool for when your child needs more help.
Have fun sliding into reading!
Pin Me for Reference :