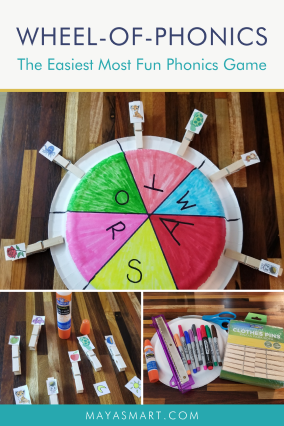
Matching letters to sounds is a crucial step on the road to reading. It’s a seemingly simple skill that actually requires a whole lot of practice to master. Every app and workbook alike asks kids to draw a line from a picture to the letter it begins with. This literacy activity is everywhere for a reason—it works. But I think we can upgrade this classic to make it much more fun and interactive.
Given how much repetition kids need to commit the sounds of all 26 letters of the alphabet to memory, changing things up is key. Maybe you could use an educational activity to do while you and your child wait for their big sister’s karate lessons to finish. Maybe you’d like a new game that your learners can do together or independently. Or maybe you simply want to mix up your everyday routine for teaching reading skills to your little ones. If any of these is you, step on down and make a Wheel-of-Phonics!
Not feeling crafty? Get the free downloadable Wheel-of-Phonics all ready to print.
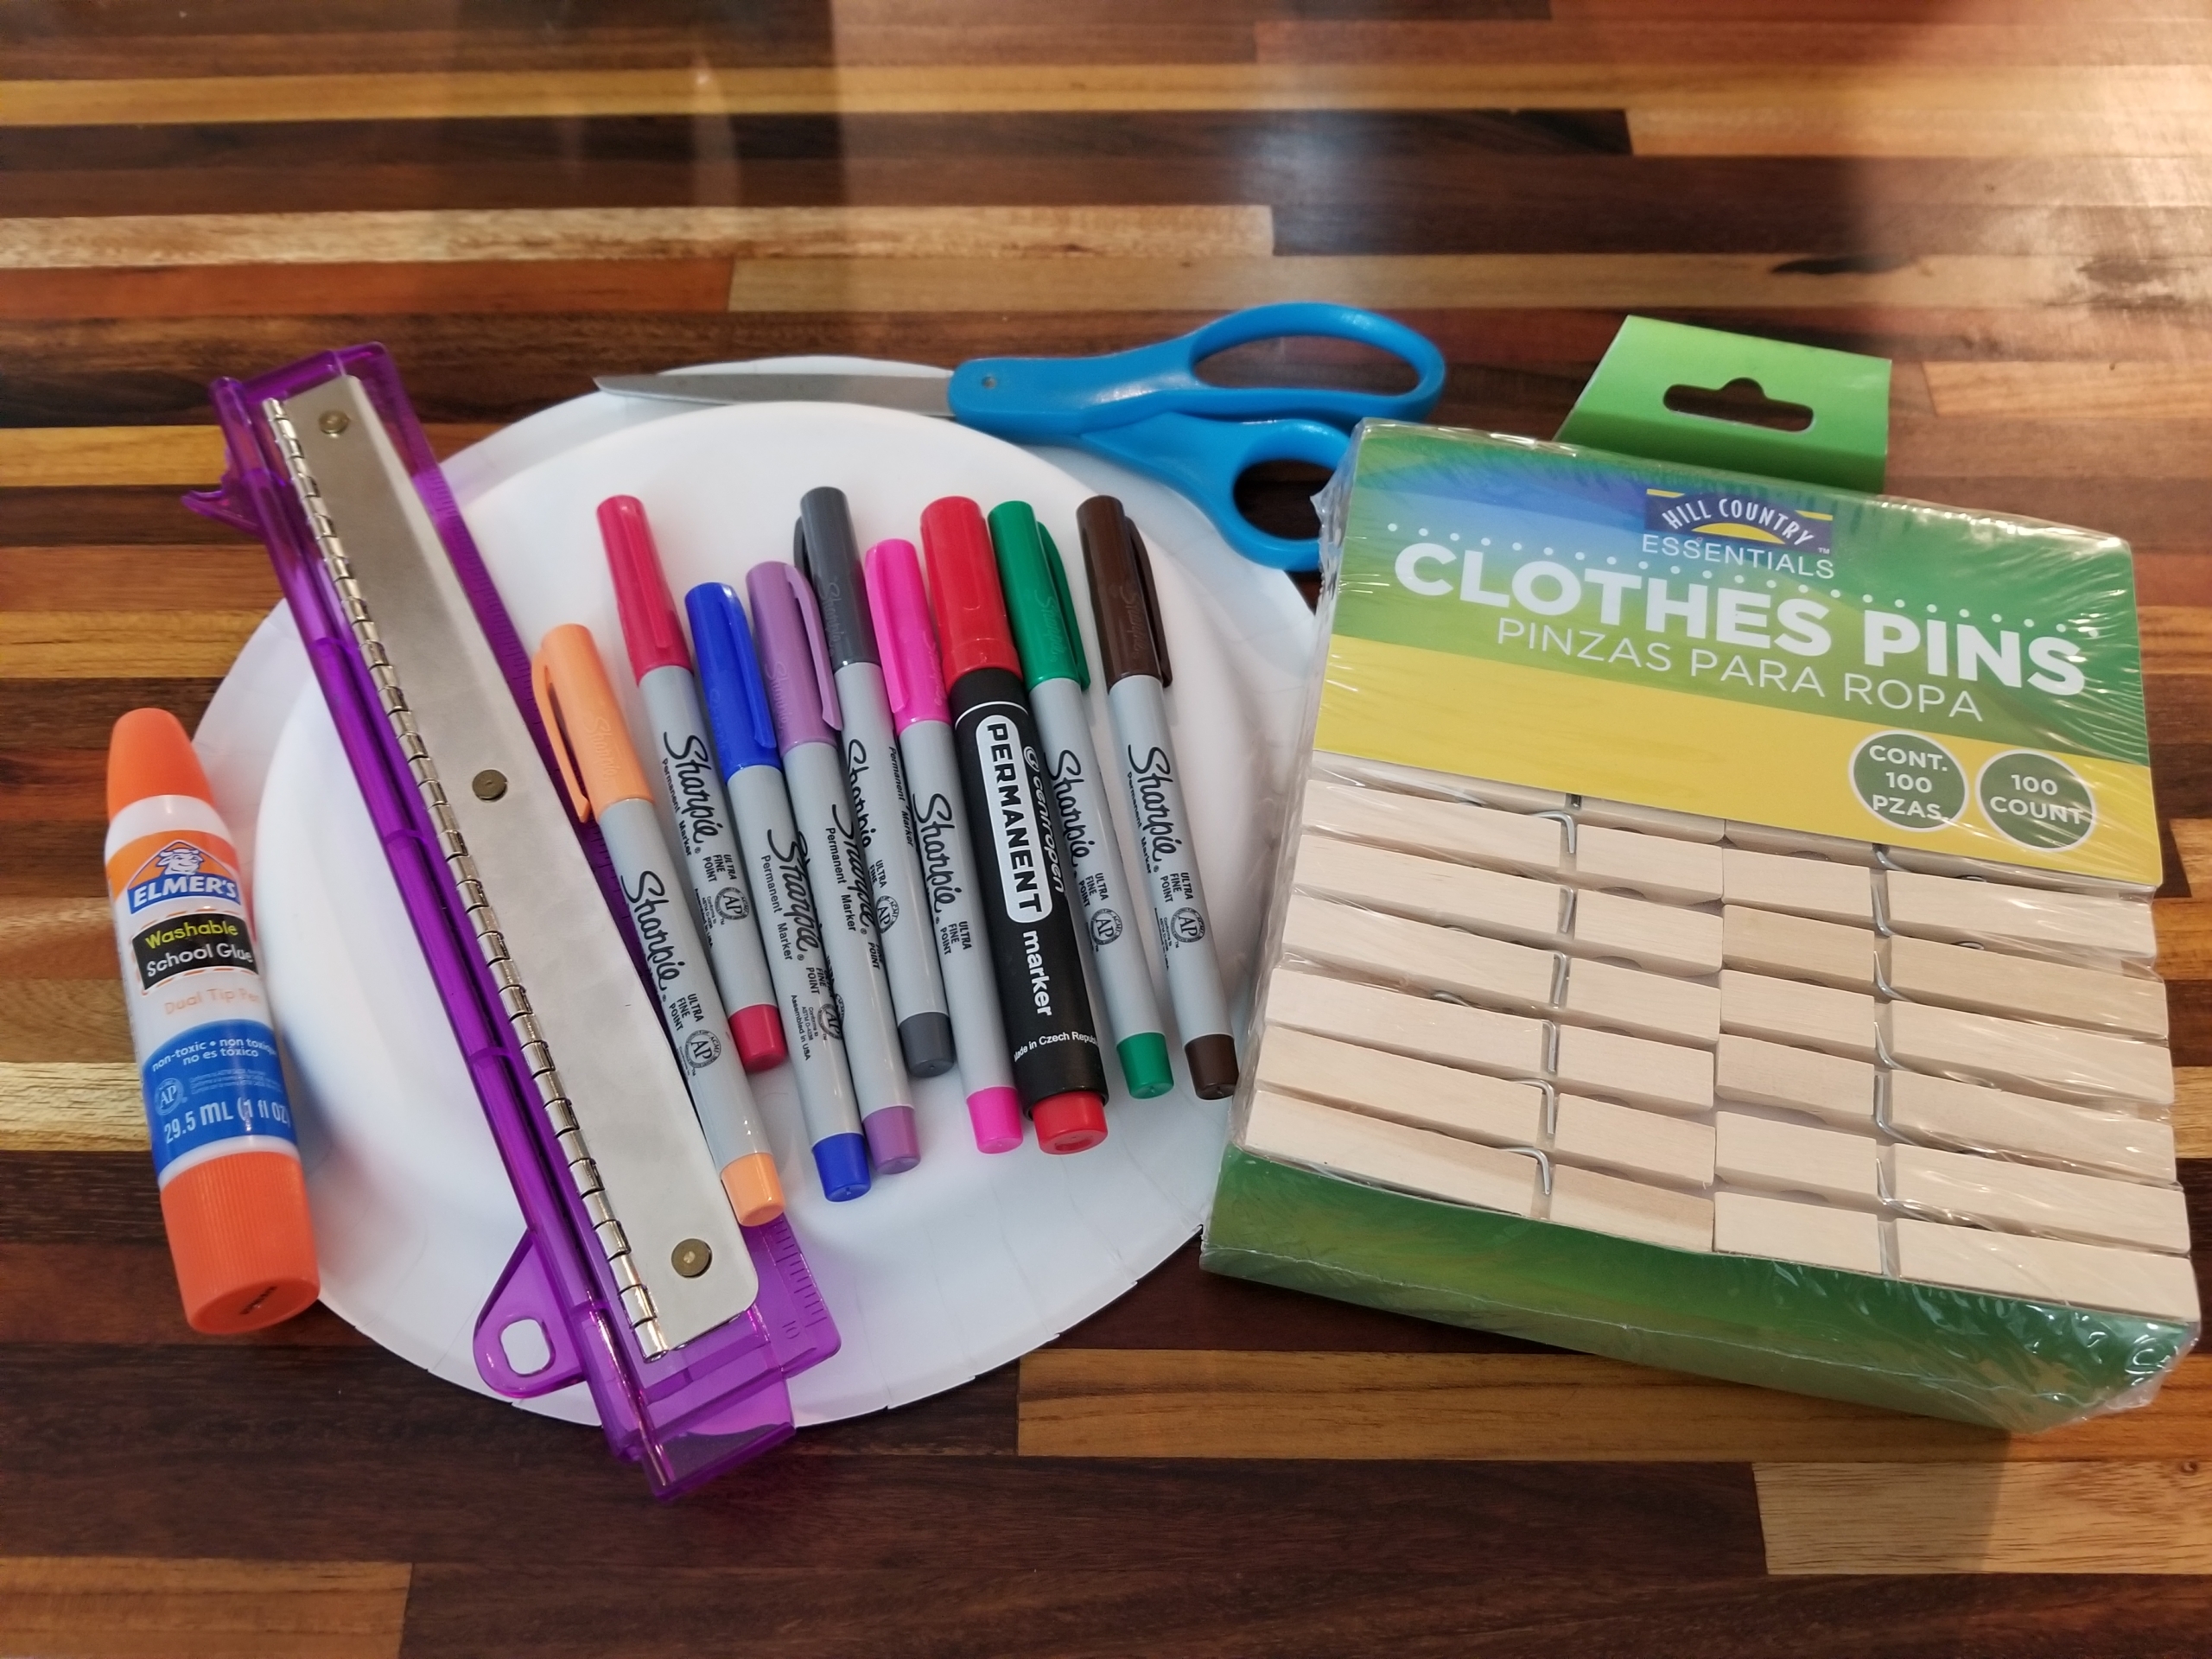
Materials
- Paper plate
- Markers
- Ruler
- Clothespins
- Glue or tape
- Scissors
- Paper
- Printer (optional)
Cost: $2-8 for clothespins. The materials for this activity can all be picked up at the grocery store. A one-stop shop is always such a relief. You could also go to a craft store for the clothespins, but they tend to cost way more and you get way less. Just saunter on over to the laundry aisle and grab a pack there.
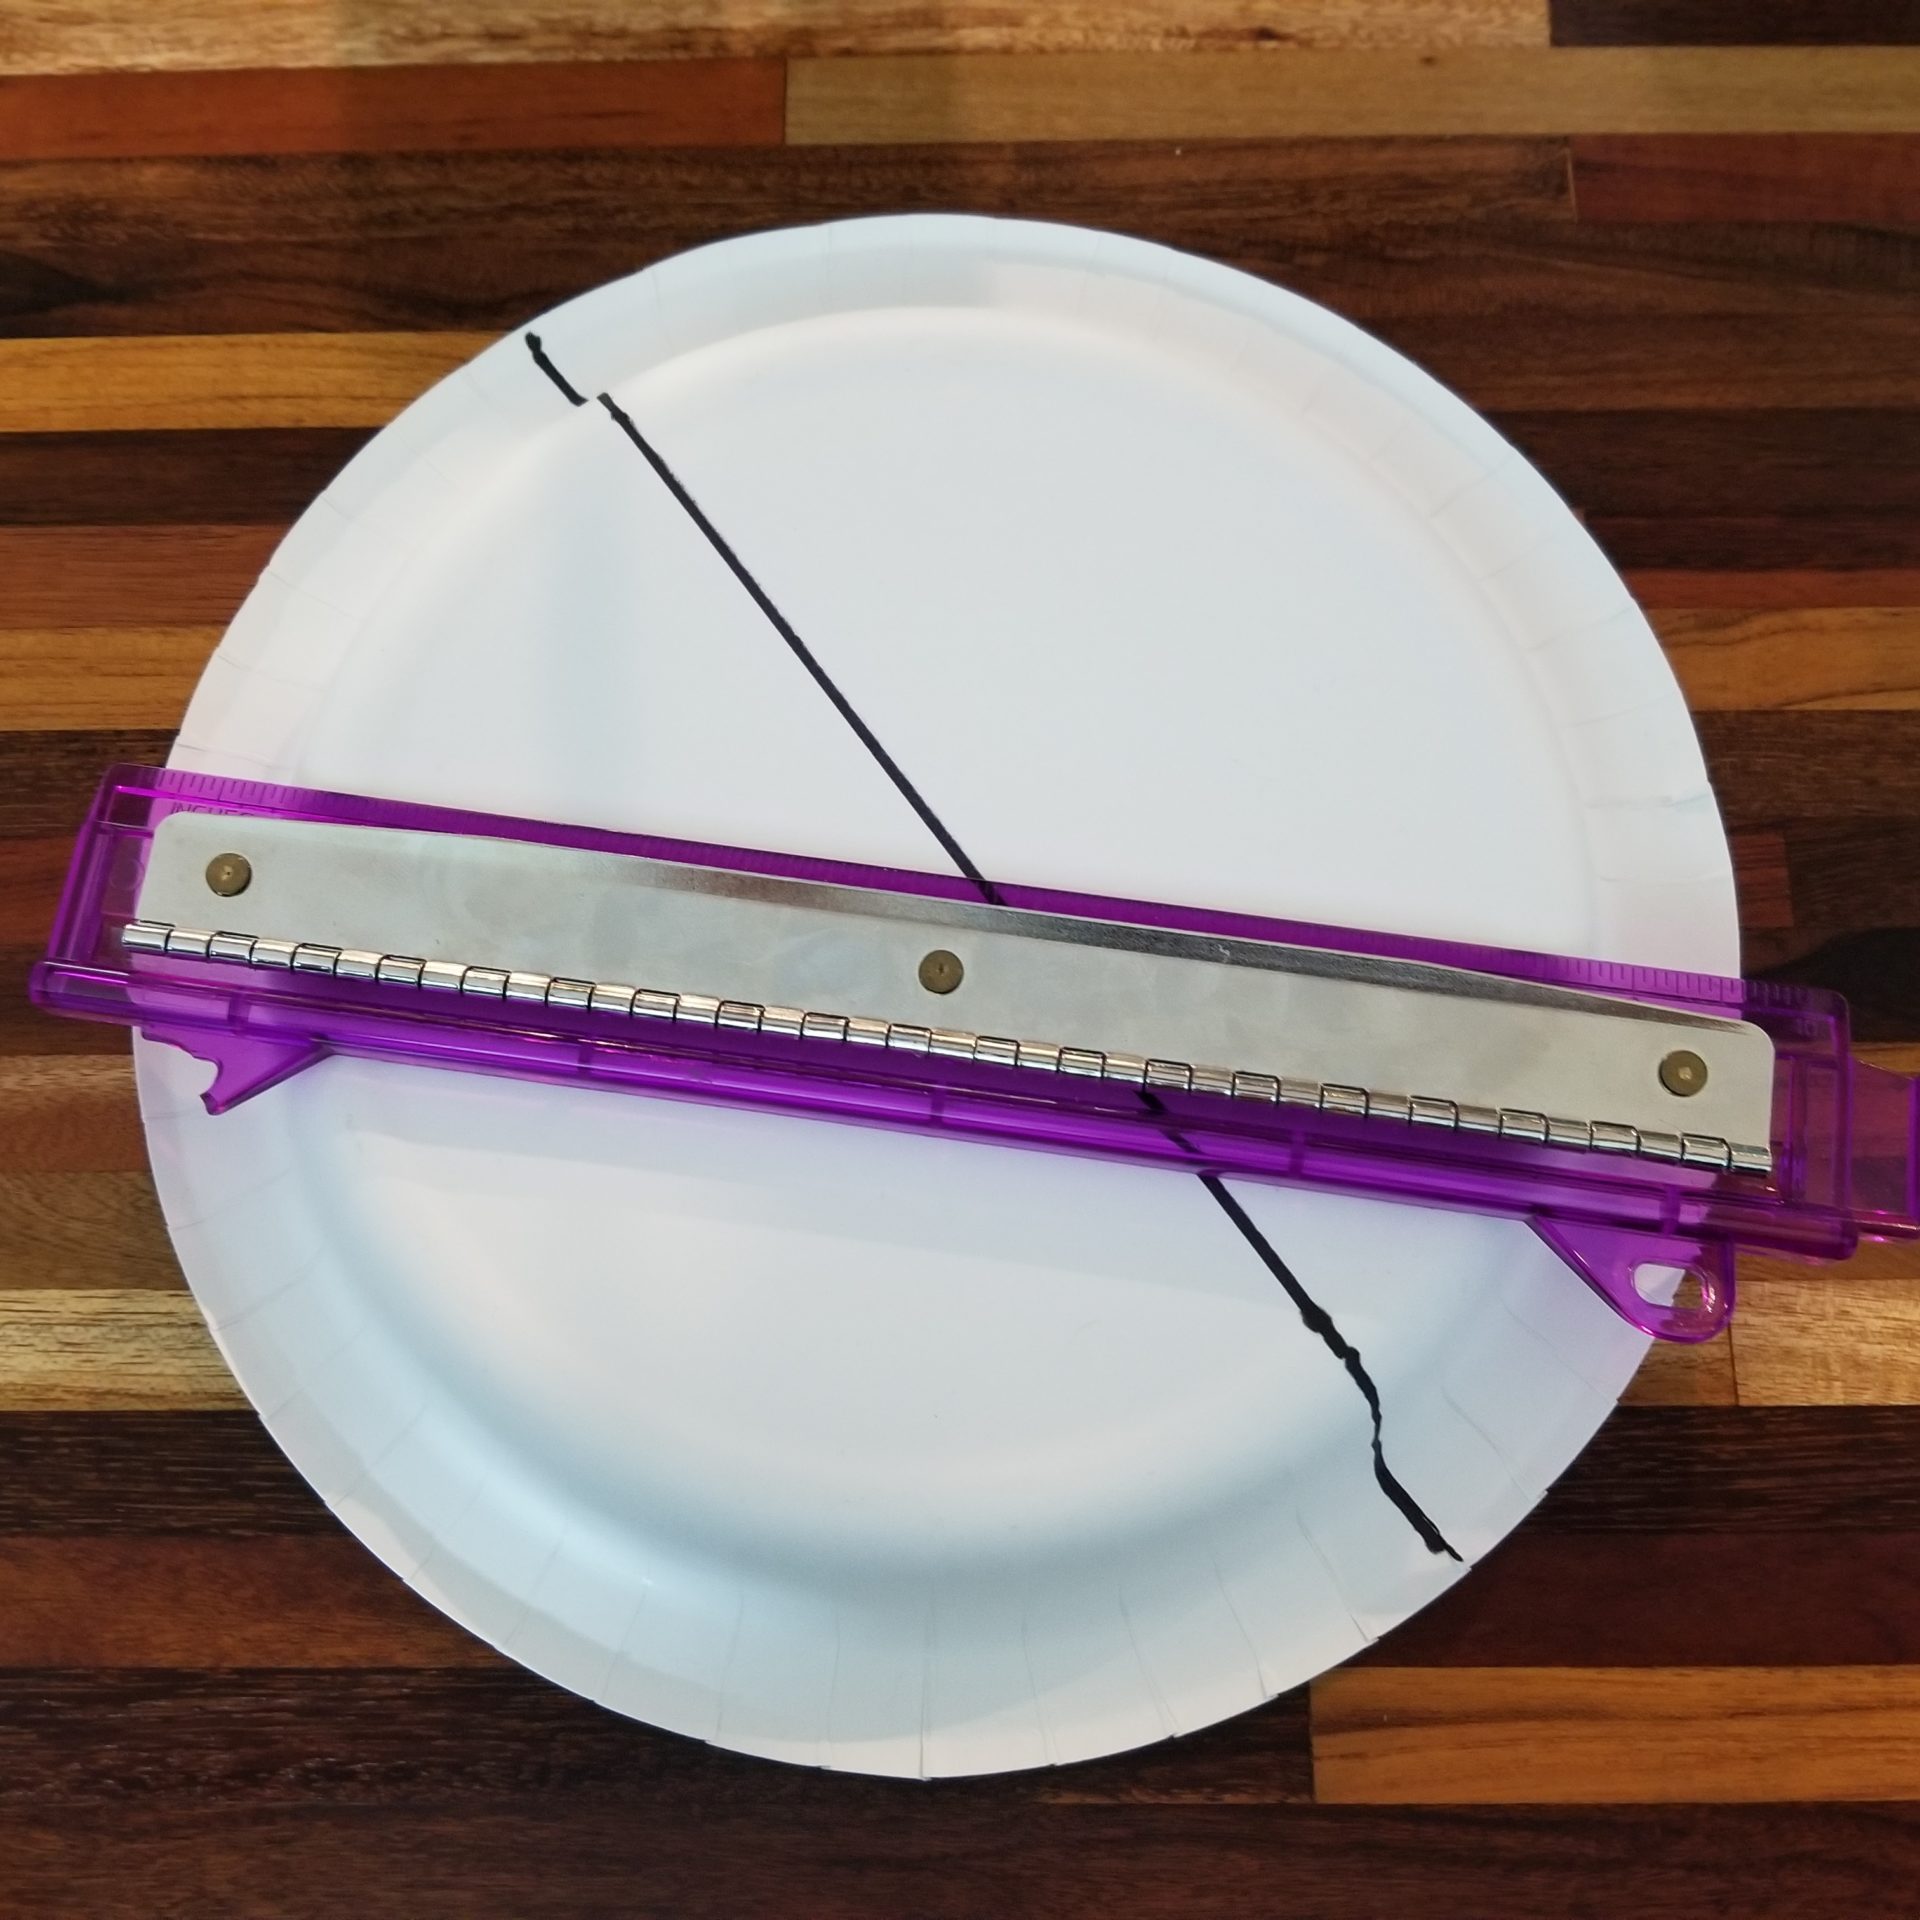
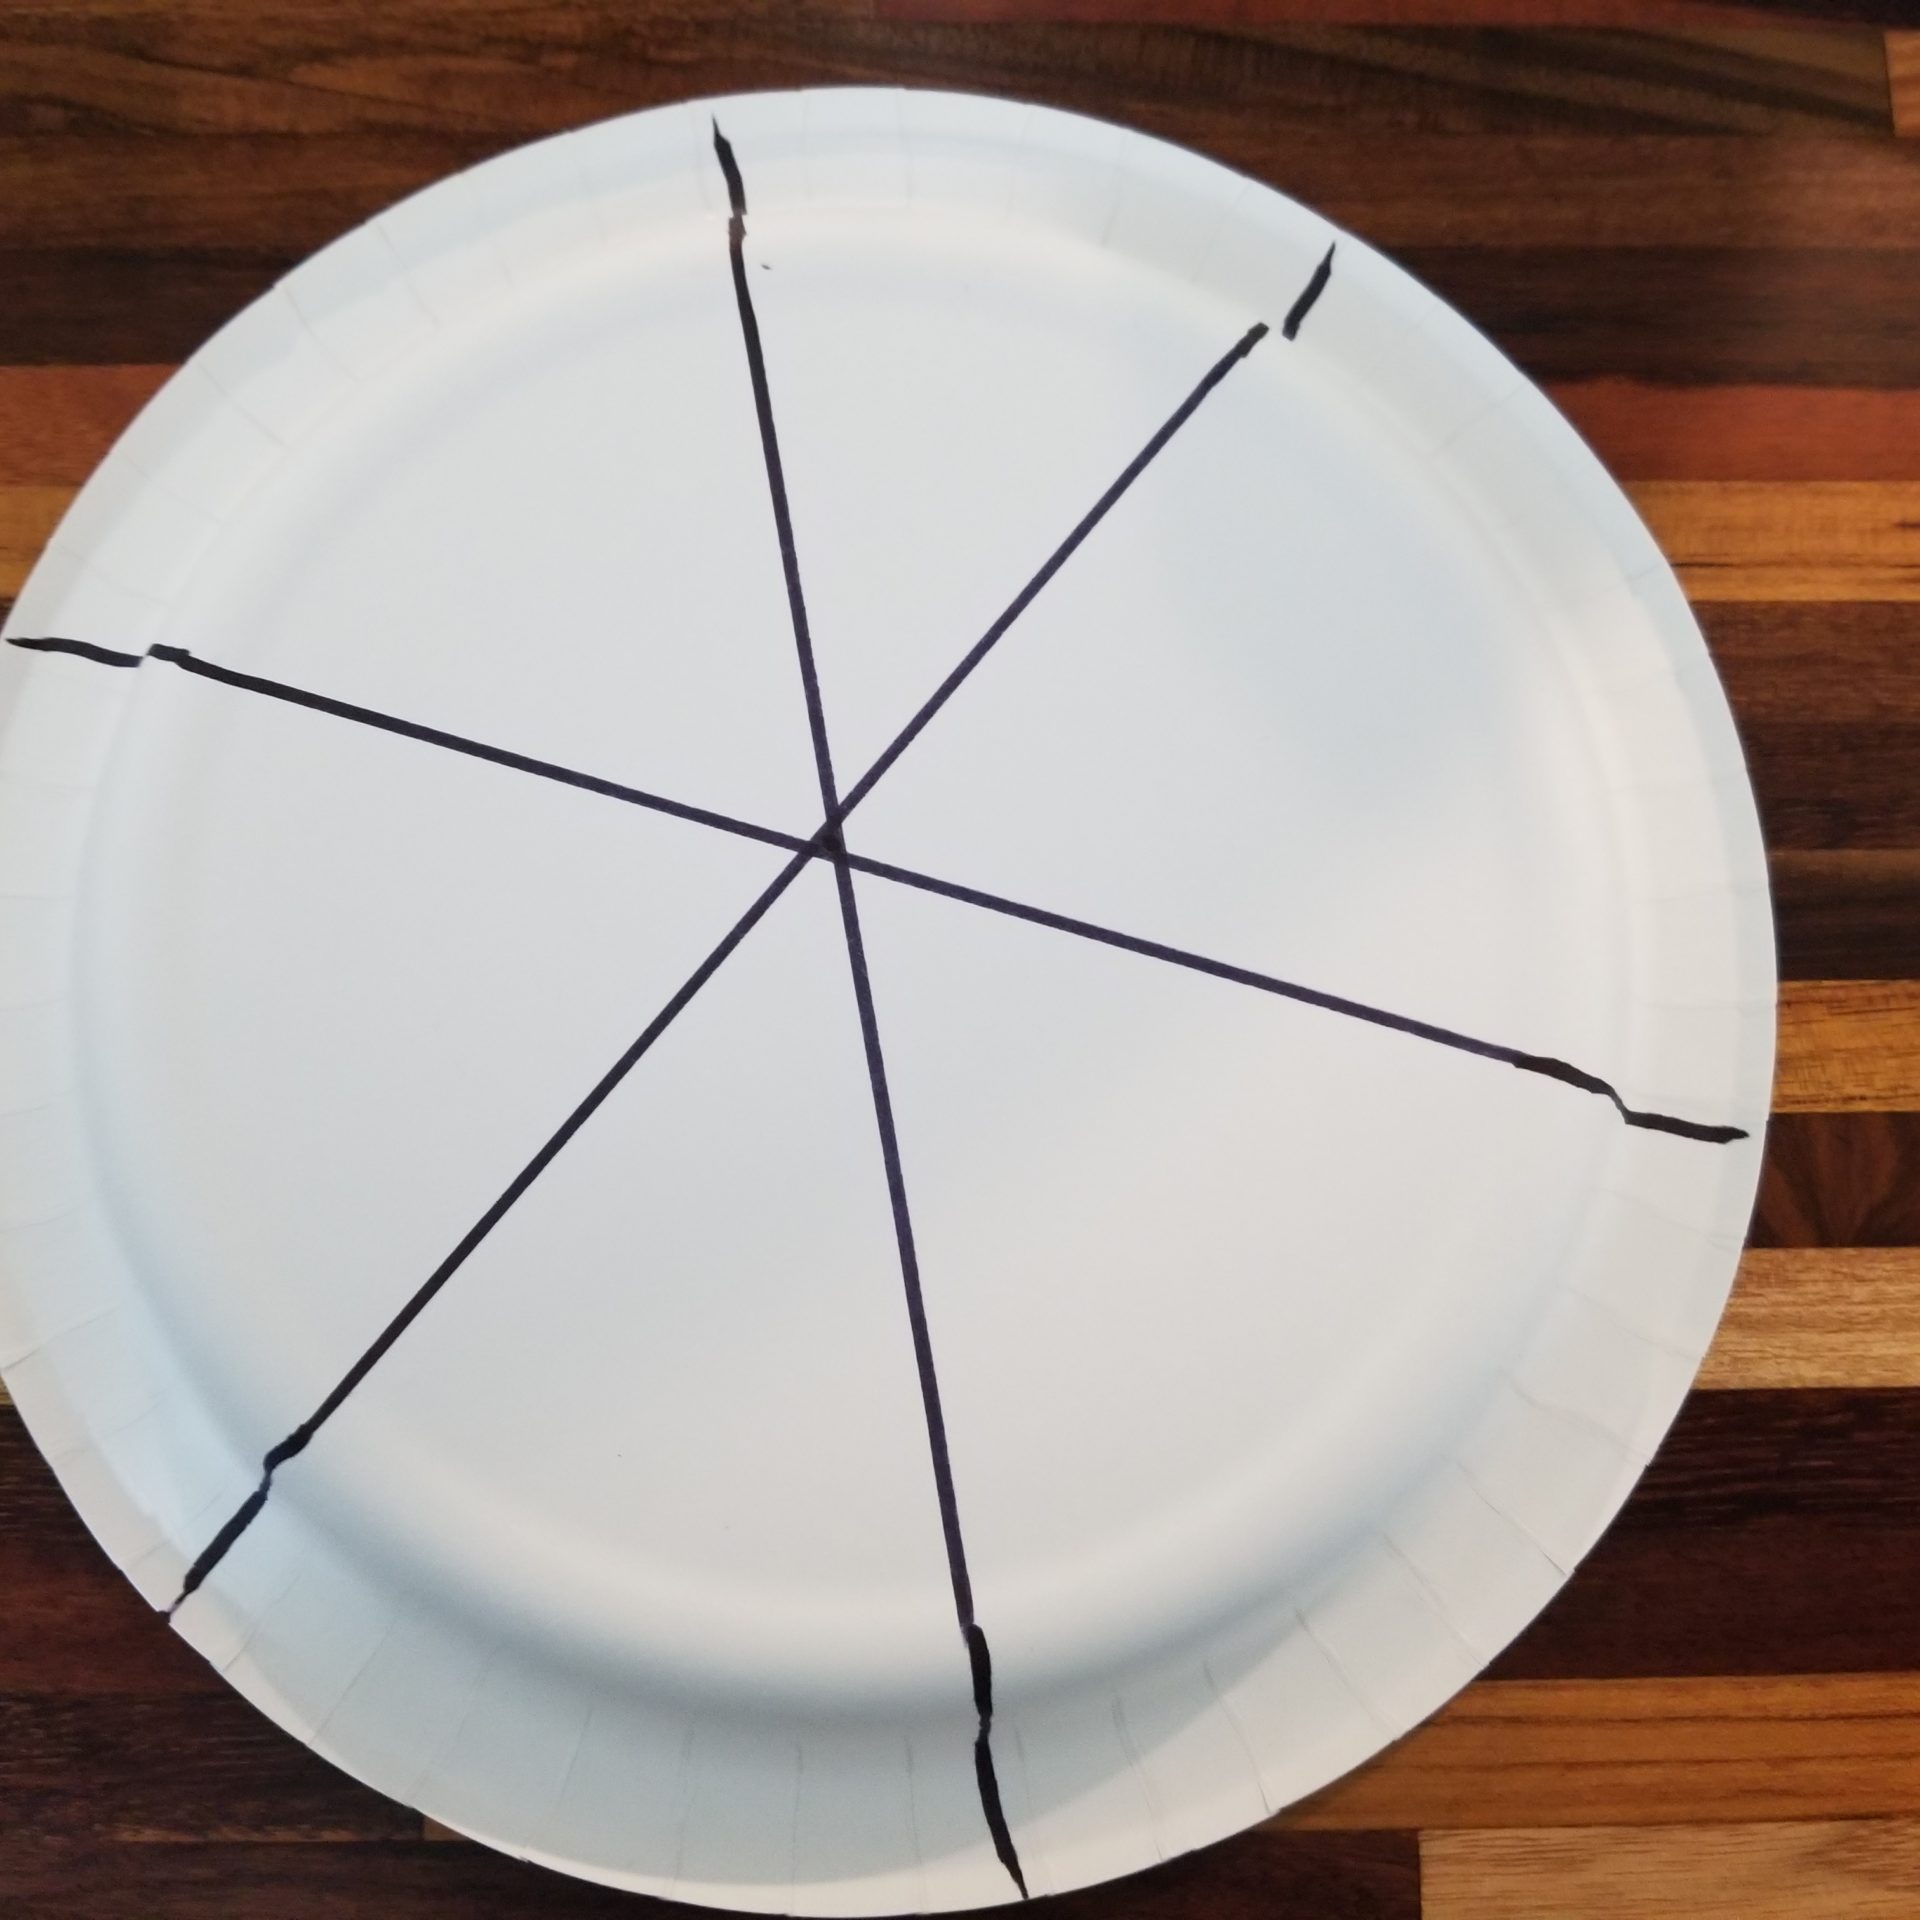
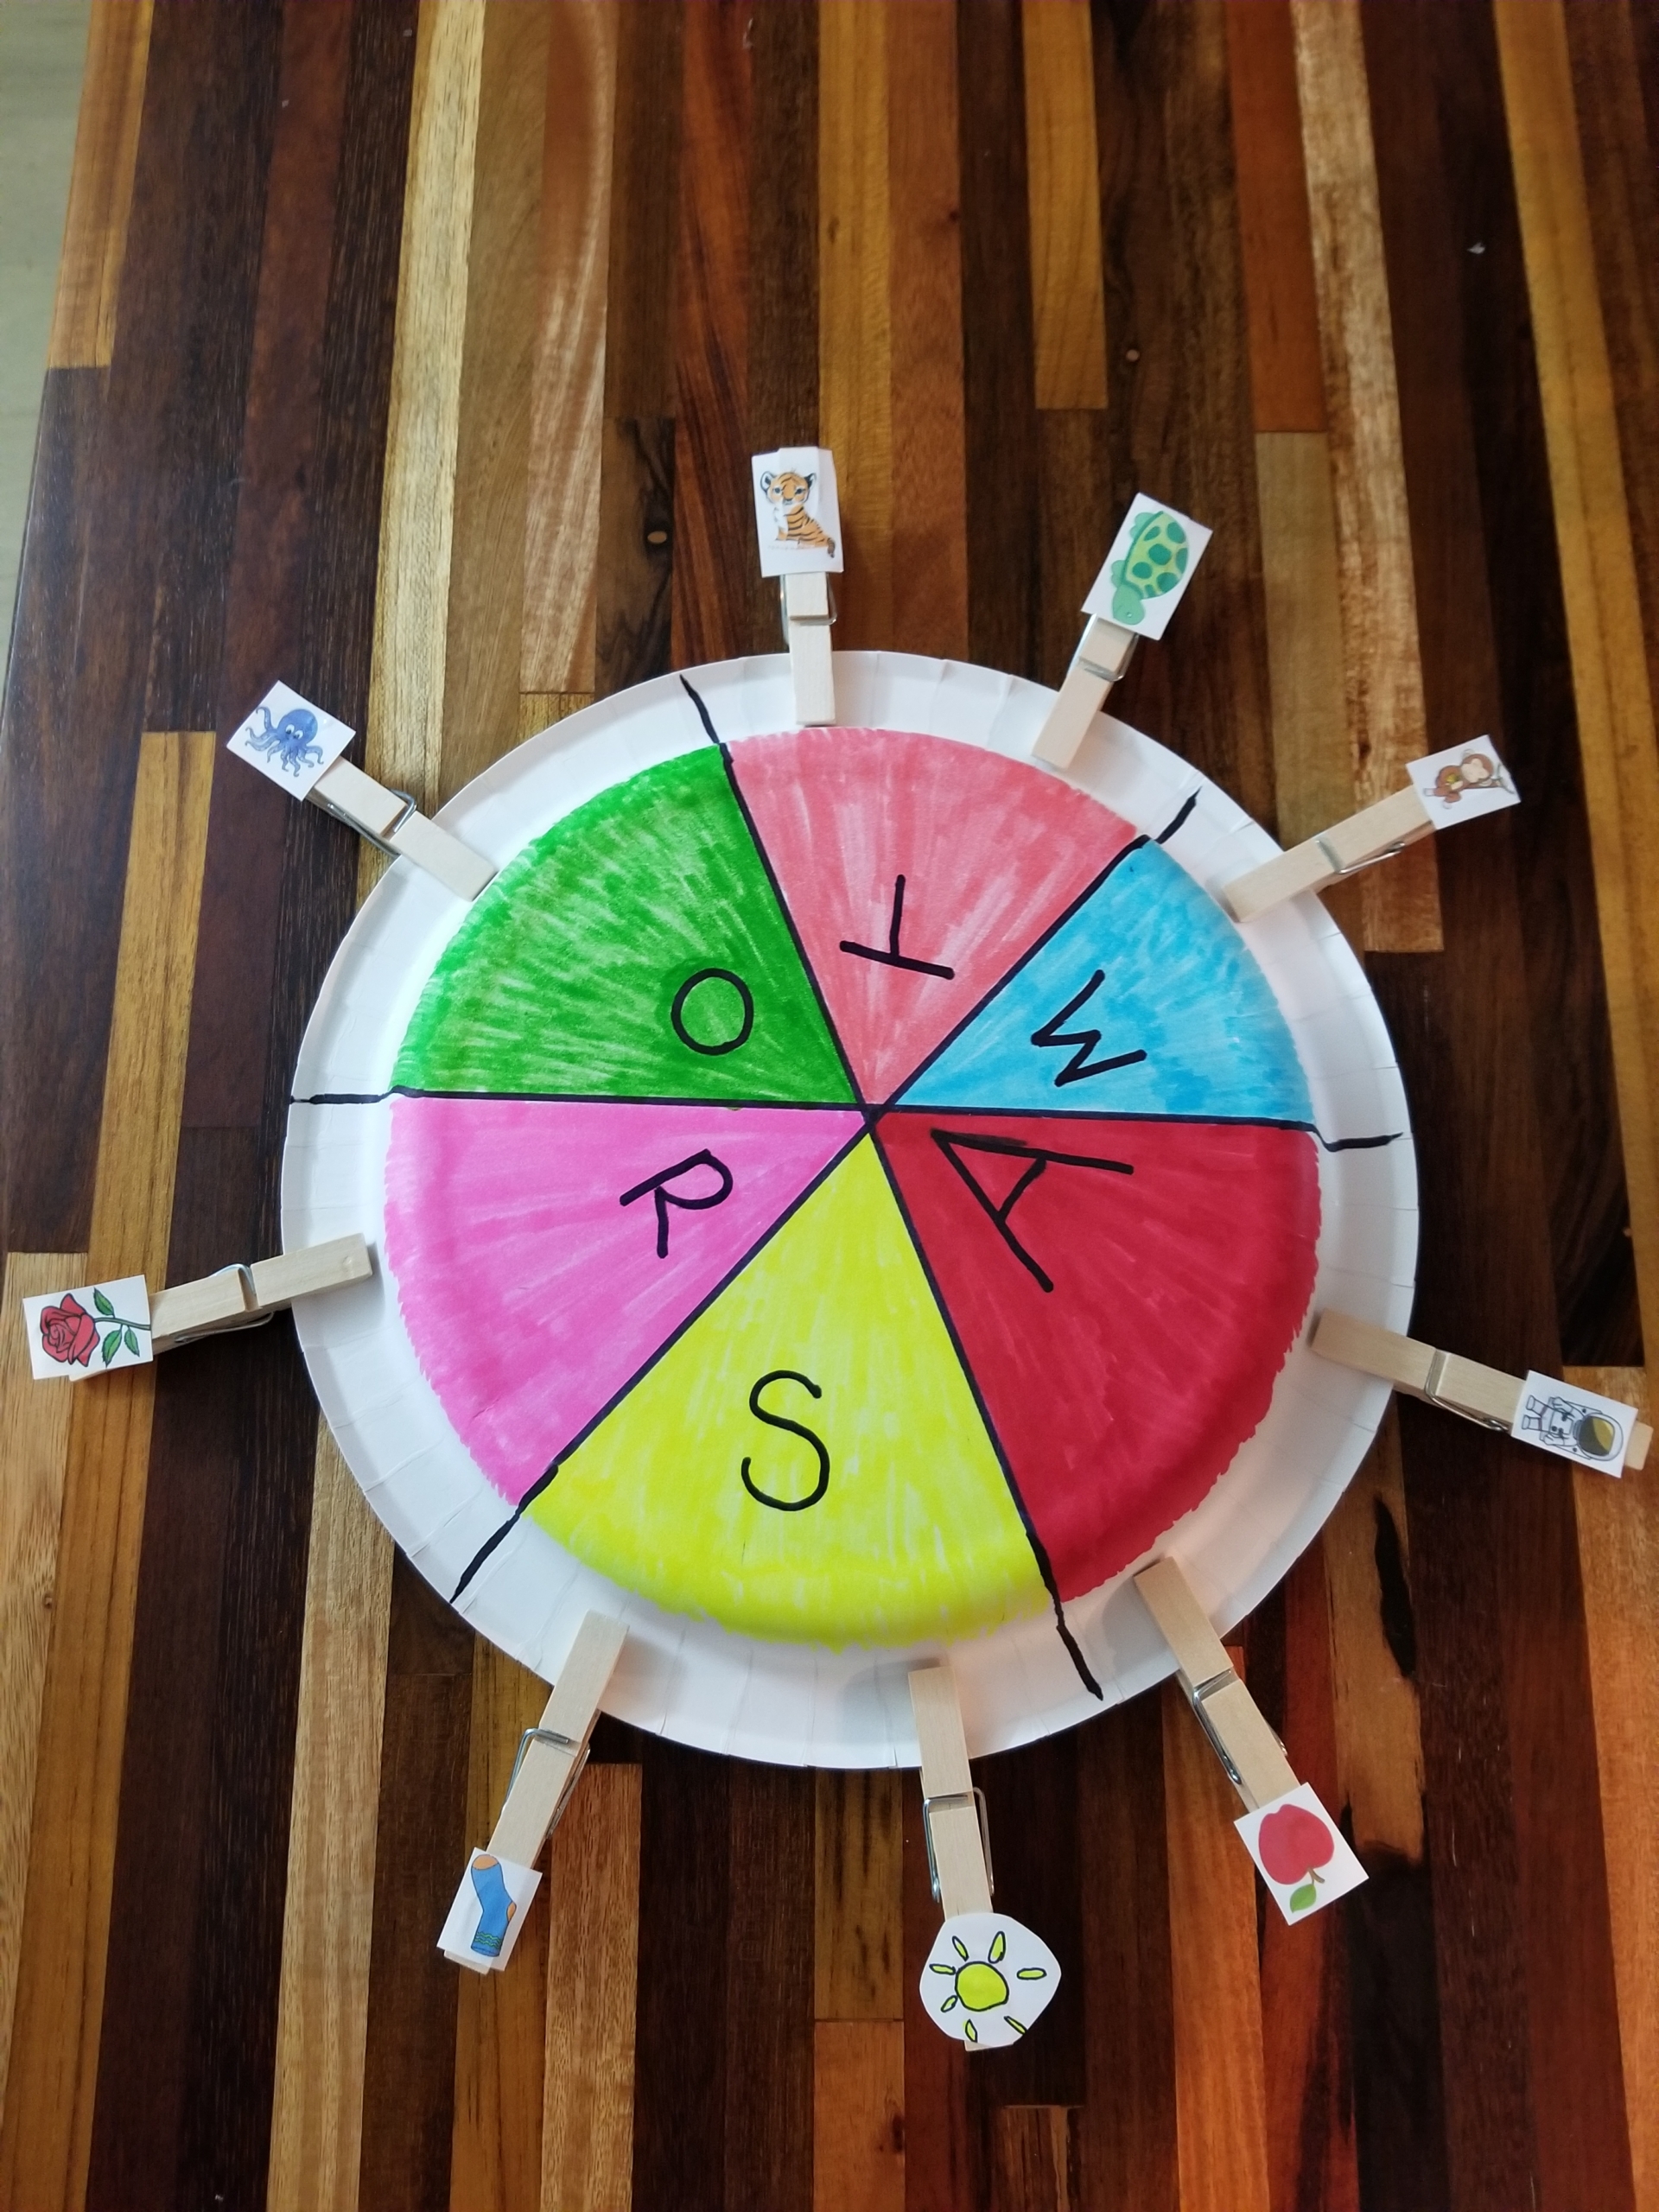
Step 1: Using the ruler as a guide, draw three lines across the paper plate, dividing it into six triangles, like a pie.
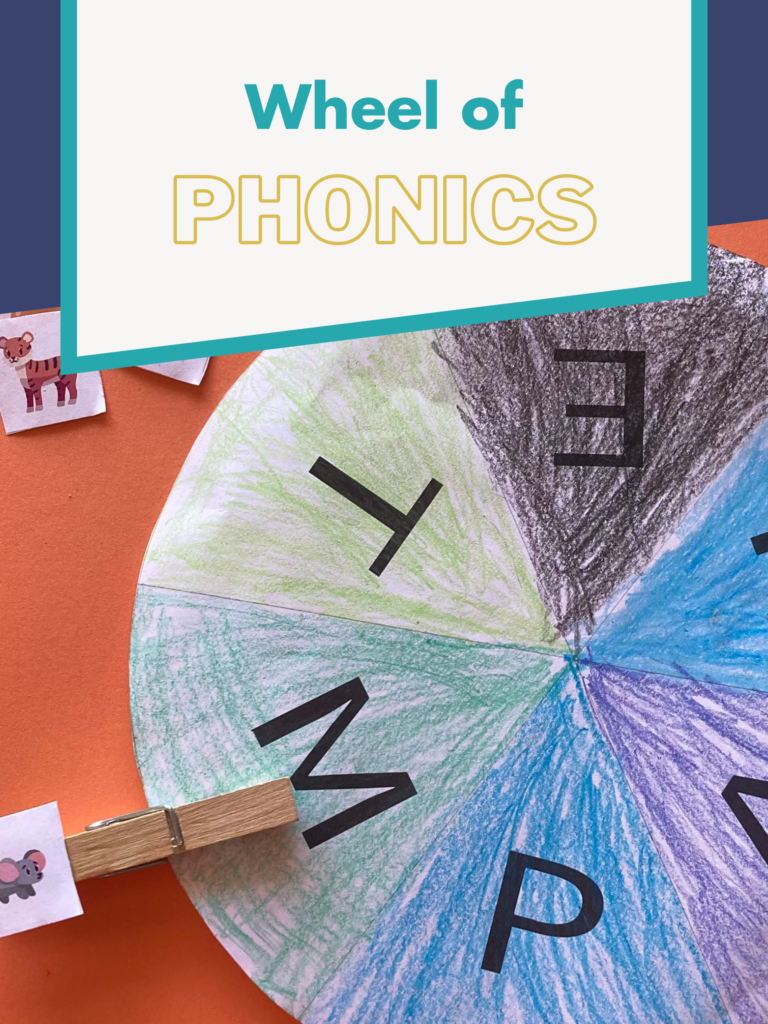
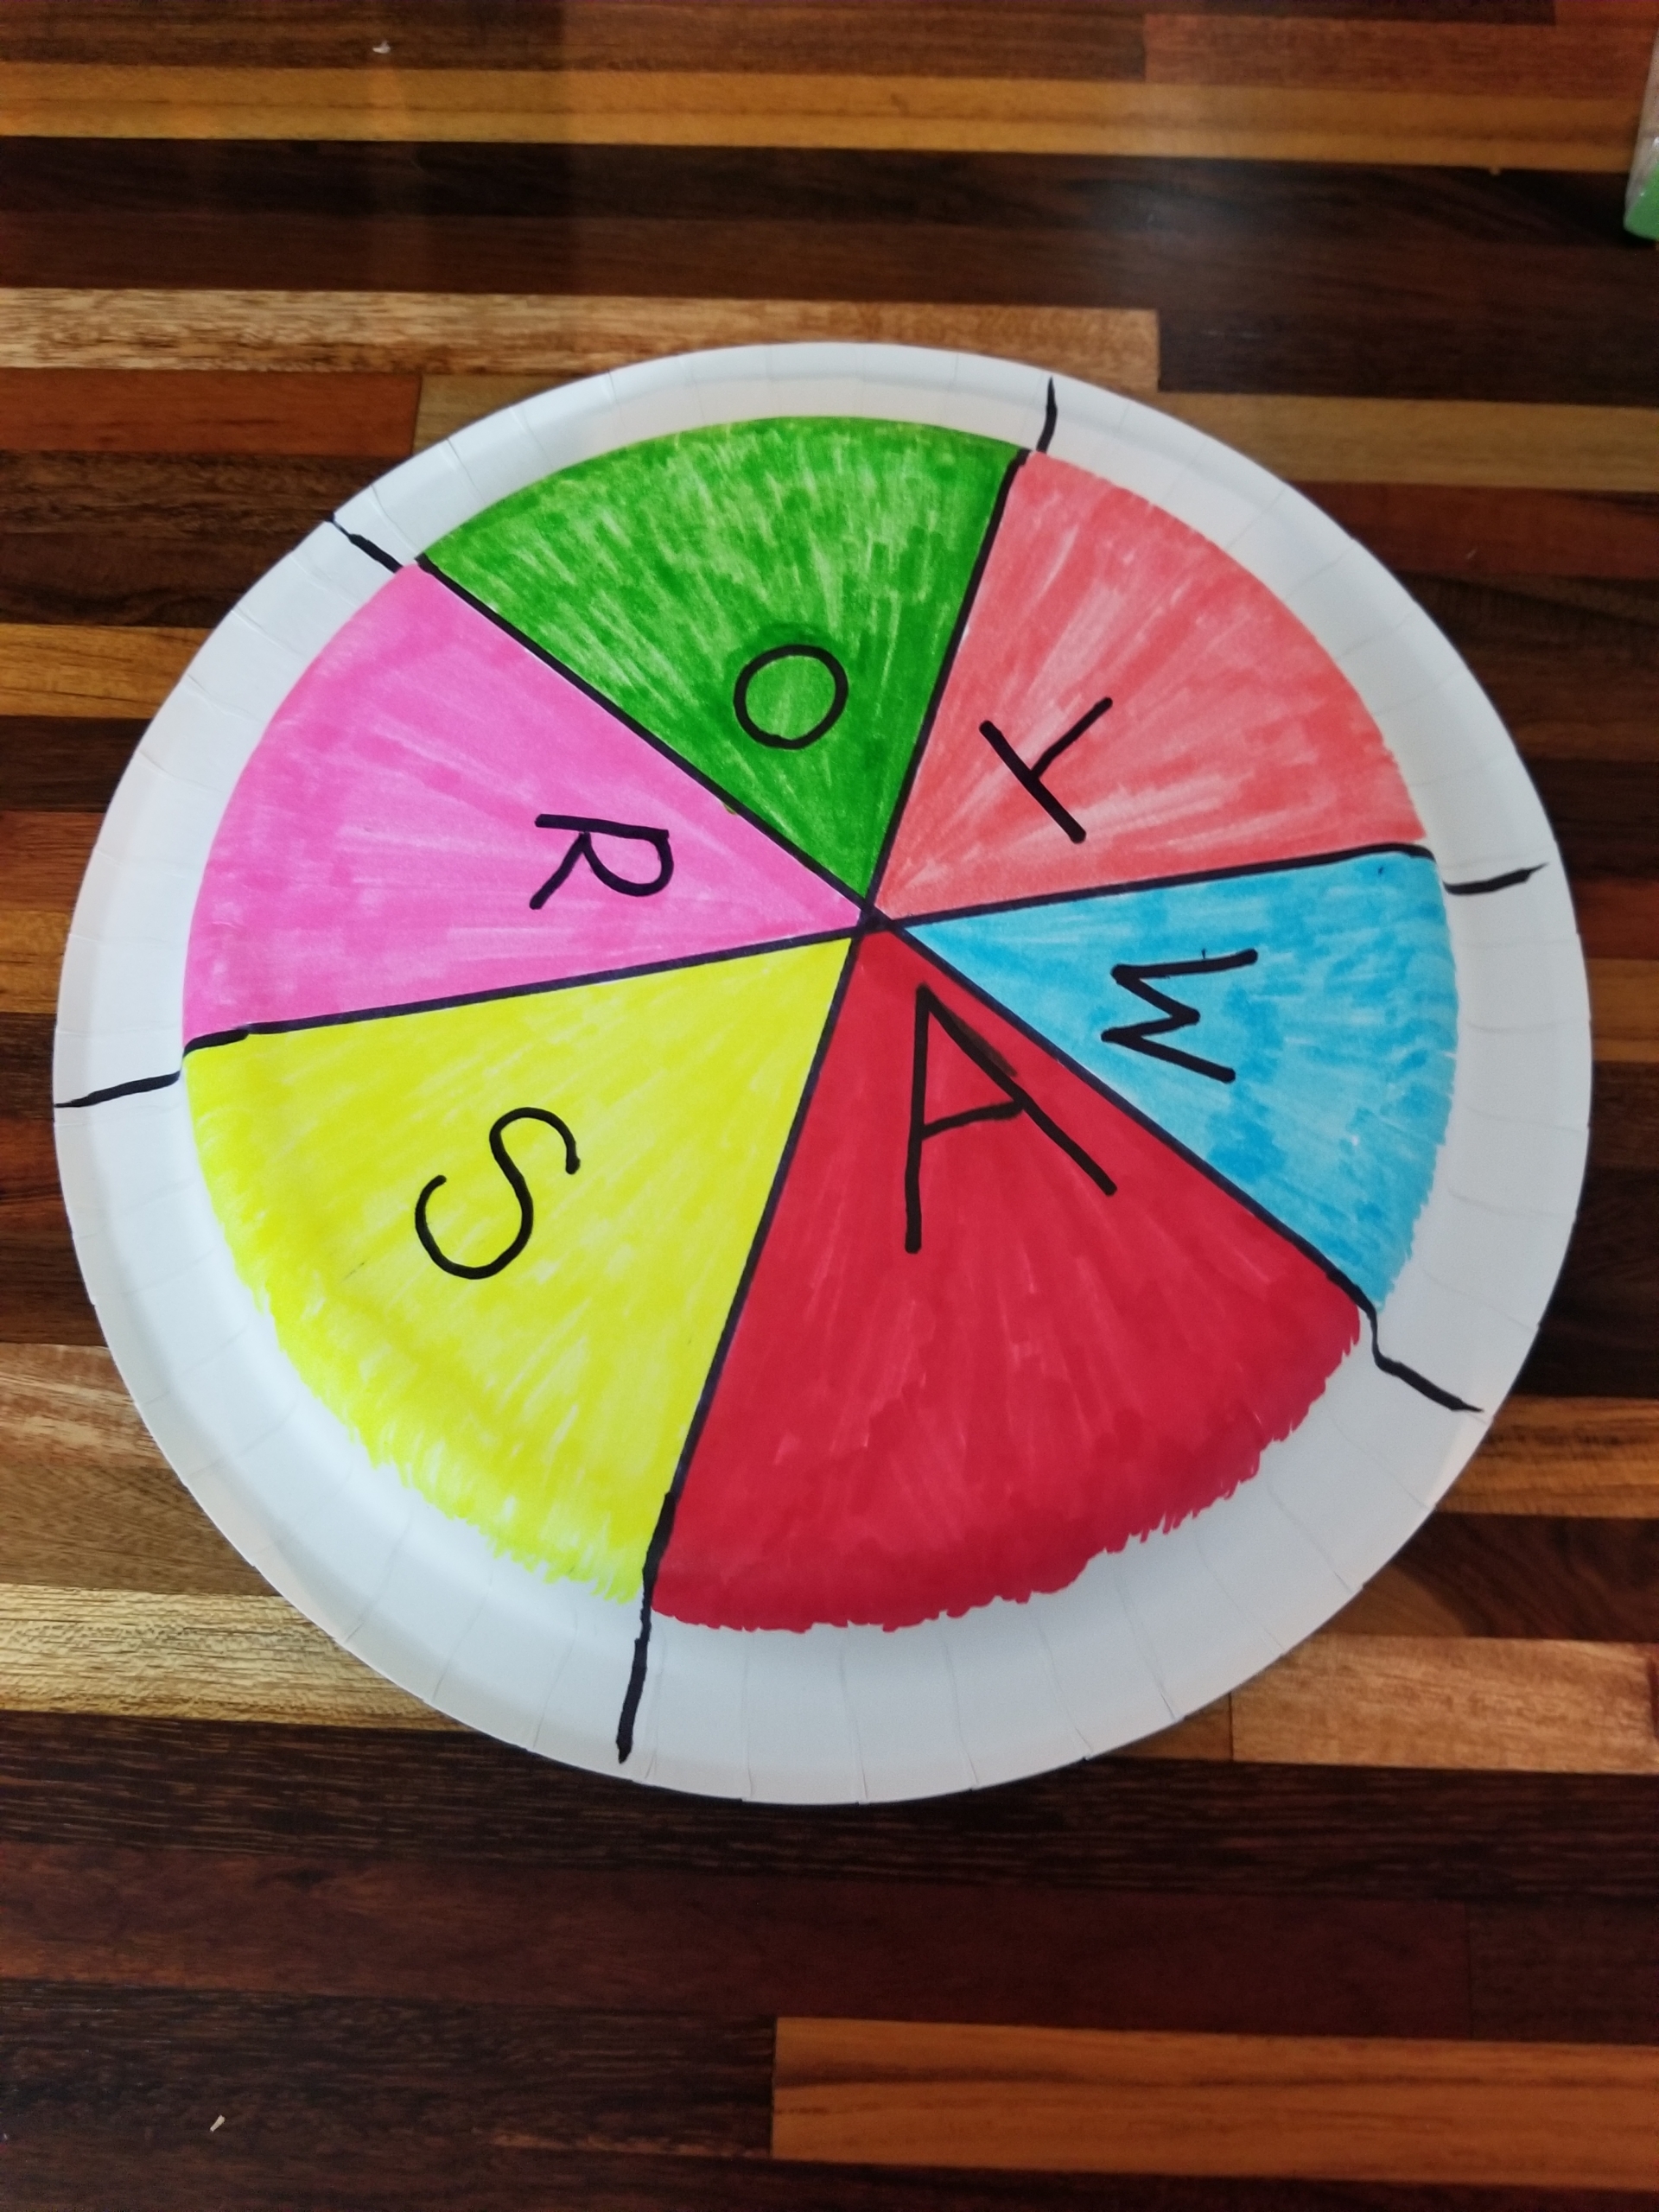
Step 2: Write a different letter in each section. Optional: I like to color the triangles too, as I think it makes the wheel more fun and eye-catching, but that’s entirely up to you.
Step 3: On a piece of paper, draw two or three items that begin with each letter. They should be small, as they need to fit on the clothes pin—no bigger than the size of a quarter. If drawing is not your strong suit (it is definitely not mine), you can always just print some clipart instead! Or send some little helpers on a treasure hunt for appropriate pictures to cut out from a catalog or magazine.
Tip: When choosing images, I like to include pictures a child will easily recognize. This can vary greatly based on cultural experiences. For example, my students in Brooklyn would match pictures of a yellow taxicab to the letter C, for cab. But my Austin students matched it to T, for taxi.
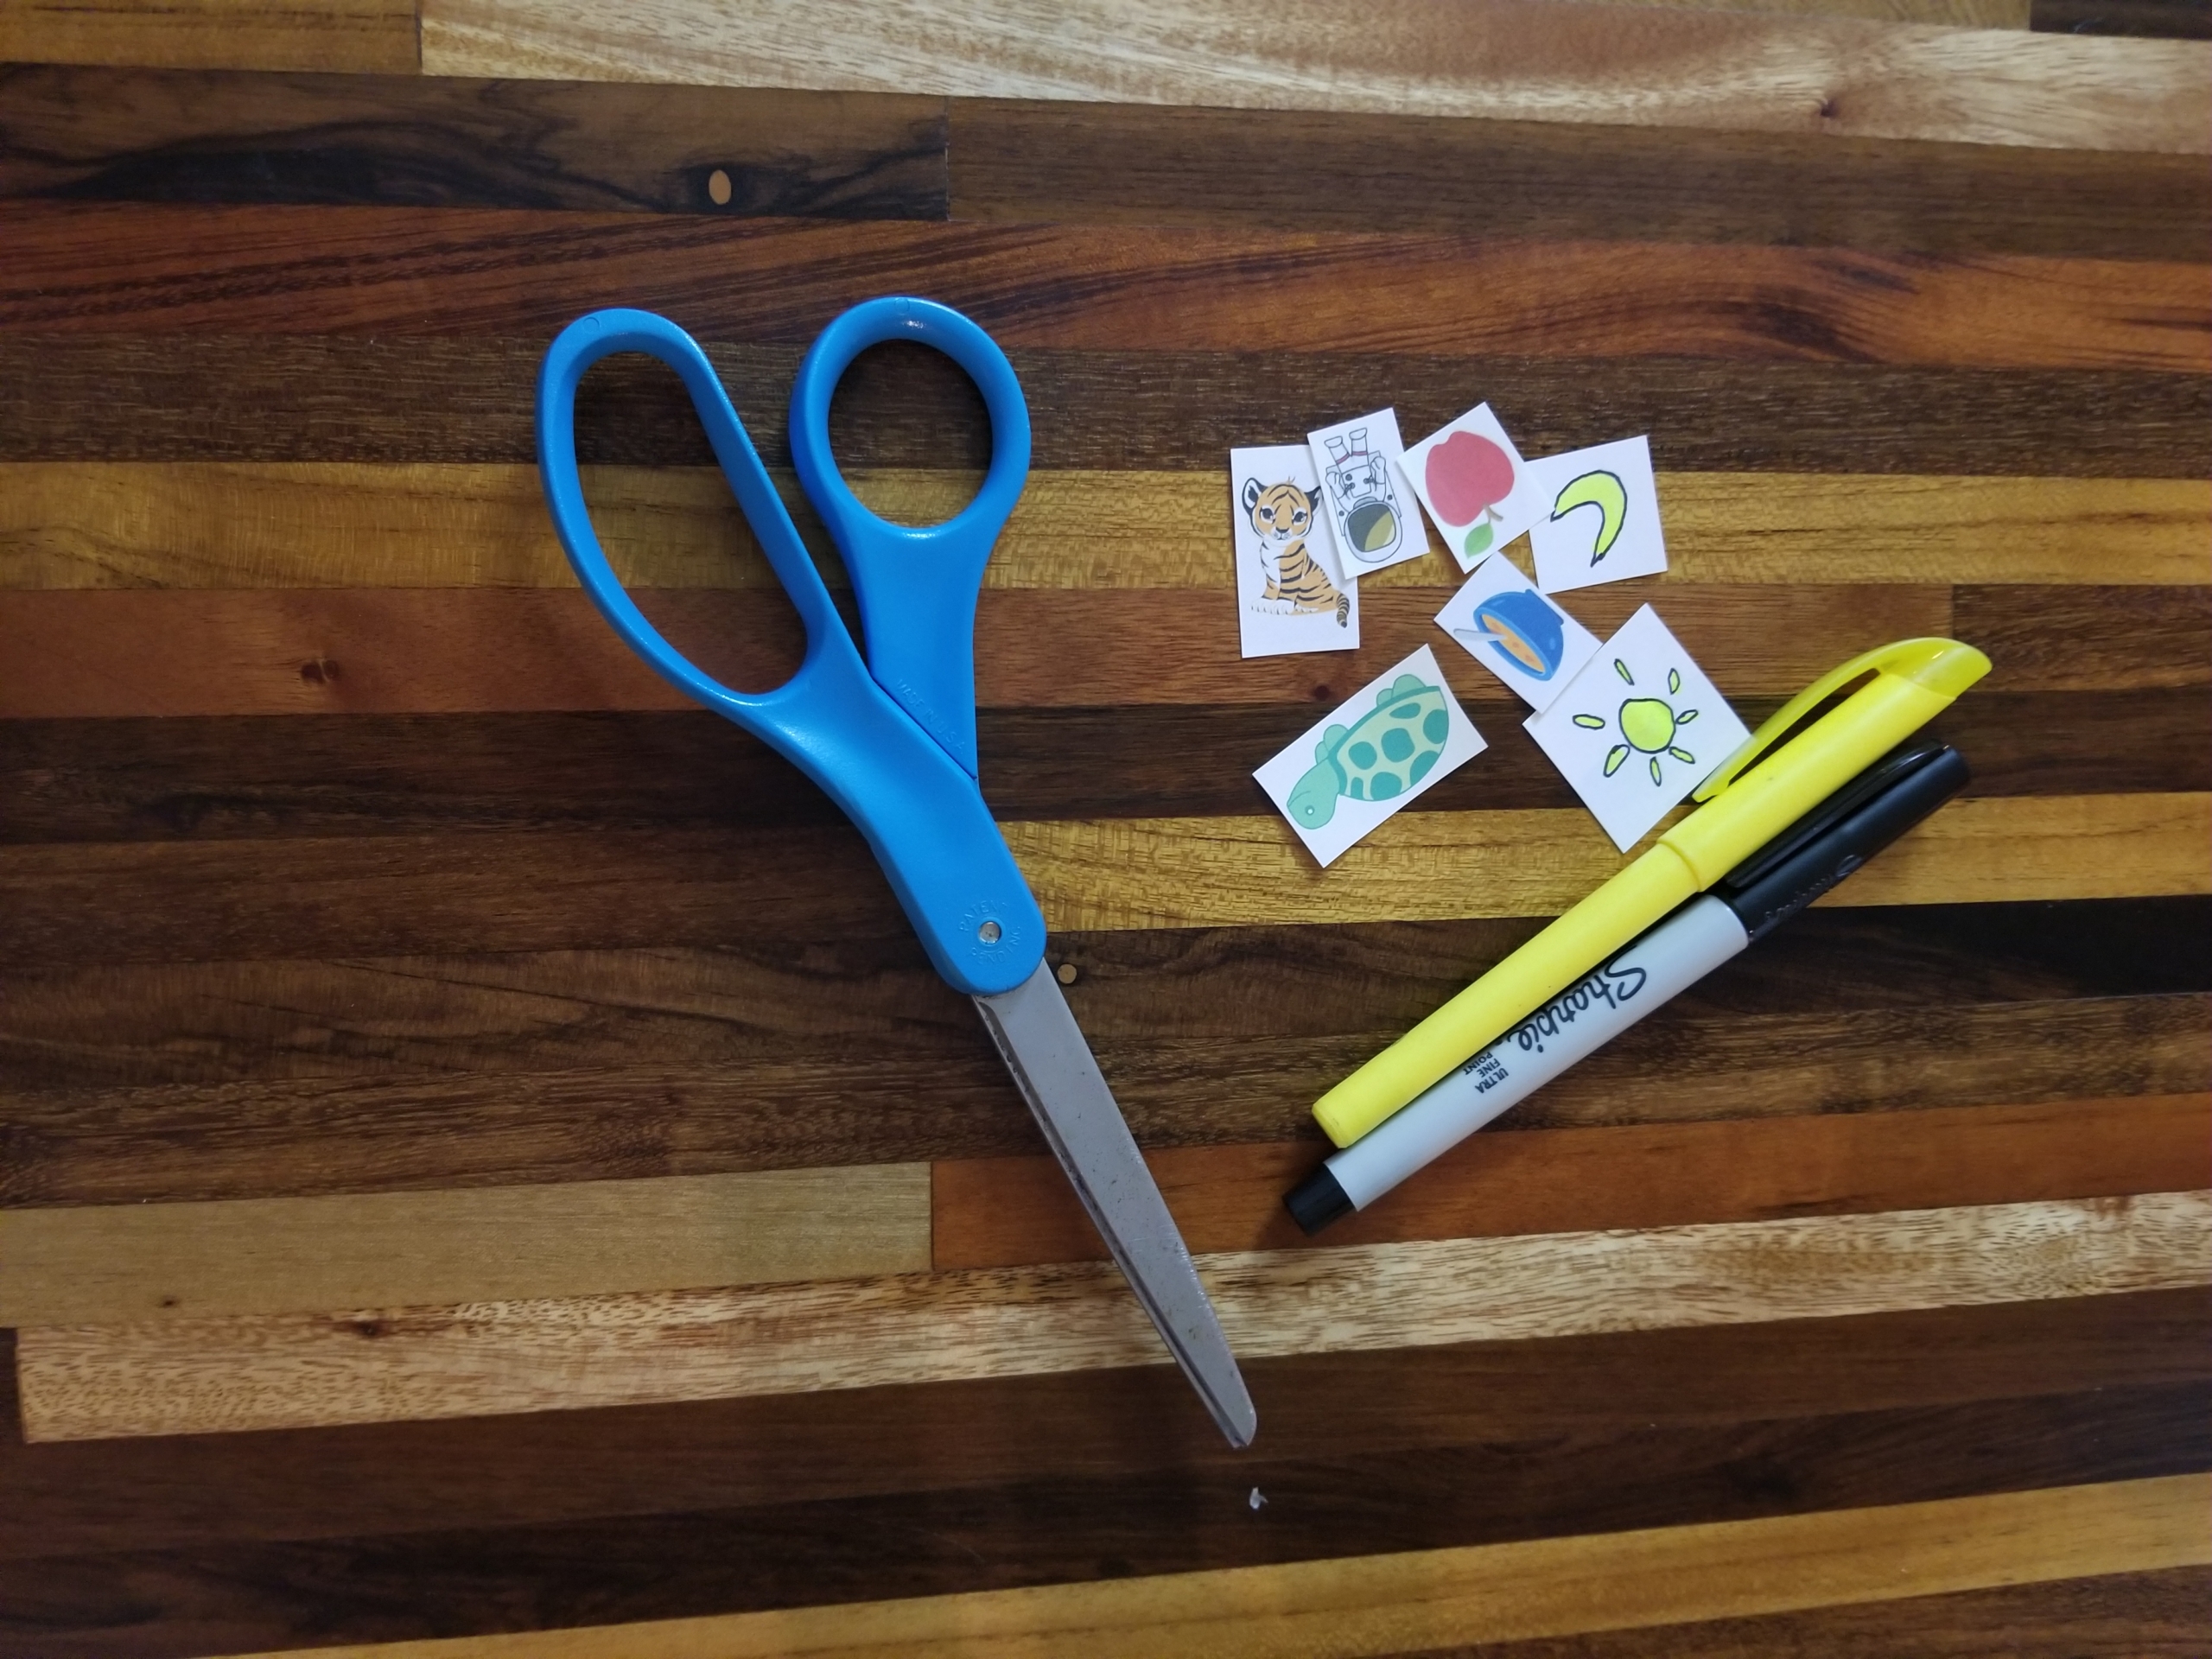
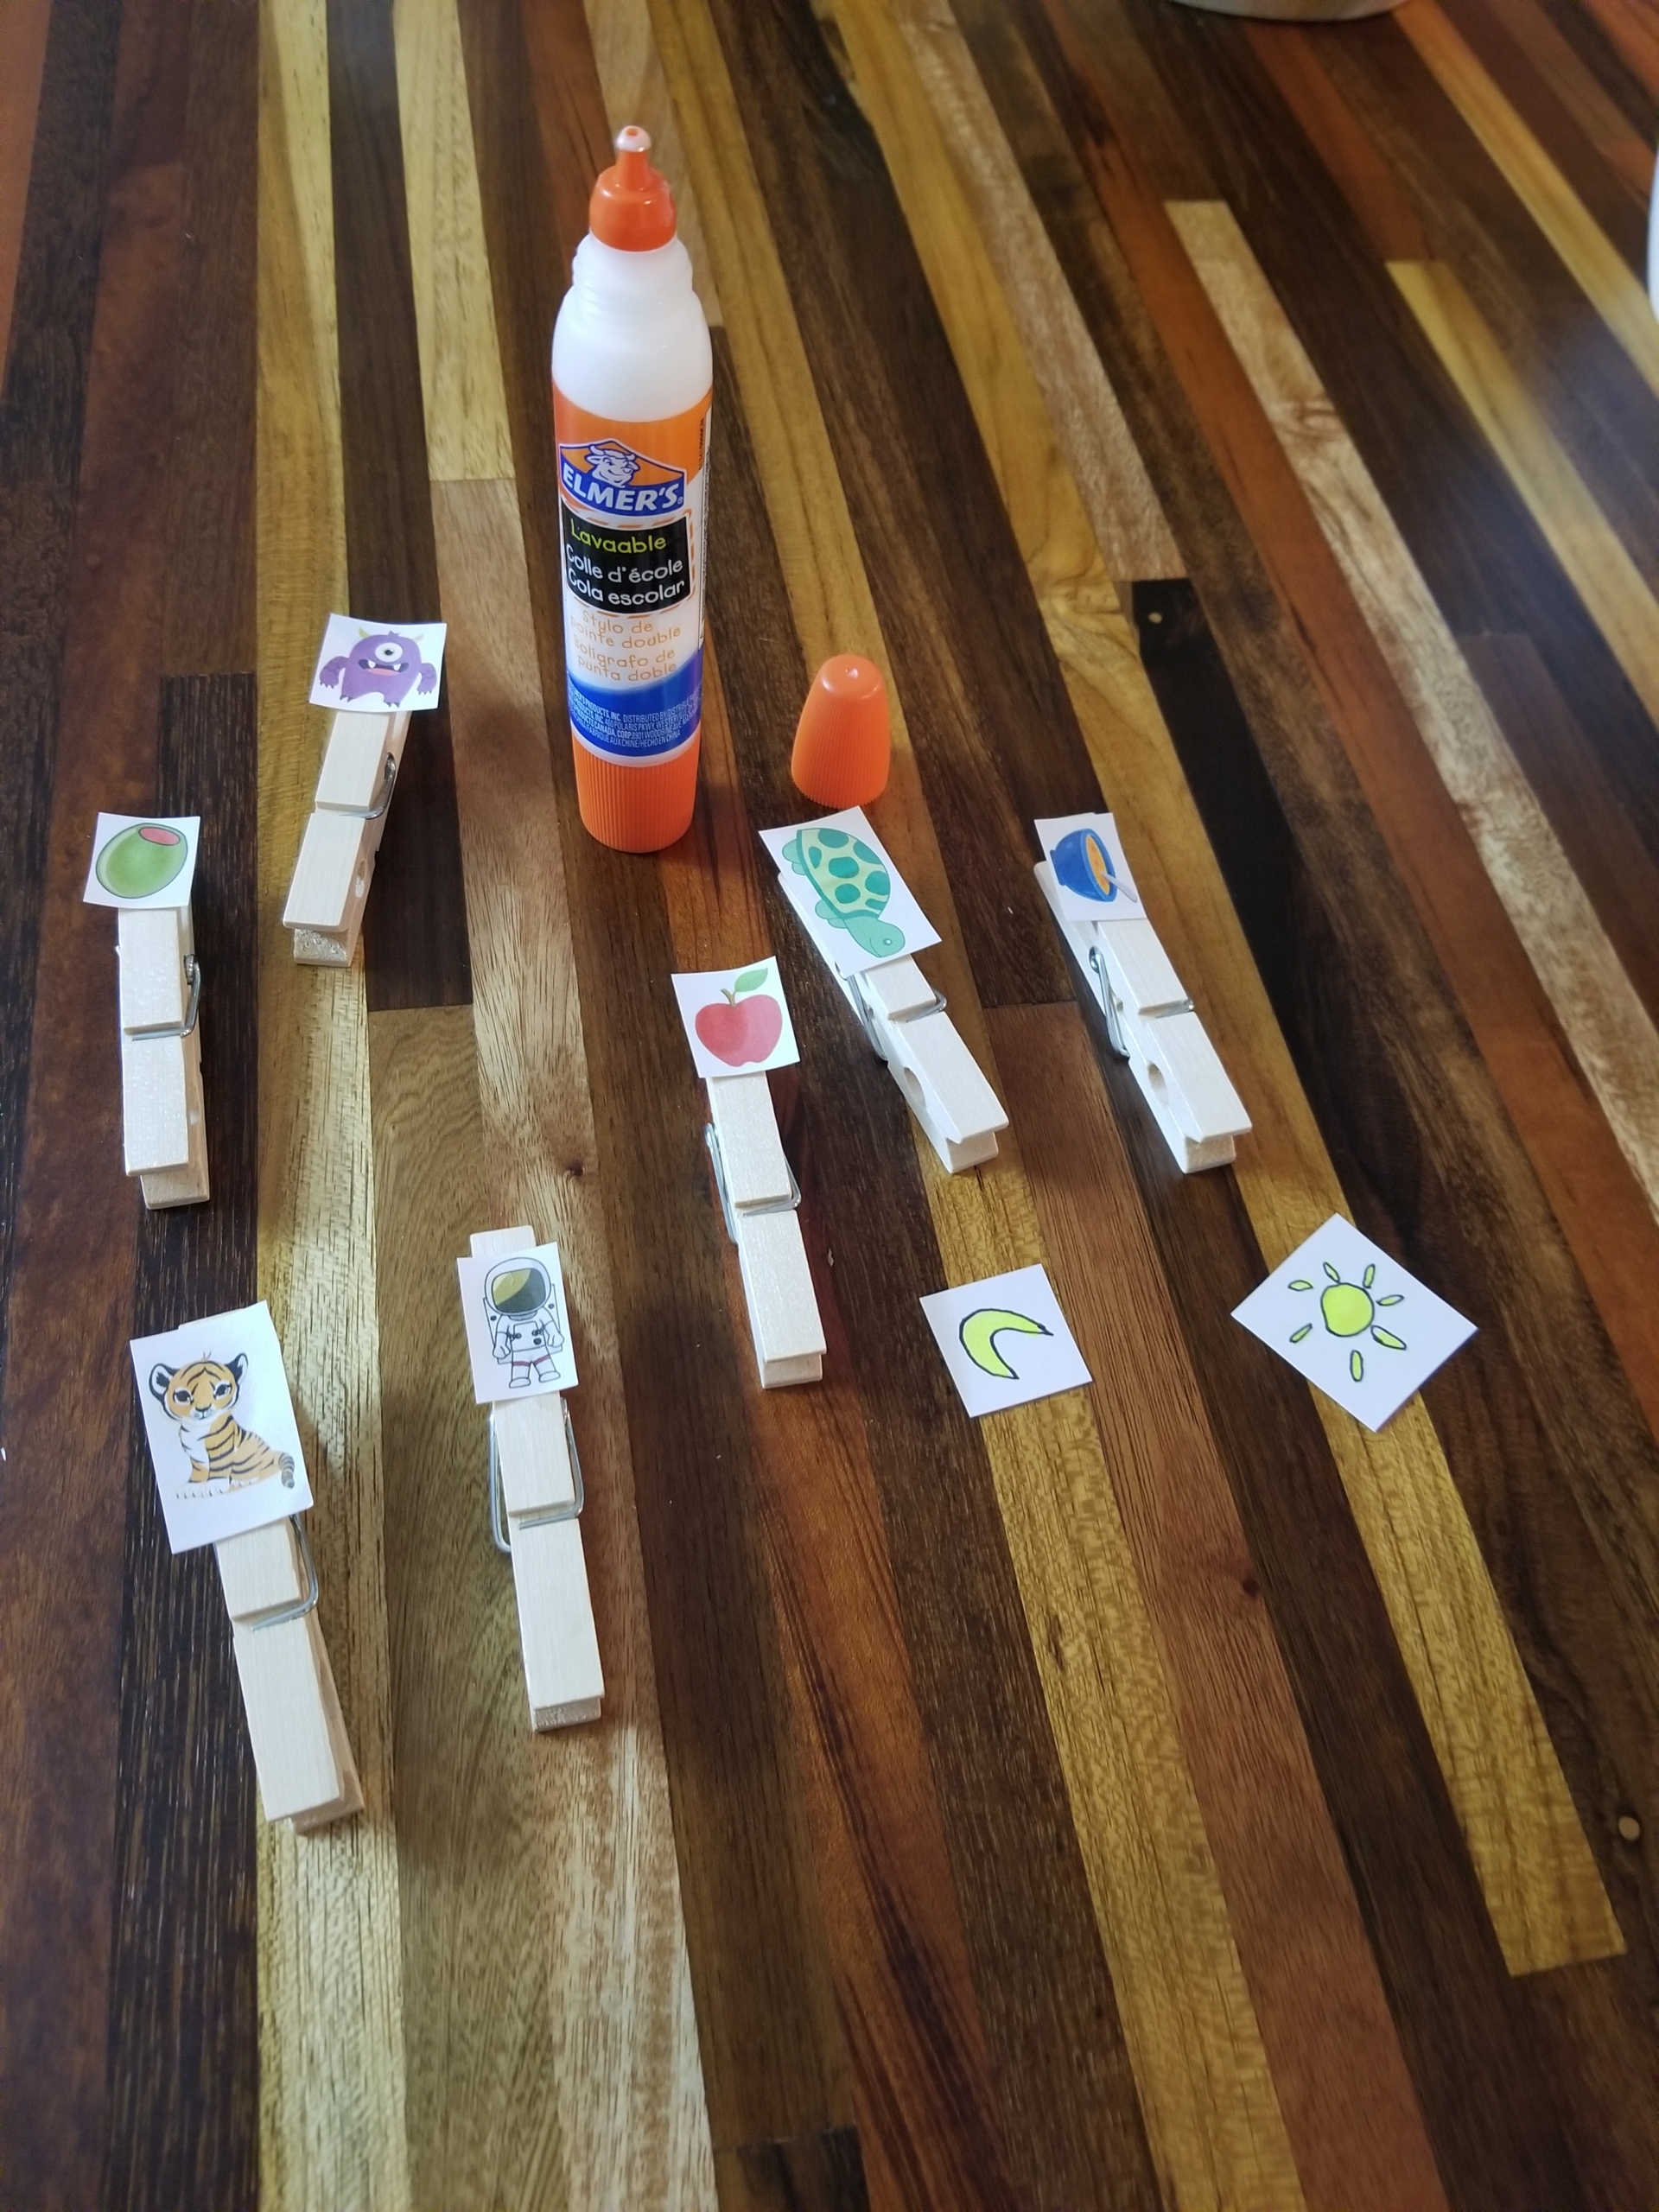
Step 4: Cut out the pictures and glue or tape them to the handles of the clothespins. Depending on how comfortable your little one is with scissors, they can help you cut out the pictures.
Step 5: Place all of the clothespins together and set to one side. With your child, review the names and sounds of each letter on your wheel.
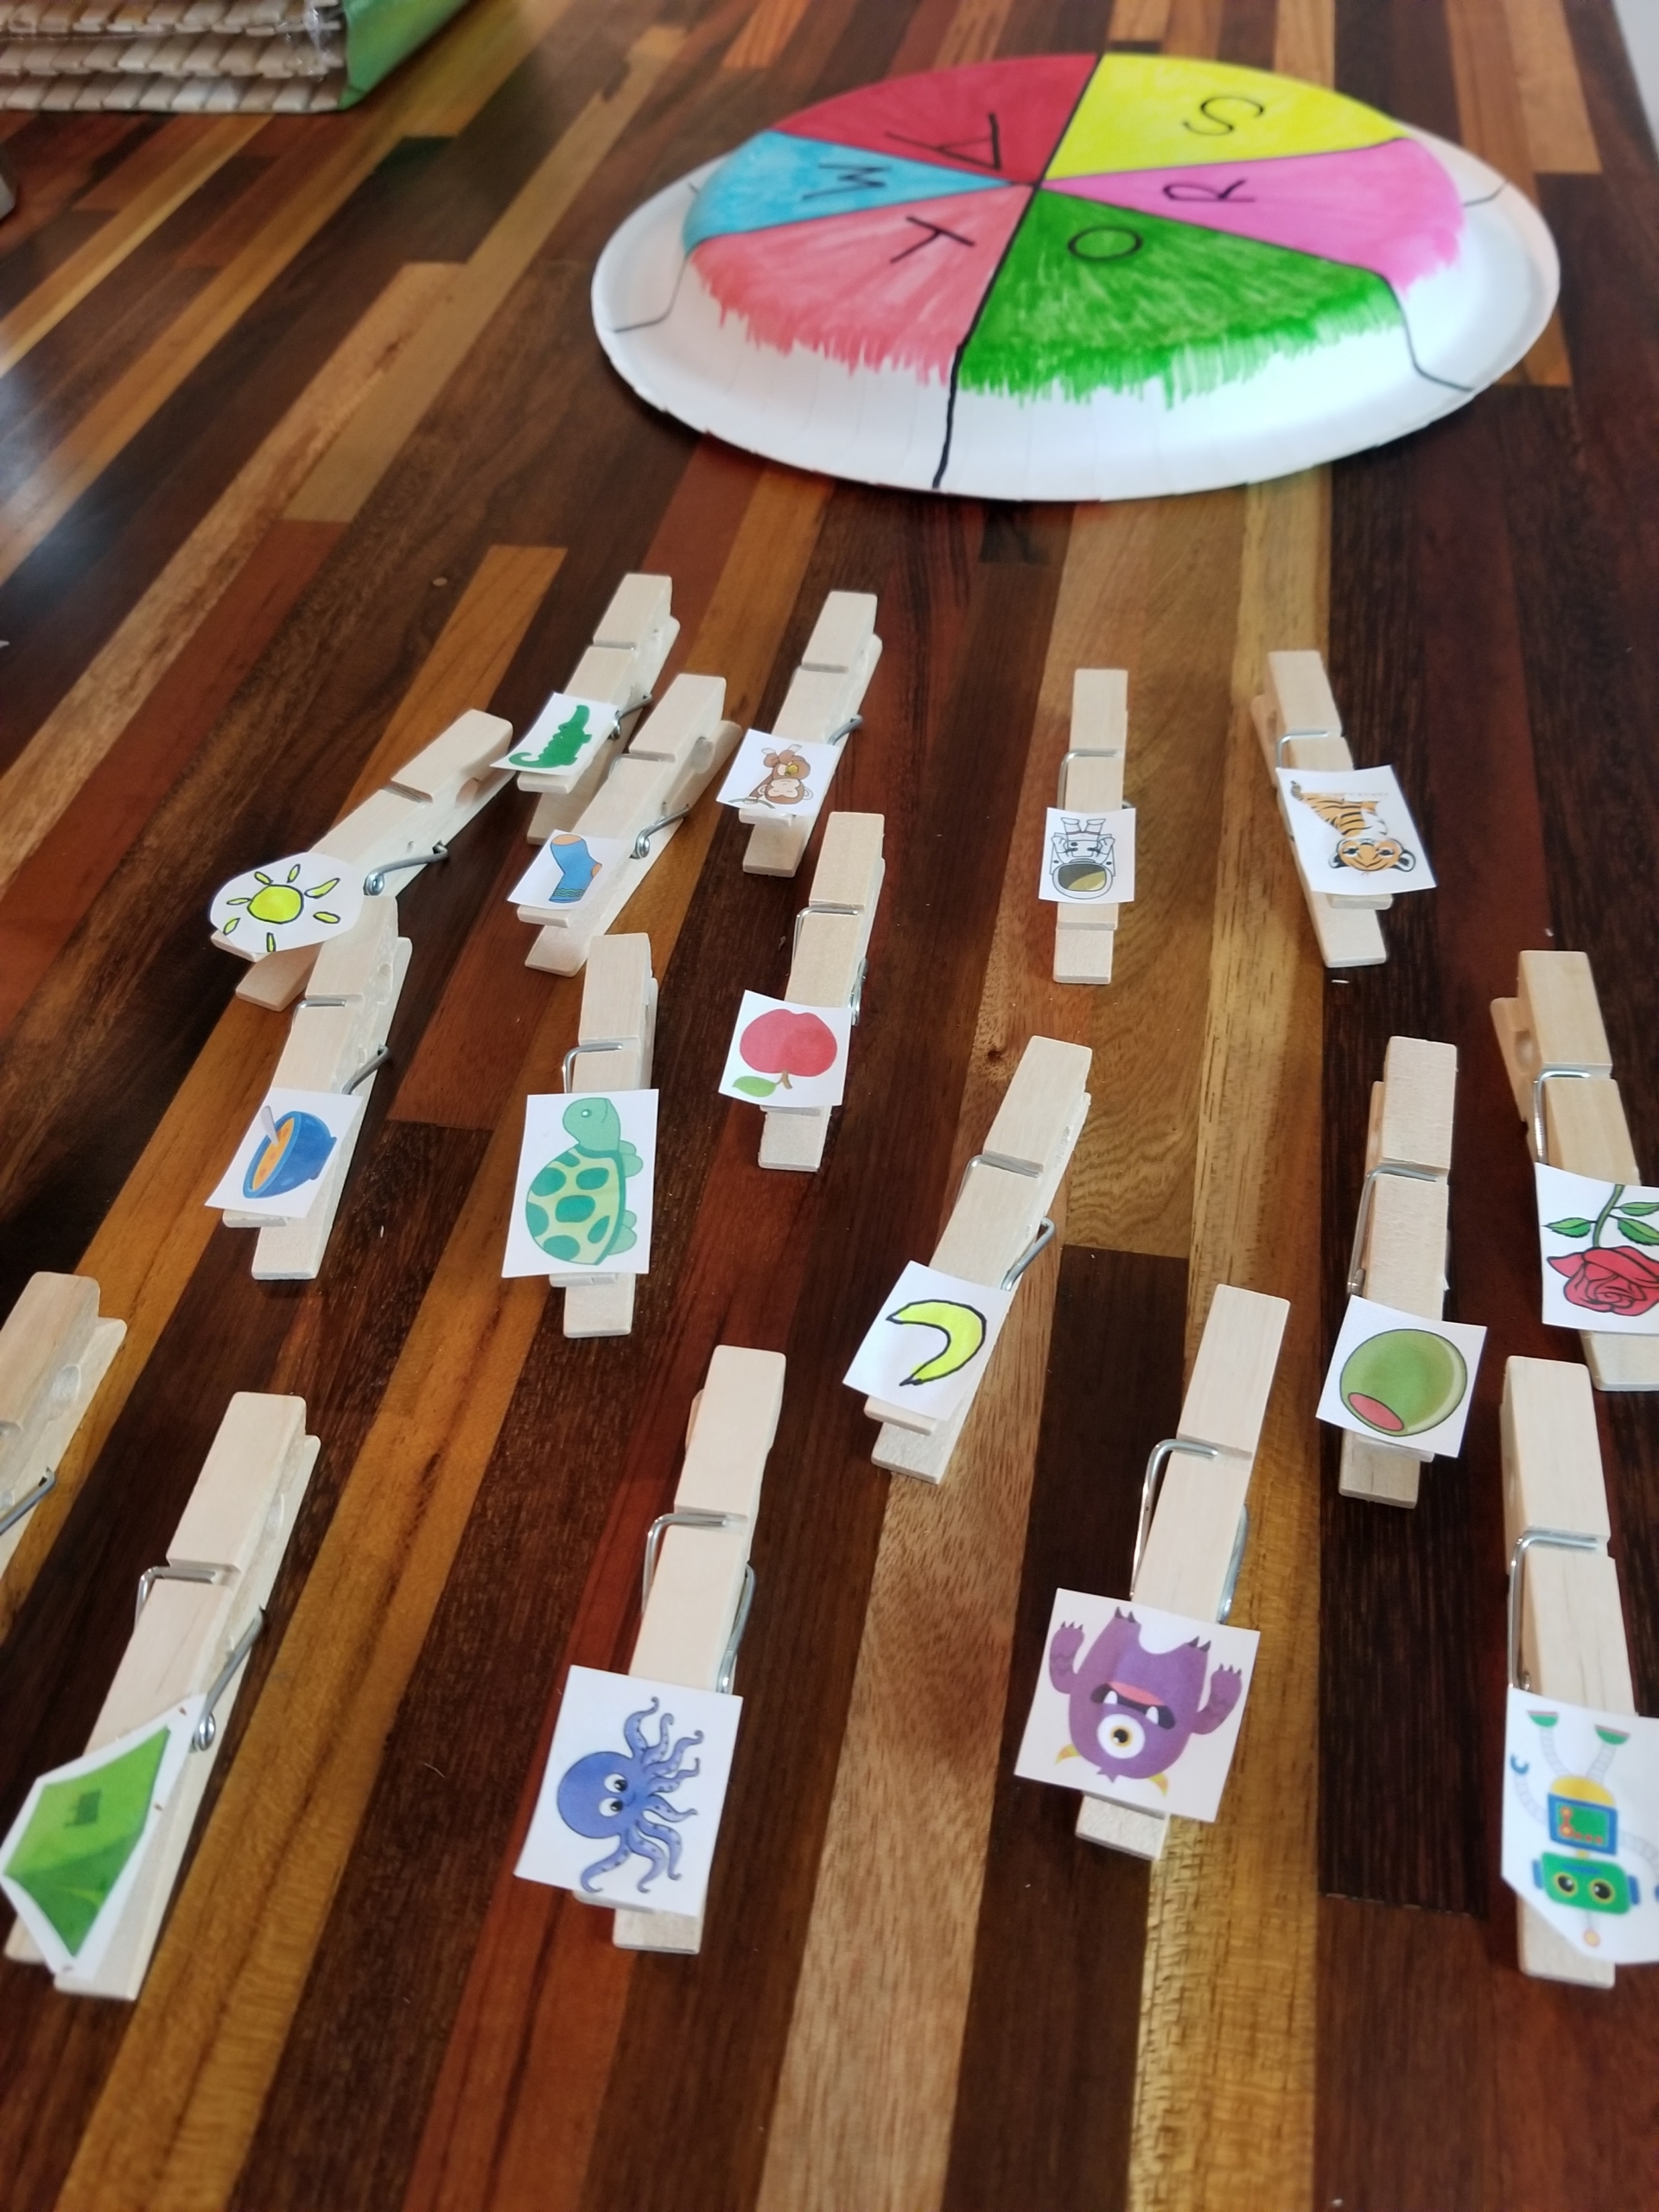
Step 6: It’s clipping time! Have your child match the pictures on the clothespins to the correct letters. Fill the Wheel-of-Phonics!
I love an activity that evolves with a child, and Wheel-of-Phonics is one of those! I suggest starting with the beginning letters of each item in your pictures, but when your kiddo is ready, you can focus on middle or ending sounds. As they become a more fluent reader, you can use digraphs like CH or SH, or ending sounds such as ing and ang in place of letters.
You could even switch it up by placing a single image on the center of the wheel and putting letters on the clothespins. Then let your child clip on the letters that correctly spell out the picture. This game has as many possibilities as you care to experiment with! Let us know what you try and how it works out.
Have fun helping your reader win with the Wheel-of-Phonics!
Pin Me for Reference :