Kids are capable of learning their ABCs well before kindergarten—and they need to, in order to keep up with learning once they start formal schooling. However, it takes years to learn the 52 uppercase and lowercase letters, and to distinguish between similar ones like b and d. That’s why parents or early caretakers are the ideal candidates to teach kids the alphabet.
Teaching your child the ABCs isn’t onerous or difficult, with a little forethought. In fact, it can be lots of fun. Just introduce letters little by little over the years and incorporate these research-backed tips: Draw your child’s attention to print in books and your environment (telling them the sounds the letters make as well as their names), point out how the letters are formed, and help your little one start to make letters themselves.
This last point is a crucial part of the process because kids typically begin paying more attention to the features that distinguish letters when they start trying to write them. But you don’t have to wait for your little one to have the fine motor skills to create letters with a pencil. You can introduce them to the differences among letters, and let them practice forming them, by giving them letter-part cutouts to put together into letters. We call the activity DIY Letters.
And we’ve made it easy for you by creating printable letter parts. Just print them, cut them out, and laminate them. Then read on for how to use this simple, playful tool to teach your child the alphabet. We’ll explain the research behind teaching letter parts and give you the vocabulary to effectively teach your child.
Note: For tips on laminating your letter parts, scroll down. And for some awesome ABC books to read with your child as part of this DIY letters activity, scroll all the way down to the Book Pairing section at the end of this post.
Teach Your Child the ABCs with DIY Letters
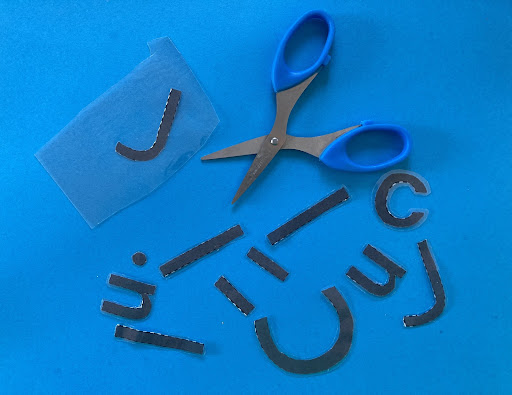
Once you’ve laminated your letter parts, go ahead and build those letters! With your child, combine the straight and curved laminated pieces to create letters. First, demonstrate how to form various letters, then invite your child to do it on their own.
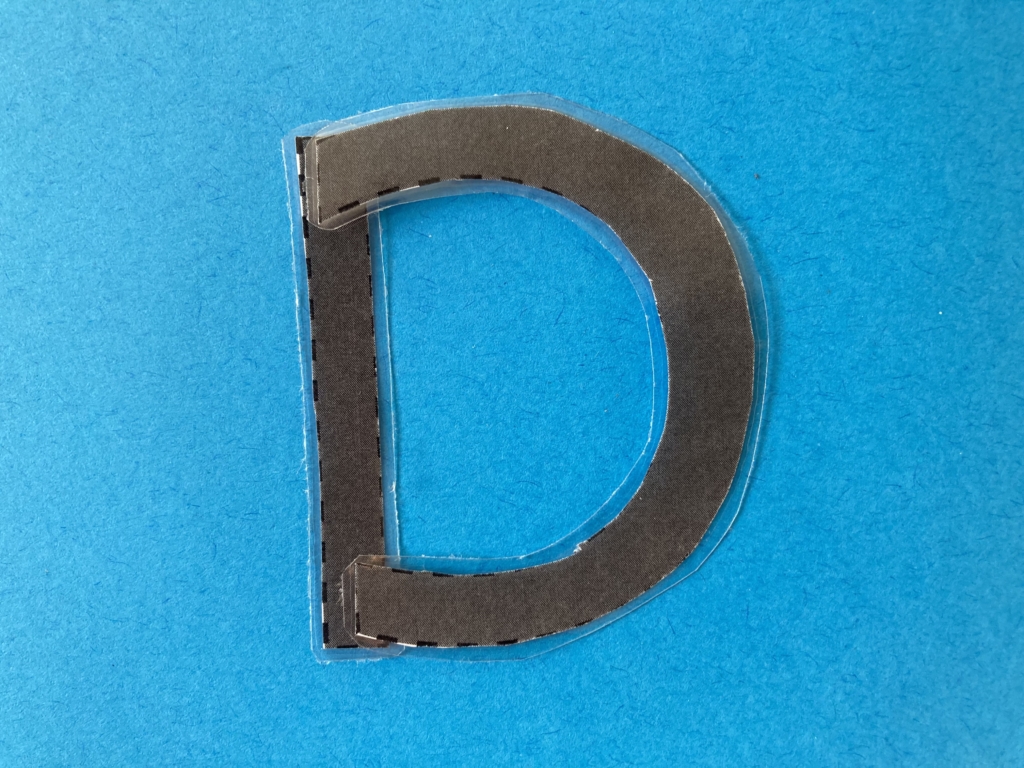
By placing two straight pieces together, you’ll have a T; with the two large curves you’ll create an O; a straight line with a curve can make a P, D, or B. In fact, your child will be able to make all 26 uppercase letters with the letter pieces you’ve printed out.


Research indicates that the details of letter formation help people tell letters apart. Elements like curves and lines, and specifics like where those terminate and intersect, are key to identifying and distinguishing letters.
So, as you and your child make letters, talk about their features and point out the elements that distinguish one letter from another—where the lines intersect in a T versus an X, or which way the curve opens in a C vs a U, for example.
Key features to point out within letters include short and long lines; open and closed curves; hooks, humps, and dots. If you consistently use these terms to refer to the relevant parts, your child will more quickly understand that these parts make up all the different letters, albeit combined in various different ways: horizontal, vertical, diagonal, overlapping, and more.
Learn more about how to talk about letters with your child in our post on teaching the alphabet.
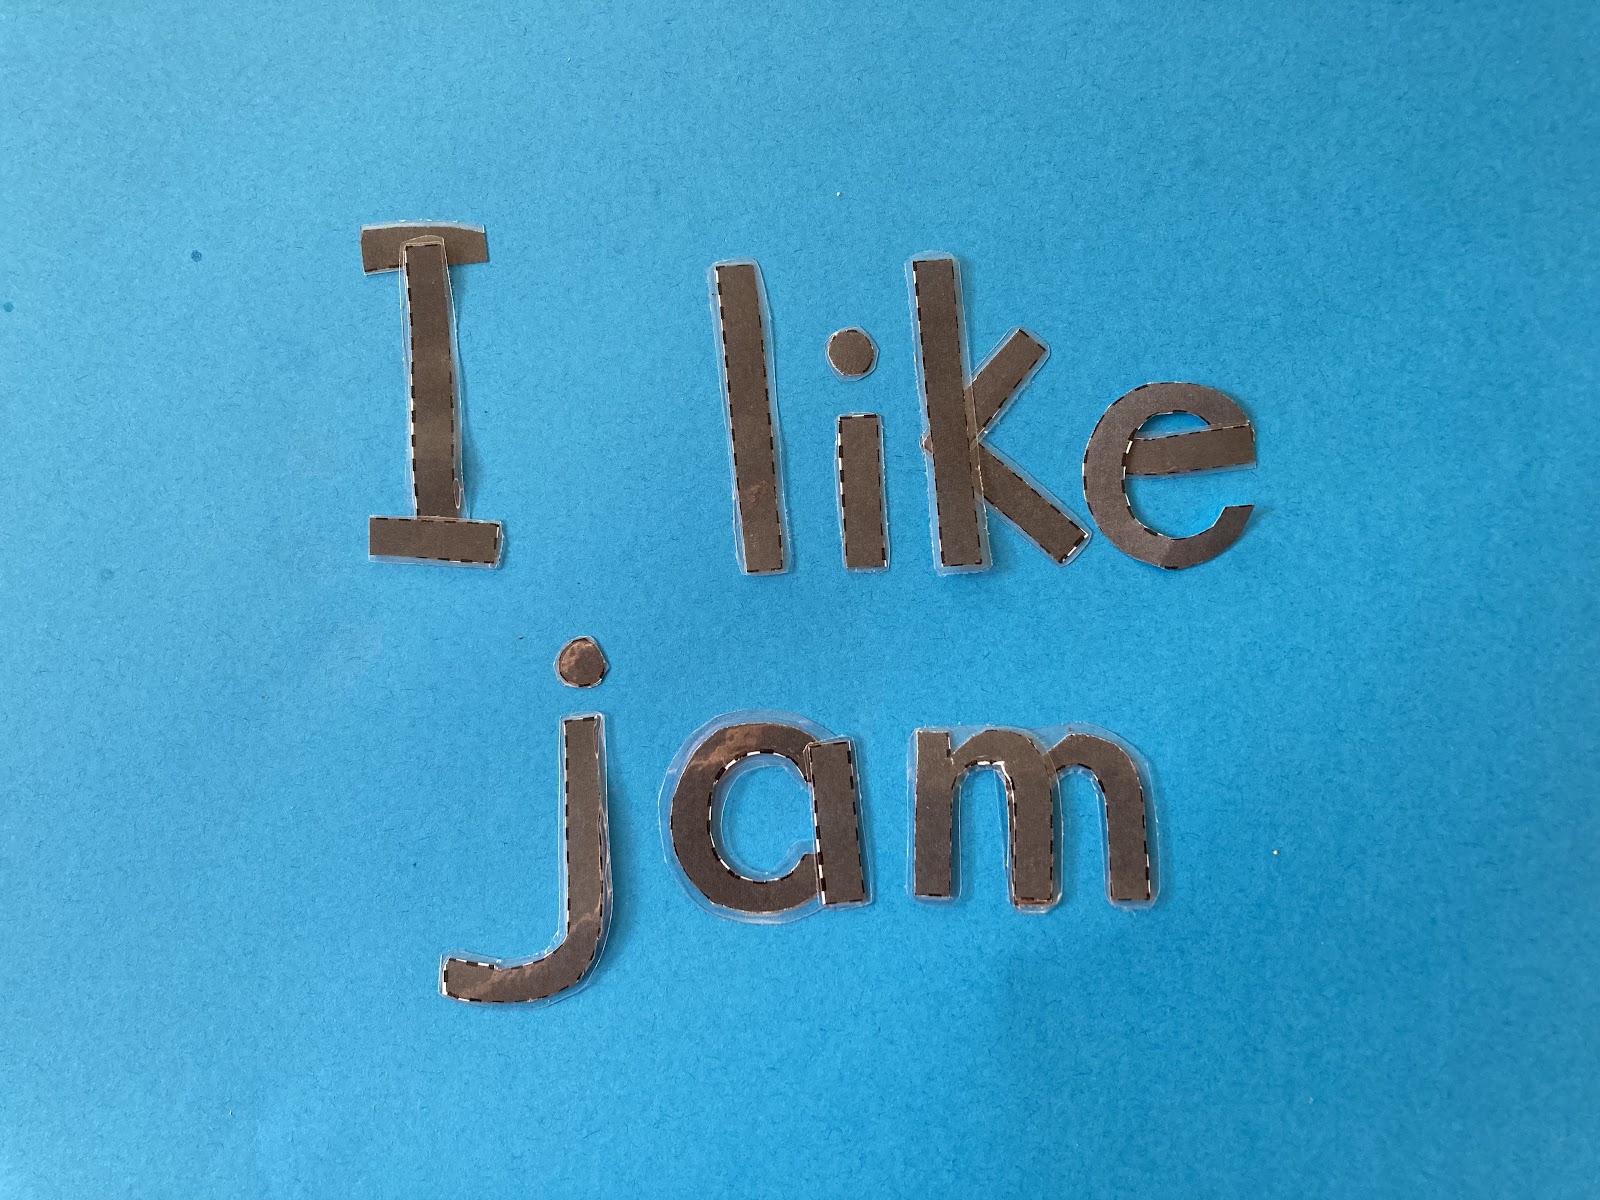
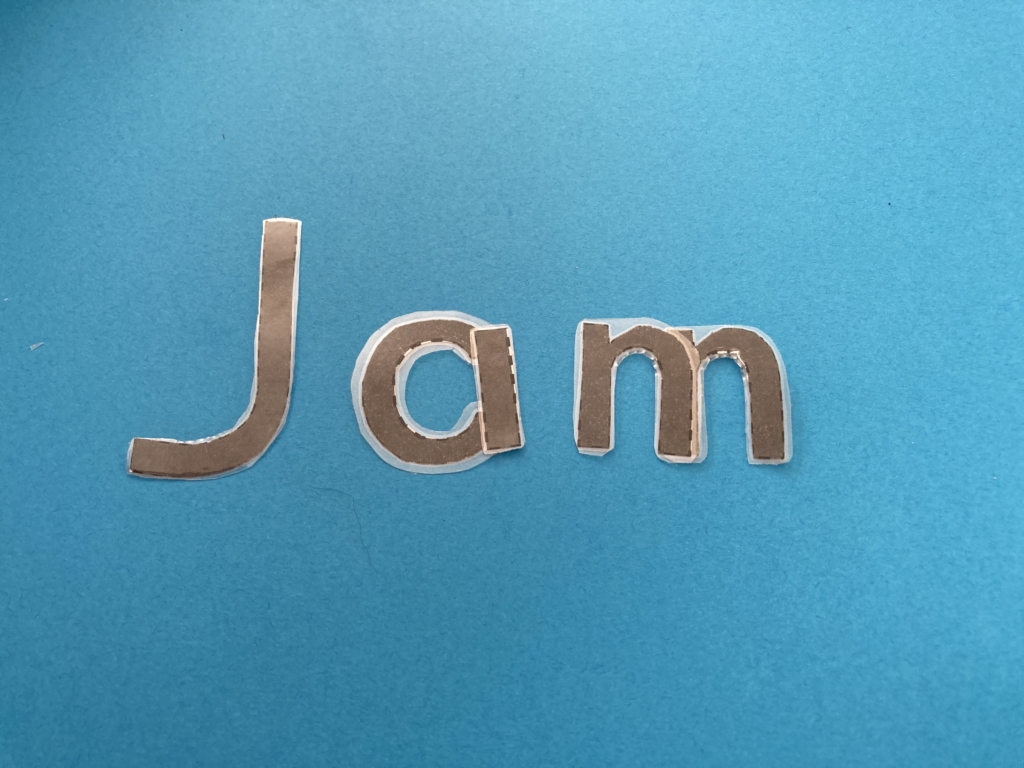
Build on the Activity: Once your child has mastered individual letters, see if they can use the letter shapes to build simple words or their name. Print out as many copies of the letter parts as you need to spell all the words you like.
Tutorial — Laminating Your DIY Letters
Materials:
- Clear contact paper/self-laminating sheets
- Scissors
- Printer
- Paper
Step 1: Print two copies of the free DIY Letters printable from the VIP Vault, then cut out the letter parts. (If you don’t have a printer, you can also just draw the letter parts freeland. Use a ruler and curved surface to trace neater shapes.)
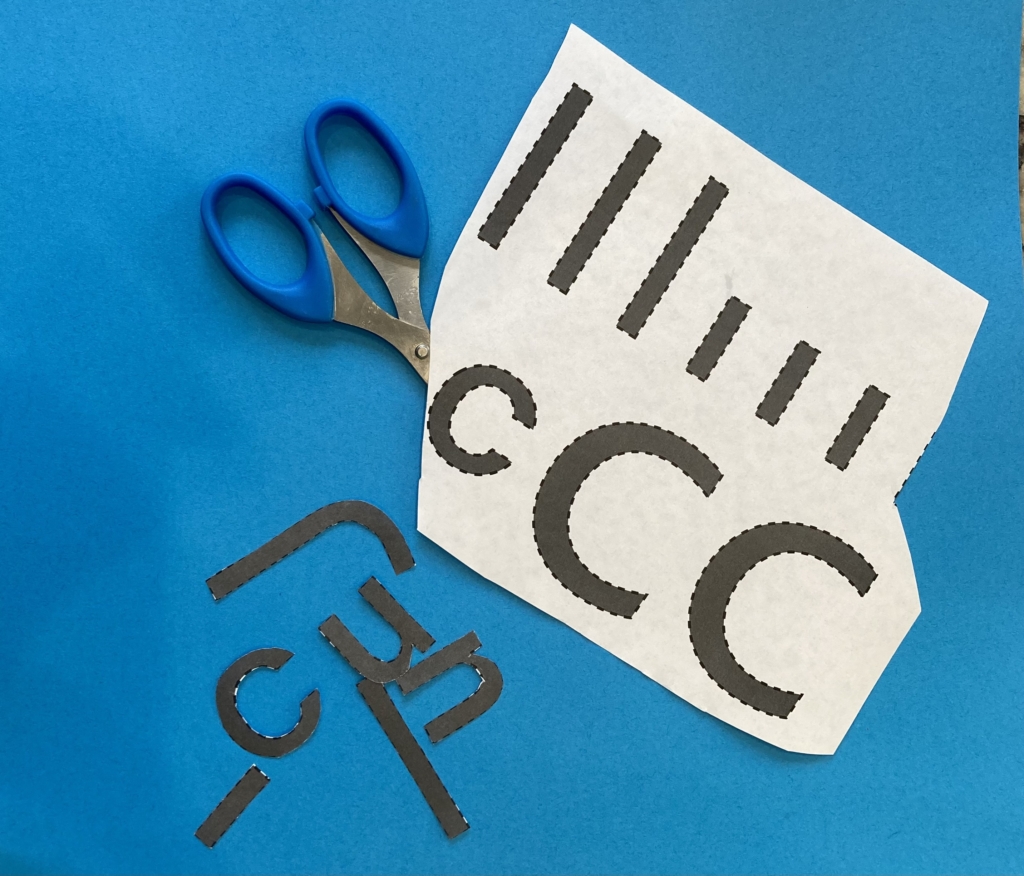
Step 2: Place the paper pieces between contact paper or in a laminating pocket, keeping them at least an inch apart to allow room to cut them out. Laminate or seal the contact paper, then cut out the laminated shapes, leaving a slight border around each. Tip: Round the corners so they’re not sharp.
That’s it! Just repeat these steps as necessary to make as many letter parts as you like.
Like this post? Share it!
Book Pairing
We believe in adding in a story time to just about any activity you do with kids, from crafts and projects to outings and travel. Reading to your child is an excellent way to introduce kids to new topics and ideas, and reading about things you do together also helps keep them engaged and making the connection between print and real life.
And sharing a book (and pointing out the letters in it) is particularly well-suited for introducing this letter-part activity, as well as for reinforcing its lessons afterwards. You can draw attention to the alphabet when you share any book, but an ABC book is a natural choice to really put the spotlight on letters.
We love Itchy’s Alphabet for creatively highlighting letter shapes, or browse our list of awesome alphabet books and good books for getting preschoolers ready to read for more ideas. You can use any book that you have on hand or that’s available at your local library, though: When you draw on the skills we’ve discussed for how to talk about letters and their parts, you’ll be able to turn any book into a powerful vehicle for teaching letters.