I scream, you scream, we all scream, “Ice cream!” And, if you’re like me, you might also be screaming for a break from the summer heat. However, I still want to make indoor play fun, creative, and, if possible, educational. Enter scoop sentences!
When kids are learning to read, they can begin to identify sentences by capitalization and punctuation. Yet, when they begin to write and construct their own sentences, it can be difficult to know what a sentence needs. This super fun reading activity helps children learn how to build a sentence (or words for younger kids) by incorporating one of summer’s greatest joys—ice cream!
Just follow the simple instructions below.
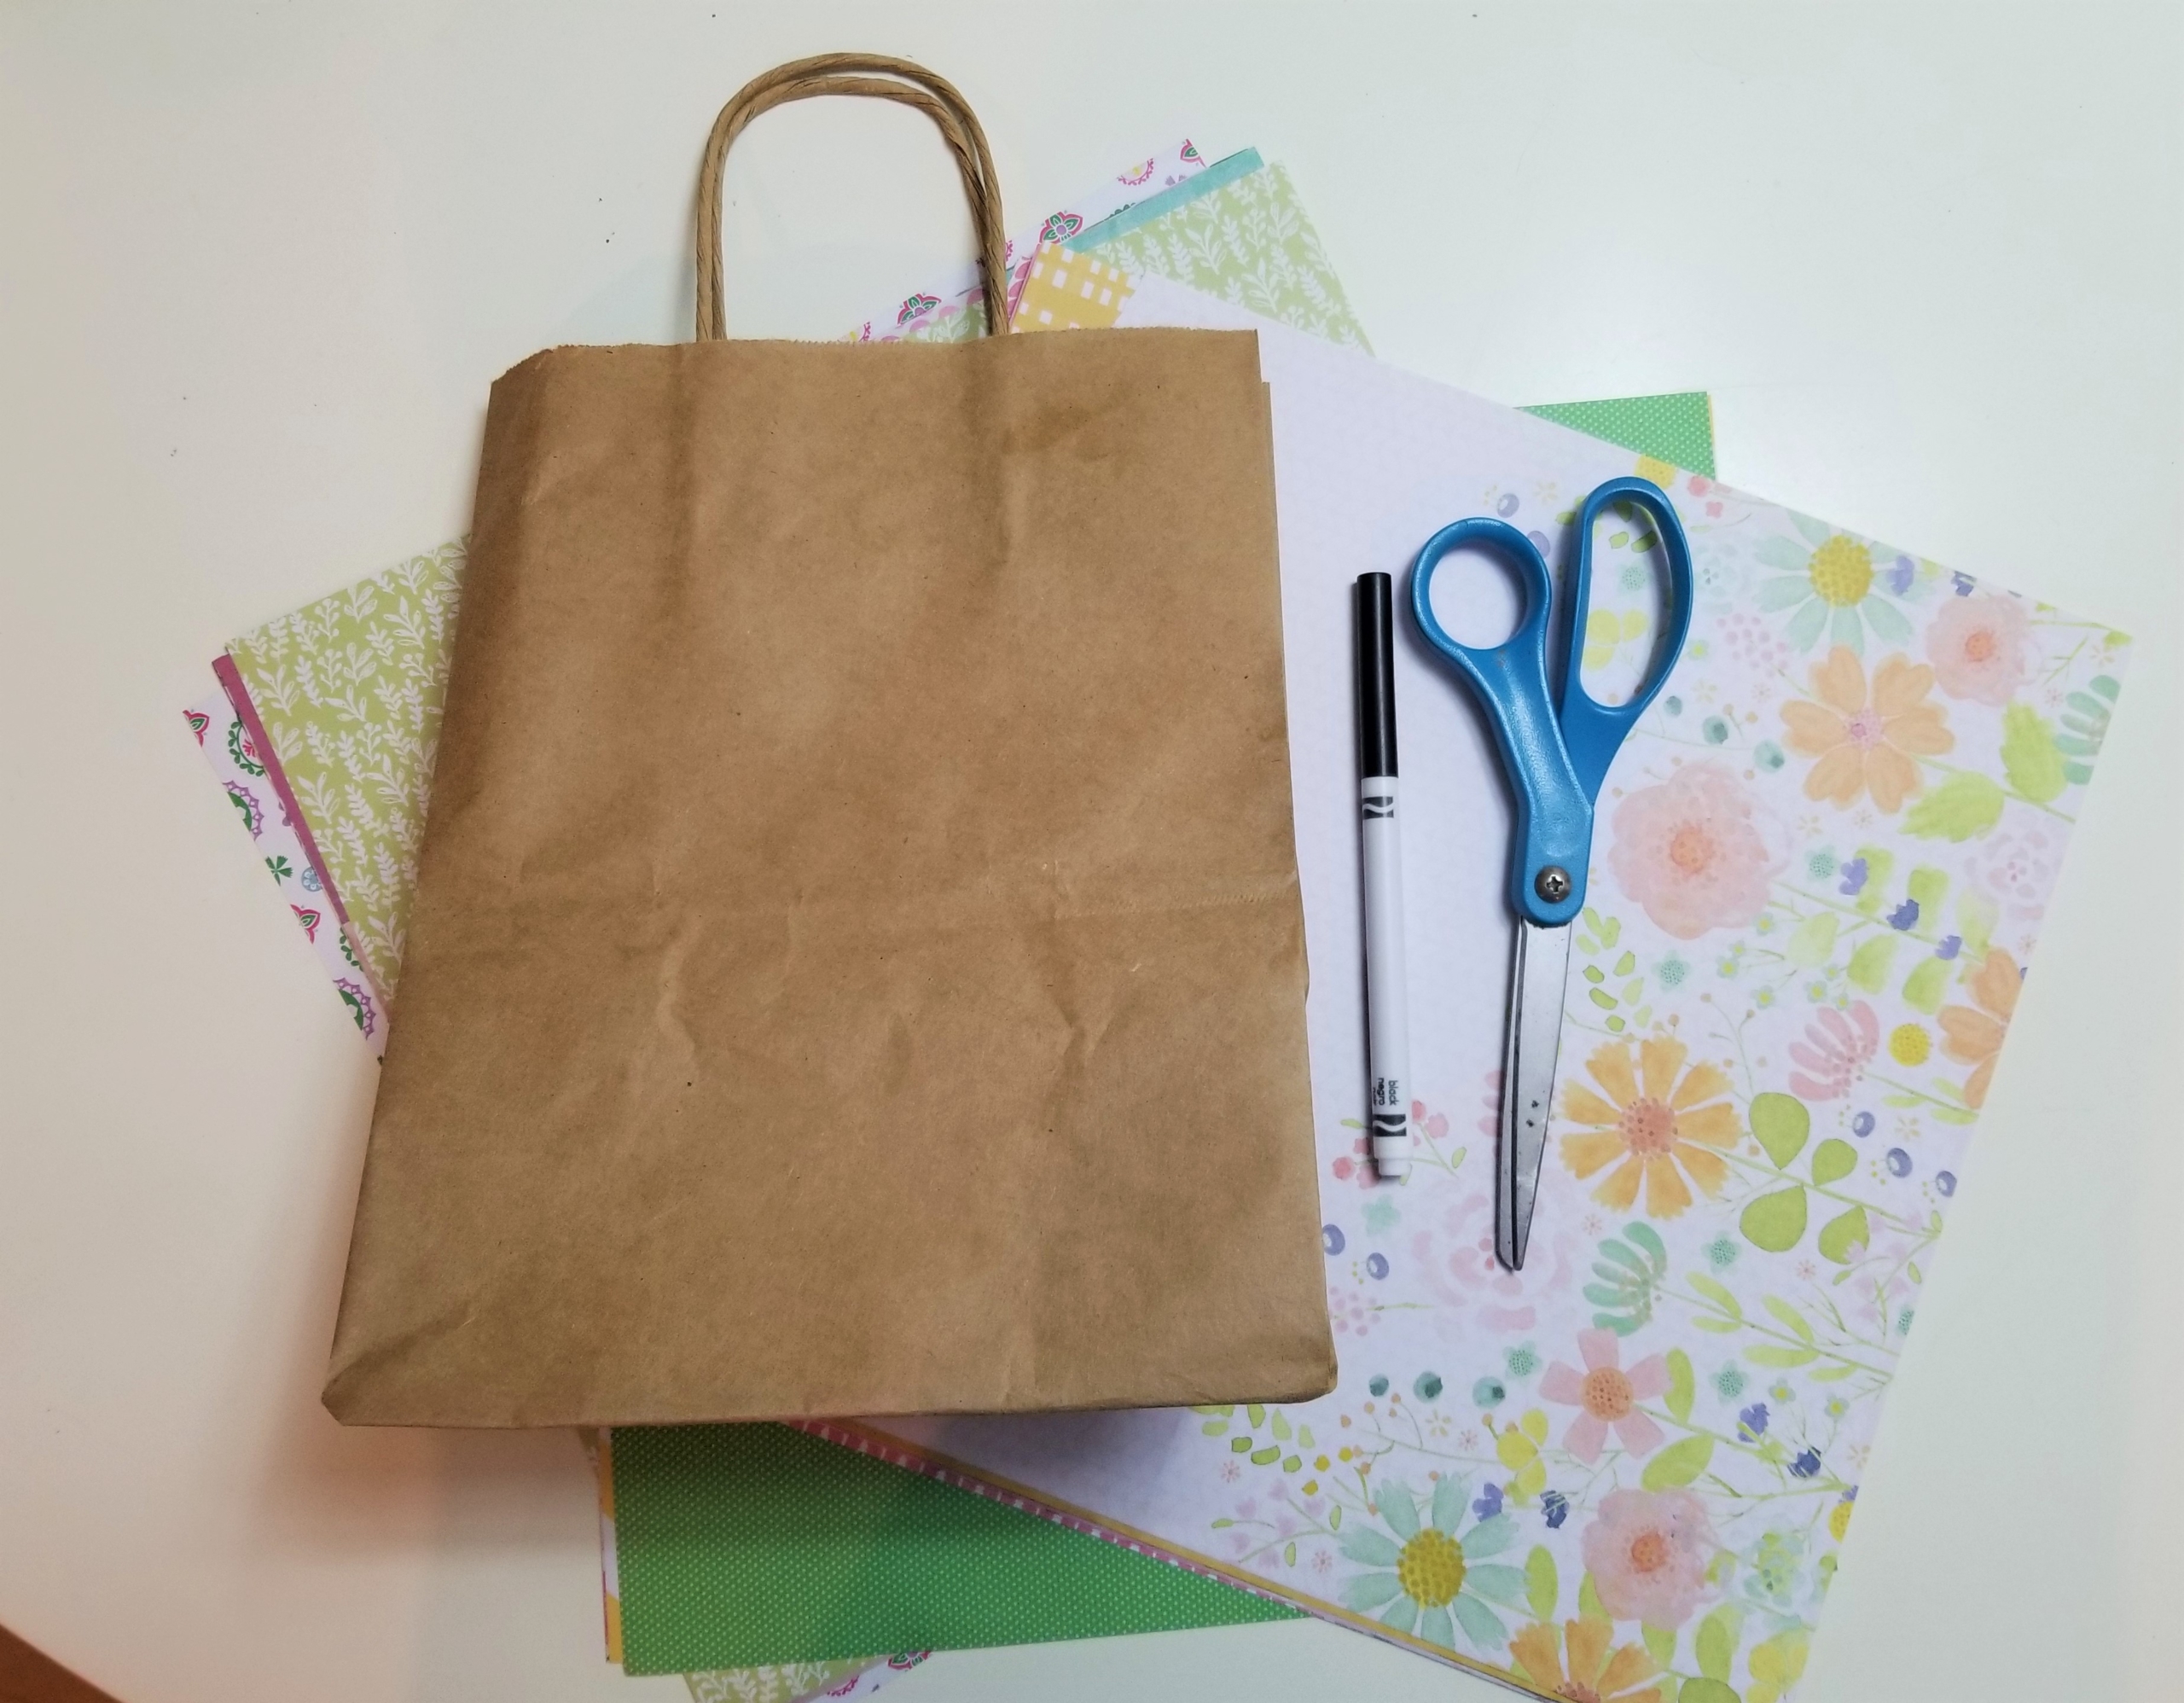
Materials
- Several different types of colorful or patterned paper or cardstock
- Paper bag or cardboard
- Scissors
- Markers
- An awesome book about ice cream (optional)
- Cup (optional)
Cost: $10 for paper or cardstock
Start with Story Time: Introduce your ice-cream-themed reading activity by coming inside from the heat and enjoying a picture book about ice cream with your child. Great choices include Ice Cream Summer by Peter Sis, Should I Share My Ice Cream? by Mo Willems, What Can You Do With a Paleta? by Carmen Tafolla, and Shave Ice in Hawaii illustrated by Mariko Merritt. (There are also a plethora of cookbooks you can use to learn how to make your own ice cream.) As you read, point out a few of the sentences.
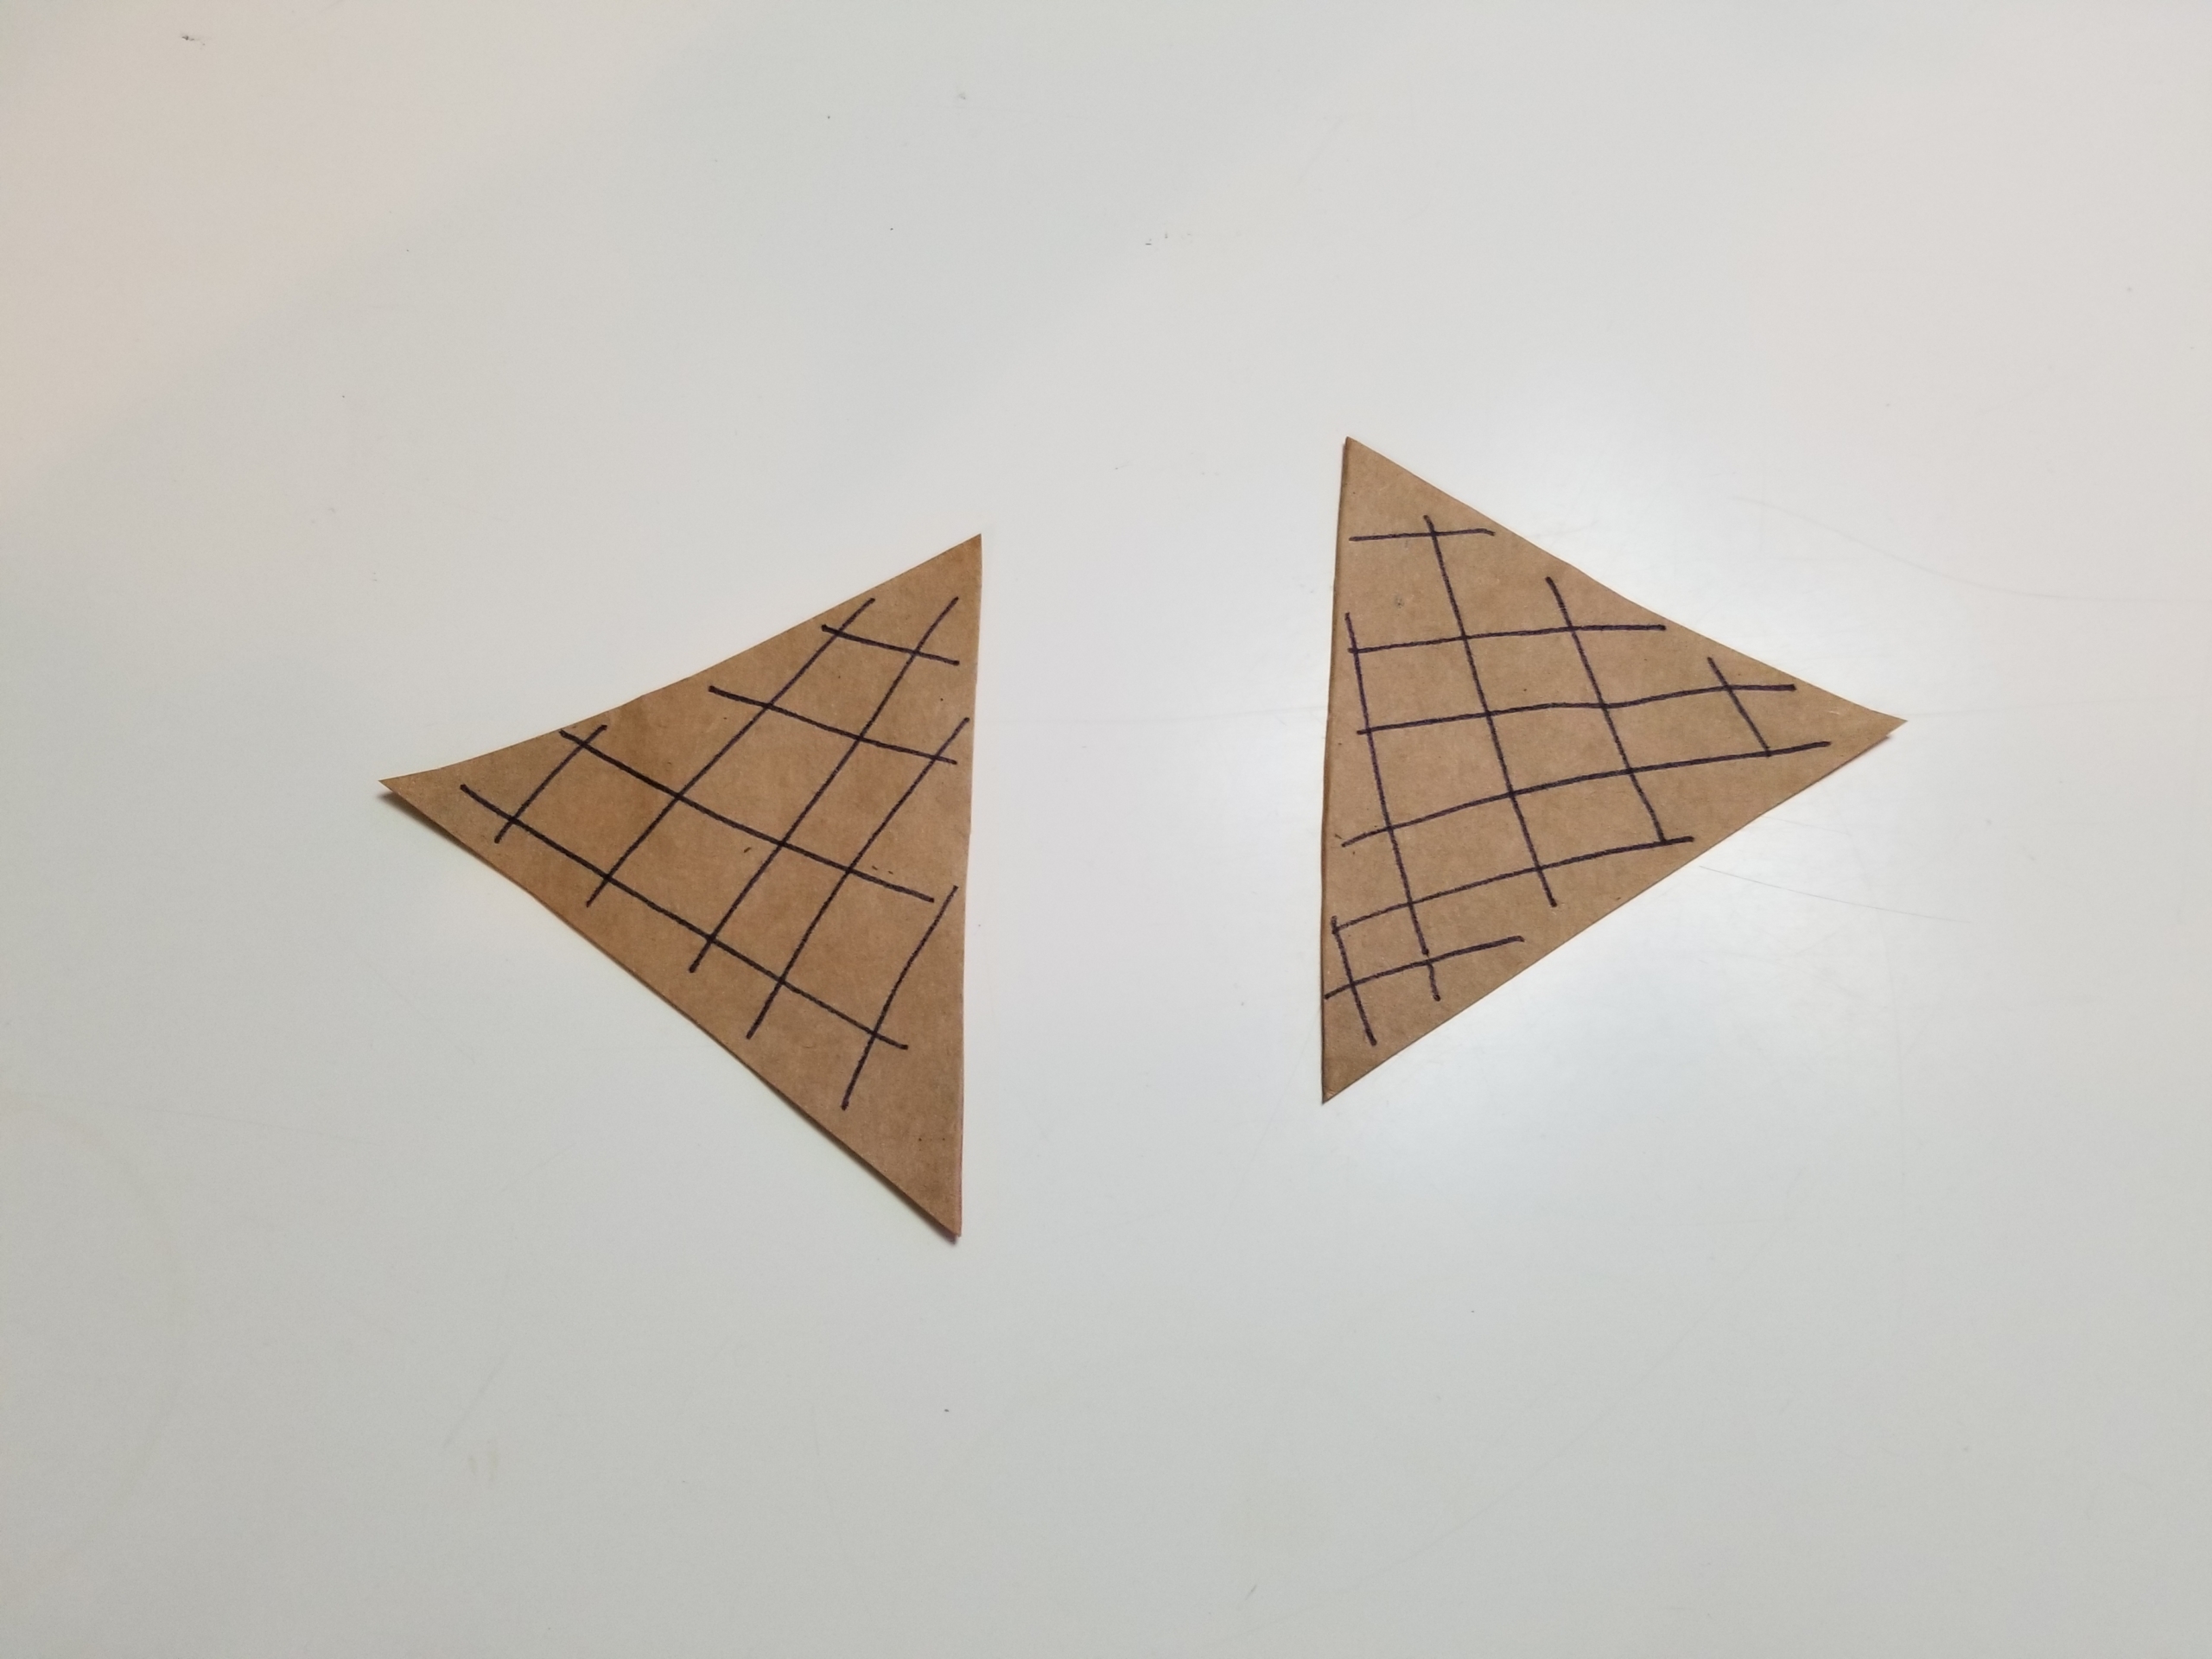
Step 1: Draw the shapes of two ice cream cones onto the paper bag or cardboard, then cut them out. (It’s good to make two so that you can play along with your child.)
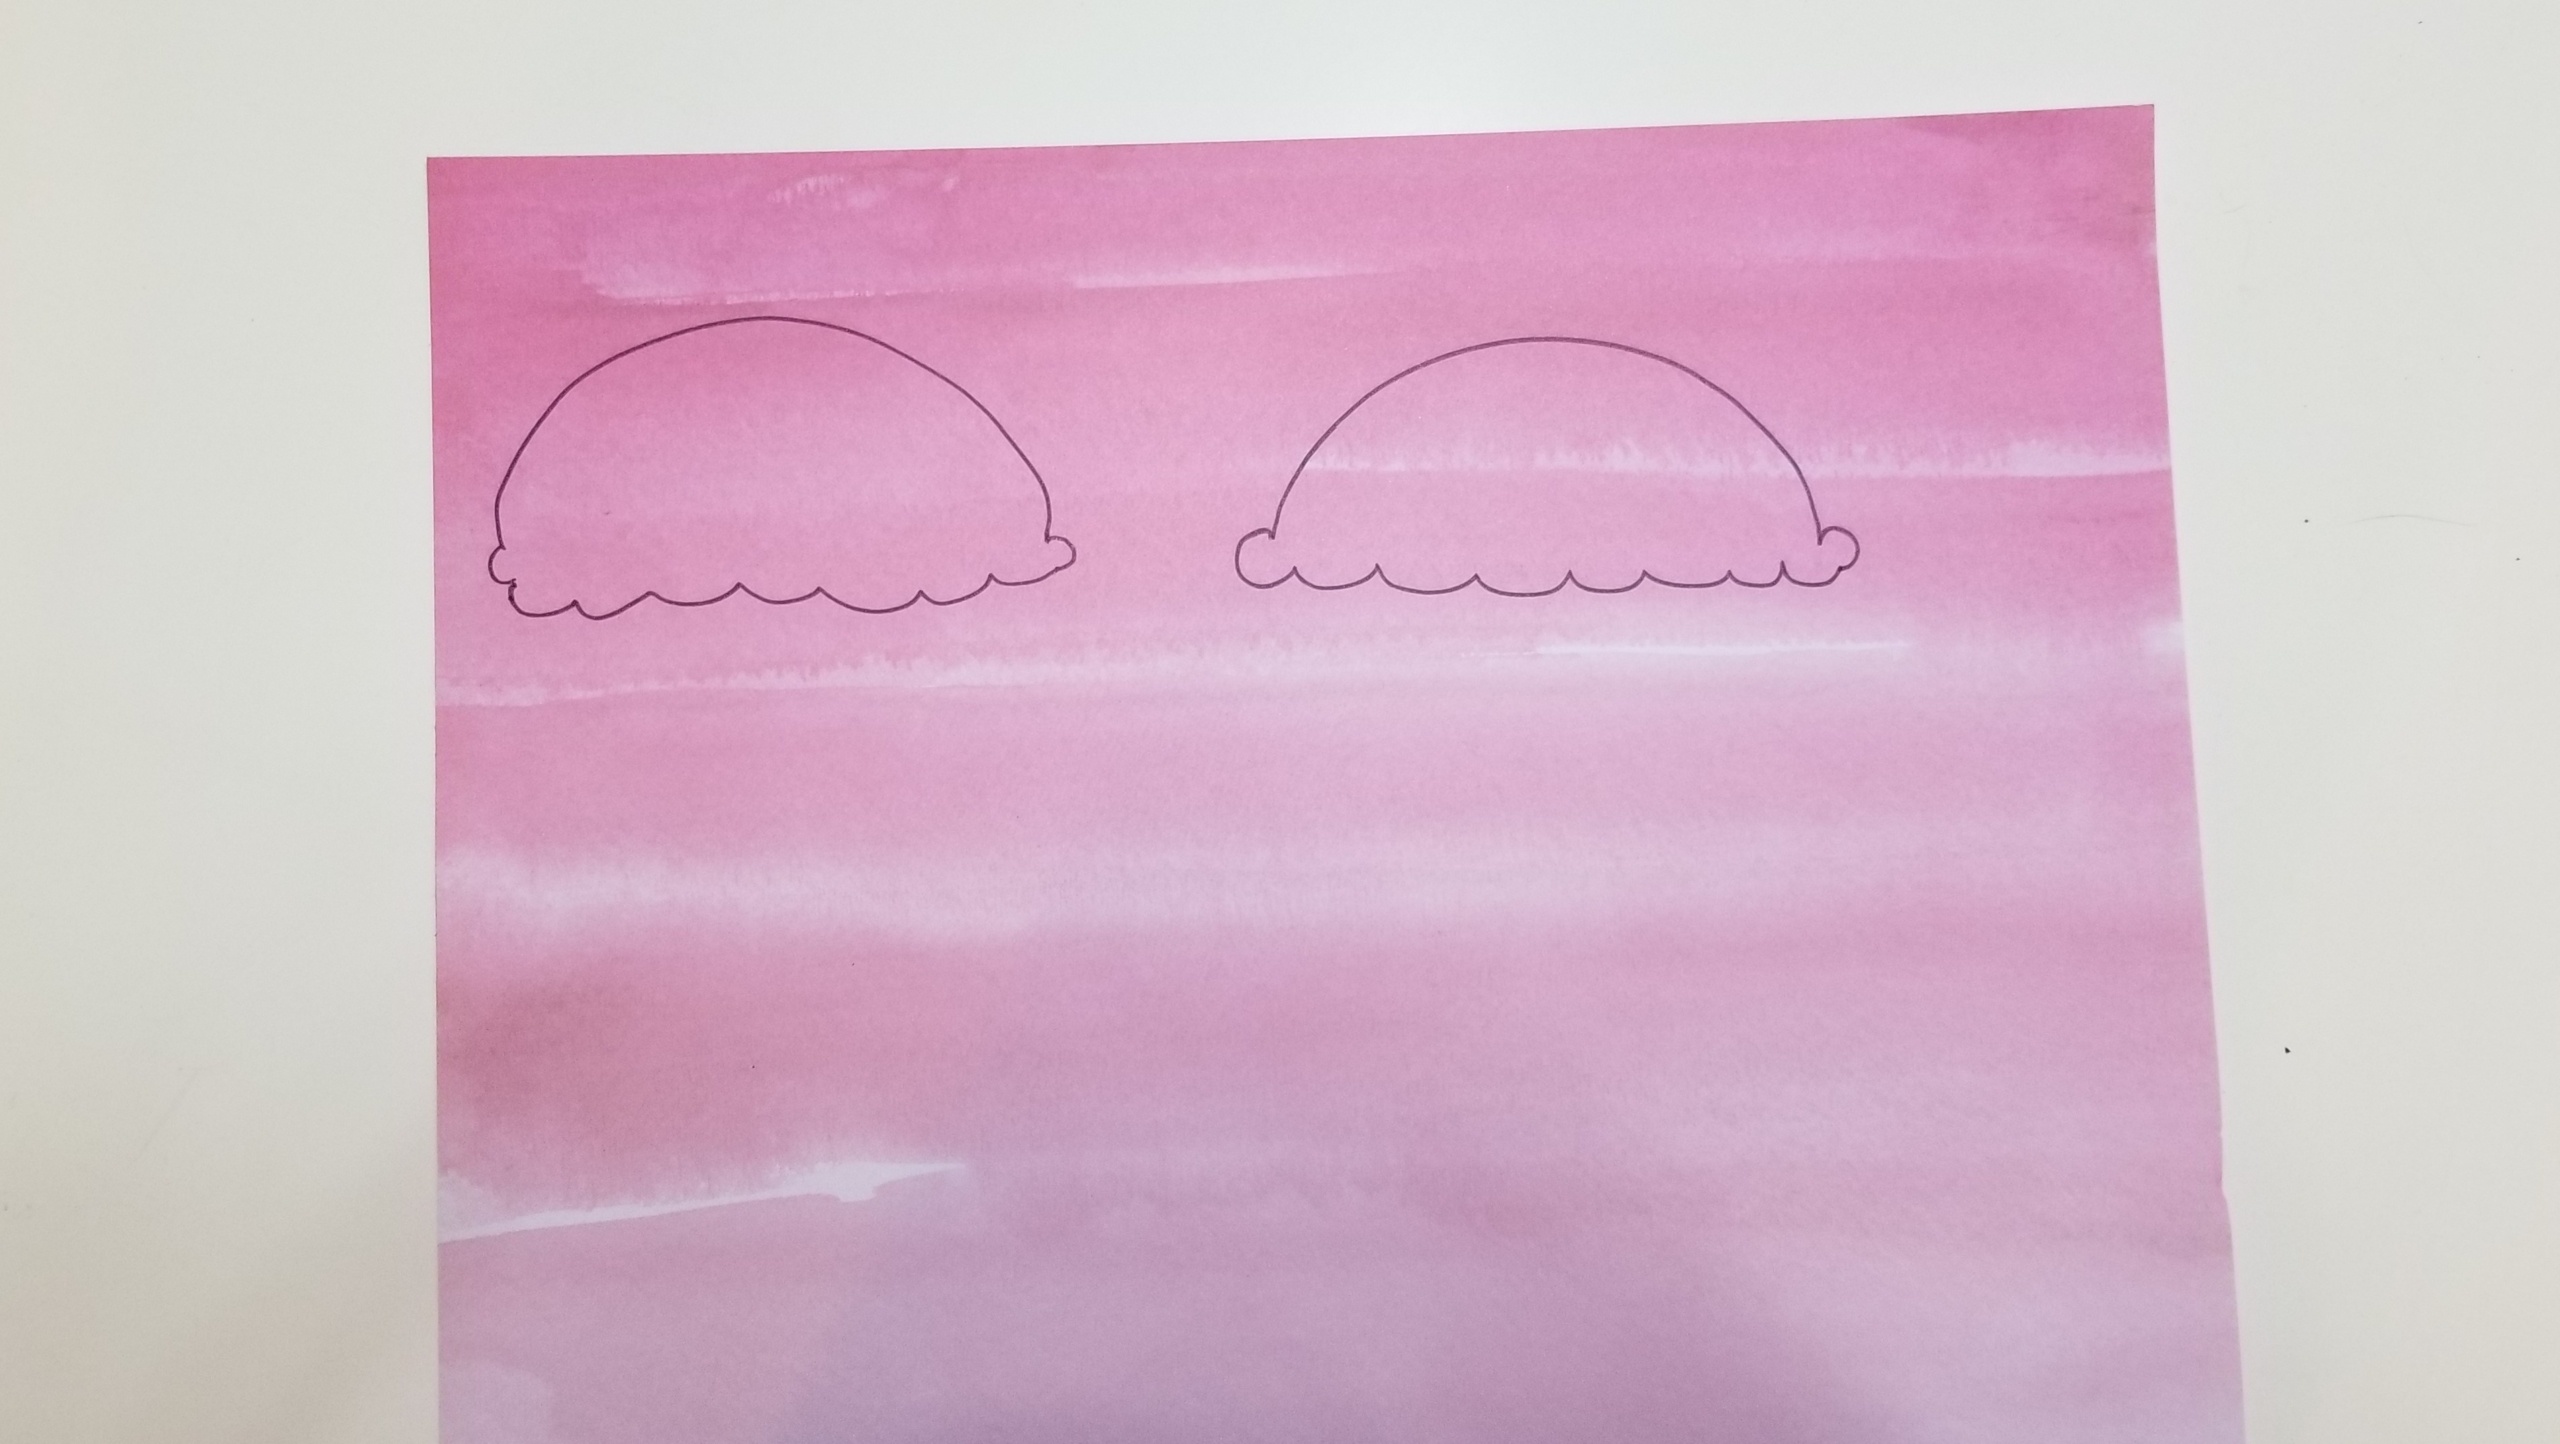
Step 2: Draw scoops of ice cream on various colors of paper, as in the picture below, then cut them out. You should make about 20, so your sentences will have some variety.
Tip: If drawing isn’t your strongest skill, you can also just trace a cup to make circles and use those as your scoops.
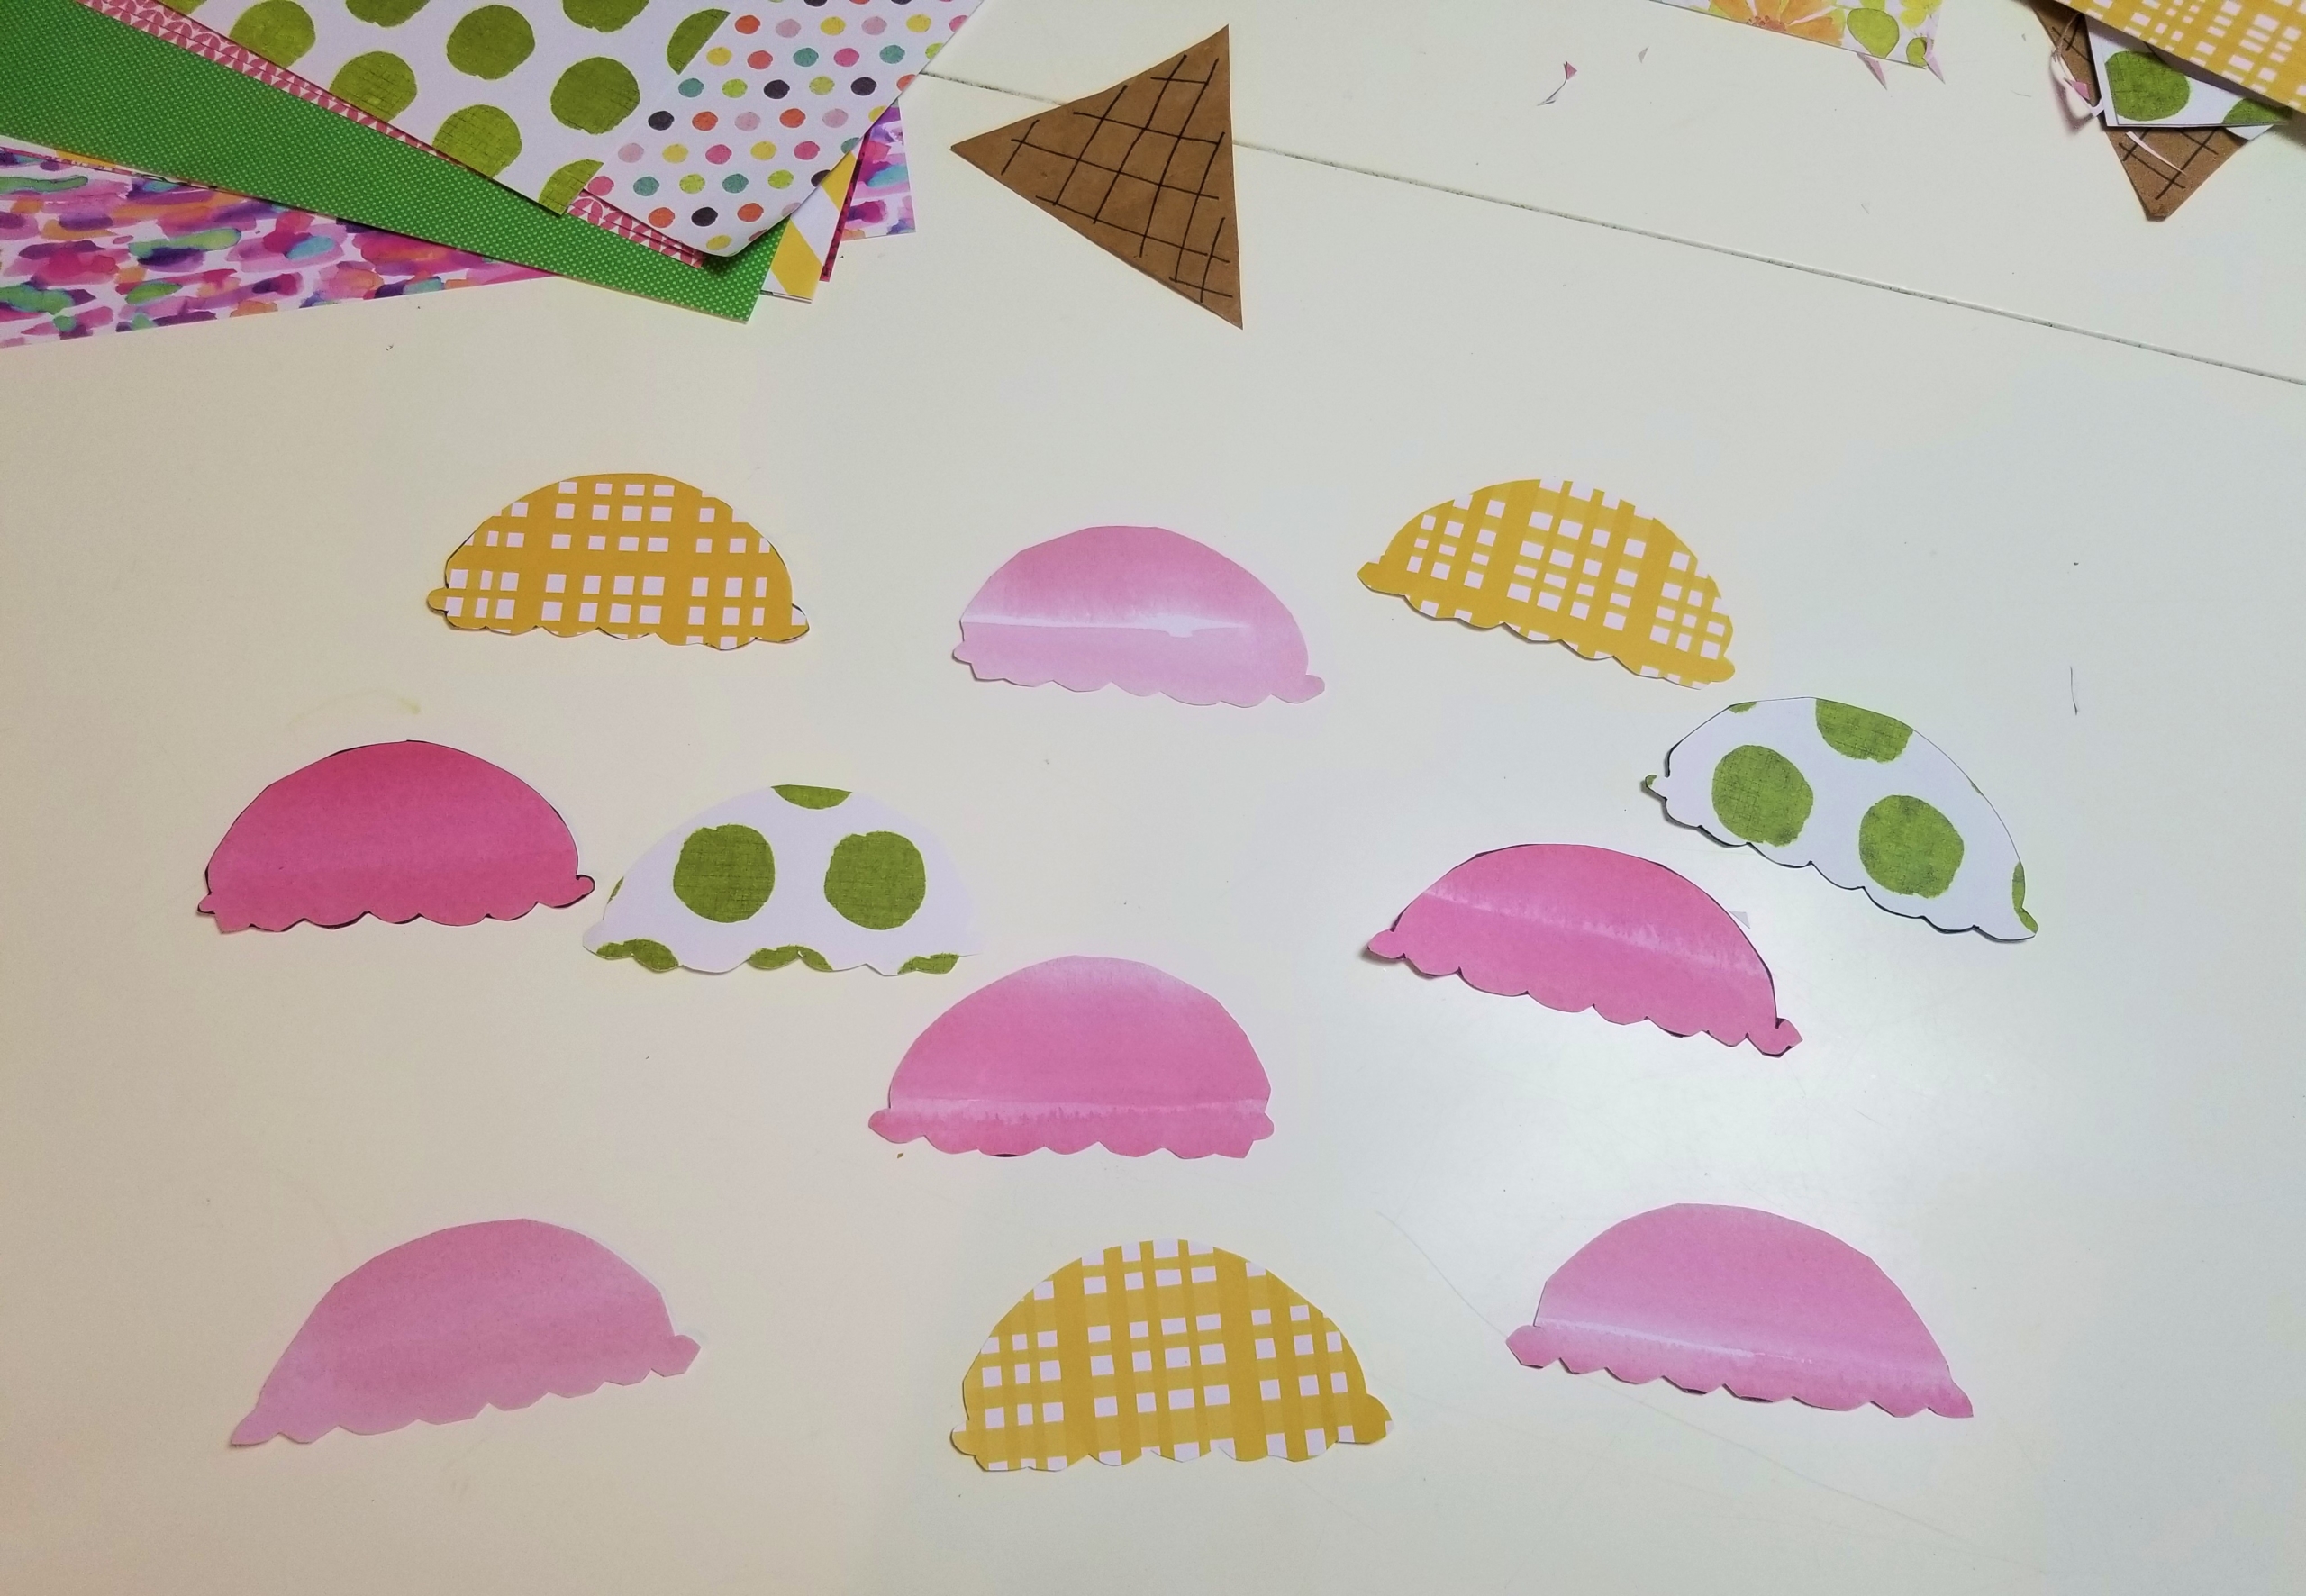
Step 3: On each scoop, write a single word. Choose a variety of nouns (e.g., dragon, cake, alien, ocean), verbs (e.g., sings, flies, slithers), conjunctions (e.g., and, but, so), prepositions (e.g., to, on, behind), articles (the, a), adjectives (e.g., red, slimy, fuzzy) and adverbs (e.g., quickly, slowly, loudly). Let your child help you come up with the words and write them down.
Optional: If you like, you can put different types of words on different types of paper. For example, put all your verbs on pink paper, all your nouns on patterned papers, etc.
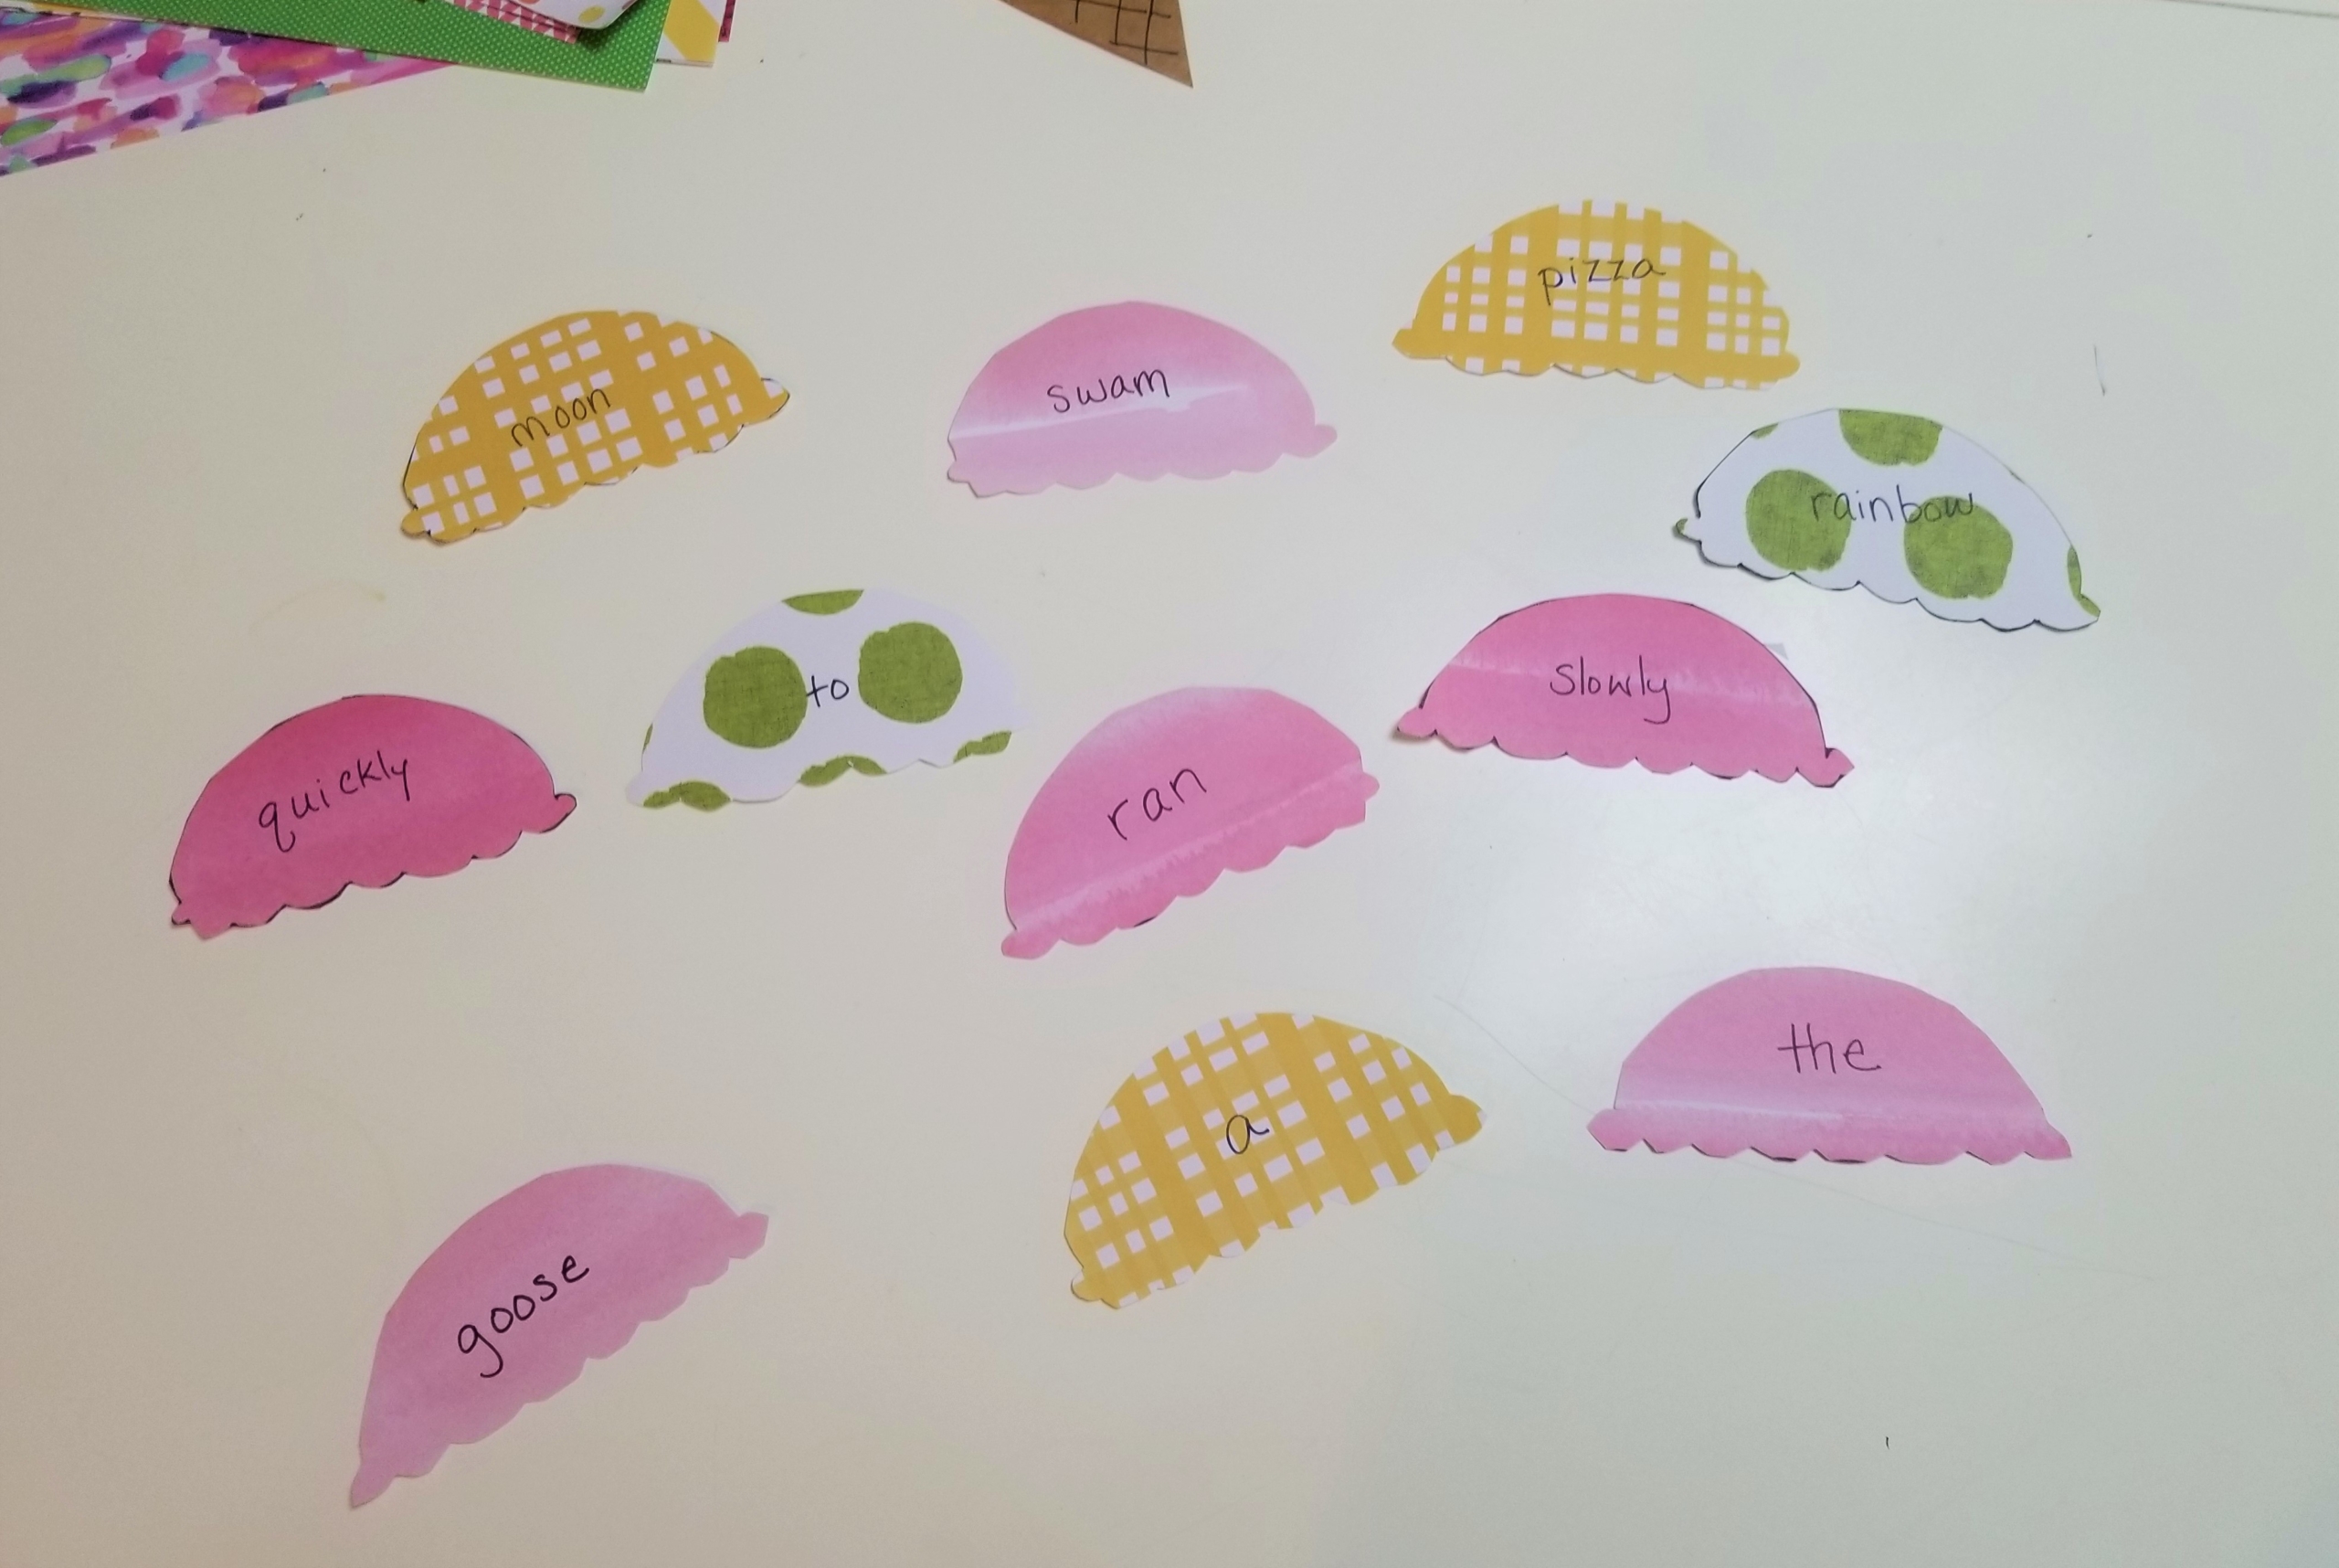
Step 4: Mix up the scoops and place them in front of your child. Let them create a sentence with the word scoops they like best. Here is a great opportunity to guide them on what makes a sentence and what doesn’t. Gently help them add words until they have a full sentence. Once they have made a sentence, read it, pretend to eat it, and start again!
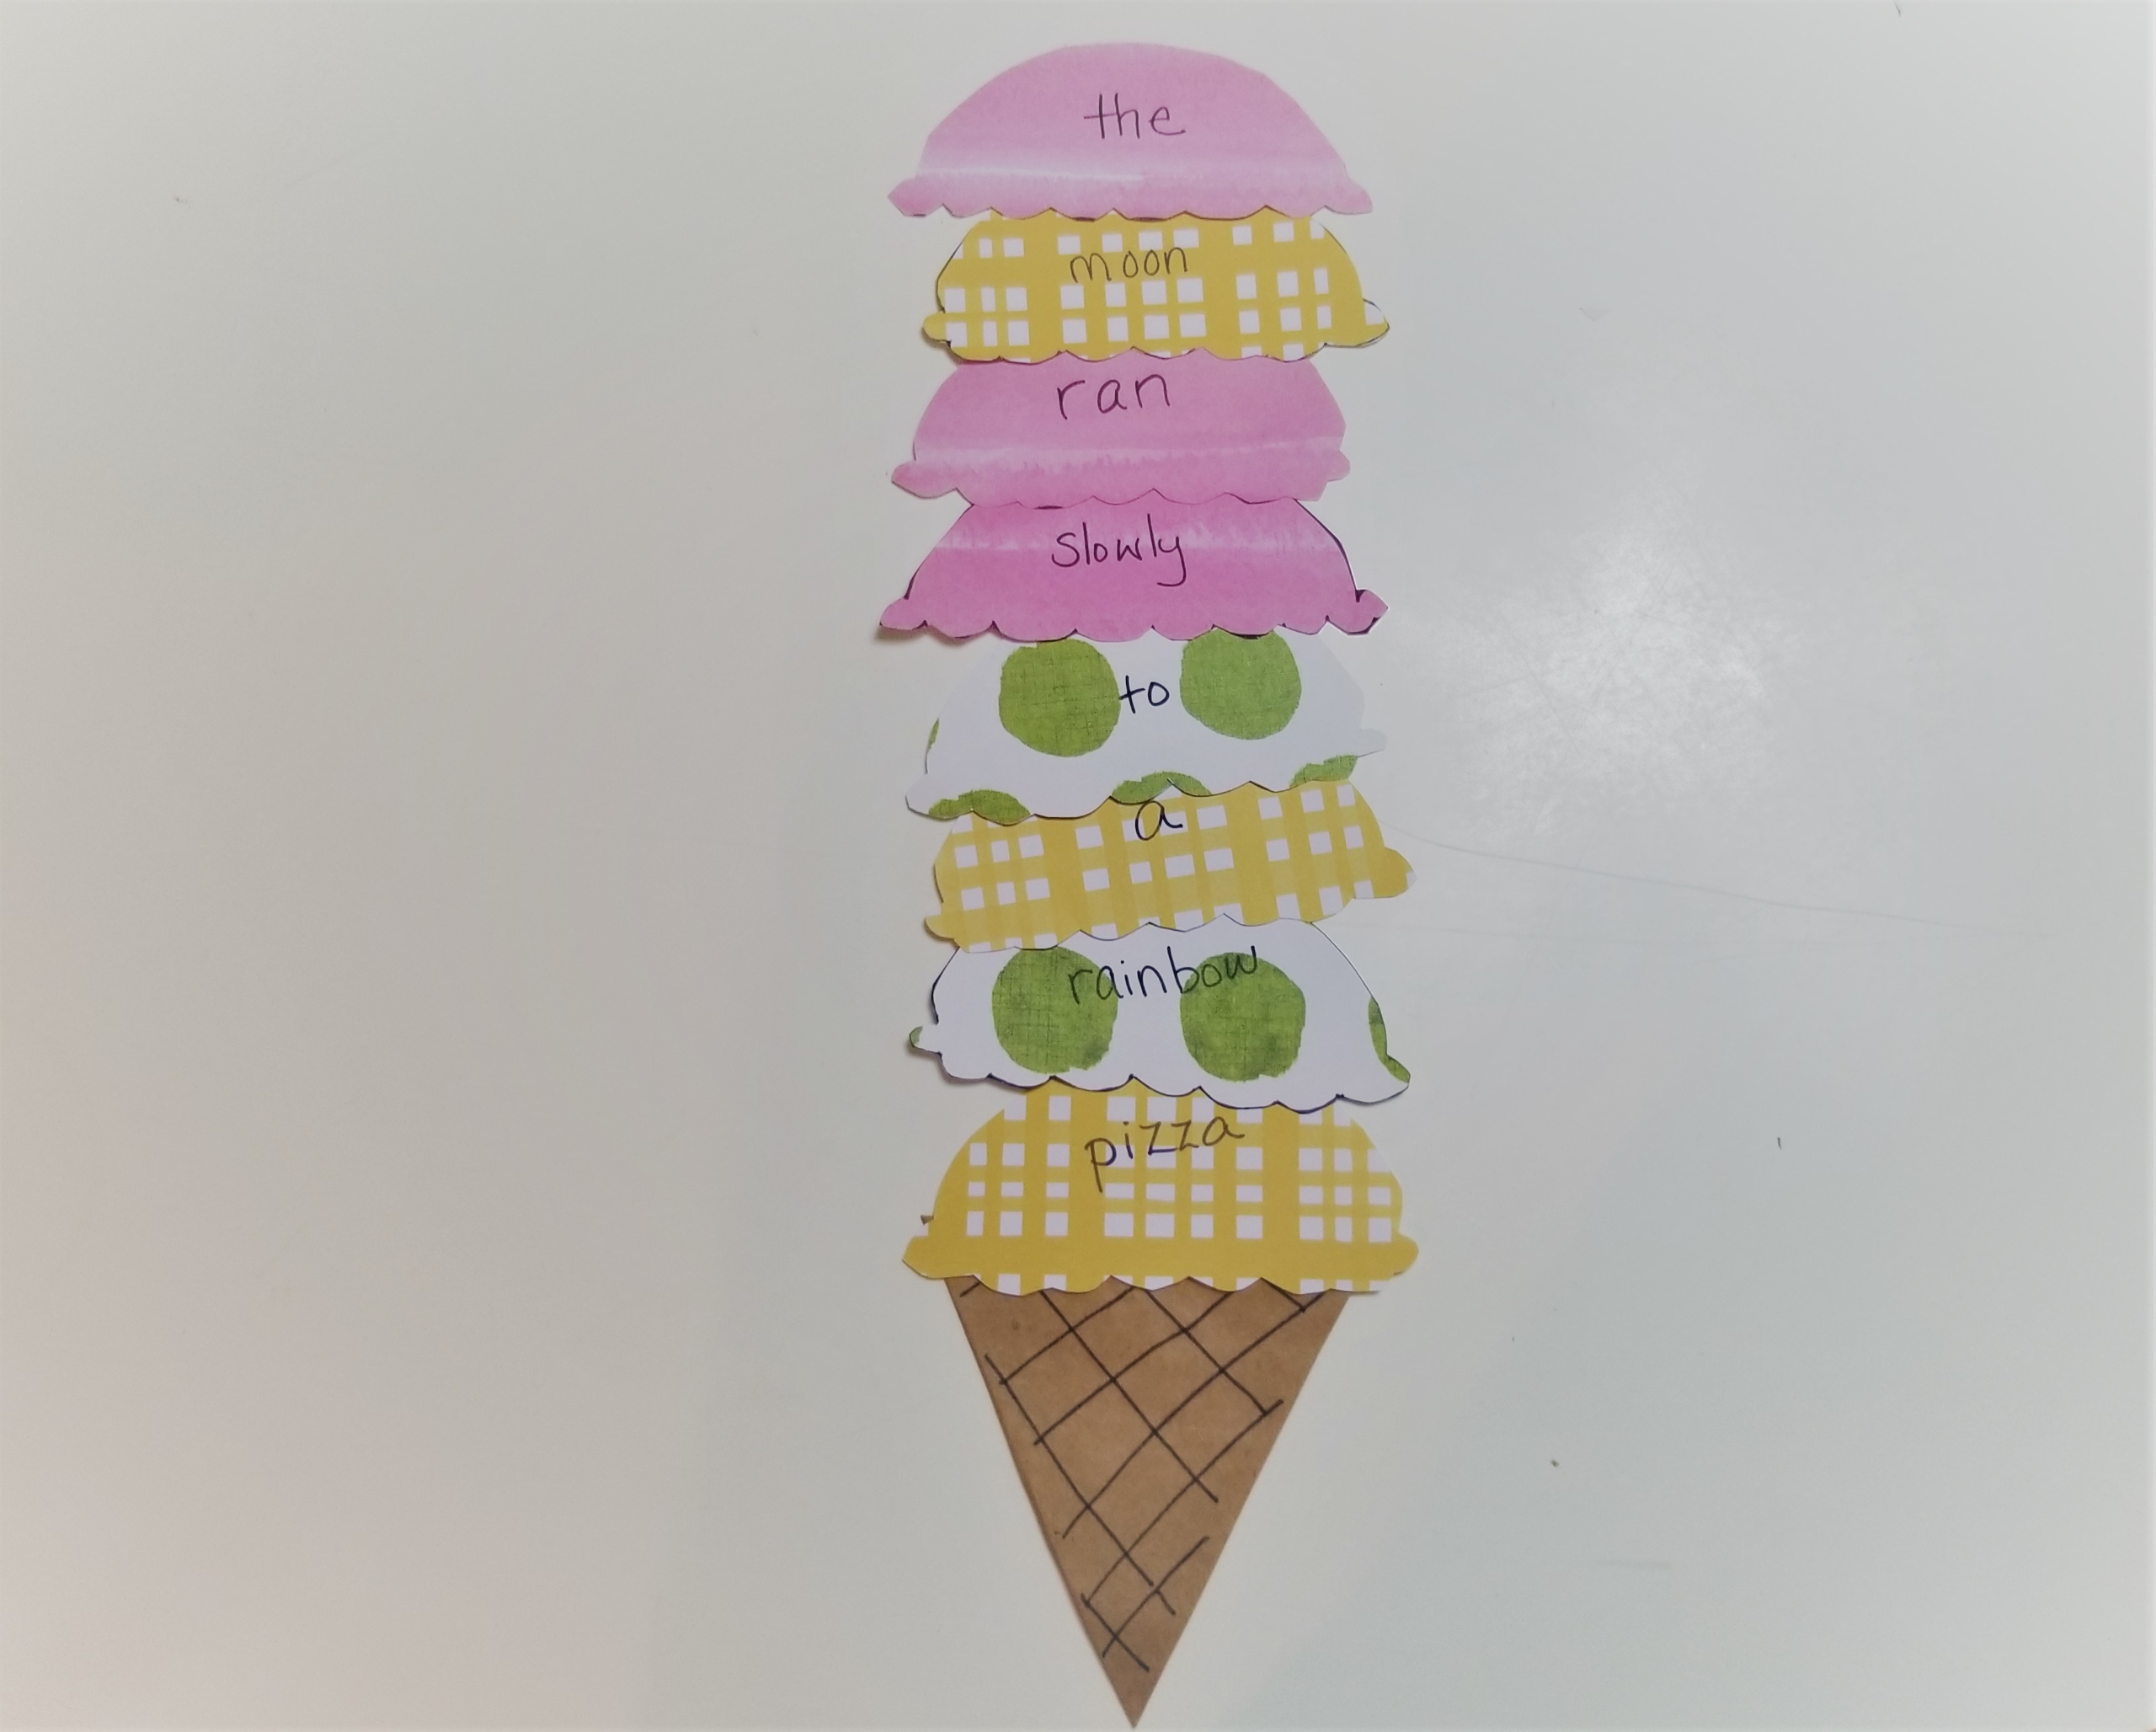
Now you have a delicious and super fun reading activity that you can play with over and over! Extend the activity by setting up different challenges: What’s the longest sentence they can make? The silliest? The shortest? There are so many combinations to make.
Adaptation for younger children: If you have a younger child, write individual letters on the scoops and try to build an ice-cream word instead!
We highly recommend rewarding yourself with some ice cream at the end too. And I wouldn’t be mad if you saved me a scoop of mint chocolate chip.
What sentences was your family able to create? Share your sentence creations with us!
The World Series is more than an elite sporting competition. It’s also a moment to indulge in the timeless joys of the ballpark—the crack of the bat, the roar of the crowd, the thrill of the game. And you can channel some of that ballpark excitement into your story time with these children’s picture books for the World Series season.
Whether your child is already a die-hard baseball fan or just discovering this classic pastime, these books offer up great stories for your shared reading. They capture the action on the field and tell powerful stories of perseverance, teamwork, courage, and history. From tales of real-life legends to imaginative fly-ball fantasies, we think these baseball-themed picture books hit it out of the park.
Have you ever flipped through a picture book and thought, Wow—this art is incredible!? If you’re reading to a small child, chances are the illustrations are what pull them in to a new book first.
This post looks at several black illustrators who create impactful and visually stunning picture books that are essential features of today’s children’s literature landscape. These artists aren’t just adding beauty to books. They’re expanding how stories are told, how children see themselves, and how kids understand others. These black illustrators bring a variety of art styles and personalities to the world of picture books.
Let’s meet them!
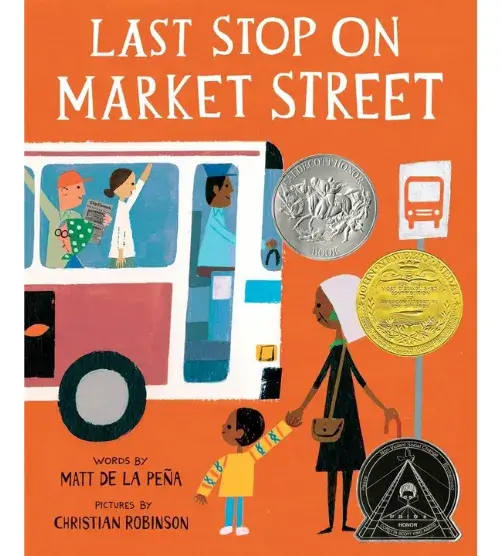
Christian Robinson’s paper-cut art style brings warmth and joy to every page. His work often centers black children in everyday moments and imaginative journeys, making his books both relatable and magical. Robinson illustrated the award-winning Last Stop on Market Street, which received the Newbery Medal, a Caldecott Honor, and a Coretta Scott King Illustrator Honor. He is also the author-illustrator of You Matter and Another. I highly recommend Milo Imagines the World for any child with an unstoppable imagination.
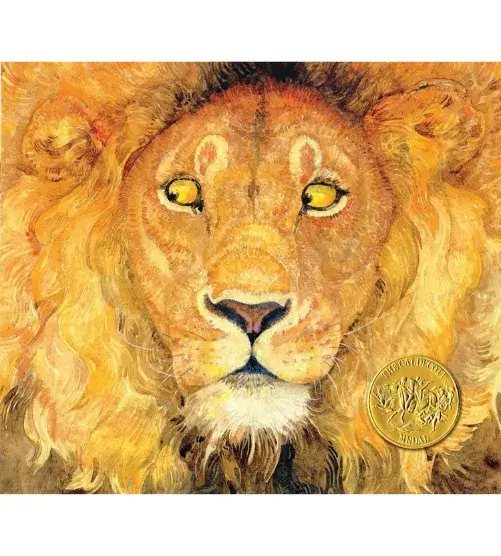
Jerry Pinkney was a legendary black illustrator and author whose rich, detailed watercolor paintings brought timeless stories to life. Over his prolific career, he illustrated more than 100 books, many of them focused on classic fairy tales and folk tales reimagined with cultural depth and sensitivity. His wonderful works include The Lion & the Mouse, which earned him the Caldecott Medal, and The Talking Eggs and John Henry, both Coretta Scott King Honor books. Pinkney’s lush, expressive style and deep respect for oral storytelling traditions made his books enduring favorites. Through his work, generations of children have experienced familiar tales through a lens that honors African American heritage.

Erin K. Robinson is a dynamic artist whose bold, expressive style highlights identity, imagination, and glee. Her mixed-media illustrations—layering digital techniques with hand-drawn textures—radiate energy and emotion. Drawing on her background in fashion design, she creates characters that shine with personality. Robinson’s picture books often center black girlhood and feature empowering themes, as seen in The Magical Snowflake, A Library, and This Hair Belongs to Me. (Read more about the authors of these books in 11 Brilliant Black Female Authors You Should Be Reading With Your Kids).
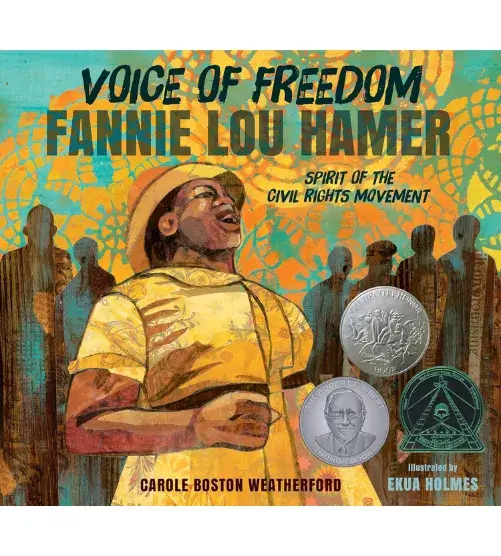
Ekua Holmes uses her textured collage work to explore ancestry, memory, and place. Her illustrations blend paper, photographs, and color to build layered visual stories rooted in family and history. Holmes has illustrated acclaimed books such as Voice of Freedom: Fannie Lou Hamer, Black Is a Rainbow Color, and Hope Is an Arrow, each grounded in cultural storytelling and lived experience.
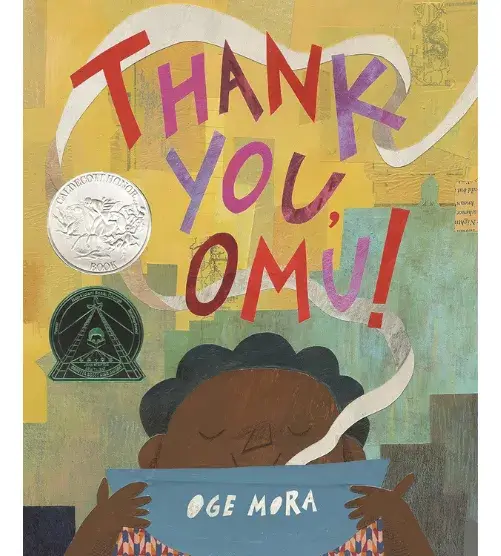
Oge Mora is a black picture book illustrator who uses collage-based artwork for her stories. Her debut, Thank You, Omu!, earned a Caldecott Honor and the Coretta Scott King/John Steptoe New Talent Award. Mora’s follow-up, Saturday, explores the bond between a mother and daughter navigating an unexpected day. She also illustrated The Oldest Student: How Mary Walker Learned to Read and Everybody in the Red Brick Building, each showcasing her layered visual storytelling.
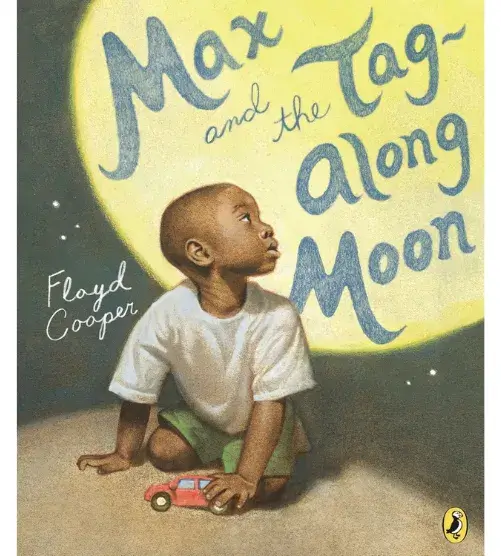
Floyd Cooper illustrated more than 100 books with his distinctive “subtractive” oil erasure art technique. His illustrations brought African American history and everyday life to the page, honoring culture, family, and lived experience. Cooper often centered young black boys, capturing moments of tenderness, wonder, and black boy joy—as seen in Max and the Tag-Along Moon, A Beach Tail, and Frederick Douglass: The Lion Who Wrote History. His work invites children to see themselves reflected with care and pride, making history and personal stories feel close and real. Through his art, Cooper left a lasting legacy that continues to shape how children’s books reflect beauty, heritage, and the richness of black childhood.
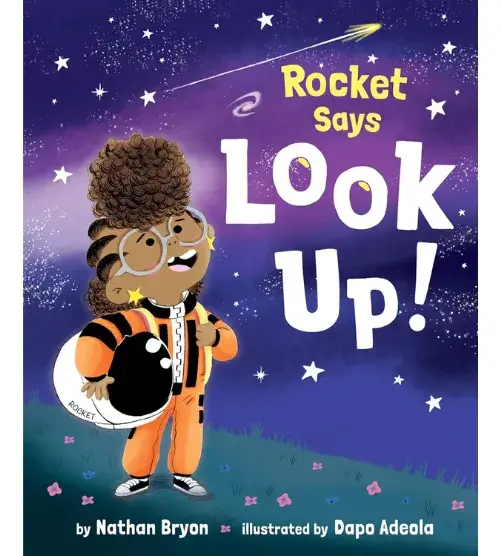
Dapo Adeola is a British-Nigerian illustrator who rose to prominence with the Rocket series, including Look Up! and Clean Up! (written by Nathan Bryon), following a science-loving girl with big dreams and a fearless spirit. Adeola’s illustrations capture humor and pluck with warmth and clarity. He also created Hey You!, a picture book featuring messages of pride and self-love from black creatives across publishing. Additionally, Adeola is also a strong advocate for equitable recognition of illustrators in the industry.

Vashti Harrison is an author, illustrator, and filmmaker whose soft, luminous illustrations have redefined how young readers engage with history and identity. Her Little Leaders series—including Little Leaders: Bold Women in Black History and Little Legends: Exceptional Men in Black History—blends biography and portraiture to introduce children to black changemakers. (Also available in board book form for your littlest readers!) Harrison’s trademark art style combines expressive faces, gentle lines, and historical detail, inviting readers to feel connected and inspired. She also illustrated Hair Love, the picture-book adaptation of the Oscar-winning short film.
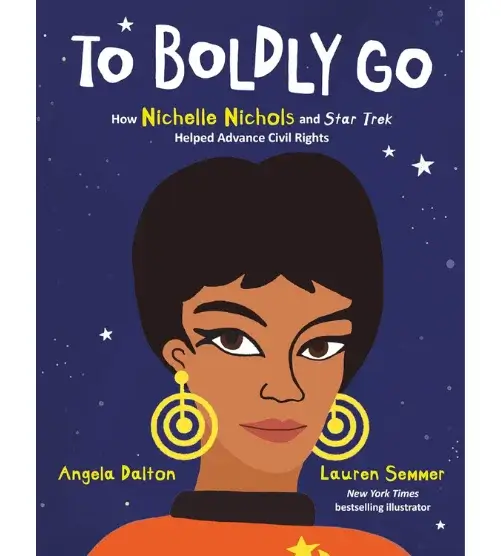
Lauren Semmer is an illustrator whose bright art practically jumps off the page. Her illustrations shine in To Boldly Go by Angela Dalton and The ABCs of Black History by Rio Cortez—both favorites for families who want to raise proud, thoughtful kids. Semmer’s work uplifts black culture and identity in a way that’s both beautiful and easy for little ones to connect with. Whether it’s a message of hope or a celebration of heritage, her books feel like a high-five to young readers. For parents looking to add powerful, positive books to their shelves, she’s a must-know.

Kadir Nelson’s gorgeous illustrations often depict black figures with dignity, strength, and grace. This has made him one of the most influential visual storytellers in contemporary picture books. His work combines classical composition with striking realism, creating visuals that command attention and emotion. Nelson has illustrated acclaimed books such as Heart and Soul, We Are the Ship, Henry’s Freedom Box and If You Plant a Seed, and is the recipient of multiple Coretta Scott King Awards, Caldecott Honors, and the Sibert Medal.
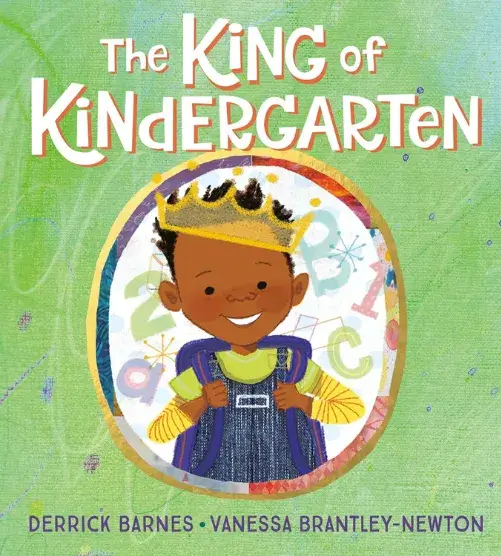
Vanessa Brantley-Newton uses vibrant, mixed-media illustration to celebrate diversity, creativity, and confidence. She illustrated the bestselling book The King of Kindergarten and fan-favorite Mary Had a Little Glam, among many others. Each book showcases her signature flair for pairing playful storytelling with bold, stylish visuals. Brantley-Newton often features sassy, self-assured black girls who embrace their individuality and shine on the page. Through her illustrations and narratives, she opens doors for all children to feel seen, adding flair and fun to every bookshelf.
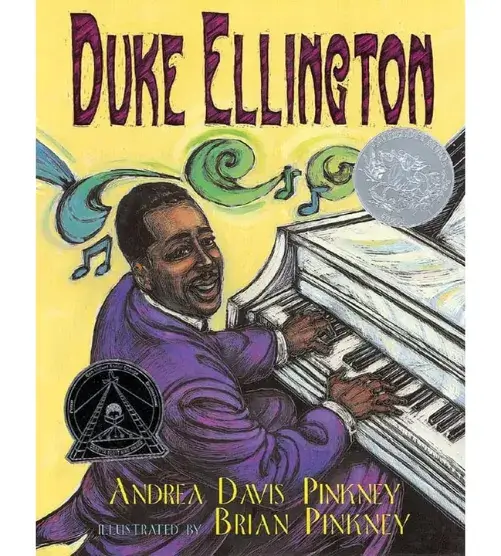
Brian Pinkney is an award-winning black illustrator whose vivacious, swirling illustrations bring movement and rhythm to children’s books. The son of legendary artist Jerry Pinkney, he continues a powerful legacy in the world of black picture-book illustrators. Pinkney often collaborates with his wife, author Andrea Davis Pinkney, on acclaimed titles such as Duke Ellington, The Adventures of Sparrowboy, and Sit-In: How Four Friends Stood Up by Sitting Down. His use of scratchboard, combined with lovely watercolor, gives his artwork a sense of motion and dynamism. His newest release, The Littlest Drop, was his final collaboration with his late father.

Loveis Wise is a black illustrator whose dreamy, colorful artwork feels like a burst of imagination on every page. Their work often features flowing shapes, delightful characters, and nature-inspired themes that invite kids to think big and feel seen. You’ll find their vibrant style in books like The People Remember by Ibi Zoboi and Magnolia Flower, an adaptation of a Zora Neale Hurston story by Dr. Ibram X. Kendi. Wise’s illustrations center black children in ways that feel empowering, calm, and full of wonder—all while keeping little readers totally engaged. Whether you’re looking for books that reflect your child’s world or open new ones, Wise’s art offers a beautiful addition to any family library. For parents wanting picture books that uplift and inspire, Loveis Wise is one to watch.
For parents seeking to teach their children about history through the true stories of people who’ve worked to shape it for the better, it’s hard to imagine a more inspiring subject than anti-apartheid activist, South African president, and Nobel prize winner Nelson Rolihlahla Mandela. With Mandela’s birthday on July 18, introduce your kids to this towering figure of modern history through these picture books produced by Mandela himself and the Nelson Mandela Foundation.
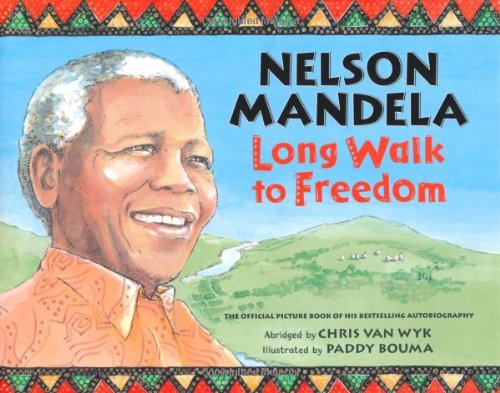
Long Walk to Freedom by Nelson Mandela, Abridged by Chris Van Wyk
“Essential reading for anyone who wants to understand history—and then go out and change it.” That’s how President Barack Obama described Long Walk to Freedom, Nelson Mandela’s autobiography, much of which Mandela wrote in secret while imprisoned.
This picture book adaptation of the book for young readers delivers beautifully engaging illustrations along with accessible text. It’s pitched for middle-elementary readers but is well adapted for reading aloud to somewhat younger children, who will particularly connect with the early parts of the story depicting his childhood and schooling. The book is long, so if you read it with your child, treat it as you would a chapter book, sharing one part of the story at each reading—but the large-scale illustrations on each page and easy language keep it firmly within the grasp of younger readers and listeners.
Just remember: This book deals with the real-life experiences of a freedom fighter and political prisoner. While this book is specially adapted for kids, parents are always wise to pre-screen content and exercise caution with sensitive children, particularly in the second half of the book, where, for example, a (non-gory) illustration of the 1960 Sharpeville massacre shows people lying on the ground surrounding police with guns.
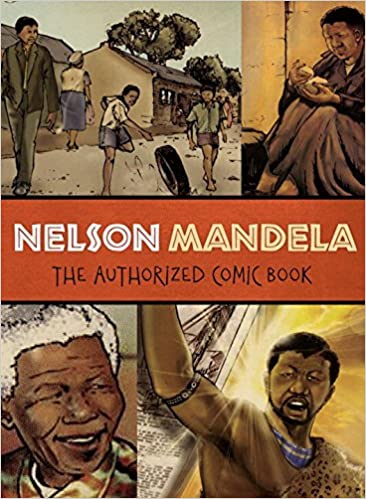
Nelson Mandela: The Authorized Comic Book by The Nelson Mandela Foundation and Umlando Wezithombe
This large-format graphic novel features gorgeously detailed illustrations by the Umlando Wezithombe collective of South African artists. It tells the story of Nelson Mandela and South Africa over the course of 193 pages. It’s aimed at middle school readers, and the action-filled drawings and speech-bubble style are sure to draw in even more reluctant readers.
Younger readers will also find the comic-strip illustrations engaging and should be able to connect with the book as well; even younger kids will enjoy seeing the pictures and having segments of the text read aloud to them. Again, parents of younger and sensitive children will want to review the content for themselves: This is written for older kids and doesn’t shy away from history. As above, the beginning of the book, covering Mandela’s childhood, is a good opening to begin sharing this story with younger listeners.
Nelson Mandela’s Favorite African Folktales
This volume brings together a collection of 32 classic, and some newer, African folktales selected by Nelson Mandela. Each magical, mystical, and mythical tale is accompanied by a whimsical, colorful illustration. Kids of all ages who enjoy fairytales and folklore (and which don’t?) will be drawn in, hooked from the opening tale, an East African story that celebrates the clear vision of children and casts them as the heros to adults mesmerized and blinded to reality.
The tales are a perfect length to share one or a few for a quick story time or bedtime reading. Or make a cup of tea and snuggle up for a longer cuddle: Once you get to reading and examining the pictures together, your child may not want you to stop! Tip: Don’t shy away from adding plenty of dramatic flair to your reading. These stories were meant to be told aloud. So really listen as you read (put that mental to-do list on hold!) and let yourself get lost in the lyrical magic of the ages. And then let that magic come through in your voice. Your child won’t be able to resist.
Even the brief and beautifully written introduction by Mandela is worth reading aloud. “It is my wish that the voice of the storyteller will never die in Africa, that all the children in the world may experience the wonder of books, and that they will never lose the capacity to enlarge their earthly dwelling place with the magic of stories,” Mandela concludes.
That’s our wish, too.
“Won’t my child learn to read in kindergarten?”
That’s the question on many parents’ lips when faced with advice to teach reading skills to their small children. Sure, children will develop their reading ability in kindergarten and throughout the rest of their education, but the truth is that most of the underlying skills they need for full literacy develop way before then. And, sadly, reading instruction in the U.S. fails most kids.
So don’t wait until they go to kindergarten or even preschool to intentionally impart key early literacy skills your children will need to thrive in formal schooling. The great news is that, with the right information, you don’t need lots of time to teach what they need to know—and it can and should be fun! Even some of the simplest things can help your child develop reading skills early on. (For example, see How to Maximize the Benefits of Reading Aloud to Your Kids for some easy tweaks that will make a big difference.)
This is where educational games come in! There are many fun board games that help teach reading skills—without hours of instruction or practice. We’ve narrowed down the list for you to our top five best literacy-building board games for children five and under. So go ahead and get in some laughs and quality time connecting with your little one (or ones), and help them get kindergarten-ready at the same time! Then consider leaving the games available for your child even when you aren’t: More often than not, kids can play with these titles independently or with another child and still benefit from them.
Teach Reading Skills with these Fun Board Games
Tall Tales is a storytelling game recommended for ages three and up. There’s no reading required in this game, but it helps kids build early literacy skills by fostering imagination and important oral language skills. From a young age, most children understand the wonder of hearing a story and love to make up their own. This game allows them to do so. (Related: See our post on How to Use Storytelling to Build Joy, Connection, and Literacy with Kids.)
Sequence Letters is a letter matching game for kids ages four to seven. One letter of the alphabet is on each card in both uppercase and lowercase, and the child playing matches the letter with the beginning sound of a picture. This is a great way for kids to practice sounding out letters and making connections between images and words.
Boggle is already a well-loved game, and now your young kids under five can join the fun by playing Boggle Jr. It’s a great fit for kids three and up who have already begun learning the letters of the alphabet. There are two levels of play so the game can grow with your child. Younger children can play with the letter cubes and practice matching the letter shapes with the picture word cards. And when your little one is ready for more of a challenge, they can play the second level of the game, which creates opportunities to sound out short, simple words.
Bob Books Happy Hats Board Game
This game is designed for beginning readers ages four and up, and is made by the creators of Bob Books, a series featuring sparse illustrations and simple, decodable words. In our household, we’re currently using Bob Books to teach our preschooler early literacy skills—and they’re the same books I learned to read with when I was a preschooler, as well! This game is highly rated by parents and allows the player to create more than 16o words.
Zingo Word Builder is perfect for kids about five years old, or younger children who have already developed early literacy skills and are ready to learn more. This game allows the player to build vocabulary and reading skills by challenging them to create three-letter words. There are two levels of play for this game, which makes it perfect for beginning readers and more skilled readers, as well.
Designed for kids 4 to 9 years old, This goofy game teaches children to read common words as they compete to be the first kangaroo to get some pizza. What’s really nice about this game is that there are three levels with increasingly difficult words. This means the game can grow with your kids, and it also means that if you have multiple children at different reading levels, they can still play together, each with their own personal set of challenges. Another fun aspect is that the players can compete against one another OR you can play a cooperative mode, where everyone works together. The flexibility and fun is really what puts this game on the list. And, after all, shouldn’t reading be fun?
Over recent years, fidget toys, especially pop fidgets, have become incredibly popular, and you’ve probably seen them everywhere! The Fidget Game cleverly combines the fascination of pop fidgets into the practice of learning high-frequency or “sight” words. The game includes word cards for pre-K to 3rd grade, so you can tailor the game to your child’s specific reading level. You can support your little one’s reading journey while having fun with colorful pop fidgets and spending bonding time together. Your child learns to read, and you both get to enjoy the experience.
If you’re familiar with the best-selling game Bananagrams, you’ll love the small-child version, My First Bananagrams. It has lowercase, color-coded tiles that brilliantly adapt it for little ones, promoting early literacy in a playful manner. The game’s simplicity keeps the kindergarten set engaged, fostering vocabulary and spelling skills about as effortlessly as is possible. The vibrant colors and tactile experience enhance the overall enjoyment. It’s a delightful way to bond with your children while witnessing their language skills blossom. Highly recommended for both educational and family entertainment.
Bonus: If your family enjoys playing board games together, check out our tutorial on making your own personalized DIY alphabet board game!
No matter what stage your child is in when it comes to reading skills, using games as a way to help develop early literacy can be really successful for many children (and lots of fun!).
Like this post? Share it!
“No!” “Stop!” “Don’t!” Kids hear these words every day. There are rules for bedtime. There are rules for playgrounds and classrooms. There are rules for how we treat our friends and family. Sometimes you even have to set rules you never thought you’d set, like We don’t lick spiders.
But what about a set of rules for what kids can do? A set of rights that are protected and that they always get. Even if they bite their sister, throw a tantrum in the grocery store, or color on their bedroom walls—again. What would those rules look like? How would your family decide what those would be?
This is how I explain the Bill of Rights to my preschool class. The Bill of Rights promises people in the United States that, no matter what, they are allowed to do certain things or have permission to act in certain ways. And kids love it! The American ideal of protected rights is easily understood by children as young as three and four. So this Fourth of July, I want to show you how to create your very own Kids’ Bill of Rights!
In addition to being a great social-emotional learning experience, this Bill of Rights activity for preschoolers gives children the opportunity to improve their writing. They will be able to practice their pencil grip, sounding out words, and letter formation. It’s also a chance for beginning writers to use a skill called “invented spelling.” Invented spelling is when kids take a stab at writing a word using their emergent knowledge of letters and sounds. For example, a little one might spell people as pepul.
Invented spelling is a natural part of the process for children learning to write and allows even the youngest children to begin expressing themselves in writing. Think of these early efforts as precursors to conventional spelling, not misspellings alone. Let kids express their ideas and grow as readers and writers without the start-and-stop of being corrected along the way.
In this activity, you and your child will think about your values for your home. You’ll be able to discuss what is important to them and why it matters. Let’s get to learning and growing!
Materials:
- Copy of the Bill of Rights (Print it out or bring it up on a computer.)
- Paper
- Pens or Markers
Cost: Free
Step 1: Review the Bill of Rights with your child. Some of the rights are complicated to explain to kids, so gauge what your child and family are comfortable discussing. I always make sure to cover the First Amendment, because children can really connect with those concepts.
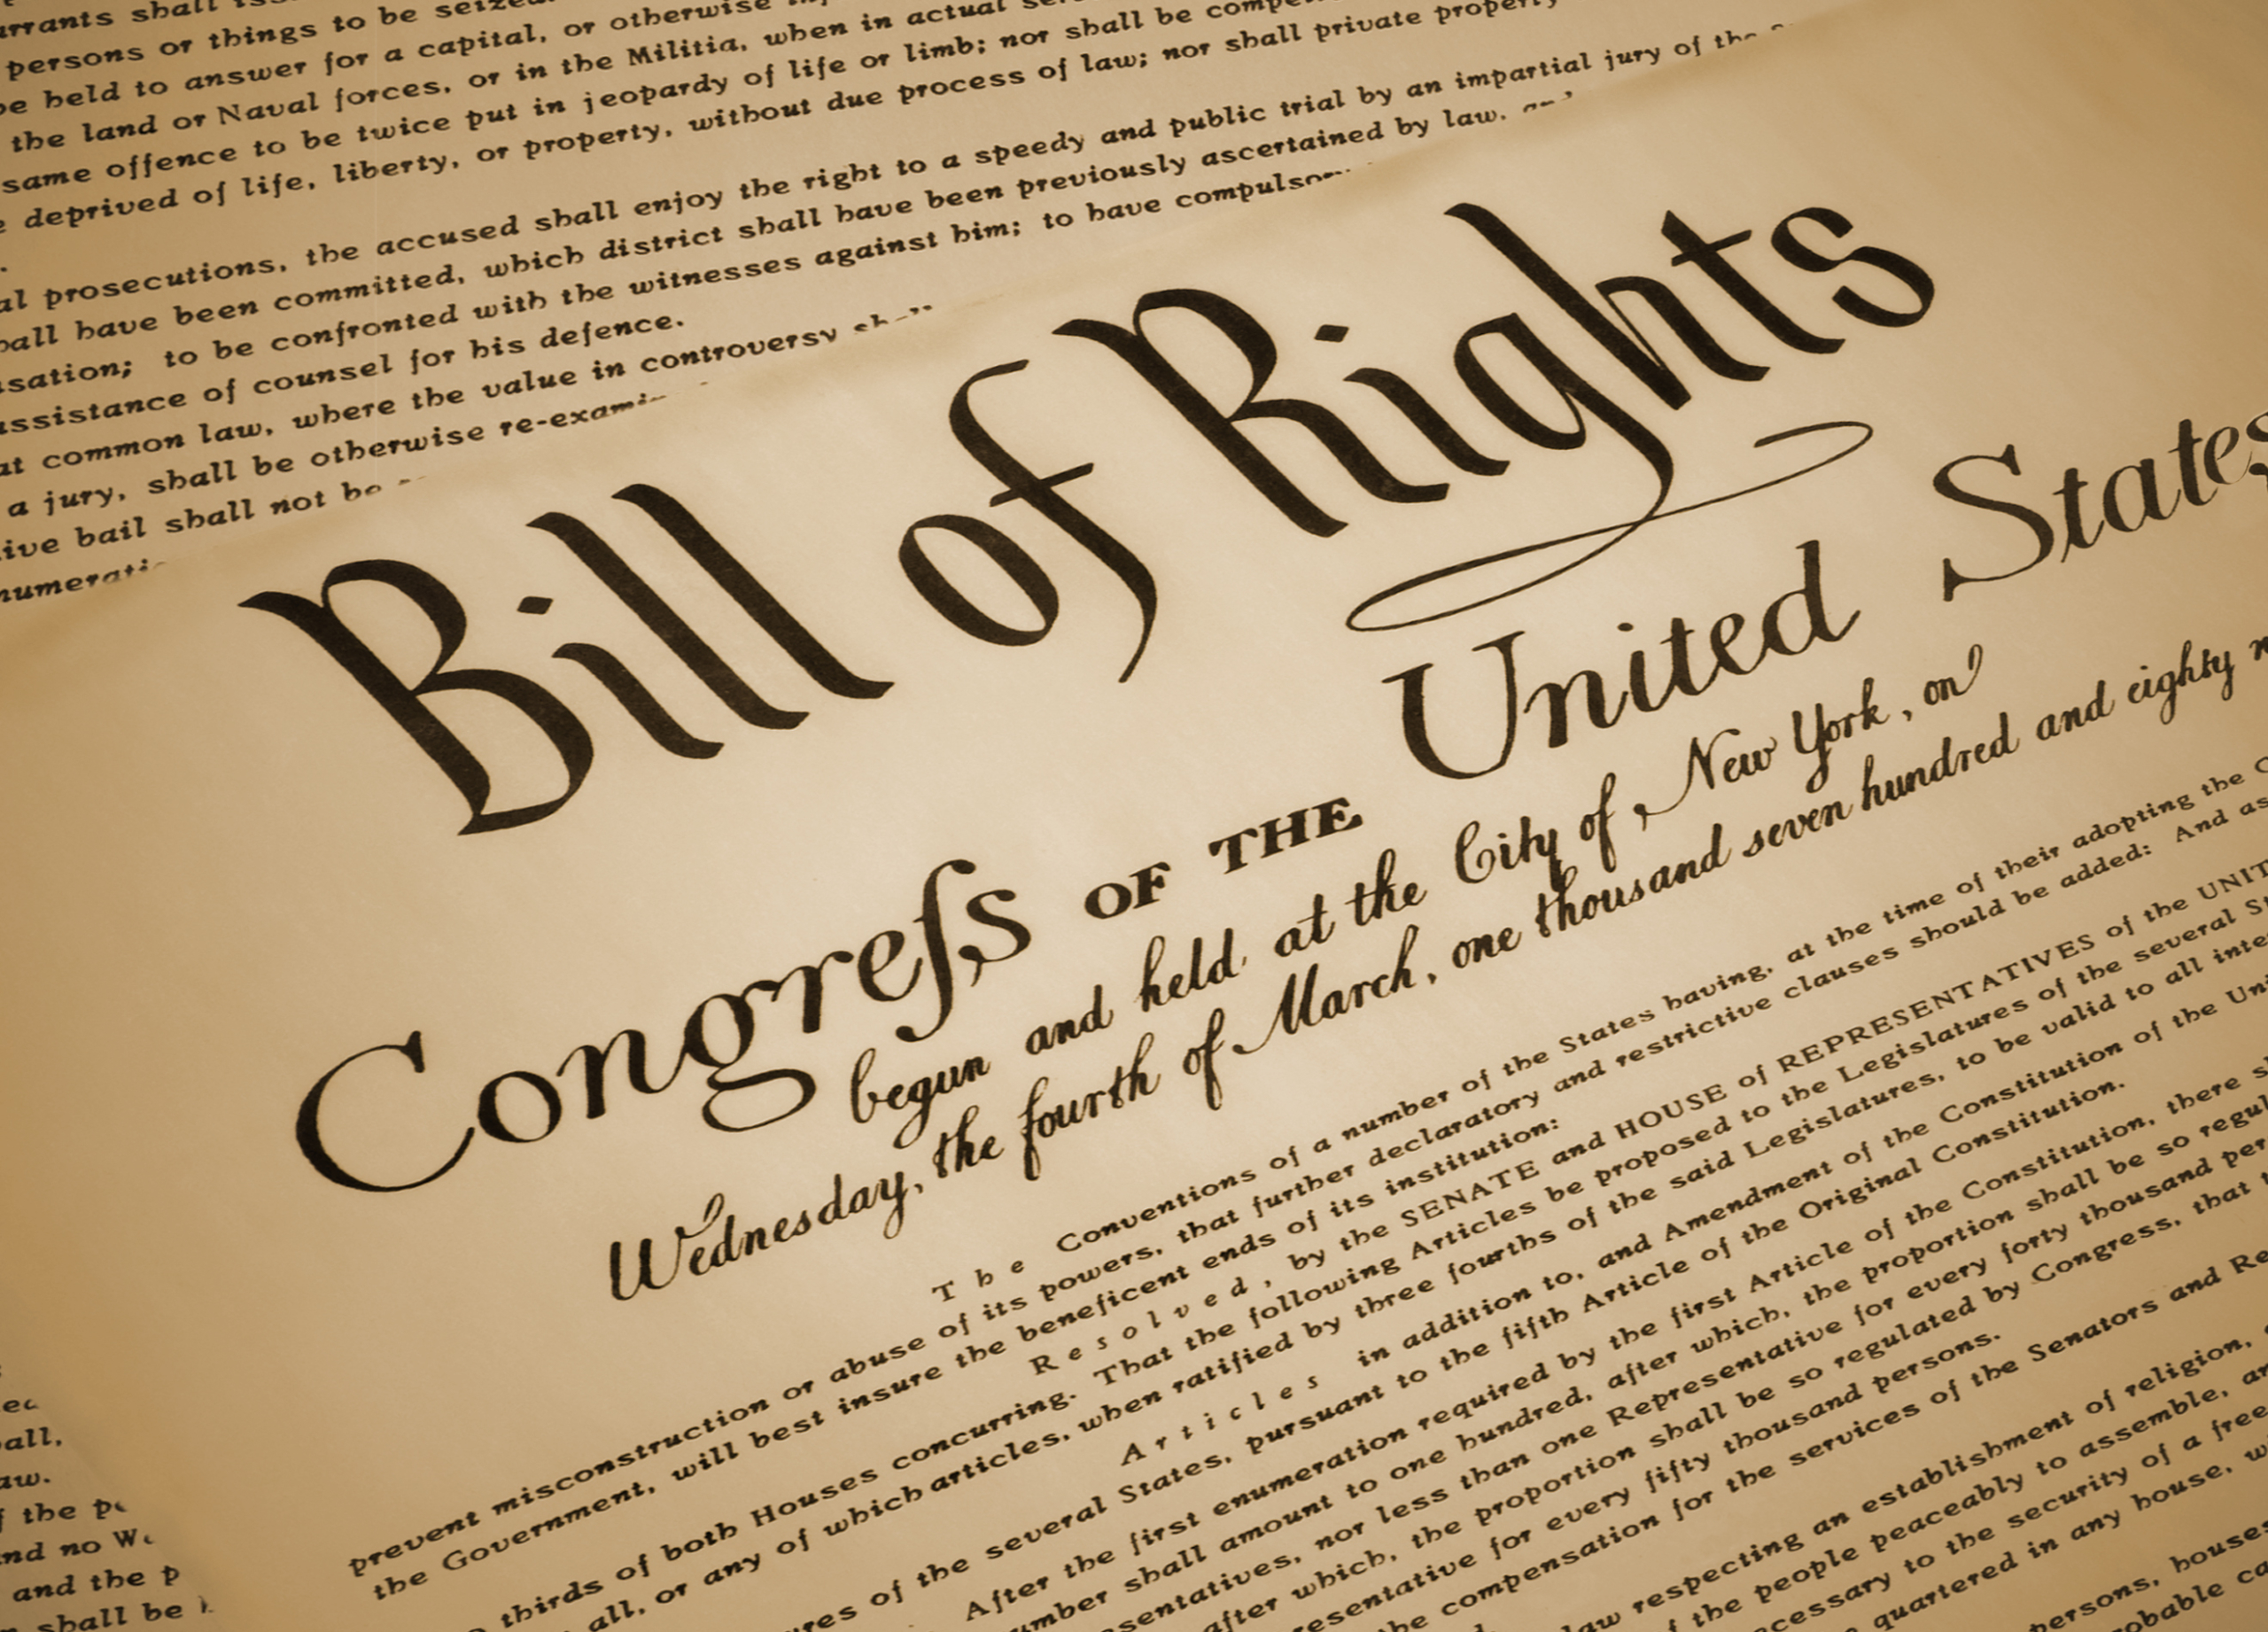
Step 2: With your child, discuss what they think should be in their Kids’ Bill of Rights. Remember: These are rights that are protected, not limitations on behavior!
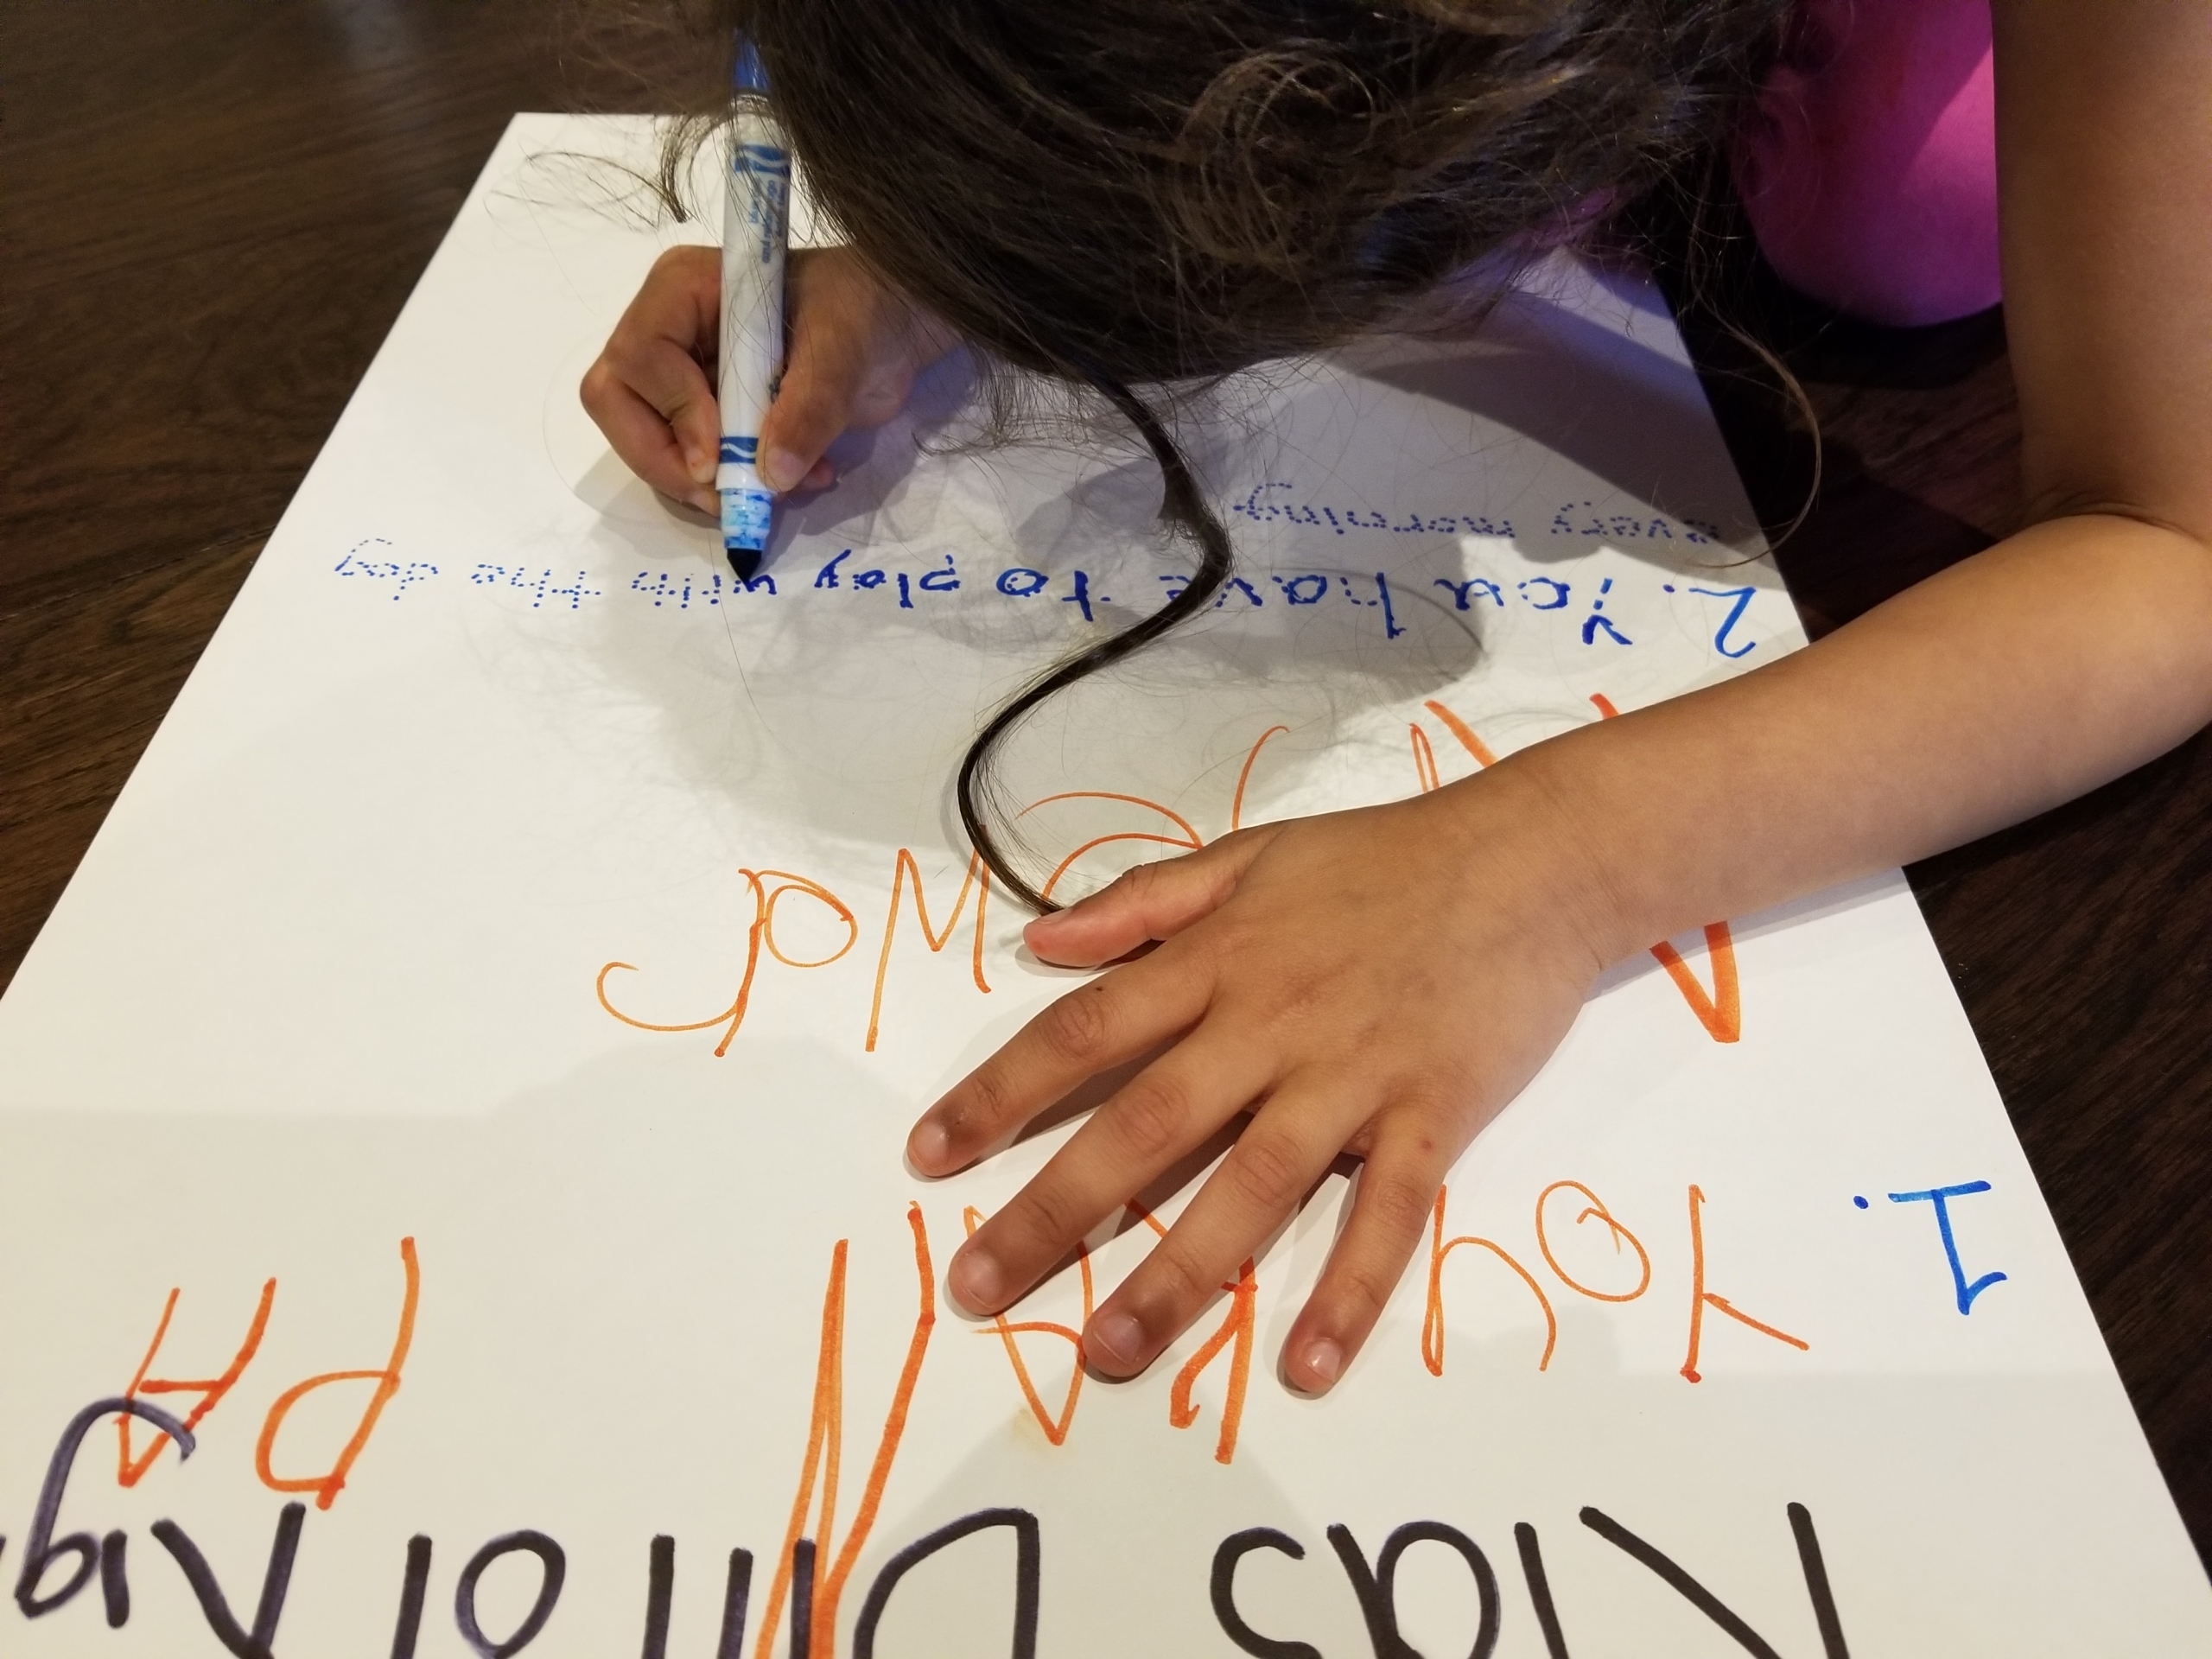
Step 3: Here’s where the writing kicks in! Let your child write out the rights that your family has decided on. You can do this in a number of ways. You can let them trace your writing. You can work together to sound out words and write with guidance. Or you can let them write independently, using invented spelling.
Step 4: Hang your Kids’ Bill of Rights in a place of honor! Now everyone can be reminded of how much you love each other and what you cherish about your family.
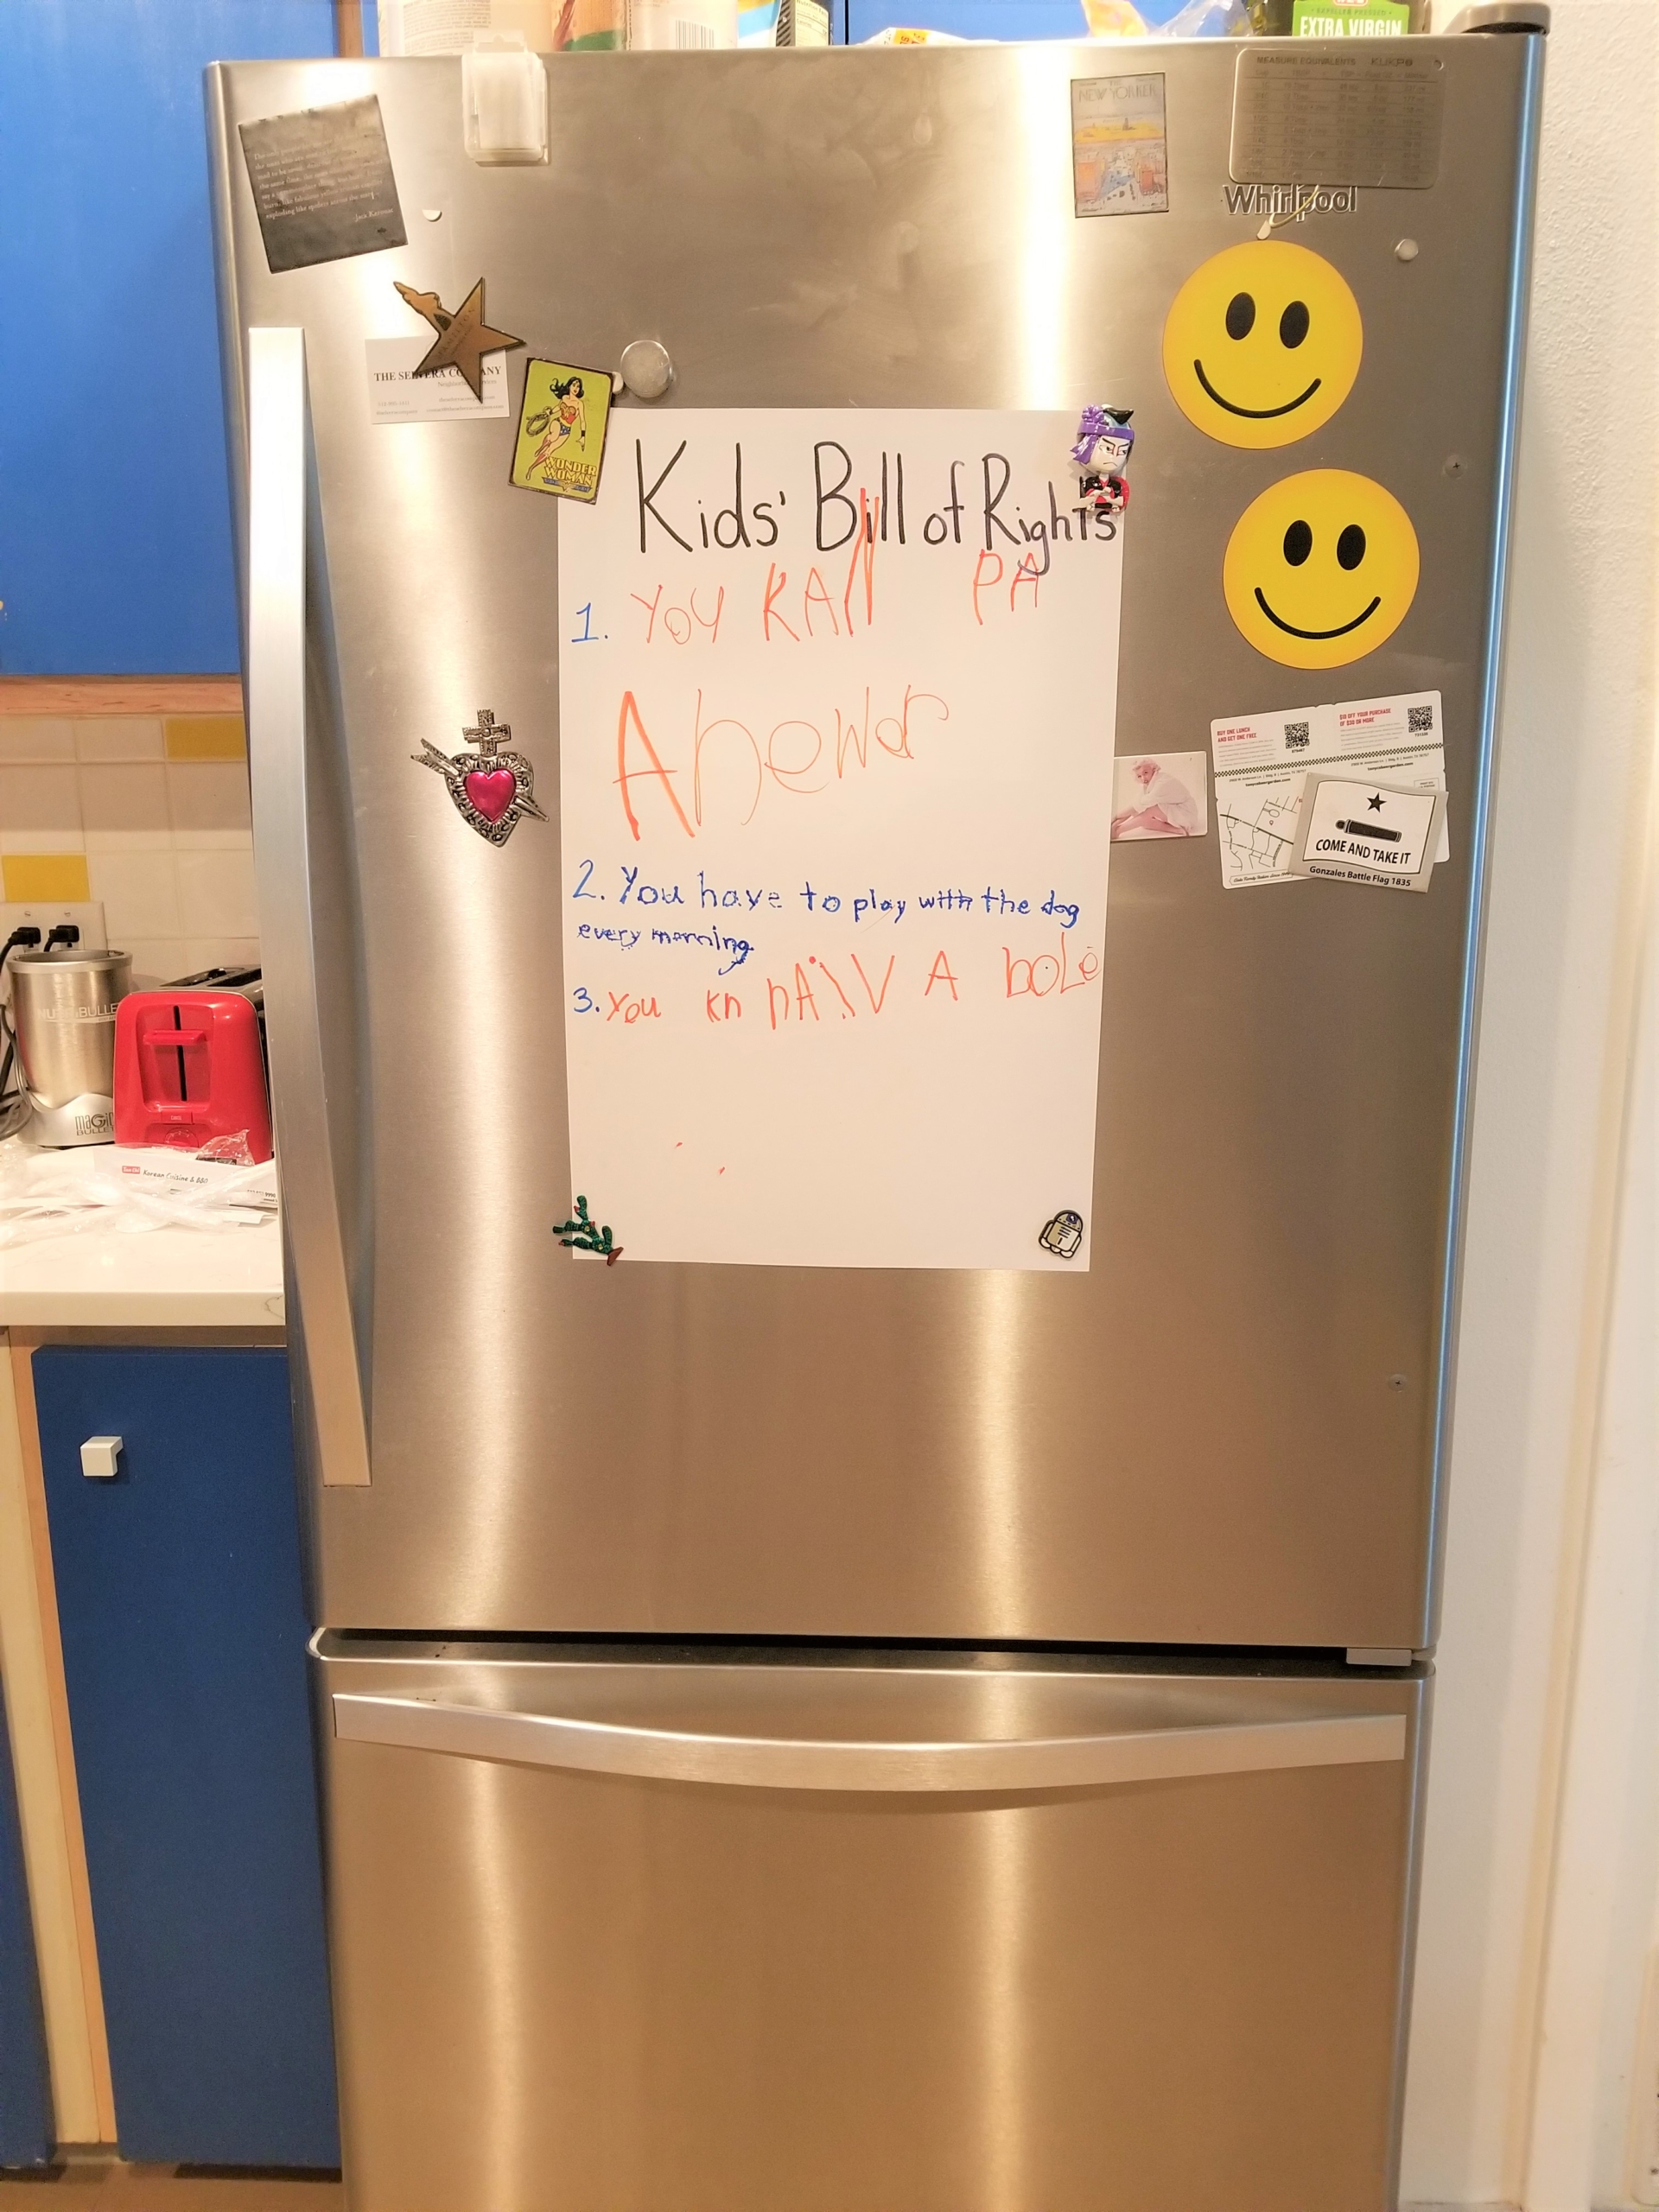
As children learn to define their needs, wants, and emotions, it is important that they also learn how to communicate them. By creating a Kids’ Bill of Rights, that communication will be both verbal and written. Children come up with really beautiful and equally hilarious choices. I’ve had responses from “We all have the right to be treated nicely” to “Everyone is always allowed to act like a dinosaur.” (Though you might have to turn down a few “We can have chocolate for breakfast every day” suggestions, as well.)
*Photos by Chrysta Naron.
Juneteenth marks the day that word of the Emancipation Proclamation finally reached enslaved black people in Texas, two years and six months after President Abraham Lincoln ordered it. On June 19, 1865, Union General Gordon Granger arrived in the state and announced the terribly belated news that “all persons held as slaves” within areas of the Confederacy “are, and henceforward shall be free.” Texas declared Juneteenth a statewide holiday in 1980 and several other states have followed suit over time. In 2021, the work of activists like Opal Lee was rewarded when President Joe Biden designated it a federal holiday.
To remember and celebrate the freedom the day commemorates, check out our list of inspiring and informative Juneteenth picture books to read with your children. Since many of the books were published prior to 2021, it’s important to share with your little ones that Juneteenth is now a federal holiday. Additionally, note that Juneteenth is one of many milestones on a long road to freedom for black people in America. The Emancipation Proclamation only applied to those enslaved in Confederate states, and many people remained in bondage after Juneteenth. The 13th amendment, which ended slavery in the nation, was not ratified until December 6, 1865—three years after Lincoln’s Proclamation and half a year after Juneteenth.
Like this list? Share it on social media!
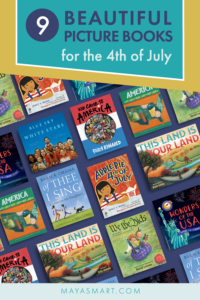
It’s time for the Fourth of July. A day of flags, picnics, parades, fireworks, and, now, books! After all, what better way to introduce your child to the significance of this holiday and what it means to you than through the written word?
This list of picture books for the Fourth of July gives families the opportunity to explore different ways people love America and a variety of American experiences. Granted, we’re certified book lovers, but we think these books will light up bedtime as much as fireworks!
Teaching our children about the Fourth of July is important. It’s so much more than just a single day when a document was signed. It is the neighborhoods we create, the schools we attend, the relationships we build, and the love we share. This year, may your family celebrate those beautiful parts of America with a good book, and hopefully a slice of apple pie.
Pin me for reference
